Choosing a wooden children's chair
In shops nowadays presents a huge selection of all kinds of furniture, including children's. But are you sure of its quality? And the price is often too high. Do not worry, you can easily make a highchair with your own hands, without spending a lot of effort and money. The article provides several examples of the manufacture of children's chairs of various configurations.

Advantages and disadvantages
The first advantage of self-manufacturing of the highchair / table is that this piece of furniture will be most convenient for your child, because when creating a sketch and drawings, you will proceed from its parameters.The second big advantage is the cost, as the purchase of the product will cost you much more. Third, you test durability and reliability directly during the manufacturing process, that is, you will be confident in the quality of this product.


You can decorate the finished furniture according to your taste or at the request of the child., and not to be content with those colors offered by the stores of ready-made children's furniture. The disadvantage is the time and effort spent. If you do not have free time, the work schedule is too stressful, and you have a misunderstanding with carpentry tools - better buy a good ready-made model.
Do not purchase plastic chairs - they are too fragile, and there is still some debate about the safety of such products. In addition, if the chair breaks, the child can get hurt about the sharp edges of faults.
Types, color and design
Children's chairs conditionally can be divided into 3 types:
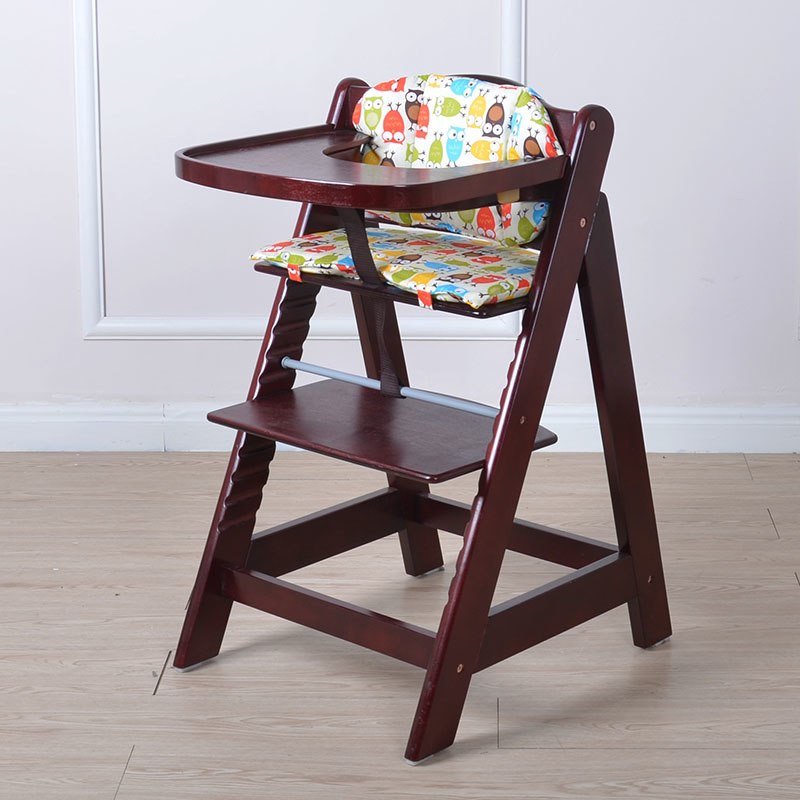
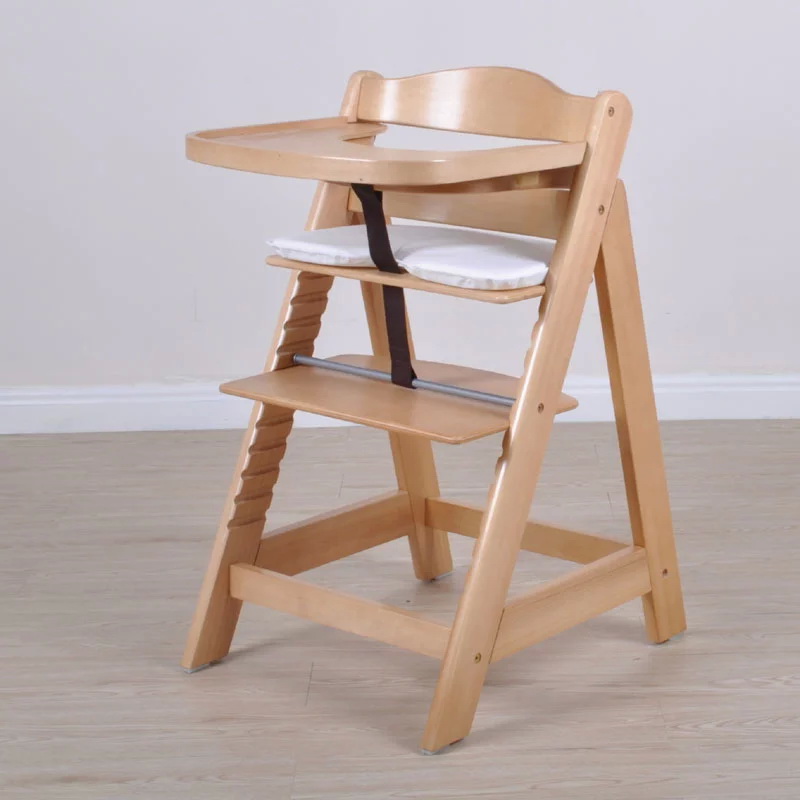
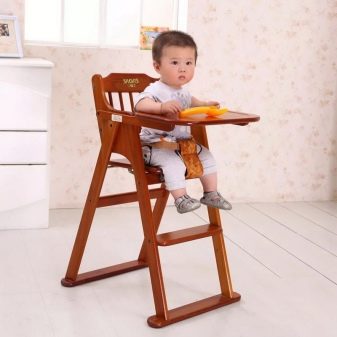
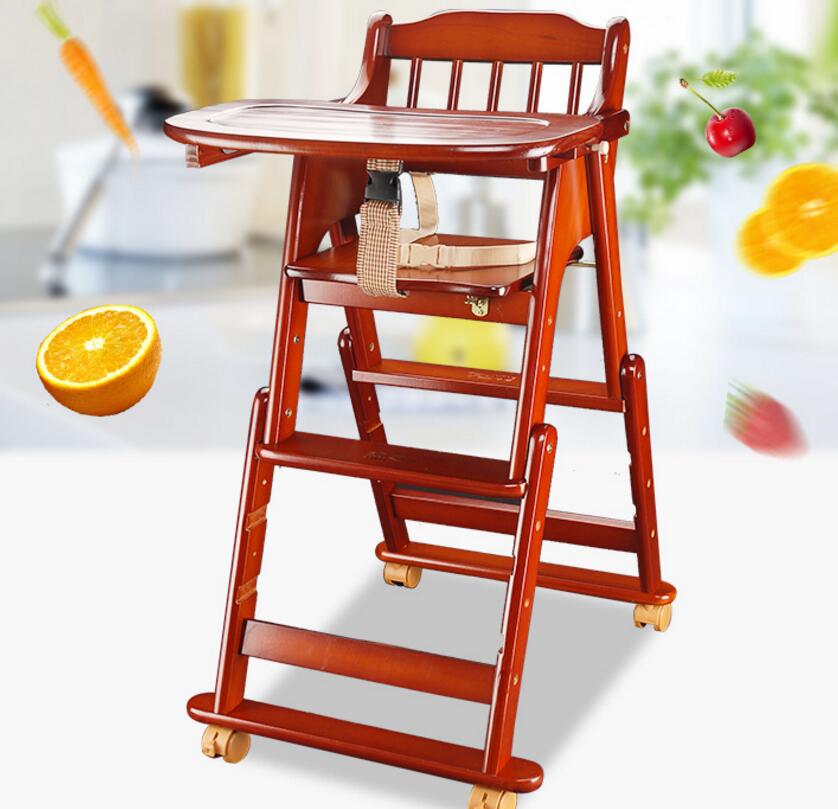
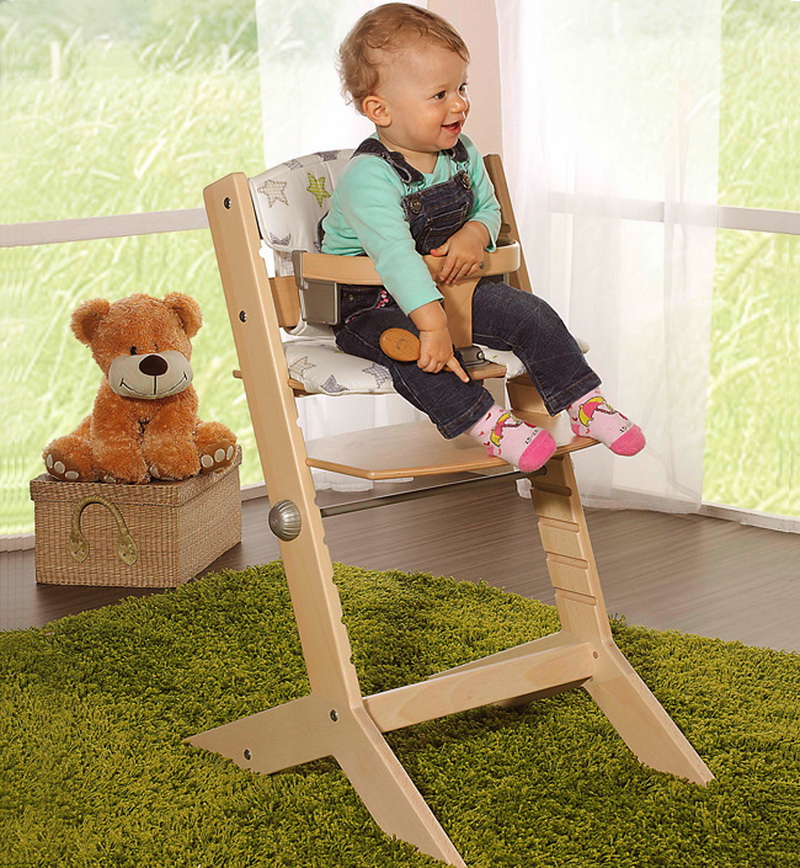
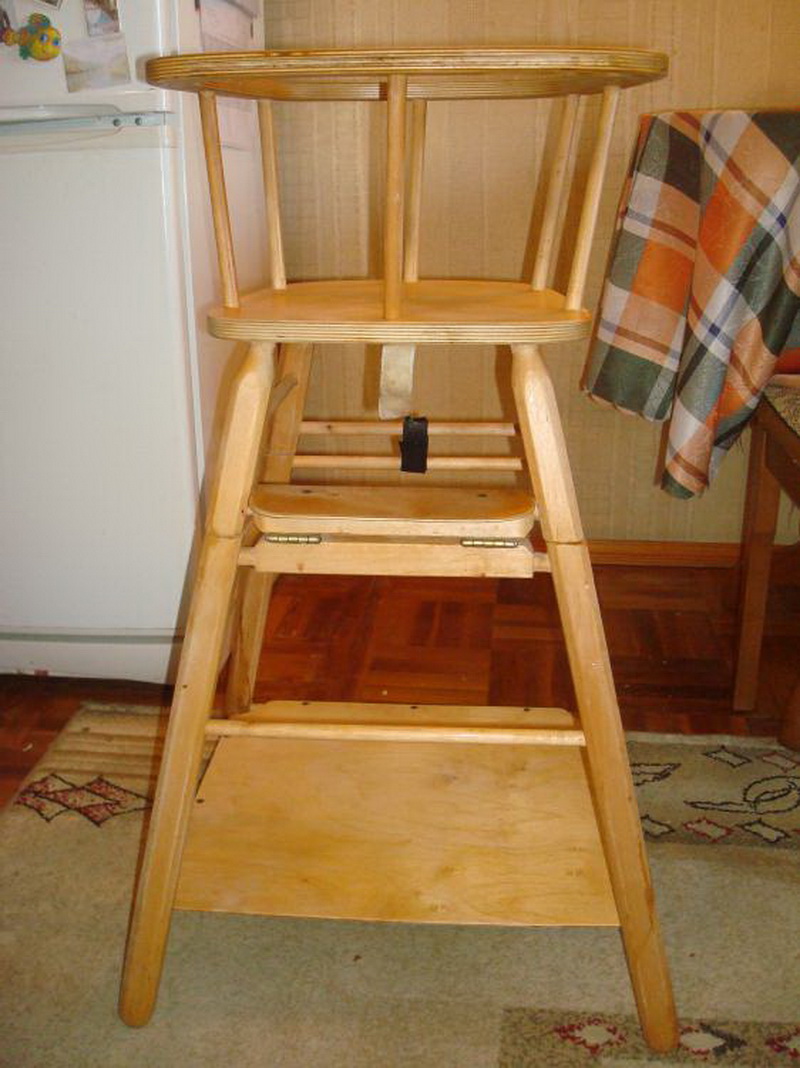
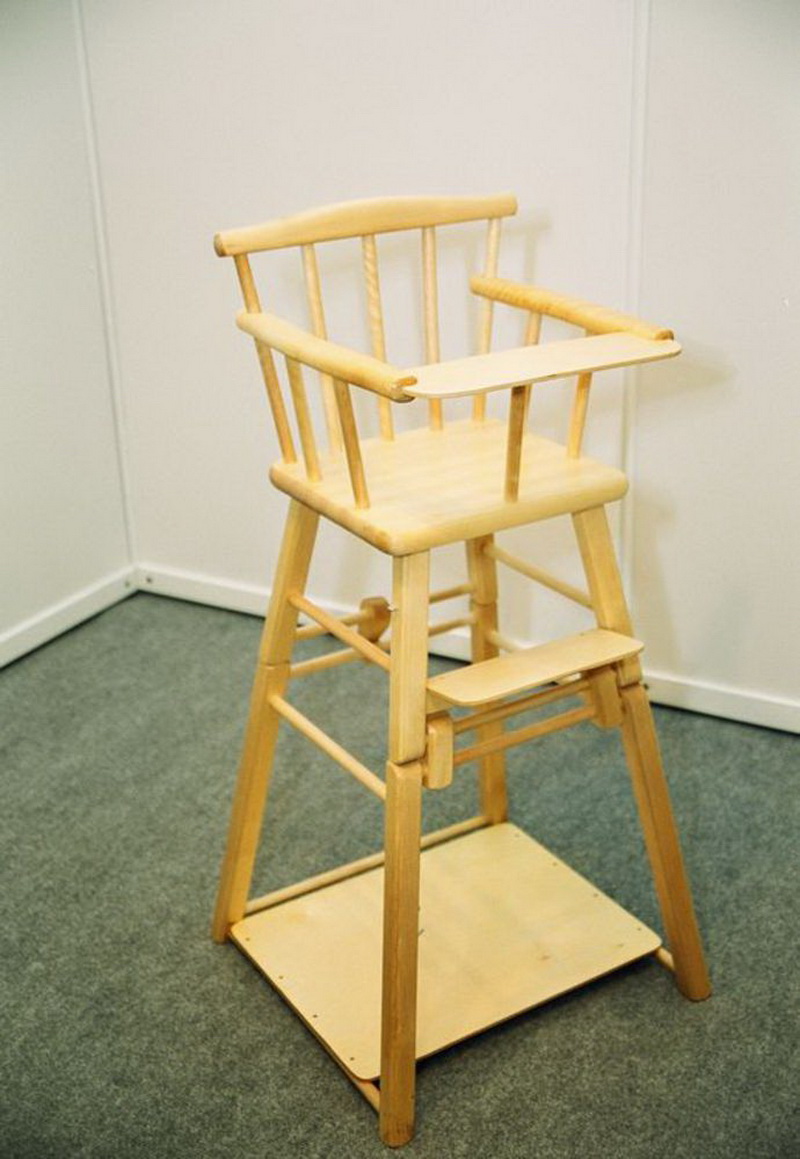
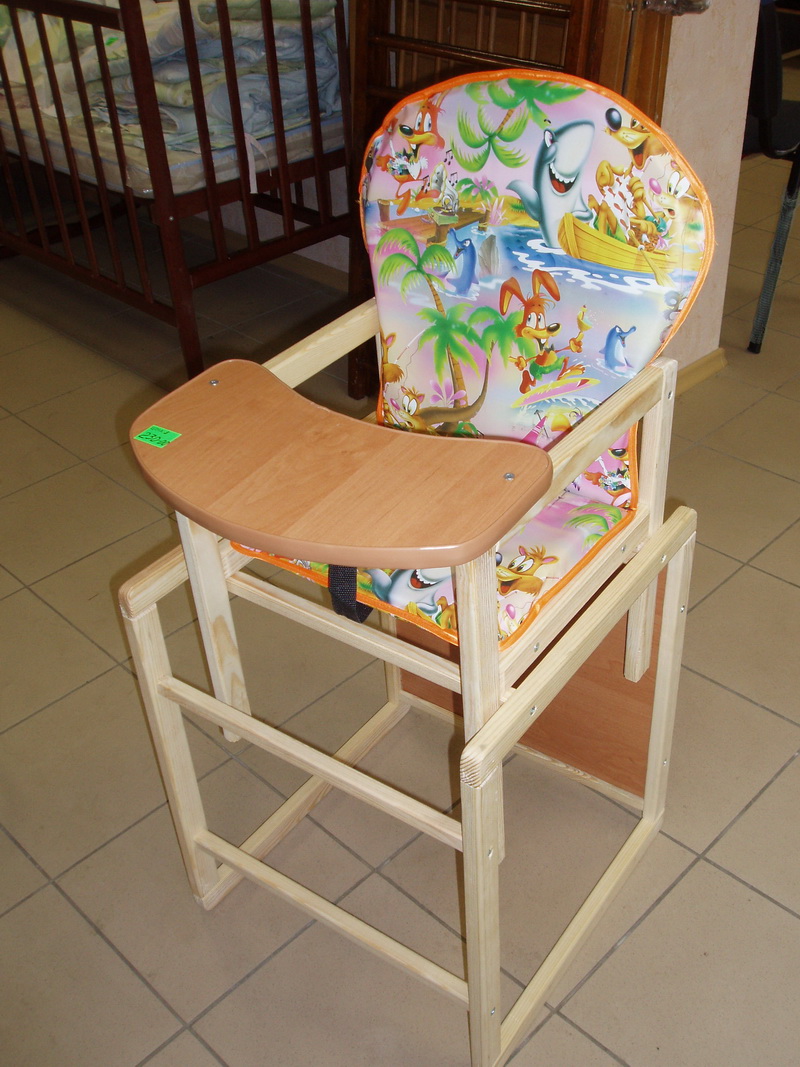
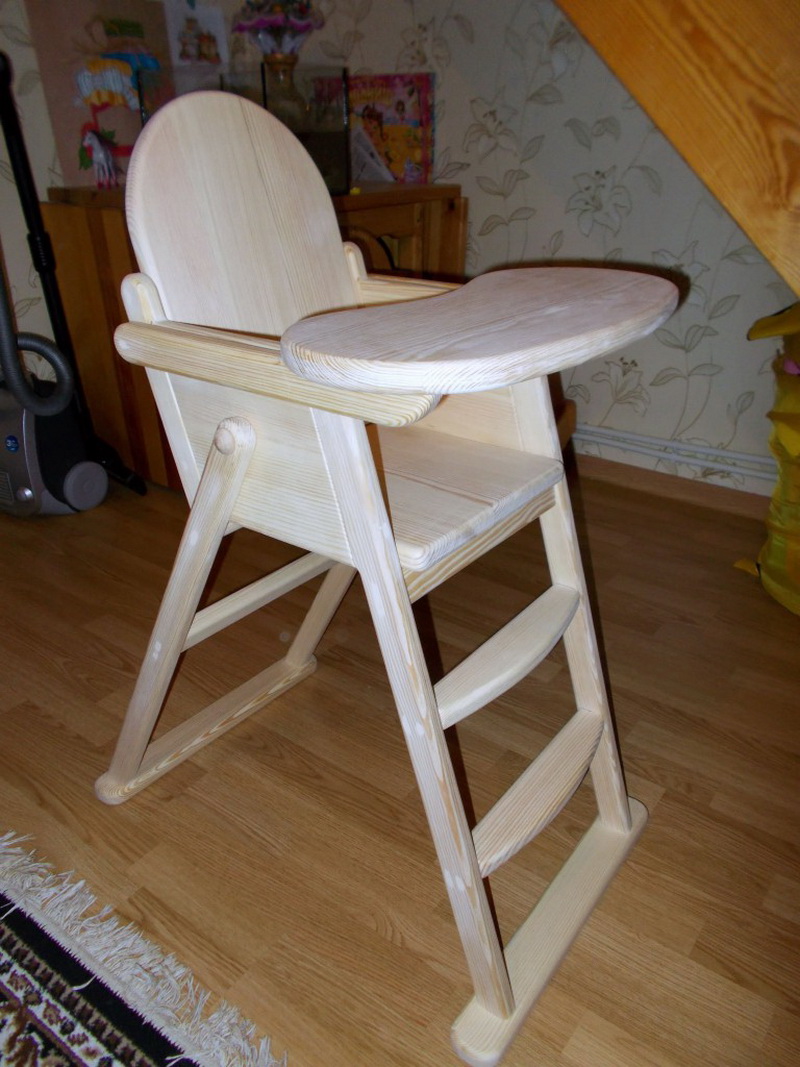
- high feeding chair;
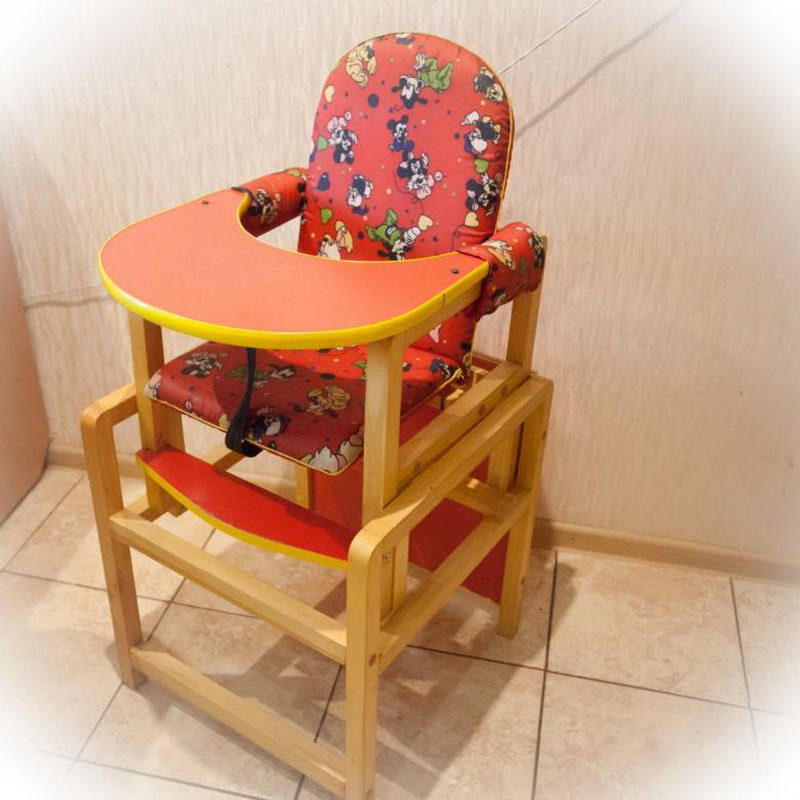
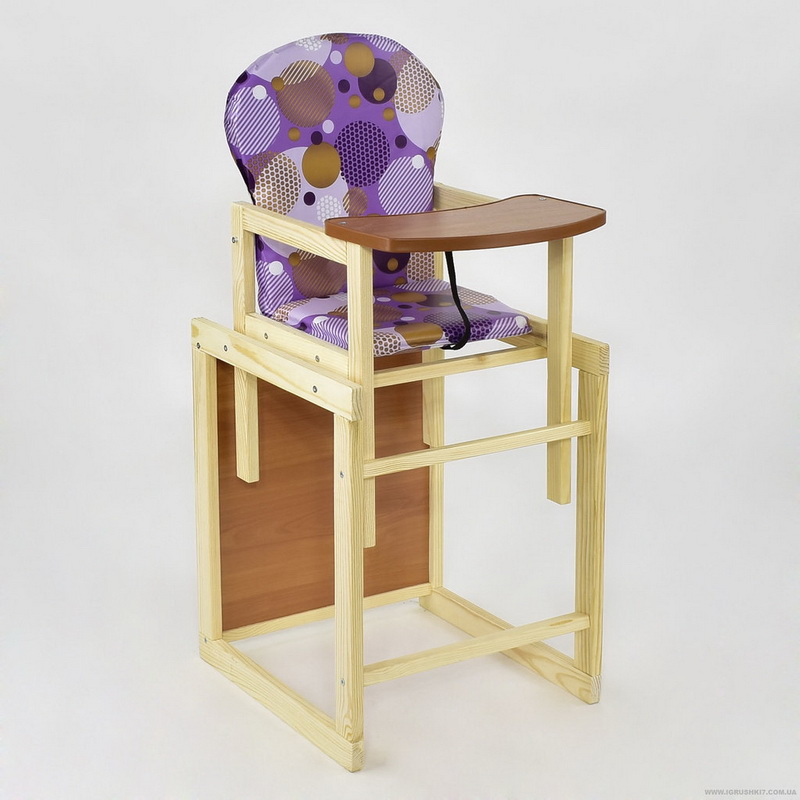
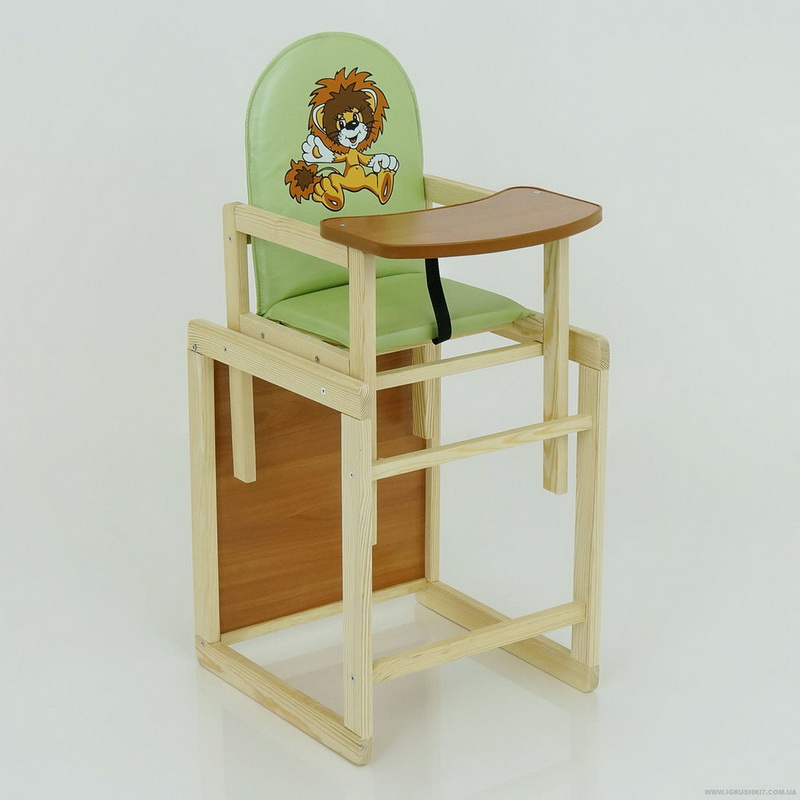
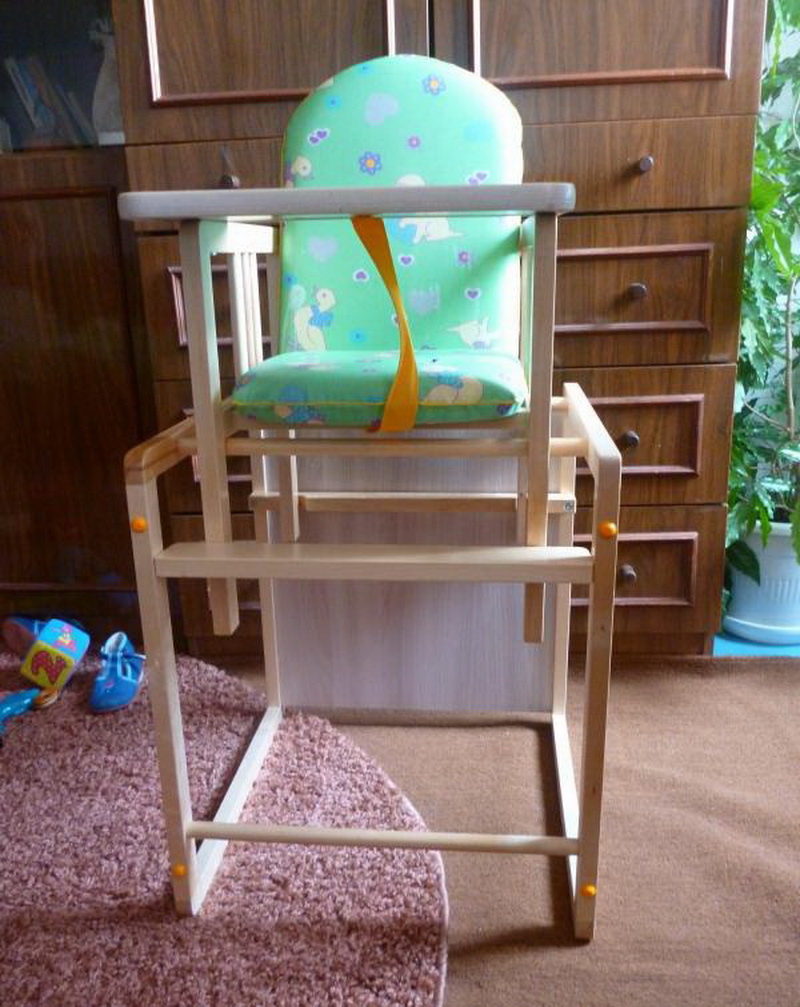
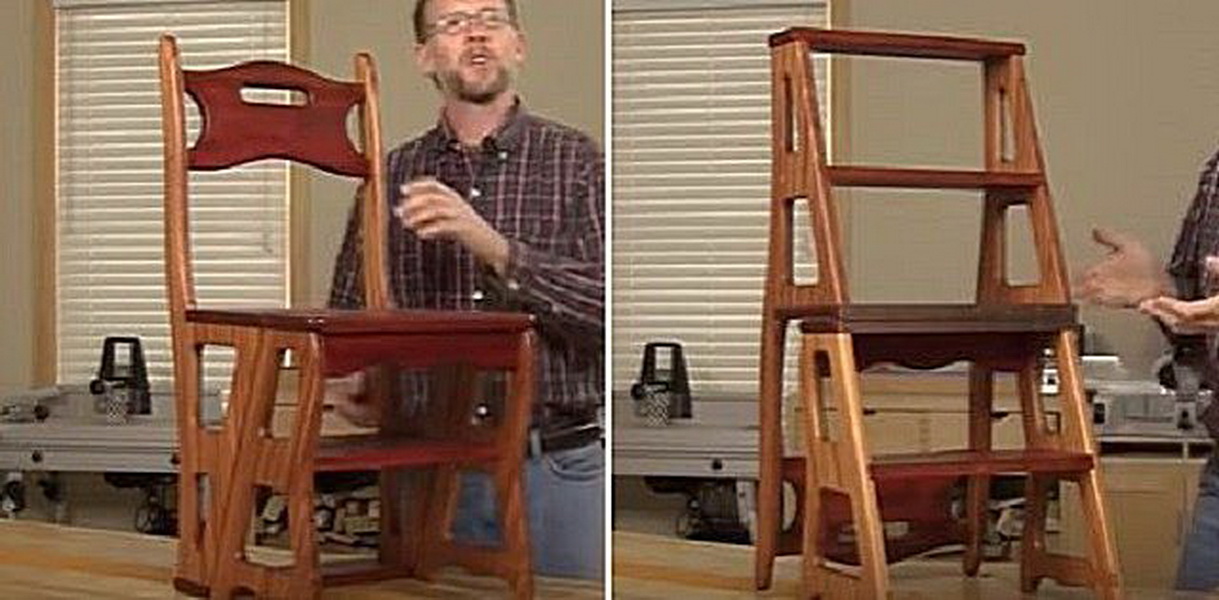
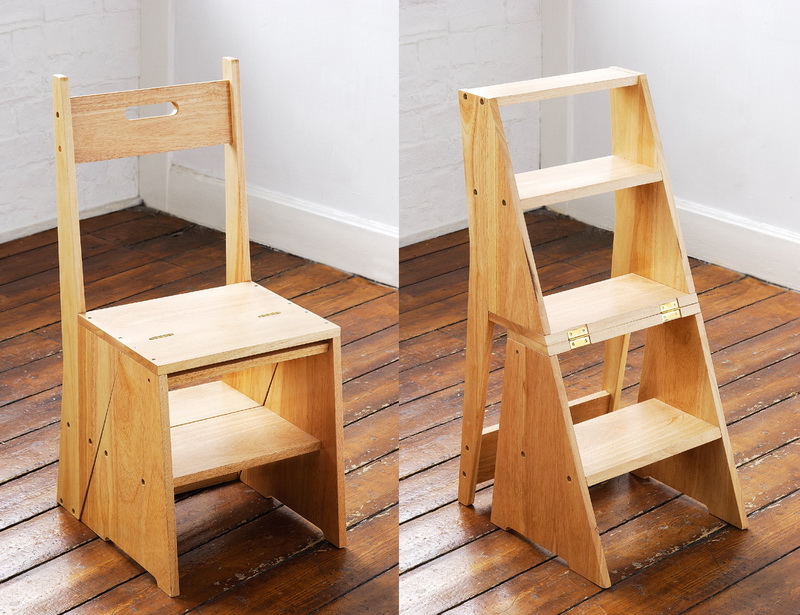
- a transformer (a combination of a chair with a table that can be converted into various forms);
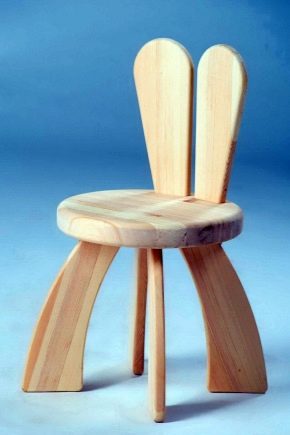
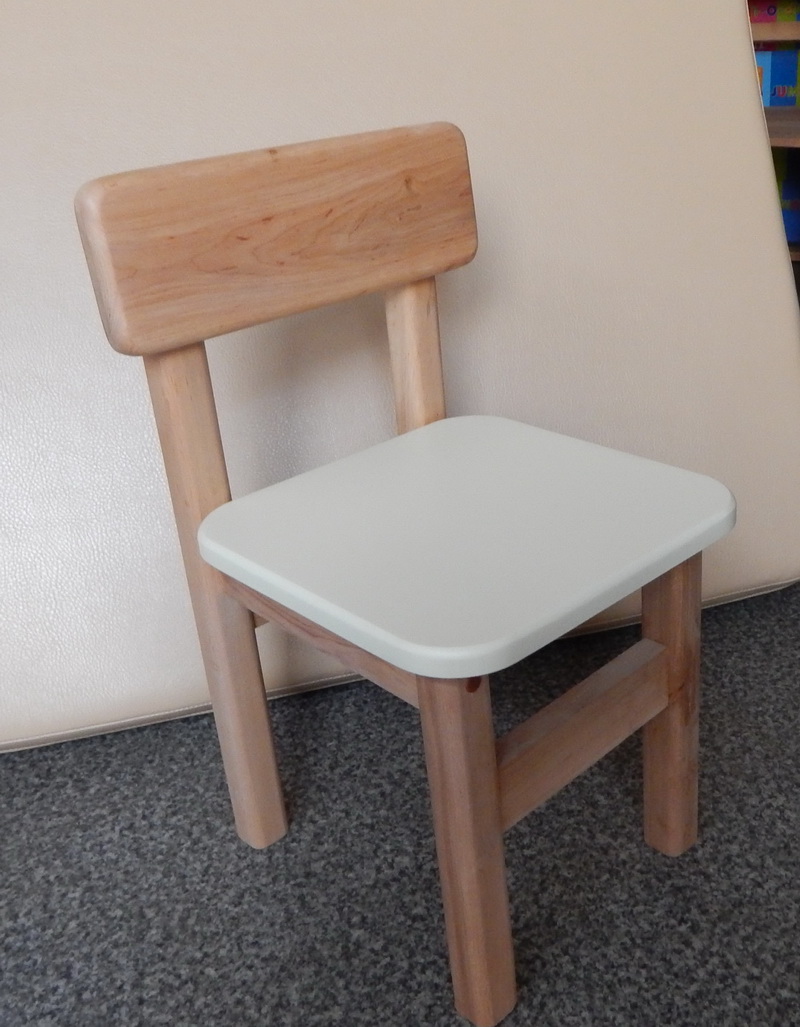
- ordinary baby chair.
Color and design depend on your imagination and taste. Remember first of all about the convenience and reliability of your design.It is better to create a simple durable wooden chair than to wipe the original and unstable model. For the decoration of your product, you can choose bright fabrics for upholstery of the seats and back, paint them with colors in the form of animals, plants, scenes from cartoons (for this you need either stencils, or finished stickers) and the like. It will be much more interesting for a baby to use a colorful fairy-tale chair, sit on it at breakfast or play.
Of great importance is the choice of material from which you will collect a piece of children's furniture. You can do with plywood and chipboard, but these building materials are not very durable. Pick up something from solid wood, such as pine.
Dimensions
Dimensions for self-production should be chosen specifically for your child, but there are also certain standards. The ideal height of the back of a highchair is considered to be 55 cm, and the distance from the floor to the seat should be 32 cm. The width of the seat is from 27 to 35 cm.
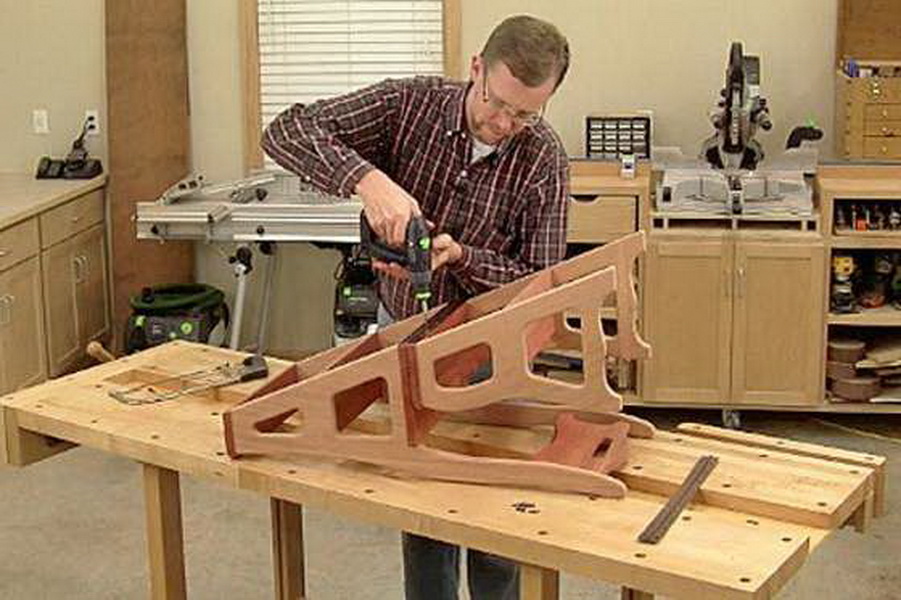
How to do it yourself?
First of all, remember that the main criterion for children's furniture is its safety for the child. It must be smooth, durable and stable.Sharp corners, cracks, gaps and crevices are unacceptable. You can use screws, wooden spikes, nails, dowels as fasteners for the details of the chair. For reliability, the fasteners of each joint should be duplicated. Naturally, before you start making a children's chair with your own hands, you must first draw sketches, and based on them - drawings showing all the dimensions of the future product. There are a lot of models of this popular children's furniture. Consider the most simple and common designs.
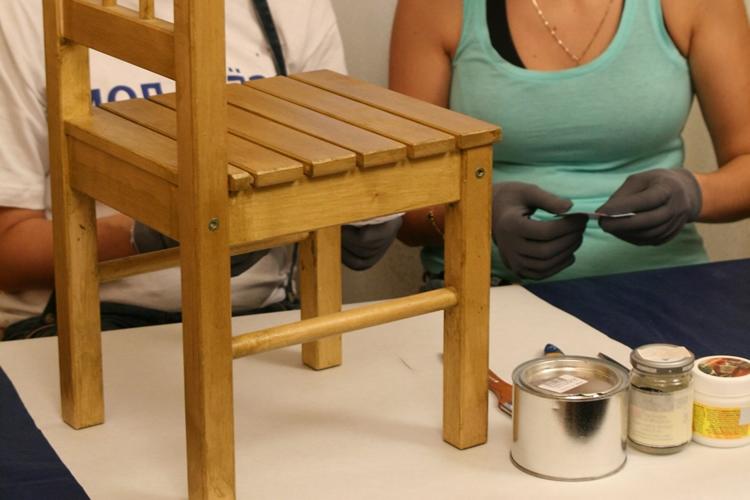
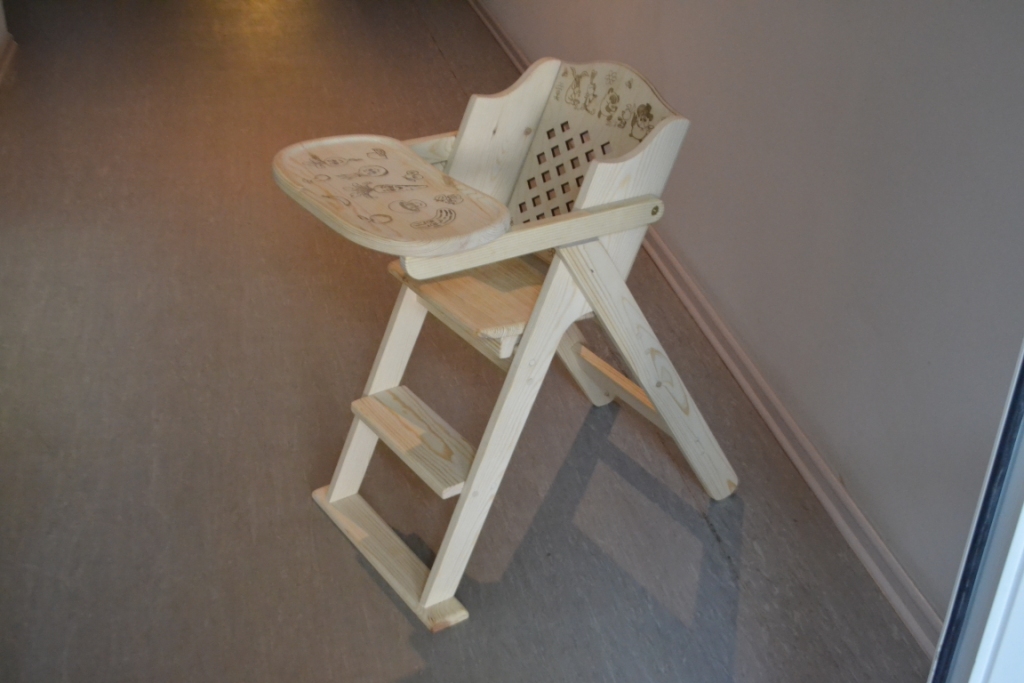
Option 1
To make it you will need:
- bars of pine in different sizes;
- pine boards for the seat;
- fasteners.
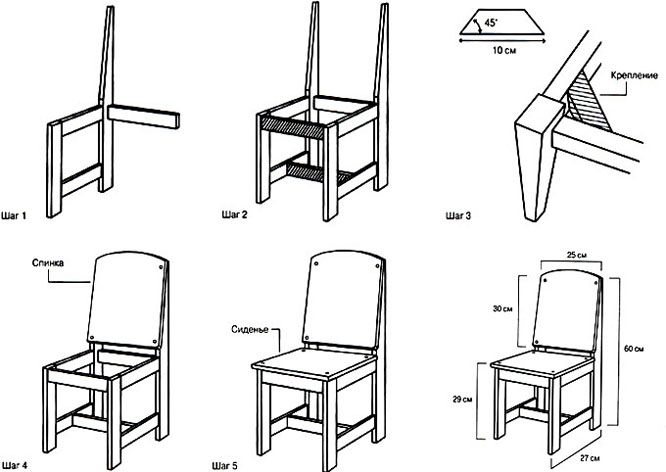
The dimensions of the wood bars for the rear legs - 30 * 30 * 550 mm - 2 pieces.
For crossbars:
- the top 19 * 41 * 165 mm - 1 piece;
- carved 14 * 41 * 165 mm - 1 piece;
- average 14 * 29 * 165 mm - 1 piece;
- bottom 14 * 29 * 165 mm - 1 piece;
- lateral and tsarga 14 * 29 * 177 mm - 4 pieces;
- anterior and sidewalls 14 * 29 * 195 mm - 2 pieces.
For the front legs - 30 * 30 * 305 mm - 2 pieces. Boards for the seat 14 * 105 * 263 mm - 2 pieces. To increase stability, scrub the front legs so that they gradually taper down to 24 * 24 mm, and the rear legs - on the contrary, from sitting up to 19 * 19 mm.
In front, the upper crossbar must be rounded so that the child does not get hurt by sharp corners.The height of installation of the lower edge of the middle crossbar must coincide with the height of the upper edge of the seat. First, the rear legs are fastened with a crossbar. Then connect the front pair of legs and the crossbar. Then they are fastened together by side rails and all the tsargs. The most recent mount seat.
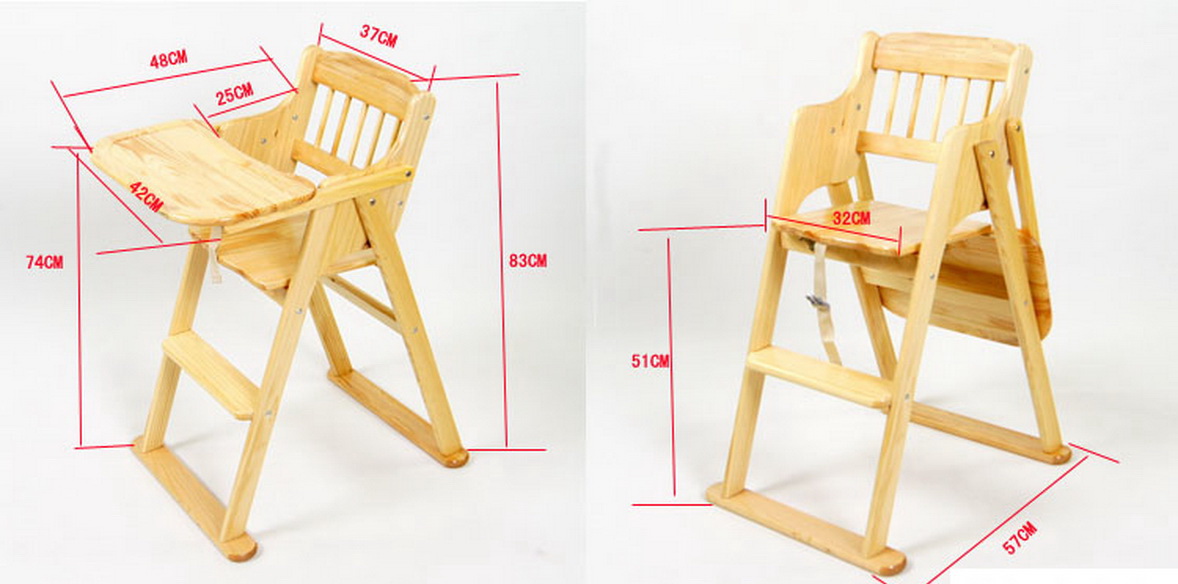
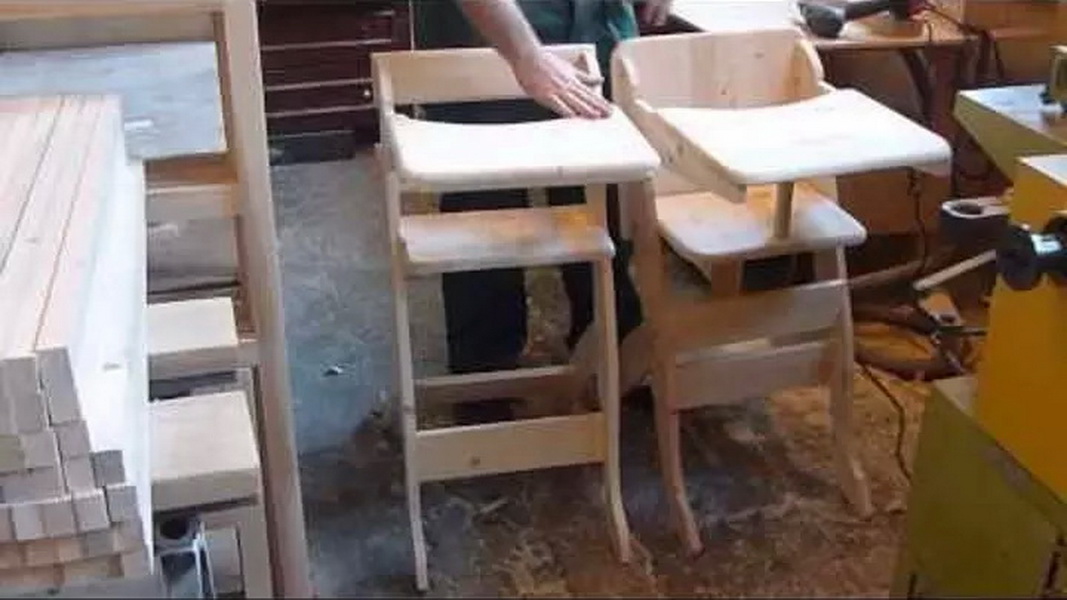
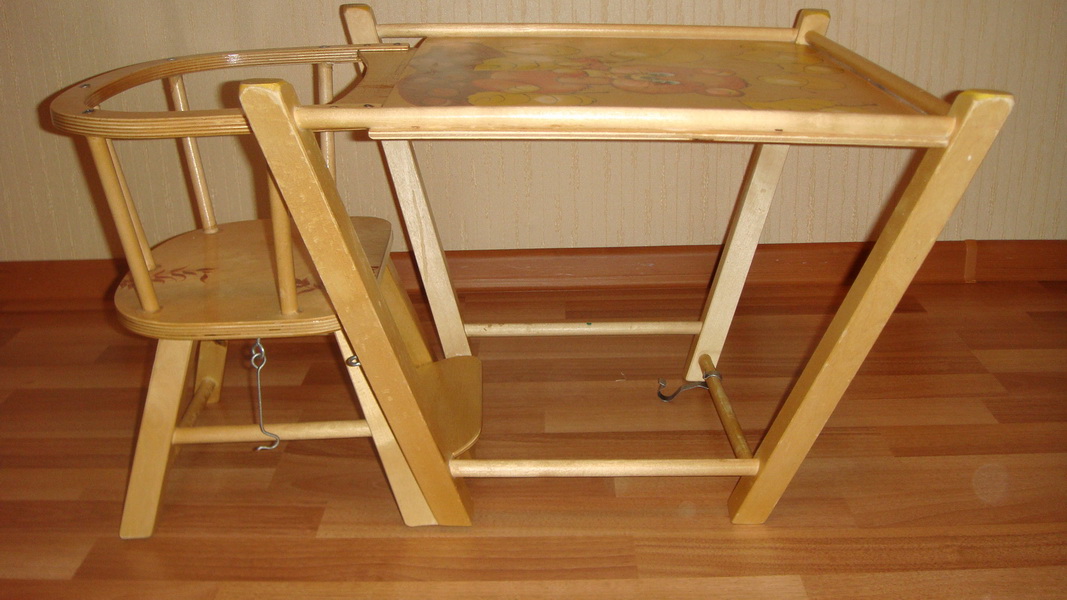
Option 2
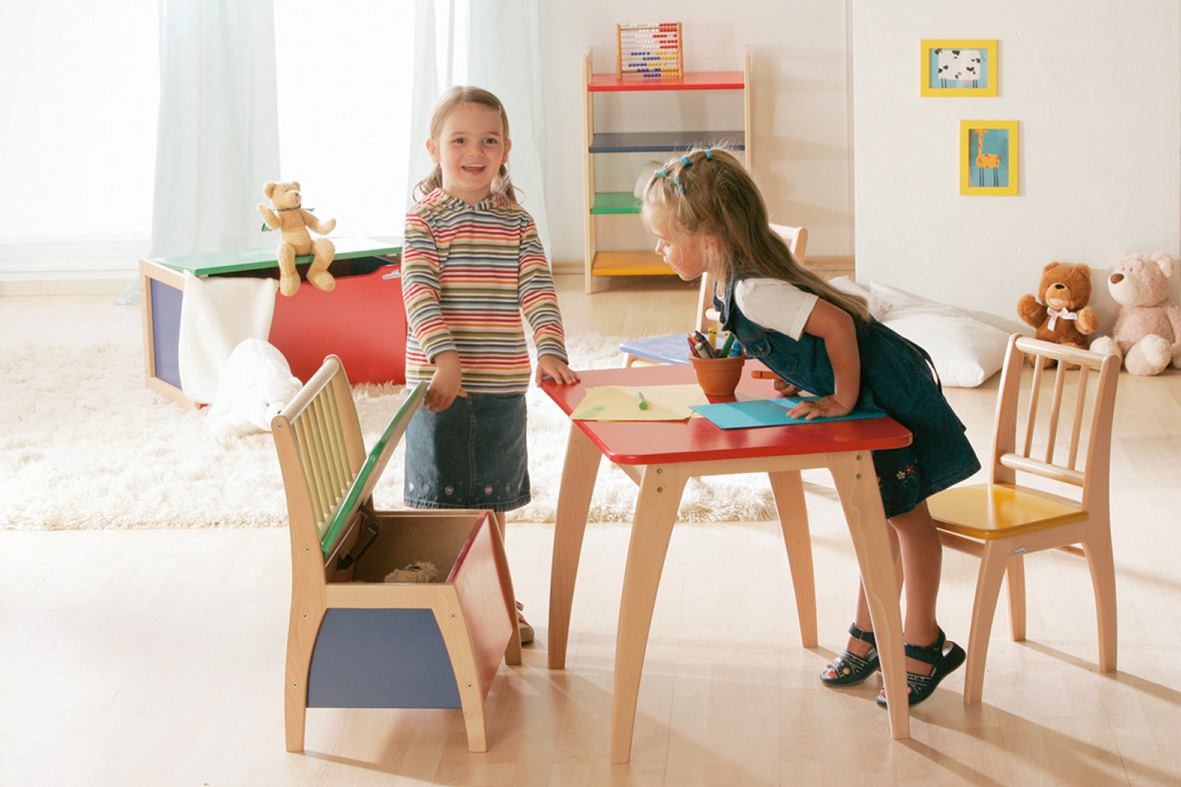
The transforming stool is a combination of a stool and a table, which can be transformed into simple forms by simple actions. It is possible to use it as a table-chair for feeding, and as a desk for classes, and as a table for games. It is very convenient for small premises, as it can compactly fold.
High chair details:
- legs 39 cm long - 4 pieces;
- rounded corners - 4 pieces;
- the top slats of 22 cm - 2 pieces;
- 34 cm long bars - 2 pieces;
- cross slats of 30 cm - 3 pieces;
- the basis of the seat (can be of plywood 18 mm thick) 20 * 30 cm - 1 piece.
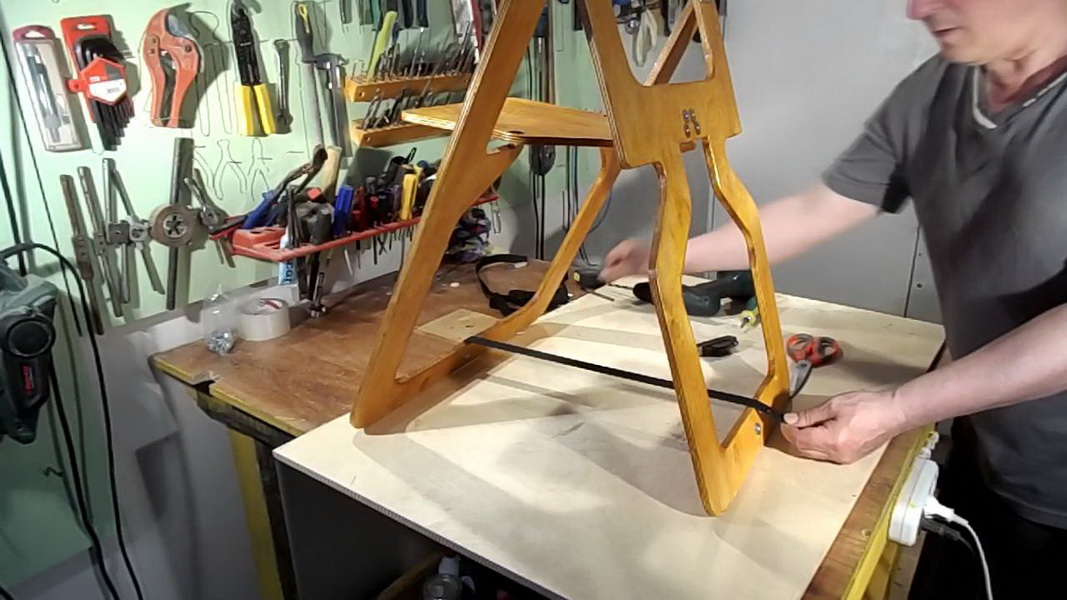
Table components:
- 50 cm long legs - 4 pieces;
- strips of 41 cm - 4 pieces;
- 34 cm transverse slats - 4 pieces;
- worktop (plywood 18 mm thick) 45 * 38 cm - 1 piece.
Rounded corners can be cut from a 20 mm thick board. All other parts are made of bars 20 * 40 mm.
All parts will be bonded with glue.But to increase the strength and reliability of the product, it is necessary to use for fasteners and wooden dowels of 20 * 50 mm, it is quite simple to make them yourself from a plywood sheet of 8 mm thickness. For dowels in the places of fastening parts grooves are made in which they should be. Do not forget to put glue on all surfaces of the joint before installing them into the grooves.
This is how the sides of the chair are mounted. It is important to let the glue dry completely. Then sand them to smoothness. The seat and back of the stool size 250 * 300 mm cut out from 3-4 pieces of plywood, connected by an adhesive layer. Round off all the corners. Foam rubber is glued to one side as a softening cushion, which is then closed with a fabric cover. Covers secure with metal straps.
Begin assembly of a stool with connection of ready sidewalls slats. Everything is carried out according to the scheme described above (dowels + glue). The seat will rest on the slats, so to fasten it you will need screws or dowels in the form of cylinders. Then install the lower and back rails. Attach the backrest to the back plate. Let the chair dry out so that the glue grabs all the connected parts well.
The technique of assembling the table top is no different from that for the chair. First mount the sides of the table and sandpaper, then connect them with cross-sections and sand down again. Then attach the countertop itself, also sand it and varnish it several times.
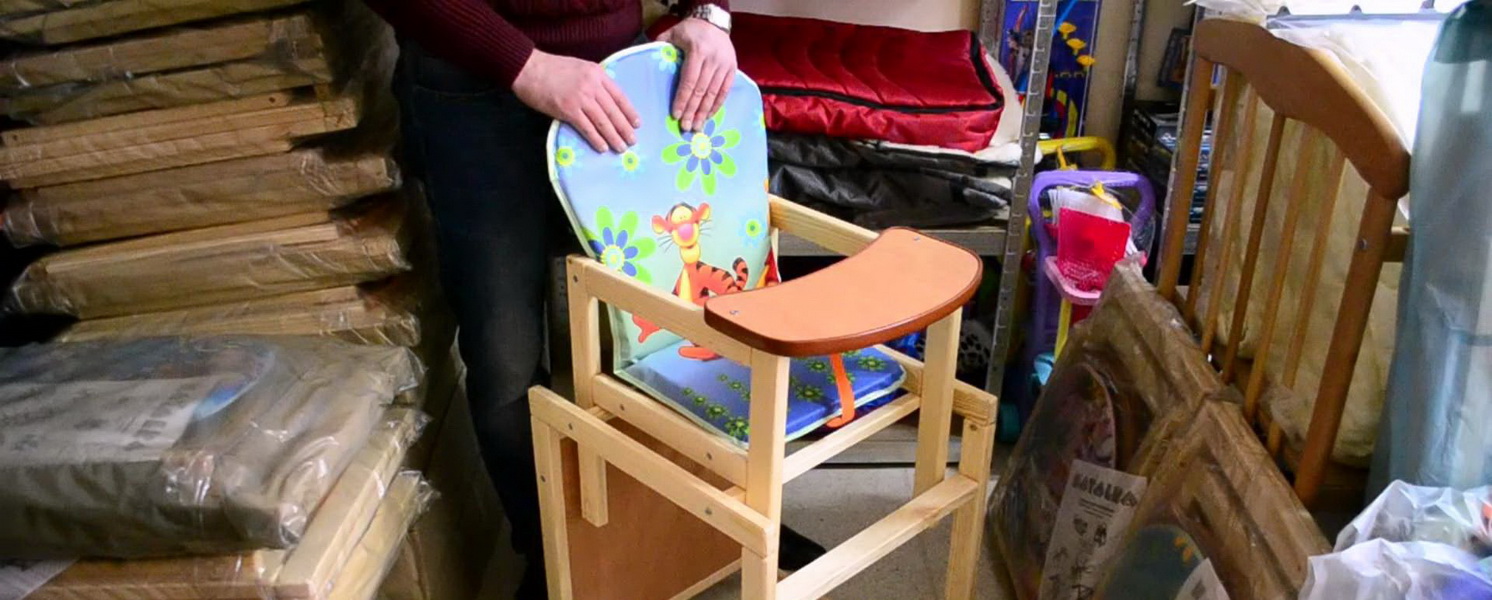
Option 3
A highchair, it can be redone from a regular old chair with a back. It is great if his legs are fastened with additional rails, and he himself is stable and reliable. The chair must be turned. The back of the chair will be the front legs of the highchair. From the upper points of the front of the future chair for feeding diagonally fasten long strong slats (or bars), which will become the rear legs. We fasten all the legs transverse crossbars. Seat, back and shelf for installing dishes with food are made of polished plates or a piece of plywood. The seat needs a pad.
Decor
Of course, the most important thing in children's furniture is reliability, stability and convenience. But do not forget about aesthetics. Kids like bright, beautiful things. So do not be lazy to paint wooden surfaces with stencils, and then varnish several times.
Upholstering the seats and backs is more practical to make from artificial leather - it will be easy to wash off porridge and other scattered food residues (as long as the baby learns to eat on his own). All wood parts are sanded before assembly using sandpaper to perfect smoothness so that the child does not get a splinter. When fastening parts with screws, their caps need to be deepened and closed with plastic plugs.
Try not to leave sharp corners, the mechanism of coordination of movements in a child, especially a small one, does not yet work at full strength, and such surfaces may be dangerous for the child.
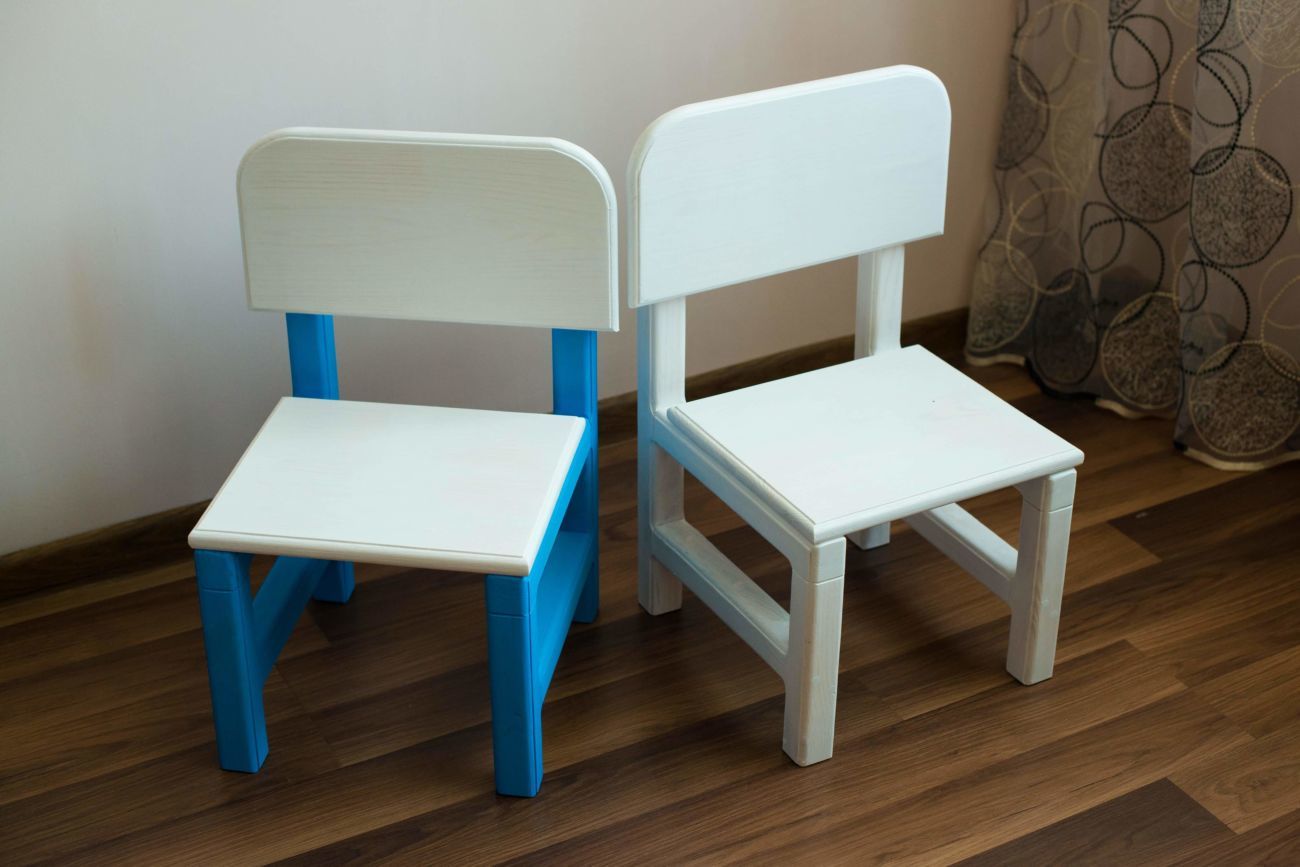
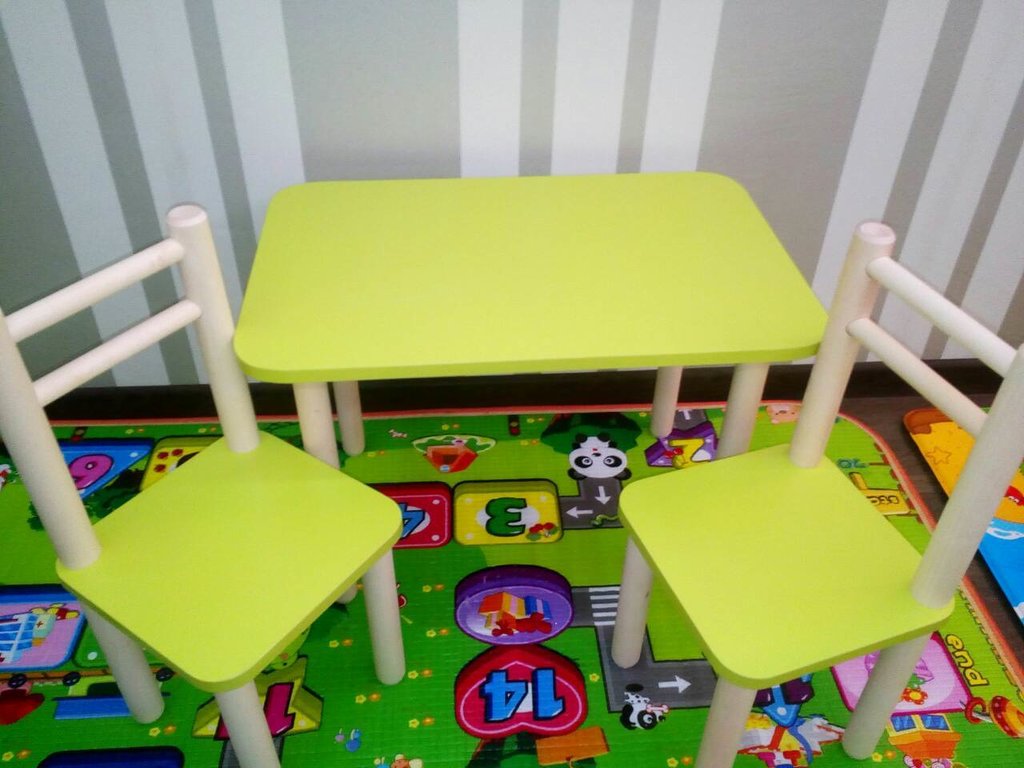
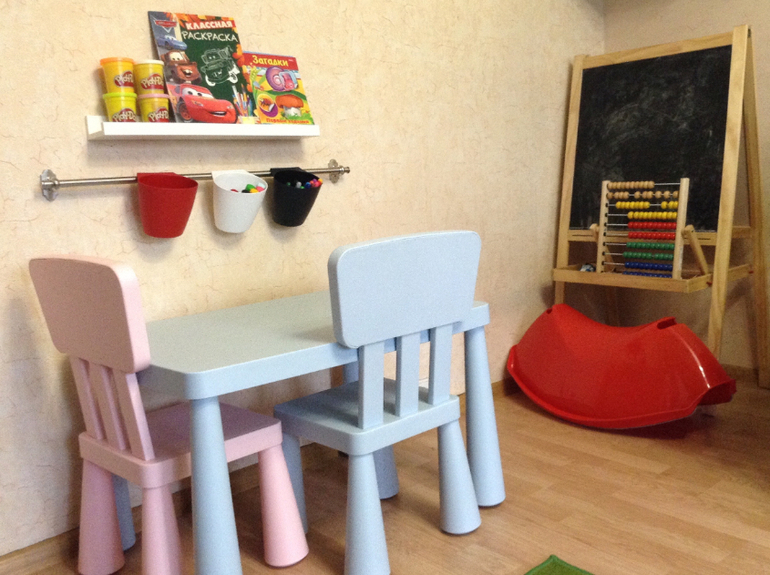
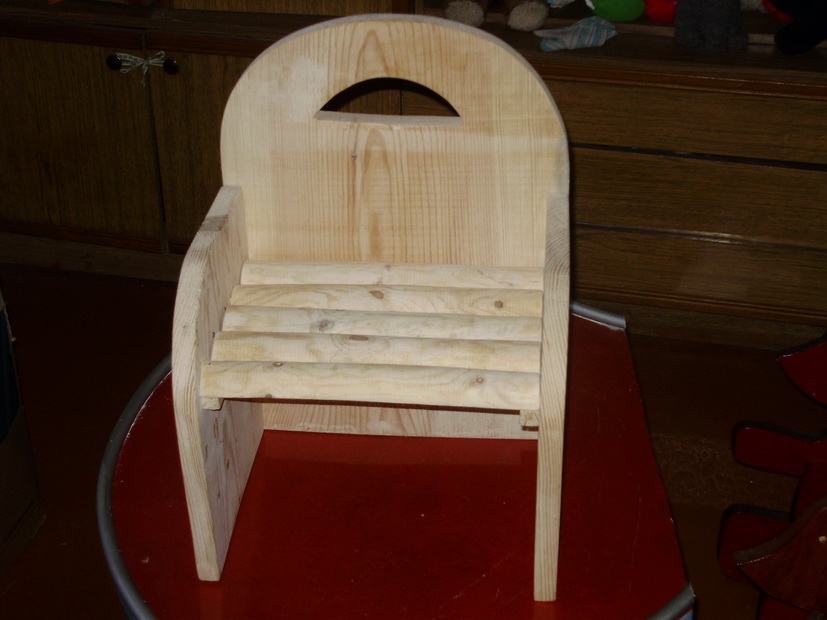
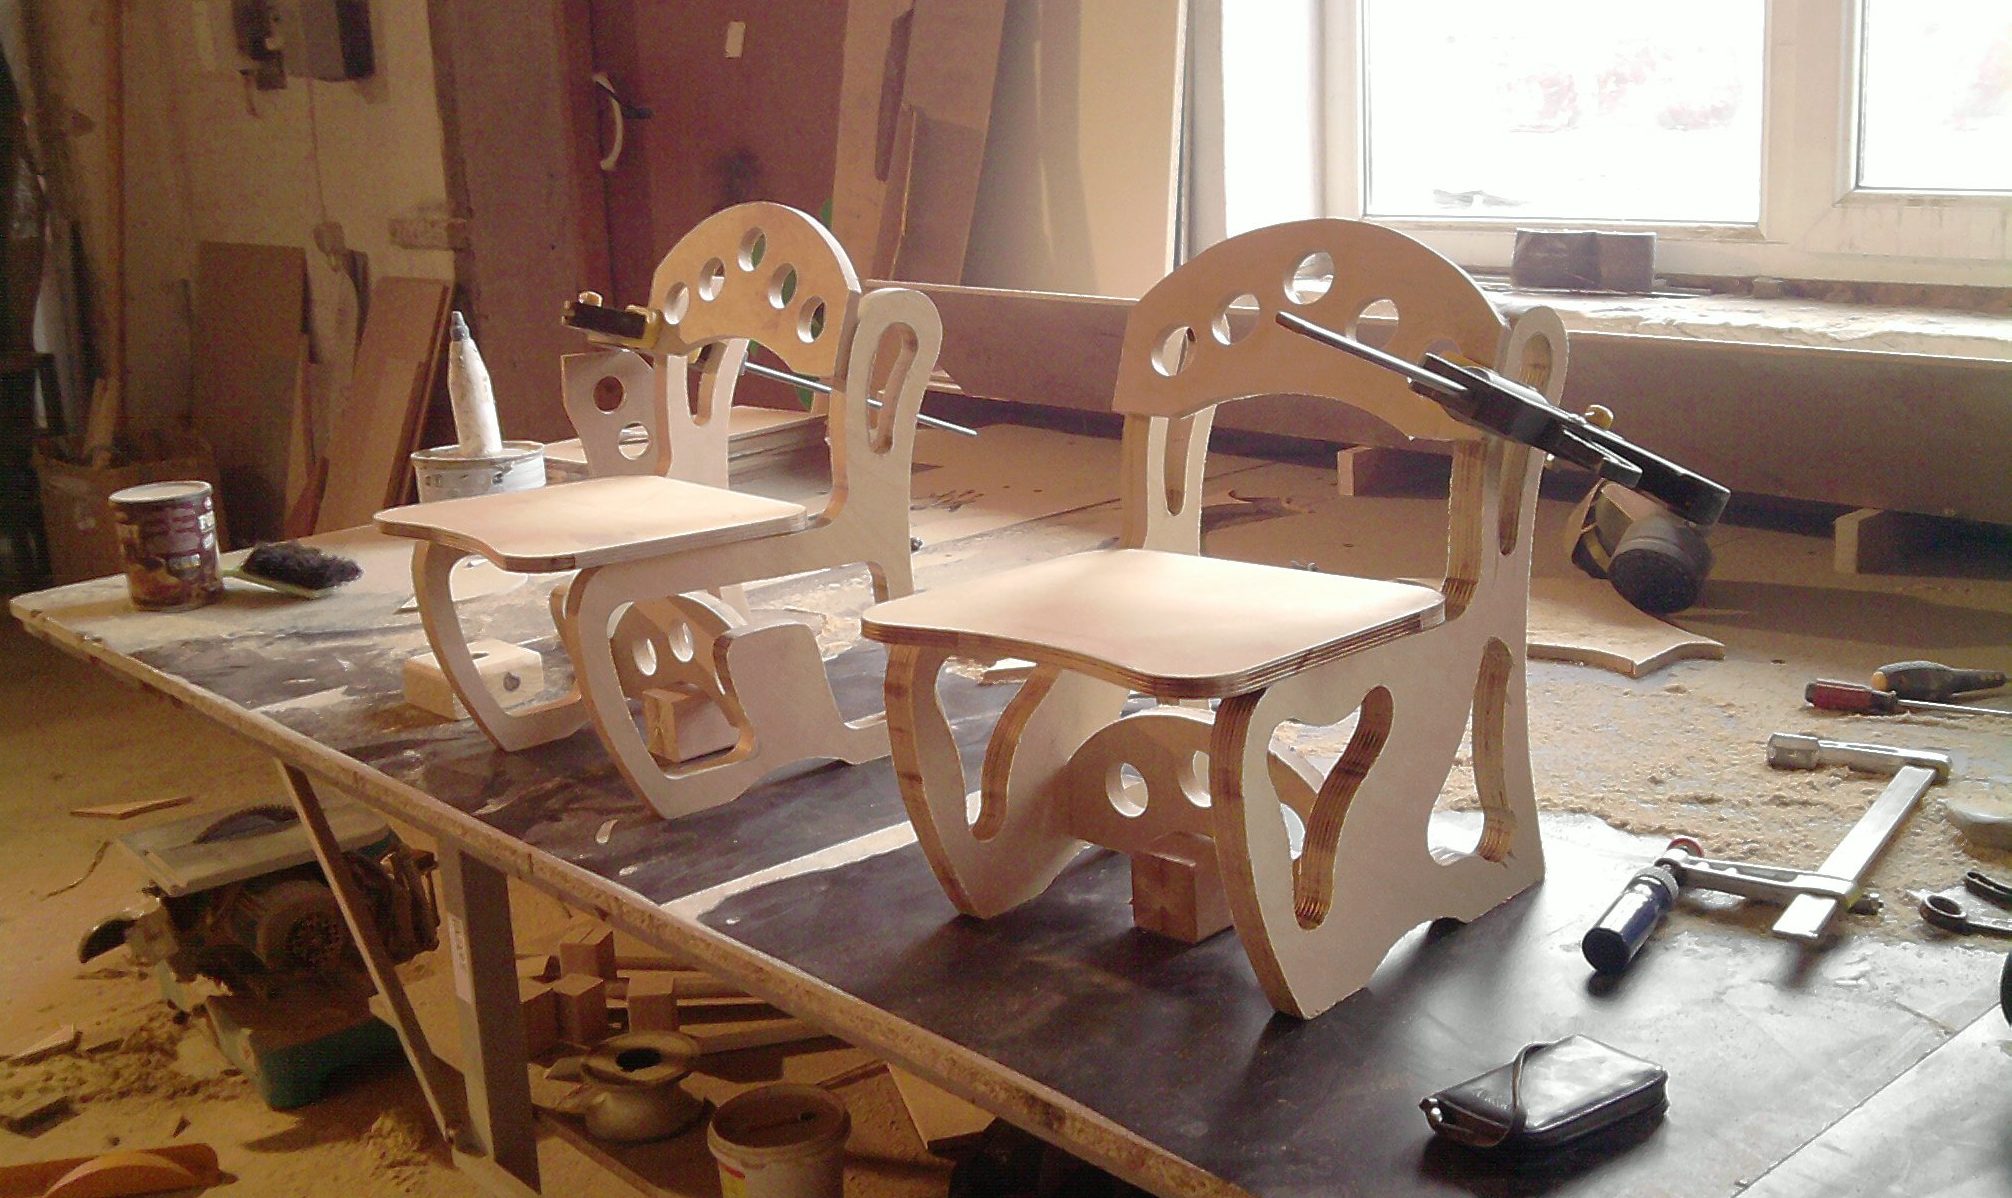
Beautiful examples
You can stick colorful stickers with the characters of your favorite cartoons on the smooth surfaces of the tabletops, seats, and cover them with a thick self-adhesive film or varnish on top so that the child does not tear off the pictures you like. Yes, and the stickers have one unpleasant property - over time, their edges begin to peel off and turn around, which spoils the appearance. Below are a few examples of finished children's furniture.
For information on how to choose a highchair, see the following video.


