How to sew a duvet cover?

Any thing has an expiration date, especially for bed linen. Be sure to come when updates are needed. There is always a choice in the stores, but it’s much more pleasant to create everything with your own hands, not to mention the low price and high quality.
Perhaps everyone will agree that bedding is very intimate for us, it has a special energy, because we spend a lot of time with this material. That is why making a set with your own hands, you want to enjoy every moment spent in bed, and again enchant dreams, as in childhood.
Choosing a fabric
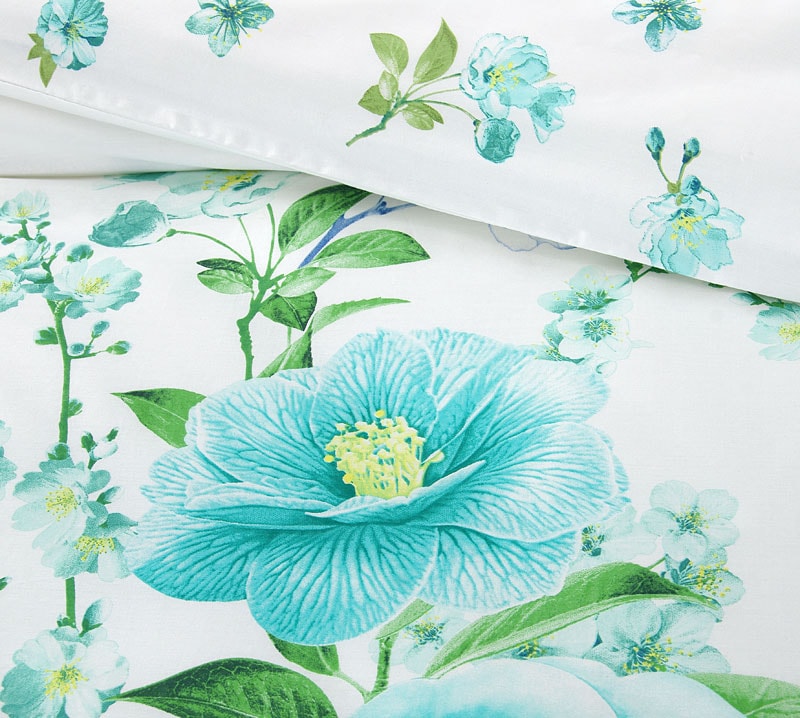
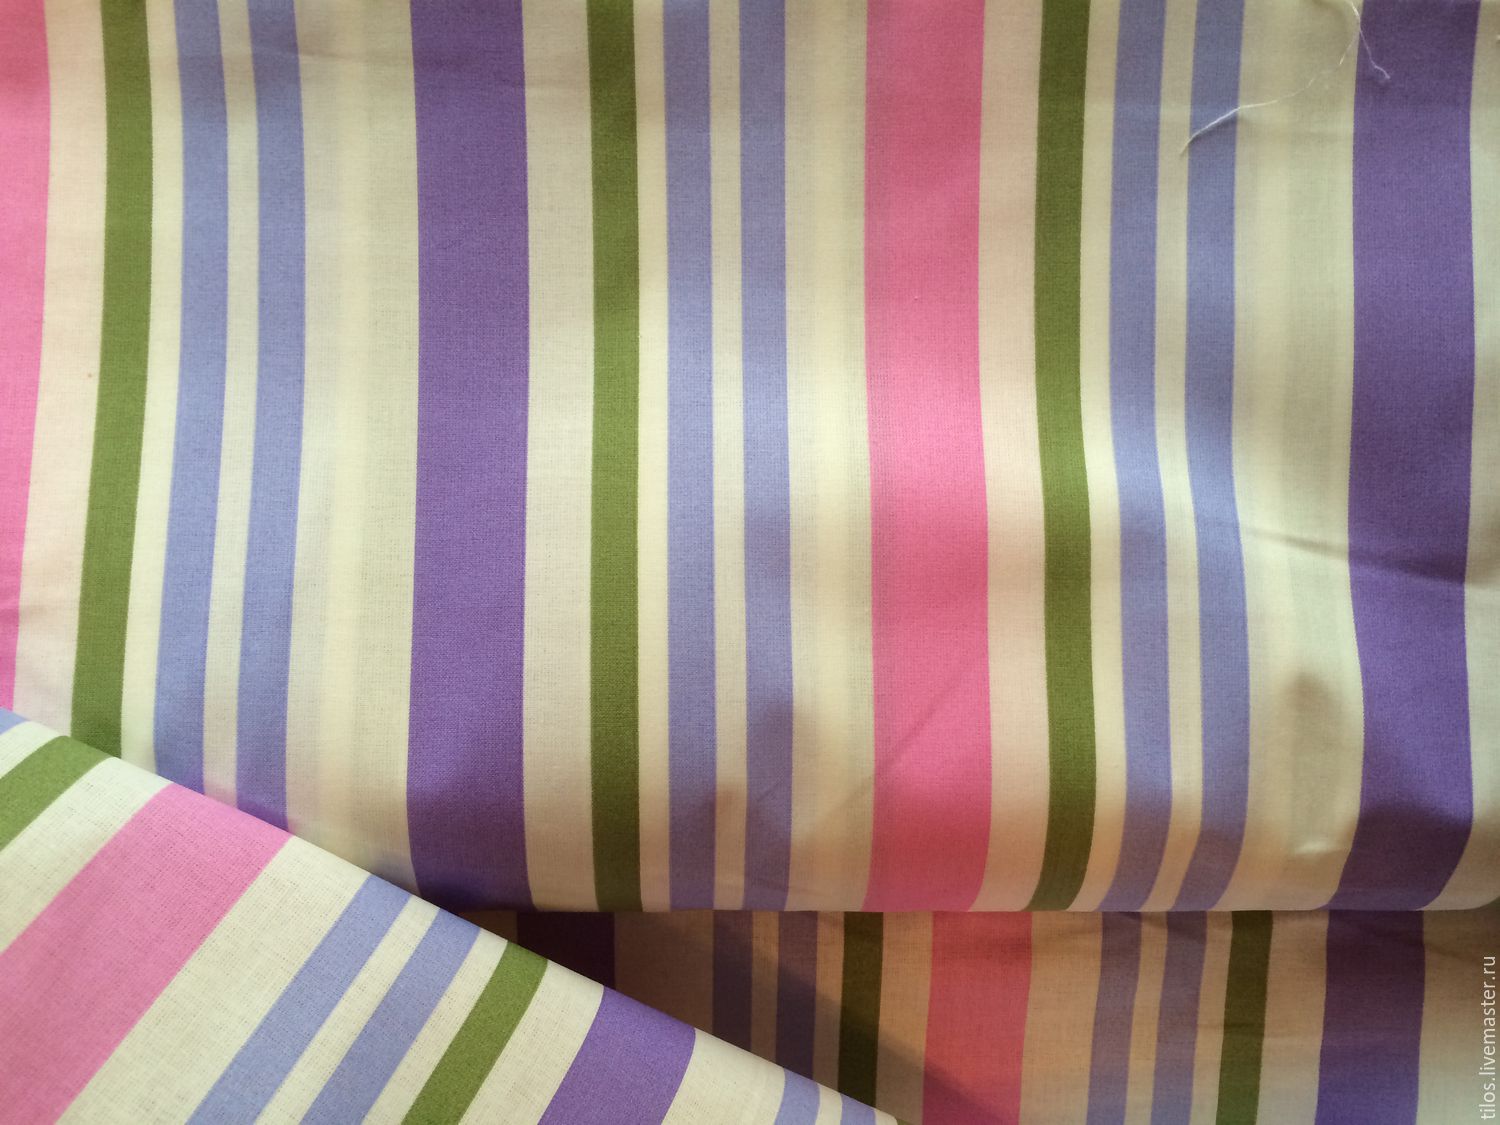
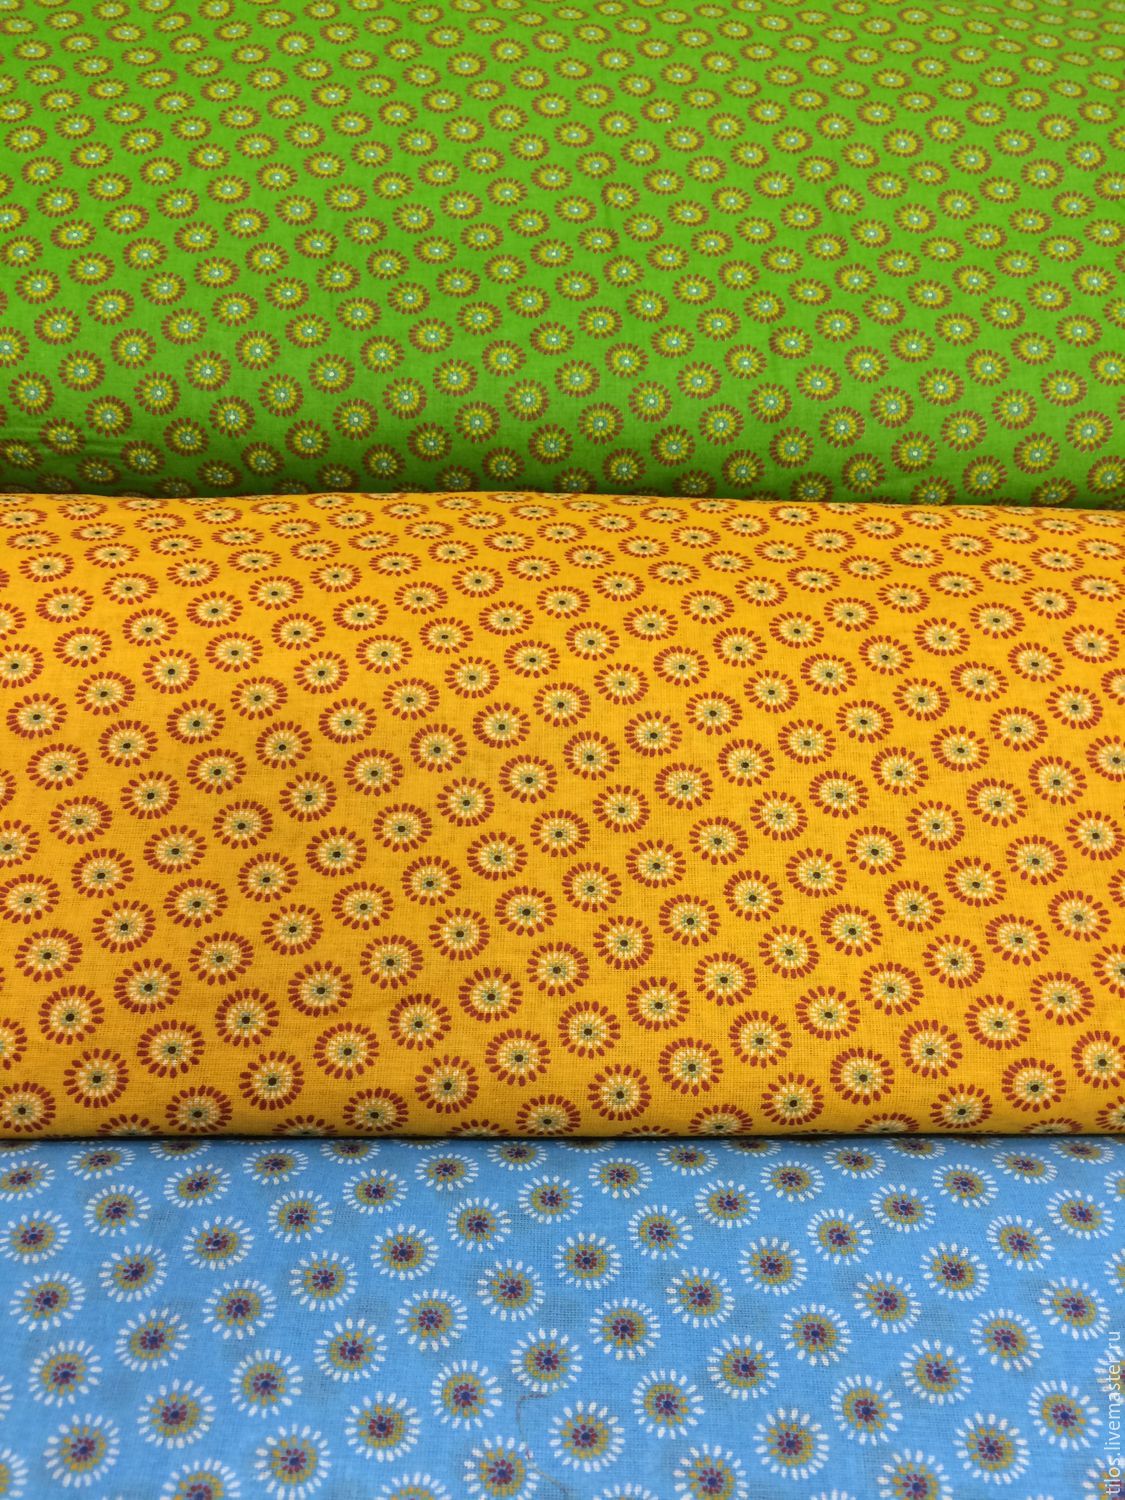
There are many types of fabrics, but not all are suitable for bedding. When we come to the store, the eyes diverge: price, color, quality, density, softness,resistance to staining and even a car of properties that are difficult to understand by choosing something else. To facilitate shopping, select the main types of fabrics most commonly used in the work:
- silk;
- linen;
- cotton.


Silk things look expensive and cost the same, they require careful care, but they are incredibly attractive and refined. Sheets are always pleasantly cool, and the body is buried in softness and slightly slipped from any touch. Japanese silk is considered the most elite, but artificial material is often found on the shelves of supermarkets. External similarities are expressed in brilliance, the cost is much lower, and in the care much easier. But otherwise he is far from the original.
Flax is quite dense, has bacteriological properties, retains heat in cold weather and does not allow the temperature to rise in summer. It is proved that bright colors are kept for a long time, and over time the rigid structure softens. After washing, it is important not to let flaxen things dry for a long time, it is advisable to remove them slightly damp, carefully fold or iron to avoid excessive bruising.
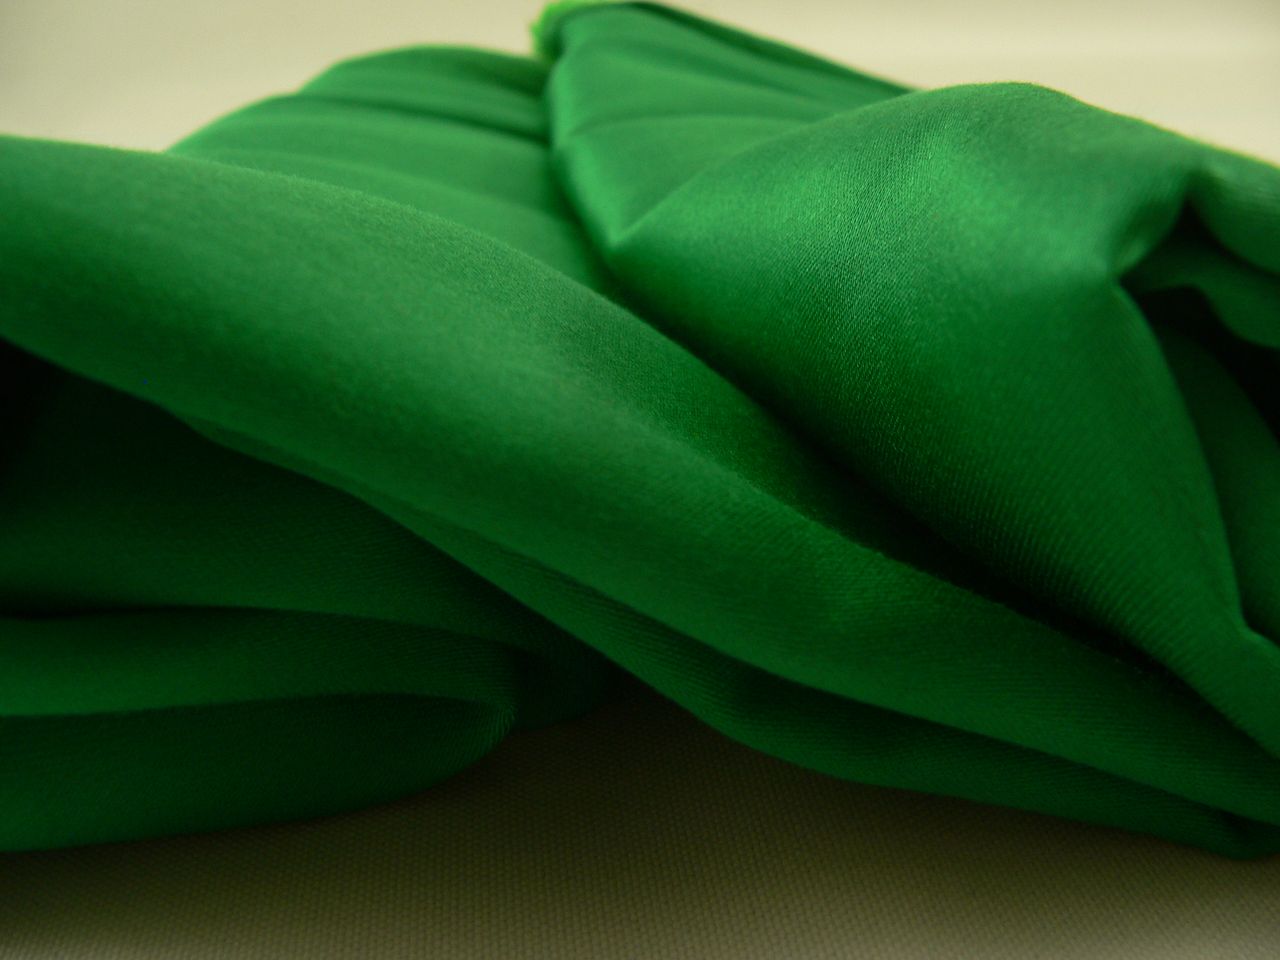
Our choice will fall on cotton linen.Of these, bed linen is most often made, due to its cheapness and durability, they are so common. As a recommendation, you can offer several varieties of cotton.
- Satin - the most durable, able to survive up to 400 washes. May resemble silk due to its glossy and implicitly shiny surface.
- Percale suitable for pillowcases. High density will not allow feathers or down to crawl out.
- The coarse calico from fairly dense cheap threads, because of this sensation of touch, leaves much to be desired.
- Chintz - soft compared to the others. The downside is that it keeps bad shape.

Calculate the number of textiles
For clarity, we consider the sizes that are usually used to create a half quilt cover, for a newborn and an envelope.
For the first one, the length is 4 m 40 cm with a span of 150 cm.
To sew an envelope for babies, you can take 100x100 or 90x90 cm of textiles.
The standardized space in the crib is 120x60 cm. In the shops, kits are sold with completely different sizes, this leads to the conclusion that it is much more convenient to make a set by yourself in order to get rid of waste of money and subsequent disappointment.
The above data is approximate.If you want more accurate values, take the cover for which you are sewing, and measure it up and down. You can use a ruler or a centimeter tape.
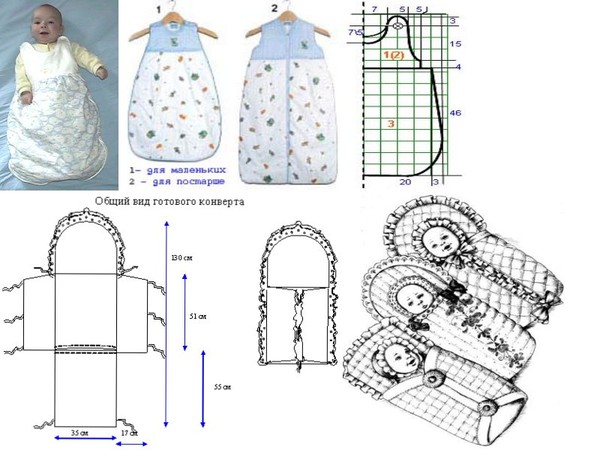

It is important to separate the area where the seams will appear, for this, leave about 4-5 cm on the sides. If you decide to add a fastening element, the distance will increase to 7 cm.
Step by step instructions for cutting and sewing
If you decide to set yourself a goal with your own hands to correctly sew a duvet cover, you should not attend lessons, master classes, you can do everything at home, observing the neatness of the seams, taking into account the correct calculated data.
With a cut in the middle
Perhaps everyone since childhood is familiar with a diamond in the middle of a blanket. To make such a wonderful memory will not be difficult if you follow the instructions step by step.
First, determine the position of the notch: we outline the space in the core of the canvas and outline the rhombus. Inside we leave the seam allowances of about 4.5 cm, along this line we cut the central figure. Try to cut through the corners without touching the bottom line. Maintain a distance of 0.2 cm, and the angle of cut - 45 degrees.
We will need a new fabric. From it we cut two squares, which should be twice the width of the allowance, and 1 cm for the future location of the seam is also taken into account.We get four triangles with equal hips, cutting the squares in half. We fold each square from the front side to the corners on the neckline. Carefully apply an oblique cut and the upper area. We fix everything with different stitches: in an angular section 0.3 cm, the rest - 0.5 cm.
Flatten out the corners, we mark the left allowance from the inside. Stitch 0.1 cm along two edges.
The work is over, the matter remains small: wash, iron and you can enjoy the end result.

With a hole at the bottom or side
This type is considered one of the easiest to manufacture. Most often a large piece of material is taken, the excess is cut off only from one edge. If you cut off the unnecessary from the center, then the work will be added for several hours. The cut along the edge further simplifies processing.
We decompose textiles on a flat surface, referring to the scale of the cover, mark the rectangle, next draw the second one. At each edge, leave an allowance of 4 cm. After checking with a ruler, you must cut out the parts and process. It is required to press a double hem on half a centimeter from all sides, and then flash it on a typewriter.If the structure is quite dense, you can take a centimeter and more.
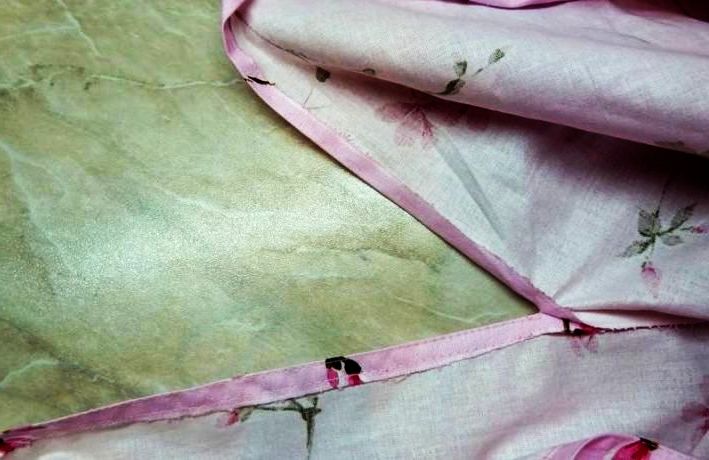
Compare the cooked halves. They must be identical. Before attaching the folded parts to the front side, it is necessary to mark on the side a passage through which the blanket should be inserted.
Do not forget to fix the line. This is done at the beginning and end so that the threads hold tight and not break. You can safely turn out the inside out, everything is ready!
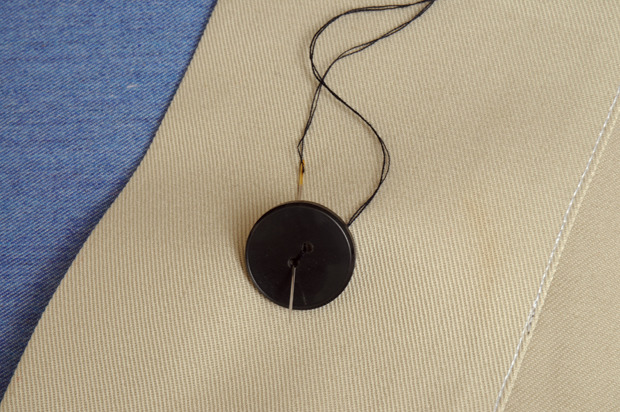
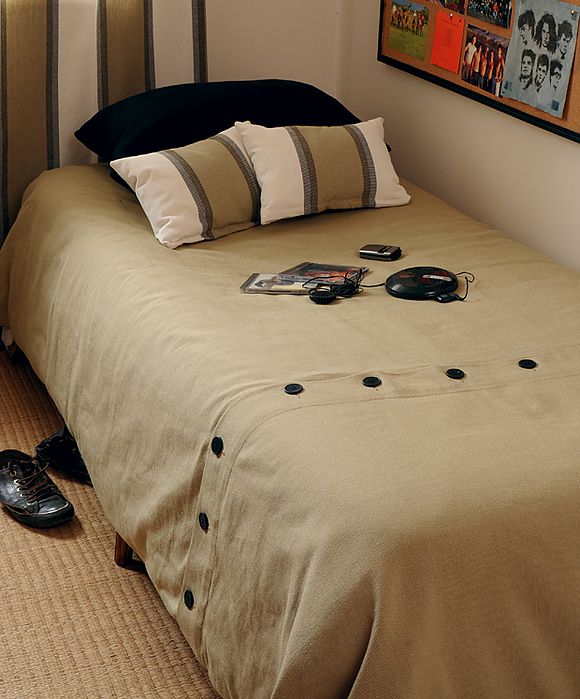
On the buttons
This mount is very convenient, because when using the blanket will not constantly fall out.
To get started, prepare a duvet cover with a hole at the bottom. Follow the instructions above, only the bottom side, where there will be loops, do not need to be processed.
At the bottom we mark a line running along the bottom edge at a distance of 6 cm. From it we draw perpendicular segments indicating the borders of future buttons, equal to 1/3 of the cover length. We fold the product to the floor width, set the middle, and from it along we begin to mark every 30 cm.
We sew up marked perpendicular lines, these vertical segments are swept away with multicolored threads. From them we leave the place one centimeter each.Below is a line made by a typewriter. We depart from it 2 cm and outline a parallel. It is important to remove unnecessary matter, where there is a machine line, not forgetting to postpone the place reserved for seams, as a rule, 2 cm.
Now you make a notch in the corners, use a sharp blade or scissors. The indentations on the linen are cut to 0.7 cm. Extra threads are removed, which were previously intended to fasten, and the free edge retracted to the buttons is bent 2 cm, then again on the same amount.
Similar actions are done with the second half. From both sides there are unprobeed sites. For them, we use a seam in the bend. After combining the clasp and empty seats, which were previously allowed, double stitching. We do not forget to process the remaining sections in a zigzag.
Final straight! We have two prepared sides, on one of which we outline loops, and on the other we place buttons.

Tip: during washing the product is desirable to turn inside out.
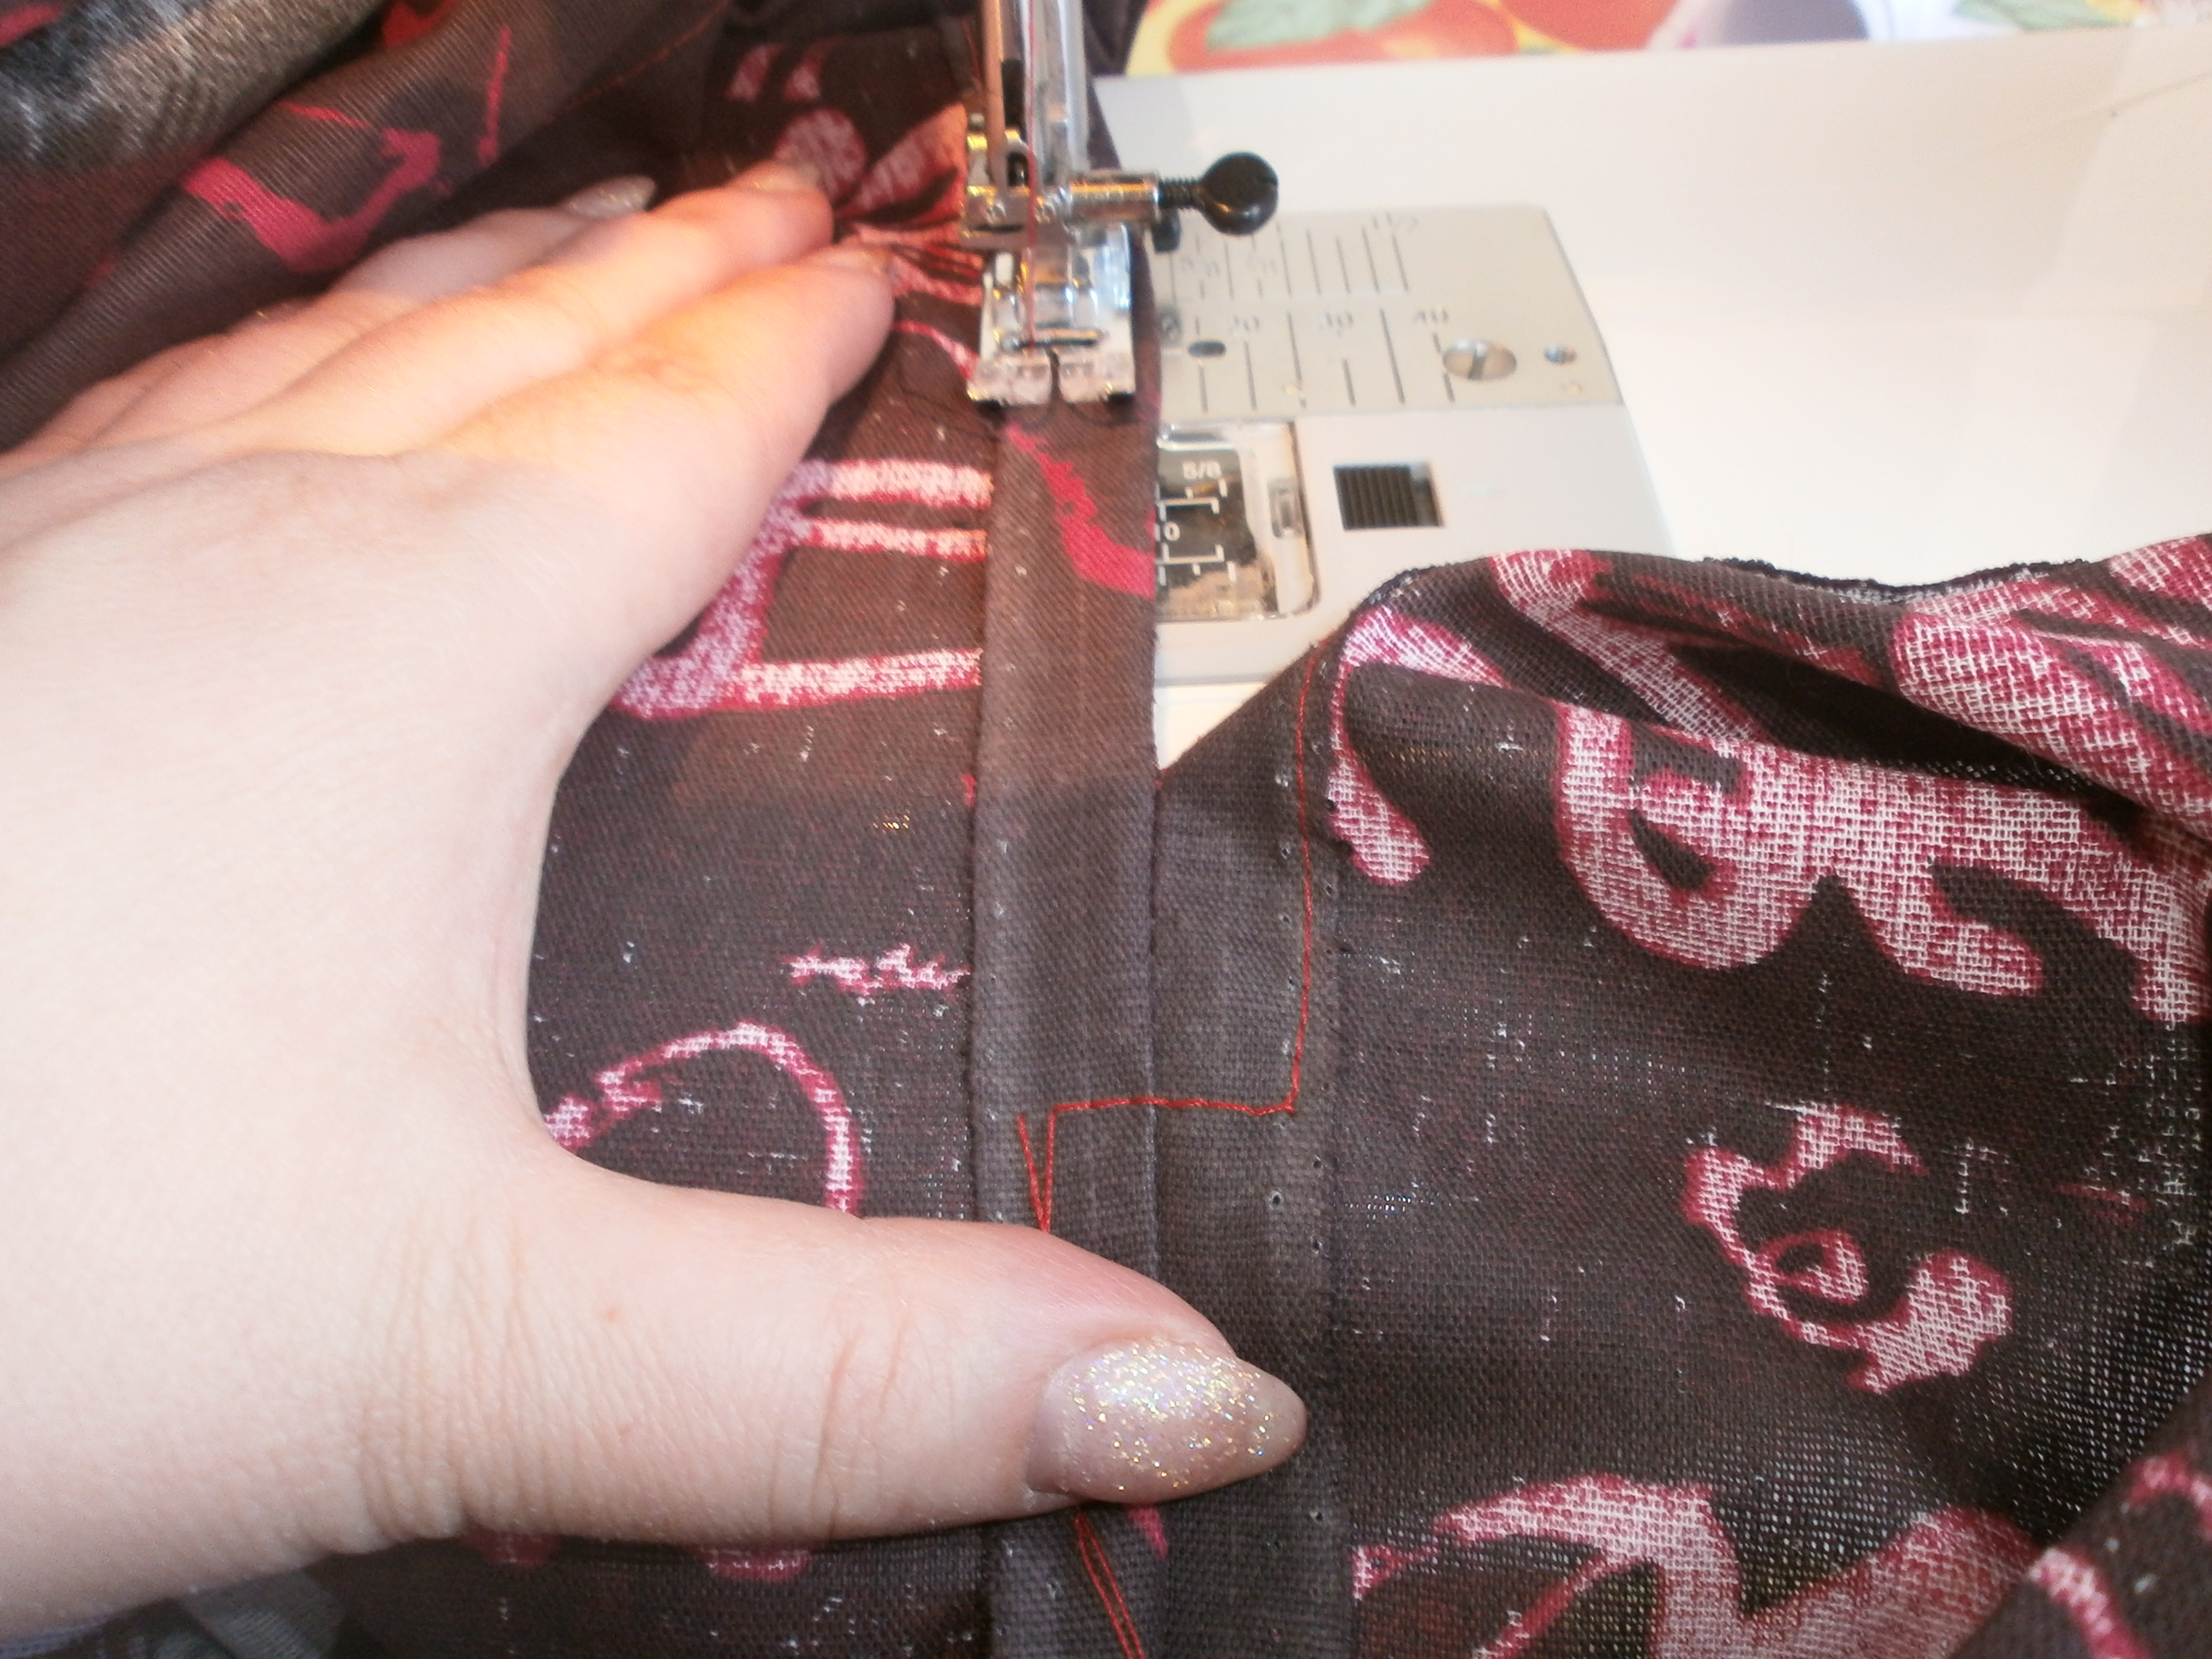
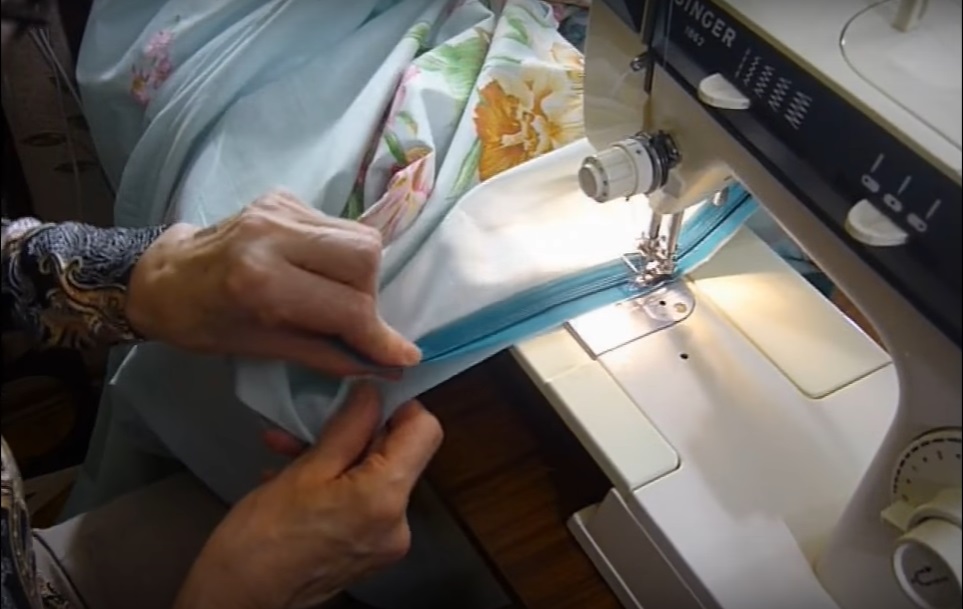
How to sew a zipper?
Many people prefer a buttoned snake. No need to thread each button into the hole, just pull the dog! In addition, buttons can cause discomfort during sleep, and if they are poorly fixed, a threat to small children is created.
When buying a zipper, it is better to give preference to a soft, plastic, lightweight substance, for example, plastic. Iron runner will serve much longer than from cheaper material.
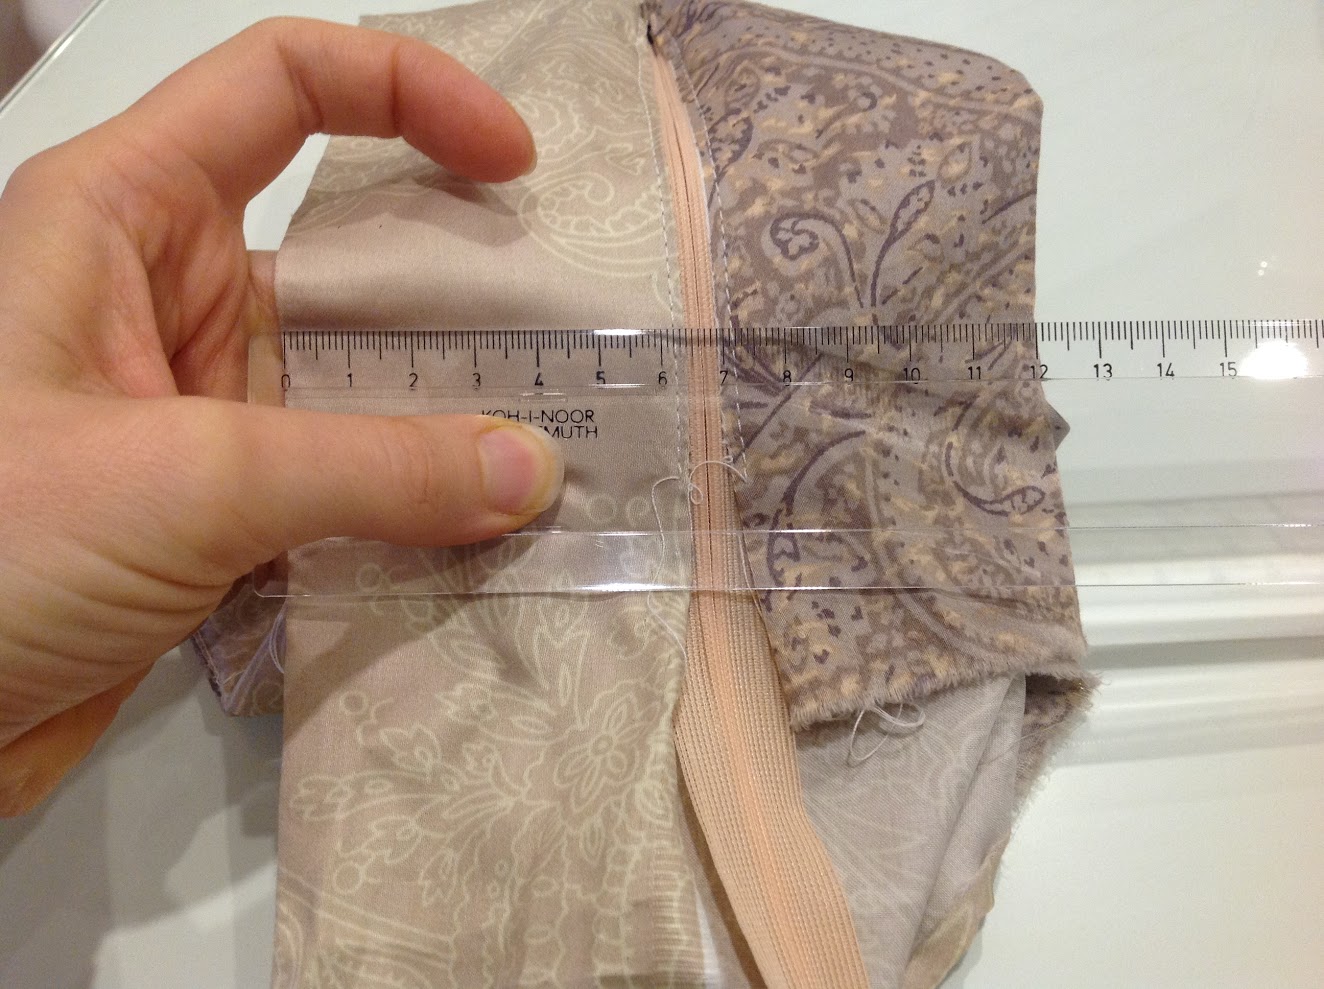
The product must be prepared: it is imperative to process the ends, fold the layers of fabric to each other with the front side. Using a pencil or a piece of soap, apply a markup indicating the future arrangement of the mechanism.
Do not forget to take into account the distance for the allowance - 4 cm. This figure is suitable for a standard lightning, but if it is larger or smaller, it is necessary to take this fact into account, receding to another value.
Sweep the canvas, following the specified line. And let 4 cm released, having previously folded in half in length. It turns out that the width of the fold is 2 cm. Please note that the overlapped upper part will coincide with the sour cream seam.
Take the pins and attach with them the fastening mechanism to the two-centimetric bend, but do not touch what the bend lies on! Then, take a zipper and do the same with the other half.
Stitch gently from the front, observing 2.5 cm from the bend. Attach the stitch with vertical stitches at the beginning and end.
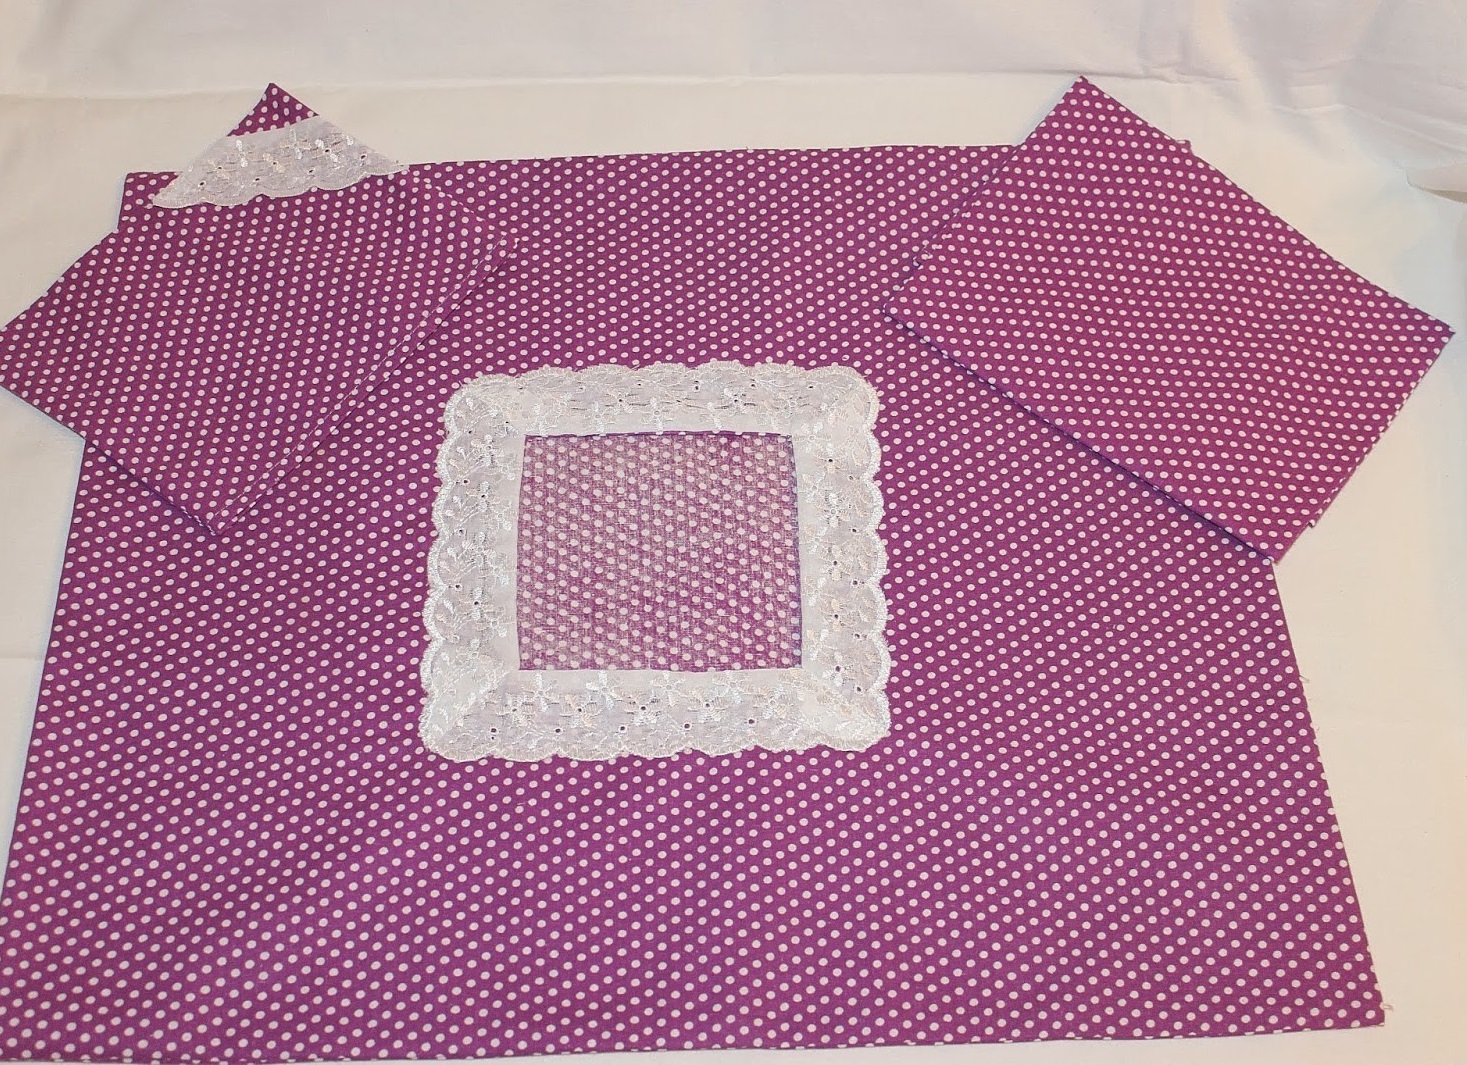
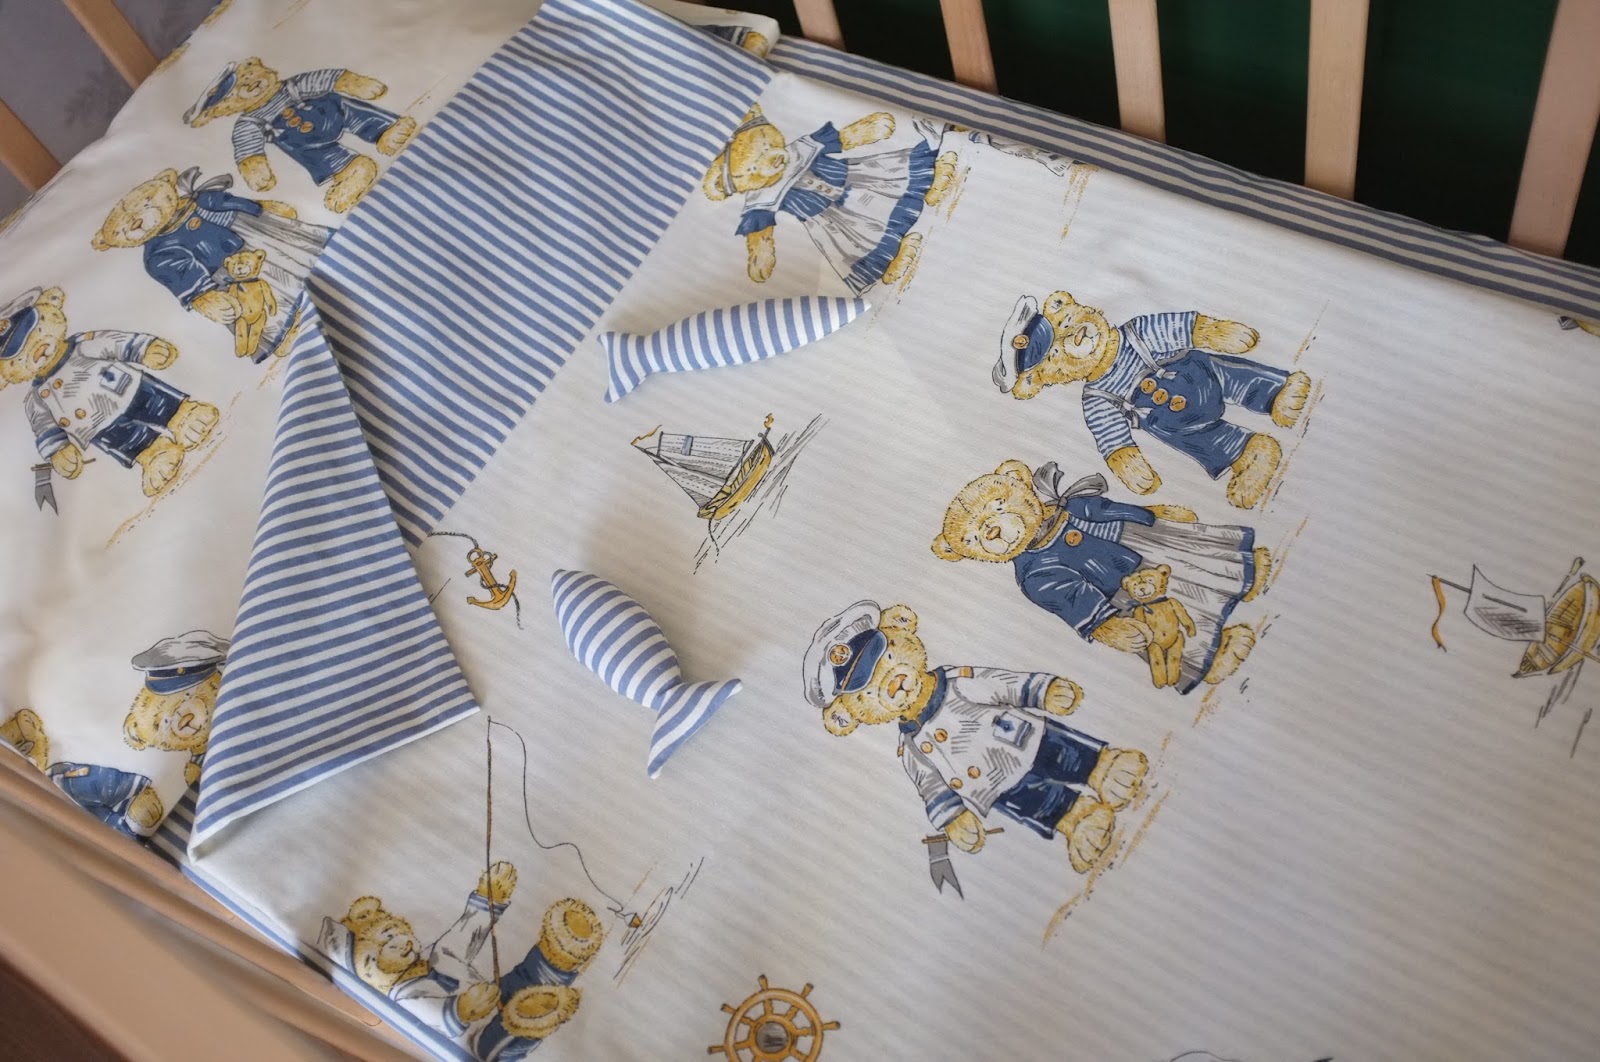
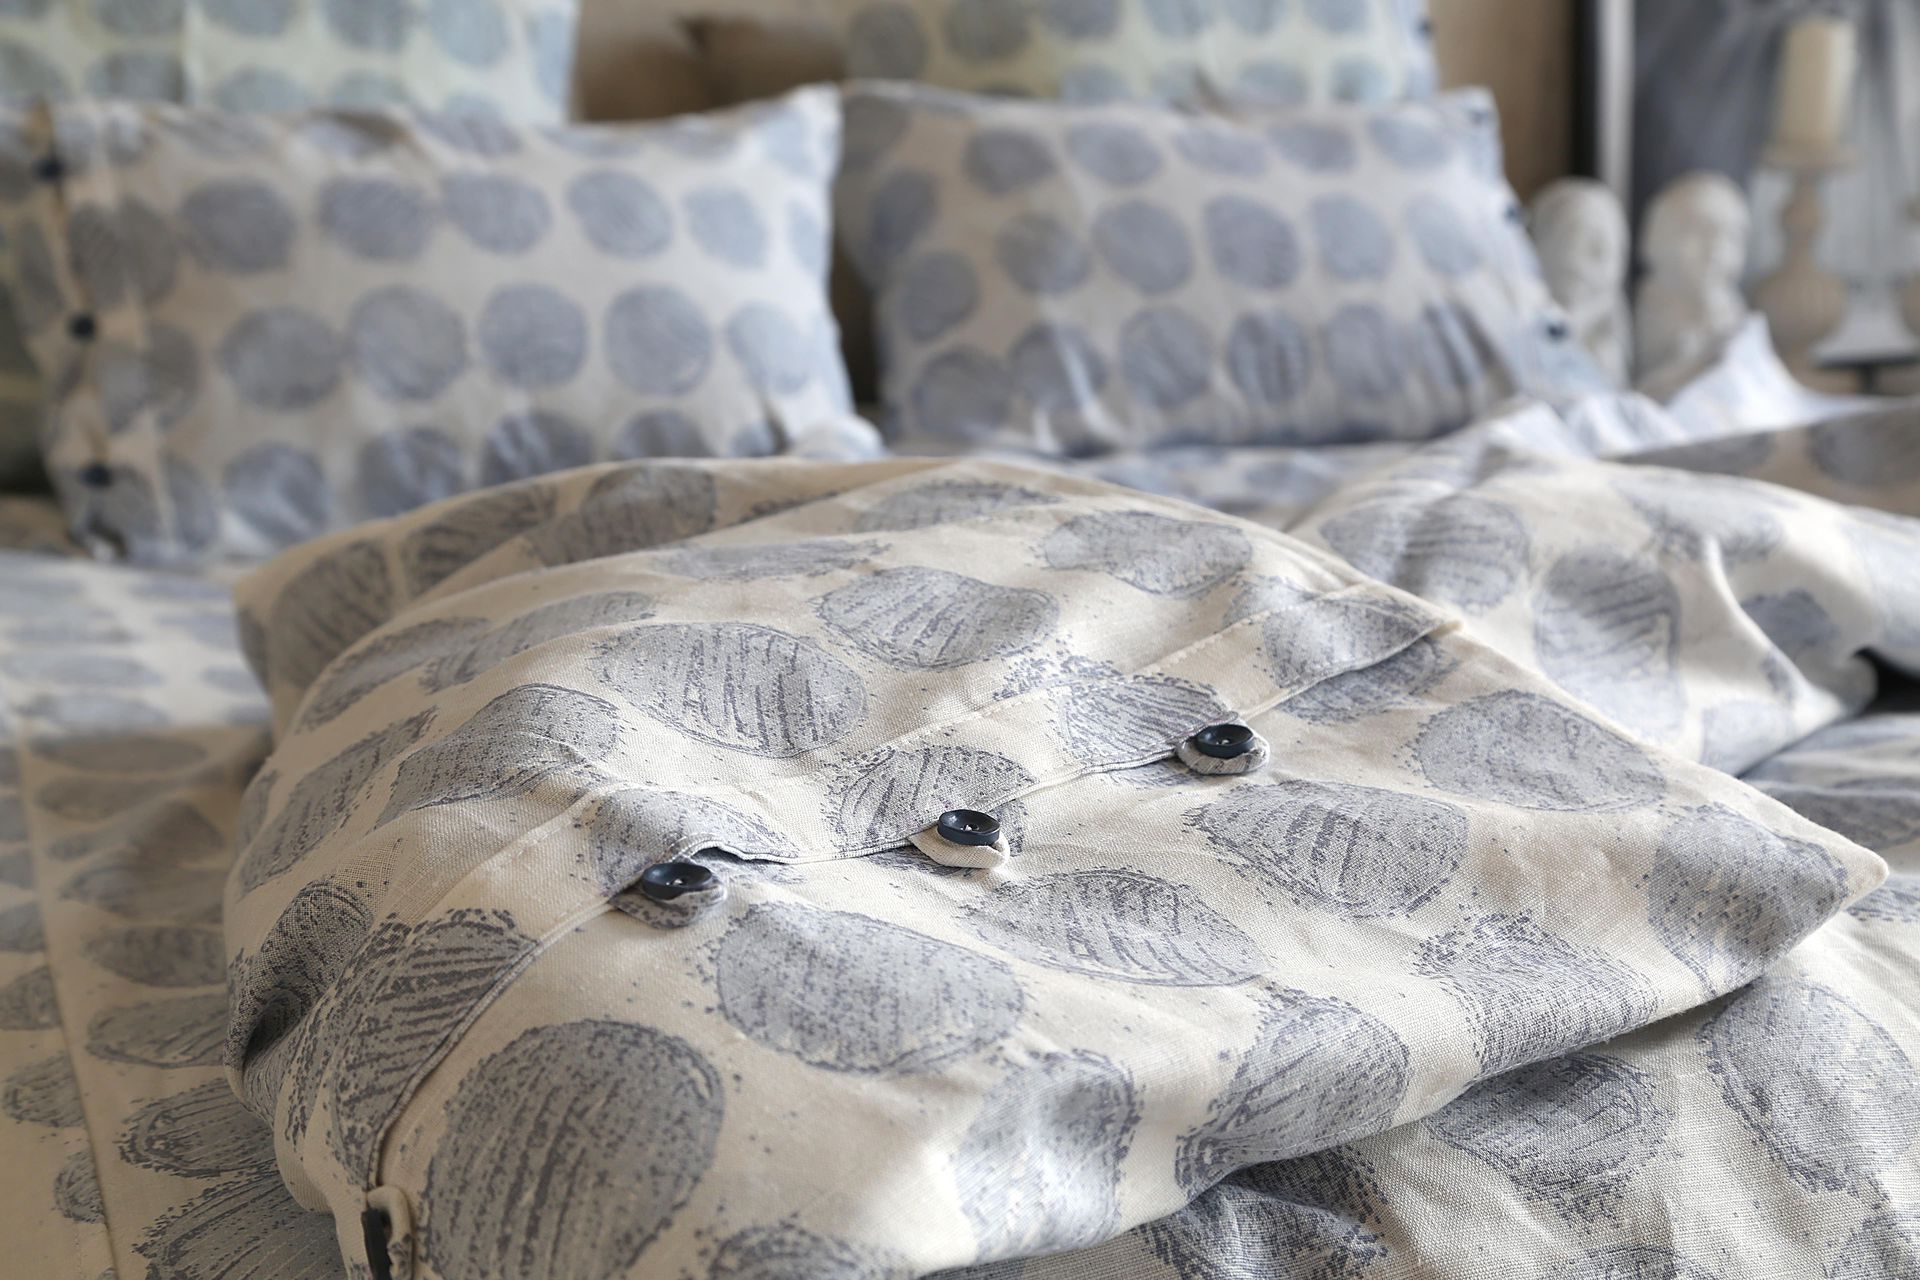
Beautiful examples
Sewing is very hard work. There may be many problems in the process. The main thing is to not lose heart and continue working! Improvise, try to combine different colors. Any result will make you happy. Good luck in your endeavors.
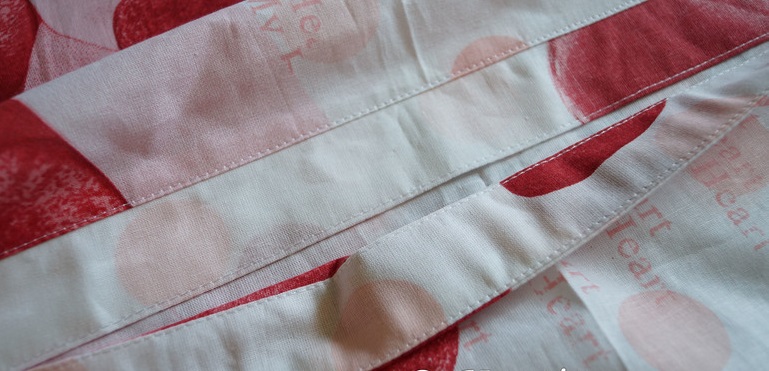
The following are vivid interesting works:
- diamond cut;
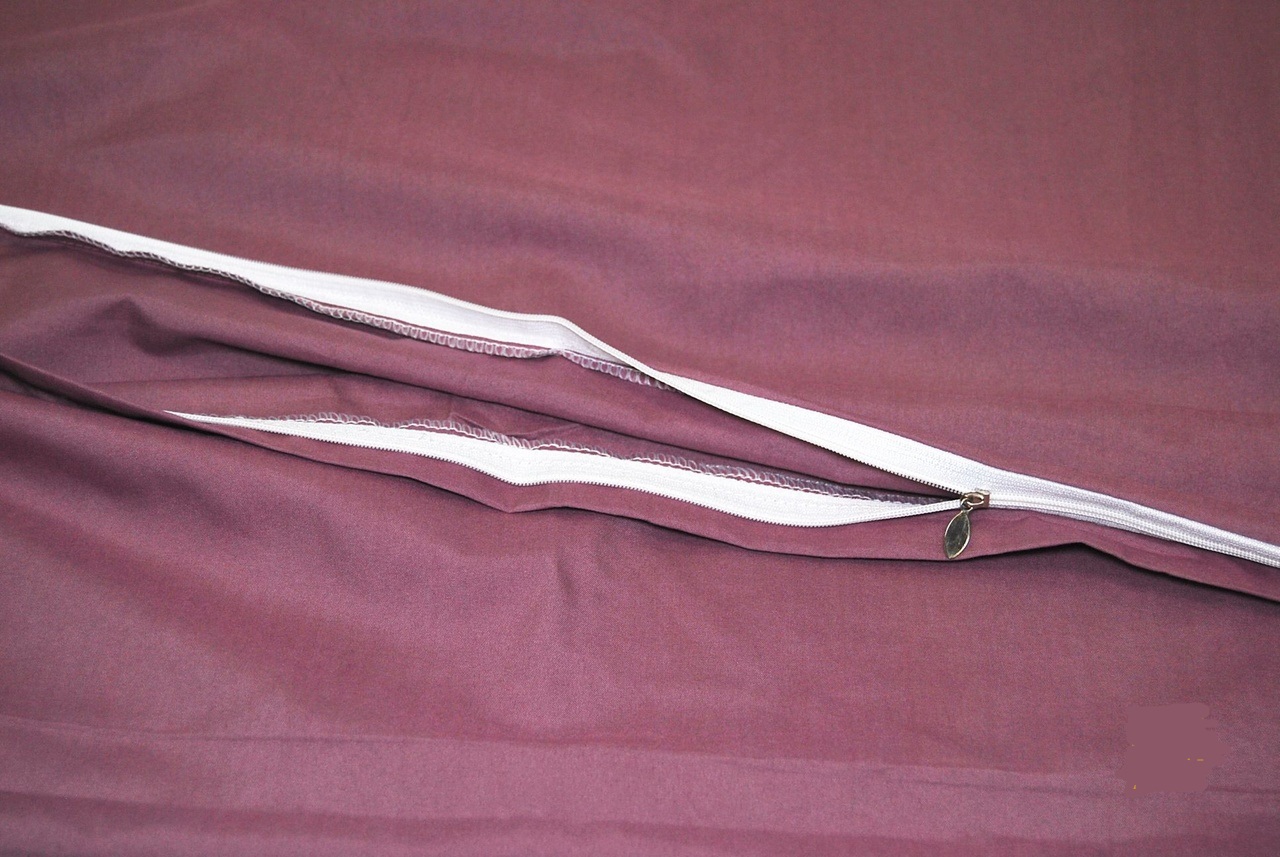
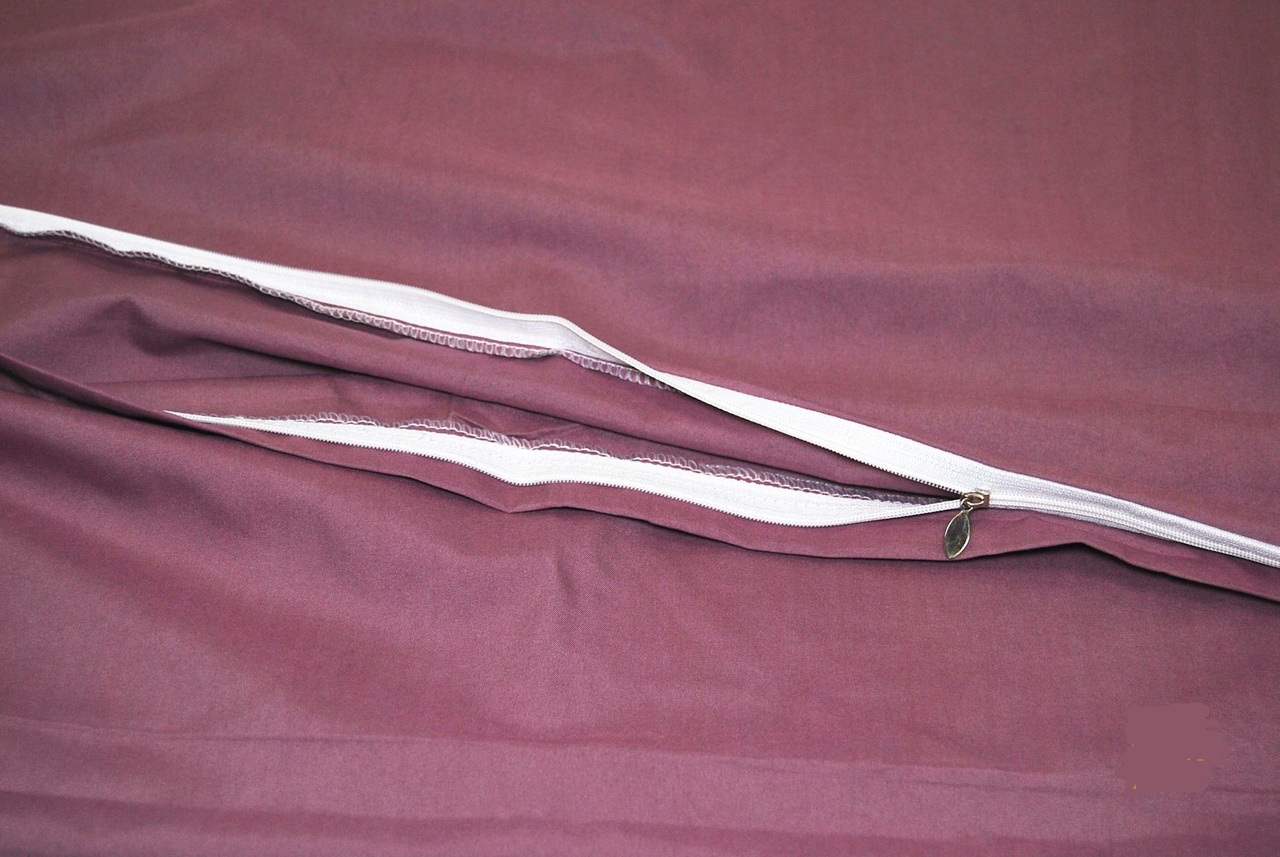
- with zipper insertion;
- with side opening;
- on the buttons.
How to sew a duvet cover, see the next video.


