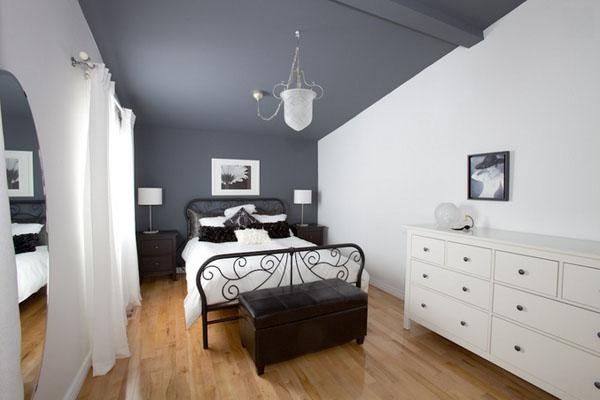
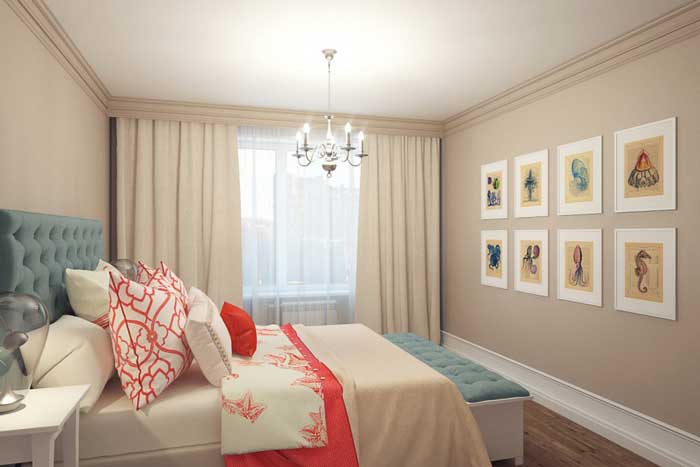
Repair in the bedroom

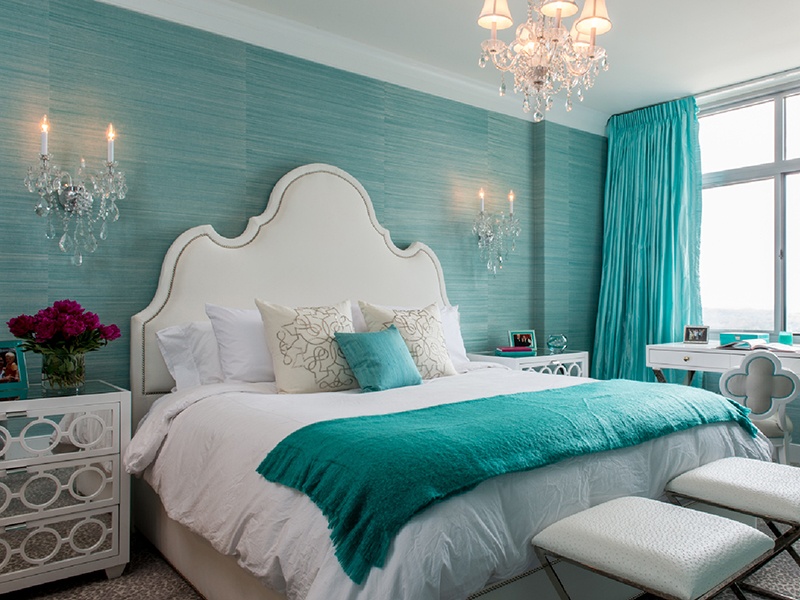
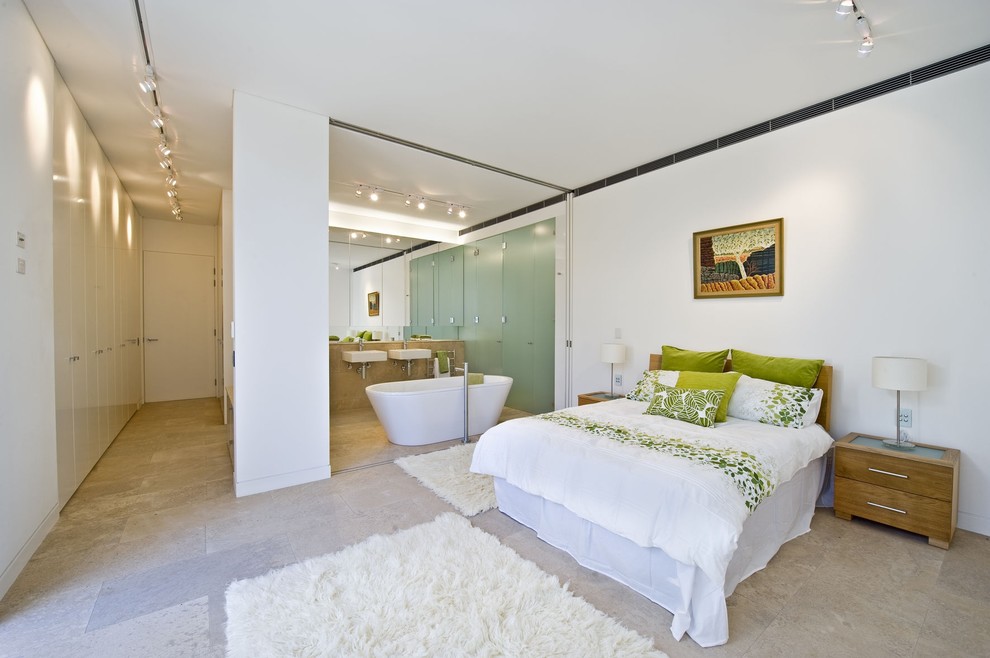
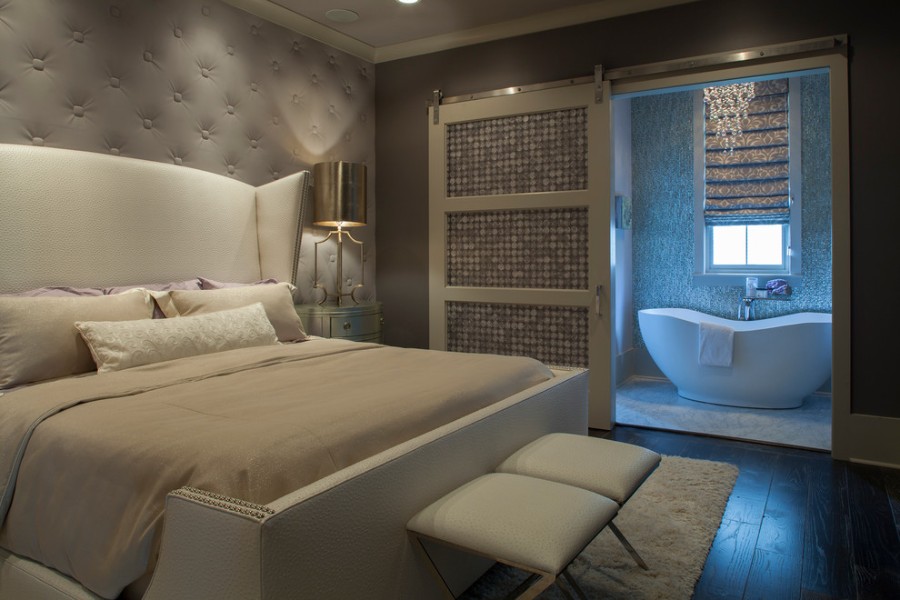
In each person's life, sooner or later there comes a period that scares and makes you nervous a lot - repair. When carrying out repairs in the entire apartment, special attention should be paid to a room designed for rest, in which comfort is a must. It is about the bedroom. It is very important to arrange it in such a way that it was pleasant to be in the room, and the atmosphere was conducive to relaxation and wonderful pastime. After reading this article, you will learn how to make a beautiful repair in the bedroom, spending a minimum of effort, nerves and financial resources.


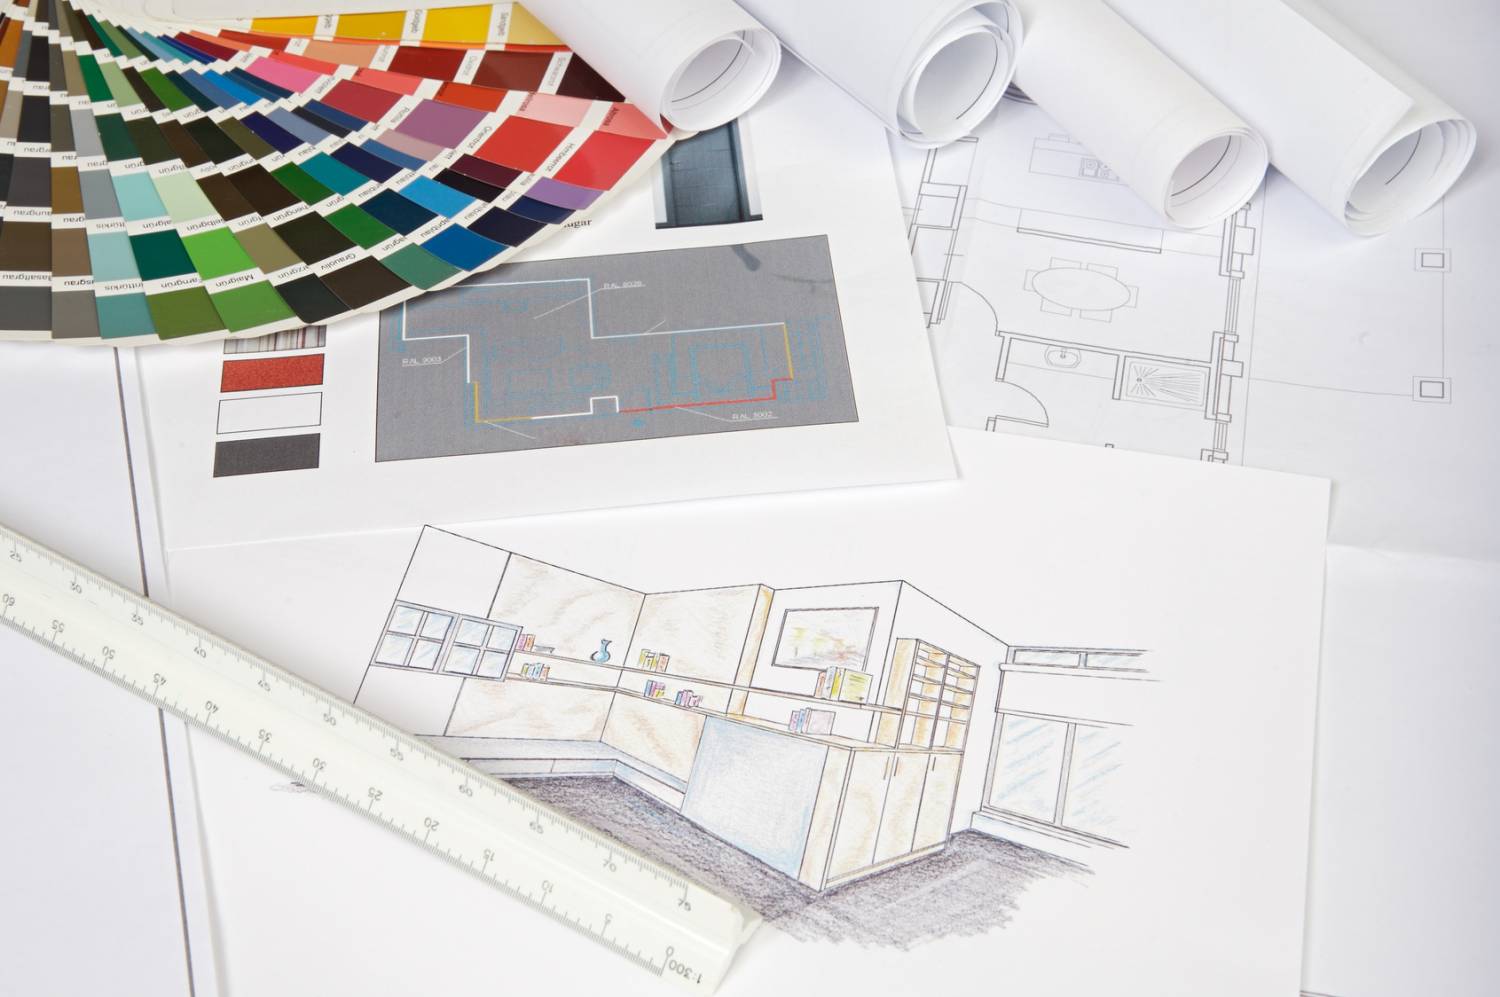
Design project study
Before starting the repair of any premises, it is necessary to create a competent design project covering absolutely all aspects of the upcoming actions. Not everyone knows what a design project is, what stages it includes, whether they are necessary.
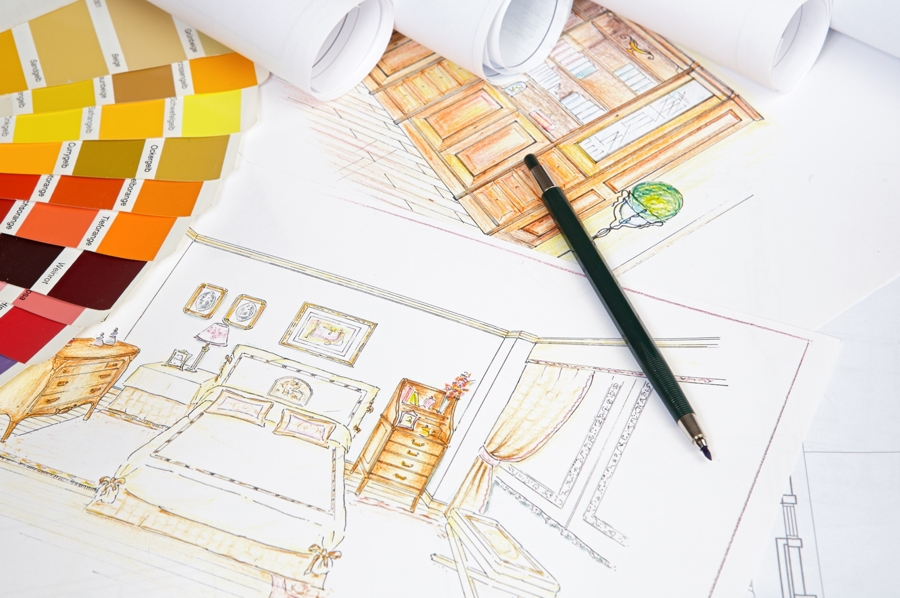
A design project is a collection of necessary documentation, design developments and a list of building materials.
To properly plan everything, you must adhere to the following order:
- Stage 1 - discussion and definition of the budget. At this stage, all available financial resources that can be invested in the bedroom repair are calculated. This stage helps to avoid unreasonable expenses.
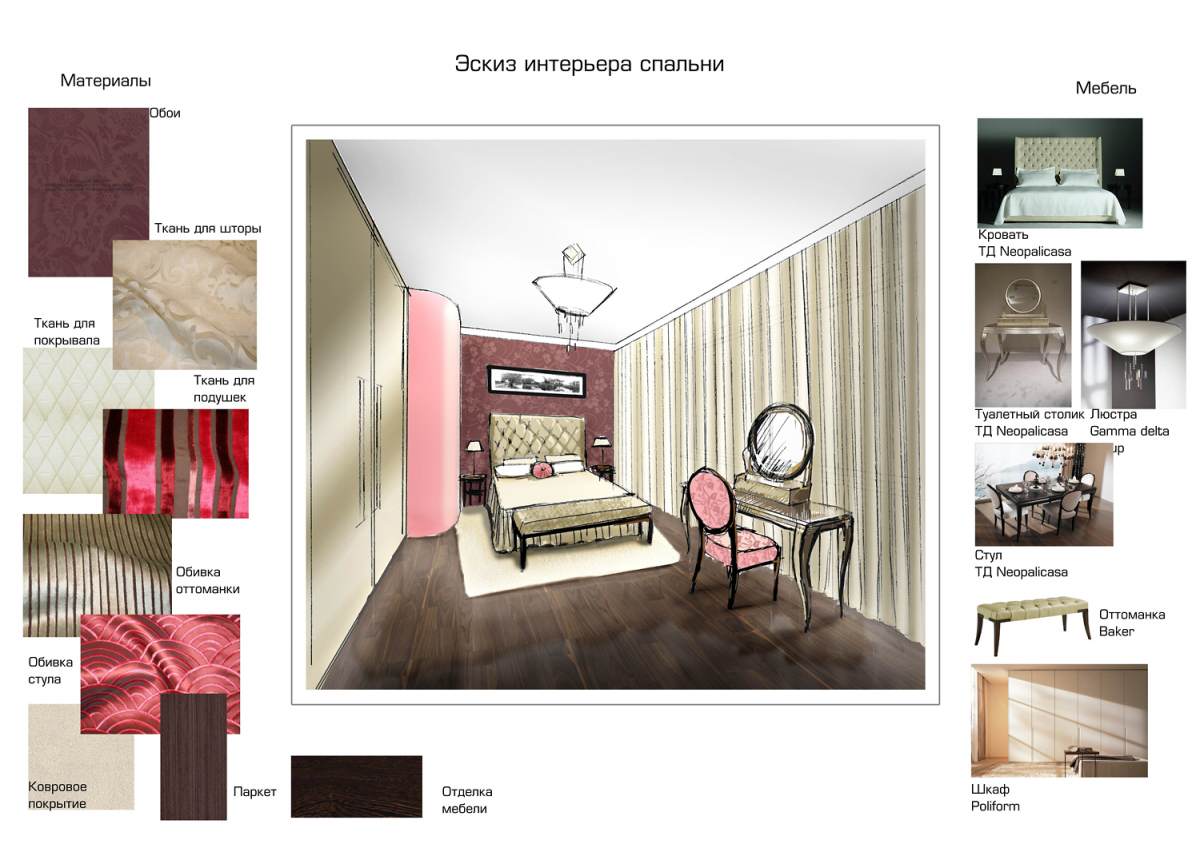
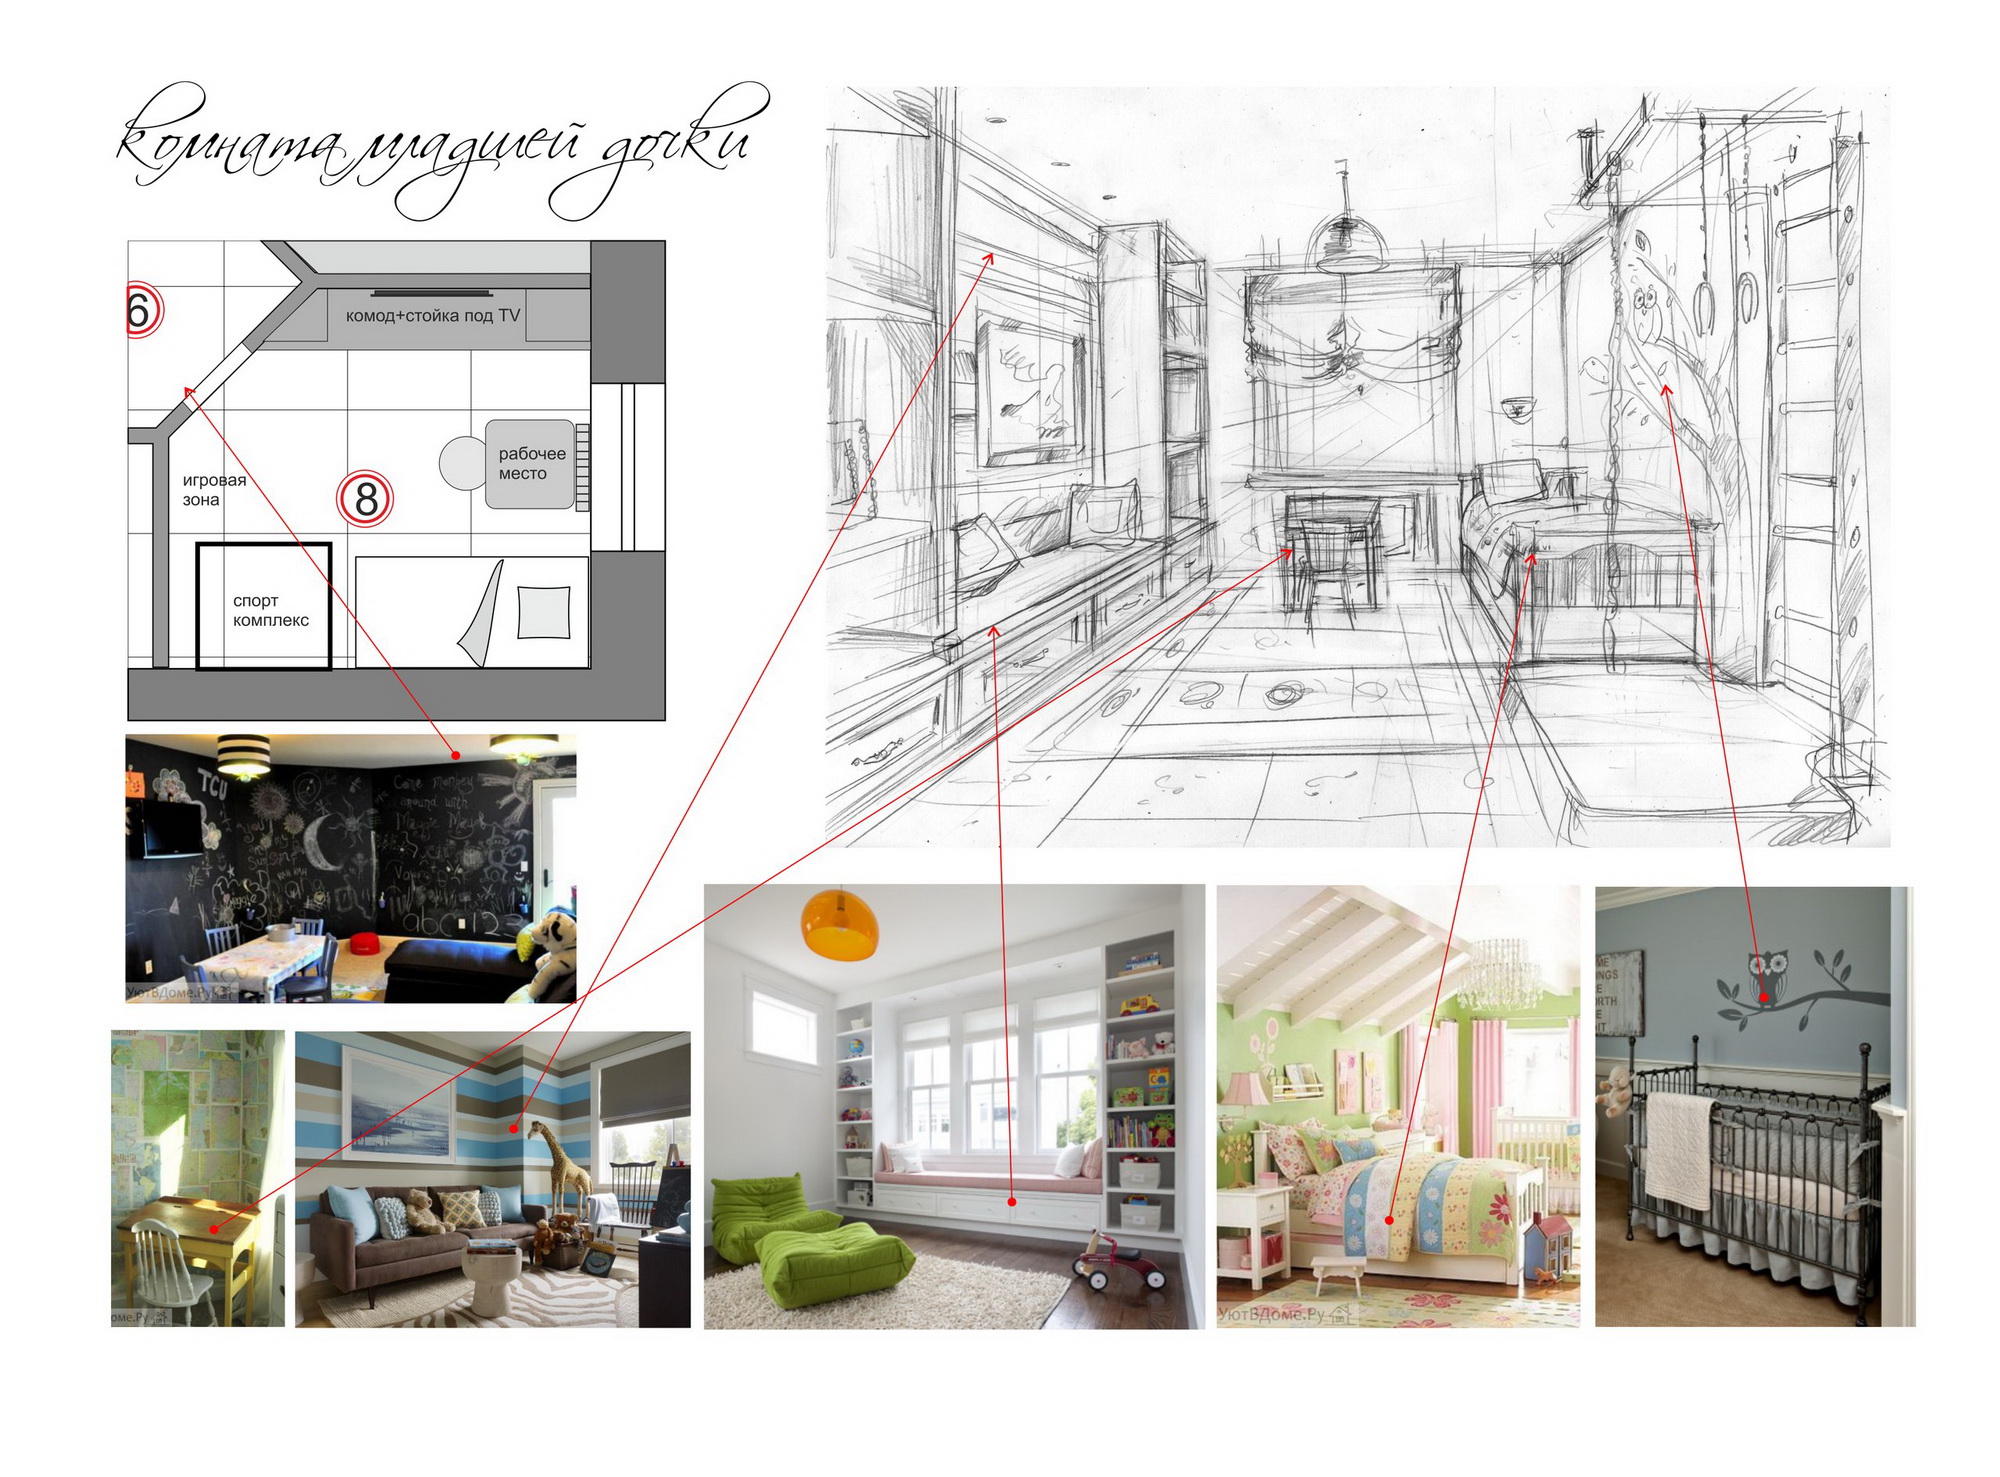
- Stage 2 - working with the designer. This stage involves the development of the interior, drawing up plans and drawings, thinking through the smallest details regarding the situation. If finances do not allow, it is not at all necessary to resort to the help of a specialist, you can make a plan yourself.
- Stage 3 - a discussion of building materials. After discussing the concept of interior design, it is necessary to determine what construction and finishing materials will be used for repairs.
- Stage 4 - counting upcoming expenses. The next step is to calculate the required amount of materials, as well as the upcoming costs, based on real numbers. After counting, the budget can either increase or decrease.
The design project should consist of these basic stages.
Any minor additions, equipping the room with accessories and decorative elements that are not part of the decoration, are not prescribed in the design project.
DIY repair steps
There is an opinion that the repair is easy to start, but it is impossible to finish - it can only be suspended for a while. However, this opinion is a delusion, because with a competent project development (as well as coverage of absolutely all the details), repairs can be considered fully completed.

Many do not risk running this process, because they underestimate their own strength and use the help of third parties, whose wages may be somewhat overestimated.
It is only necessary to study in more detail all the stages and difficulties of this process, as it becomes clear that it is not that difficult to make repairs with your own hands.

You can slightly upgrade the room, making a light redecoration, affecting only the exterior of the walls, the ceiling and the floor. Light cosmetic repairs will be relevant in a room where there are no serious damages and parts requiring immediate replacement.
With a facelift, there is not even a need to replace the furniture, so the room remains almost the same as before the replacement of the finish, just takes on a slightly updated and more fresh look. Major changes are needed for major repairs - with a complete replacement of furniture.
To make a major renovation, you need to cover many details. It is necessary to understand what is included in the process of this type of repair, what important details need to be taken into account.
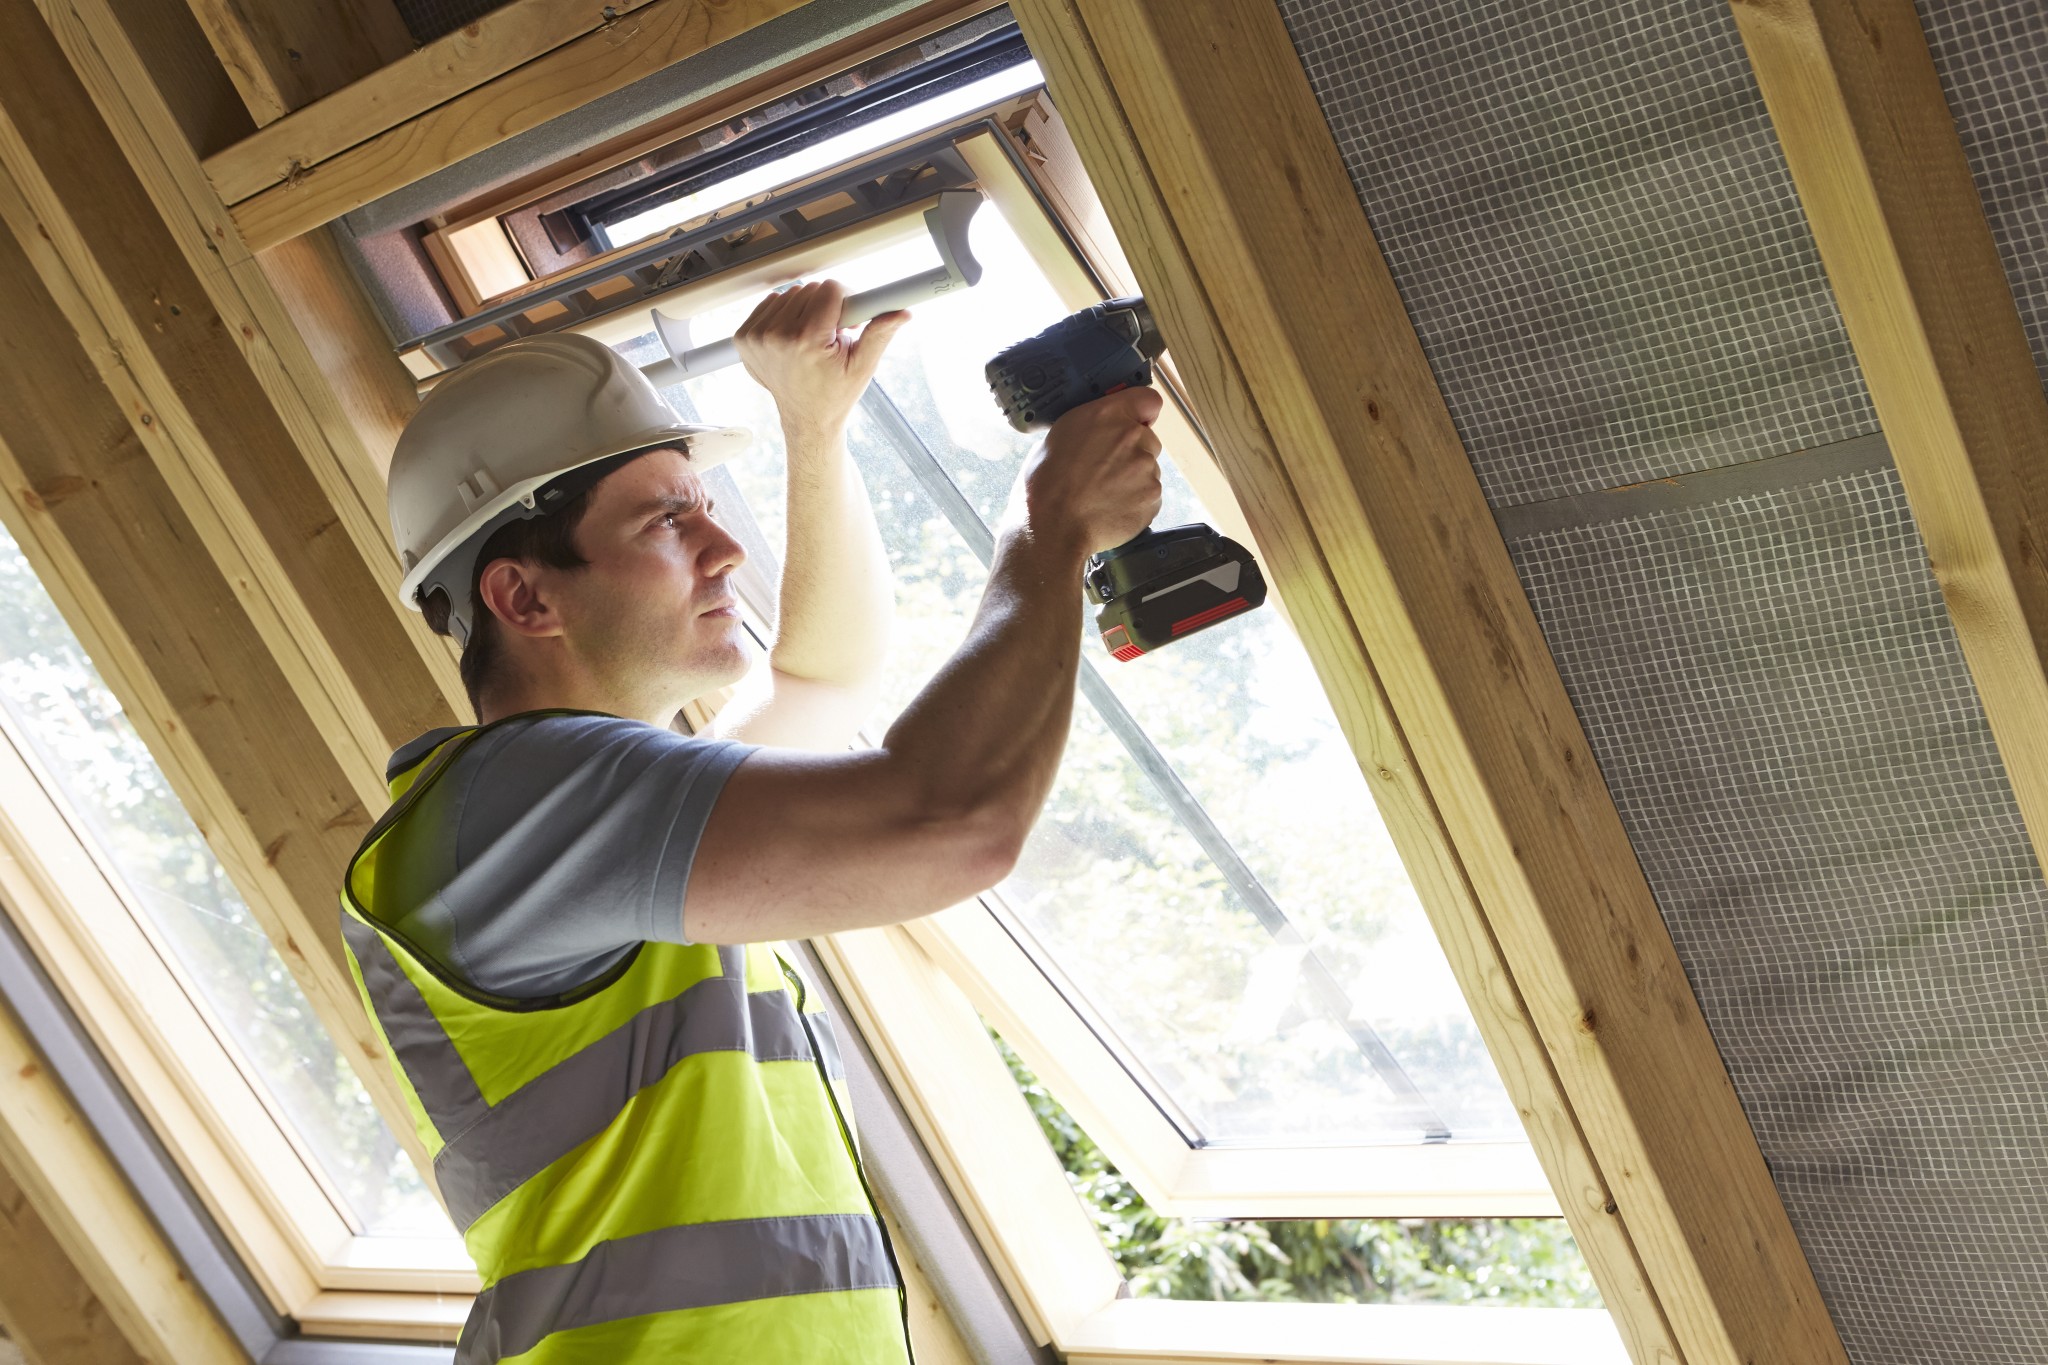
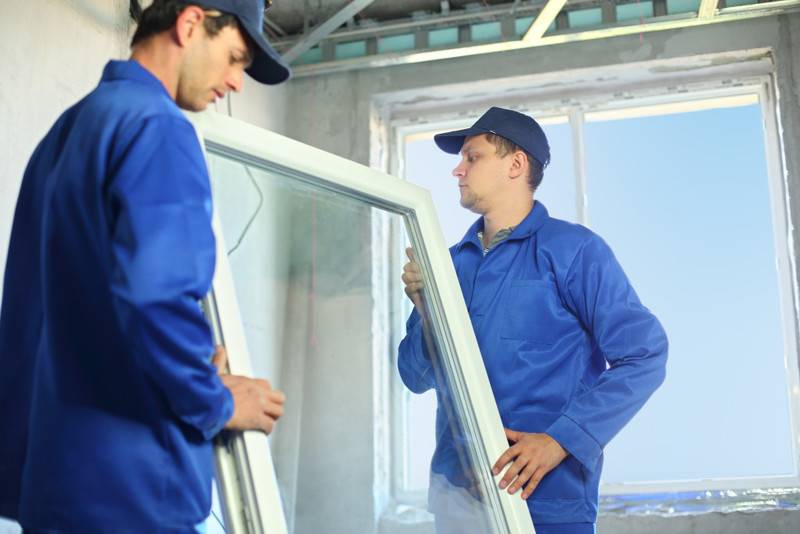
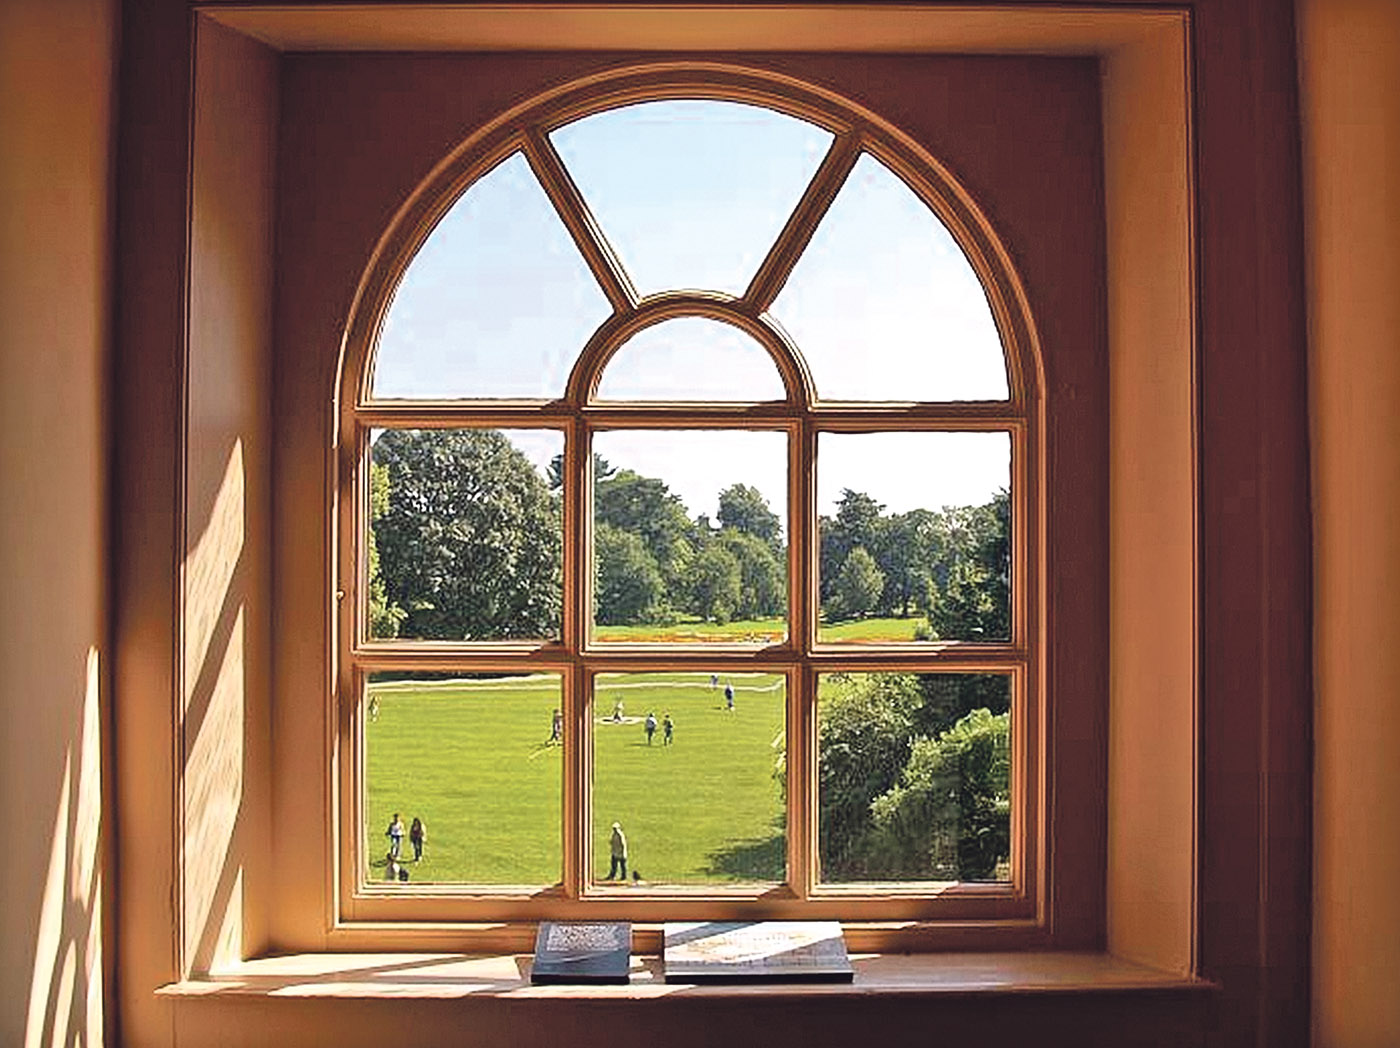
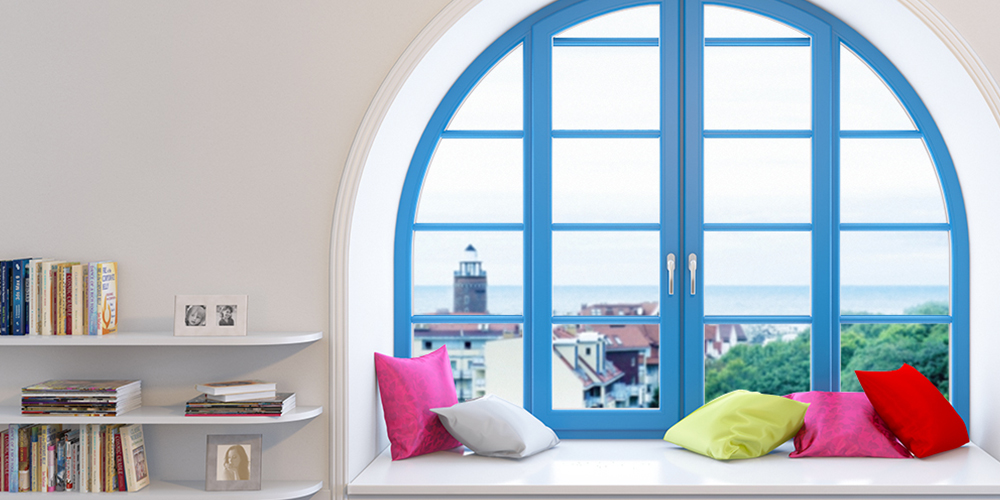
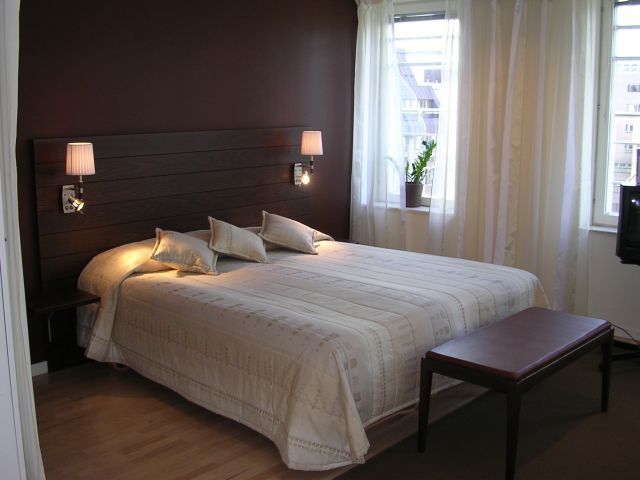
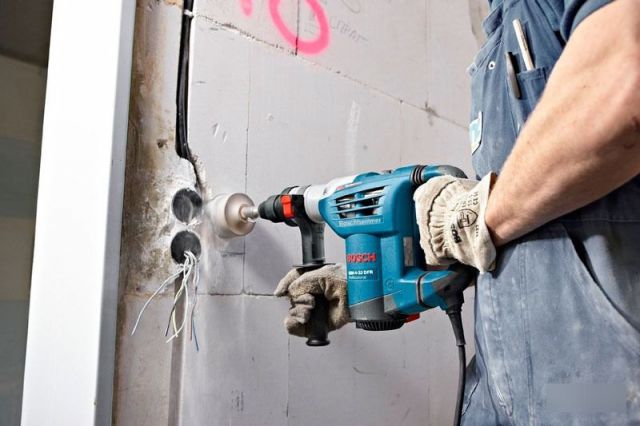
Window replacement
In homes with old wooden frames that have become unusable, as well as with plastic windows that have failed, windows may need to be replaced. Very often, in the course of the repair, this stage is skipped because it seems to be excessively expensive, but its absence can entail quite serious consequences. Old windows can let through drafts, moisture and excessively freeze in winter.
Replacing windows is not as costly as it was done by any other construction company.
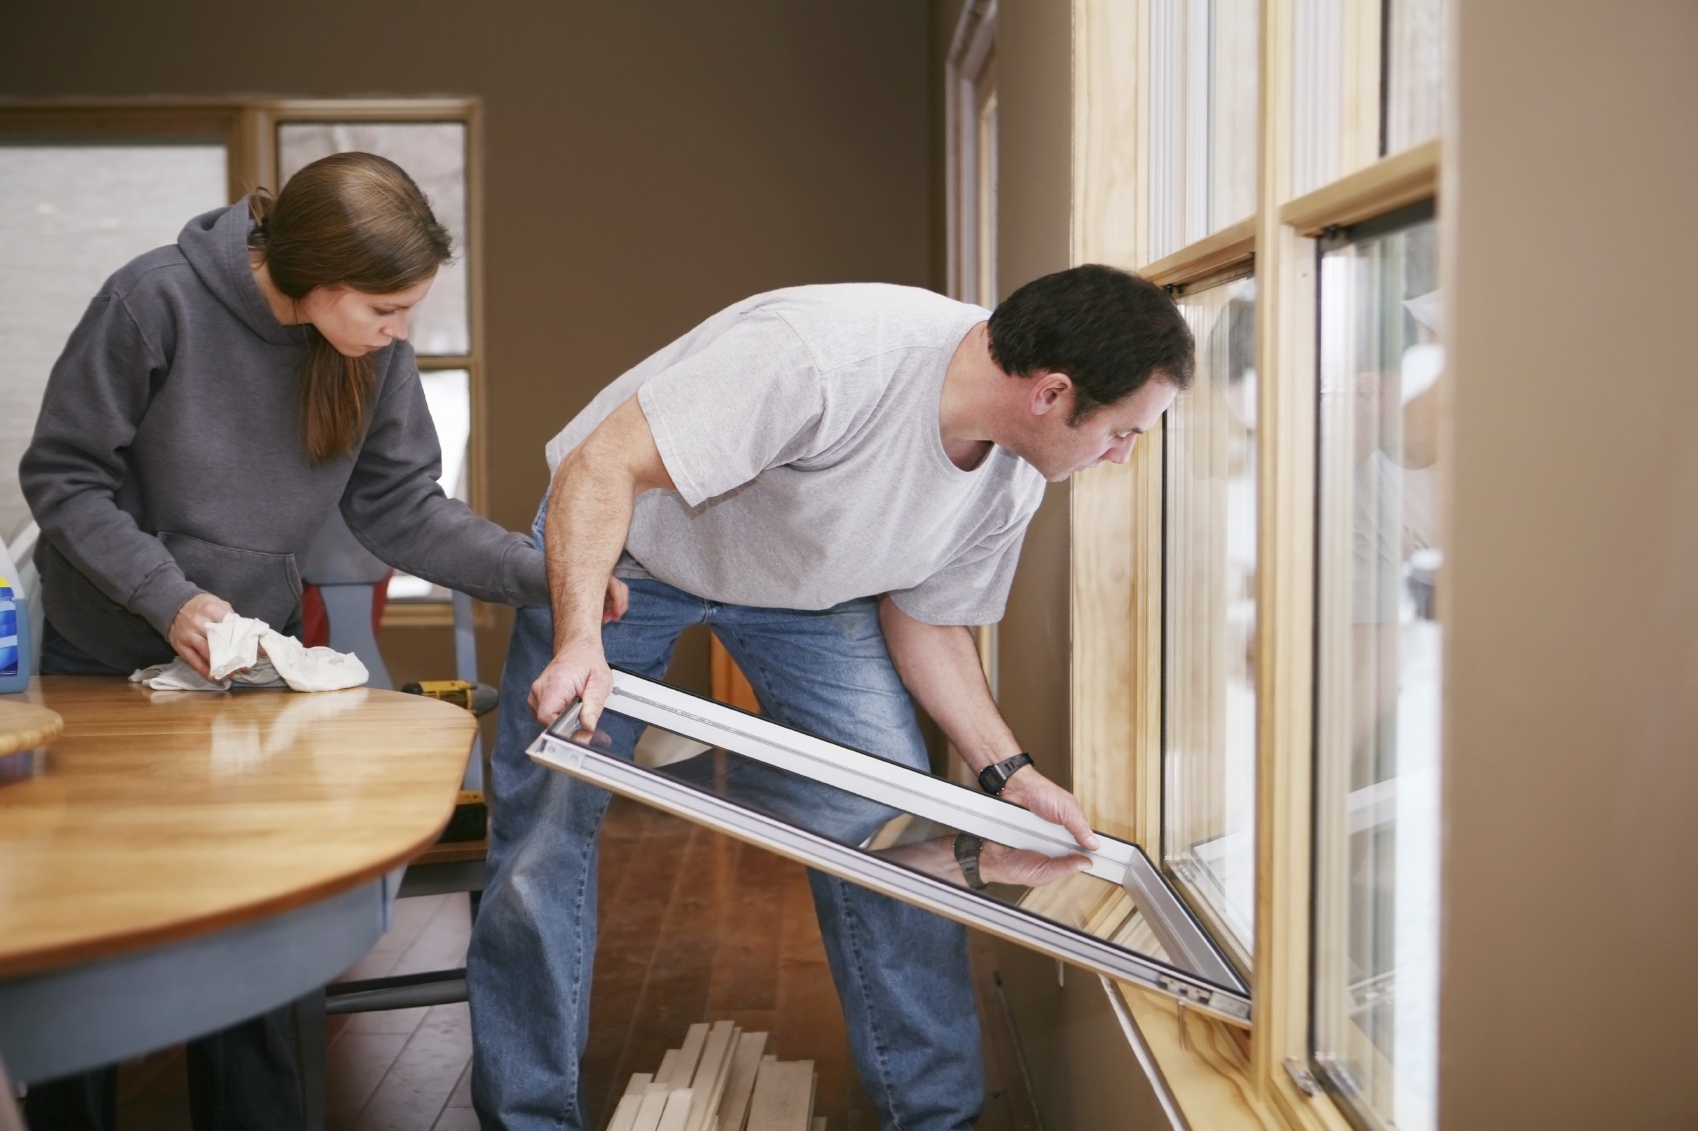
It is enough to observe some sequence:
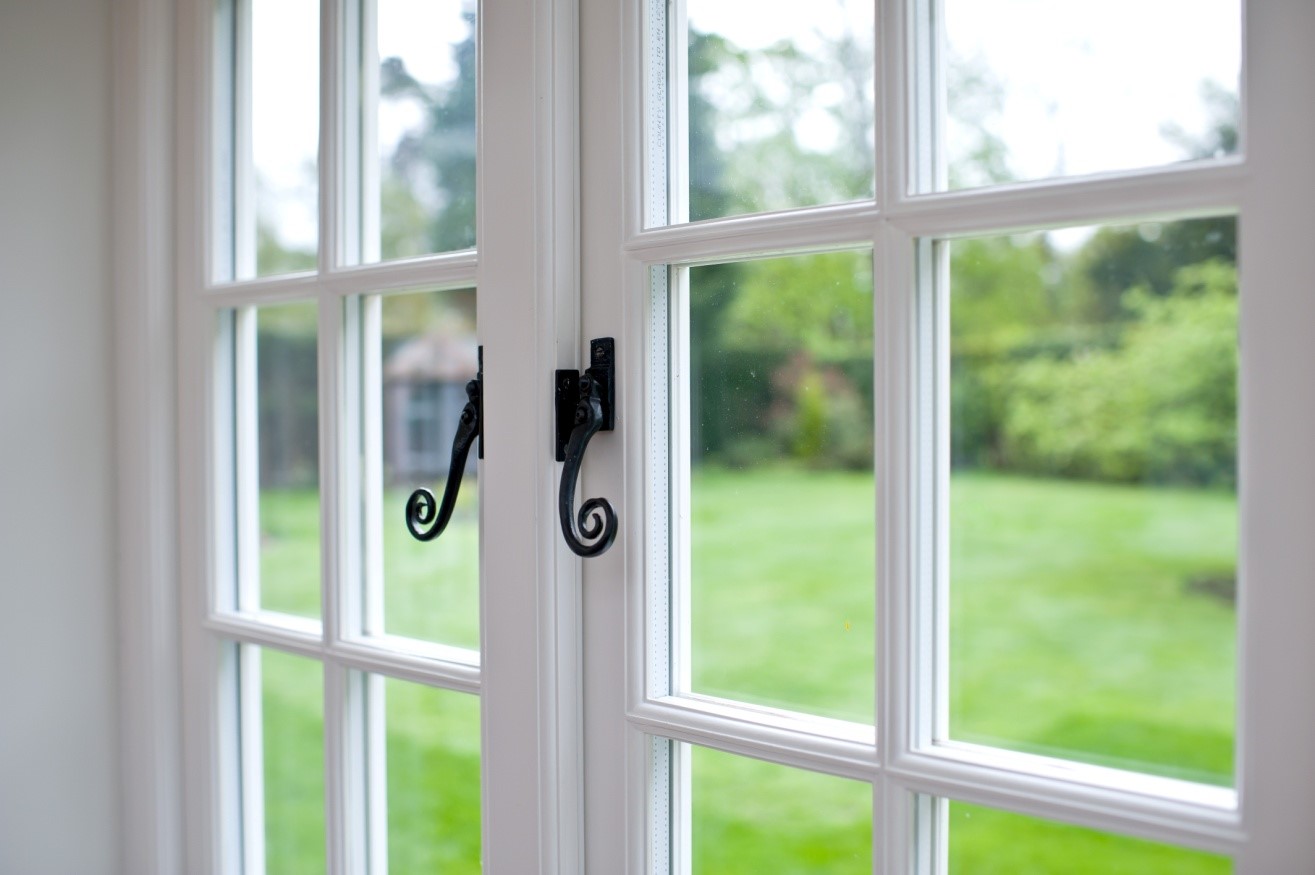
- It is necessary to take measurements from the window openings and order the corresponding double-glazed windows in the company or purchase them in specialized stores.
- Next is the dismantling of the old window frames.It should be carefully separated from the window openings, trying not to damage the walls.
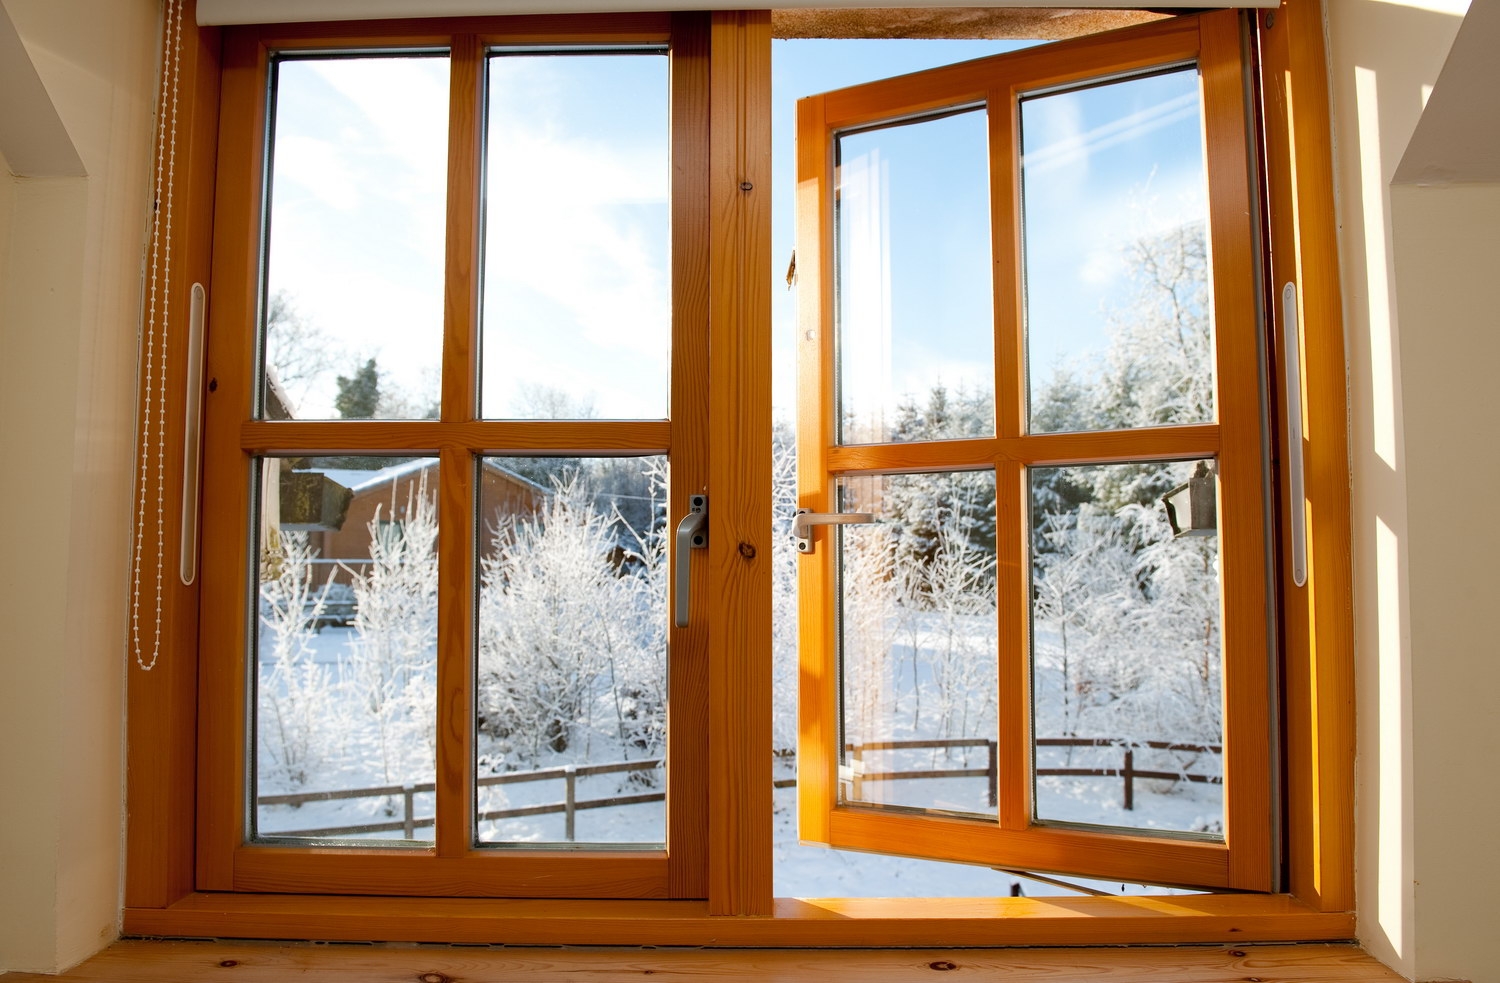
- Then you need to carefully prepare the window openings for the installation of new glass. It is necessary to remove the old materials used for the installation of windows, as well as to repair all damages arising from the dismantling.
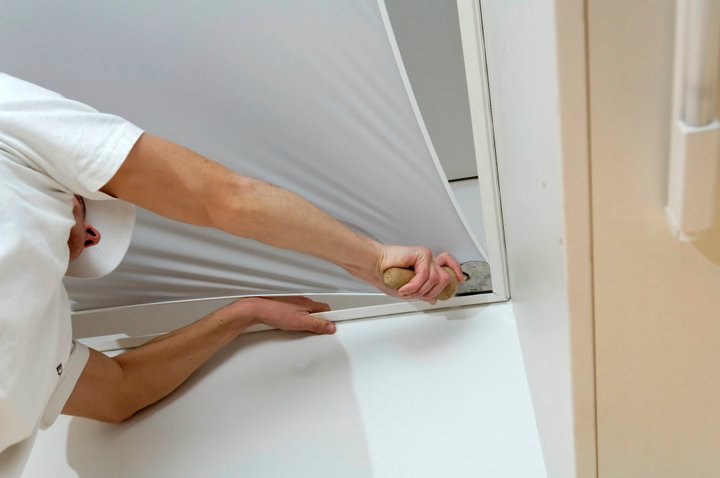
- After that, you need to install a new window, securing it with special metal pins, without which it simply will not hold.
- After fixing the window in the opening, it is necessary to close all the holes and slots with the help of foam.
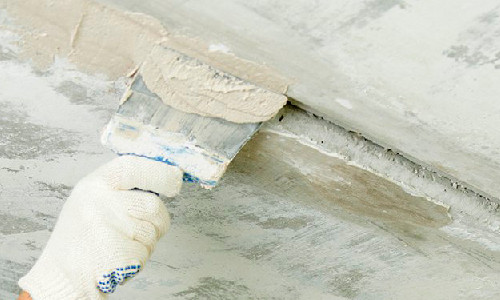
- The final stage will be the filling of areas covered with foam, small cracks, as well as painting of slopes.


Replacement of windows is carried out in the first place, because it may entail damage to the wall covering, which is undesirable after making their decoration. They can lose their original appearance, and will have to carry out the work again.


Dismantling
The next step will be the dismantling of all other components of the previous repair, since new finishing materials cannot be applied to old ones. It is necessary to learn more about the process of dismantling the old finishing materials and interior elements, as well as with some life hacking, facilitating this process.
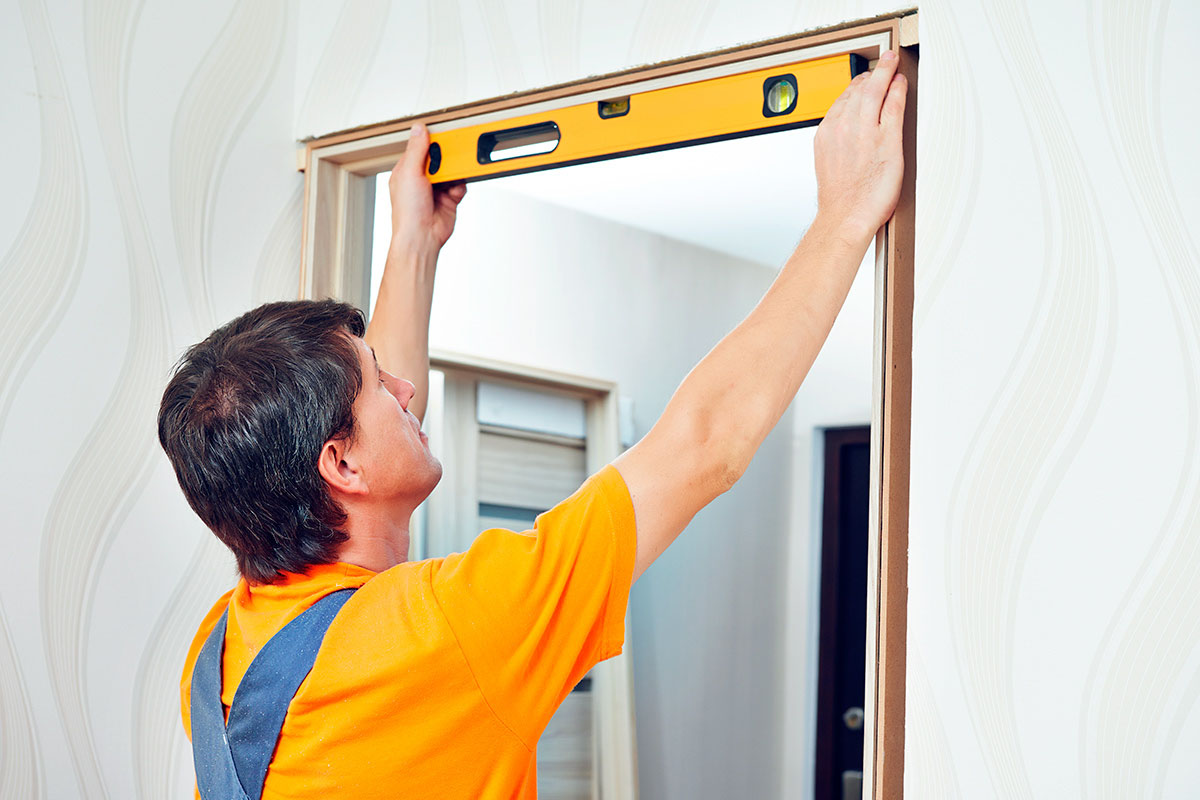
When overhauling will have to get rid of the door - you will need to replace them. Dismantling doorways is a very important part of the whole process. First you need to remove from the hinges of the door leaf itself, carefully dismantle the casing and the door frame itself.
When replacing old doors, it is necessary to take into account the dimensions of the doorway, since in some cases it may be necessary to expand or extend it.

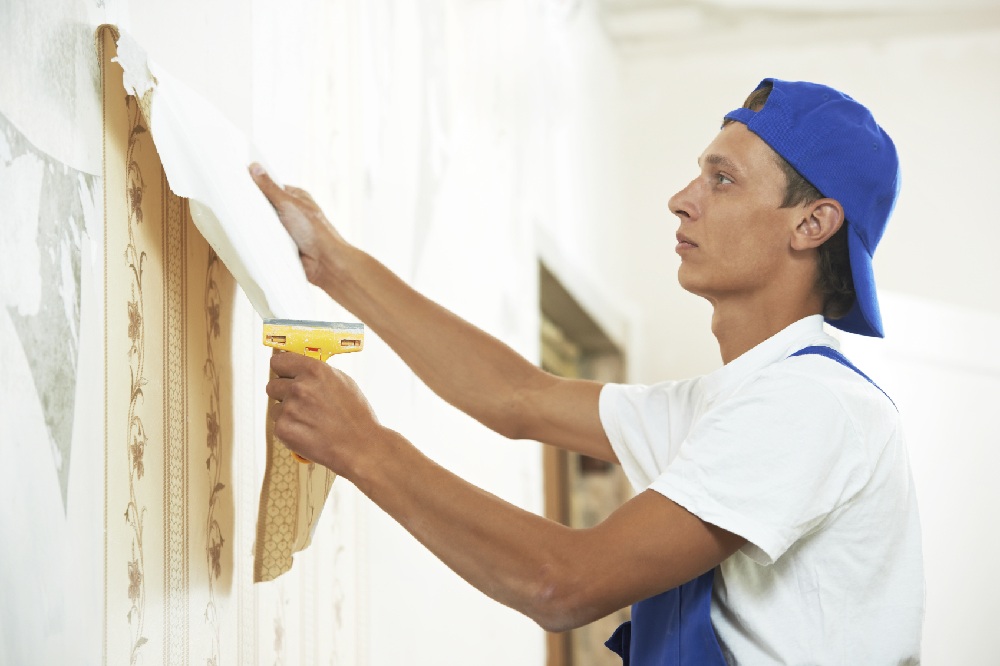
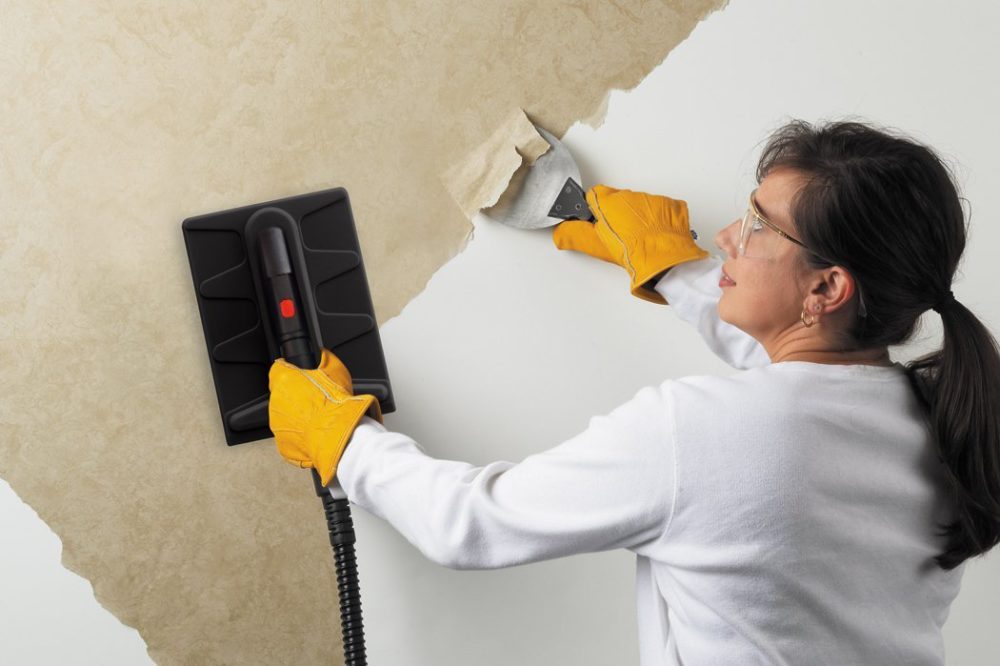
The process of removing old wallpaper may seem complicated and tedious, if you tear off dry canvases from an unprepared wall. There are many life hacks that will help simplify the task.
Here are the most effective ones:
- Wallpaper can be wetted with warm water or soapy water. For convenience, you can use a spray or mop. The canvases should be wet enough so that after a while they can be easily removed from the wall.
- If the wallpaper is wet, and the process is not easier, you can use a water steamer. Hot steam in combination with already applied moisture will be a wonderful way, and the canvas will easily slip off the wall.
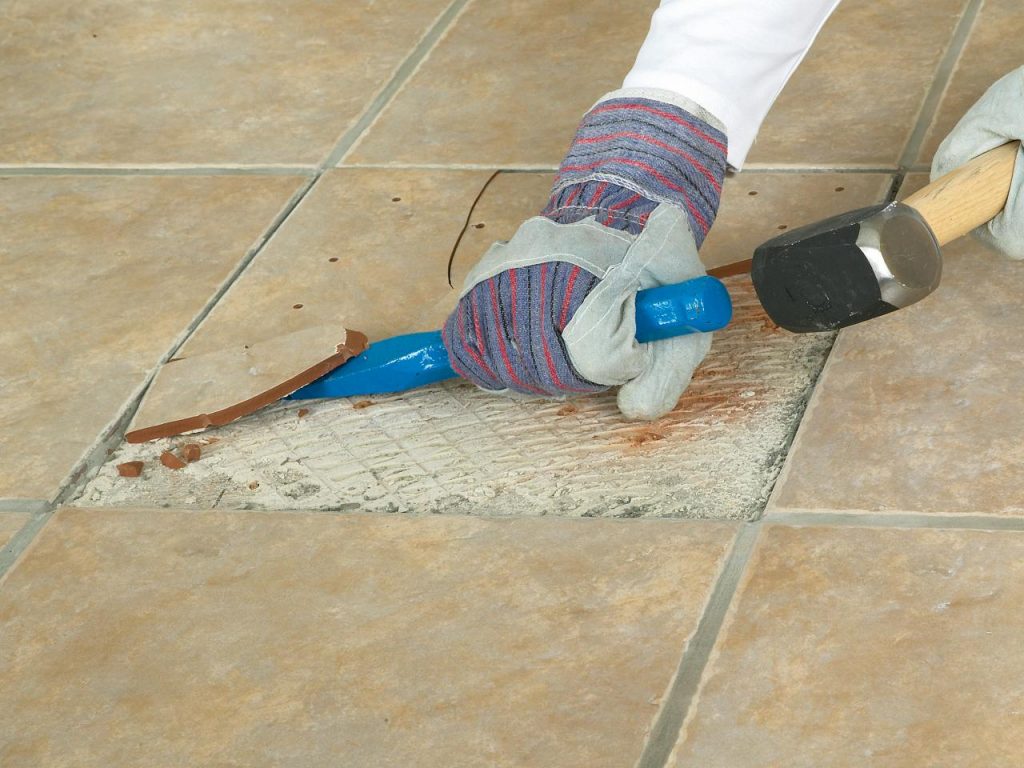
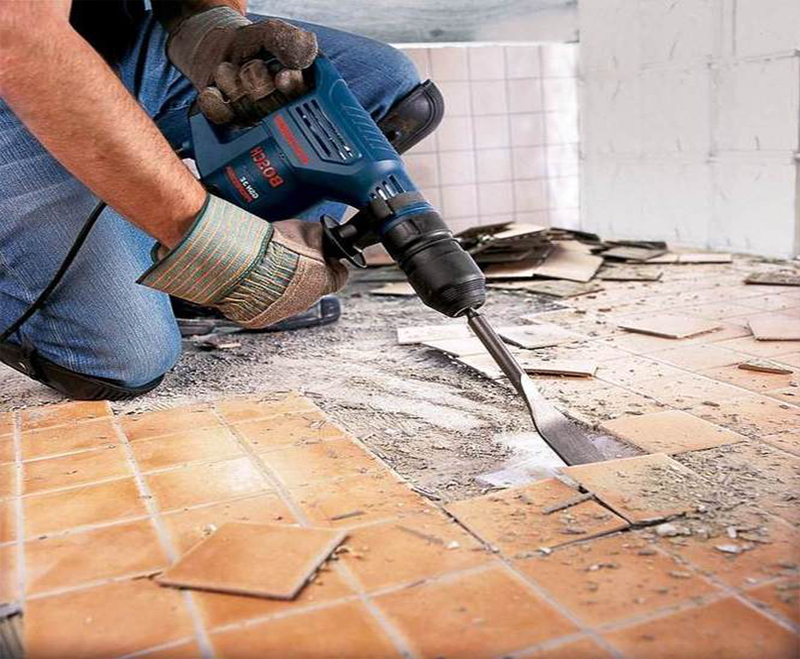
If there is a tile in the room, it will also need to be dismantled. This process is perhaps the most time consuming of all, since the tile is mounted on a special cement mortar, which is incredibly strong and reliable.
First you have to get rid of the grout - with the help of wetting, a sharp hard object or a small Bulgarian. Grouting on a cement base can be quite strong, so you have to make some effort.
Since the process of removing the old tiles can be somewhat time consuming, you will have to be patient. You can remove it with a strong iron spatula and a hammer, but this method can take quite a long time. Much faster and more effective will be the work of a punch.

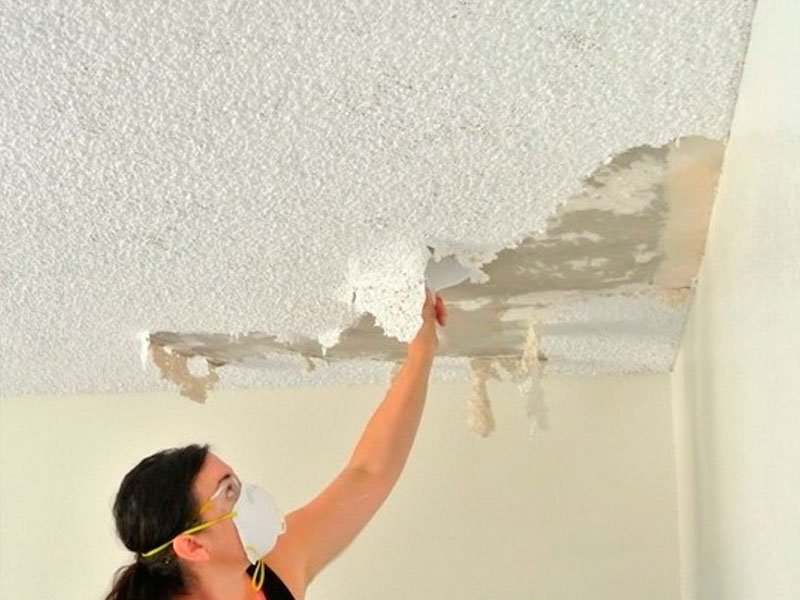
It is necessary to clean the old flooring materials and the floor and the ceiling. Depending on the coating used, the cleaning method will be different. For example, laminate, linoleum and parquet simply enough to remove, as well as stretch ceiling fabric. But with whitewashing and paint will have to tinker, armed with a spatula and sandpaper.

Distribution of necessary communications
If you want to make the bedroom more comfortable, it may be necessary to breed communications.You can highlight the existing options for how best to do this, as well as options for communication that can be carried out to the bedroom.
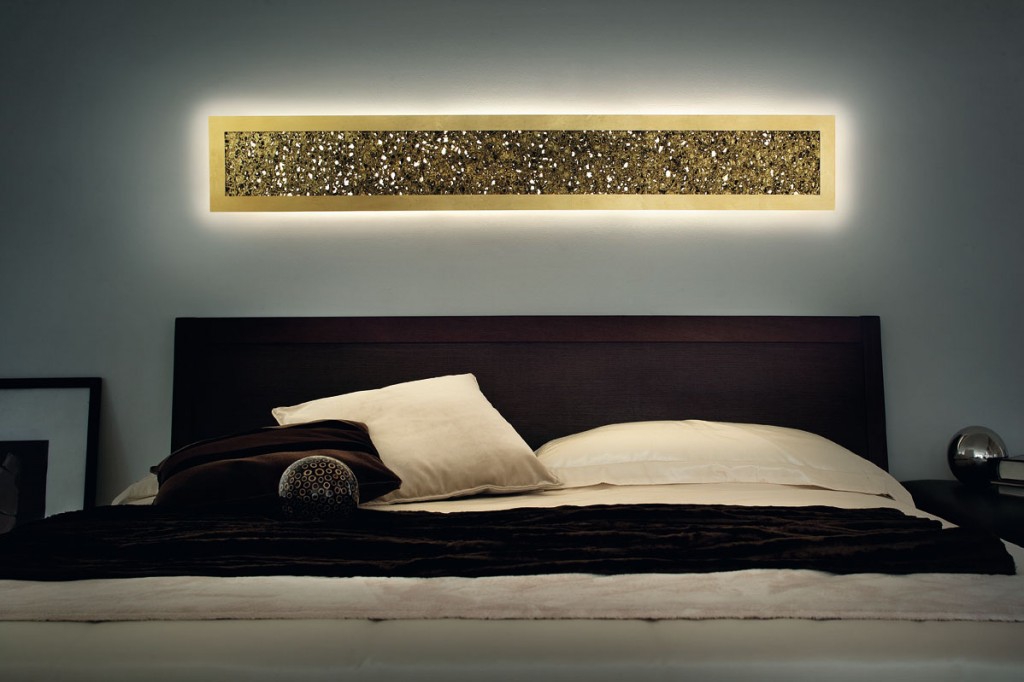
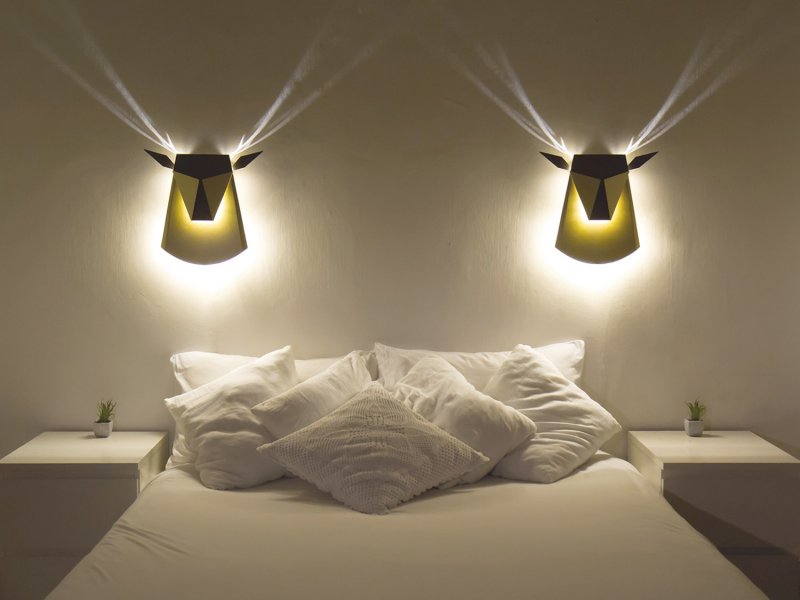
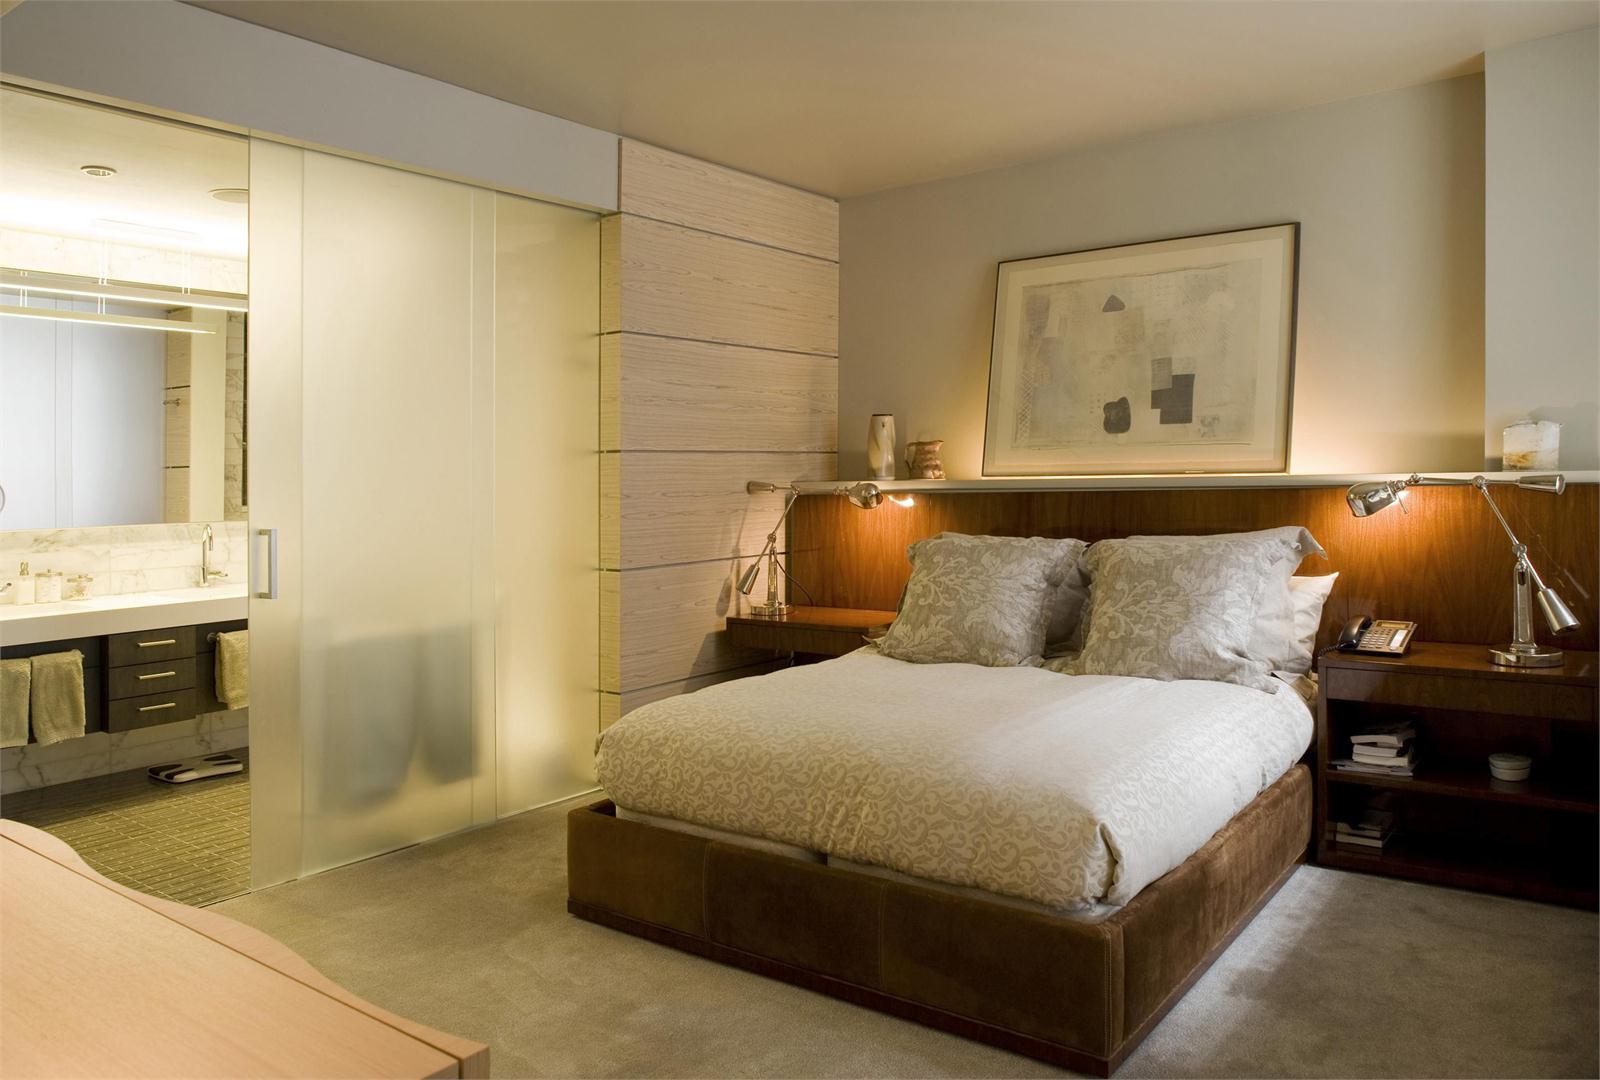
First of all - it is electricity. Sometimes central lighting, located in the center of the ceiling, may not be enough, so you should think about additional points.
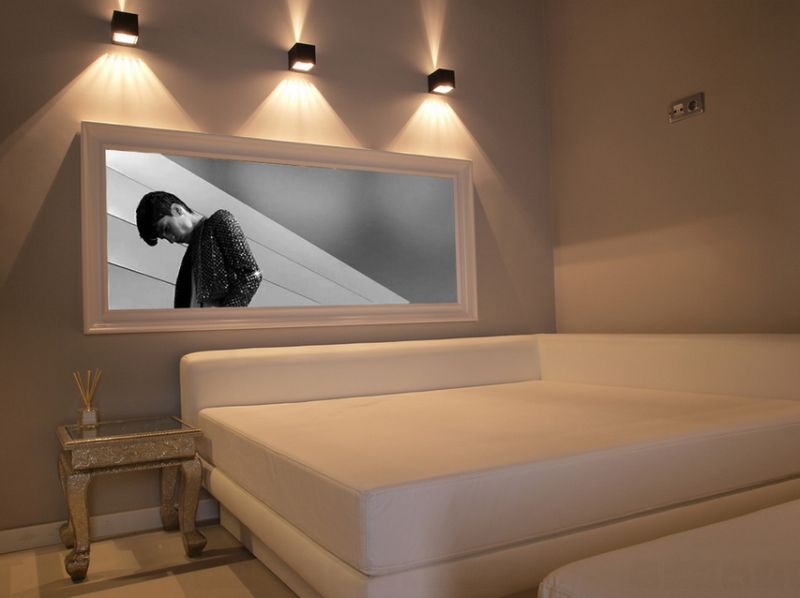
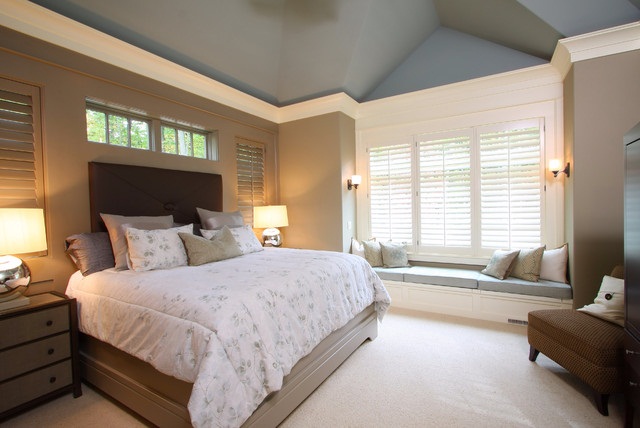
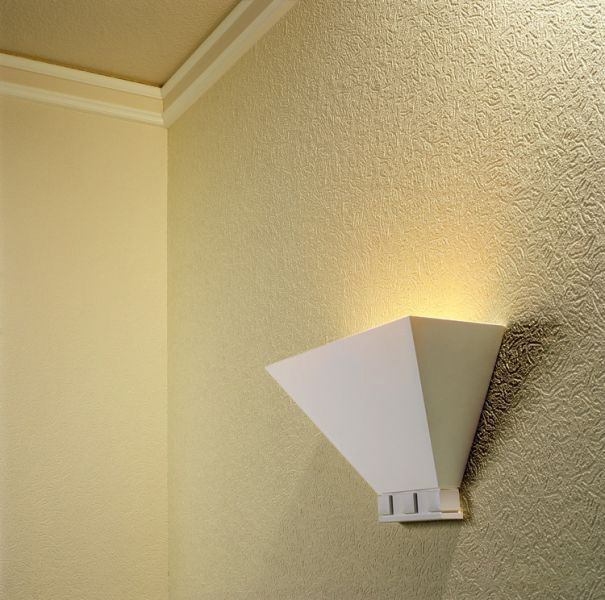
To save space, bedside floor lamps can be eliminated using additional ceiling elements or wall sconces.

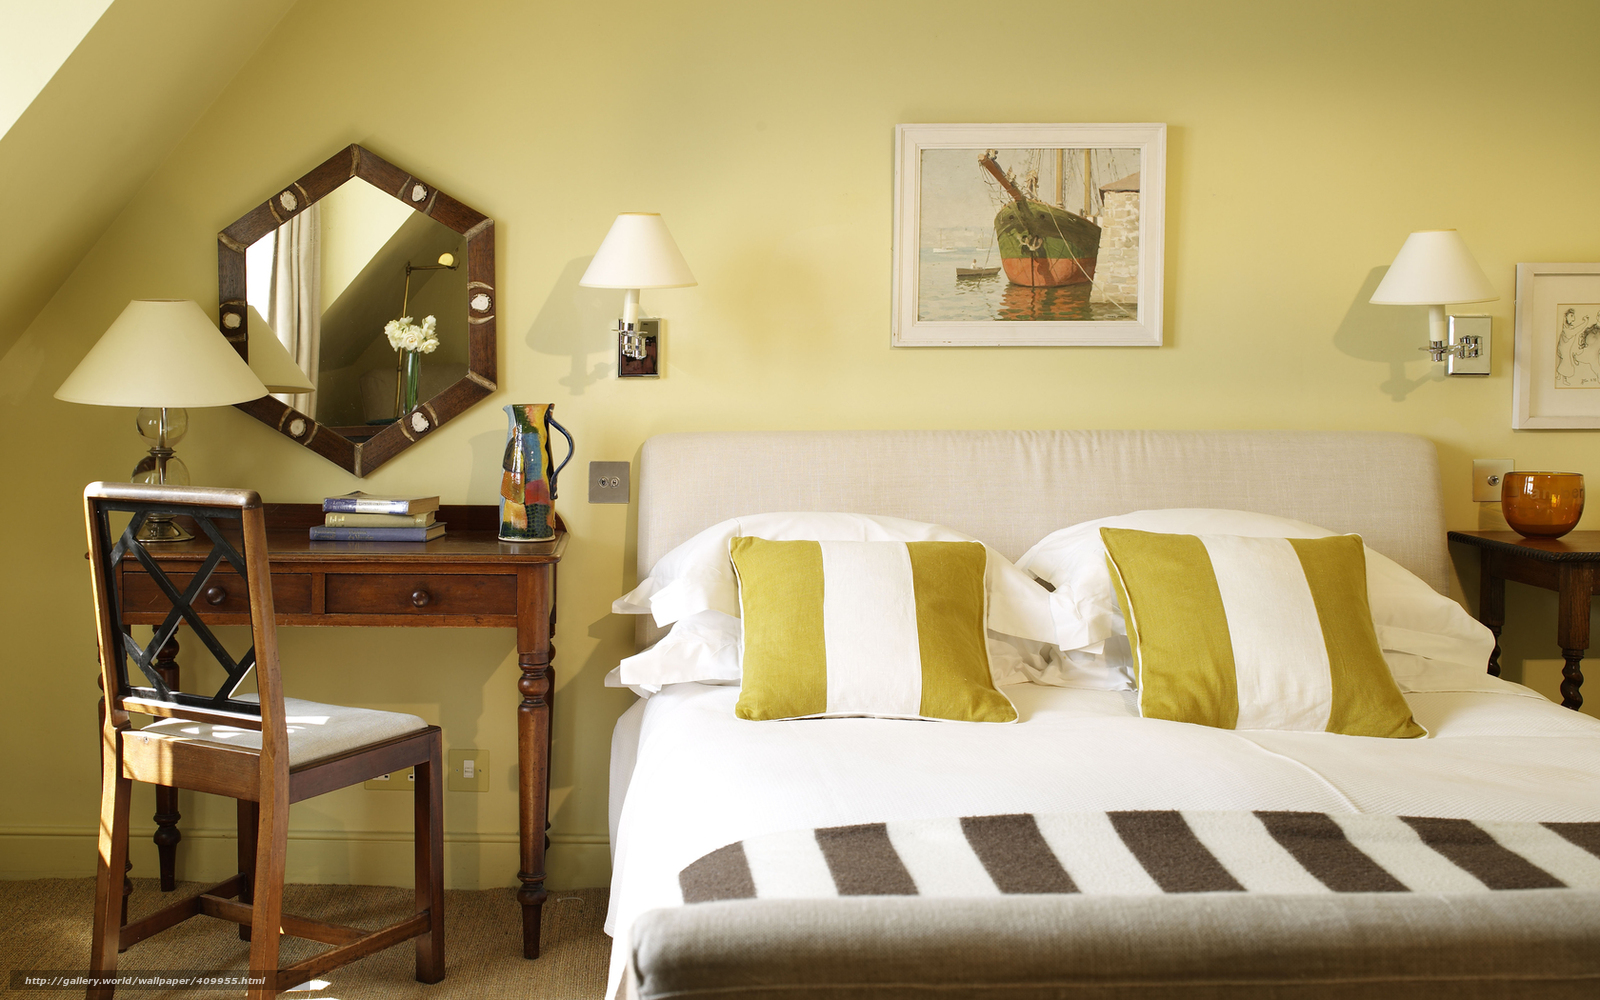
It is possible to dissipate electricity from a central point of lighting, if it is quite powerful, from an electrical panel, if repairs are carried out in the entire apartment, as well as from the nearest outlet. In the bedroom should make a hidden wiring, which will require shtenbing walls.
In the same way you can draw lines to create additional electrical access points - sockets.


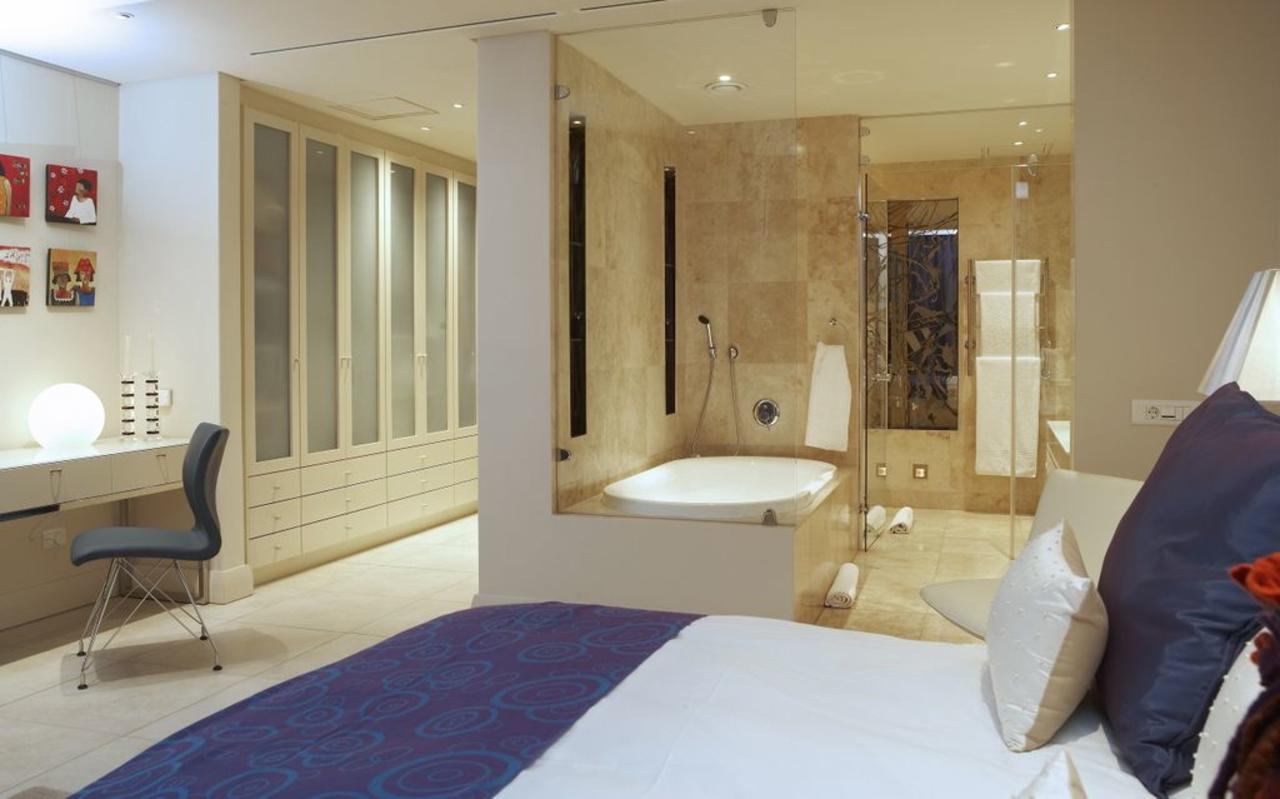
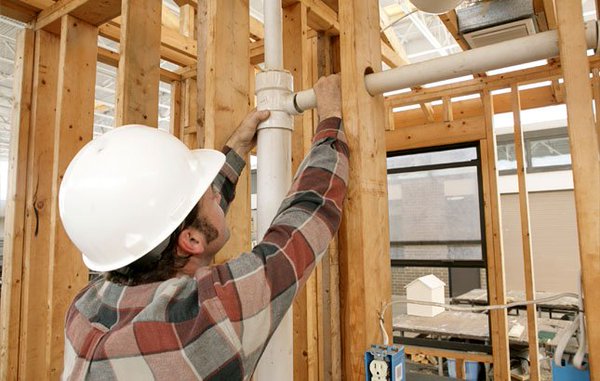
If the bedroom is located next to the bathroom, toilet or kitchen, you can easily hold the pipe in the room, equipping it with an additional water supply point.
This will require the following:
- first of all - sanitary permission obtained in the BTI;
- well-designed scheme of plumbing pipe wiring;
- pipes for hot and cold water, other plumbing elements.
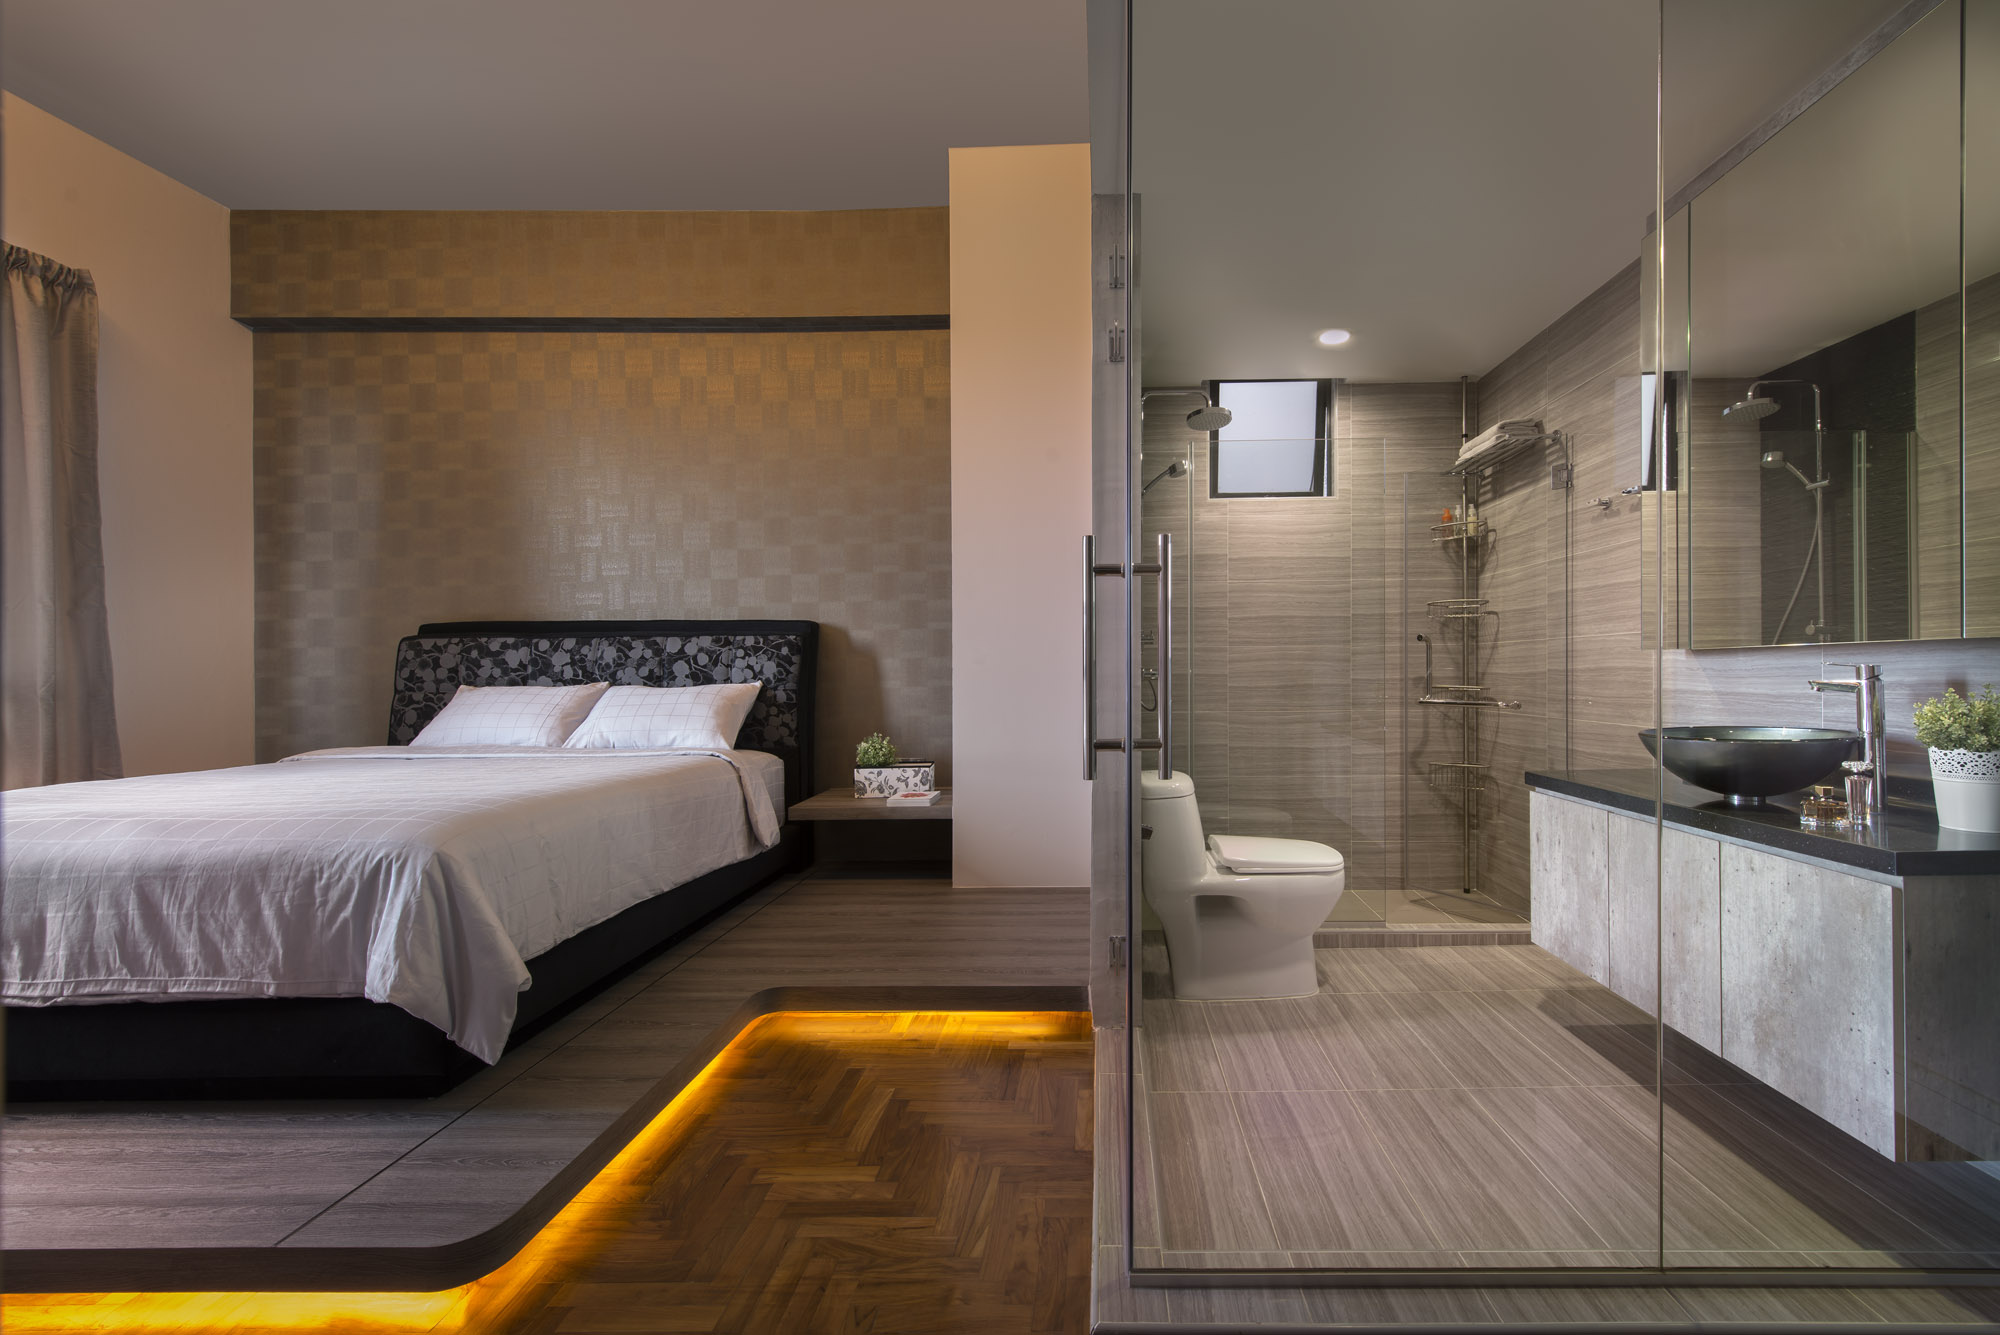

You should not make pipes in the floor, because if leakage occurs, it will be extremely difficult to repair them without damaging the floor covering. It is best to use for this wall, securing pipes and closing this area with special cabinets.
The distribution of central heating is similar.
Rough finish
If you are going to begin the process of finishing the room, it is better to take care of the rough. Not everyone knows what a rough finish is, what it is for. After all, not even every experienced specialist does it.
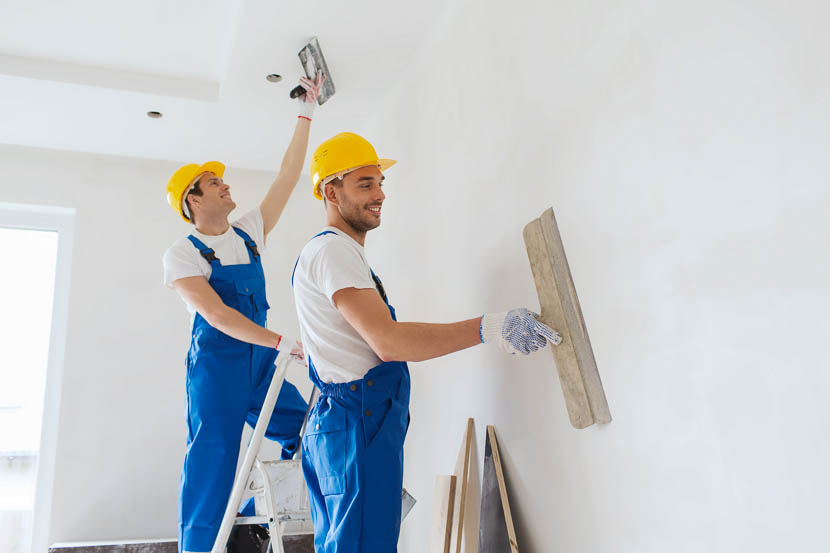
Rough finishing is necessary, because without it it is impossible to make a clean finish. Thanks to the preparation, it is possible to significantly extend the service life of finishing materials, since they will be more securely fastened to the walls of the apartment.
In addition, it is believed that rough finish can even slightly increase the noise insulation and thermoregulatory properties of the room. It is understandable, because with the rough finish all the small cracks and holes that were missed during construction will be repaired.
It is worth noting that the breeding of communications and the construction of drywall constructions are also considered to be a rough finish.
It is necessary to examine in more detail the main stages of the rough finish, the features of each of them, as well as to get acquainted with the list of necessary materials.

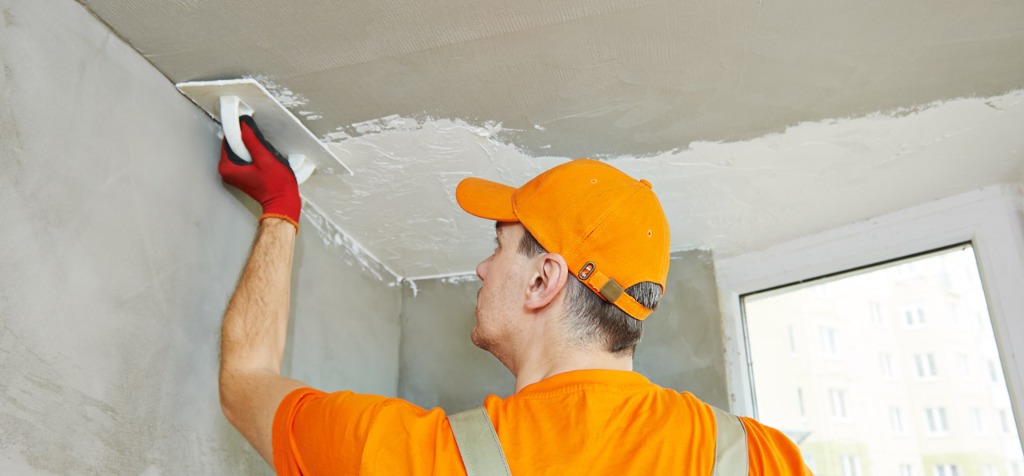
Ceiling
The most difficult thing to do is to make a ceiling roughing finish, since during the construction of the slab it may not be completely evenly laid, it may be necessary to level the surface. This need is no longer necessary if a tension or suspended structure is used as the ceiling finish.
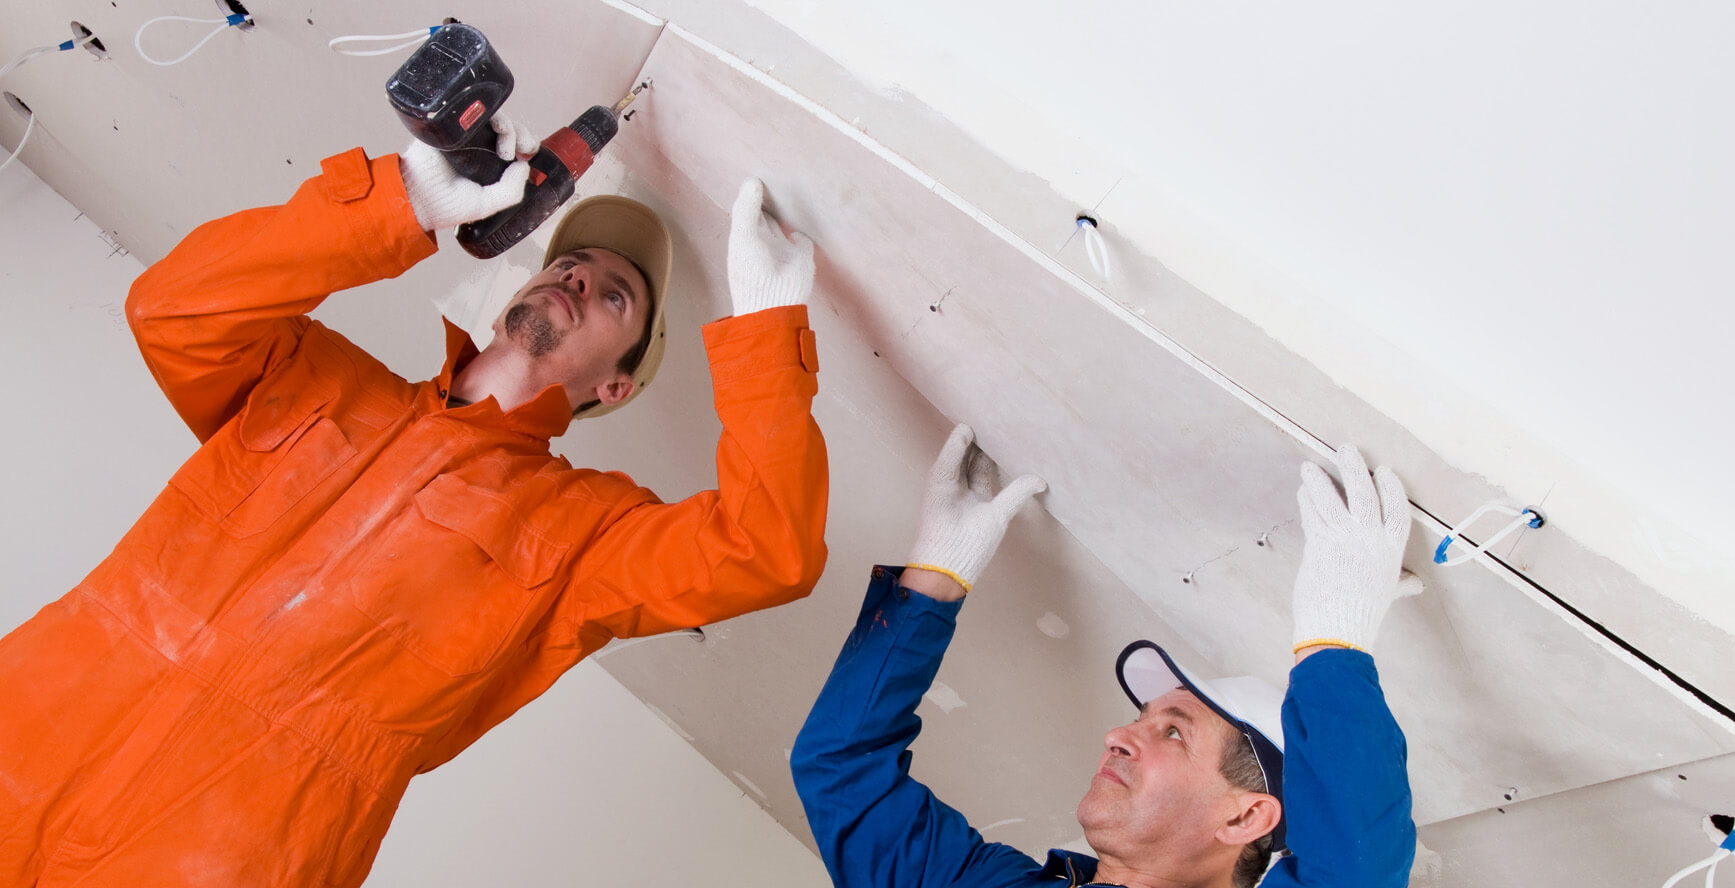
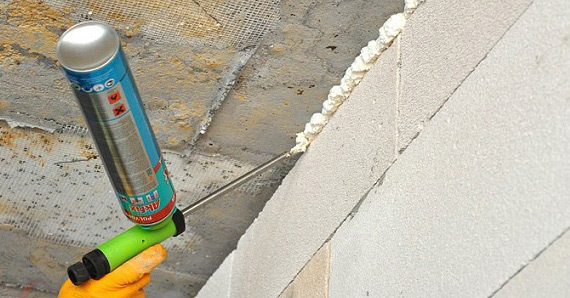
If repairs are to be done in a new apartment, the room of which was not subject to the process of rough finishing, there may be the need to eliminate crevices between the ceiling tiles. These gaps can be quite large, so they just need to be fixed.
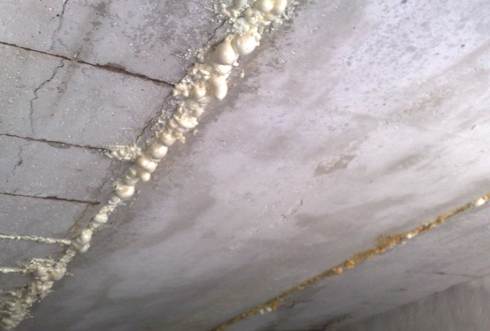
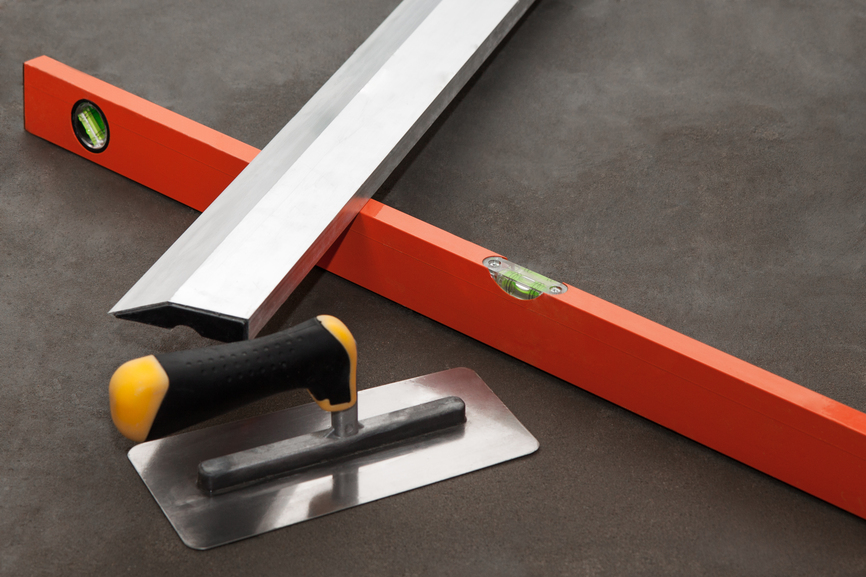
Clearing the gaps is best done with foam. To make the surface of the ceiling smoother will help the level ruler, as well as the paint mesh and cement mortar. All irregularities and drops must be smoothed, creating a completely smooth ceiling surface.

The top layer covering the ceiling should be plaster, which will become the basis for further action.
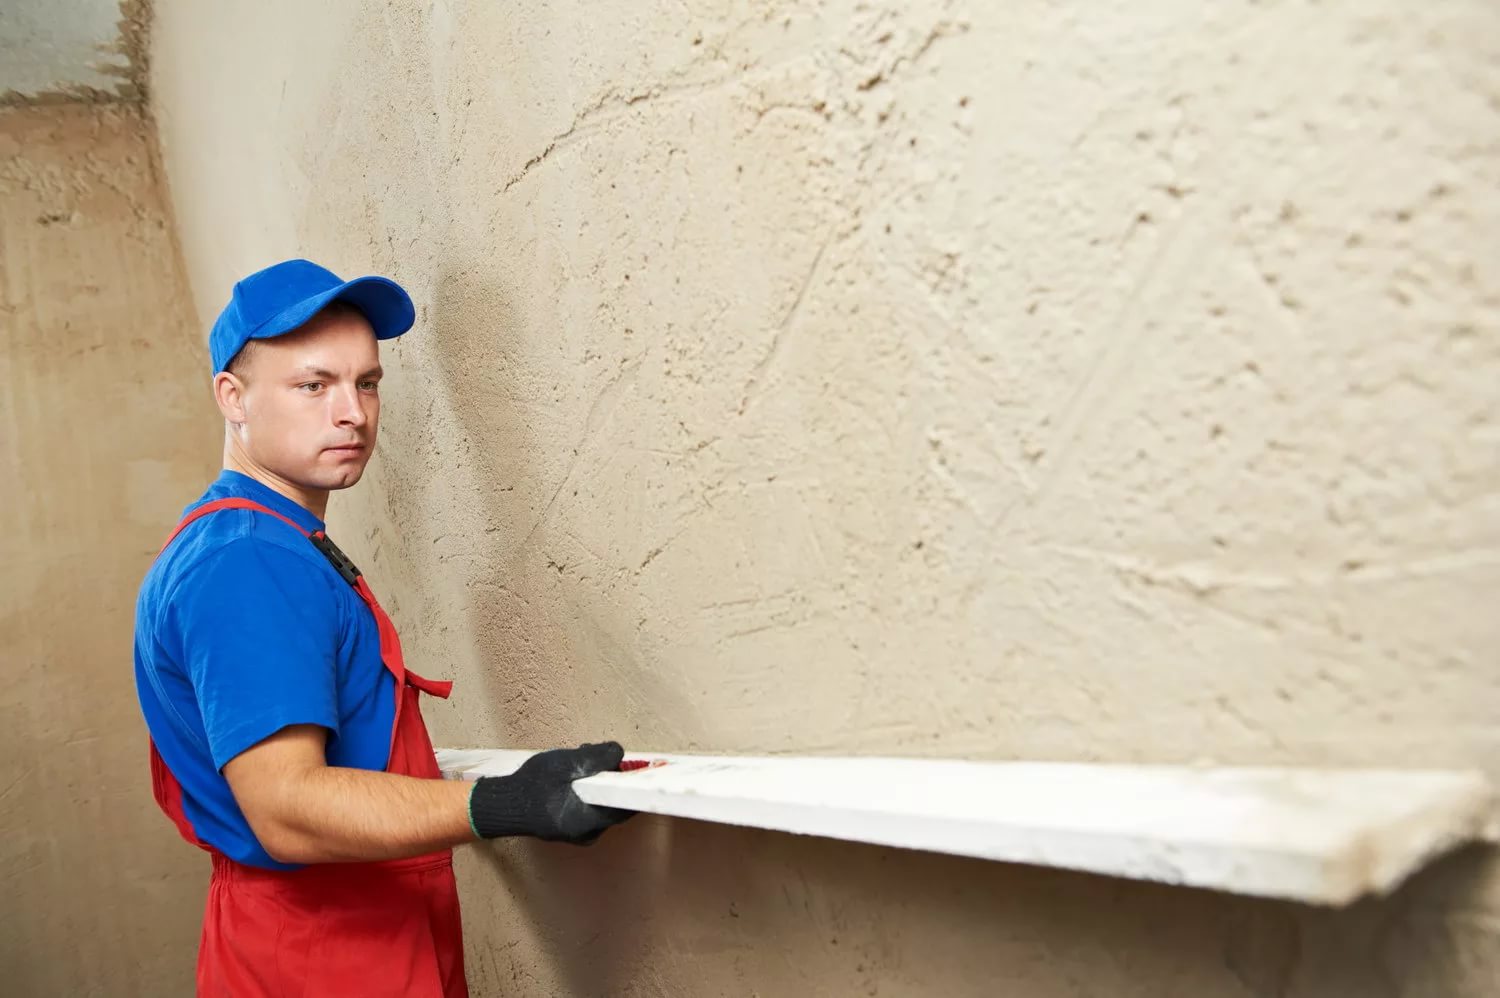
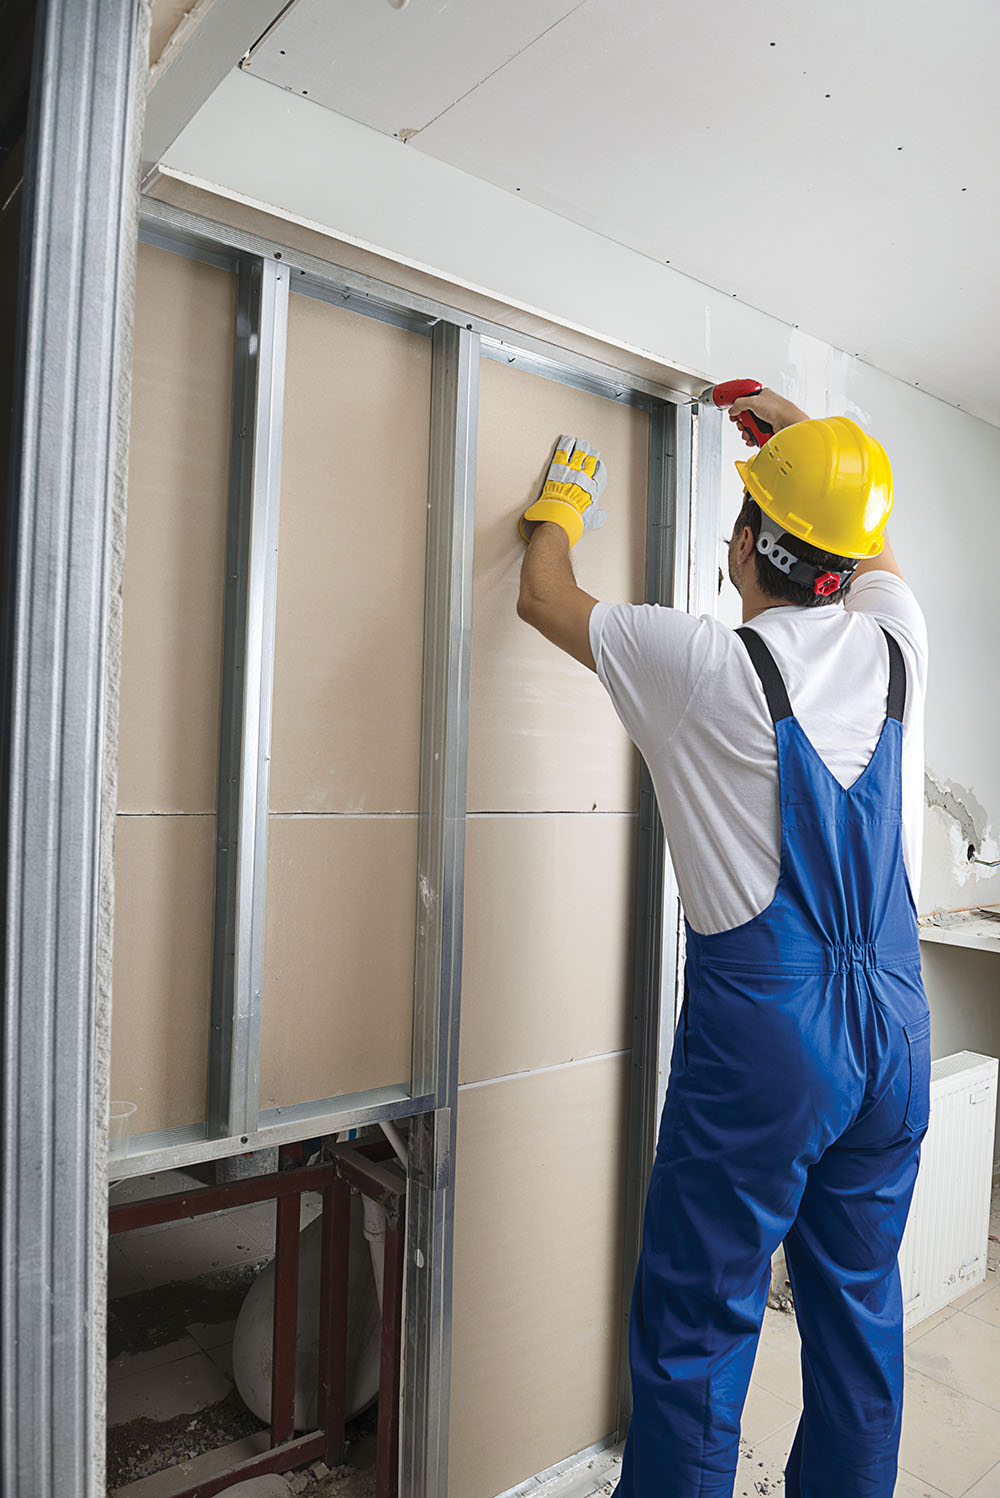
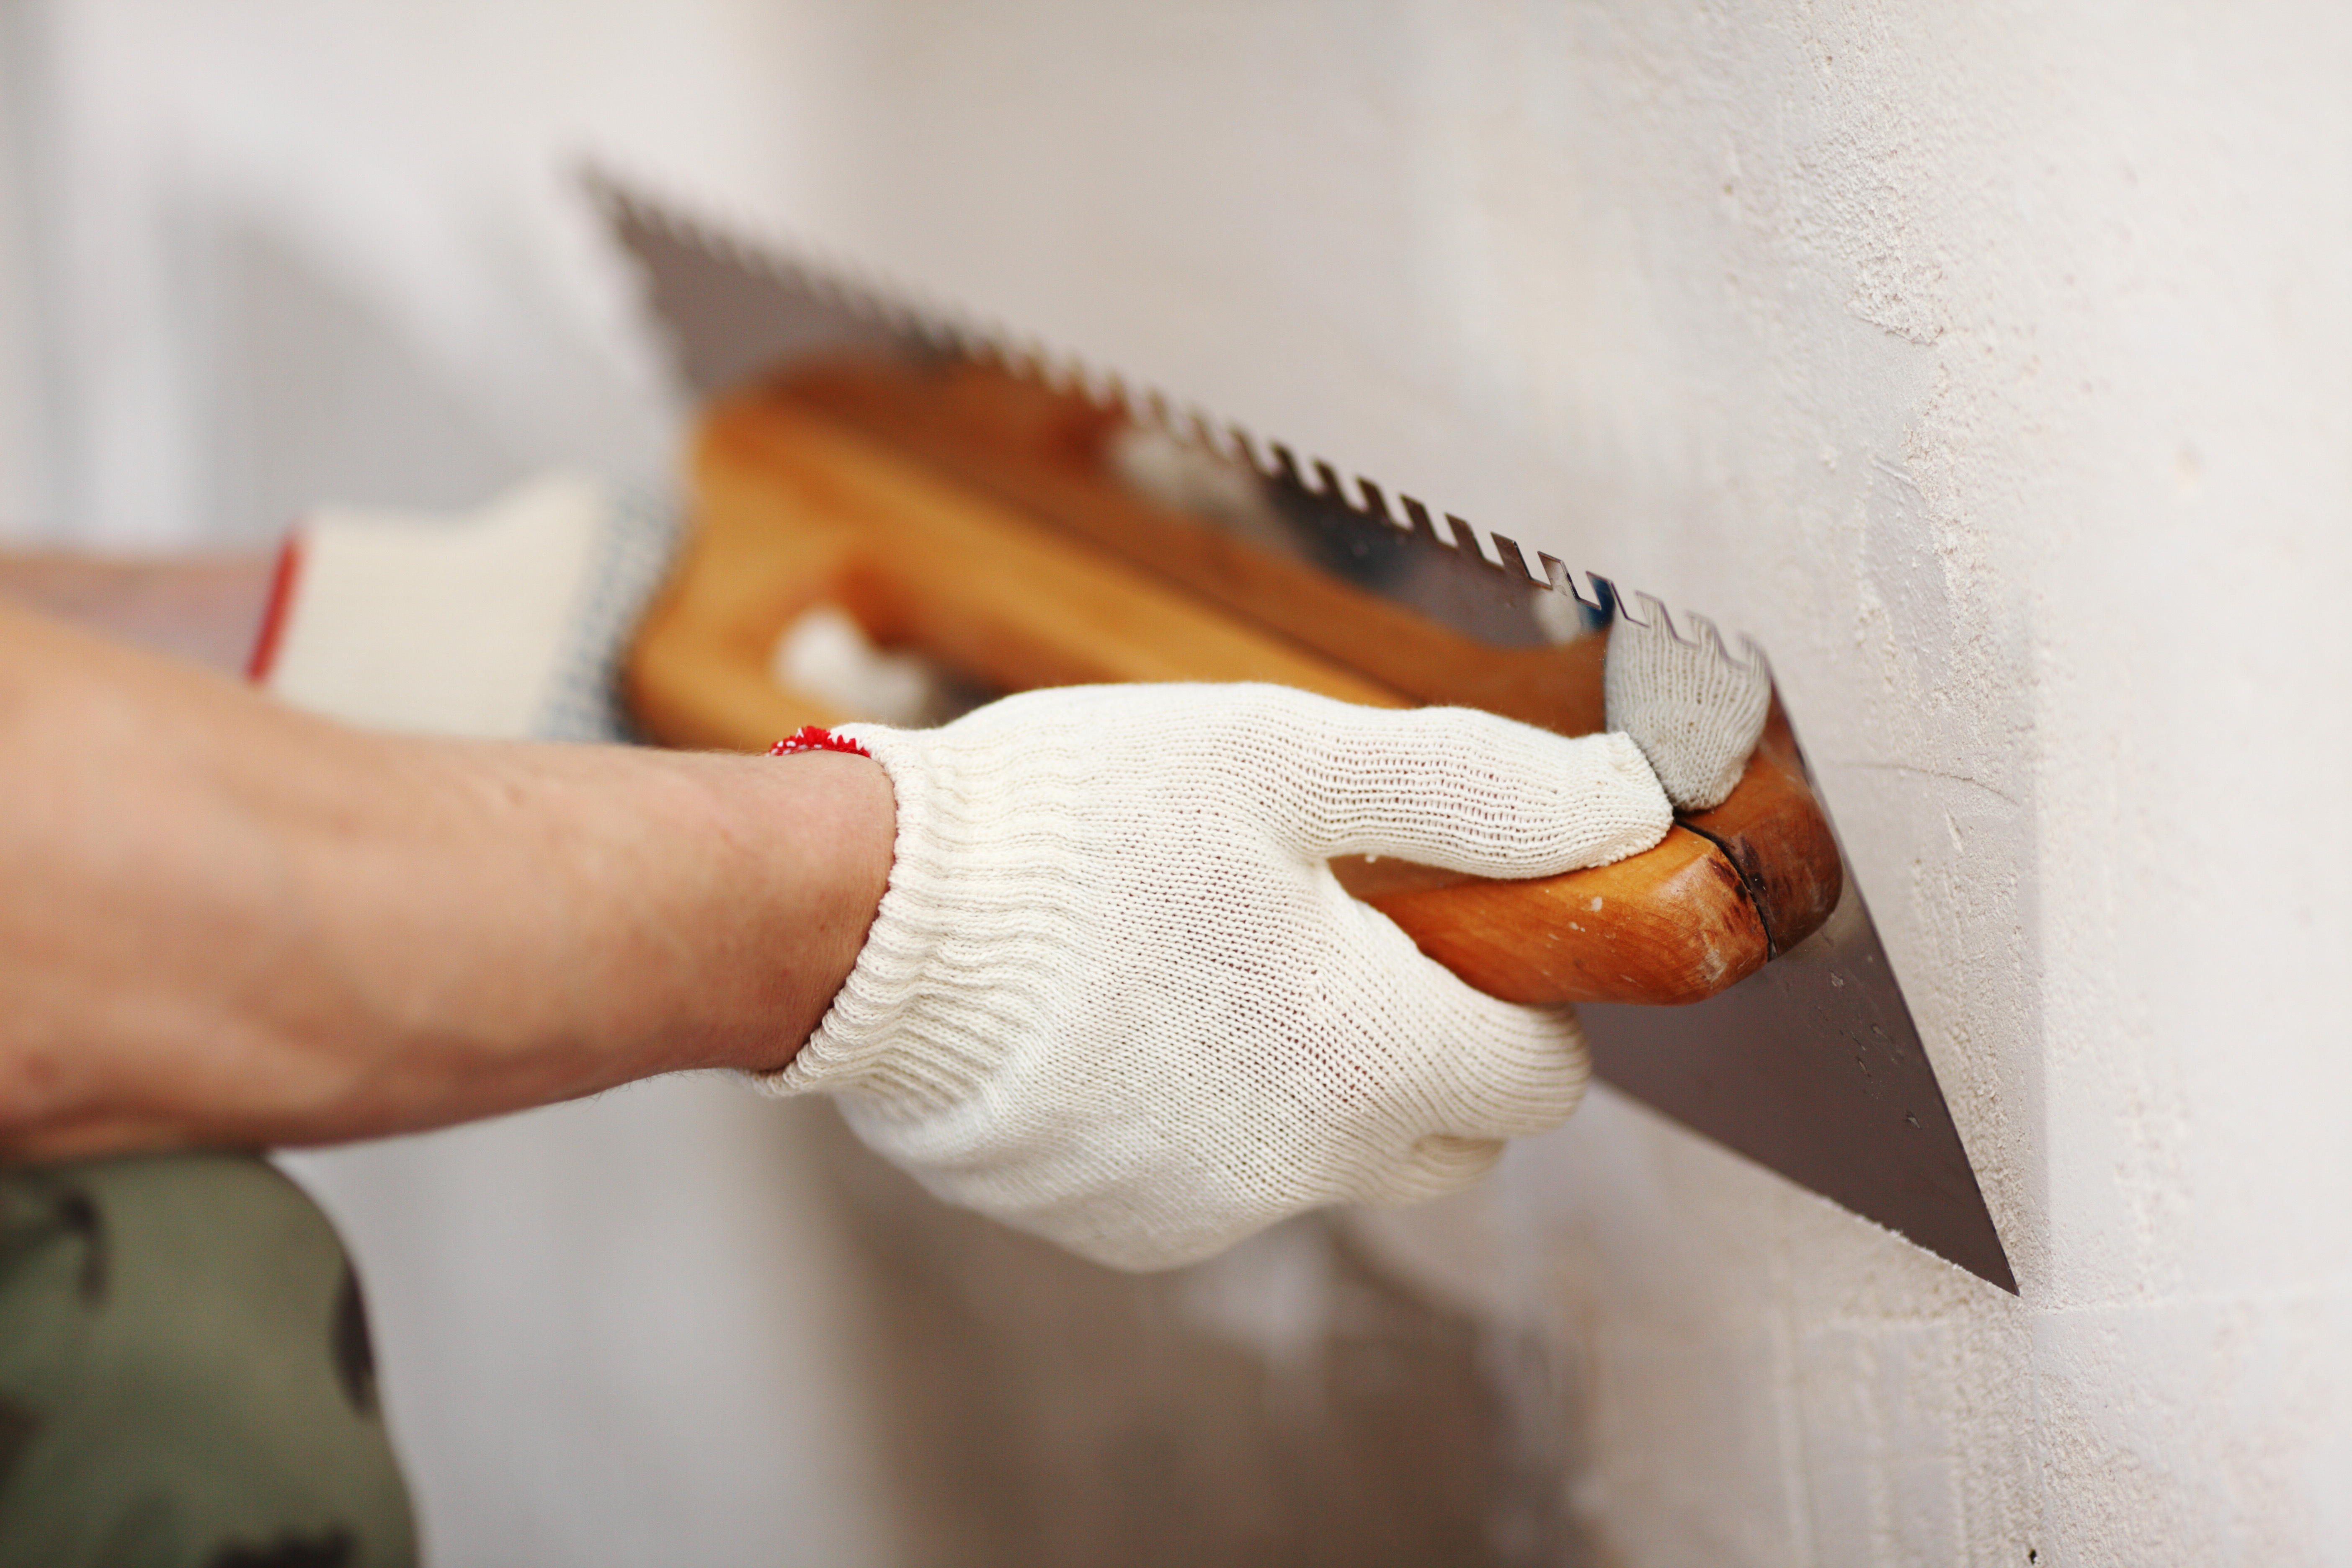
Walls
Draft walls are made using primer, plaster and putty.
Primer serves for better adhesion of materials to the surface of the wall.
Via plaster Correction of the surface of the walls, as well as the closing of any seams and smoothing irregularities.

Putty is the final part of the rough finish of the walls. It is necessary for the implementation of further decoration of the walls.
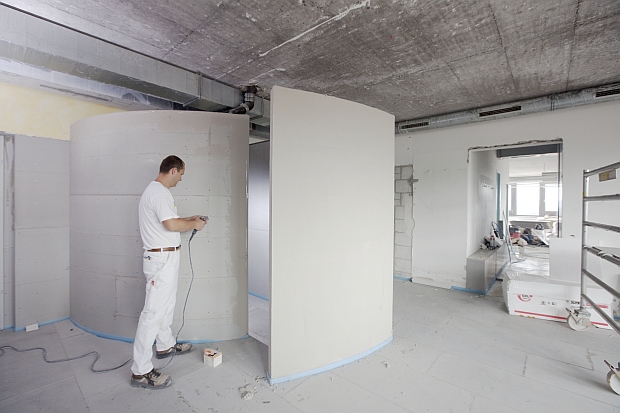
However, this is not all. As already mentioned, part of the rough finish of the walls can be construction of additional partitions and interior designs. When it comes to decorative partitions, it is enough to use thin materials, but for serious interior ceilings you need more durable options.
As for decorative partitions, in most cases, for their erection, gypsum plasterboards are used, fixed on special metal profiles and forming a hollow space. Such a partition does not provide sound insulation and does not retain heat in a separate part.the premises.
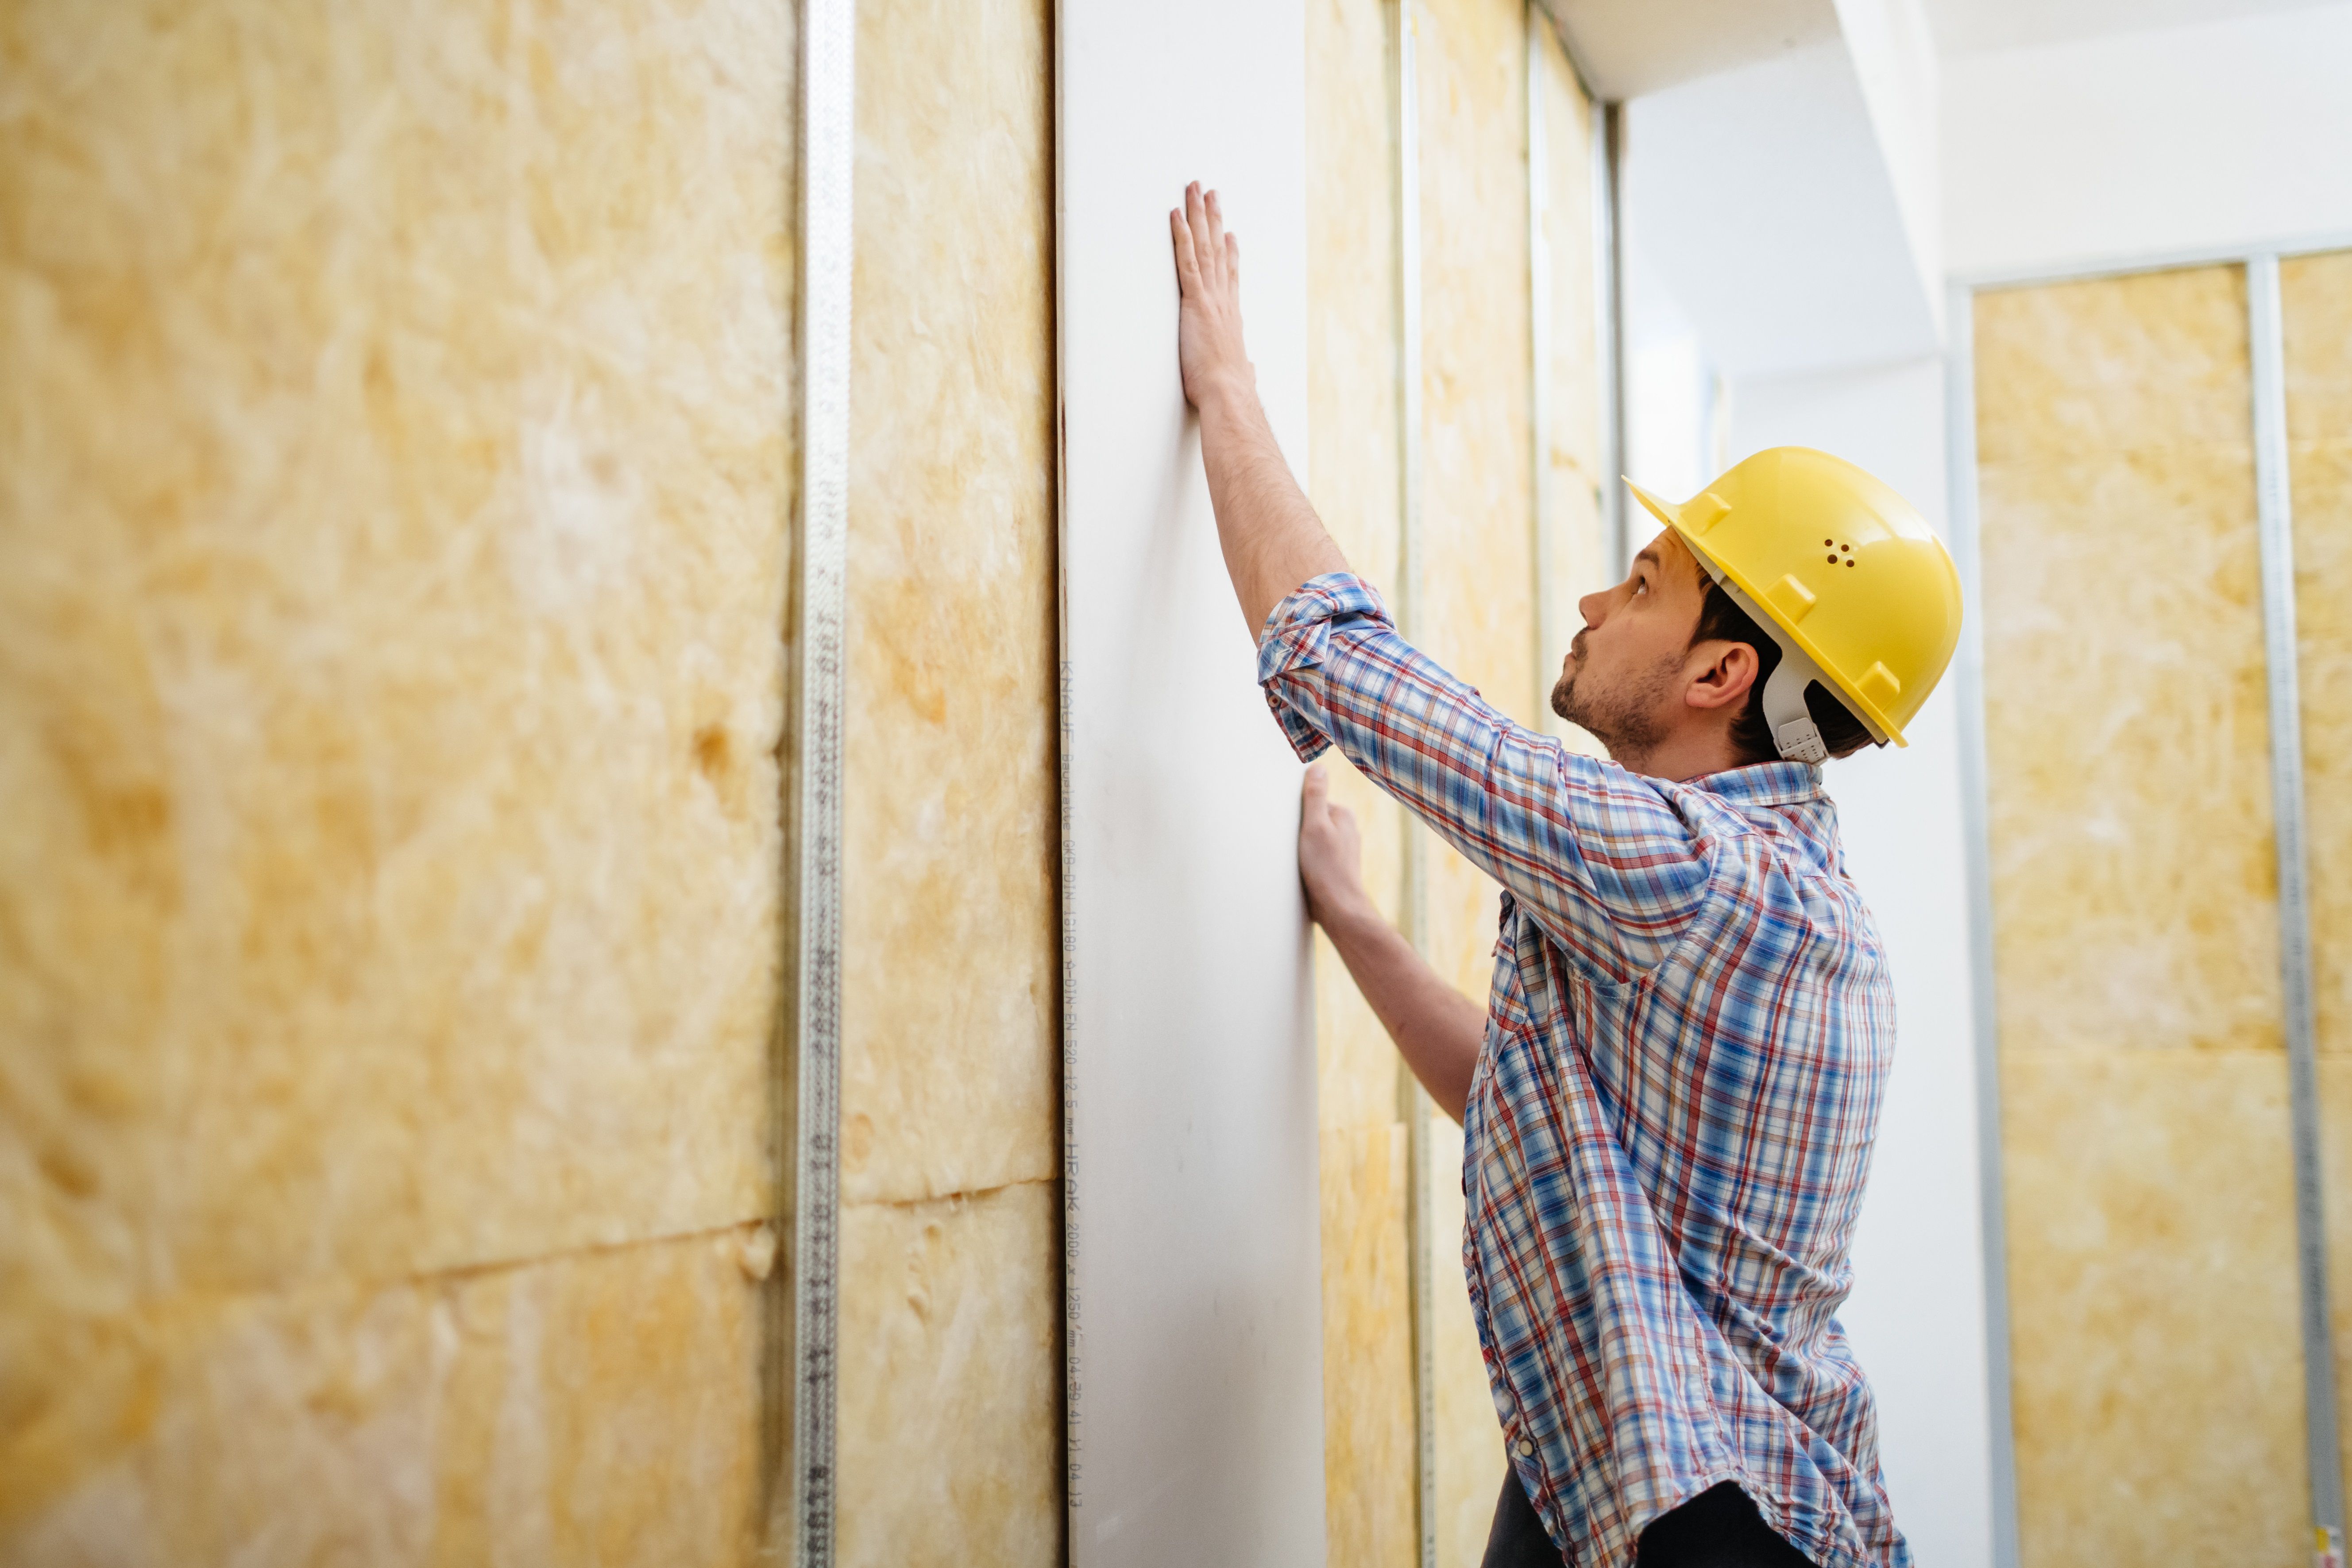
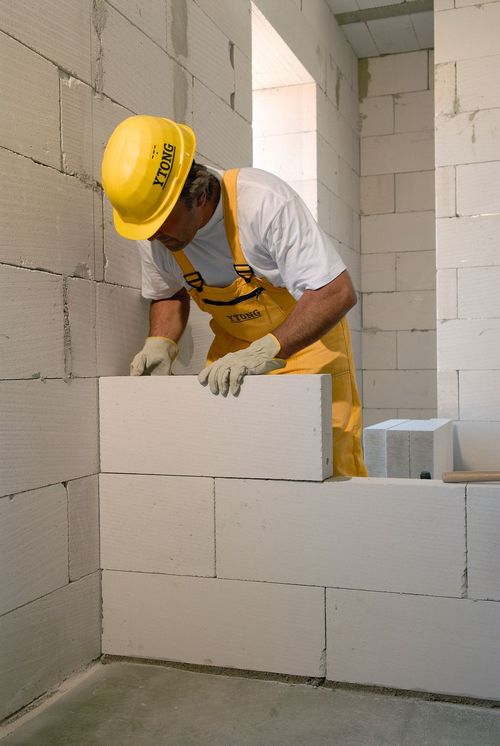
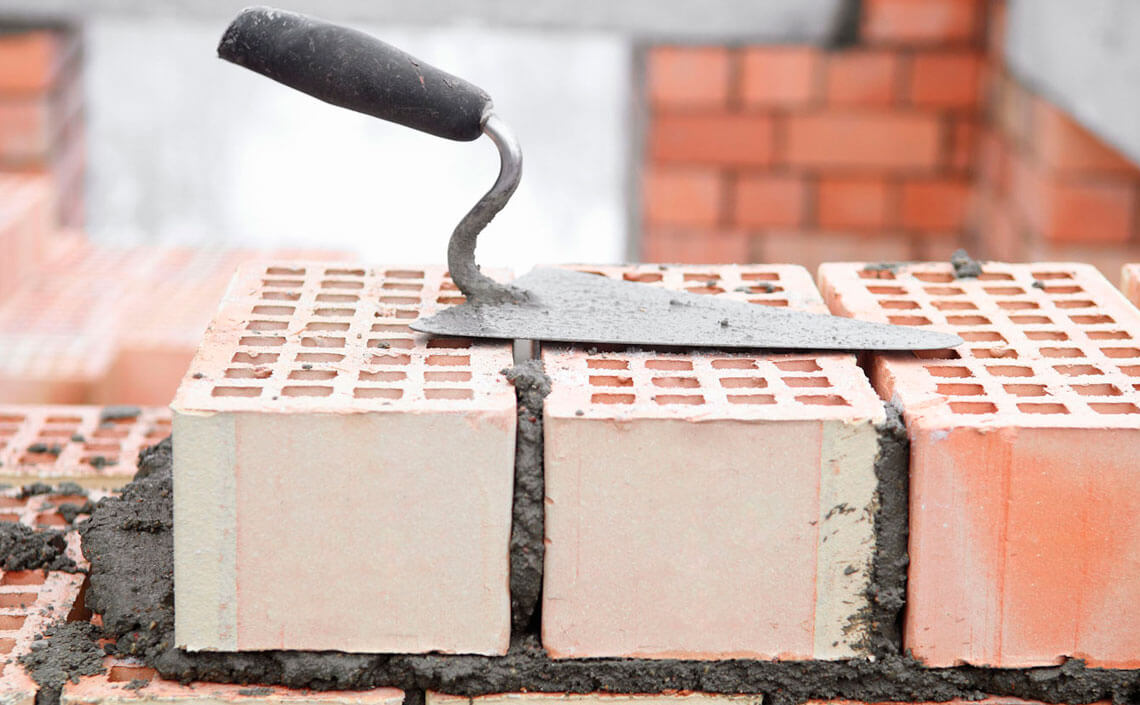
For the construction of full interior floors will need concrete blocks or ordinary bricks. In addition, foam blocks and cinder blocks are quite popular, durable and practical. The blocks are fastened together with a cement mixture, and the finished structure is covered with a thick layer of plaster and putty.
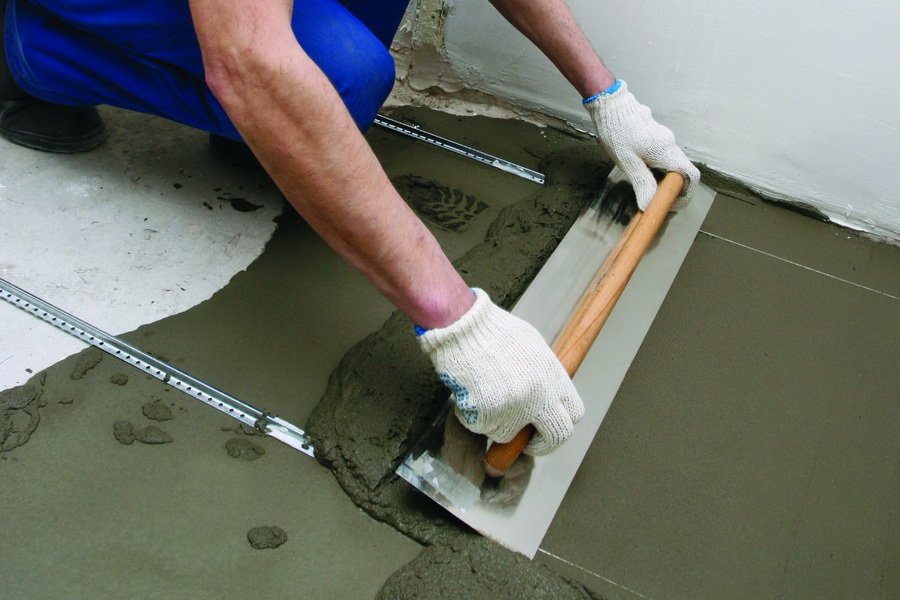
Floor screed
Another stage of the rough finish is working with the floor, namely the implementation of the screed. A floor tie is called an intermediate layer of a floor covering, which separates the foundation laid during construction and the elements of decorative finishing.
Floor screed is a must for several reasons:
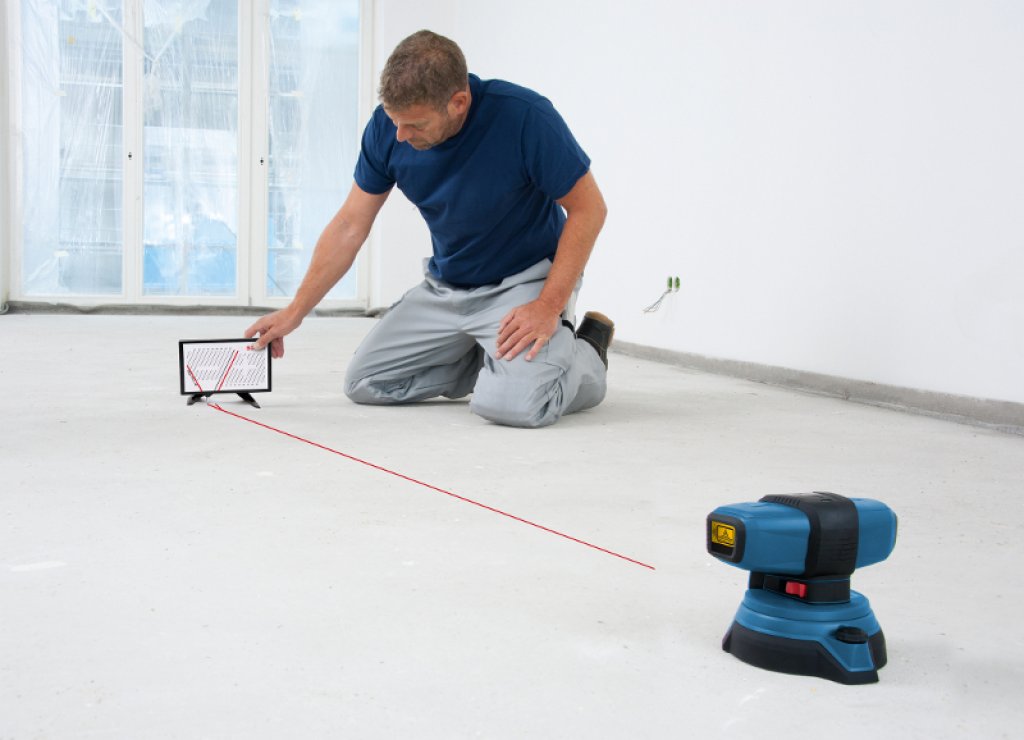
- the base, as a rule, is not very smooth, it has many flaws, so the screed is made to align it;
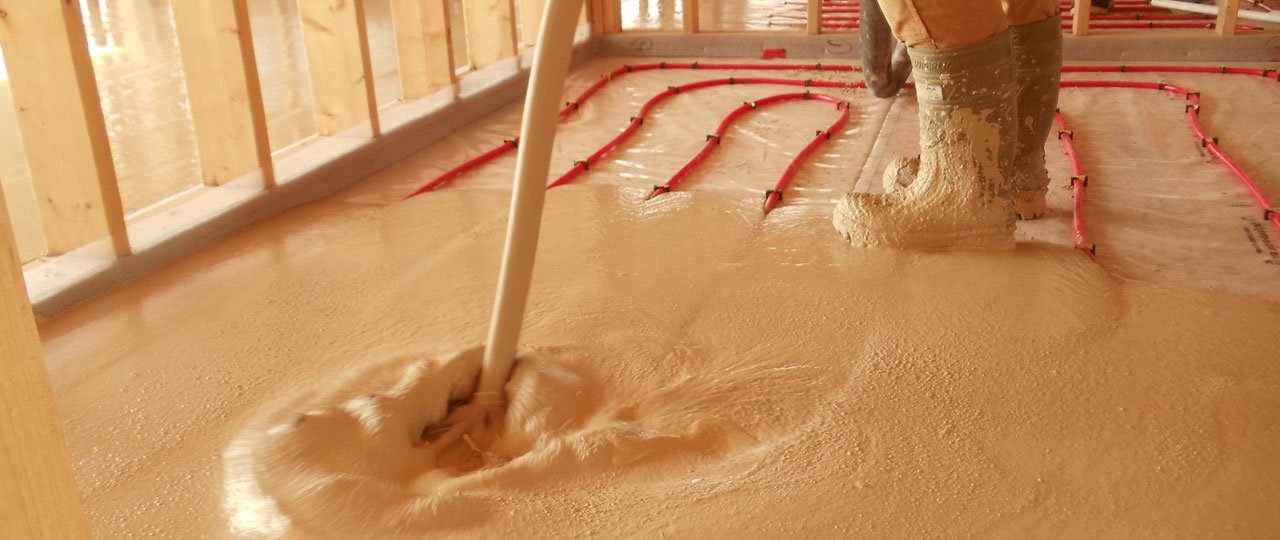
- if pipes and heating are installed under the floor, a screed will also be necessary, since this arrangement will need to be hidden;
- screed is also necessary for proper, safe distribution of thermal insulation properties;
- the screed is produced in the event that there is a need to create any biases.
Laying the final floor without making a tie will make the floor ineffective and reduce its insulation and noise insulation properties several times.
The screed has a slight sound insulation effect. This is especially true for repairs in a bedroom located in a new building, since the noise insulation properties of such houses are, as a rule, reduced to a minimum.
Draft walls and floor screeds reduce noise levels.
There are several types of screeds, and each of them has some characteristic features.
Wet screeds are made by combining a dry mixture with an aqueous solution. Screeds of this type exist in two versions: connected and floating (serving to ensure the greatest degree of noise insulation, which is provided by laying the mixture on special mats).
Dry screeds placed on the surface with expanded clay and special plates. The surface is treated with plaster or cement mortar to hide the resulting seams.


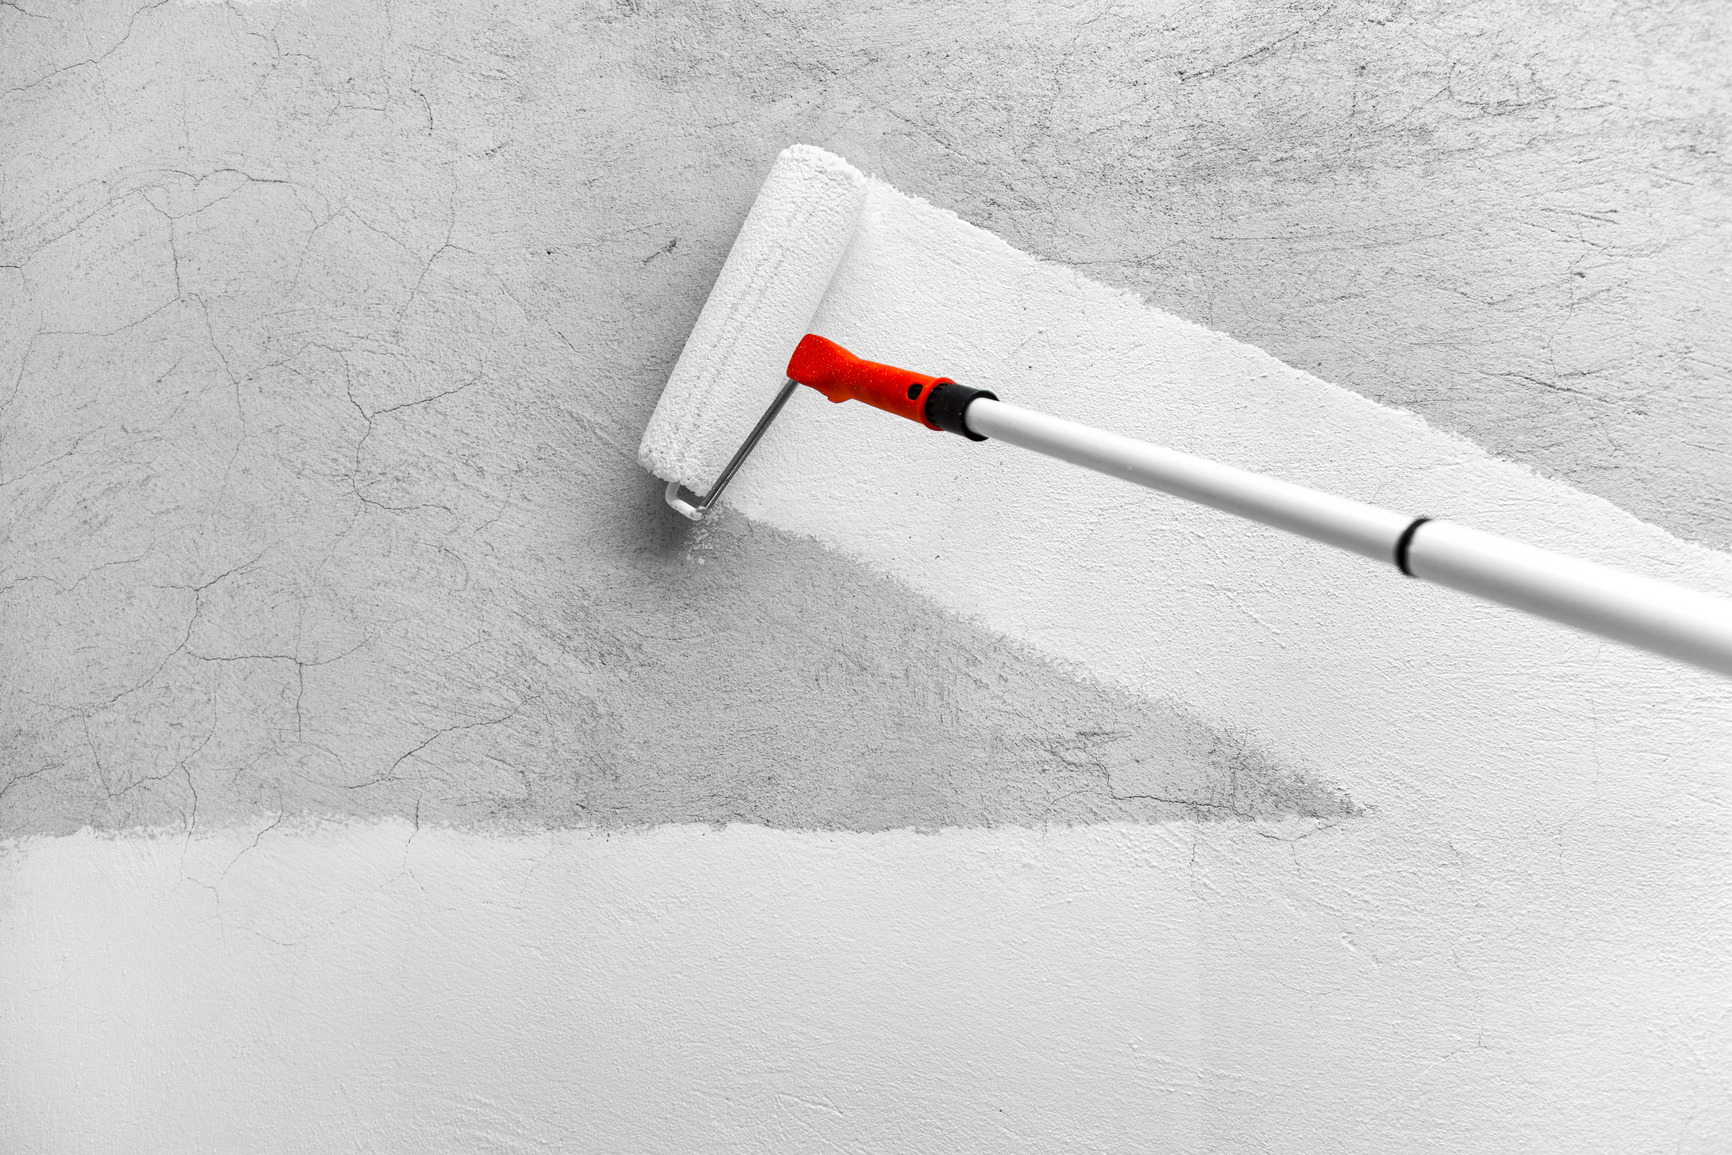
Primer ceiling and walls
After leveling the surface and applying the putty, it is necessary to prepare the walls and ceiling for the final finish. To do this, apply a layer of high-quality primer.The primer is a special solution that serves as a kind of adhesive means between the surface of the wall or ceiling and the finishing material.
The primer also has protective properties, preventing the loss of moisture in finishing materials. The fact is that concrete has the peculiarity of excessively strong absorption and exhaustion of moisture, which can lead to a rather rapid drying of the material, loss of all elasticity and premature failure.
Primers are divided into several types and are selected according to the surface to be primed. In addition, the choice affects the humidity of the room and the purpose of the material.
One type of primer was created in order to serve as a layer between building and finishing materials, while others are needed only for processing the base of a wall or ceiling. And the third and do differ in the properties of deep penetration, which is very important for the walls of brittle, granular material.
The primer may have to be applied in several layers, depending on the type of the mortar itself and the surface of the wall on which it is applied.
Proceeding to the final finish is possible only after the complete drying of all layers of the primer.
To determine whether the wall needs additional priming, after the first layer has dried, it is necessary to run it over the surface with your hand. If dust remains on the palm of the material from which the wall is made, repeat the procedure.
Finishing
After the rough finish and preparation of the walls and ceiling should proceed to the finishing finish. It includes the decoration of walls, ceiling and floor with necessary finishing materials.
Materials must be chosen in advance, as the preparation of the walls must be carried out in accordance with the type of finish.
It is not worth wisely when choosing materials. Reassessing your strength, you can simply not cope with the task and not complete the repair of the bedroom as you would like (or not to complete it at all). However, the choice of material will be discussed a little later, now the main stages of the final finishing and their features will be considered.
Finishing includes working on surfaces of walls, ceilings and floors.
The sequence of processing parts of the room that need to be decorated can change - depending on the chosen material of decoration.
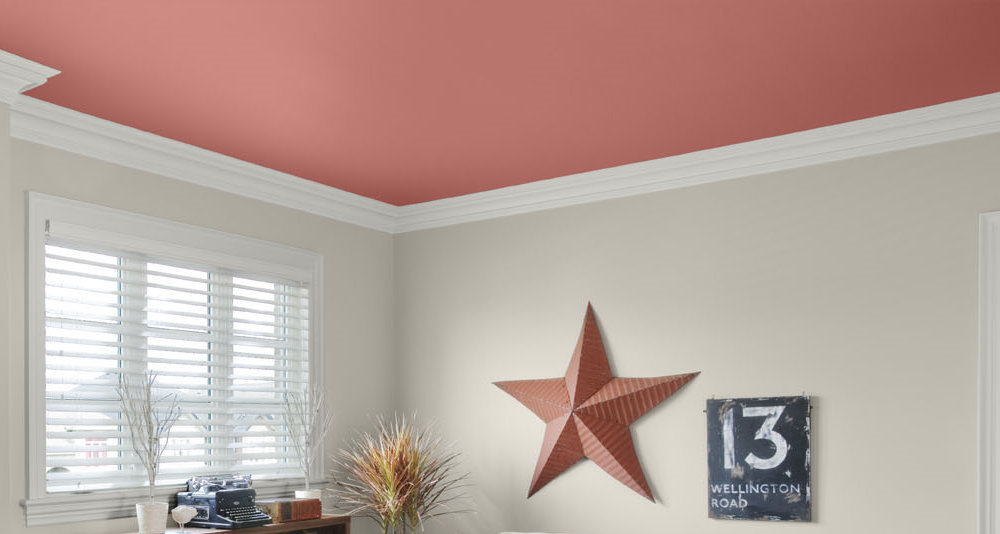
Ceiling
Finishing the ceiling is made first of all, if plaster, paint, ceiling tiles are fastened with special glue as the finishing materials. This stage should be the first, since these materials are fairly branded and can damage the decor of the ceiling and the floor.
Whitewashing and paint it is necessary to apply on the primed surface, but in order to fix the tiled decor it is necessary to pre-plaster and putty the ceiling, since the glue does not always adhere well to the concrete surface.


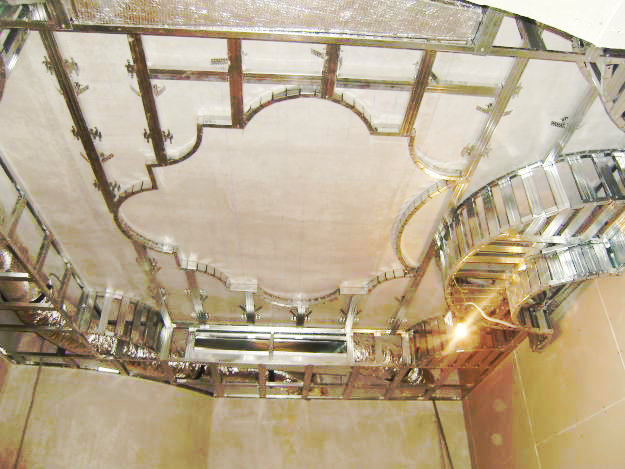
First produced and construction of suspended ceiling structures and niches. Since such elements are made of plasterboard sheets, the surface will also need to be plastered and filled, after which it is necessary to apply a primer and paint it. The dyeing process in any case may lead to pollution of the surrounding area.

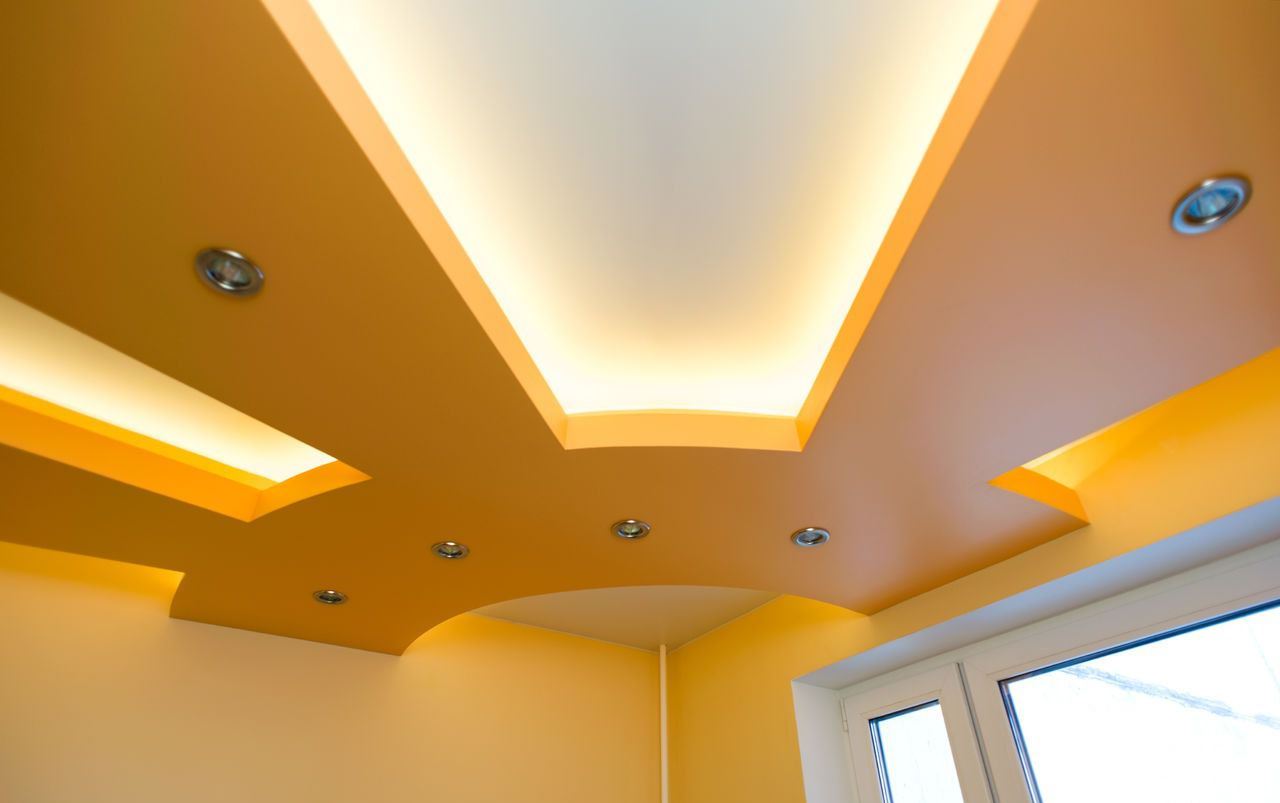
BUT installation of stretch ceiling performed at the final stage of finishing. Under the already stretched canvas it will be very difficult to stick the wallpaper, and the decor of the walls with plaster will be completely impossible.Stretch ceiling does not affect the cleanliness of the walls and floor, because for its installation does not use any liquid adhesives and coloring materials.
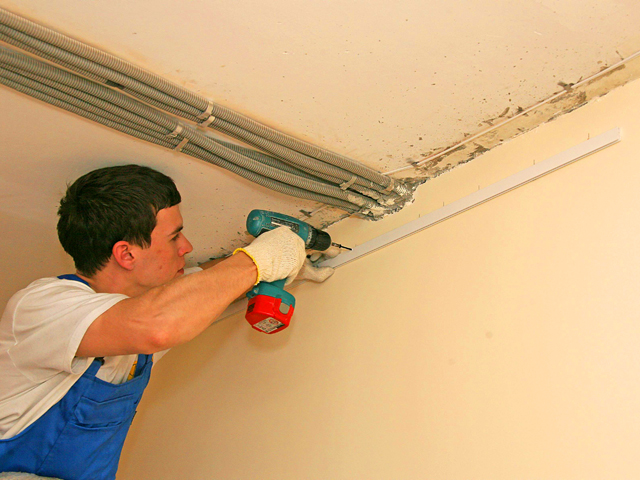
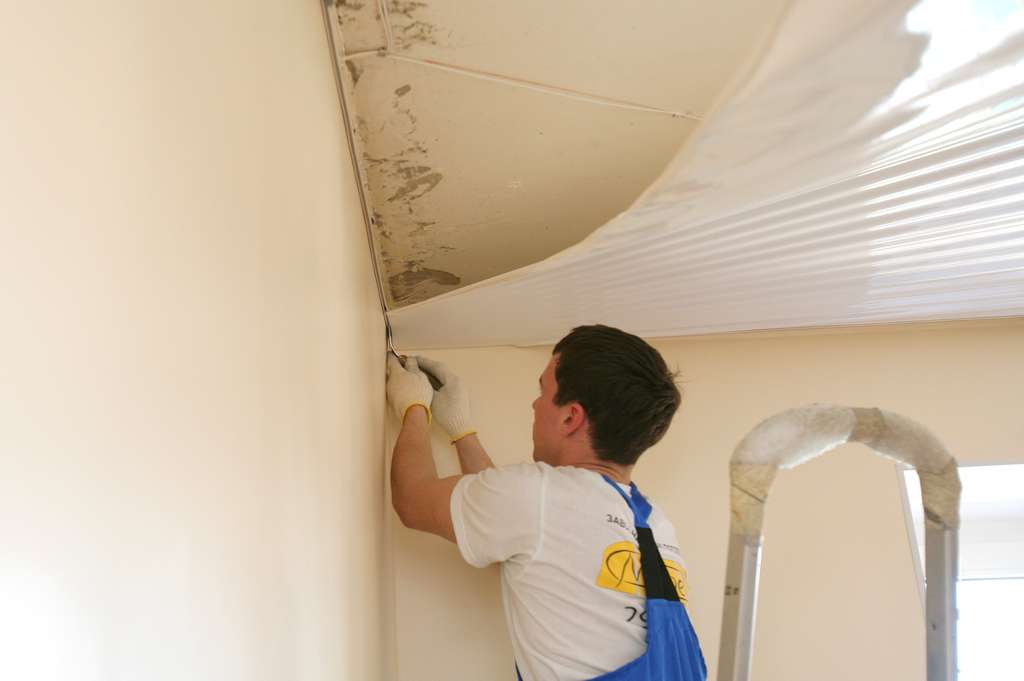
For mounting tensioning cloth on the wall (a few centimeters from the ceiling), special metal profiles are mounted. After that, the canvas is heated with special air cannons and stretches along the perimeter of the whole bedroom. The edges of such a canvas are tucked in behind profiles - and thus fixed.
Walls
With the stages of finishing the ceiling everything is clear, the next stage is the decoration of the walls.
The most suitable option is selected depending on the surface of the wall itself, the room temperature, the level of humidity and individual preferences.
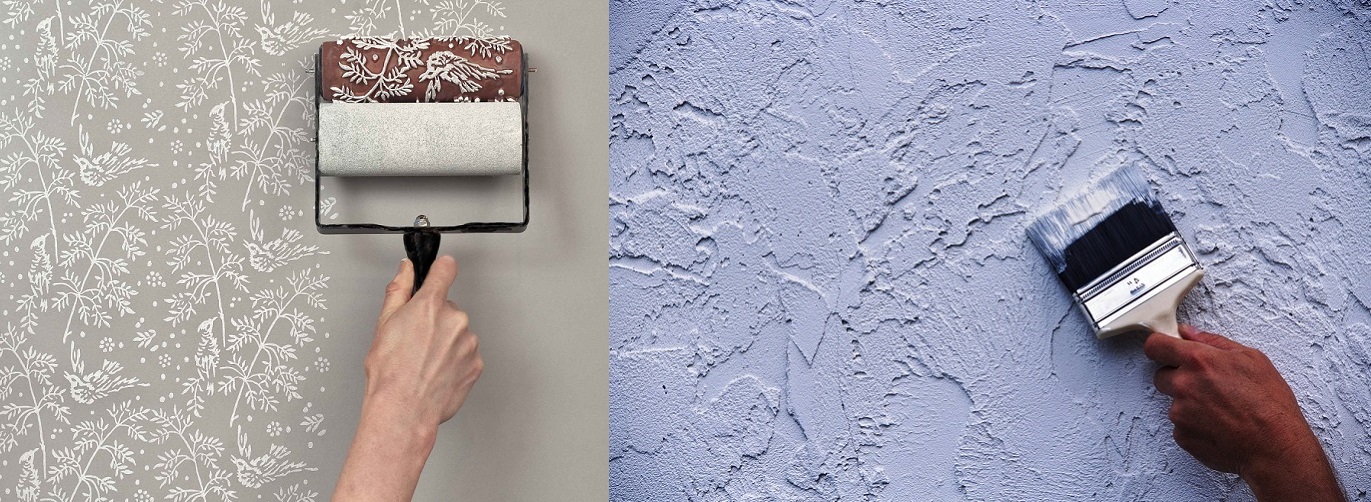
If the choice fell on ordinary patterned wallpaper, everything is quite simple here - high-quality glue is selected with appropriate characteristics, wallpaper is cut into canvases of the required length, coated with glue and fixed to the wall. If necessary, you can apply glue to the wall itself too.
If the choice fell on the wallpaper with a pattern that needs to be docked and customized, you should cut the canvases in advance on the entire perimeter of the room - taking into account the creation of a complete picture.


After sticking wallpaper for painting it is necessary to dry thoroughly - and only then paint.
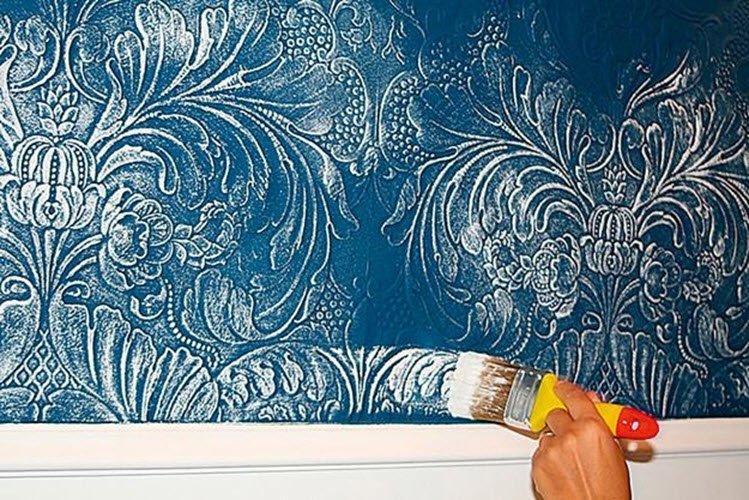
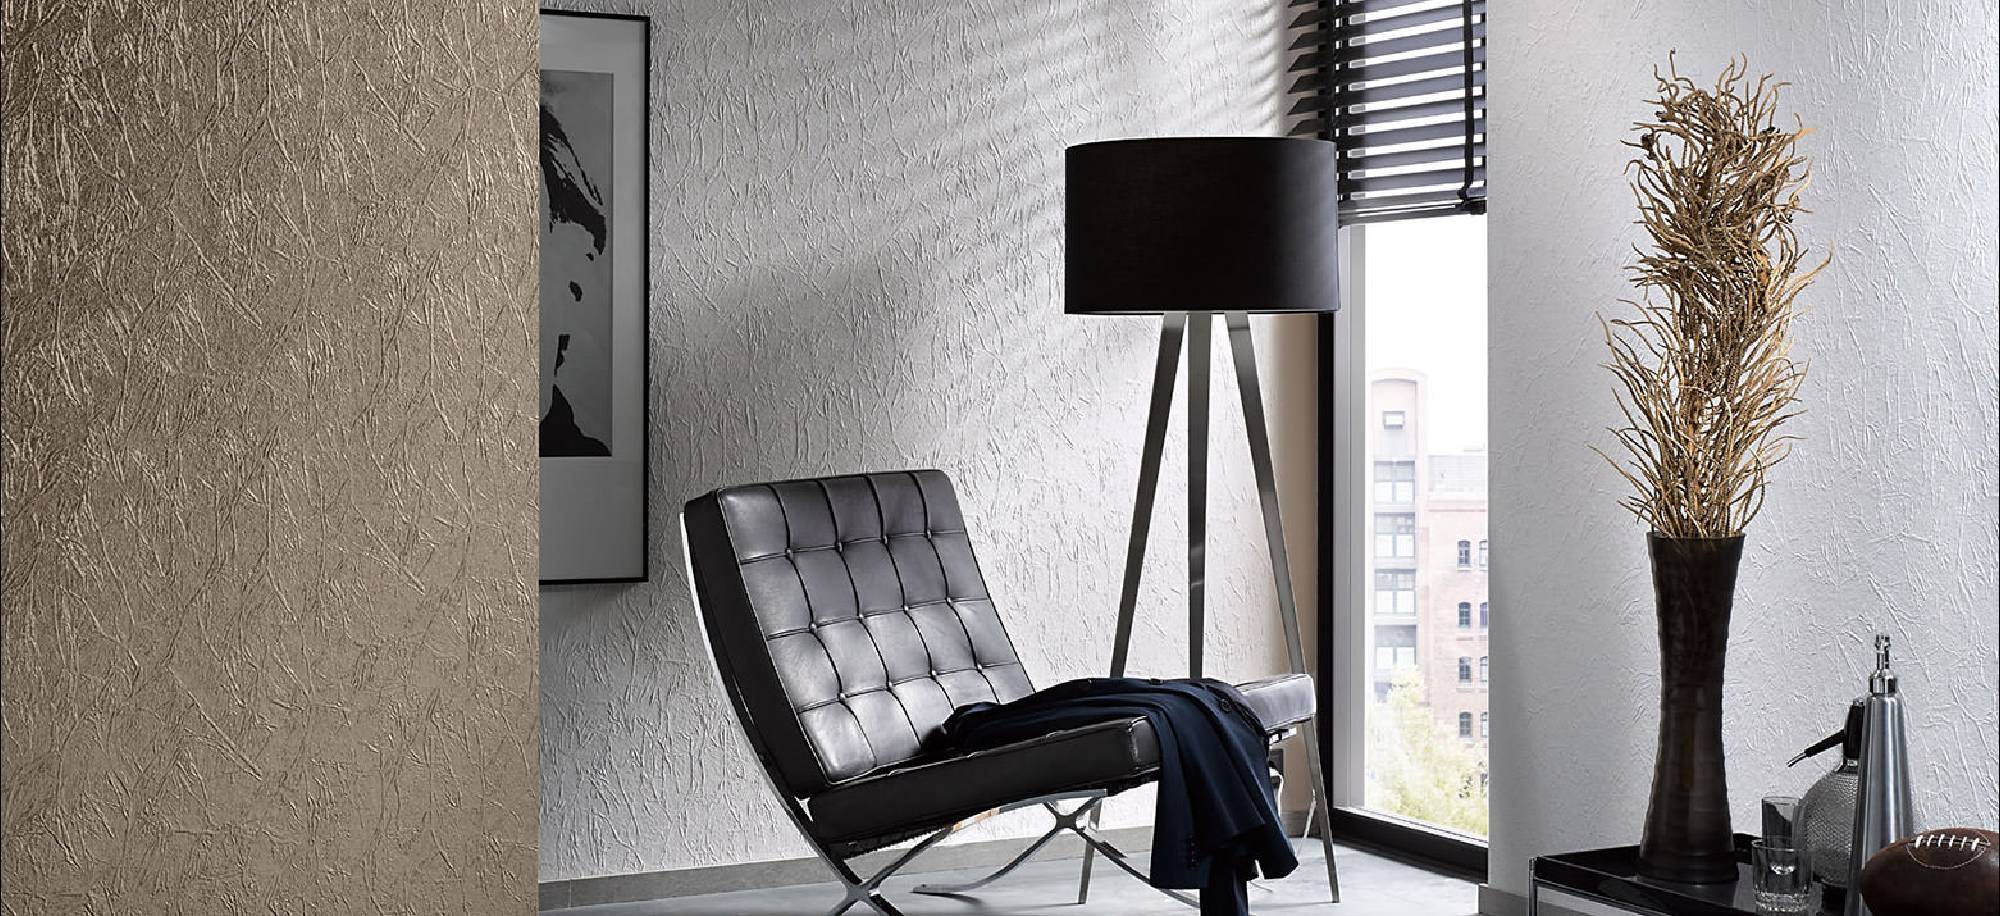


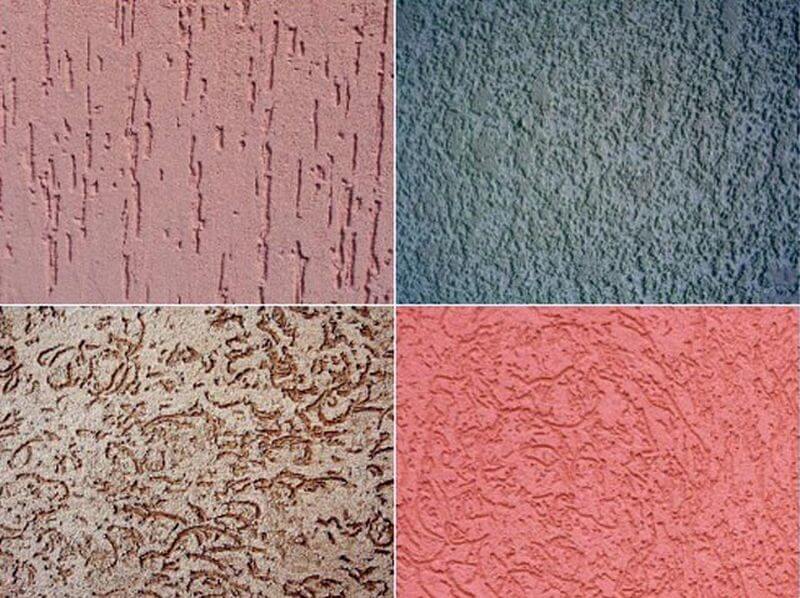
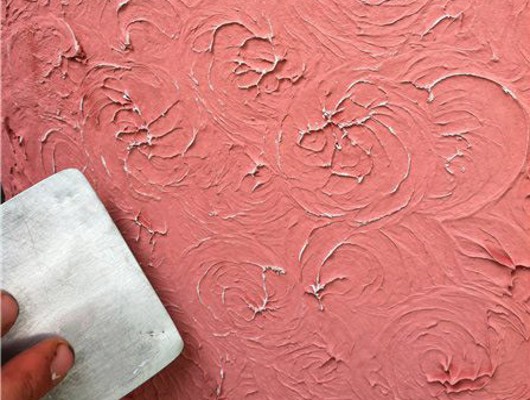
It is worth noting that you can paint and simply progruntovanye walls, and the surface, decorated with finishing plaster, with which you can create an interesting textured surface.
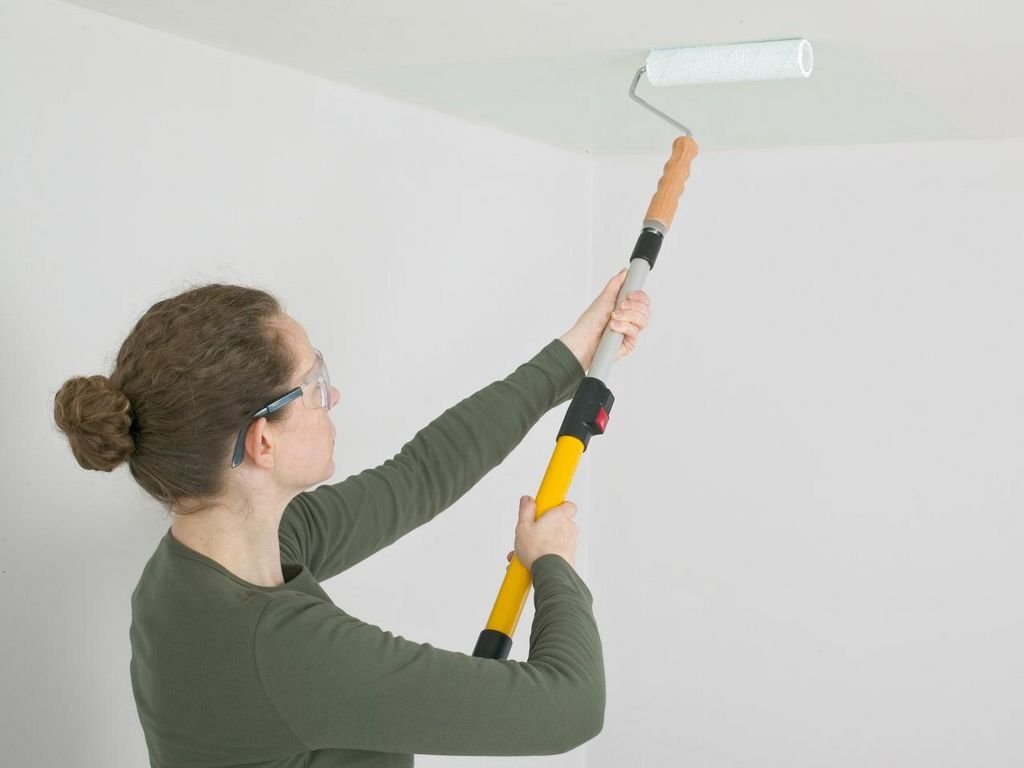
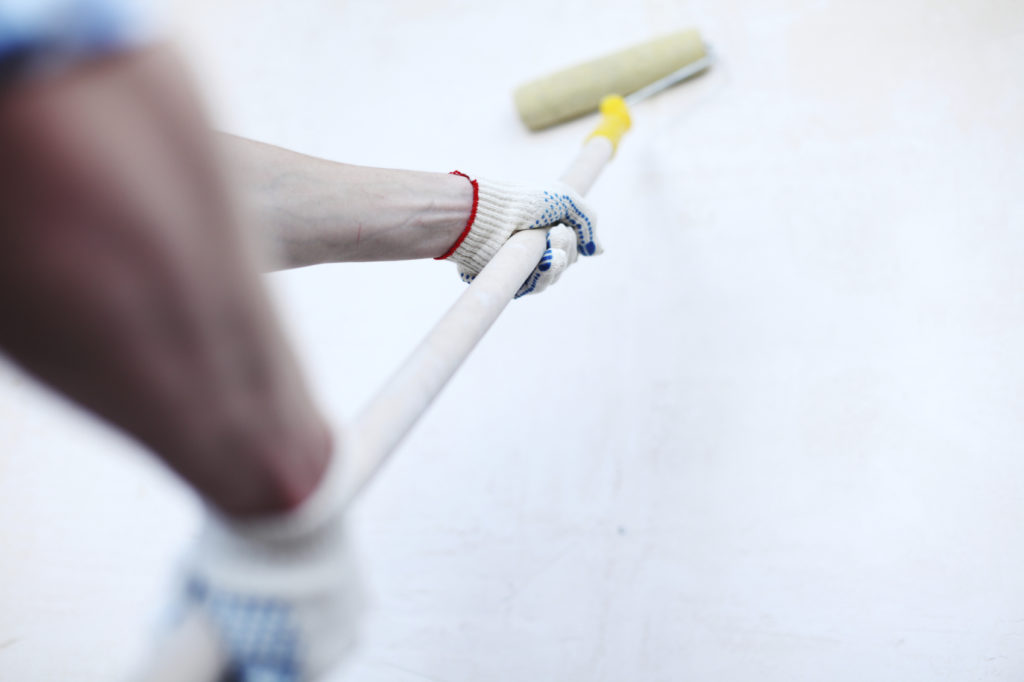
rules wall painting do not differ from the process of painting any other elements of the room with something special. First, you need to apply paint with a brush on the edges in the floor and ceiling, as well as on the corner openings, after which (armed with a roller with an appropriate surface) you will need to paint the central part of the wall.
If the ceiling has been pre-painted, care should be taken when applying paint on top of the wall. No need to touch the surface of the ceiling.


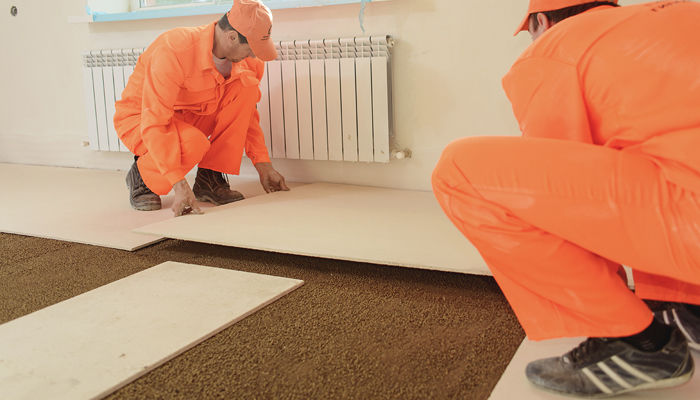
Floor
The finishing of the floor is the last stage that completes the repair, since the painting of the surface of the floor is very rare, and indeed the process of decorating it in a particular way does not affect the preservation of the decoration of the walls and ceiling.


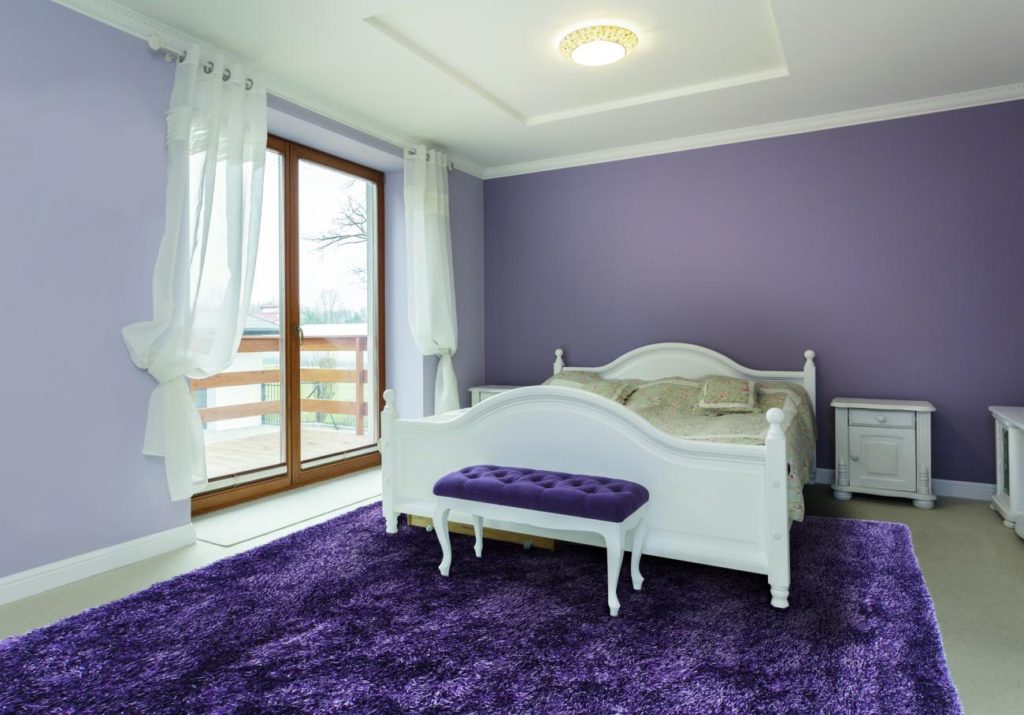
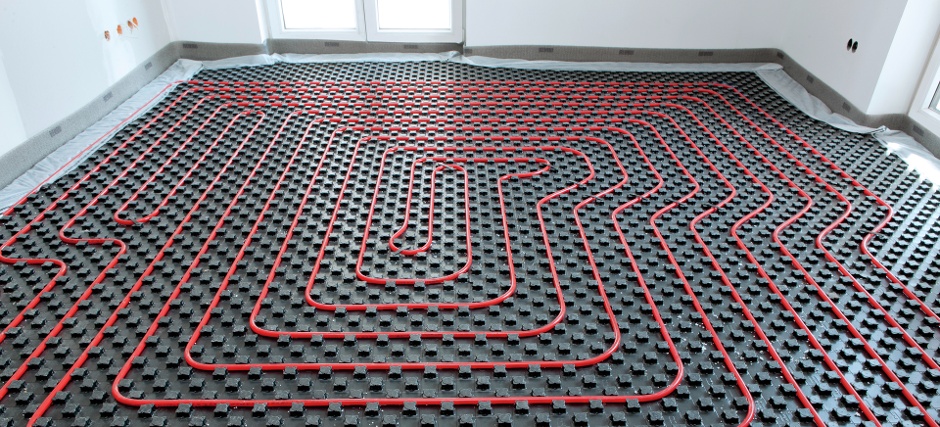
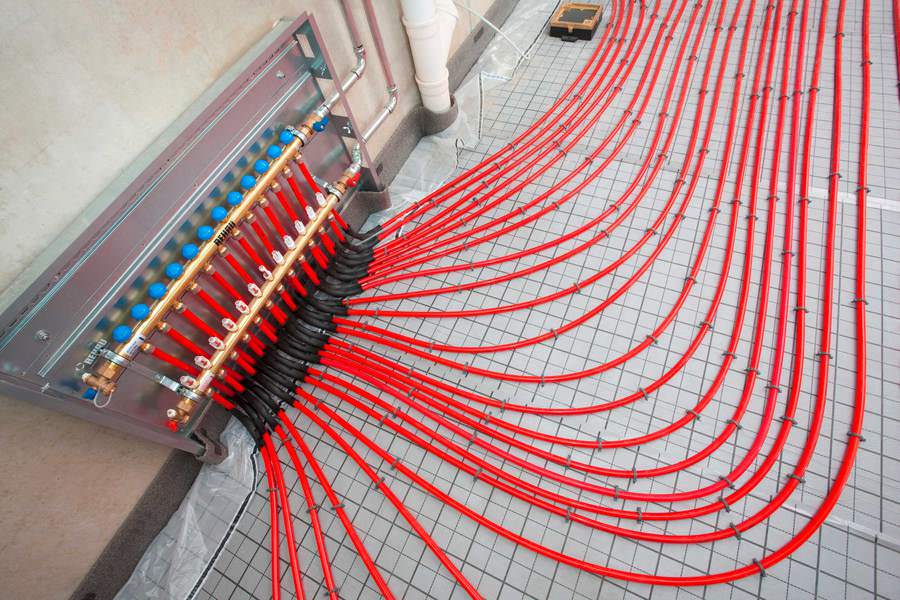
What is really worth considering before the finishing process of the whole room is equipping the floor with heating mats (a system of underfloor heating, which will be very relevant for the sleeping room - especially if the room has a balcony).
Some types of warm floors need to be fixed. Laying the mats on the already dried screed, they must be fixed with a special glue or cement mortar. Some especially powerful elements even fix before the screed is made.
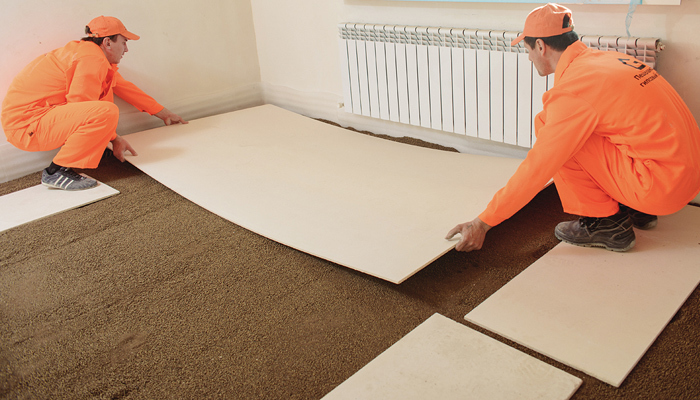
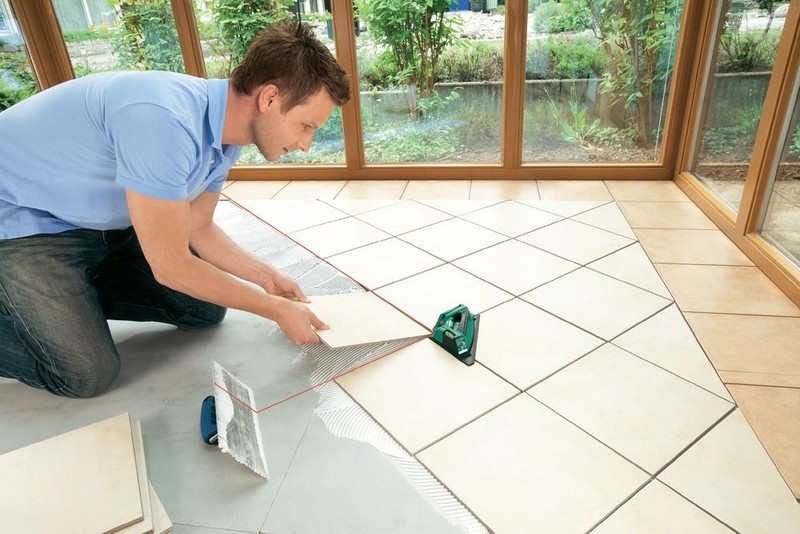
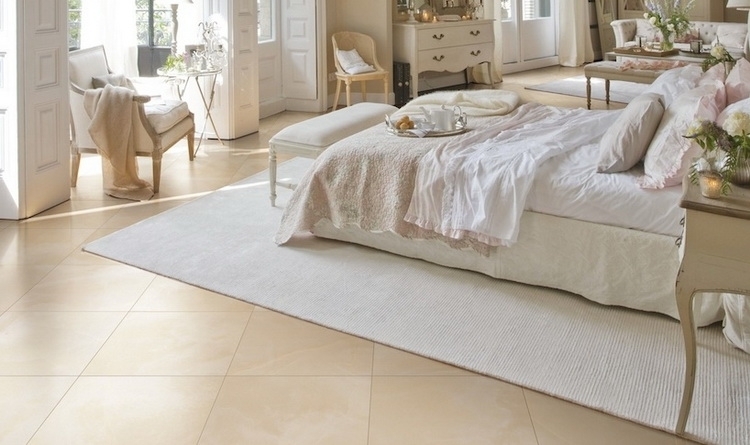
After installation of the heated floor, the finish is selected. It can be ceramic tiles or porcelain tiles (it is rarely used for the bedroom), as well as high-quality linoleum, carpet, laminate or parquet. Do not forget about the special substrate, which should be almost under each of these coatings.
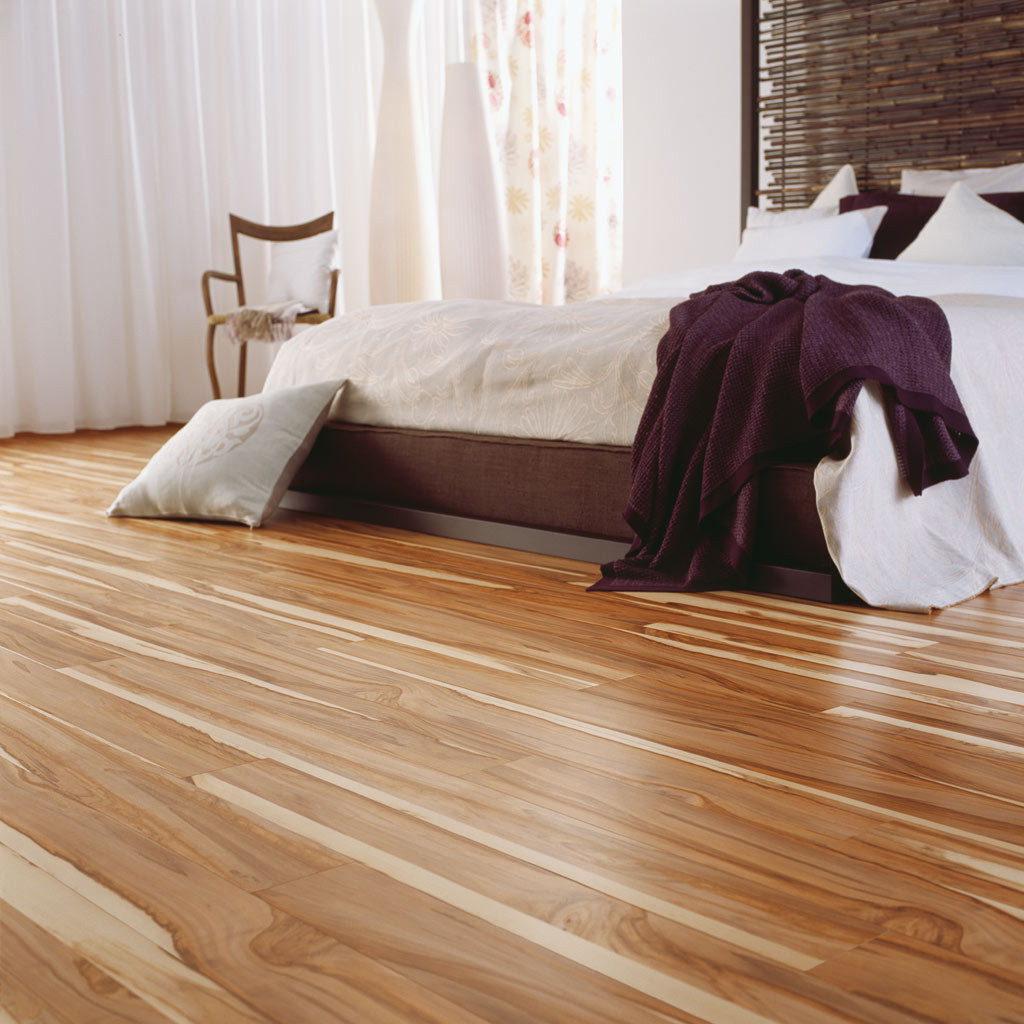
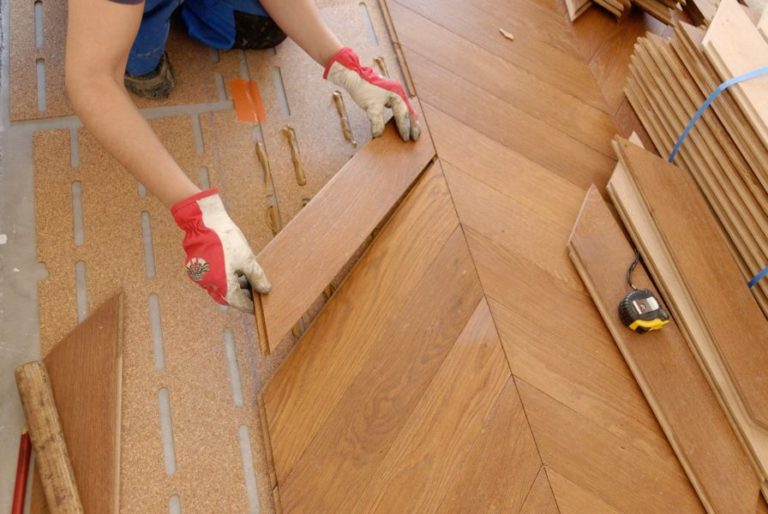
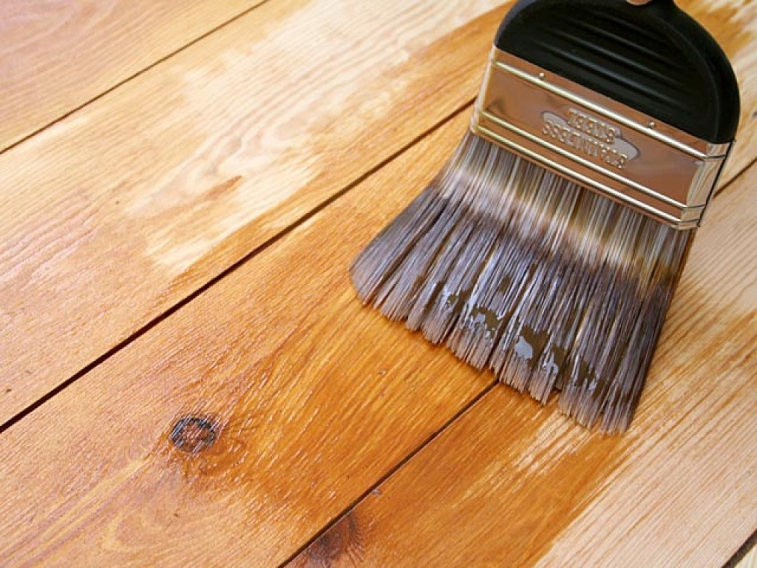
Special attention should be paid to parquet and wood flooring, since the final stage is the application of a special coating - parquet lacquer.
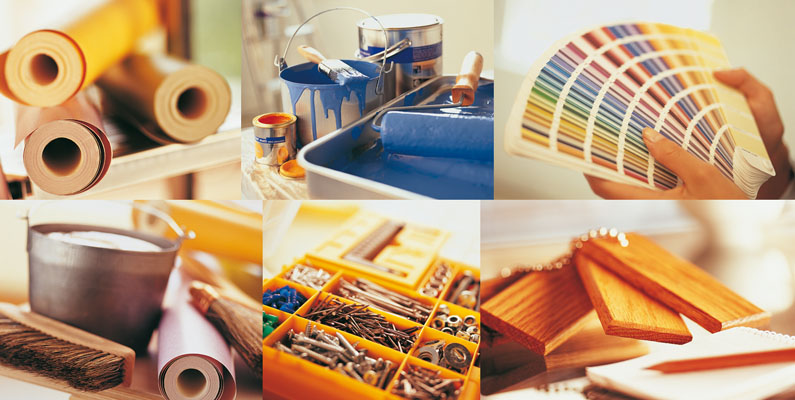
Tips for choosing building materials
Of course, an important aspect of any repair process is the choice of high-quality building materials. It is necessary to figure out what needs to be taken into account when choosing what to pay special attention to, as well as to learn the features of the most popular materials.
It is necessary to analyze the market of offers - in order to identify the most favorable price variations of the same product.The repair process (even if it is just one bedroom) requires considerable investments, so a small saving does not exactly hurt.

It is worth considering what qualities and characteristics must be considered when choosing a material:
- Any material should not have a sharp unpleasant odors. The faint odor left over from factory products disappears quickly, but the pungent odor characteristic of low-quality cheap materials can persist for quite a long time, having a detrimental effect on human well-being.
- The material must have antistatic properties., preventing the accumulation of static electricity, which can violate the conditions of comfortable living.
- Very good if the material contains antibacterial components., preventing the occurrence of fungi and the reproduction of harmful bacteria, which also may not be the best way to affect health.
- Of course, the material must be beautiful and provide a wonderful rest., because the sleeping room is designed specifically for this.
- Any construction and finishing materials must be durable and wear-resistant.since the annual renovation of the premises through repair is unprofitable and unreasonable.
You can select the most appropriate finishing materials for different parts of the room.
For the ceiling
For convenience, it is worthwhile to consider the advantages and disadvantages of various ceiling coverings on the example of a comparative table.
| Special features | Benefits | disadvantages | |
| Whitewash ceiling | It is done with a spray gun, roller or brush. | Ease of execution, neat appearance. | Preliminary alignment of a surface, high degree of marzichnost, fragility. |
| Painting the ceiling | It is made with the help of water-based or water-dispersion paint. | You can choose the budget materials, ease of execution. | It is quickly peeling, it is necessary to update each couple of years, preliminary shpatlevaniye is necessary. |
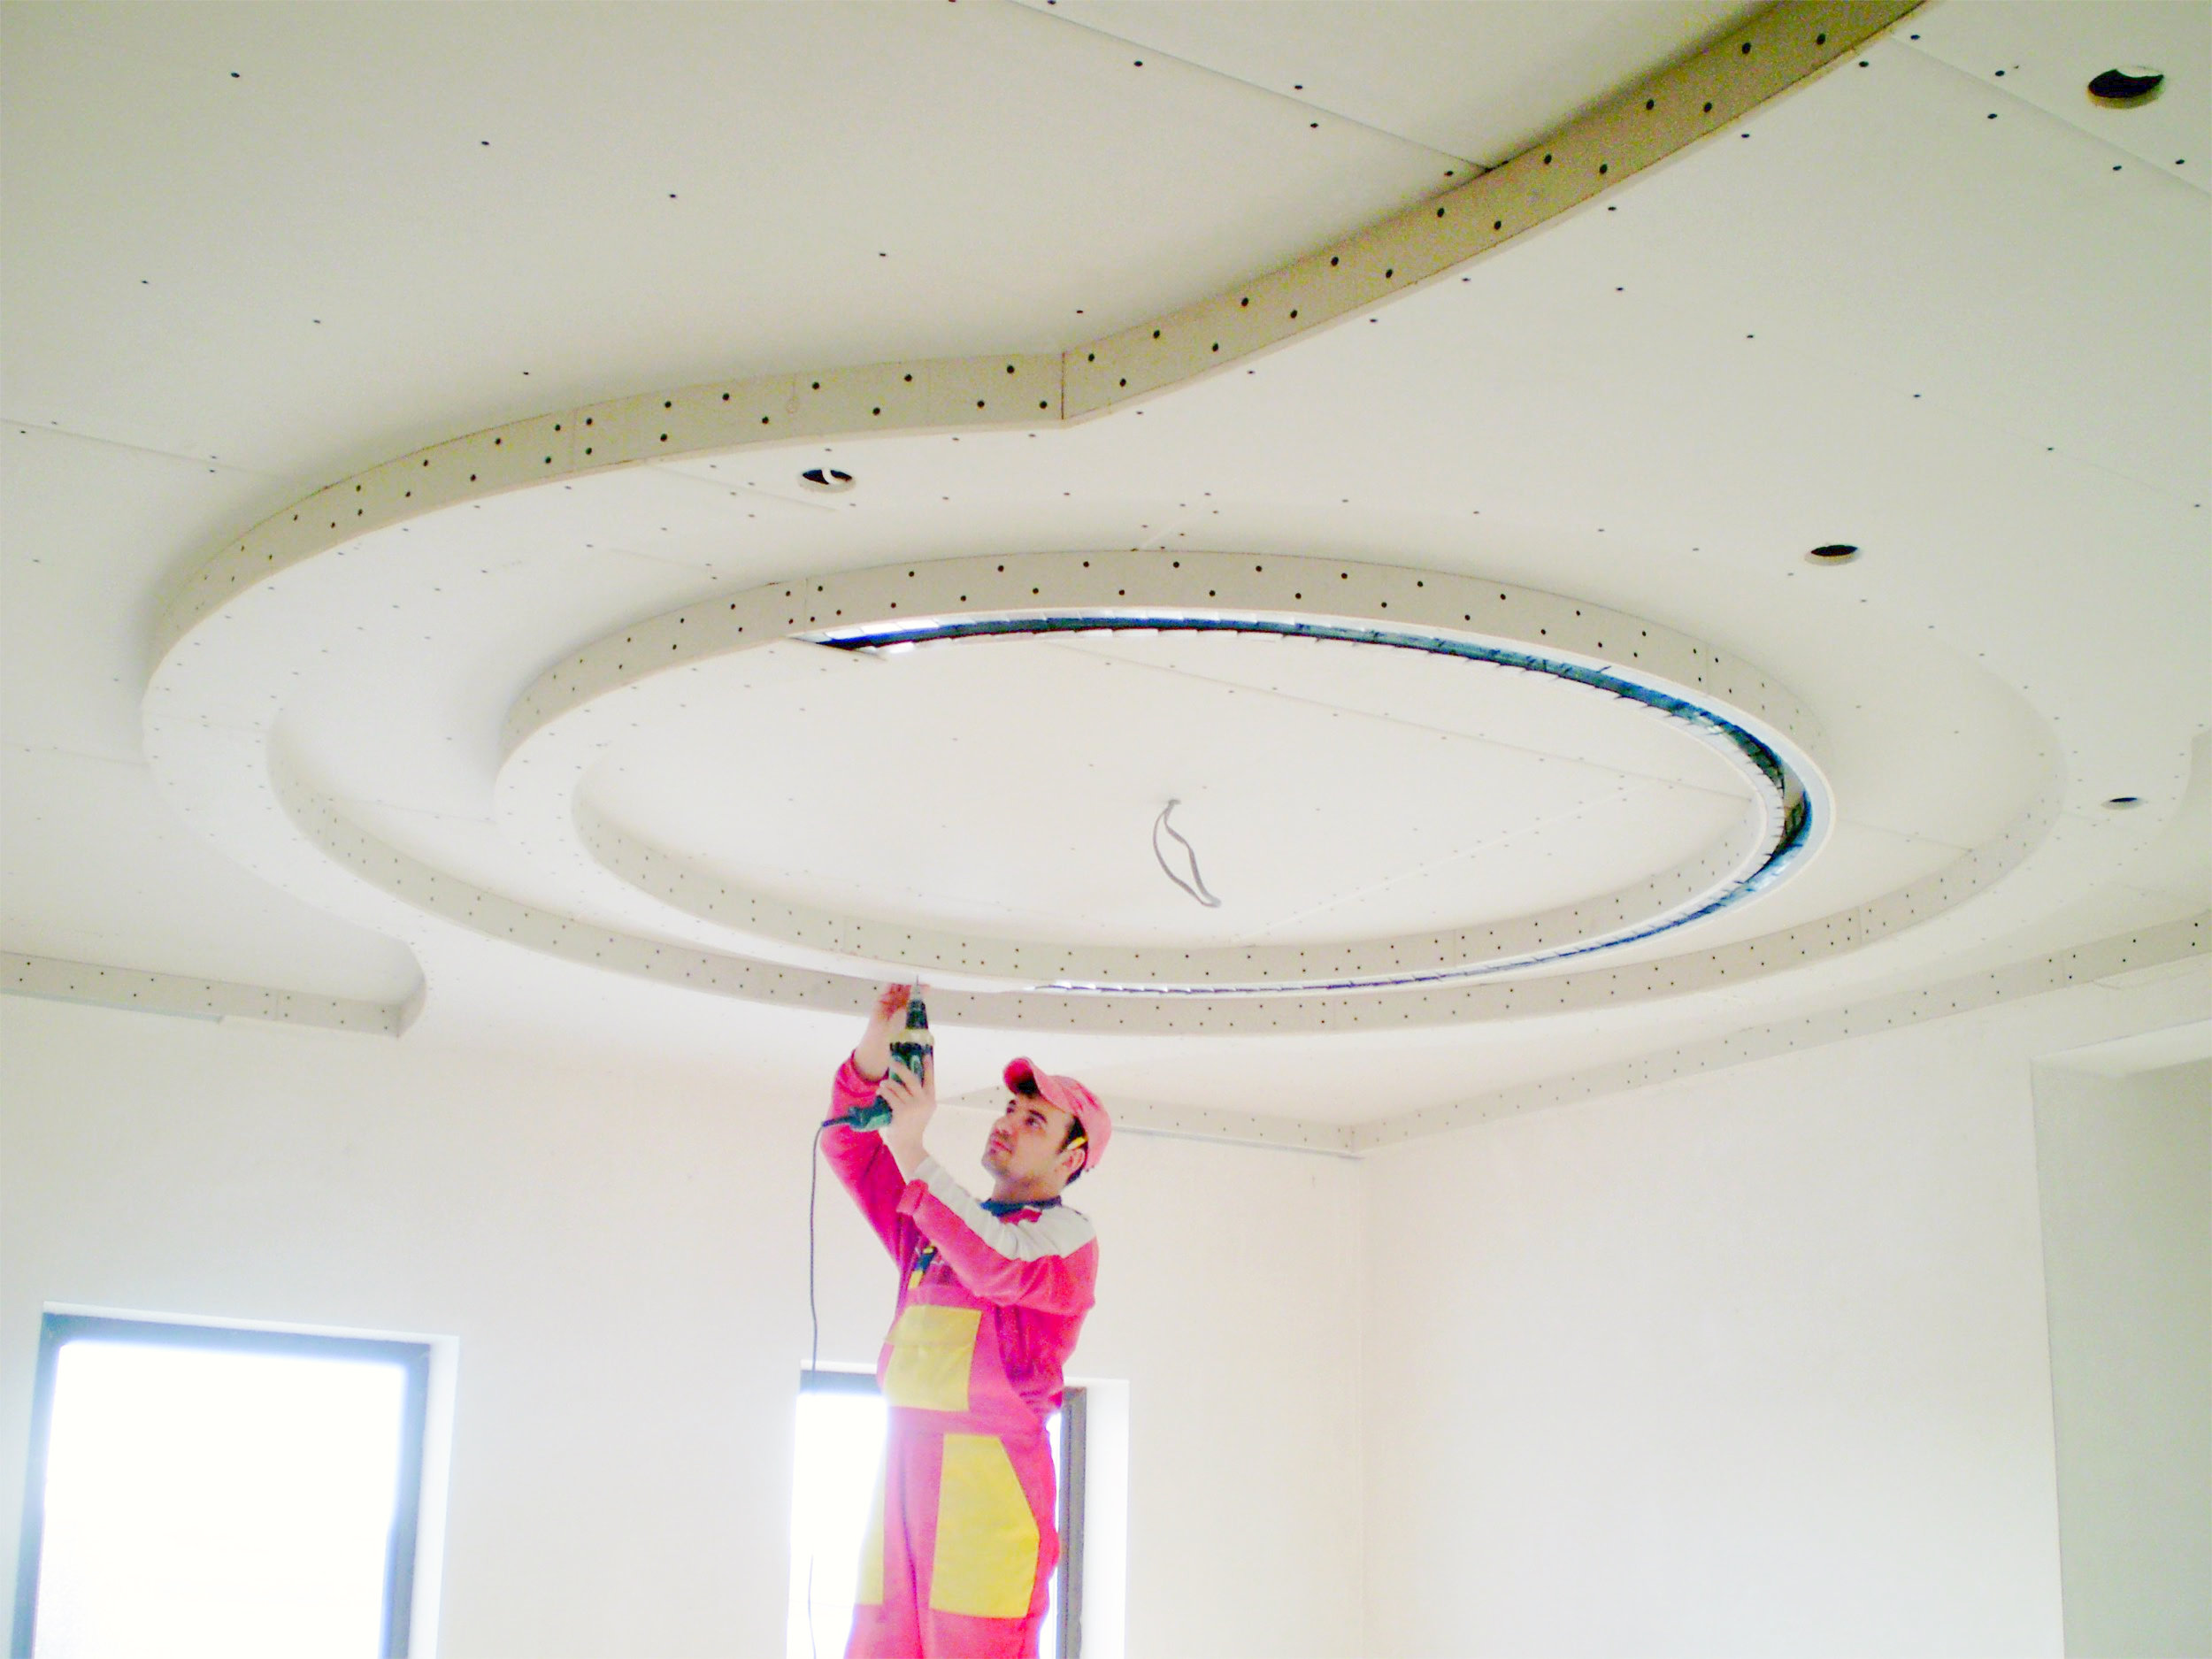
| Drywall | Constructed from sheets of drywall and metal profiles. | With a special technique, you can build a design of any shape. | Such designs "eat up" the free space of the room. |
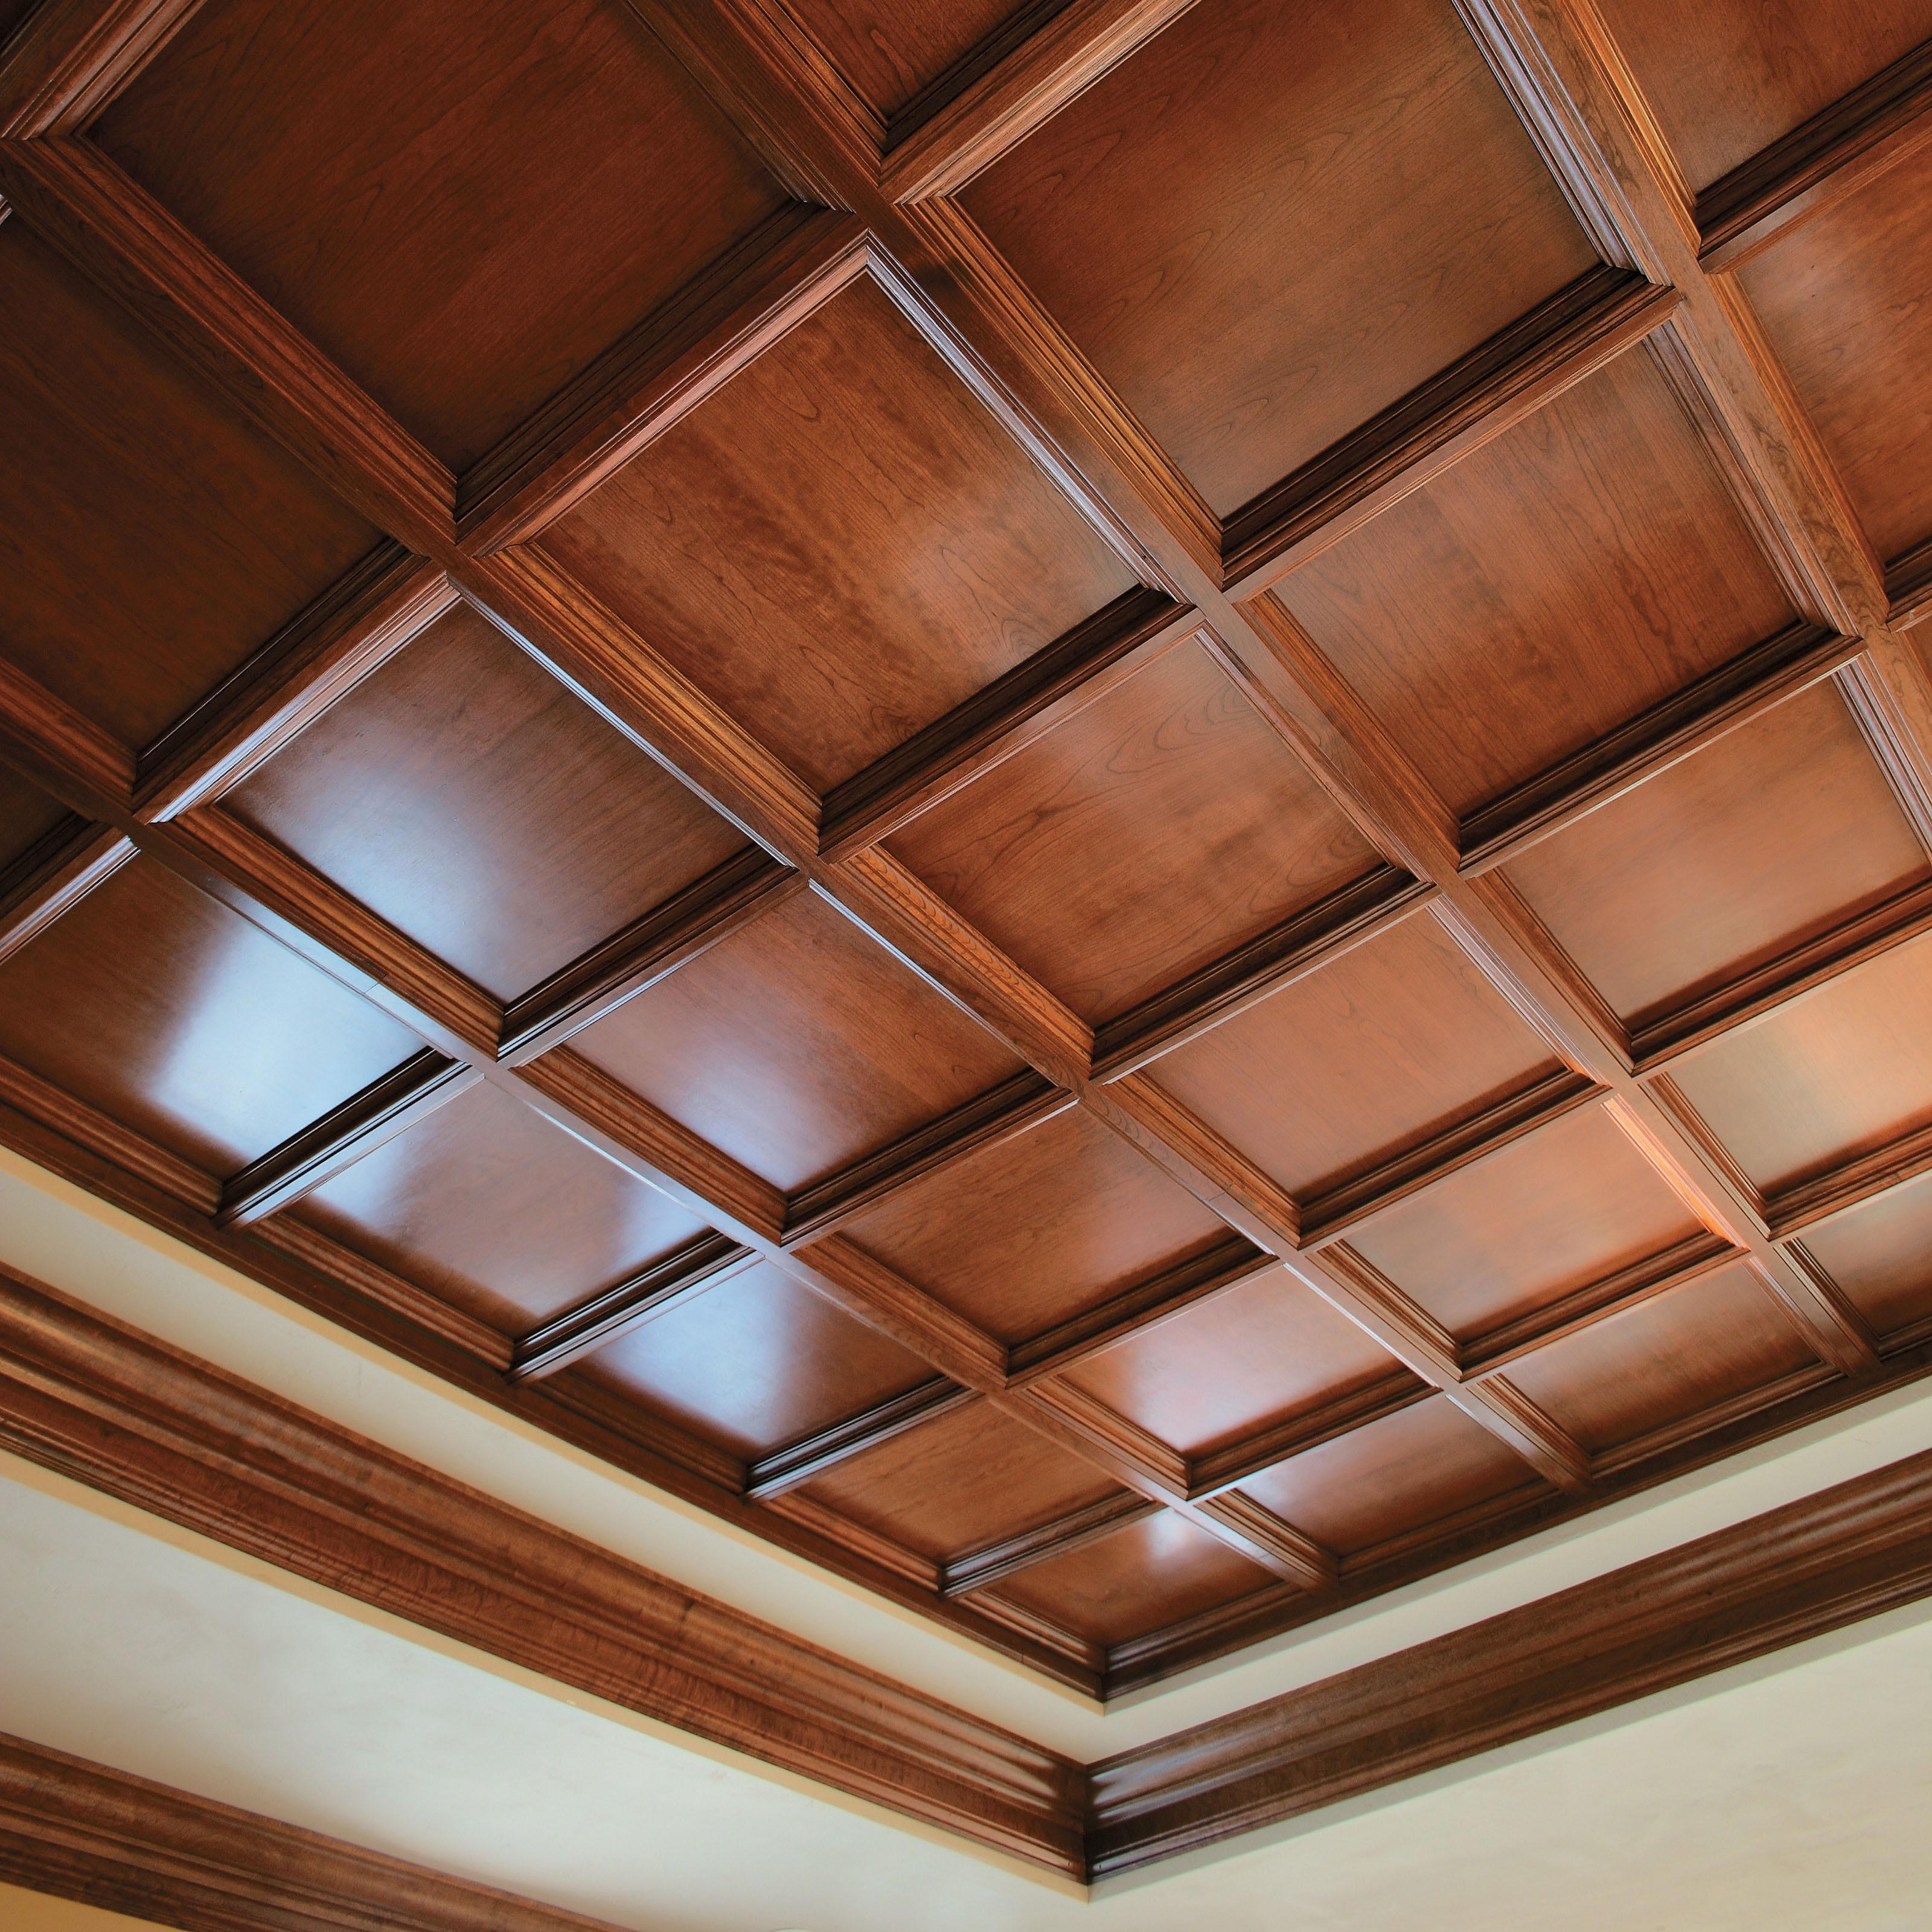
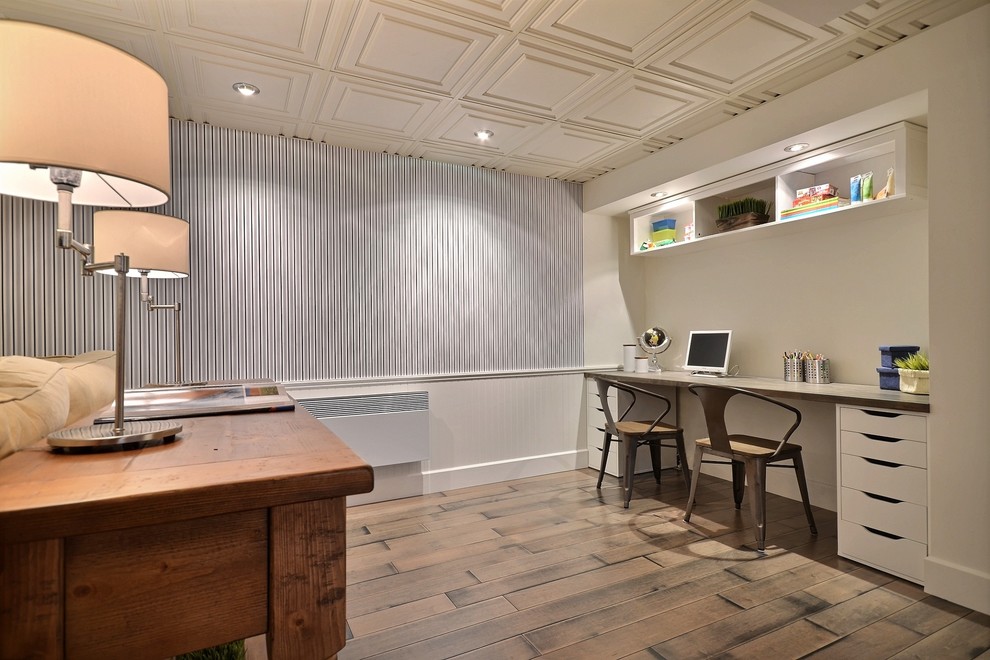
| Suspended ceiling design: | |||
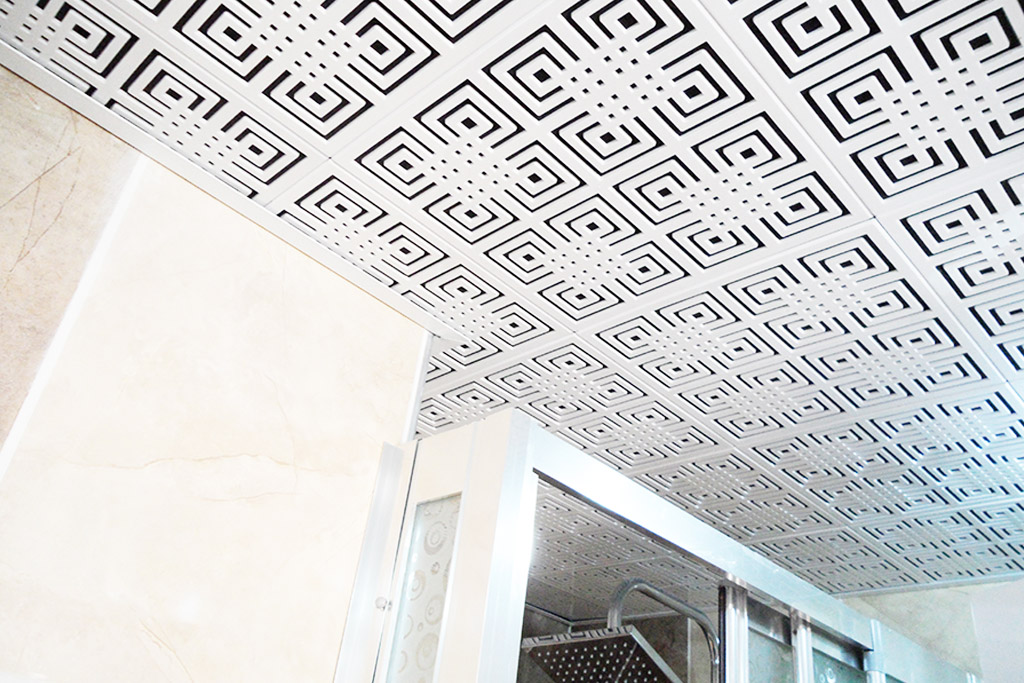
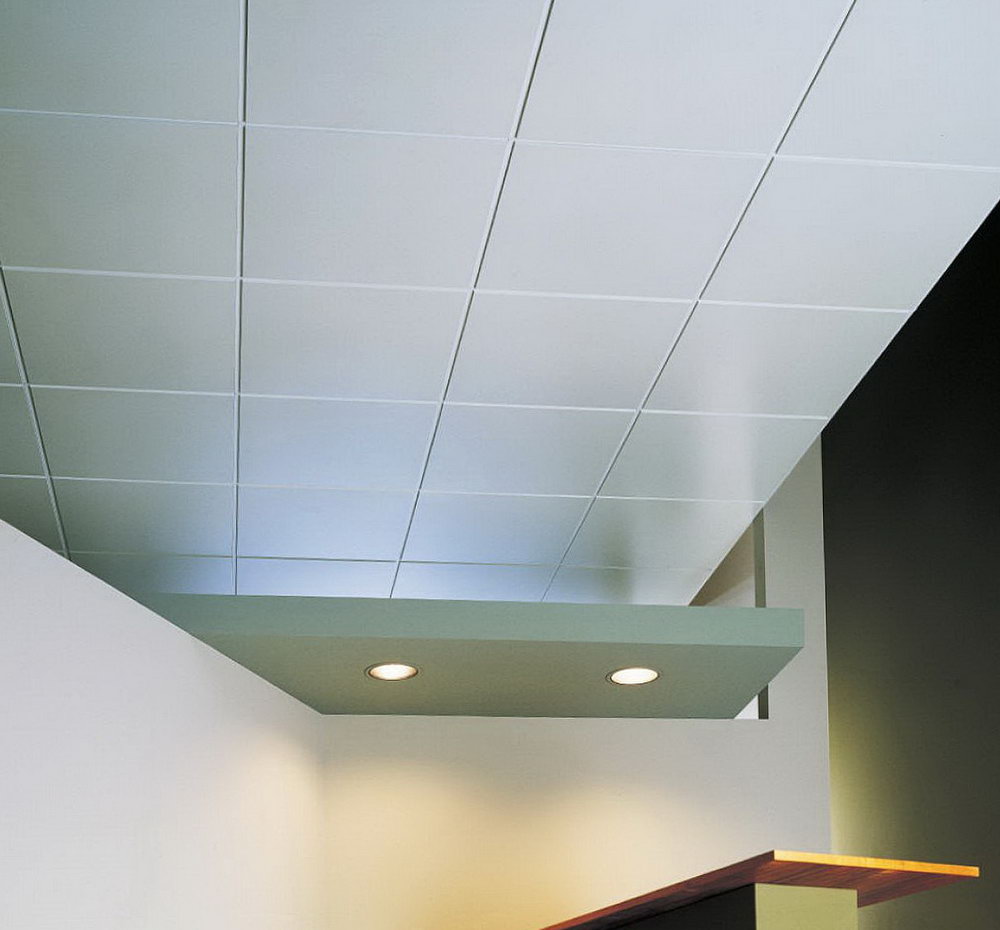
| Cassette | It consists of thin plates made of aluminum or galvanized materials. | Easy to install, easy to clean, hide surface imperfections. | Low degree of sound insulation and noise suppression. |
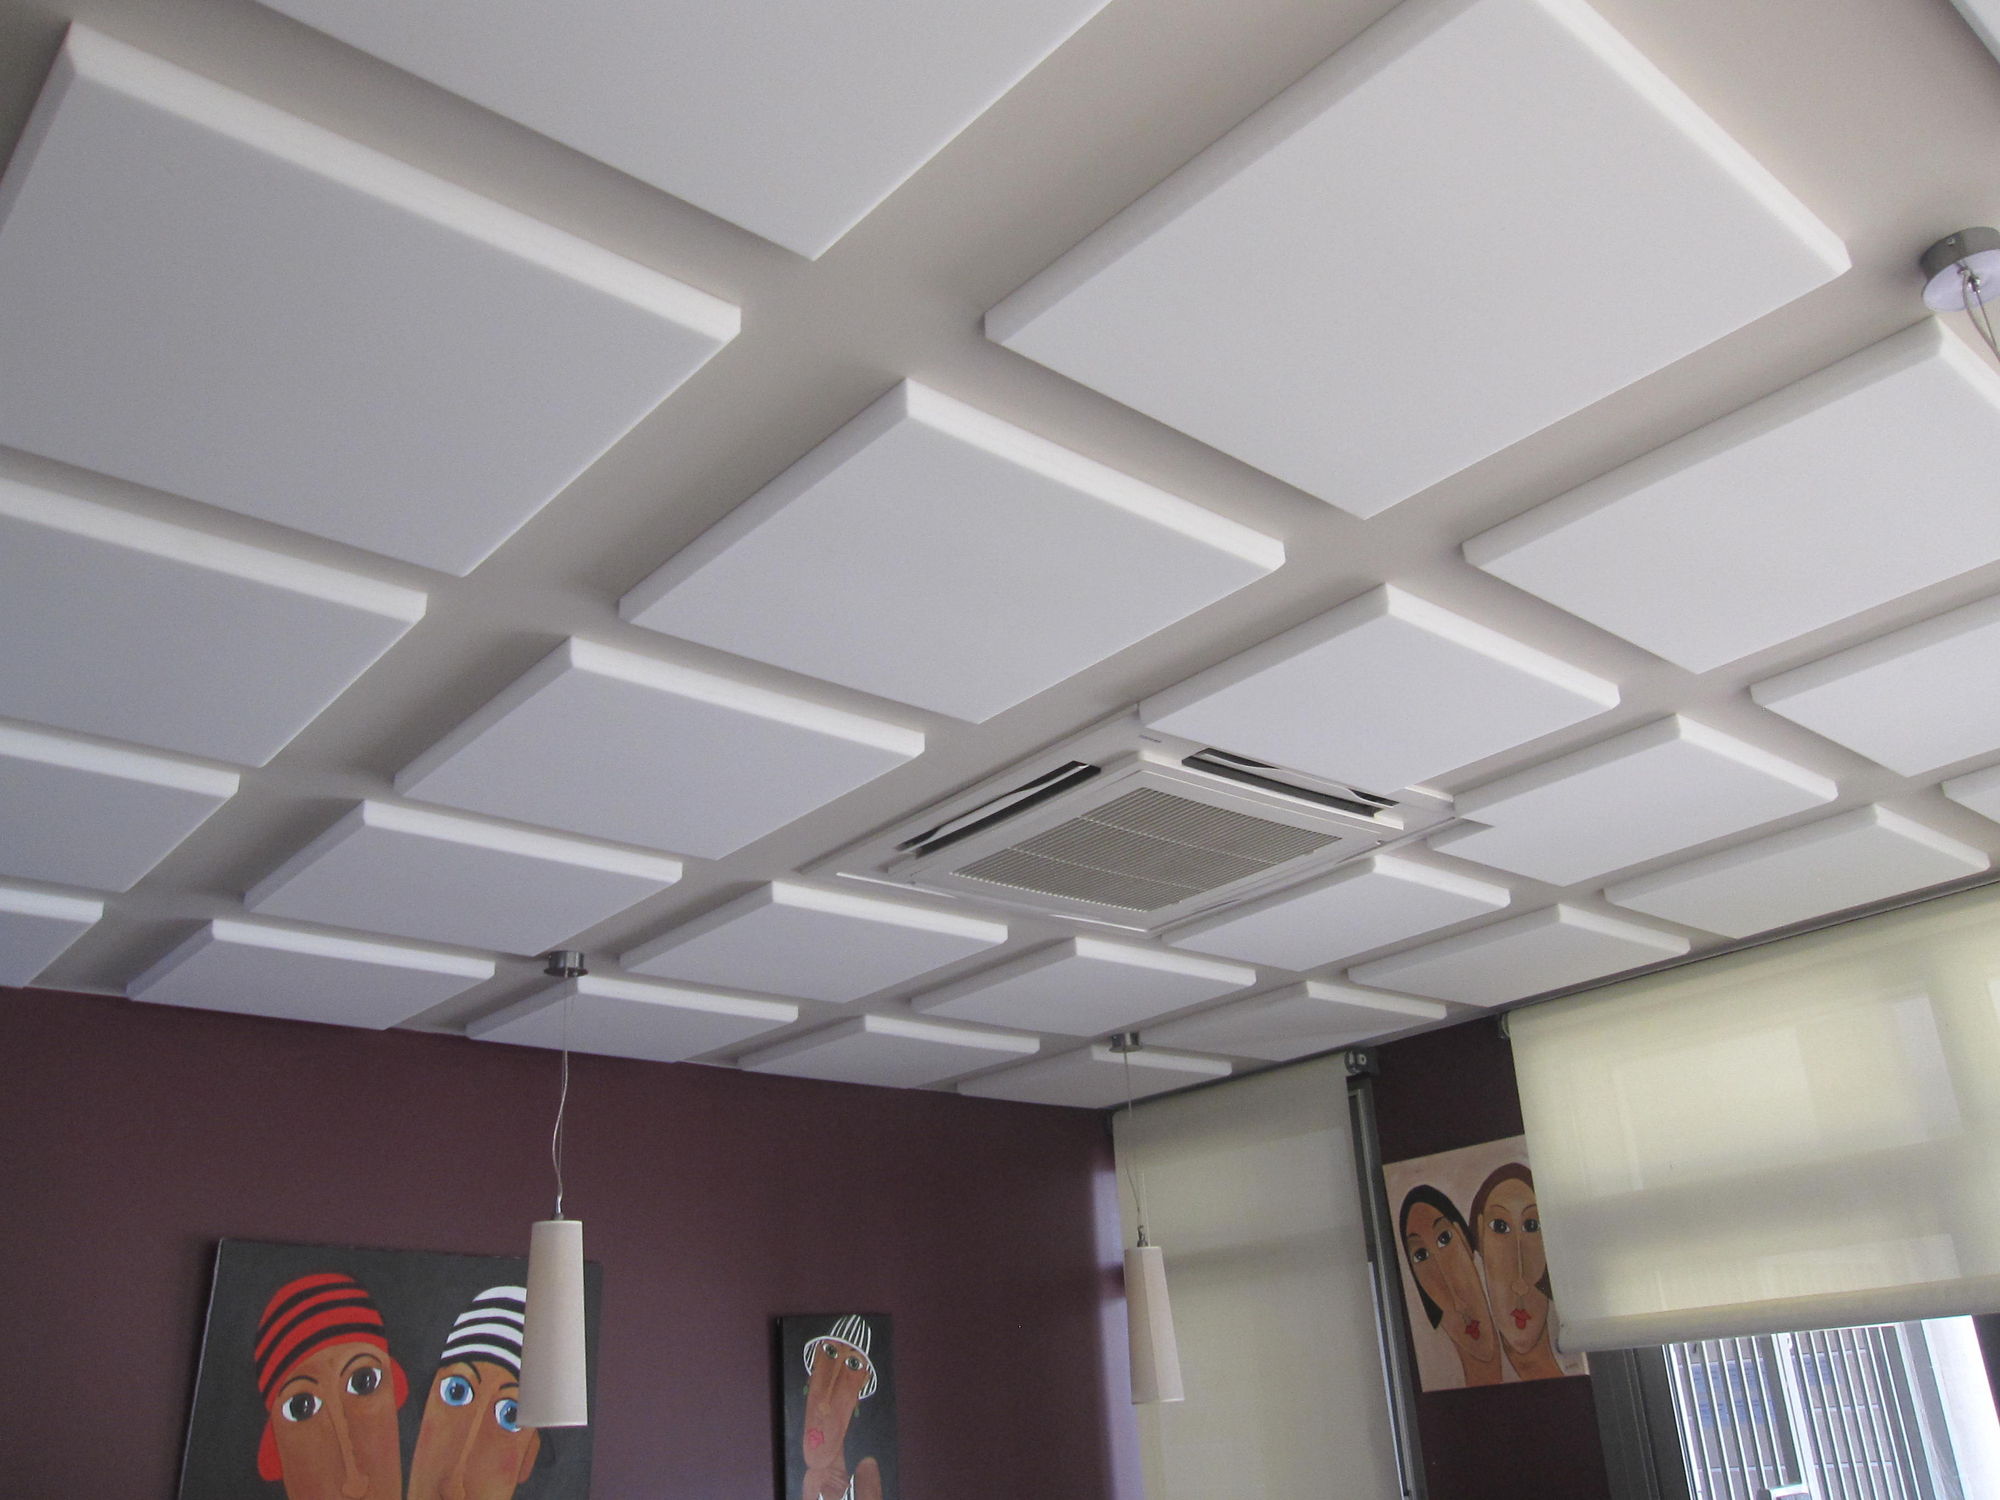
| Podshivnye | Installation is done with the help of drywall and decorative panels. | The ability to use different lighting, well retains heat and muffles noises. | Decorative decoration is required, it is impossible to mount the ceiling wiring electricity. |
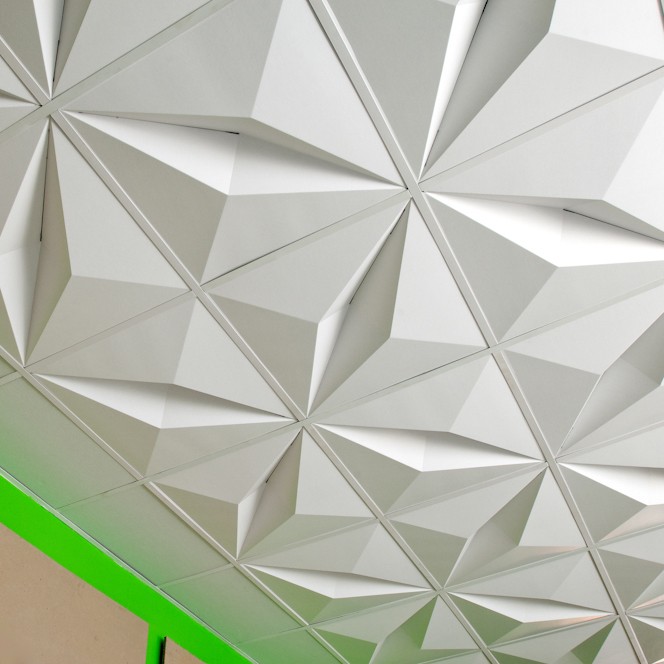
| Rack | Consist of narrow aluminum plates. | Diverse decorative finish is possible, suitable for rooms without heating. | Not suitable for residential use. |
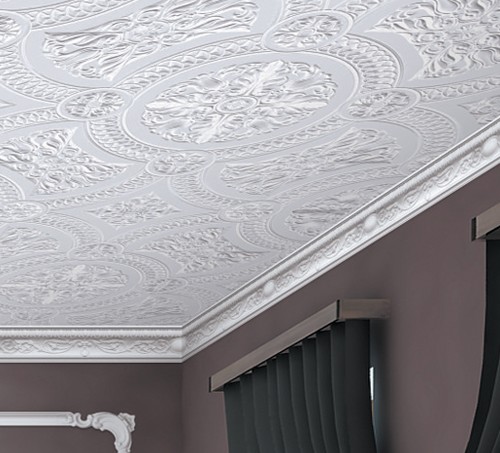
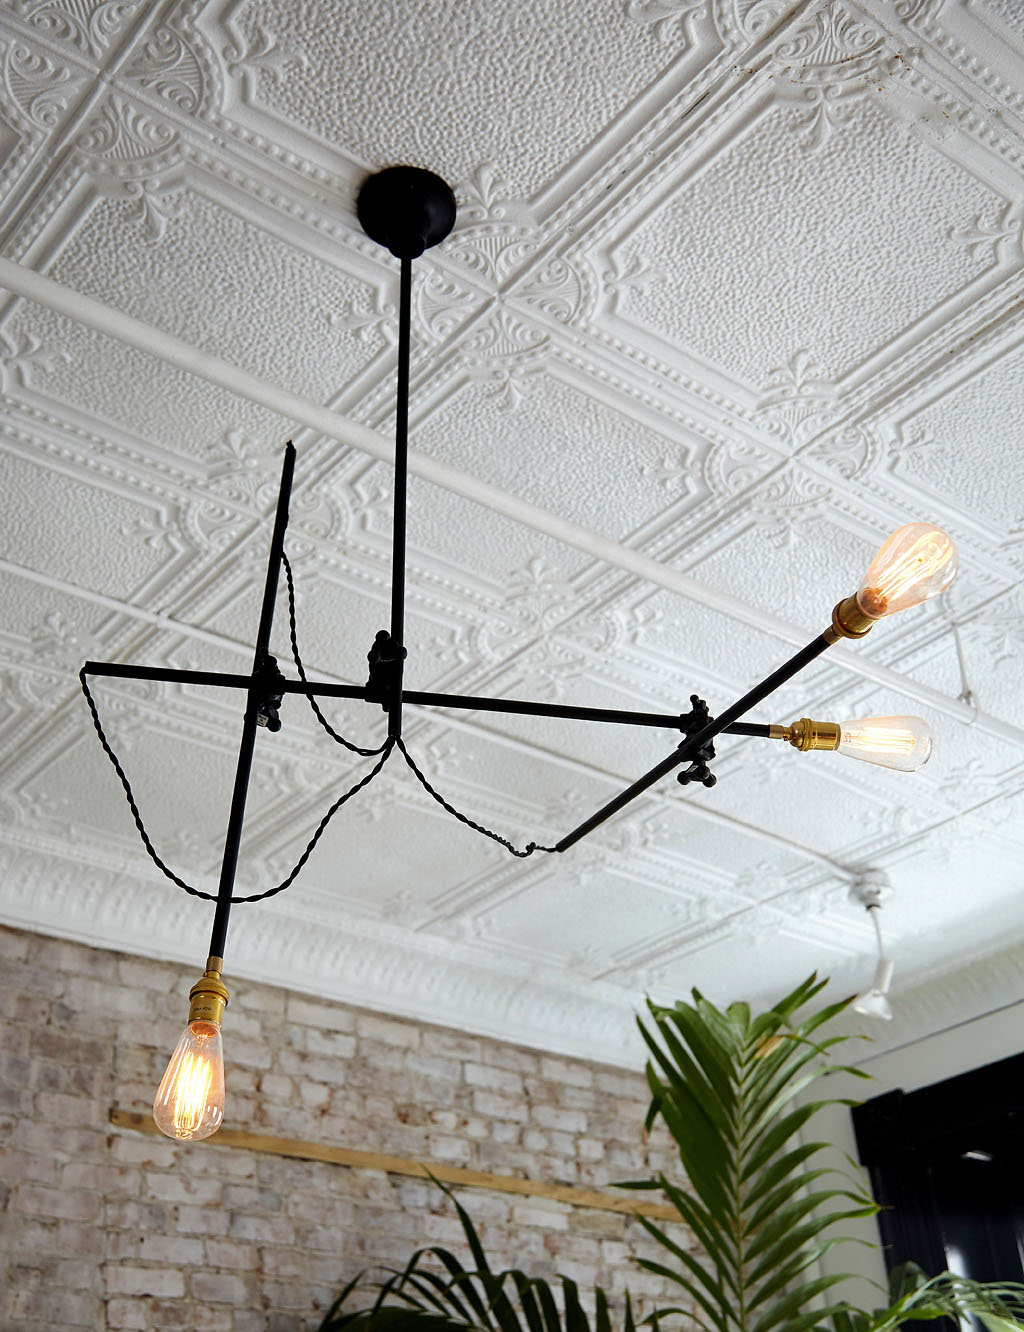
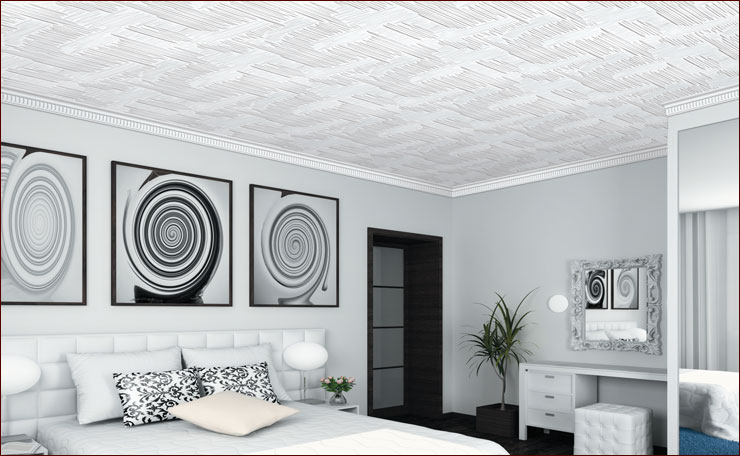
| Ceiling Wallpaper | Apply thick ceiling wallpaper and the corresponding glue. | Clean process, it is easy to hide the defects of the ceiling, durability. | Cheap wallpaper quickly lose their original appearance and can not be eliminated pollution. |
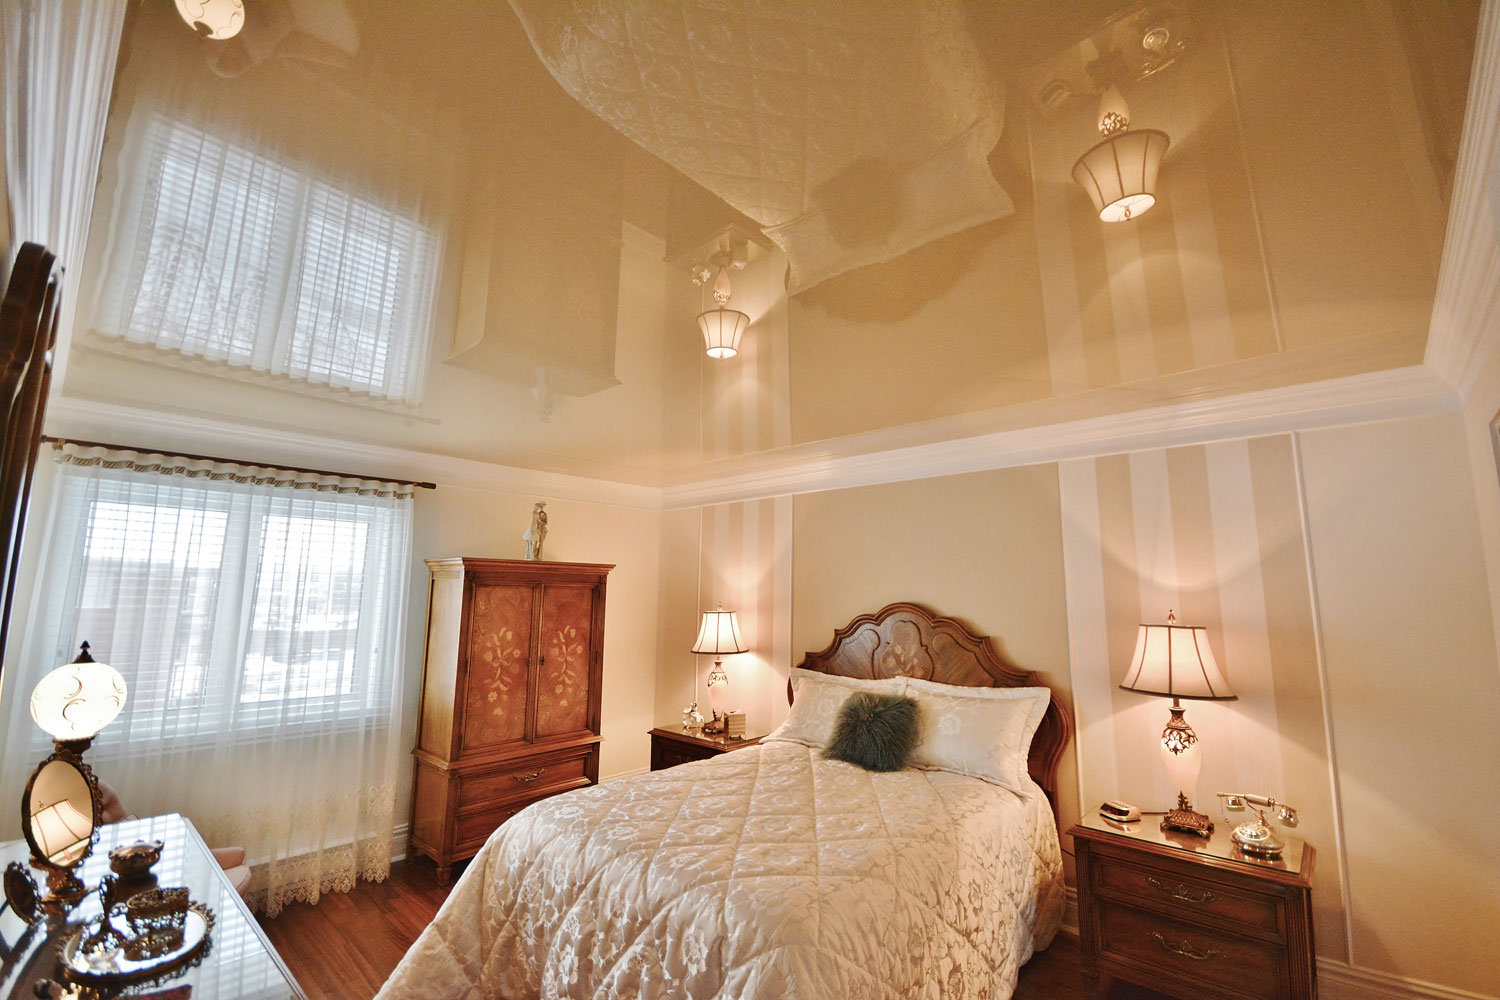
| Stretch ceiling | Constructed with the help of metal profiles and special fabric, stretching when heated. | Suitable for rooms with high humidity, for a long time retains its original appearance, it is possible to mount fixtures, fire-resistant, does not require special care. | Intolerant to mechanical shocks with sharp objects. |
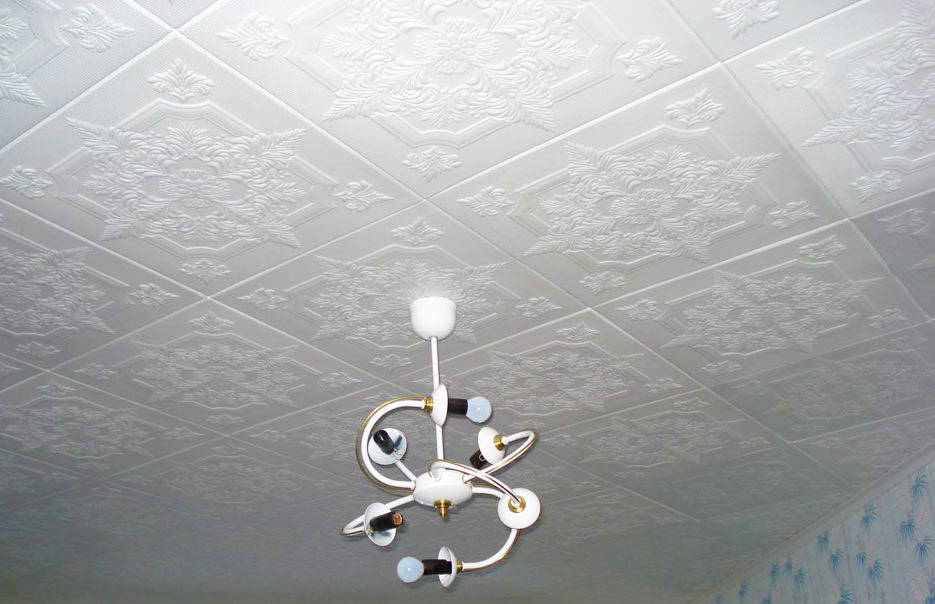
| Ceiling Tiles | The tiles are made of expanded polystyrene, size 50x50 cm. | Large selection of surfaces and shades, easy care. | The laborious work, the fragility of the tiles, the fragility of the pecks of the base. |
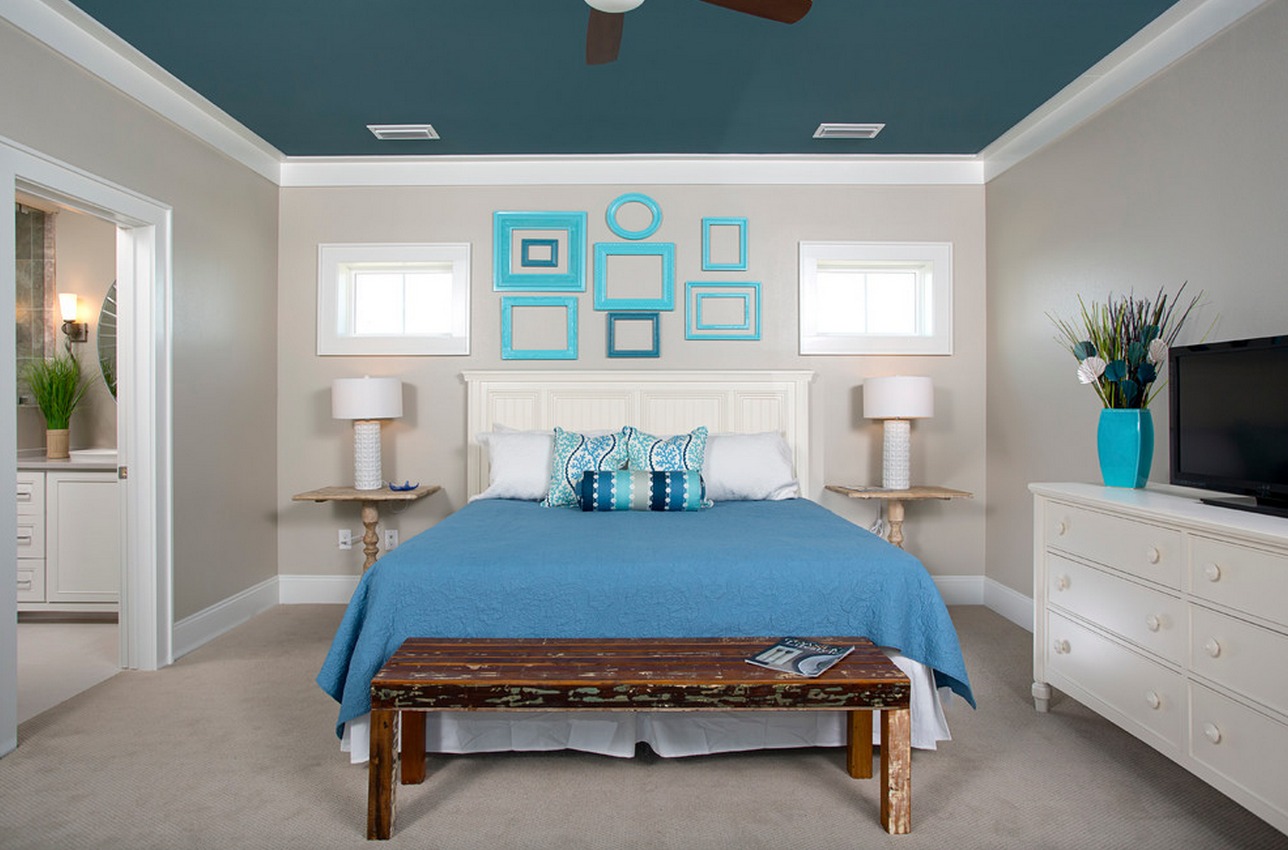
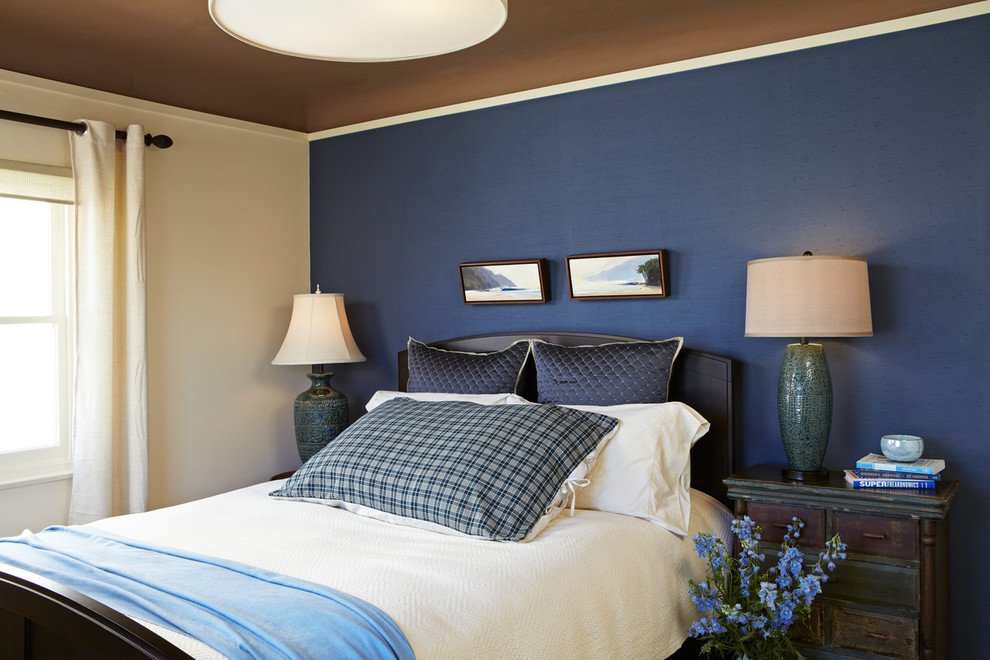
For walls
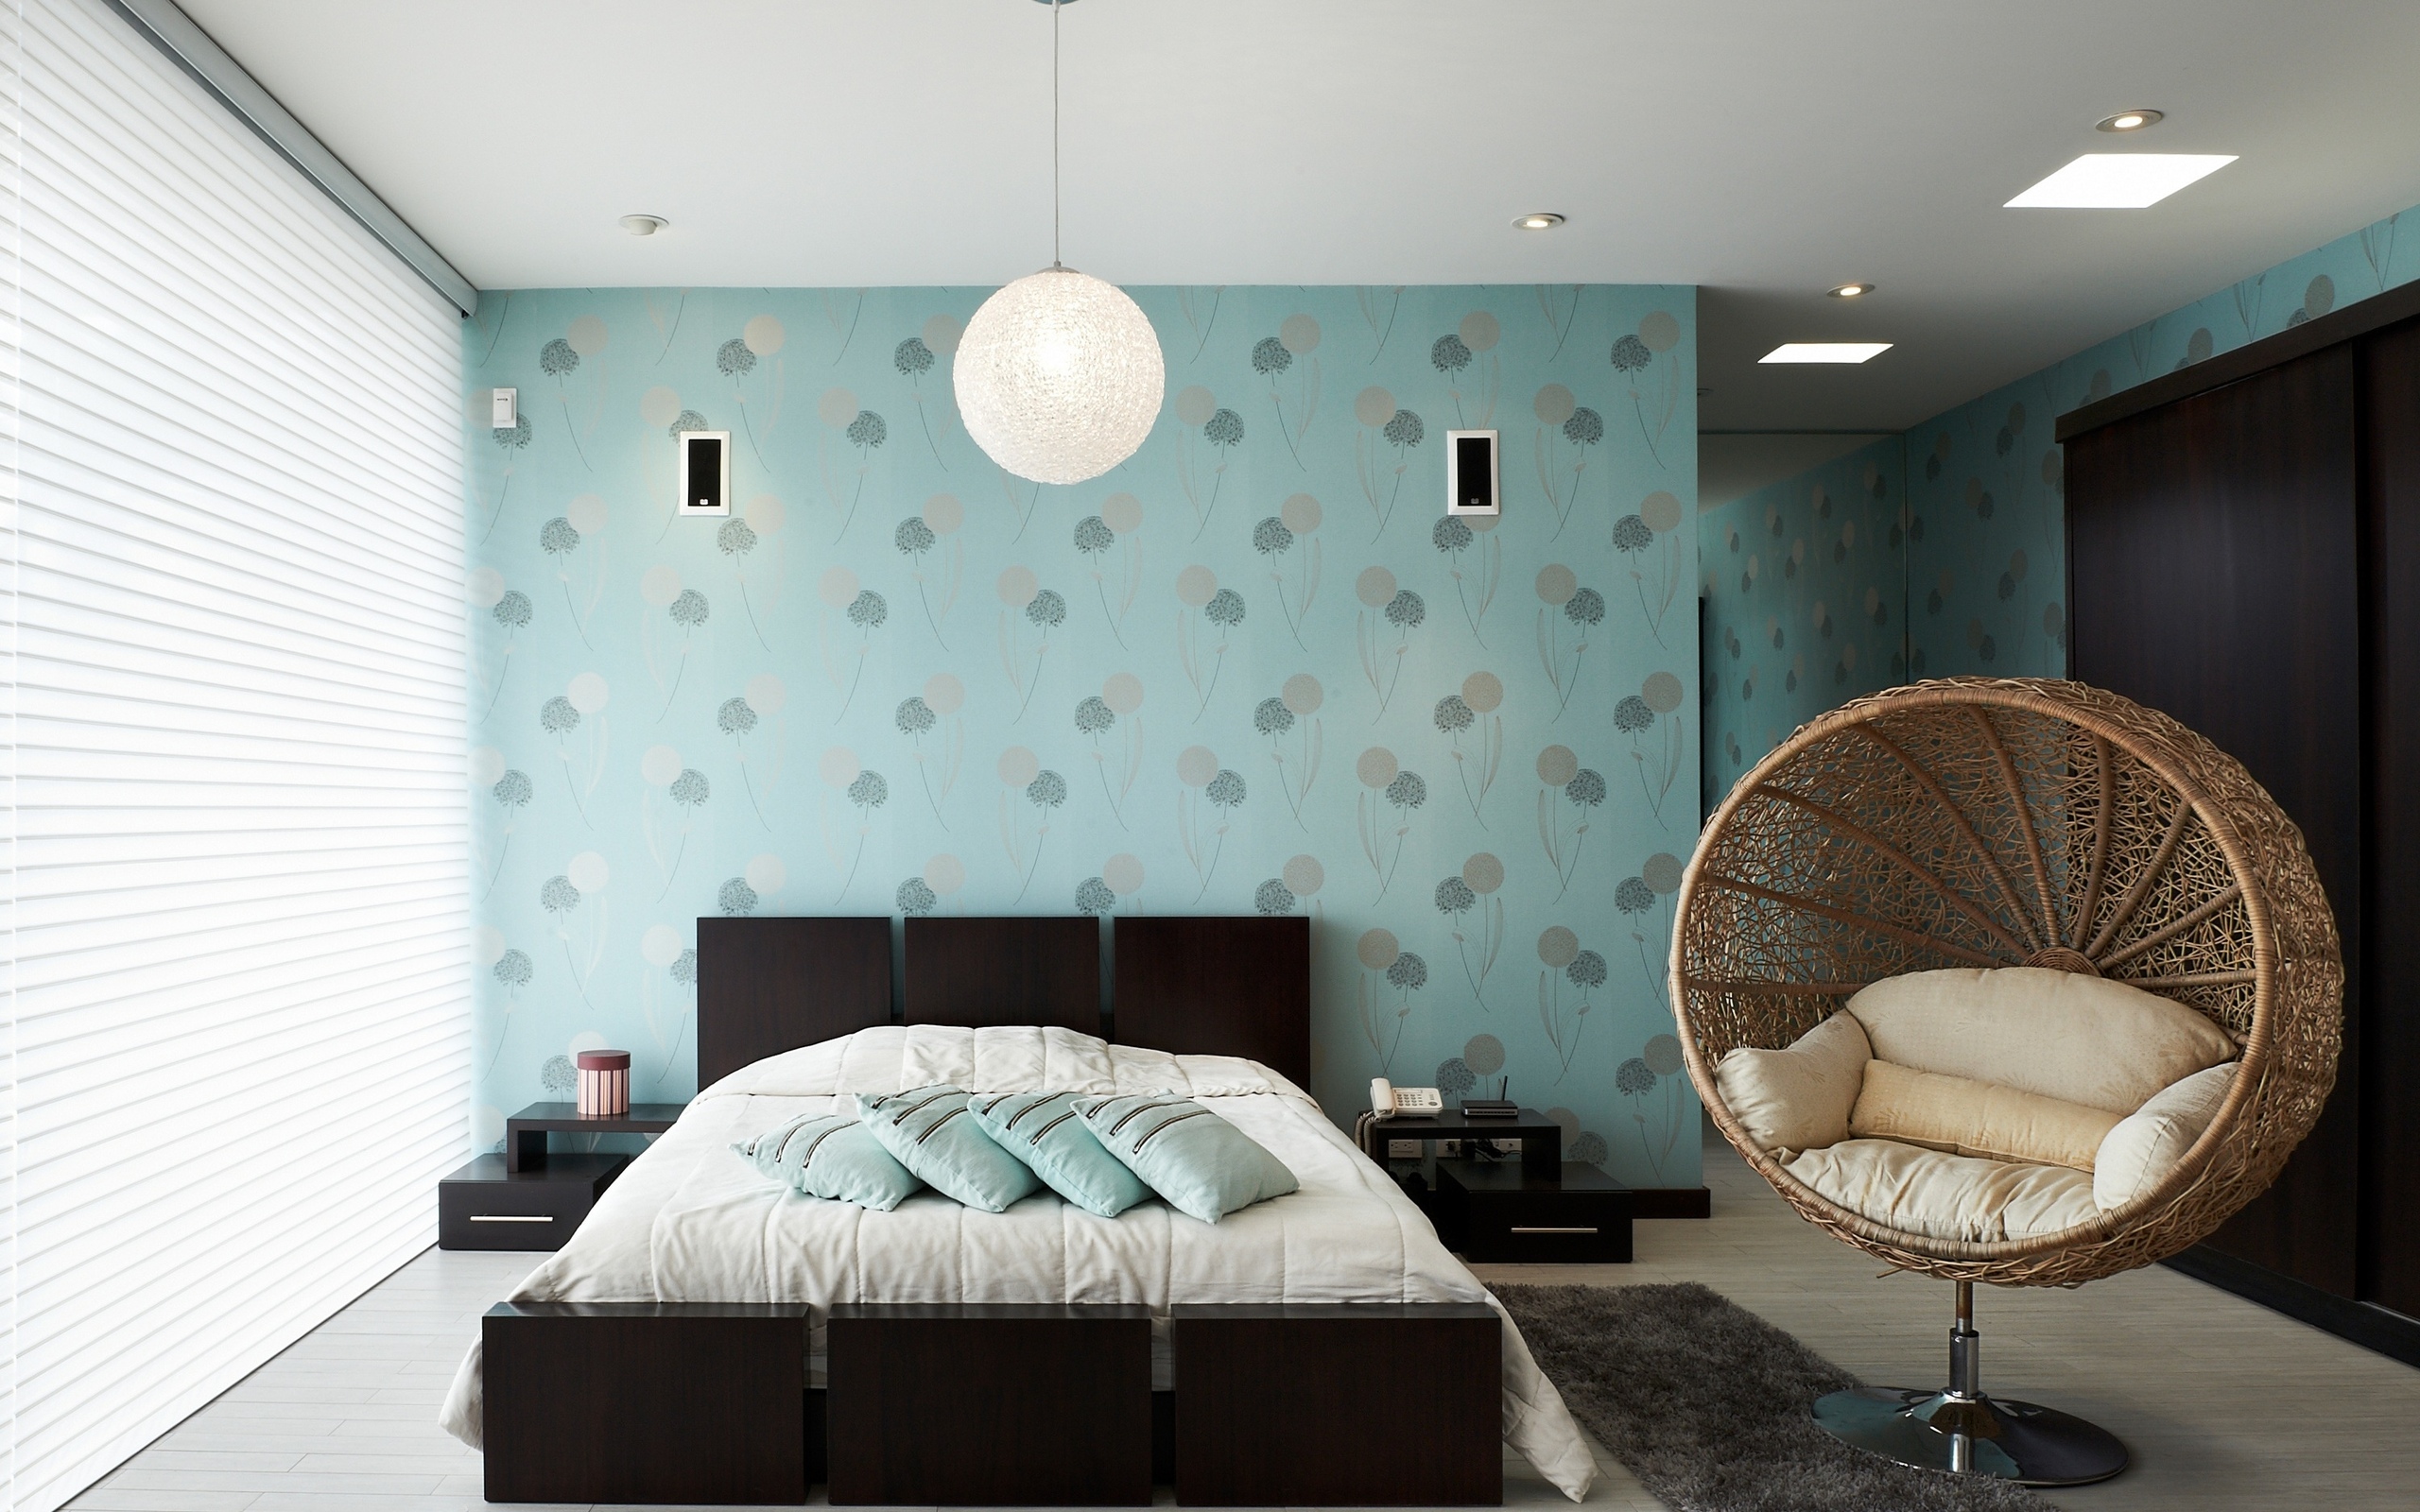
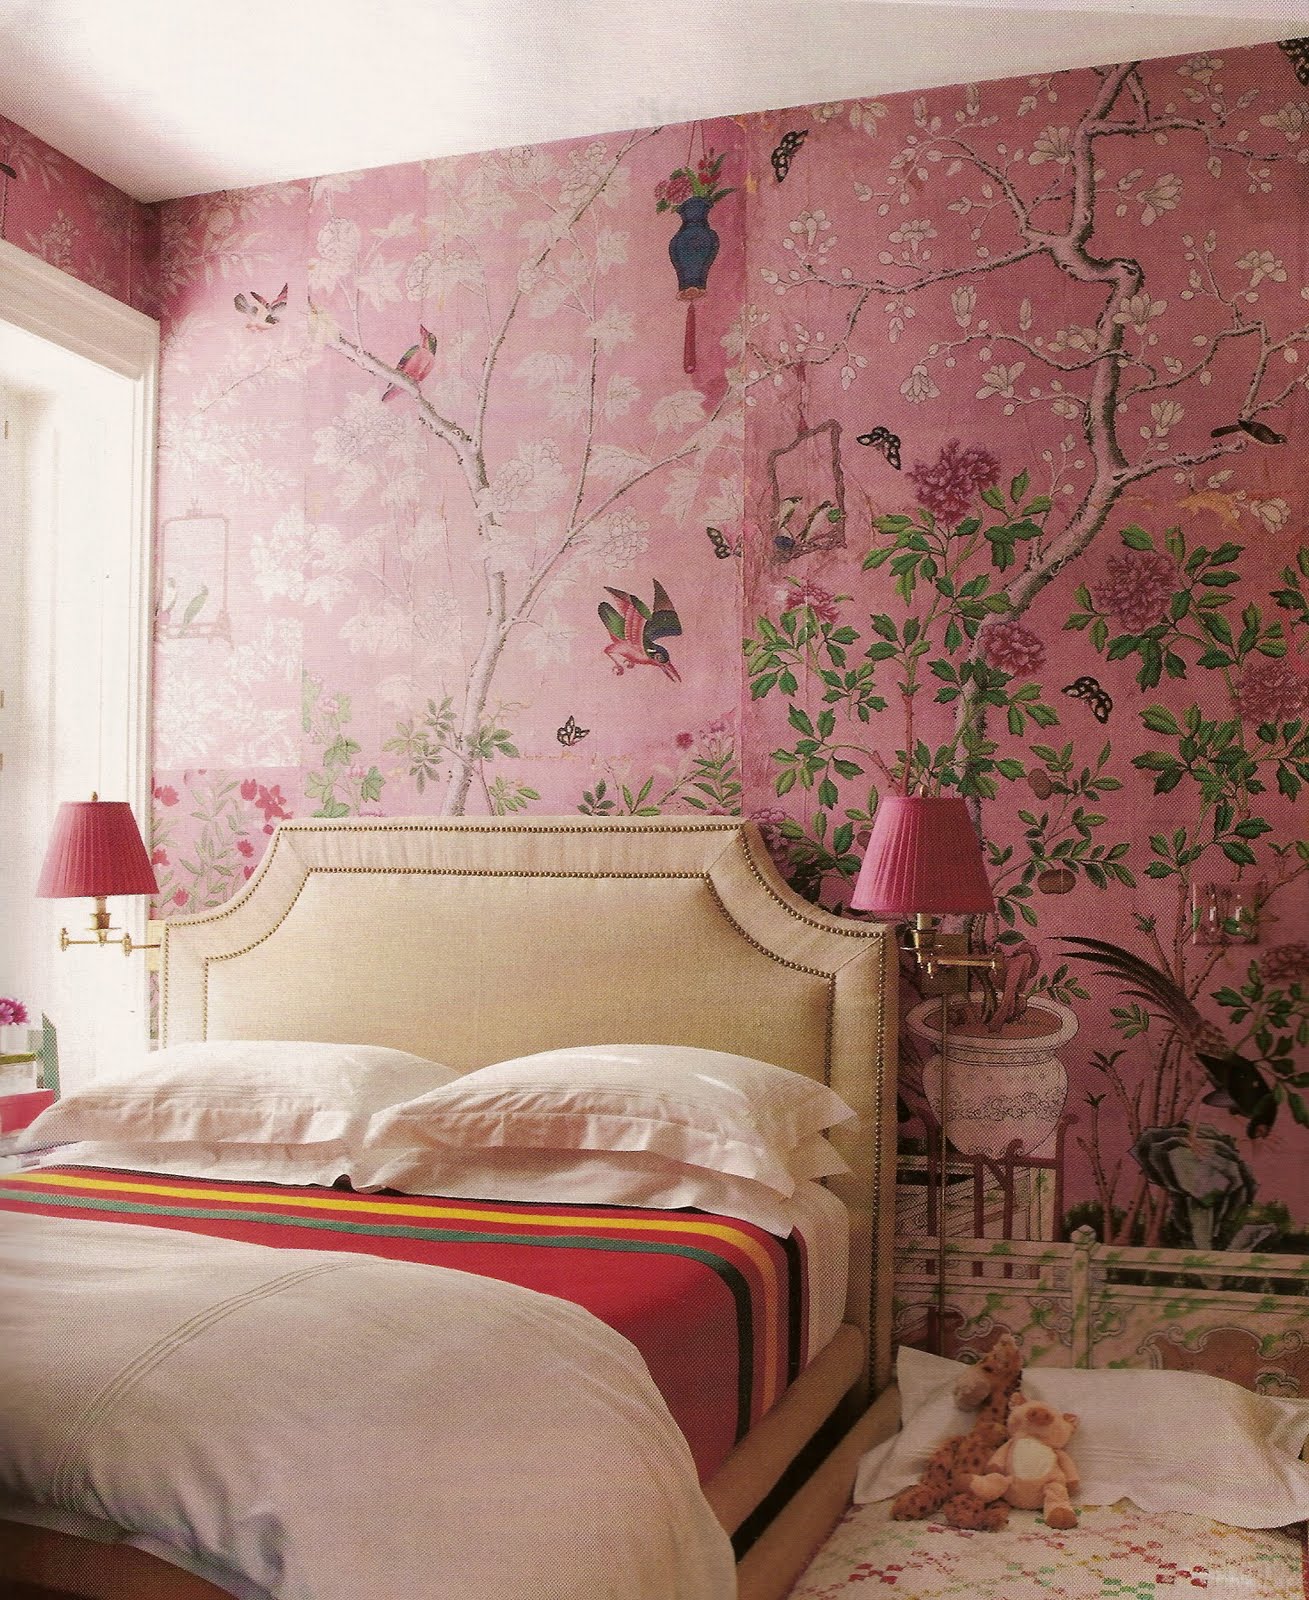
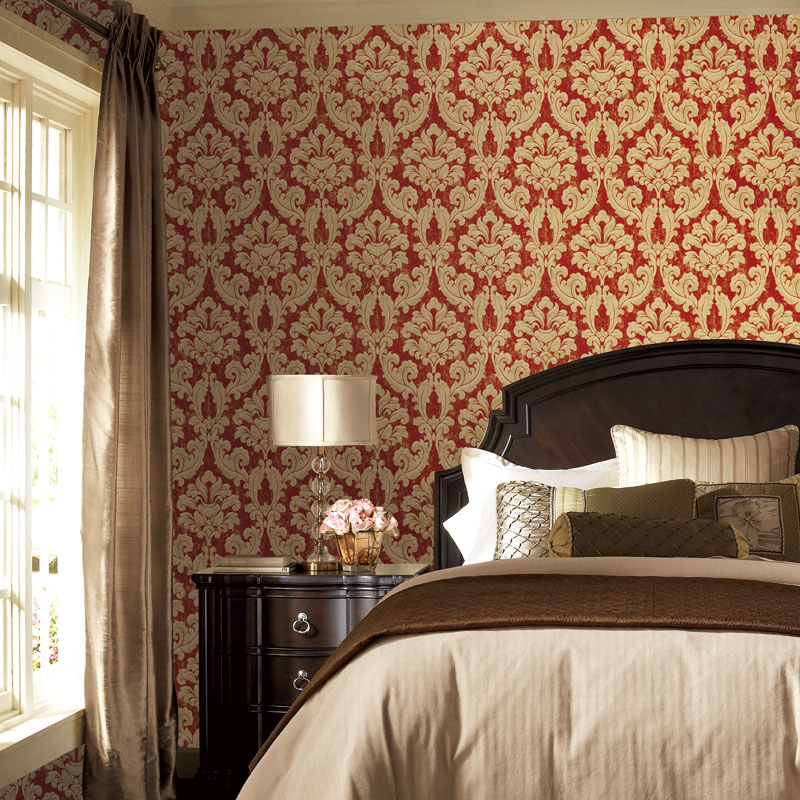
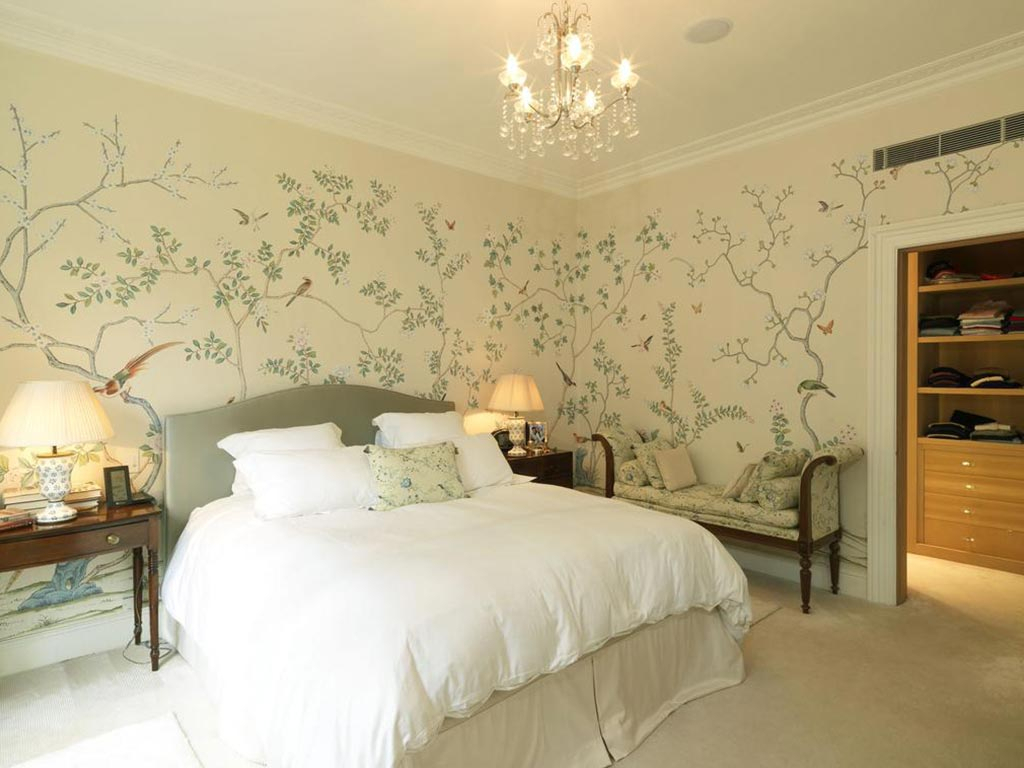
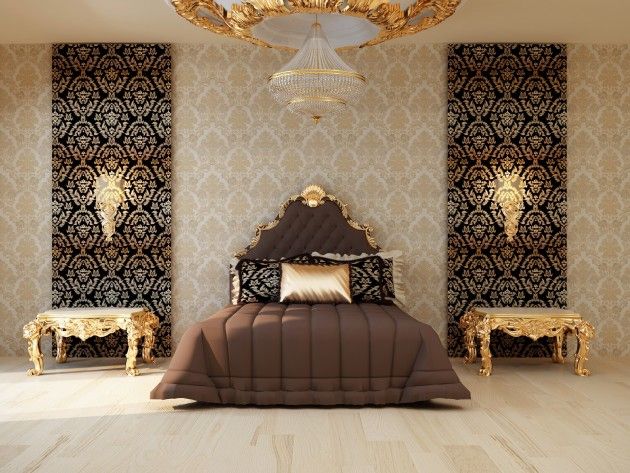
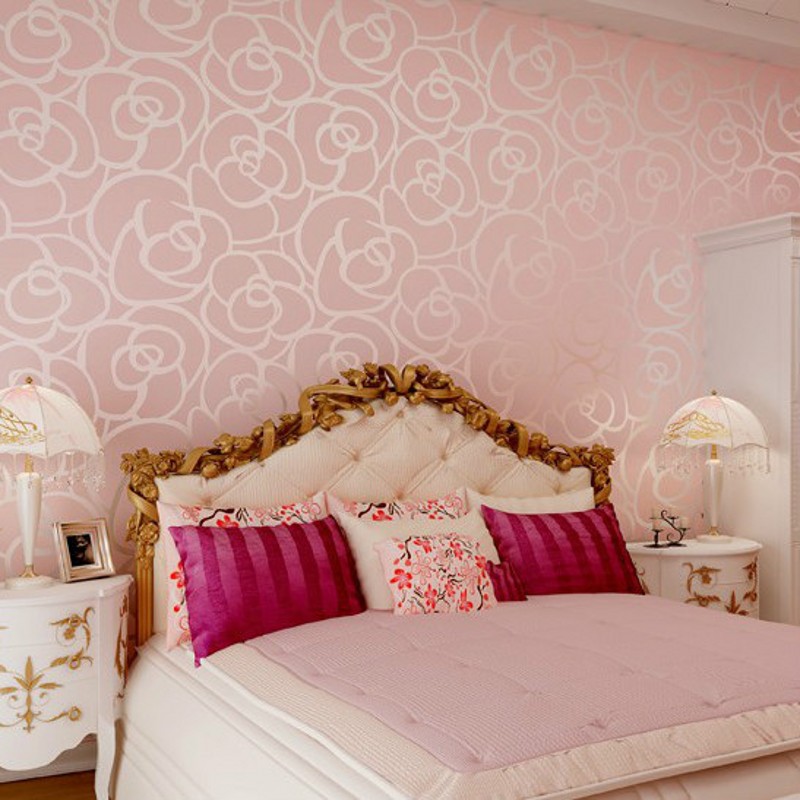
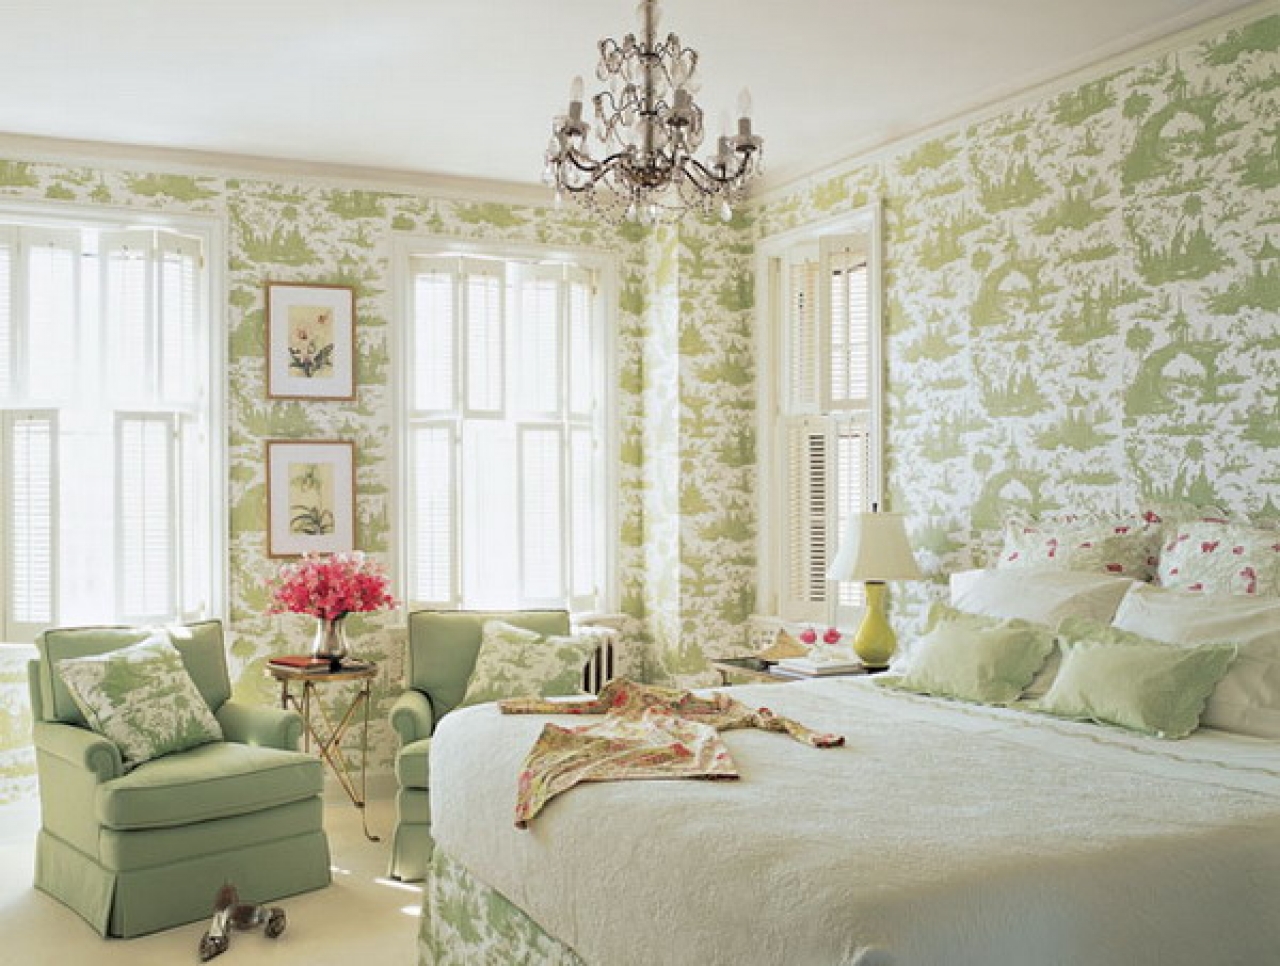
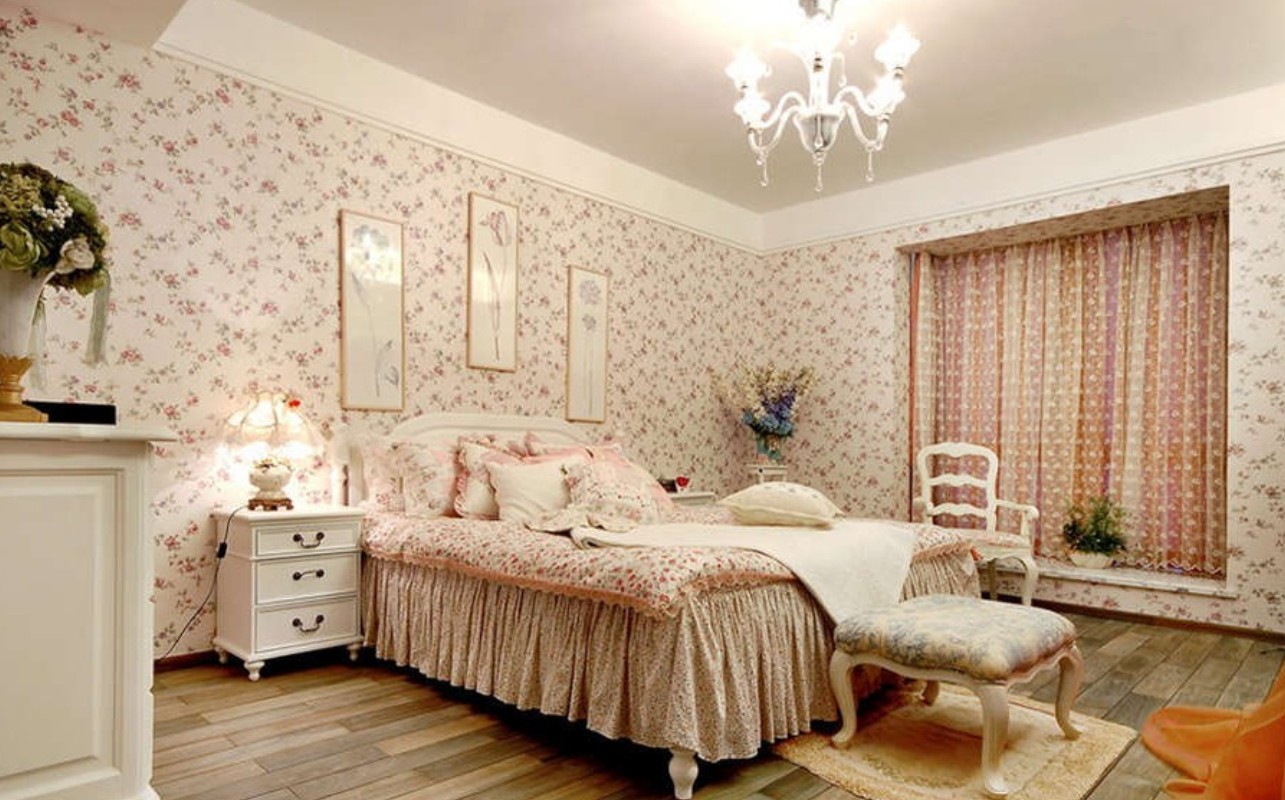
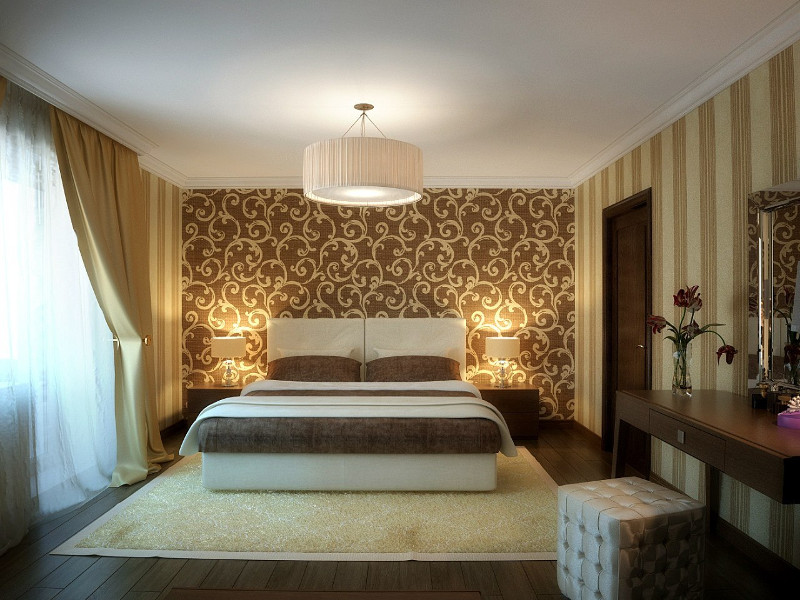
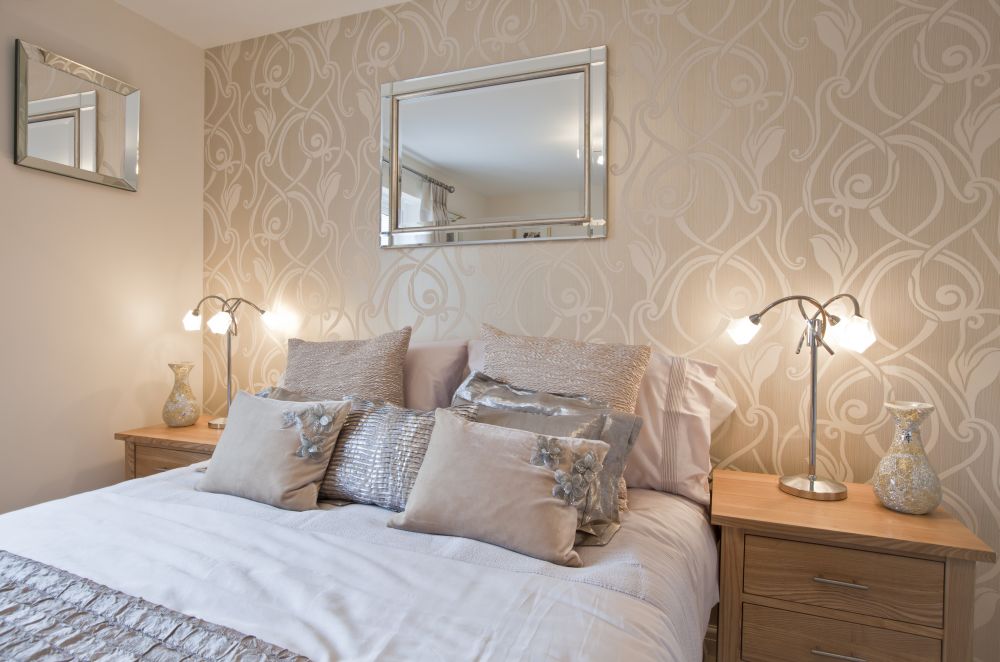
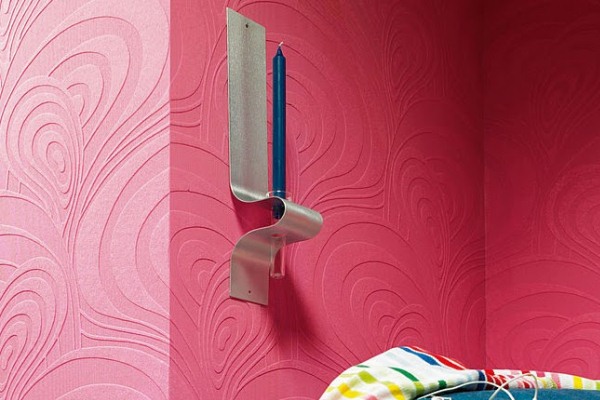
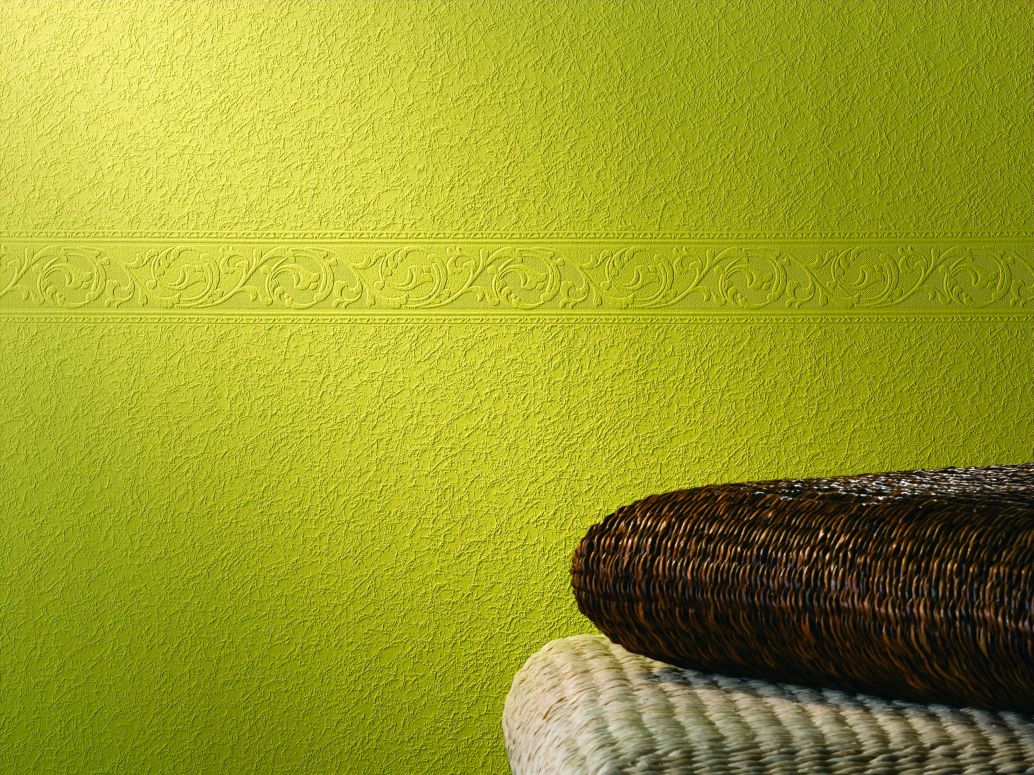
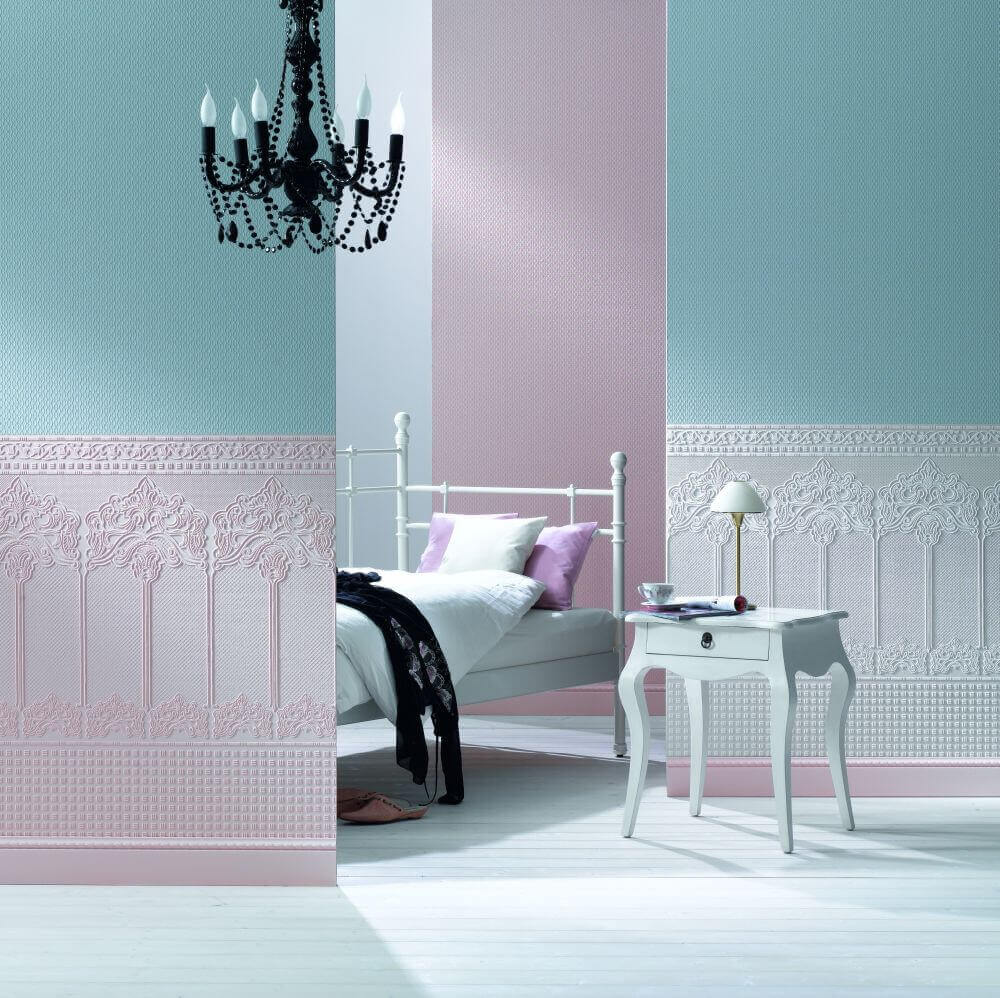
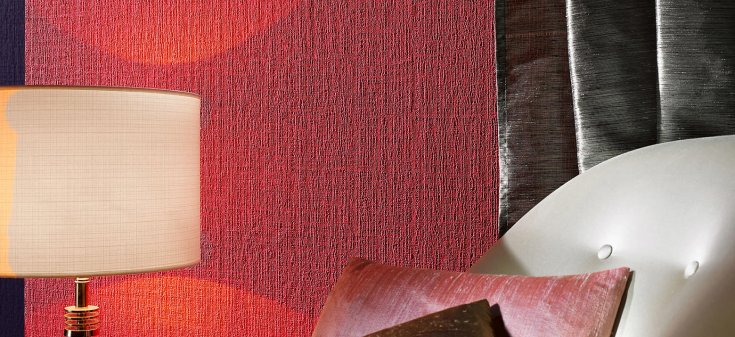
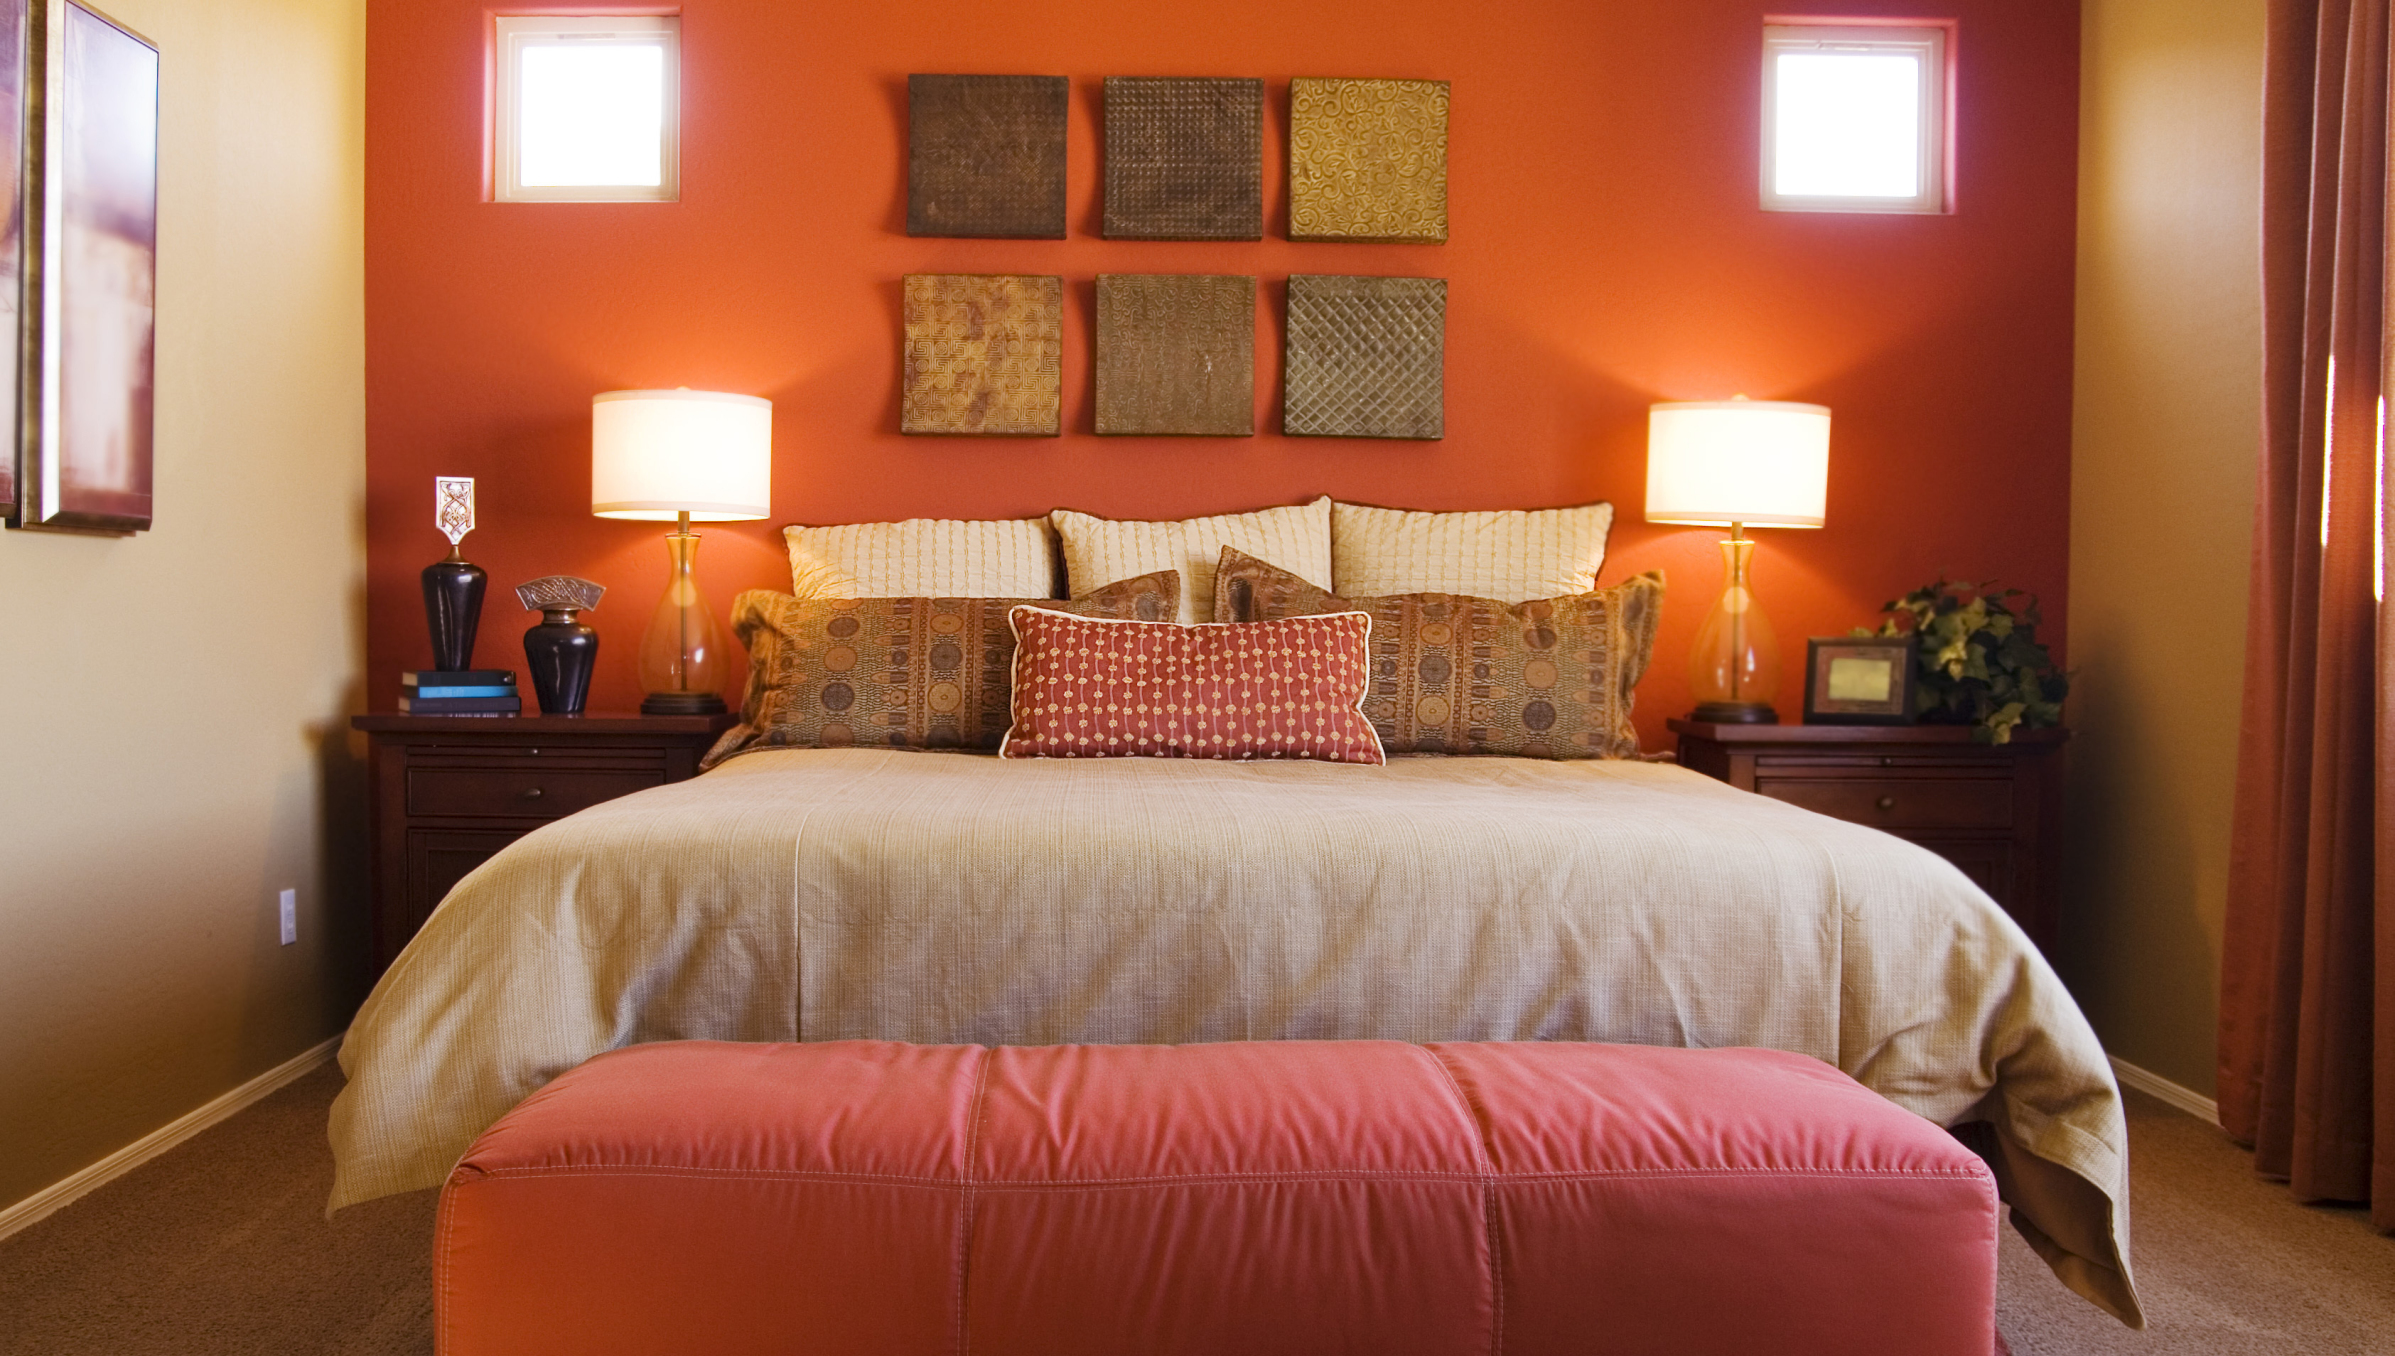
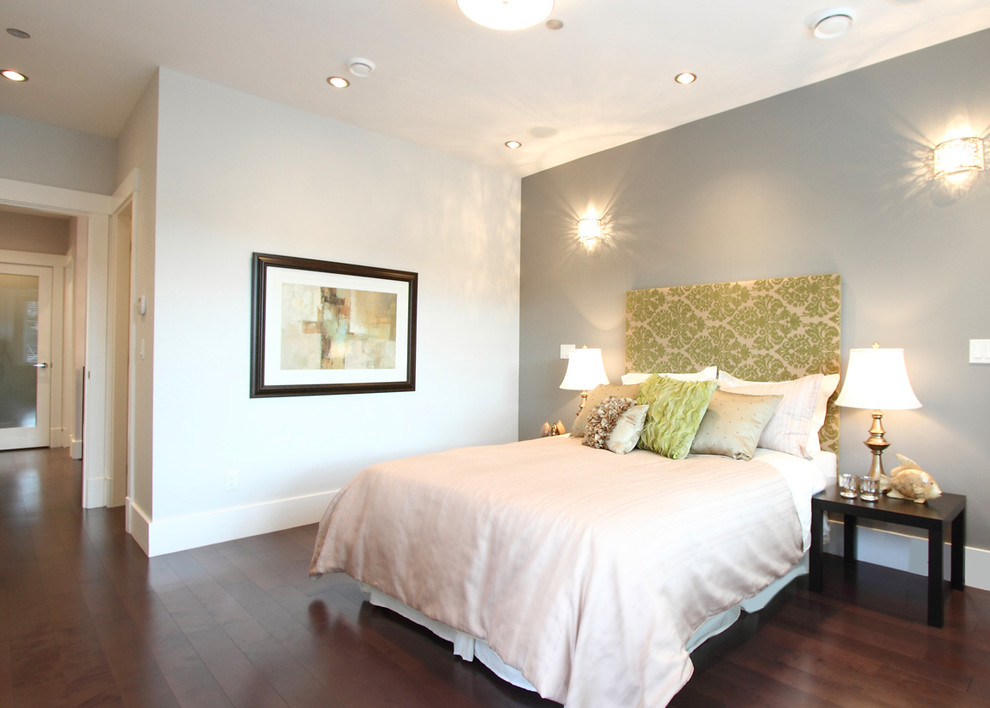
The best option for bedroom wall decor - non-woven and high quality vinyl wallpaper. It is best to choose the meter, because they are easier to glue, and the whole process will take much less time.
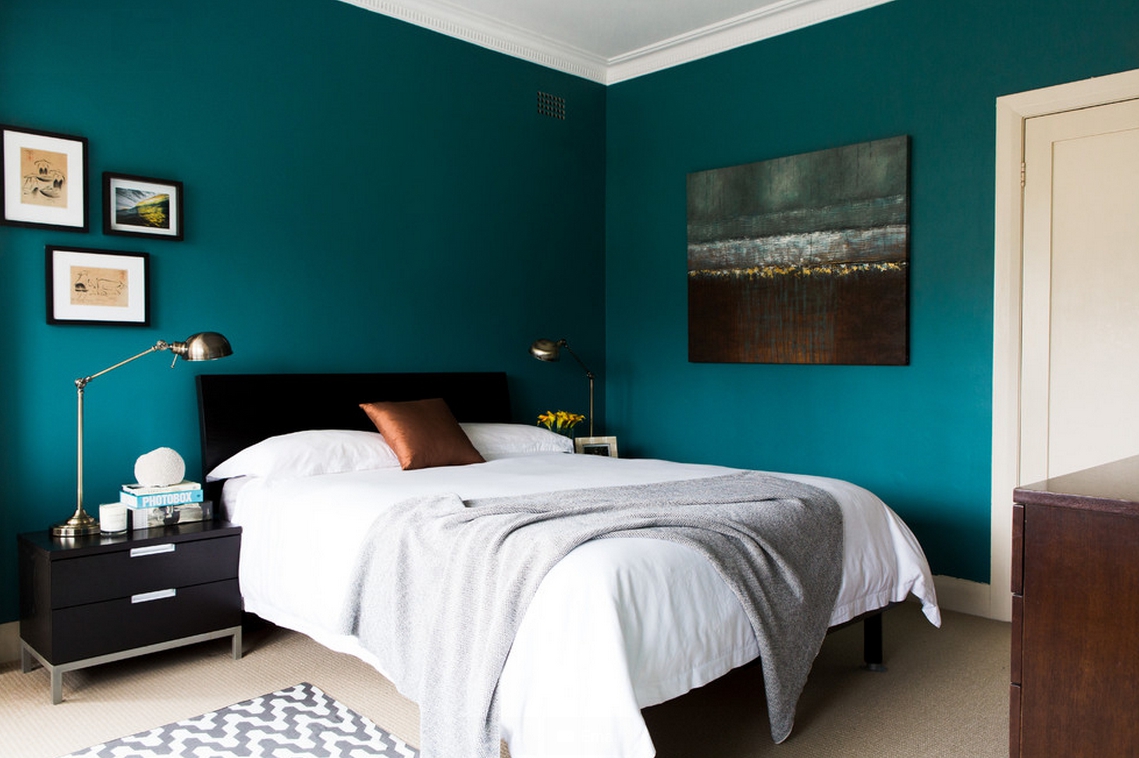
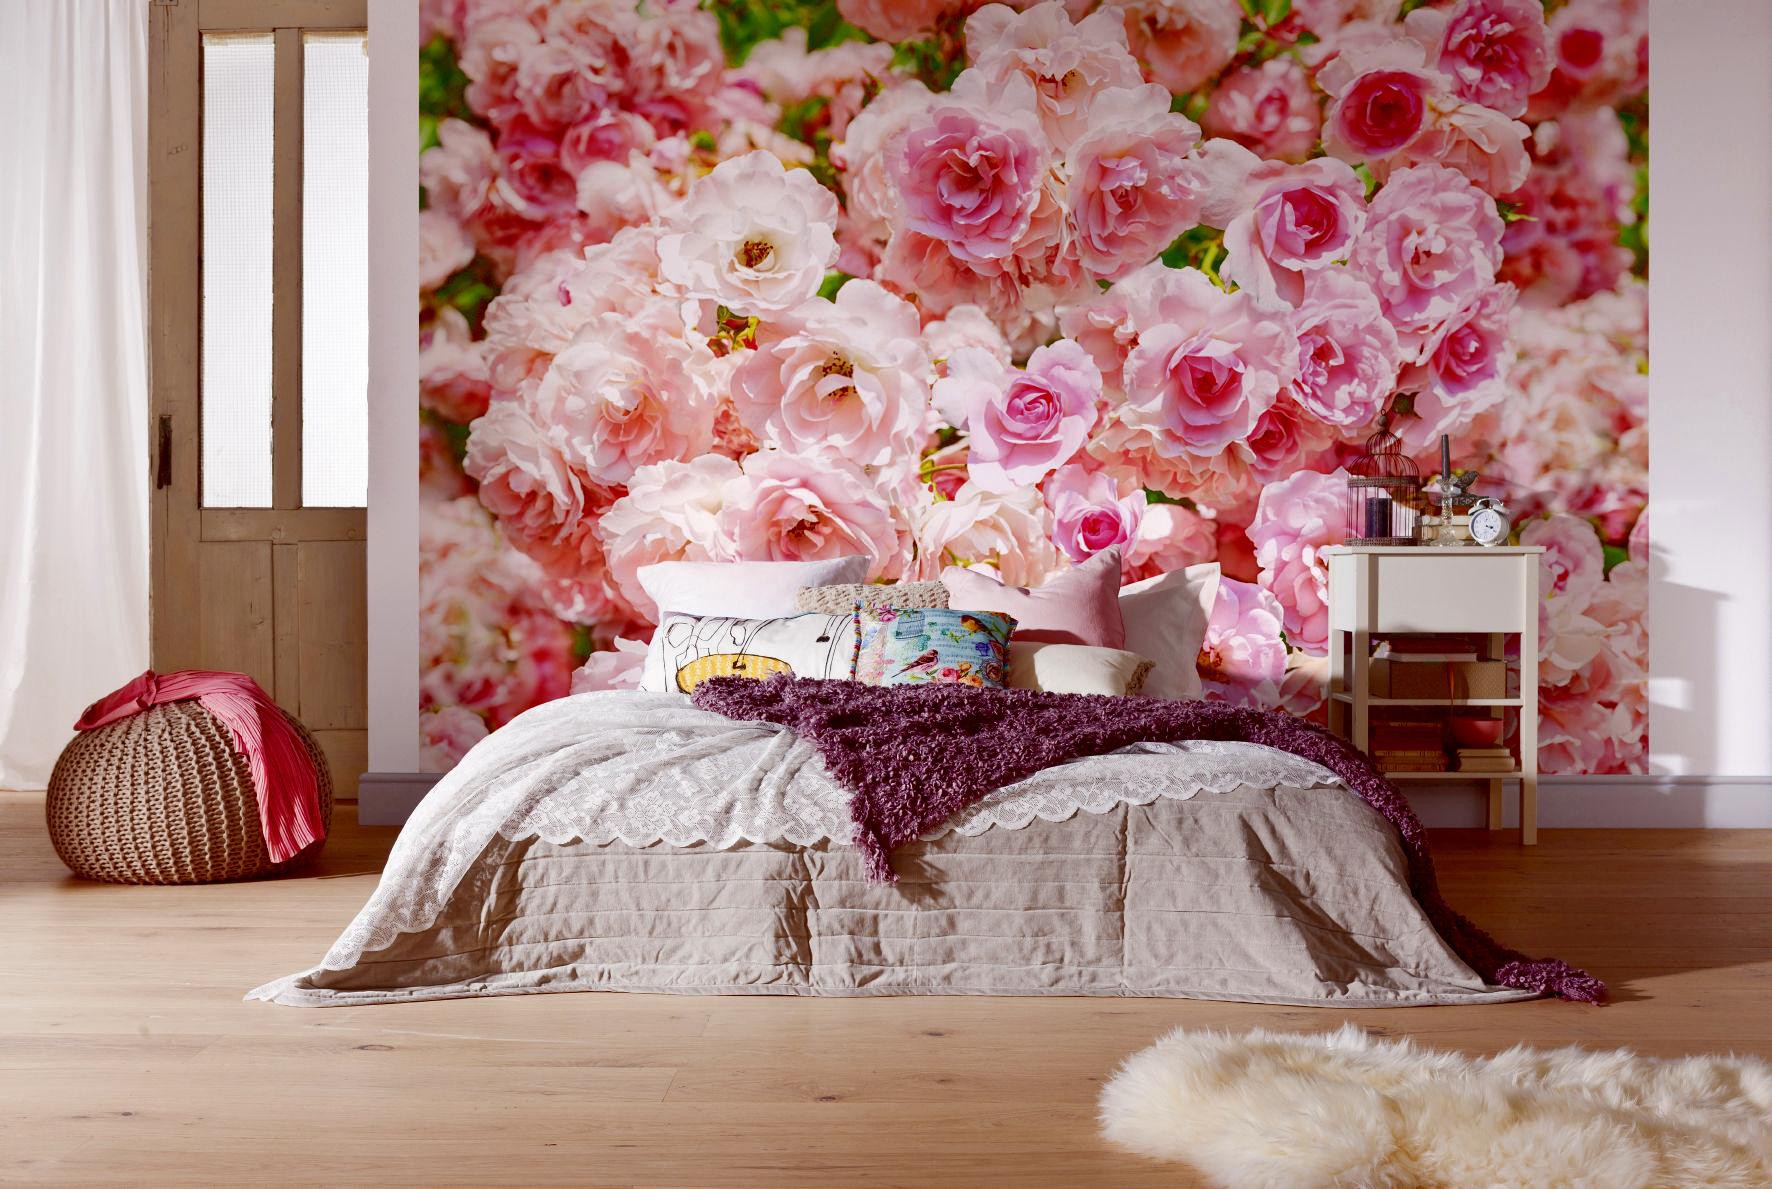
Neutral bright shades will suit the wallpaper, as in the bedroom bright colors are not very appropriate.
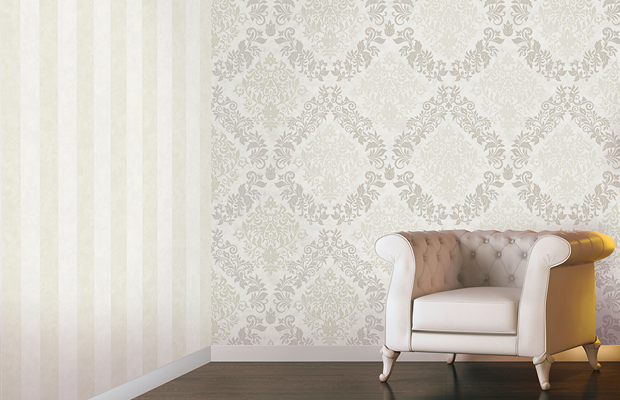
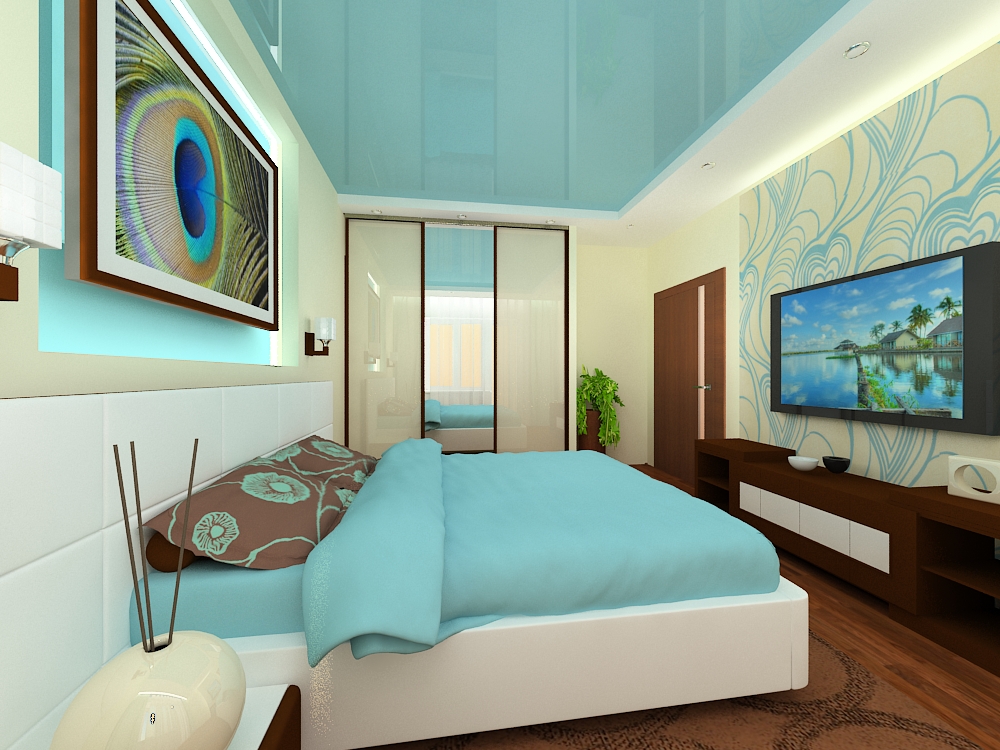
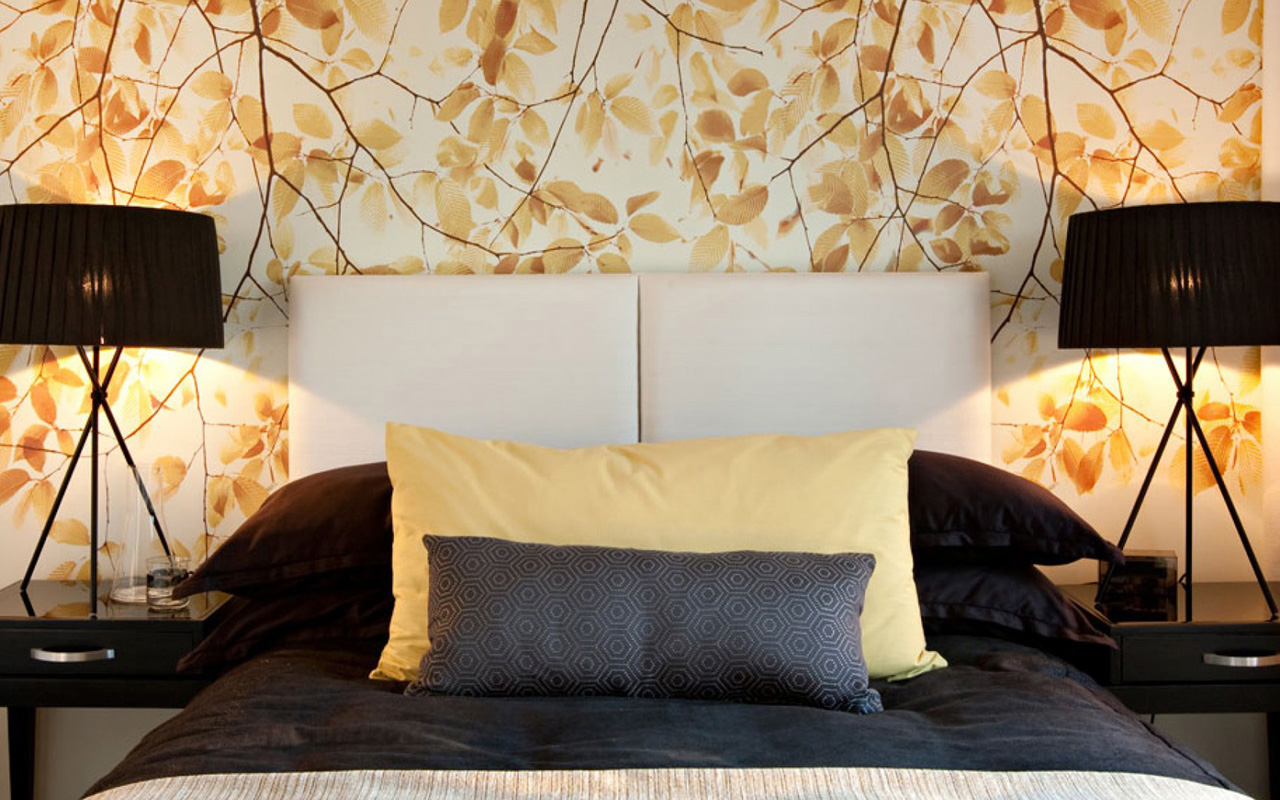
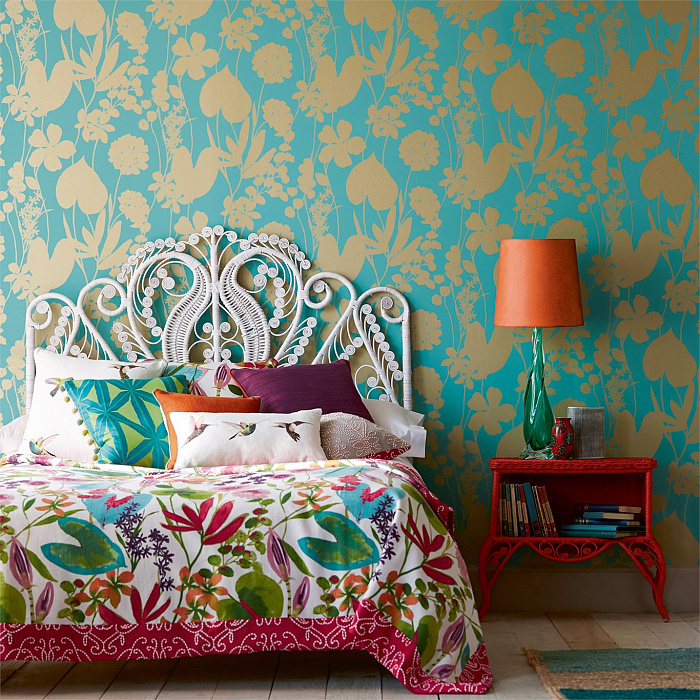
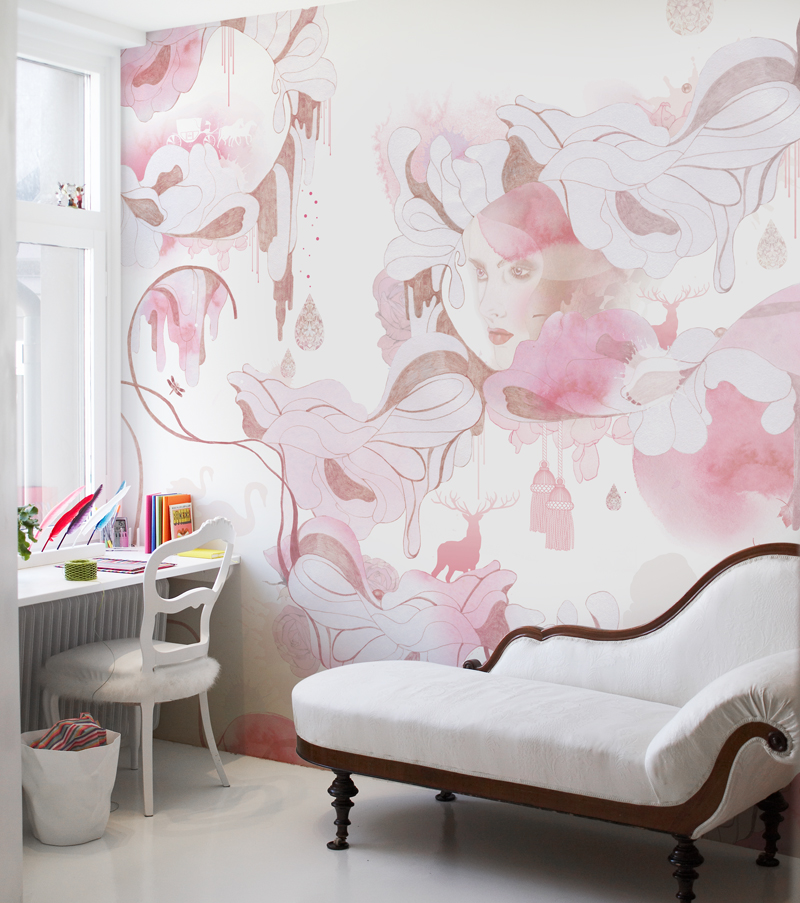
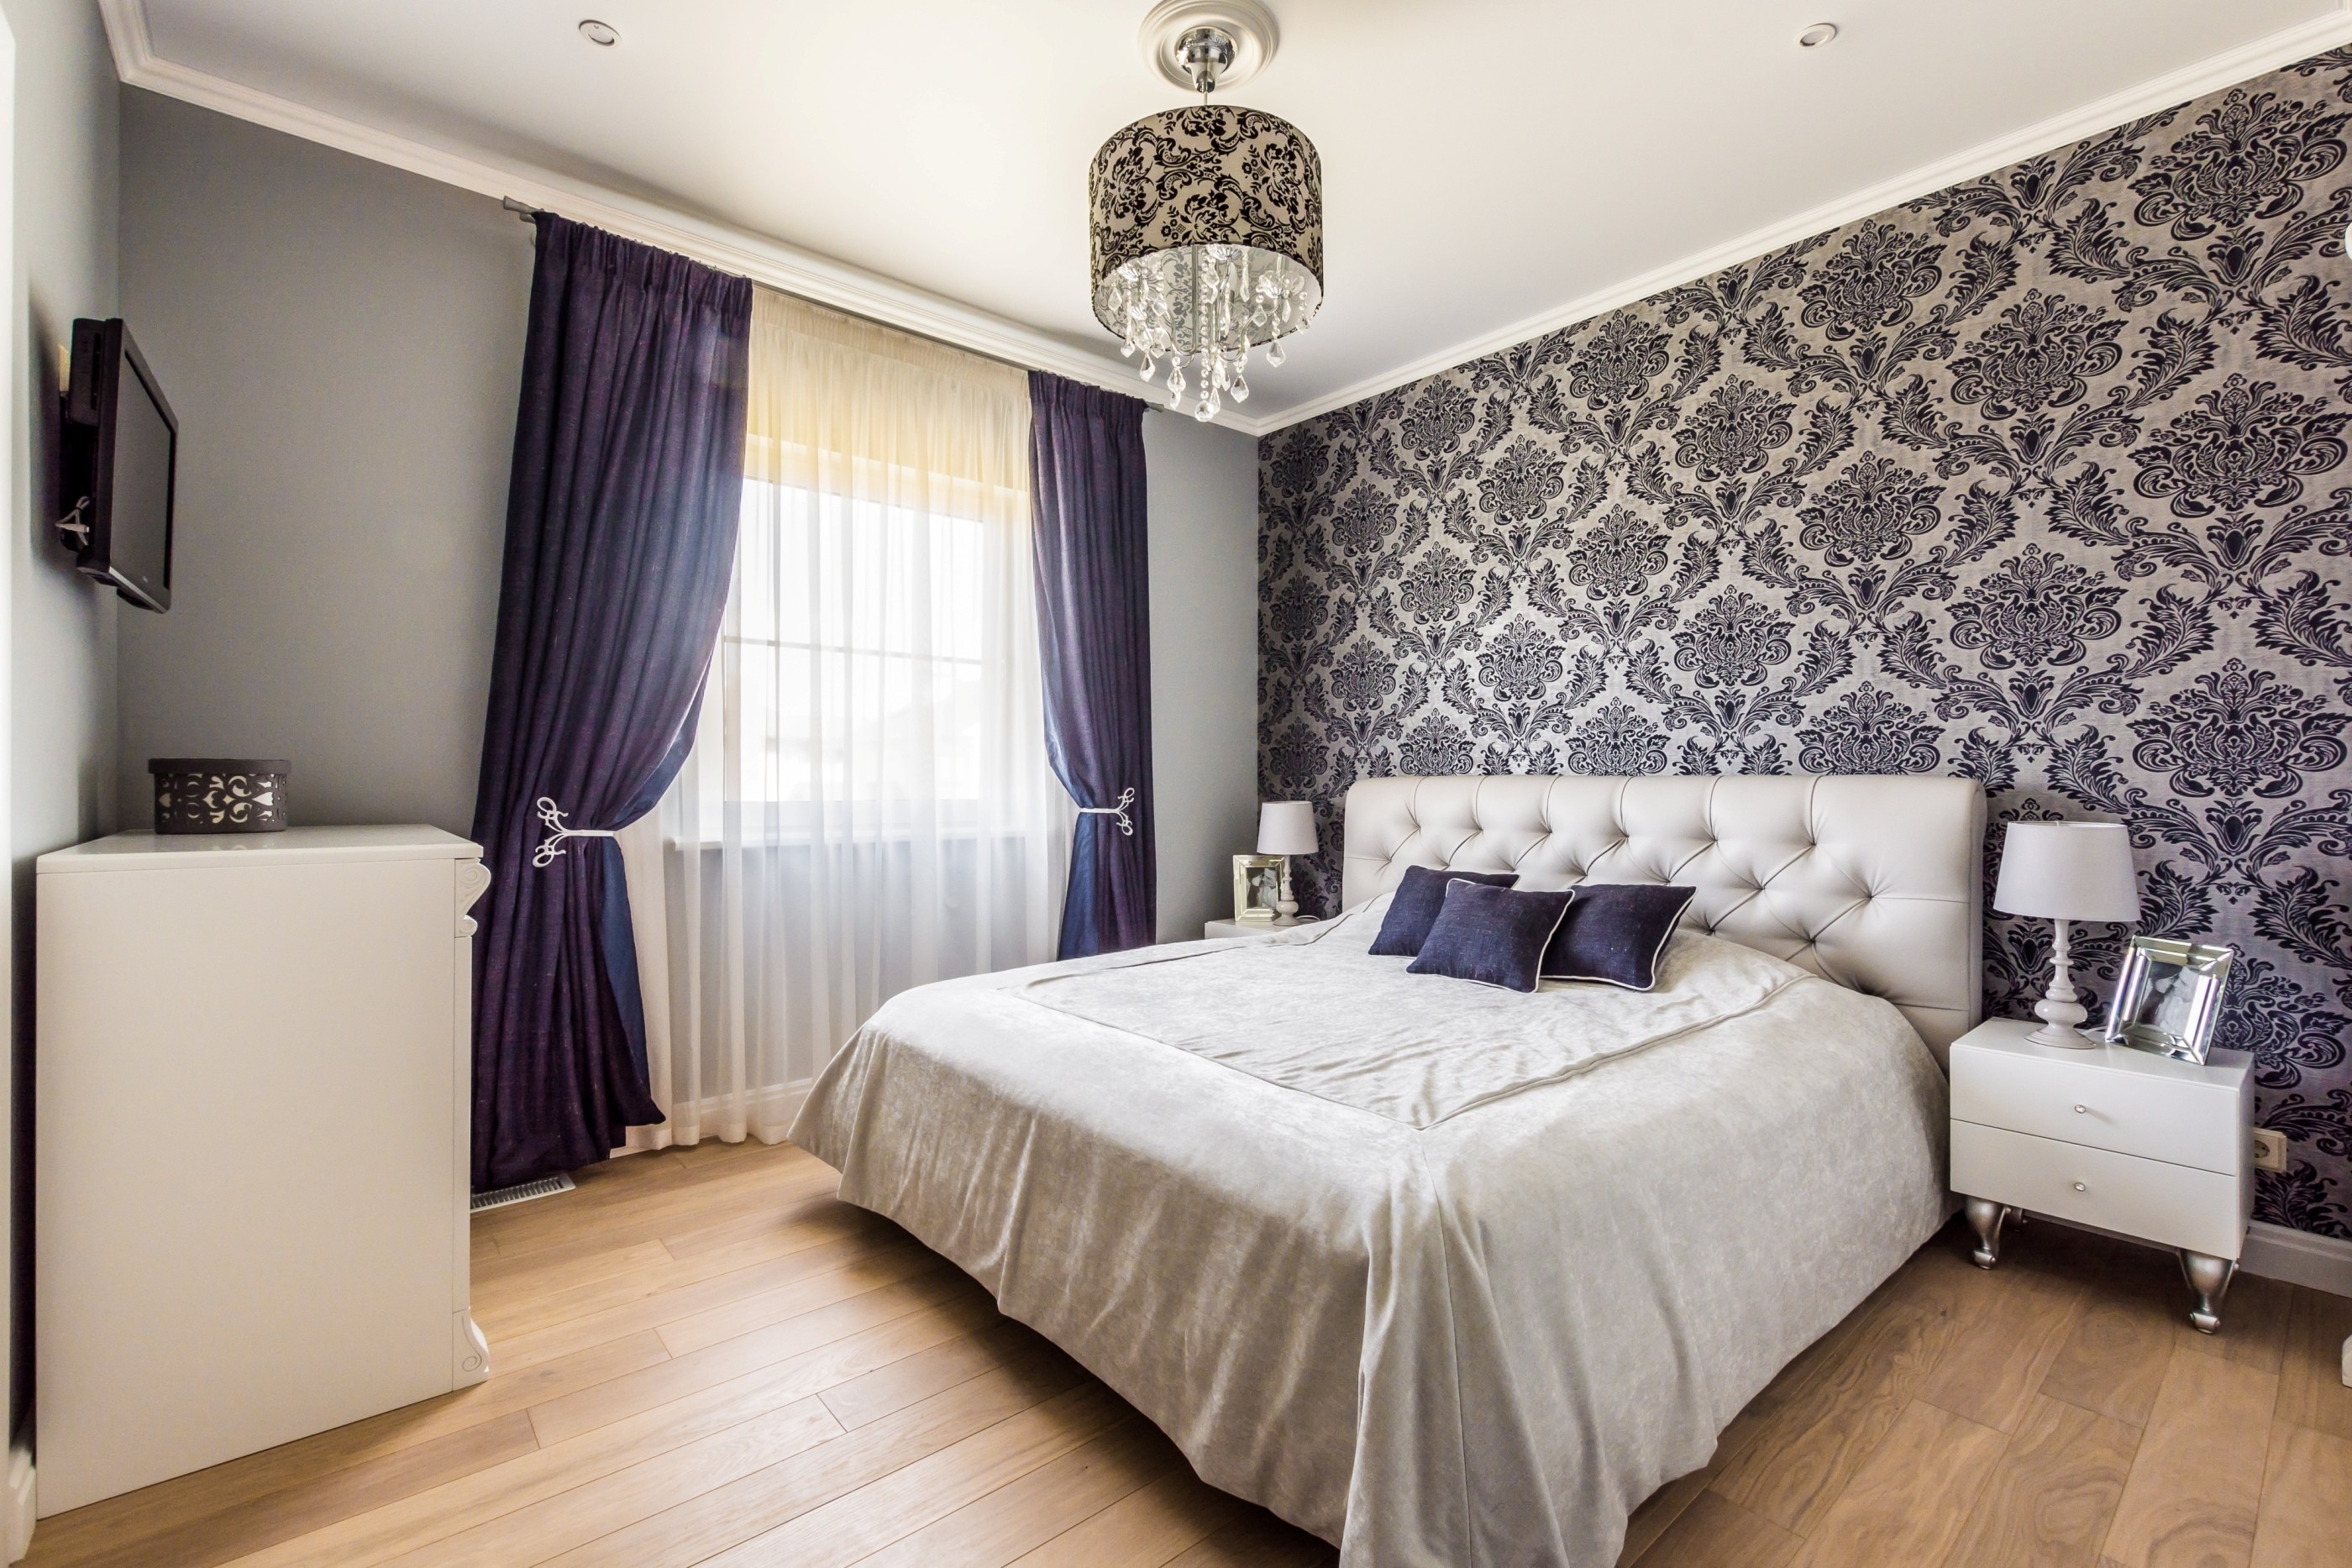
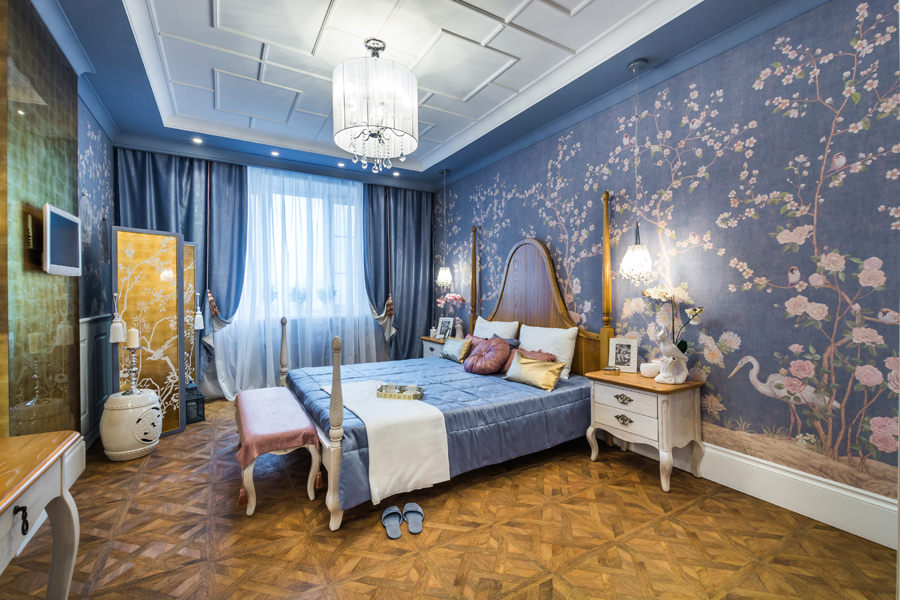
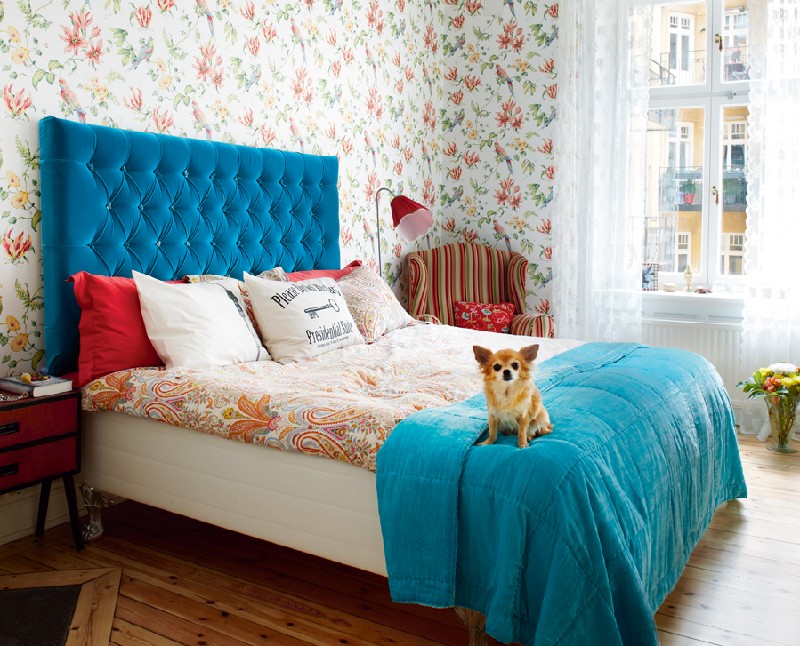
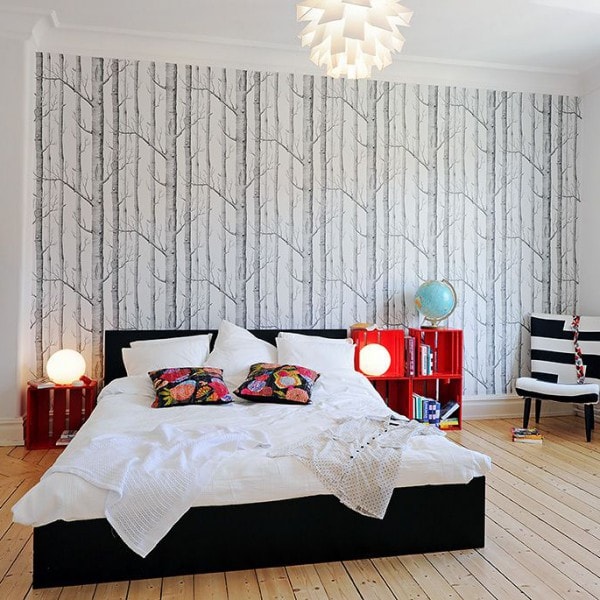
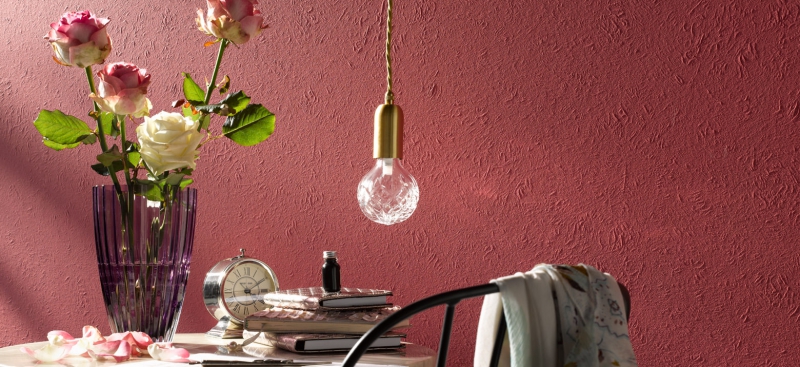
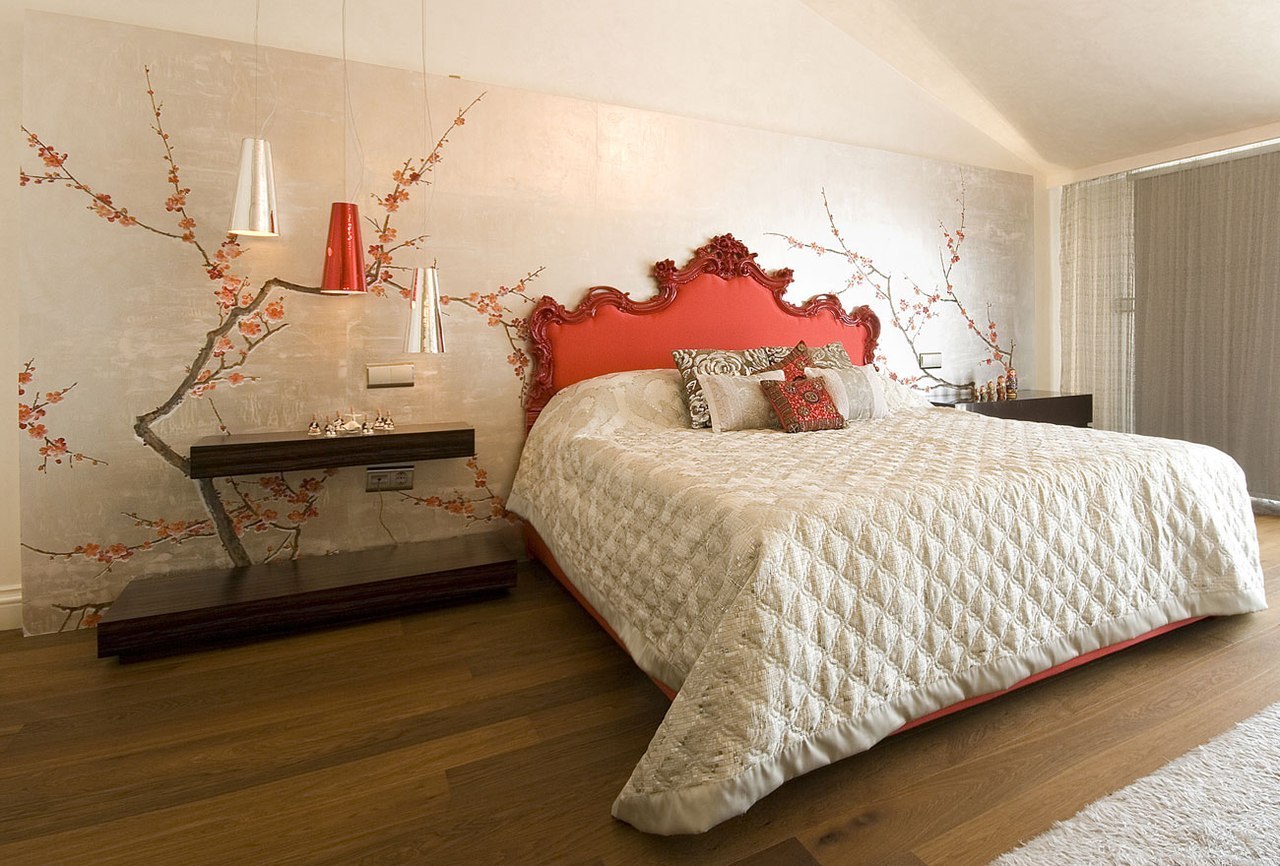
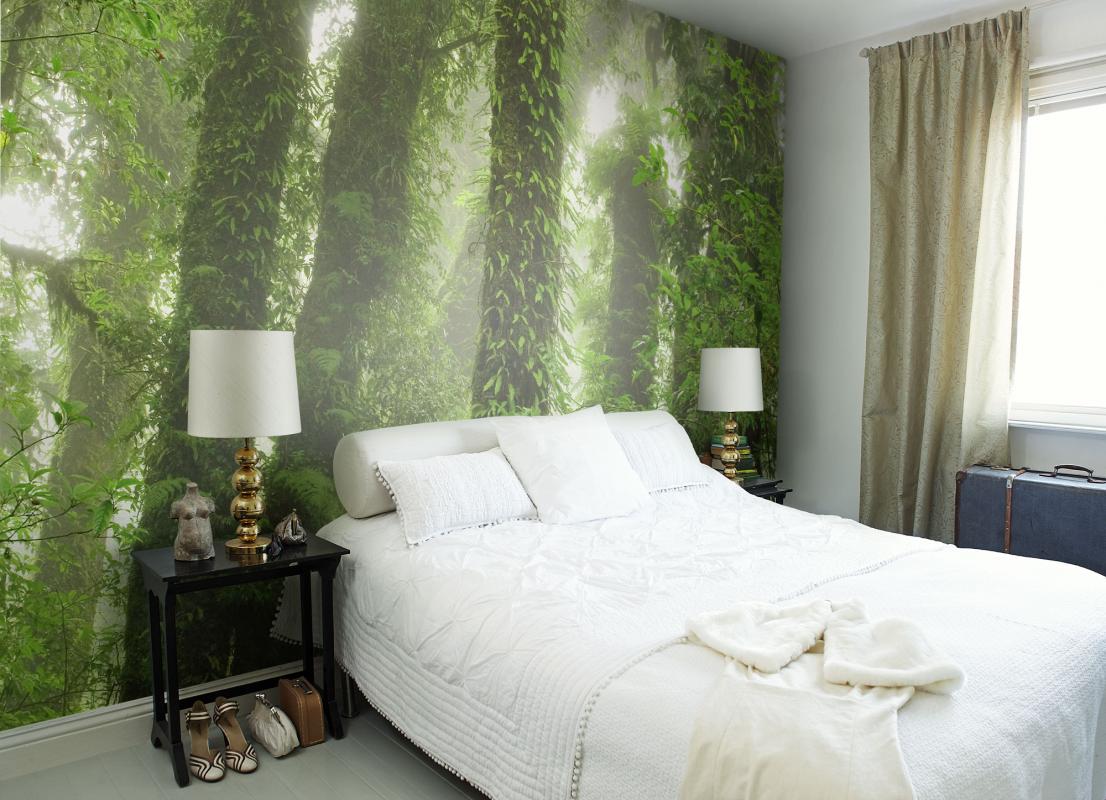
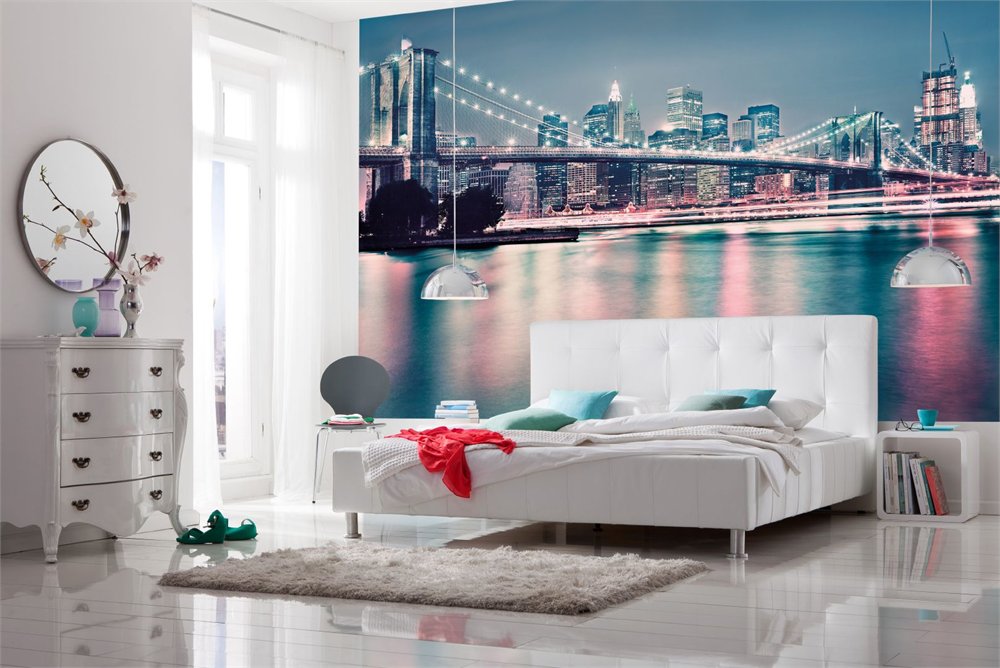
For those who want to add colors to the interior of the bedroom or create an atmosphere of something unusual fit decorative plaster or unusual wallpaperpasted on one of the central walls.
For the floor
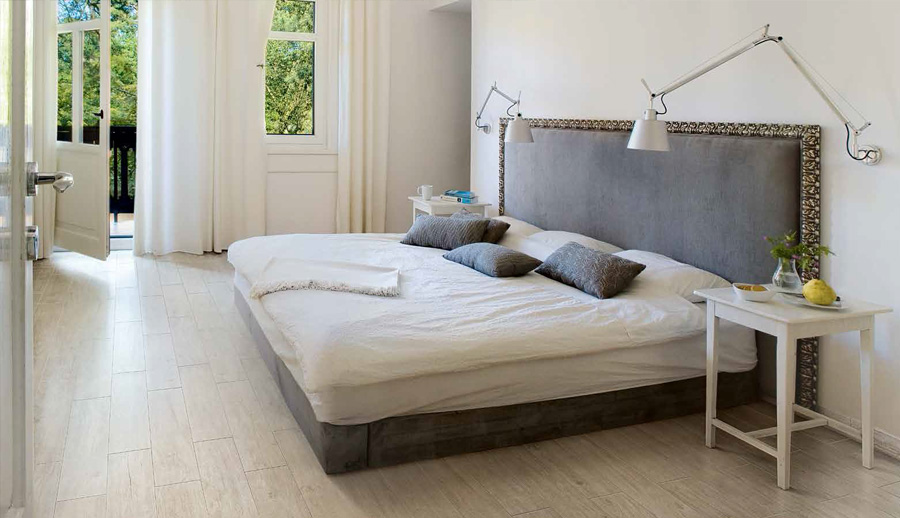
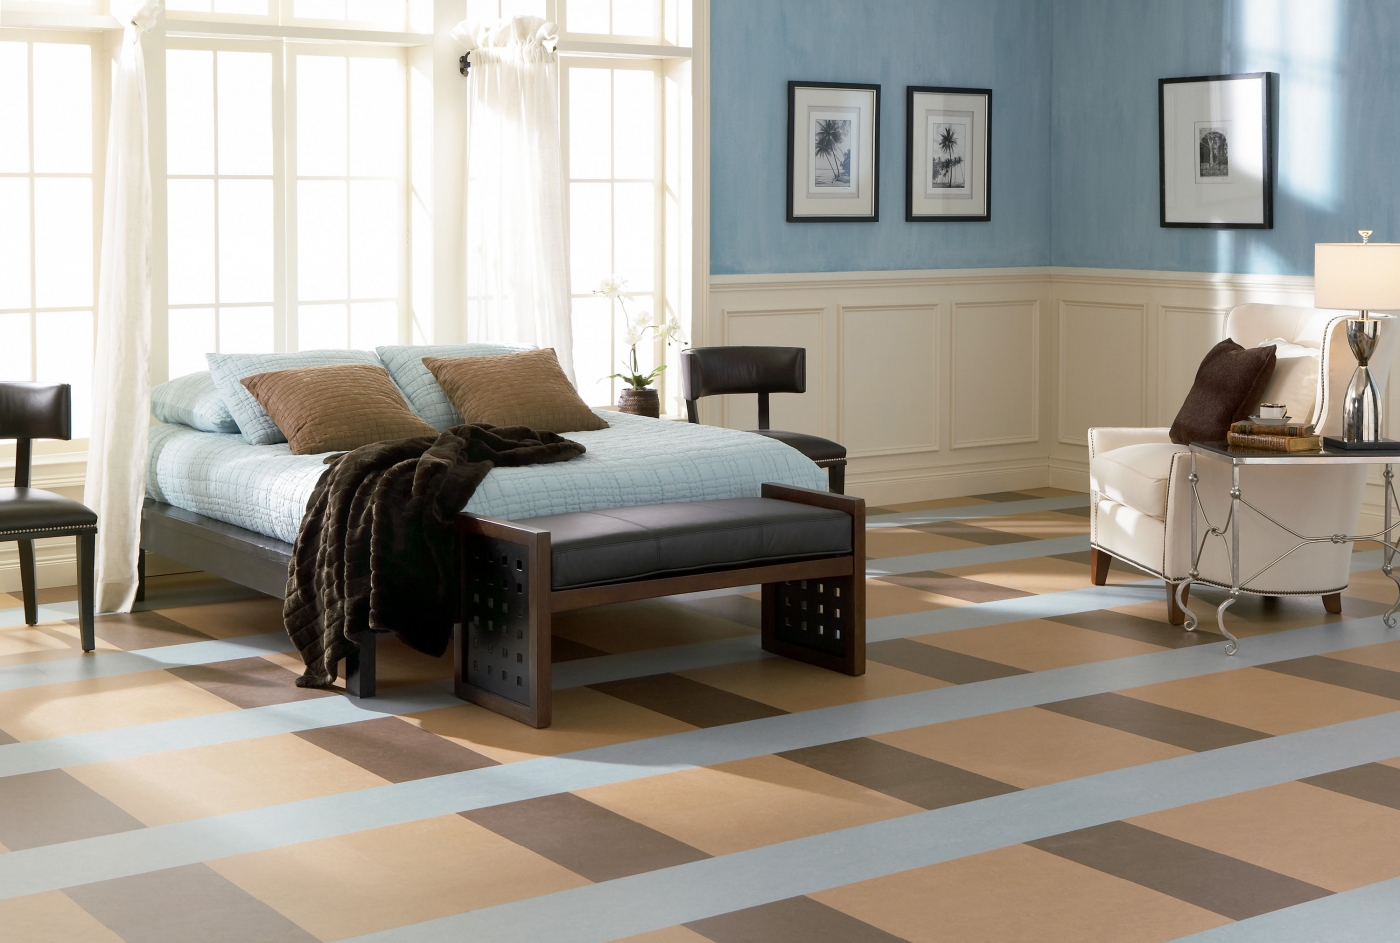
There are quite a few options for flooring, you can choose any - in accordance with individual tastes and needs. The easiest to install, for example, is linoleumwhich looks very attractive. In addition, the newfangled development is an eco-friendly linoleum, with hypoallergenic components in the composition.
Similar in ease of installation is considered carpet - carpet, distributed over the entire surface of the floor in the room.Such material can be laid in the bedroom, if you are interested in softness and warm floors. The disadvantages include inconvenience regarding the care of such material. There are many advantages to carpet.

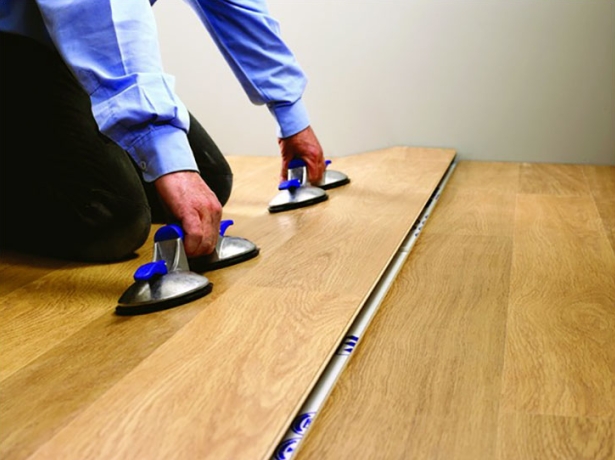
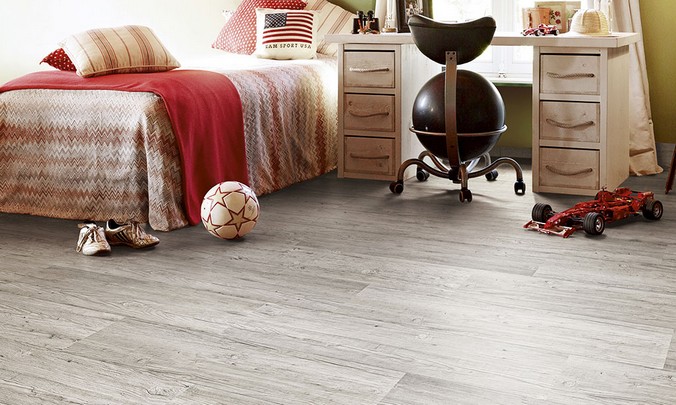
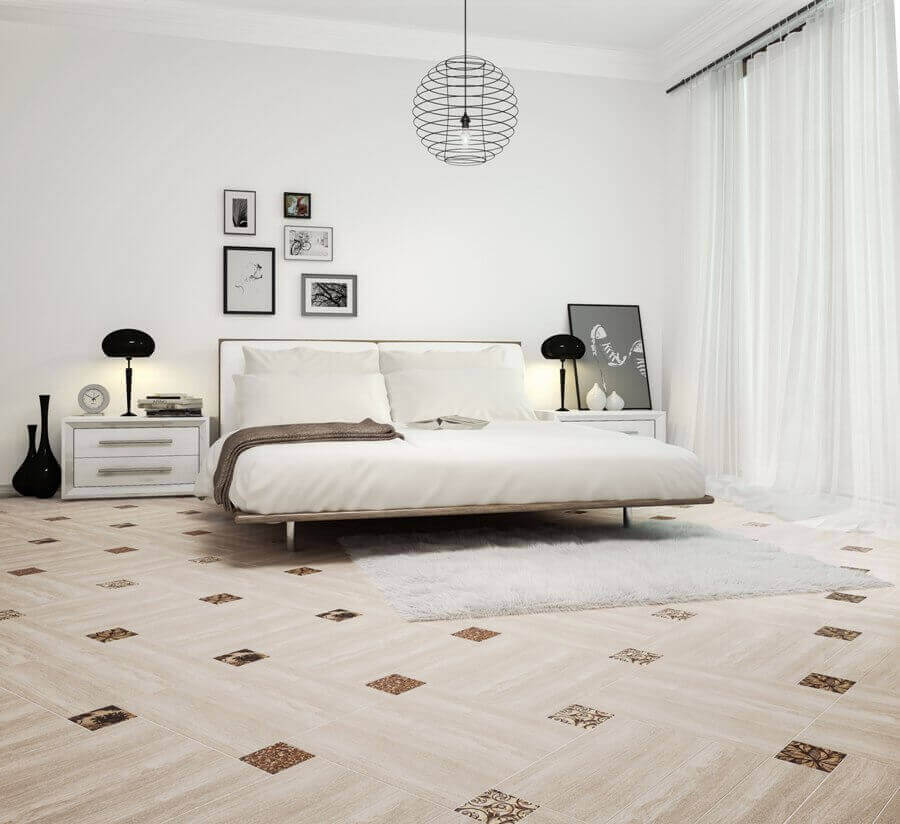
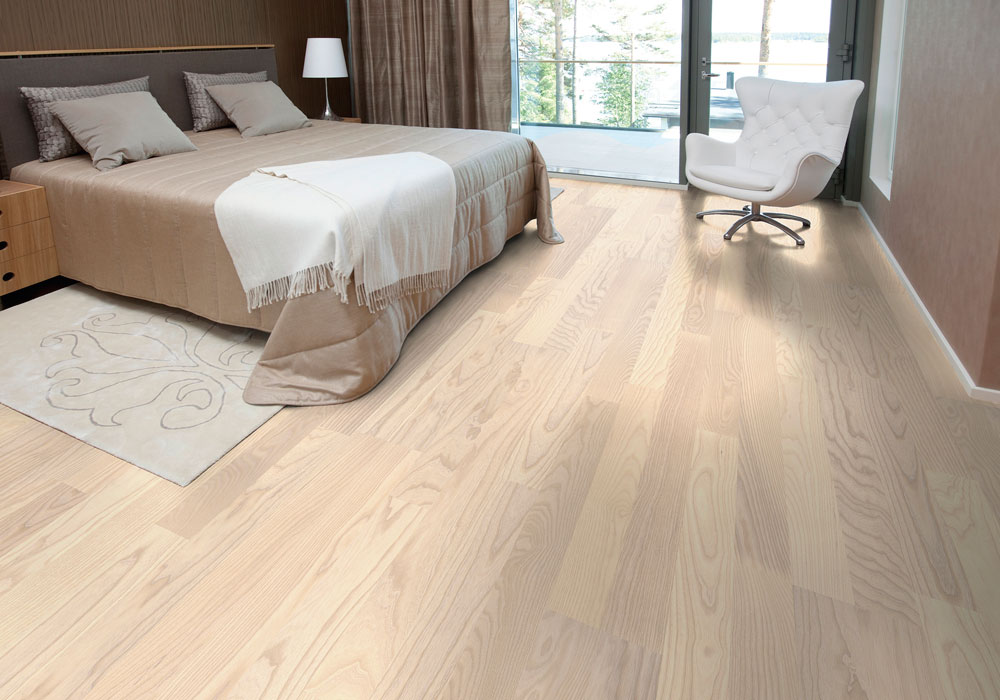
Laminate is the most common floor covering. It is affordable, practical and will last a long time. There are quite a few design decisions: you can lay white, brown, dark or colored laminate on the floor.
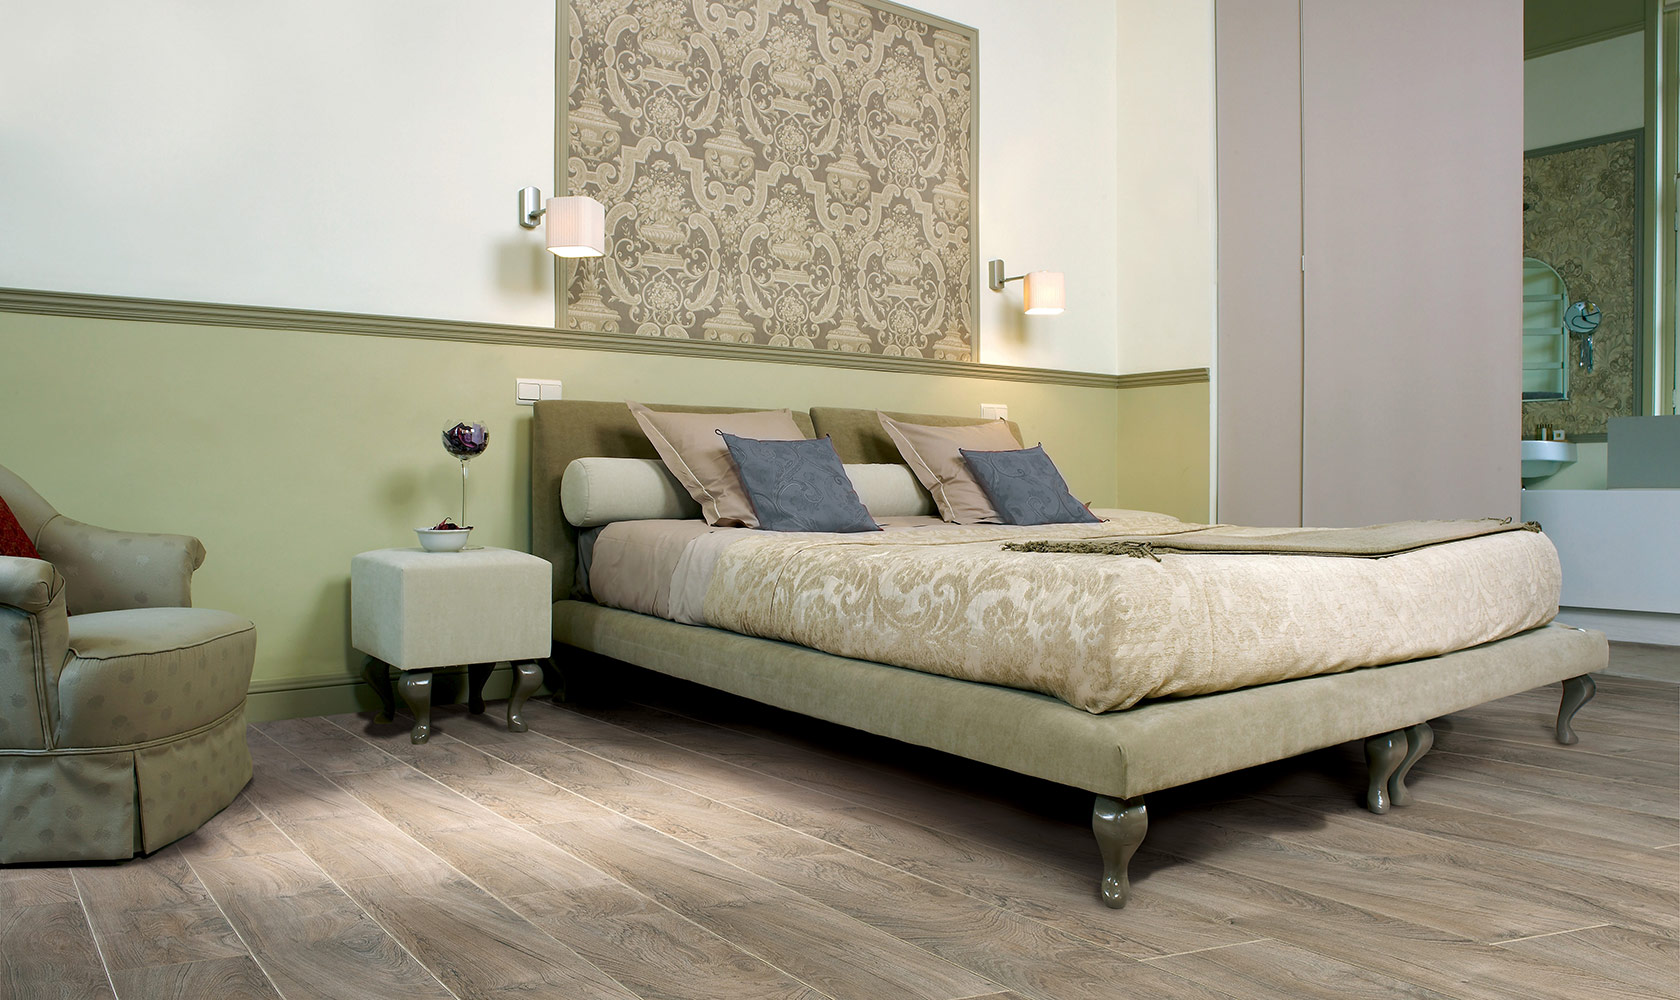
Not to mention and floorboard. This coating is better in quality than laminate, but it has one feature - it is necessary to cover the floor with a special parquet lacquer.

As a special design move, you can use the construction of the structure two-tier floordecorated with various finishing materials. Two-level floor will be a highlight of the bedroom interior.
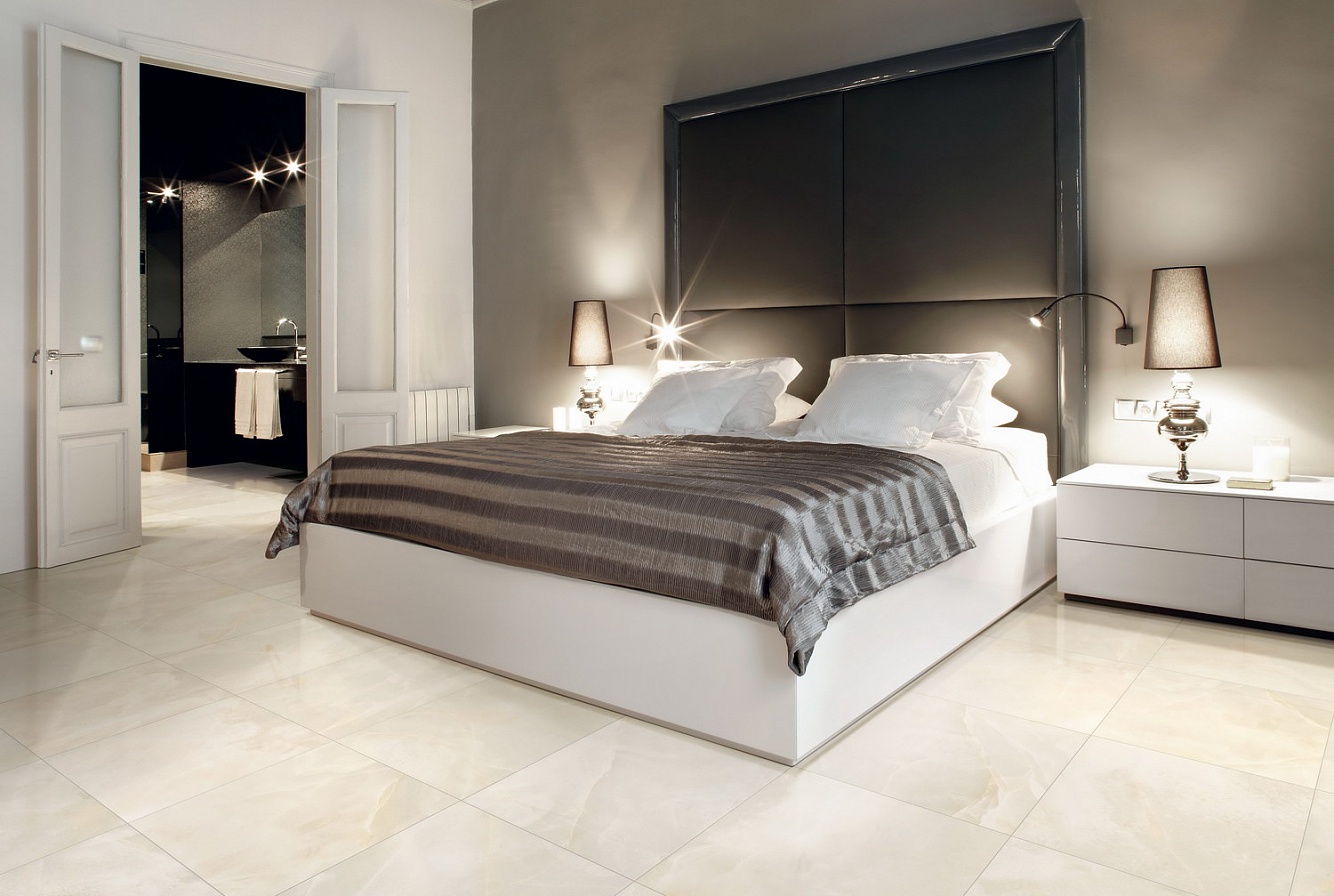
As for the tile, self-leveling, cork floors, as well as the tiled surface, we can note the main thing - everyone decides for himself which coating is better suited for his own bedroom.