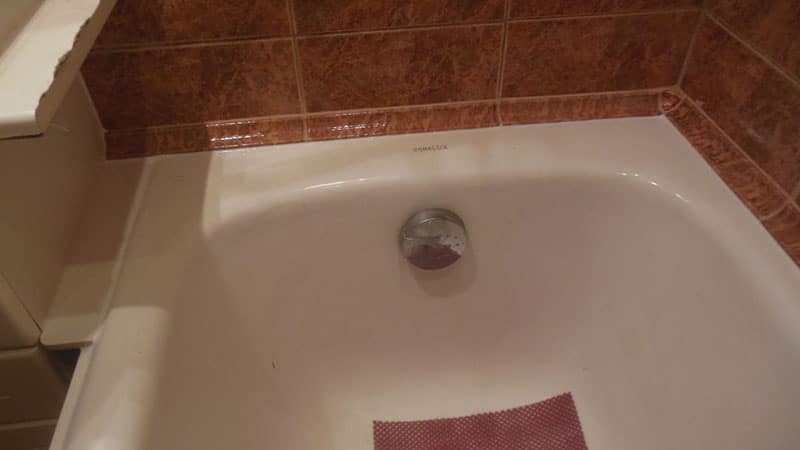
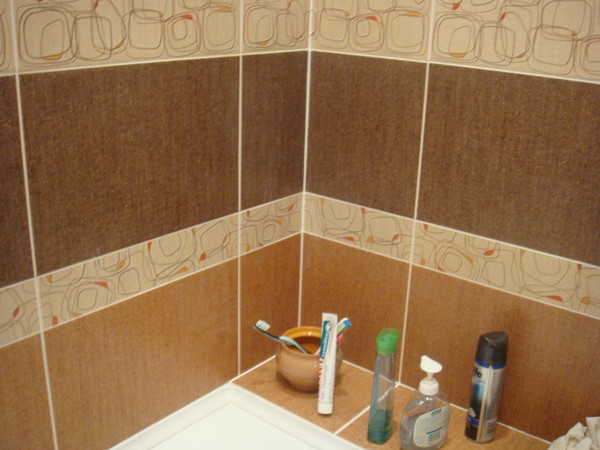
How to seal the gap between the bathroom and the wall?
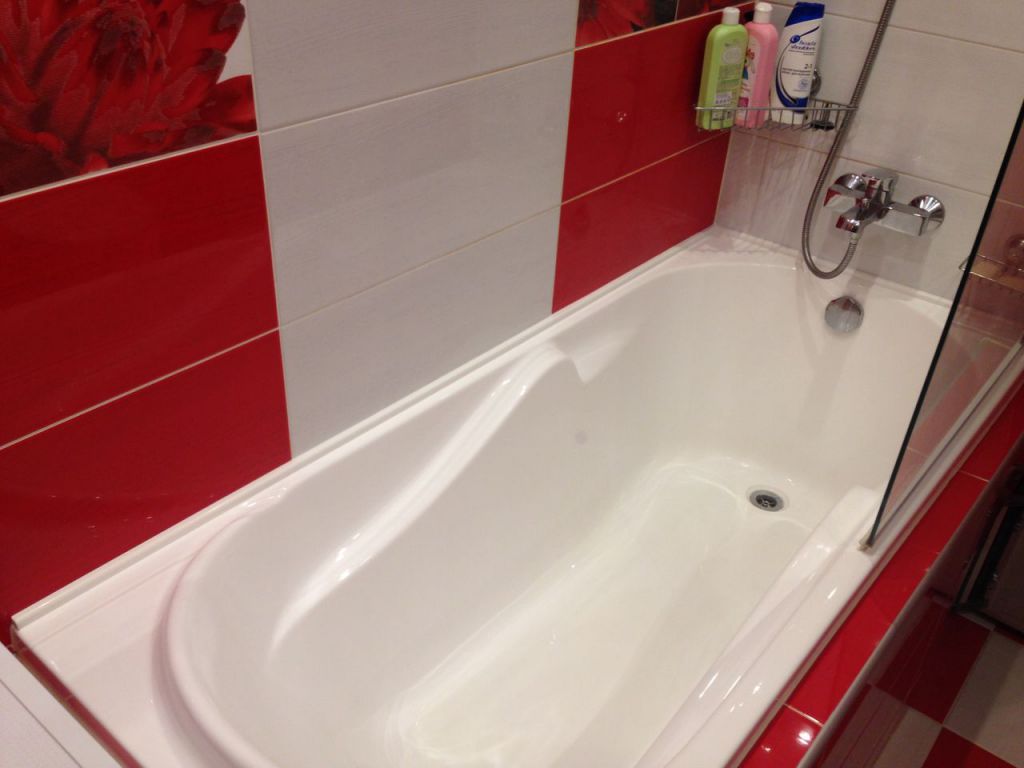
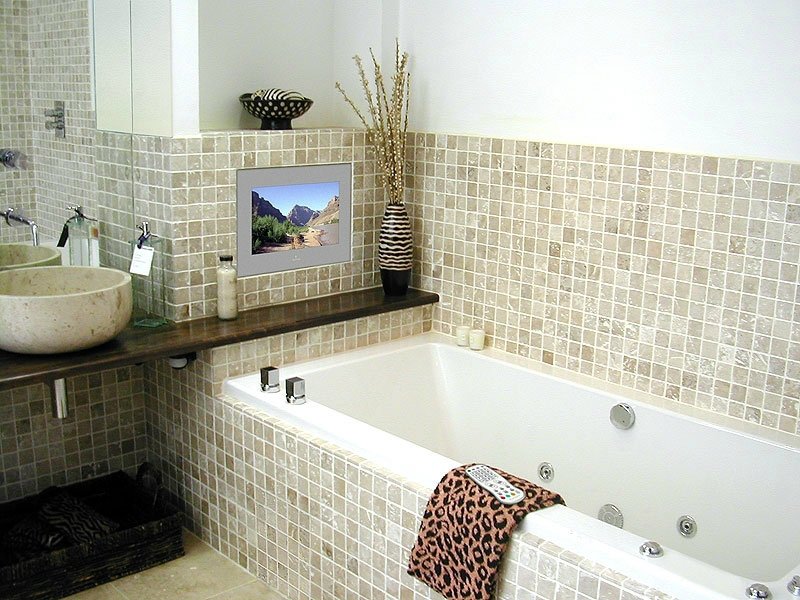
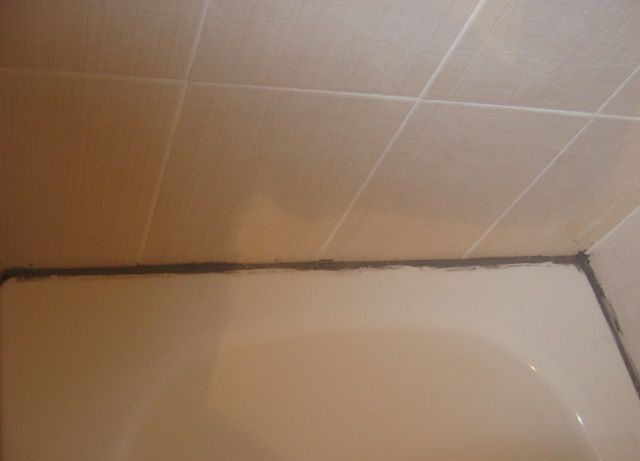
When the main repair in the bathroom is finished: the tiles are glued, the bath is in place, then the question arises of how to seal the ugly gap between the wall and the bathroom. Sealing is very important, because it prolongs the life of plumbing products and prevents the penetration of moisture under the bathroom, mold and the destruction of tiles.
Special features
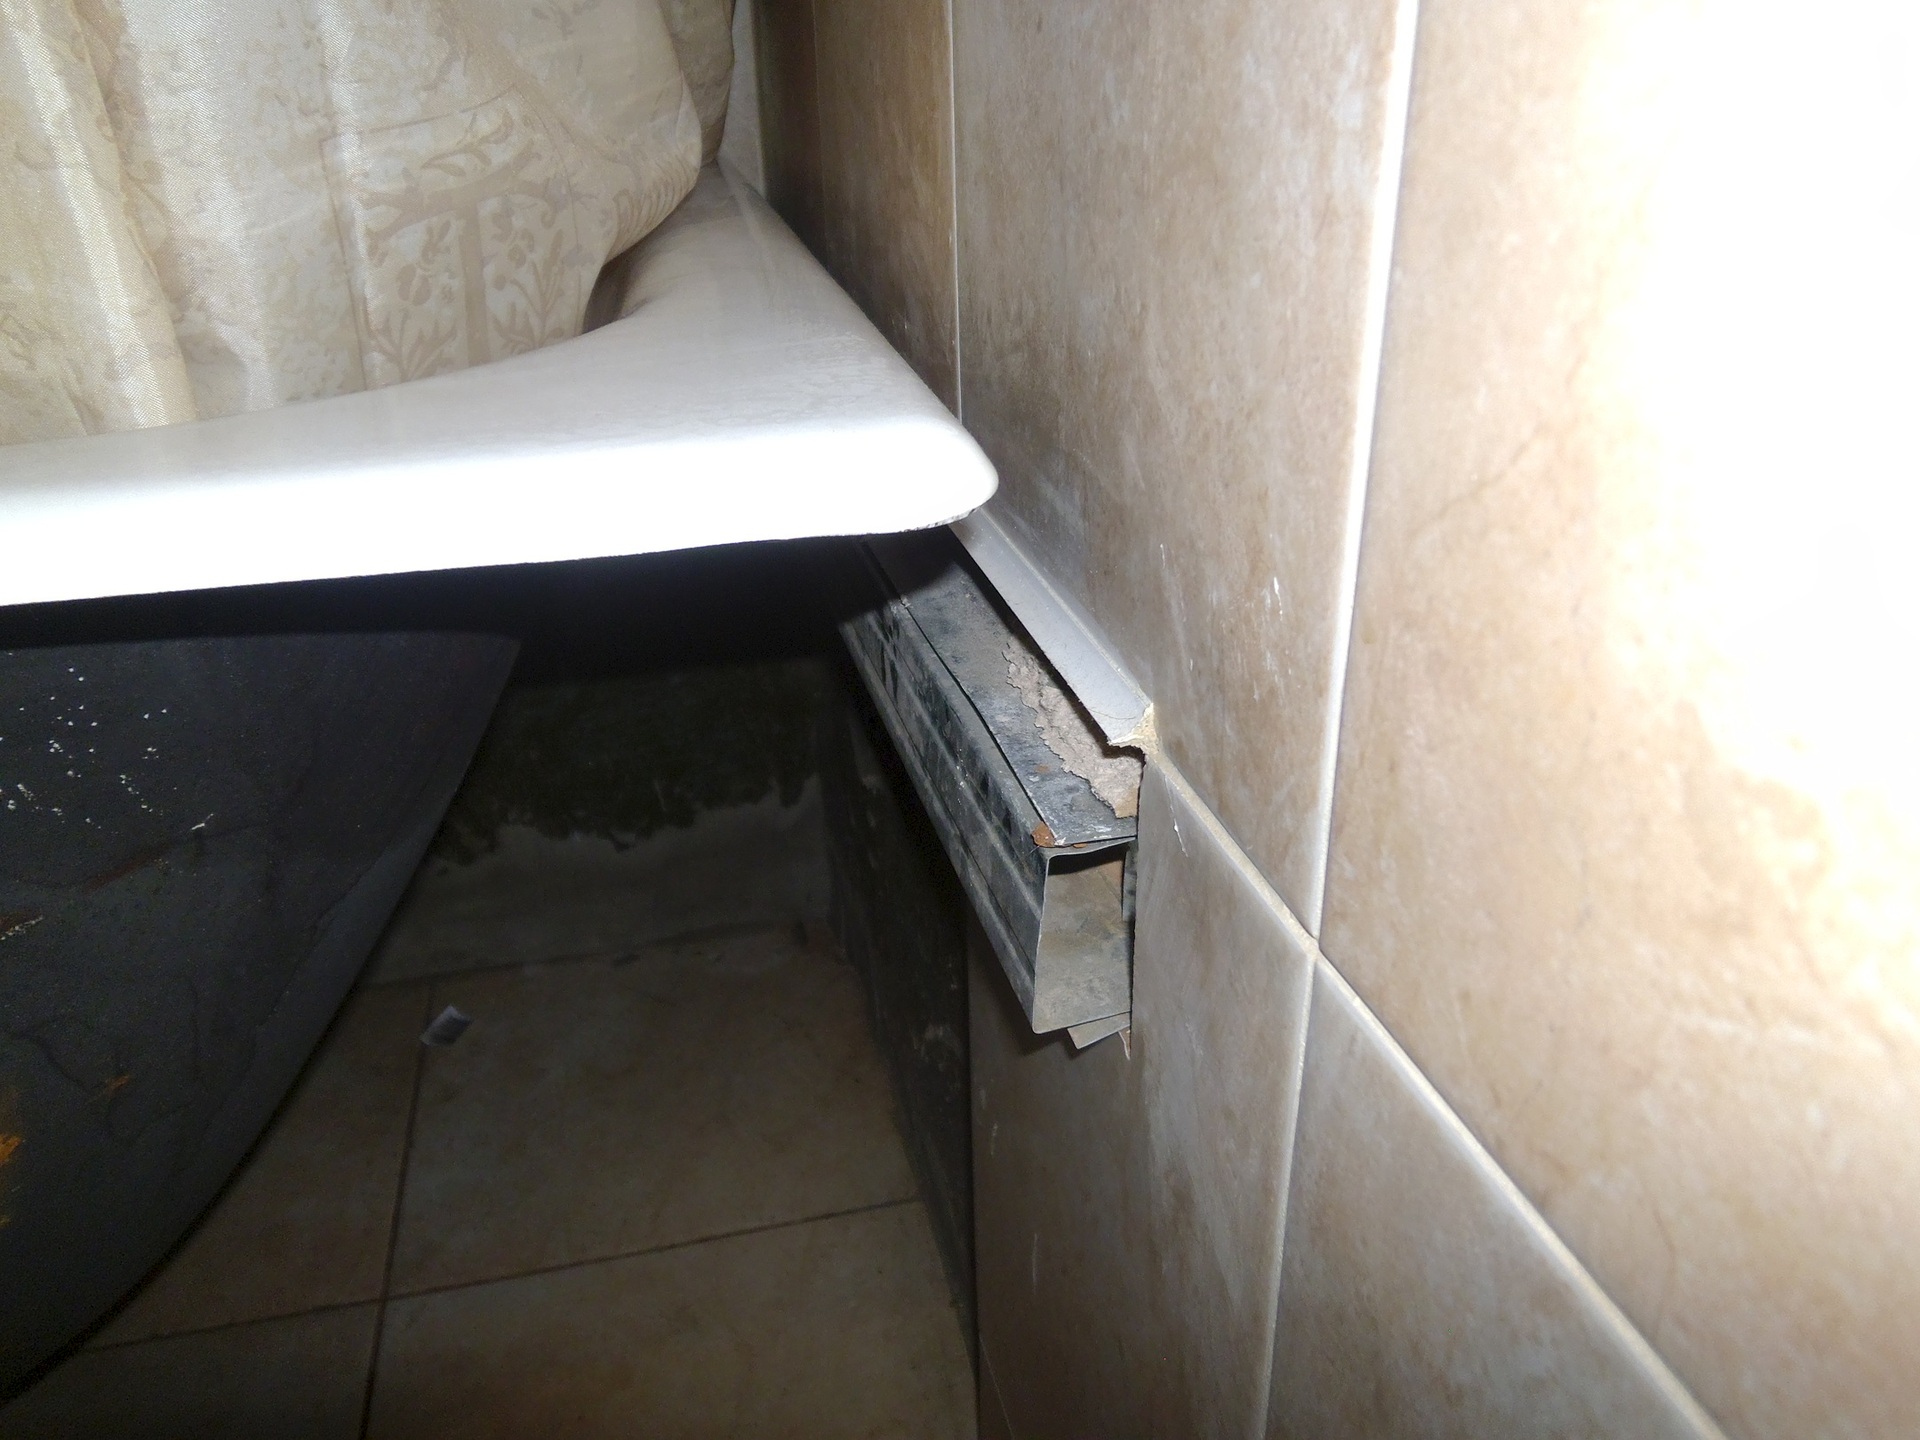
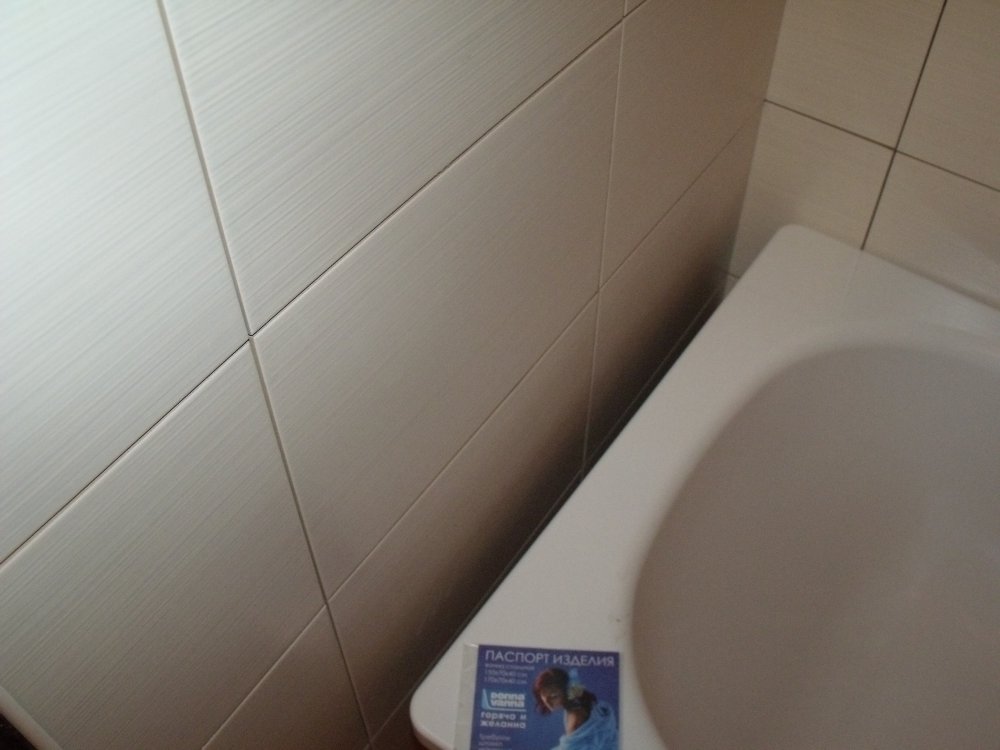
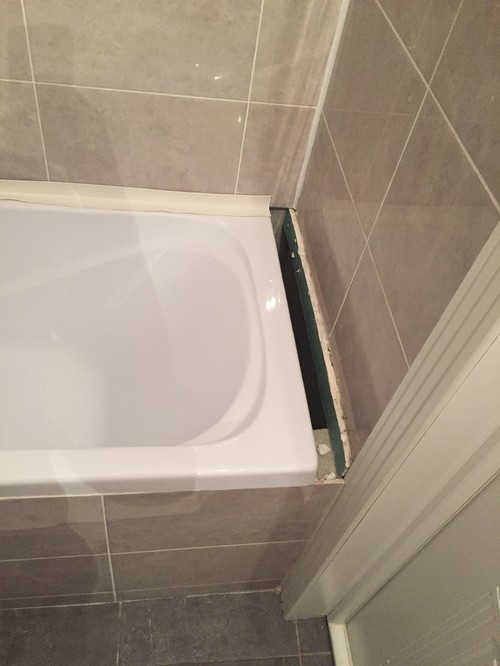
The gap between the wall and the bathroom arises due to inconsistencies in the size of the bath and the room, the unevenness of the walls or due to non-withdrawn corners. The size of the gap depends on the specific situation.
At the moment, quite a lot of solutions have been devised for solving this problem., we'll talk about them. How to close large gaps (more than 5 cm), small gaps, the best ways to resolve these situations, depending on the input conditions - we will look at all this later in the article.
Modern methods of sealing joints
It is possible to identify particularly popular methods of sealing the gap between the bathroom and the wall:
- using cement mortar;
- using foam;
- seal with silicone sealant;
- plinth of plastic or tile;
- sticker curb tape or corner.
The decision to use each of the methods needs to be decided depending on a combination of many factors, such as:
- gap size;
- bath form;
- wall material.
Having chosen the material correctly, the work on sealing will be simple, and the result will be long-term.
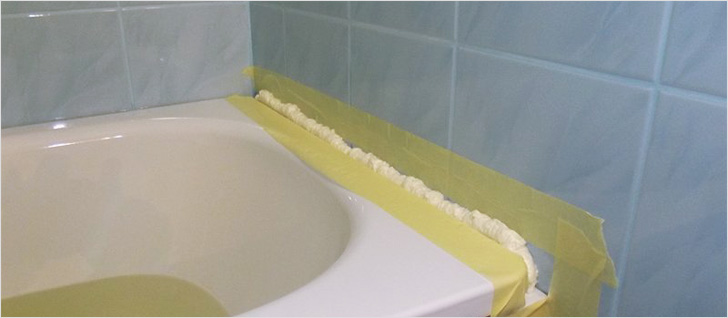
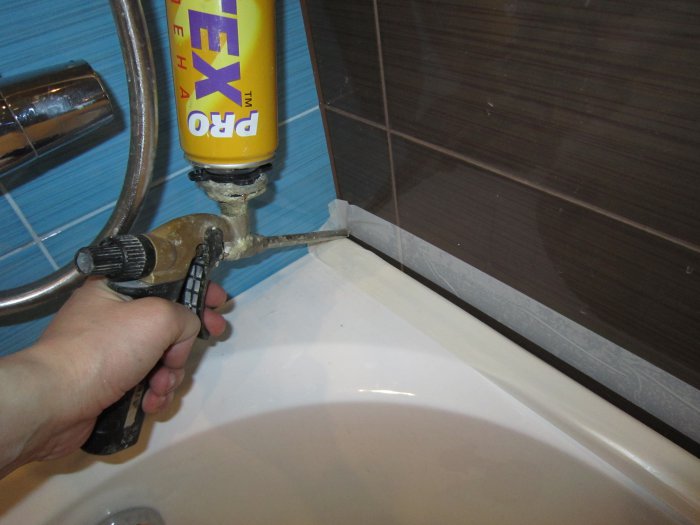
Sealing foam
The use of finely porous foam in sealing the gap between the bathroom and the wall is a progressive and convenient method that can be used even with large gap sizes, since this foam tends to expand greatly in volume.
When choosing a foam, you should pay attention to its moisture resistance, because this is the main criterion when choosing building materials for working in wet rooms. The best is a one-component polyurethane composition.
Sequentially sealing foaming looks like this:
- cleaning surfaces from contamination and degreasing with the help of specialized tools;
- thorough drying of surfaces;
- preparation of the construction gun (if it implies the foam chosen by you);
- careful distribution of foam, filling all the cracks (before use, the balloon must be shaken);
- quick cleaning of excess foam (after drying it will be extremely problematic);
- liquid expansion and drying (on average - up to 8 hours);
- then we cut the foam evenly and mask the joint using a convenient material - ceramic tile or plastic corner.
Important: when working with foam, it is better to protect your hands from getting it on the skin.
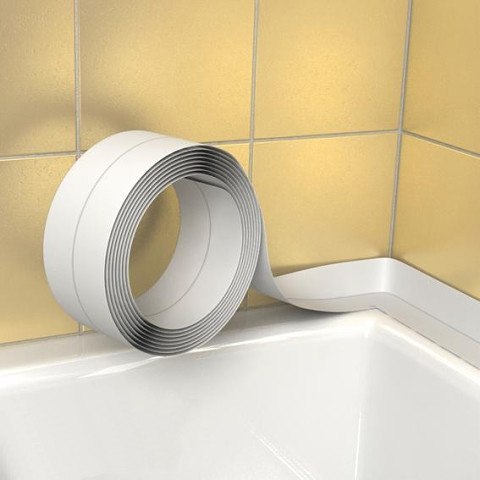
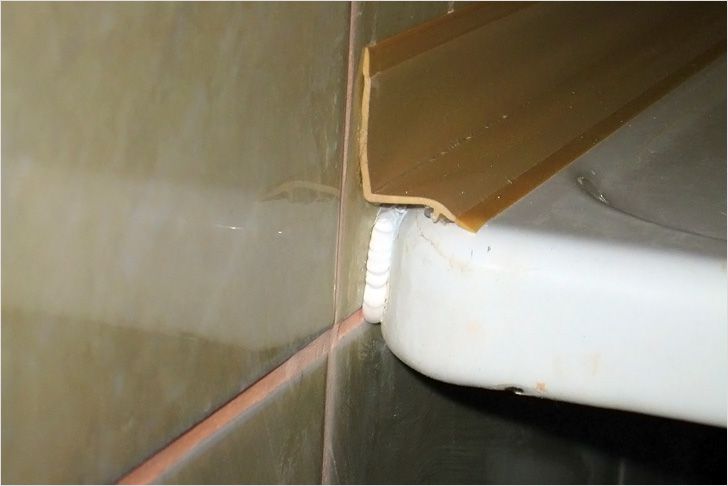
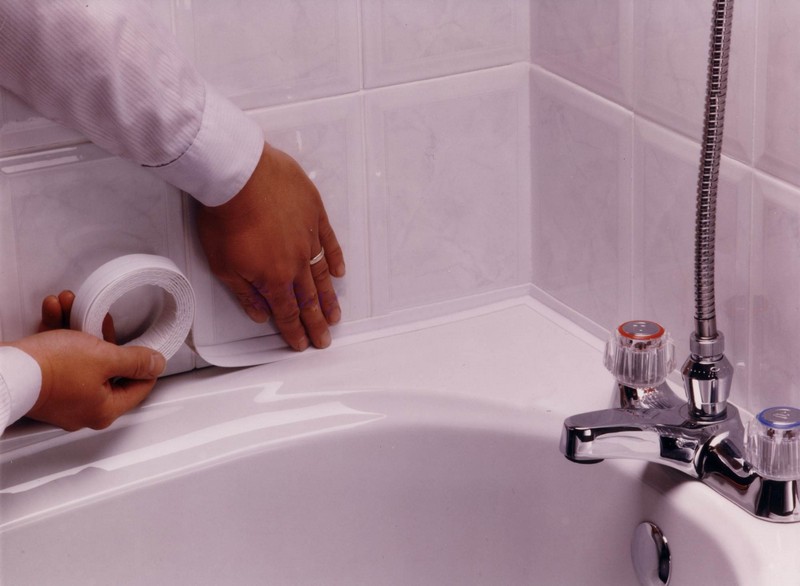
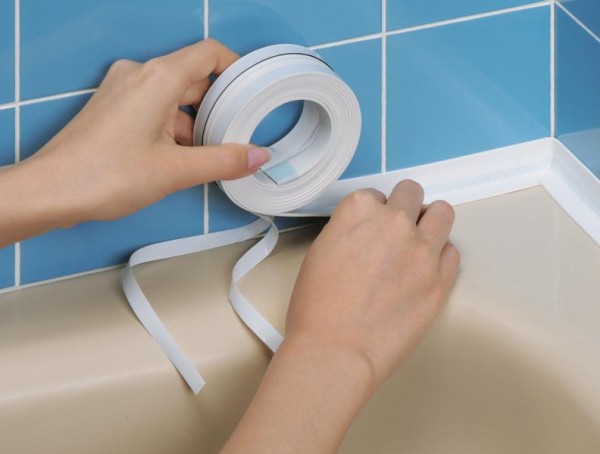
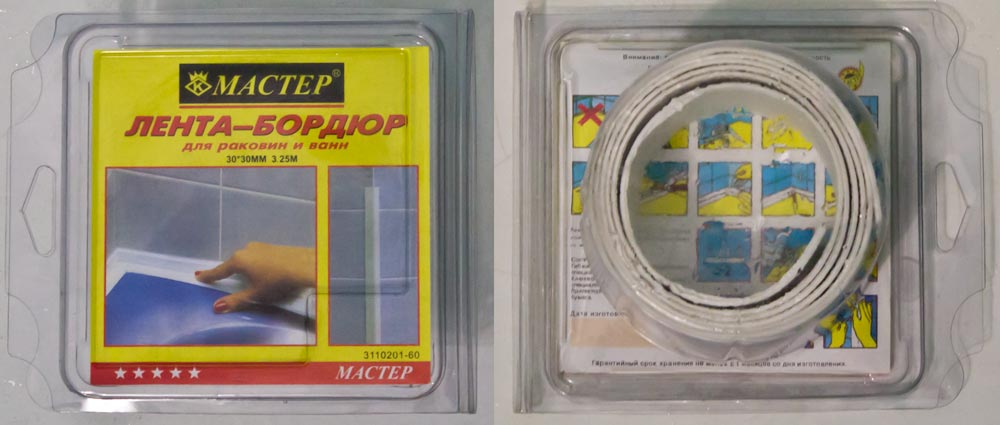
Using curb tape
Curb tape is a white polyethylene tape, produced in rolls. On the one side of the tape - a smooth surface, covered with antifungal agents and impermeable to moisture, and on the other side of the tape is represented by a sticky layer.
As a rule, curb tape is not used as an independent means of sealing joints., and as an additional decorative coating after filling the gap with mounting foam or cement-sand mortar.
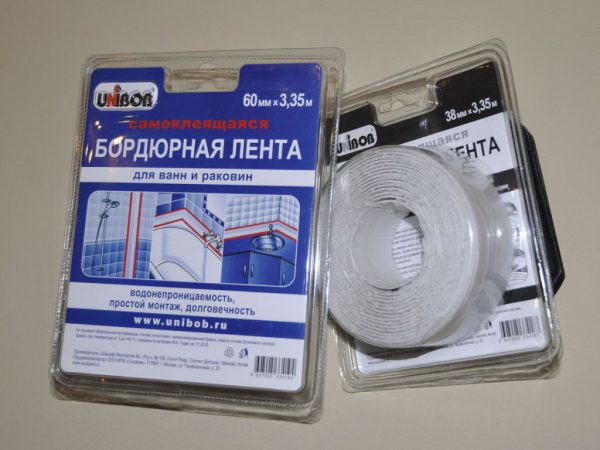

When choosing a tape, you should know the width of the gap that you want to close and choose at least 2 times wider (as one edge of the tape lies on the wall, and the second - on the slot and edge of the bath).
The tape is fastened in the following way:
- the working surface is cleaned and thoroughly dried;
- to strengthen the tape, it is often advised to lubricate the joint with adhesives (for example, liquid nails) or to use additional silicone sealant;
- curb tape is glued exactly: so that one half falls on the wall, and the second half - on the bath;
- for reliability all joints are coated with sealant;
- it is also necessary to prevent moisture from entering the side during the day for drying.
Curb tape is a short-lived method of sealing joints, it is worth remembering. It is easy to maintain, but even with careful use, it is difficult to prolong its service life: it quickly comes off and loses its attractive appearance.
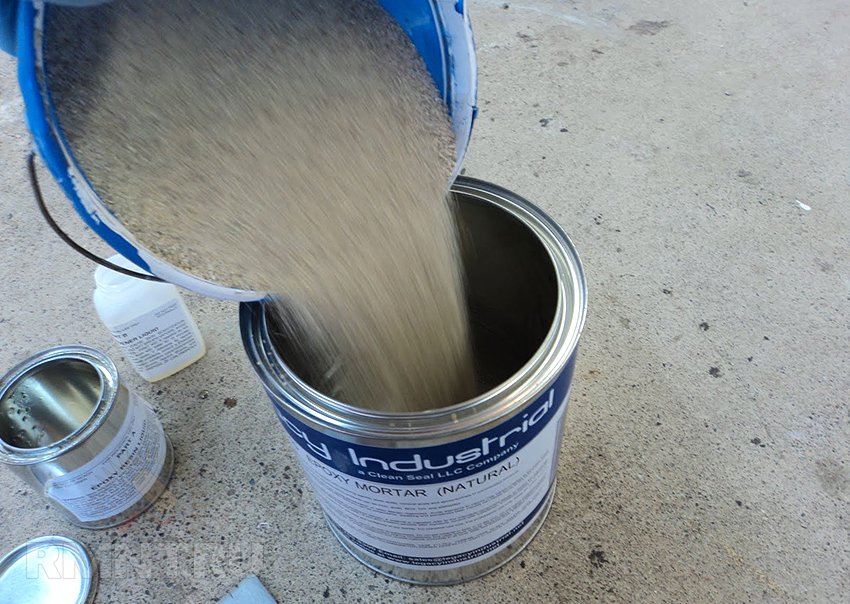
Using cement mortar
Applying a cement-sand mortar, you need to understand that this method is very economical, but is not suitable for gaps more than 4 cm wide, since it simply will not stick with a larger gap.
With a larger gap size, special supports can be used, for example, a wooden rail, which can serve as a support for the mortar.
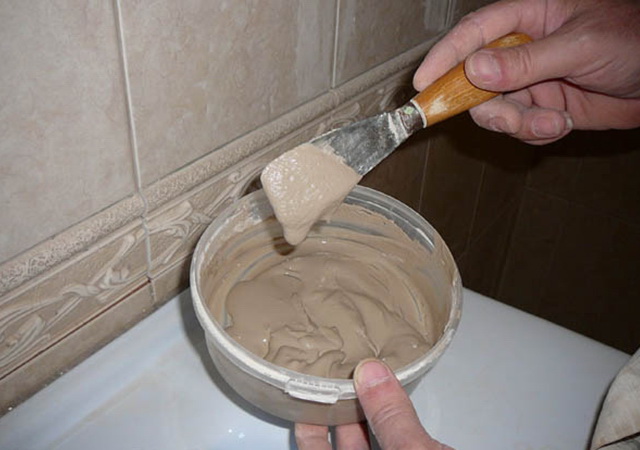
Sealing with cement mortar is carried out as follows:
- surface preparation: the wall should be treated with a primer - this is done to increase the adhesion of the solution to the wall material;
- preparation of the solution itself - this is done in accordance with the instructions on the package;
- impregnation of the cloth with the solution and placing it in the space between the bathroom and the wall;
- after drying the cloth - application of the solution, which should be carefully aligned with a spatula;
- waiting for hardening;
- painting or shelter of cement-smeared slit with plastic or tiled decor.
The main disadvantage of this method of sealing is the inelasticity of the frozen solution. Accordingly, with the slightest fluctuations to which a bath may be subjected, the solution may crack and stop performing its function.
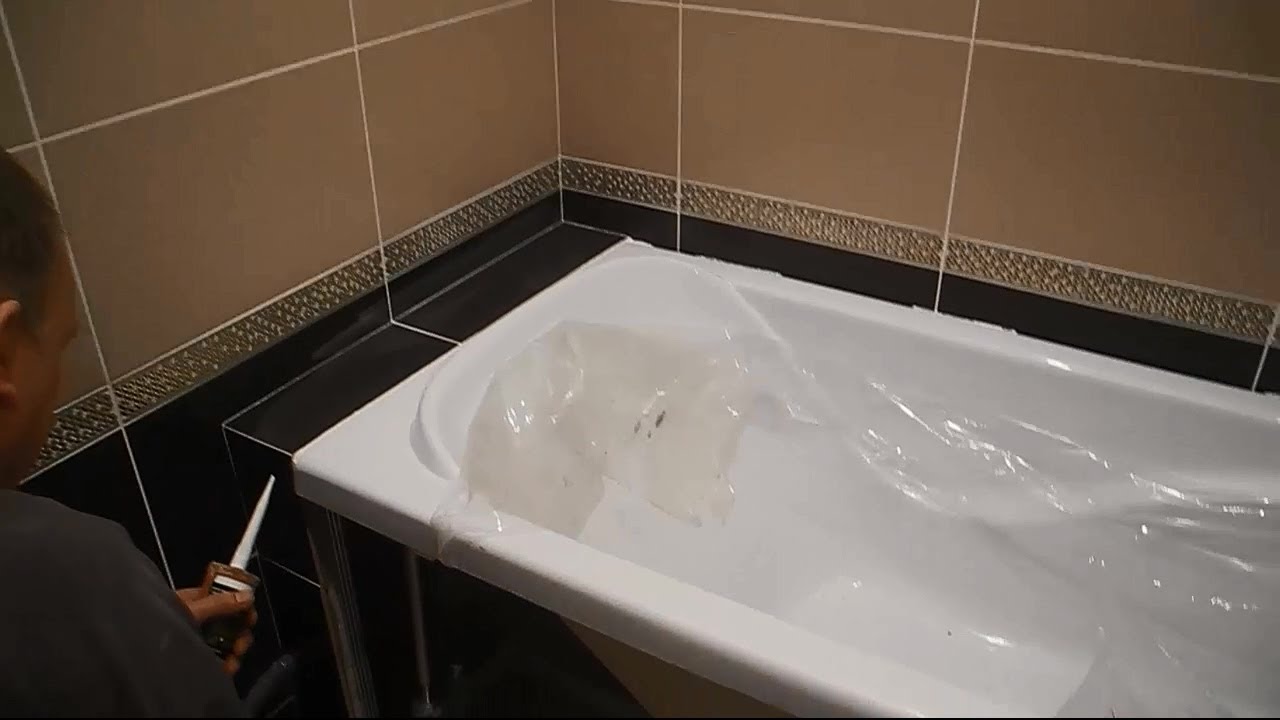
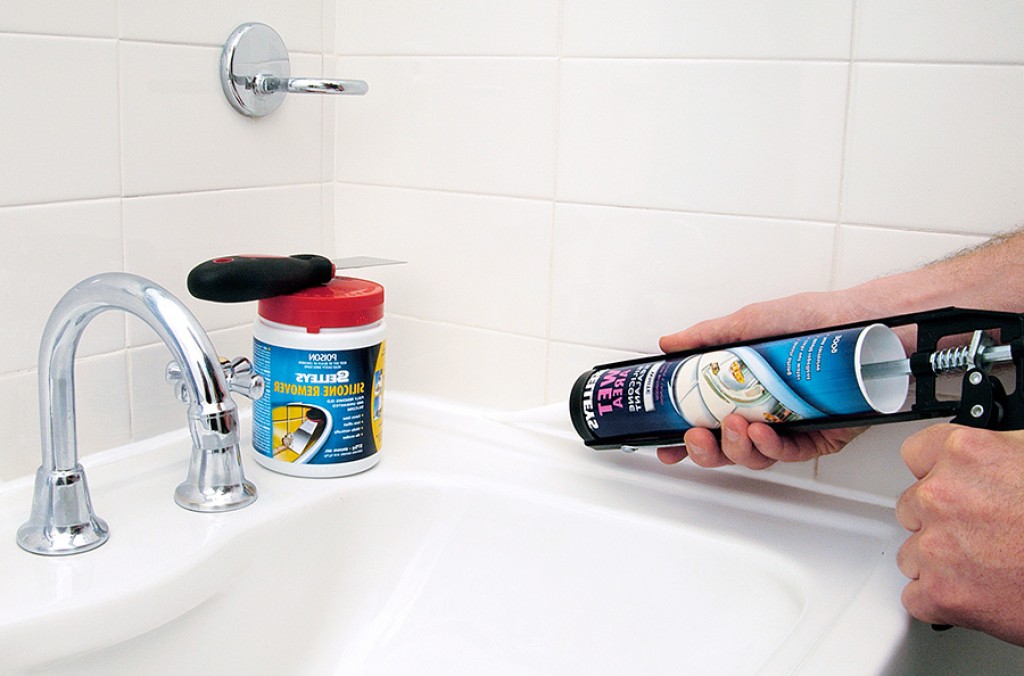
Sealing cracks with silicone sealant
With the help of silicone sealants, it is possible to provide high-quality sealing of the gap between the bathroom and the wall, but only with very small dimensions of the width of the gap (up to 5 mm).
Sanitary sealants for bathrooms are suitable for this work: they have sufficient elasticity, antibacterial and antifungal (antifungal) additives, resistant to temperature and humidity.
Another undeniable advantage of silicone sealants is an increased degree of adhesion: any glossy coating does not require special preparation for high-quality fixing.
Silicones in a tube are, as a rule, white or transparent.
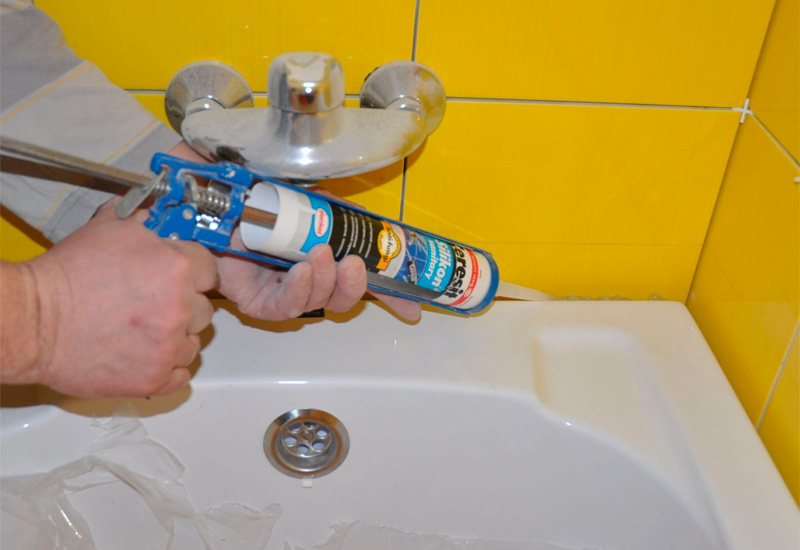
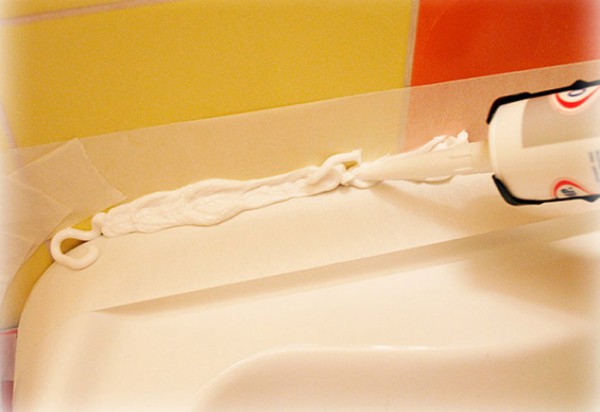
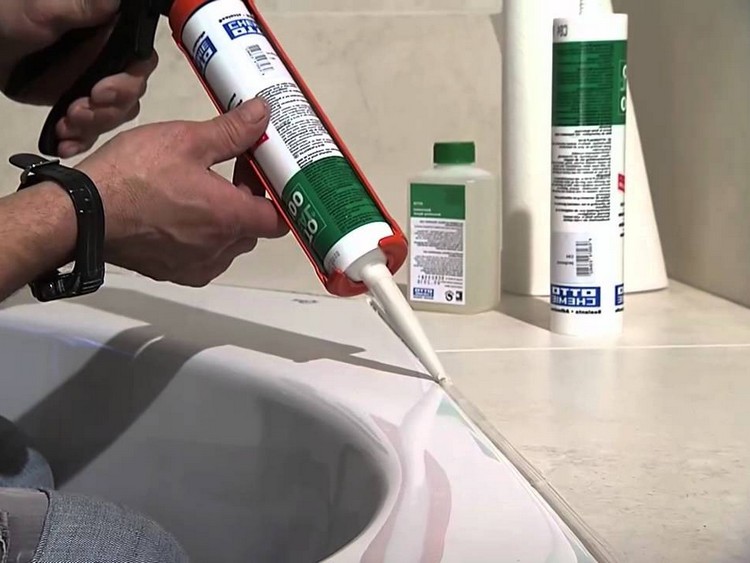
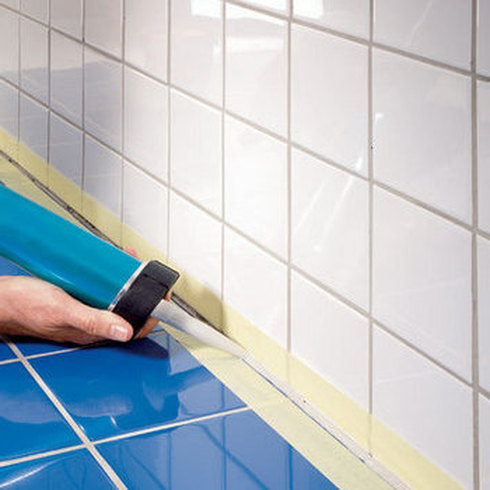
The sequence of actions in the case of using a silicone sealant for the joint is as follows:
- degreasing and drying the surface;
- for the convenience of the distribution of silicone sealant is better to use a building (plunger) gun;
- the tip of the tube of the balloon is cut according to the thickness of the seam;
- silicone is applied evenly along the entire length of the gap;
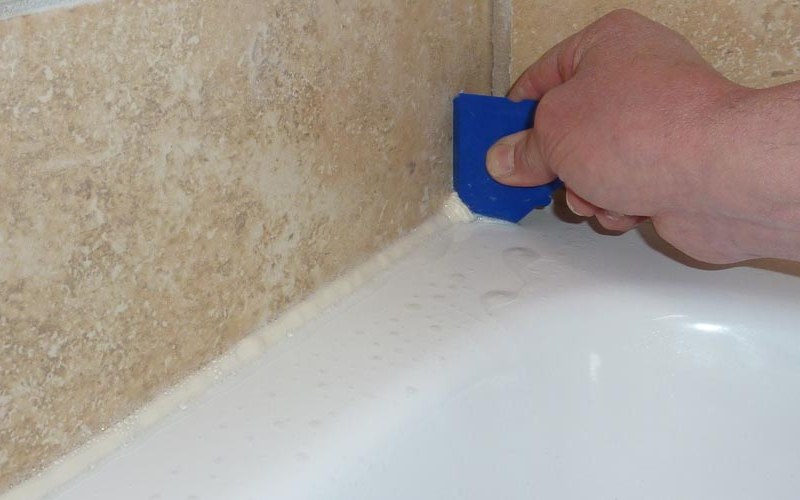
- wetting the finger in soapy water, you need to distribute the sealant evenly;
- It is recommended to apply several layers of silicone: the first layers should be pushed deeper into the joint for high-quality sealing;
- waiting for drying.
Thus, it is clear that it is easy to eliminate unwanted gaps in the bathroom with silicone sealants. With this work you can do it yourself without the involvement of specialists.
Other possible options
All the main methods of sealing seams we discussed above, now let's talk about less popular or specific means to eliminate cracks.
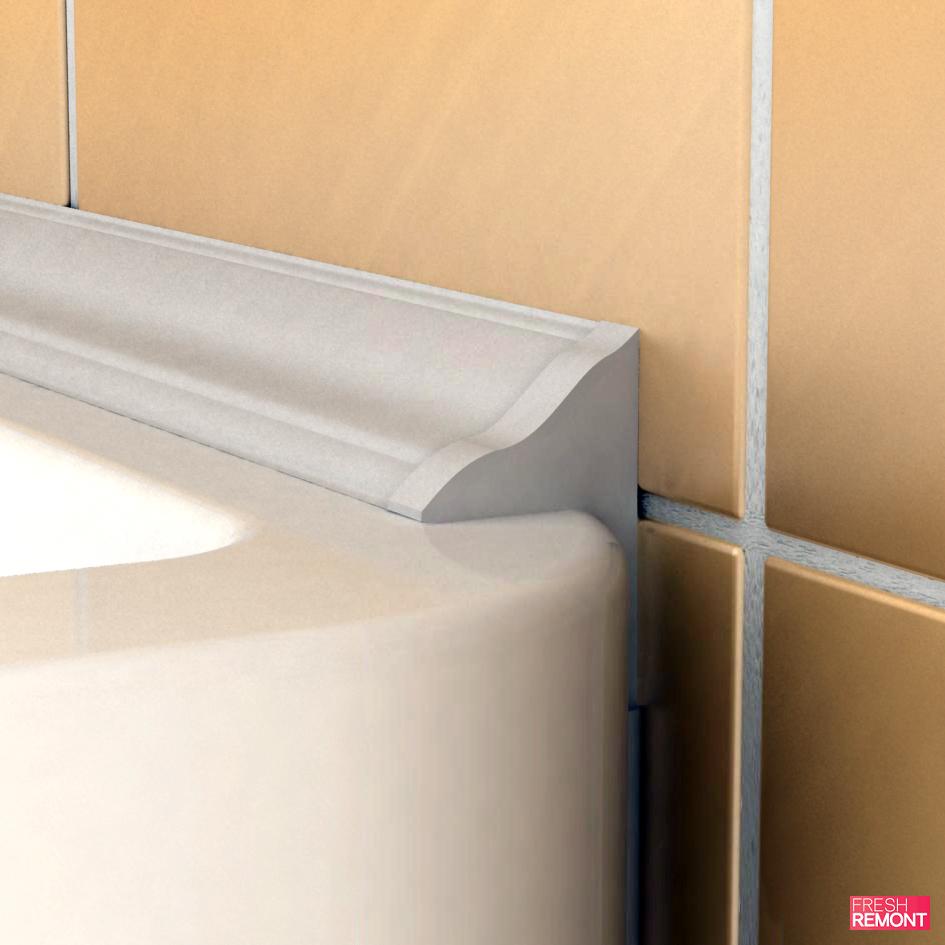
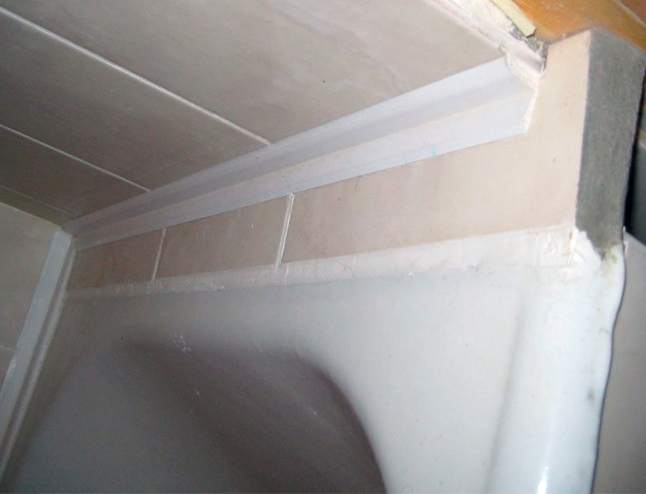
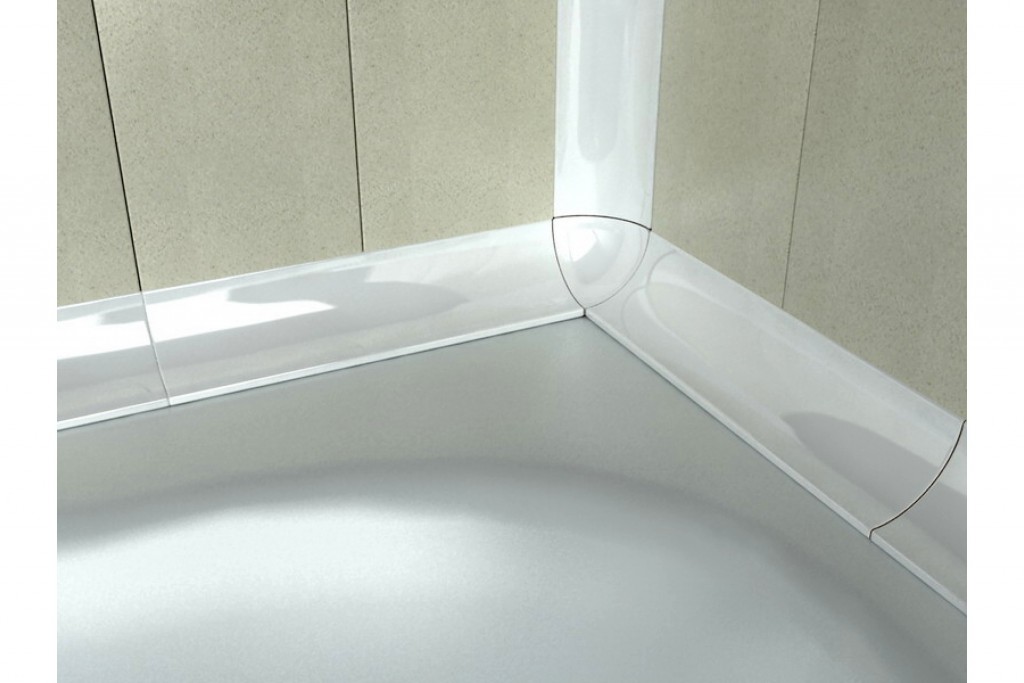
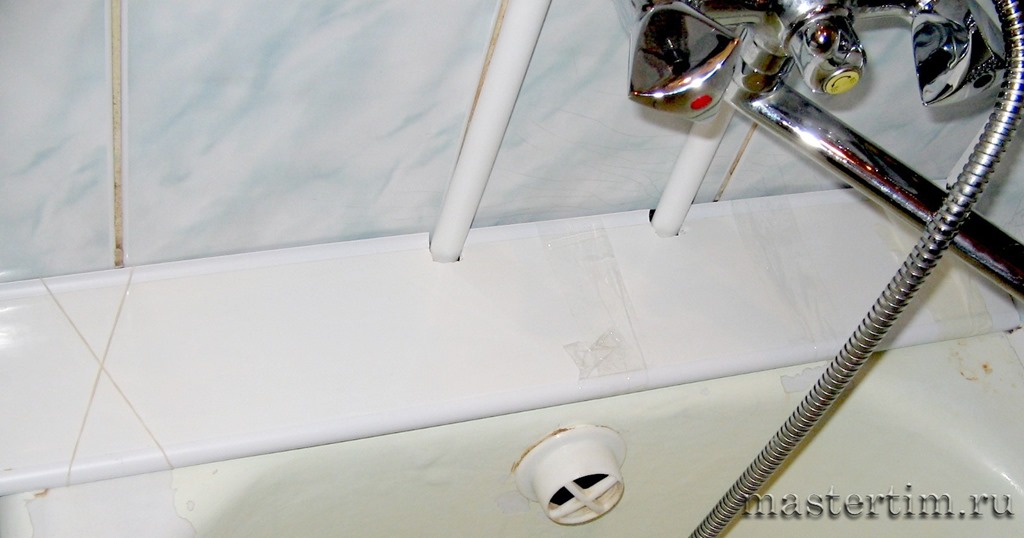
- Plinths and curbs. Skirting boards and borders made of polymeric materials are quite common due to their low cost and aesthetic appeal. What it is worth knowing about this method is that the ready-made glue bases, often applied by the manufacturer on the plinth, are not suitable for high-quality work. Therefore, conducting the installation of plastic baseboards and curbs, it is worth considering the additional purchase of waterproof quick-drying glue. Plastic baseboards hide the gap to 3 cm wide.
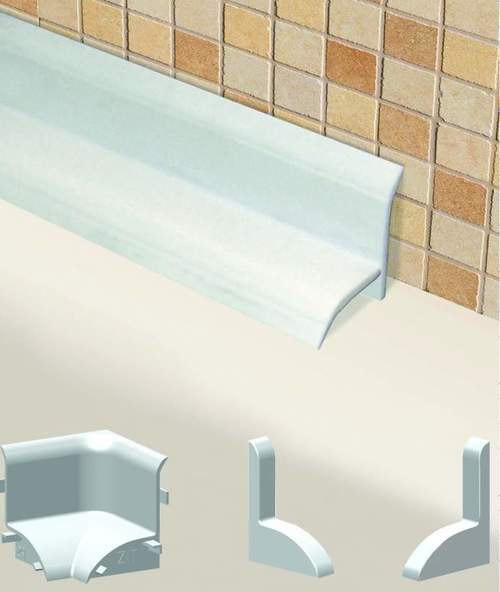

Procedure for installing plastic sealing elements:
- cleansing the gap from dust and dirt, thorough drying;
- measurement of the sides of the bath for the correct trimming of the plinth;
- in the joints of the plinth it is necessary to cut at an angle of 45 degrees;
- try on a cropped curb, and if everything is the same, then paint masking tape on the edges of the bath and the wall (above the intended side) to protect against glue;
- we put glue on a gap, we act in accordance with the instructions on the package with the adhesive composition;
- install the plinth and press it down firmly for a few minutes;
- remove the masking tape;
- sealing silicone compound baseboard with a wall and a bathroom.

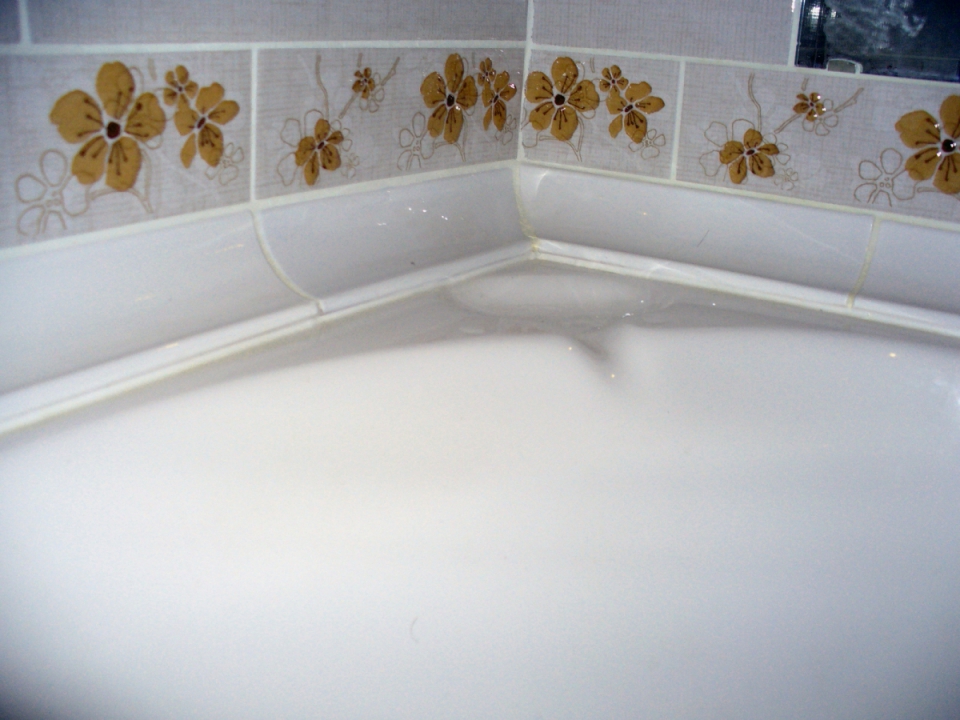
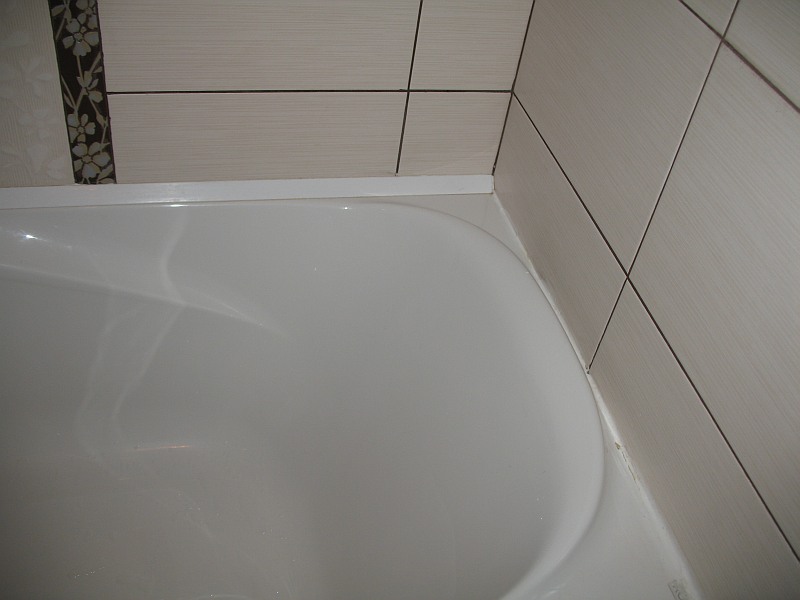
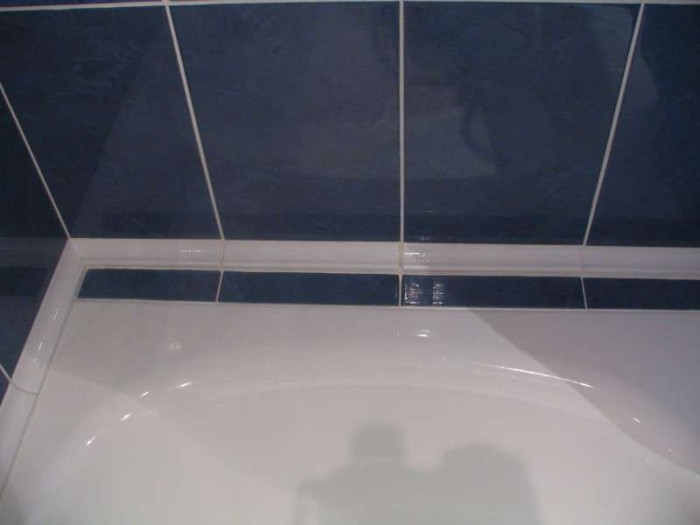
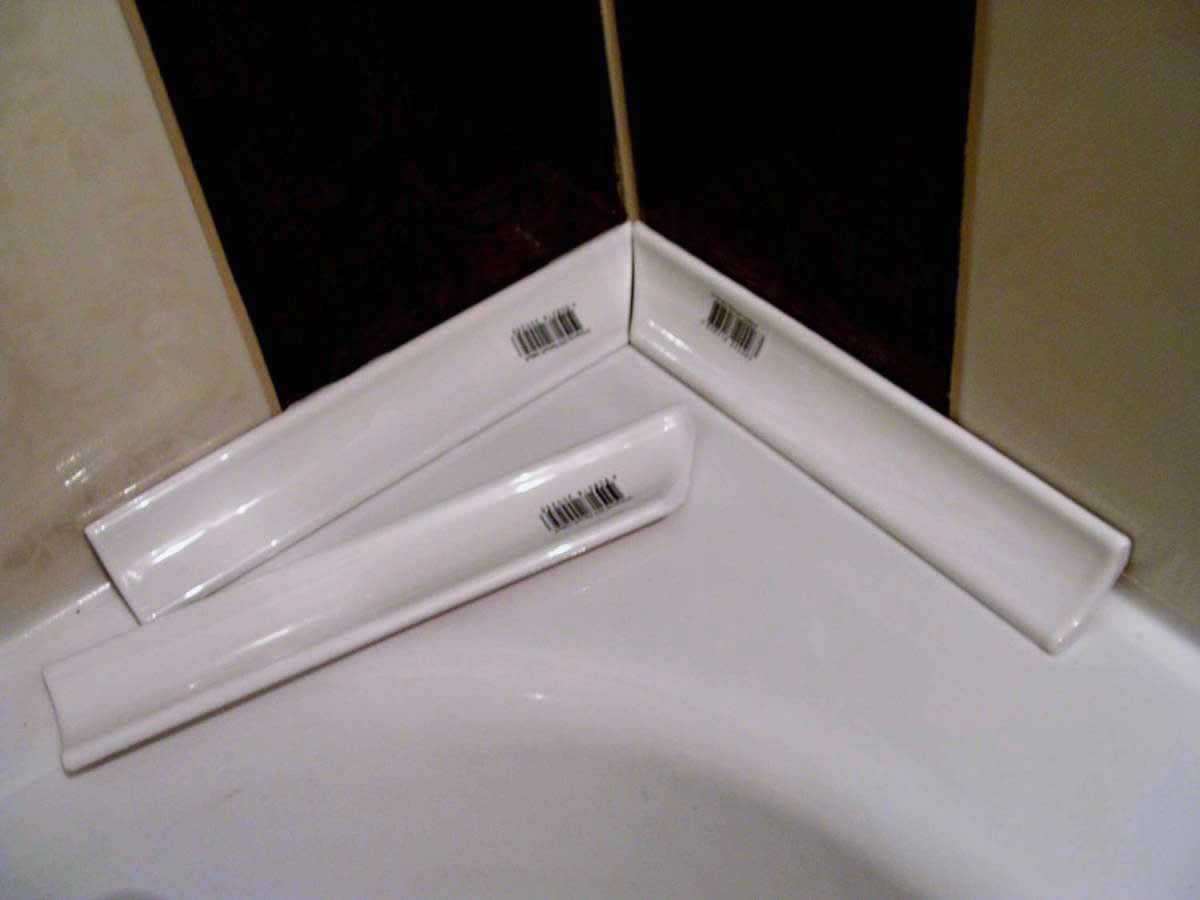
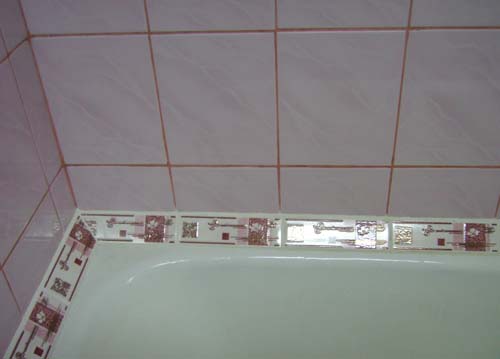
- Installation of ceramic curb. The most common material for wall and floor cladding in bathrooms is tile. That is why the use of ceramic borders as organically as possible will fit into the design of such a bathroom. Large selection of tiled borders allows you to make the side an attractive element of the interior, and not just the need to hide the gap.
In the case of working with tiled borders, you should be especially careful due to the fact that the material is fragile. It is necessary to take care and take on a couple of elements more than necessary, so that in case of unforeseen circumstances you can replace the spoiled one.
The procedure will be as follows:
- clean the bath and wall surfaces;
- seal the gap along the perimeter with foam or cement-sand mortar;
- using a special tile glue, lay ceramic elements,if necessary, trim borders;
- Wipe all seams with the composition of a suitable color or use silicone sealant.
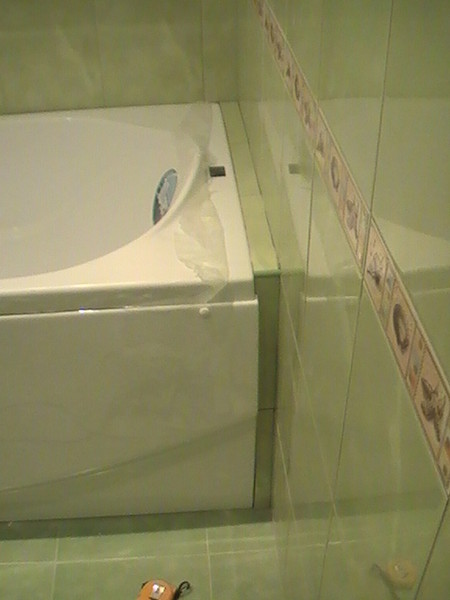
Large gaps
Sometimes such conditions are created that the bath is smaller than the size of the room by 7-8 centimeters. Such cases require a special approach and a combination of sealing methods already known to us.
Most often, a cement mortar with a lining is used for roughing to fix it. By itself, the seal in the form of a concrete surface is impractical and unaesthetic, as it can often cause allergic reactions and promotes the accumulation of dust.
Consider several methods for solving this problem:
- the simplest and most economical method of finishing a concrete coating is painting with acrylic or enamel paint;
- the use of plastic panels is also an economical solution;
- You can use the same material as on the walls, for example, tile (this solution will harmoniously fit into the overall picture);
All of these methods can also be combined with a curb tape or plastic curbs to prevent water from accumulating in the corner of the joint.
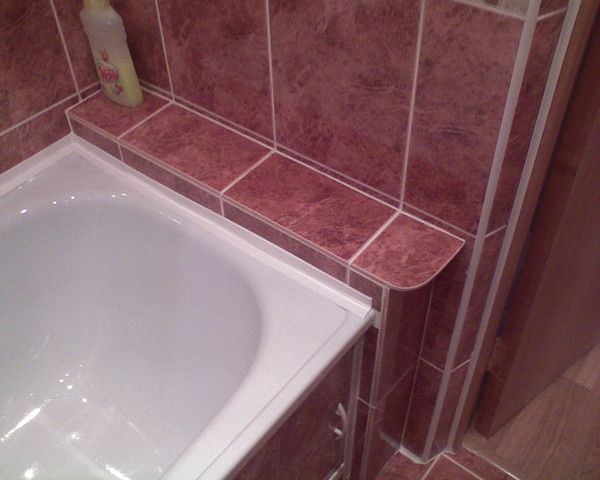
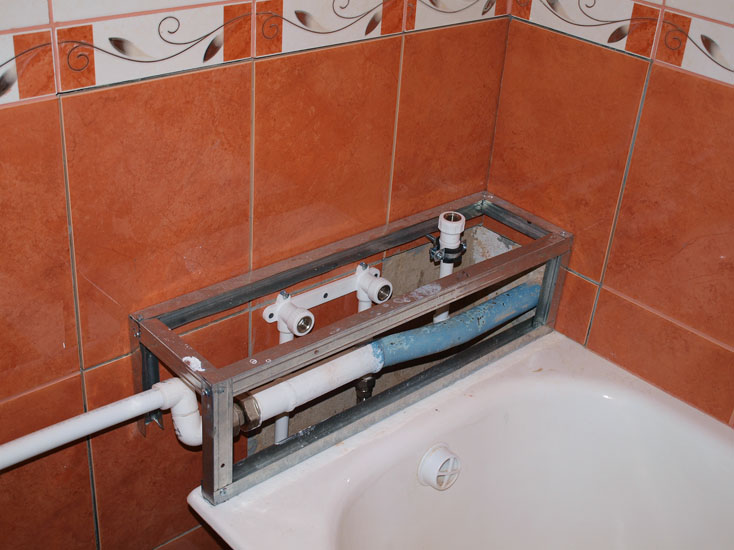
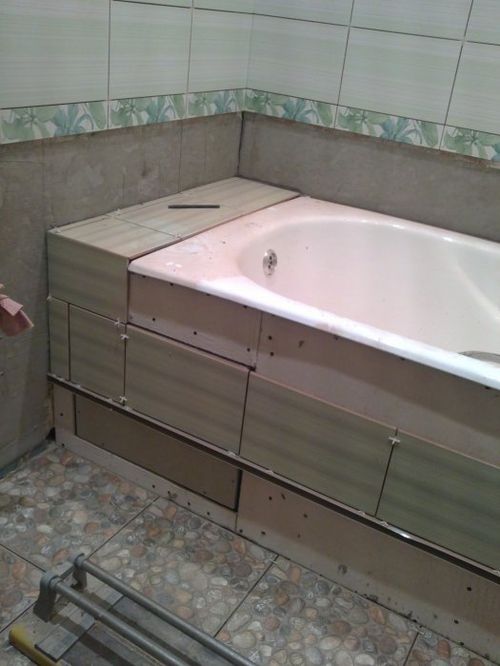
A rather interesting way to seal a large gap is to design not a curb, but a functional shelf. This method is good both in terms of functionality, and in terms of aesthetic appeal.
In this case, mounted metal profile frame, on top it is necessarily lined with waterproof materials (tile in this case will be the most optimal choice).
Useful installation guidelines
There are several highlights that determine the success of the final result of sealing the joints in the bathroom.
The specifics of the nuances of the work performed depend on the chosen material for sealing the seam; therefore, we will consider each method once again with a clarification of the installation recommendations.
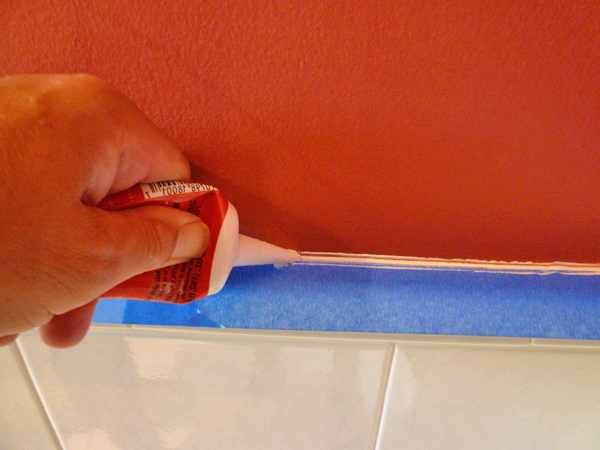
- Work with silicone sealant. When working with a silicone sealant, it is worth using a masking tape to prevent excess composition from getting onto the adjacent surfaces, since when dried, silicone is quite problematic to be removed. Between sealing the bathroom and the first use must pass at least a day.
- Work with assembly foam.In the same way as when working with silicone, it is worthwhile to glue adjacent surfaces with masking tape, avoiding foam on them. After work, the excess foam is cut off with a knife. To increase the water resistance of the foam it is applied in layers, which reduces its porosity.
- Works with cement-sand mixture. This is the longest in execution and time-consuming method of sealing. At the same time it is quite durable with proper performance. When applying the solution, you need to be careful not to mess the nearby surfaces of the bath and the walls; for this, a small spatula is used. Cement-sand mortar - the longest drying material of all considered by us. Decorative items can be mounted only after the solution is completely dry.
- The use of cement mortar or polyurethane foam is impractical in cases with a steel or acrylic bath, as the acrylic bath is too mobile, and the steel bath changes in size with changing temperatures. Therefore, these methods are best suited for cast iron baths.
Everyone understands how important it is to properly seal the gap between the bathroom and the wall, because this is your safety, guarantee against leaks, protection from fungus and mold.
Information on how to remove the gaps and how to carry out the installation of tight and durable, we have outlined in this review. Following the simple recommendations, you can easily select the appropriate method and be long satisfied with the result.
More information on how to seal the gap between the wall and the bathroom can be found in the video below.


