How to build a gazebo with their own hands in one day?

It is very difficult to overestimate the value of the gazebo for the dacha or house. Arbors were erected on their plots for a long time, therefore it can be said that it is practically an integral part of any country house or private house. They are loved by creative people, because it is in beautiful gazebos that inspiration comes most often. There, people relax on hot days, sometimes meet guests, and sometimes there are many events that are remembered for a lifetime. And, of course, everyone wants to make it beautiful and durable.
Here we will talk about how to do a gazebo with your own hands in the fastest way possible. We take the wooden version as a basis, but you can safely make it on the same model from other materials.

Special features
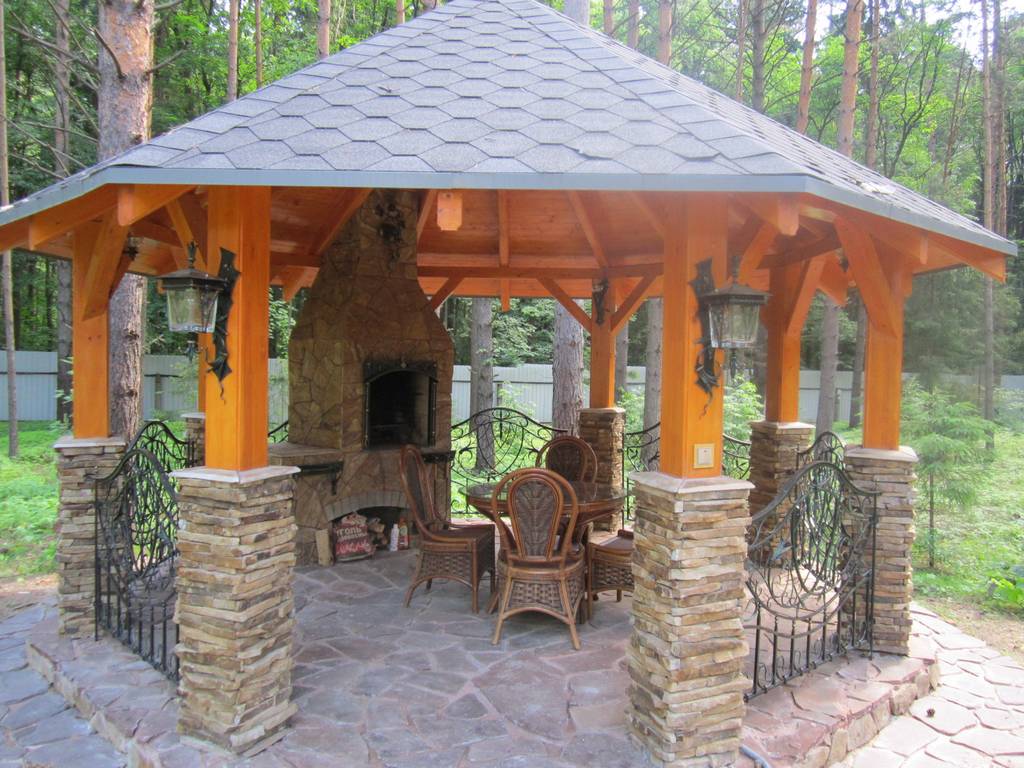
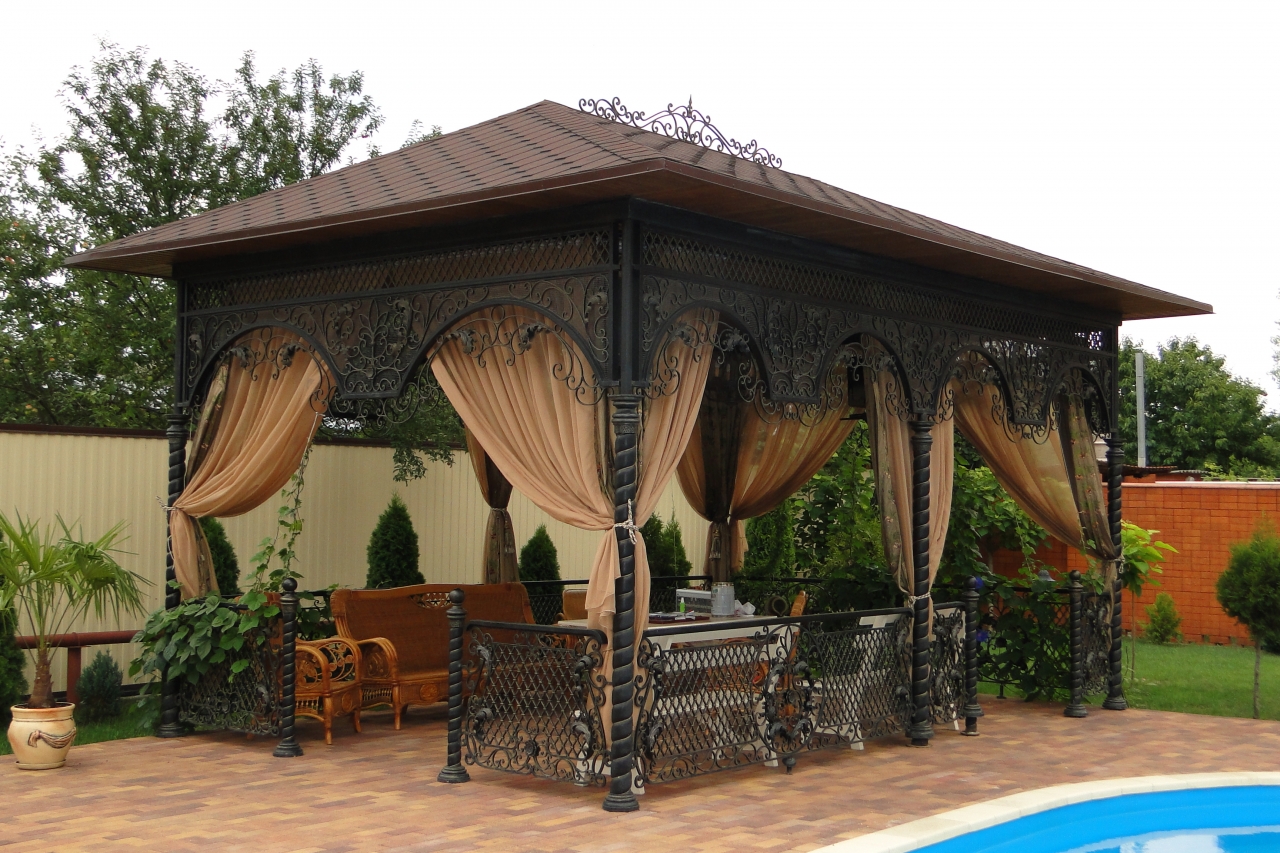
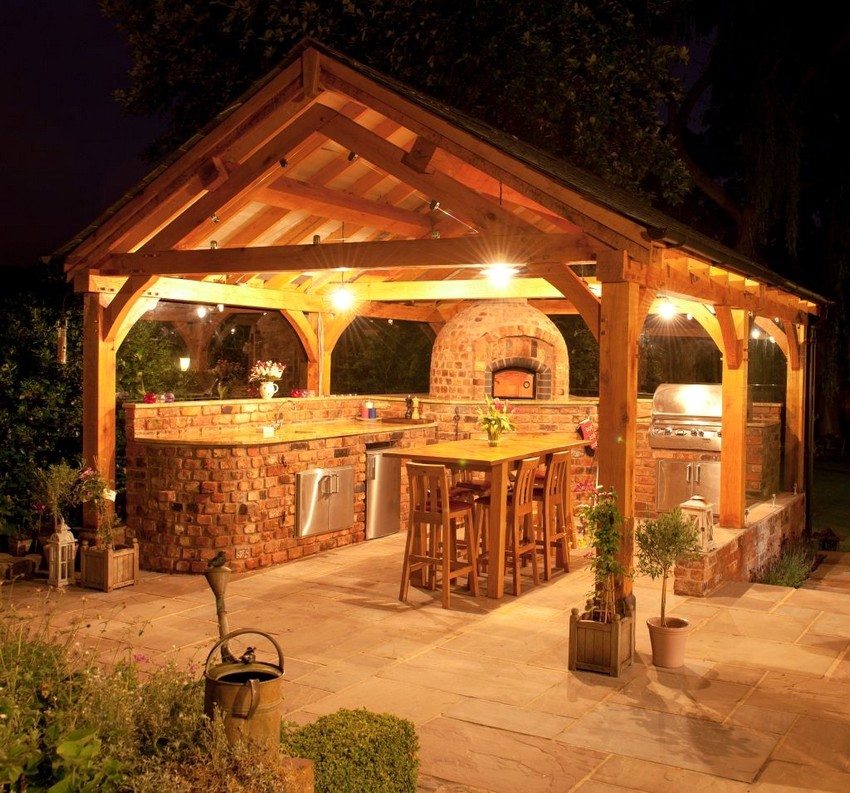
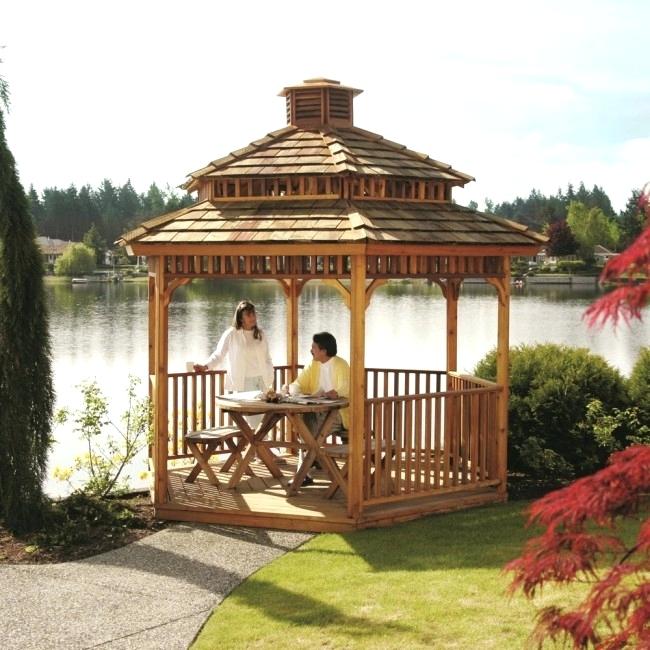
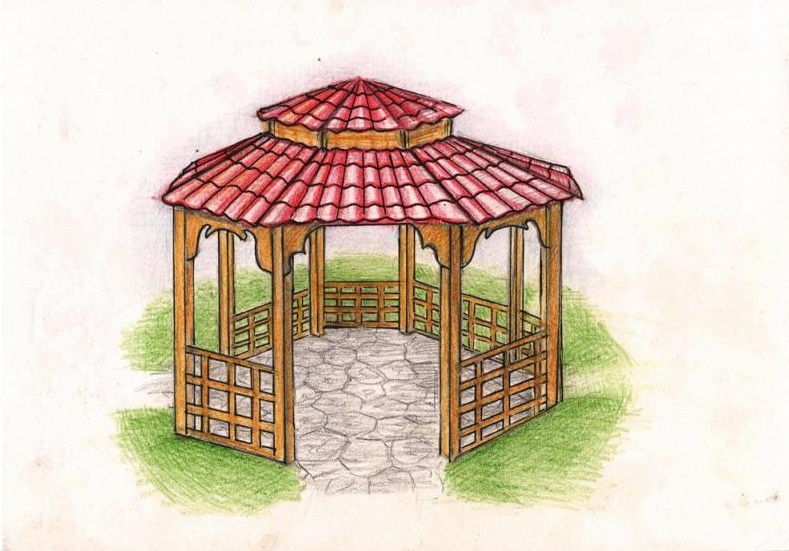
Pergolas are distinguished by their purpose,therefore, it is necessary to clearly understand what exactly it is needed for: cooking, dining in the warmer months of the year, or it will be solely a place of rest. Only on the basis of these ideas will it be easy to determine the size of the gazebo and its design.

Also pay attention to the paths leading to it. No less important is the view from it. Choosing the location, you need to take care of protection from the wind and sufficient access of light. Based on all wishes, it will be easy to determine whether the most closed gazebo is made of durable, heavy materials or a light open space for summer time.
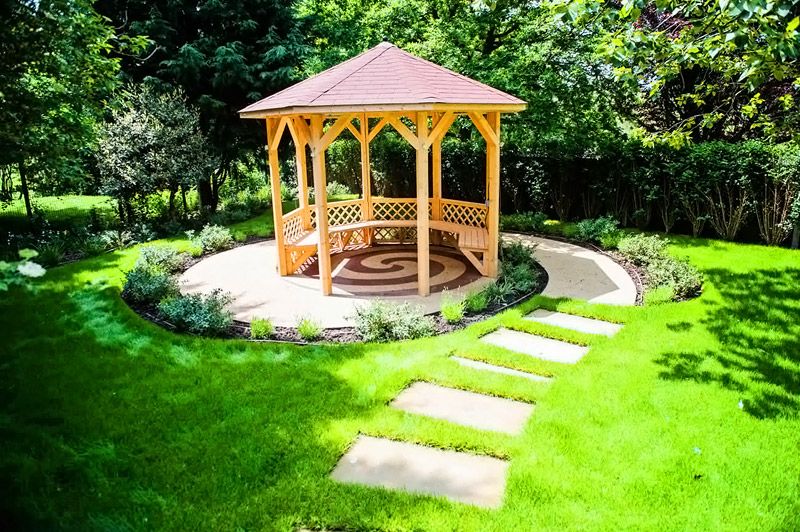
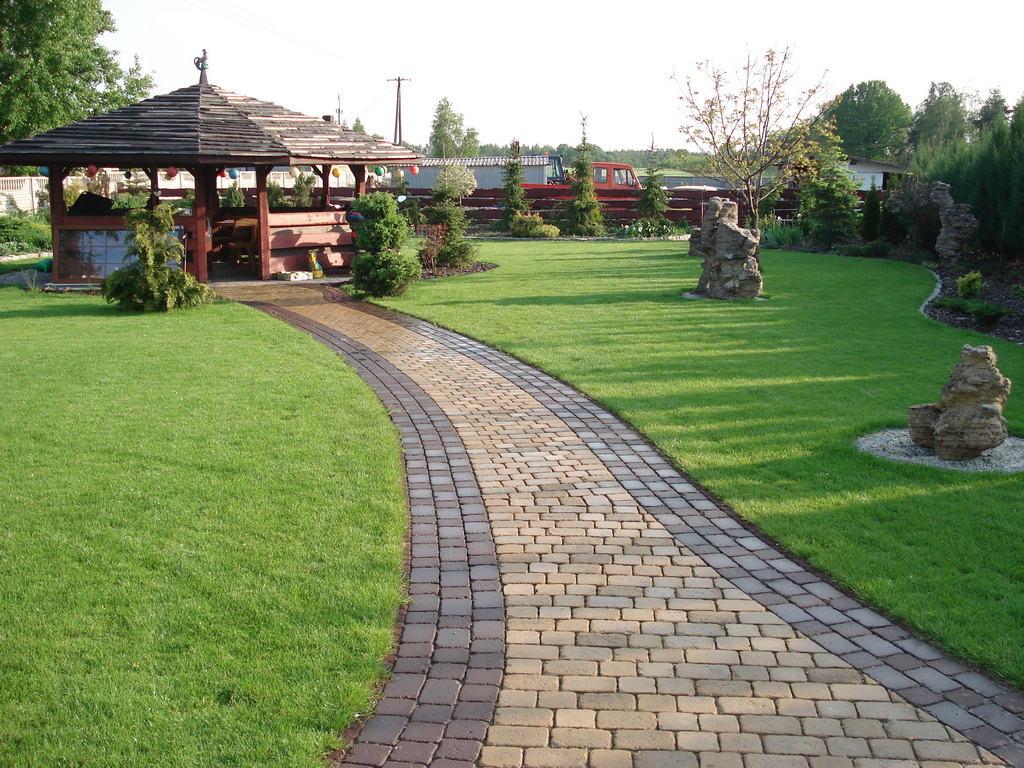
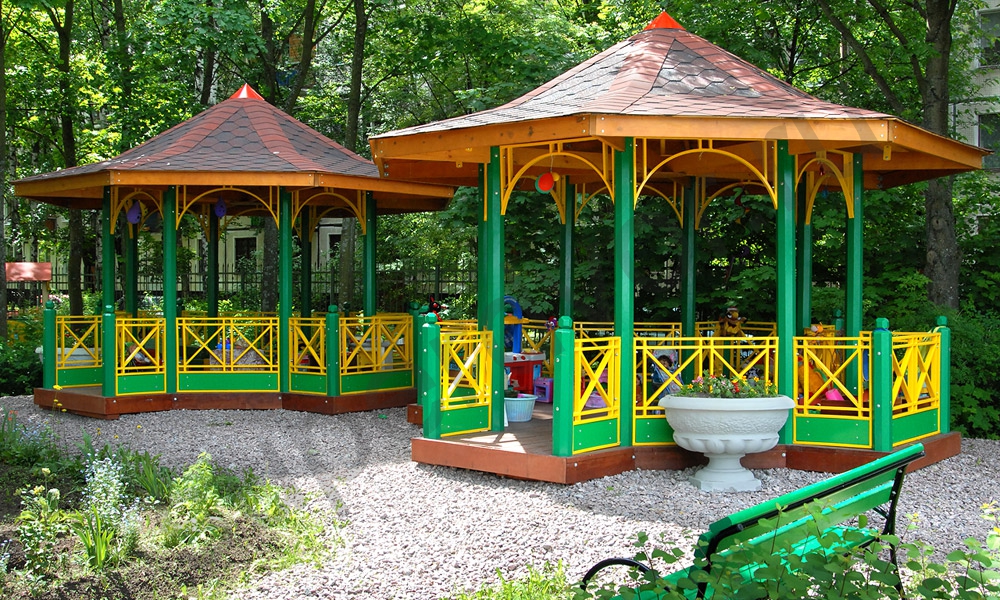
Choose the size of the gazebo from the calculation of the activity for which you need it, and also calculate how many people it should accommodate on average. Think in advance whether the sofas, tables and barbecue should fit in the gazebo. Try to use space as efficiently as possible. But when planning the construction, do not forget about the limited territory, therefore for small plots they usually build gazebos of 2x2 meters.

Materials
In order to make an arbor in one day, it is necessary to purchase and prepare the necessary material in advance, otherwise it will take too much time during the construction process.
The main materials for the construction are:
- Tools: hammer, saw, drill, nails, screws, level, shovel.
- Antiseptic for processing wood from parasites.
- Rubble and sand for the "cushion" of the foundation.
- Wooden bars, boards. Pay attention to their preliminary processing, as well as calculate a sufficient number of them, because for the construction of the arbor will need a lot of wood.
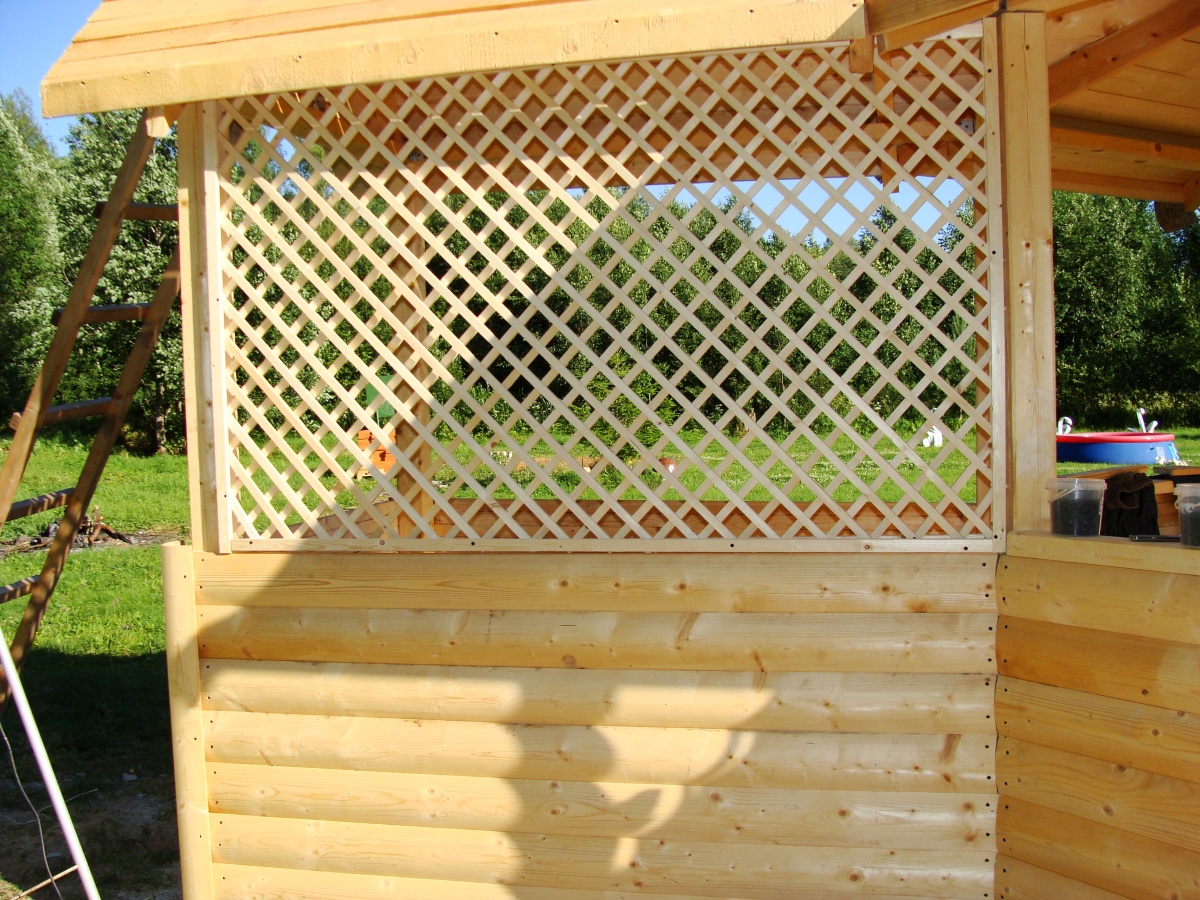
- Prepare in advance the railings and gratings for the walls of the future arbor.
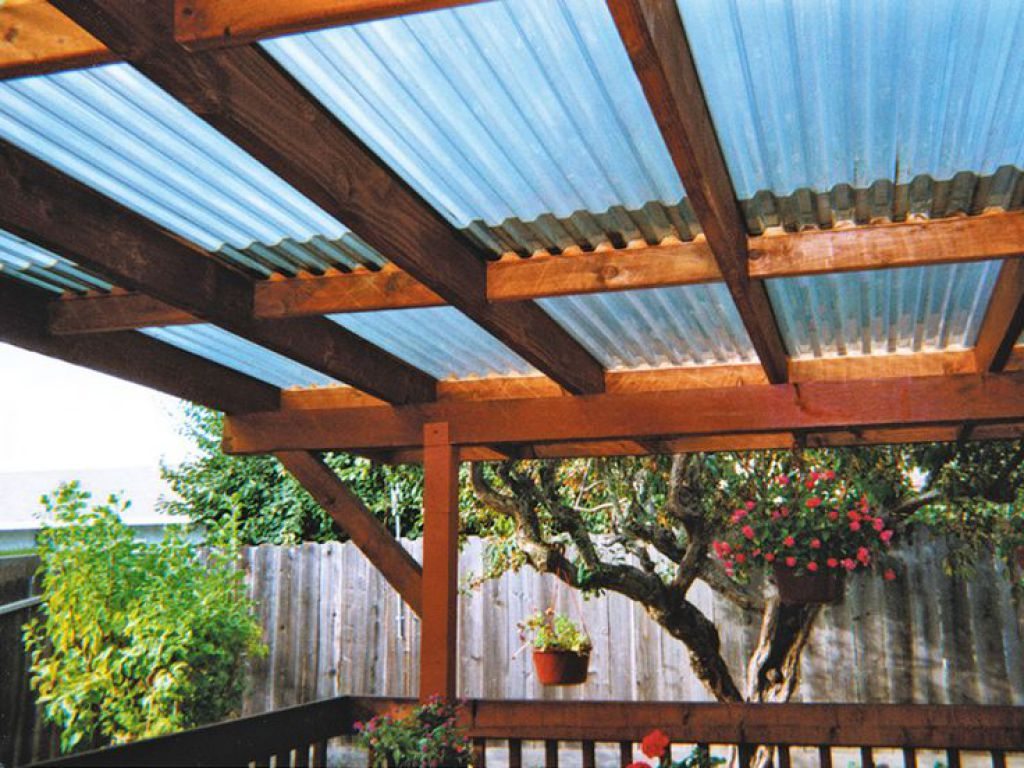
- Roofing material for the roof. Perfect bituminous or ordinary tiles.

- Concrete columns for the foundation.
- Metal corners for bonding.
- Paint and brushes.
Also, you may need to prepare rafters in advance.
Step-by-step instruction
When you can clearly imagine which arbor and where it is needed, you can begin to draw up its project. First, measure the space under the gazebo and draw its exact location.
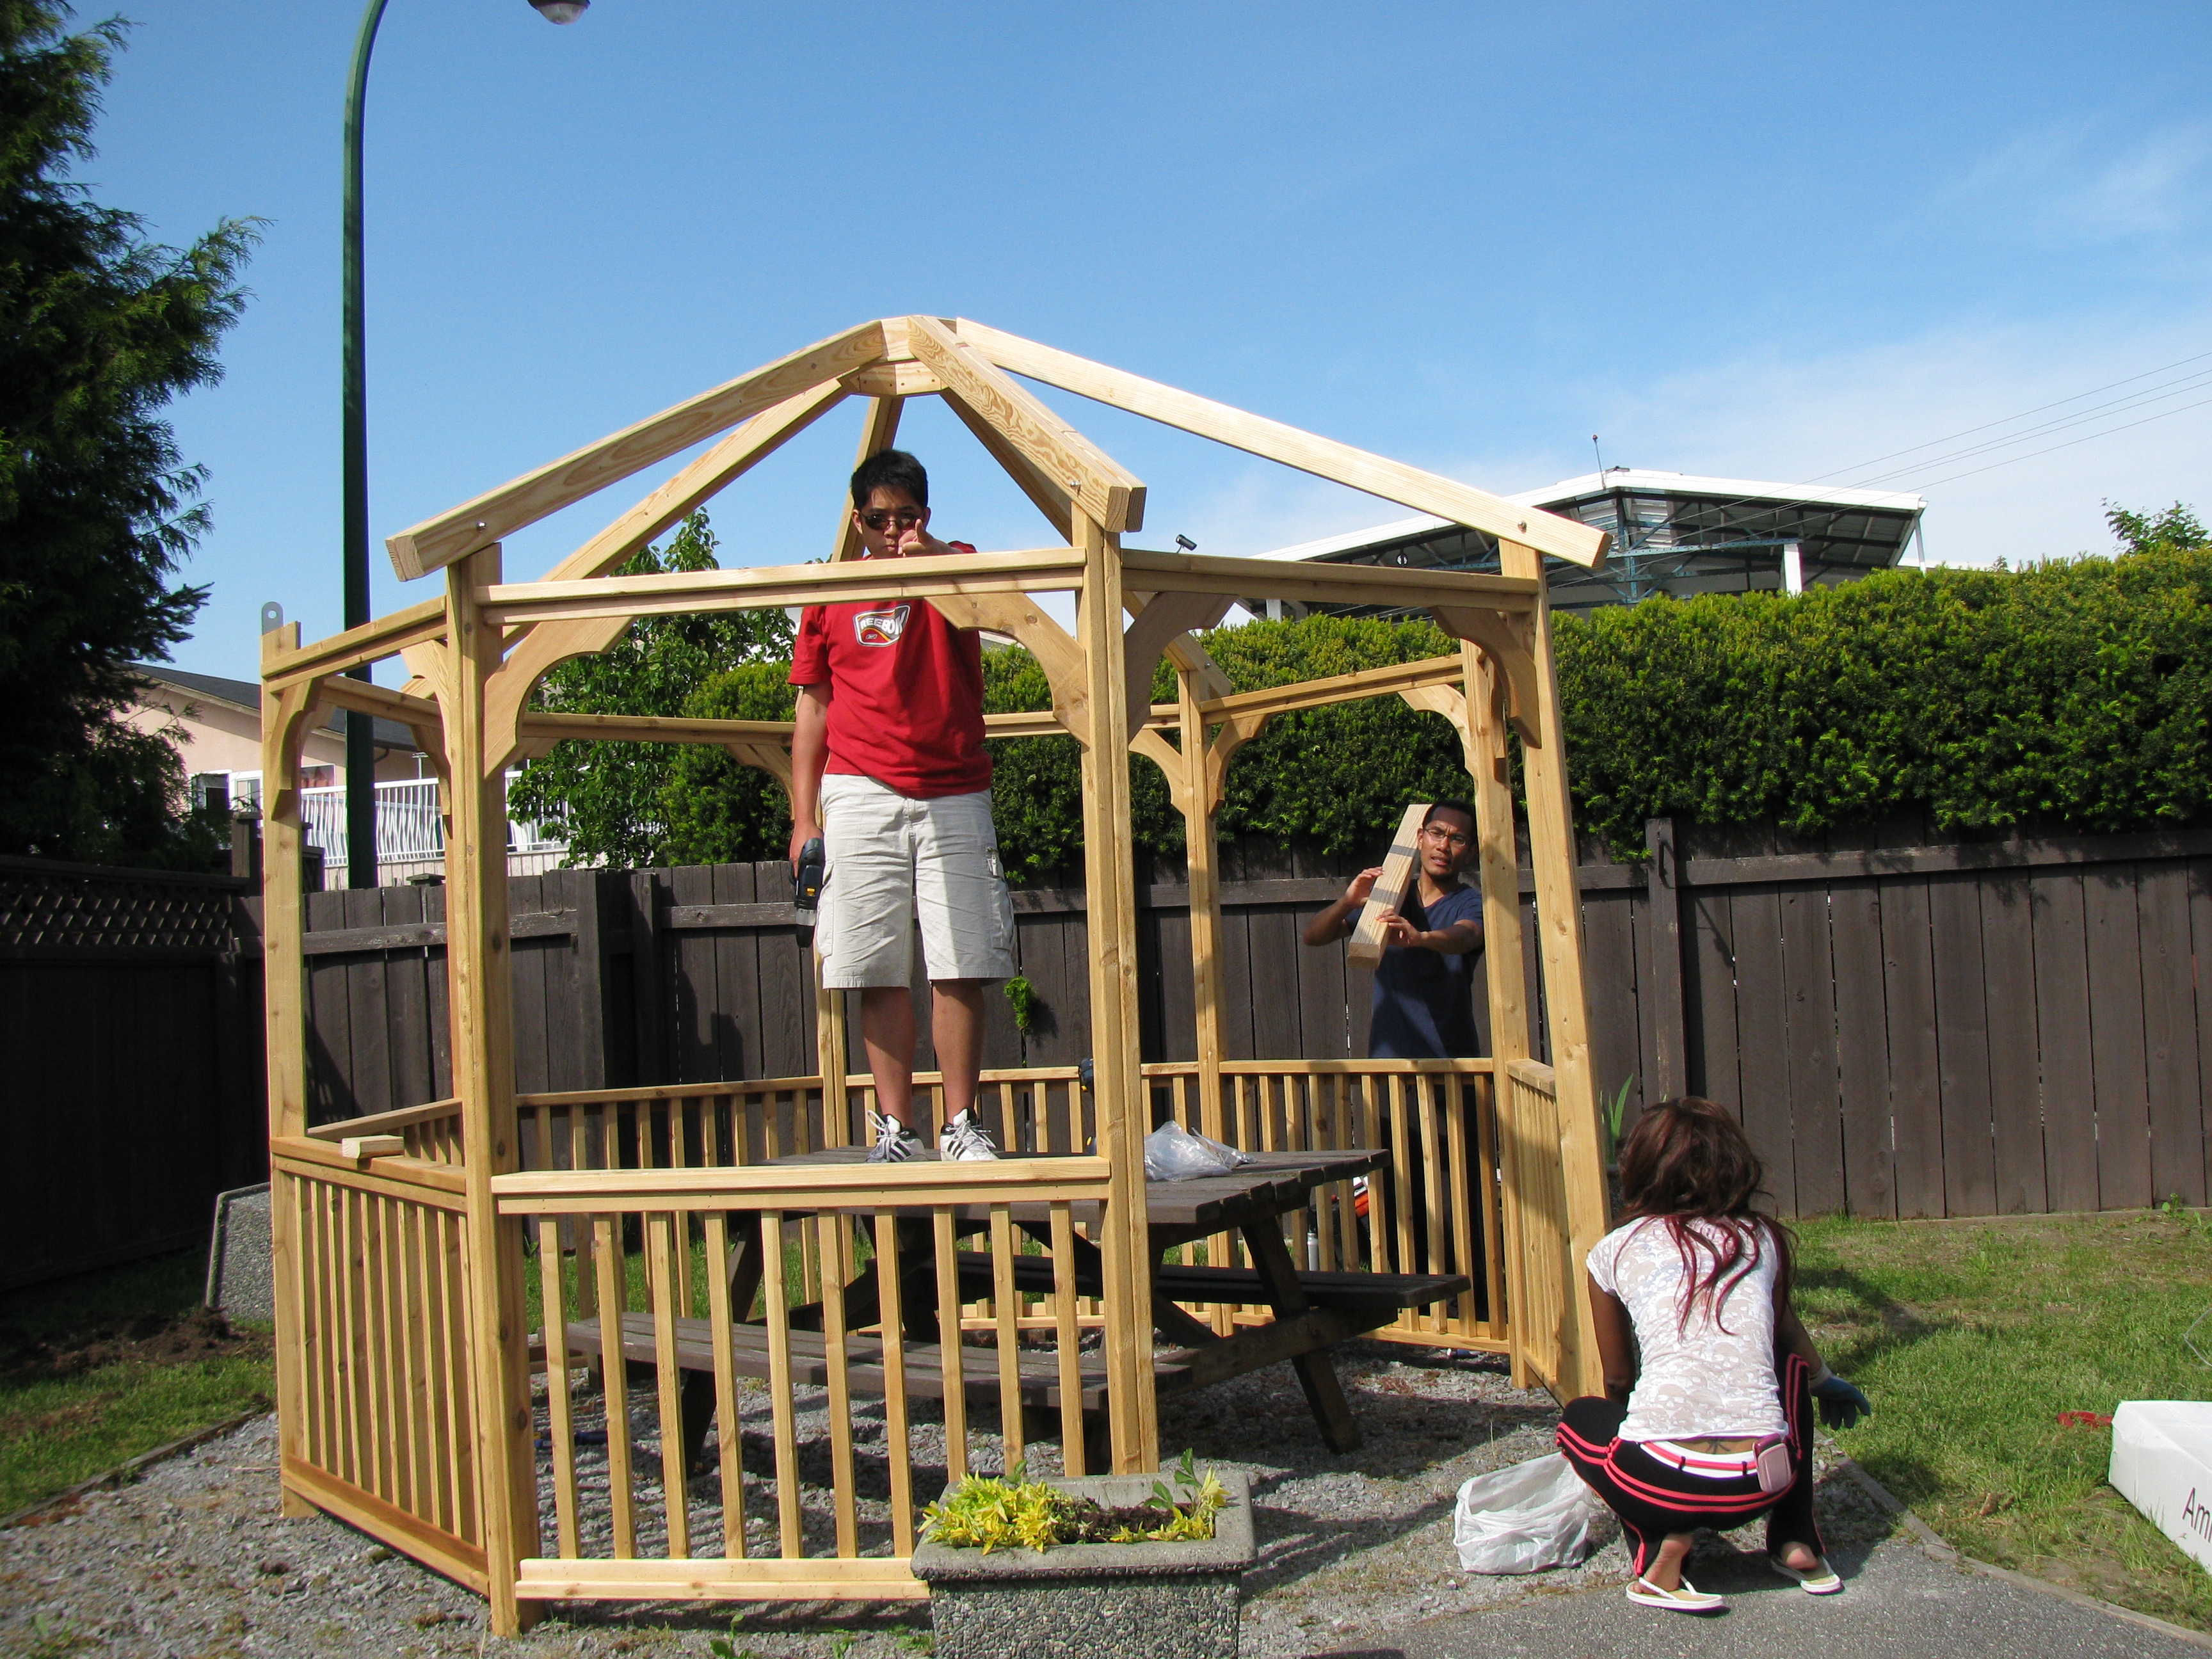
After that, you can proceed to the construction of the arbor directly. It is necessary to begin work with driving in a peg to designate a marking of the base. Next, the area is cleared from the top layer of soil and pits are prepared at a distance of about two meters from each other along the entire perimeter of the building, starting from the corners.
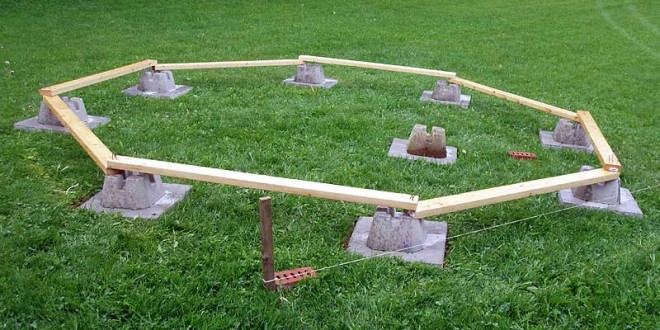
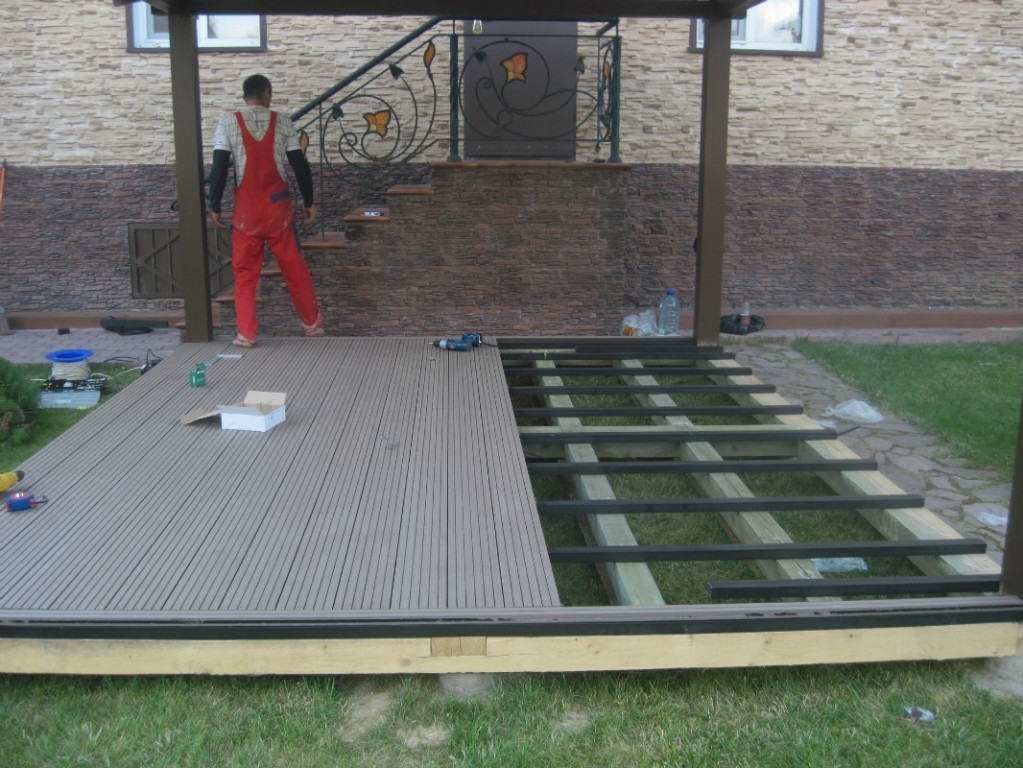
The next step is to prepare and well tamp the "pillow" under the foundation, for this is used crushed stone and sand. Install concrete columns around the perimeter at an equal distance from each other. For better insulation, you can cover the pillars with bitumen. After that, lay several layers of ruberoid on the posts. The bars of 10x10 cm are laid along the perimeter. (At the ends it is necessary to make notches for fastening, you can also use metal corners). So, the foundation is ready. Now you need to lay on top of wooden logs, pre-impregnated with an antiseptic. In the corners you need to install wooden poles, fasten them with metal corners, pull over the top.
At this stage, you need to carefully check the geometry of the building. After checking the floor is laid grooved wooden boards.
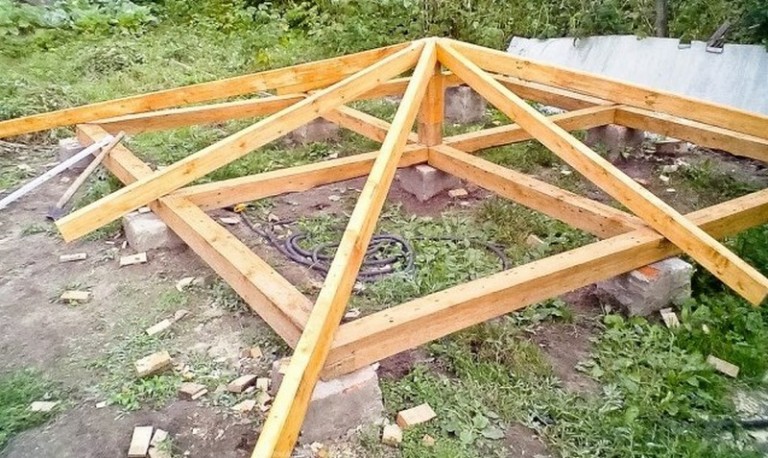
Then you can begin to manufacture the roof and walls of the gazebo. First you need to attach the timber to the top of the strapping, connecting them with a horizontal beam. Attach to it the rafters, the projection for the building should be about 30 cm. Experts recommend assembling the roof itself on the ground, and only later fix it on the structure, so you can be sure of the correct geometry and its overall appearance.After that, the railings are mounted at a distance of more than a meter from the floor, later they are decorated at the discretion of the owner with a wooden or metal grille.
To make a metal gazebo, it is necessary to replace all wooden materials with reinforcement and metal tile. In this case, of course, the arbor will be stronger, but it will require more effort, skills and time.

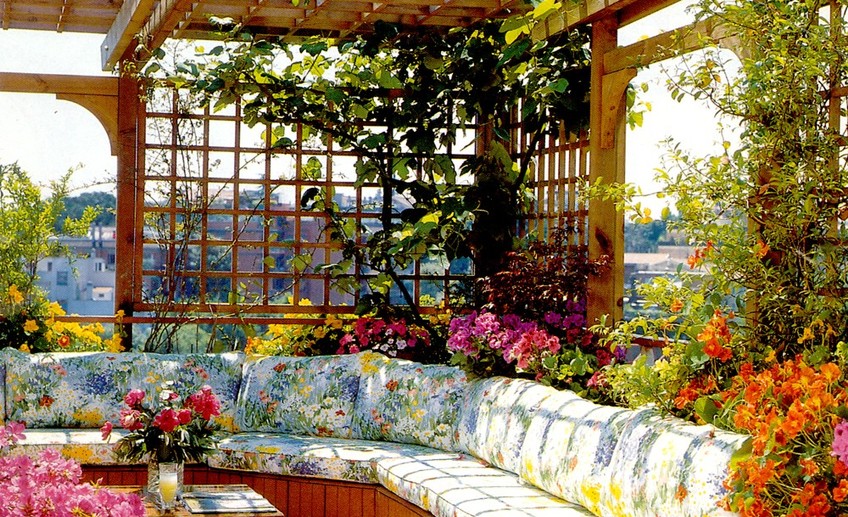
The last step is the cosmetic work on the improvement of the erected structure. After the main work is done, the arbor can be painted or painted with a special varnish. In no case can this stage be ignored, otherwise the arbor will look ridiculous or simply collapse in the near future. Do not try to make the arbor as bright and visible as possible. It will organically fit into the plot if it is in harmony with the color of the house or retains its kind of wood. You can decorate the gazebo with hanging flowers inside and flower bushes around it.

The design is ready. Now you can spend your summer days under a beautiful canopy, which you yourself performed in just one day! In such a building it is pleasant to spend warm evenings after the hot summer days, to welcome guests and even arrange holidays.Such a construction is reliable and will delight many more years after its construction, and the satisfaction of the time spent in it will be reinforced by the fact that you completed this design with your own hands in such a short time.
Visually see how to build a gazebo with your own hands, you can in the next video.


