How to primer the walls before sticking wallpaper?

Modern construction market offers a variety of products for the preparation of walls for wallpapering. Today, almost everyone is sure that it is impossible to do without a primer during the finishing works. However, few people know how to properly ground the walls before sticking wallpaper. We understand the intricacies of the process.
Why do I need to prime?
Primer walls is a preparatory stage of surface treatment before pasting. This remedy has a strengthening effect. It is a mistake to think that it is needed only to enhance the quality of the glue: this product has a broader effect.
This is a protective film that really helps to improve the adhesion of the surface for gluing wallpaper. However, it not only promotes bonding: depending on the type, this tool also levels the walls, making them uniform in structure.
The action of the soil is based on the penetrating power of a viscous substance that fills all microcracks in the walls and pores. Some varieties of the preparatory composition are able to tie together the walls erected by builders in violation of technology. This applies to walls that are poured due to excessive amounts of sand.
The action of the soil is aimed at penetrating to the maximum depth (5-10 cm) and making the structure uniform. At the same time it is able to use the dust.
It may seem to beginners that it is enough to walk on the surface with a putty, level the base, and this will be enough to glue the wallpaper. When the walls are plastered, they pass with sandpaper to level the surface, dust remains on it, which prevents good adhesion of the wallpaper to the base of the wall. The same applies to painting: paint dust will not fall well on dust.
The primer provides the highest quality surface preparation for wallcoveringHowever, you first need to align the planes themselves: it is not the only, but the final stage of preparing the foundation for work.
This material allows you to save on wallpaper glue. After processing the base of the primer glue is distributed over the working surface evenly.
This simplifies the process of pasting walls with wallpaper. Due to this preparation, wide sheets of a meter wide and more can be used in the work: the primer minimizes the formation of small bubbles in the process of gluing and deformation of the cloth. Working with wallpaper after its application becomes easier.


What is it like?
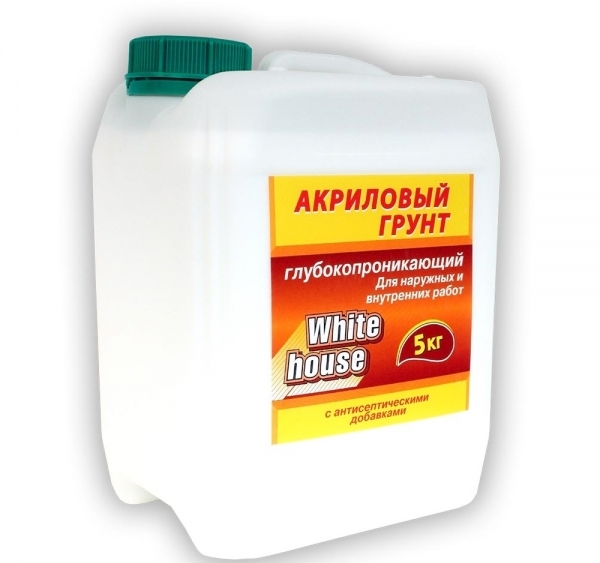
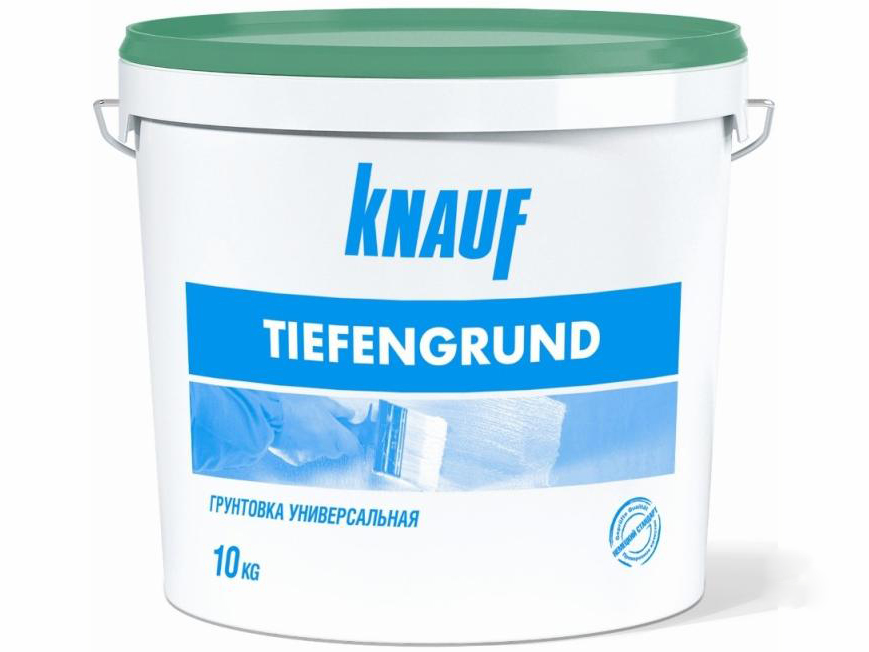
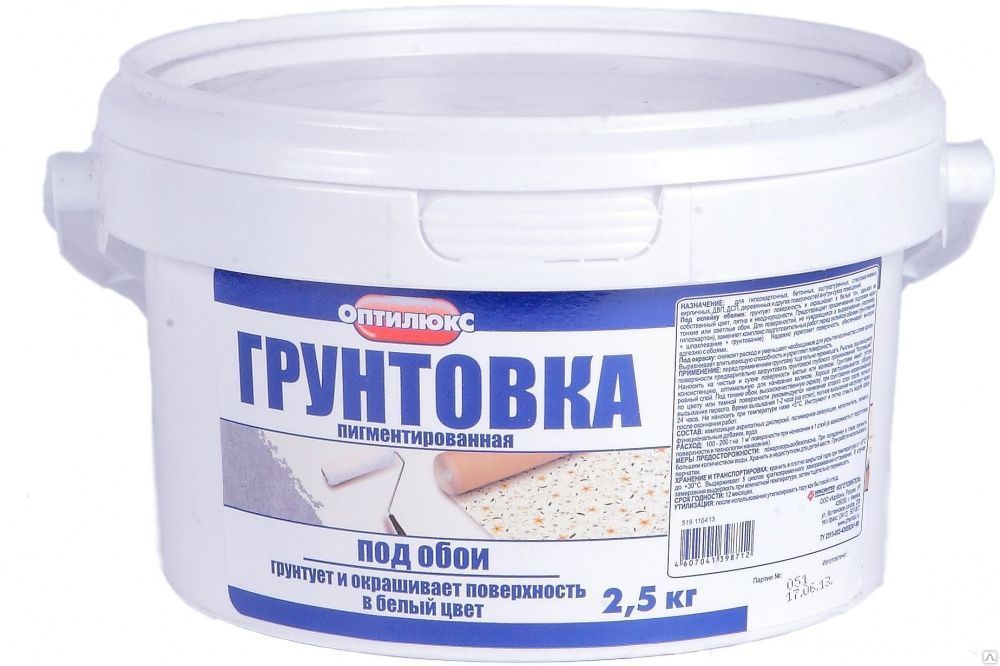
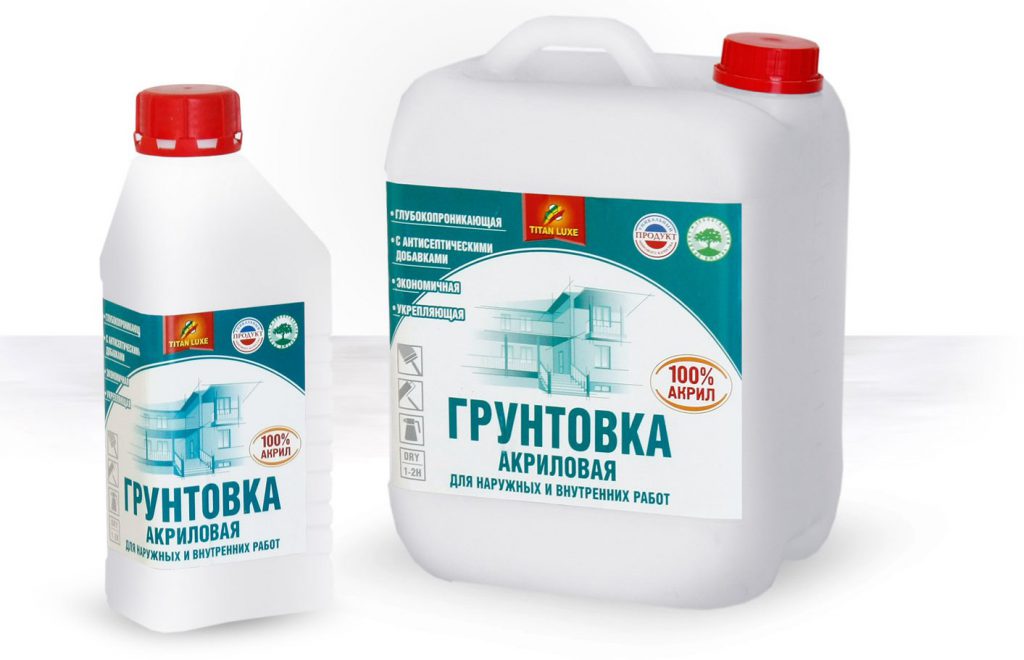
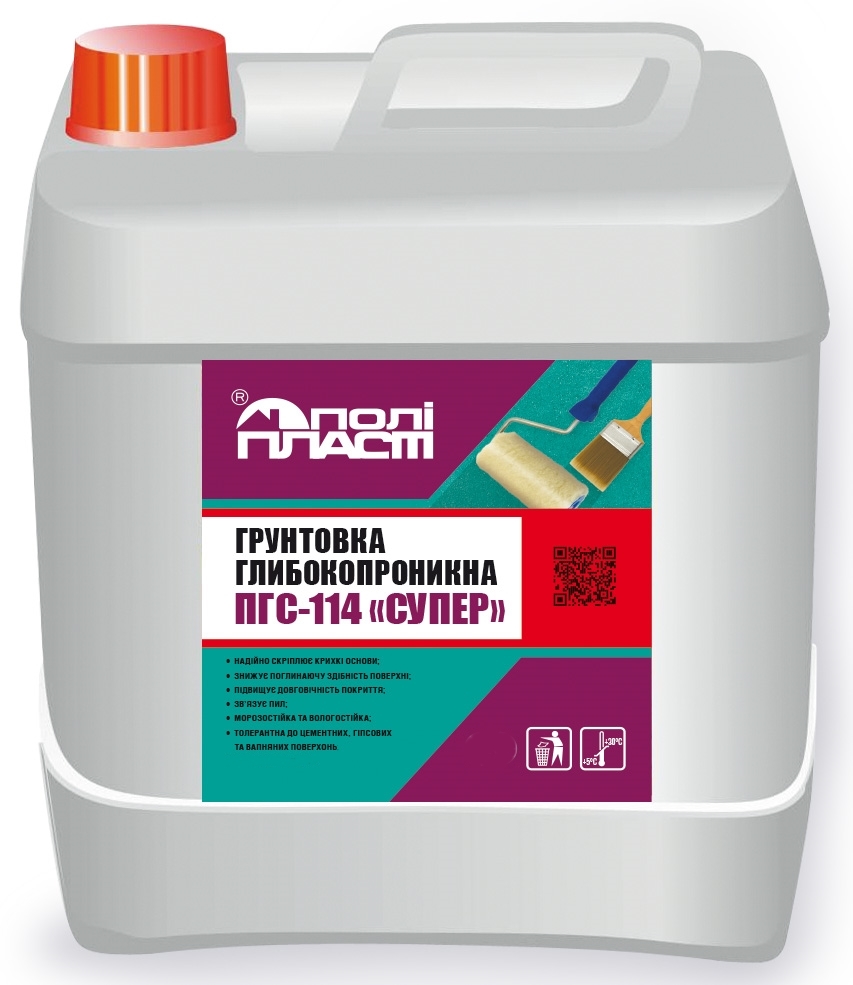
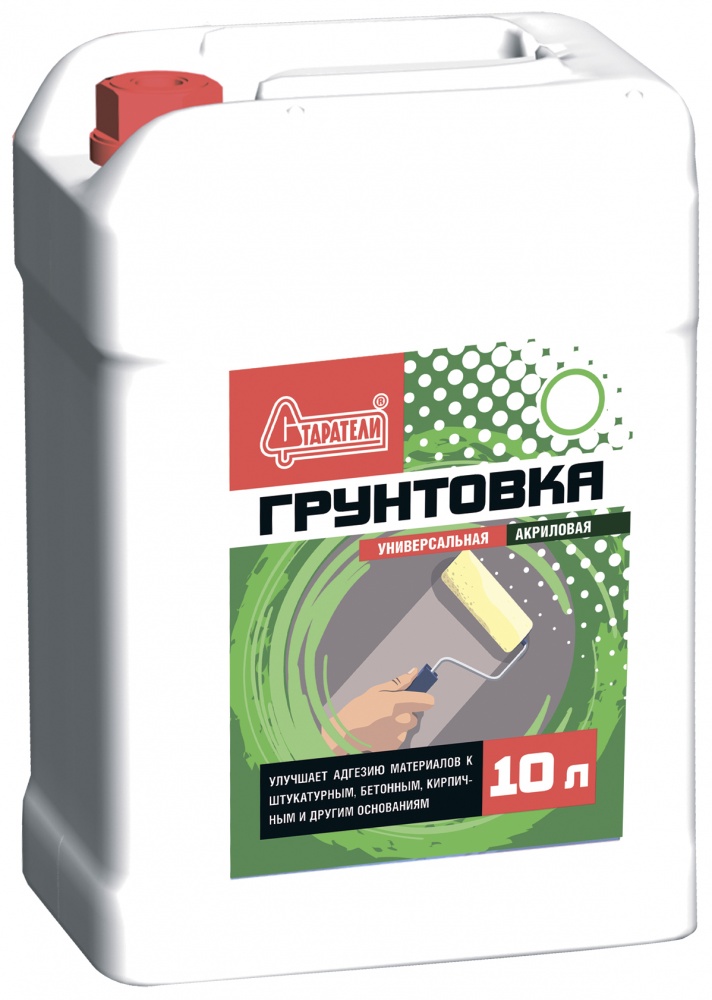
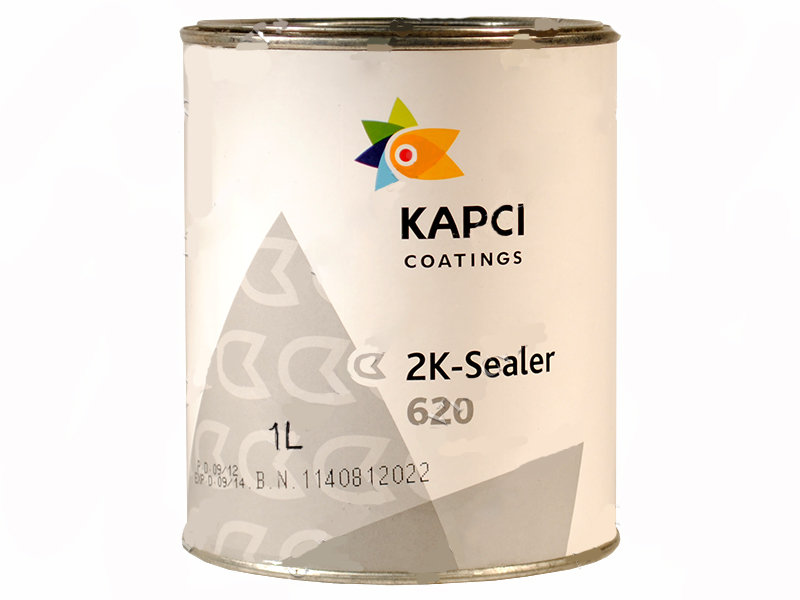
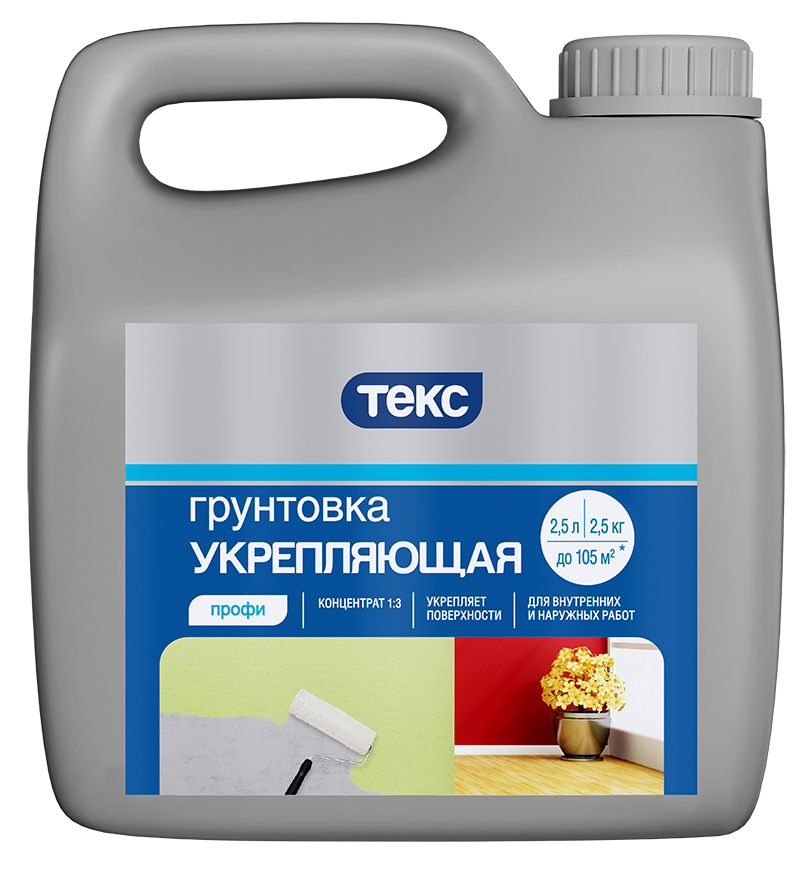
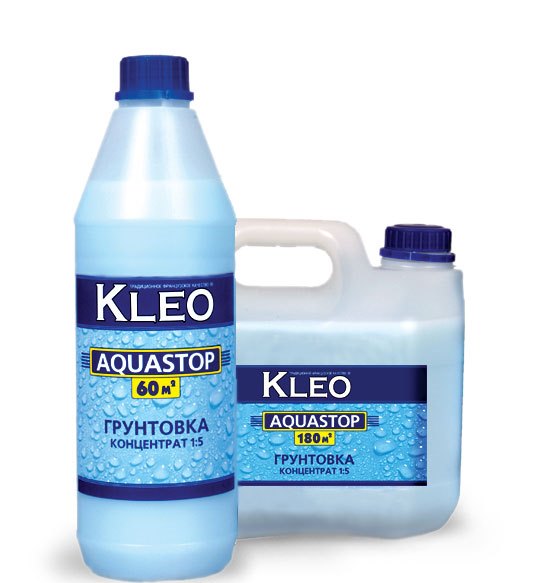
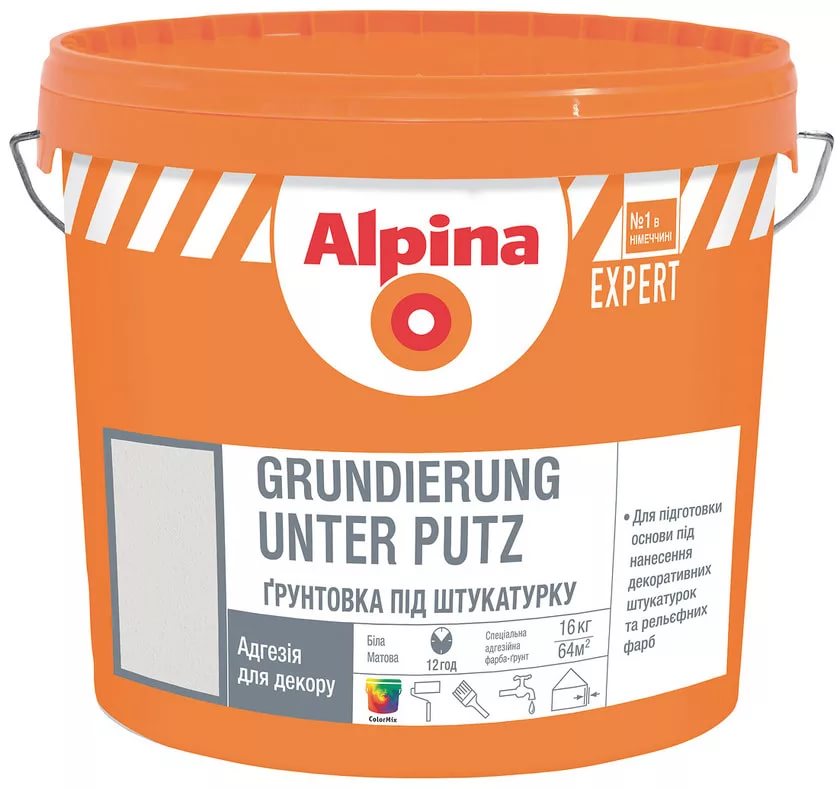
This material is sold in two forms: in banks and cans. The volume of soil is different: for wallpaper choose raw materials of 5 and 10 liters more often.
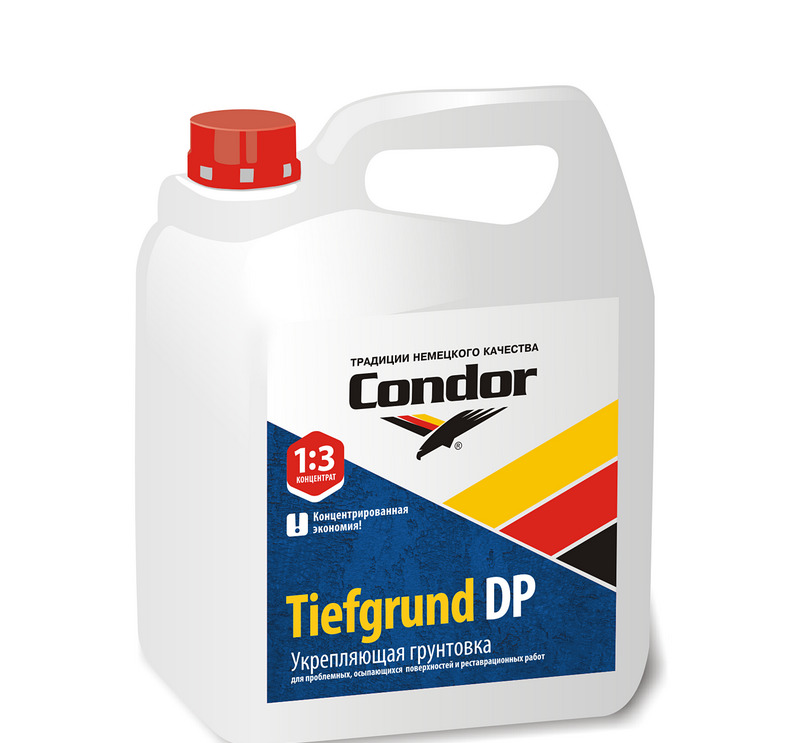
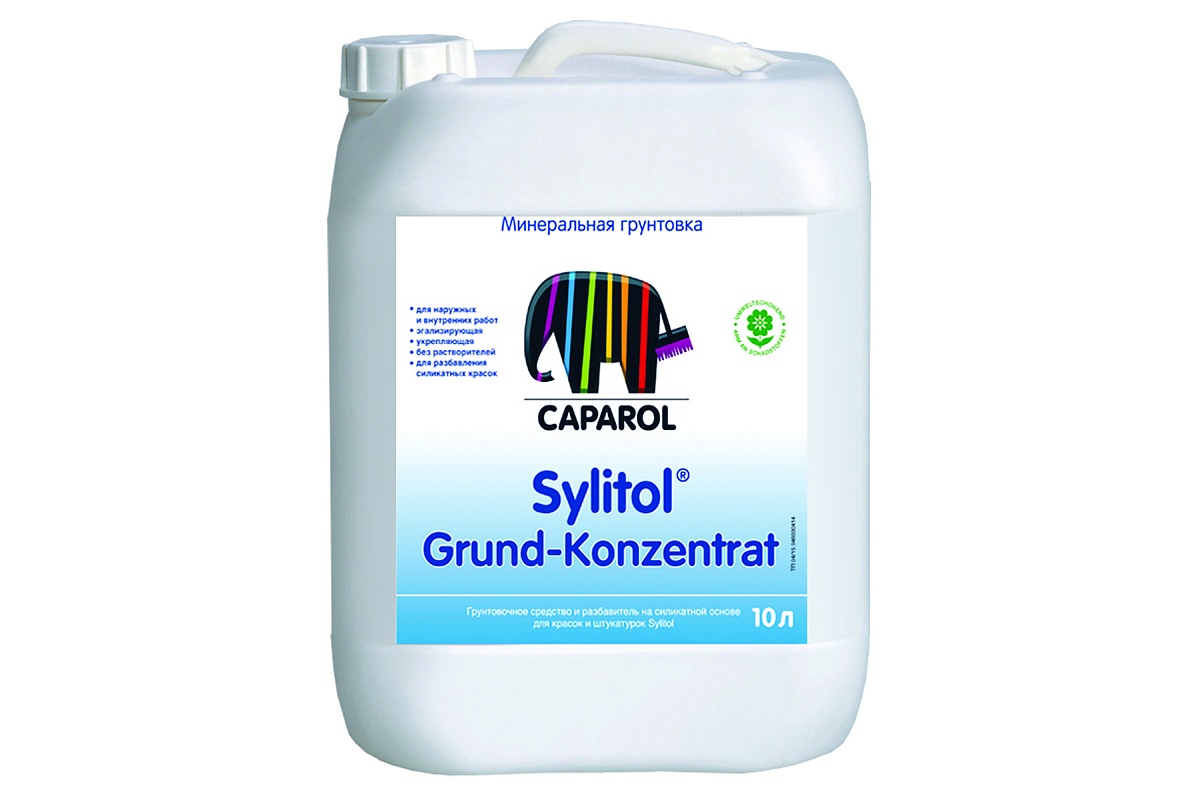
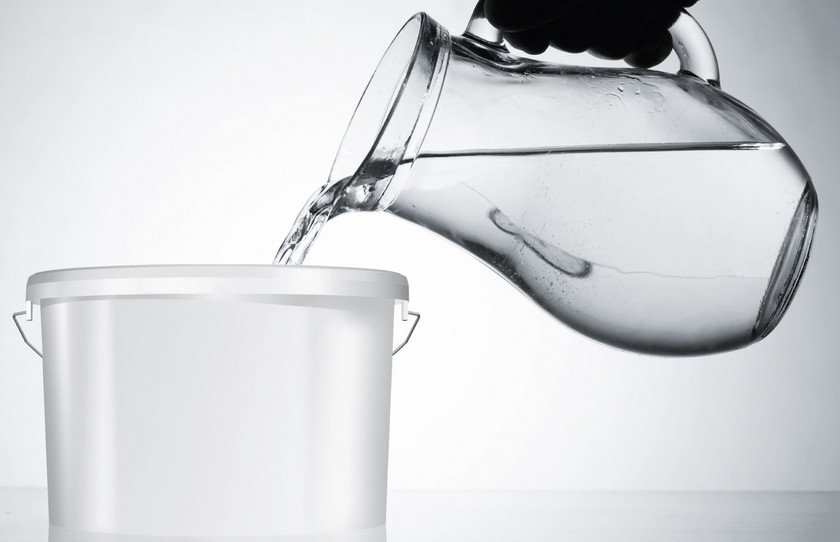
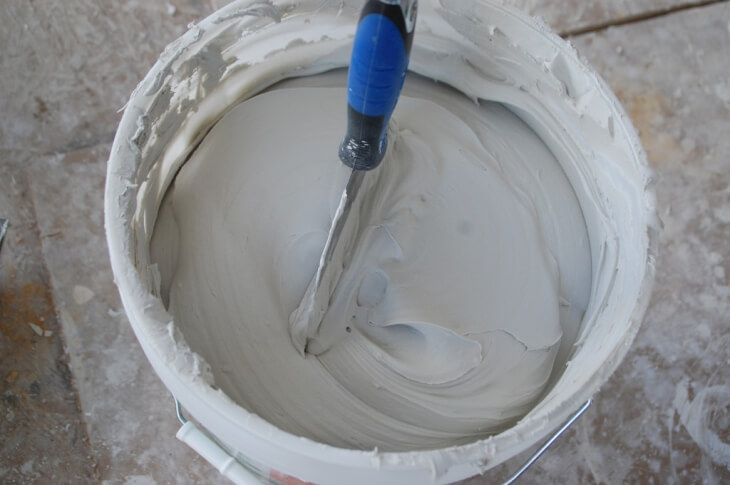
In addition to the liquid type, there is a concentrated primer. It must be diluted with cool water. This product is more convenient to store, it is more economical and allows you to vary the degree of viscosity when it is needed.
It is easy to dilute it: the manufacturer indicates the proportions at which the optimum concentration is achieved. Usually it is 1: 2 (1 part water to 2 parts of the primer).
Externally, the primer is a composition of white or light gray. Sometimes it is transparent. Some varieties admit the addition of special acrylic paints to the solution (up to 15% of the total volume), which is especially convenient for light wallpaper with a dark surface of the walls (for example, with concrete).
You can add white pigment, so as not to distort the color of the wallpaper and give them maximum expressiveness. This is especially important if thin linings are taken as the basis of the cladding, which, with the usual sticking, show all the base stains.
The primer differs in the type of action that depends on the solvent. The degree of drying can be normal, slow or fast. The texture of this preparatory material depends on the type and is more often dull.
The approximate consumption specified by the manufacturer is 1 l per 8-9 square meters. m. square wall. However, this indicator is conditional: it all depends on the absorption of the walls.

Since the primer is applied in two layers before applying the wallpaper, the first one will absorb more, especially if the walls are porous. With the second primer, it will leave a little: the main part will already strengthen the walls, therefore at the second application the crystal lattice, which is located on the surface of the base, will be strengthened.
The tool is not dangerous for the skin, but it should be stored away from children and sunlight. Shelf life is usually 2 years from the date of issue. After opening and applying the remains of the primer can be stored no more than 12 months - then it loses its properties. At the same time storage in the frost is unacceptable.
It is necessary to use the product with gloves and working clothes: when drying, there will be stains on the textiles, therefore the treatment should be neat.
Merits
As with any building material, the primer has positive characteristics:
- It has an antiseptic effect. After processing, the surface is resistant to the formation of fungus, mold, blue, which is especially important in rooms with high humidity.
- Using soil helps reduce the absorption of moisture by the walls. In this case, the vapor permeability of the walls is not reduced.
- The primer is able to eliminate the negative effects of minor pollution, making the walls strong. Due to the white color, it masks the spots of the base.
- Due to the use of primer when pasting wallpaper with a glossy surface type, the gloss on the canvases becomes more pronounced.

Types of soil
In the modern construction market a wide range of primers is presented.
By type of primer solubility are:
- based on organic acids (alkyd resins, polyurethane, latex);
- water dispersion, which can be diluted with water (acrylic, latex, silicate, silicone);
- mineral (based on lime, gypsum, cement).

Water-dispersion varieties are considered harmless type, they are distinguished by the absence of smell in the process of processing walls. That they should be used to prepare the walls for interior wallpaper.
By appointment, they are:
- universal;
- specialized;
- antifungal;
- insulating;
- strengthening.


Universal solutions took little by little from each type with a separate action. The rest have their own characteristics and are designed for a specific type of wall.
Consistency matters. Usually the clear composition is more liquid. White analogue has a higher viscosity and density. Consistency determines penetrating ability.
Liquid transparent formulations strengthen the outer layer of the wall and bind dust. Among these varieties can be found solutions with special additives, through which you can quench the alkali. The price of such primers is acceptable.
Compared to more dense counterparts, their penetrating power is 25% more. The disadvantage of such a primer is the non-uniformity of the deposition: during surface treatment, it is not visible which area is already covered with a primer. As a result, the part on which the soil more, gives himself a gloss. Heterogeneity is dangerous because the adhesion when glueing wallpaper will be different.
Thick primers, unlike liquid varieties, are able to correct the surface of the walls before sticking with wallpaper. They eliminate small irregularities, have an antistatic effect, quench alkalis, creating a smooth film. Filling the micropores, they paint the surface of the wall, so the whole processed surface is visible during processing.
Its penetrating power is lower; such a primer is good for walls with a uniform structure with no visible defects. The smoothness that this soil creates is convenient for plaster and thin wallpaper, as well as photo wallpaper. For liquid wallpaper such a primer will not work.

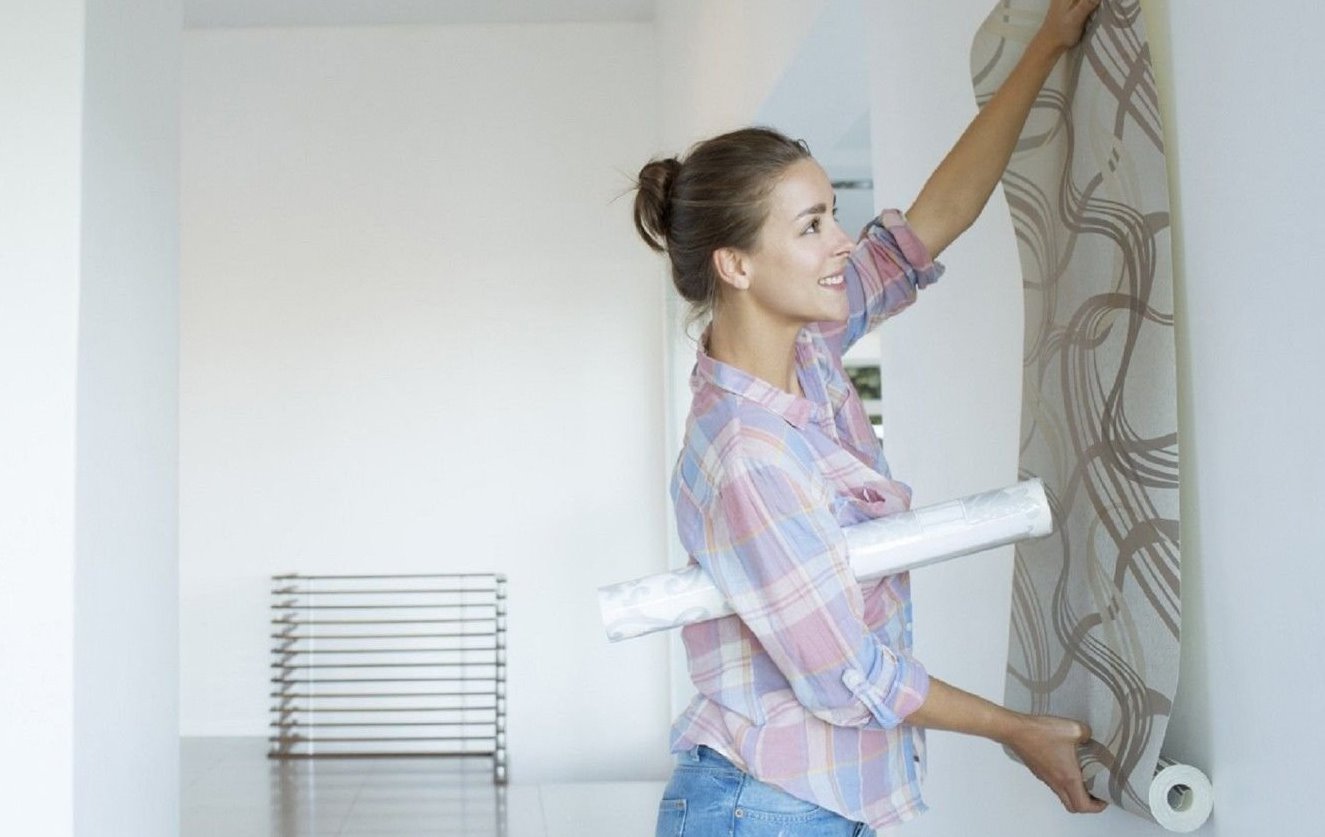
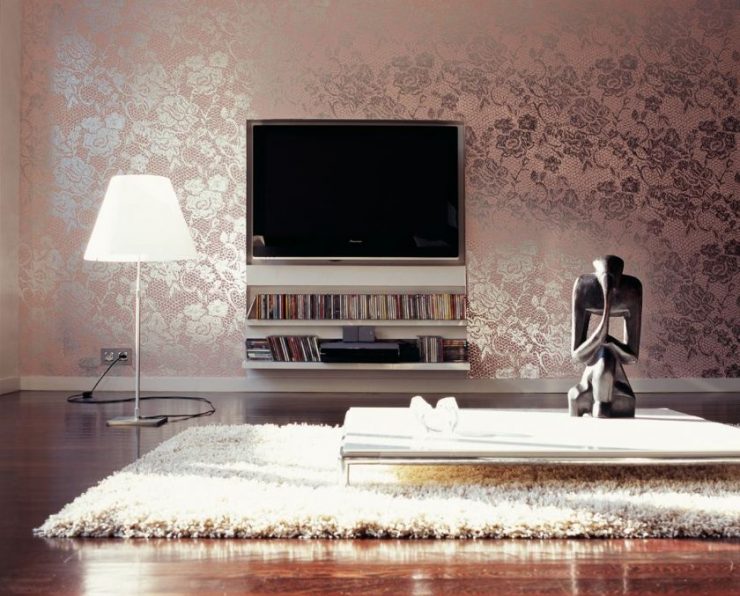
What wallpapers are suitable?
With the right choice of primer will prepare the surface for pasting wallpaper of various types. Paper, vinyl, non-woven and textile wallpapers on paper and non-woven substrates will hold on to the prepared surface especially firmly.
Preparing walls with such a ground will provide excellent adhesion of wallpaper at the joints, so over time they will not move away from the surface.


However, it should be borne in mind: plywood wallpaper, if necessary, requires re-application of the soil. Glass walls will hold well on the walls. Such a surface can be updated by painting, which is convenient if you want to update the background of the wallpaper or mask the pollution.
Liquid wallpaper will better go to the surface without flowing over it when applied with an airbrush. It is important to take into account: first, the walls are cleaned, only then they are treated with primer. Other options that perfectly grab with a primer include cork and bamboo materials. Self-adhesive PVC is stuck tightly.

Surface types
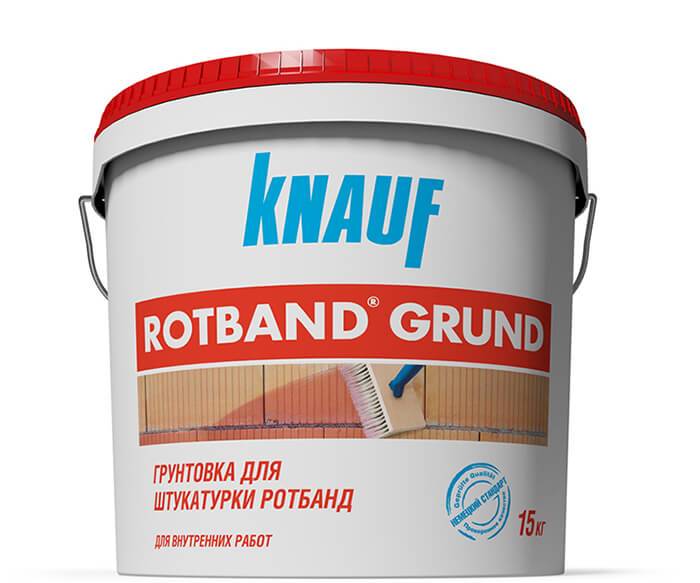
For each type of surface manufacturers offer their own type of primer (for loose porous walls). Usually this information is contained on the packaging. For plastered walls, use an acrylic or emulsion primer. This composition is suitable for different bases, except metal, it is environmentally friendly and practical.
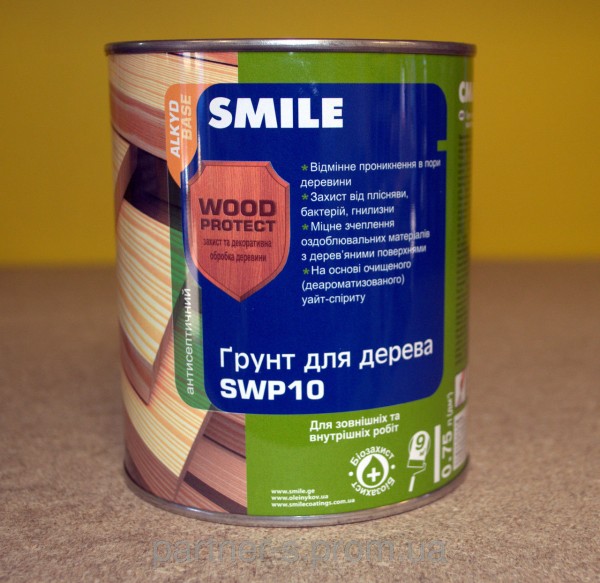
If you want to glue the plane of the tree, you should buy alkyd primer. Such a solution perfectly impregnates concrete walls, it can be tinted.
These two varieties are most sought after. Of these, the favorite is an acrylic primer, which is also used for plasterboard walls.
If the interior decoration involves the processing of silicate brick, concrete and plastered surfaces, you can buy a mineral primer.
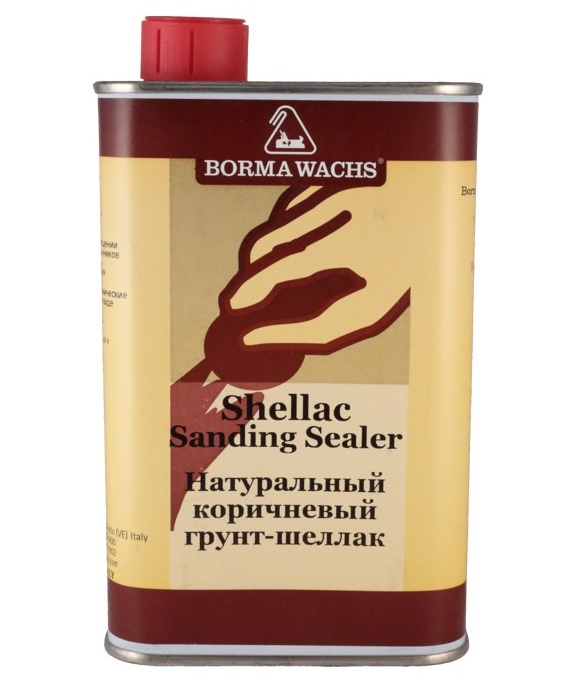
If the wooden surface is knotty, you should use a shellac primer.
If the store does not have an acrylic primer, you can treat the walls with a polystyrene compound. However, it should be noted that it is not at all harmless to health. If the repair involves not only sticking wallpaper, but also installing the floor (for example, under laying linoleum), you should buy a composition that is suitable for walls and for the floor.
Surface preparation
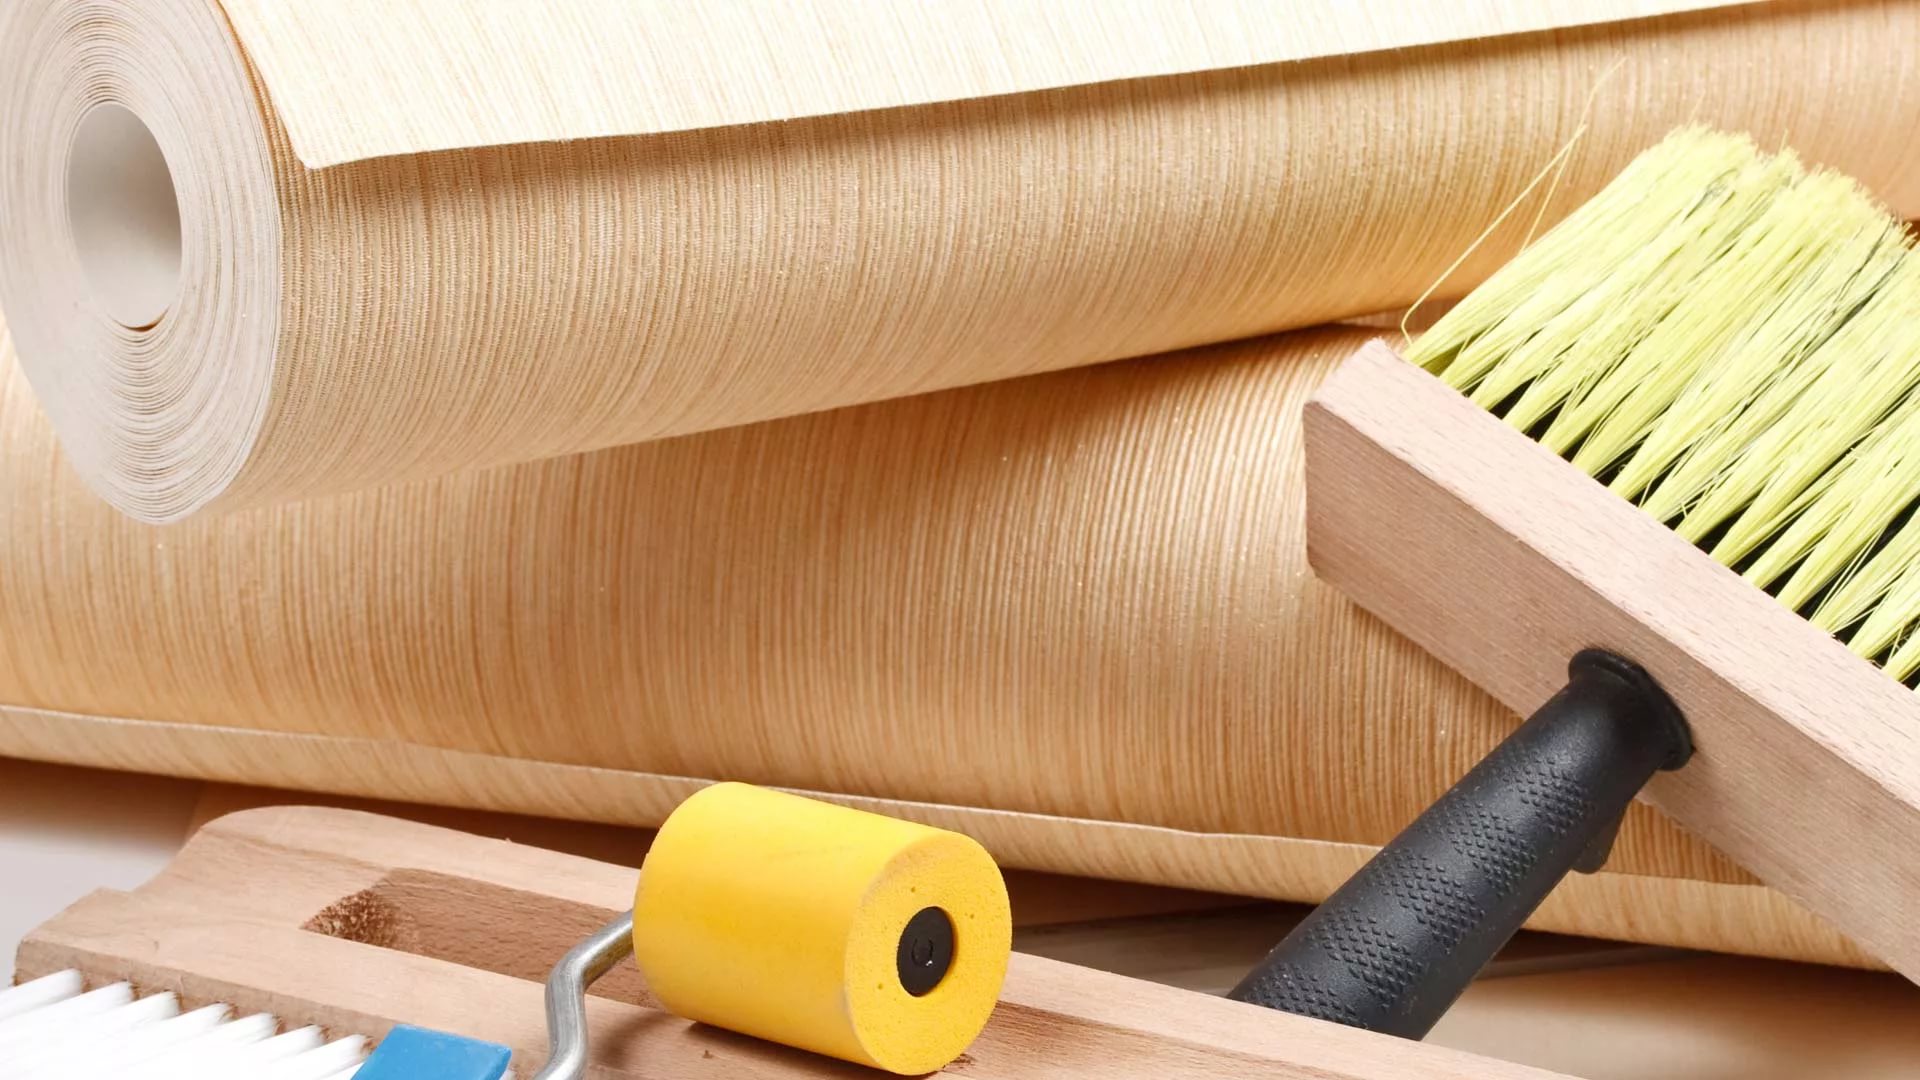
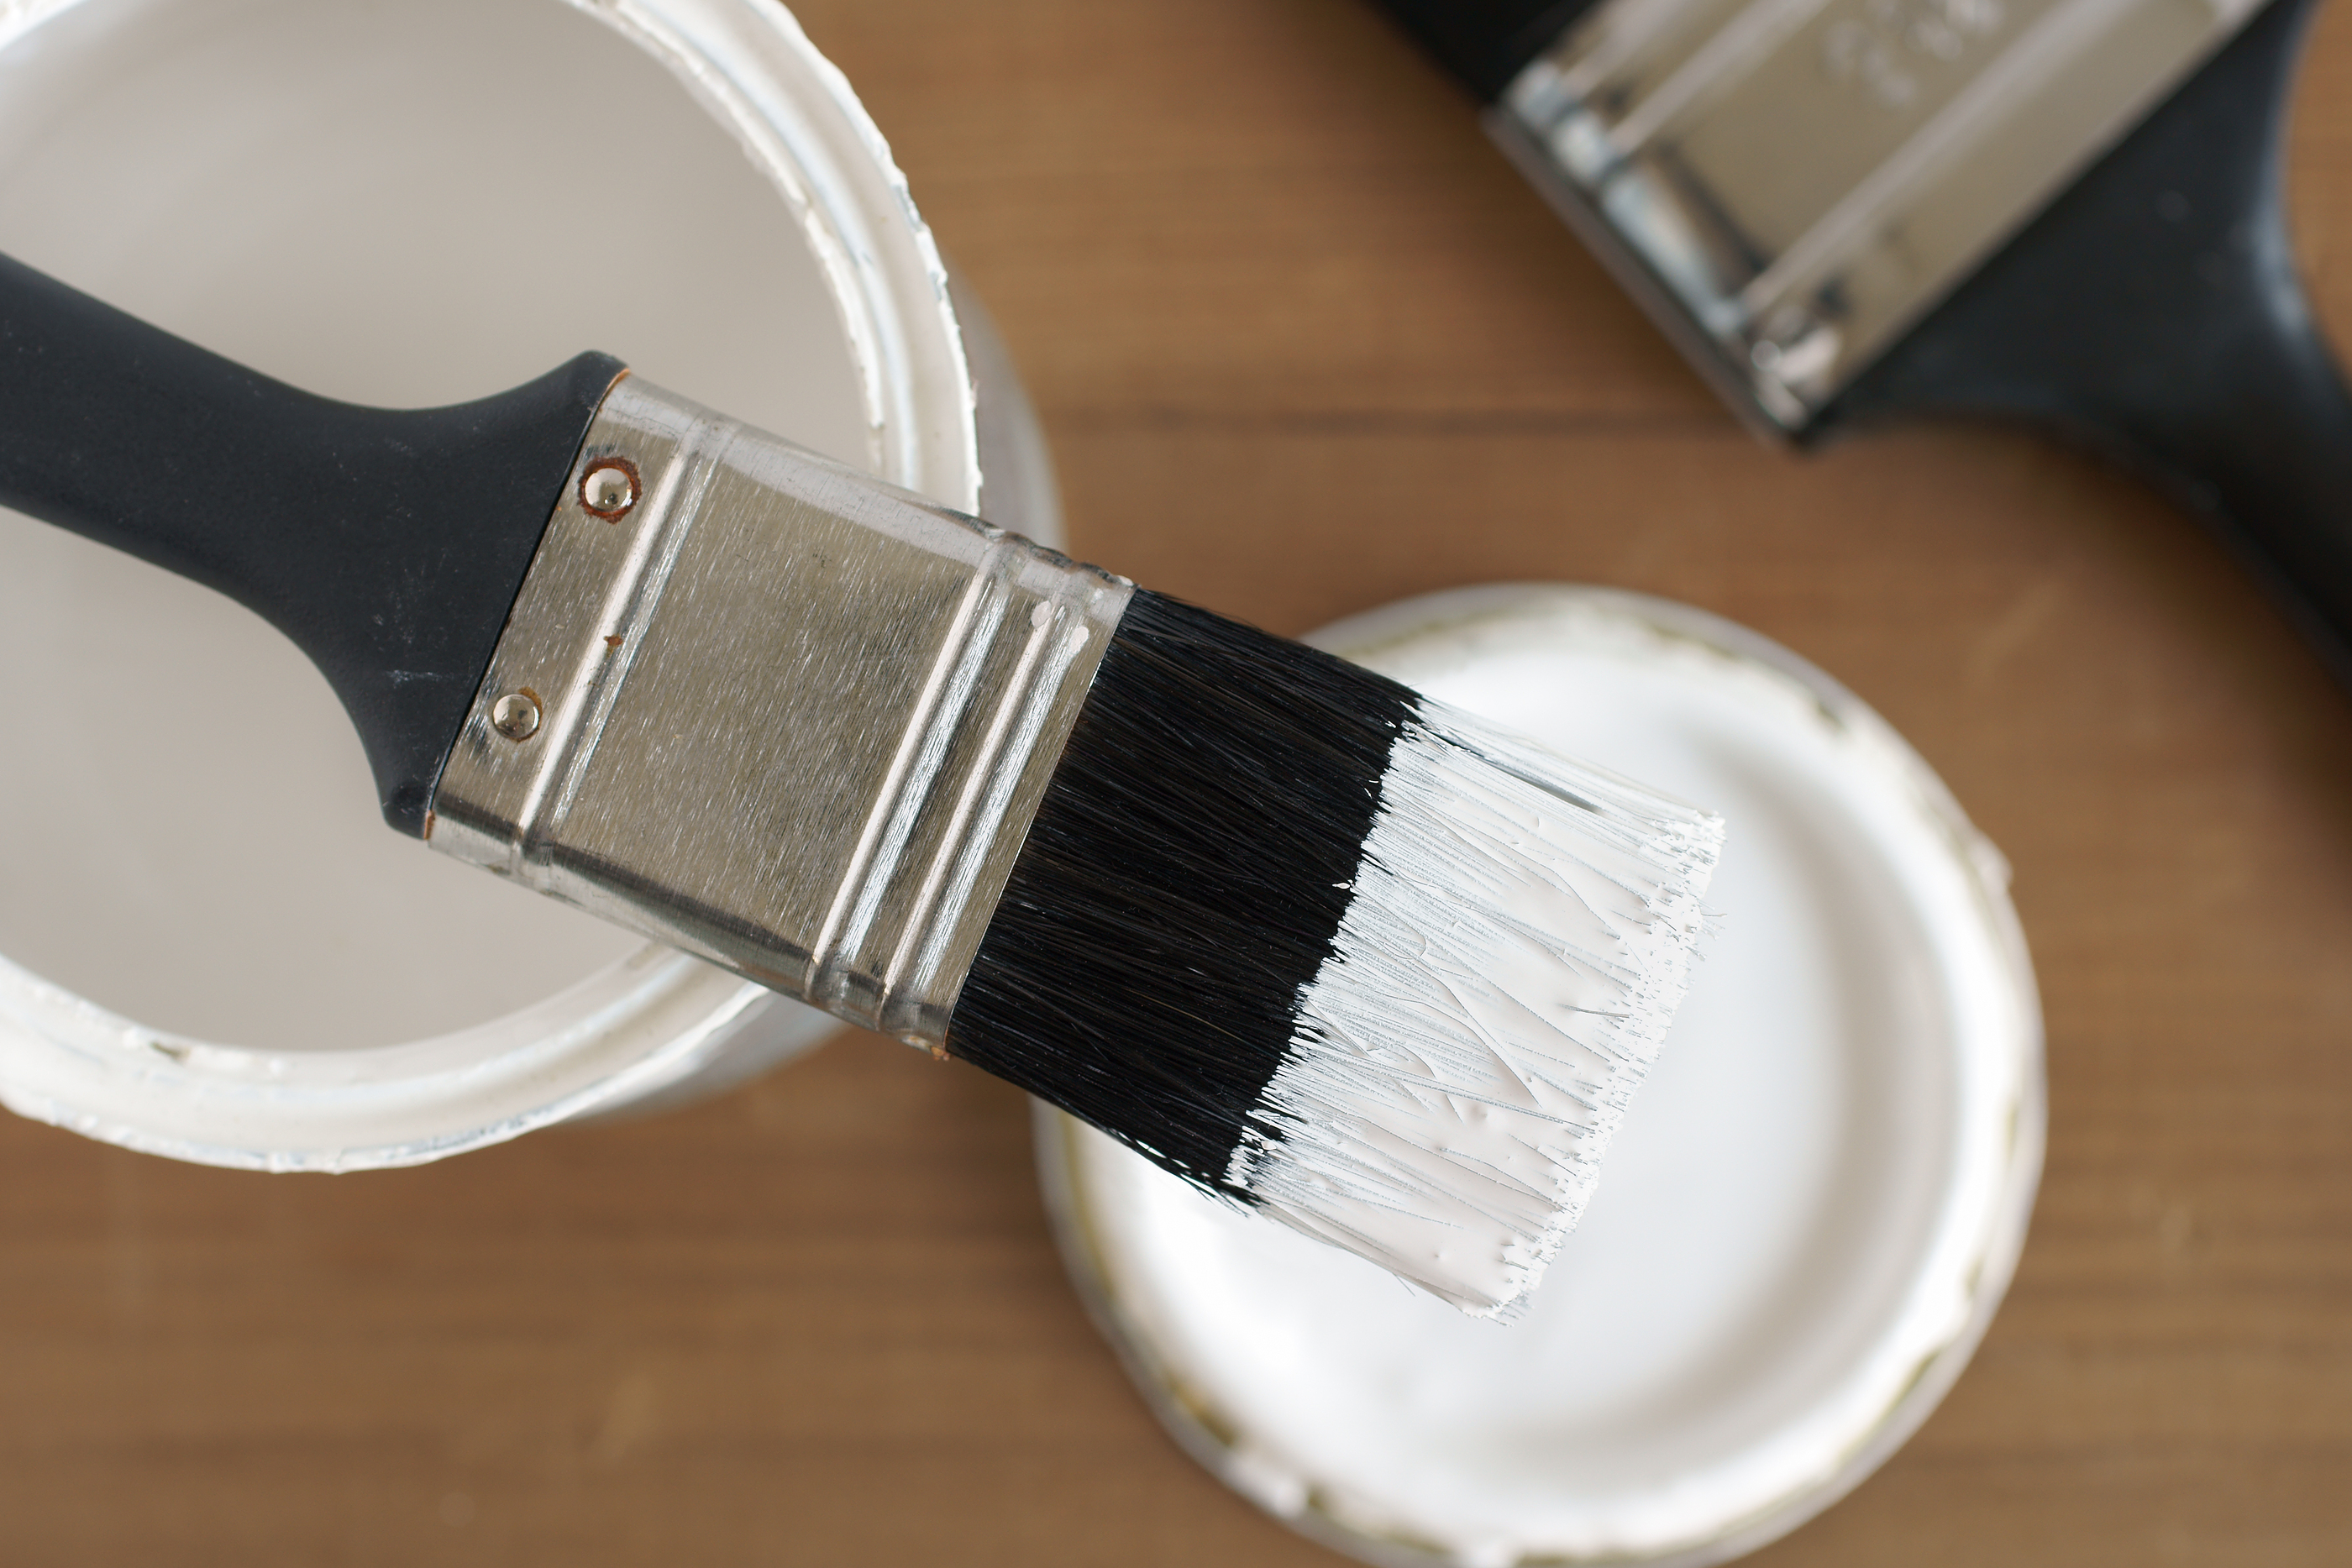
Before processing the surface of the walls with a primer, it is necessary to prepare:
- capacity for soil;
- the paint roller with pile of average length;
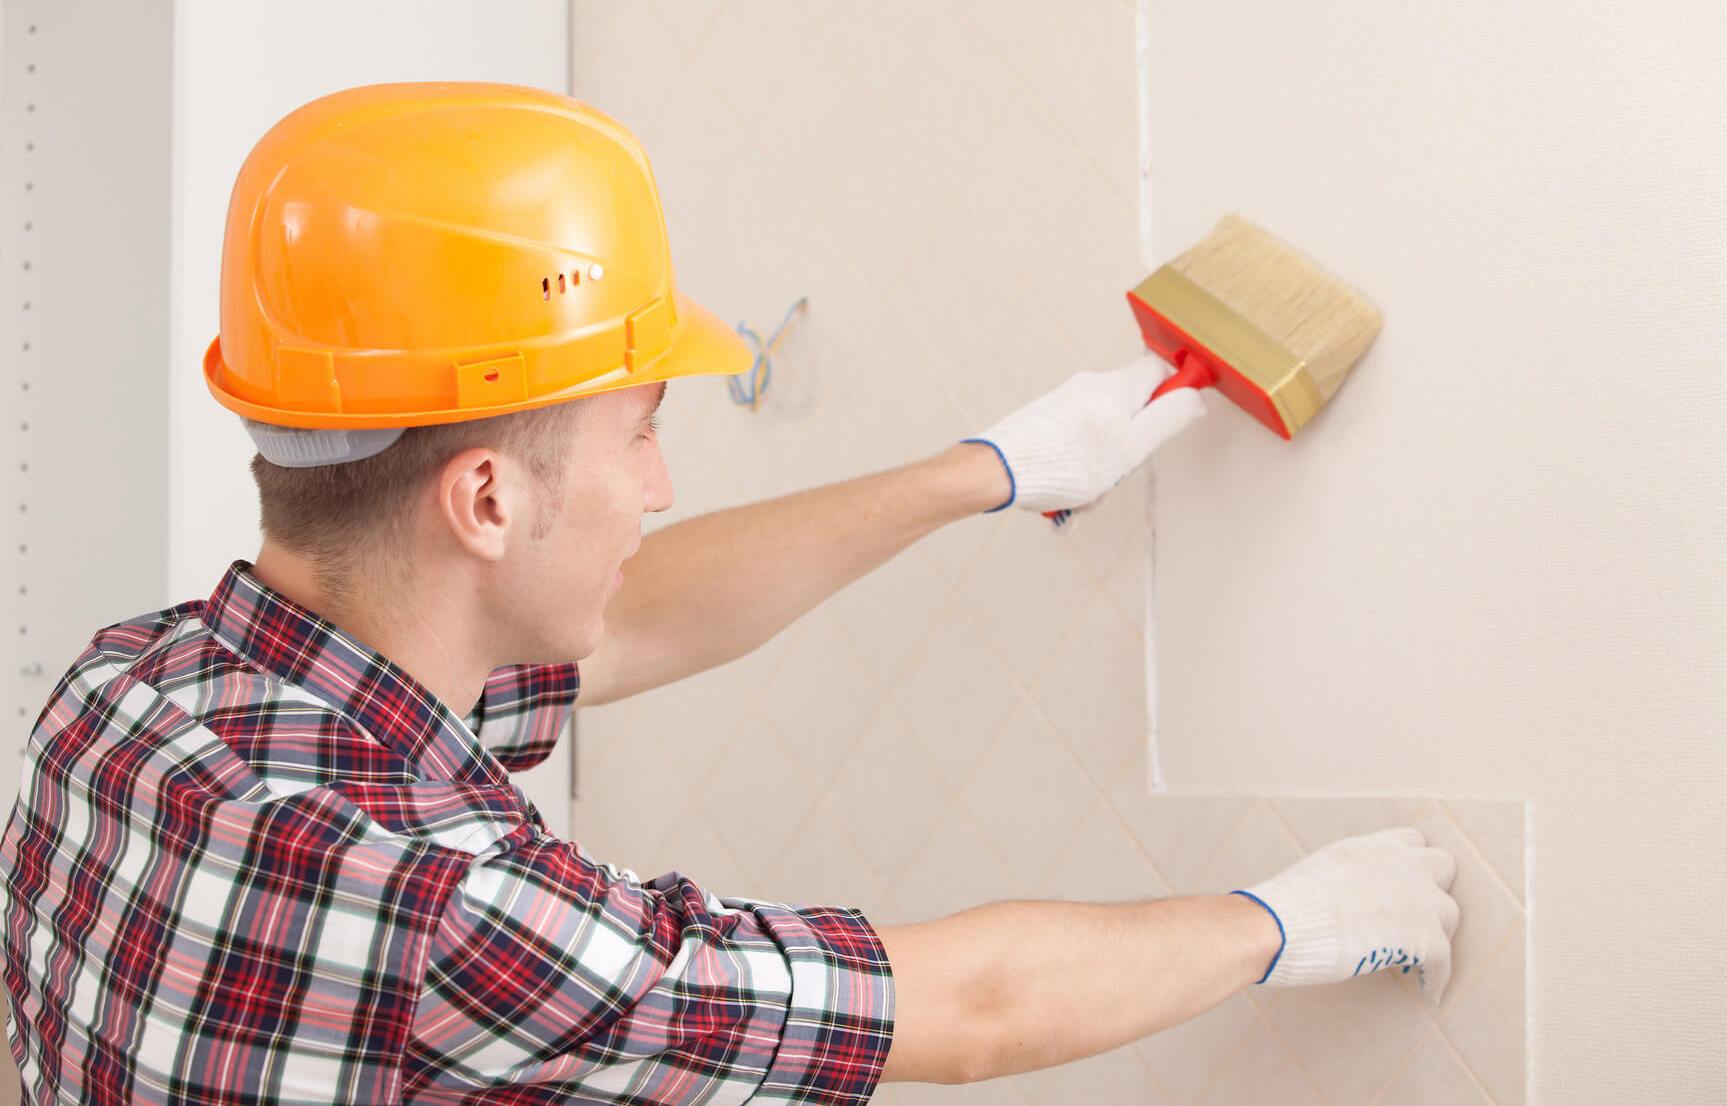
- flat brush medium size;
- small flat brush.

It is advisable to use gloves during processing: when the soil dries, the skin surface darkens and sticks a little. Surface preparation according to all the rules involves several stages.
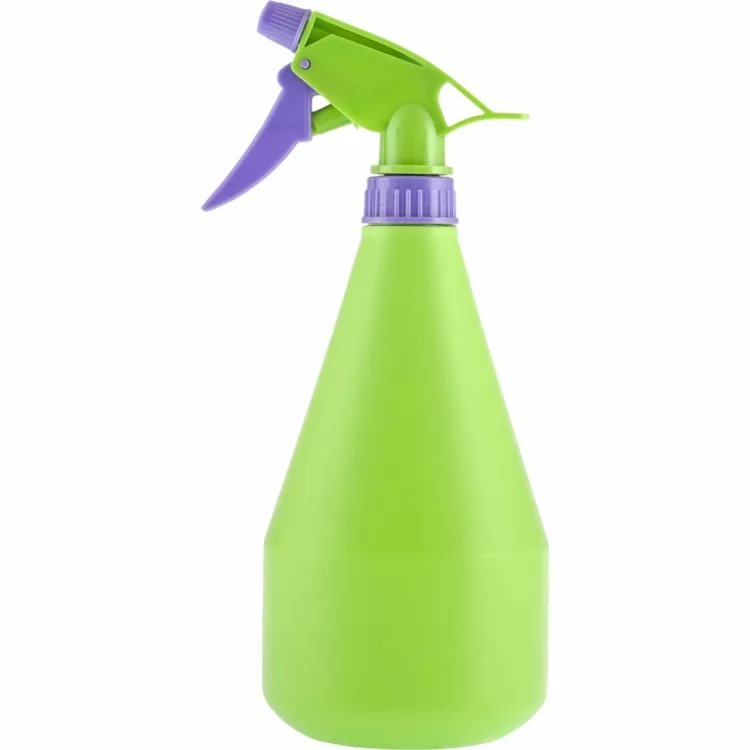
First remove the old coating. To do this with a minimum of dust, you should use a conventional spray gun, filling it with water: wetting the wallpaper will remove them in large pieces without scraping.
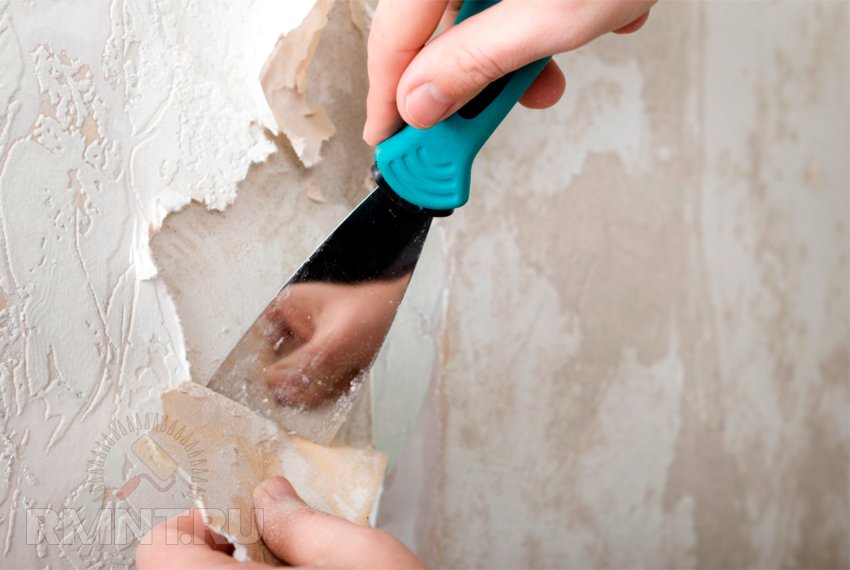
To double-layered old wallpaper does not peel off, you need to wait until they are soaked. This will eliminate the need to use a spatula: with mechanical movements you can scratch the surface.
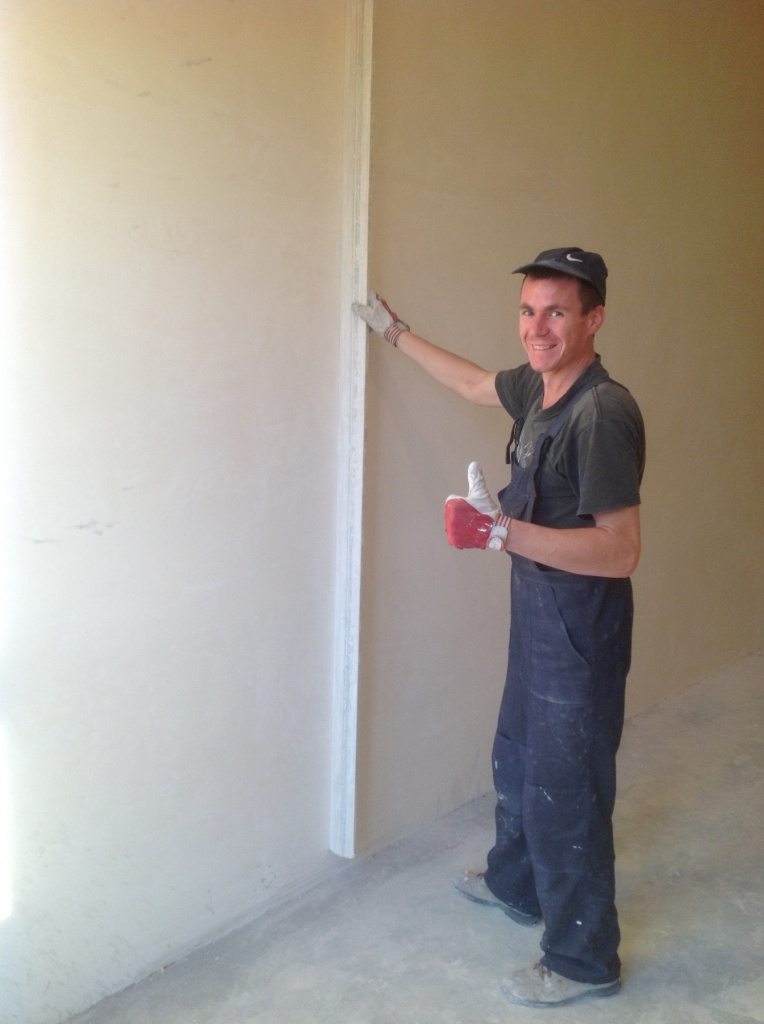
When the old coating is removed from the walls, you need to plaster the walls with the use of cement-sand mortar or putty, cover up the cracks, get rid of hillocks, pigmented areas.

If lime remains on the surface, it can be removed with sandpaper. This process is difficult to perform without dust, so the doorway will have to close. After processing, get rid of dust, including the one that settled on the floor. This should be done with a sponge slightly dipped in water. The sponge should not be too wet.
Then the walls can be primed. If in the process of preparing the old wallpaper is difficult to remove from the walls, you can buy a special liquid, before which the strongest glue will not stand.It is possible to coat surfaces only after the putty dries completely. If the humidity in the room is high, it will be good to spray the walls with mold and mildew.
Application details
It is easy to apply a primer on the walls with your own hands.
To do this correctly, you should read a small instruction:
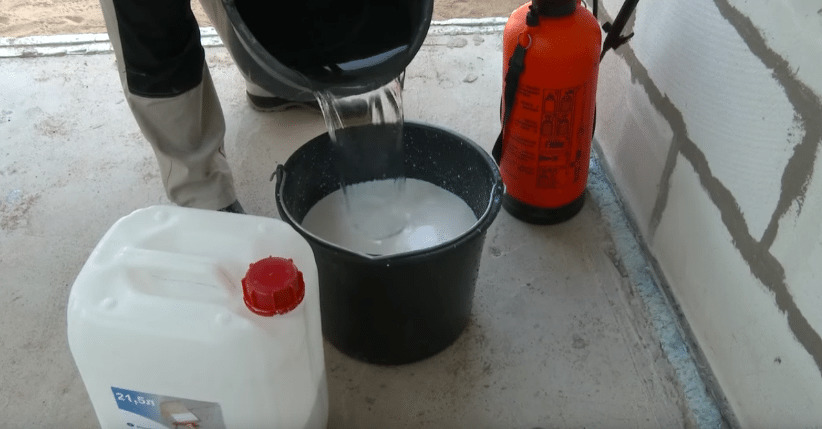
- Initially, you need to prepare the tool for work. If the soil needs to be diluted, use water at room temperature. You can dilute it with water only in case the water type of solvent is indicated on the package.
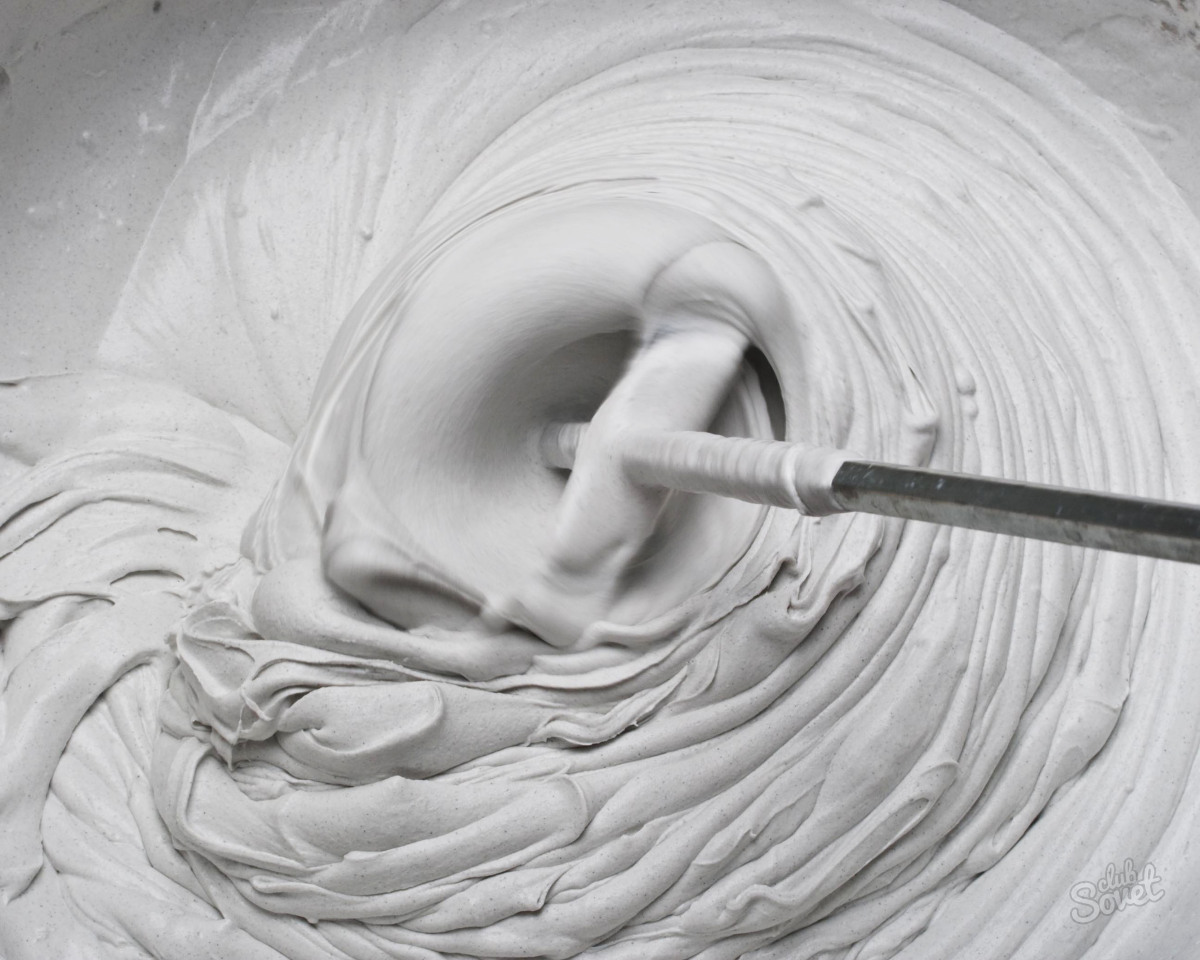
- Dilute the product to a homogeneous structure. Especially it concerns the material of the concentrated type. For such a soil you need to prepare a separate container.

- If necessary, you can add white color to the composition. If you need to tint the primer under the wallpaper, it is undesirable to use beige, pink or another color: they will distort the original color of the wallpaper.
- Pouring primer into the tank is in parts. First, the abundance of liquid will prevent the uniform application to the surface of the walls (ceiling). Secondly, in the process of work there should not be a primer: at the bottom of the tank in any case there will be specks of dust and mote that can not be poured into a common canister.
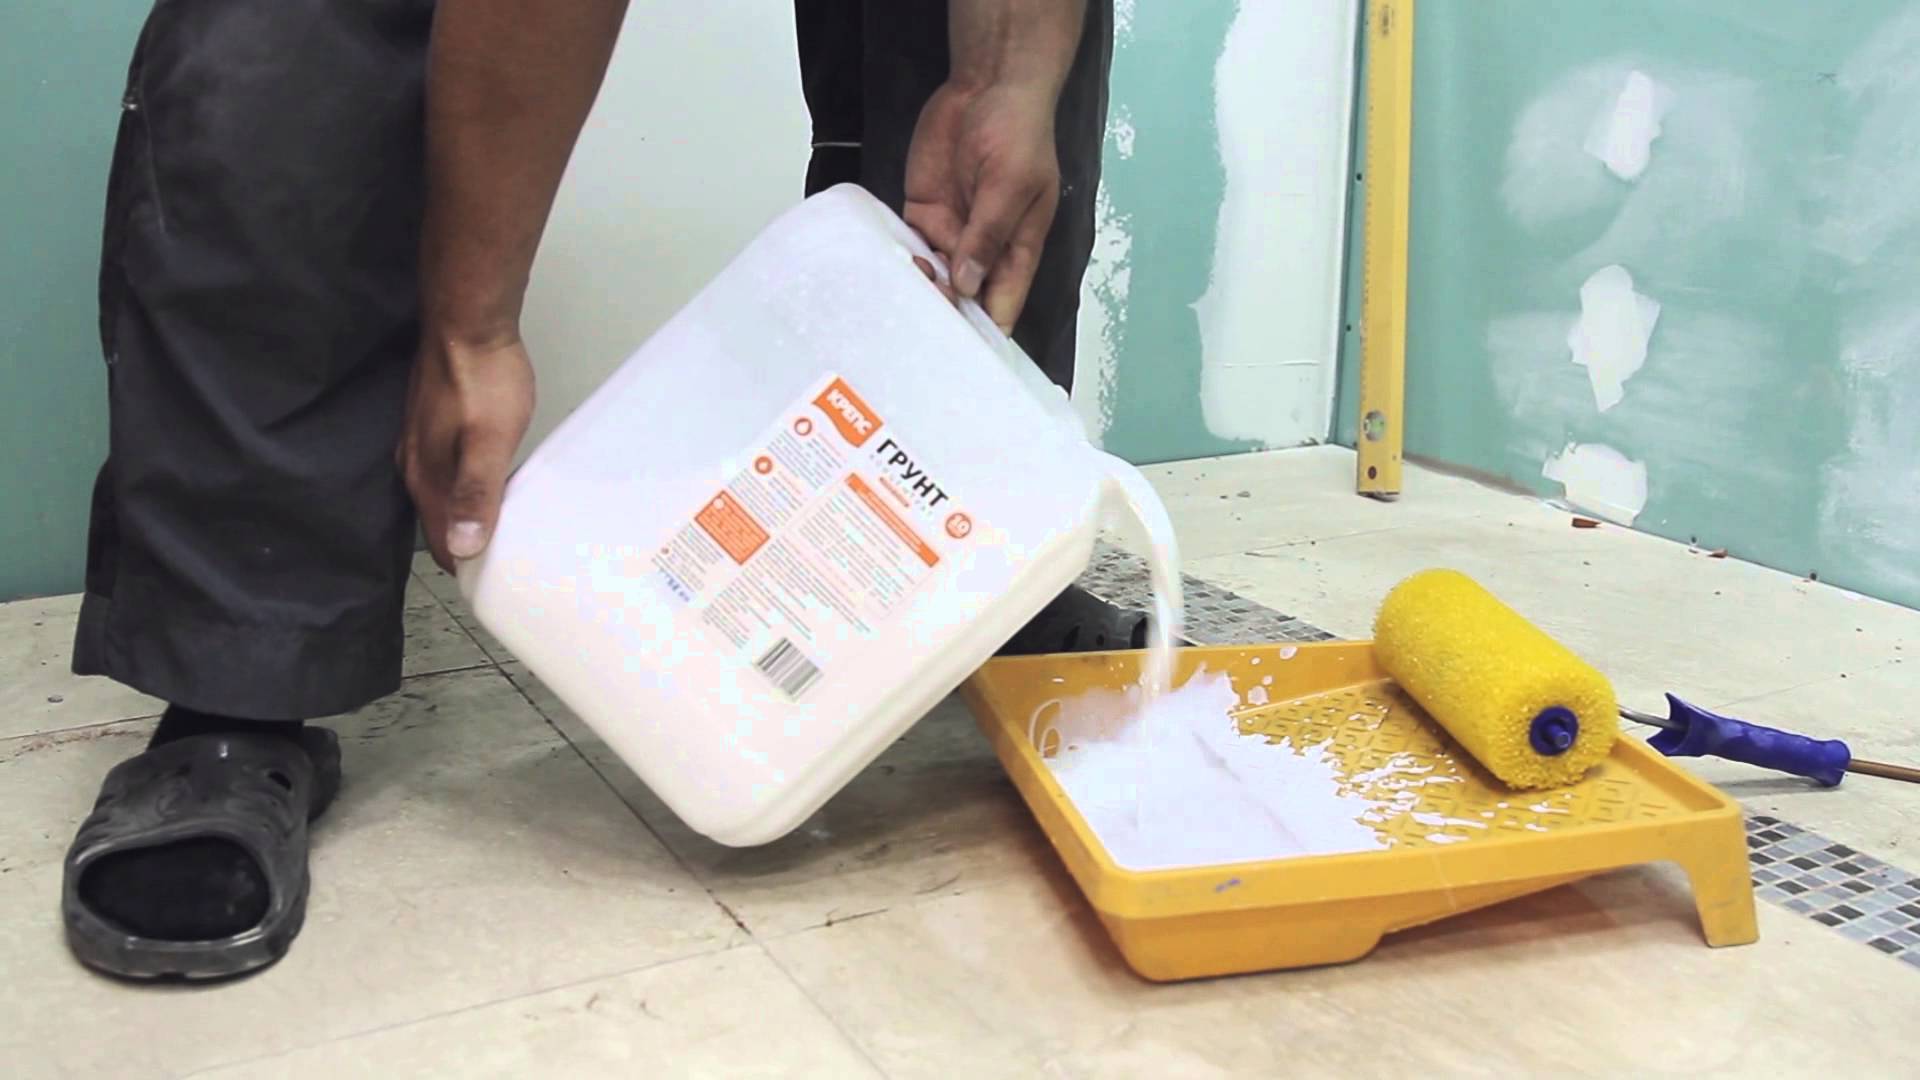
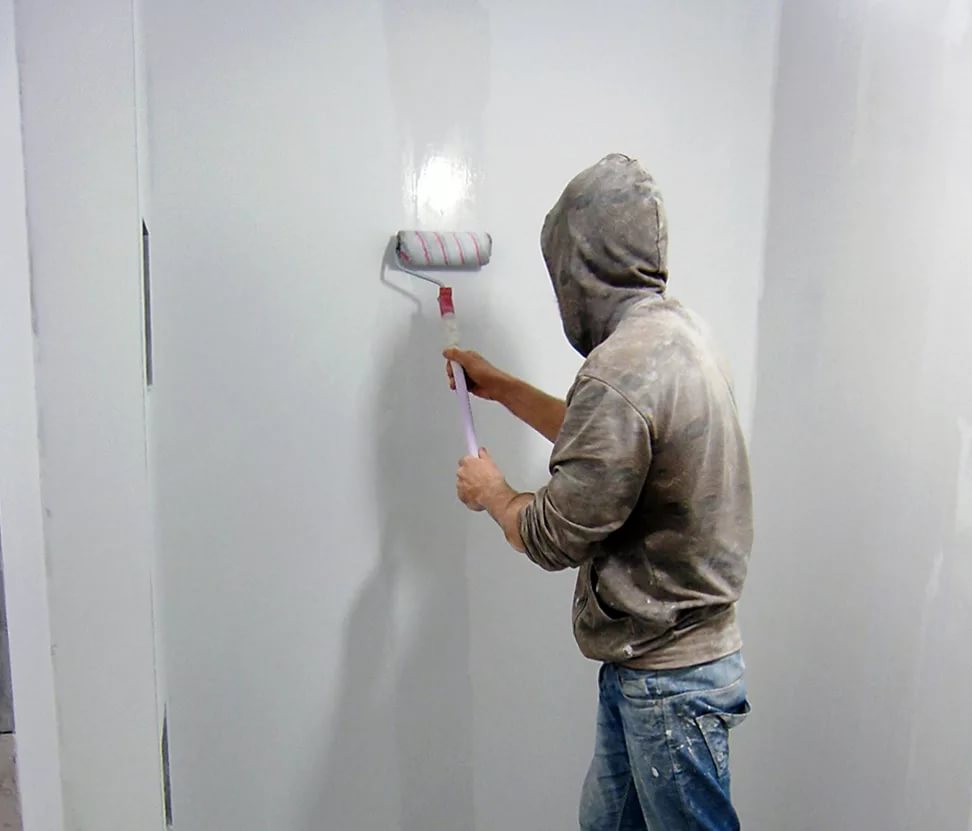
Drawing
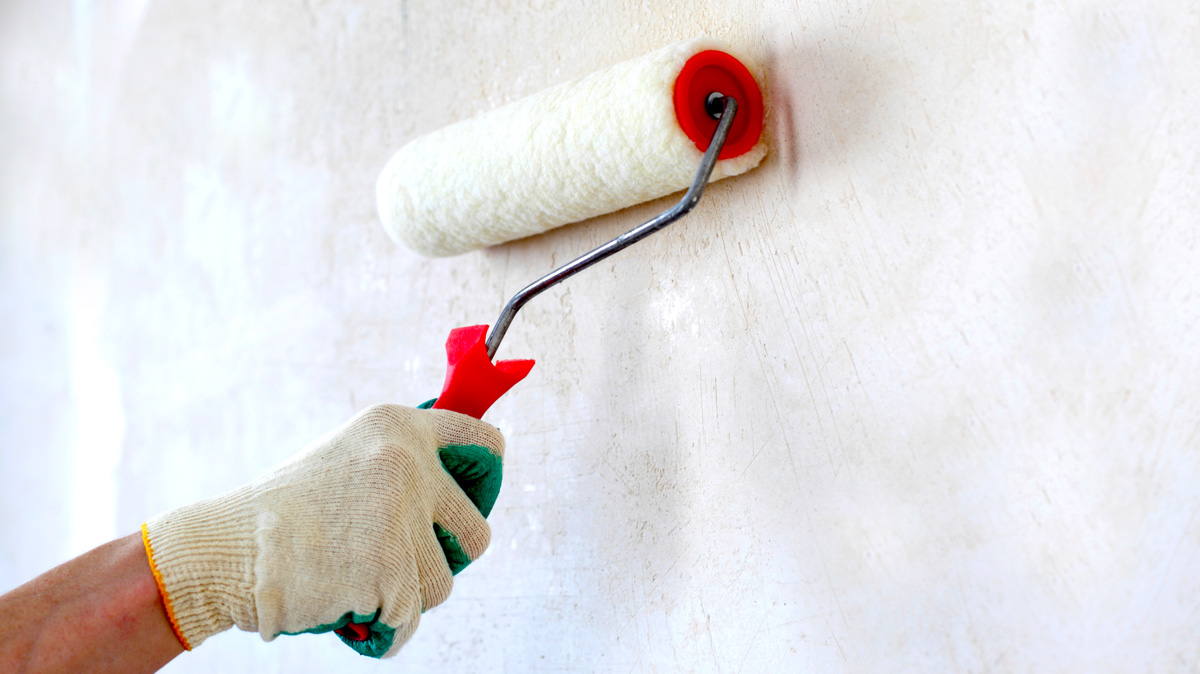
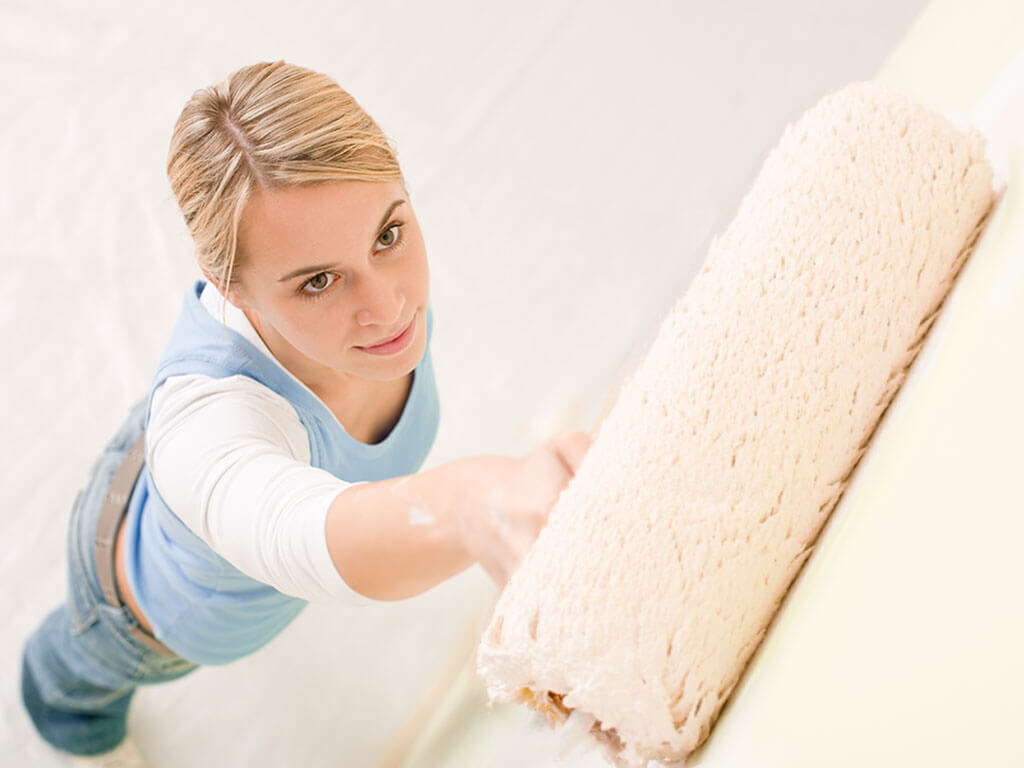
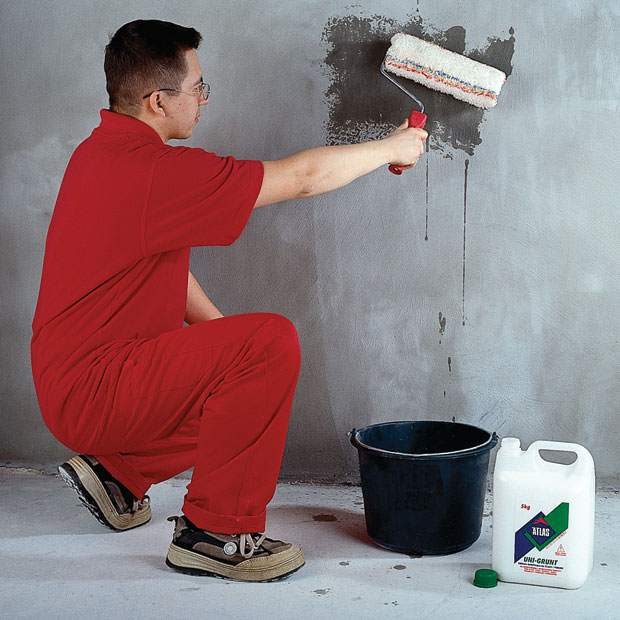
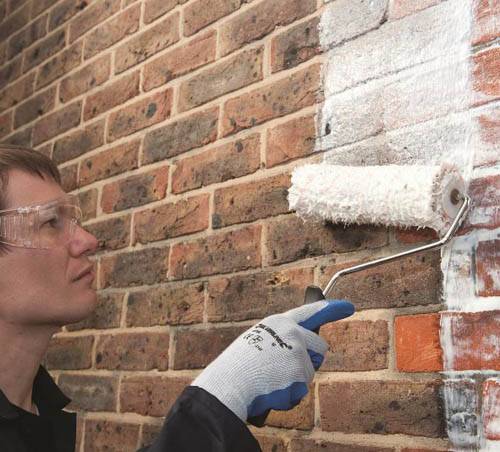
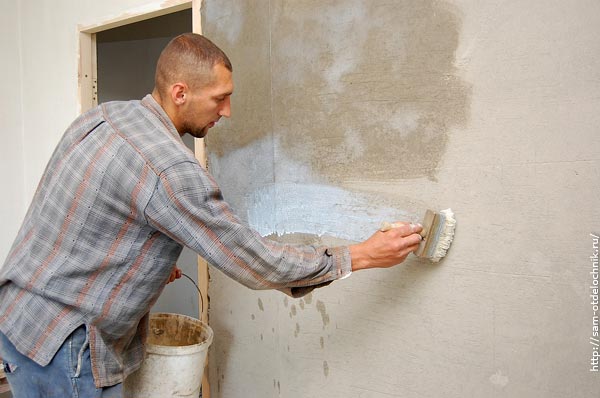
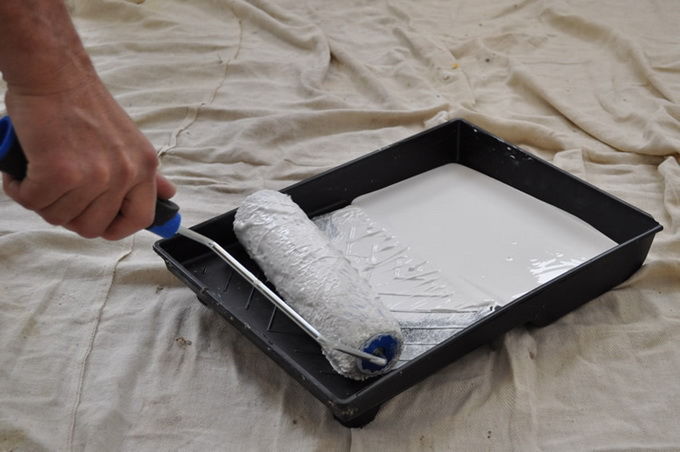
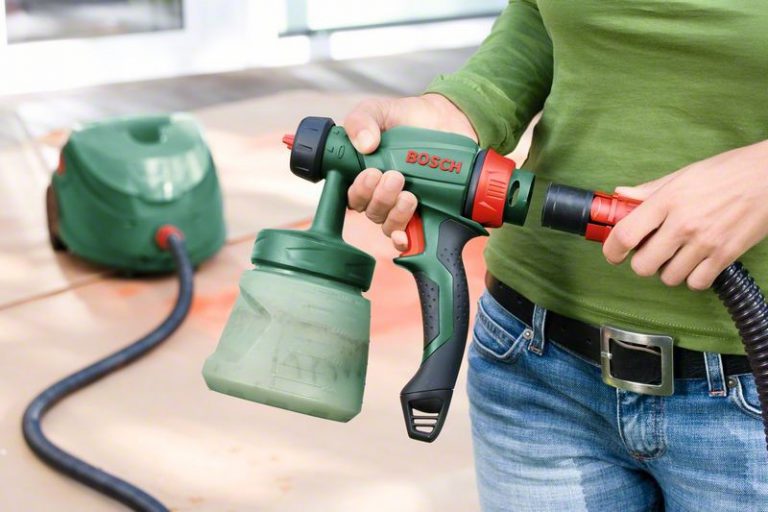
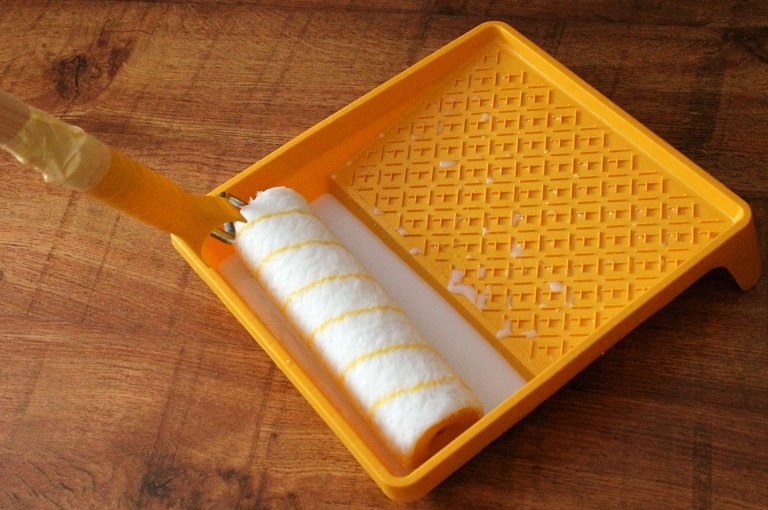
In the arsenal of an experienced master there is a spray gun, by which time on the priming of walls is reduced by half. It is much easier to handle hard-to-reach places (for example, slopes). Novice easier to apply the composition with a roller. To do this, the roller is immersed in a container with a working solution, moistened in the ground, lightly rolled inside the container.
There should not be a lot of soil, otherwise it will flow along the roller, then along the handle and flood the surface of the floor before it hits the desired plane. Savings are unacceptable: if the composition is small, it will not be able to penetrate inside the walls properly, therefore it will not strengthen the foundation.
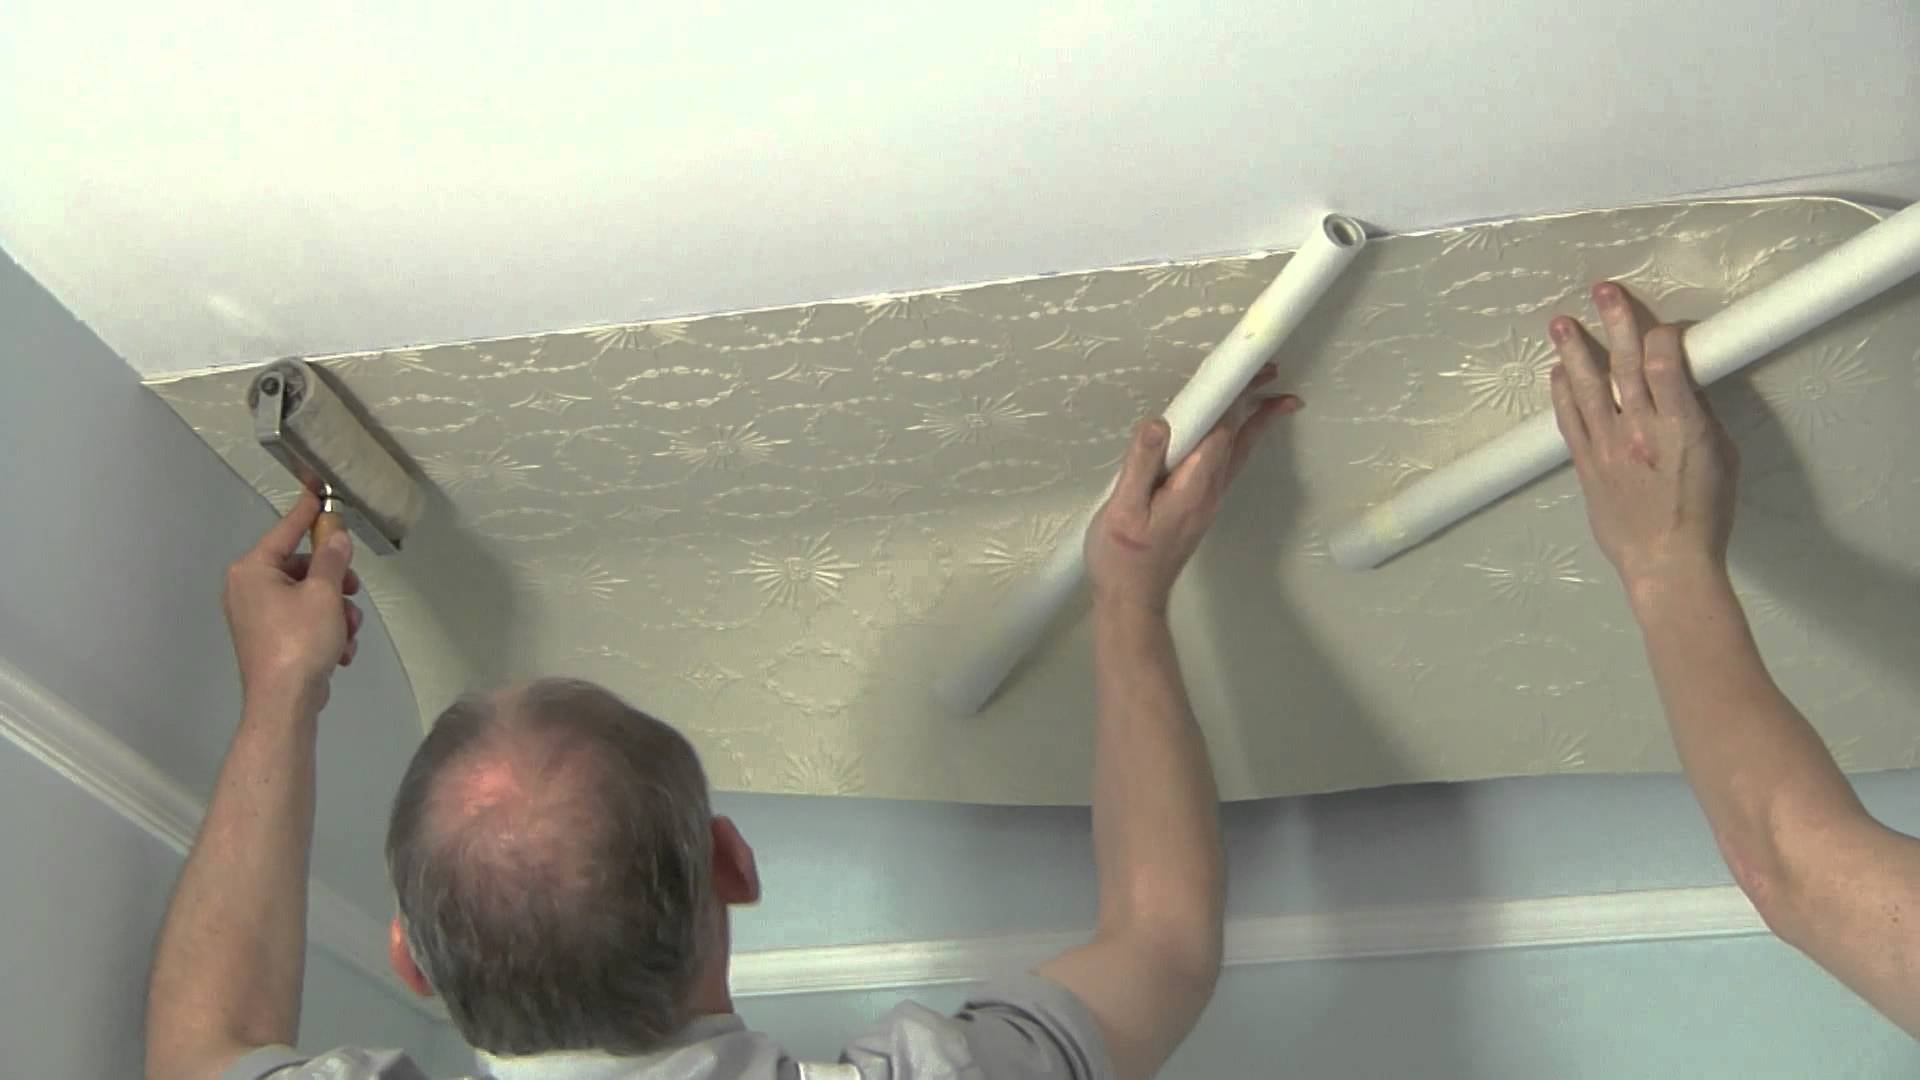
You can navigate as follows: if the ground does not flow and does not drip, you can treat the surface. If you plan to wallpaper the ceiling, the treatment is somewhat more complicated: you need less composition and more rolling on the surface.
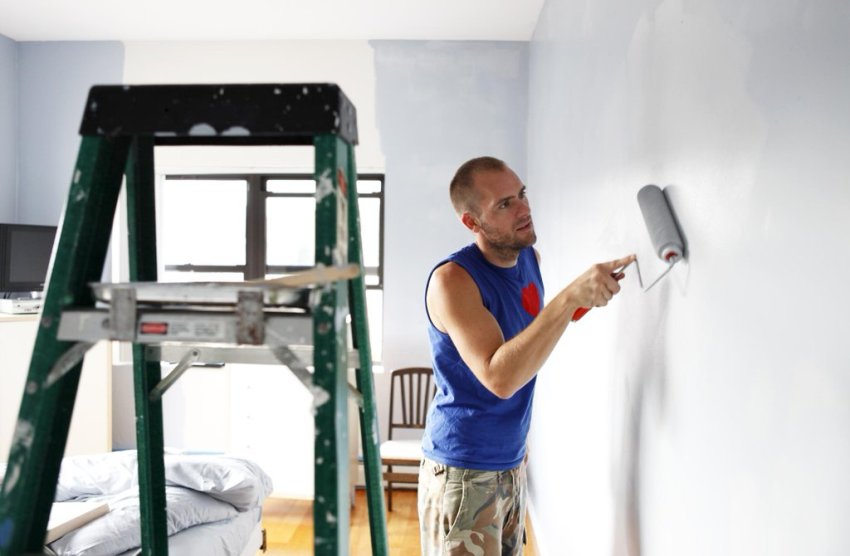
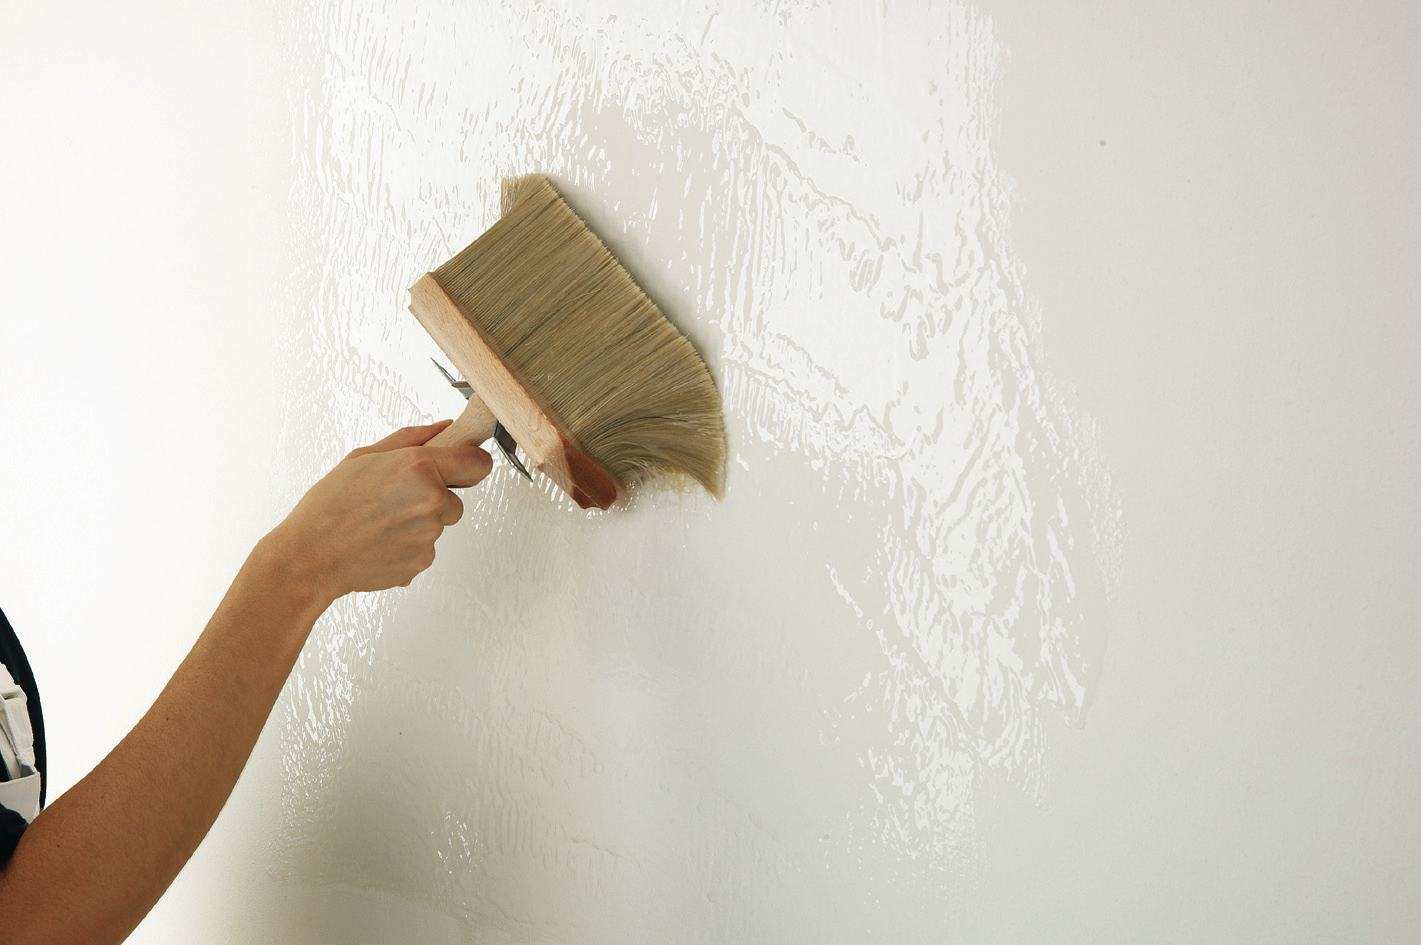
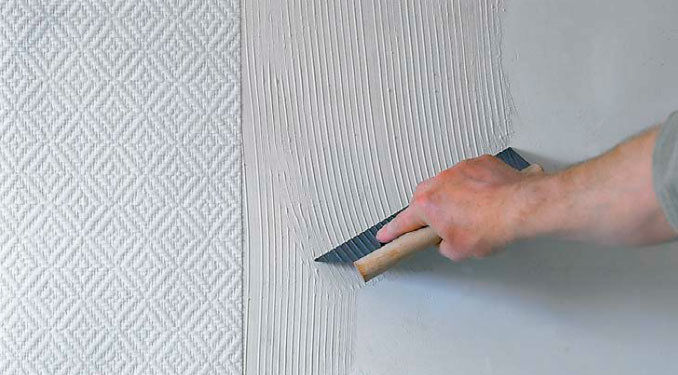
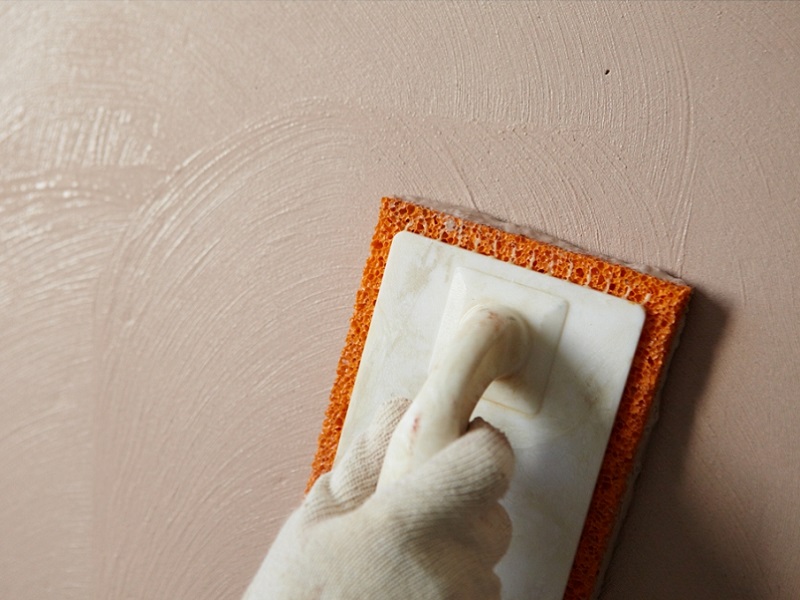
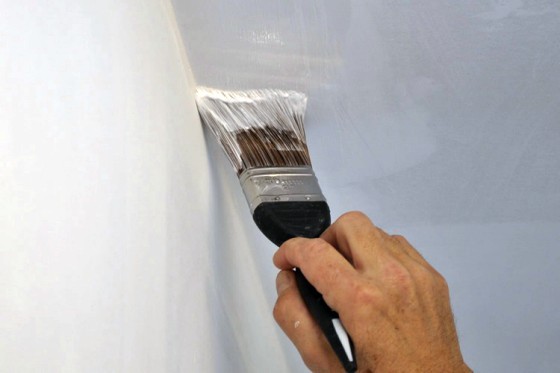
When processing the main walls, use a roller. It is slightly pressed to the surface, rolling several times in one place, evenly distributing the composition.
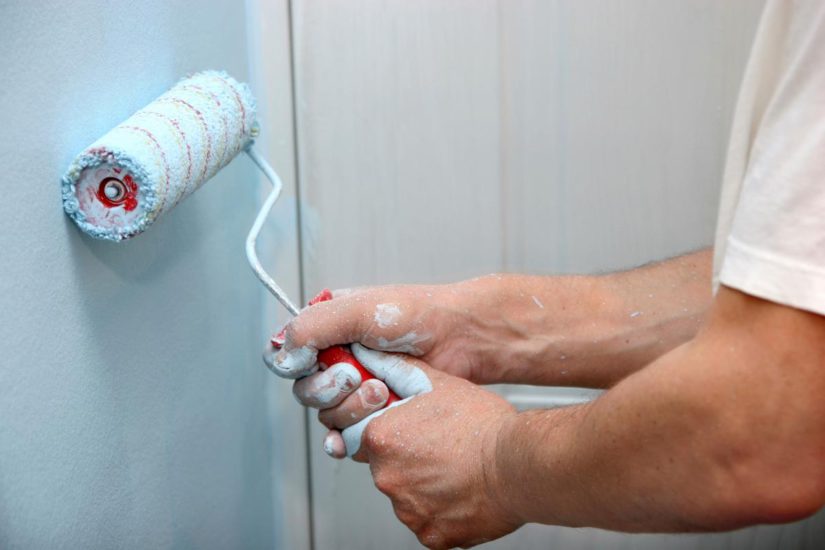
Liquid should not flow through the walls or drip from the ceiling. The soil layer should not be dense. In hard-to-reach places (corners, slopes) use a brush.
Where it is difficult to reach with a regular brush, take a small one. The use of brushes allows you to save the primer and carry out the processing of difficult places as accurately as possible. At the end of the workflow, the tools and container are thoroughly washed. The second layer of soil is applied only after the first one dries.
Drying time
The drying time of a primer depends on its type and density of the solution, as well as the place of application, the temperature in the room and even the season. On average, the primer dries from 12 to 24 hours.
Some varieties dry faster: this process can take 5-6 hours. Usually, the manufacturer indicates the drying time on each package of the composition, so that the buyer knows this in advance before purchasing.
For example, acrylic varieties dry for about 24 hours (one layer), quartz analogs need less time, mineral is also quite a few hours.
Shellacous, having in the composition of alcohol, dry quickly. However, the masters believe that, despite the assurances of the sellers, such primers need at least 10-12 hours for the film on the surface of the walls to be as strong as possible.
The same can be said about alkyd formulations: it is better to wait 12-14 hours and only after that do wallpapering, tile laying, water-based paint,if it is a design. The process can be accelerated, however, the methods of drying acceleration have not only advantages, but also disadvantages. Experienced craftsmen have a heat gun for this.

Under normal conditions, the situation is different. If it is warm outside, you can open the windows: the process will be accelerated with a large positive temperature.
Useful recommendations
Making a choice between the right type of surface, each master has his own preferences based on the quality of the material and its properties. Experienced professionals allow the use of two types of primer. By treating the surface before sticking wallpaper for the first time, level the structure of the walls with a transparent mixture. After that, another (white) primer is applied: it is the final stage of preparation for lining.
Based on their experience, the masters recommend when choosing a primer to build on the thickness of the wallpaper. Compounds of deep penetration are able to hold on the surface of the walls of particularly durable wallpaper wallpaper. These varieties include structural heavy varieties. For example, double-layered vinyl models or varieties for painting: when applying each layer of such wallpaper thickness will increase.Due to the soil you can not worry about it: the wallpaper will hold on the walls to 20-30 years.

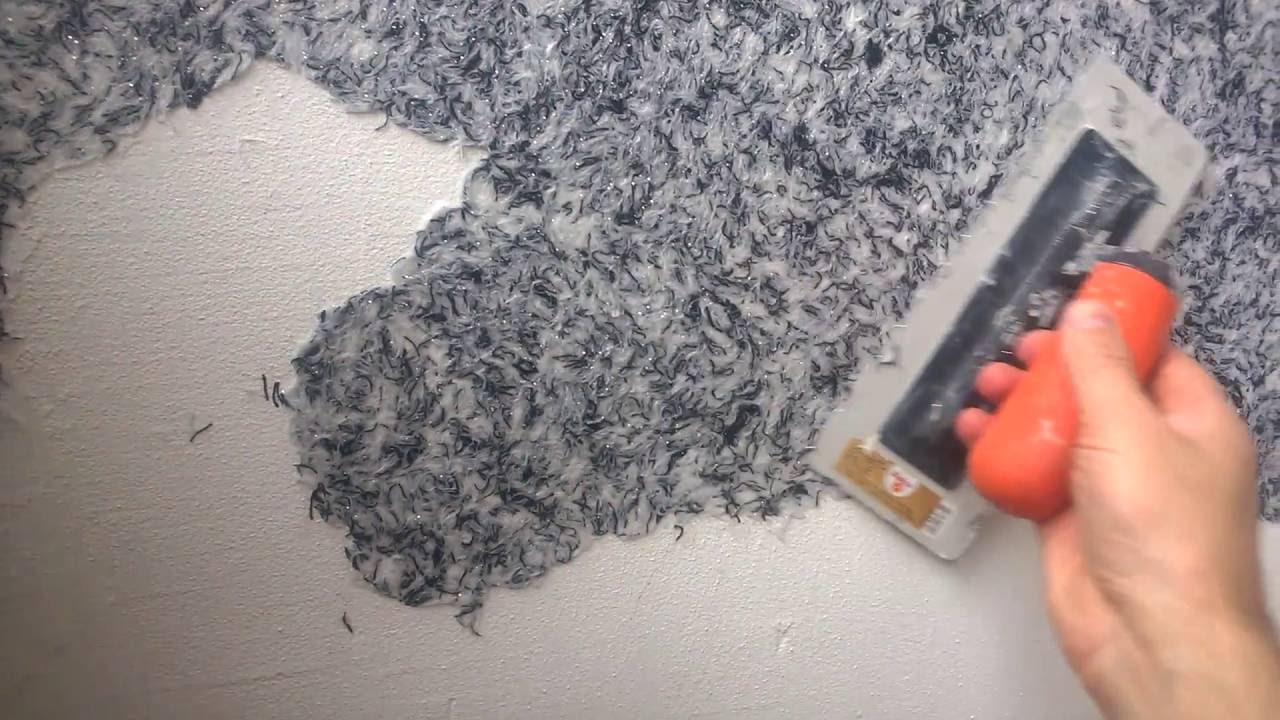
With regards to liquid wallpaper, the situation is different. To keep them firmly on the plane of the walls or ceiling, you need a primer with quartz. Varieties that form a smooth surface are not suitable for them.
The structure of liquid wallpaper is such that for reliable adhesion it needs to hold on to something. For such wallpapers, it is not necessary to perfectly level the planes: the primer can be applied on the non-plastered surface, and the roughness is important. So the mass will cling to the grains of sand, and it will be easier to smear it on the walls.
The mixture is diluted in small portions. This will not only eliminate the oversupply of the solution, but will also help to ensure that the composition is clear all the time during the priming process. The prepared solution is used on the same day. It is unacceptable to store such a composition, as it loses its properties.
If you need to apply a liquid to the plaster, you should not dilute it further: cement-sand mortar is highly absorbent. Such treatment will dry for a very long time, which will delay the drying time.
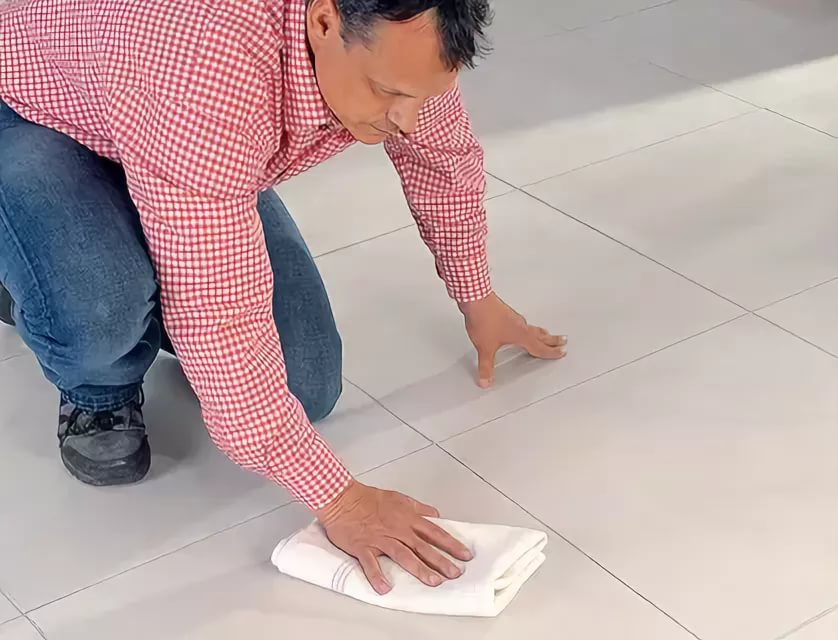
If in the process of processing the walls of the primer fell on a plane that can not be finished, you must immediately wipe it with a cloth dipped in water.If you do not wash the tools right away, the bristles and roller coats harden simultaneously with the drying of the soil.
To return them the former softness will not work, for the subsequent work will have to buy new brushes and a fur coat. If there is furniture in the room that cannot be removed (for example, a kitchen unit's drawers), it should be closed with a wide plastic wrap, which can be bought at a hardware store.
Experts recommend buying a primer in larger quantities or in a concentrated form. As a rule, when processing walls before sticking wallpaper, it will leave much more than the manufacturer indicated. The number of soil layers matters: the craftsmen pay attention to the fact that walls made of concrete, brick, fiberboard, drywall can be primed no more than 2 times before gluing the wallpaper.
If the wall is wooden, two layers may not be enough. However, this does not mean that you can plentifully fill the surface with a solution. It is better to apply several thin layers.
Using a primer is convenient because the wall does not get dirty. When gluing the wallpaper on it will not show through the spots. To eliminate the formation of lumps when stirring,You can use a construction drill with a special nozzle. You can start pasting when the surface stops sticking.
Reviews
Applying a primer before sticking wallpaper is an important process. This is evidenced by the feedback left on the forums dedicated to the repair and carrying out finishing work. The comments noted the special significance of the primer. They attach great importance to it and consider it a good helper for obtaining the highest-quality result.
According to those who use the primer to prepare the walls for sticking, this tool makes it easier to glue the wallpaper. They fall better on the surface.

The adhesive composition is distributed under the wallpaper evenly. It is noted that the bubbles become smaller, they are easier to remove. The wallpaper as if gets used to the surface: they hold firmly, do not slide down, even if the width of the panels is one meter.
The comments indicated: the glue leaves much less than when gluing surfaces without soil.
Master class on priming the walls for sticking wallpaper, see below.


