How to make a primer with your own hands?
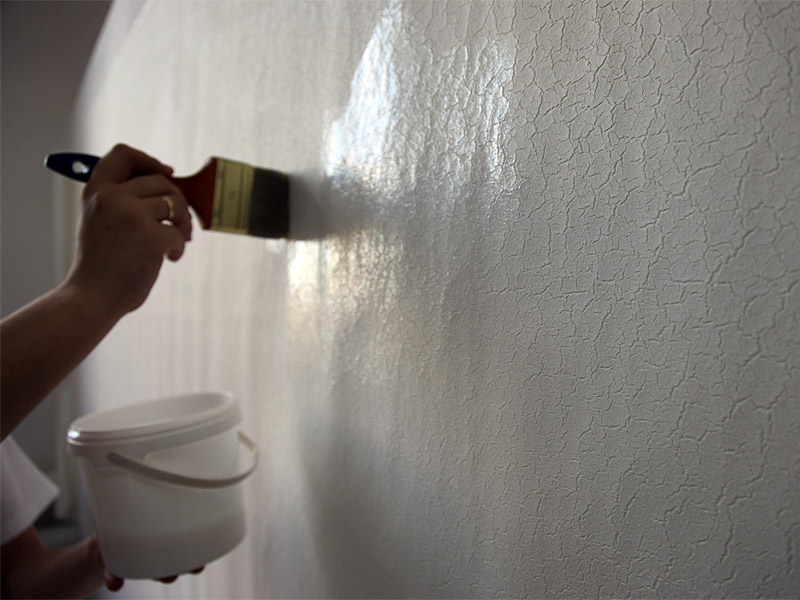
Surface priming is a very important process in construction and repair. Do not forget about it. Sometimes you can make a primer with their own hands. So you can save your money.
Special features
Priming mixtures are auxiliary finishing materials. Their purpose is to modify the properties of the surface on which they are applied. At the same time, various goals can be pursued, such as improving the protective properties of a material, for example, moisture resistance, corrosion protection, or enhancing adhesion between the surface and the finishing material applied to it.
Thus, the use of primer significantly affects the quality of finishing works, their strength and durability.At the same time, the various properties of primer mixtures depend on their composition.
Primer requirements:
- Strengthening adhesion. Different types of surfaces - wood, brick, metal, concrete, have different properties, as a result of which the strength of the joint with various finishing materials varies greatly. To ensure a strong adhesion of the decorative finish to the base, a primer is used. It enhances the connection between materials at the molecular level, creating an "alloy" in the boundary layer from the contacting surfaces and the primer mixture.


- Increased moisture resistance. Some materials are porous in structure, such as wood or concrete. Moisture can accumulate in their pores and eventually lead to the destruction of the material. To prevent such phenomena, the working surface is treated with a primer solution that fills these micropores and saves material from damage.
As a result, two positive effects are achieved at once:
- waterproofing increases, as water can no longer penetrate to the surface;
- reduced consumption of glue, paint, varnish or other finishing material applied to the treated surface, due to blockage of micropores with a primer.

- Strengthening strength. The primer mixture creates a protective layer on the surface, which assumes the effects of an aggressive environment. The nature of the protective properties is determined by the specific composition of the primer and may vary depending on the needs.
- Antiseptic protection. To prevent the fungus and mold from multiplying in places with high humidity, an antiseptic is included in the primer mixture that interferes with the vital activity of harmful organisms.

Kinds
Homemade priming mixes are divided into several types according to their main purpose. Unlike factory primers, homemade do not contain additional synthetic additives, expanding their functions in several directions, and perform one main task. Thus, all homemade priming mixtures can be divided into the following types:
- Firming. This type of mixture is designed to increase the strength of the treated surface, for example, a wall or ceiling of plasterboard. Such primers are widely used in old houses, especially with wooden load-bearing structures, where it is not possible to replace beams or wooden floors that have begun to deteriorate over time.
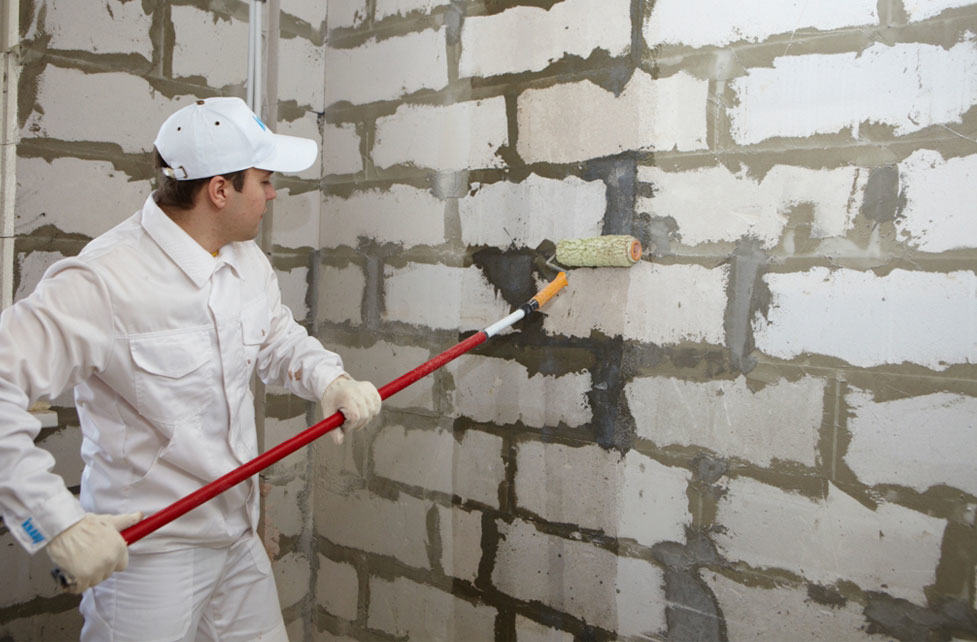
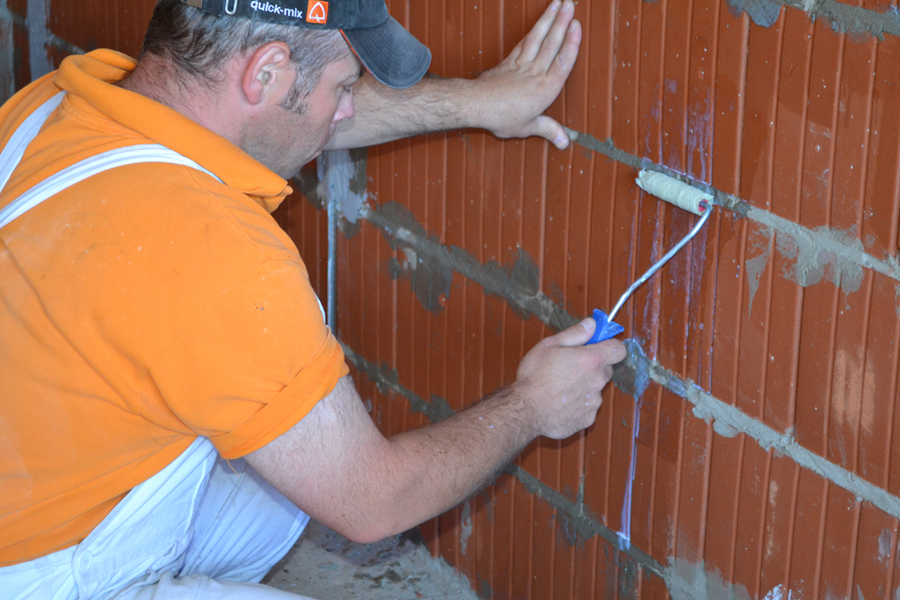
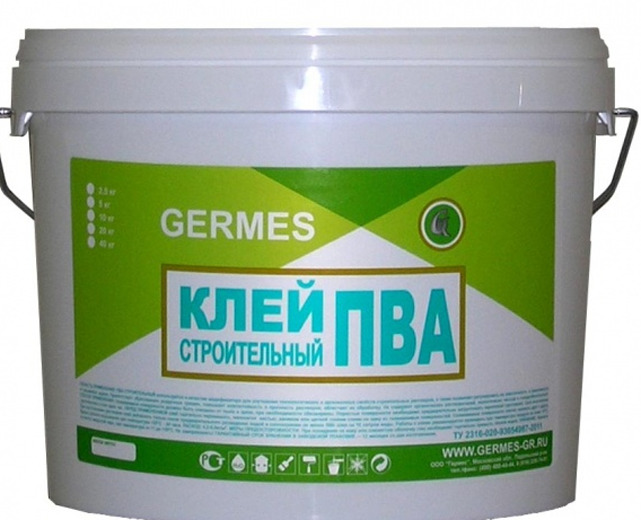
- Deep penetration. Such a composition based on PVA glue will protect the treated surface from the adverse effects of various factors, for example, from high humidity. In addition, this primer mixture strengthens the treated surface, enhances the strength of the connection between the main and the overlayed layer. Its use is especially effective for porous or loose types of surfaces, namely concrete, wooden, plasterboard, plastered and plastered.
- Antiseptic. This type of primer resists mold and mildew propagation. Relevant for rooms with high humidity and temperature extremes. It fits well on a concrete and wooden surface - a favorite breeding ground for harmful organisms.
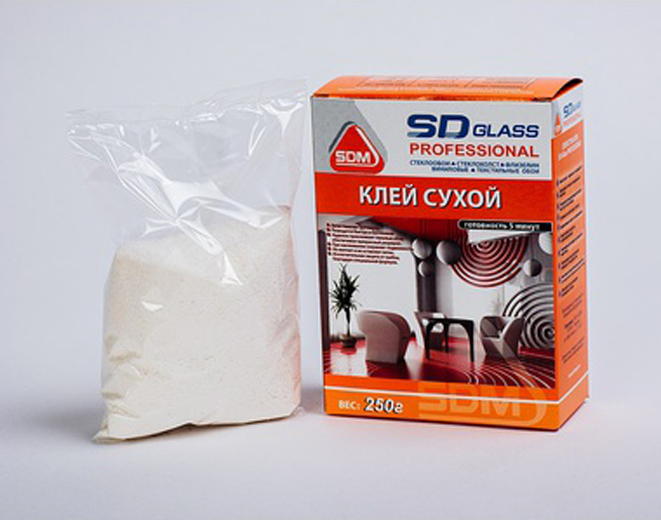
- Wallpaper This mixture is used before sticking wallpaper. The basis of this primer is not PVA, but wallpaper glue. She beats the strength of the combination of wallpaper and walls, as a result, such a repair will last much longer. After applying to the surface, without waiting for drying, wallpaper glue can be applied and wallpaper applied.

- Adhesive. It is applied to various types of surface in order to enhance the adhesion between the wall and the finishing materials that are planned to be applied to it. Often used to work with wood that has poor adhesion with most decorative materials;
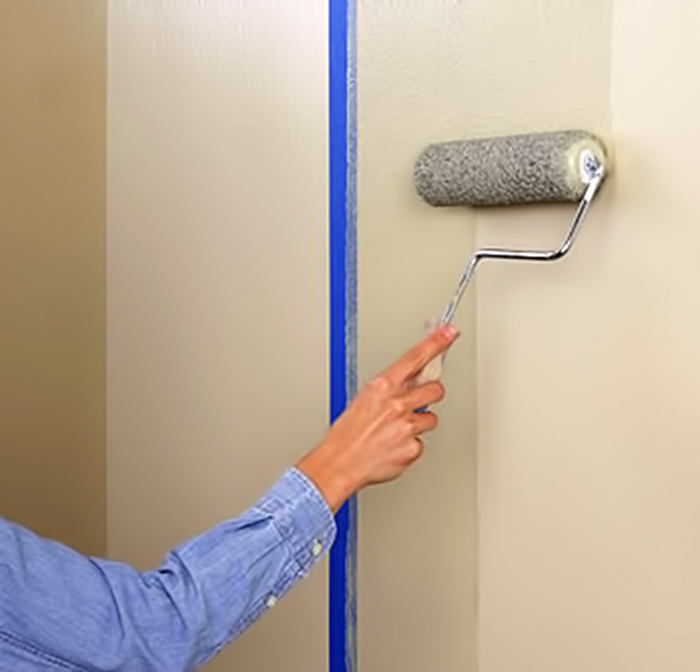
- For painting. Many types of surface do not interact well with paint. In order for the dye to cling tightly to the surface and for a long time to maintain a pleasant appearance, a special primer is used.
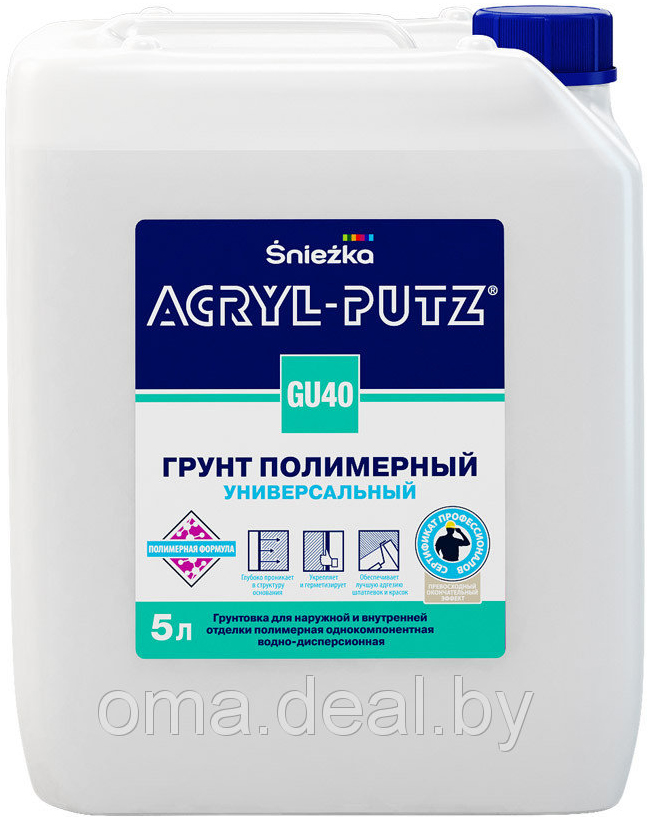
- Polymer Composition containing latex, acrylic or other polymeric substance, has strong adhesion with any type of surface and becomes a solid basis for further finishing work of any kind. In addition, such a primer blends even the smallest unevenness that could remain after the previous finish, and create a smooth, even coating.
What is required?
Before you make a mixture for priming yourself, you need to prepare the components and tools that will be needed in the process of its creation.
Firming
Priming mixture for strengthening the surface layer consists of the following components:
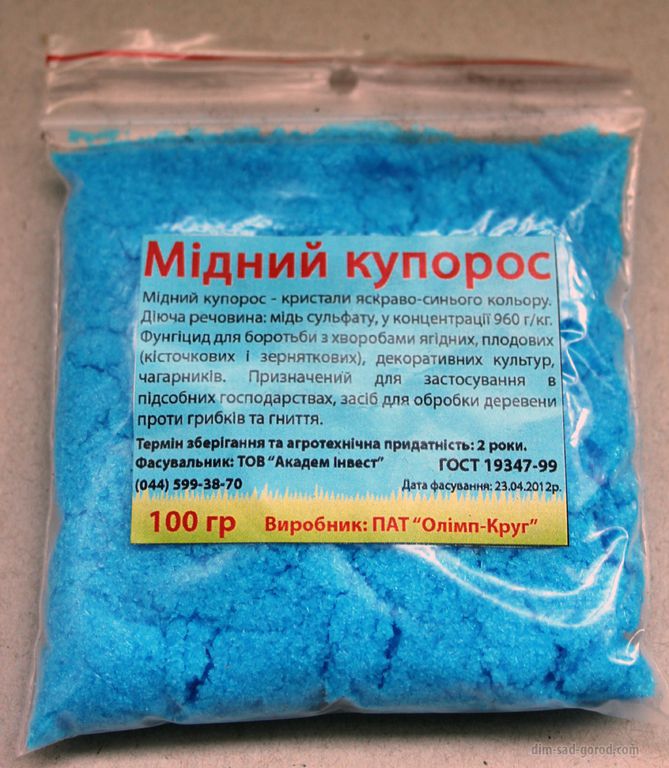
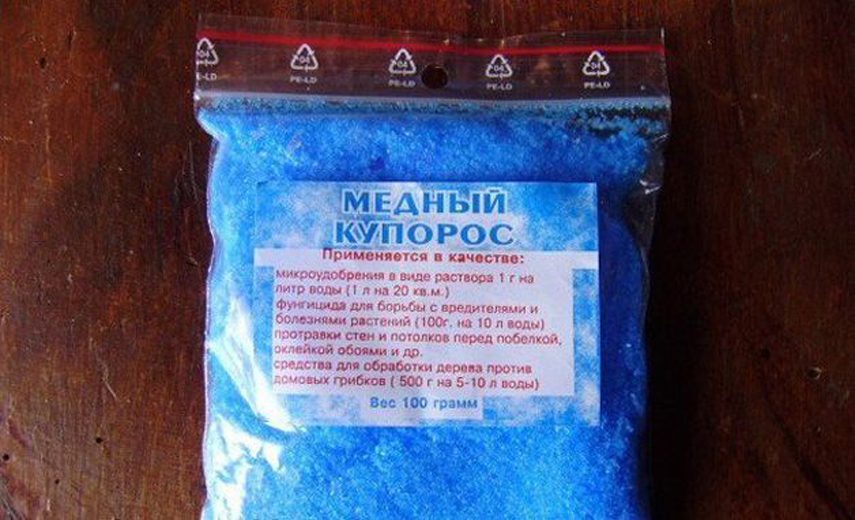
- copper sulphate - 100 g;
- wood glue - 0.5 l;
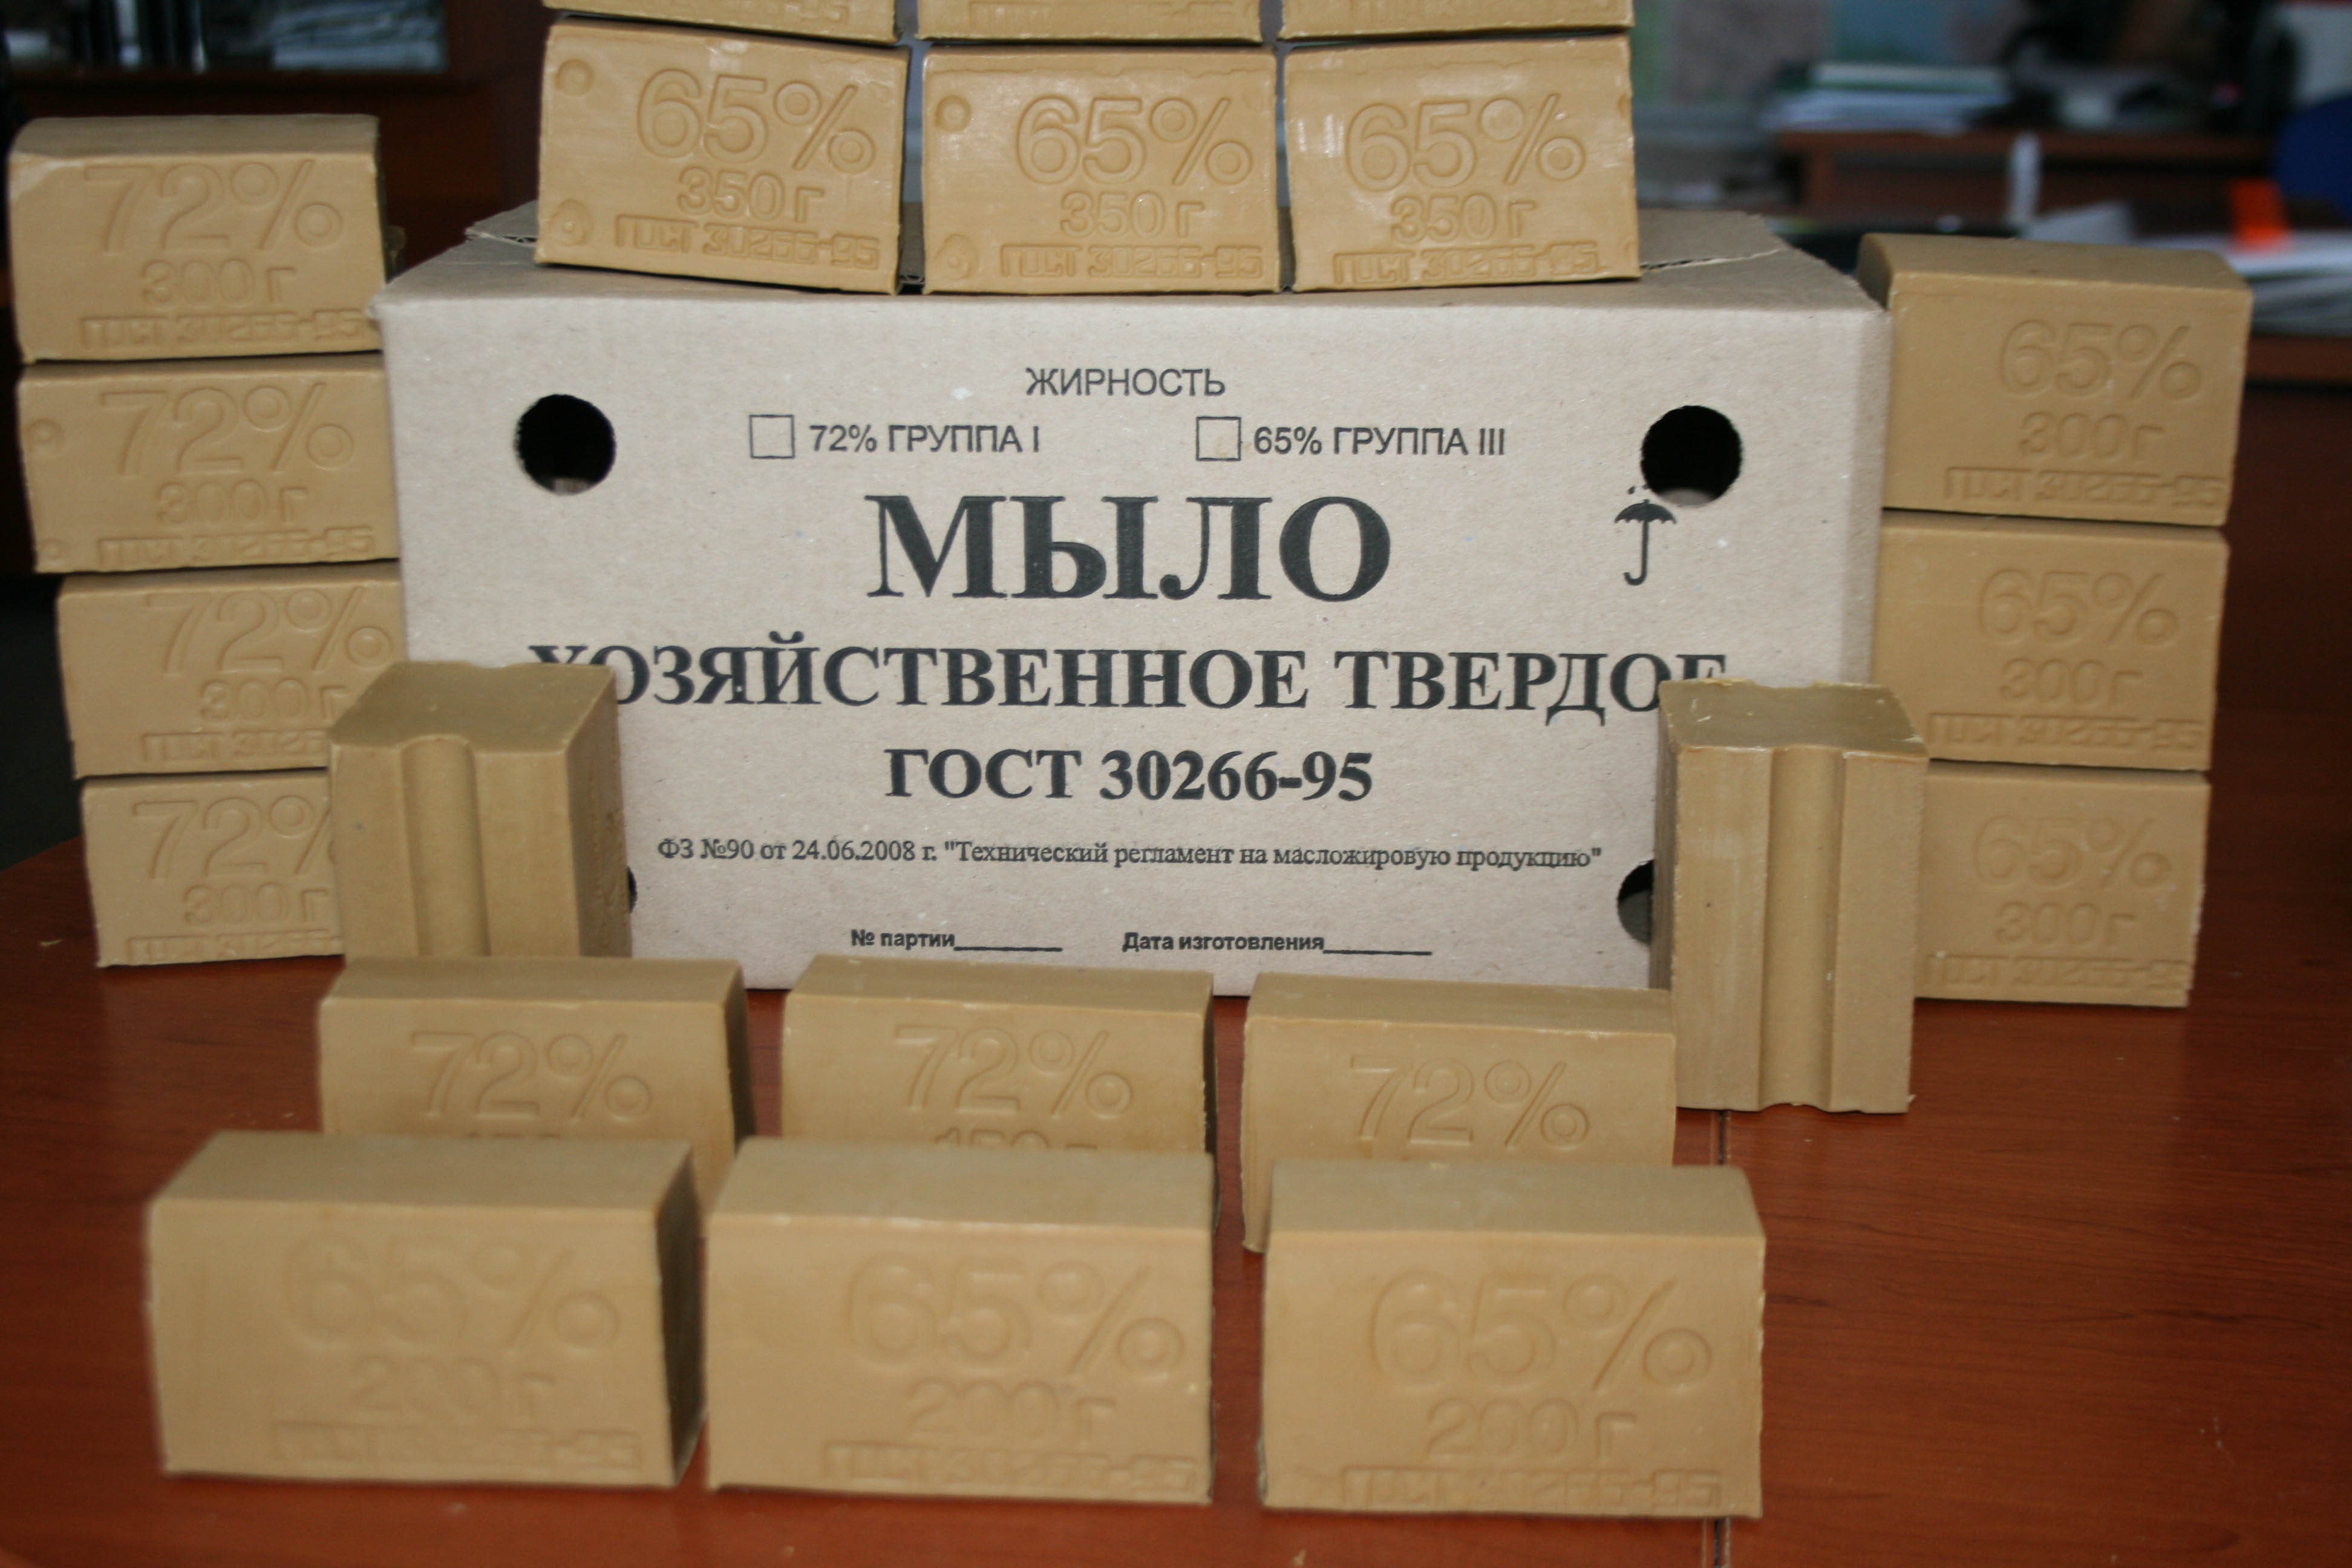
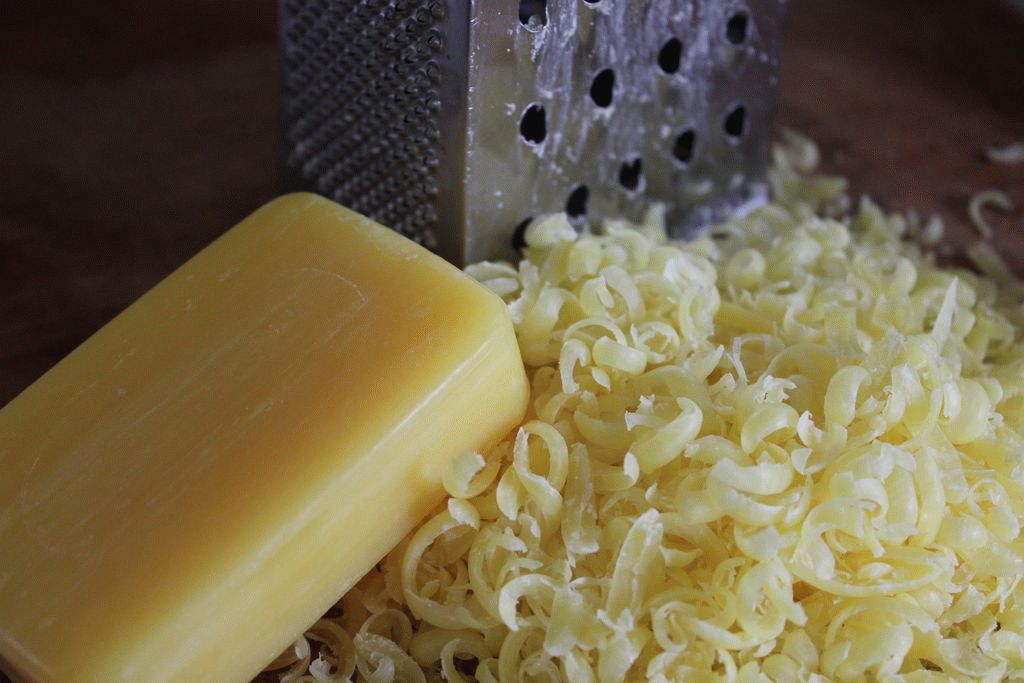
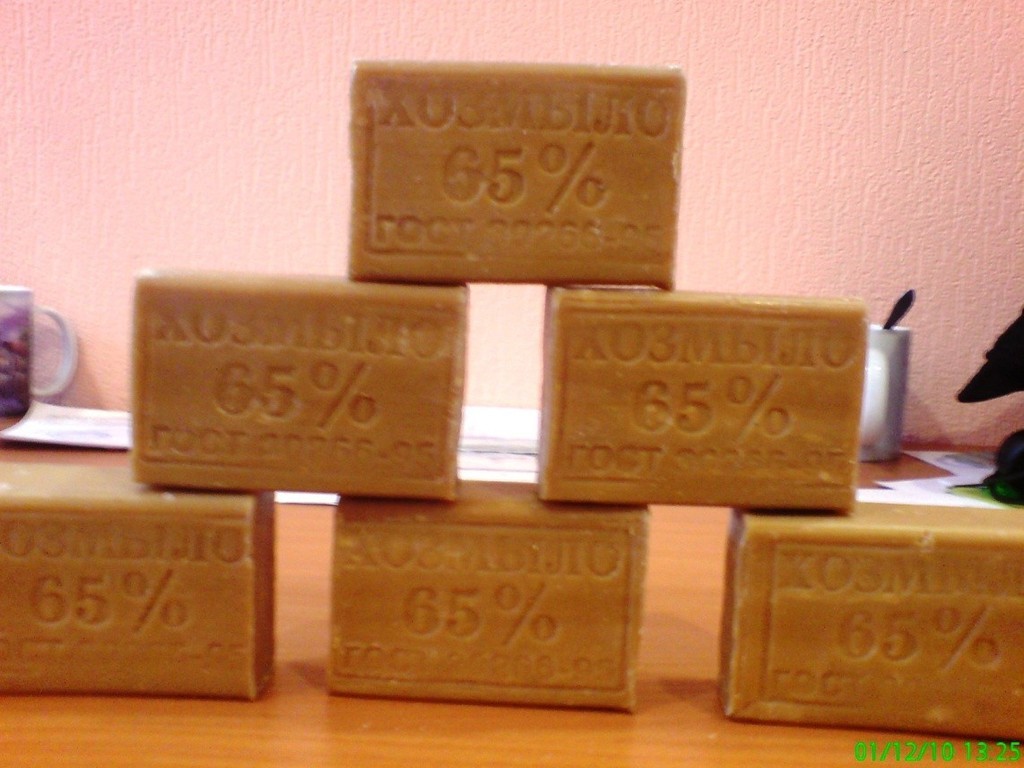
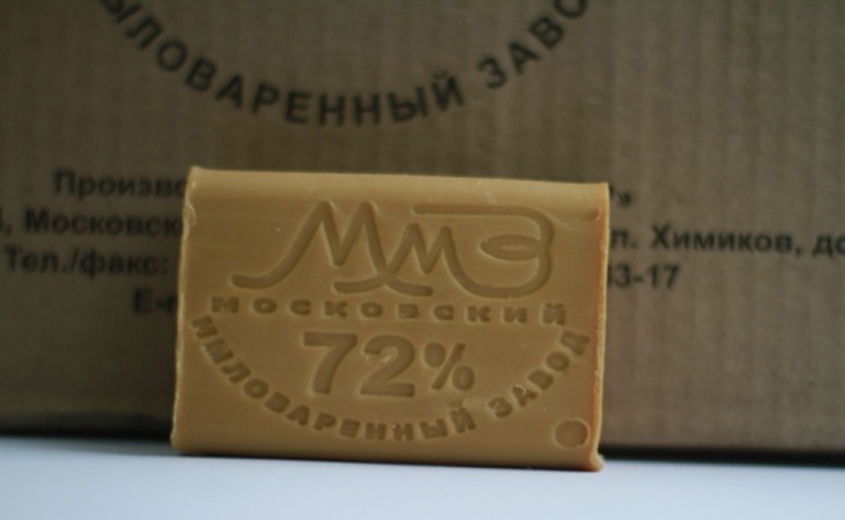
- laundry soap 60% - 1 bar (200 g);
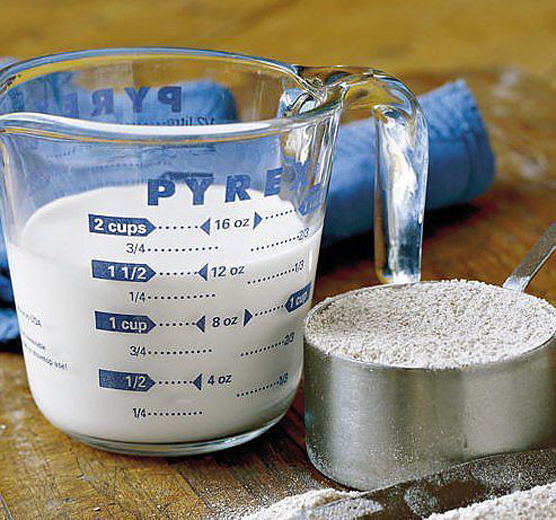
- water - 7 l.

The approximate ratio of dry ingredients is 1: 5: 2. The container used for kneading is not recommended for use with food in the future.
Deep penetration
Such a primer solution can be prepared from:
- PVA building glue - 1 l;
- clear water - 8 l;
- cement - one trowel.
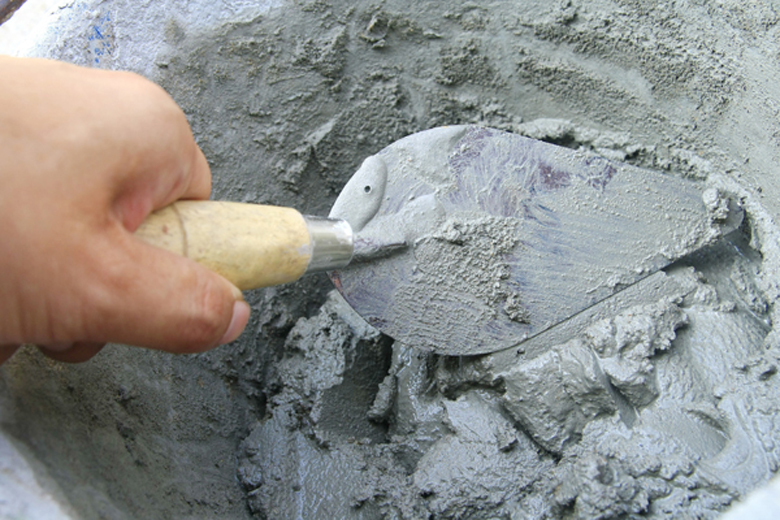
All components must be thoroughly mixed.
Adhesive (for wood)
The primer used to enhance the strength of the connection of materials consists of:
- alum - 1/4 kg;
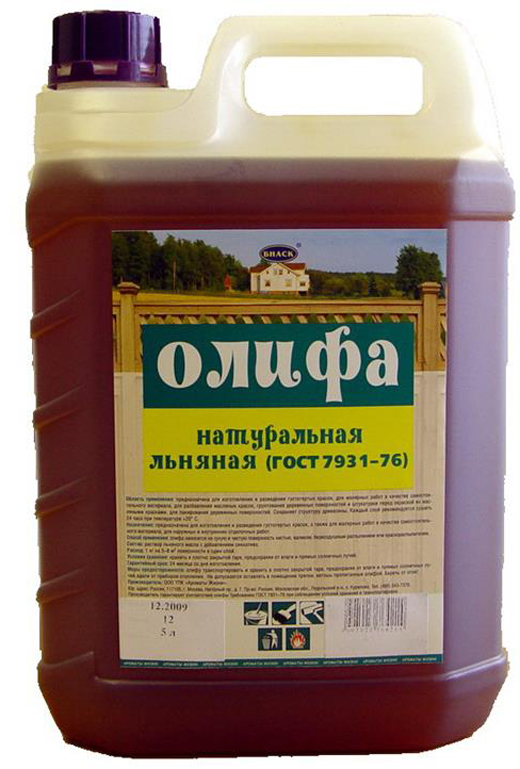
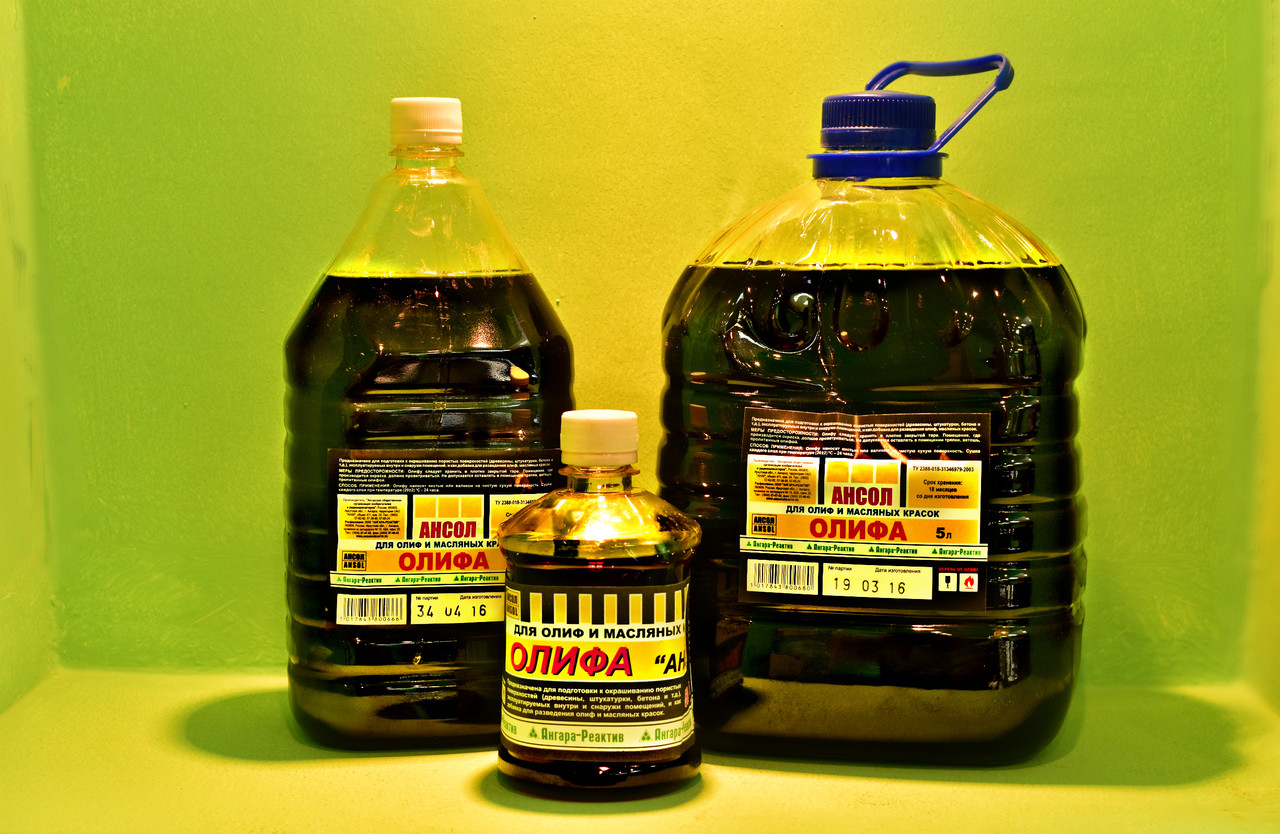
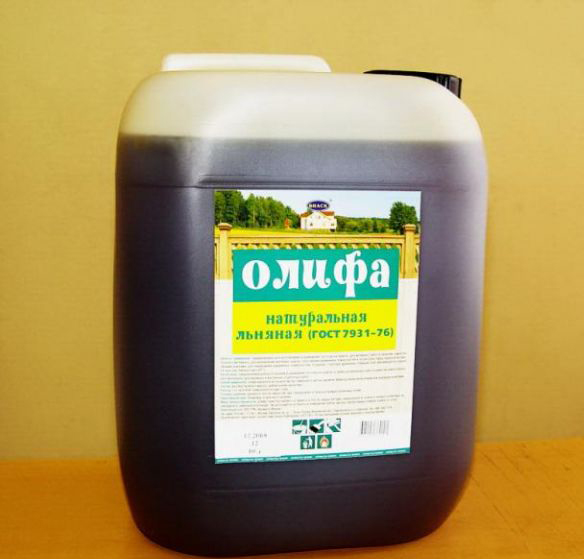
- linseed oil - 30 g;
- water - 1 l;
- dry glue paint - 200 g;
- laundry soap - 1 bar (200 g);
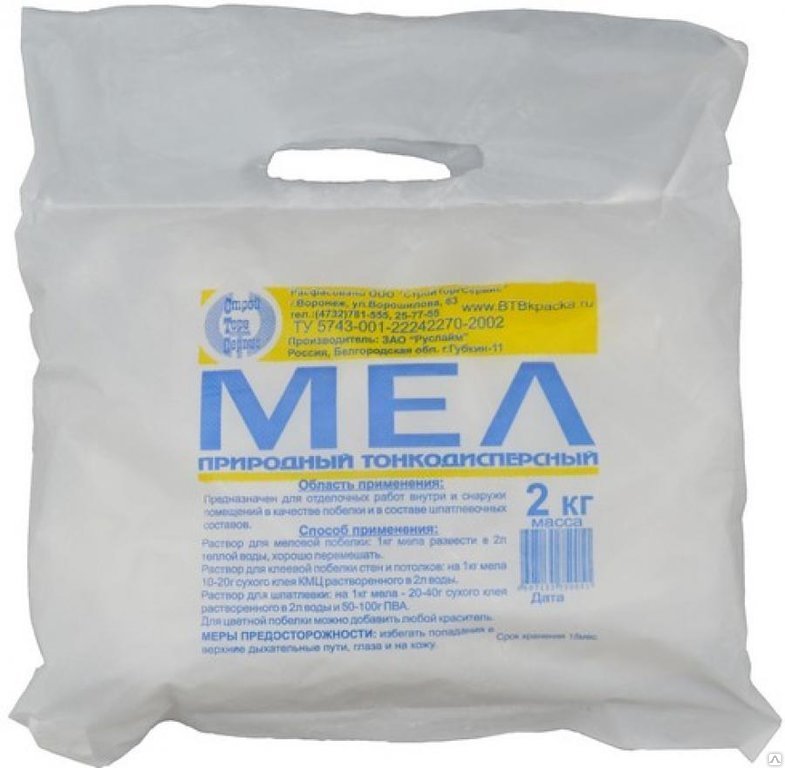
- chalk - 2 kg.
For painting
To get 10 liters of primer for lime paint, you need the following components:
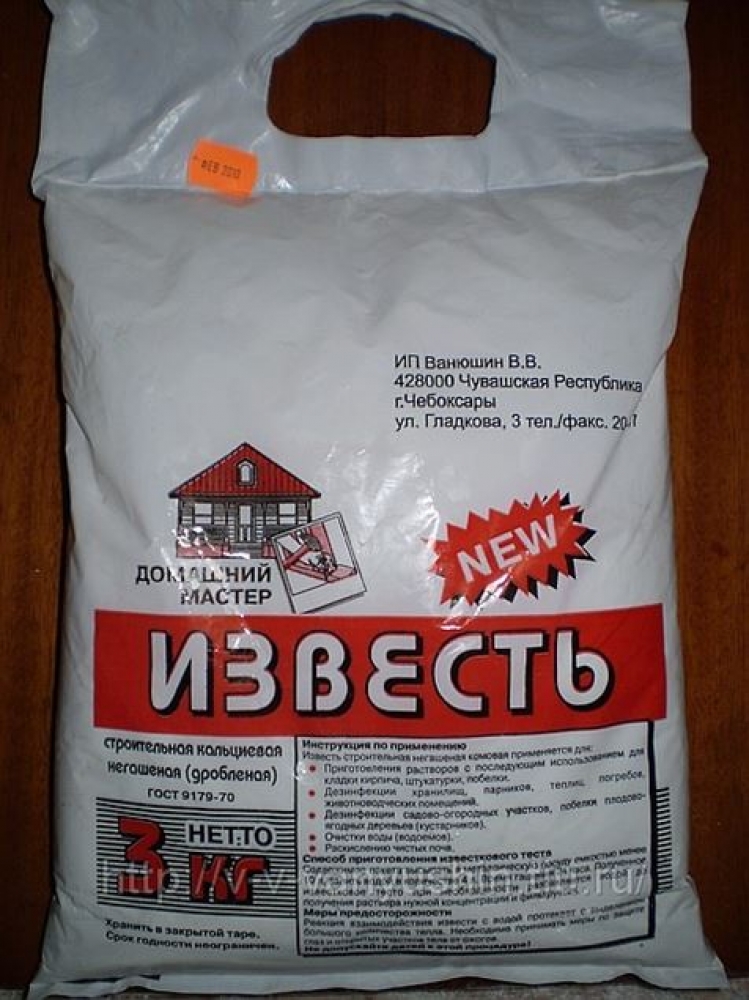
- quicklime - 1.8 kg;
- laundry soap - 1 bar (200 g);
- water - 10 liters;
- linseed oil - 100 g
The recipe for making primer for glue paint:
- powdered or crushed chalk - 2.5 kg;
- dry glue - 200 g;
- laundry soap - 200-250 g;
- copper sulphate - 150 g;
- linseed oil 25 g;
- water - 10 l.
How to cook by yourself?
To prepare the very primer mixture, which increases the strength of the surface, you need to do the following:
- water is drawn into the appropriate container and brought to a boil.You can prepare the mixture in parts, dividing the components in an appropriate proportion:
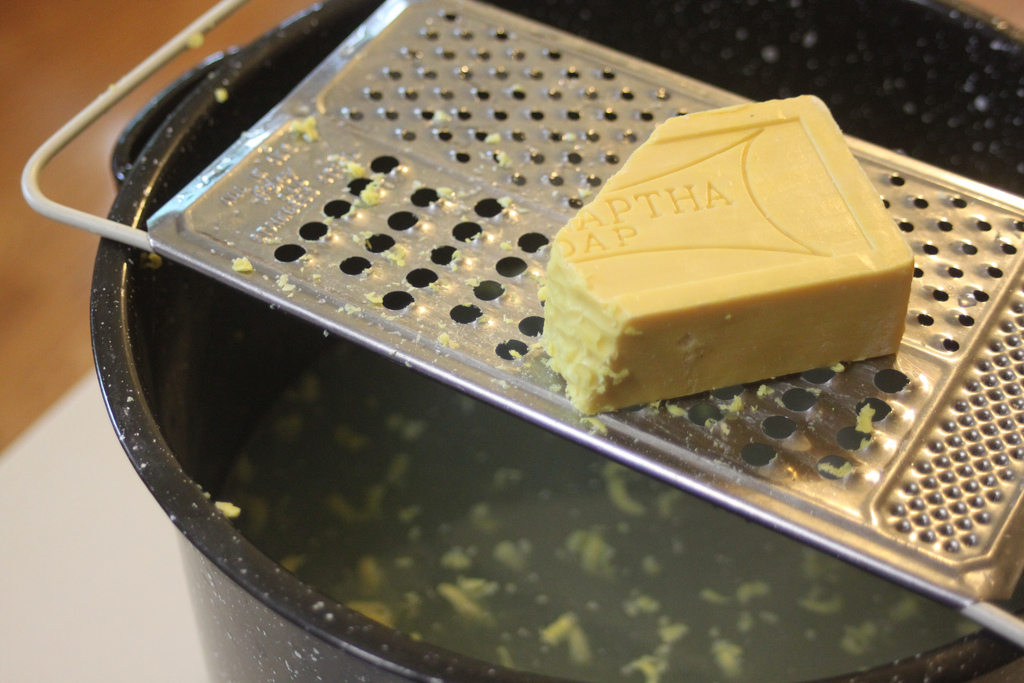
- soap is crushed with a knife, through a grater or in any other convenient way;
- when boiling water into it, spilled soap pours into it, mixes and cooks over low heat until a homogeneous mass is formed, the process is accelerated by regularly stirring the mixture;

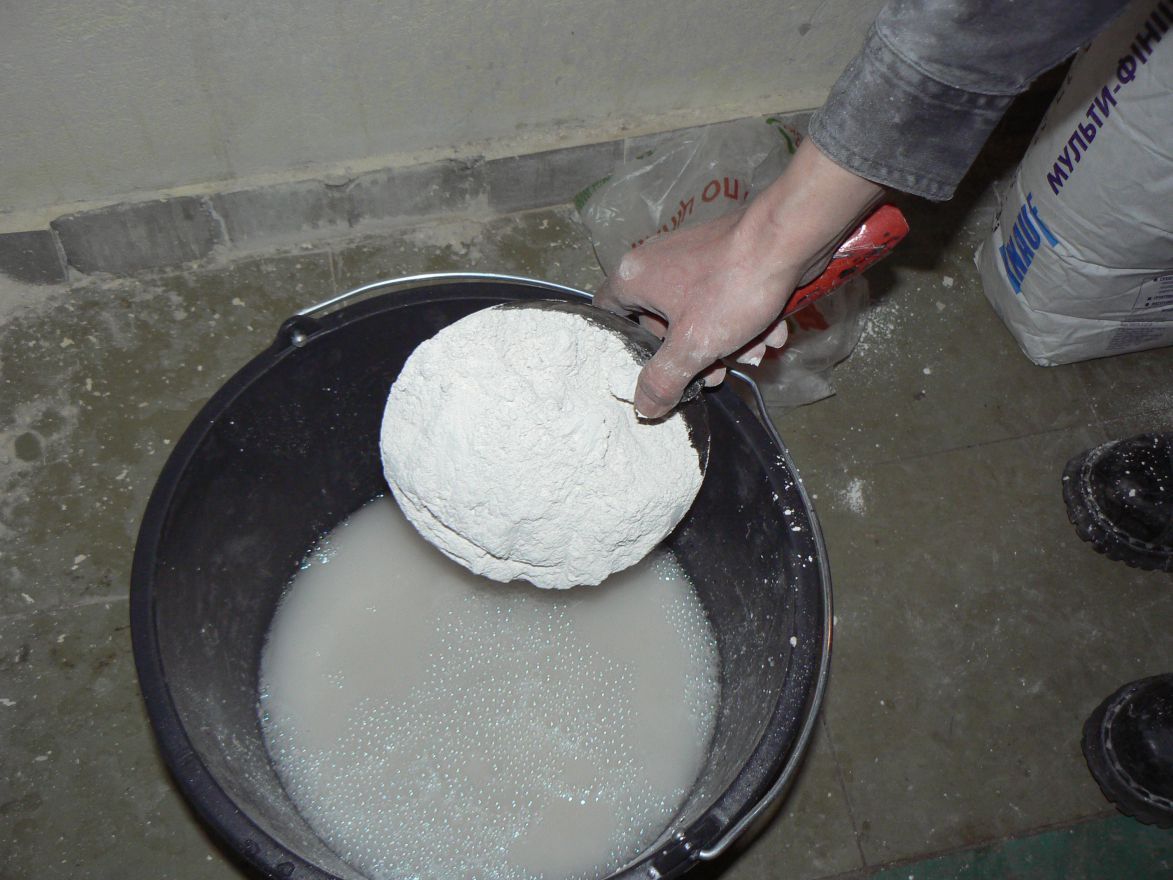
- after reaching homogeneity, copper sulphate and glue are poured into the container, everything is well stirred;
- then the mixture is cooked over low heat for about half an hour, stirred in parallel to prevent the formation of lumps;
- at the end of cooking, removed from the heat and set aside for a few minutes;
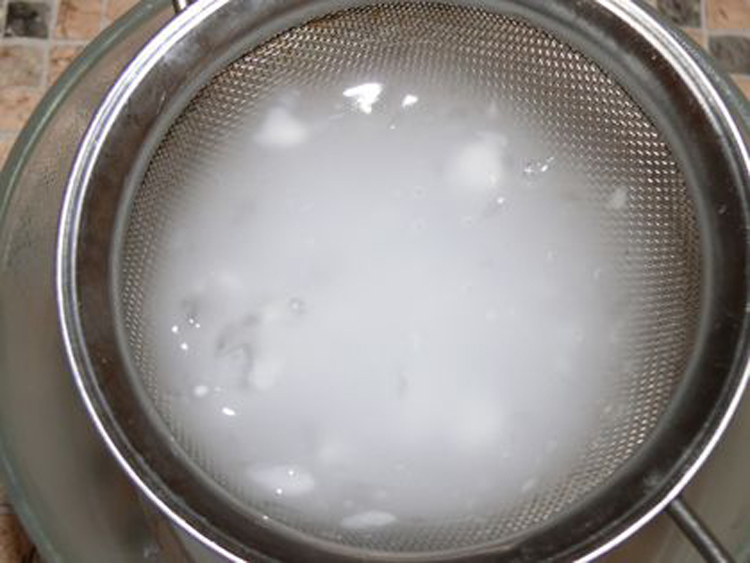
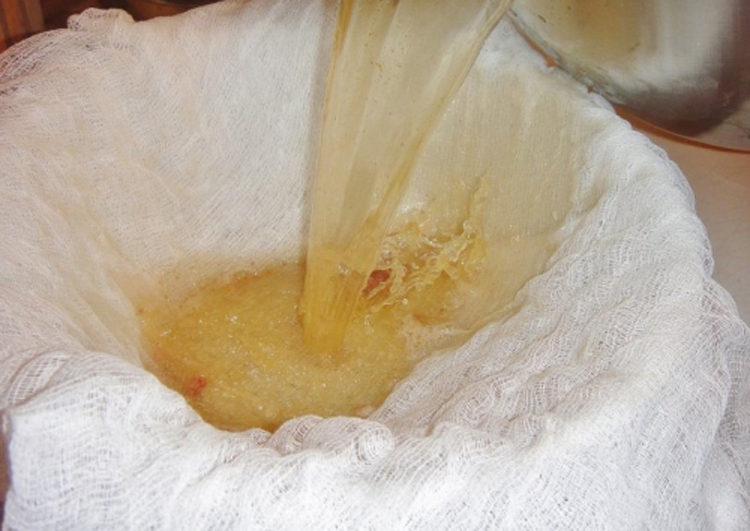
- then the mixture is filtered, for example, through a sieve or other filtering agent;
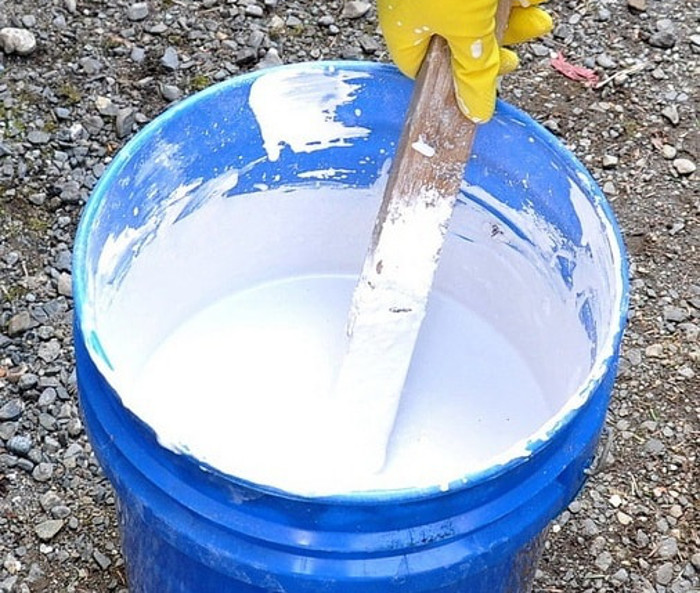
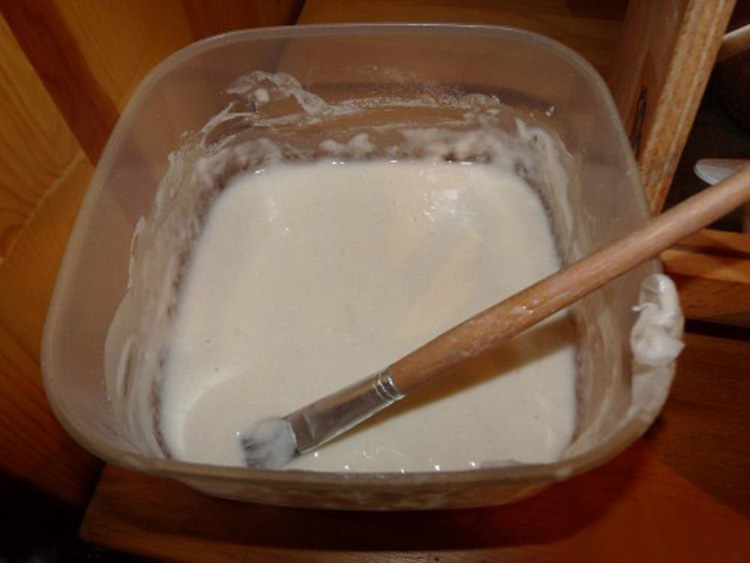
- after cooling the solution, it can be immediately used for application to the surface.

To obtain a deep penetration protective primer based on cement and PVA glue, you need to do the following:
- glue is poured into the container, water is poured into it with thorough mixing;
- cement is added (can be replaced with powdered or crushed chalk);
- The resulting mixture is filtered through a sieve or cheesecloth. After she is ready for use.
Strengthening adhesion between materials primer adhesive solution is prepared as follows:
- instead of powder you can crush solid block chalk. It is important to bring it to a state of dust, otherwise large pieces will spoil the surface;
- water is brought to a boil and poured into alum;
- dry glue is diluted in another container;


- laundry soap is crushed with a knife, grated or another convenient way;
- the glue solution is put on a slow fire, after warming the rubbed soap is poured into it in parts, thoroughly stirred until uniform;
- in the resulting soap-adhesive mass is added linseed oil and alum solution;
- powdered or crushed chalk is poured in and thoroughly stirred;
- if the resulting mass is too thick, it is diluted with water to a more liquid state, as a good primer should fill the pores and cracks.

24 hours after manufacturing, the solution will lose its properties.
To make 10 liters of the mixture in order to prime the surfaces before painting with a lime based paint, you need to do the following:
- grind soap with a knife or grate on a coarse grater;
- boil 3 liters of water and dissolve the prepared soap in them;
- add drying oil to the resulting soap mixture and mix well;
- pour 5 liters into the container and extinguish the lime in them;

- pour into the solution with hydrated lime a mixture of soap and drying oil, accompanying by thorough stirring until complete homogeneity;
- in the resulting mass pour 2 liters of water;
- strain the resulting solution.
For the manufacture of primer for glue pigmented paint need to do the following:
- put on the fire 3 liters of water and bring to a boil, dissolve the copper sulfate in boiling water and mix the solution thoroughly;
- pour 2 liters of water, add glue to it;
- chop the laundry soap with a knife or grated and dissolve in 2 liters of boiling water;
- mix soap and glue solutions;
- pour the drying oil into the mixture, accompanying the process by thorough mixing;
- then the solution of copper sulphate is added to the total mass;
- the mixture is cooled;
- after cooling the solution, powdered or ground chalk is added to it, always without lumps, and 3 liters of water;
- at the end, the primer mixture is filtered through a sieve, cheesecloth or other filter.

Useful recommendations
- During cooking, lumps can form, you can get rid of them by beating the solution with a mixer or blender. Please note that when using electrical appliances you need to follow safety precautions. Since the device is supposed to come into contact with the liquid, it is recommended to carry out all manipulations in thick rubber gloves.
- Do not make large volumes of homemade primer. Cook exactly as much mixture as you spend at one time. In most cases, what remains will be useless the next day, and this is an extra waste of money and ingredients.

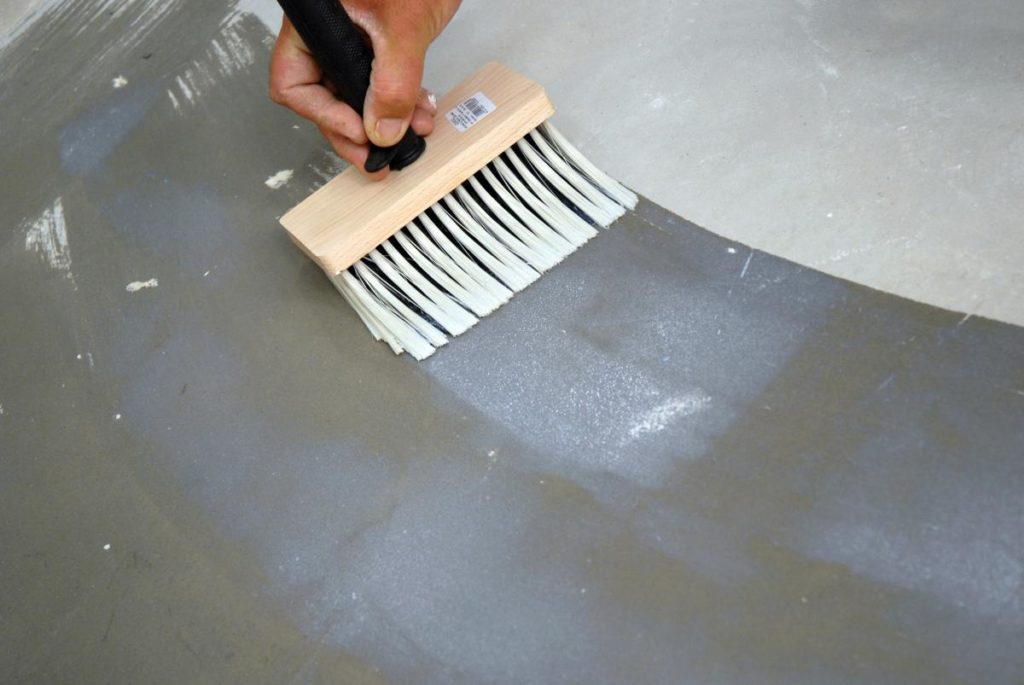
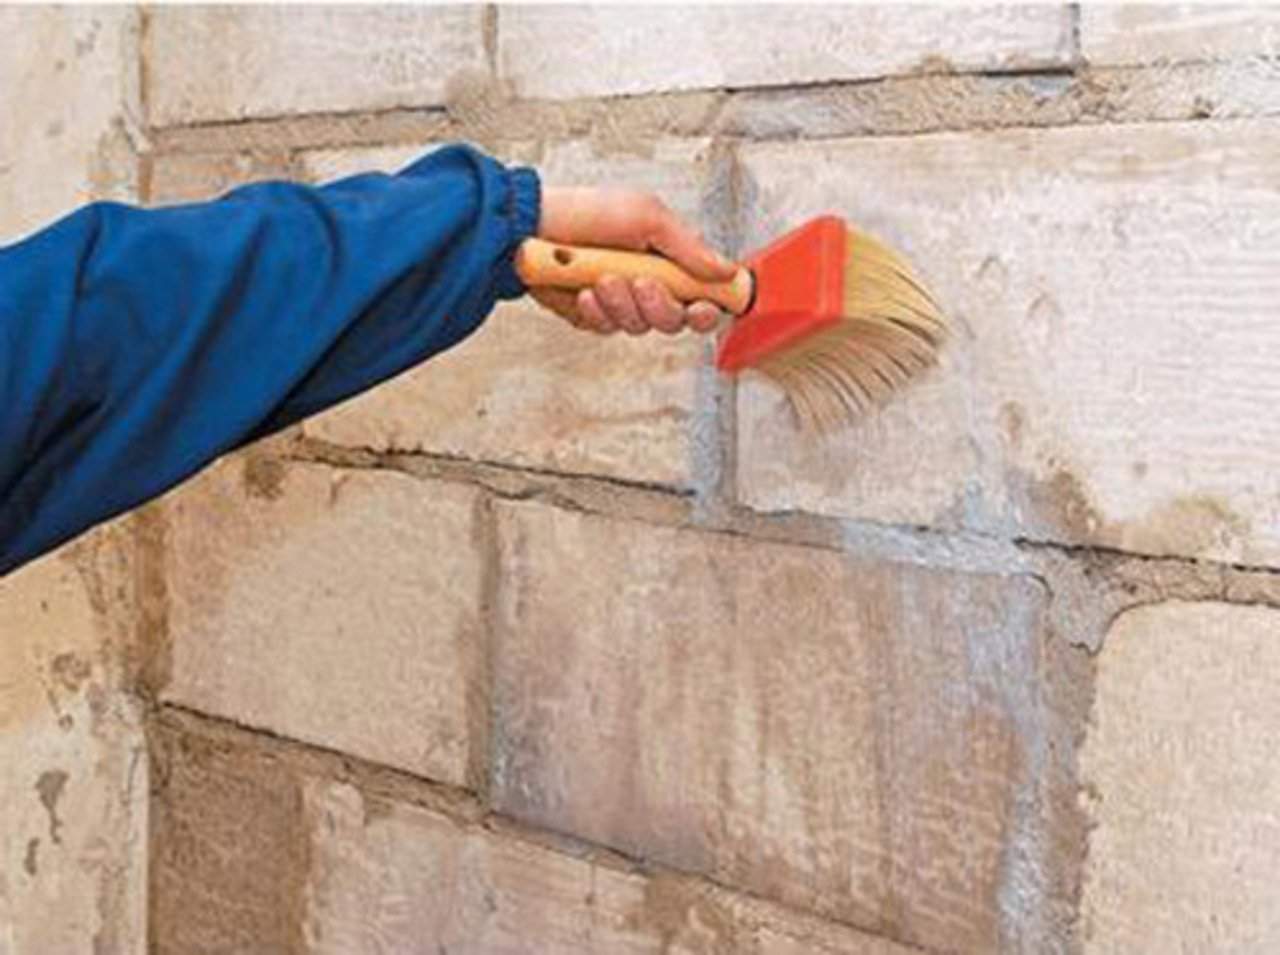
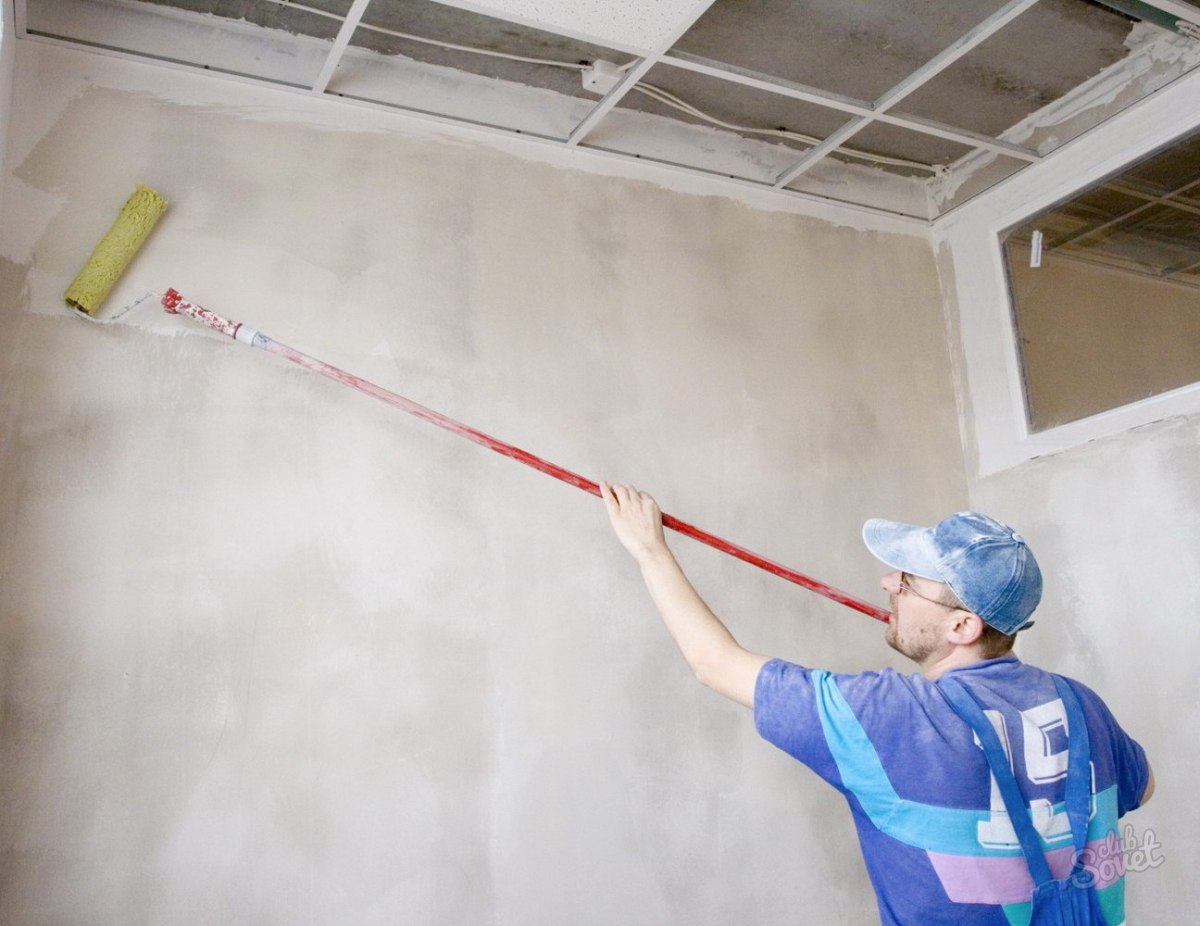
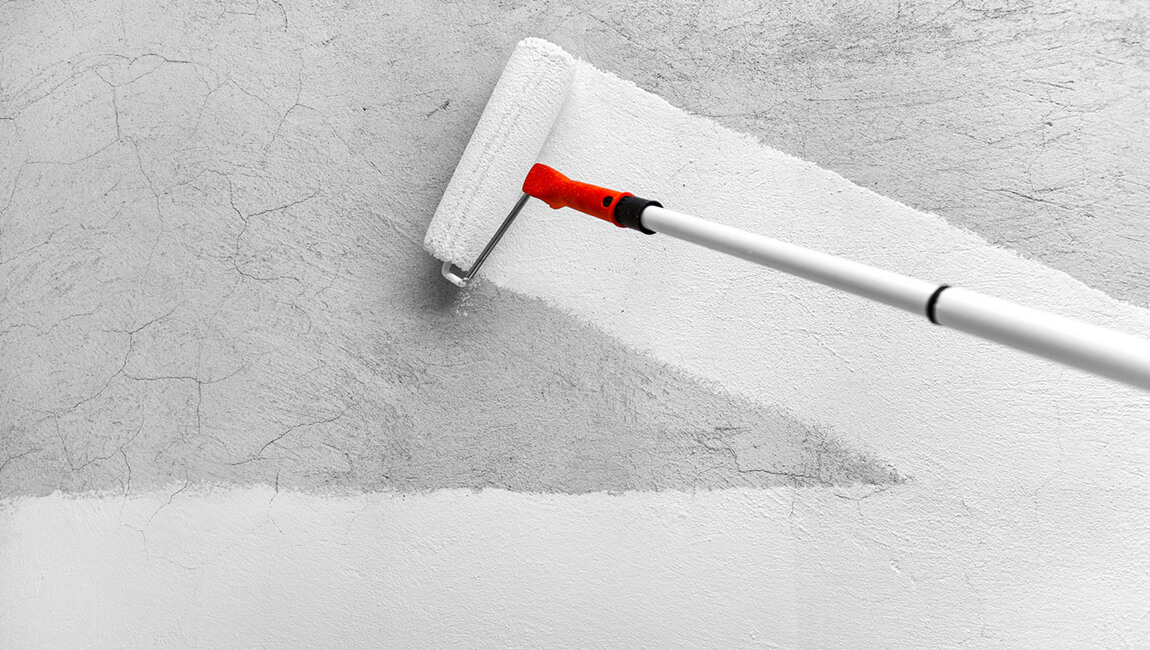
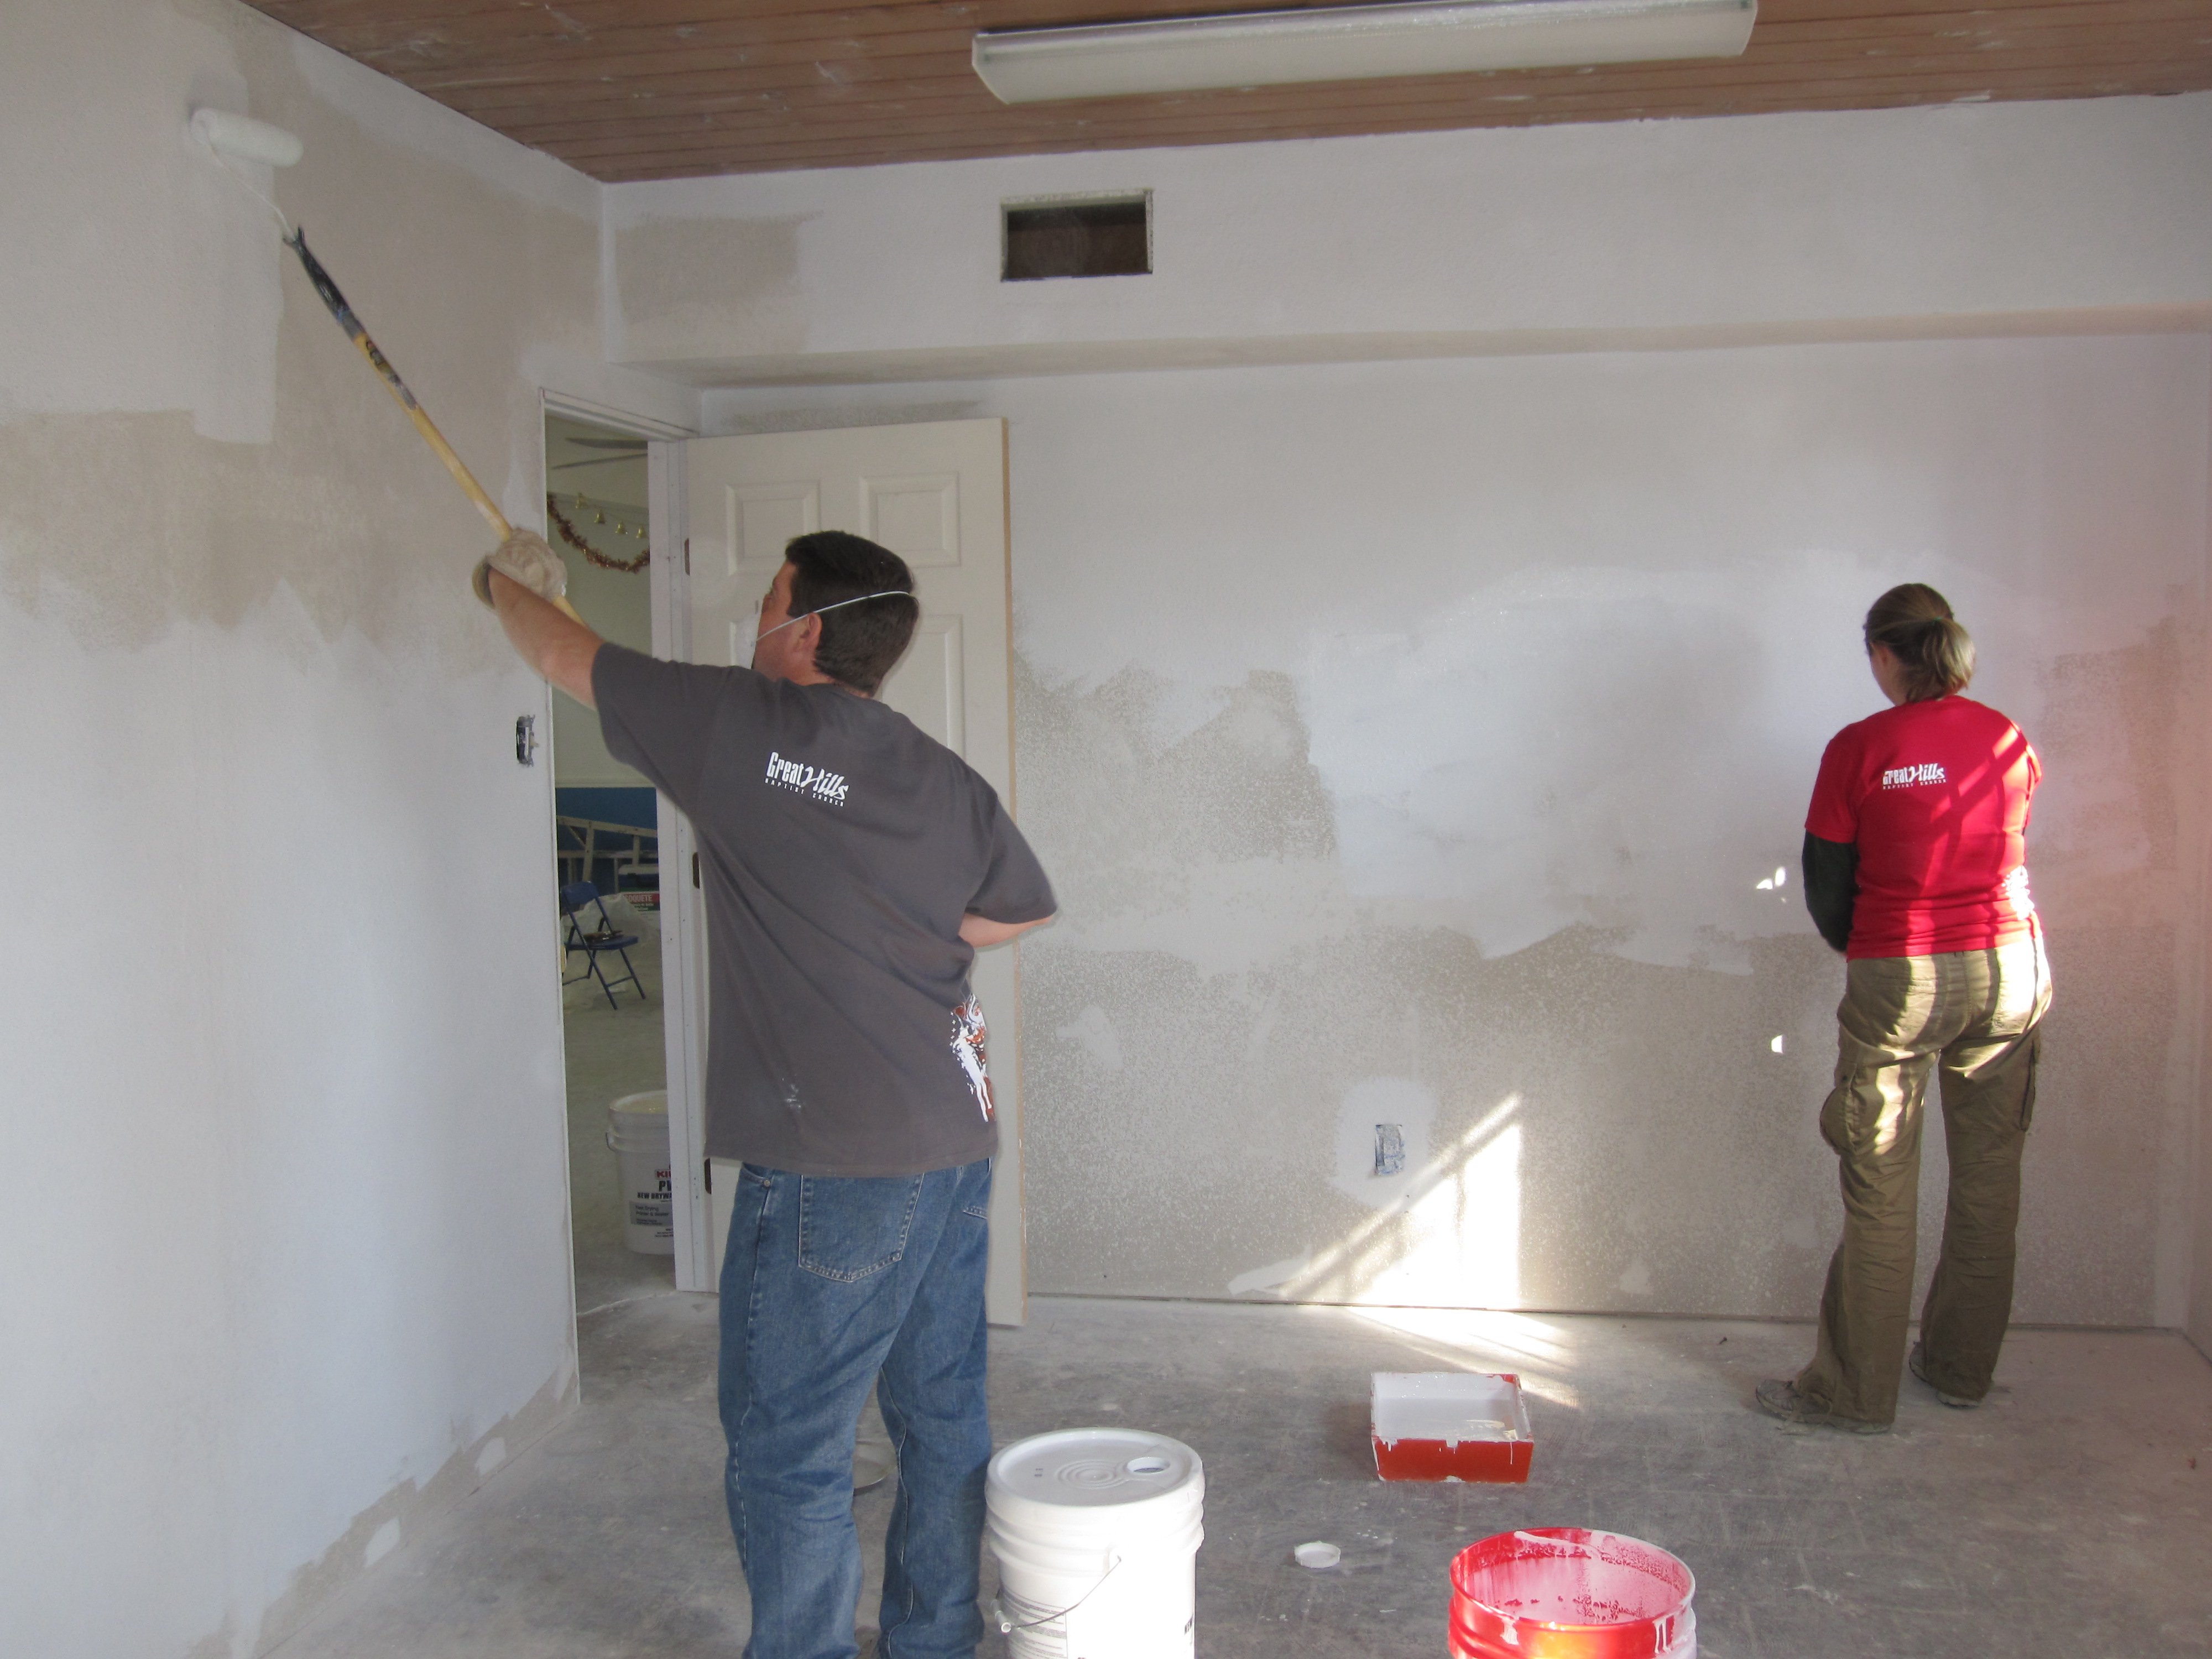
- To reduce the consumption of primer, use brushes with a short nap (around 8 millimeters). You can also use rollers with a thin layer of foam rubber. With this condition, you can save up to 30% of the mixture.
- Primer mortar is applied only on the prepared surface of the wall: leveled with putty, cleaned of dust, degreased as necessary. Hard to reach places can be vacuumed.
- The PVA will turn yellow with time, so stains may appear on the wallpaper. To avoid this, PVA can be replaced with wallpaper glue, it is not much more expensive, but it does not turn yellow and does not create a film on the surface of the layer that prevents the wall from “breathing”.
- When painting walls with an acrylic dye, there is no need to manufacture a primer. Simply dilute part of the paint with water in a 1 to 1 ratio and primer it with this solution.
- When using a self-made primer mixture based on PVA, it is recommended to do a trial application in a small area. This will provide an opportunity to assess the quality of the primer and, if necessary, increase or decrease the concentration of glue, as well as track the surface reaction to this composition.

How to make a primer with your own hands, see below in the video.


