How to glue vinyl wallpaper?
Vinyl wallpapers of the last decades continue to confidently conquer the market in Russia and around the world. They are practical, inexpensive and look very colorful.

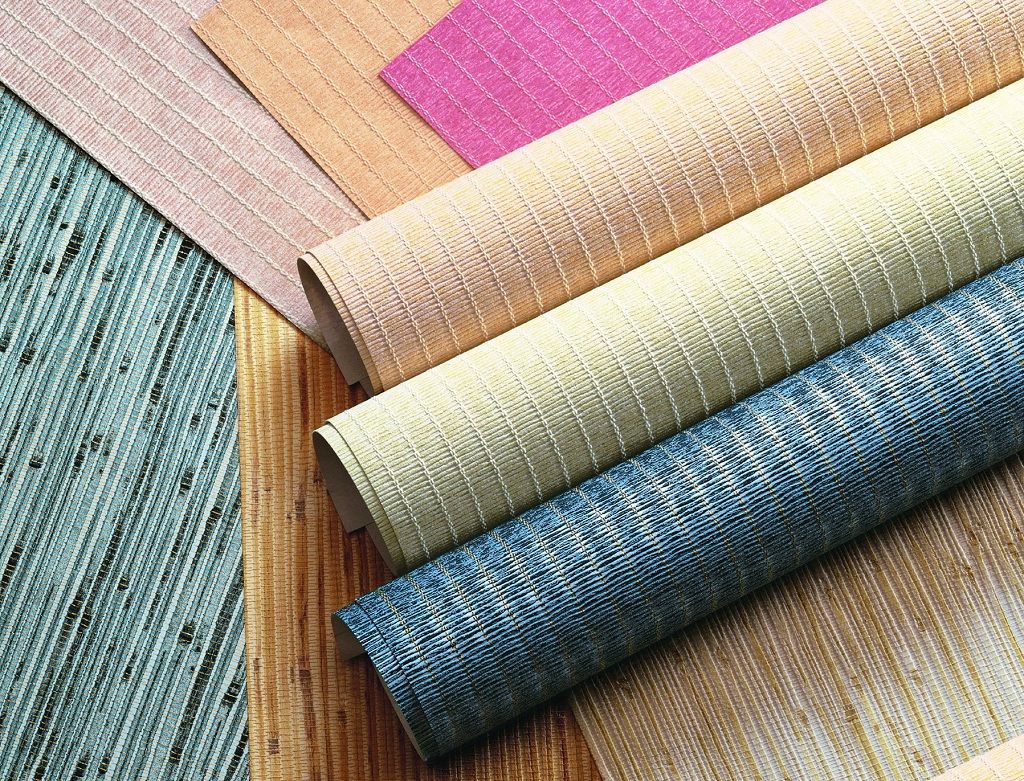
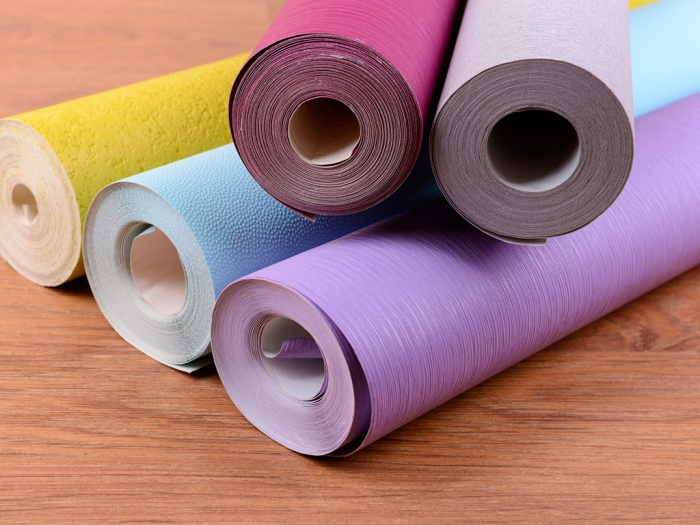
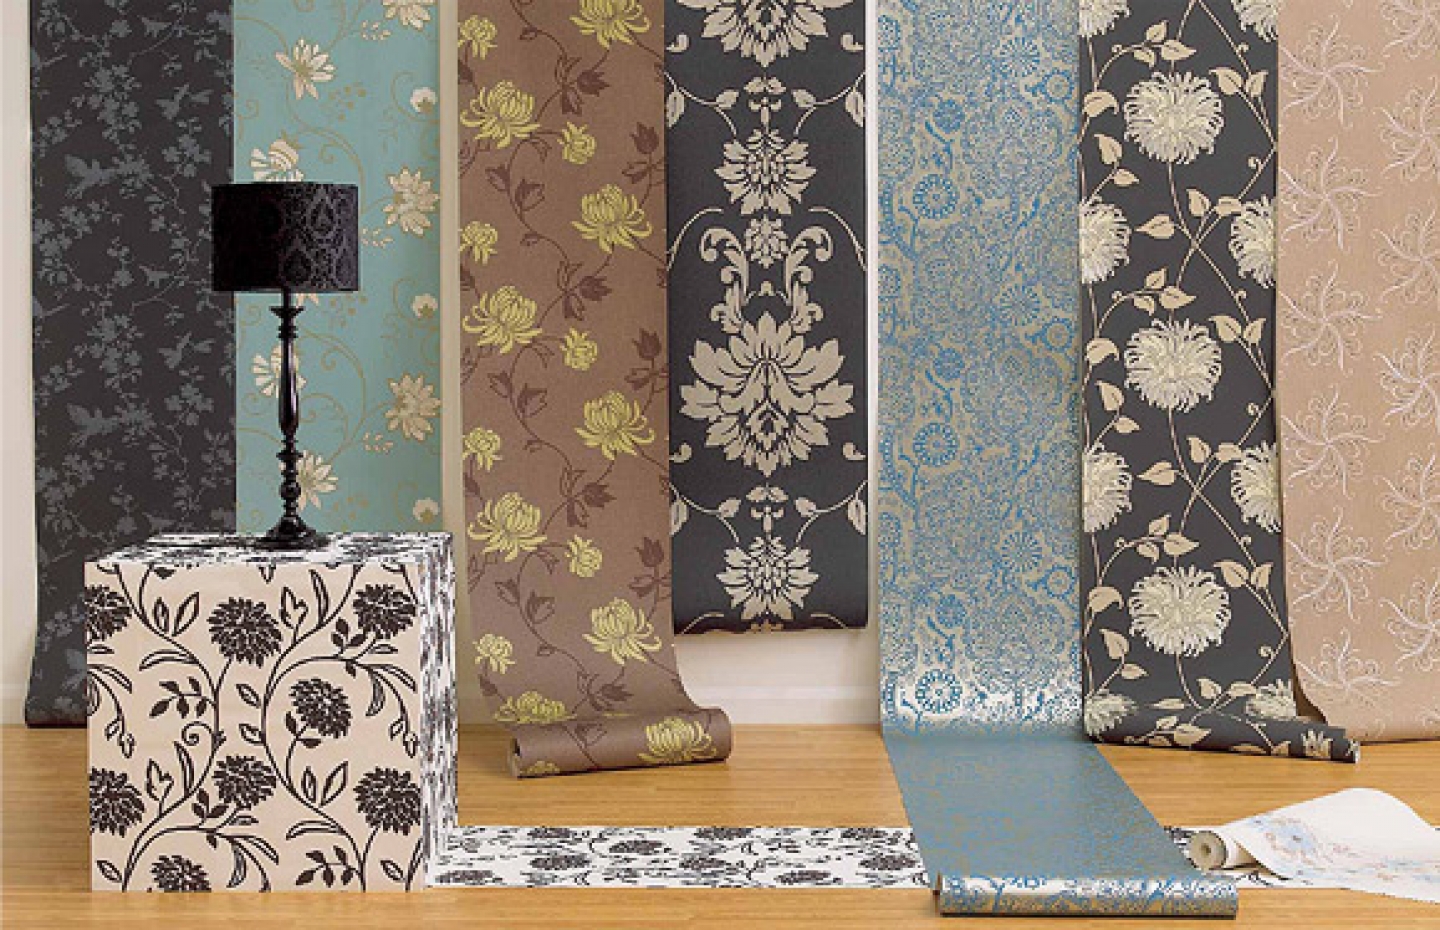
Types of Vinyl Wallpaper
There are several types of vinyl wallpaper. The method of their production is simple: a PVC coating is applied on a paper or non-woven base, then the fabric is processed in a high-temperature furnace.
Silk-screen printing vinyl wallpaper is created using hot stamping. Light, falling on a similar surface, is refracted from different angles, which is why an amazing effect appears.
These wallpapers stand out for their rich assortment and variety of shades and textures, they are expensive.
Warranty is given on the product:
- With non-woven base up to 15 years;
- On a paper basis, the time is two times less.
The coating is not afraid of temperature changes, wet cleaning with the use of soap solution. The last decade on the market are particularly popular embossed vinyl wallpaper hot stamping on paper and non-woven base.

Reasons for increased demand:
- a large assortment;
- contrast and color;
- strength;
- easy installation
Vinyl wallpapers have a base made of paper or interlining.
The top layer is a vinyl coating, varies in such parameters:
- width;
- thickness;
- density.
Reasons for popularity worldwide:
- strength;
- good resistance;
- durability;
- low price;
- lack of toxins;
- easy to wash.
Silkscreen looks very advantageous in the bedroom or in the living room. When silk-screen printing, the top layer is reliably protected, so the original color is maintained for a long time.
Advantages and disadvantages of coating
Wallpaper made on the basis of paper or non-woven.
The advantage of this type of wallpaper is that the material:
- dense;
- has the most different texture and colors;
- looks good;
- does not contain toxins;
- successfully can hide a variety of irregularities of the walls.

Before you begin sticking vinyl wallpaper, it is recommended to learn in detail what is this material.
Thanks to the PVC layer, the thermal conductivity is 0.15 W, which is close in performance to drywall. The minimum cost of such wallpaper starts from 420 rubles per square meter.
Non-woven based product costs more (25 percent)
Disadvantages of vinyl wallpaper:
- sealed, air does not pass through the surface;
- heavy by weight;
- Do not glue in a room with high humidity, there is a danger of development under the coating of mold.
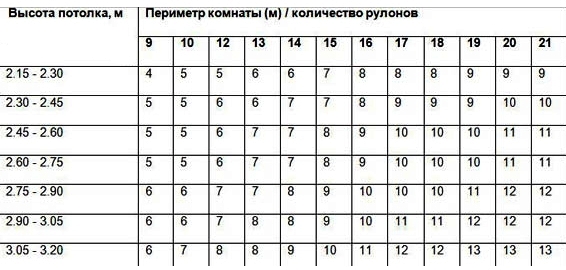
Dimensions and designations
The size of the roll of vinyl wallpaper is basically standard. The width is 1 meter, and the length is 10 m. But there are exceptions.
On branded products there is a marking on the roll that carries information about the quality of the material. The output informs you of the width and length of the roll.
- And - acrylic on a paper basis;
- B - classic paper (duplex, simplex);
- BB - vinyl, in the manufacture of foaming applied;
- OL - flat vinyl, made using extrusion;
- PB - embossed vinyl;
- TKS - there is a fabric in the base;
- STR - structural;
- STL - glass.

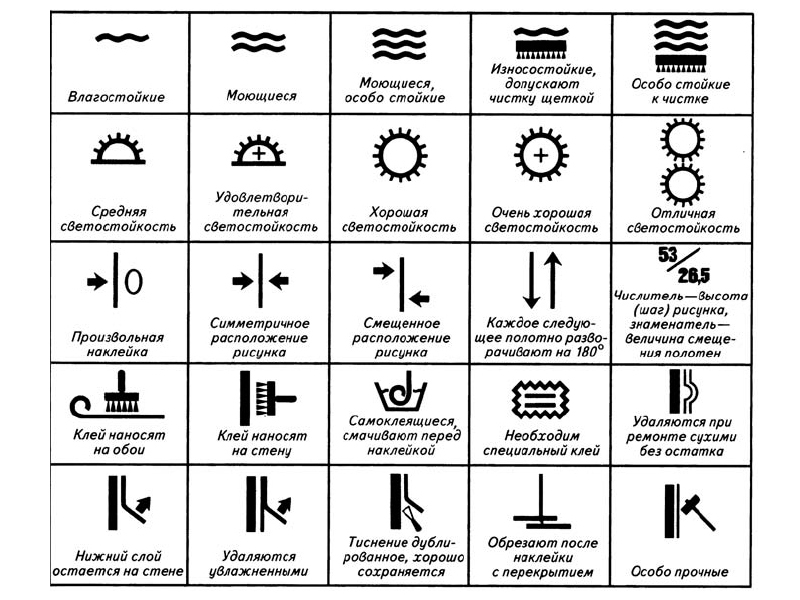
Letters are often also symbols. Each sign means one of the characteristics.
For example, the presence of wavy lines reveals the degree of resistance to moisture wallpaper. If the wave-like feature is only one, then such a product is afraid of moisture, it can get wet only once.
Moisture proof is the presence of three wavy lines. If there is an icon: the whole sun, then this means that the product is not super quality, will fade quickly.
If there is an icon: the whole sun and the + sign, then they withstand ultraviolet radiation excellently.
If the two sun icons are on top of each other, then this means that the wallpaper is perfectly resistant to sunlight.
Vinyl - at high humidity in the room they tend to stretch, so before sticking vinyl wallpaper should prepare the surface of the walls.
If residues are present:
- limes;
- paints;
- concrete blots;
- plaster,
they must be removed.

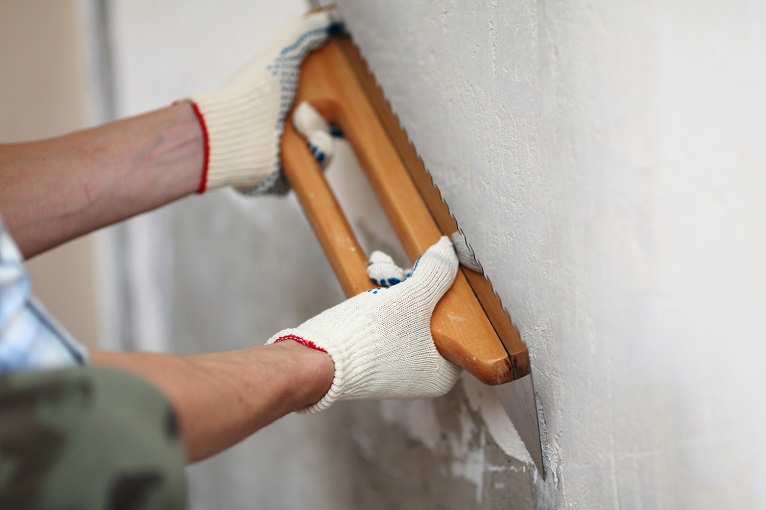
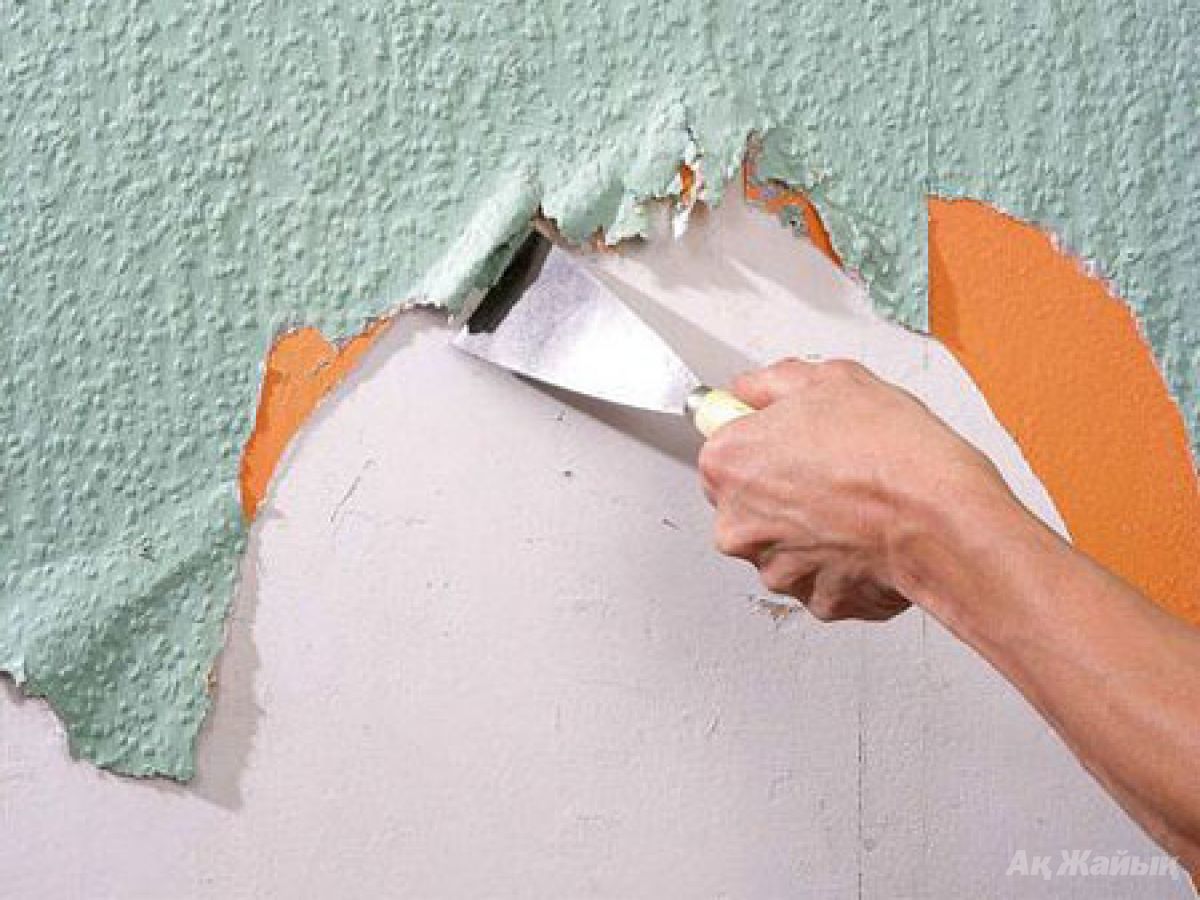
It is recommended to study the top layer of the wall. To do this, take a wide scotch piece of it pasted on the wall, tear off a sharp movement.
Microparticles should not remain on the scotch flap, if they are still present, it can be said with confidence that the previous plaster is in poor condition.
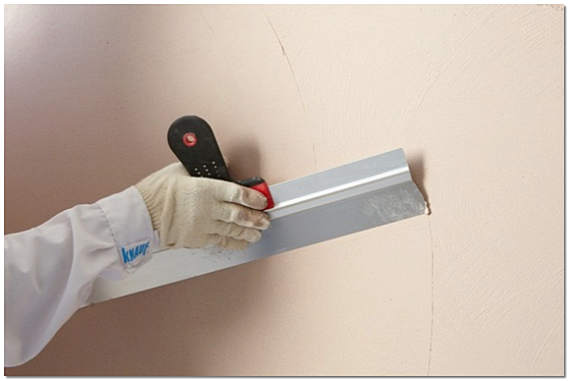
Before work, it is recommended to thoroughly re-ground the entire wall with putty with bactericidal additives. This will be the best guarantee that in a couple of years the coating will not “bloom” and there will be no fungus or mold under it. Before work, you should also check the plane of the wall, as far as it is able to absorb moisture. At night, a cellophane film is attached to the wall using adhesive tape. After a day, it is removed, if there is condensation from the inside of the film, this indicates that the wall is not entirely safe.
Surface preparation
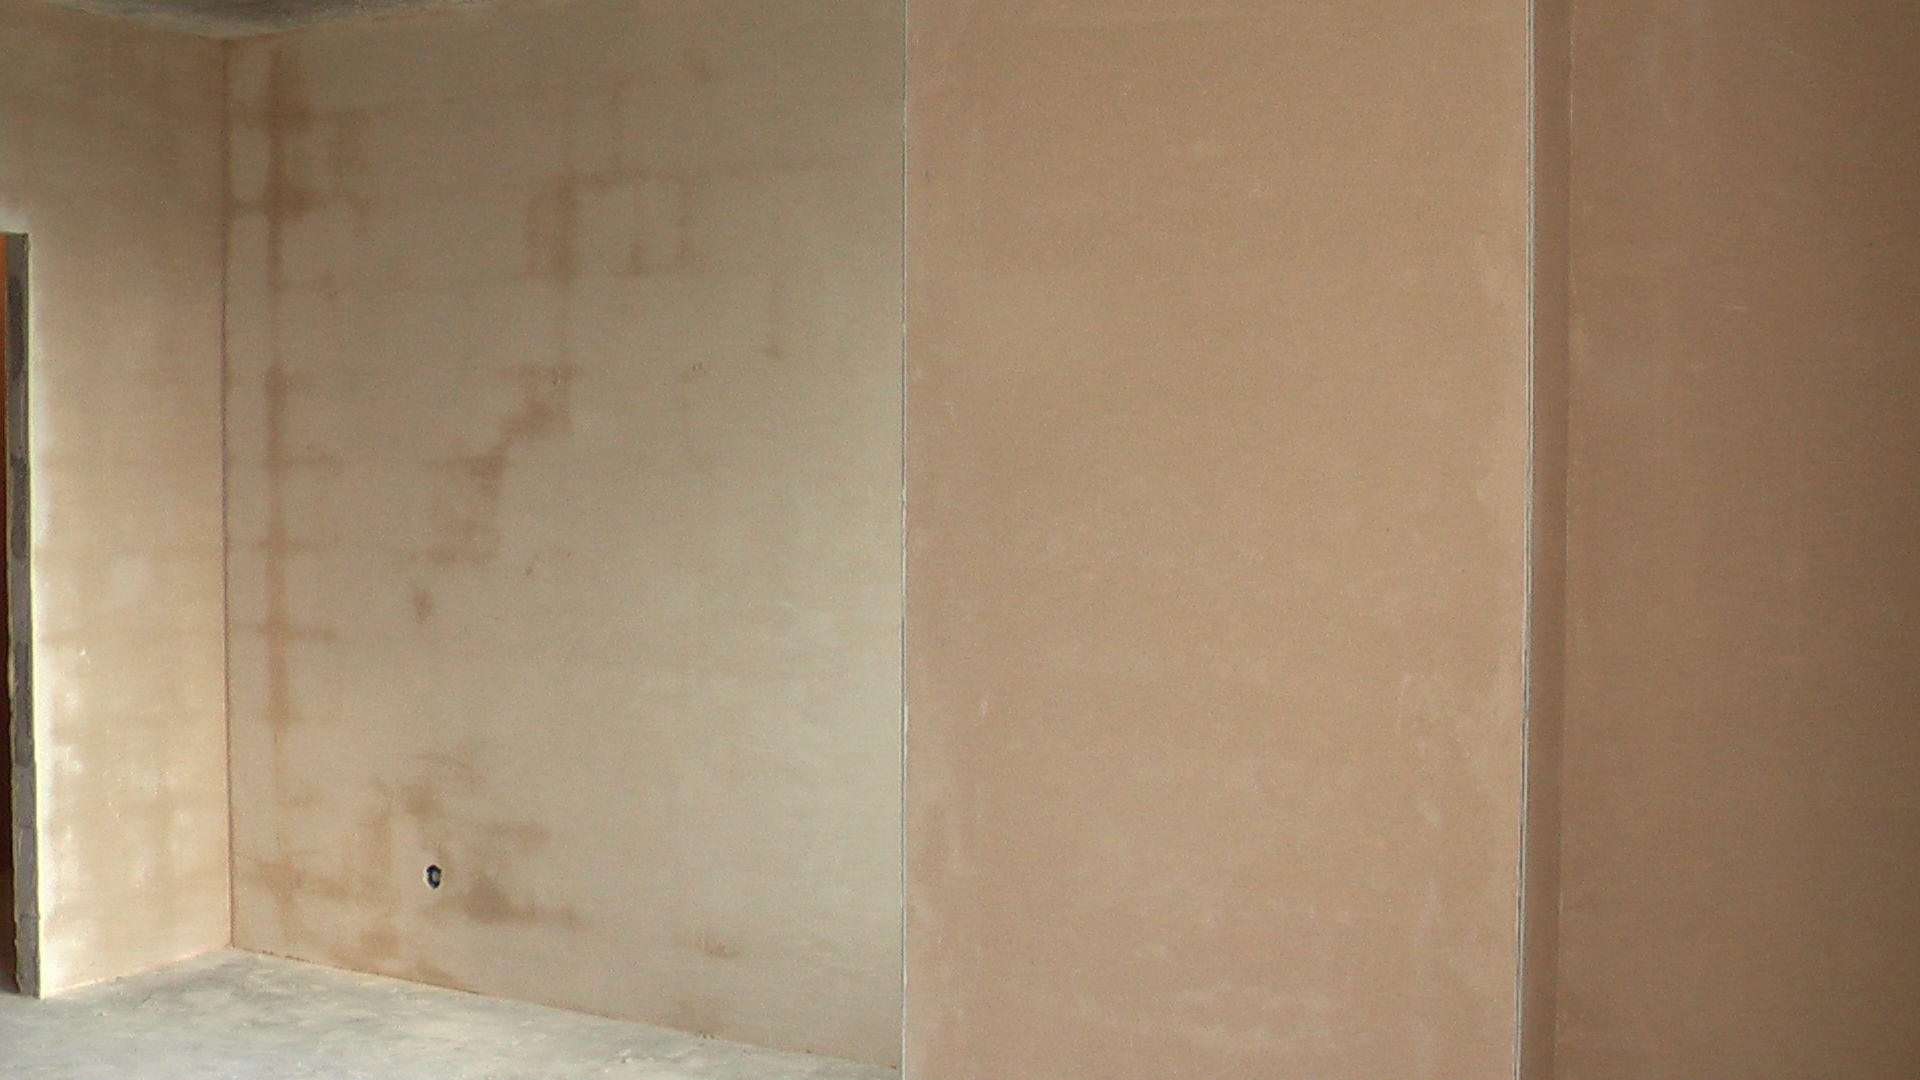
The poor quality of wallpapering is due to the presence of microvoids on the surface. If the wall is poorly prepared, then there will be more such cavities and in fact the sheet will be glued only by half or thirty percent. Very often, the unevenness of the walls is the cause of poor-quality wallpapering. To wallpaper served long, the wall should be aligned perfectly.
In rooms where high humidity is present, mold is likely to appear on the walls.Before glueing the wall, be sure to prime it so that after a short time the development of the fungus does not go under the wallpaper.
The preparation of the walls includes the following phases:
- wall cleaning;
- first priming;
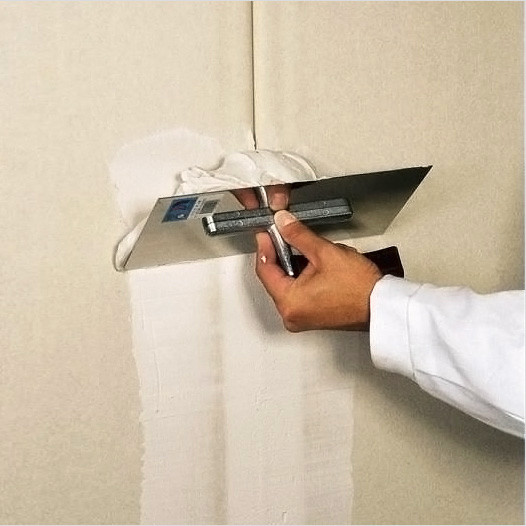
- plastering;
- puttying;
- second priming.
The surface should be especially thoroughly cleaned, it can be:
- lime;
- paint;
- old plaster;
- concrete walls.
The latter are easier to process, the most difficult is the wall of red brick
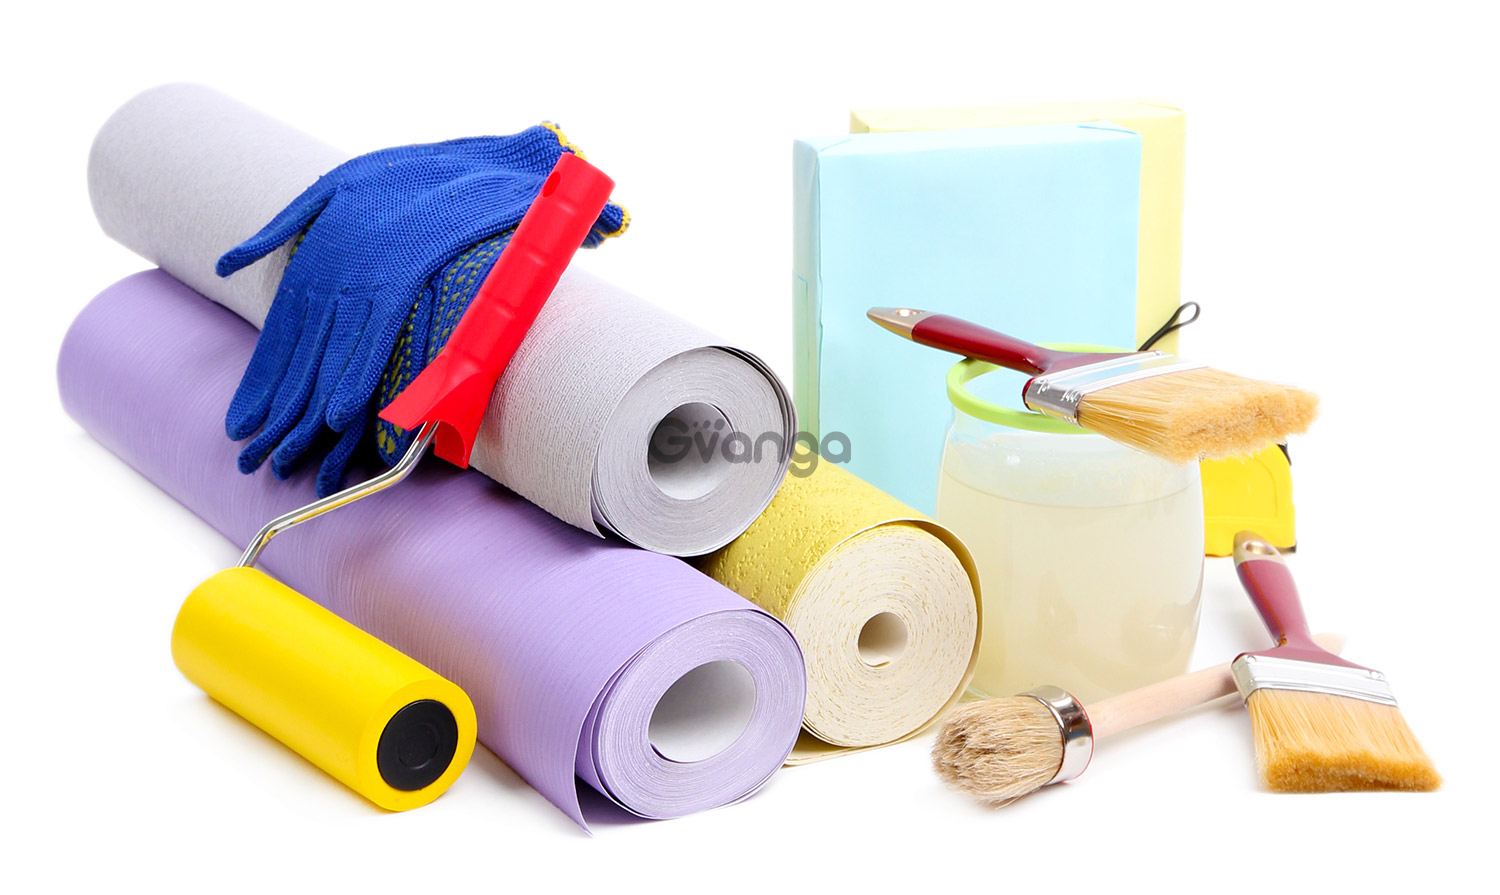
What glue to use?
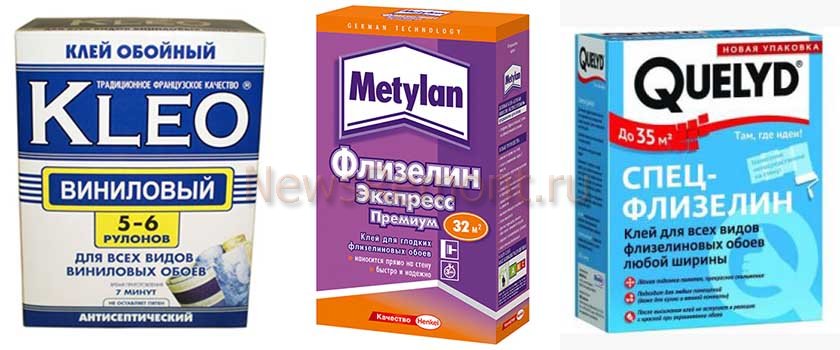
Wallpaper glue is divided into 3 groups.
- For paper wallpaper, processed starch with additives against fungus is produced:
- Quelyd;
- Metylan;
- Axton;
- Kleo.
- Special adhesive for wallpaper with non-woven base, it contains antiseptic components.
- All-purpose adhesive - they can glue any type of wallpaper.

Since vinyl wallpapers can have different bases, the adhesive compositions also differ.
The paper base is more technological, it is easy to work with it and it is easy to pick up the glue.
The cheapest glue is a paste made from flour and starch. You can do it yourself.
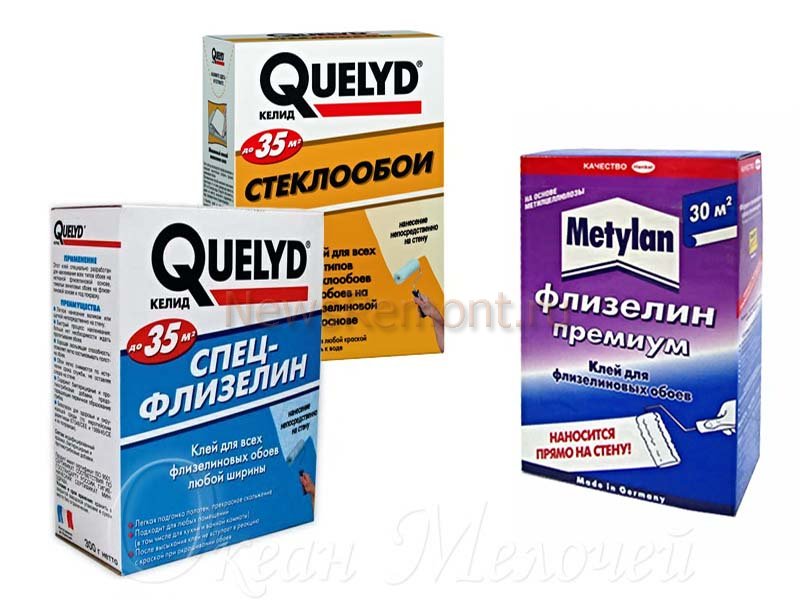
There must be a labeling that the composition is suitable for use on a paper basis.It is better to glue the wallpaper on a non-woven base with the same non-woven glue and it is better to buy it from the same manufacturer that produced the wallpaper itself.
If this option is not possible, then it is permissible to purchase:
- “Methylan Flizelin Premium”;
- Kleo Extra;
- Quelyd - special non-woven.
It is important to bear in mind that there are heavy and lightweight fabrics, respectively, and the glue may also differ in this parameter. It is recommended to carefully read the instructions, manufacturers always indicate: for what wallpaper this product is intended.
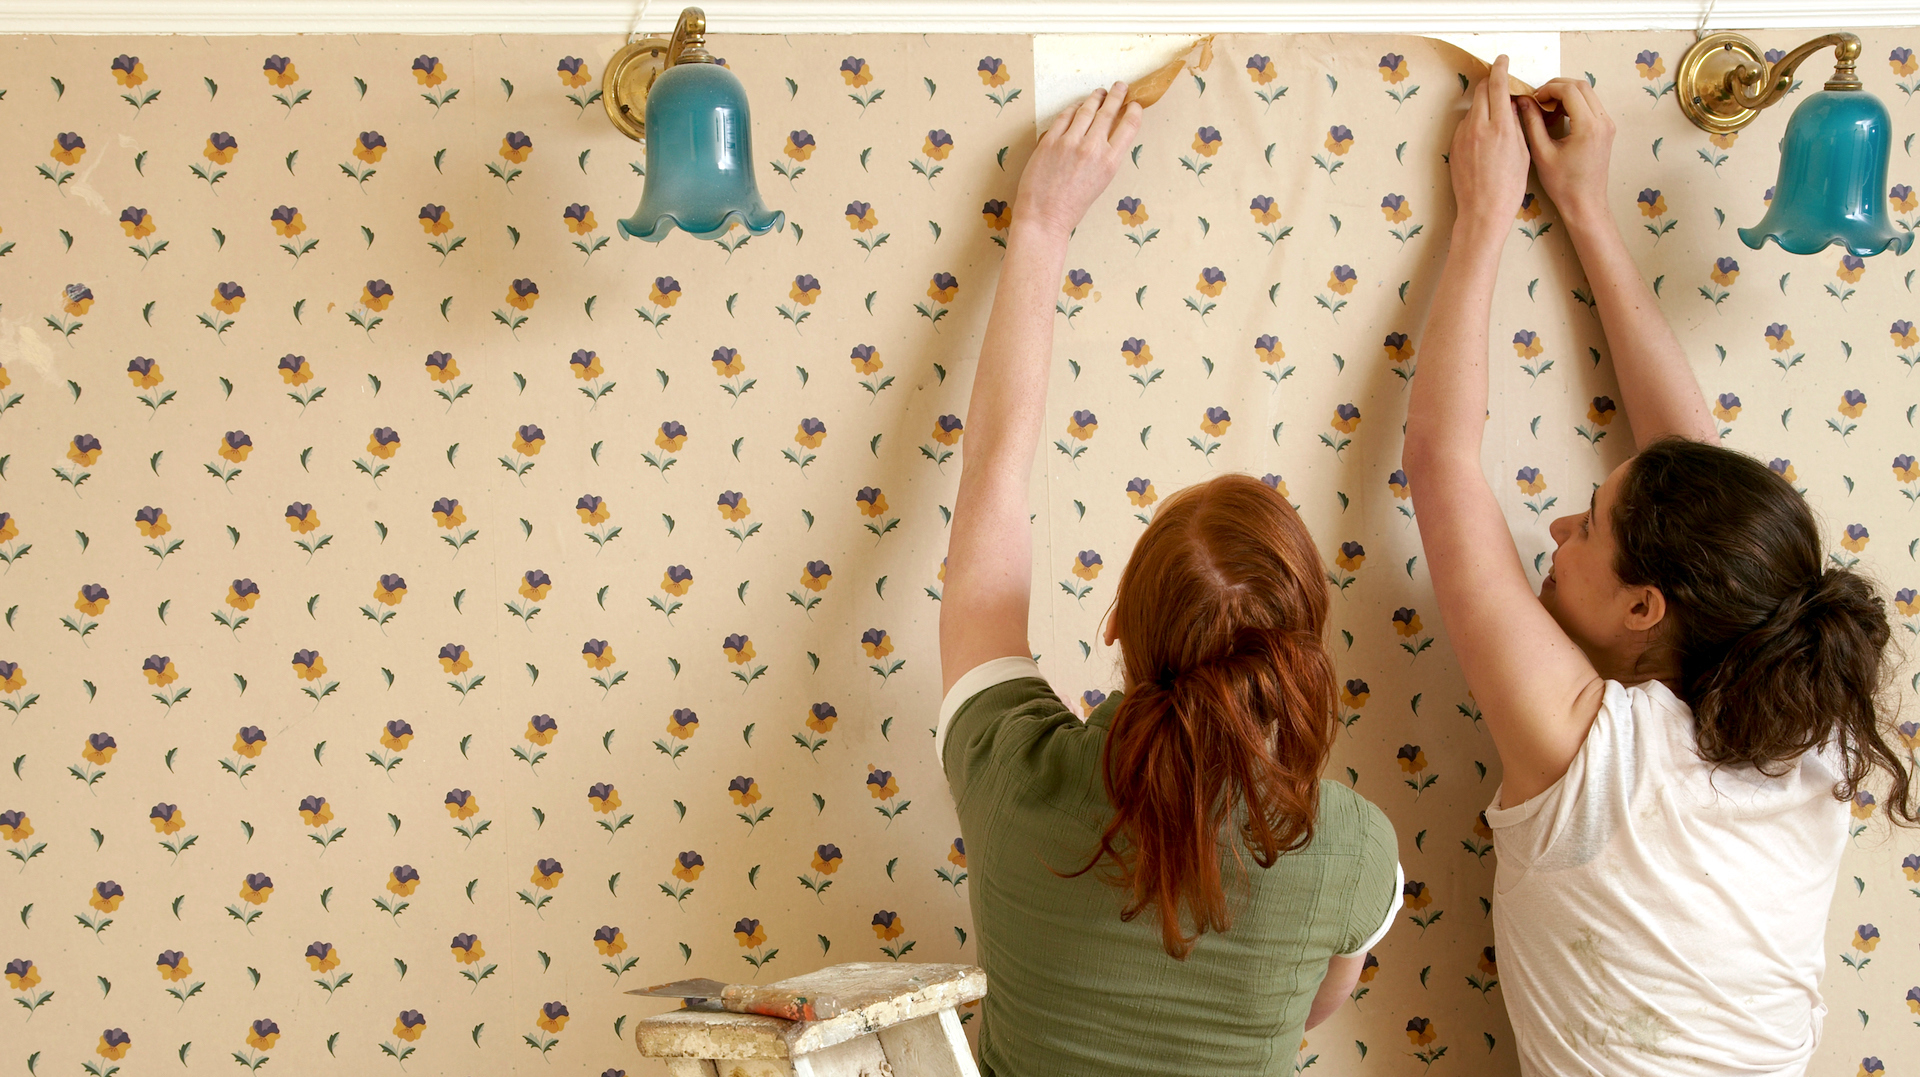
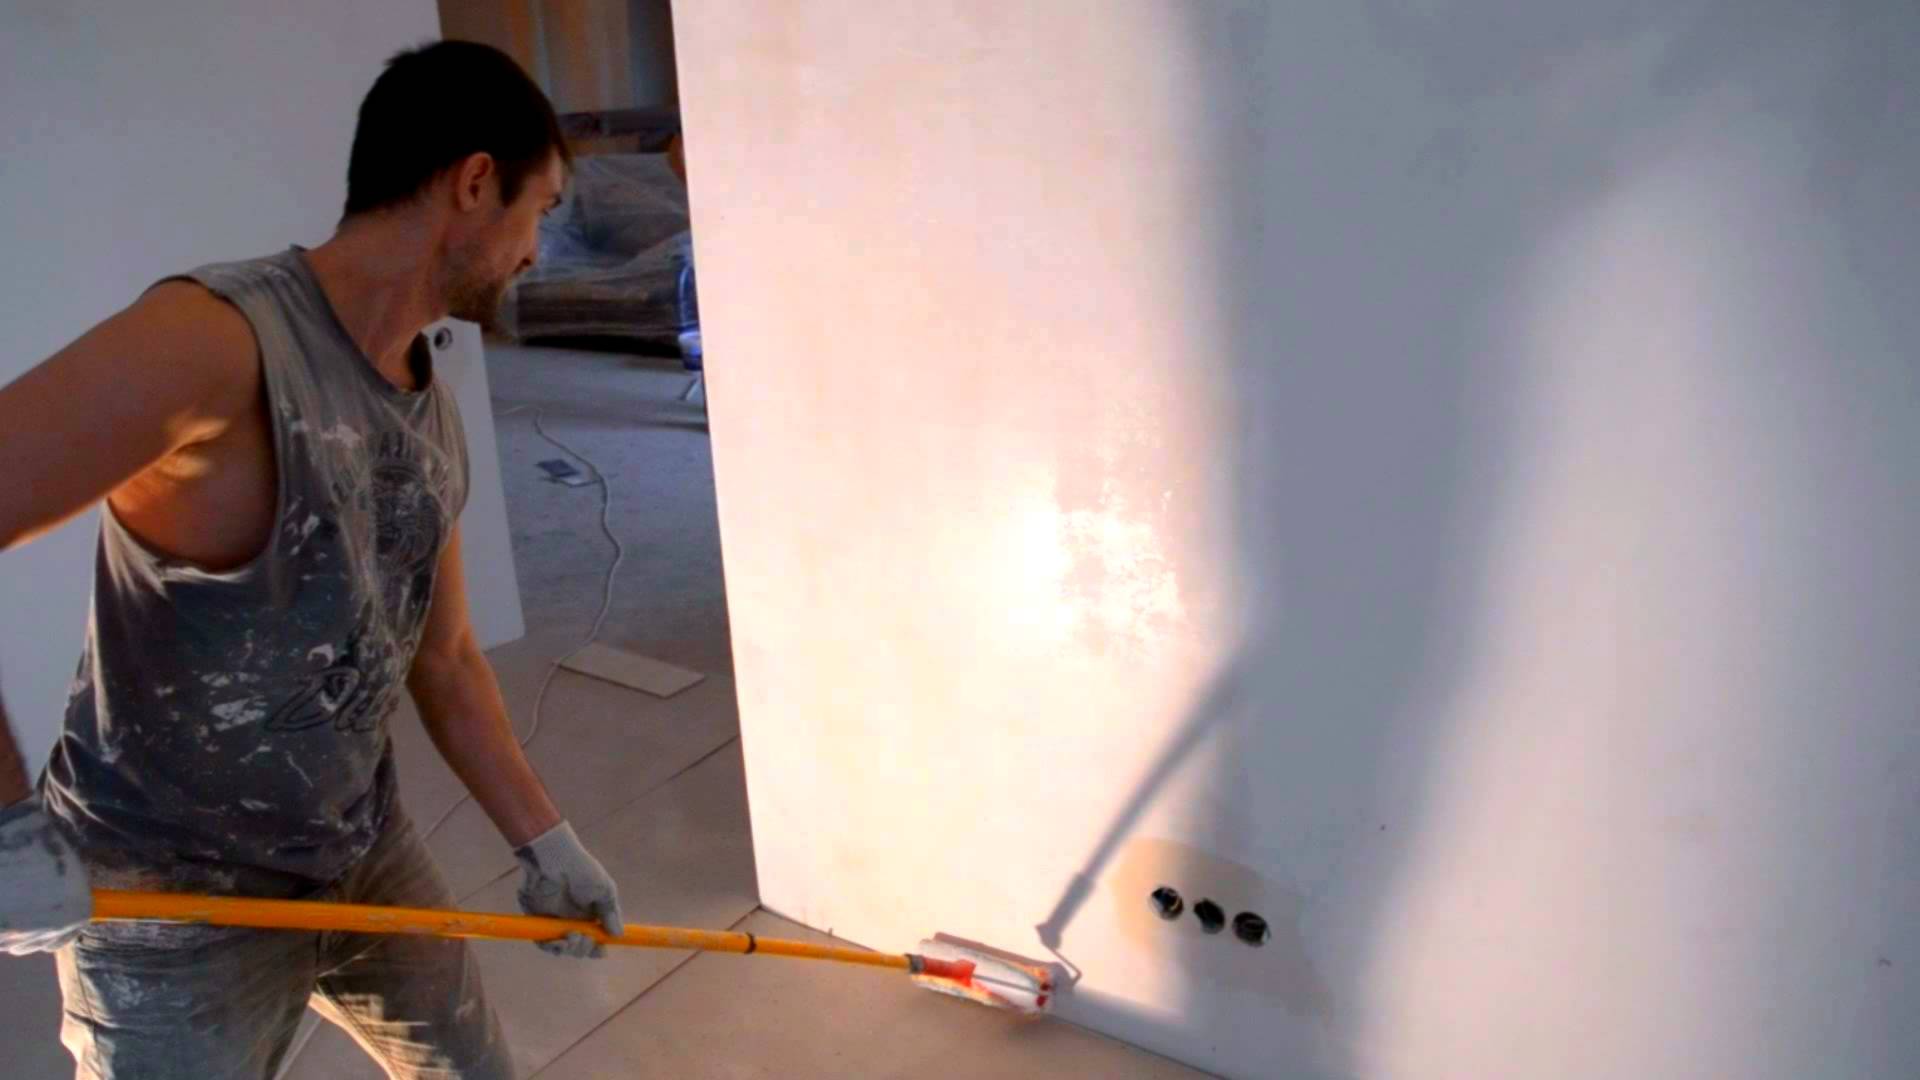
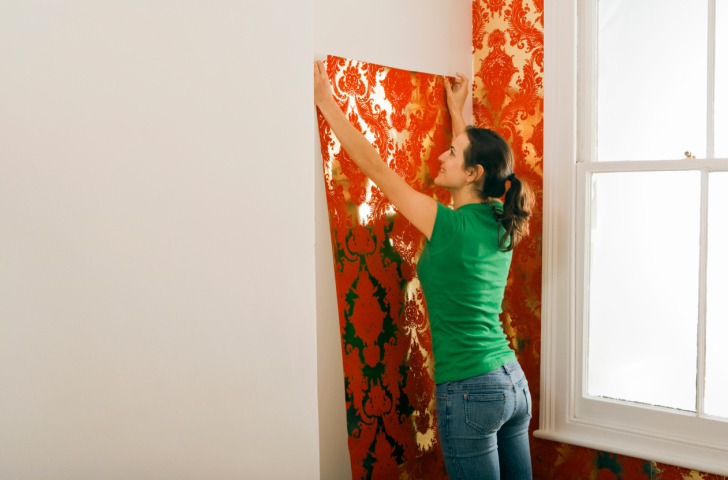
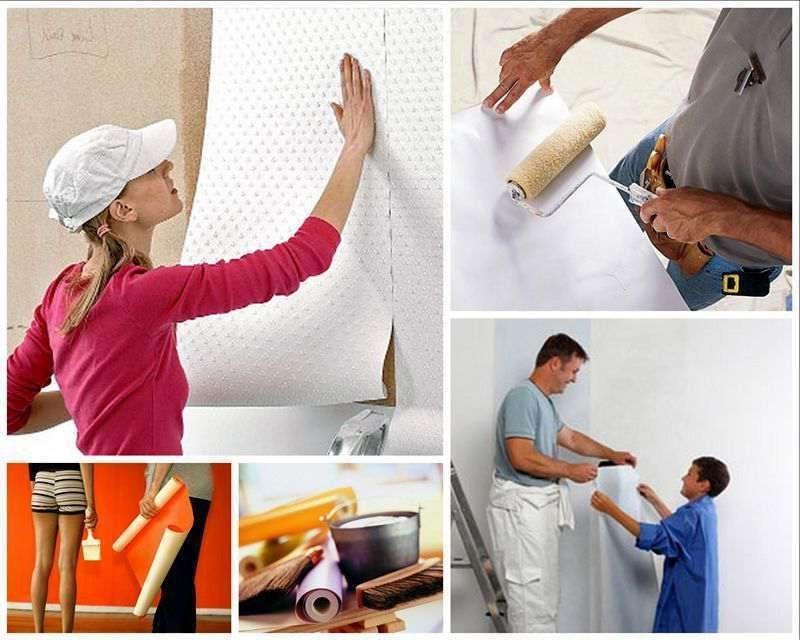
Technology and rules of sticking
The order of gluing is simple: the strips with the applied glue are tightly pressed to the wall plane, it is very important to prevent the appearance of bubbles, as well as irregularities.
Vinyl wallpaper glued with a special composition. Installation is done end-to-end, overlapping vinyl is strictly forbidden, they are dense, the seams will be visible, which is unacceptable.

How to start?
The process must begin with the preparation of the workplace. Putting the sheets on top of the old can not be, you should thoroughly prepare the plane of the wall and only then begin to smear.
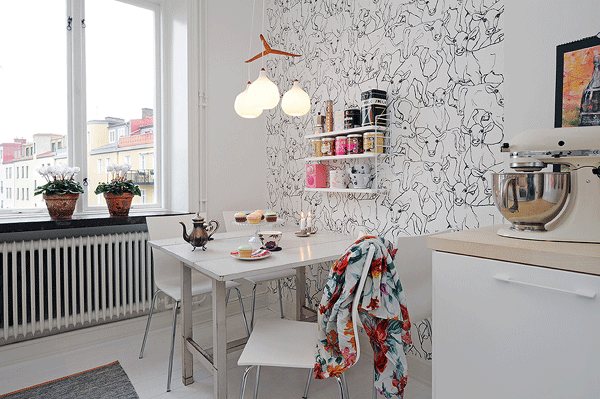
An important detail: a lot depends on which room the wallpaper will be in.Embossed wallpaper for the kitchen is not recommended because of high humidity.
The texture actively accumulates microparticles and the sheets quickly fade.
Smooth wallpapers that can be easily wiped with a damp sponge are best suited for the kitchen.
How to stick a wide wallpaper?
Wide meter sheets still remain rare, but such a format, in fact, is no different from ordinary sizes. The advantage lies in the fact that the number of joints between sheets is noticeably reduced, it is easier to glue, the labor costs are noticeably less.
Foreign manufacturers offer formats for walls twice the width of domestic ones.


Advantages:
- the price is noticeably lower;
- less labor costs;
- easier to customize seams.
Disadvantages:
- there are difficulties during installation, especially for beginners;
- the smallest deformations of the wall can prevent the work.
If the room is of non-standard size, there are certain difficulties in fitting.
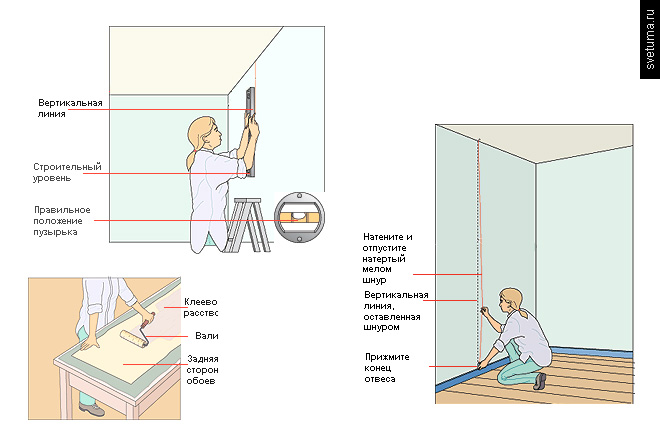
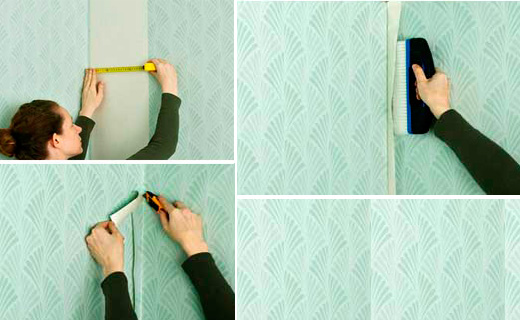
Pasting on the corners
Two canvases should not be combined together in the corner area. Overlap the sheet at an angle with an allowance of no more than five centimeters.
All joints are tightly pressed to the surface, only then can they be securely glued.
Sticking yourself in the corner overlap does not present much difficulty even with wallpaper with a pattern:
- marking is applied;
- a vertical line is correctly drawn, which is the same distance from the corner as the width of the roll;
- glue is applied on the wall, and a layer of glue is applied on the inside of the canvas of the same width;
- canvas glued;
- the second canvas is glued overlapping.
After the second sheet is glued, the plane should be carefully rolled with a rubber roller to avoid air pockets that may occur under the wallpaper.
Be sure to follow the vertical line, there should be no distortions.
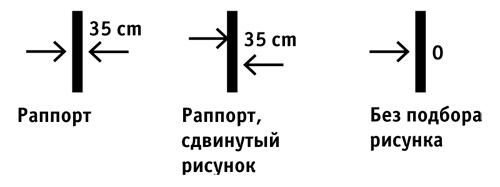
Butt or overlap?
Butt-gluing with trimming and picking a picture is technologically simple: the method makes it possible to create a wallpaper junction in the corner almost invisible, but if the wallpaper is with large drawings, then this technology is not suitable.
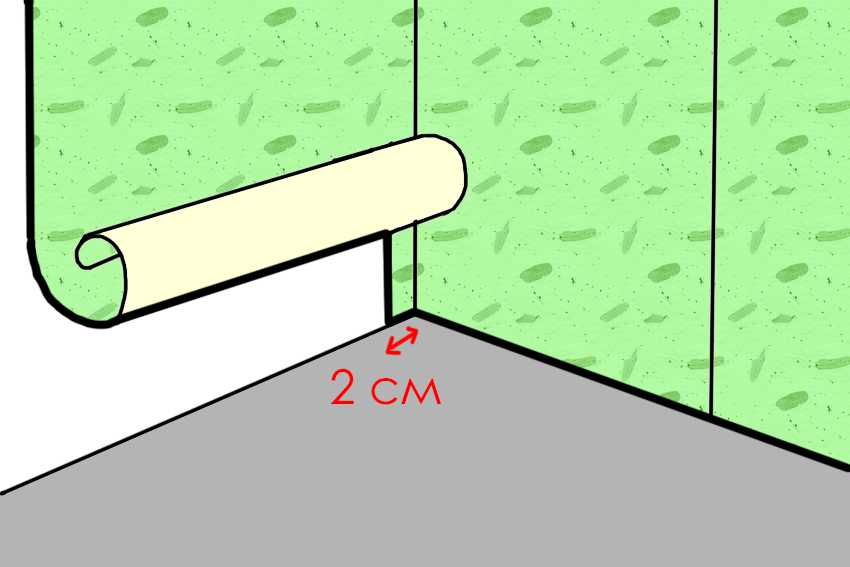
In order to mount them overlap, you should use a special glue that will be applied to the very edges of the canvas. The first sheet is processed, the canvas is mounted with an overlap of up to 2 centimeters.
Pasting of wall-paper begins necessarily with a corner. Before you should make a detailed markup: how to "lay down" sheet.On the wall at the top of the corner, an indent of no more than two centimeters is made for the width of the wallpaper and then a mark is placed. Then the level is lowered and a vertical line is drawn. It will be a kind of beacon, which will align the sheets during operation.
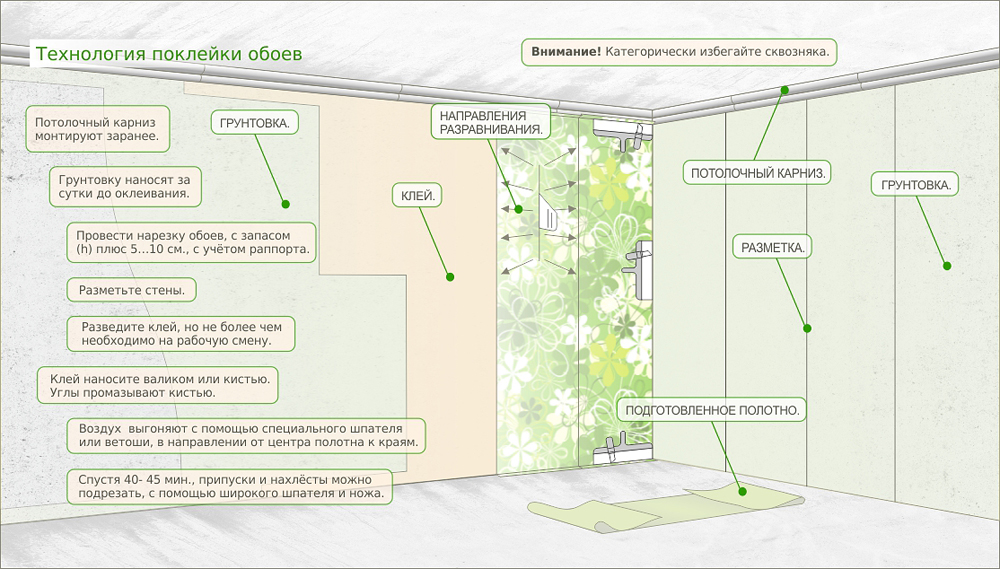
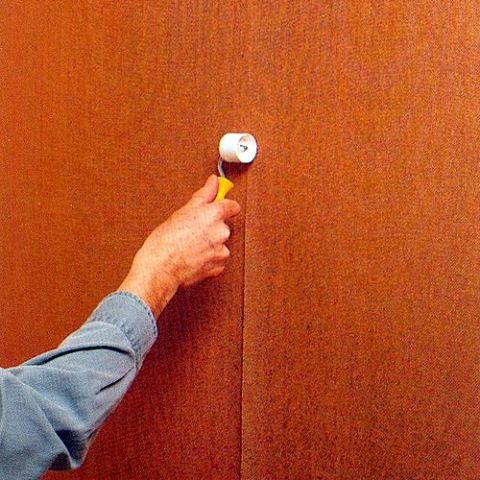
-How to glue the seams?
During the work special attention should be paid to joints. They must be well processed: it is unacceptable that air penetrates the surface, otherwise after a short time “bubbles” will form in these areas and they will lag behind the wall.
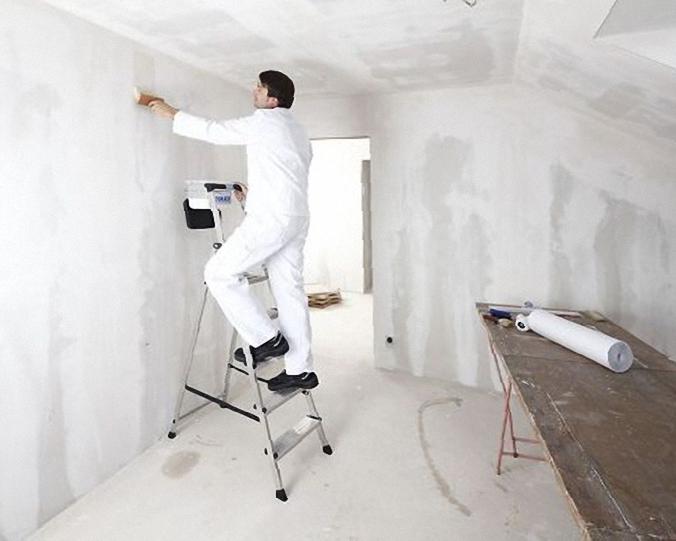
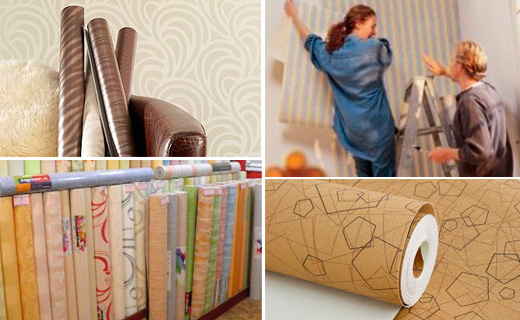
When installing wallpapers with your own hands, you definitely need a companion and a high stepladder. The partner will be:
- submit sheets;
- maintain the canvas;
- press the canvas with a brush.
So that there is no air under the wallpaper, they should be pressed against the wall during installation from the center to the edge. Uneven remnants of wallpaper at the bottom are carefully removed with a special construction knife.

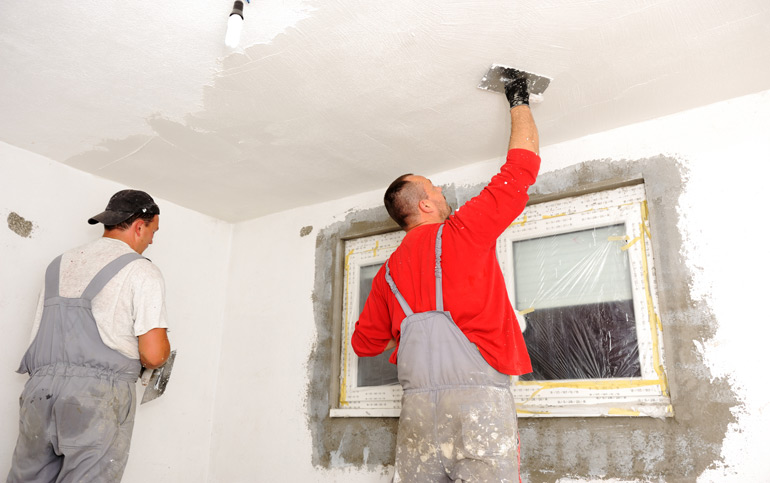
We cover the ceiling
Before you glue the wallpaper to the ceiling, you need to examine its surface.
It should be embroidered and re-filled:
- cracks;
- chipped;
- irregularities.
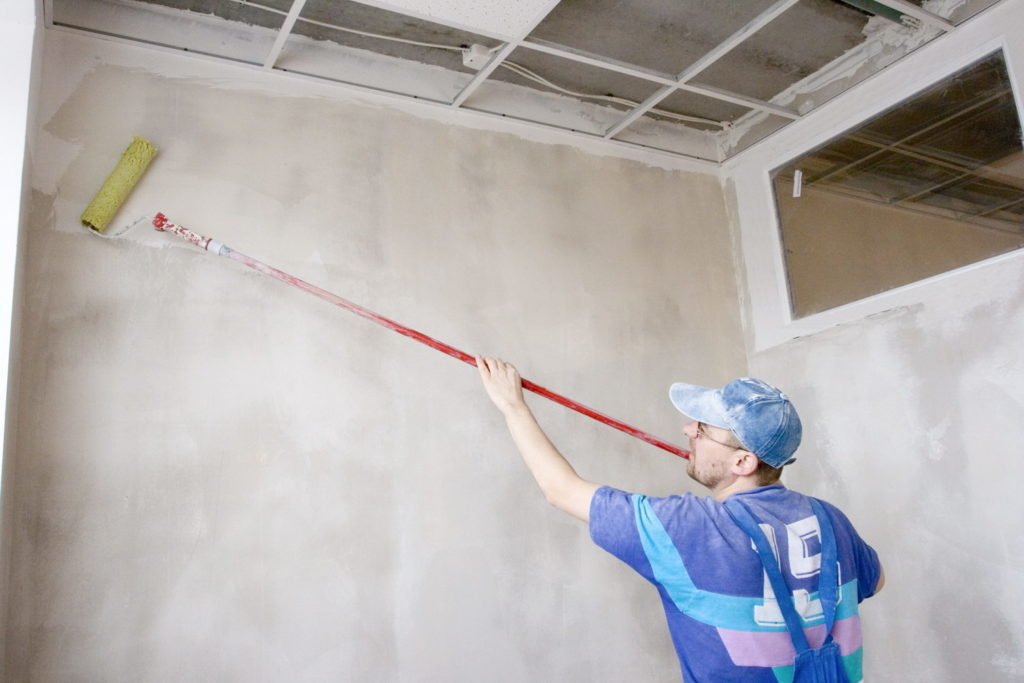
All ceiling defects will have to be leveled so that the angle with the walls and ceiling is exactly ninety degrees.After the work has been completed, it will be necessary to prime the surface with a special primer that penetrates deep into the surface.
If there is a large percentage of moisture in the room, then another priming will be necessary with a special compound that will eliminate mold and fungus.
On the ceiling, markings are made to the width of the sheet and glue is applied, and the surface of the wallpaper is carefully leveled with a roller.
After the sheets are stuck, you should wait a couple of days and therefore stick the baseboards and curbs


How much should dry after pasting?
Manufacturers claim that non-woven base vinyl products dry for two days, ideal conditions are mentioned here by default:
- temperature from 10 to 25 degrees;
- humidity does not exceed 55%.
In order not to risk, it is better to wait another three days. That is, to dry the walls should be laid from 5 to 7 days. It is better to withstand this period, because it will guarantee that the sheets will last a long time and will not peel off.
If these deadlines are observed, it should be borne in mind that for 4 days the wallpaper should dry out without any air exchange, then another 2-3 days will be required for excess moisture to disappear.

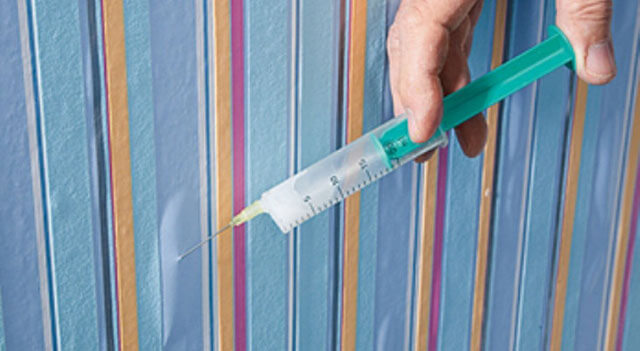
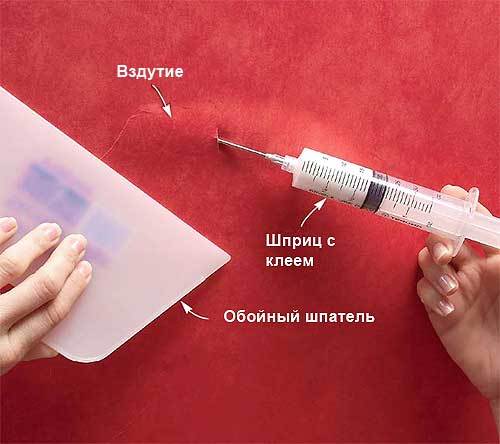
If bubbles form
The reasons for the appearance of bubbles on the wallpaper:
- the wallpaper was glued wrong, there were “bags” with air under the surface;
- The walls on which the wallpaper was installed were not properly prepared.
Remove bubbles using simple tools. This is done like this:
- syringe;
- sharp knife.
PVA glue is pumped into a syringe, a small incision is made with a sharp knife on the problem area of the wallpaper. The air goes out, the cavity is filled with small portions of glue. Then the area neatly leveled roller.
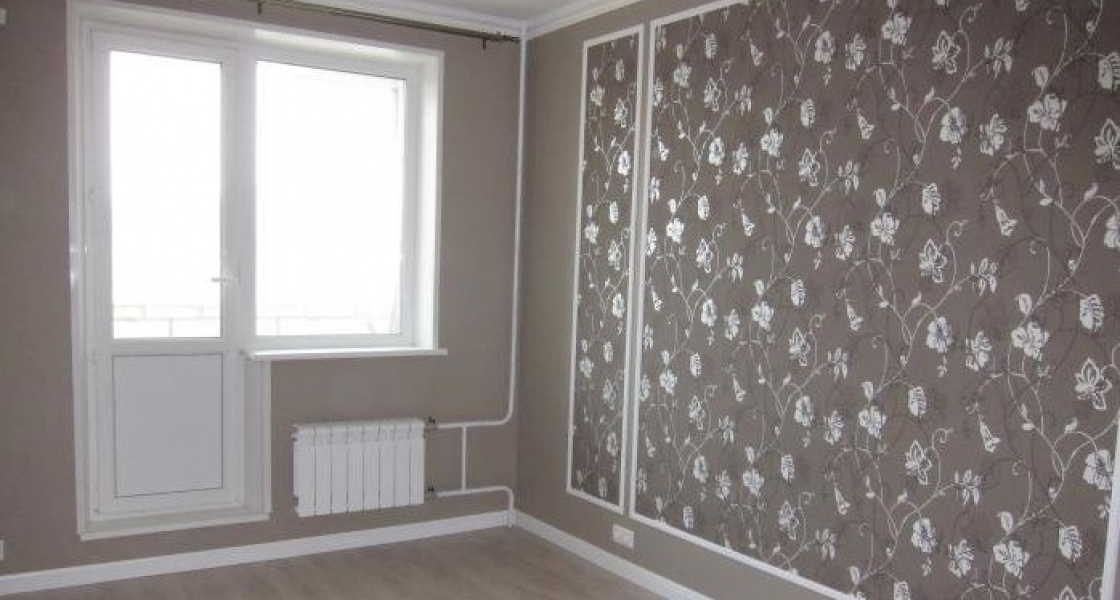
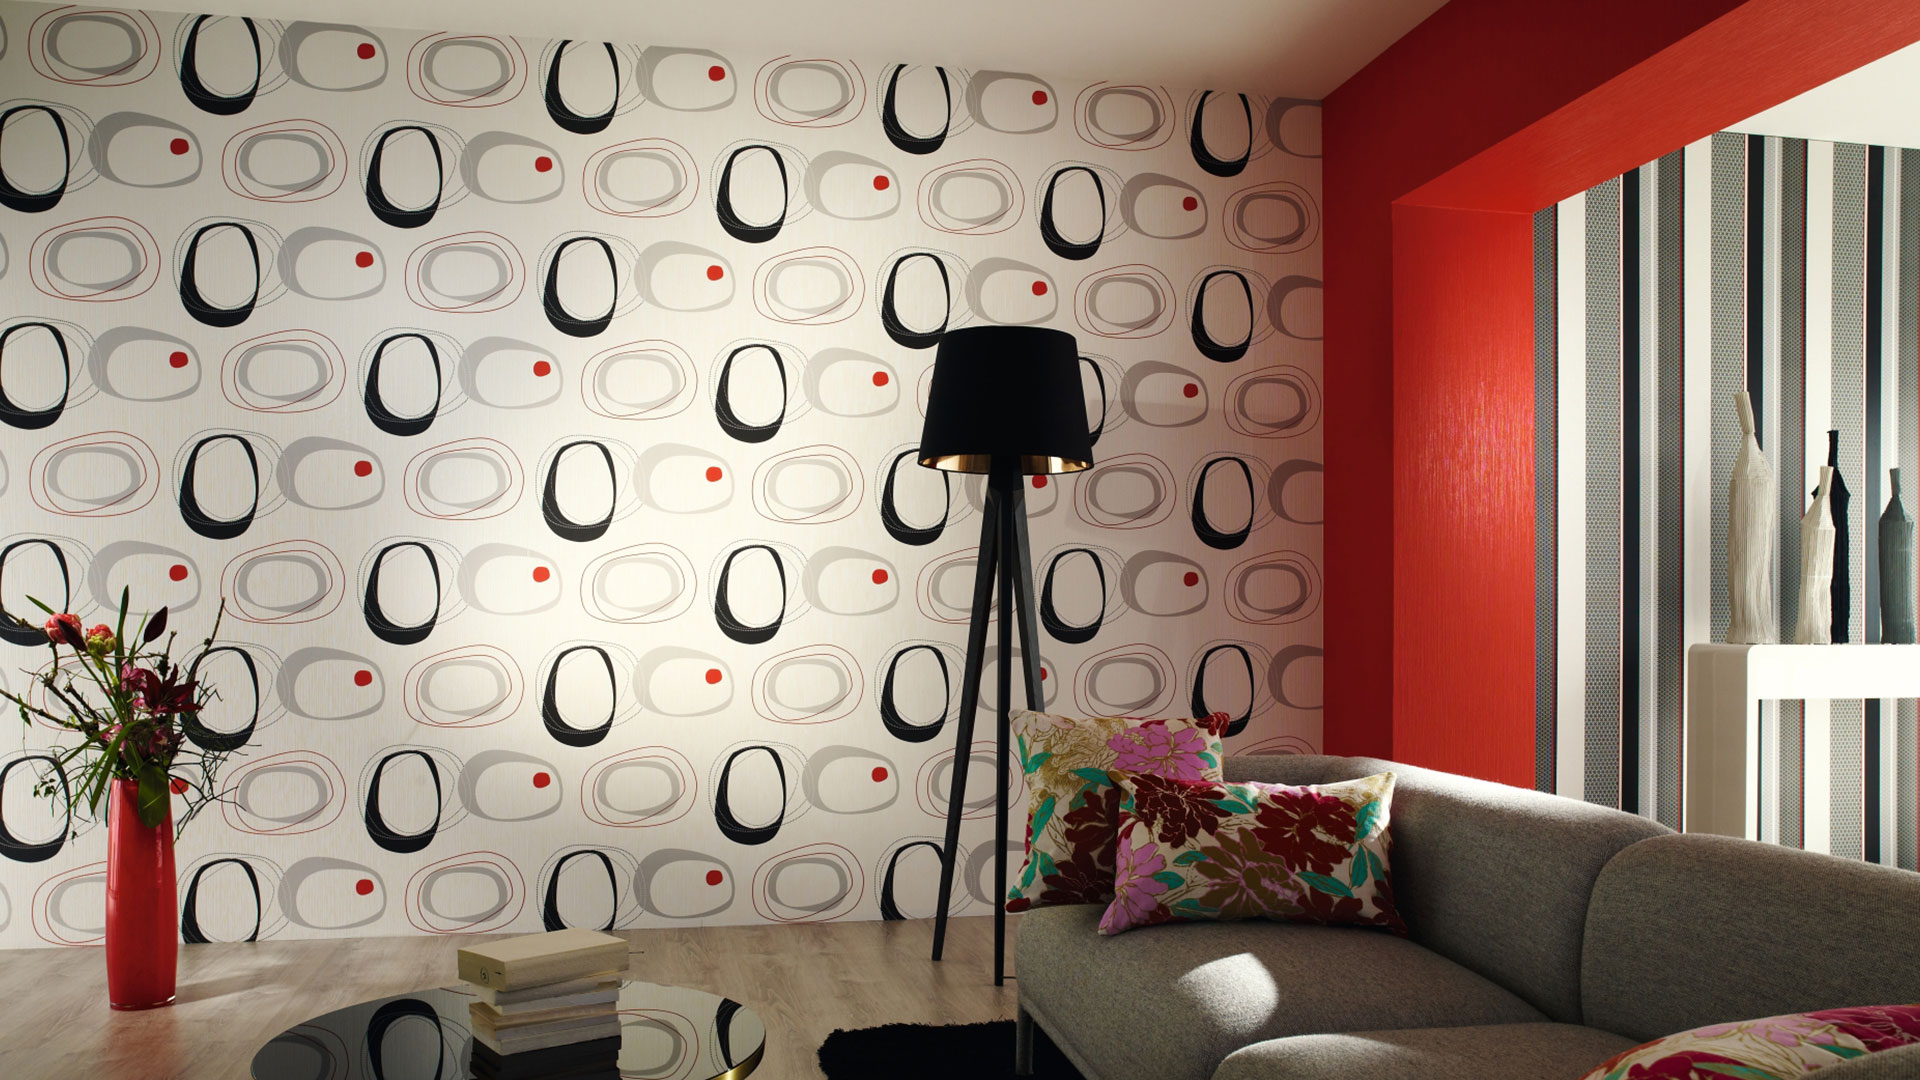
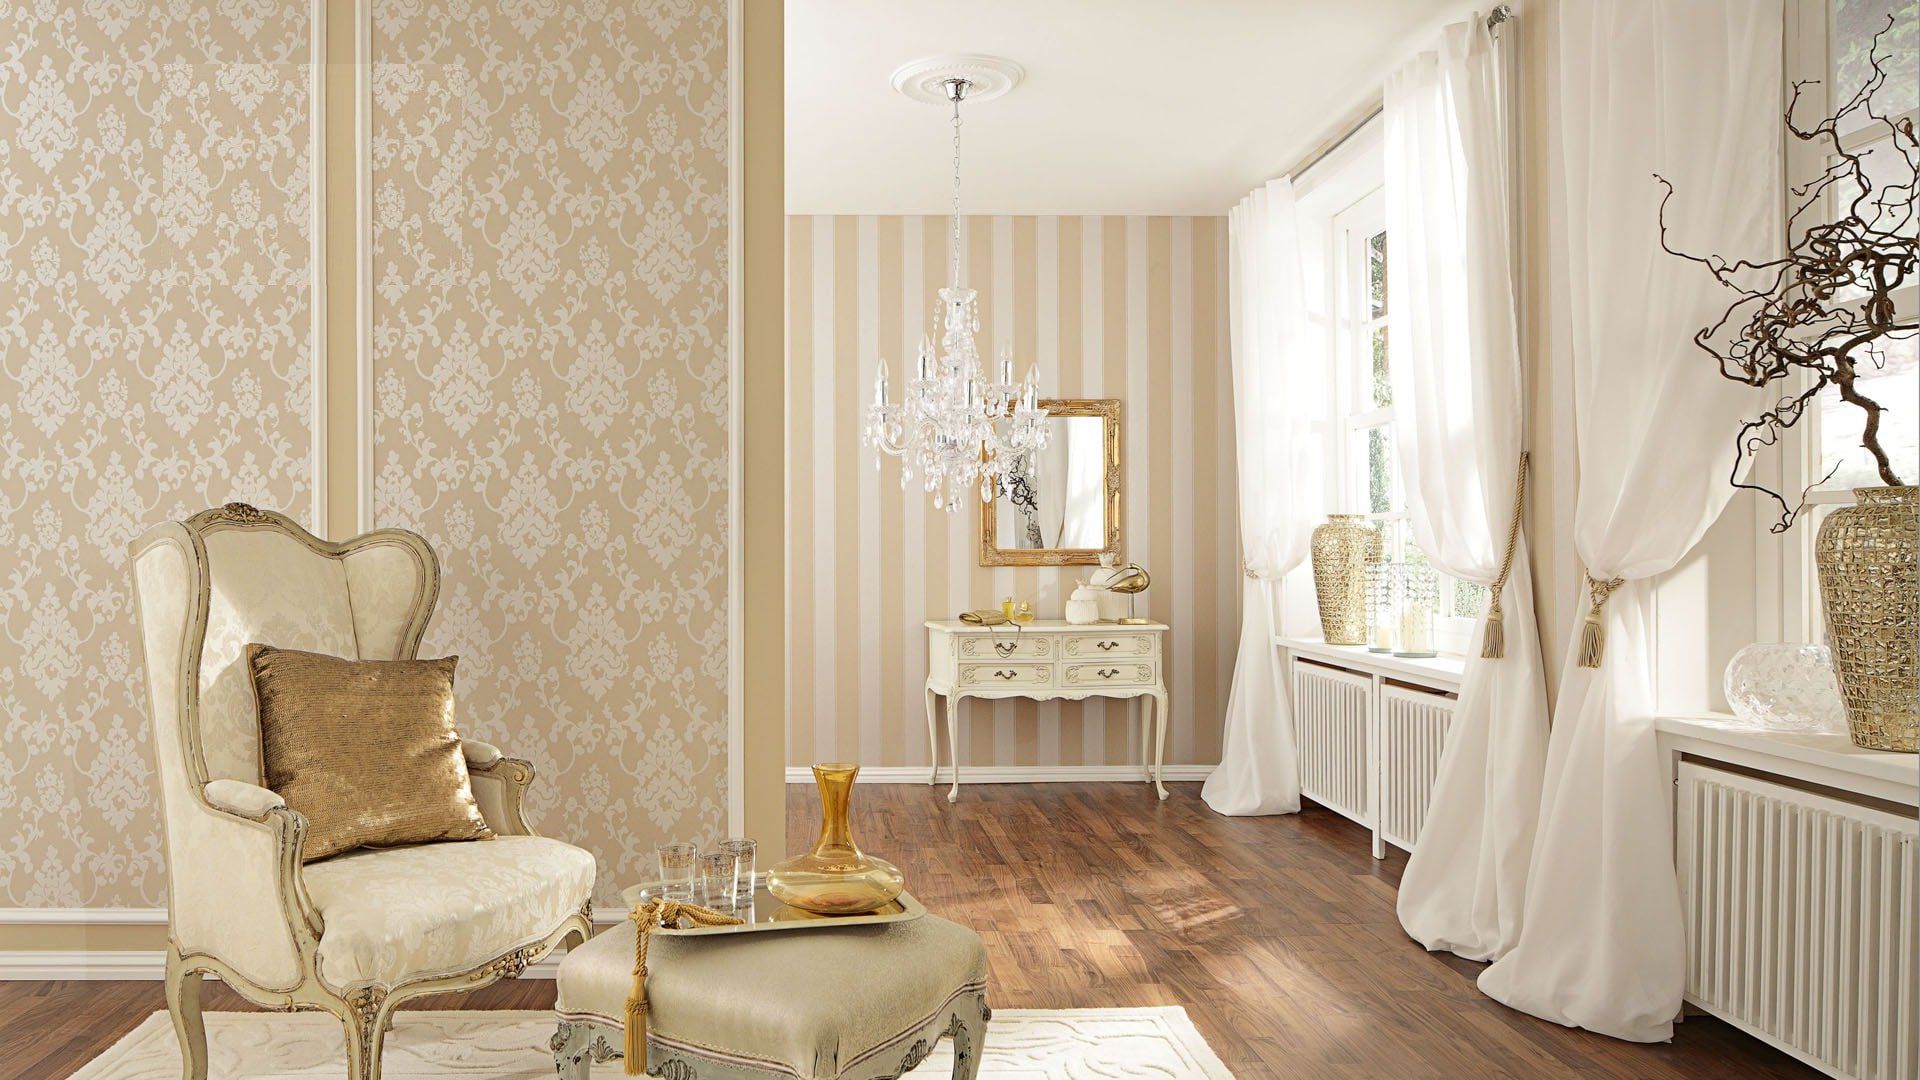
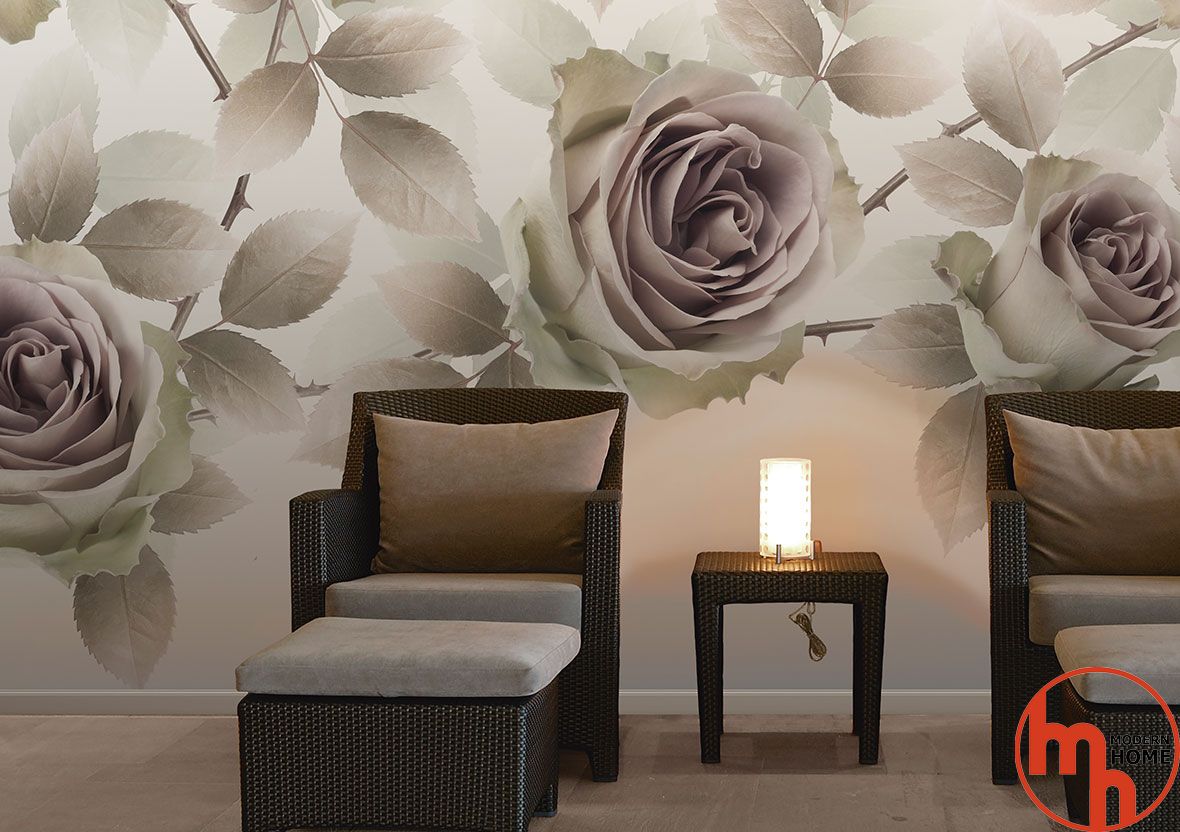
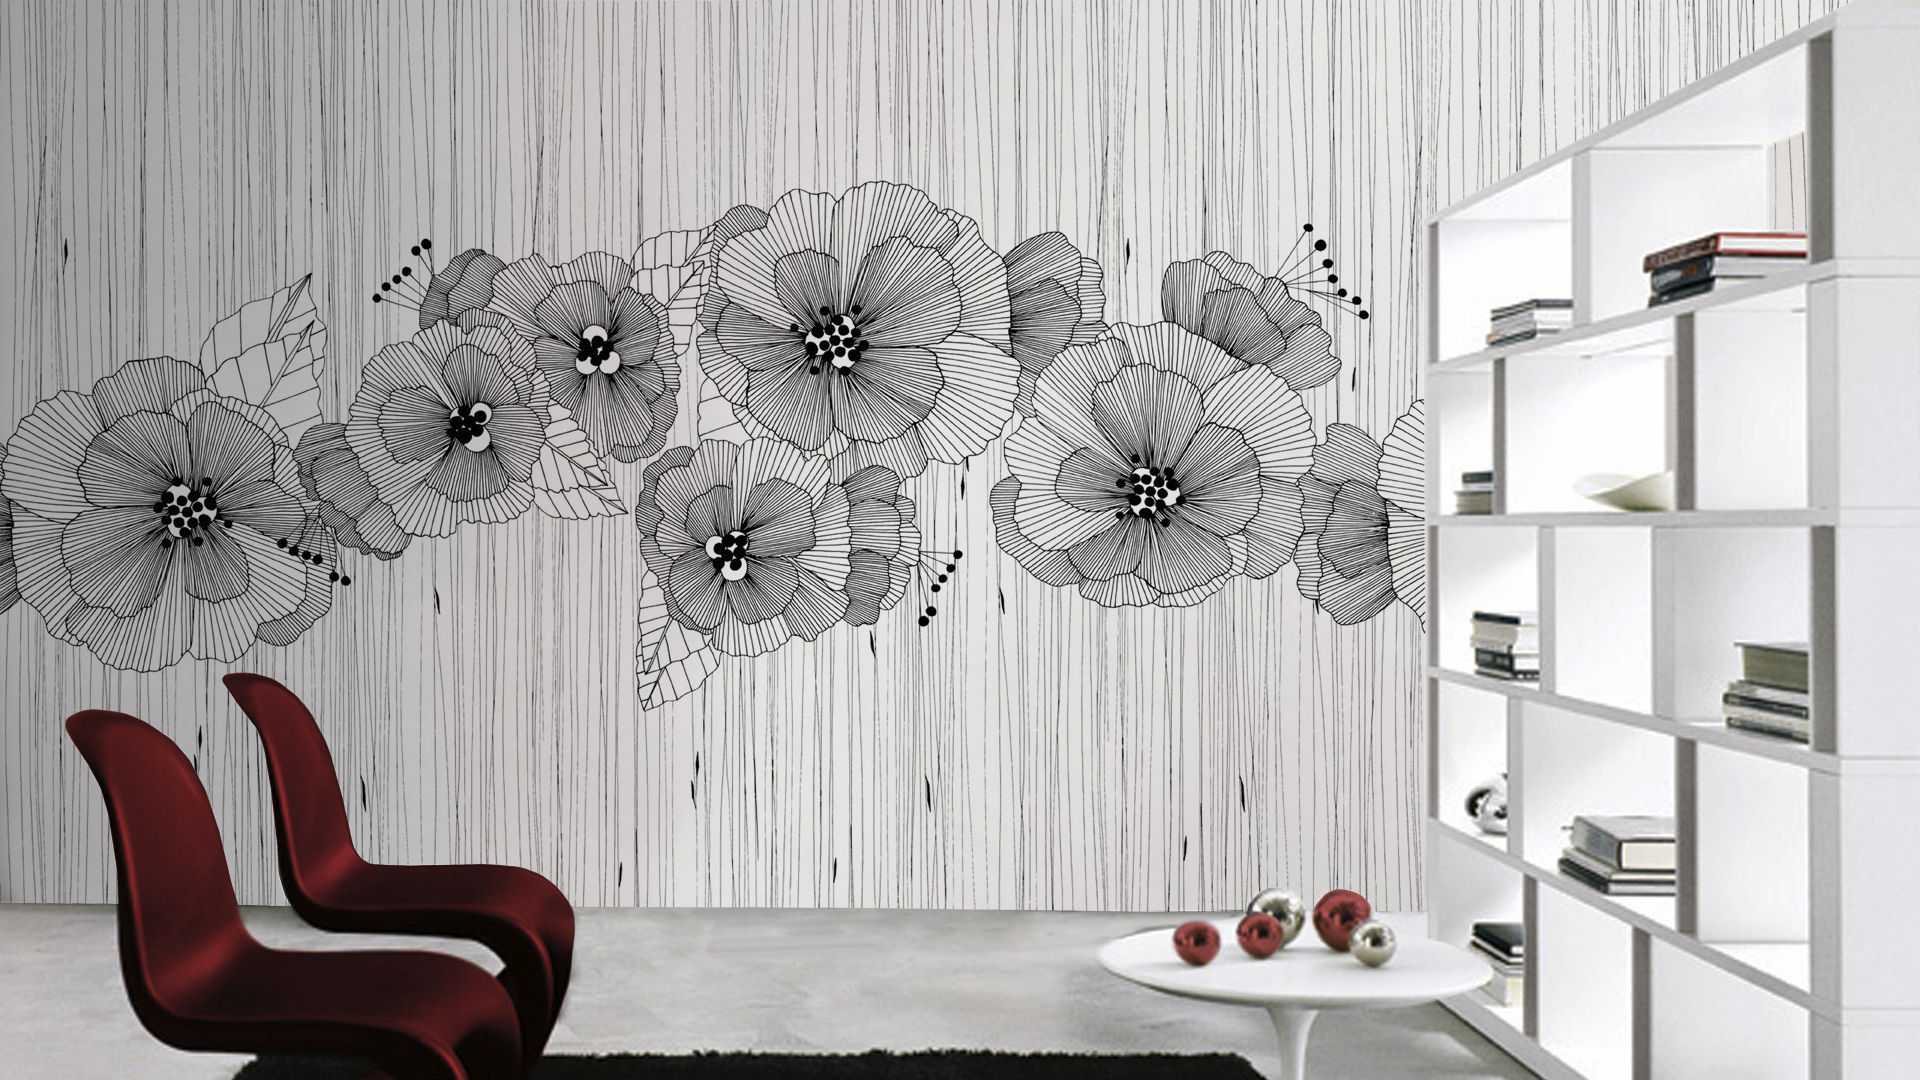
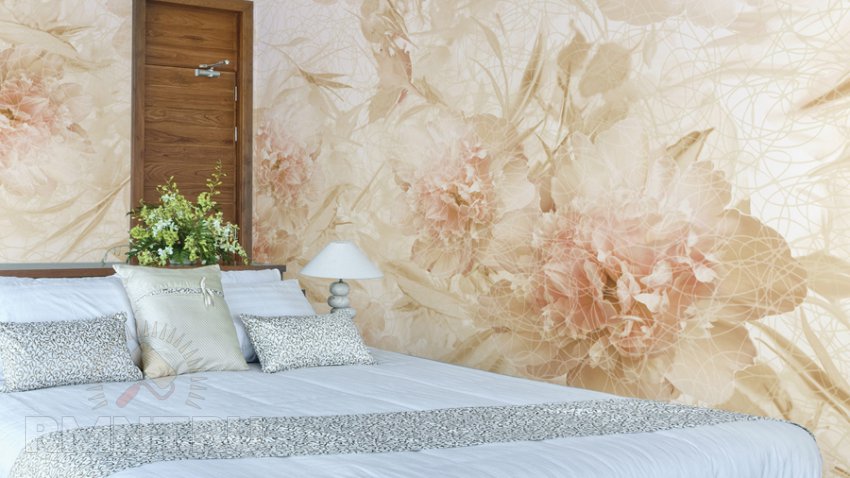
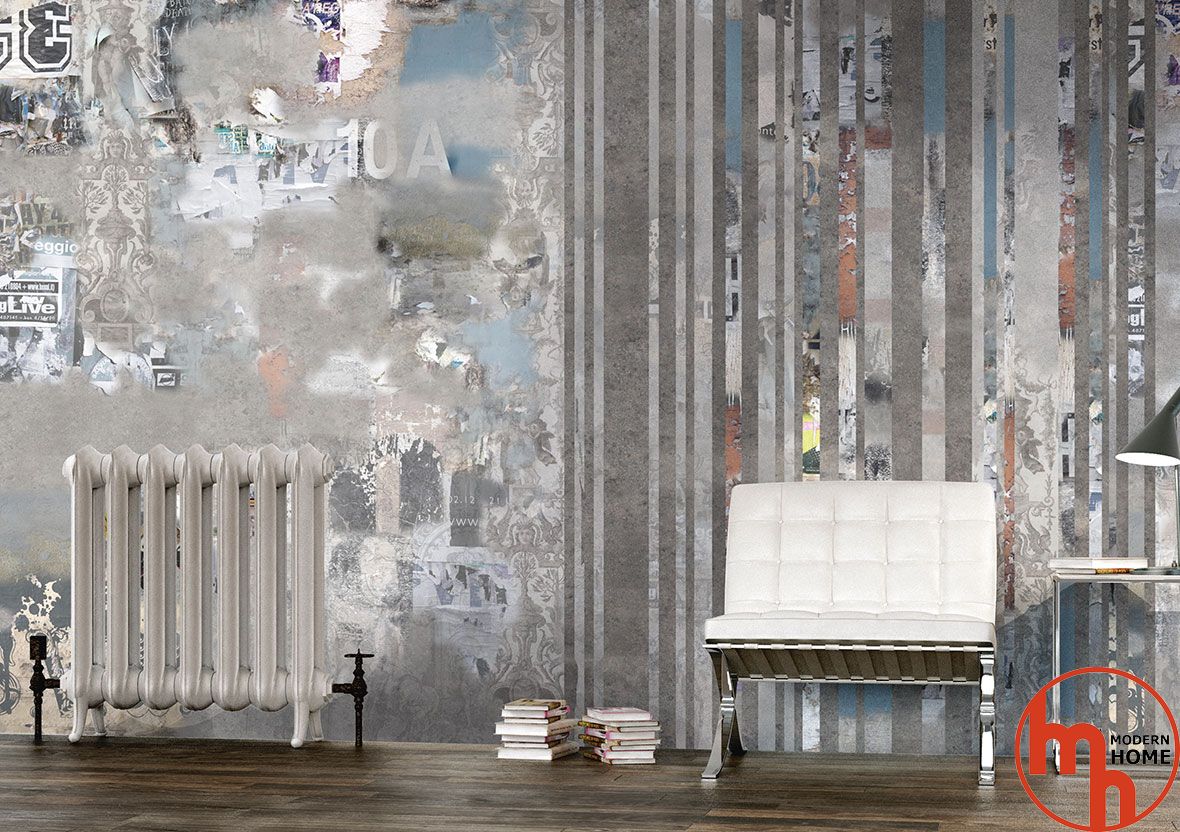
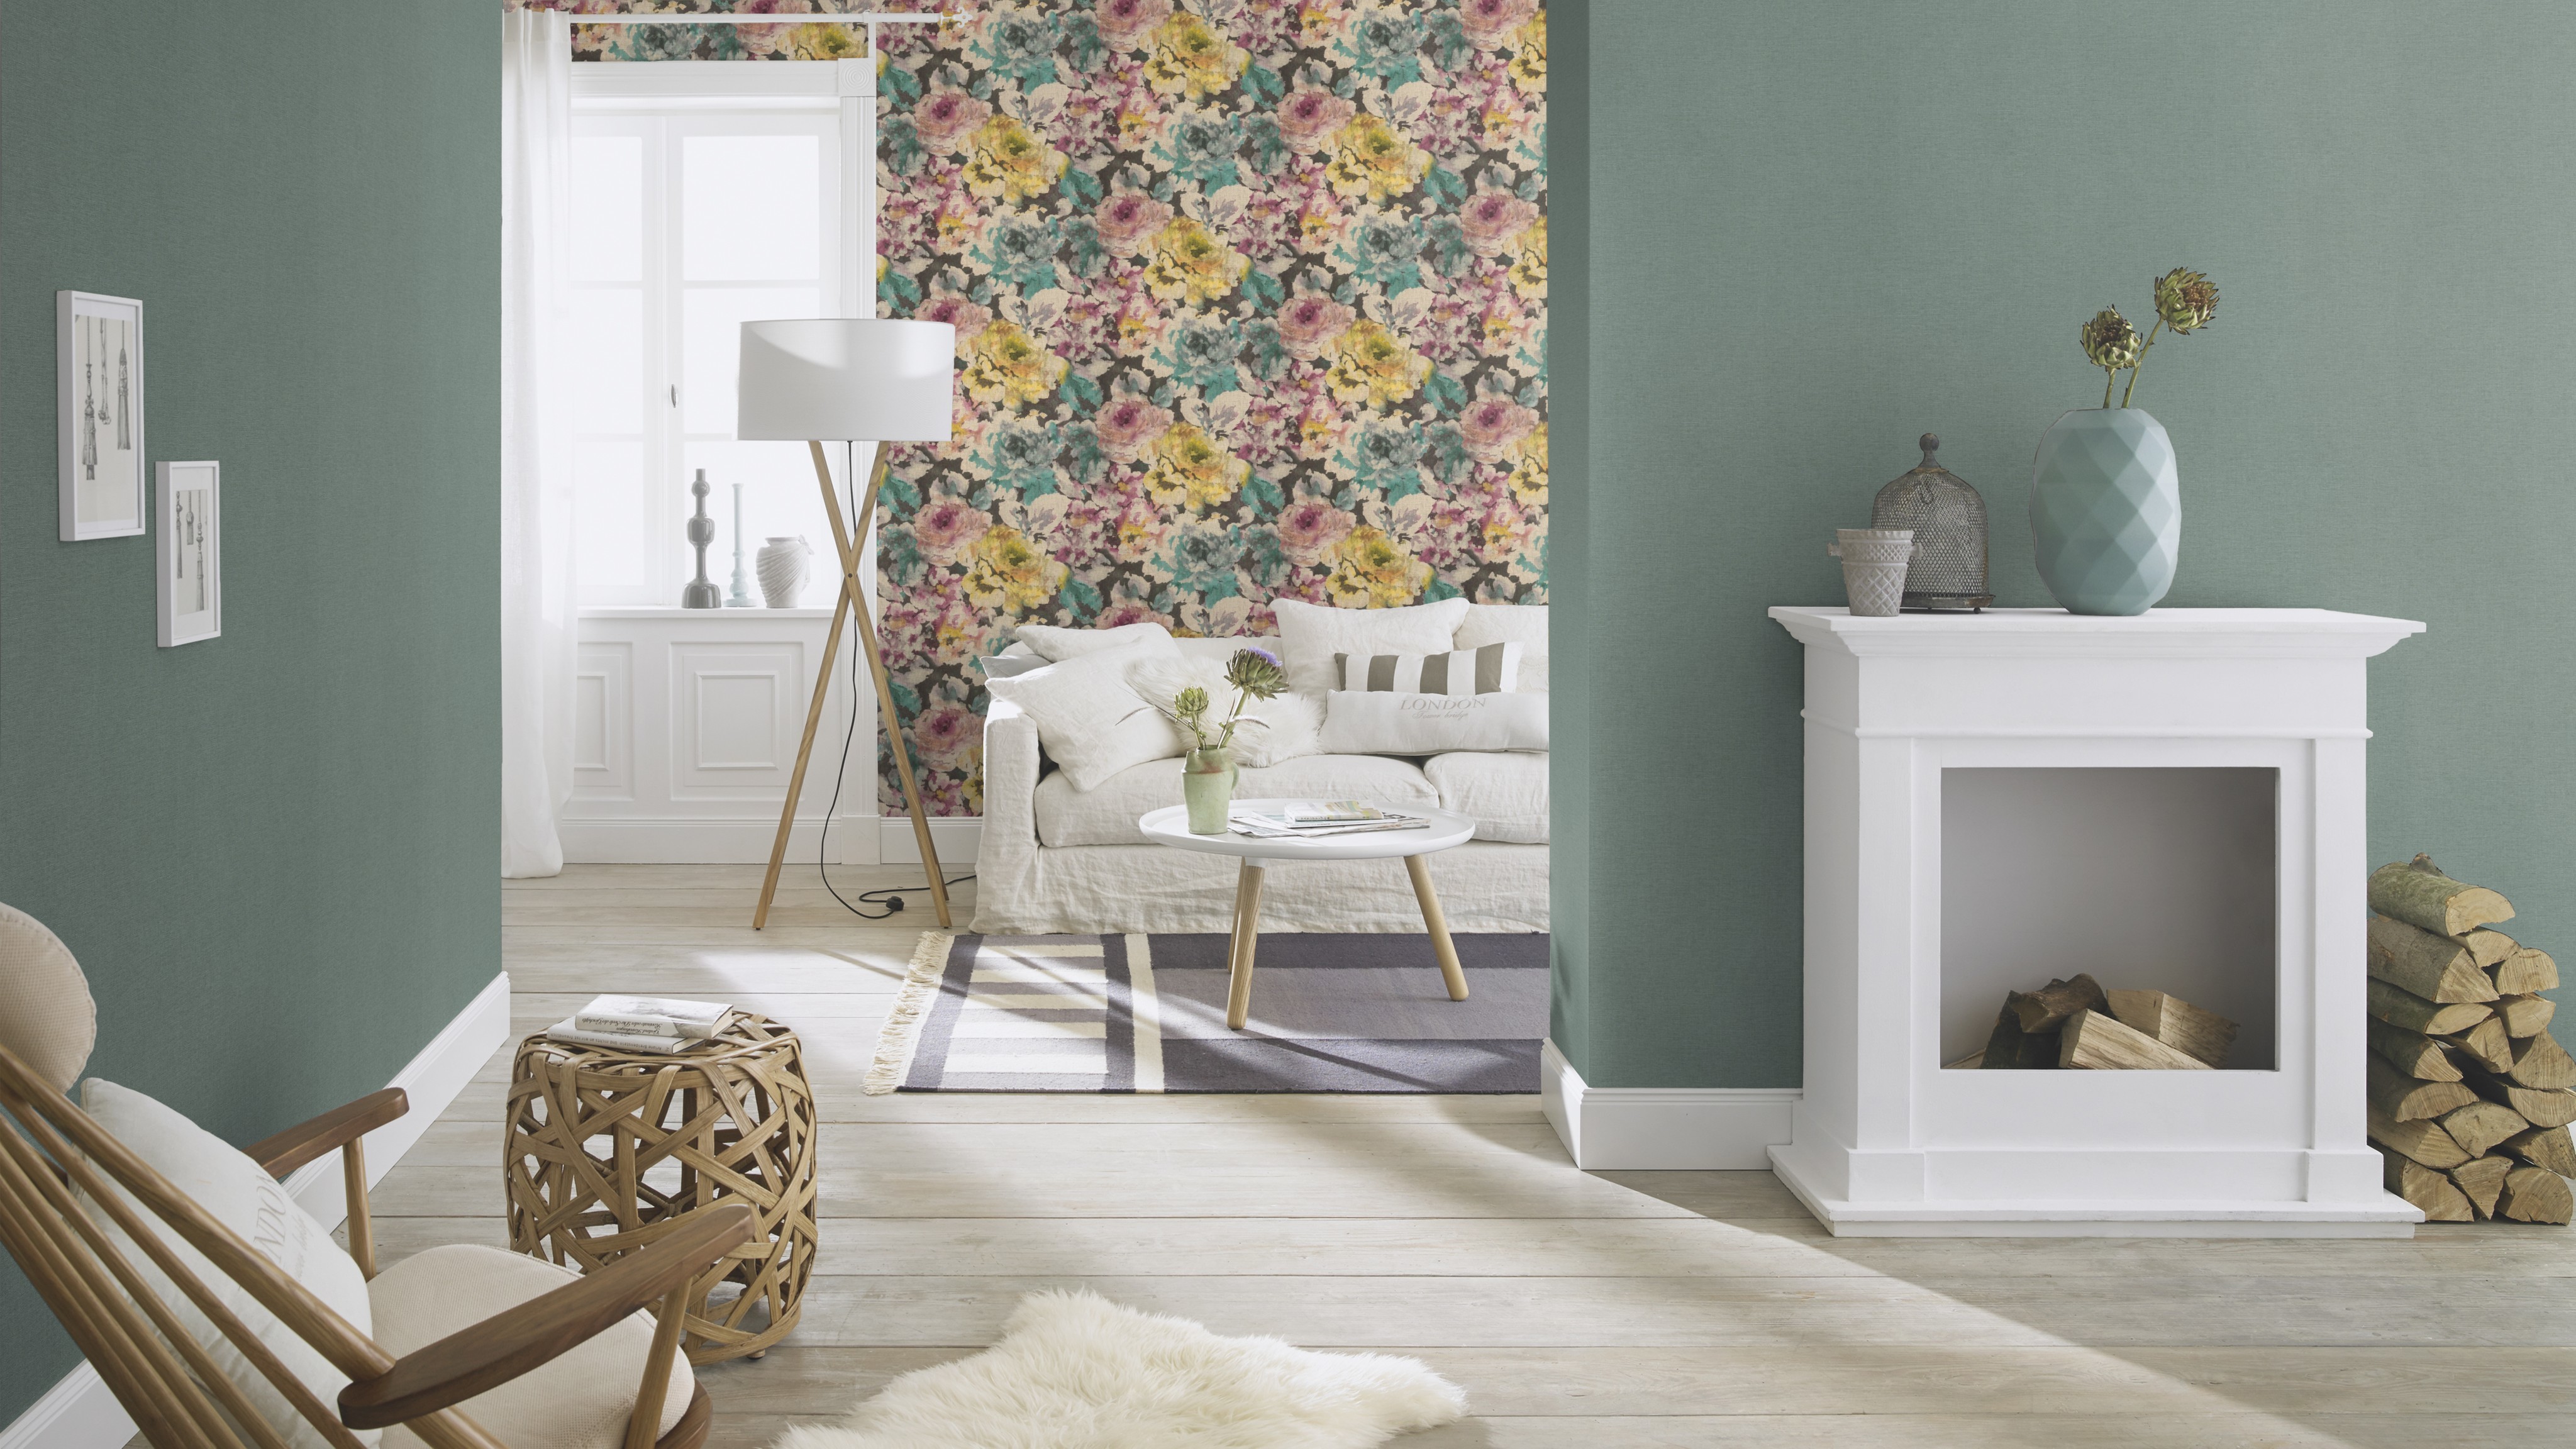
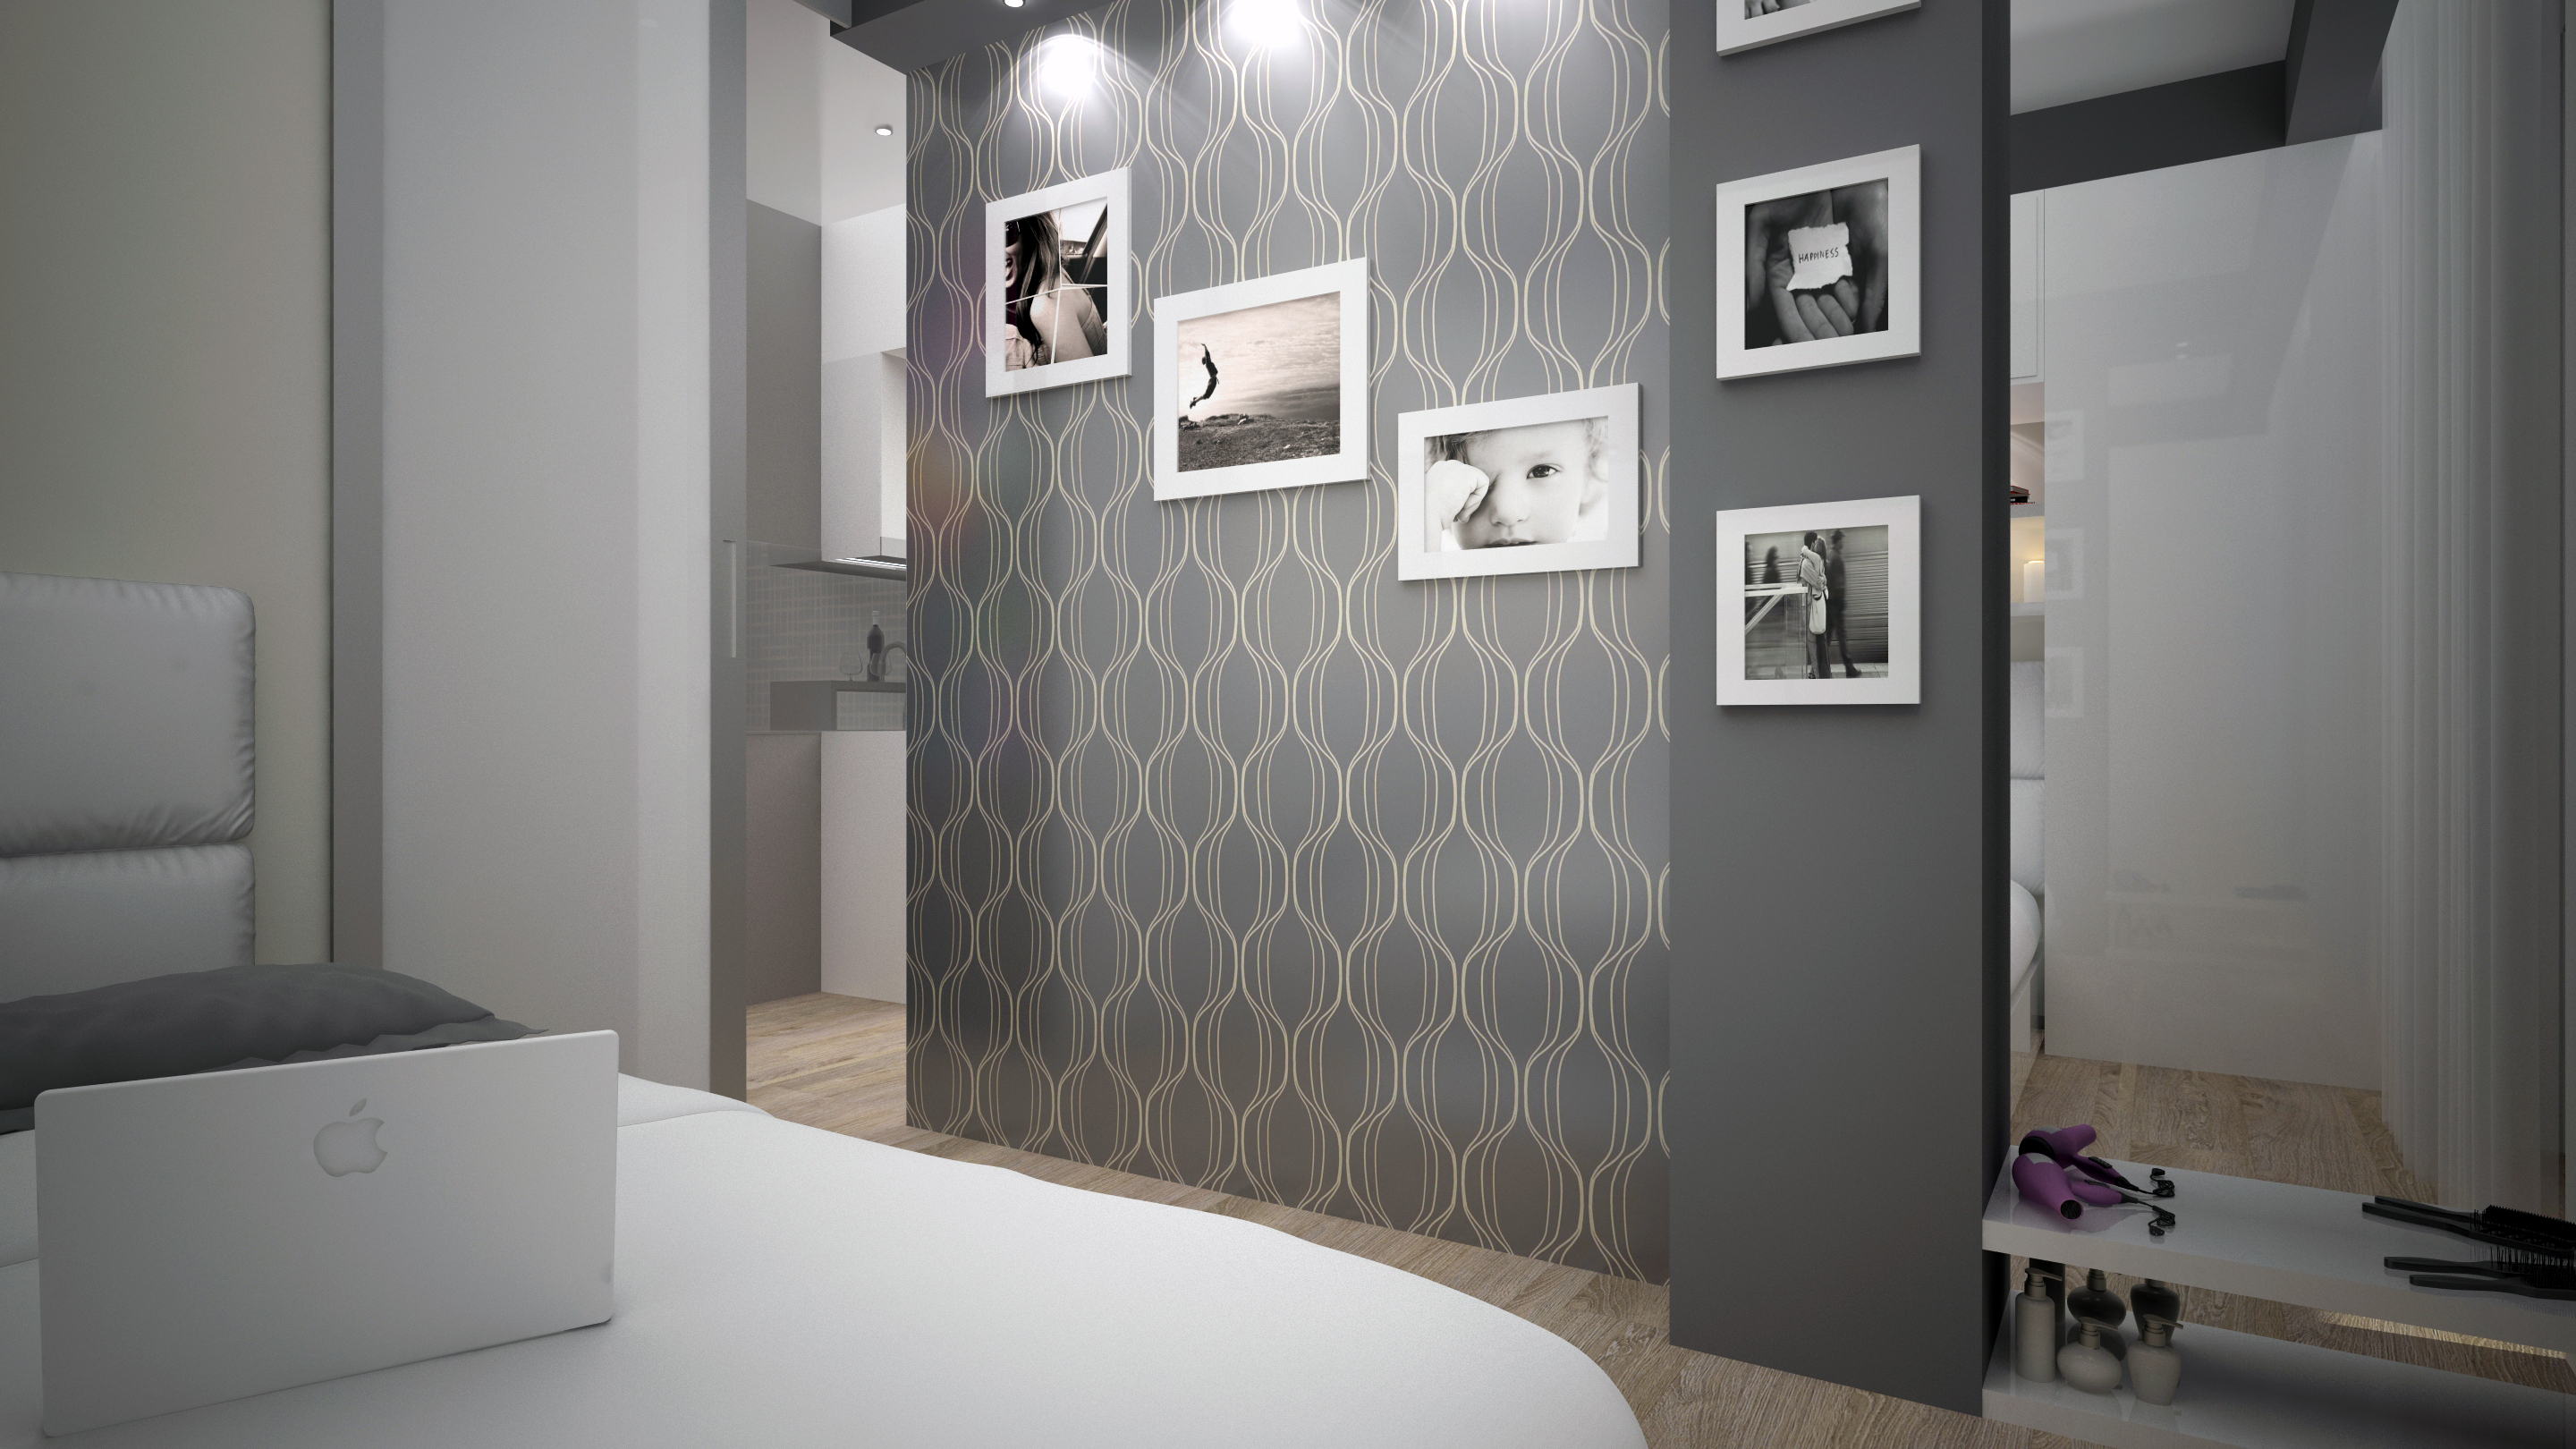
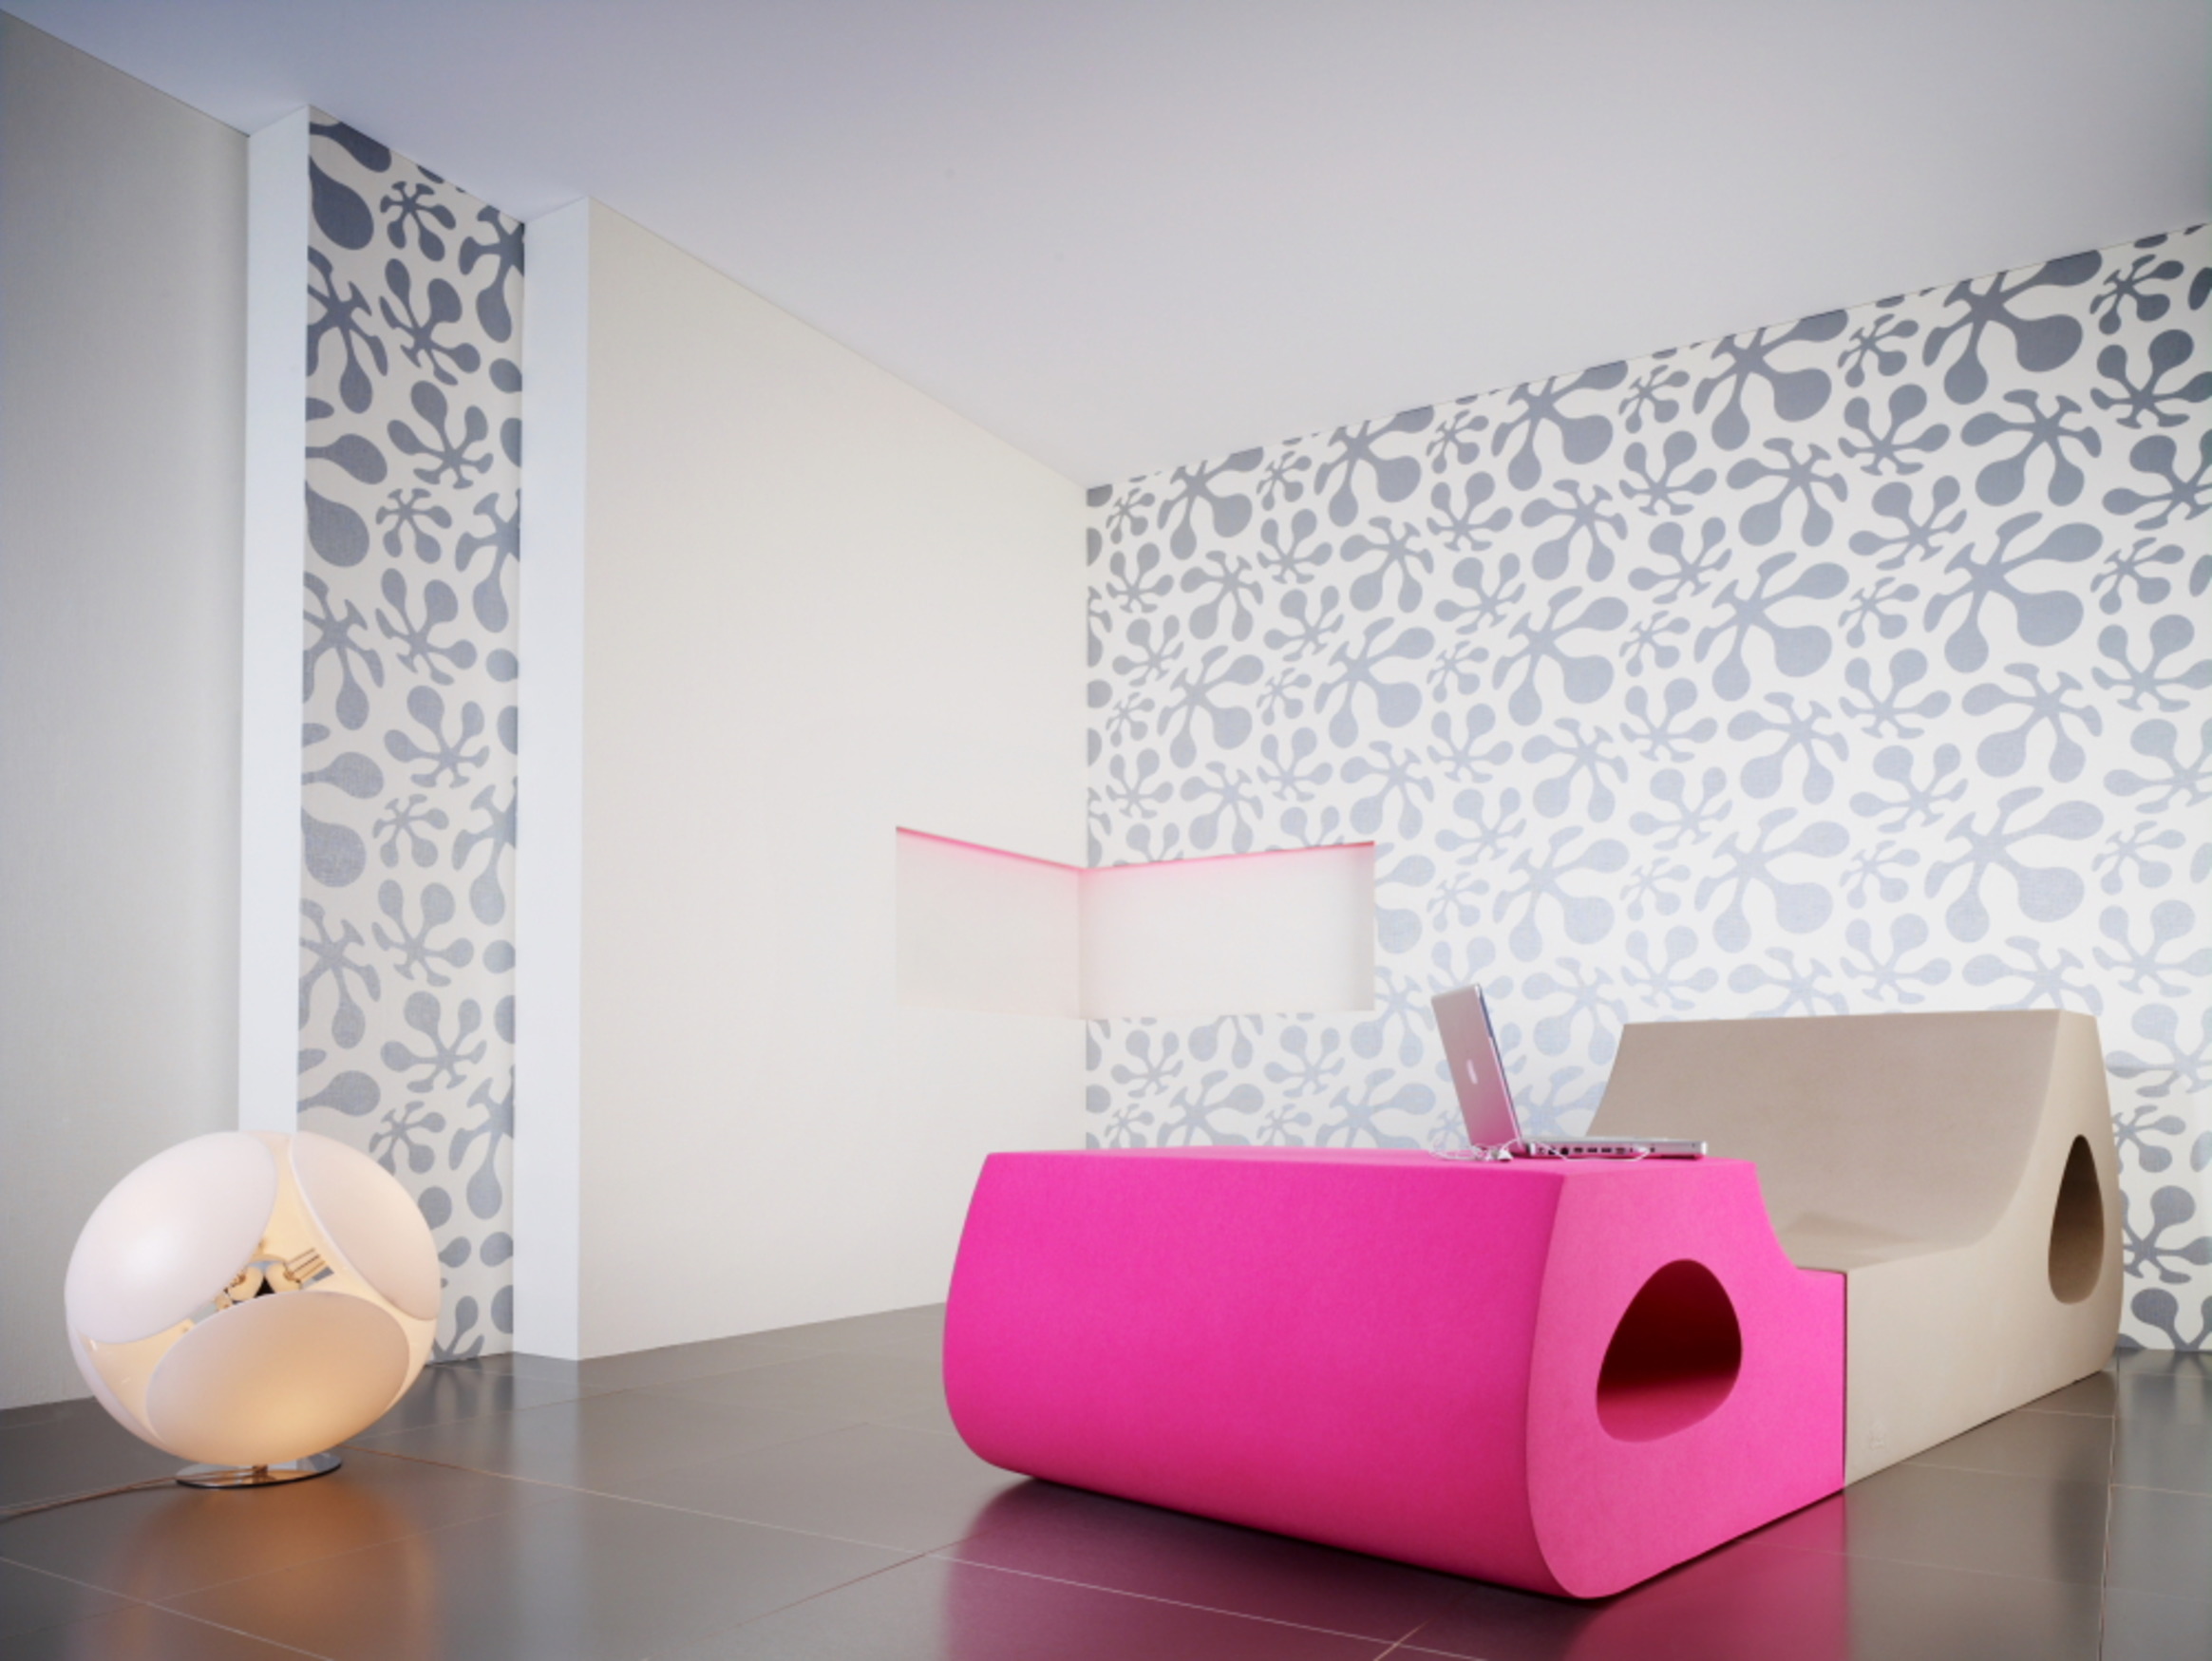
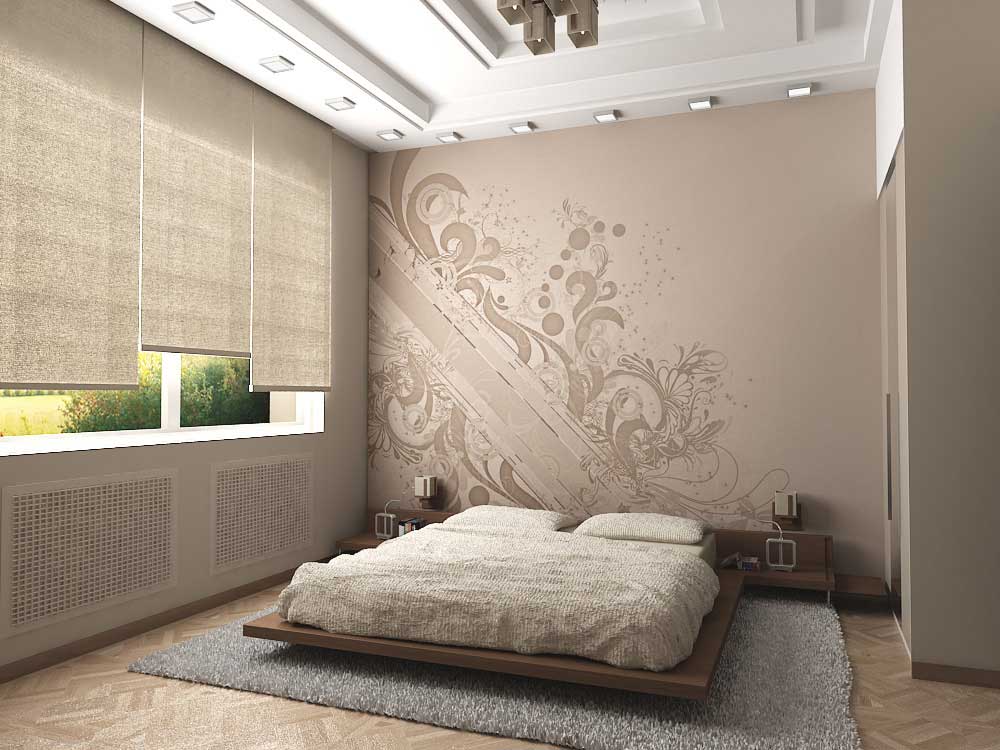
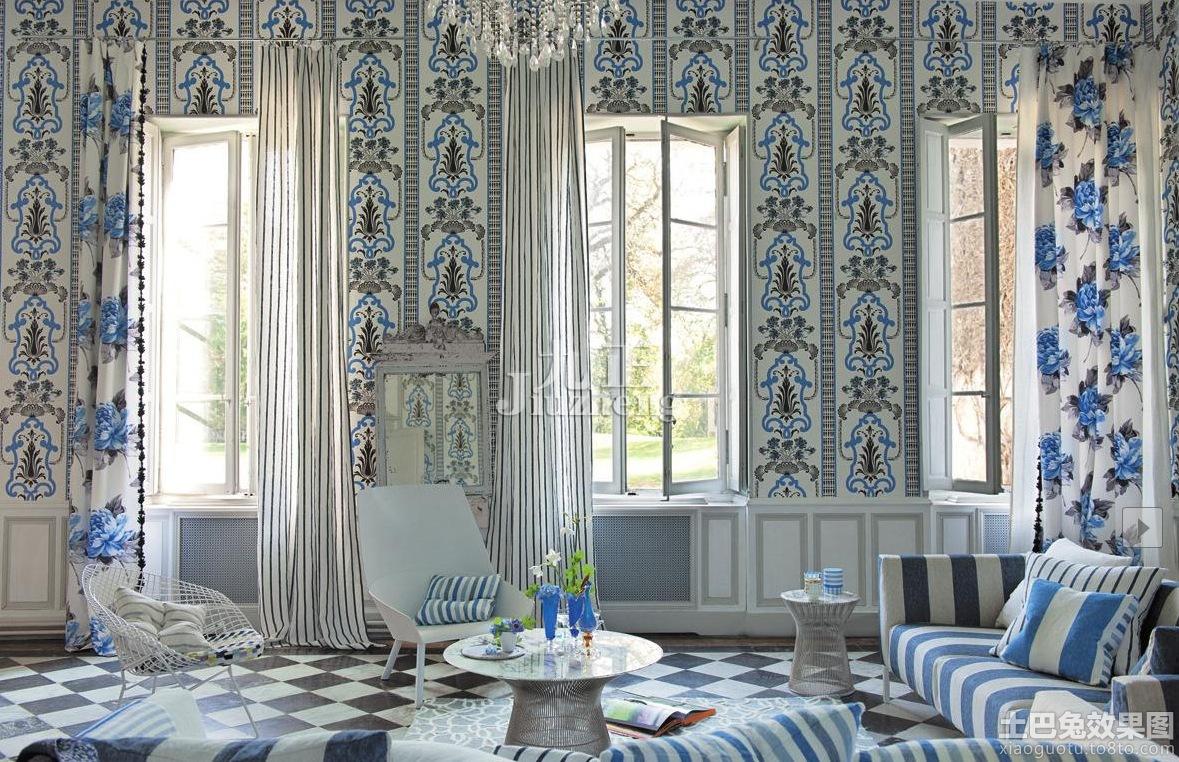
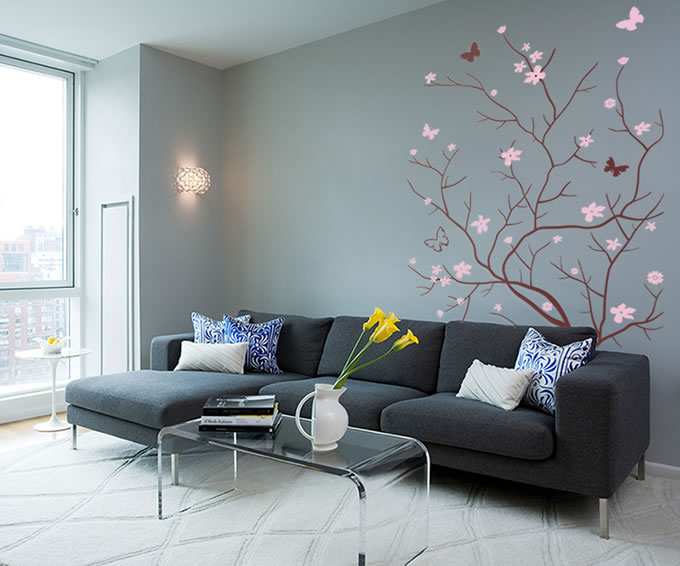
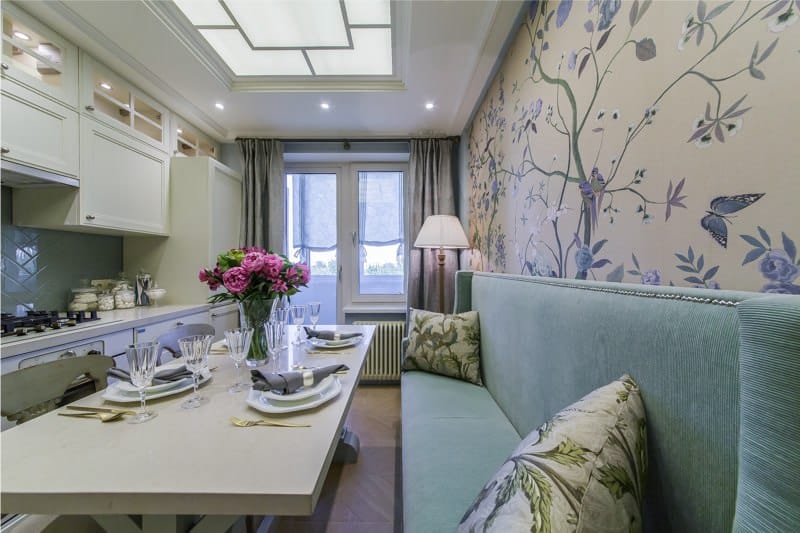
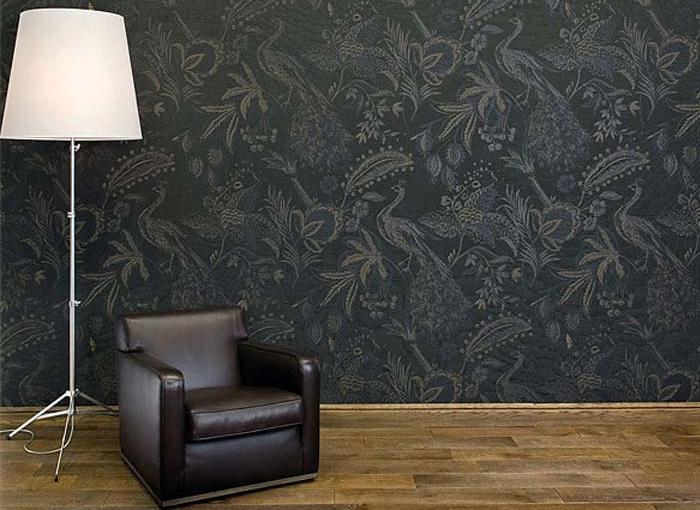
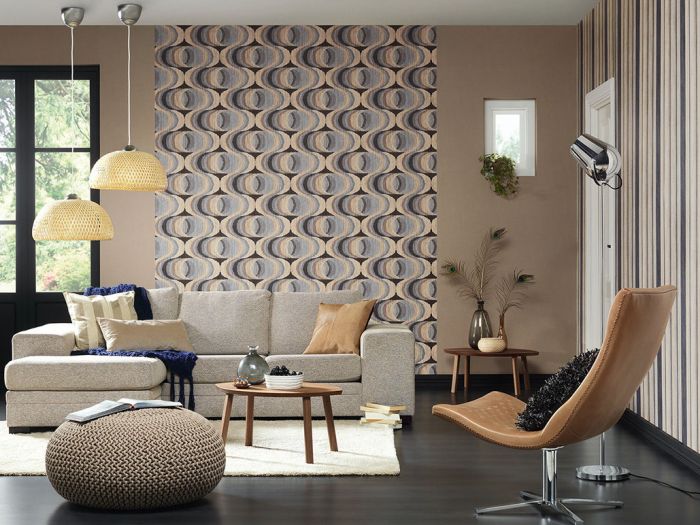
Beautiful examples in the interior
One of the latest trends in the design of the premises: the use of different colors on the walls. The alternation of different colors creates a festive atmosphere, gives a piquant variety. Often, these techniques make it possible to hide the defects of the walls. Often creates an alternation of patterns and colors.
With this combination, you must follow a number of rules:
- The ceiling should be high, then you can choose a large pattern and light colors. If the ceilings are low, then the light background of the wallpaper will visually increase the size of the room.
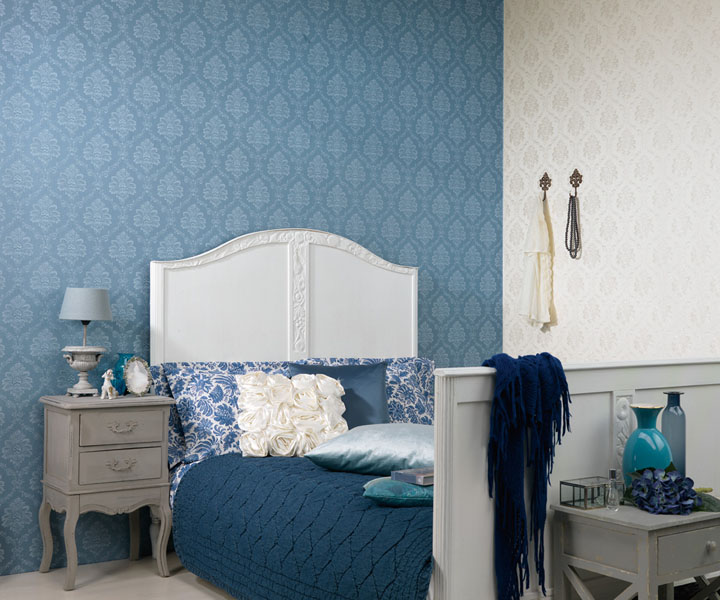
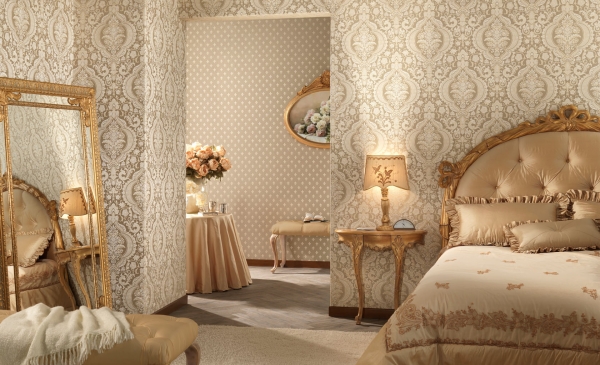

- For rooms where the ceilings exceed 3.2 meters, a larger pattern should be used, which stretches noticeably in width. It is also permissible to differentiate between different colors and shades on different walls.Horizontal stripes “downplay” ceilings and make the room much wider.
- Different colors of wallpaper are used to emphasize the division of space. In bathrooms and bathrooms it makes sense to mount light wallpaper that will “push” the room and at the same time create a peaceful mood.
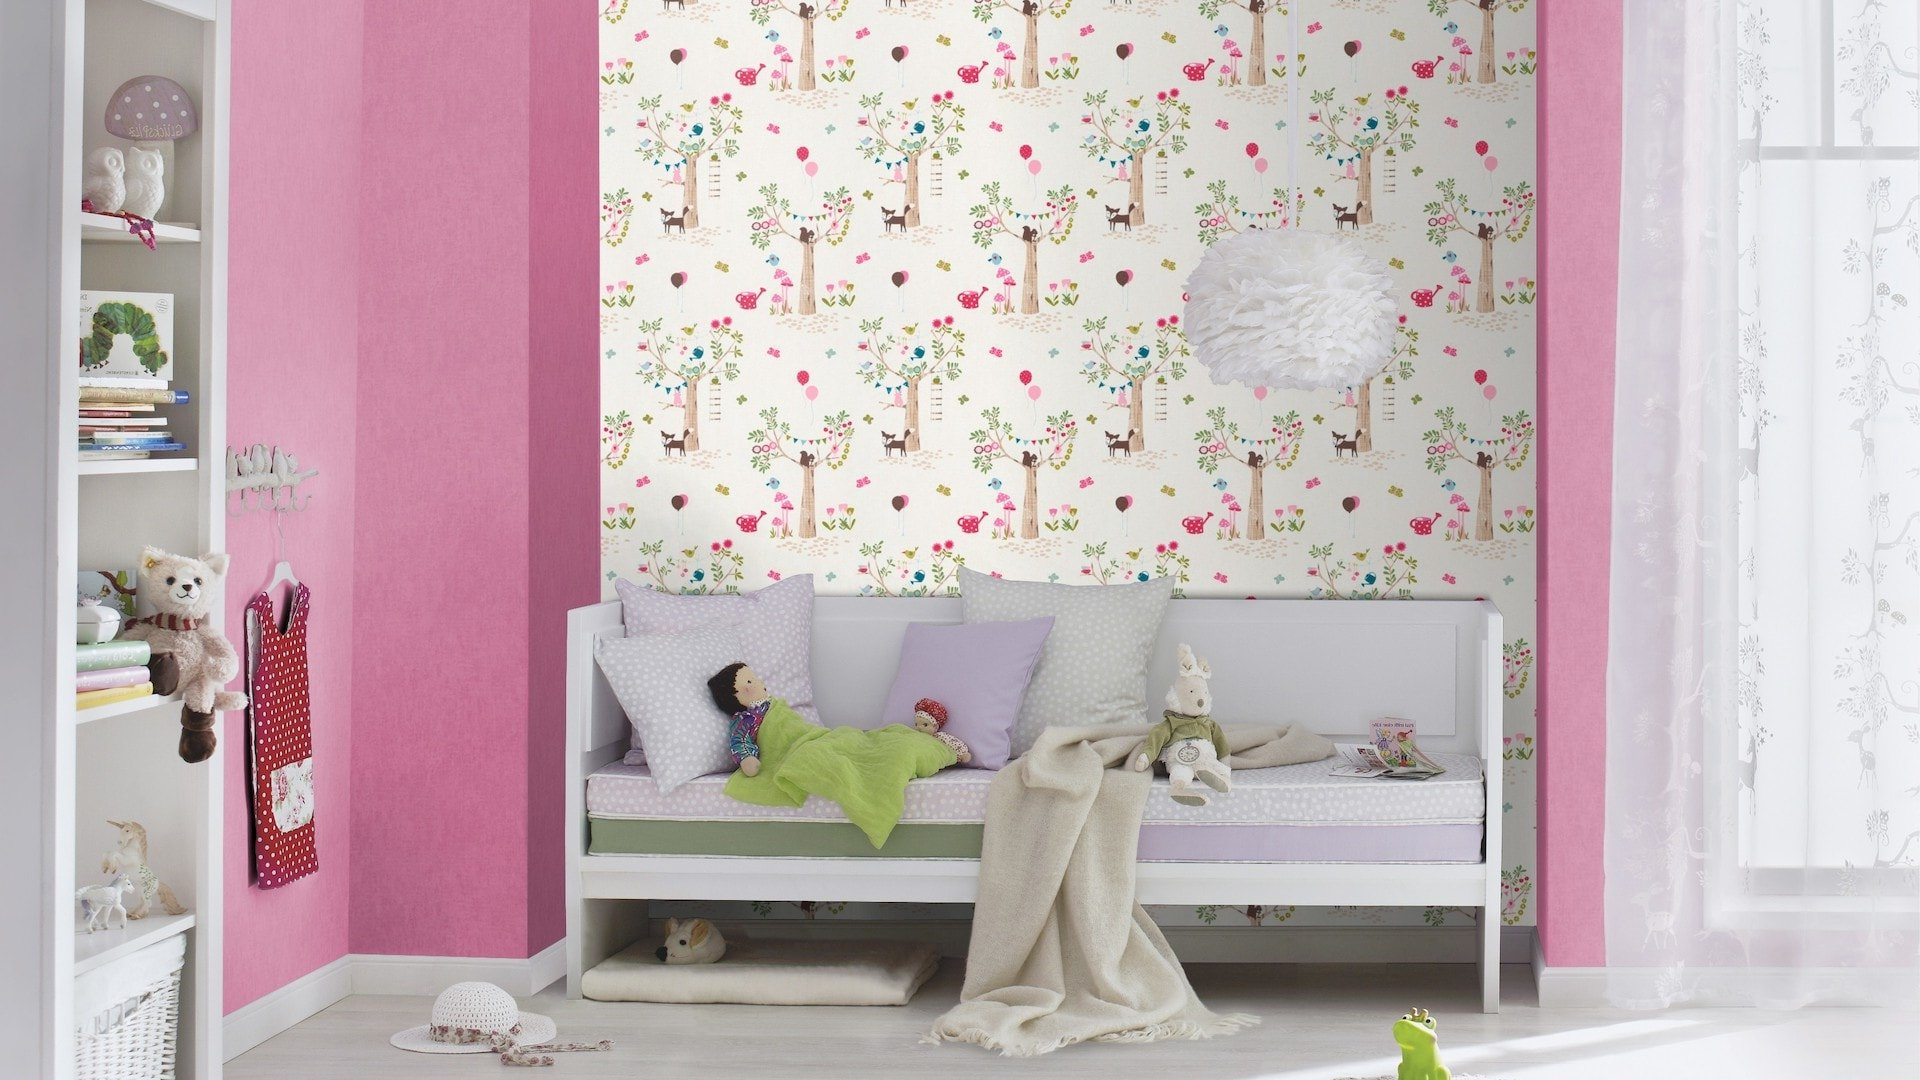
- A similar principle can be applied in the children's room: different colors of wallpaper can emphasize a place to play, sleep and watch cartoons.

How to glue vinyl wallpaper? Economically and quickly! Watch the video.


