Where to start wallpaper glue?
Wallpapers are one of the basic elements of the interior of any room. Due to their affordability, both financially and in terms of a wide variety of colors and materials, they have gained wide popularity among buyers. However, there is still no one correct opinion on where to start wallpaper glueing. Let's try to deal with the nuances of various methods.
Why is it important to choose the right one?
Before purchasing this finishing material, you need to take into account a large number of nuances that will further help to translate the conceived ideas into a quality repair:
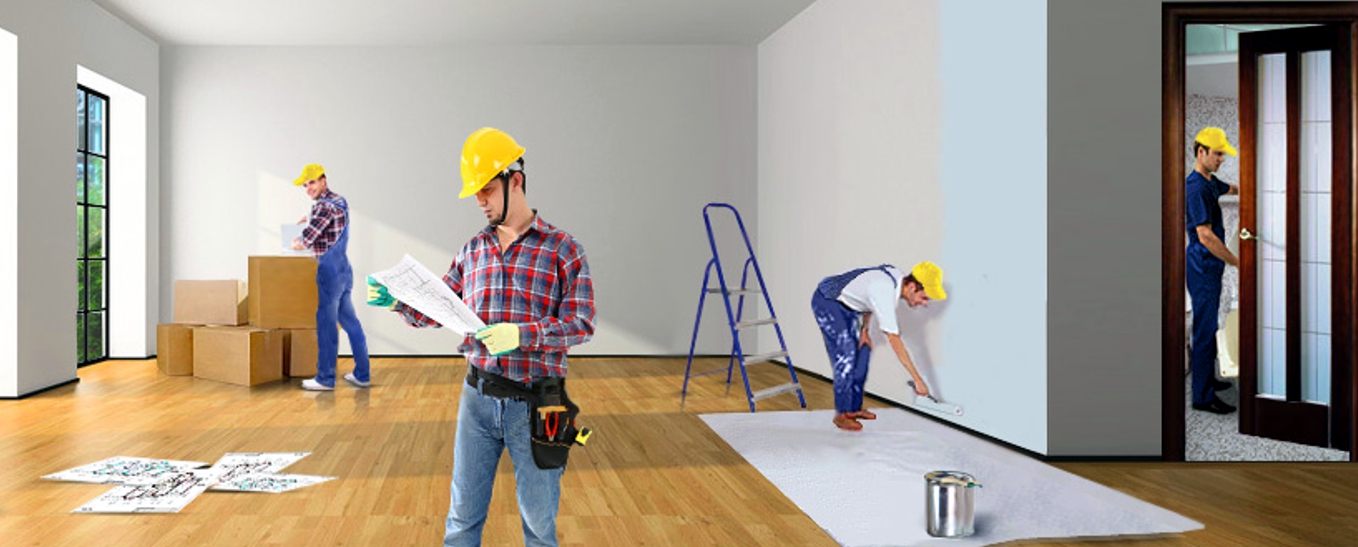

- It is necessary to decide whether you will carry out repair work yourself or a highly qualified team will do it for you.In the second case, no problems should arise, and the only concern is the choice of wall coverings. It turns out that for the quality of the work you will have to pay a certain cost. Experts will independently choose the necessary option of sticking and, using all necessary materials, in the shortest possible time will update the design of your room with new wall coverings.
- If you decide to do repairs yourself, you need to choose the right products, have a complete set of necessary tools in your arsenal, choose the right reference point and much more. We will talk about this now.
Every day, people are becoming more attentive to carrying out repairs in their home. In the twentieth century, the overwhelming majority of Soviet citizens snapped wallpaper on their own, using only one method — overlapping. This option is recommended to start from the window and run a little one strip to another. The produced canvases already had this strip, where it was necessary to glue the subsequent sheets. The peculiarity of this method was the lighting, because it was thanks to him that such overlaps remained almost unnoticed.
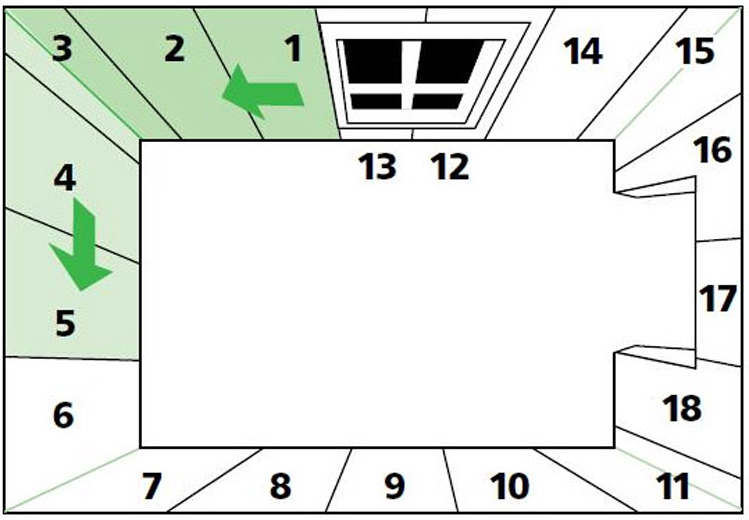
Also, overlapping sticking was very popular due to the fact that the window cuts were the smoothest, and this automatically made them reliable landmarks. Even today, this method is widely popular, however, progress does not stand still and a variety of other methods are presented.
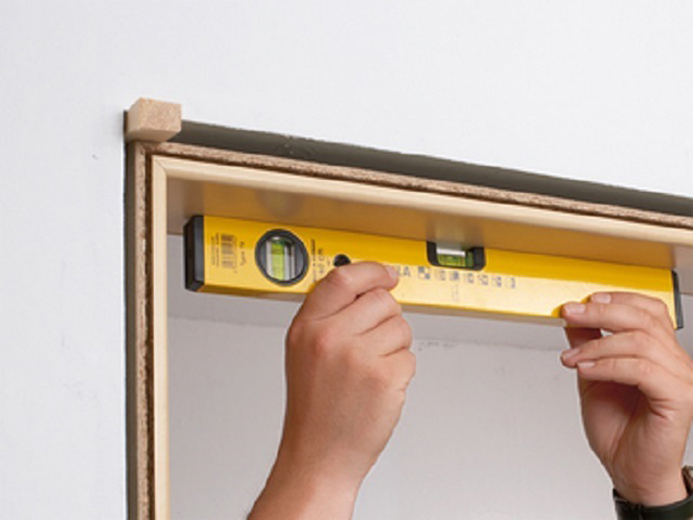
The choice of the starting point in most cases depends directly on the apartment itself. If we compare modern buildings with houses from the USSR, we can see that nowadays people have started to pay more attention to the strict verticality of window and door openings. Special devices (level and other tools) allow you to check how vertical are the openings in the house.
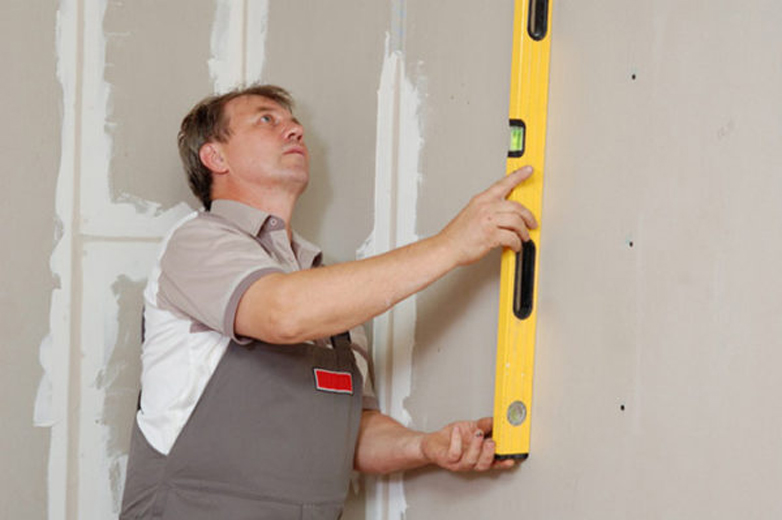
Thus, the conclusion suggests itself: the smoother the window or door openings (and the walls as a whole), the more initial points can be chosen before sticking. This, in turn, will help to make repairs more quality.

Due to inexperience, a wrong start can be chosen, which can lead to some visual defects:
- If initially the wrong place to start gluing was chosen, with time the canvas may be tilted (the sheet will be pasted at an angle).
- Also, the matching of the pattern can be complicated or even impossible.
- Incorrect selection can lead to increased consumption of wall products.


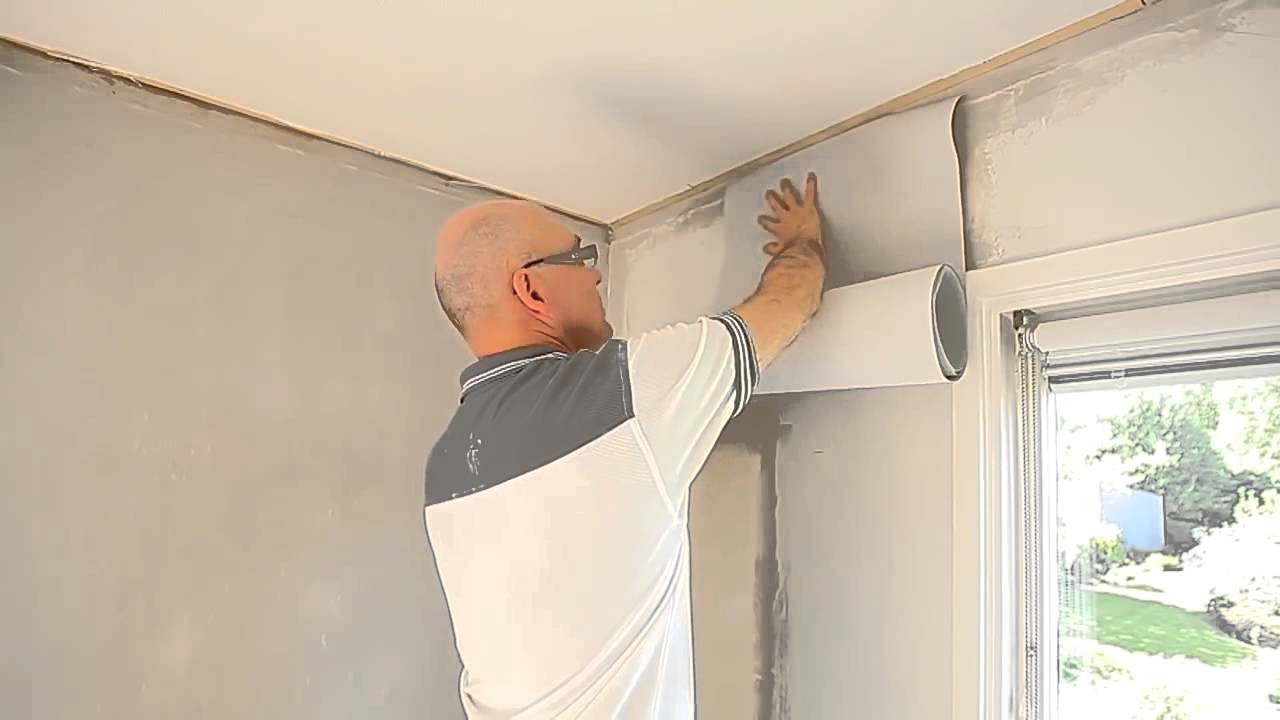
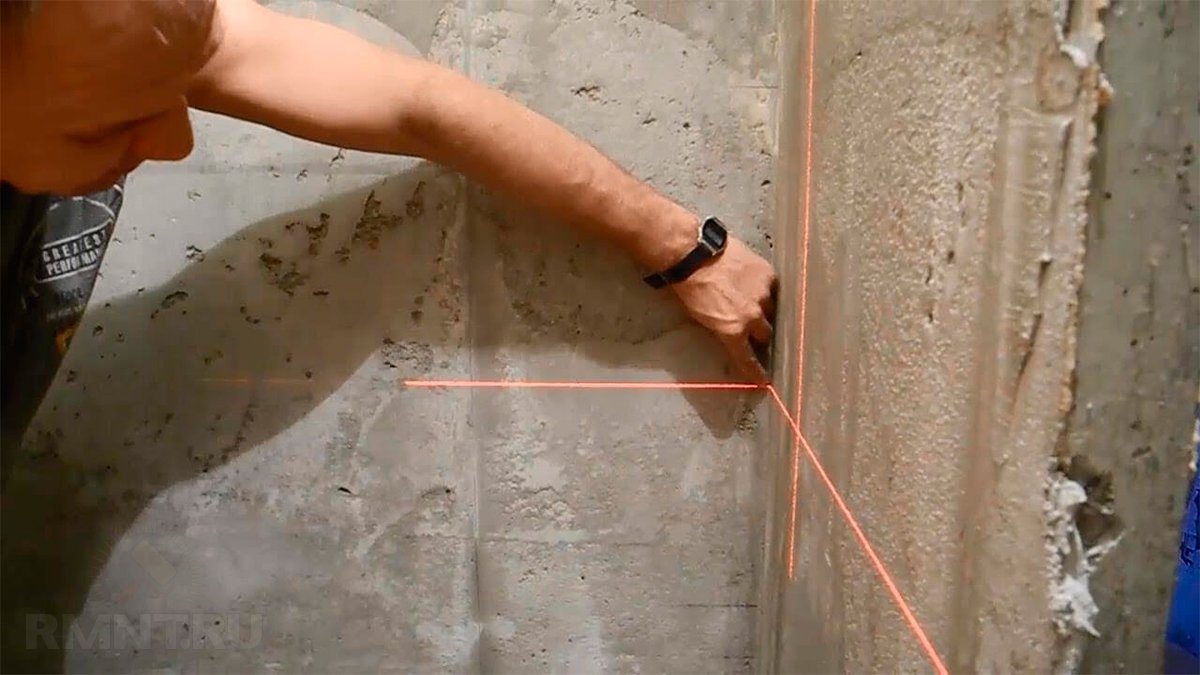
Before you begin, you need to find the smoothest doorway in the room. In the event that none of the available options is suitable, you can make a new landmark. To do this, you will need a rope, a load, and what the rope will be attached to the ceiling (for example, a nail or a button). Procedure: fasten the load onto the edge of the rope and hang it with the opposite edge to the ceiling using a nail.
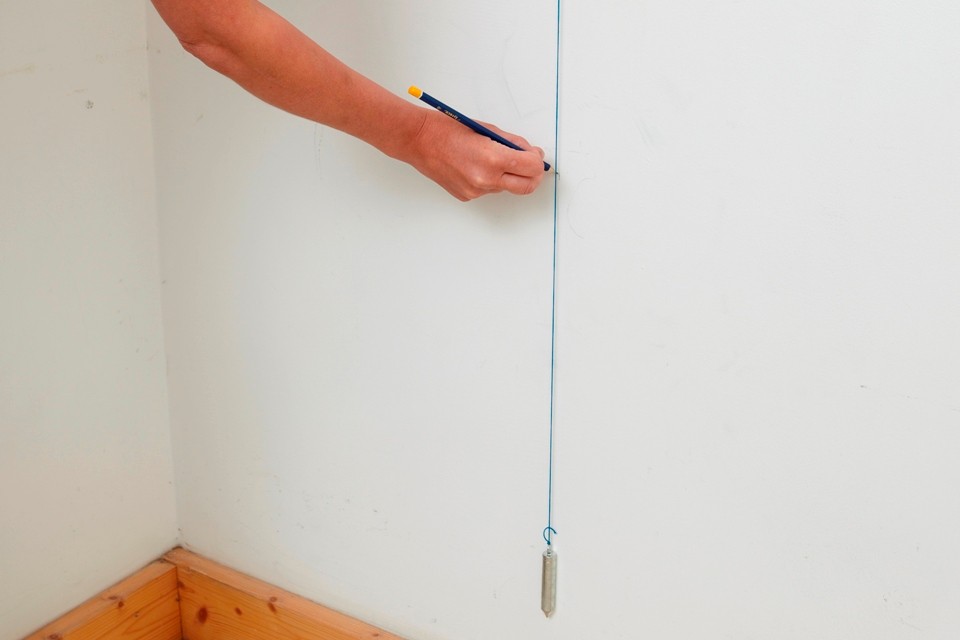
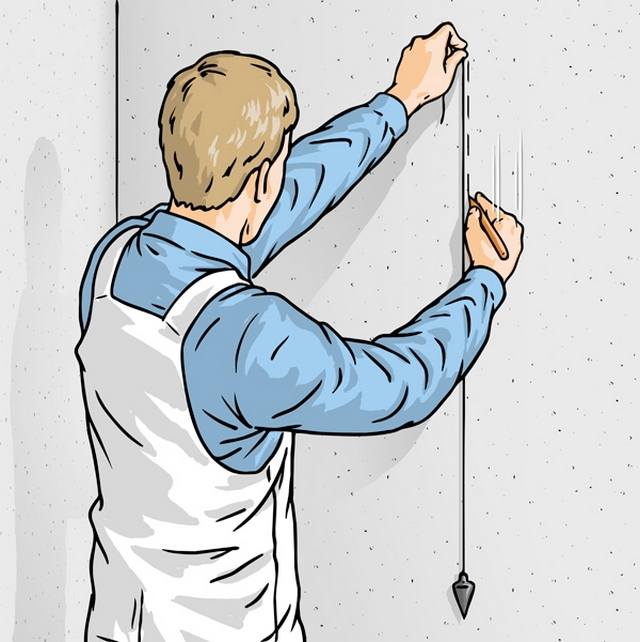
Then, along the line, draw a strip of pencil, which will serve as a place for gluing the first strip of wallpaper. The smoother the original starting point you have chosen, the less difficulty will arise with the repair work.
Start point criteria
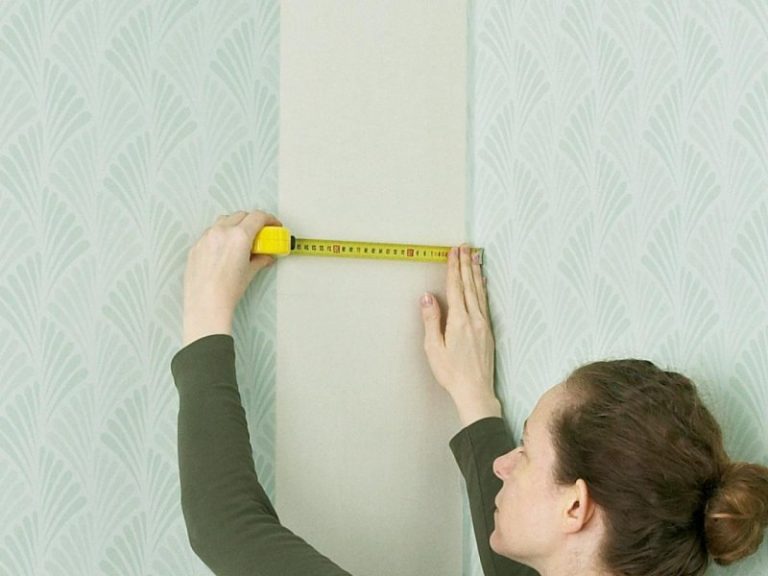
Once you have selected a landmark that is strictly perpendicular to the floor, you can continue to go around the circle of the room, or, more precisely, close its rectangle. But then there is one obstacle that almost everyone ignores - these are uneven corners. This defect in building construction may affect the overall picture of the room.
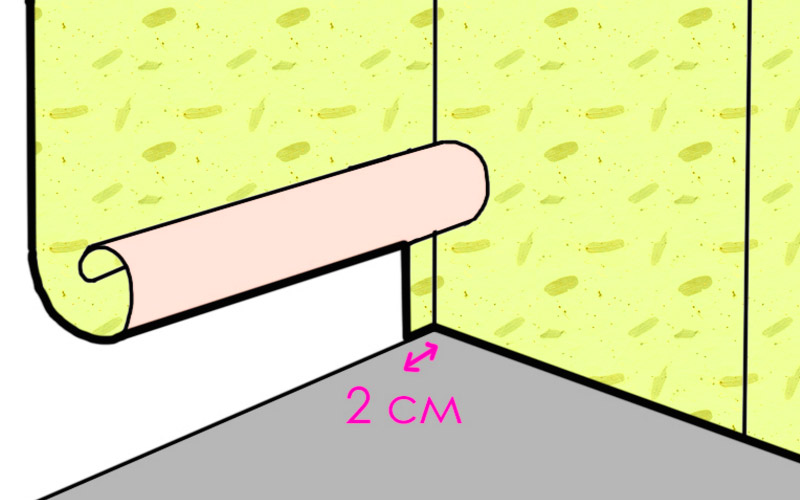
However, there is one way to visually make uneven corners undetected.To do this, you need to use a new vertical line when pasting each of the walls. Due to this, the sheet will go only a few centimeters on the next strip. Such a non-ideal joint will visually hide uneven corners and preserve the aesthetics of the selected wallpaper design. You also need to take into account the natural lighting of the room, as the unsuccessfully falling sunlight can visually highlight the joints.


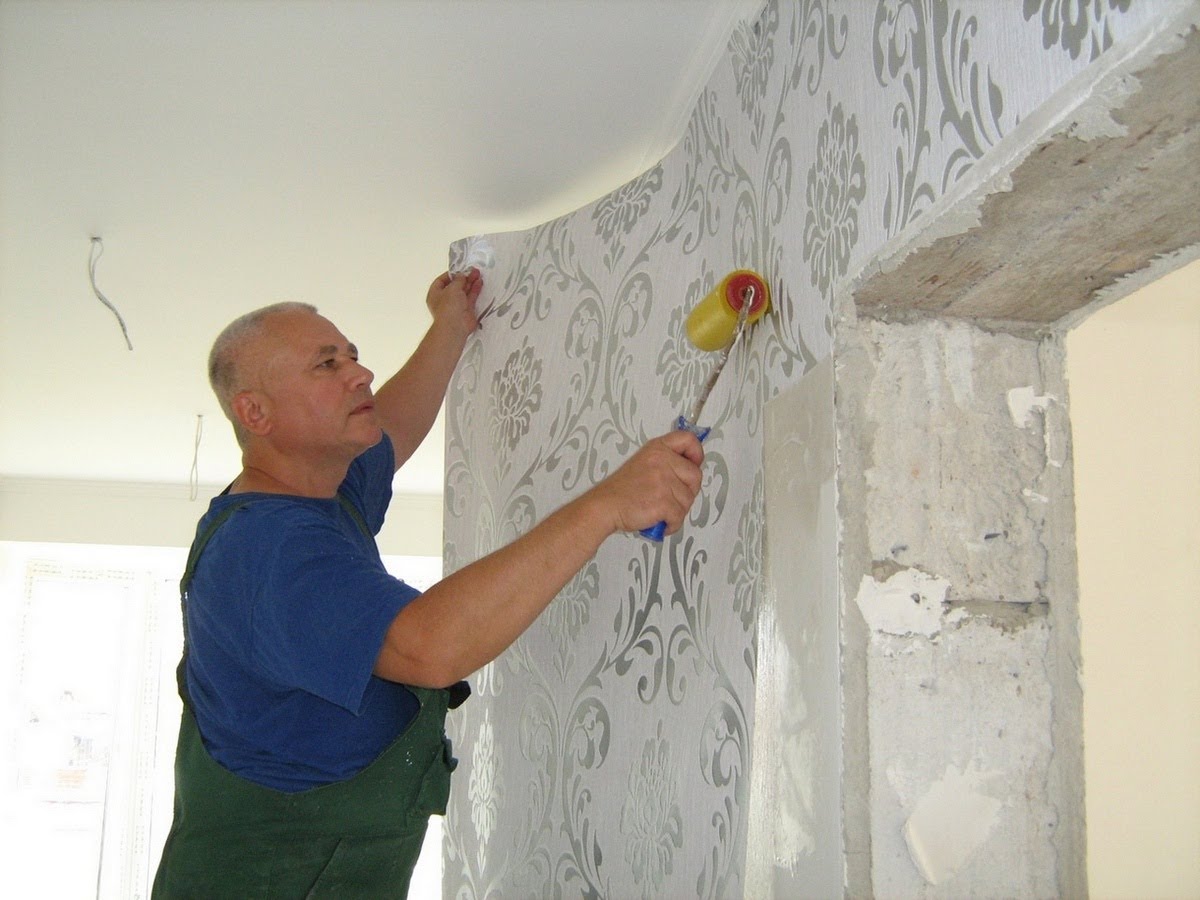
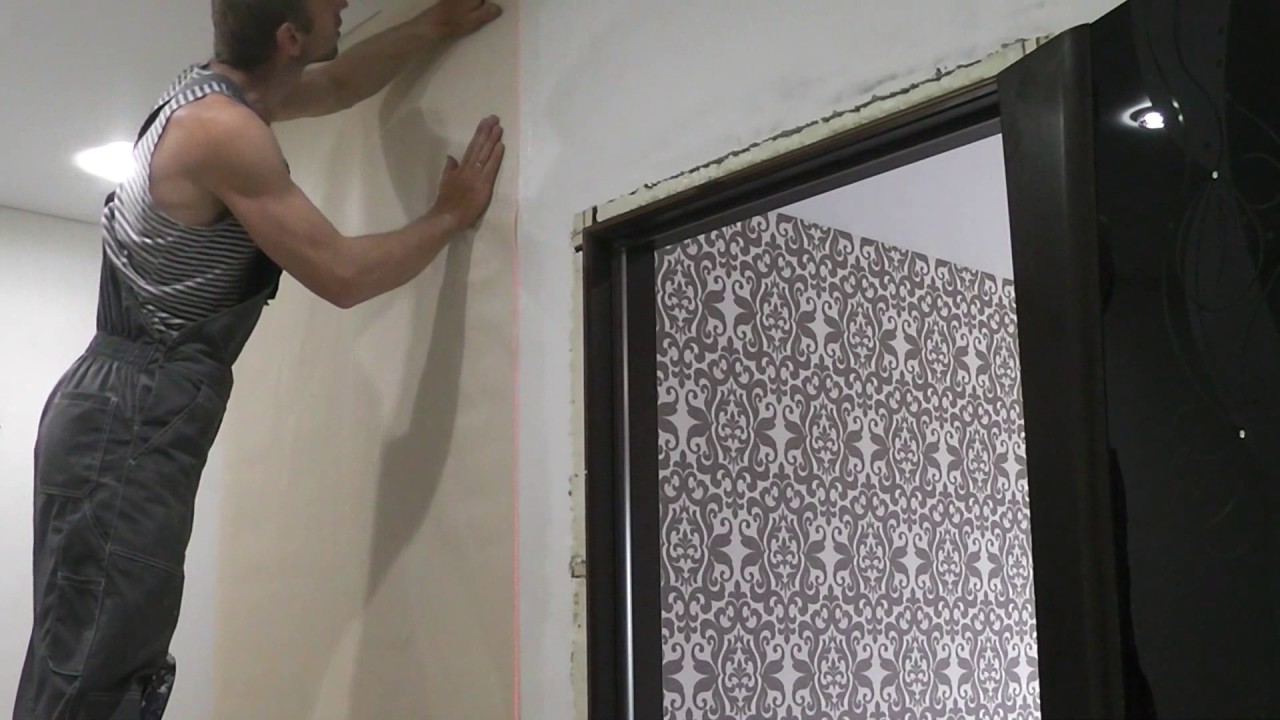
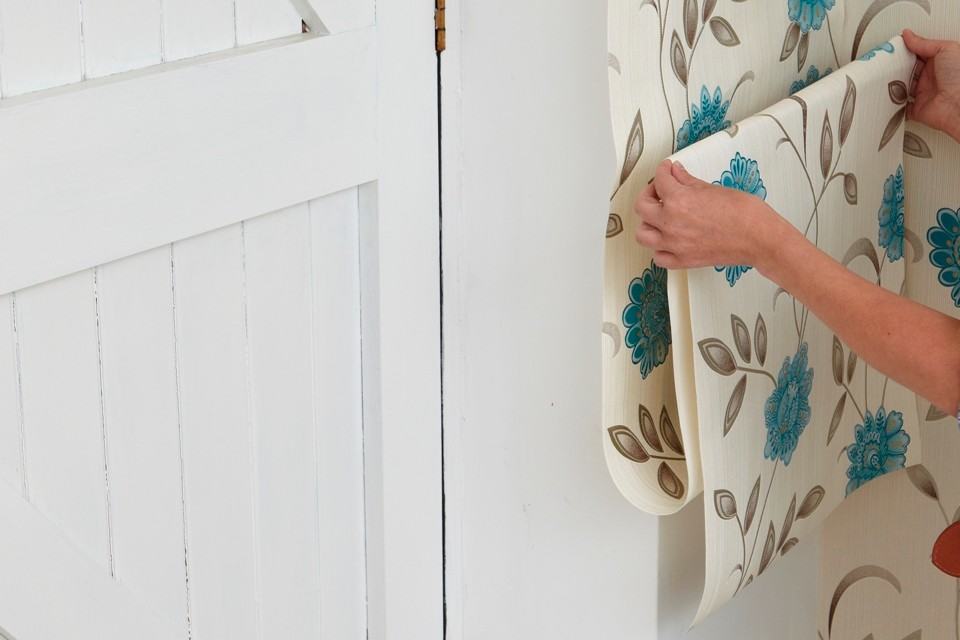
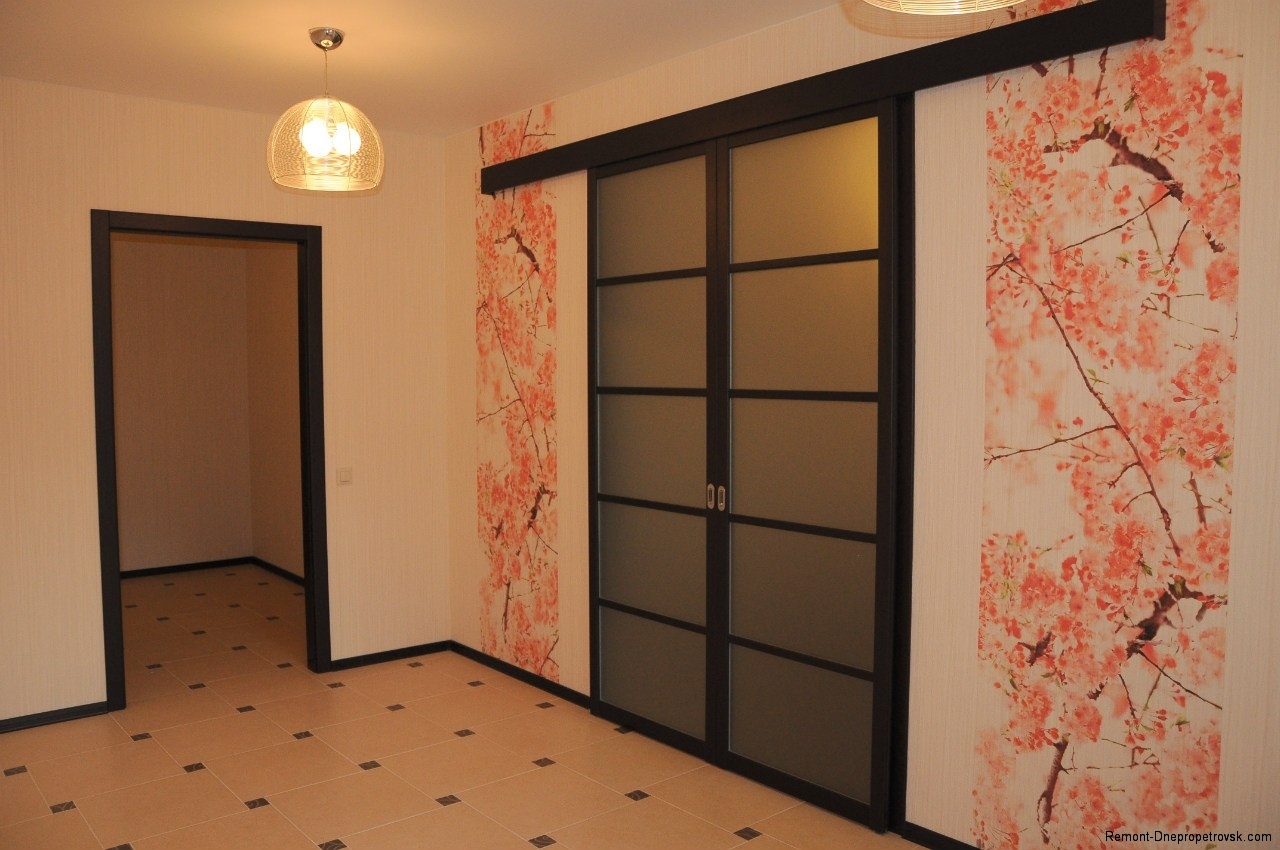
As a rule, a doorway can be chosen as a starting point, because doors are replaced more often than windows are replaced. During the replacement of the patches, it is necessary to observe a strict vertical so that the door will stand perfectly smooth. Therefore, often people just start pasting the walls from the door without even taking the necessary measurements.
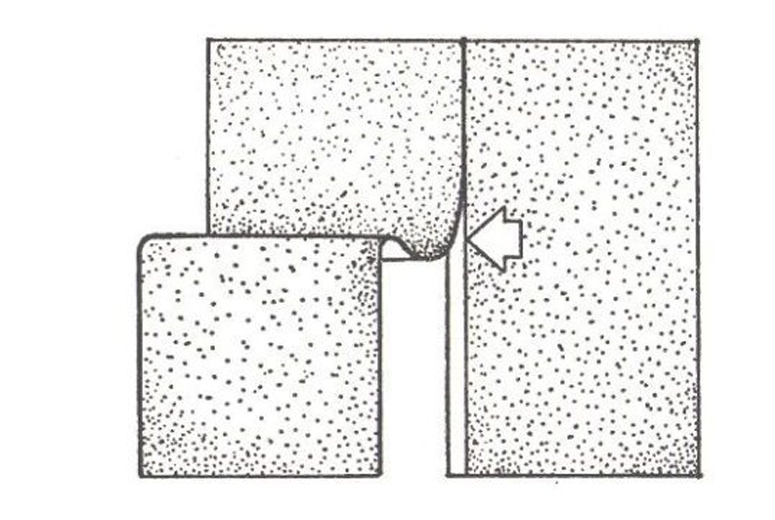
If the corners of the room in your house or apartment are perfectly smooth, you must also ensure that the wall products are properly glued. A single sheet of wall covering can not just stick to the corner of the room. This is fraught with the appearance of free space between it and the wall, which can later cause its mechanical damage (as a result of which a hole is formed).The correct solution would be to use a few sheets, while the time will be spent a little more, but the result will be better.
If the drawing is made in the form of various stripes and other geometric elements, even with ideally even corners to join it is a rather difficult task. It is necessary to strictly adhere to the vertical position and to prevent the descent. Only in this way can the pictures of the first and last bands be joined.
Options
Today there are several options for pasting wallpaper.
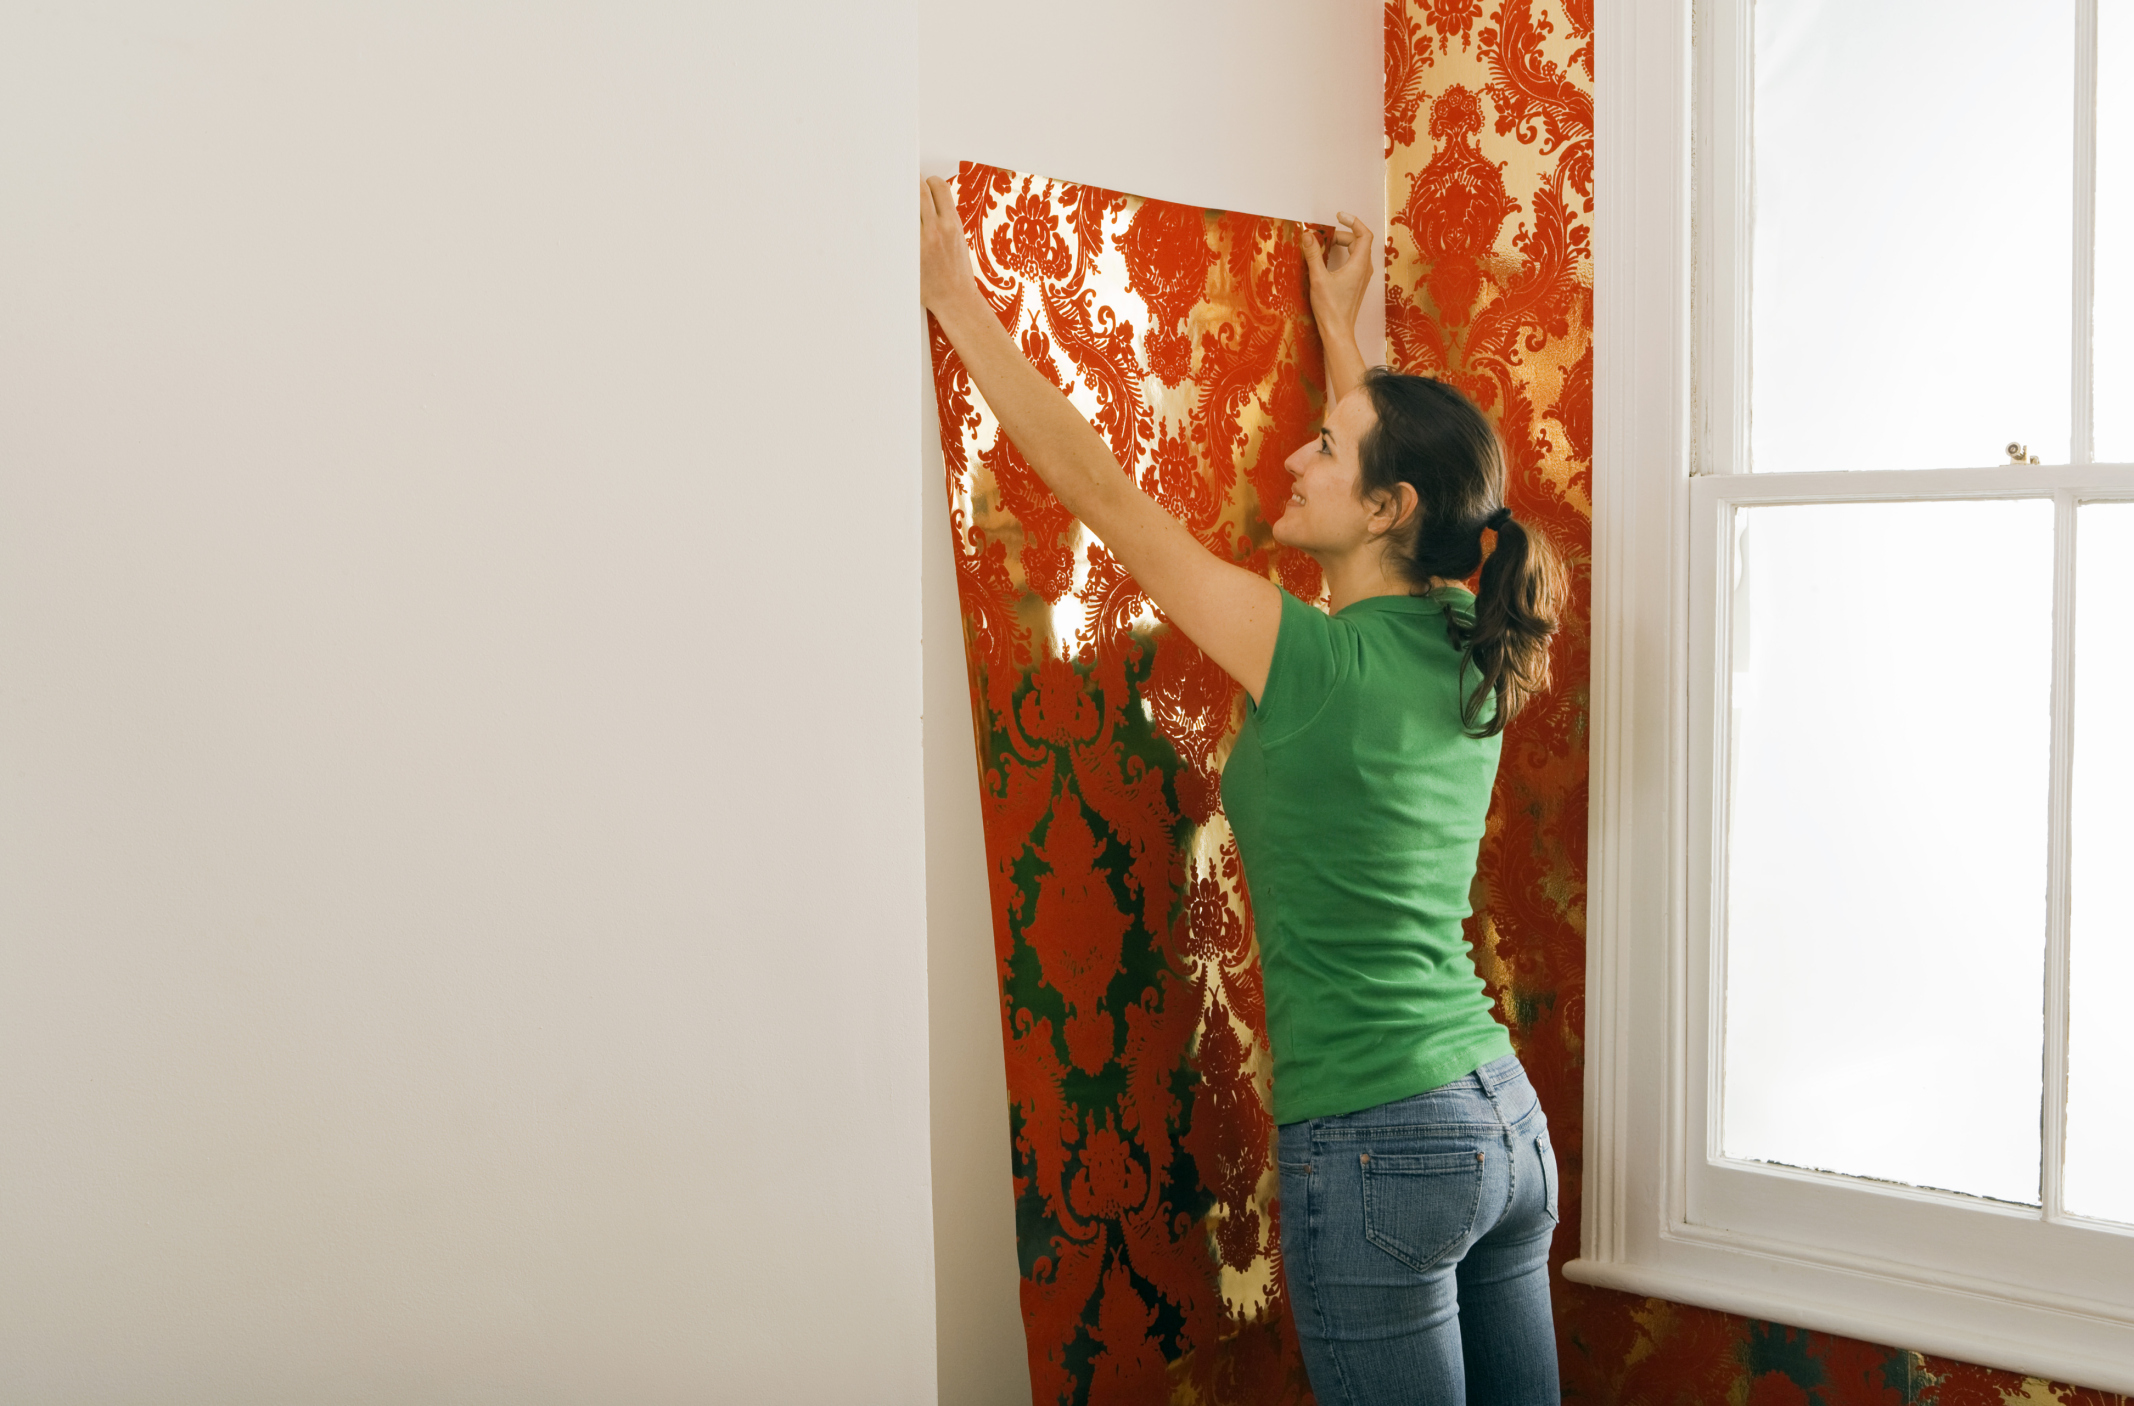
From the window
In this case, pasting occurs clockwise starting from the right side of the window opening. When using thinner materials, the overlaid wallpapers will be almost imperceptible after the glue dries.
From the door
As already mentioned, the door is a good starting point, since it is believed that the doors in the premises are often replaced.
From the corner
This option is an exception, as it is used only in rooms with perfectly flat corners. It is best to use more standard options.
Other landmarks
An excellent reference point can be any major landmark in the room. This method is relevant if there is more than one door or window passage in the room. Thus, the starting point is the largest opening.
Use multiple lines. This method is relevant only if the pasting is performed on opposite sides of one of the openings (door or window).
The choice remains immediately for those who carry out repairs and is based on the individual characteristics of the room.
Getting to the pasting walls, you must perform a number of preliminary measures:
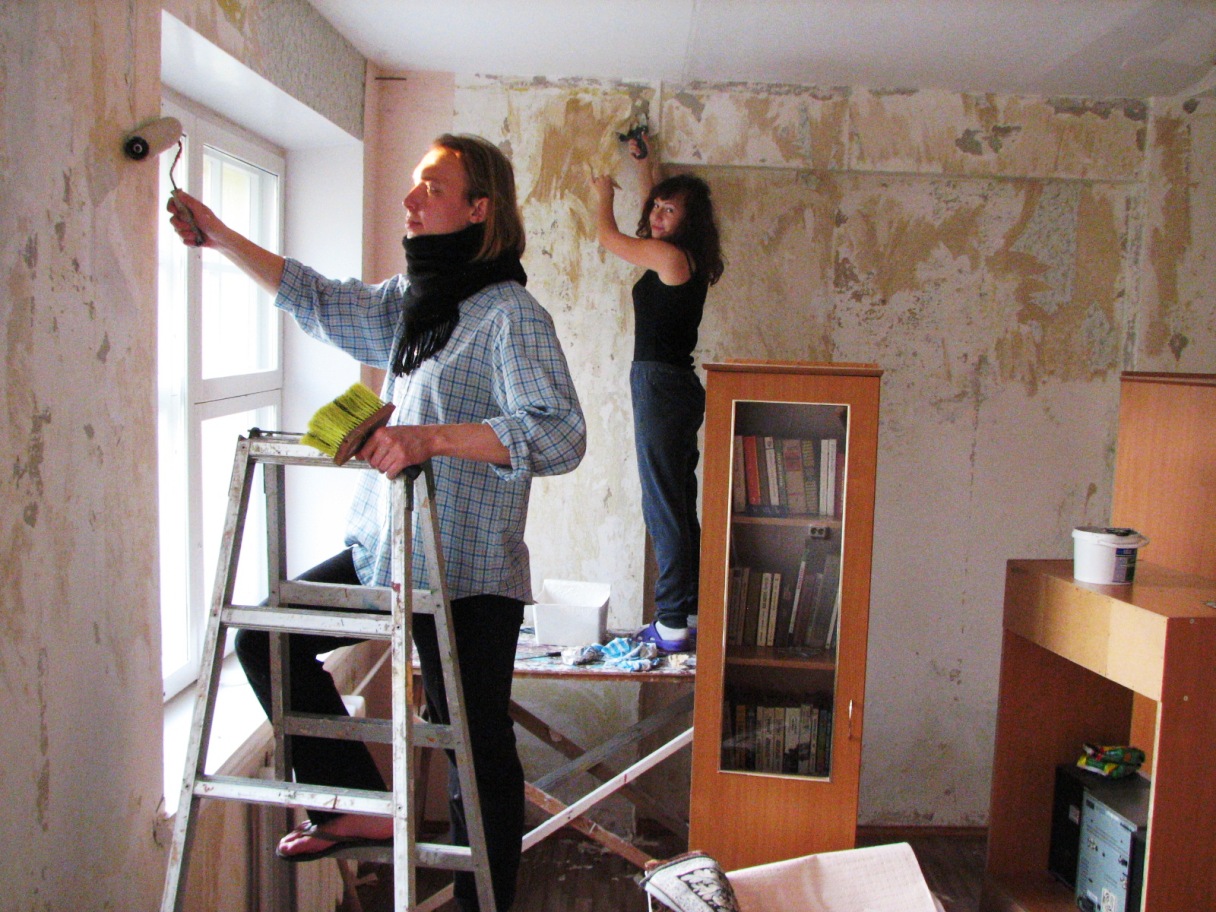
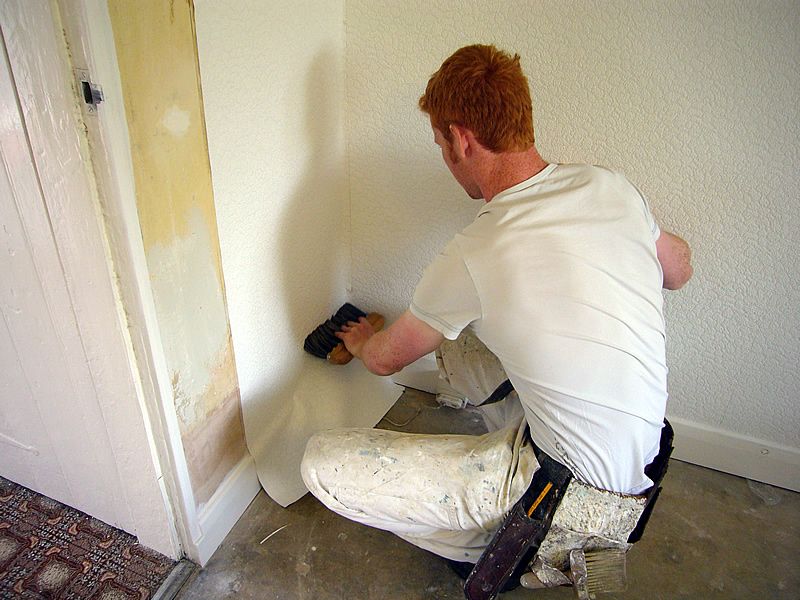
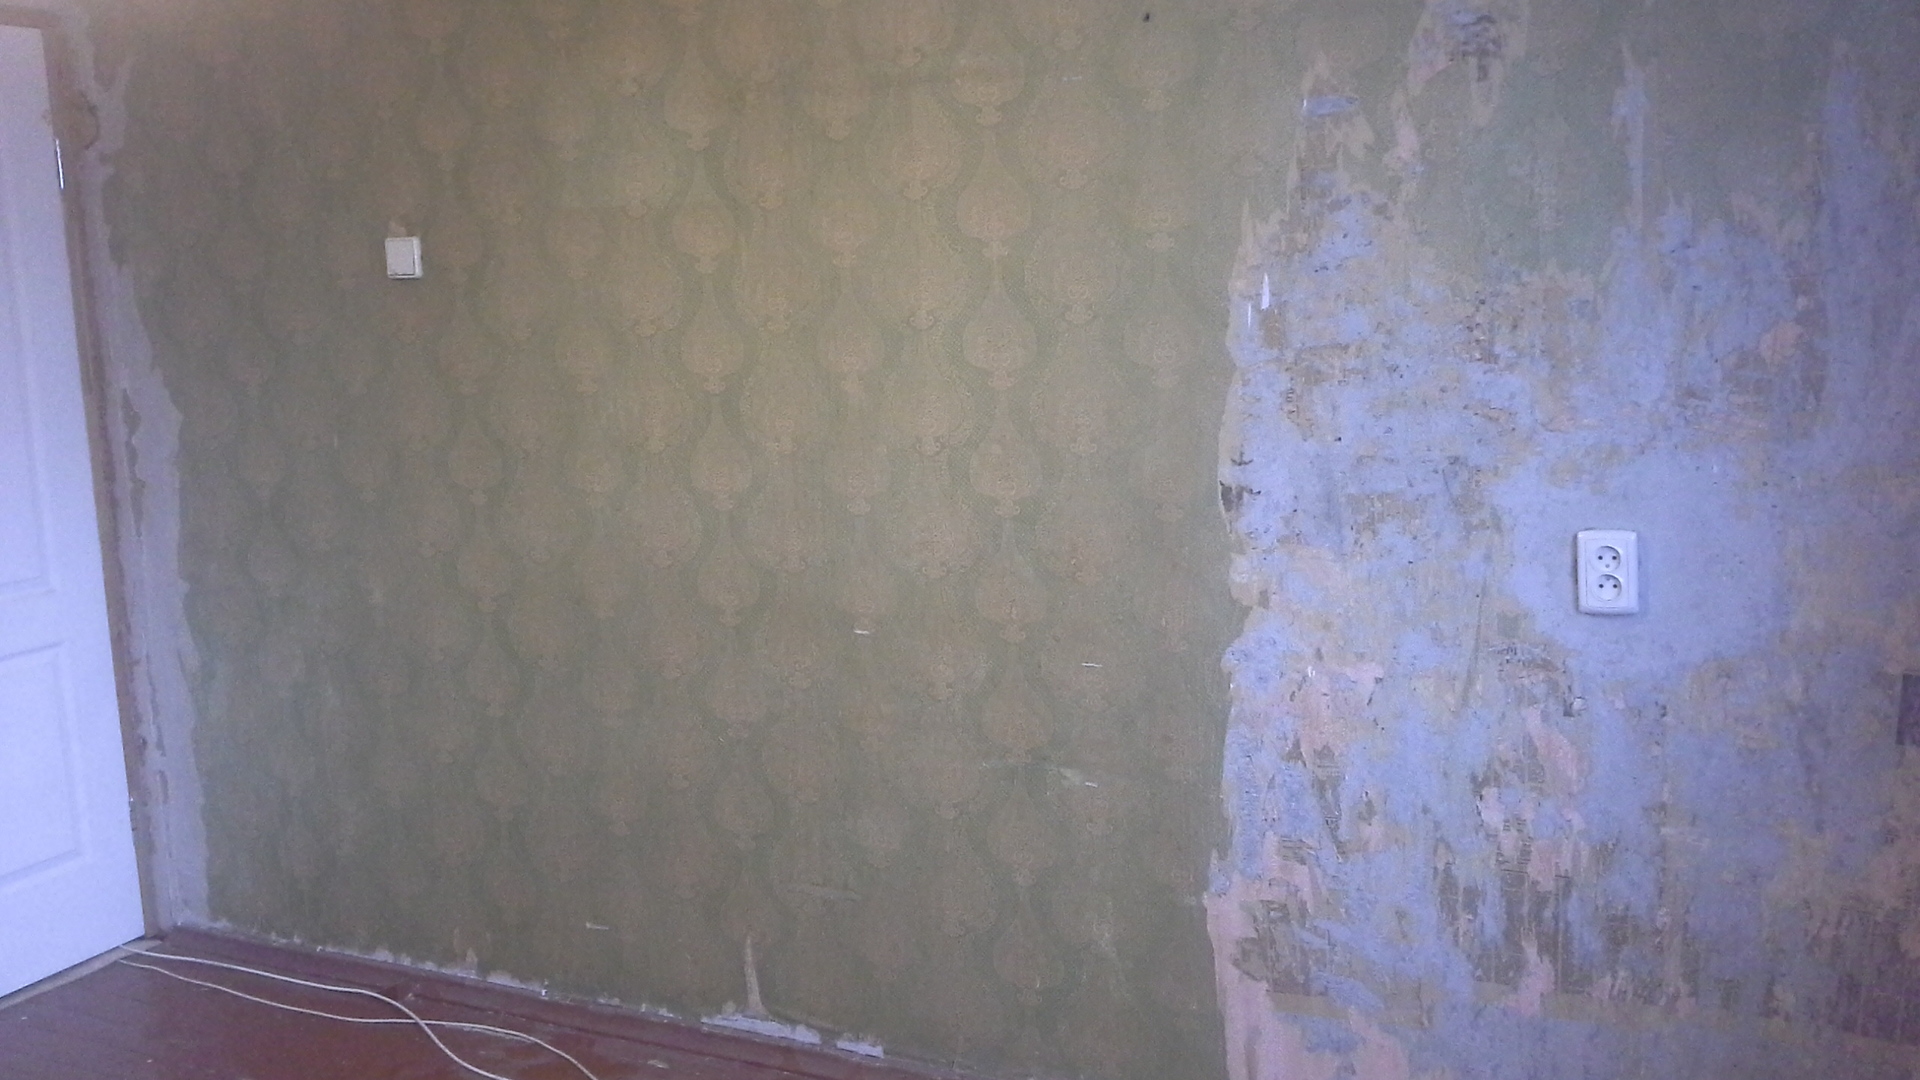
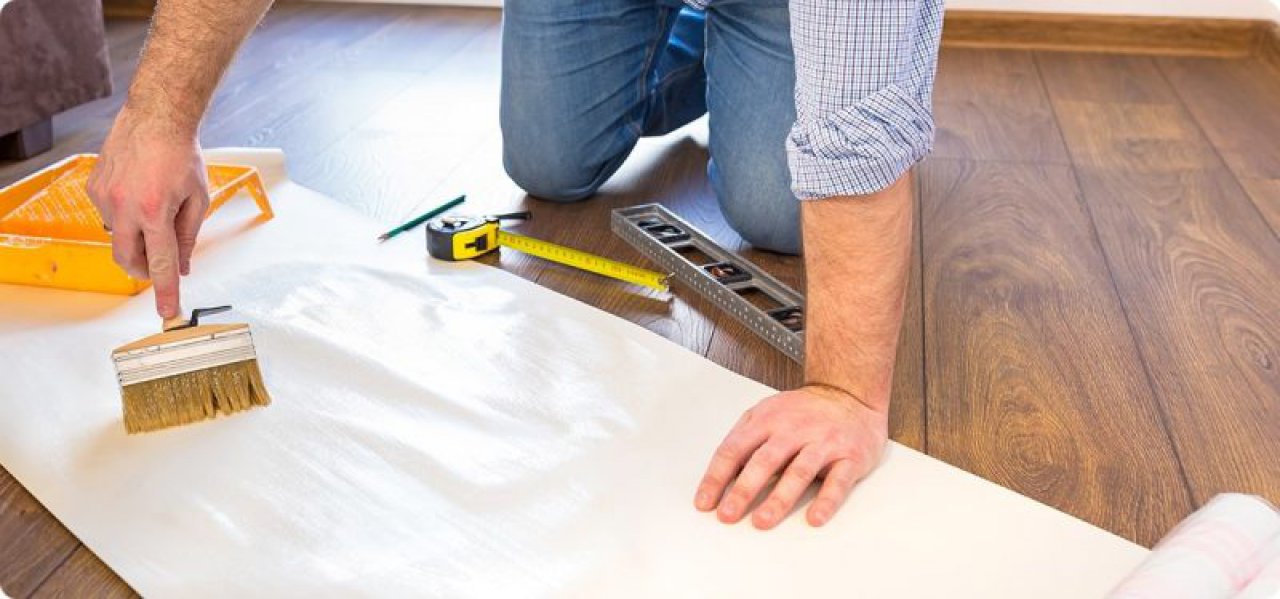
- It is necessary to clean the walls of the old wall coverings, including the old plaster. To do this, apply a special brush.
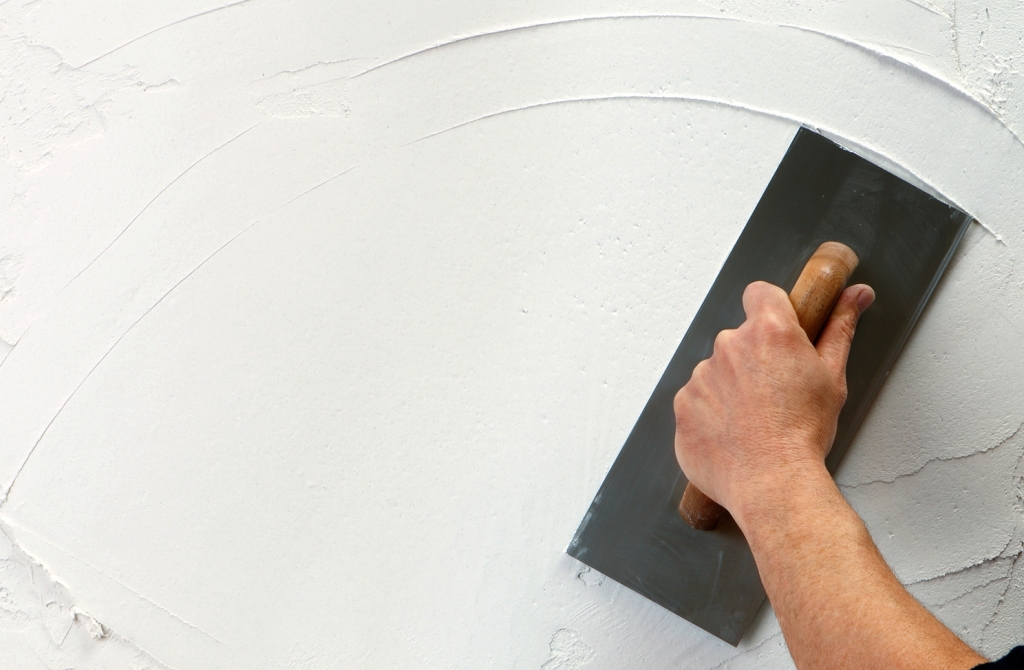
- It is necessary to degrease the surface and apply the soil mixture.
- It is necessary to apply a new layer of plaster to hide all sorts of irregularities or cracks, and then apply a special adhesive liquid.

These preliminary measures will help to improve the quality of the repair, since the prepared surface will hold the wallpaper more firmly.
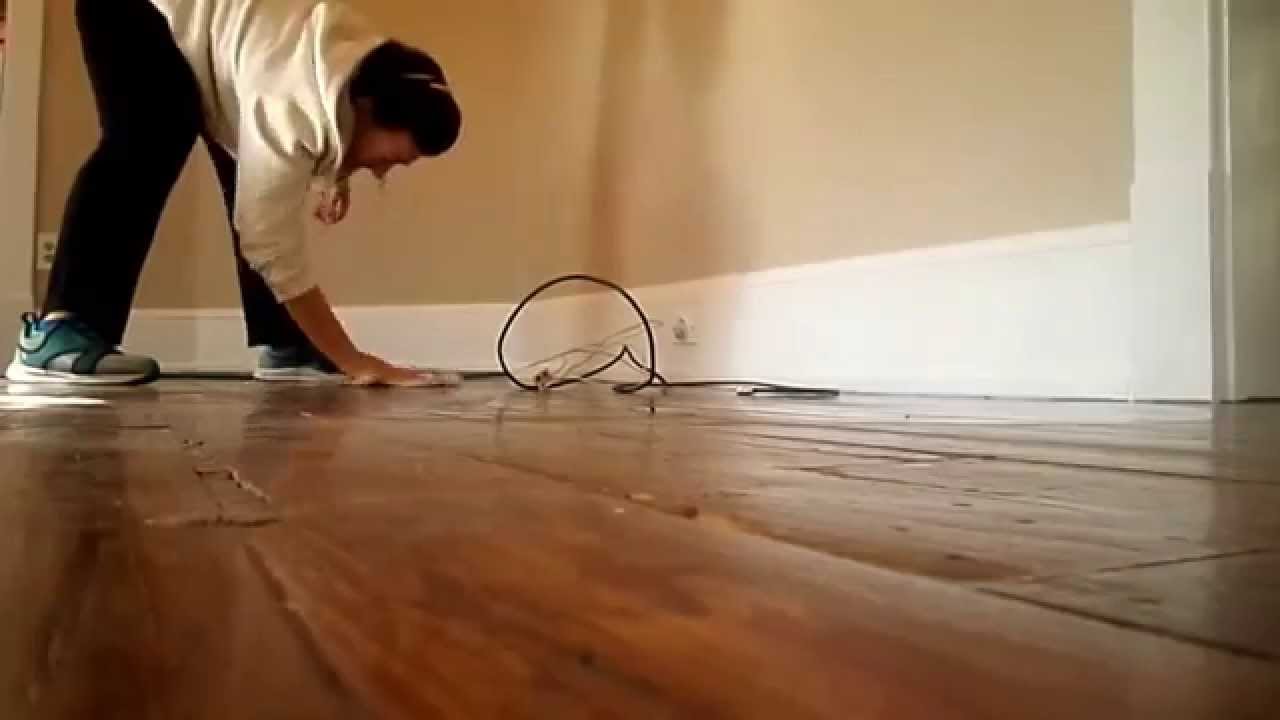
It is also necessary to perform a preliminary cleaning of the room so that the wall coverings do not get dirty: dry and wet cleaning (from dust and dirt).Special attention should be paid to the floor, as it is often on them that the measurements and the application of glue are made. Beforehand, it is necessary to dissolve the glue with water in the required proportions (indicated on the package).
Important points
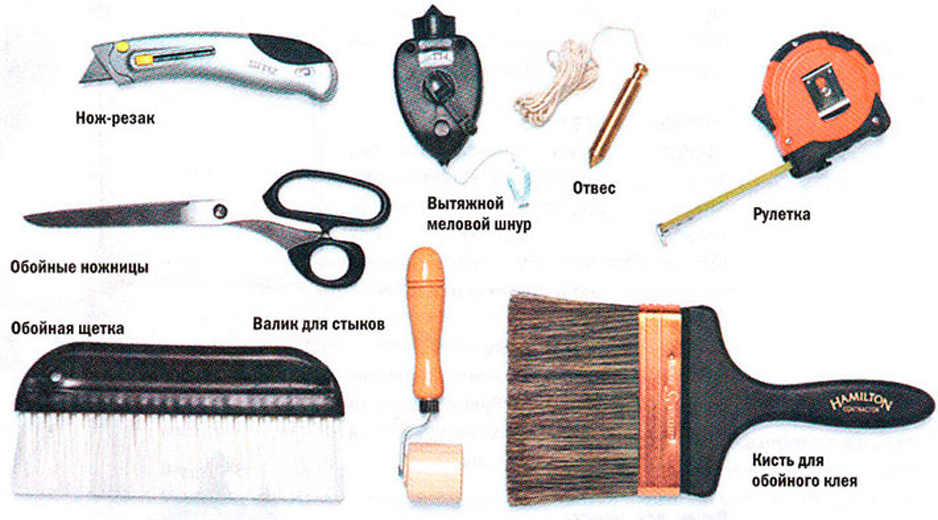
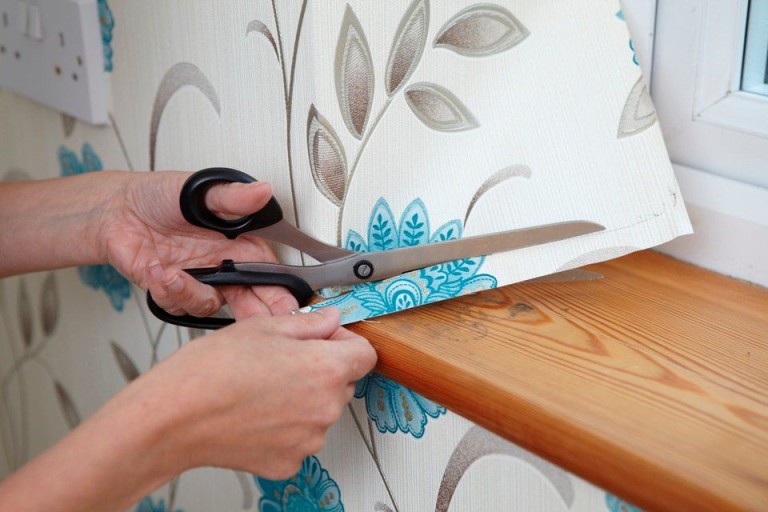
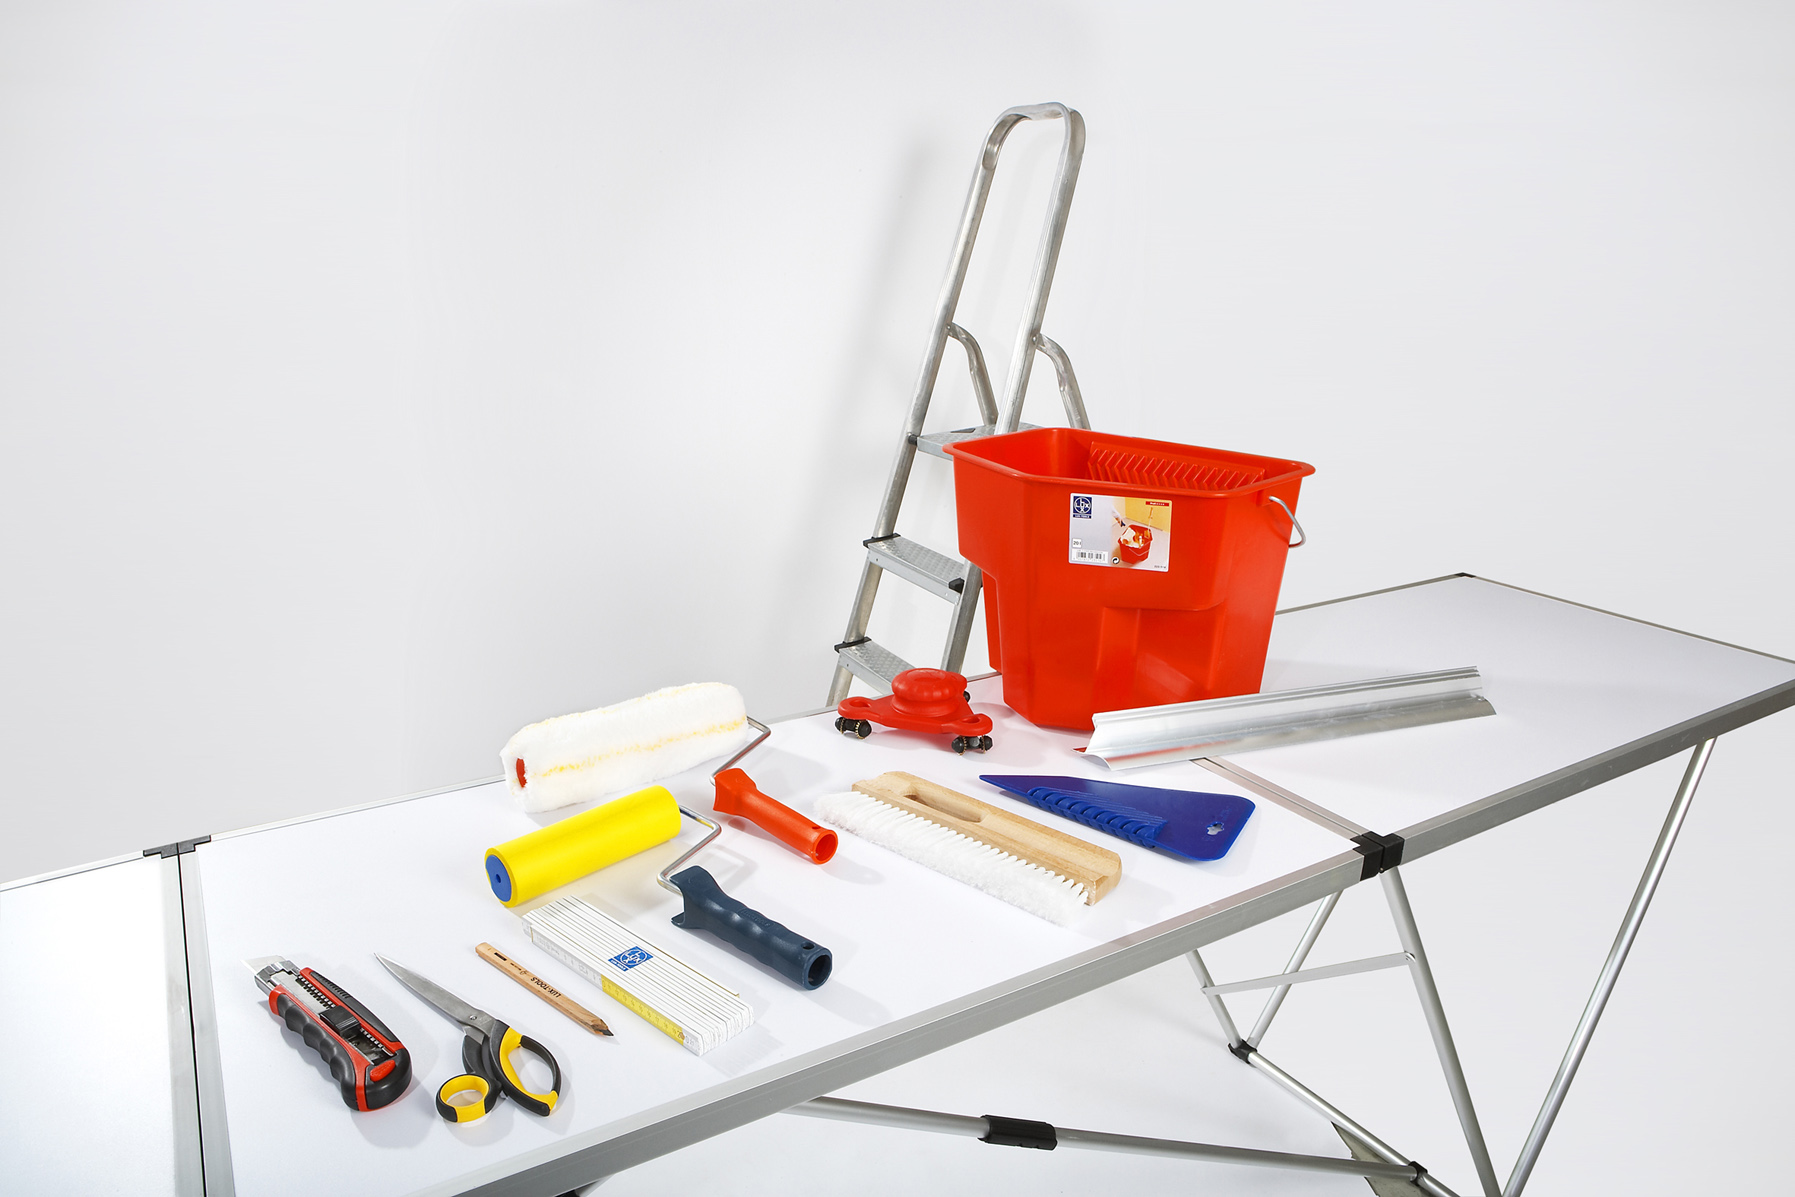
Make sure that before starting work you have all the necessary tools and devices. These include:
- Ruler, tape measure, pencil and, if necessary, a calculator (for calculations and markup).
- Roller and spatula for smoothing.
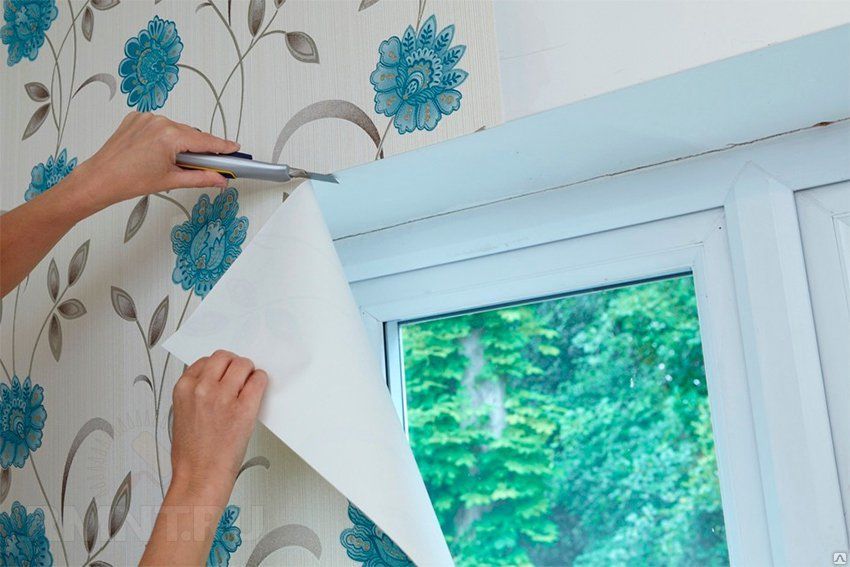
- Sharp wallpaper knife for cutting off slopes and other things.
- Bucket with glue and brush.
- Stepladder, as well as a sponge or rag to remove excess glue.
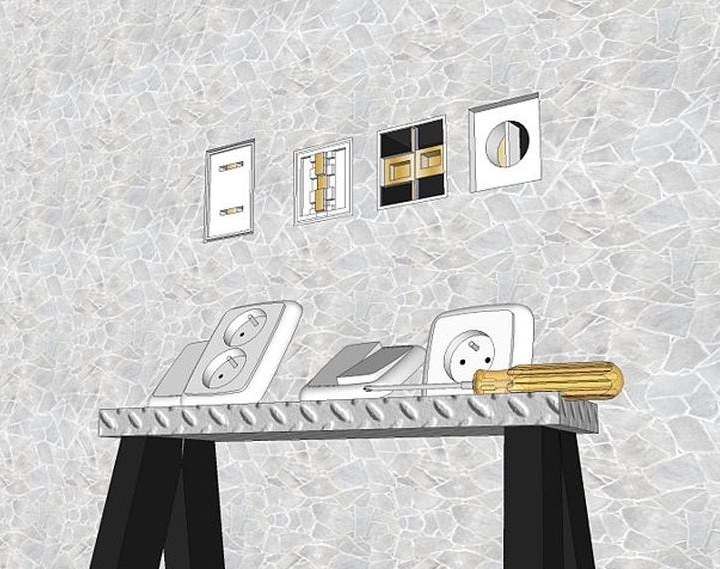
Before sticking, make sure that all sockets are de-energized. Further, it is necessary to remove their top box (as well as the top box of switches) and to make pasting of walls. Then it is necessary to cut out the space for sockets and the switch, and after drying, to replace their upper boxes. This item is very important, because during repair work wet glue can get directly into the outlet, which will cause a short circuit.
General recommendations:
- Carefully select the wallpaper for each individual room.Remember that the wallpaper for the hallway does not fit in the bathroom and, conversely, because the coating of paper materials (which are used in most cases in hallways, halls and other living rooms) do not tolerate moisture. Study the features of the walls and rooms and only then proceed to the choice of wall coverings.
- With existing defects of the walls, it is recommended to choose non-woven wallpaper or products made of embossed materials. They are able to hide minor irregularities of the walls, and it is very easy to work with them.
- You also need to pick up the glue for each selected product.

- If you want something unusual, pay attention to natural materials. They are environmentally friendly, and the appearance will highlight the personality and fine taste of the owners of the house.
- The unusual can also be attributed, and liquid wallpaper. The method of their application is similar to plaster wall coating, and after drying, they become soft and similar to fabric.
- Smooth wall coverings best diagonally. So glue residues and air gaps will be eliminated.
- In case you are not sure that you will be able to make a quality repair yourself, it is better to turn to professionals.
How to prepare the walls for wallpapering, see the next video.


