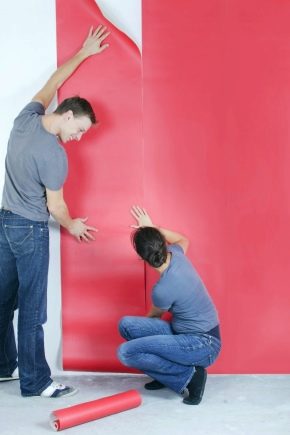
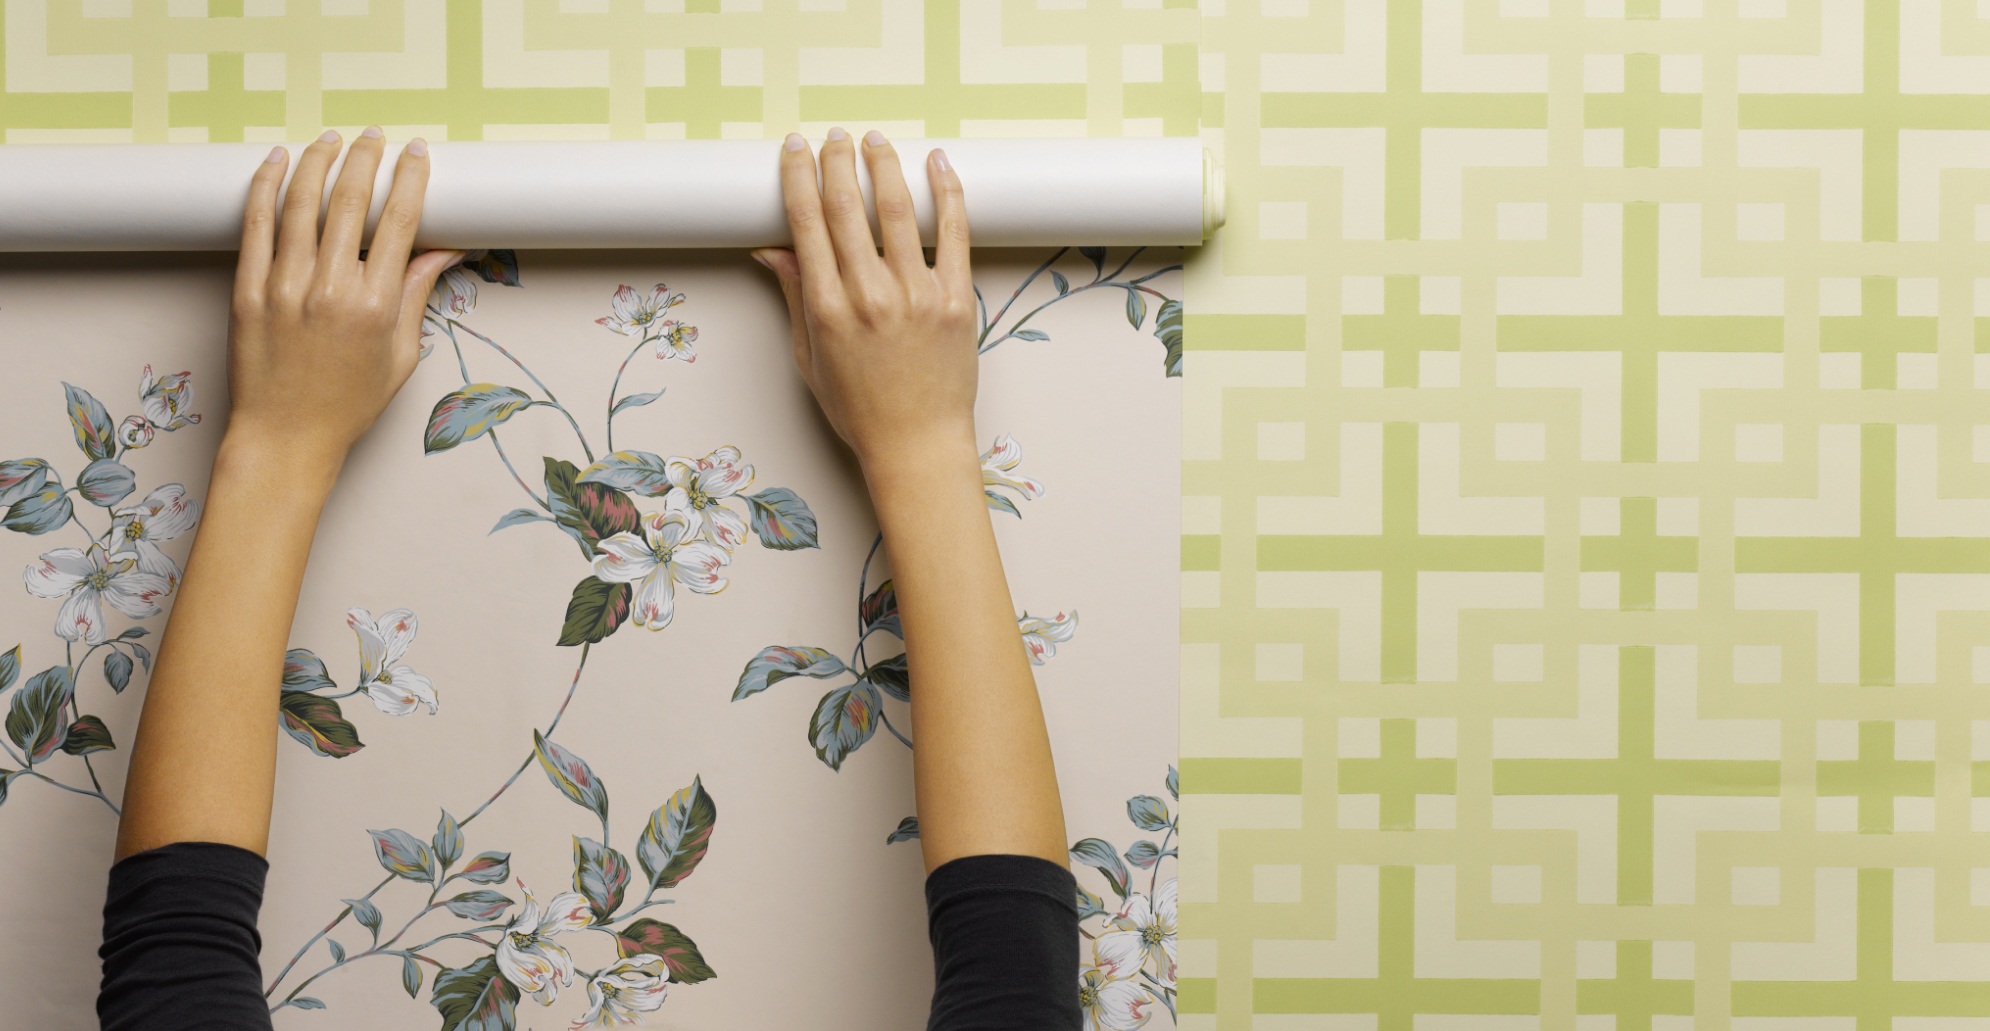
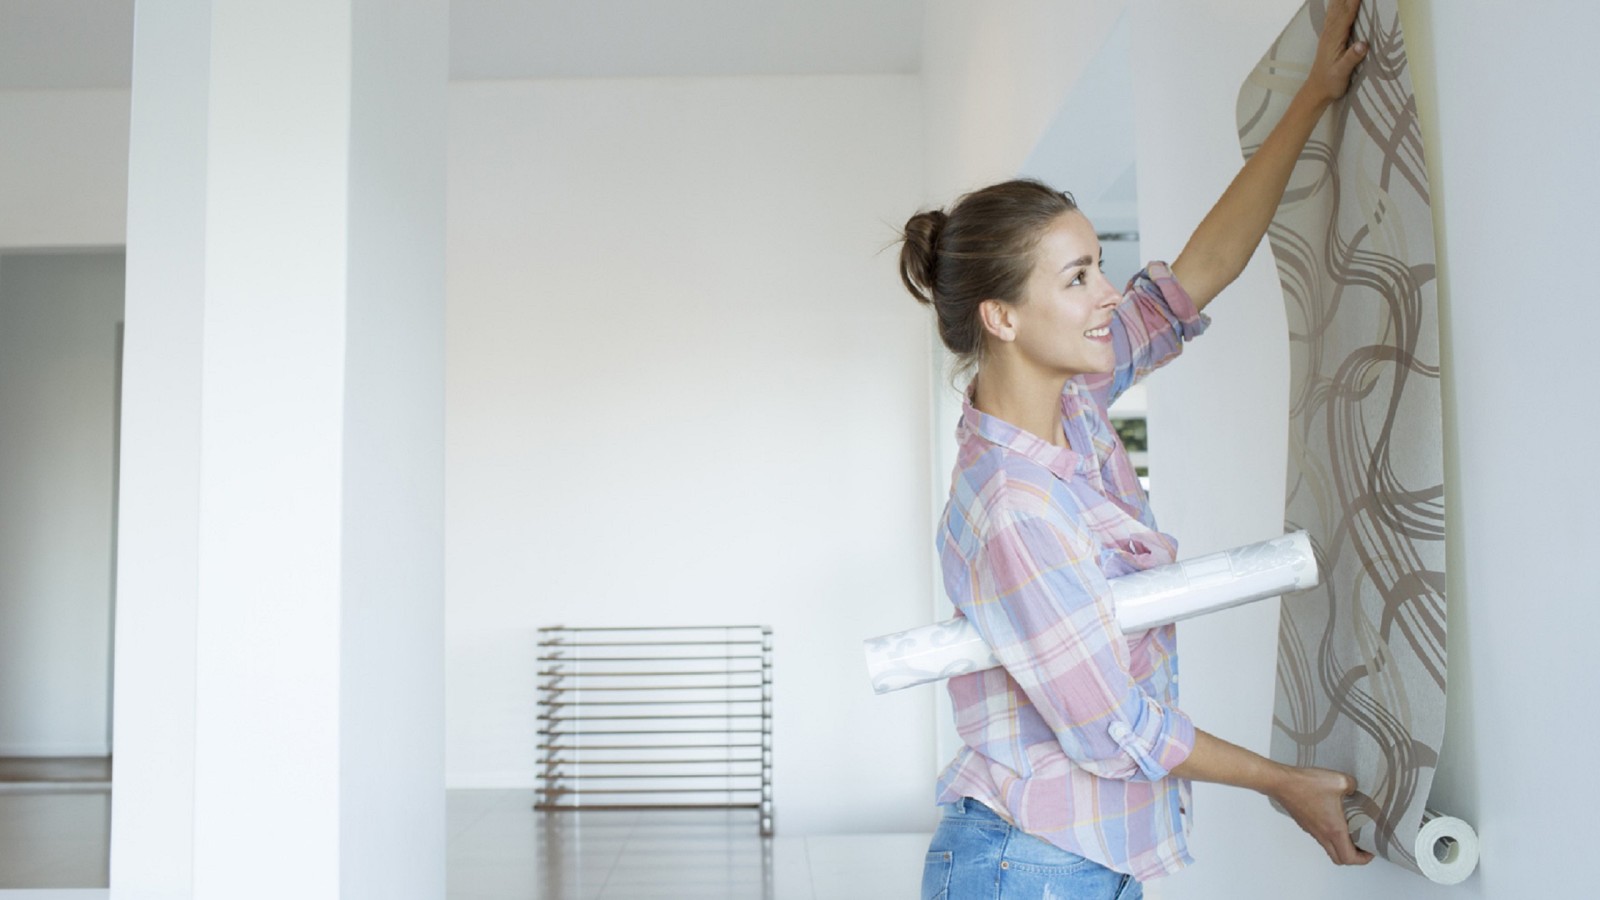
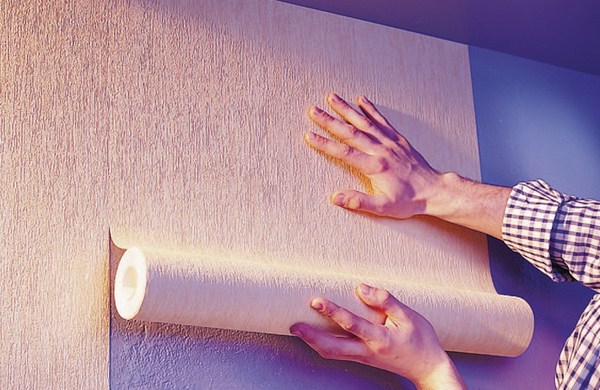
Properly and carefully engaged in sticking wallpaper
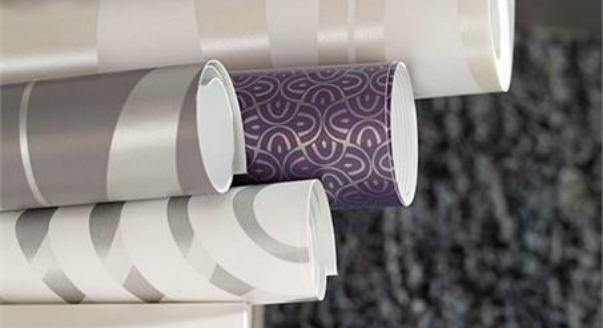
The construction market every year offers more and more novelties for decorative walls and ceilings, but wallpaper remains in the list of leading materials. There are enough reasons for this: low price per roll, fast and easy finishing process, a wide choice of textures and colors, the ability to create an original design. Wallpapers are suitable for the realization of complex ideas, adjusting the parameters of the room and a simple redecoration.


Many choose them to carry out the decoration with their own hands, but the result does not always meet the expectations.There are common problems: wallpaper bubbles, “moves away” from walls, strips joints are striking, drawing is incorrectly compared, corners, slopes and protruding parts are ugly decorated. But do not despair if you have already started a repair with the use of wallpaper!
Correctly and accurately do wallpapering can be independently, relying on the recommendations of professionals.
Fundamental rules
Wallpapering is not always a difficult process. The technology of applying such a decorative coating on the surface depends on many factors:
- Type of "rough" finish work surface. Wallpaper is a finishing, decorative finish. How well they lay on the walls or ceiling depends on the base material. This may be a brick, block, concrete, plaster, wood, drywall. On some types of surface, you can stick the wallpaper at once, and some require preliminary preparation in several stages.
- Surface direction The composition, advantages and disadvantages of the wallpaper, their weight affect how convenient it is to apply them on the vertical surface of the wall and the horizontal of the ceiling. Natural wallpapers are not suitable for this purpose, vinyl, textile and photo wallpapers are required to be careful.

- Features of planning. Almost any wallpaper is easy to glue in typical apartments with a minimum number of corners and joints, however modern apartments with an improved and original layout can become a real problem because of the abundance of projections and niches in the walls, doorways of unusual shape, most often arched. They are best to give preference to easy-to-use materials, such as liquid wallpaper.
- The size of the room. The larger the room, the more expensive the redecoration will cost and the process will be more difficult. For small rooms, it is better to choose wallpapers that do not require complicated pretreatment of the surface and do not have a complex pattern that needs to be “customized”. Matching the picture and alignment of the joints significantly increases the repair time and requires at least one spare roll for successful alignment of the strips.
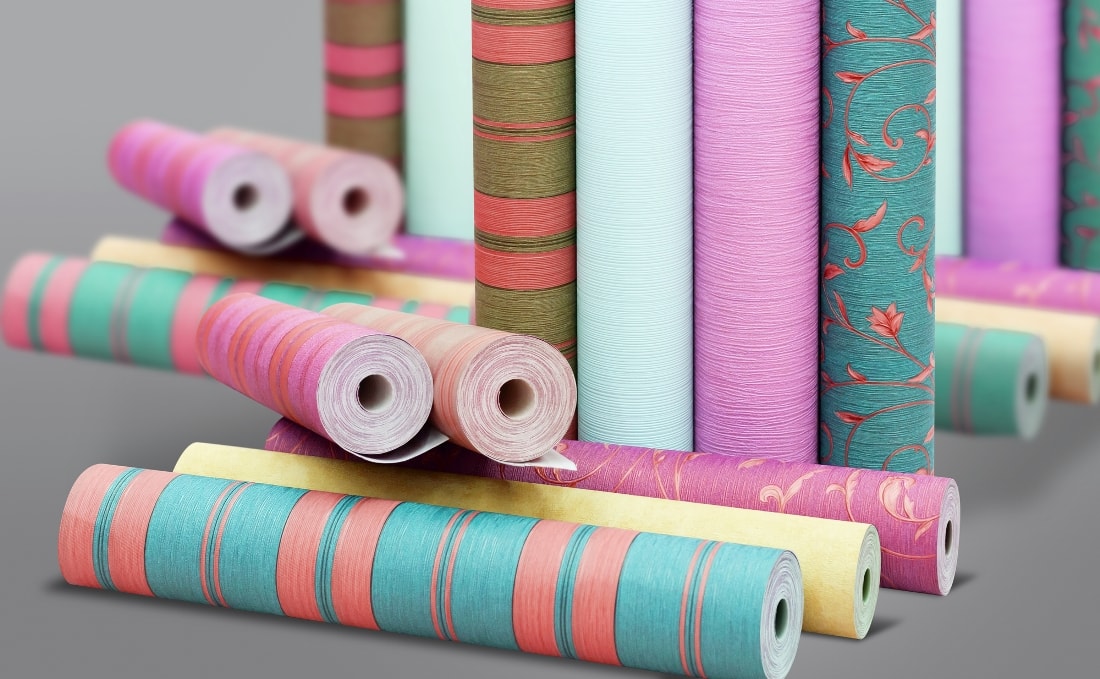
- Type of wallpaper. There are so many varieties of wallpaper that some of them have little in common with the usual type of this material in rolls. A thin paper wallpaper has long outlived itself in all respects, although they can still be found in stores.
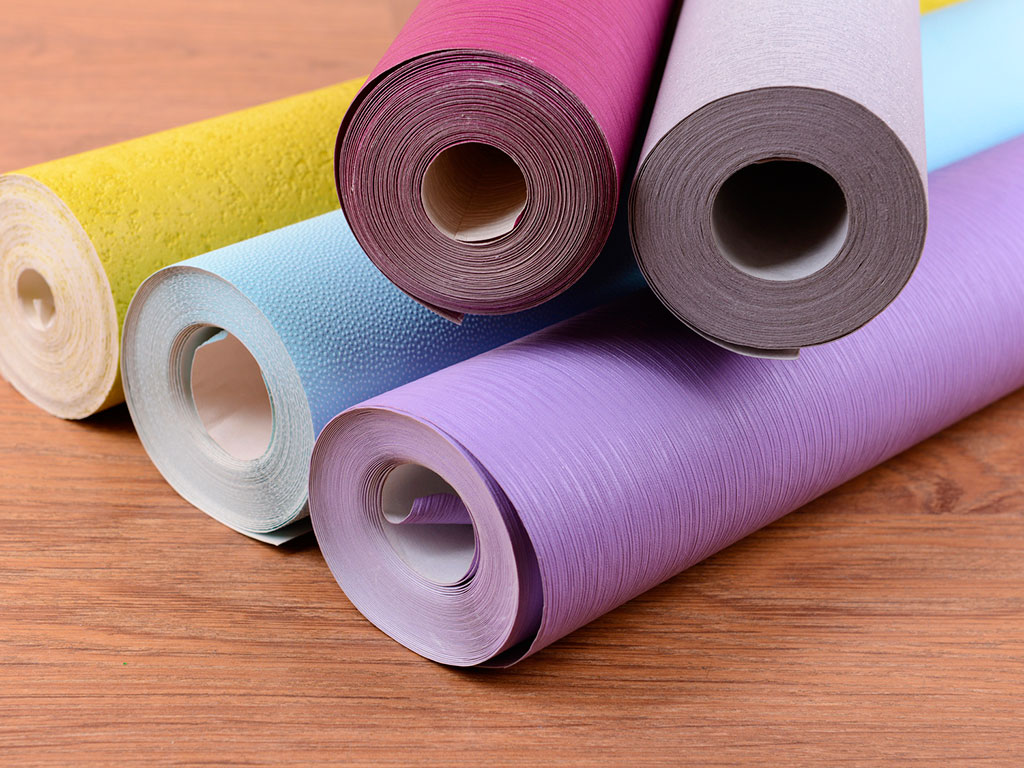
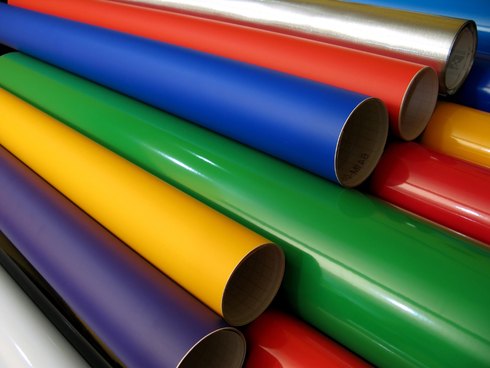
Types of wallpaper
- Paper. The cheapest, allowing the walls to breathe, the most simple to use,but at the same time they are too thin, they rarely have a relief pattern, the surface burns out, absorbs odors and is not susceptible to wet cleaning. They can not be applied to many types of surfaces.
The service life of such wallpaper - no more than 4-5 years;
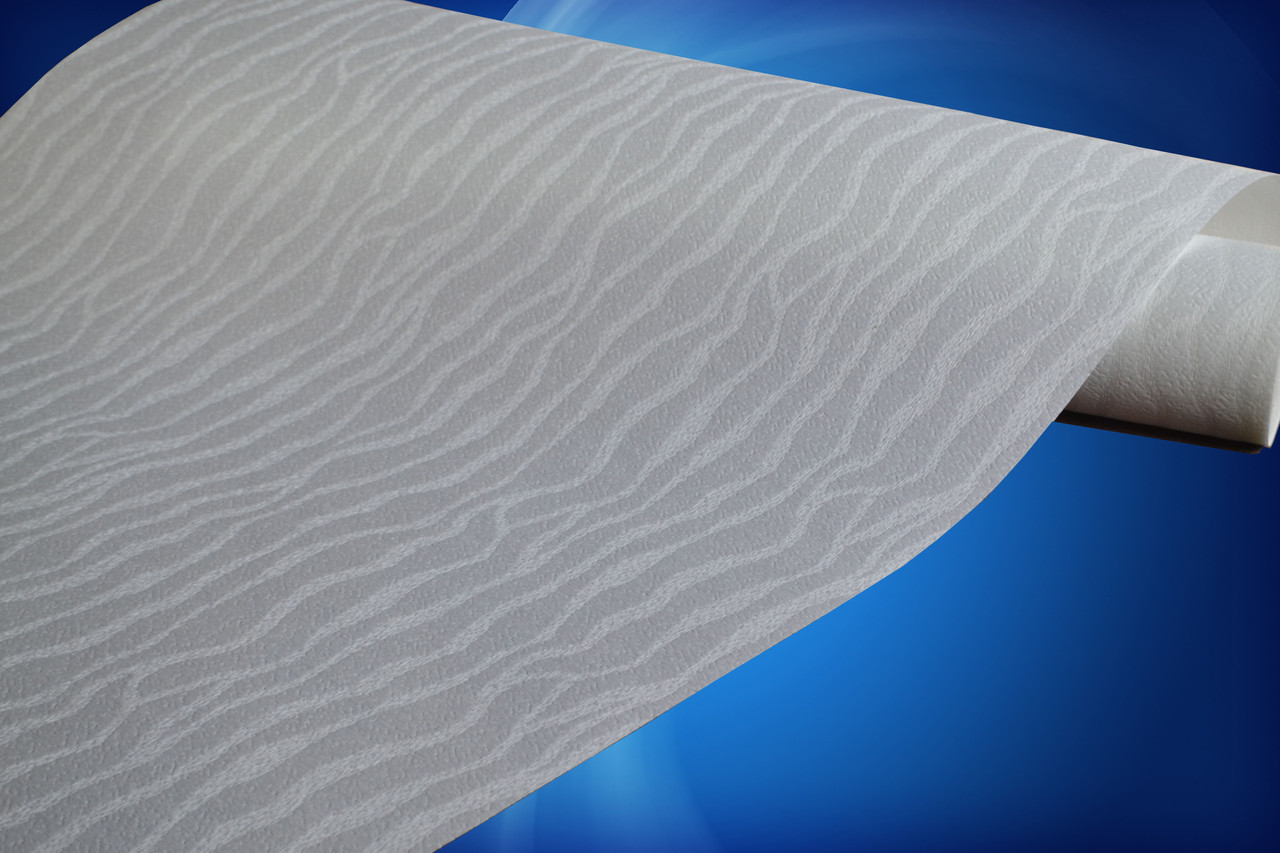
- Flizelinovye. This is a modification of paper wallpaper, the quality of which is improved by the addition of fabric fibers. They have all the advantages of paper, but they are applied to almost any surface; they serve much longer, are suitable for ceilings, wash, retain a presentable appearance longer, and are suitable for painting;

- Vinyl. Their paper-non-woven base is covered with foamed vinyl, which does not allow wallpaper to breathe. They are not suitable for bedrooms and children's rooms, but they have many advantages: they are resistant to moisture, do not absorb odors, are suitable for kitchen rooms and hallways, retain the original color and pattern, can be painted more than 5 times;
- Acrylic. Less wear-resistant than vinyl, but the material can breathe. Suitable for different types of walls and all rooms in the house;

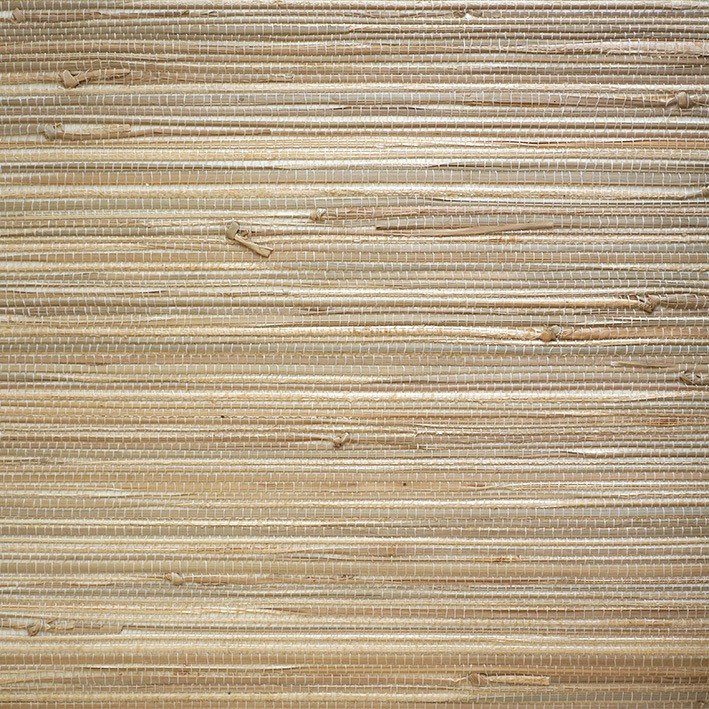
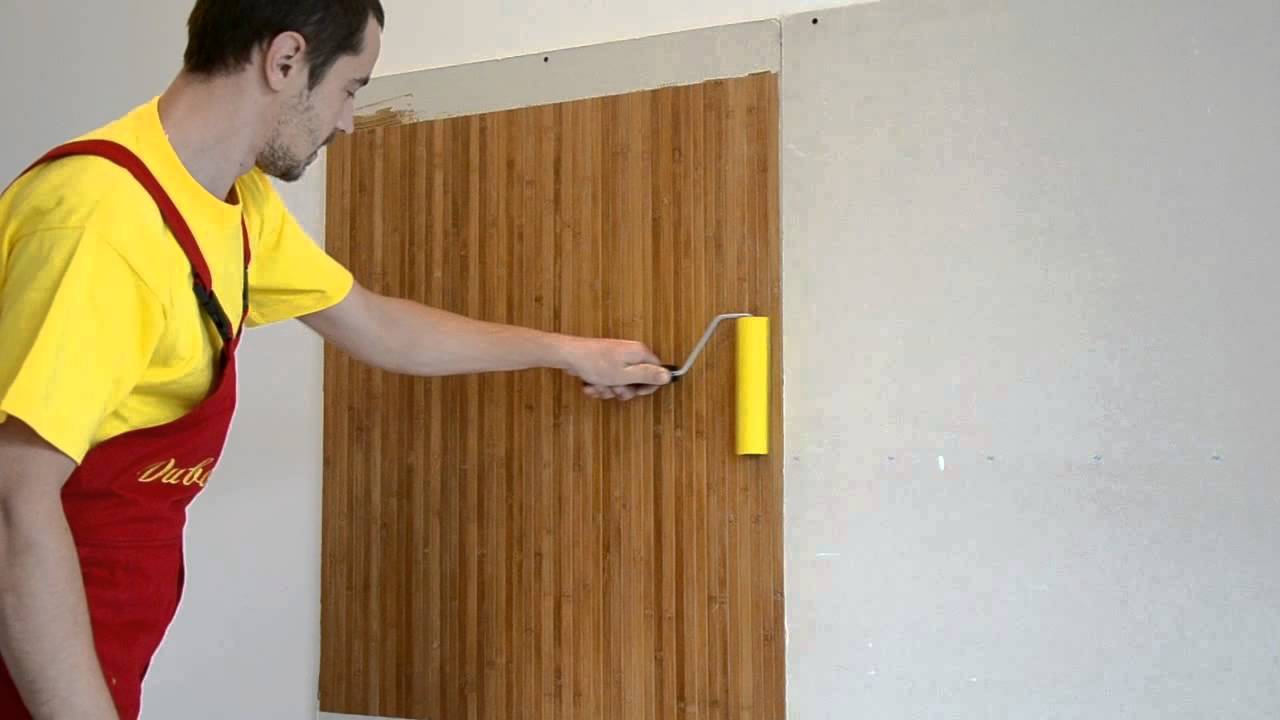
- Natural. This is an expensive material from organic materials (bamboo, veneer, straw, cane, algae).They are eco-friendly, warm, have an aesthetic appearance, are suitable for different surfaces, are fixed with ordinary glue for paper or non-woven wallpaper. However, they are harder to trim corners and slopes, they are afraid of moisture, sun and dust, the joints will be very noticeable due to the nature of the material;

- Glass fiber They belong to modern finishing materials. Relevant to use for walls in new buildings, shrinking. They do not require multilayer surface preparation, serve up to 30 years, protect walls from cracks, are not afraid of odors, water, smoke, fire, therefore, suitable for any type of premises, hypoallergenic and biostable.
Glass fiber can be repainted up to 15 times. Applying them requires some practice;

- Fabric or textile. Finishing such wallpaper is very complicated, expensive and requires the participation of a qualified professional or some practice. But they are popular due to the positive qualities: environmental friendliness, expensive appearance, exclusive design, they do not fade, have sound-proofing properties. The width of the roll makes it possible to make the surface without seams and joints.
But they are not resistant to moisture, dust, dirt and claws of domestic animals;
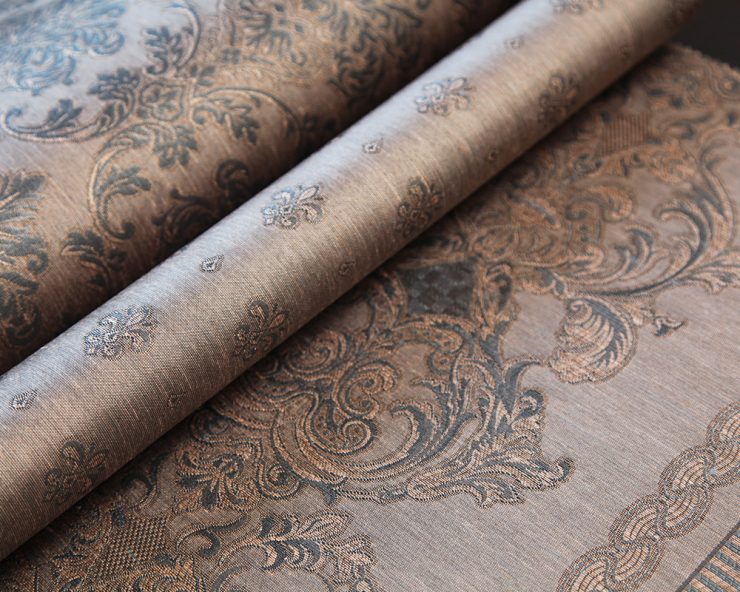
- Metallized. They are beautiful, especially for interiors in the style of minimalism, techno and hi-tech, wear-resistant, washable, do not fade, contribute to the improvement of noise insulation. The price per roll is very high, and sticking requires preliminary preparation.
The walls should be perfectly aligned and smooth so that thin foil does not go blistering;
- Wall mural. They have all the advantages and disadvantages of paper wallpaper, while helping to create an interesting decor and optical illusions indoors. Their application to the surface requires a margin of patience, since they often have a self-adhesive base, which is glued to the wall and immediately leveled, gradually removing the protective layer. You can stick them yourself, but this is a very long and painstaking process, during which air bubbles can appear on the wallpaper and the drawing goes to the side;
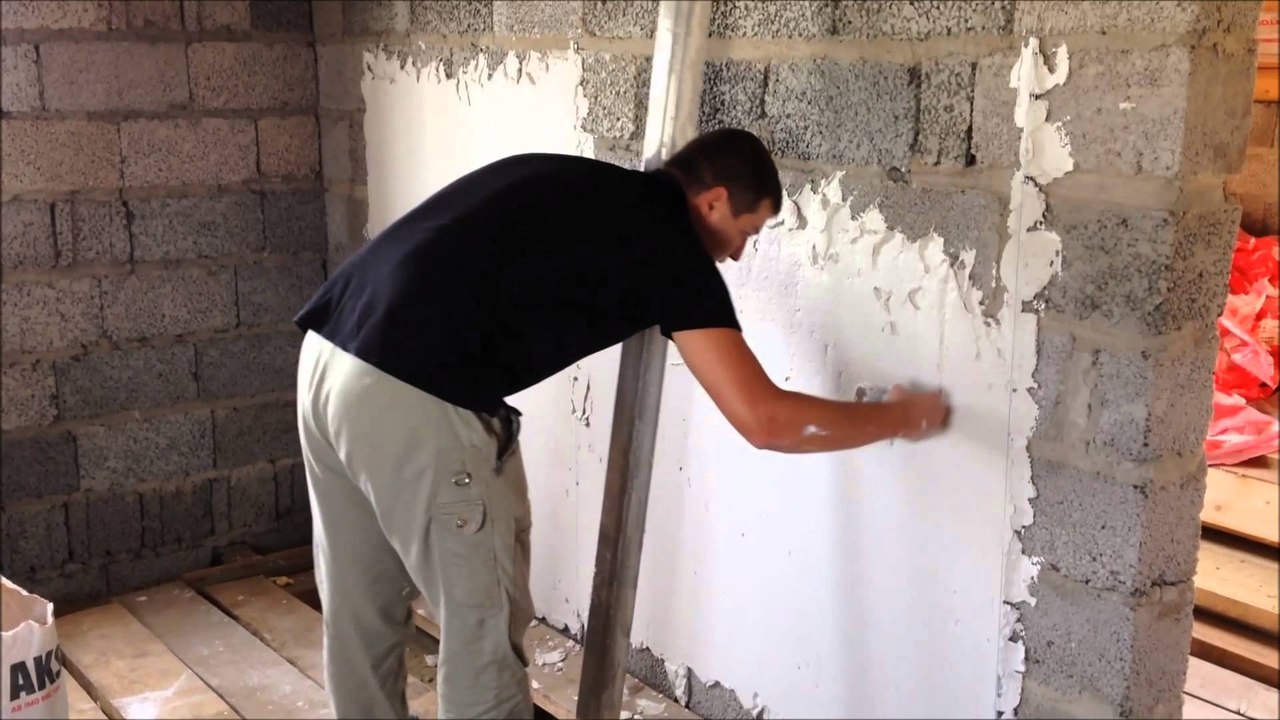
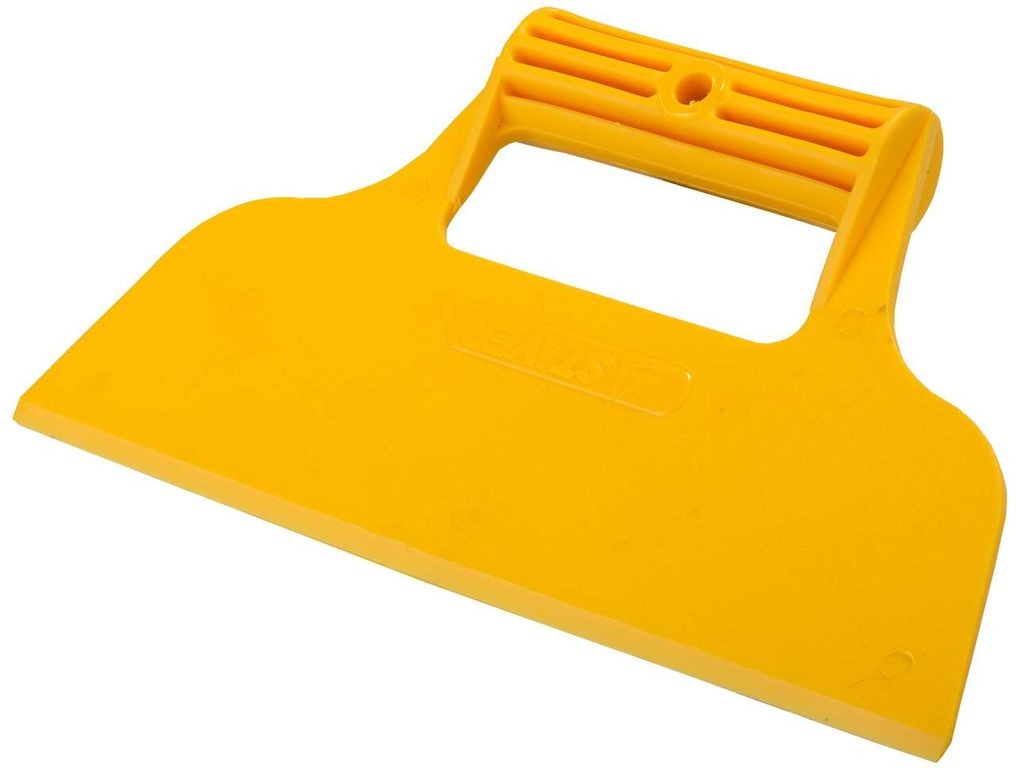
- Liquid wallpaper. The technology of their application is strikingly different from other types of wallpaper, as in the dry form they are a powder from a mixture of cellulose and fabric fibers, adhesive composition and decorative particles.Wall-paper is diluted with water, and applied with a special construction "grater" and spatulas. They are distinguished by many advantages, the main ones being the absence of joints, the ease of processing protruding fragments on the wall, slopes, corners, and jambs. The surface is beautiful and lasts an average of 10-15 years. Apply the wallpaper yourself is not easy.
It is important to strictly follow the instructions on the packaging and practice in working with a spatula and grater.
Self-sticking rules
The process of wall covering requires to adhere to some general rules:
- Compliance with safety regulations. This applies to many moments when performing wallpaper gluing on their own, starting with the use of a respirator when working with chemical compounds to clean the working surface from old paint and ending with the disconnection of power supply. Since any wallpaper is applied with glue, and the glue is diluted with water, the works are considered “wet”, and if moisture gets on the socket or exposed wires can cause injury from electric shock;
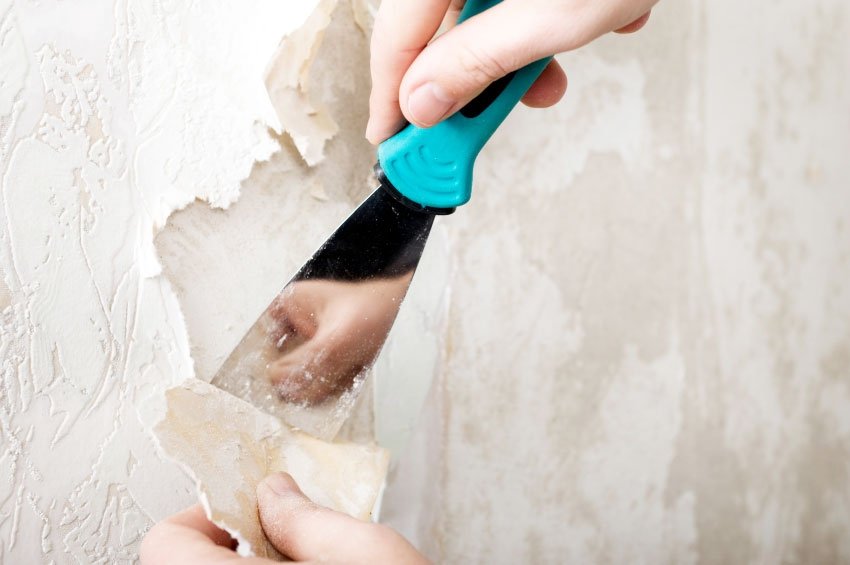
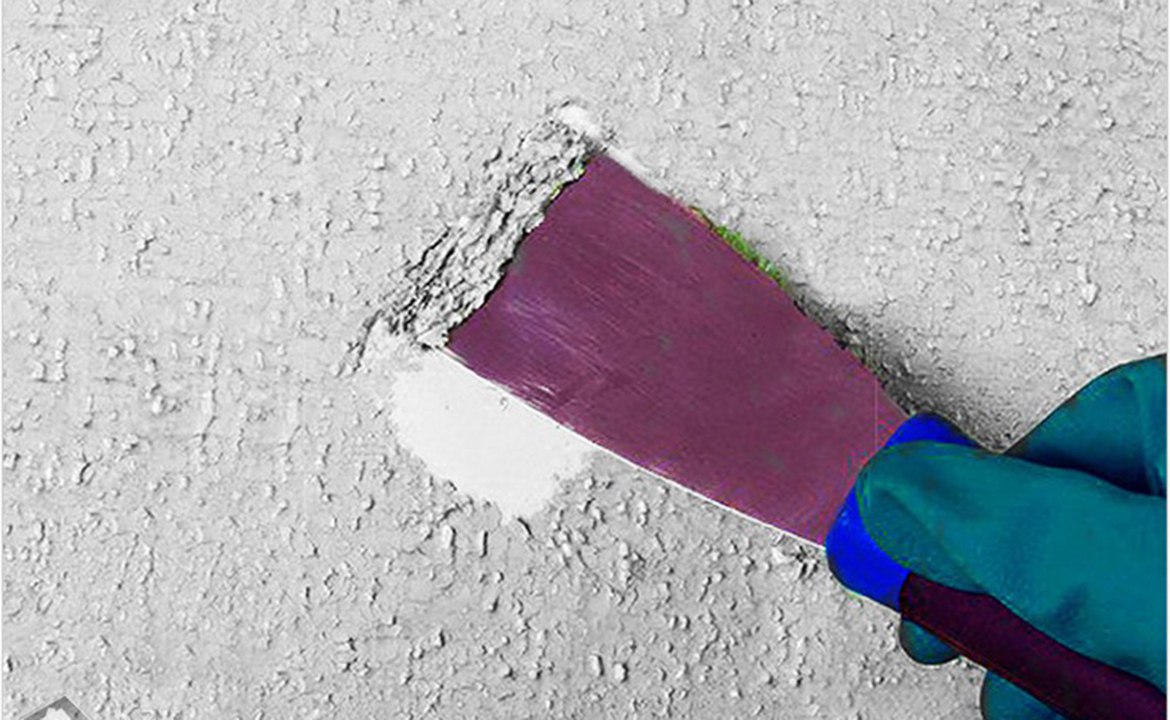
- High quality work surface preparation It begins with the cleansing of the walls or ceiling from the old coating, whether it be paint, wallpaper or plaster.The paint is removed using special solutions and a spatula or by heating with a building dryer and subsequent removal. Then the surface is leveled with sandpaper.
Wallpaper is sufficient to remove using a knife or spatula. However, you need to remove the entire wallpaper, otherwise the remnants of the old coating will get wet from the glue, and in these places the new canvases will blister. In the future they will dry, but irregularities form on the surface;
- Leveling the work surface suitable for the type of wallpaper. In some cases it may be drywall, in others MDF-slab, in the third - several layers of water-based paint. The smoother the surface, the better the wallpaper will fall on it;
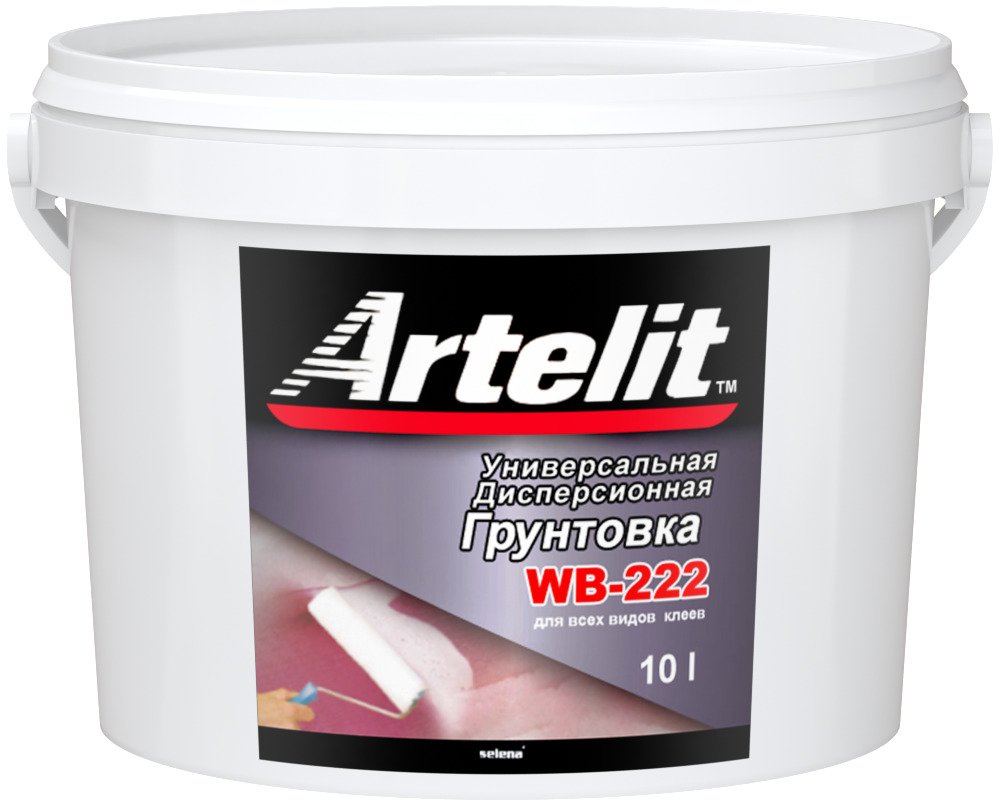
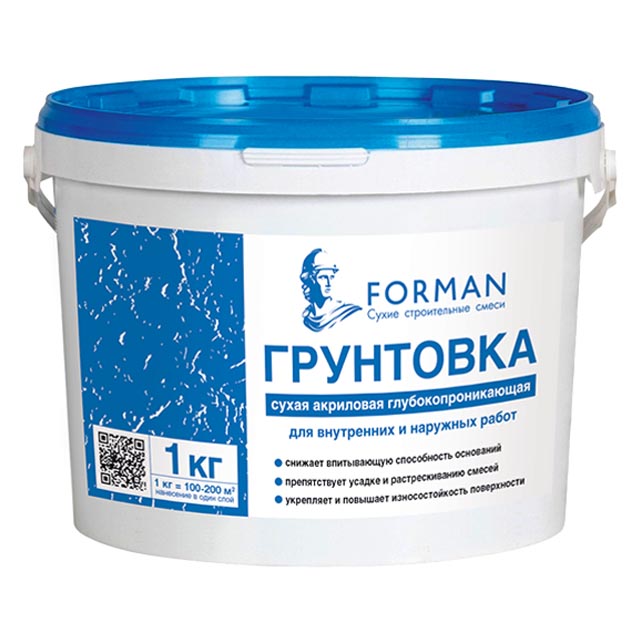
- The use of priming compositions is never superfluous. First of all, they improve the adhesion of adhesives to the surface of the wall, and also work as antiseptics, protecting them from rotting, fungus formation and mold;
- The required amount of material is calculated in advance. It is advisable to purchase it with a small margin, since no one is immune from mistakes, and different batches of wallpaper with the same pattern and texture can differ significantly from each other.Especially capricious in this regard, liquid wallpaper. The amount of substance per square meter is often exaggerated by the manufacturer, and one package is not enough for 5, but for 3 square meters.

-
Liquid wallpaper home-made and can not do the same even if the exact proportions. Therefore, the material must be acquired immediately all with the expectation of force majeure;
- Packaging instructions must be followed. If the manufacturer recommends applying glue to the wallpaper, they are applied to the wallpaper, if on the wall - only on the wall. For heavy types of wallpaper - both on the wall and on the strip;
- Do not save on glue. The more expensive and heavier the material, the more durable the glue needed. Saving on it using paper glue for textile wallpaper is a bad idea. As you know, the miser pays twice, and wallpapering is just such a case. Clay is also purchased with a small margin;
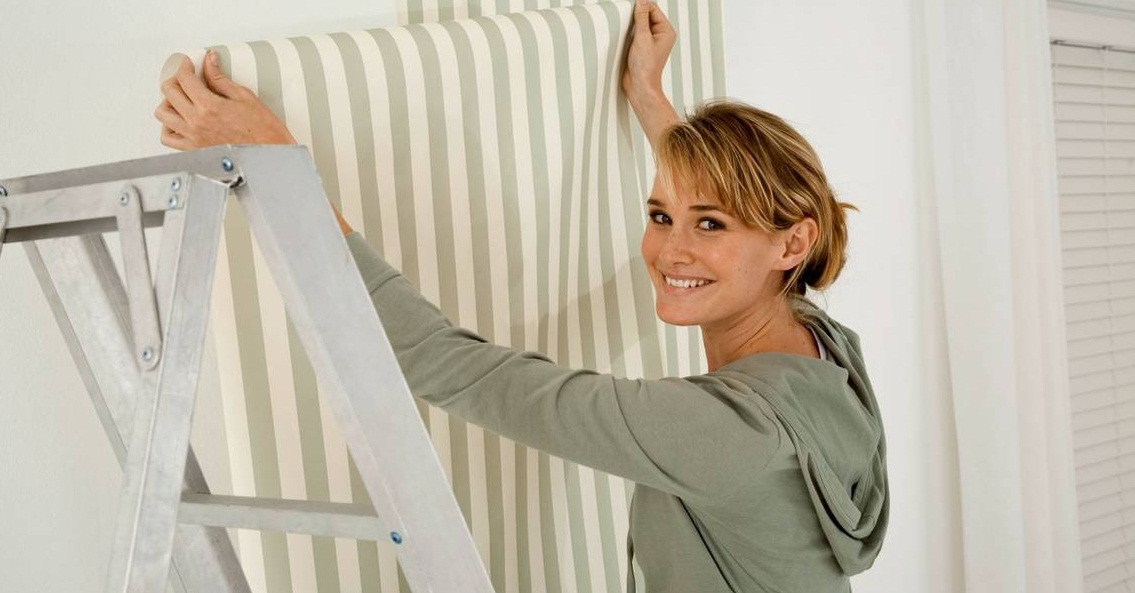
- The right start is the key to success. There are many opinions about where it is better to start sticking wallpaper. Some recommend placing the first lane by the window, others in the corner, and others - at the door slope. In fact, the basis is taken strictly vertical line.If it is not there, you need to install it yourself, using the building level and drawing accessories. This is especially important for wallpaper with a pattern that requires strips to fit each other;
- A strip of wallpaper must be cut with a small margin., and remove the excess already on the wall with a wide trowel and a sharp knife on the paper;
- "Seven times measure cut once" - a rule that should be adopted. It is not necessary to measure seven times, but at least once it is not superfluous to double-check measurements at several points;
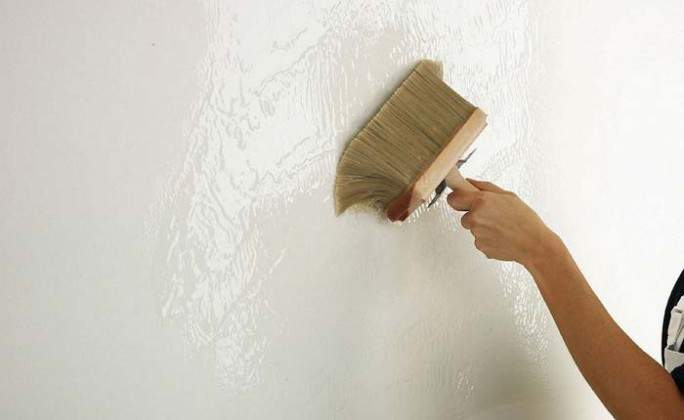
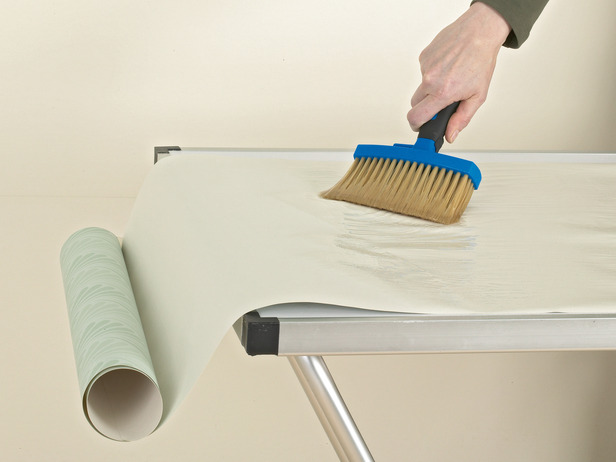
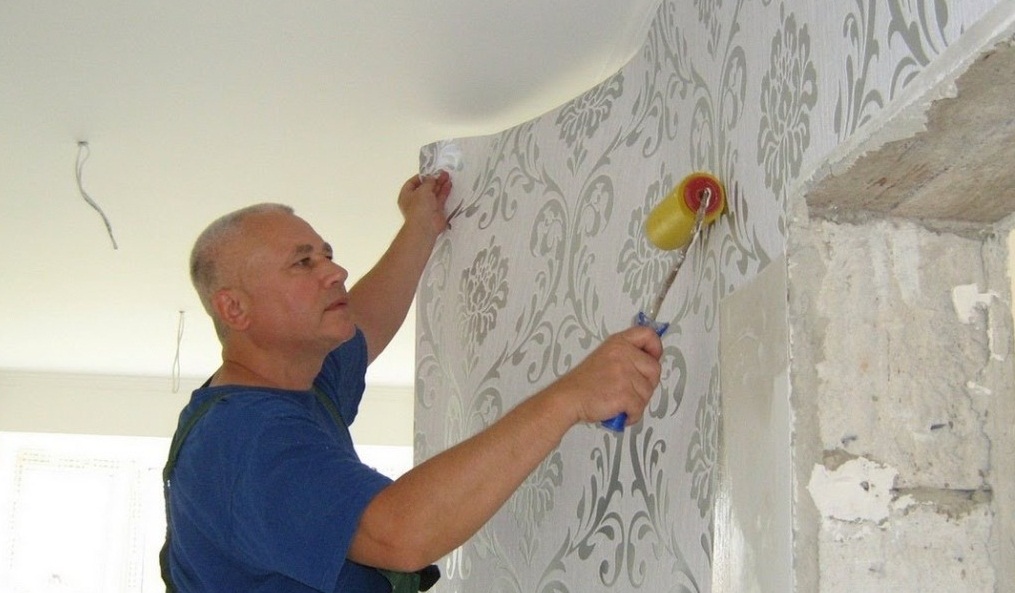
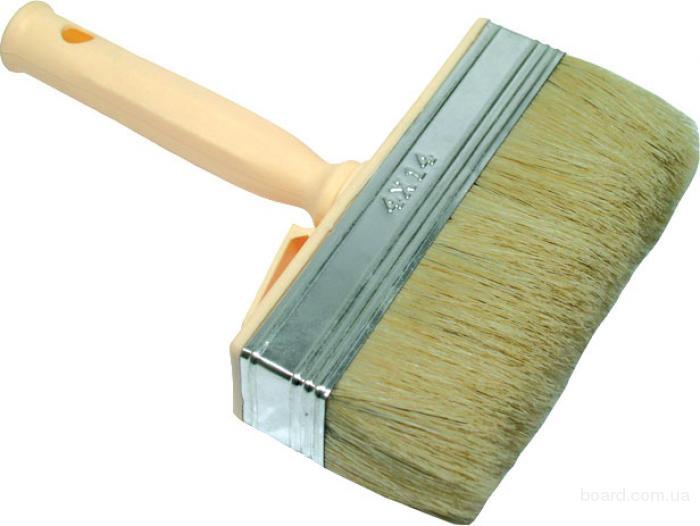
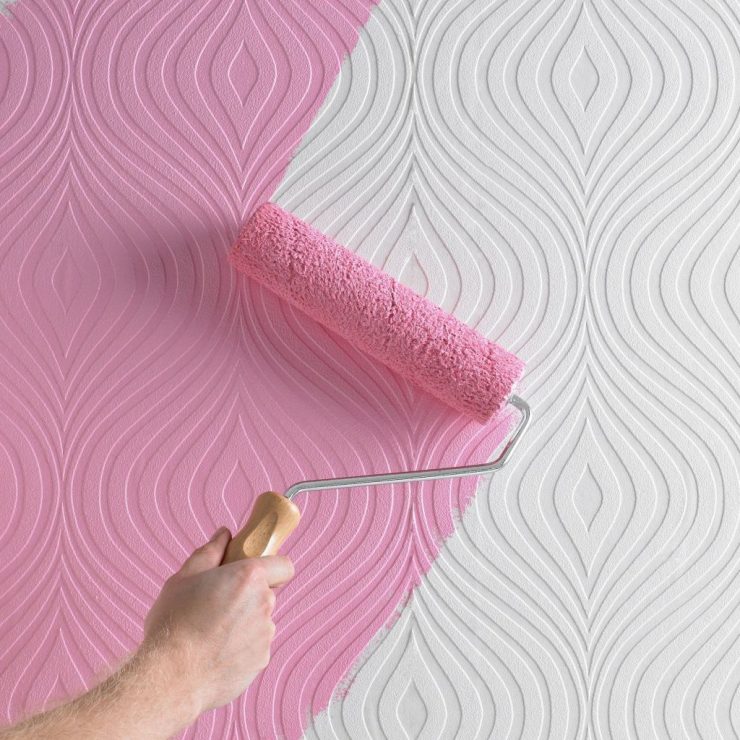
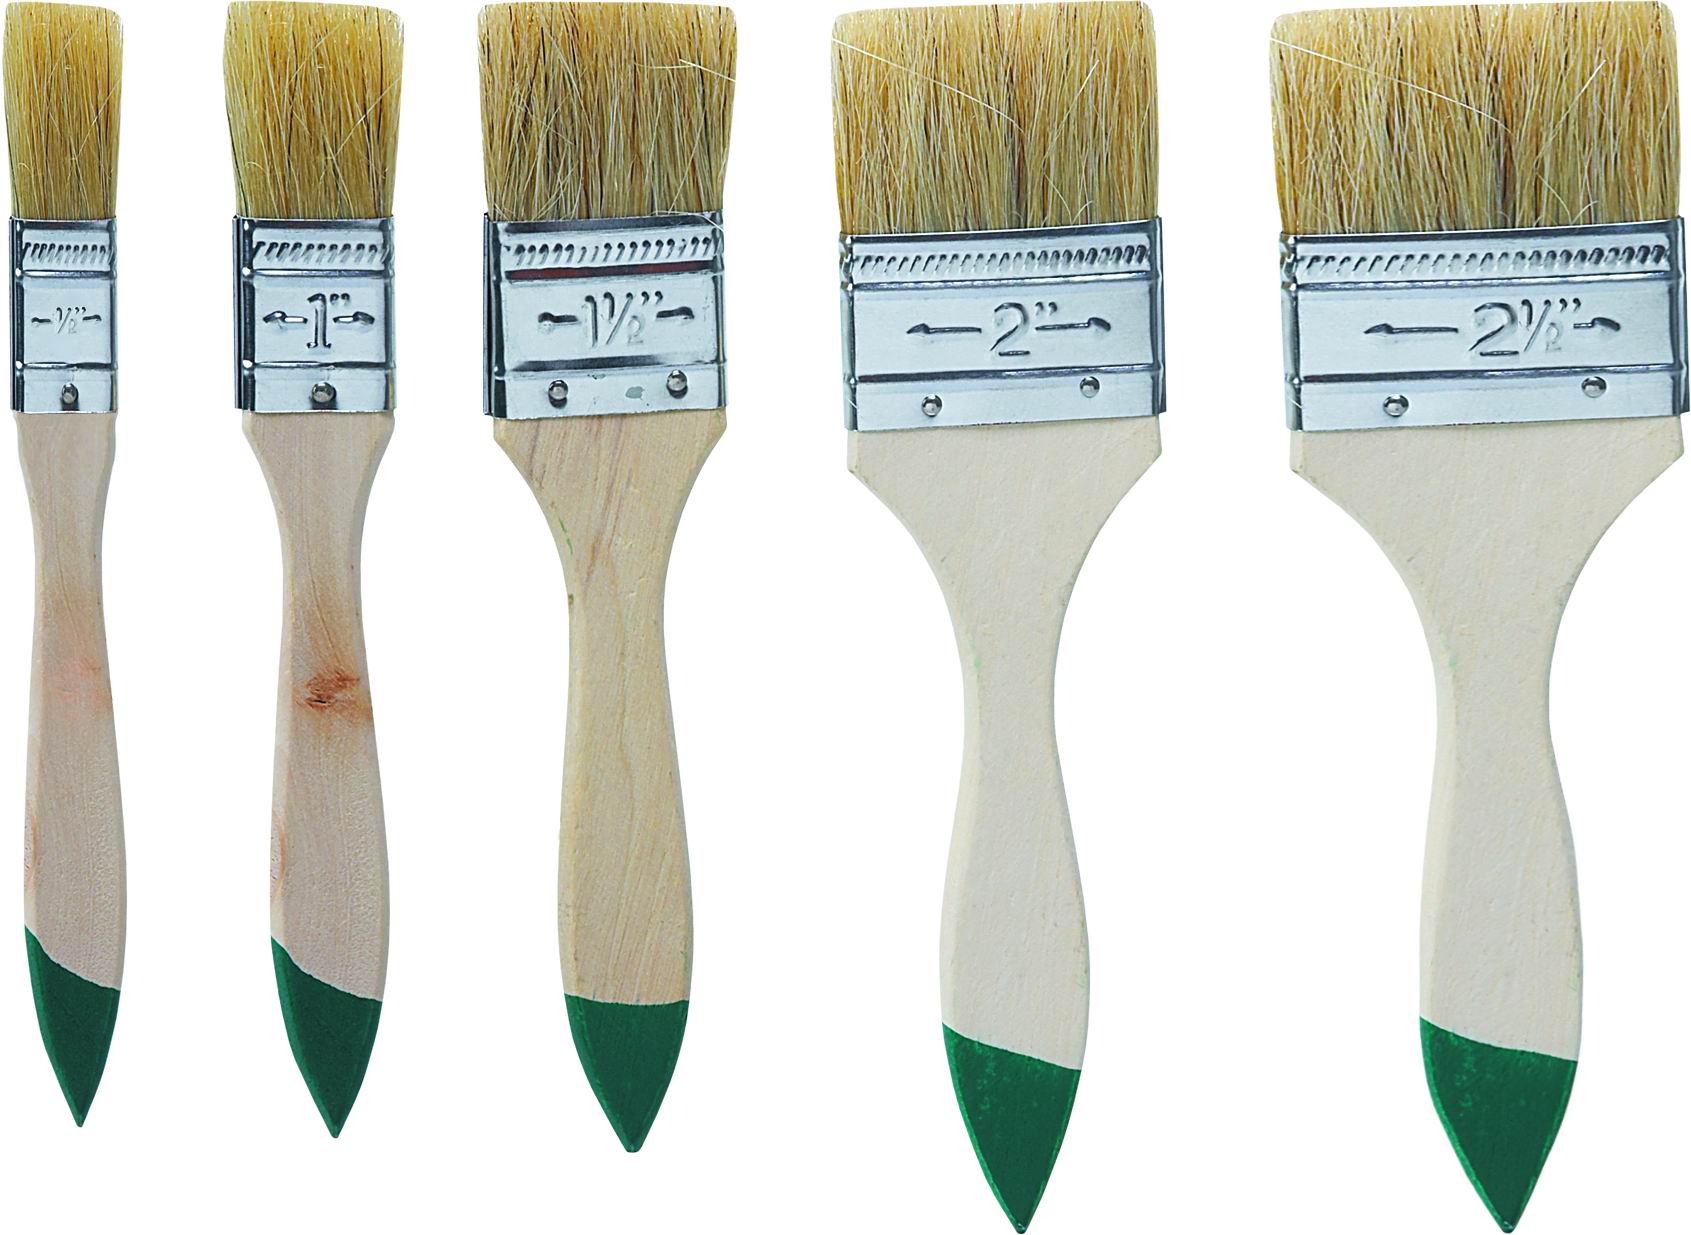
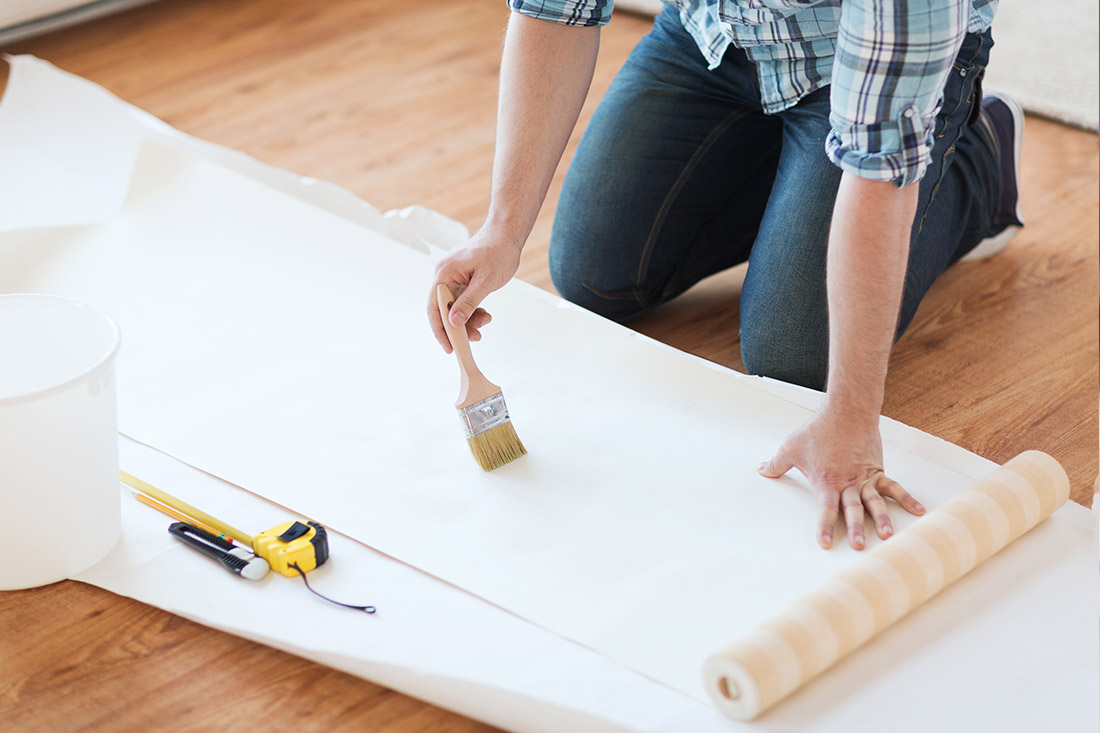
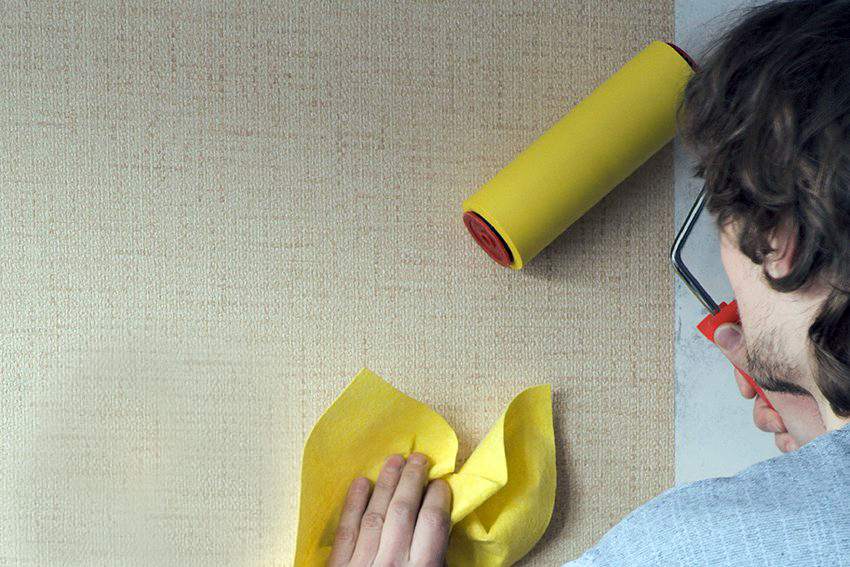
- Apply glue to a soft bristled brush., and align the strip of wallpaper on the wall with a special roller, so as to minimize the risk of irregularities and air bubbles;
- To make the joints invisible, the wallpaper strips need to be fitted close to each other.but do not even impose a millimeter. To make it easy, stick the band start from the place where it connects with another. One lane is aligned relative to the other, shifting it with your hands. When the ideal position is reached (no gaps and bulges), align and glue the rest. Then roll it along the wall with a tapered roller and remove excess glue with a dry cloth;
- Removing excess glue is necessary before it dries., otherwise ugly traces will remain on the wallpaper.
Wall preparation
Preparation of the base is an important and obligatory step towards obtaining a durable and beautiful wall covering of walls. From the quality of the preparatory work depends on the service life of the wallpaper and their condition during operation: whether there will be darkening, unevenness, fungus, whether they will move away from the surface of the walls.
The complexity of the procedure is determined by the current state of the working surface and the type of walls.

Concrete
The basis of concrete, brick, different types of building blocks has its advantages and disadvantages.
The positive point is that you can glue absolutely any type of wallpaper onto such a surface, be it a paper version or glass fiber wallpaper. Minus concrete, brick and block surfaces - they require preliminary preparation before sticking wallpaper.
Preparation is necessary for several reasons. First of all, the porous surfaces of the walls have a high absorbency of the material. The wallpaper itself is not in danger if they are not liquid, but you need a lot of glue. It will literally disappear on concrete and brick, like evaporating water.The second reason is a very uneven work surface, on which it is simply impossible to perfectly glue a strip of wallpaper without bubbles and irregularities. And the third important factor is the color of concrete, brick or blocks. As a rule, they have shades of saturated gray and red-brown gamut, which under thin light wallpaper will look like ordinary dirt.
The process of preparing concrete, brick and block walls for wallpapering is done in several stages.
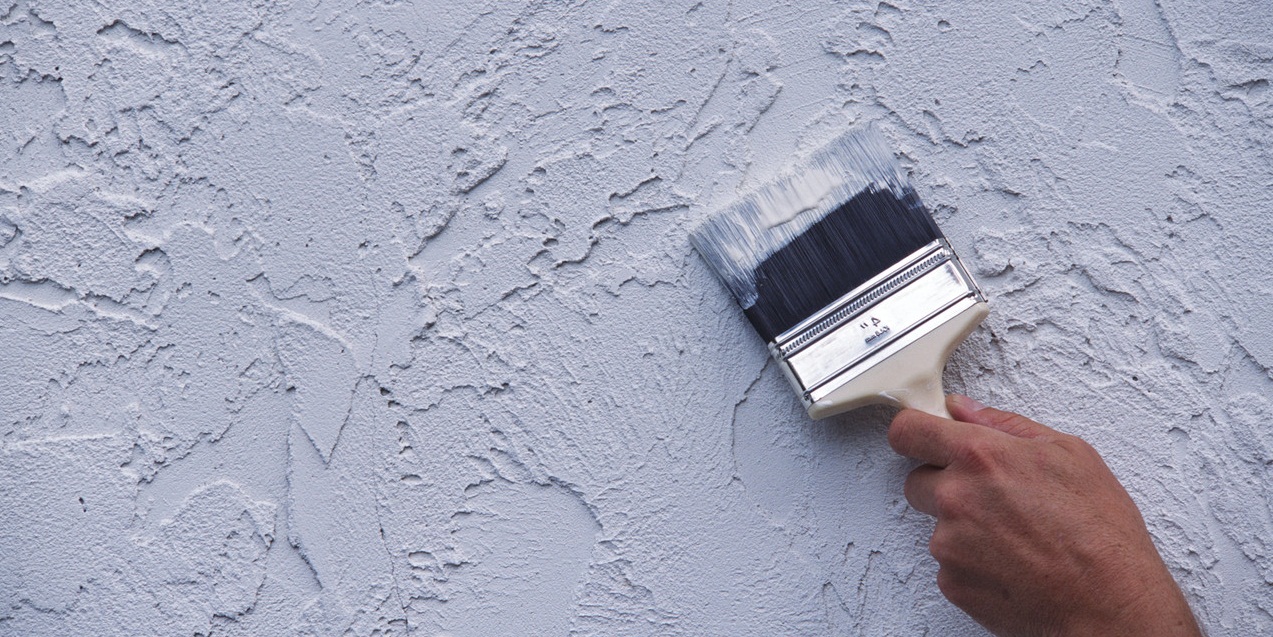
The first stage is a preliminary primer. For it are suitable ready-made compositions, universal or intended for a specific type of surface, as well as a solution of their own preparation from water and glue. The second option gives a more dense layer and is cheaper, but does not have antiseptic properties.
To prepare a homemade primer, you must dilute the wallpaper glue or PVA with water in a ratio of 1: 3 or 1: 5. It should be applied to the wall in 1-2 layers with a wide brush or roller.
But this is not enough to make the surface as comfortable as possible for pasting wallpaper, especially if they are not distinguished by high density and dark color.
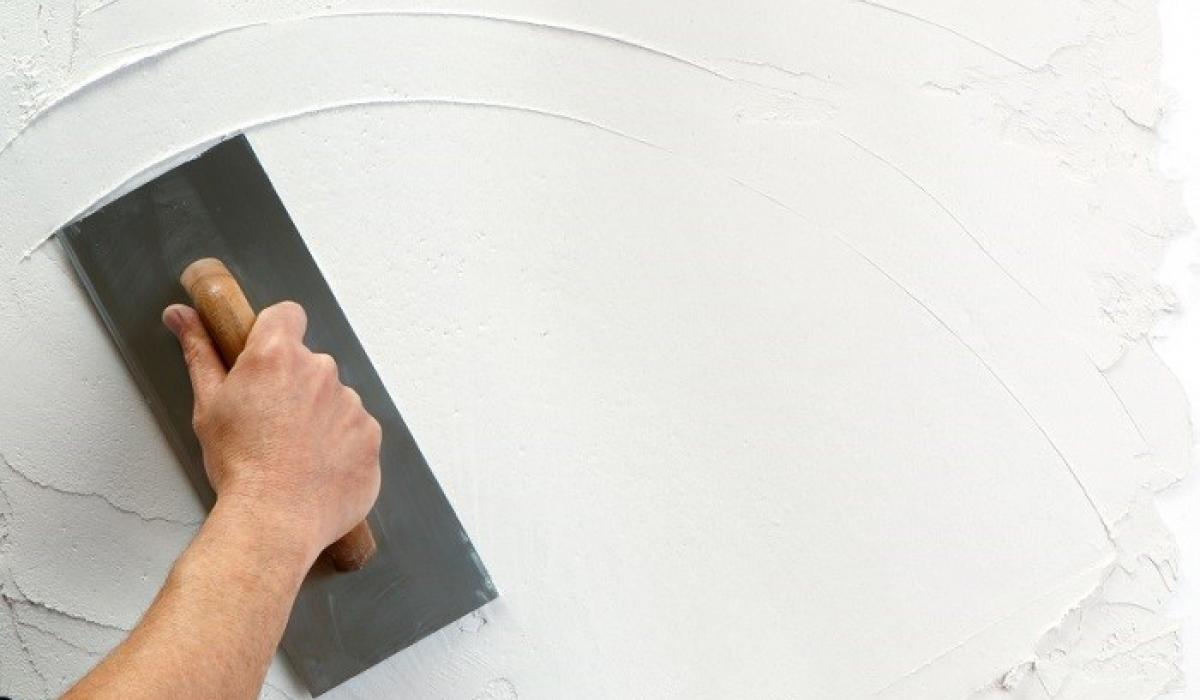
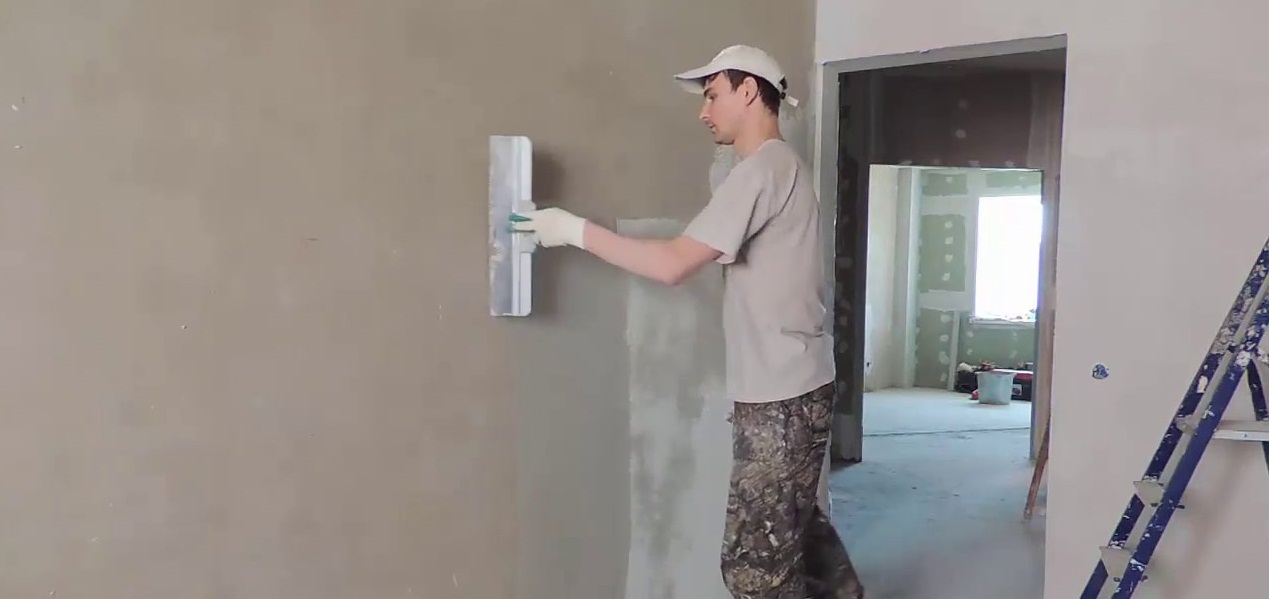
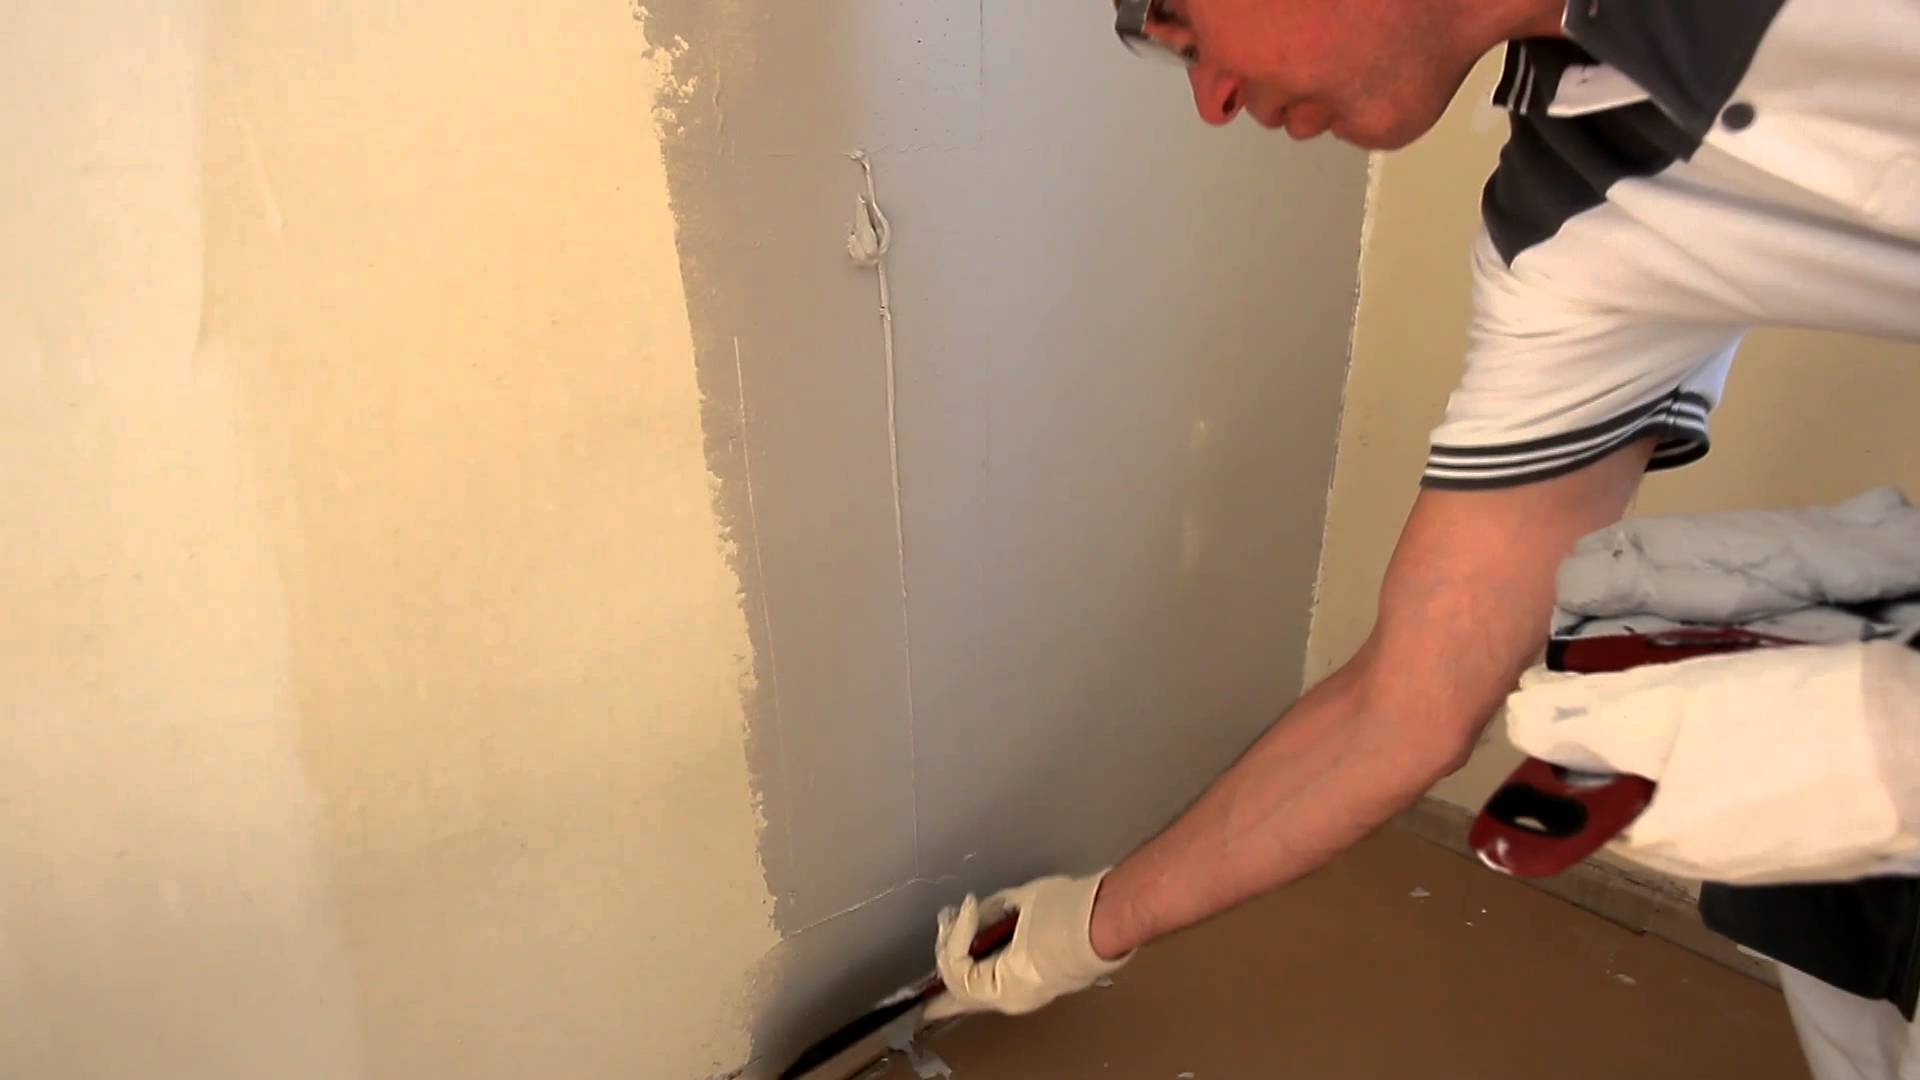
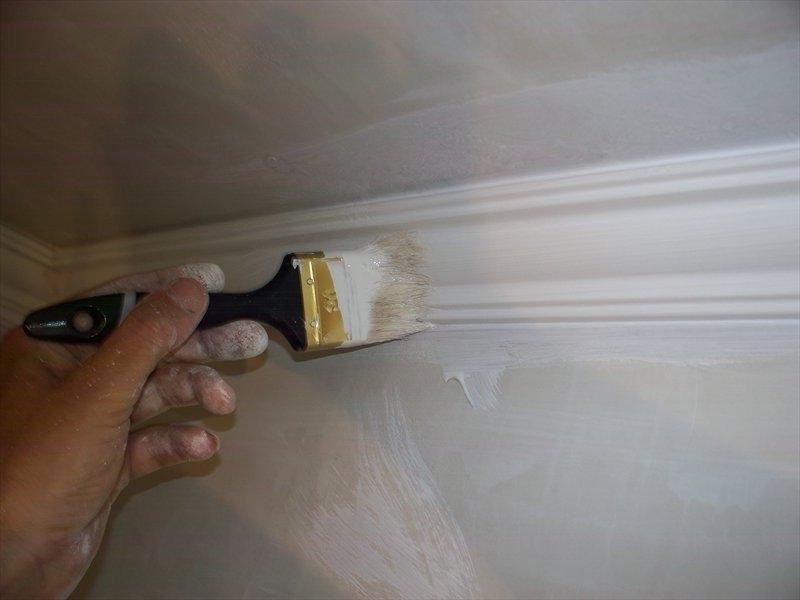
When the glue dries, it is necessary to proceed to the second stage - in 1-2 layers apply white enamel or putty on the wall. Enamel is used for walls with minimal relief, for example, if the surface of the concrete was leveled by sanding and there are few joints on it, or on a wall of smooth ceramic blocks. This option is rare. Most often, the surface of the wall is necessary in two layers, giving time to dry each of them, to process the spatula composition.
It can be purchased both in finished form and in dry for dilution with water.
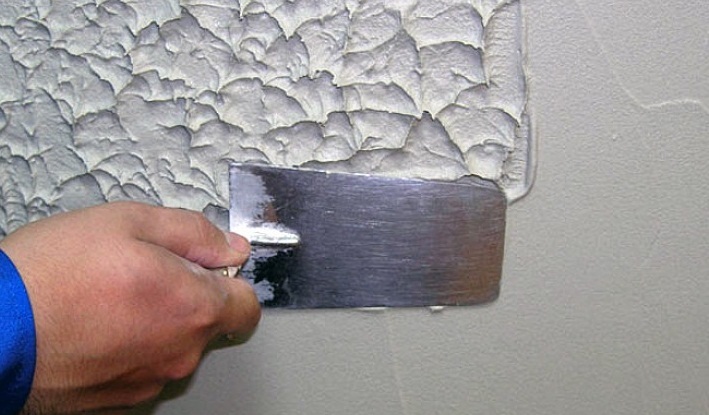
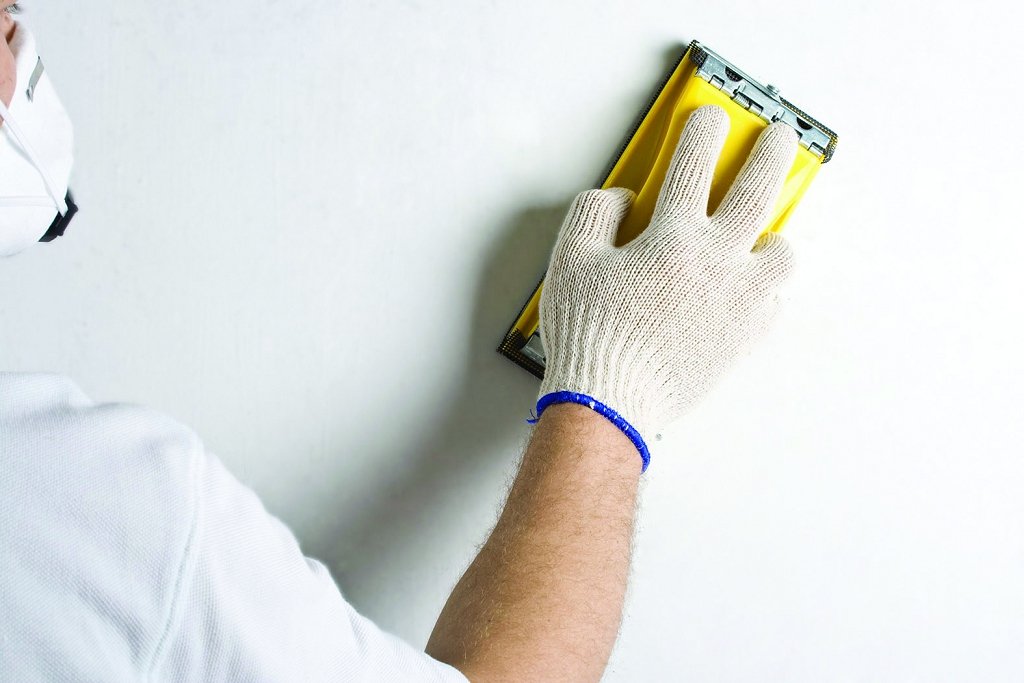
Dry gypsum plaster has elasticity, which allows you to fill cracks, chips, holes. It is resistant to temperature extremes and protects masonry walls. In its composition - substances of organic origin, which do not cause harm neither in the process of work, nor after. Diluted with plain water, applied with a spatula. After the top layer has dried, the putty is sanded to a flat surface with emery paper with fine or medium grain size. You can do it manually, using painting tools, or using a grinding machine.
It is important to bear in mind that the processing of dry putty is dusty work, and it is not recommended to perform it without a respirator and protective clothing.
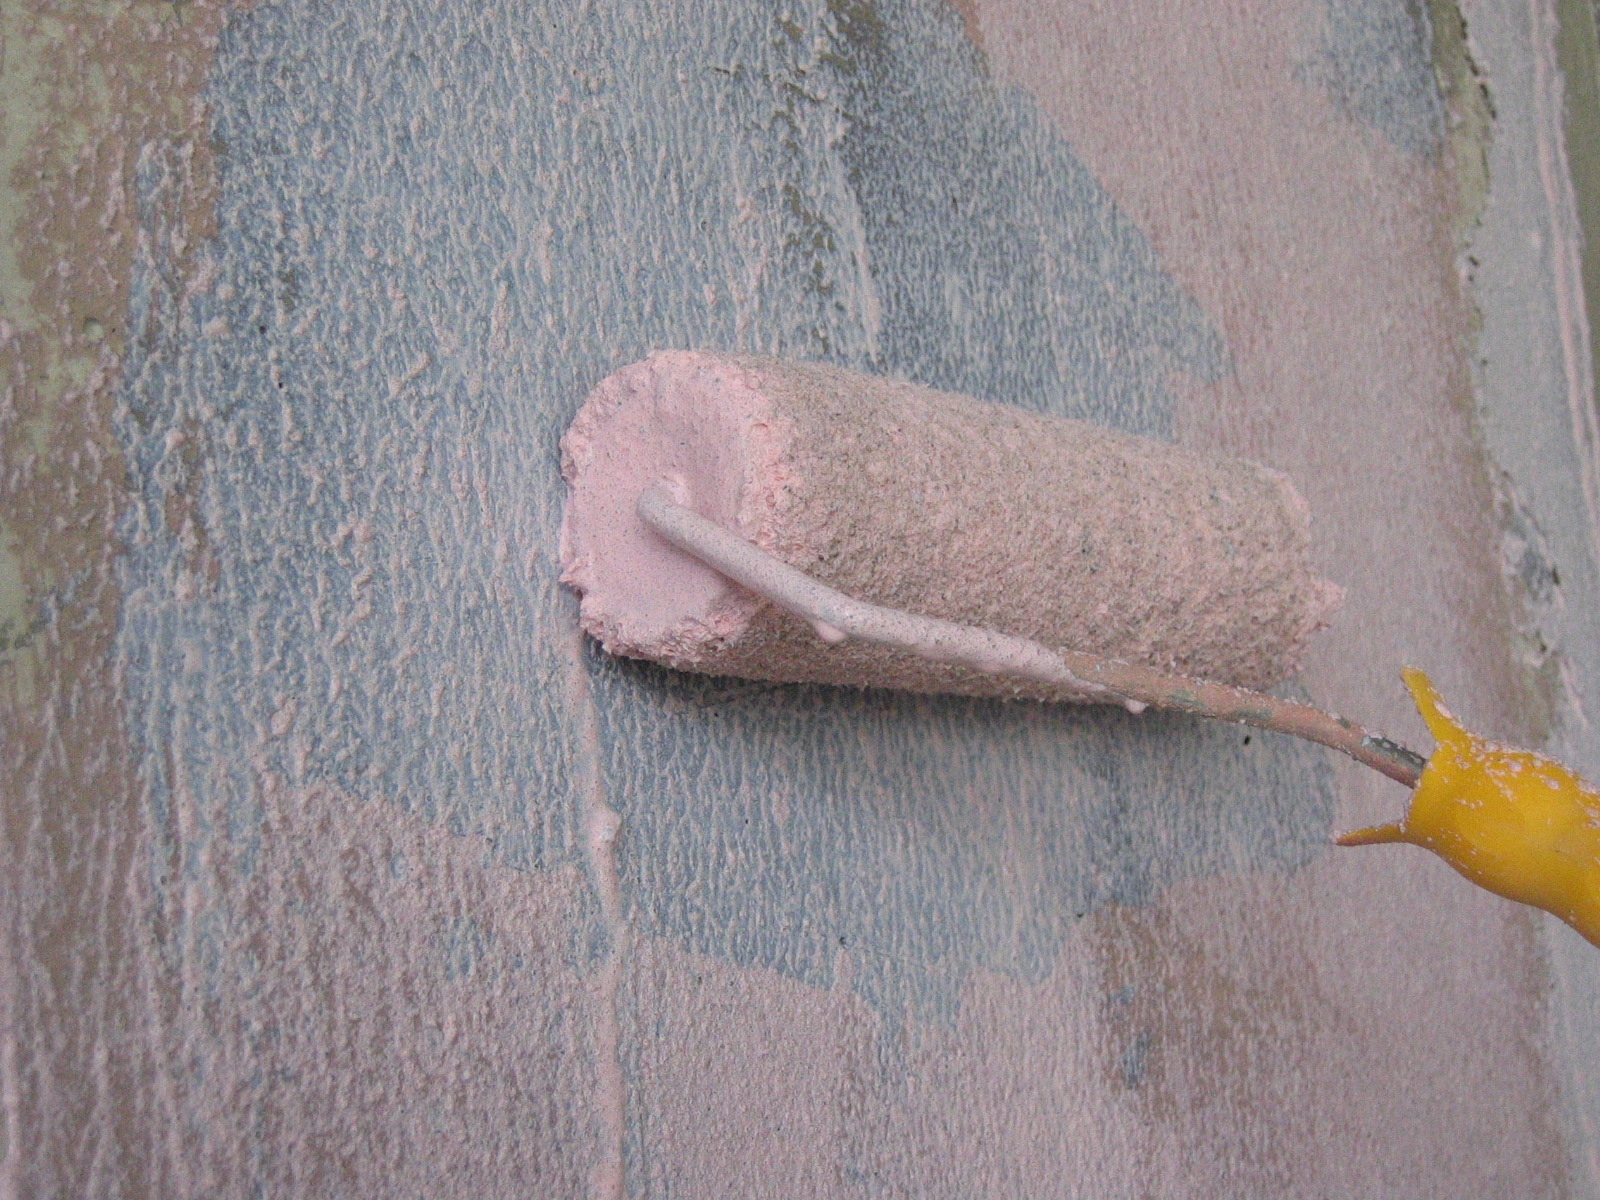
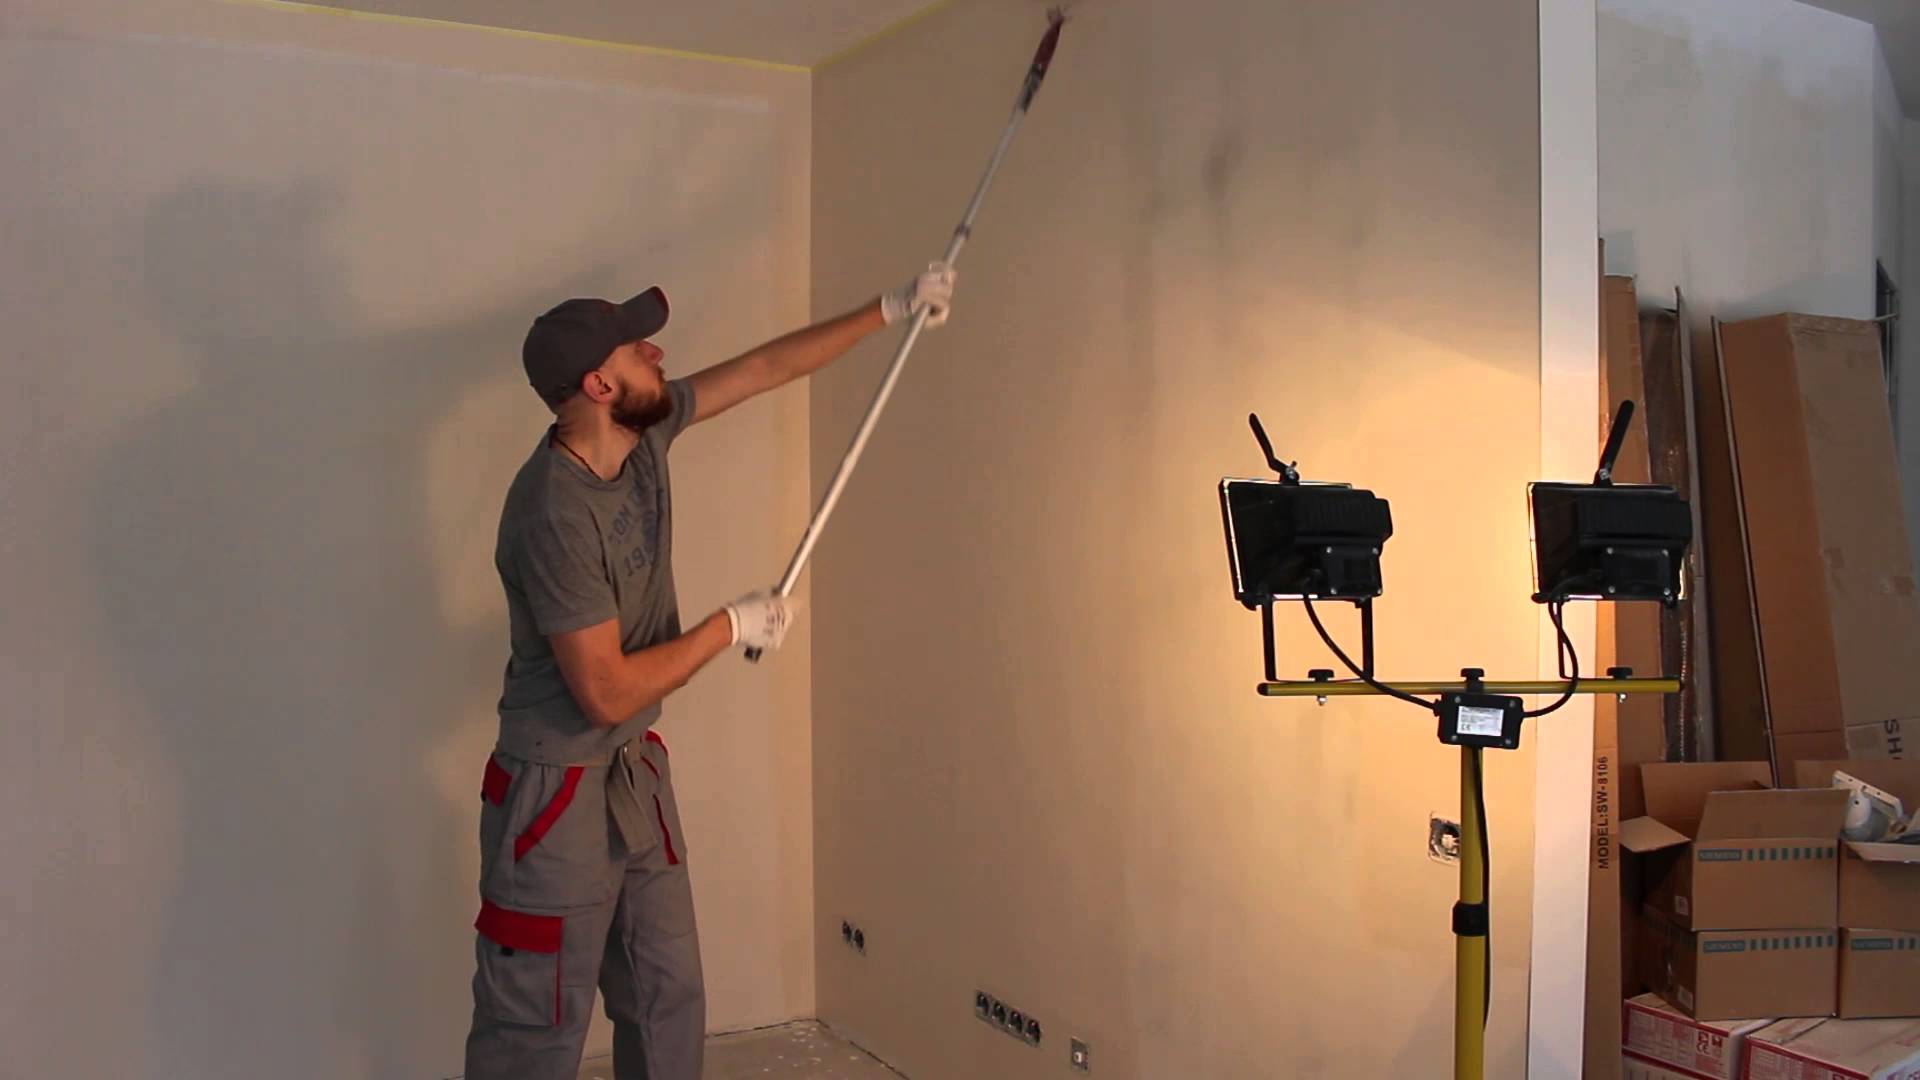
When the dust after grinding the surface will settle, you can proceed to the third stage - the finish coating. This does not apply to decorating. We are talking about the completion of the rough wall finish with a re-primer. It is already desirable to use special formulations of deep action. They greatly increase the adhesion of wallpaper glue to the wall and make the coating biostable.
There are alternative solutions without putty:
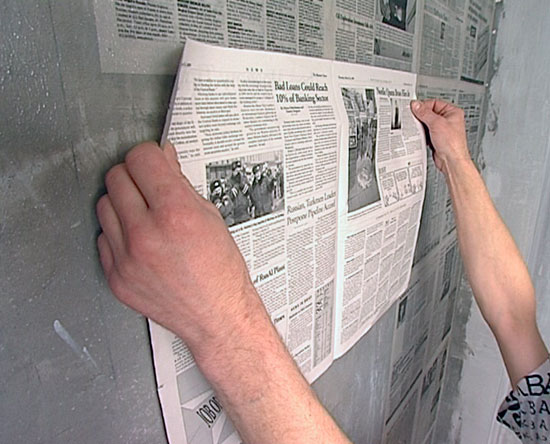
- Pasting the wall with newspapers. They are used after the primer layer instead of putty or plaster. This method is faster, easier and cheaper, but it is less durable;
- The use of concrete contact. This is a ready-made solution, resembling primer in its properties. After its application does not require additional layers. 1-2 layers of concrete contact fully prepare concrete walls for sticking wallpaper. Such a solution is quite expensive, and its composition is not always environmentally safe;
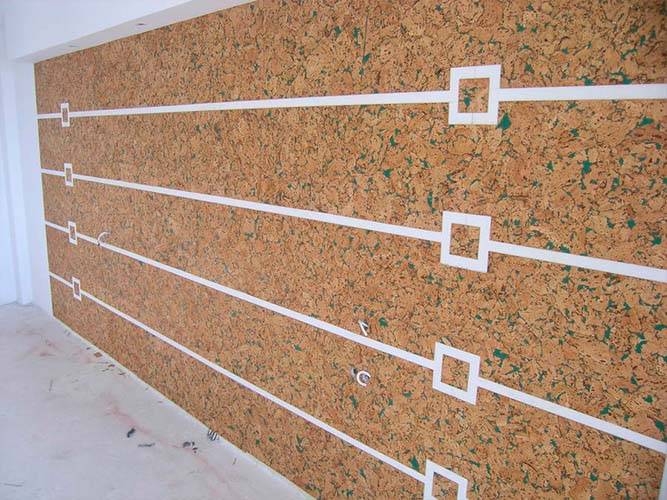
- Substrate of cork panels or polyurethane. It is a good substitute for putty and plaster, as this material perfectly aligns the surface of concrete and brick walls. Work with him is faster, easier and cleaner.Additionally, it provides good noise insulation and thermal insulation. However, prefabrication and finishing primers are also necessary.
The same options are used when sticking wallpaper on an artificial stone.
Wood
For private houses and buildings of the old type is characterized by interior decoration of the tree and its derivatives. These include plywood, timber, MDF, particleboard, fiberboard, OSB-plates.
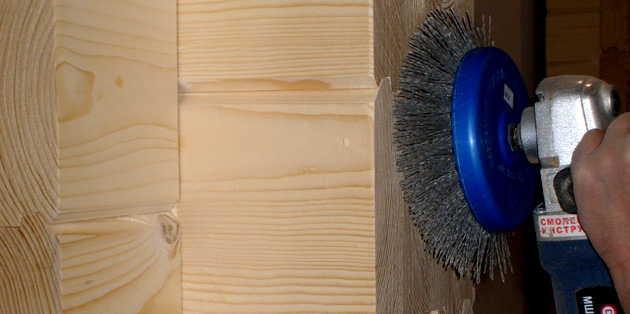
The characteristic difference between wooden surfaces is smoothness and absence of irregularities. Processing with a grinding machine gives the same result as the time-consuming process of applying putty; however, there can be many joints in the wooden walls, traces of knots, small cracks.
The best option for preliminary preparation of wooden surfaces are the same three steps as for concrete walls. But if there is no time and desire, it can be limited to two stages.
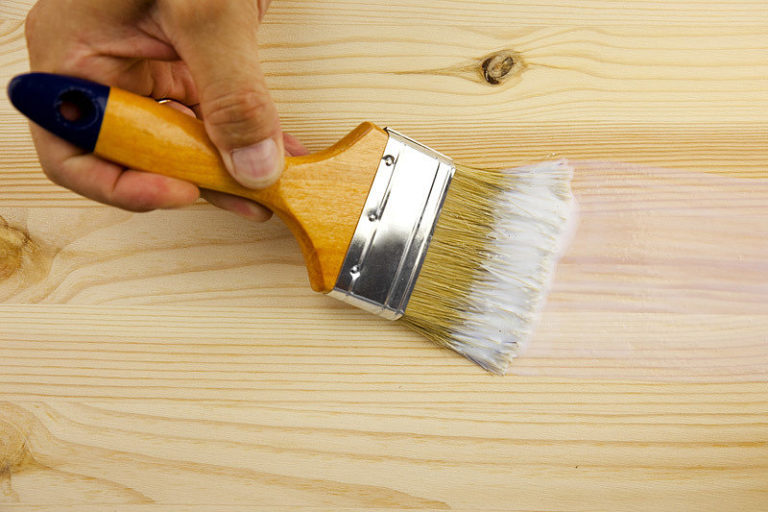
The first is the application of priming composition. The tree is prone to rotting and suffers from the vital activity of various organisms. So that the wallpaper does not bloom with a wild color of mold and mildew, the wooden surface is pre-treated with an antiseptic - a deep penetration primer.
The second stage is the alignment of the walls.For this purpose, suitable old newspapers, which paste over the entire working surface, like draft paper wallpaper, and a thin fabric.

The fabric works better. When dried, it stretches like a drum, and the walls become stiff and smooth, as it should be for wallpapering. Do not need to recycle fabric and newspapers
Also on a wooden base, you can glue wallpaper on the plaster, covered with soil, or apply new wallpaper on top of the old paper, provided that they are well kept, do not bubble and do not have a few more layers
Drywall
Drywall is a sheet or slab material that has several advantages: environmental friendliness, lightness, durability, and a flat surface. The last advantage often leads to a common mistake - sticking wallpaper on the walls of drywall without prior preparation.
Despite the fact that the drywall sheet itself is notable for its comfortable smooth surface and the wallpaper fits well with it, it is impossible to close the entire wall with one sheet. At the joints of the sheets, inevitably, gaps and small irregularities are formed that need to be sealed so that no bubbles or bumps are formed on the surface of the wallpaper.
Preparation of drywall is done step by step:
- Primer. As in the case of a different type of surface, it is necessary for the formation of a biostable and hydrophobic coating and for improving the adhesion of the two materials.
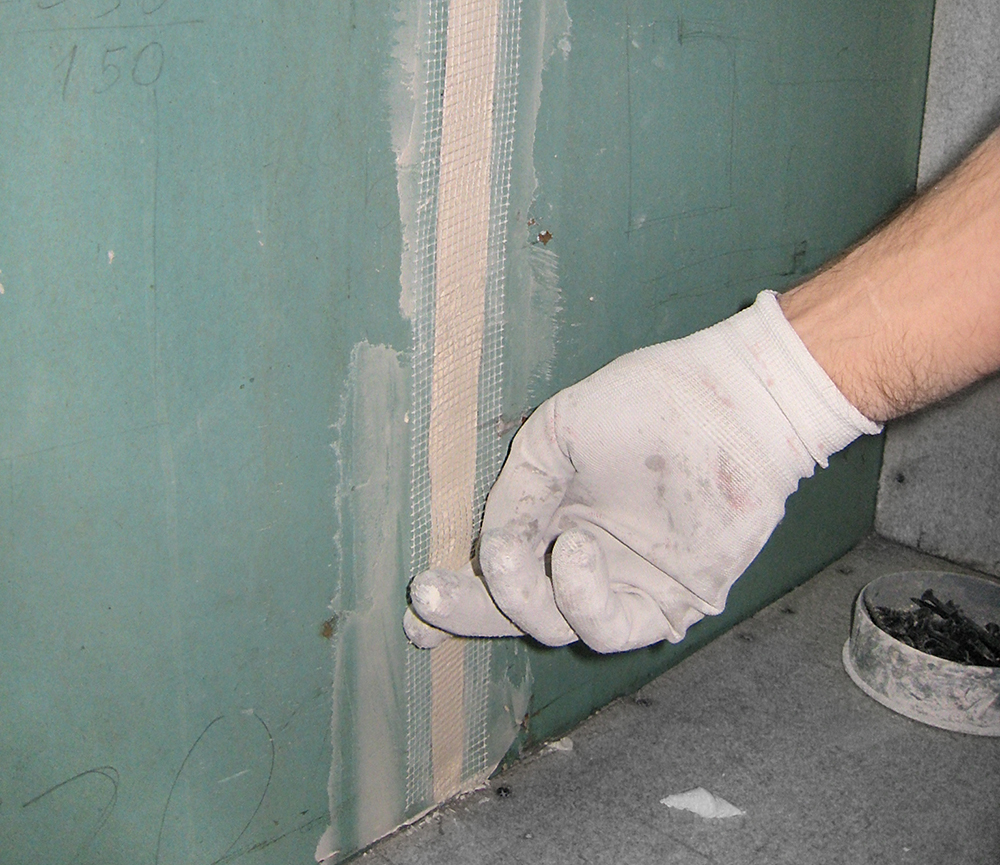
- Seam sealing For this purpose, the so-called serpyanka grid and adhesives are used. Outwardly serpyanka resembles gauze or medical bandage, and it consists of high-strength fiberglass or polyester filaments. It is firmly glued to the joints of drywall, avoiding the formation of airbags.
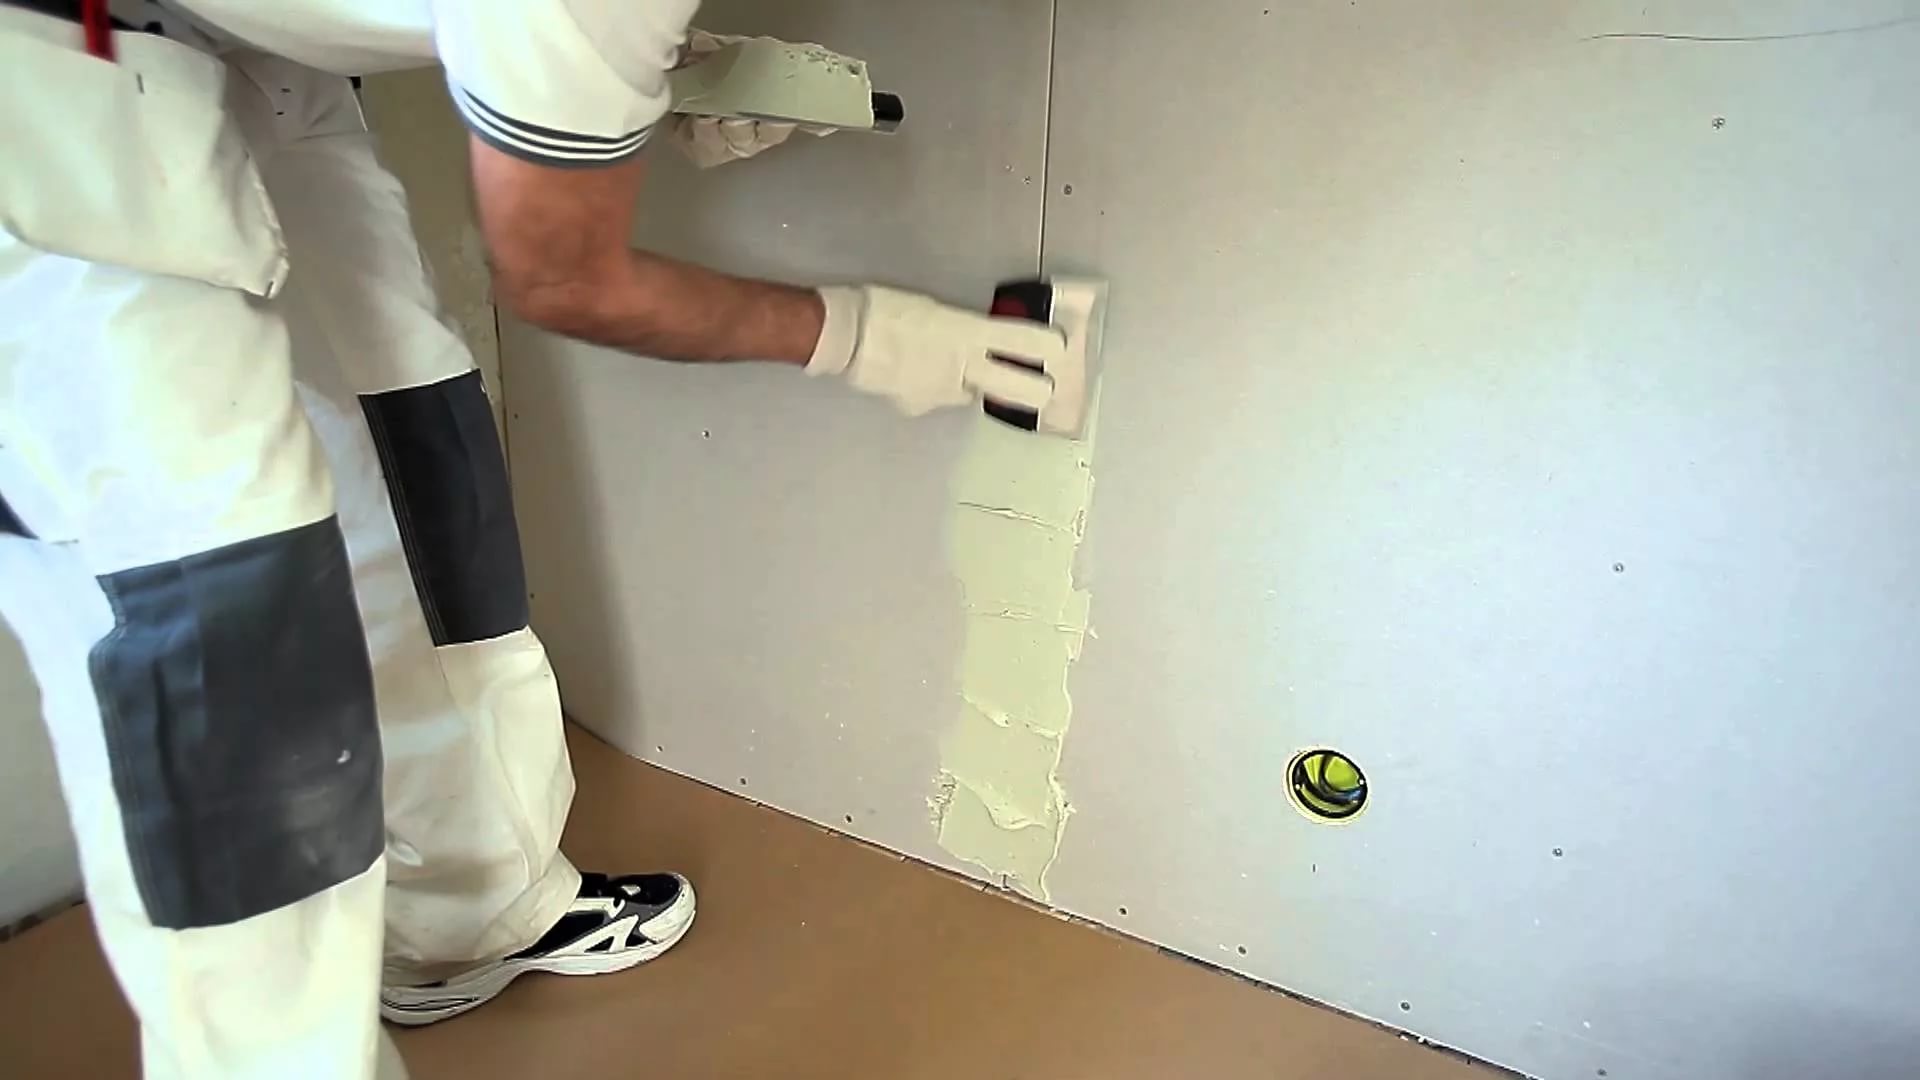
- Putty. At this stage, nonprofessionals make a common mistake - they only coat the serpyanka on the joints with a putty compound, while the entire surface must be leveled. Firstly, it will help to make the surface as smooth as possible, and secondly, it will save drywall from damage during the next repair. Heavy wallpaper will move away from it along with glue and top sheet.
- Grouting or leveling the surface. It is impossible to put the putty evenly, so after complete drying it must be treated with sandpaper until smooth. It is advisable to carry out the procedure in two approaches - first with sandpaper with a large grain, then with a fine one.
- Final ground coat. Carried out in two layers with a deep primer. It will help to “grasp” the glue better and will not allow the putty to absorb too much glue. When using liquid wallpaper it is permissible to use white enamel paint in 2 layers.

Other surfaces
Clean concrete, brick or block walls, as well as plasterboard floors, as a rule, are found in homes that have recently been completed, and the walls in them have never seen repairs. A common phenomenon in new buildings - plastered walls. But most of the surfaces that require redecoration, in particular, wallpapering, are walls in apartments and houses, where the decorative finish has changed at least once.
In such rooms traces of the previous coating remain on the walls, and they can be completely different:
- Whitewash. Whitewashed walls are a specific basis for sticking wallpaper. Repairs may not succeed, and the wallpaper will go away after a couple of weeks or months. But in some cases, whitewashed walls may well serve as the basis for finishing wallpaper:
- The whitewash layer is thin and does not peel off;
- The surface of the wall is not cracked;
- Lagging layers of whitewash are small and managed to remove them with a spatula;
- Wallpaper paper or not dense. In other cases, the use of wallpaper for whitewashing is not recommended. Particularly high risk when applying textile, natural, liquid and glass fiber. They will not last even six months, as warned by manufacturers.
- Plaster. With regard to this type of finish there is no definitive answer. If the plaster is plaster and as smooth as possible, it is suitable for pasting wallpaper without additional manipulations. The only thing to do is to wipe the walls with a damp cloth. If the layer is not new, it is recommended to process it with a primer or plaster again. If the cement plaster, then before sticking the wallpaper it is necessary to apply a layer of paint and primer on top or level too granular surface with plaster plaster, and then cover it with primer. You can safely glue any type of wallpaper onto such plaster.
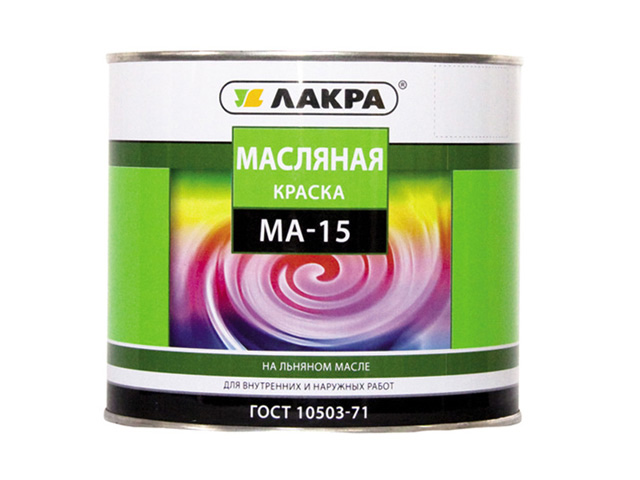
- Paintwork. As in the case of whitewashing, several factors influence the suitability of a coating as a base for wallpaper. You can glue wallpaper on oil or alkyd paint in the event that:
- The paint is quite fresh;
- The thickness does not exceed two layers;
- Under the paint was applied primer;
- The wallpaper is supposed to be glued on top of the paint not in the room where strong odors were present (cooking, cigarettes, pets), because the paint absorbs them;
- On the surface there are no cracks and chips, flaking fragments. This paint can be washed, primed and pokleit light wallpaper on top. If it has flaws, it is better to remove the paint and use putty and primer. Special compositions (B52), mechanical effects (trowel, iron brushes), high temperatures (using a building dryer and a trowel) are suitable for removing paint.

- Old wallpaper. They serve as a good basis if it is paper wallpaper that keeps well on a wooden surface, but not in the kitchen or in the corridor, where there is a lot of dirt and odors on them. It is possible to glue new wallpapers on old ones only in emergency cases when redecoration does not tolerate delay. If you have free time, you should take care of a quality basis for the wallpaper, then they will last longer.
- Newspapers. This paper base works on the principle of old wallpaper. If newspapers exfoliate from the wall, it is better to strip them, otherwise bubbles and bumps will appear on the new wallpaper.
- The cloth. Textiles are easily destroyed, rotting and are not biostable. It is recommended to glue such a basis again or to replace it at all with soil and plaster.
Some difficulties are encountered when finishing the walls in old houses and surfaces with a large number of protruding parts.
It is important to treat old walls with a protective primer, and carefully project the protruding parts with putty compounds or “embed” them into the wall.
What to glue?
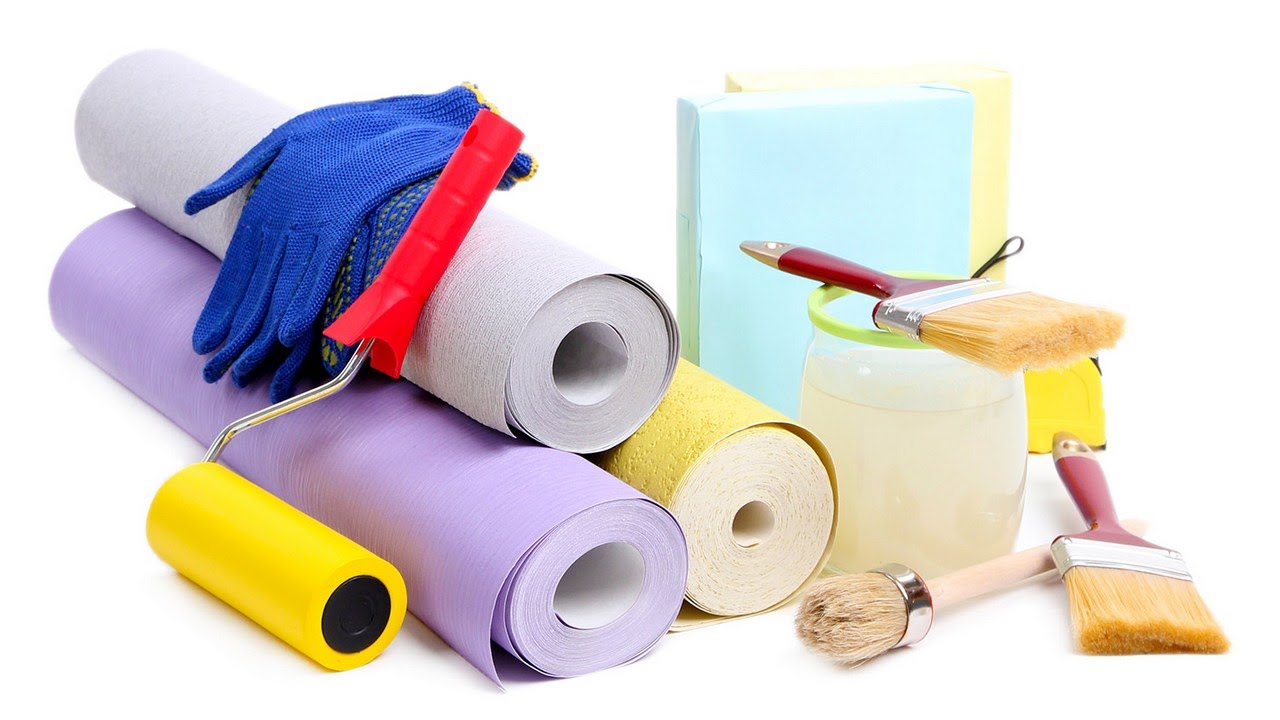
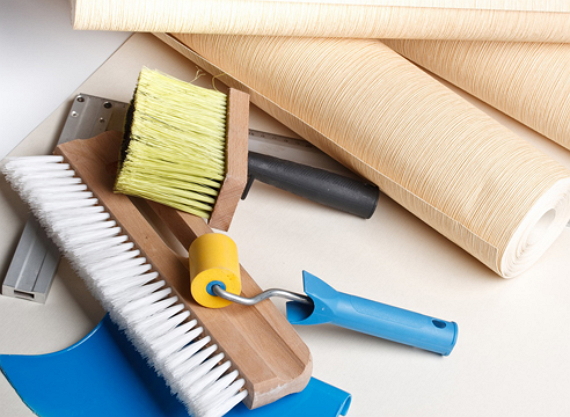
Preparation of tools is an important stage of repair work. When everything you need is at hand, the work is faster. So it is easier to eliminate random defects and irregularities on the surface of the walls, pasted over with wallpaper.
When working with different types of wallpaper the list of necessary tools varies. Conventionally, you can combine them into several groups: wallpaper on paper basis or non-woven basis (vinyl, acrylic, textile, natural, photo wallpaper, non-woven and paper) glass wallpaper, liquid wallpaper.
Working with paper and non-woven base wallpaper requires the following tools:
- Surface preparation:
- Spray with water or a special solution to remove the old coating (wallpaper, paint);
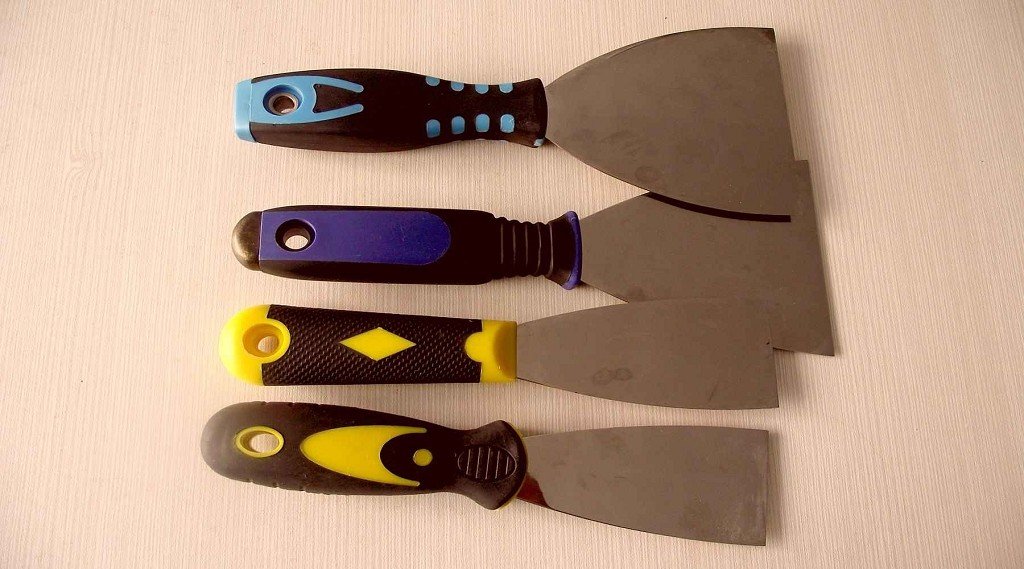
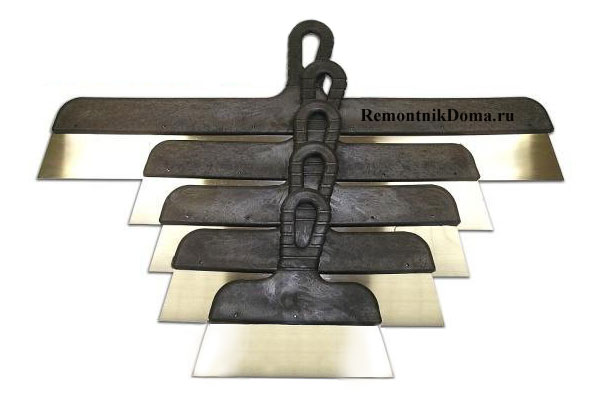
- Spatulas of different sizes and remuver for repair;
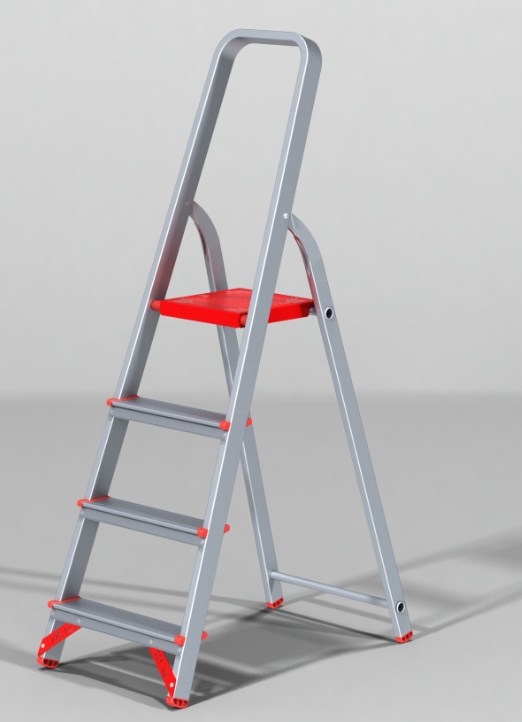
- Step ladder;
- Work clothes, goggles, gloves, respirator (when removing plaster);
- Priming composition or PVA;
- Spackling composition;
- Sandpaper and sanding tools (manual or electric);
- Wet towel to clean the spatulas in the process of leveling the walls with putty.
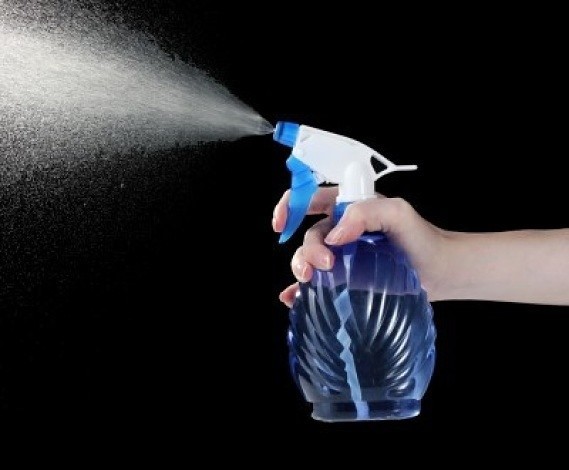
- Check the walls. This is a test for absorbency, which is performed using a spray with water. It is necessary to sprinkle on the wall. If the water rolls down - this is an indicator of poor adhesion, you need a primer or paper for wallpaper. If stains remain, absorbency is too high, and a primer or coat of paint can lower it.
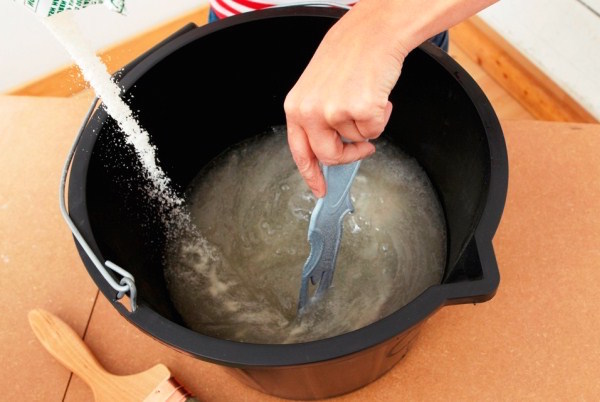
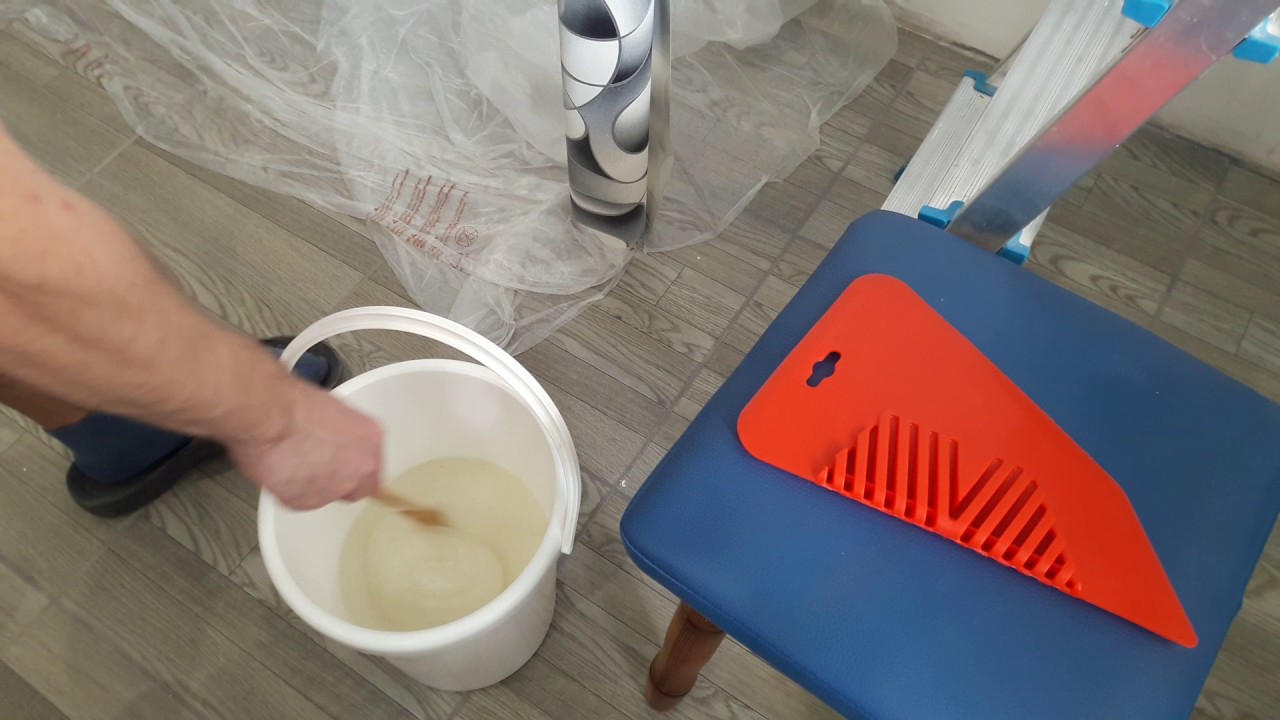
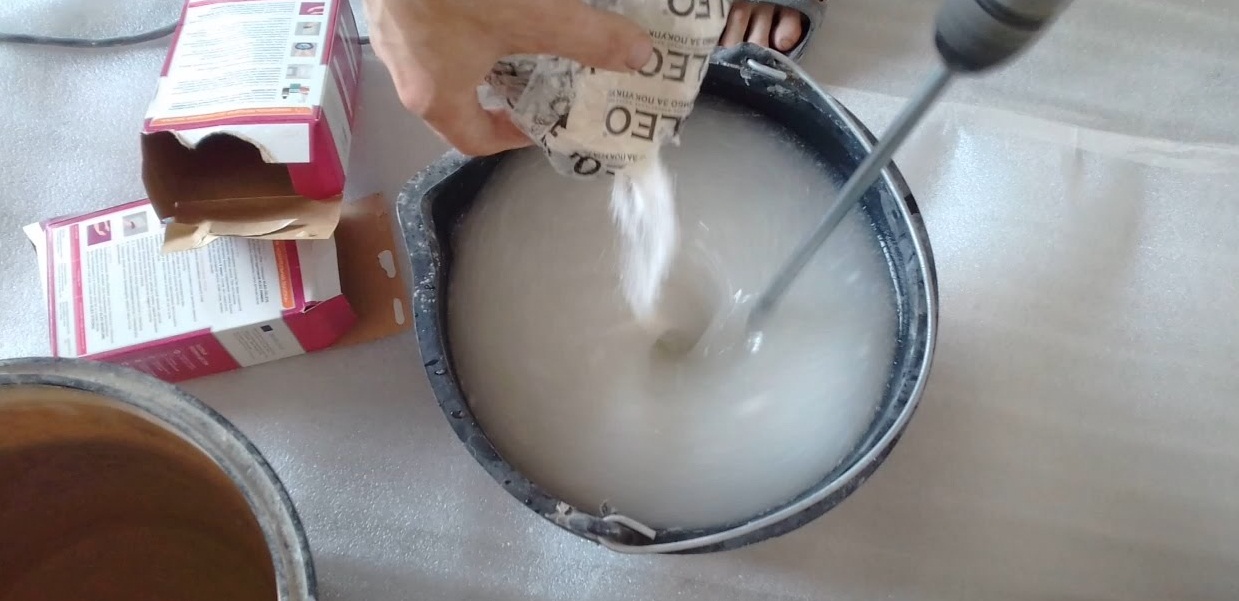
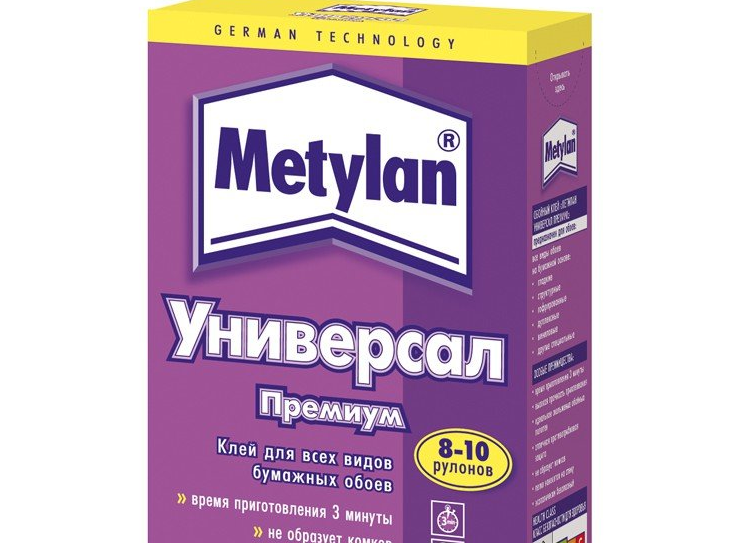
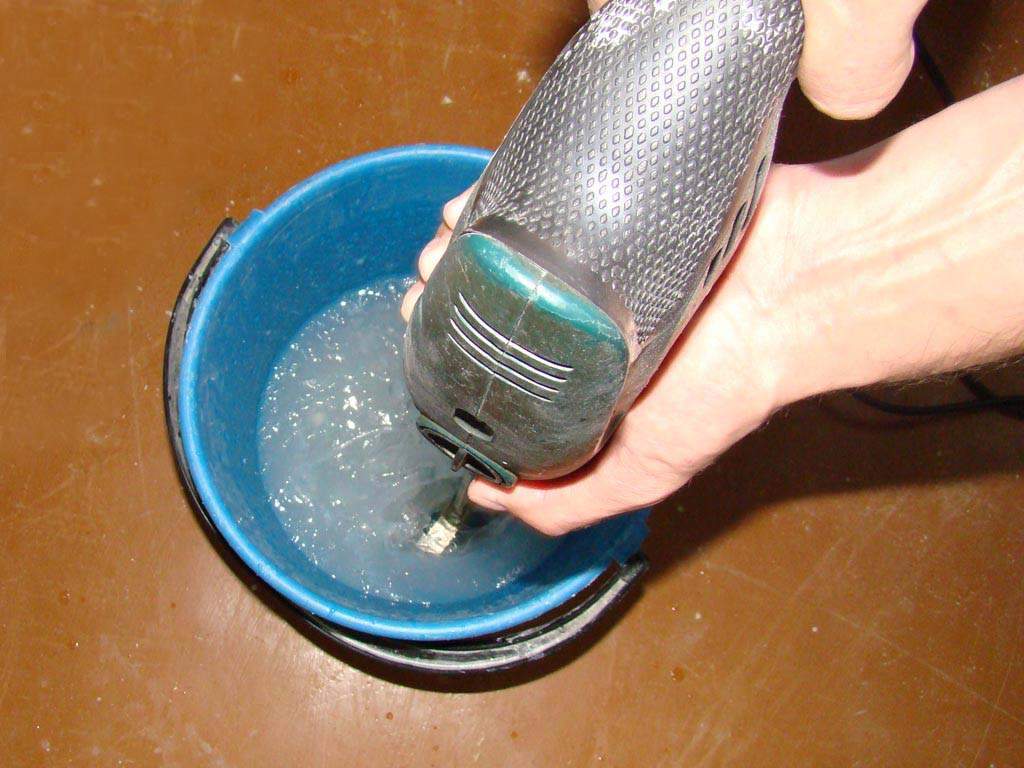
- Breeding glue. What is needed is the glue recommended by the wallpaper manufacturer, a mixing container, a bucket of water, and a tool for mixing the glue with water. You can use a drill with a nozzle-mixer at low speeds.
- Search vertical line. Roulette and drawing supplies or a building level and a pencil can be useful.
- Preparation of wallpaper. A tape measure, a pencil, a paper knife or sharp scissors for cutting wallpaper into strips with a margin of 5-7 cm.
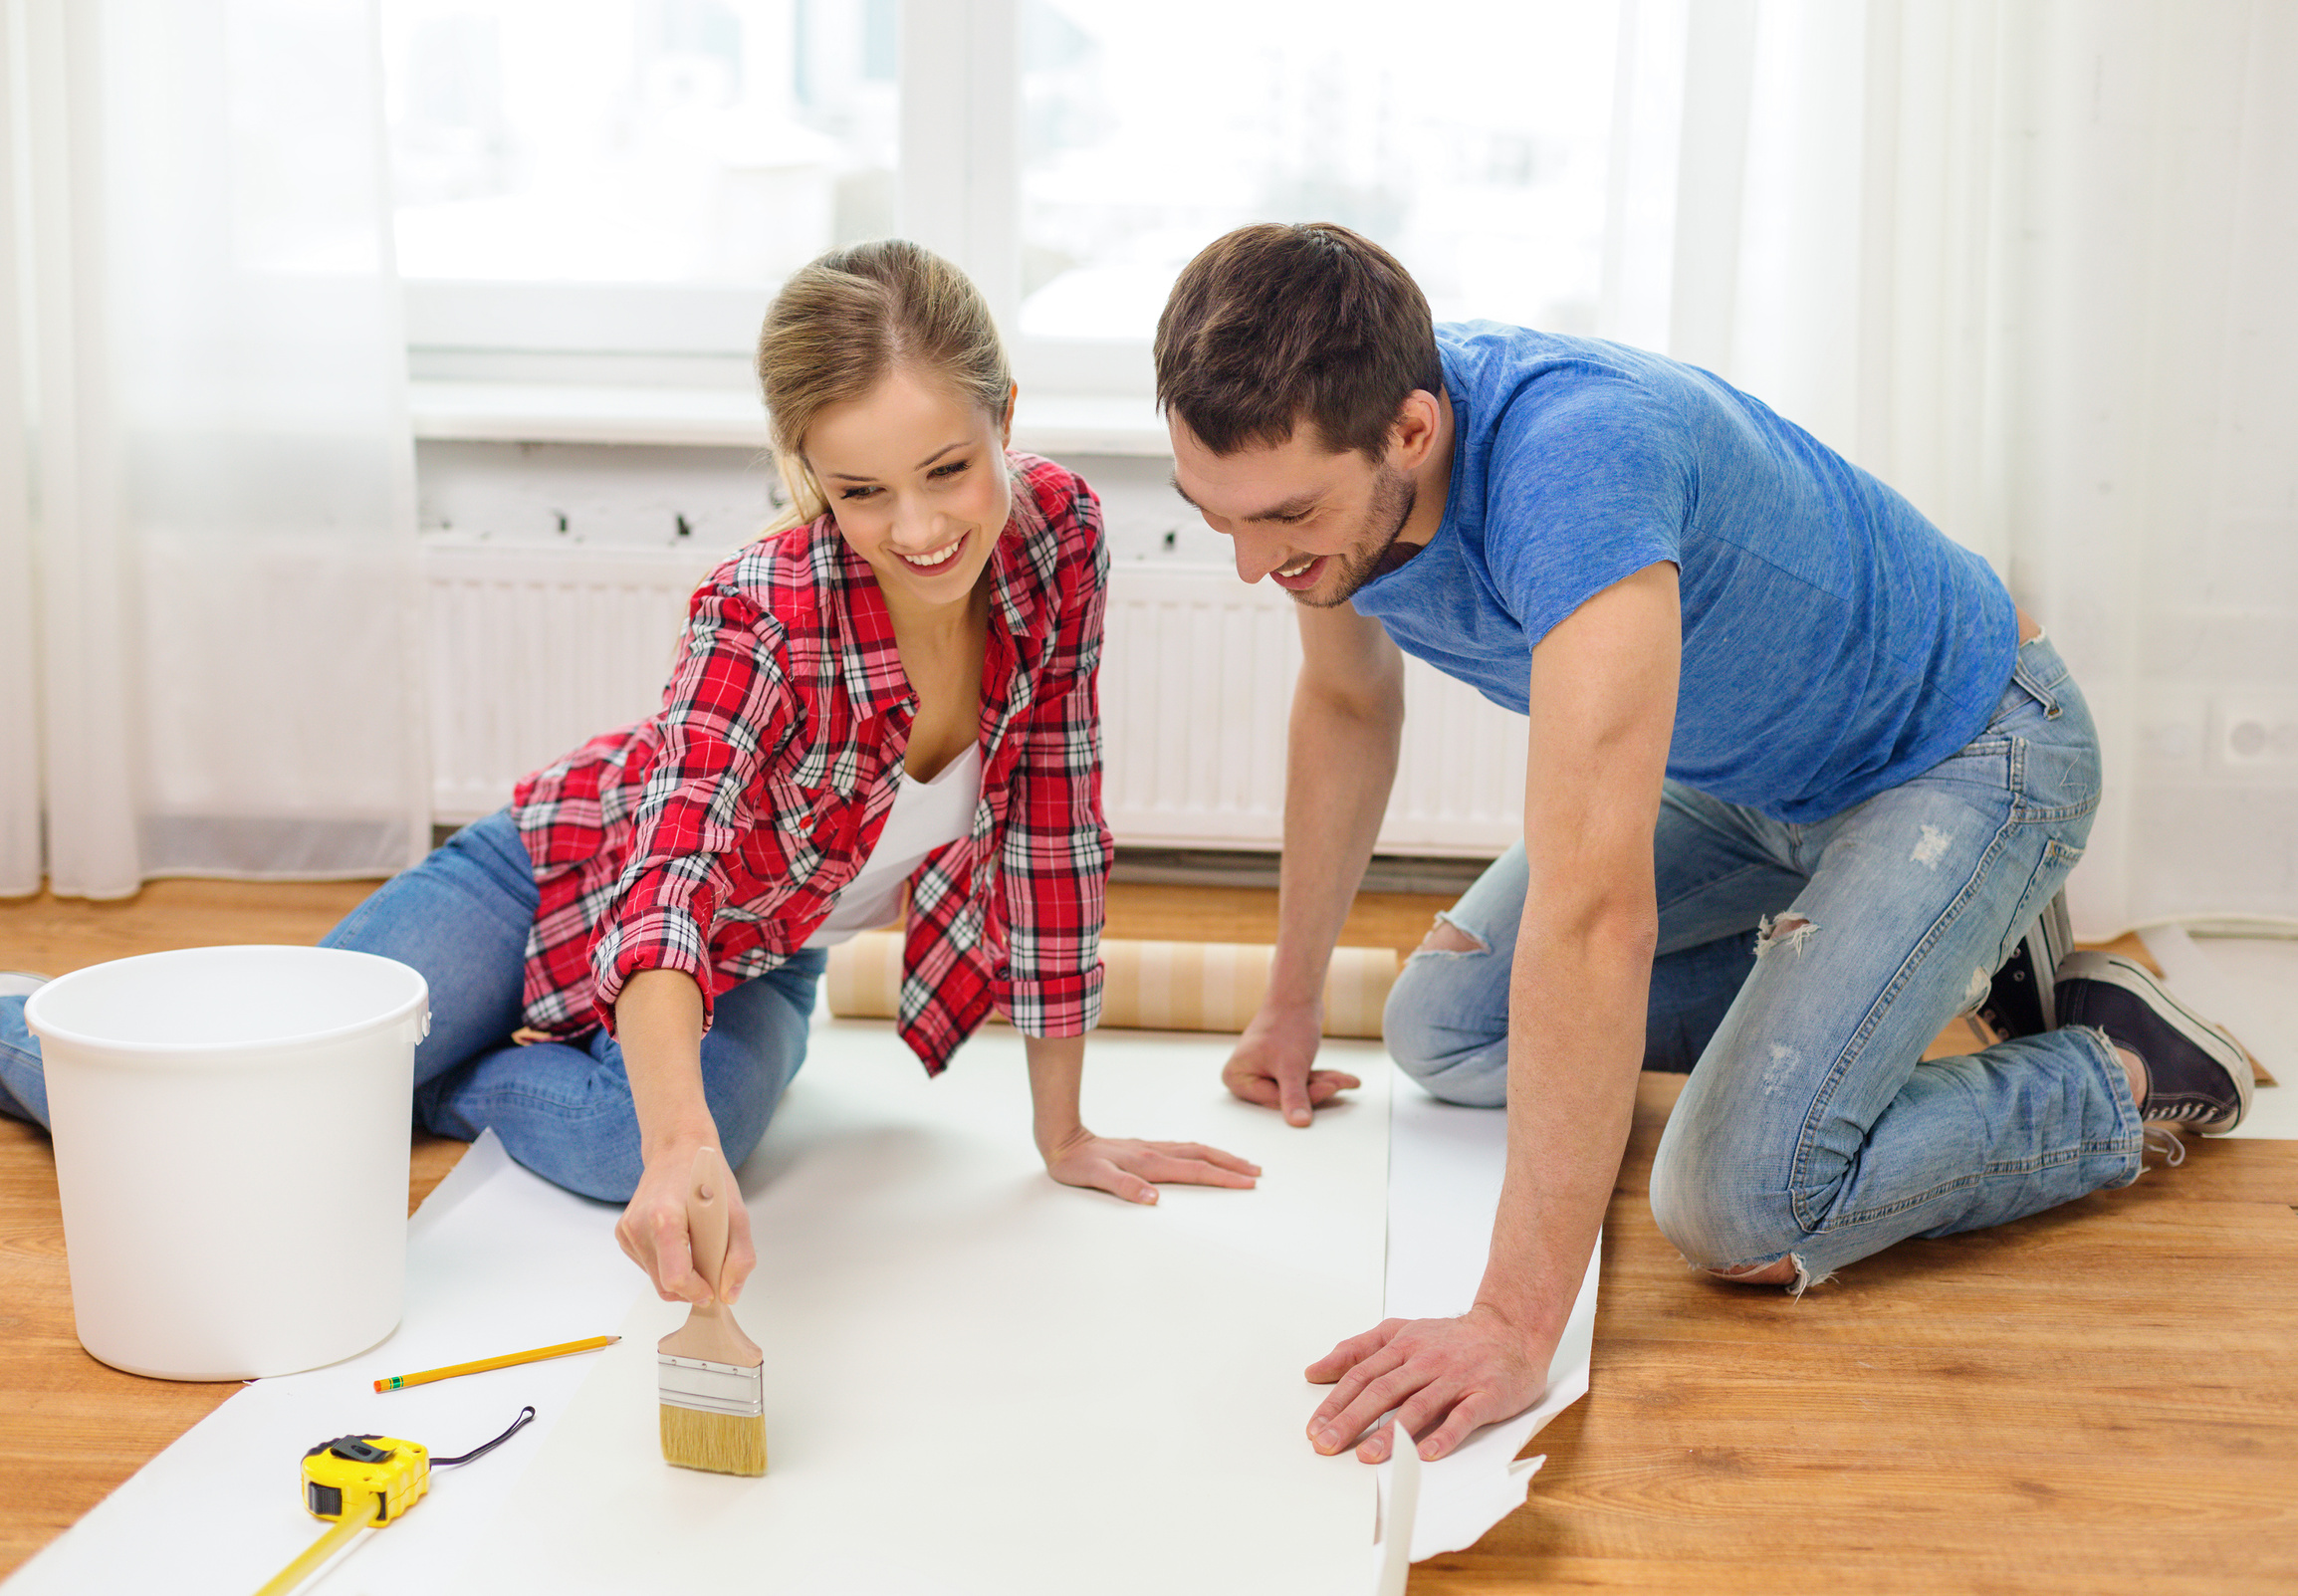
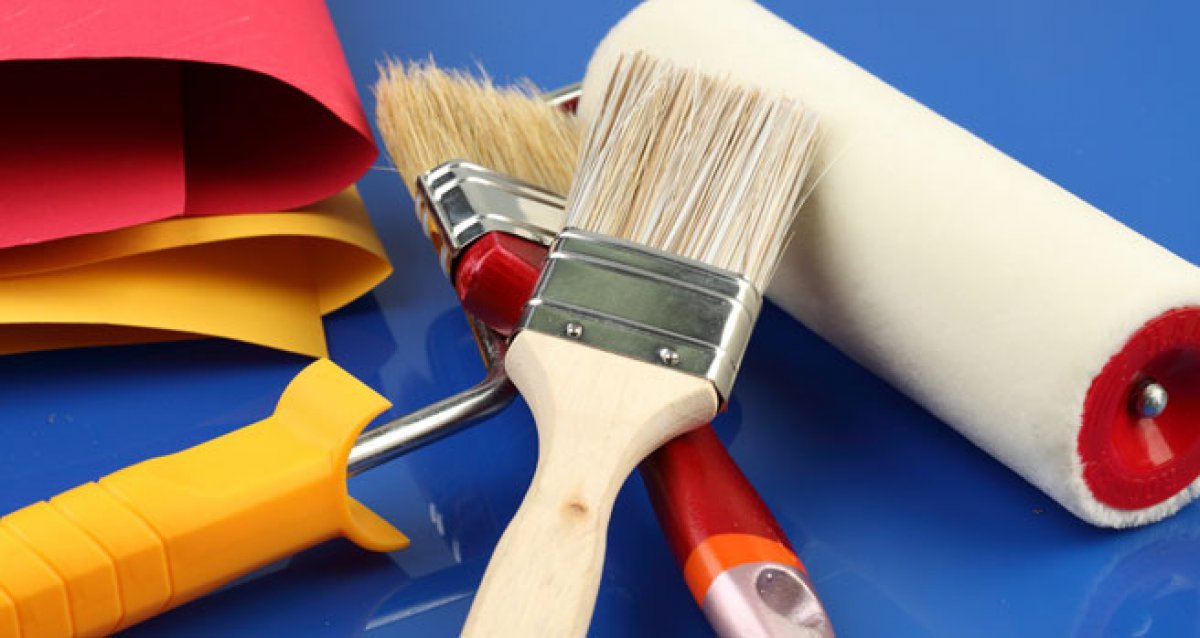
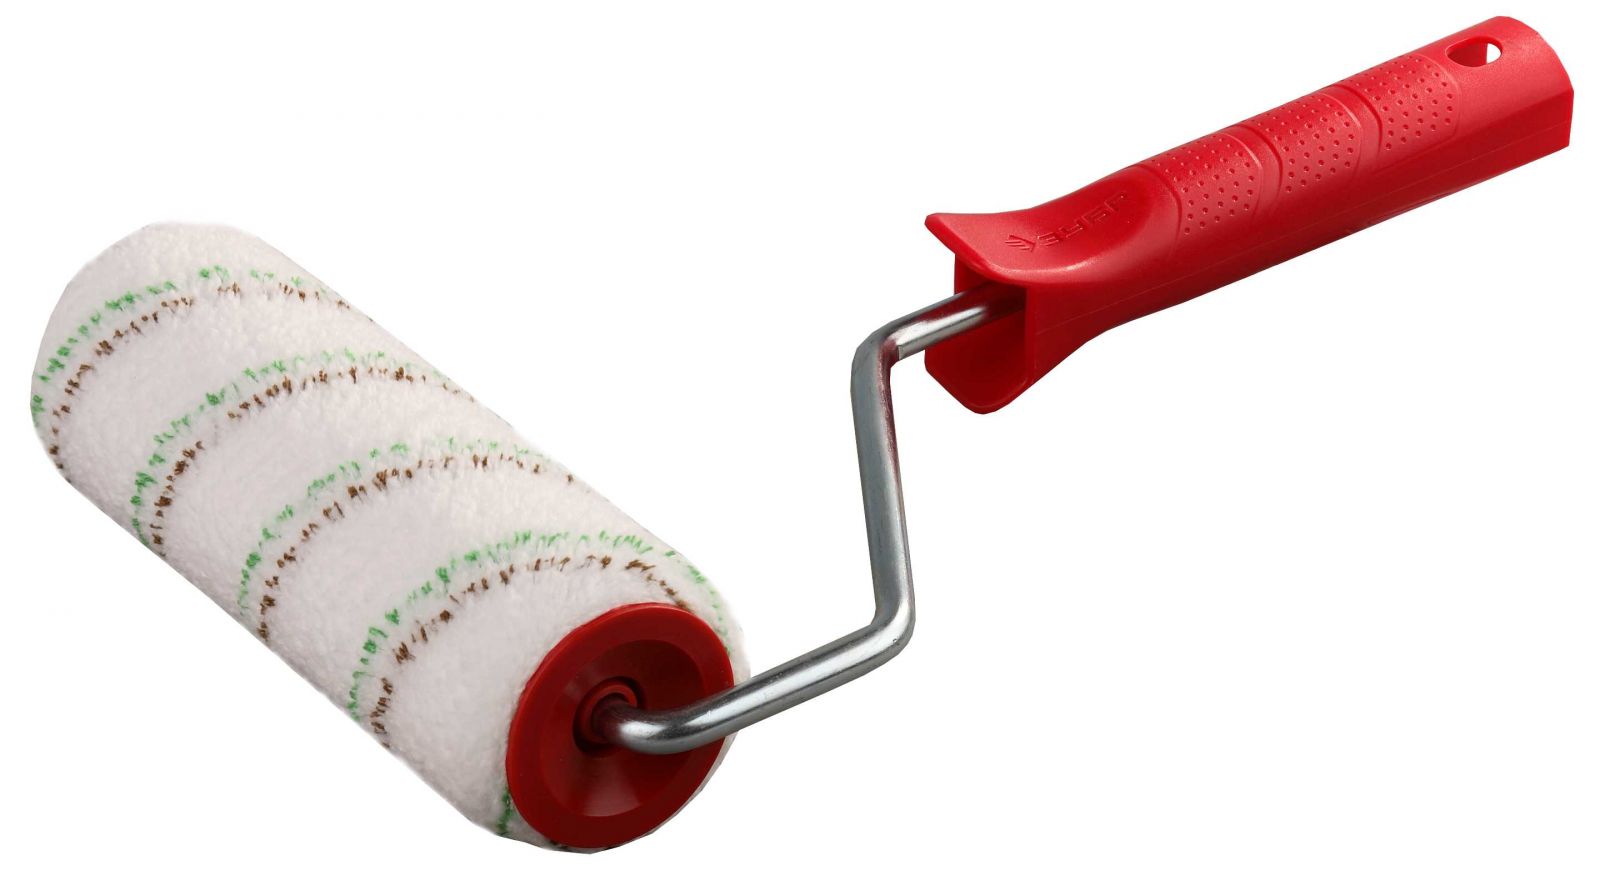
- Actually, wallpapering. Brush for applying glue, cuvette, stepladder, foam roller for applying glue, silicone (rubber) roller for rolling wallpaper, dry clean edges of cloth or towel, container with clean water.
For gluing glass tins you need an almost identical set:
- Work clothes, rubber gloves and cotton gloves. Face shield and goggles:
- Primer;
- Putty;
- Spray with water;
- Spatulas of different sizes;
- Plastic spatula;
- Soft brushes;
- Step ladder;
- Plumb and reel of thread;

- Drawing accessories;
- Scissors or office knife;
- Cuvette;
- Bucket with water;
- Tanks for cultivation of glue and filling;
- Low-speed drill with a nozzle-mixer;
- Glue;
- Roller;
- Glass fiber;
- Paint for the finish coating on the glass wall.
Different tool set for applying liquid wallpaper:
- Wall preparation:
- Priming composition;
- Plaster or putty;
- White oil based paint;
- Plastic spatula;
- A set of spatulas to align the walls;
- Paint brushes;
- Sandpaper with a grain number of 80-100 and 140-160.
- Breeding dry mix:
- Large capacity for mixing dry mix and water;
- Water and measuring jug;
- Drill with a nozzle mixer;
- Food film to cover the container with the liquid mixture and prevent evaporation of moisture. The amount of water recommended by the manufacturer for diluting a dry mixture does not take into account the loss of moisture during the evaporation process, as a result, the consumption of wallpaper per square meter and their density may differ slightly from the estimated.
- Applying liquid wallpaper on the wall:
- Work clothes;
- Plastic caps for sealing outlets and switches. As part of the liquid wallpaper a lot of water, getting the mixture on the socket outlet can lead to injury, if the power is not turned off at all during the repair;
- Old wallpaper, newspaper, oilcloth to protect the flooring;
- Ladder;
- Drill with a nozzle for periodic mixing;
- Container with clean water, sharp spatula, dry cloth trim;
- Spatulas of various sizes;
- Transparent paint "grater";
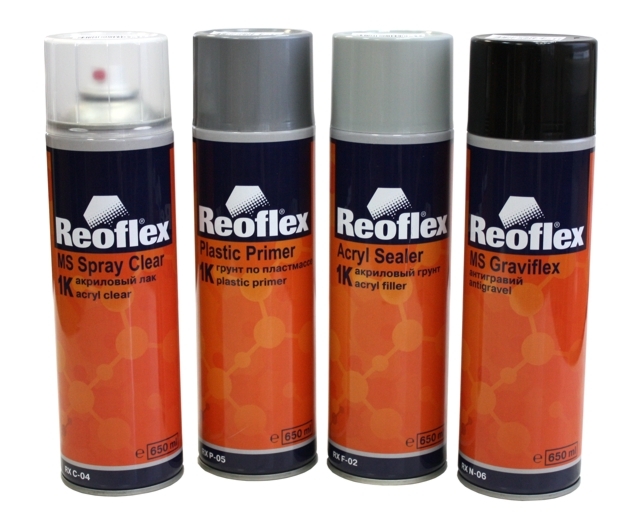
- Acrylic lacquer for liquid wallpaper in a spray can. It needs to be applied when the wallpaper is already dry, to protect them from dust and make it washable. Without a varnish, they will lose their appearance in a year or two.


Ways
The technology of pasting wallpaper for most types of this finishing material is the same or differs only in minor details. The fundamental difference in the method of applying wallpaper on the wall are only liquid wallpaper, because they are a thick mass of cellulose fibers and adhesive and are applied to the surface as decorative plaster, and not as a piece of paper.
Working with liquid wallpaper is more difficult than with the roll, but they have several advantages, including the ability to finish the wall with an even layer without joints and seams.
Also, wallpapering can vary depending on the appearance of their decorative surface. It is easier to glue wallpapers without a pattern, as individual strips do not need to be customized. Monochrome rolls can be pre-cut into the necessary lengths of cuts with a margin of 5-10 cm. Wallpaper with a pattern requires more accuracy and patience.
Being engaged in a fit, you need to follow a few rules:
- Correctly calculate how many bands come from one roll, and purchase wallpaper with a margin;
- Expand the roll to a few meters and determine where the top and where the bottom.Often the roll has to be rewound so that the beginning of the pattern coincides with the free edge;
- Take into account labeling on packaging. The pattern docking is zero (there is no need to adjust the stripes), horizontal straight (identical fragments are on the same level), stepped (the pattern is staggered), reverse (one strip is glued to the top, the other is down).
- Before cutting off each next strip, carefully study the drawing and select the roll from which you will need to cut off the smallest excess piece so that the drawing coincides.

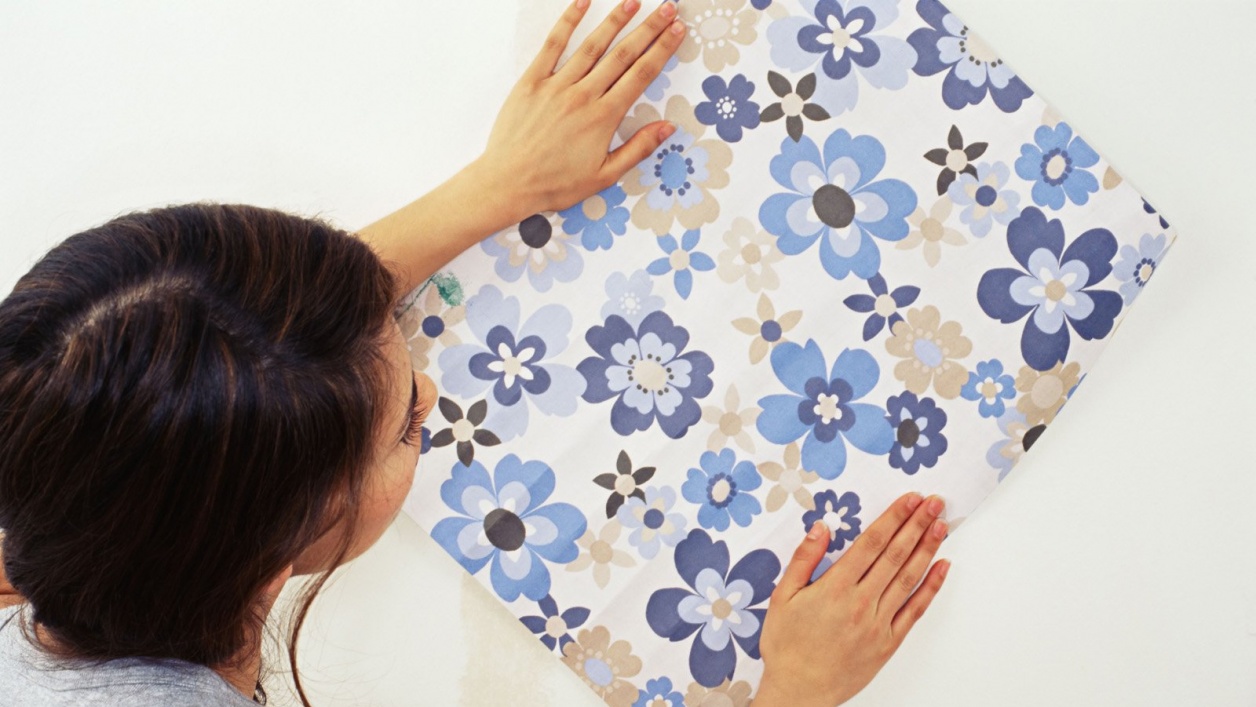
Wallpapers with simple patterns (lines, stripes, dots, various small curls, glitters) and wallpapers with a small print (flower, diamonds, abstraction) are easier to adjust than wallpapers with a large pattern, and the total length of rolls will be less. Also options with the selection of suitable fragments simplify the meter-wide wallpaper.
Wide rolls are more expensive, but sticking them onto walls requires less time and effort. With their help, you can decorate the walls in the room with your own hands in one day.
Some difficulties arise when it is necessary to glue the room with different wallpaper widths or textures, or change only a part of the decorative decoration. H
It is important to choose the right tools and glue for each type of wallpaper and harmoniously combine shades and prints.
Features pasting different types
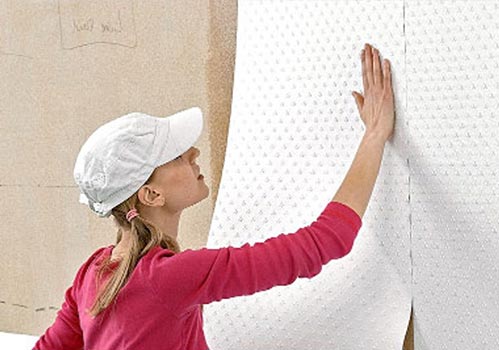
The easiest and budget option - paper wallpaper. They are light, breathable, easily set on any surface.
Features of paper wallpaper are that they can not be soaked in advance and long hold in the glue. The optimal time is 5-10 minutes, and after that they can blister, get wet through and tear in places where they will be taken. This does not apply to multi-layer wallpaper. They can safely soak and slowly stick.
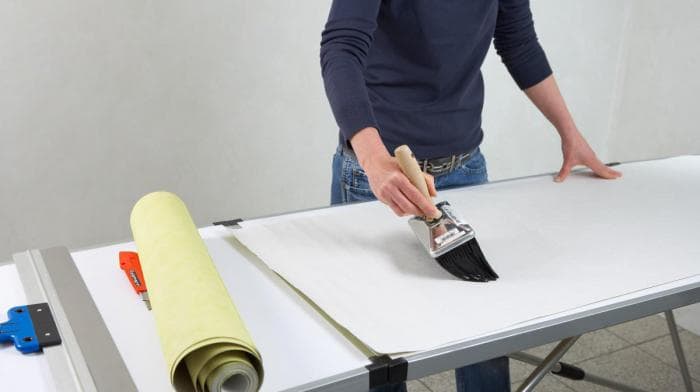
Glue is applied directly to the cut of the roll, if the wall is well prepared and treated with a primer. When applied to an old surface, it makes sense to smear glue and the wall.
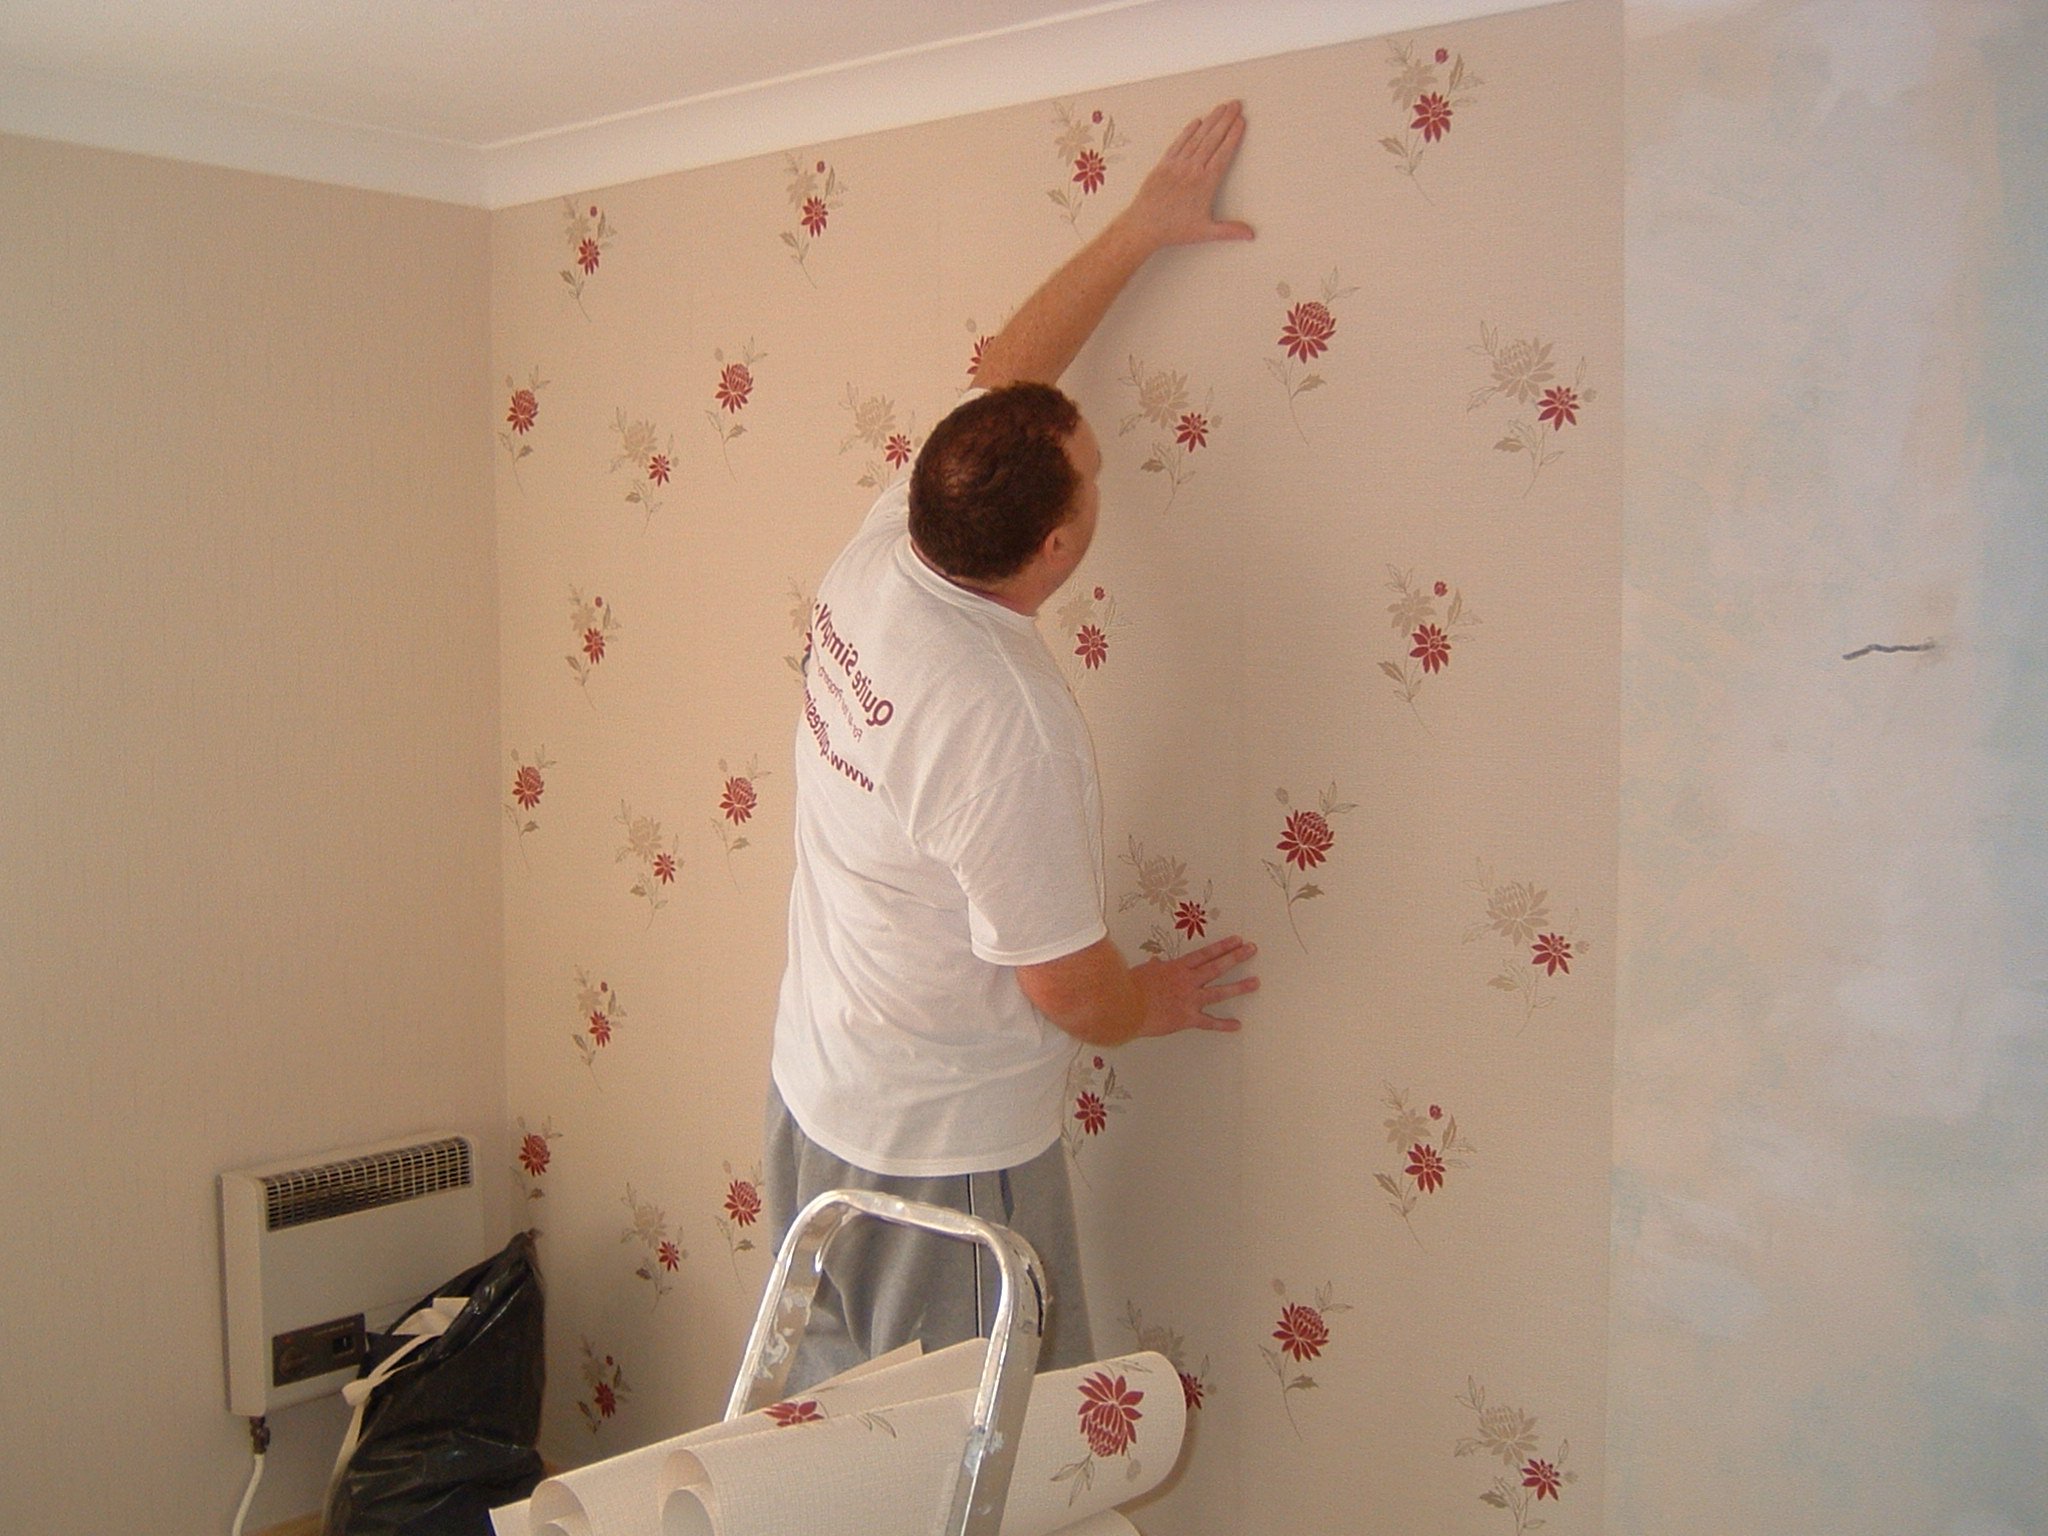
Wet paper wallpapers do not tolerate rough movements. They need to gently spread on the surface of the wall and do not pull much. Some important characteristics of the wallpaper are reflected on the packaging by the manufacturer. There it can be indicated whether to glue wallpaper or overlap, whether it is permissible to use them for painting, whether glue is applied on them.

Wallpaper with adhesive - an unusual phenomenon for the Russian market. At the same time, they are not self-adhesive, such as, for example, wallpaper or film, on which detergents can be used. This wallpaper, inside out which is smeared with glue and dried. On the packaging, this type of wallpaper is marked “Prepasted”.
Their adhesive differs from the usual:
- After accurate measurements, the strip is cut from the roll with a small margin, then it is rolled up with an adhesive layer to the outside;
- A loose roll is lowered for 30-40 seconds in warm water (36-38 degrees);
- When the water has soaked the roll, the glue begins to act. He is pulled out of the water and tightly folded for 4-5 minutes so that the wallpaper is completely saturated;
- The finished cut is laid out on the wall (with a margin at the top and bottom) and leveled along a vertical landmark (angle or line);
- When the strip has laid down properly, it is smoothly smoothed to the wall with a rubber roller: first, a vertical line in the center, and then with a Christmas tree, smoothing from the center to the edges;
- The extra centimeters at the top and bottom are cut with a long spatula and a clerical knife;
- Subsequent stripes are glued by type of wallpaper overlap or butt. Overlap the wallpaper with a special edge is better to glue from the window so that there are no shadows at the junction of the two bands.The joints are additionally ironed with a dense roller, by placing a thin napkin under it (it will remove excess glue and will not allow the line to disperse).
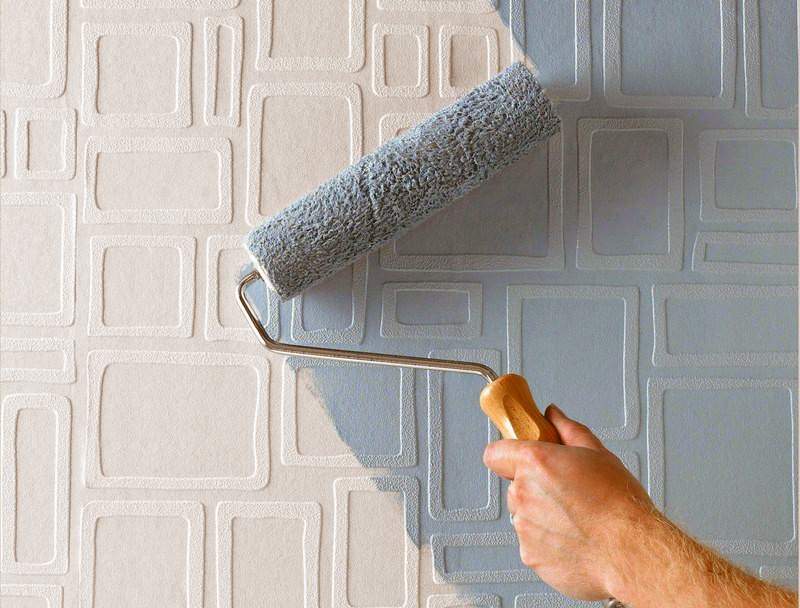
Wallpapers for painting can be painted only after the glue has completely dried and any possible defects have been removed.
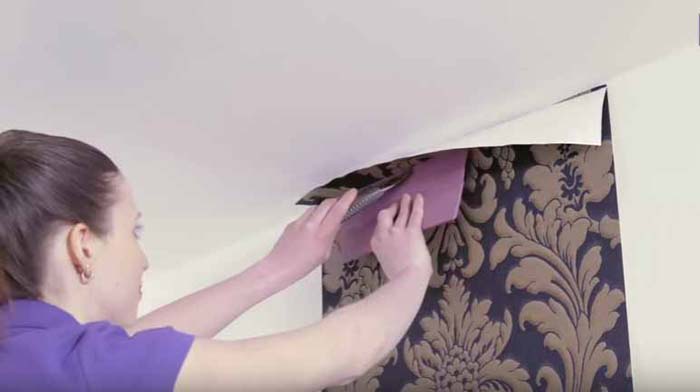
The next popular type of wallpaper is non-woven. They are more dense and able to mask some of the irregularities of the working surface. It is easier to glue them due to the fact that the adhesive composition is applied not to the wallpaper, but to the surface of the wall.
For better grip, experts recommend applying a strip of glue to the wall wider than the width of the wallpaper. The glue must be fresh, well diluted and intended for non-woven wallpaper.
Non-woven wallpaper with a pronounced textured pattern need to roll a soft roller, not too much pressing it to the material. It is permissible to glue the following sheet only end-to-end, since the thickness of this type of wallpaper does not allow an imperceptible connection to overlap.
Vinyl wallpapers may have a paper or non-woven base. Depending on this, the glue and the method of application are chosen - on a cut, on a wall or on both surfaces at the same time.
Vinyl wallpaper has a significant advantage - it is easy to wash them even with household chemicals, so in the process you can not be afraid to grab the front side with your hands in glue. But there is also a minus - they are strongly stretched and compressed.
A type of non-woven base vinyl wallpaper is hot stamping wallpaper. Due to the expensive technology of applying such wallpapers belong to the elite-class products and require very careful handling in the process of gluing their own hands.
The main rule that should be followed when working with hot stamping wallpaper - do not try to stretch them in width. Embossed fabric is made at high temperatures, respectively, it tends to shrink and unclamp at different levels of humidity and heat. Wet glue wallpaper is easily stretched, the joints are smooth and neat, but after drying the fabric will shrink and there will be gaps of a few millimeters between the strips of wallpaper.
In order to glue embossed wallpapers, both the canvas and the wall are coated, and the cut of the wallpaper must be smeared very carefully, without gaps. It takes 10-15 minutes to absorb the glue.

One of the most difficult materials to handle is textile or fabric products.
The process of gluing is the same as in the case of paper or non-woven wallpaper, but There are a number of rules that must be observed:
- Textile wallpaper glued on a perfectly flat and absorbent surface. Paint is best;
- Stripes can only be glued end to end;
- The surface of the walls and ceiling should not differ in tone from the wrong side of the wallpaper. To even out the tone, it is recommended to use white waste paper for wallpaper;
- Cutting the wallpaper is very sharp scissors;

- The markings on the wall and the seamy side of the wallpaper can be done with a pencil, but in no case a pen or a marker - they will leave stains on the wallpaper;
- For textile wallpaper uses a special high quality glue without dyes. It does not need to be diluted with water;
- It is possible to coat the wrong side with glue only in 1 layer, otherwise the material will swell;
- The time for the impregnation of wallpaper glue in the folded form - 10 minutes;
- Textile wallpaper can not be bent in the process of gluing - there will be creases on them;
- During the drying of wallpaper (up to 48 hours) in the room should not be allowed drafts;
- Textile wallpaper without seams horizontally glued.


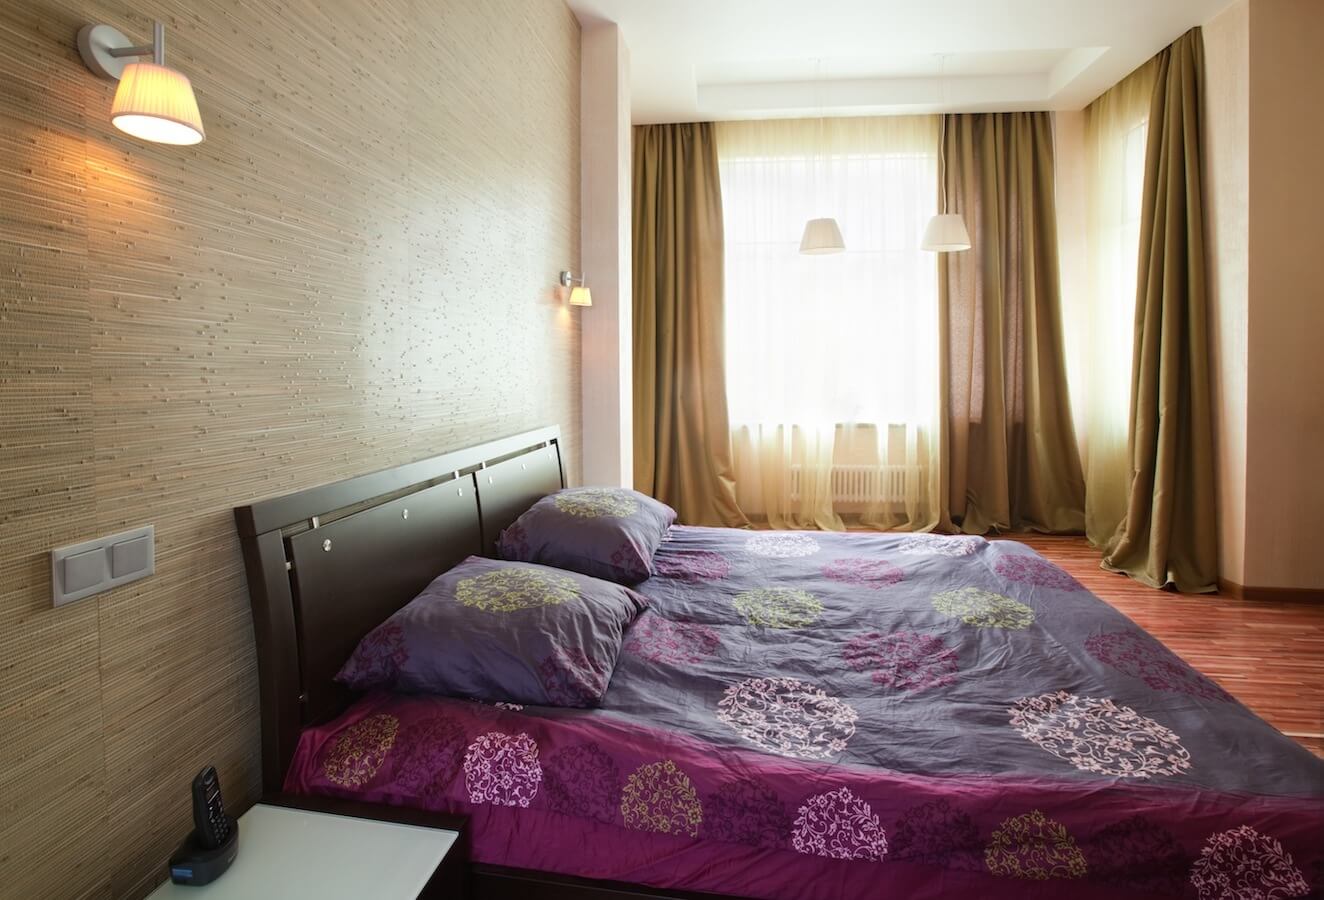
New construction market - natural wallpaper (bamboo, reed, straw and other plant varieties) also require a special approach. Two main rules when working with them: adhesive is carried out only after the wallpaper is adapted to the microclimate of the room. To do this, they are rolled out for a day in the room where they will glue the walls. On the wallpaper should not get water. For them, a special ready-made adhesive is used, which does not need to be diluted.
The remaining rules are the same as when working with fabric wallpaper.
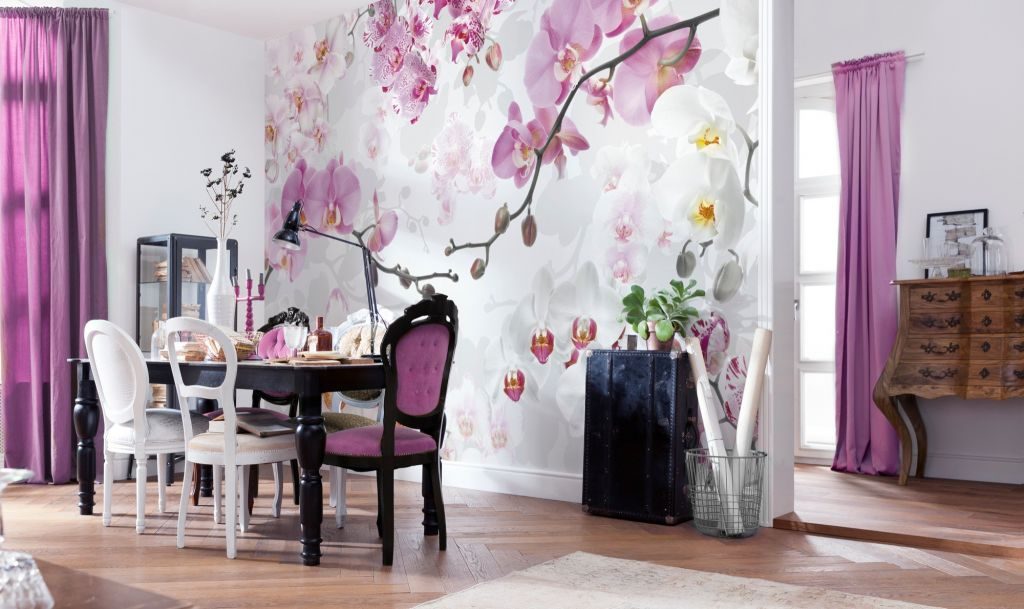
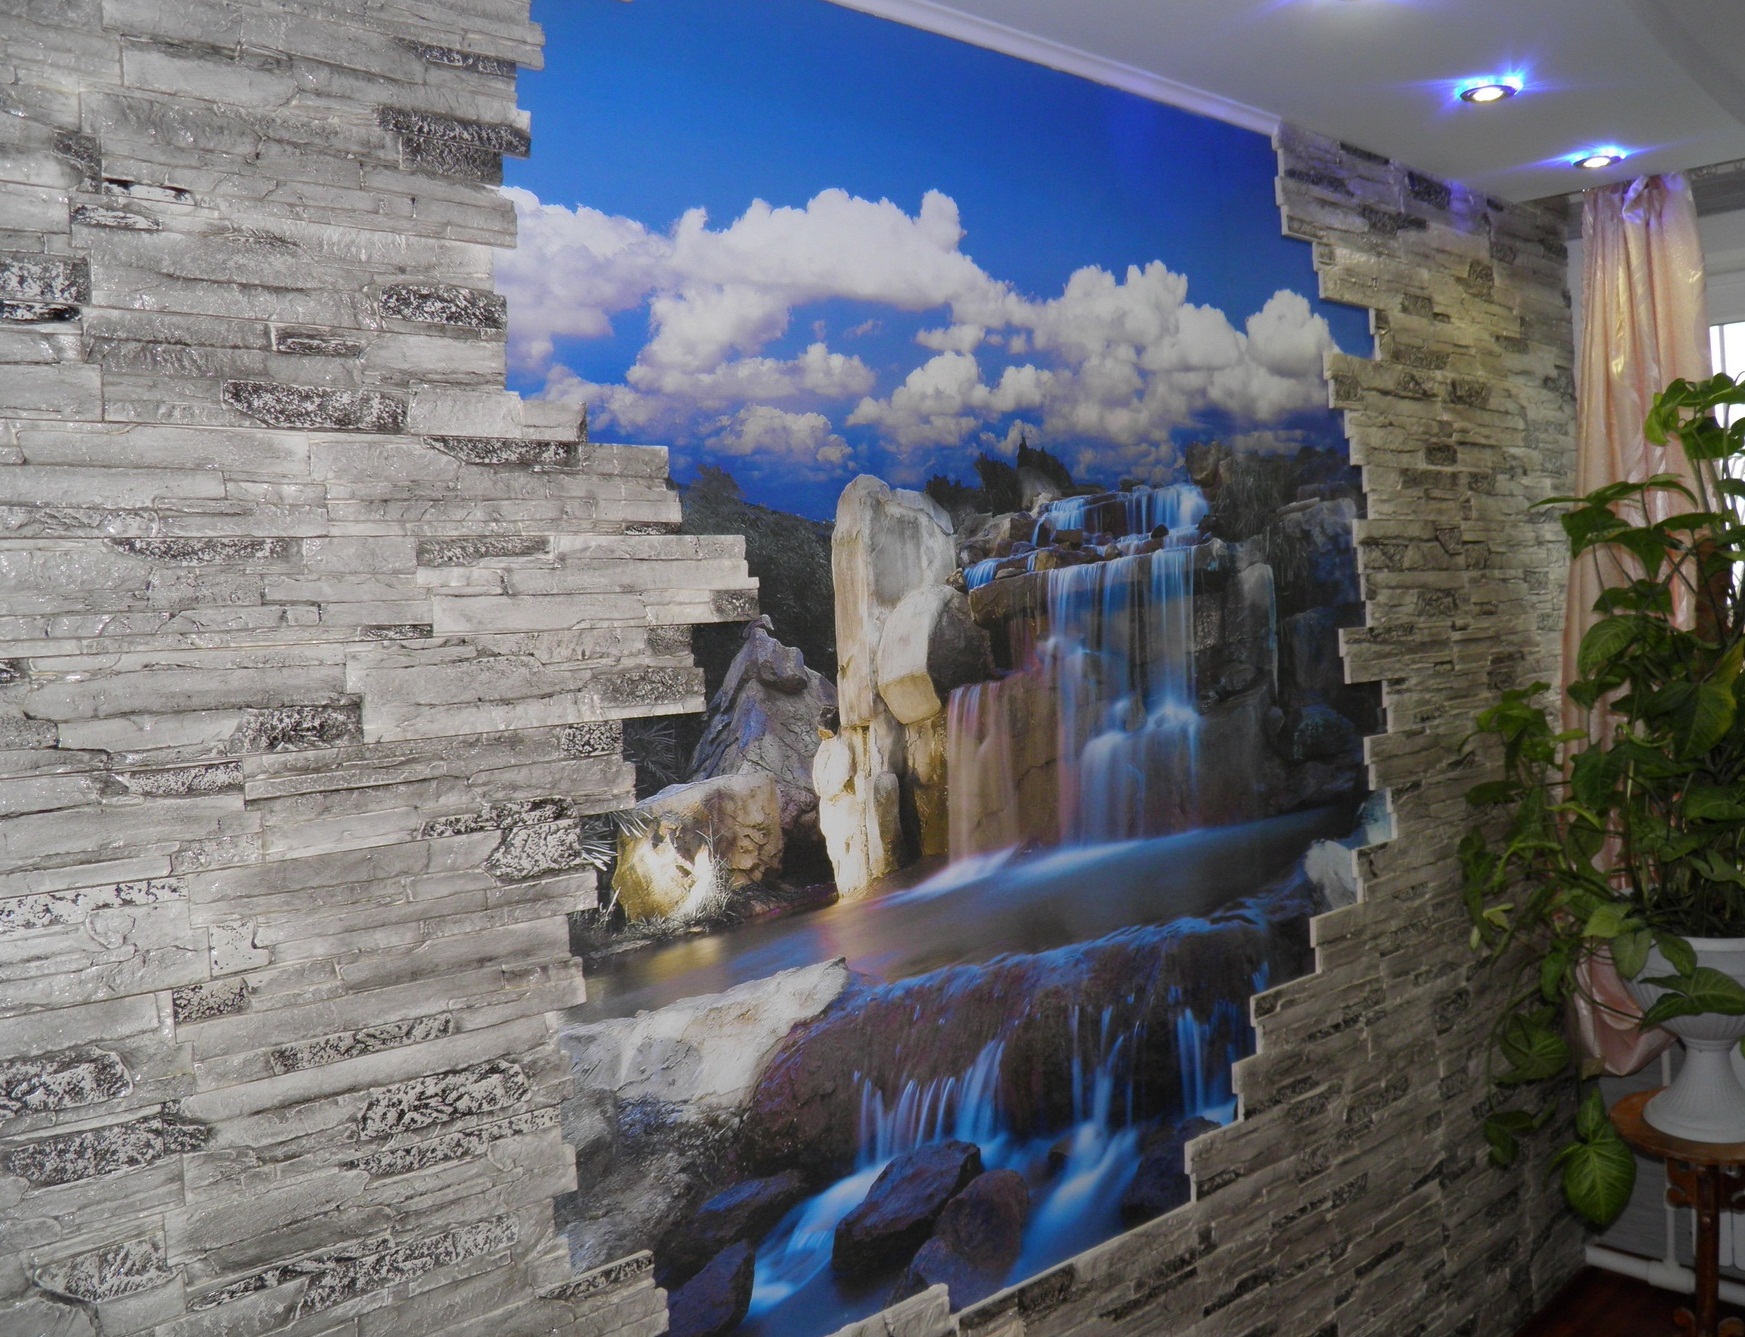
Often cause complexity wallpaper. By their texture, they are either paper or non-woven, sometimes vinyl. By the method of sticking - self-adhesive and under the adhesive composition.
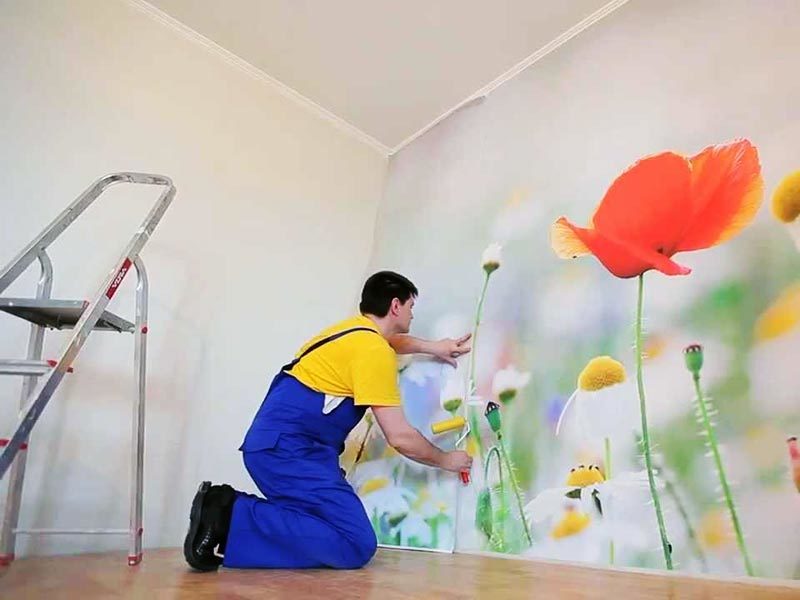
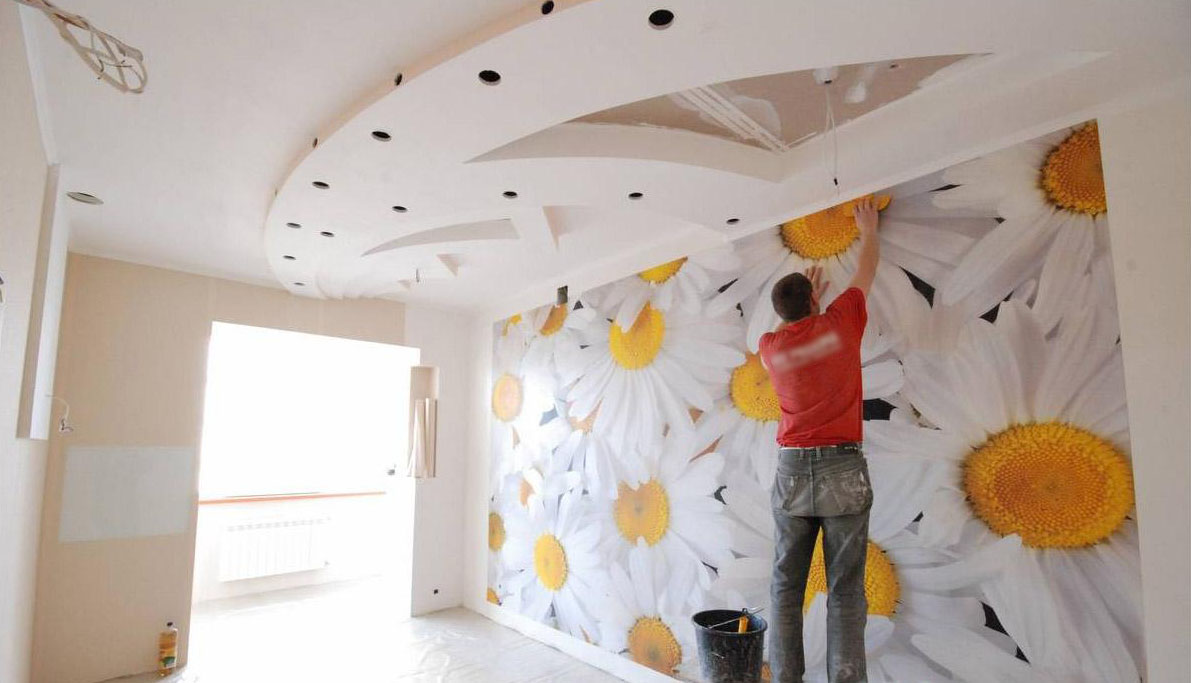
When gluing photo wallpapers it is important to observe a few points:
- Using a ruler and a pencil, cut a white border from each stripe of wallpaper with a pattern to get a seamless picture;
- Put the whole picture on the floor, and then turn the strip on the wrong side up;
- Glue is applied to the wall and wallpaper;
- Photowall-paper glued end-to-end from left to right;
- From under the lanes it is important to remove all air with rubber rollers;
- The surface of the picture must be protected with a special coating from moisture and burnout.
A popular type of wallpaper for painting - glass wallpaper. They also require compliance with a specific algorithm of actions:
- The strips begin to glue from the window or doorway;
- Glue coat the wall, capturing an area whose width is greater than the width of the wallpaper;
- The strip against the wall is glued from top to bottom. To do this, it must be leveled vertically and pressed to the wall smeared with glue, leveled along the entire length with a plastic spatula;
- The joints are smoothed with a rubber roller;
- Gluing is carried out at a temperature from +10 to +25 indoors;
- It is possible to paint wallpaper only after complete drying (48 hours).
Significantly differ in the method of applying liquid wallpaper.
Features that are important to consider when finishing with liquid wallpaper walls or ceiling:
- It is necessary to knead the entire volume of the mixture at once and apply it to the entire surface in a single approach, otherwise it will harden and no longer be able to be re-diluted with water;
- You need to mix the mixture with a construction mixer or a drill with a special nozzle;
- Wall-paper is applied on the wall with a spatula or a transparent paint-floater, distributed in a layer of 1-2 millimeters;
- If unevenness appears on the surface, you need to remove a piece of wallpaper with a spatula until the mixture is frozen, wet this area with water and apply a new layer of the mixture;
- A more convenient, but expensive version of the application - use a paint gun-hopper for liquid wallpaper;
- For drawing drawing stencils and the preliminary sketch are used;
- Dry wallpaper up to 3 days;
- When the surface is dry, it must be coated with acrylic varnish to protect against water, dust and sunlight.

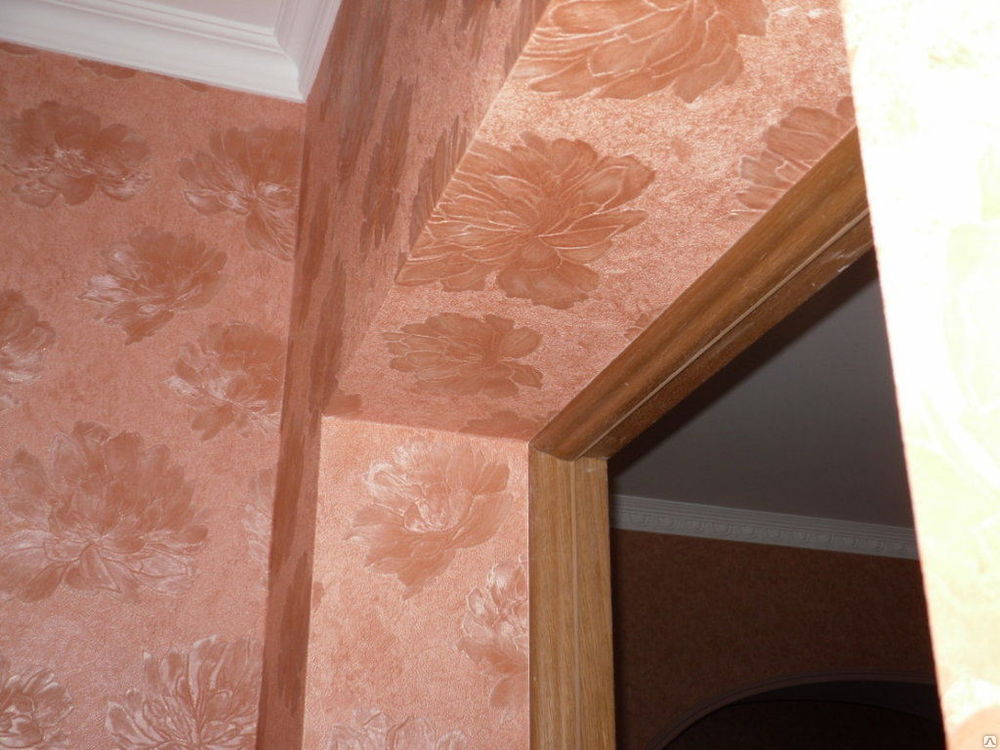
How to glue in the corners of the room?
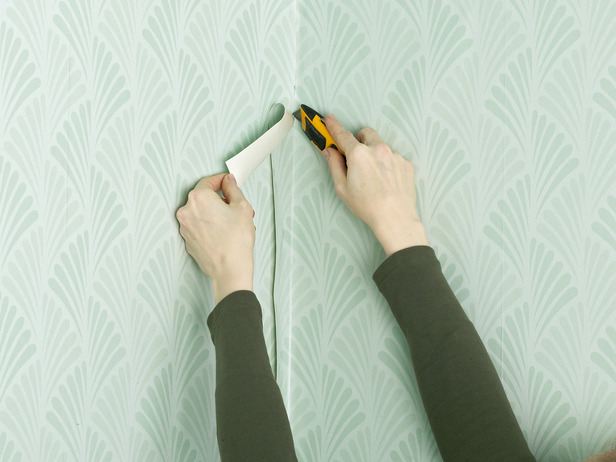
Perhaps the most difficult and crucial moment in putting up wallpapers with your own hands is to bypass the inner and outer corners. This task becomes especially difficult when using dense cloths - textile, vinyl, and vegetable.
The easiest way to trim the corners is beautiful and inconspicuous - use liquid wallpaper.
For other types, repair specialists recommend following a few important rules:
- It is not necessary to glue a whole strip of wallpaper in the corner, especially if they are meter long. This band will go folds and lay it exactly fail.
- A piece of wallpaper must be taken at an inlet, so as not to form creases. The greater the curvature of the angle, the greater the allowance should be. On average, 2-4 centimeters are enough.
- If the strip starts to wrinkle and wrinkle when gluing, you can make small notches with scissors towards the entrance hall.
- For thick wallpaper, a plumb line is needed.
- When sticking wallpaper at the door, they should be placed as close as possible to the jamb, so that there are no gaps.

Step by step instruction includes the following steps:
- Preparation of the corner. This process is carried out simultaneously with the alignment of the walls. In order for the corner to be even and not to crumble, it is necessary to protect it with a corner of plastic or aluminum, and to cover it with a putty and top coat.
- Alternately pasting corners. Selecting one corner, you need to prepare a section of wallpaper of suitable length and width with a margin. When gluing at an angle of several strips with overlap, it is necessary to do this from the window so that the seams are not visible due to the resulting shadow.
- Leveling wallpaper. When the strip is glued to the corner, it must be leveled, ideally fitting under the vertical lines, and rolled out with a rubber roller or a dry soft cloth.It is important to coat joints well with glue and wipe its remnants.
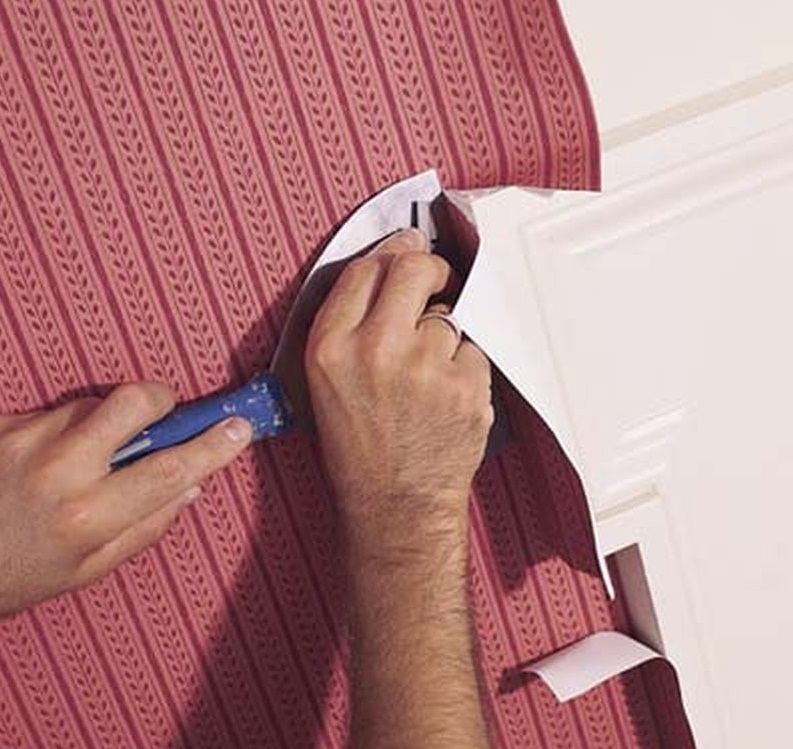
- Removing unnecessary fragments. All unnecessary stocks at the top, bottom and sides are removed after incomplete drying (so as not to have time to stick to the ceiling, baseboards or door jamb) with a spatula and a clerical knife.
What to look for?
The corners of the room are not the only, and sometimes not the most difficult parts of the work surface during the pasting of the wallpaper. There are at least hard-to-reach and requiring a special approach zones that you should think about in advance:
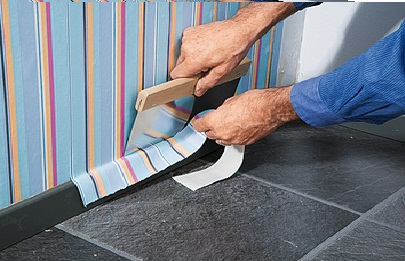
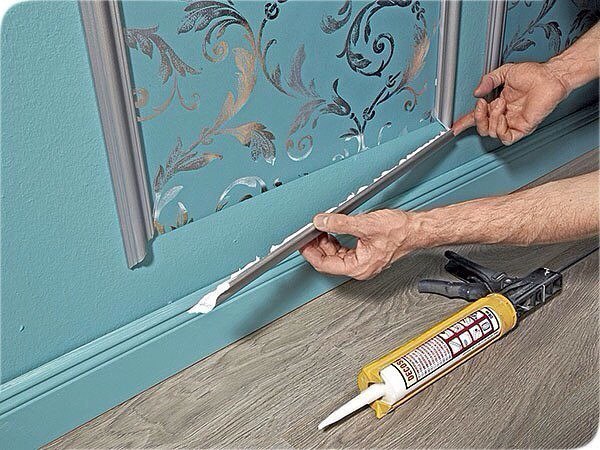
- Plinth. It is quite difficult to arrange the joints between the edge of the wallpaper and the baseboard carefully, so it is recommended to remove them during repair and glue the wallpaper strip by going to the floor and ceiling, and then cut off extra centimeters on a spatula with a paper knife.
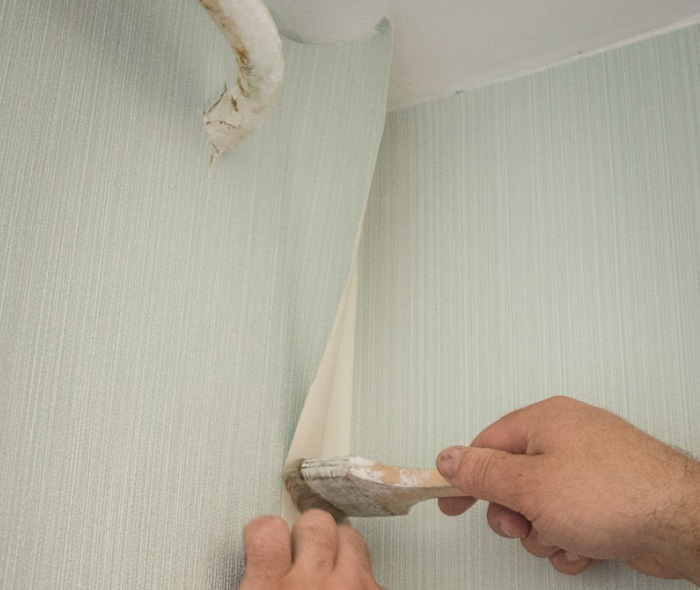
- The junction with the stretch ceiling. The advantage of the stretch ceiling is that its surface is washable, and you can not be afraid to stain it with glue. It is important to fit the top edge of the cut-off as close as possible to the ceiling and cut off the excess without scratching its surface.

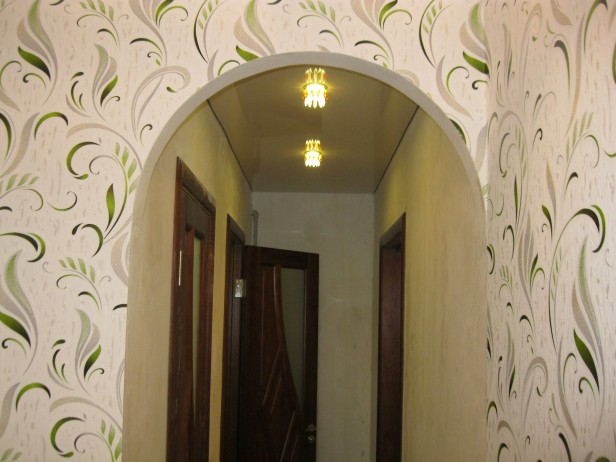
- Non-standard doorway. The simplest for pasting is a rectangular arch without a door.If after the door repair involves the continuation of the same wallpaper, shoals need to bypass on both sides, sticking a strip as close as possible to the door. But open apertures of non-trivial form represent a serious obstacle. Correctly glue the arch in the hall or living room is recommended as follows: measure the required number of strips with a margin of 3-5 centimeters, glue them, and after that cut the shape of the arch. Then cuts are made on the fold (it is possible with beveled edges so that the layer does not thicken). The cropped “valves” fold inward along the arch line with a small step of 3-5 cm, well spreading the glue on the back and on the front side. When the glue grabs, repeat the same on the other side of the arch and glue over the arch with strips that close the “valves”.
If inside the arch should remain clean, after gluing the strips, carefully cut off the excess and slightly bend the edges inward (a few millimeters). Wallpaper in this case, glue to paint the vault. You can draw an edge with decorative borders or a decorative corner.
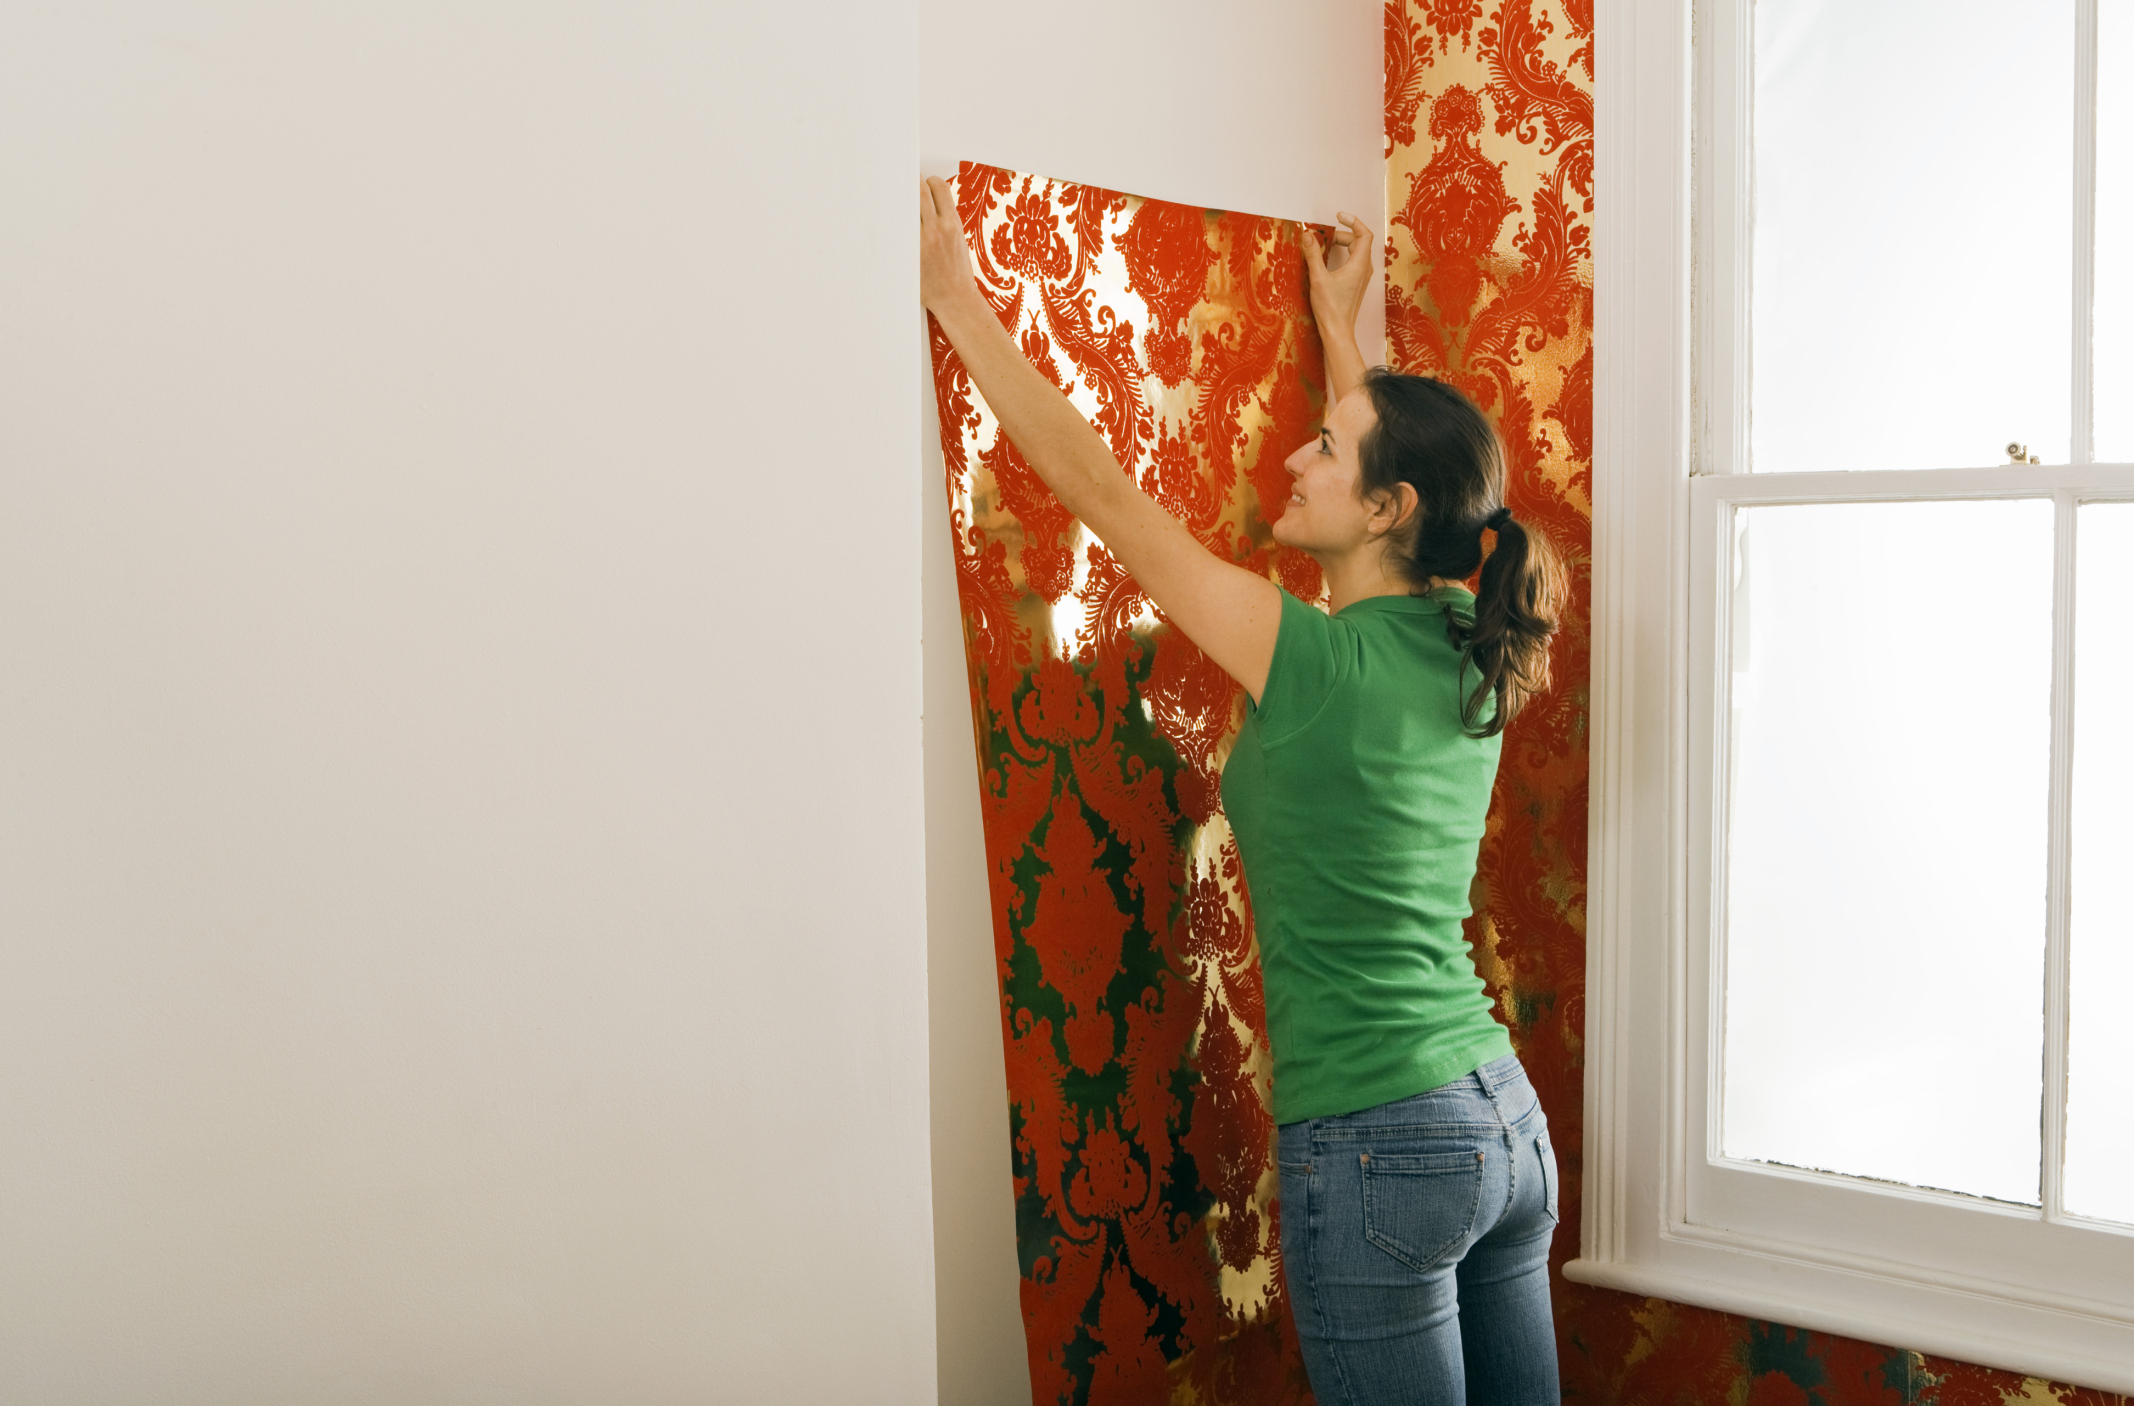
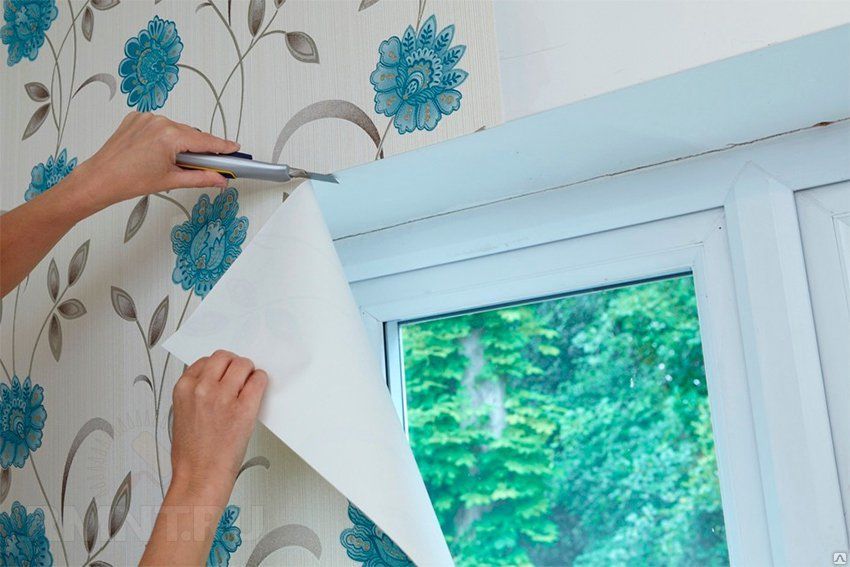
- Window hole. By itself, it is not difficult, because the window is glued around the perimeter, but here it is important to take into account the correct selection of the picture. Most often the window is trimmed with rolls, so it is important to observe the type of pattern joining.
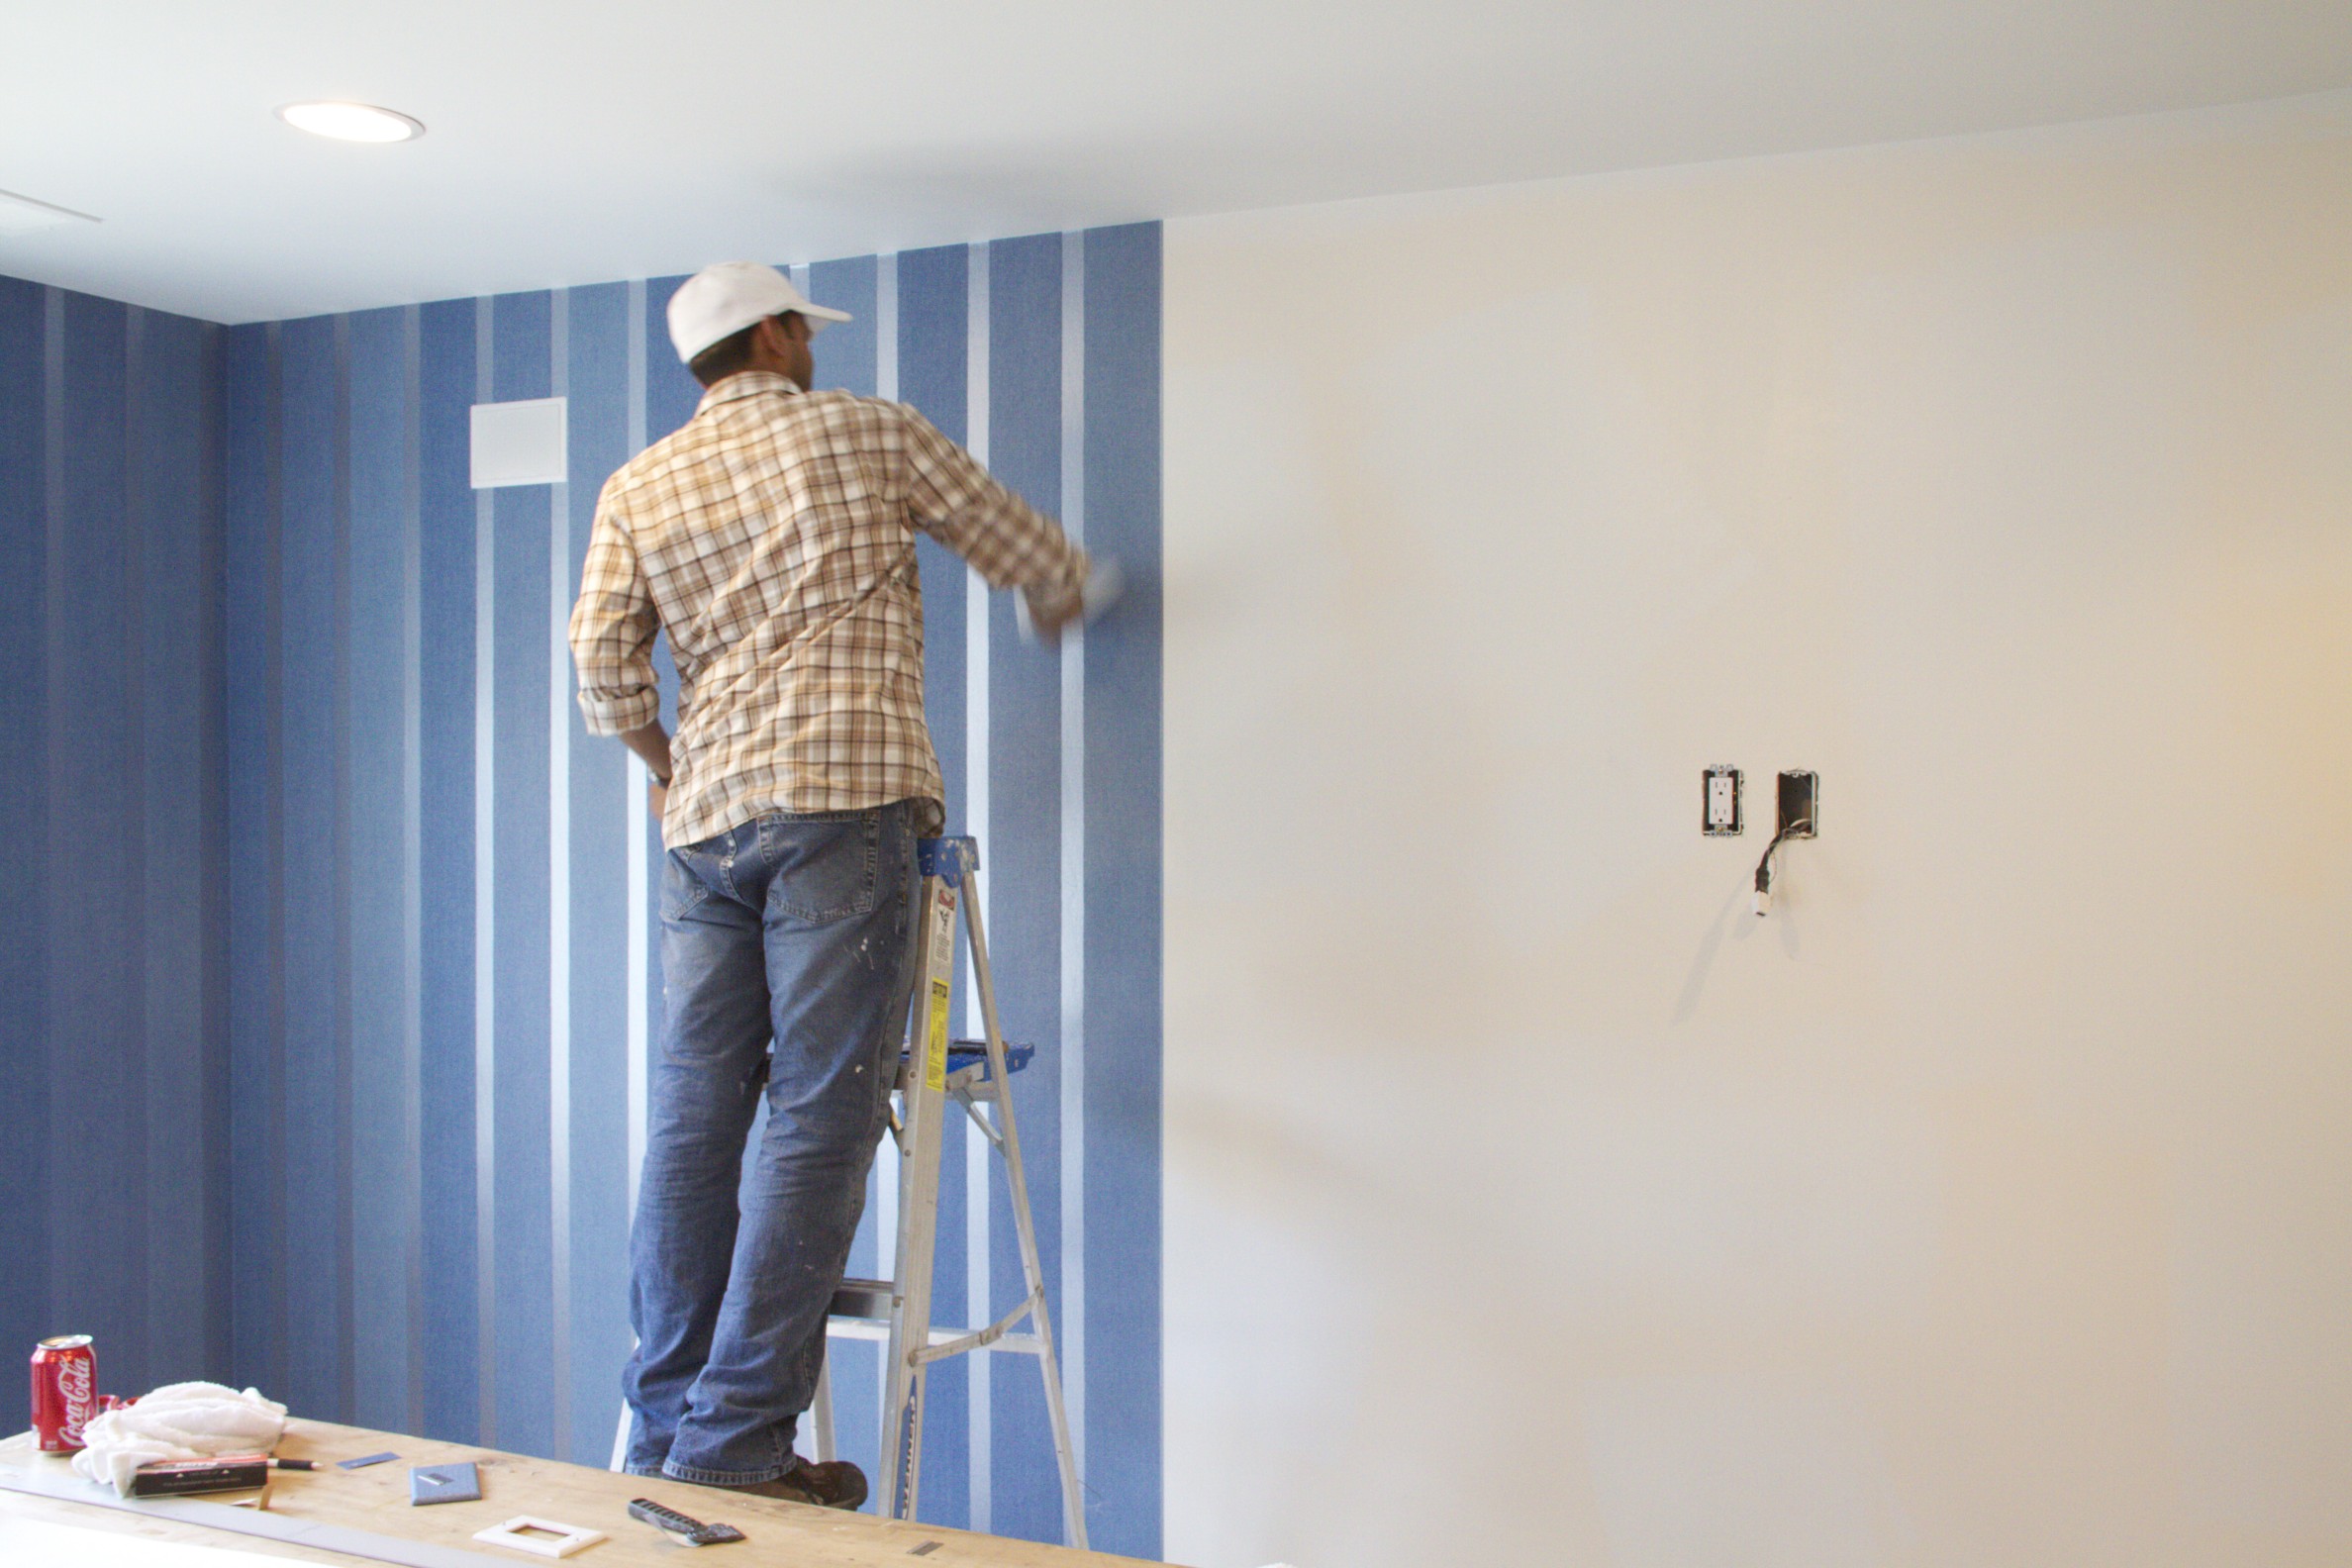
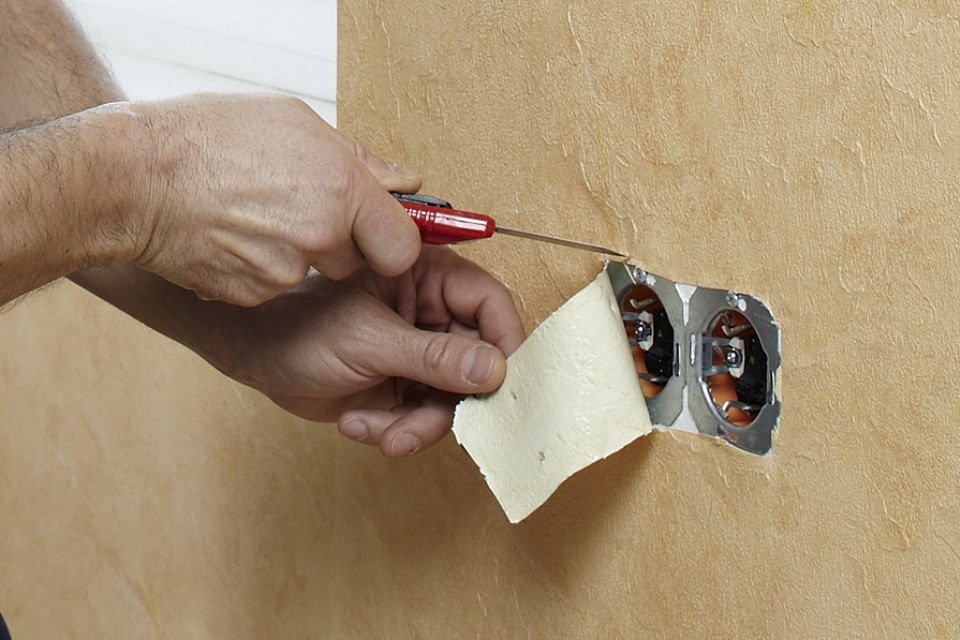
- Switches and sockets. Remove the switch itself will not work, but the work must be safe. To do this, you need to do two important things - turn off the electricity and remove the plastic case from the switch or outlet. Then make a cut crosswise, without going beyond the perimeter of the box, bend the corners and put the case in place. After drying, cut off the bent corners with a knife.
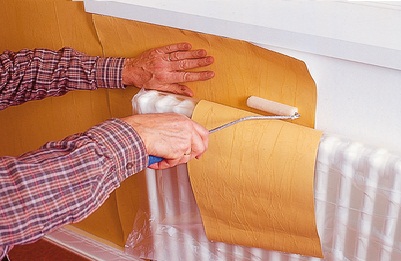
- Radiator or battery. Places behind the radiator is not necessary to glue completely. It is necessary to make vertical cuts in the places of fastening of the radiator to the wall in a suitable size of wallpaper, then glue the wallpaper to the wall and smooth them with a plastic spatula or a narrow roller. This method is suitable for all rooms, kitchen and bathroom.
Elements of decor
The walls themselves are not always the full decoration of the room. In some cases, they lack small details so that the decorative wall decoration is considered complete.
These details include:
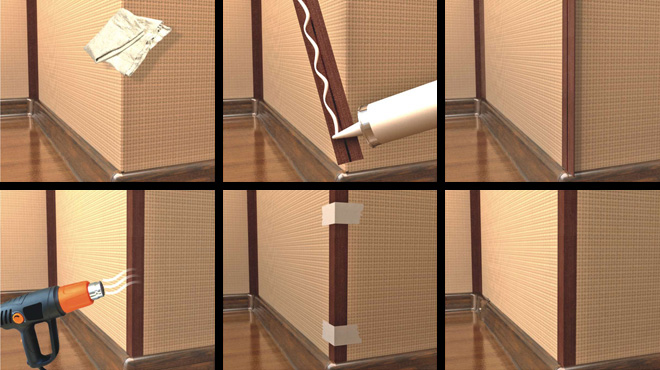
- Decorative corners. Plastic corner or PVC corner on top of the wallpaper has two functions - decorative and protective. As a decorative element, it closes the uneven joints of the wallpaper in the corners and along the contour of the arches, and protection is necessary against scratches and tears at the corners of the wallpaper.To glue a corner of any type (internal, external, perforated, embossed, smooth, imitating different materials, color), you need to perform a series of actions in succession:
- Take measurements of the height of the angle;
- Cut with a sharp knife a part of the profile of the desired length;
- To glue a corner on liquid nails;
- To fix before drying with masking tape.
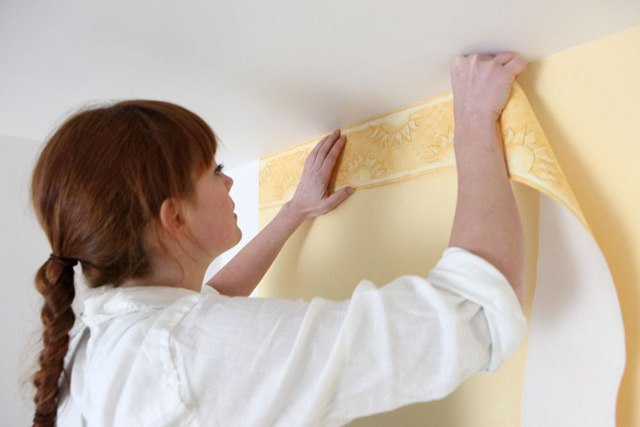
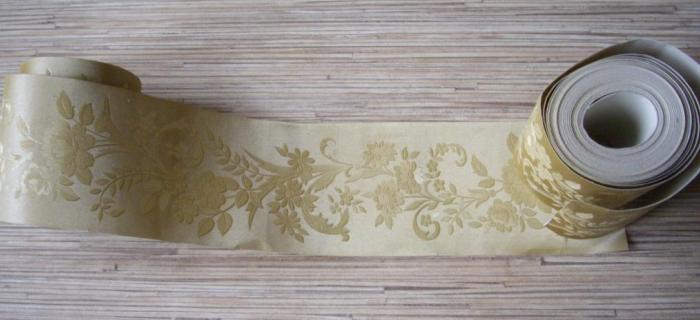
- Curbs. They are necessary to give a finished look to the walls, and sometimes for zoning or accents in the interior. The classic way to use curbs is to highlight the upper part of the room under the ceiling, using them as a curtain rod. But modern designers use them in different ways, highlighting niches with borders, areas near windows or fireplaces, doors, floors, and so on. On a smooth wallpaper to glue the curb is very simple. It is only necessary to measure the required length, to glue a part of the wall and decorative tape with glue, to fix the border and roll it with a roller. Remove glue residue with a soft cloth or microfiber cloth. Borders do not glue on wallpaper with a pronounced texture. To do this, mark the width of the border, draw a flat line with a simple pencil and cut the entire upper part of the wallpaper under the border with a paper knife.Then glue them as a normal strip of wallpaper, only horizontally. The joint should be as inconspicuous as possible.
- Plinth. The ceiling plinth is glued on liquid nails with masking of seams with sealant. It can be painted. The plinth at the flooring can be planted on screws, as it may be necessary to remove it (lay carpet, laminate or underfloor heating).
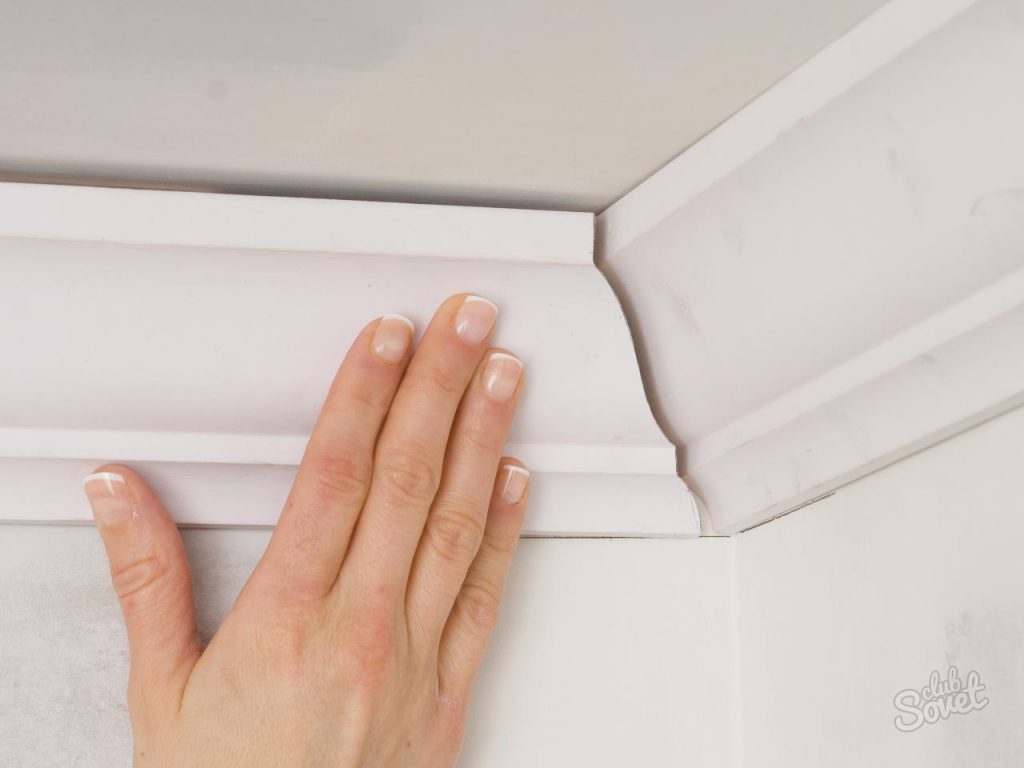
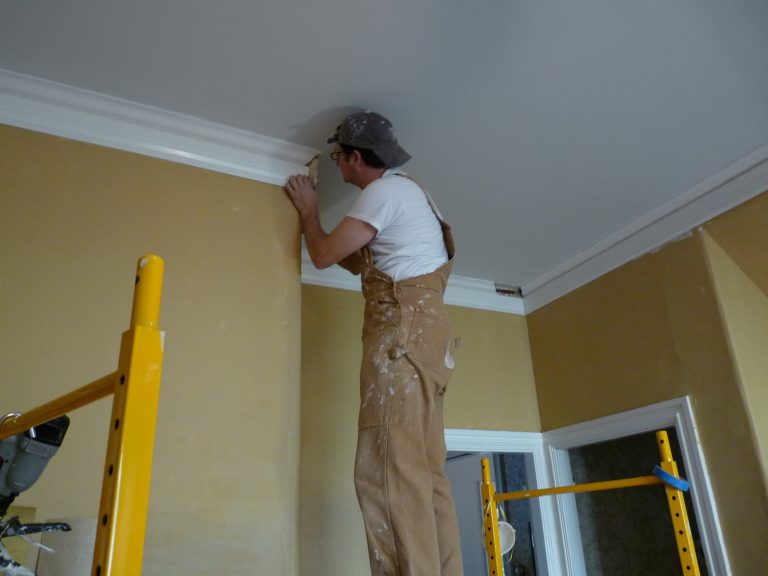
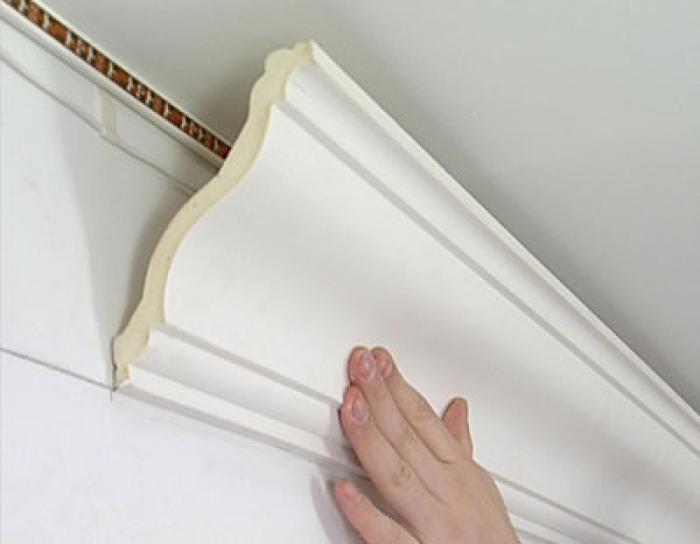
- Molding, like the baseboard, it is best to glue on liquid nails.
- Baguettes They are often put on a putty, so it is better to glue them before pasting the walls with wallpaper, so as not to smudge their surface.
Tips and tricks
Professionals in the field of repair recommend to take into account important nuances when self-sticking wallpaper:
- Optimum conditions for drying the glue - at a temperature of 15-25 degrees, so it is better to glue them in the summer, not in the winter;
- They dry properly in a well-enclosed area without drafts. Do not open windows after gluing within 48 hours;
- Surface preparation is just as important as choosing the right color and pattern for wallpaper;
- For each type of wallpaper, only the glue recommended by the manufacturer is used;
- Excess glue needs to be removed immediately;
- It’s a mistake to feel sorry for the purchase of an extra roll in order to paste over the space behind the cupboard or kitchen set. Naked walls in the future will prevent a permutation.

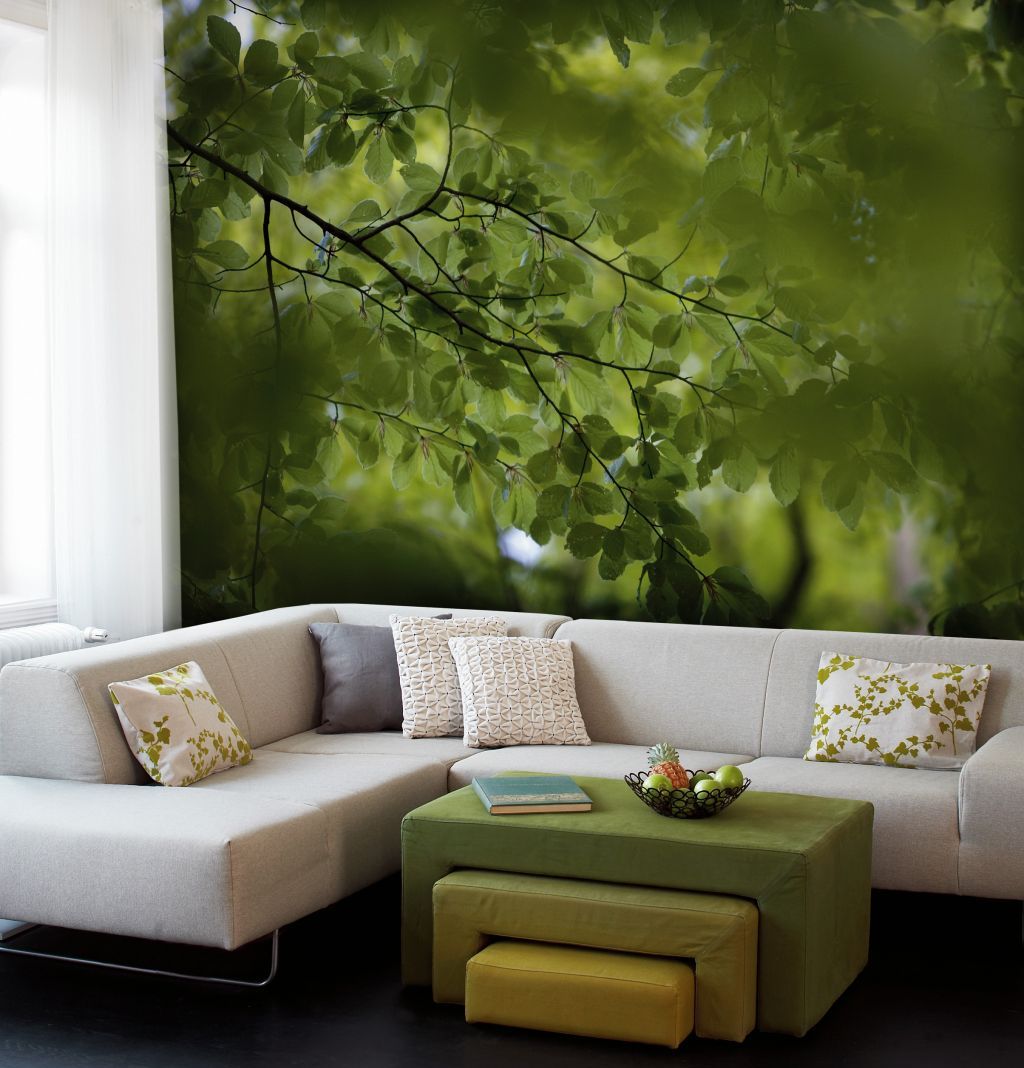
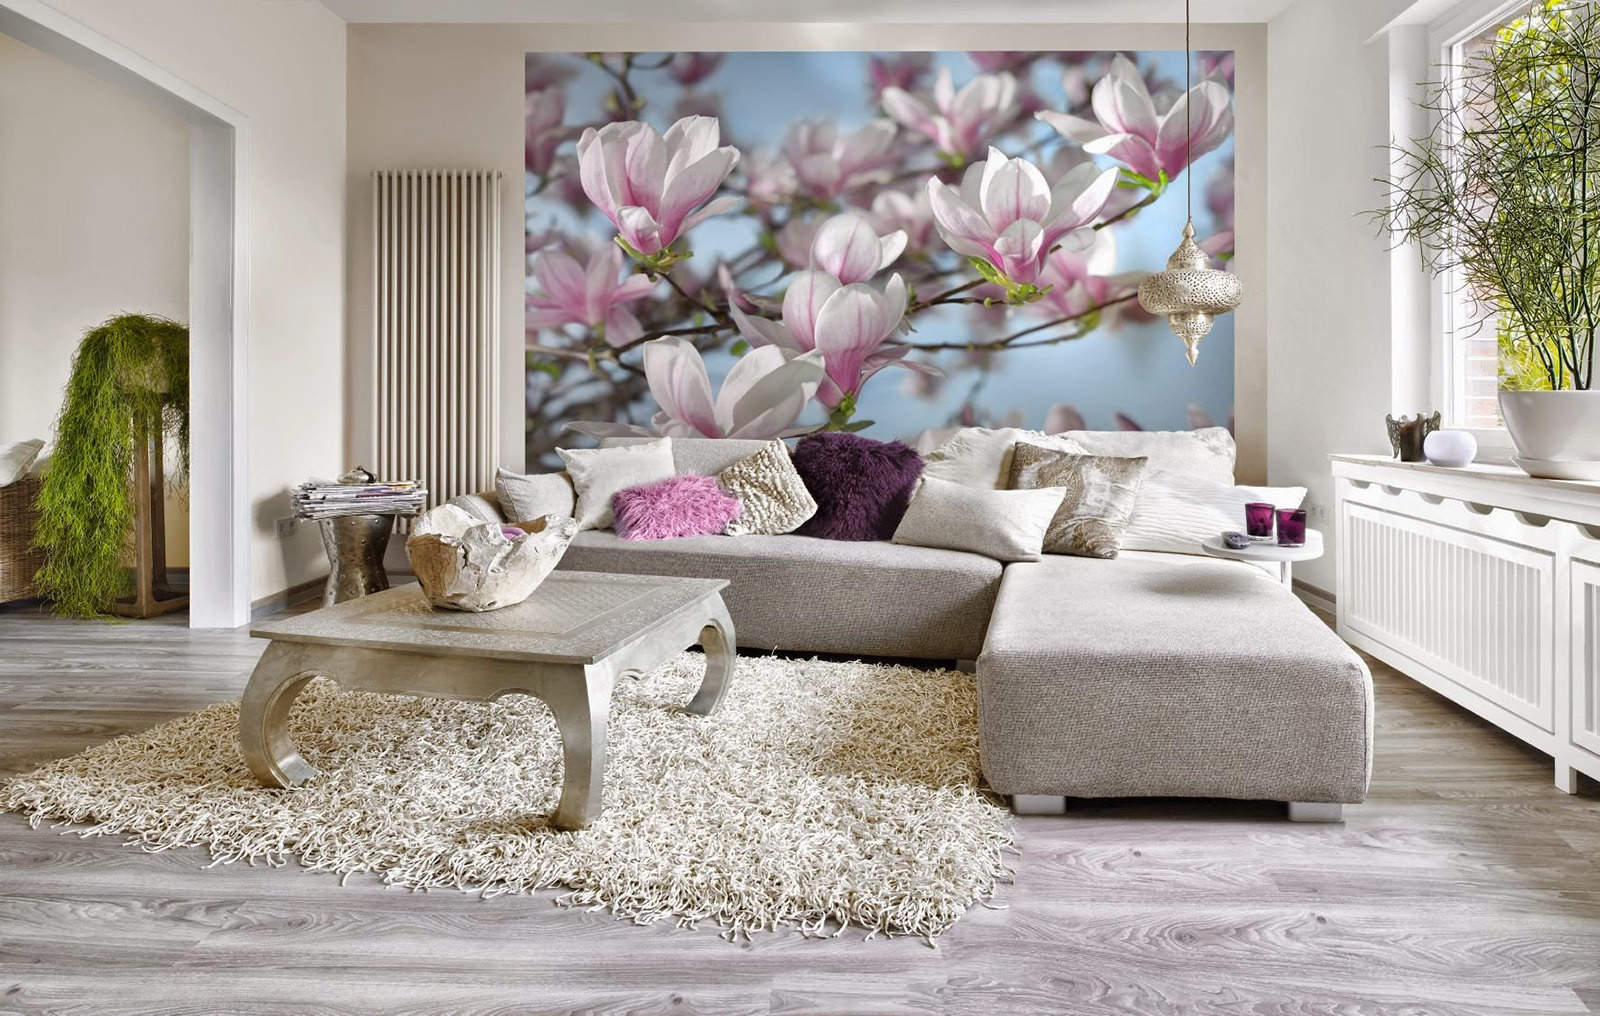
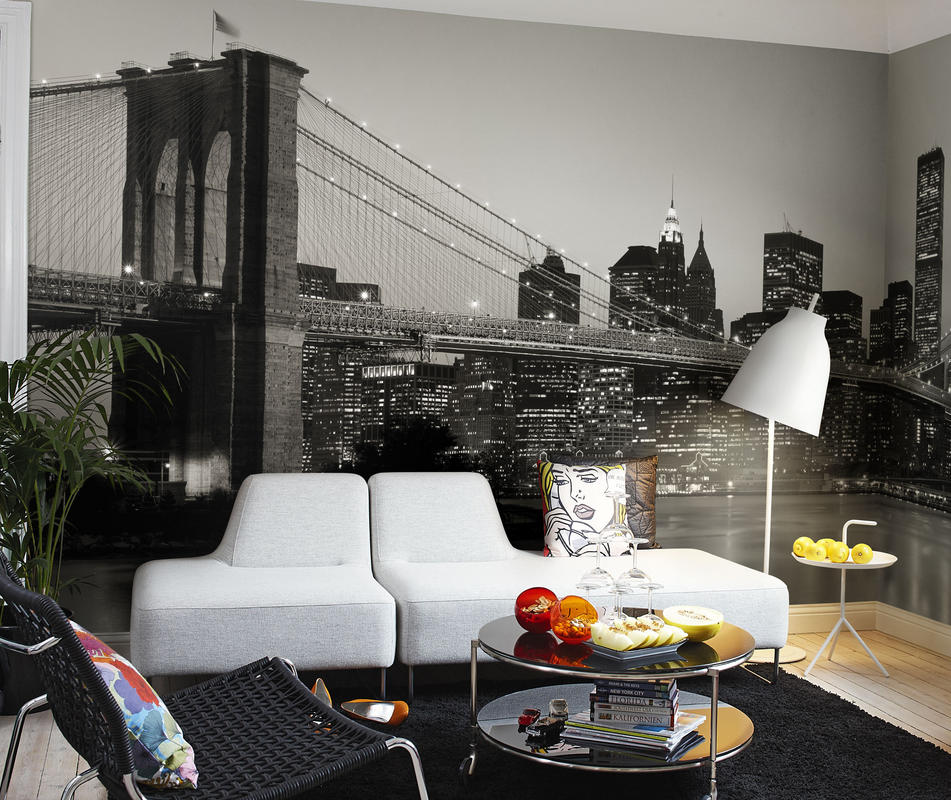
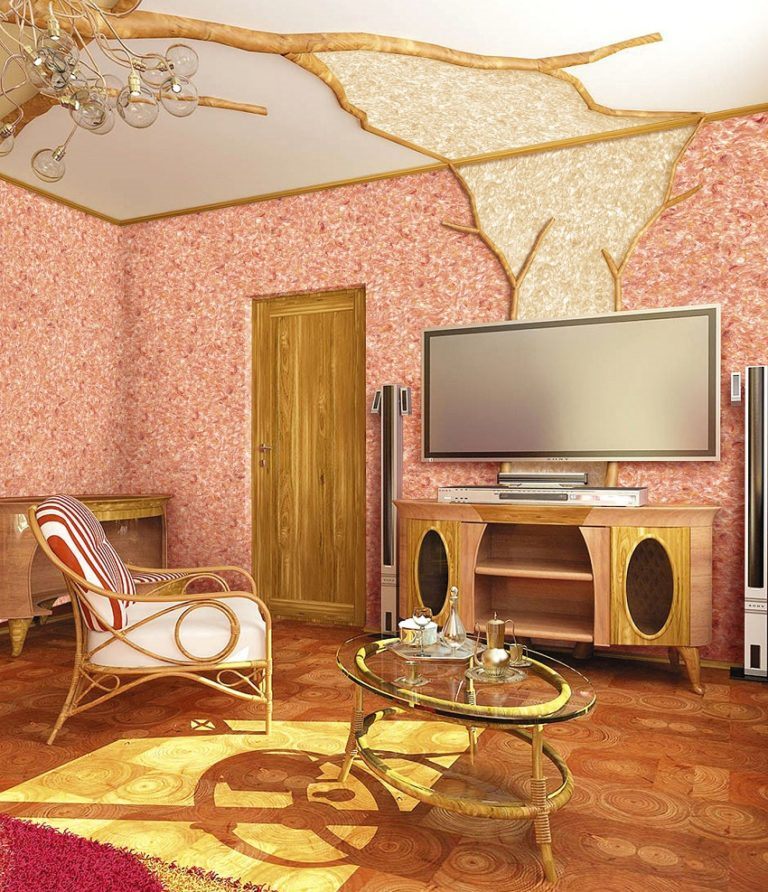
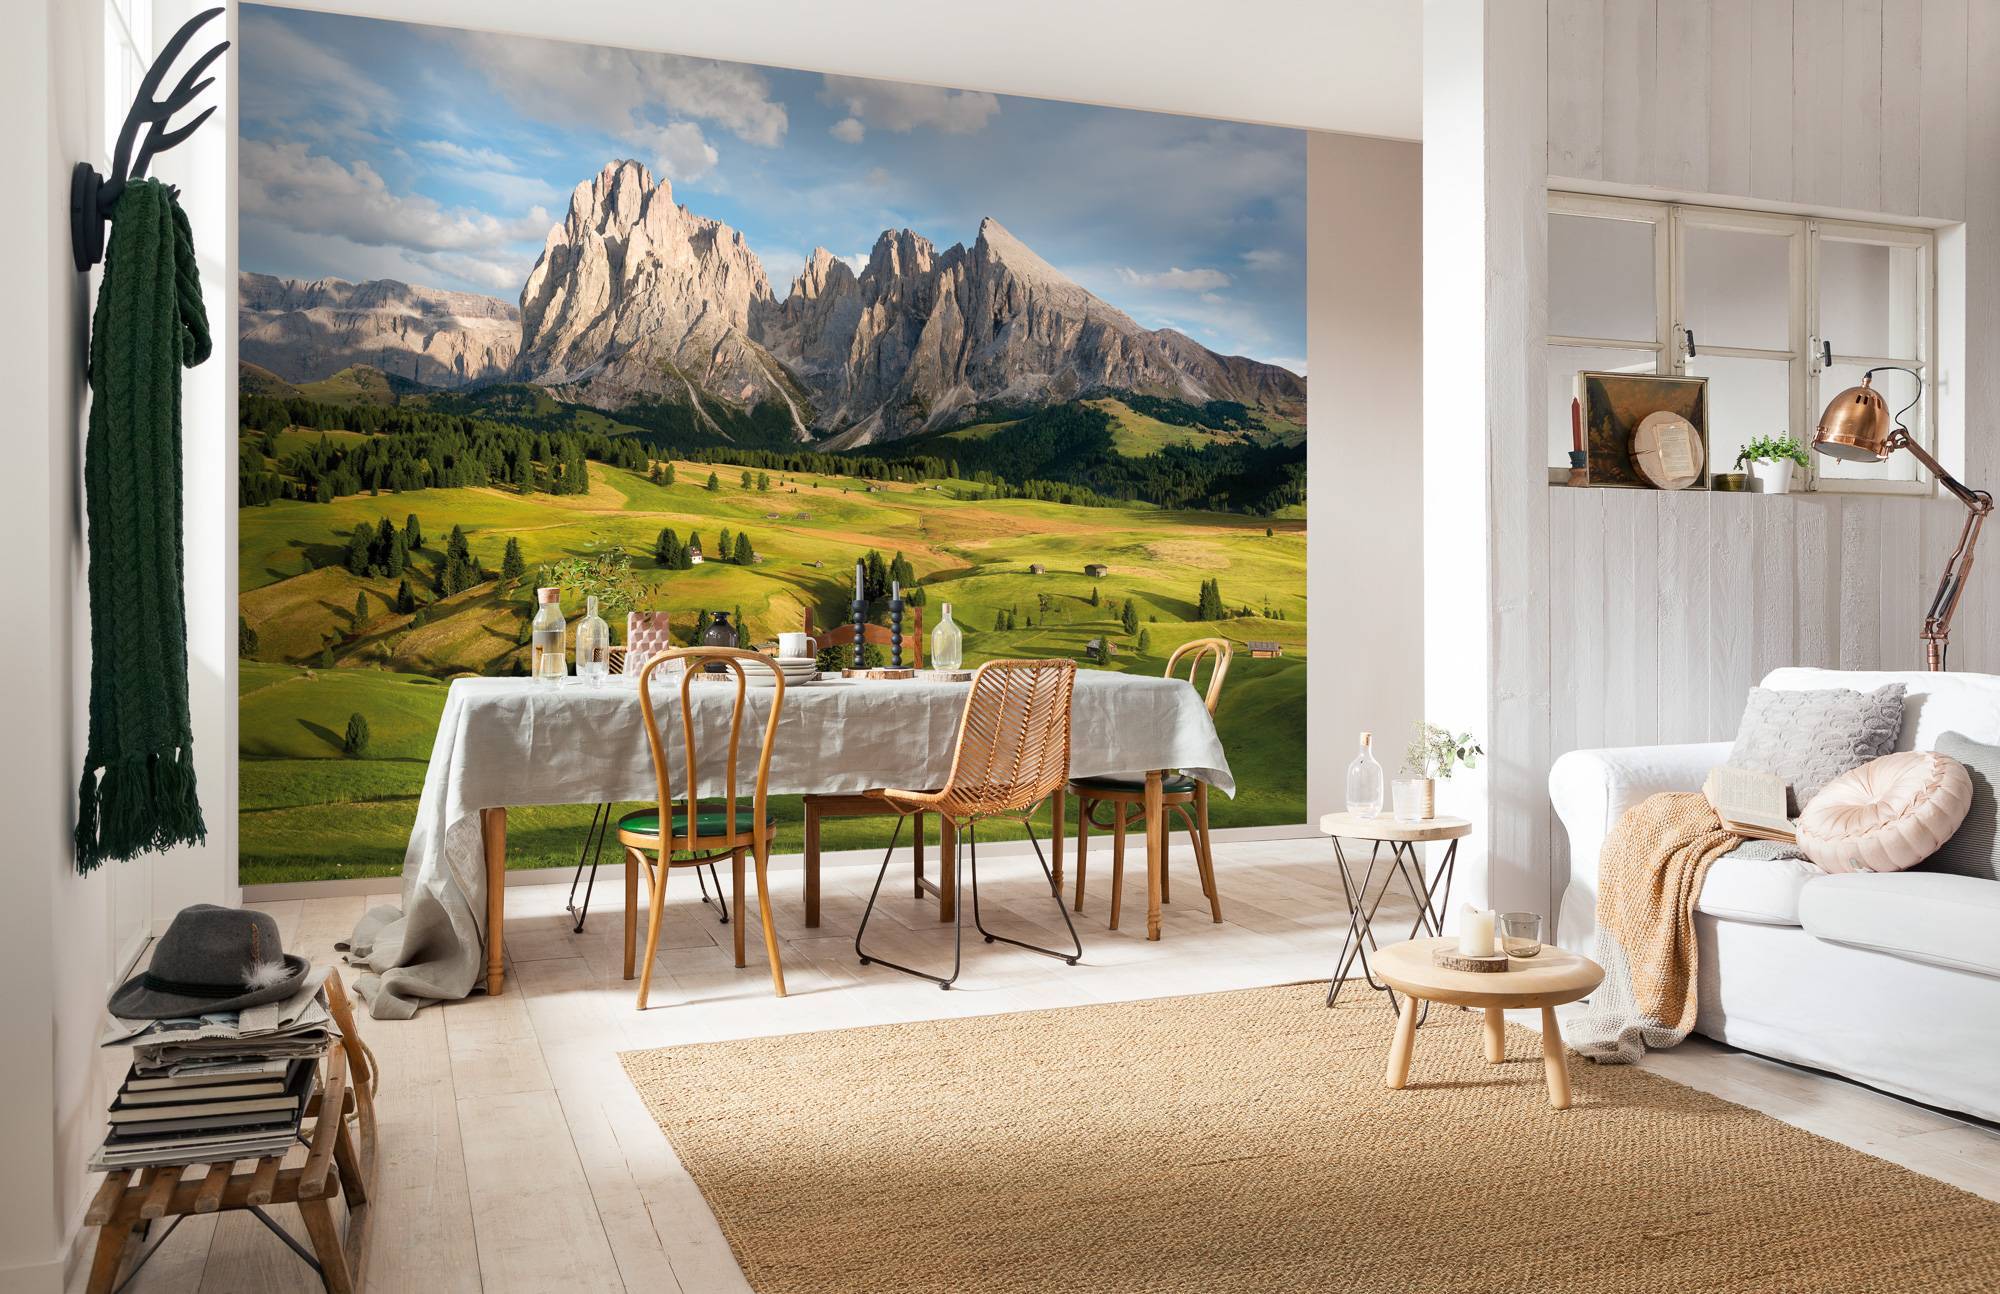
Examples in the interior
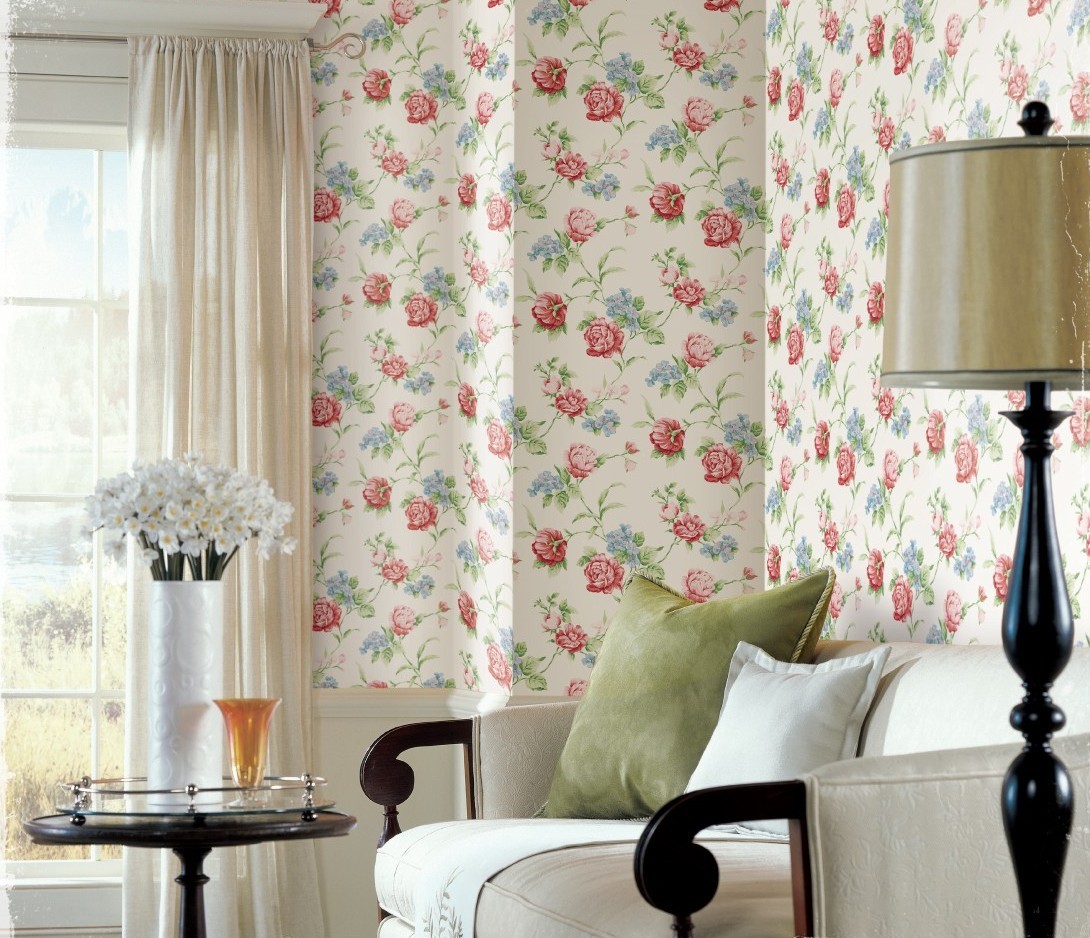
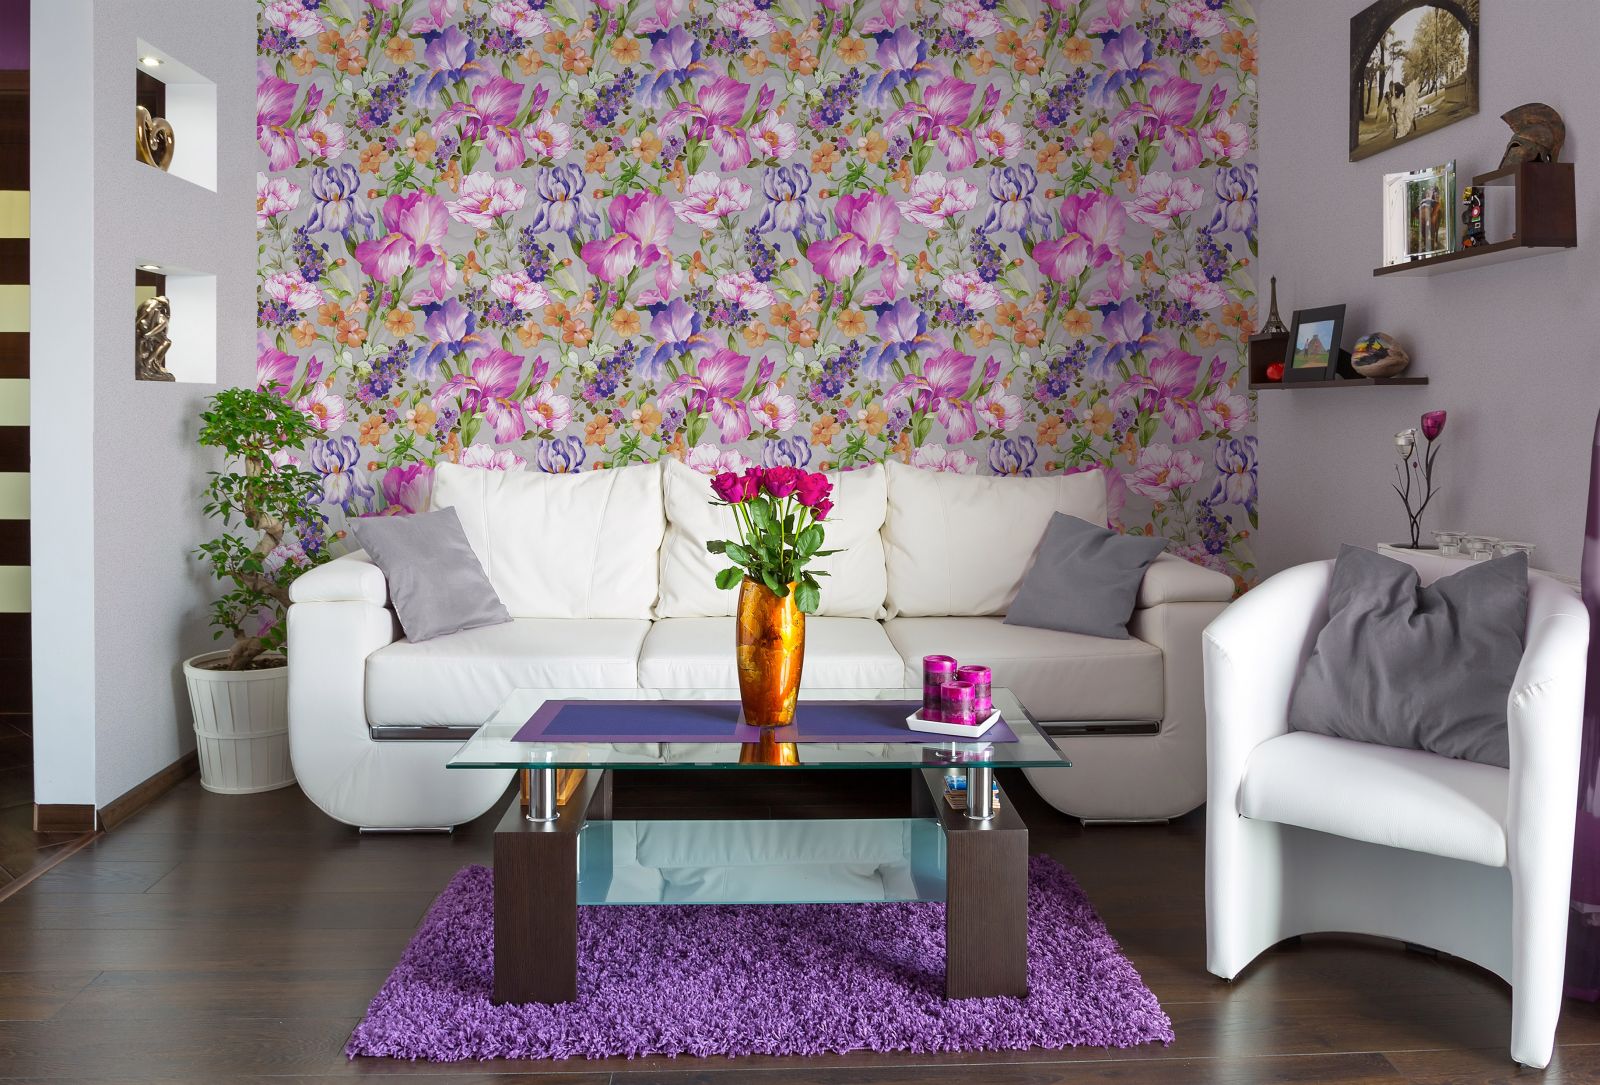
- Wallpapers - malleable and versatile material that allows to embody in the interior of various stylish ideas and design ideas.
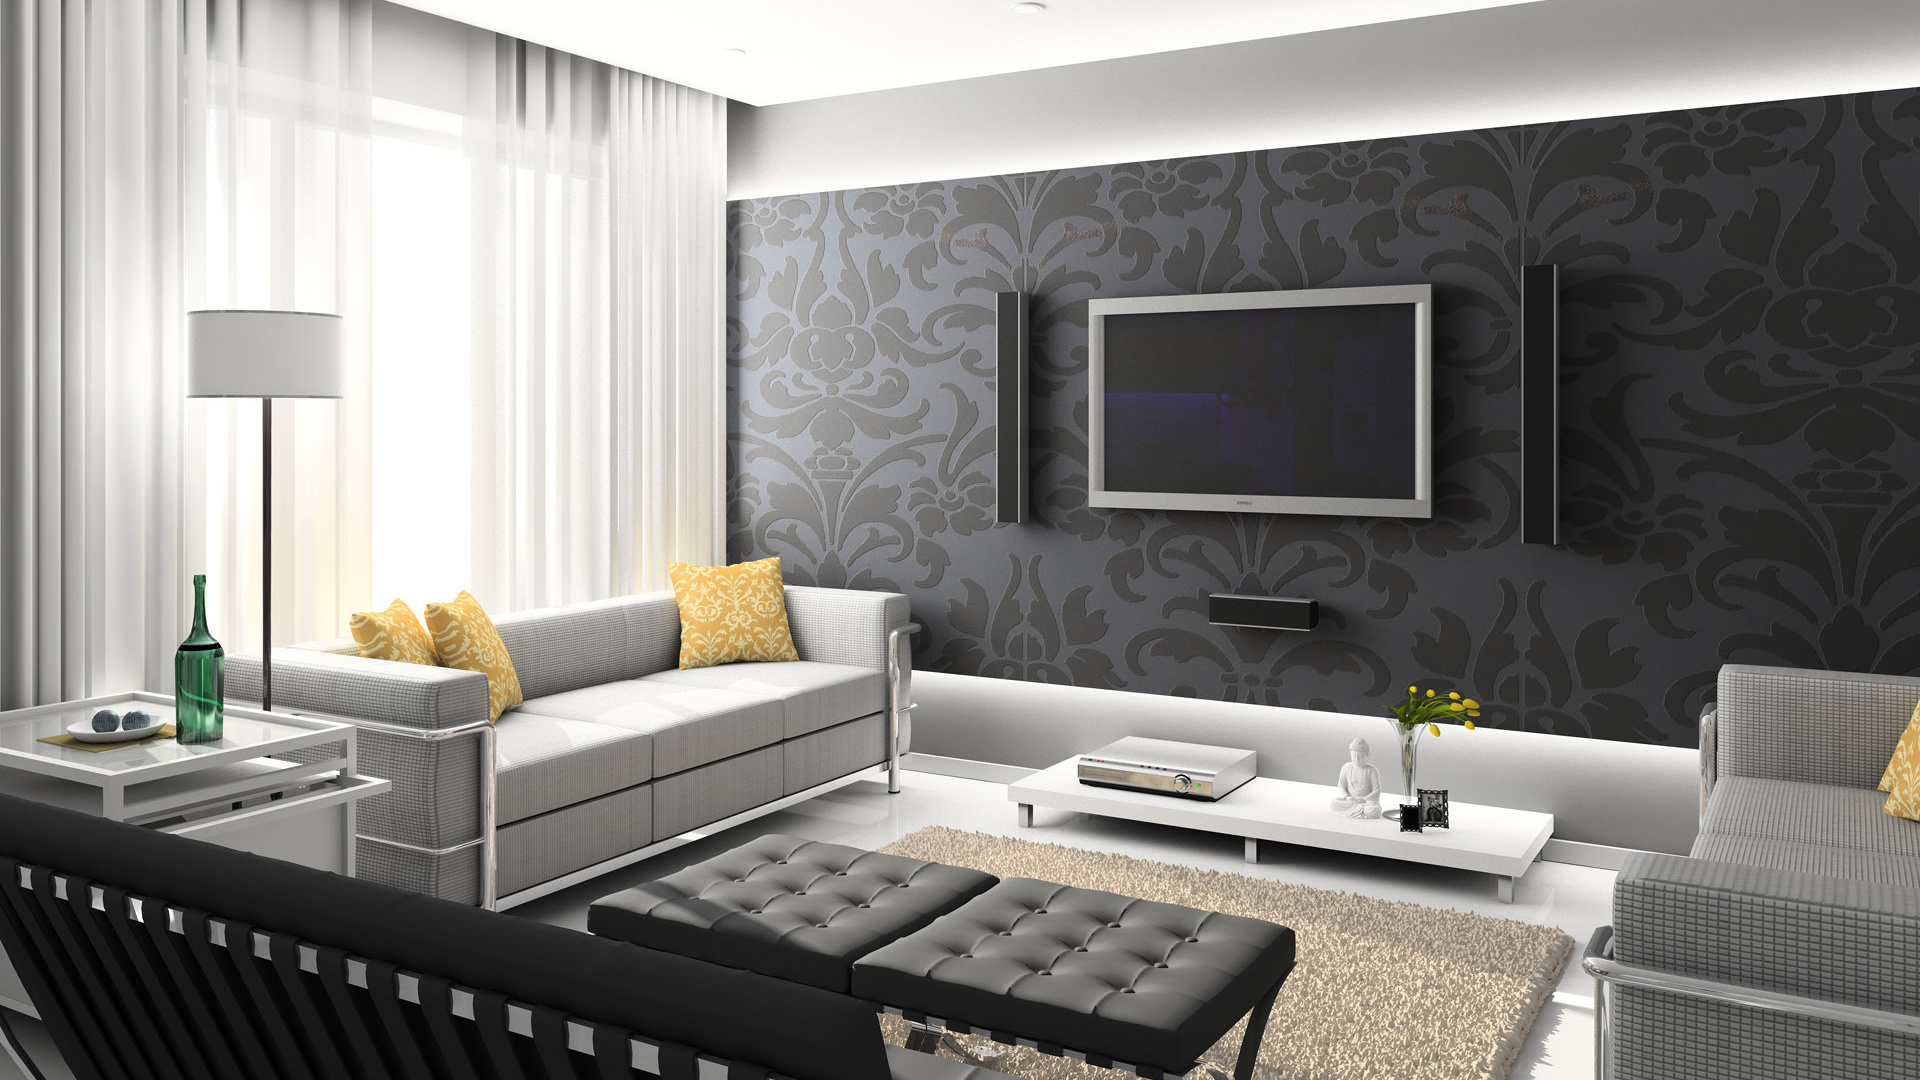
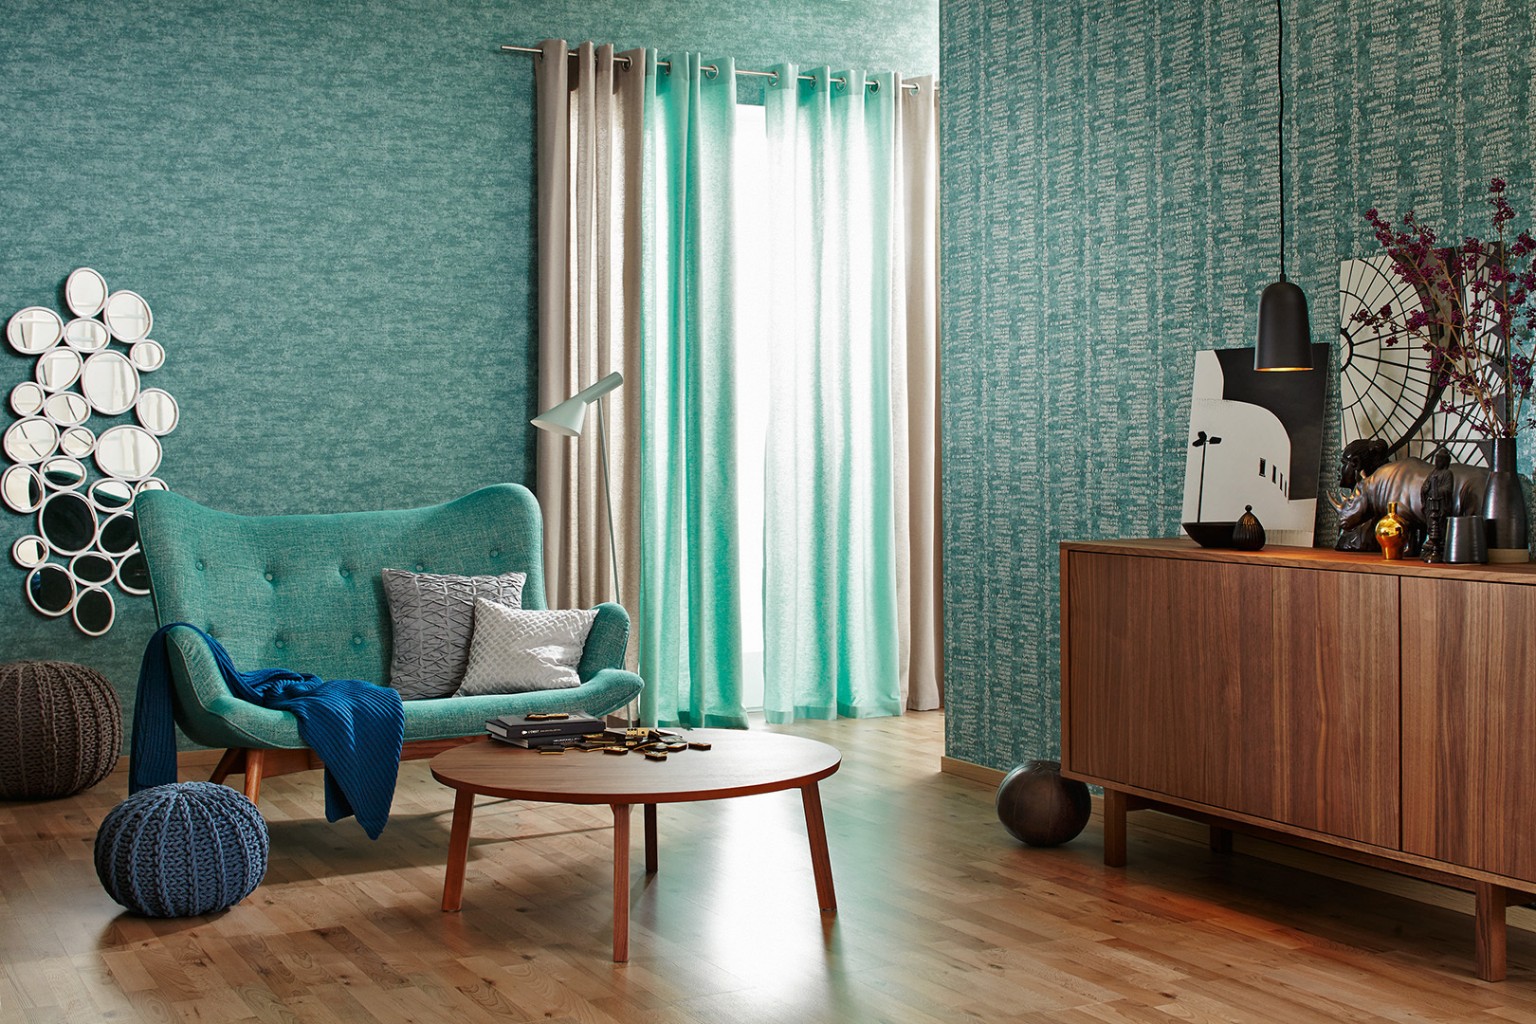
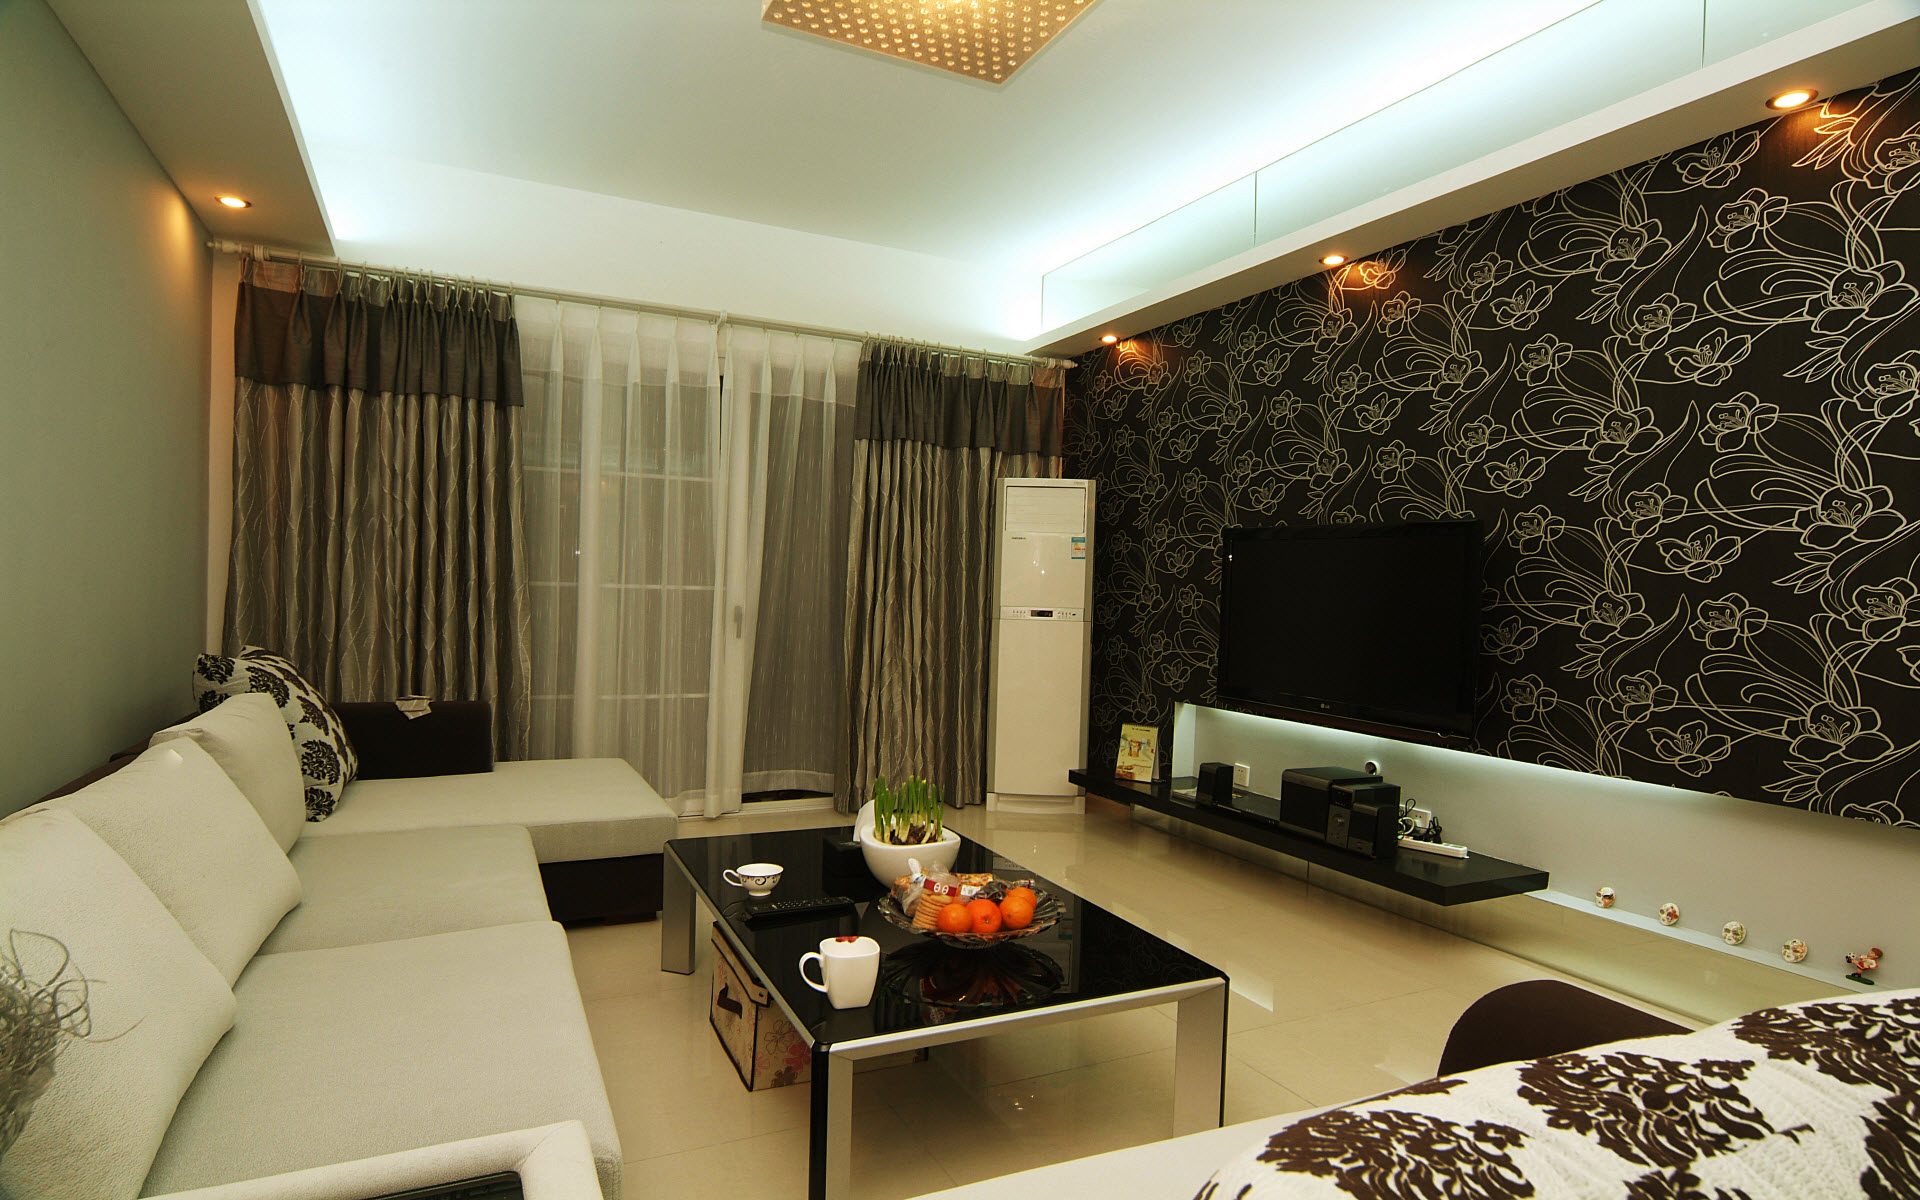
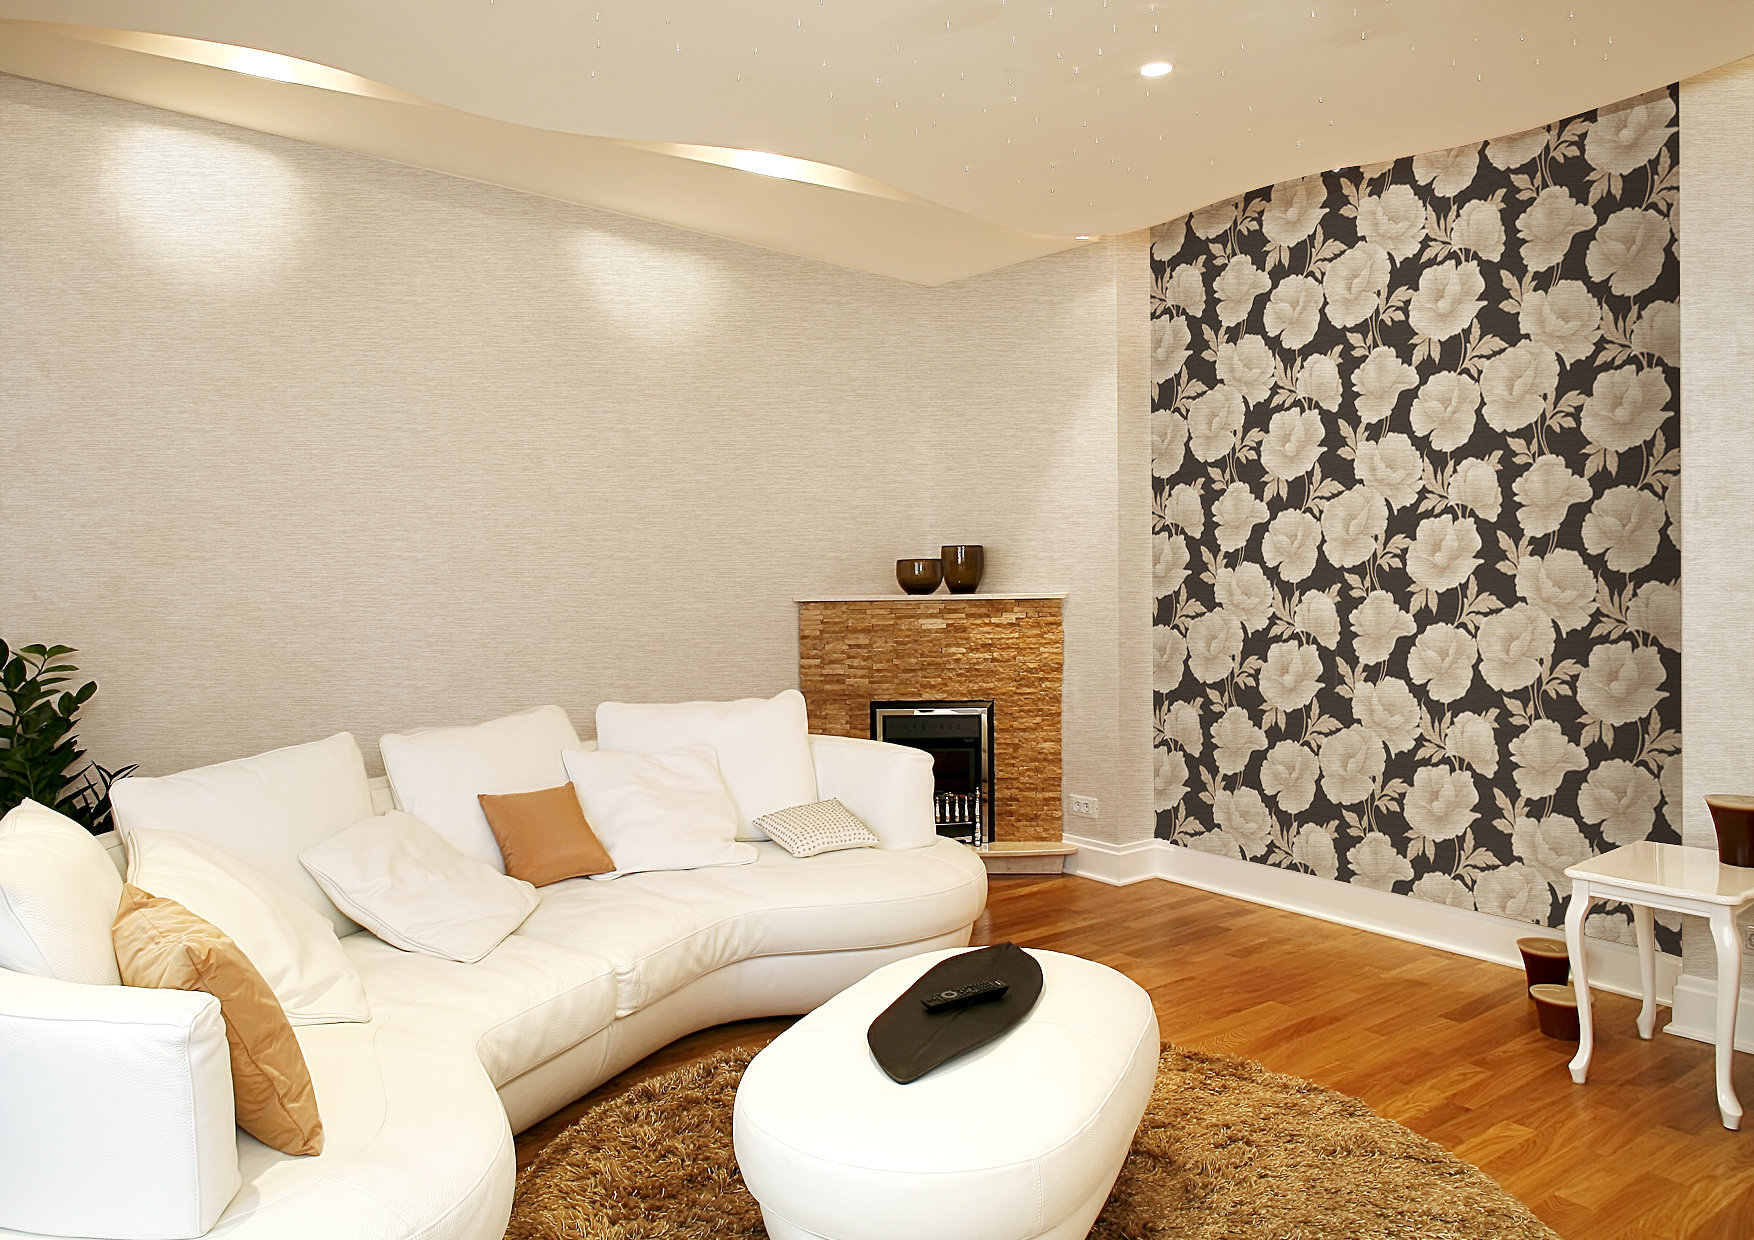
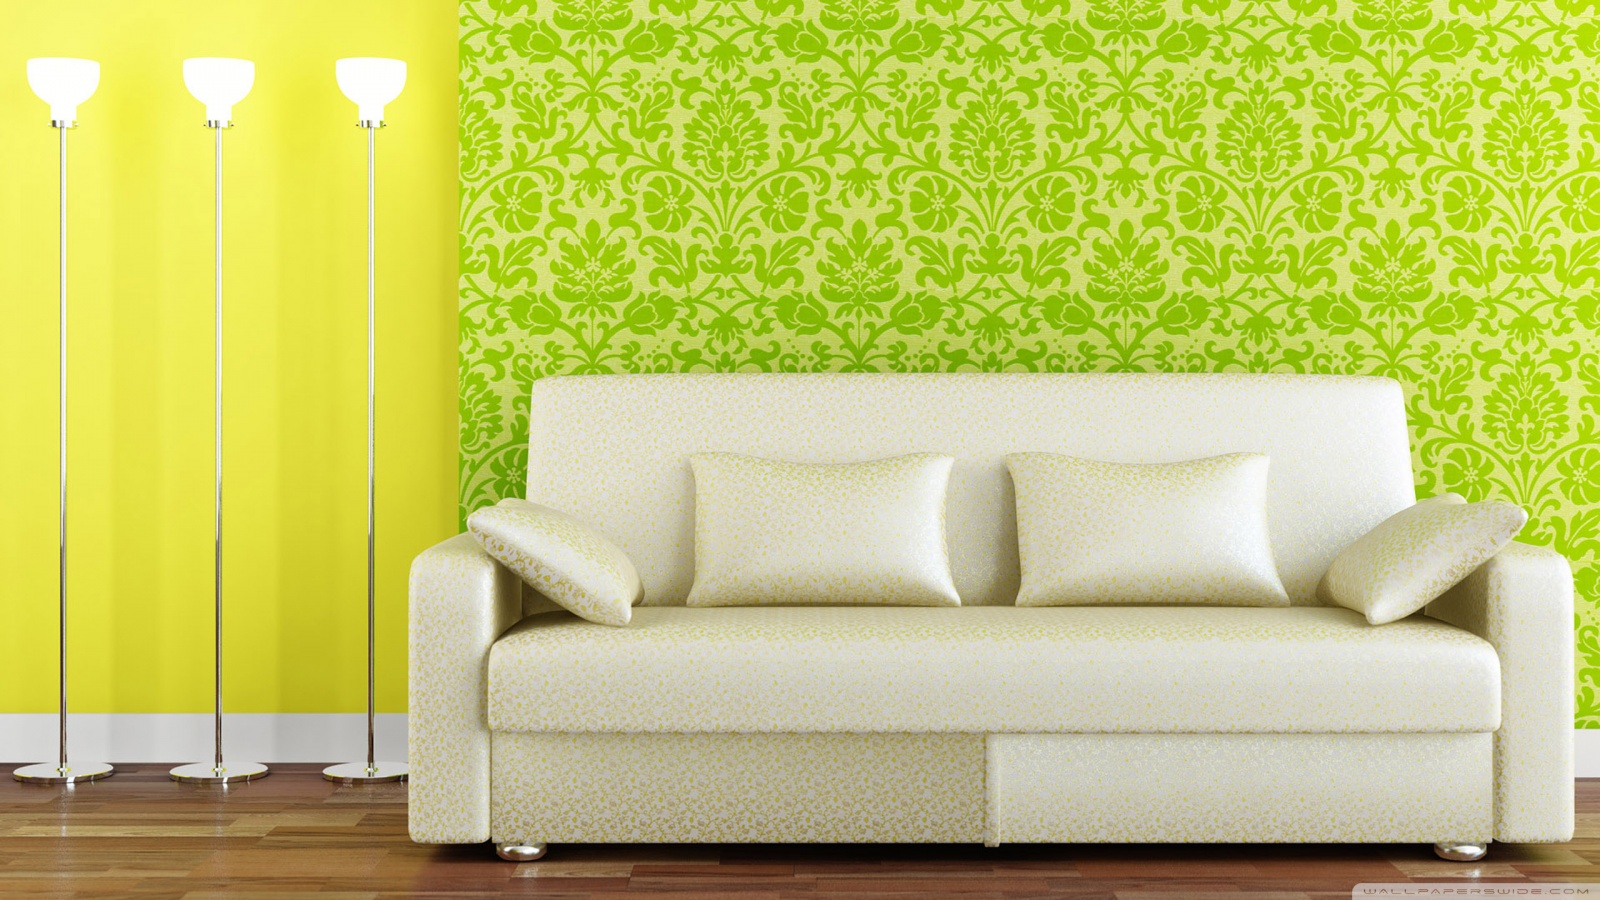
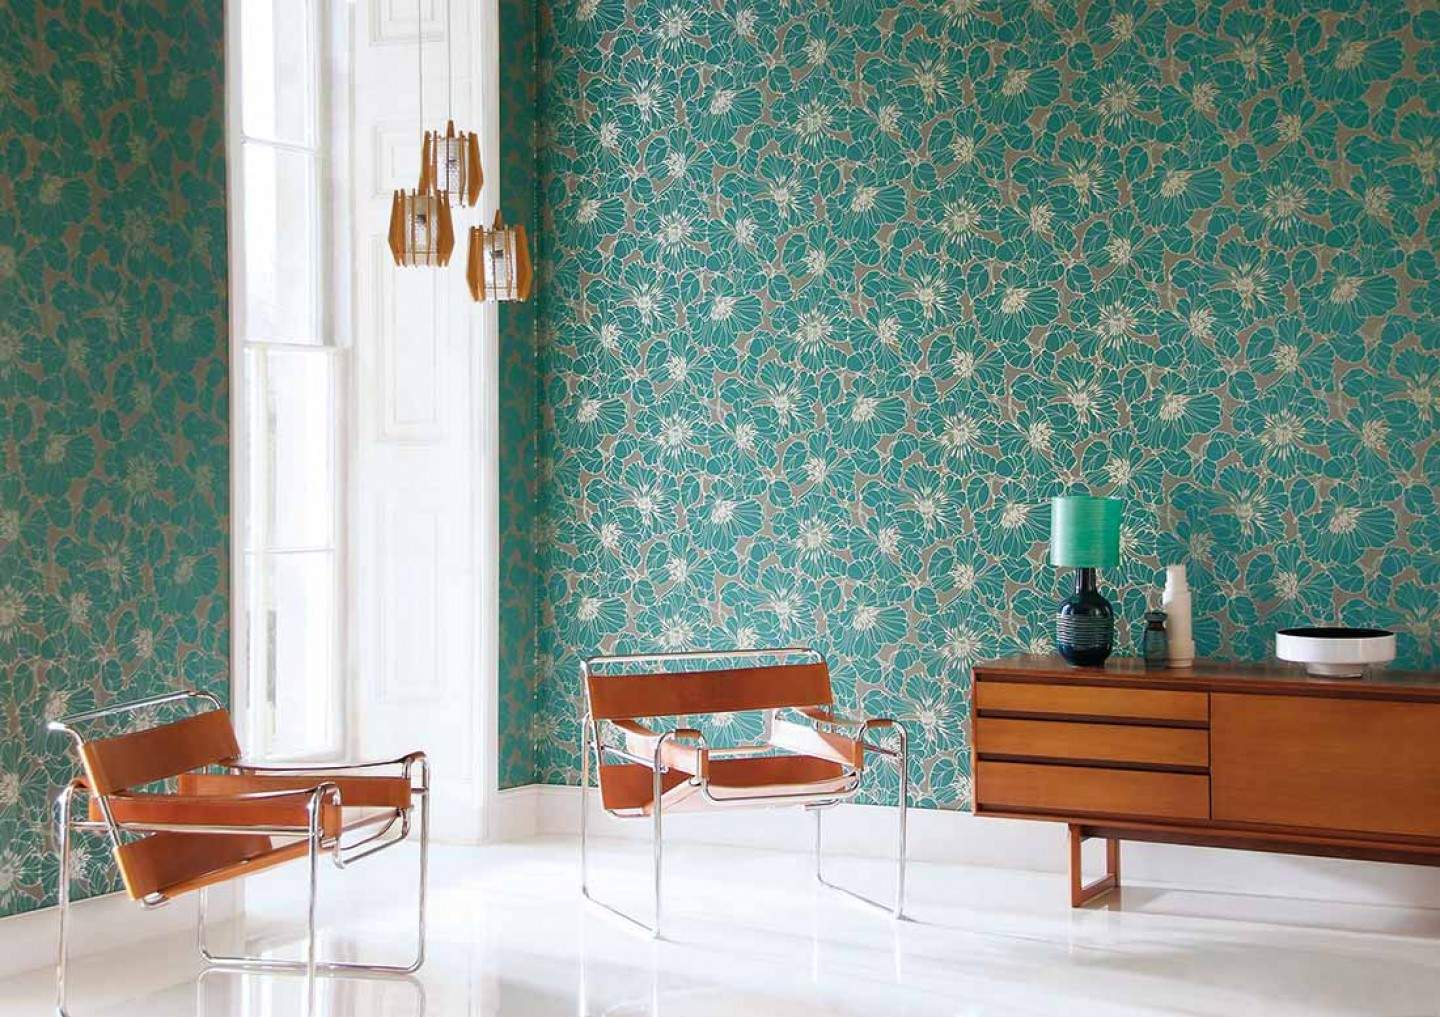
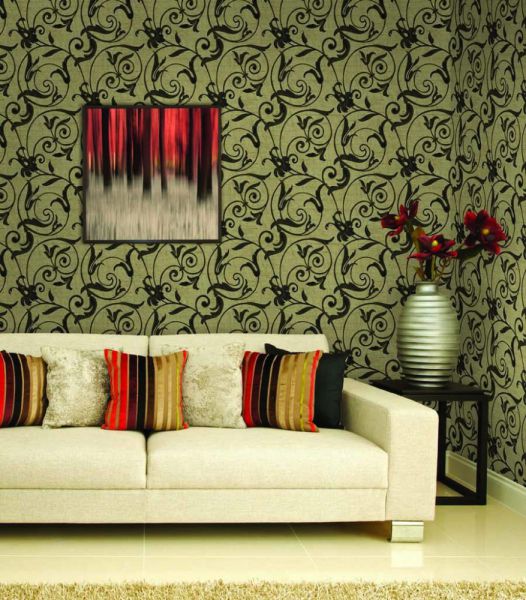
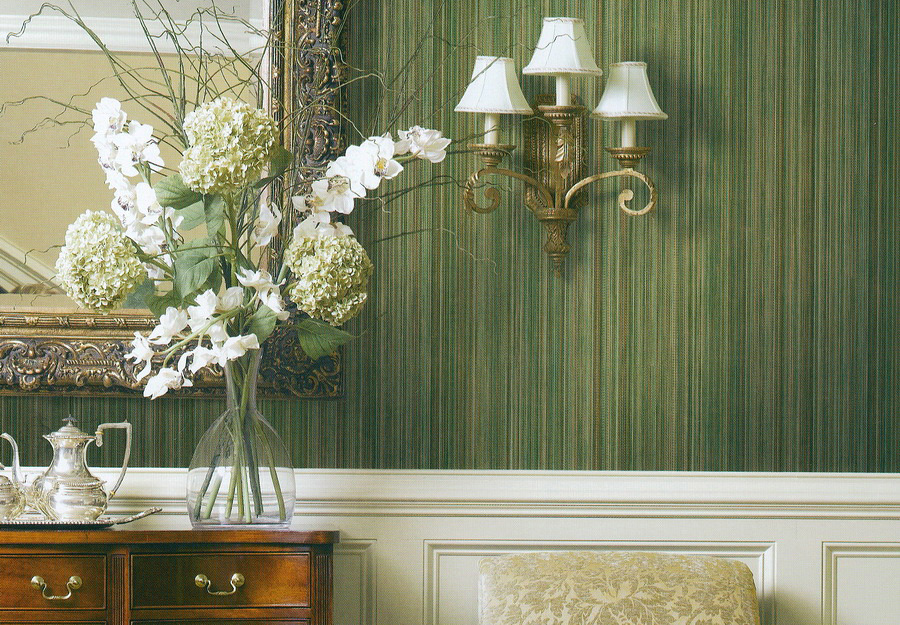
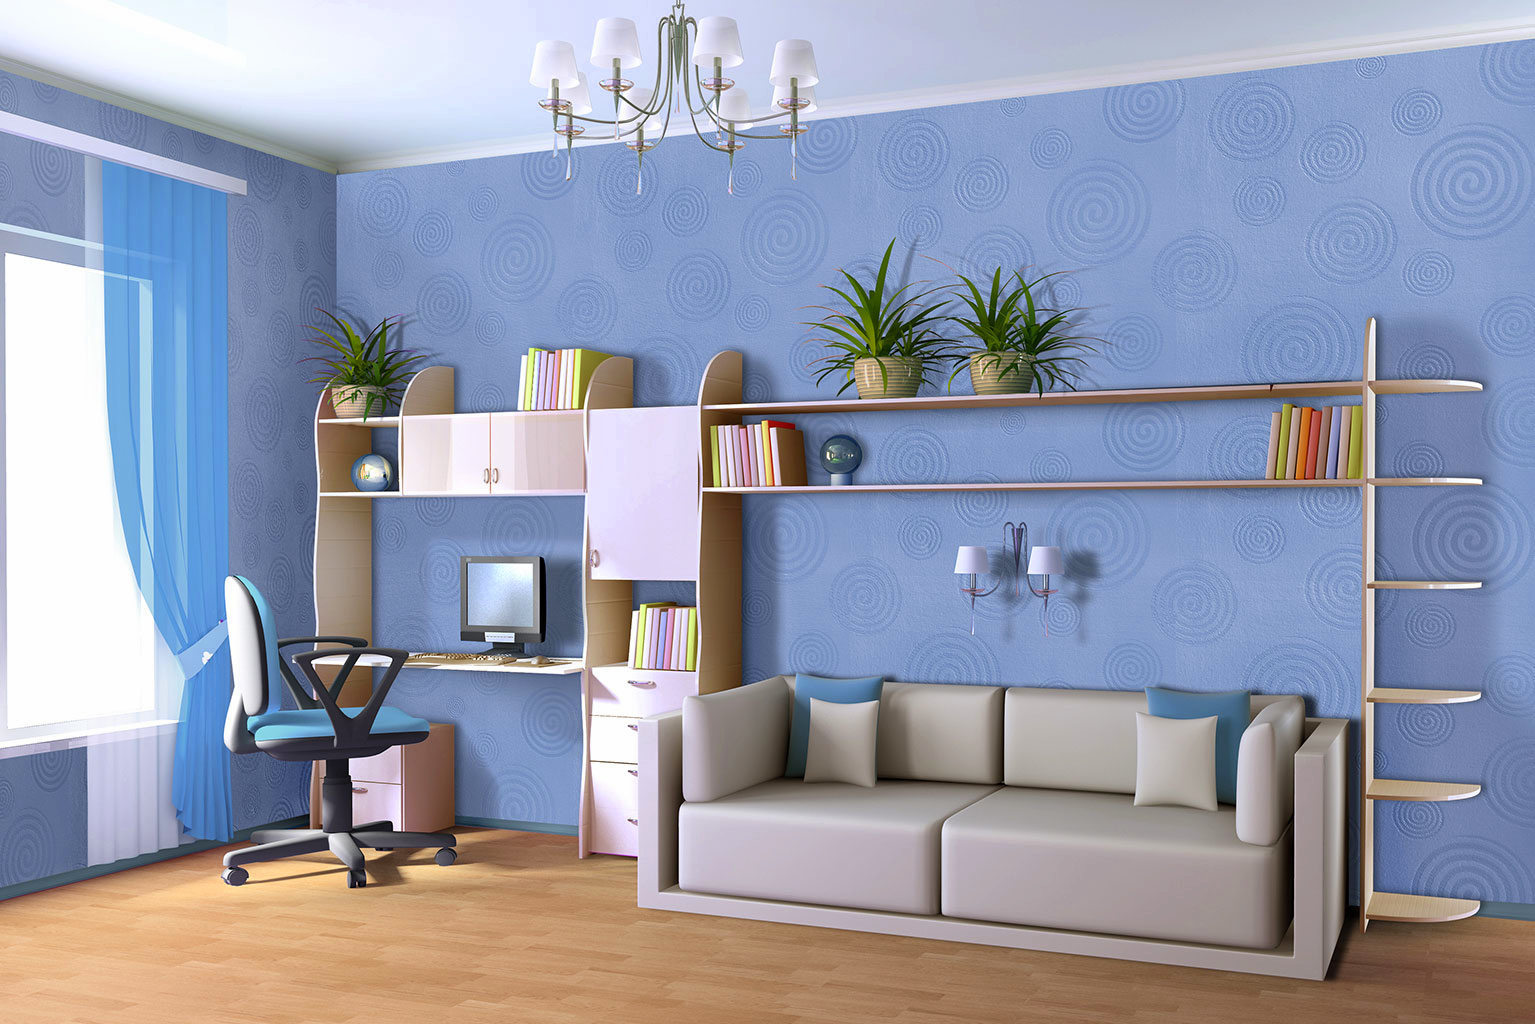
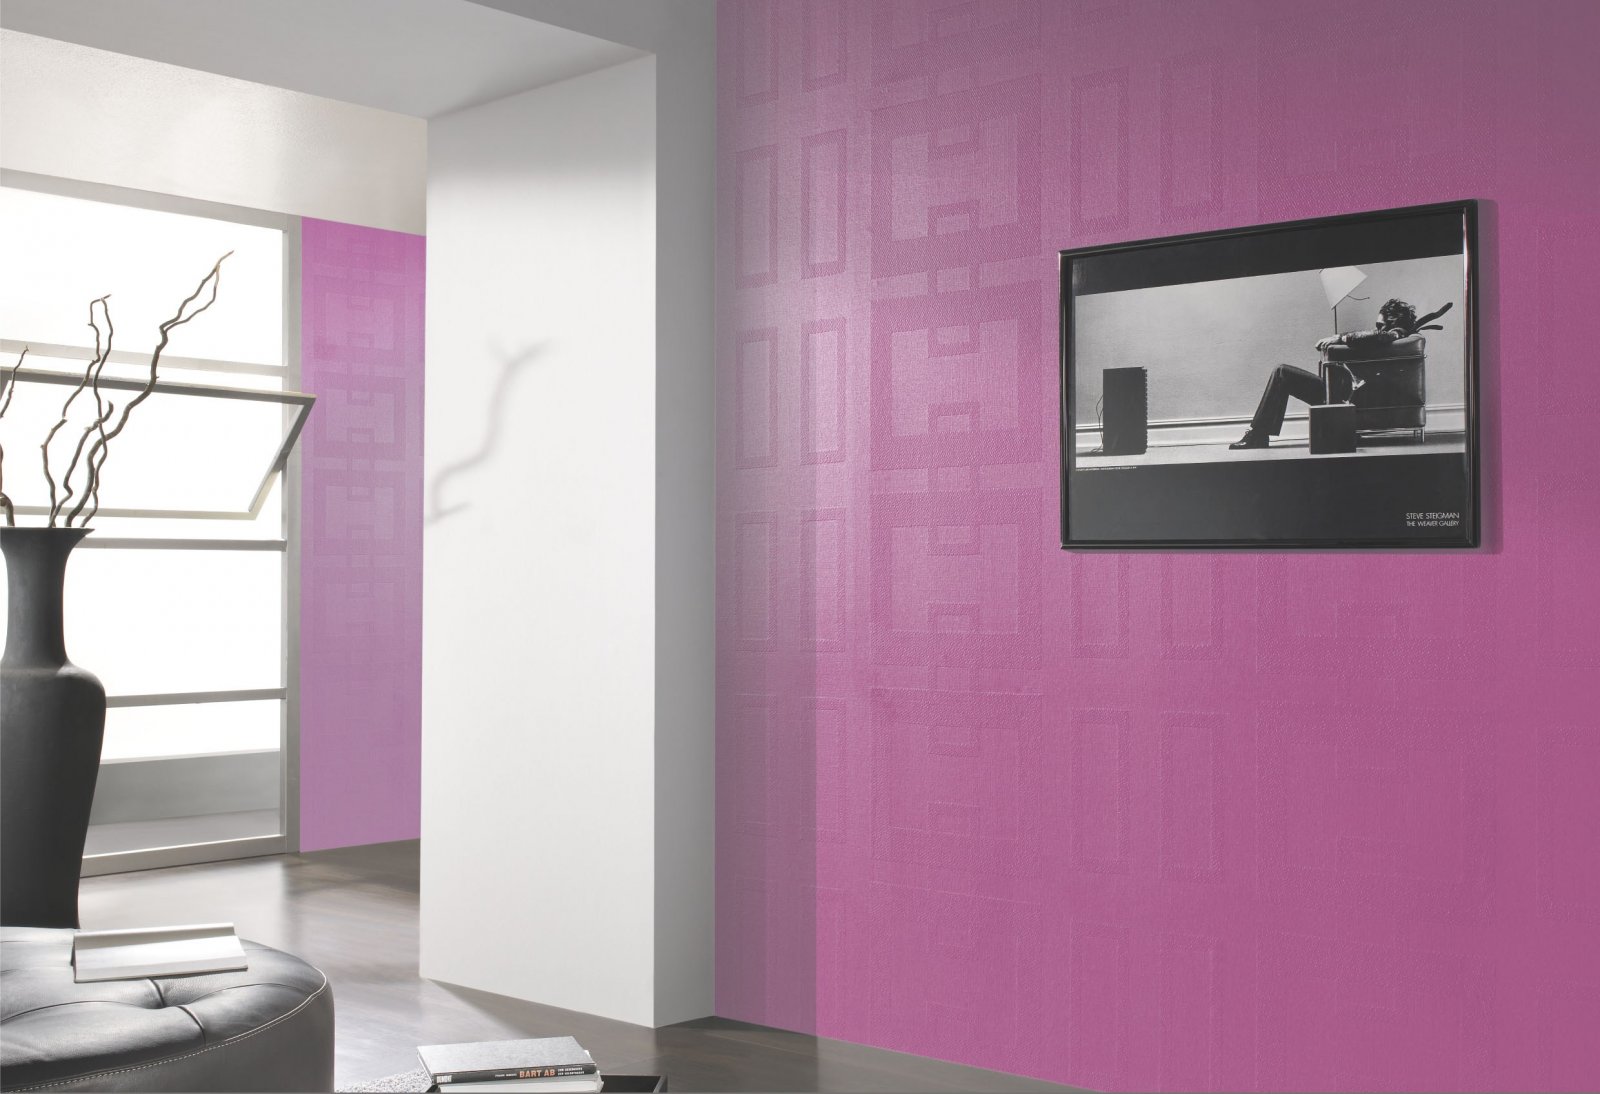
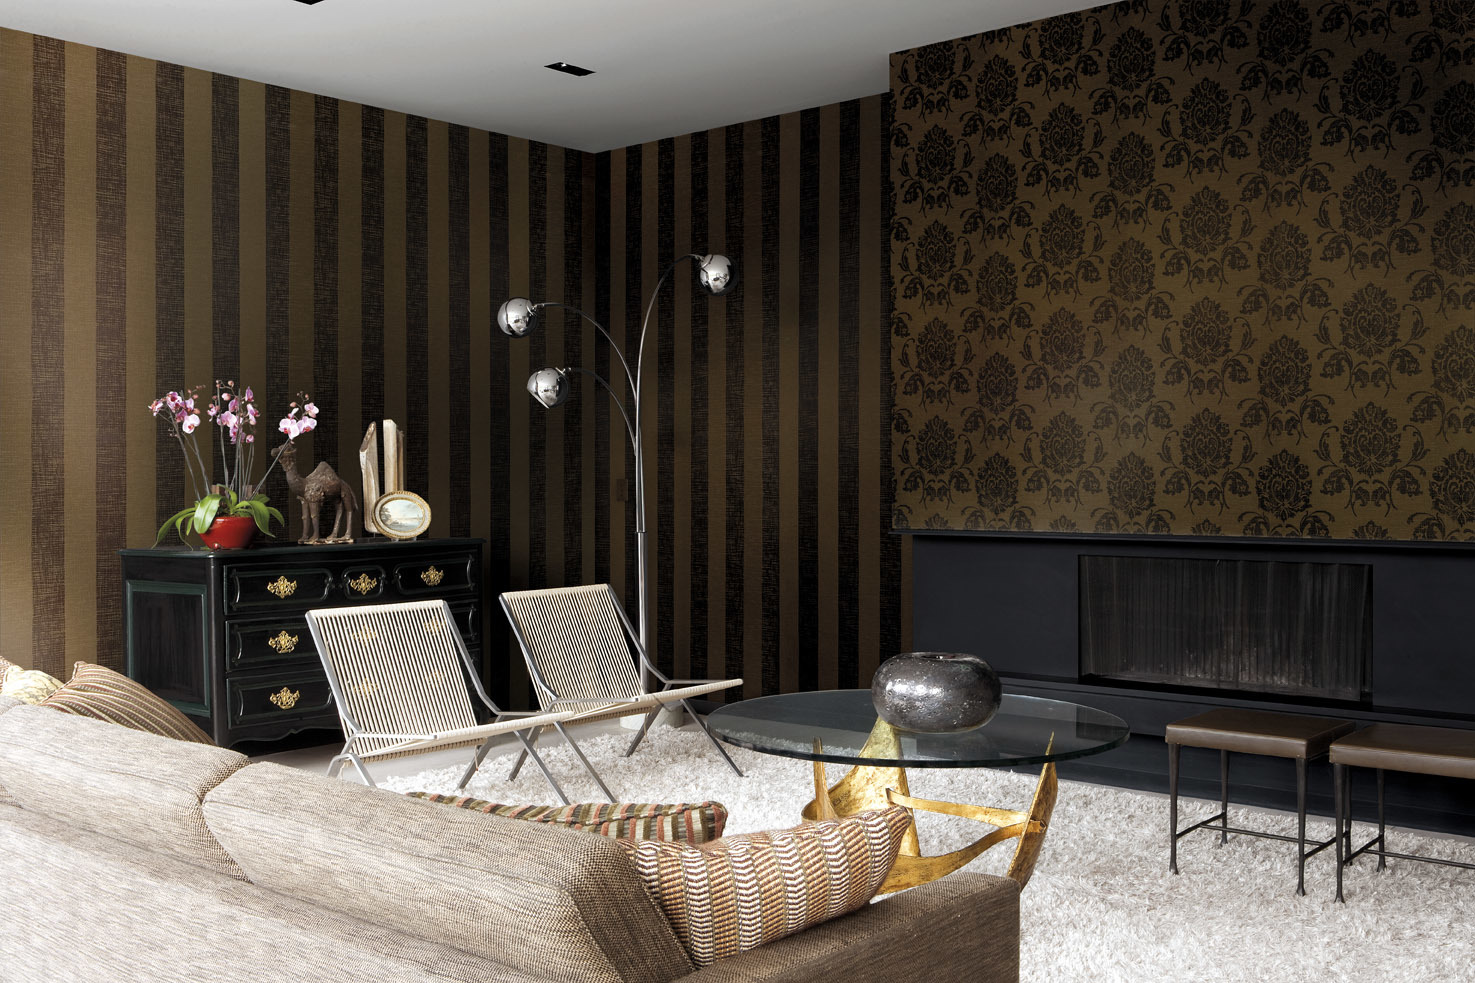
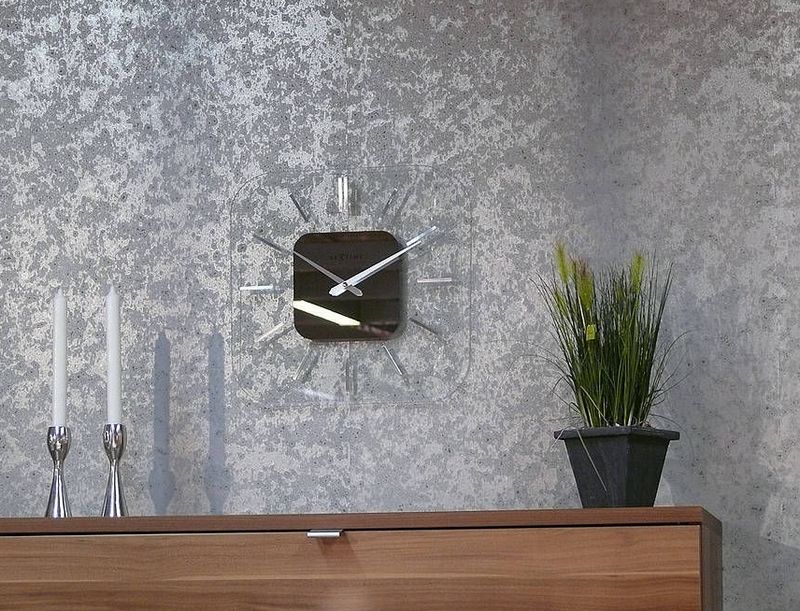
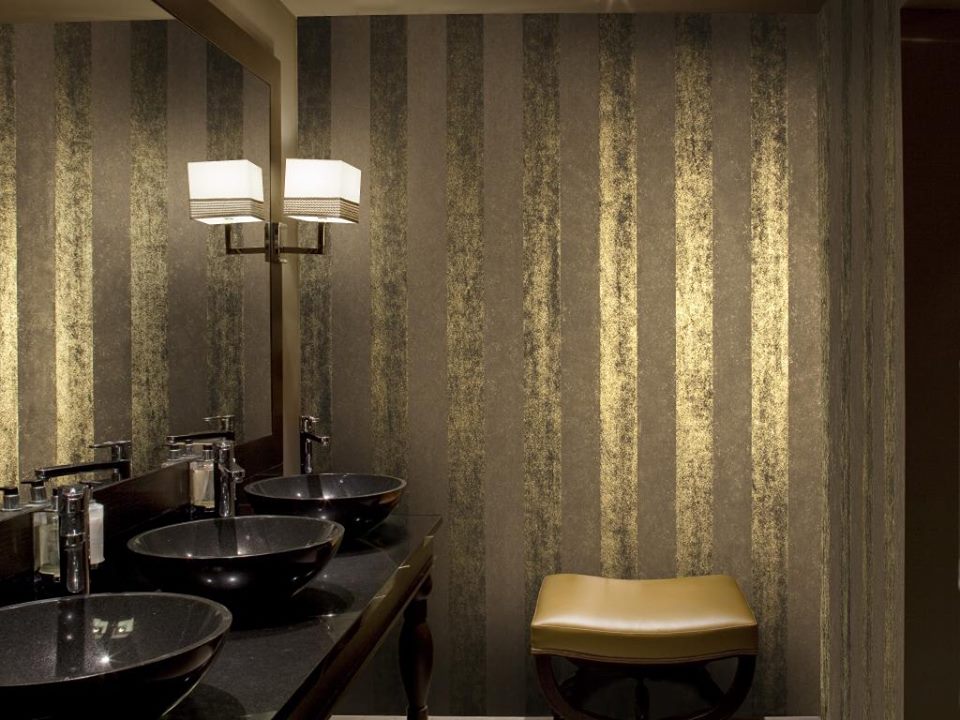
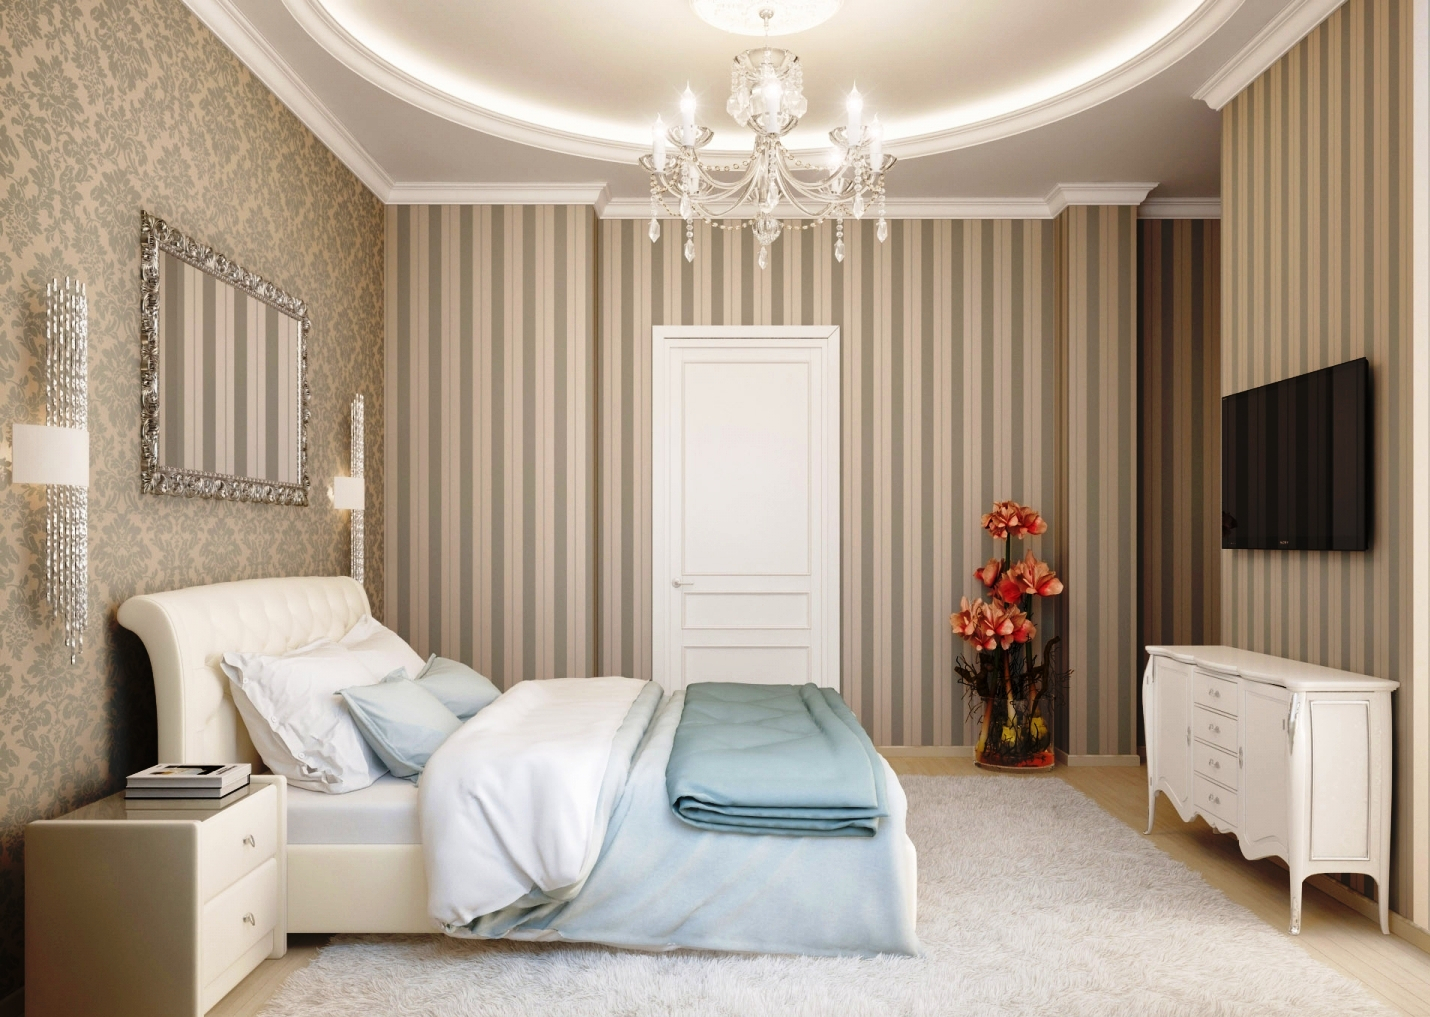
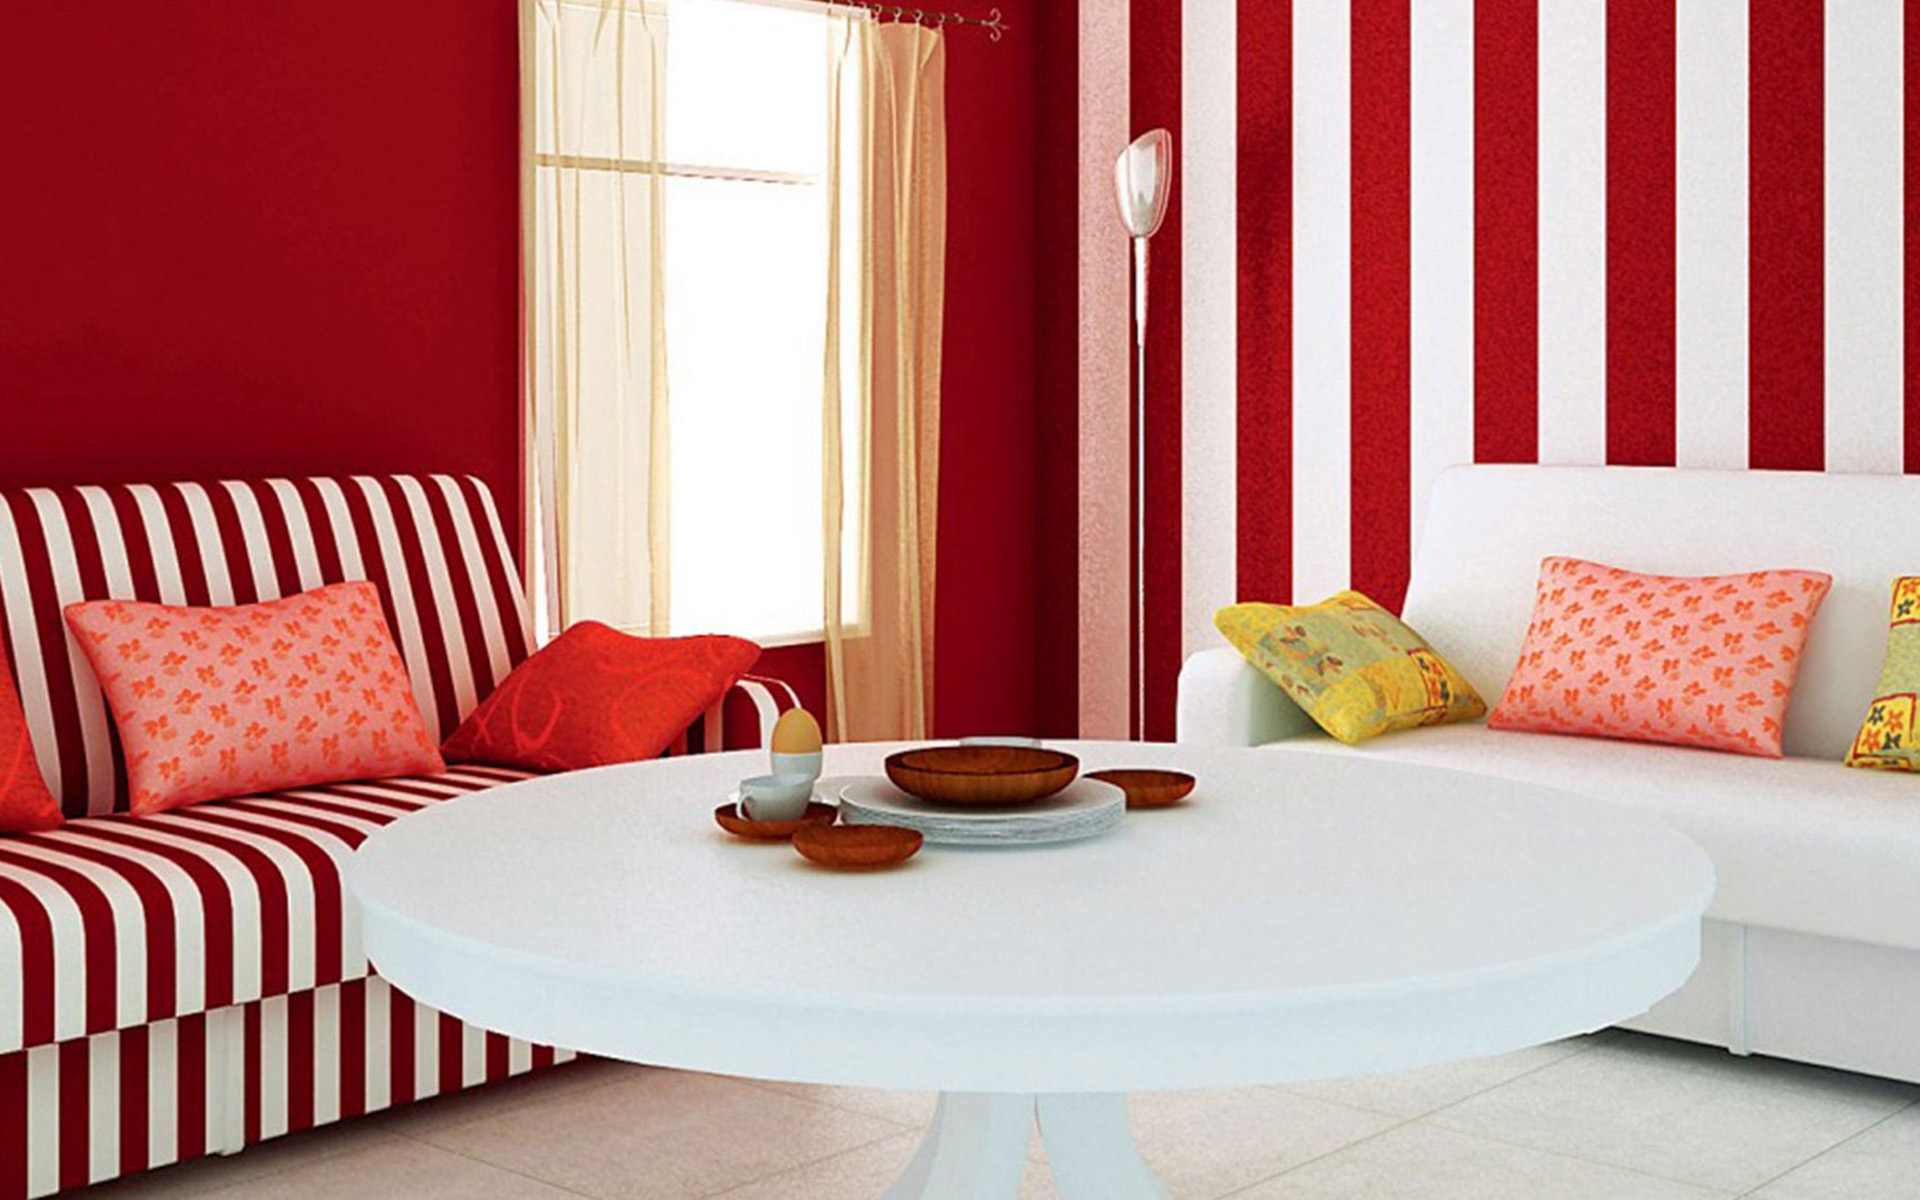
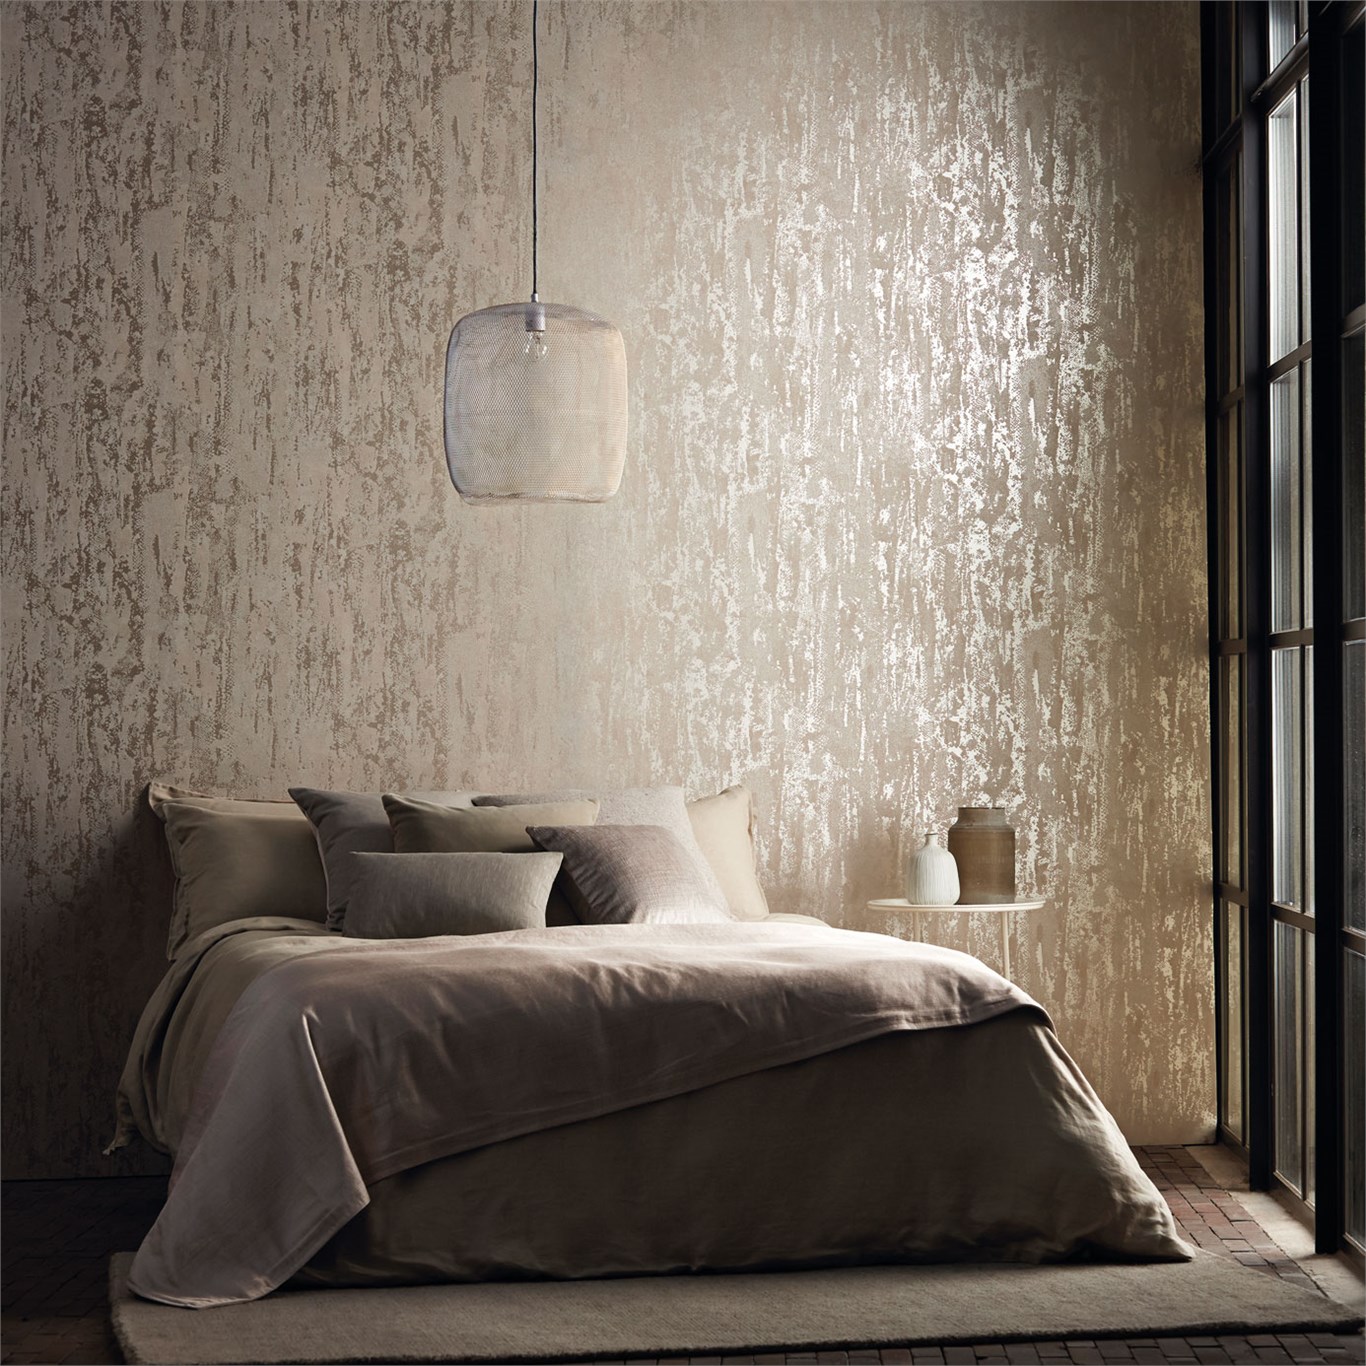
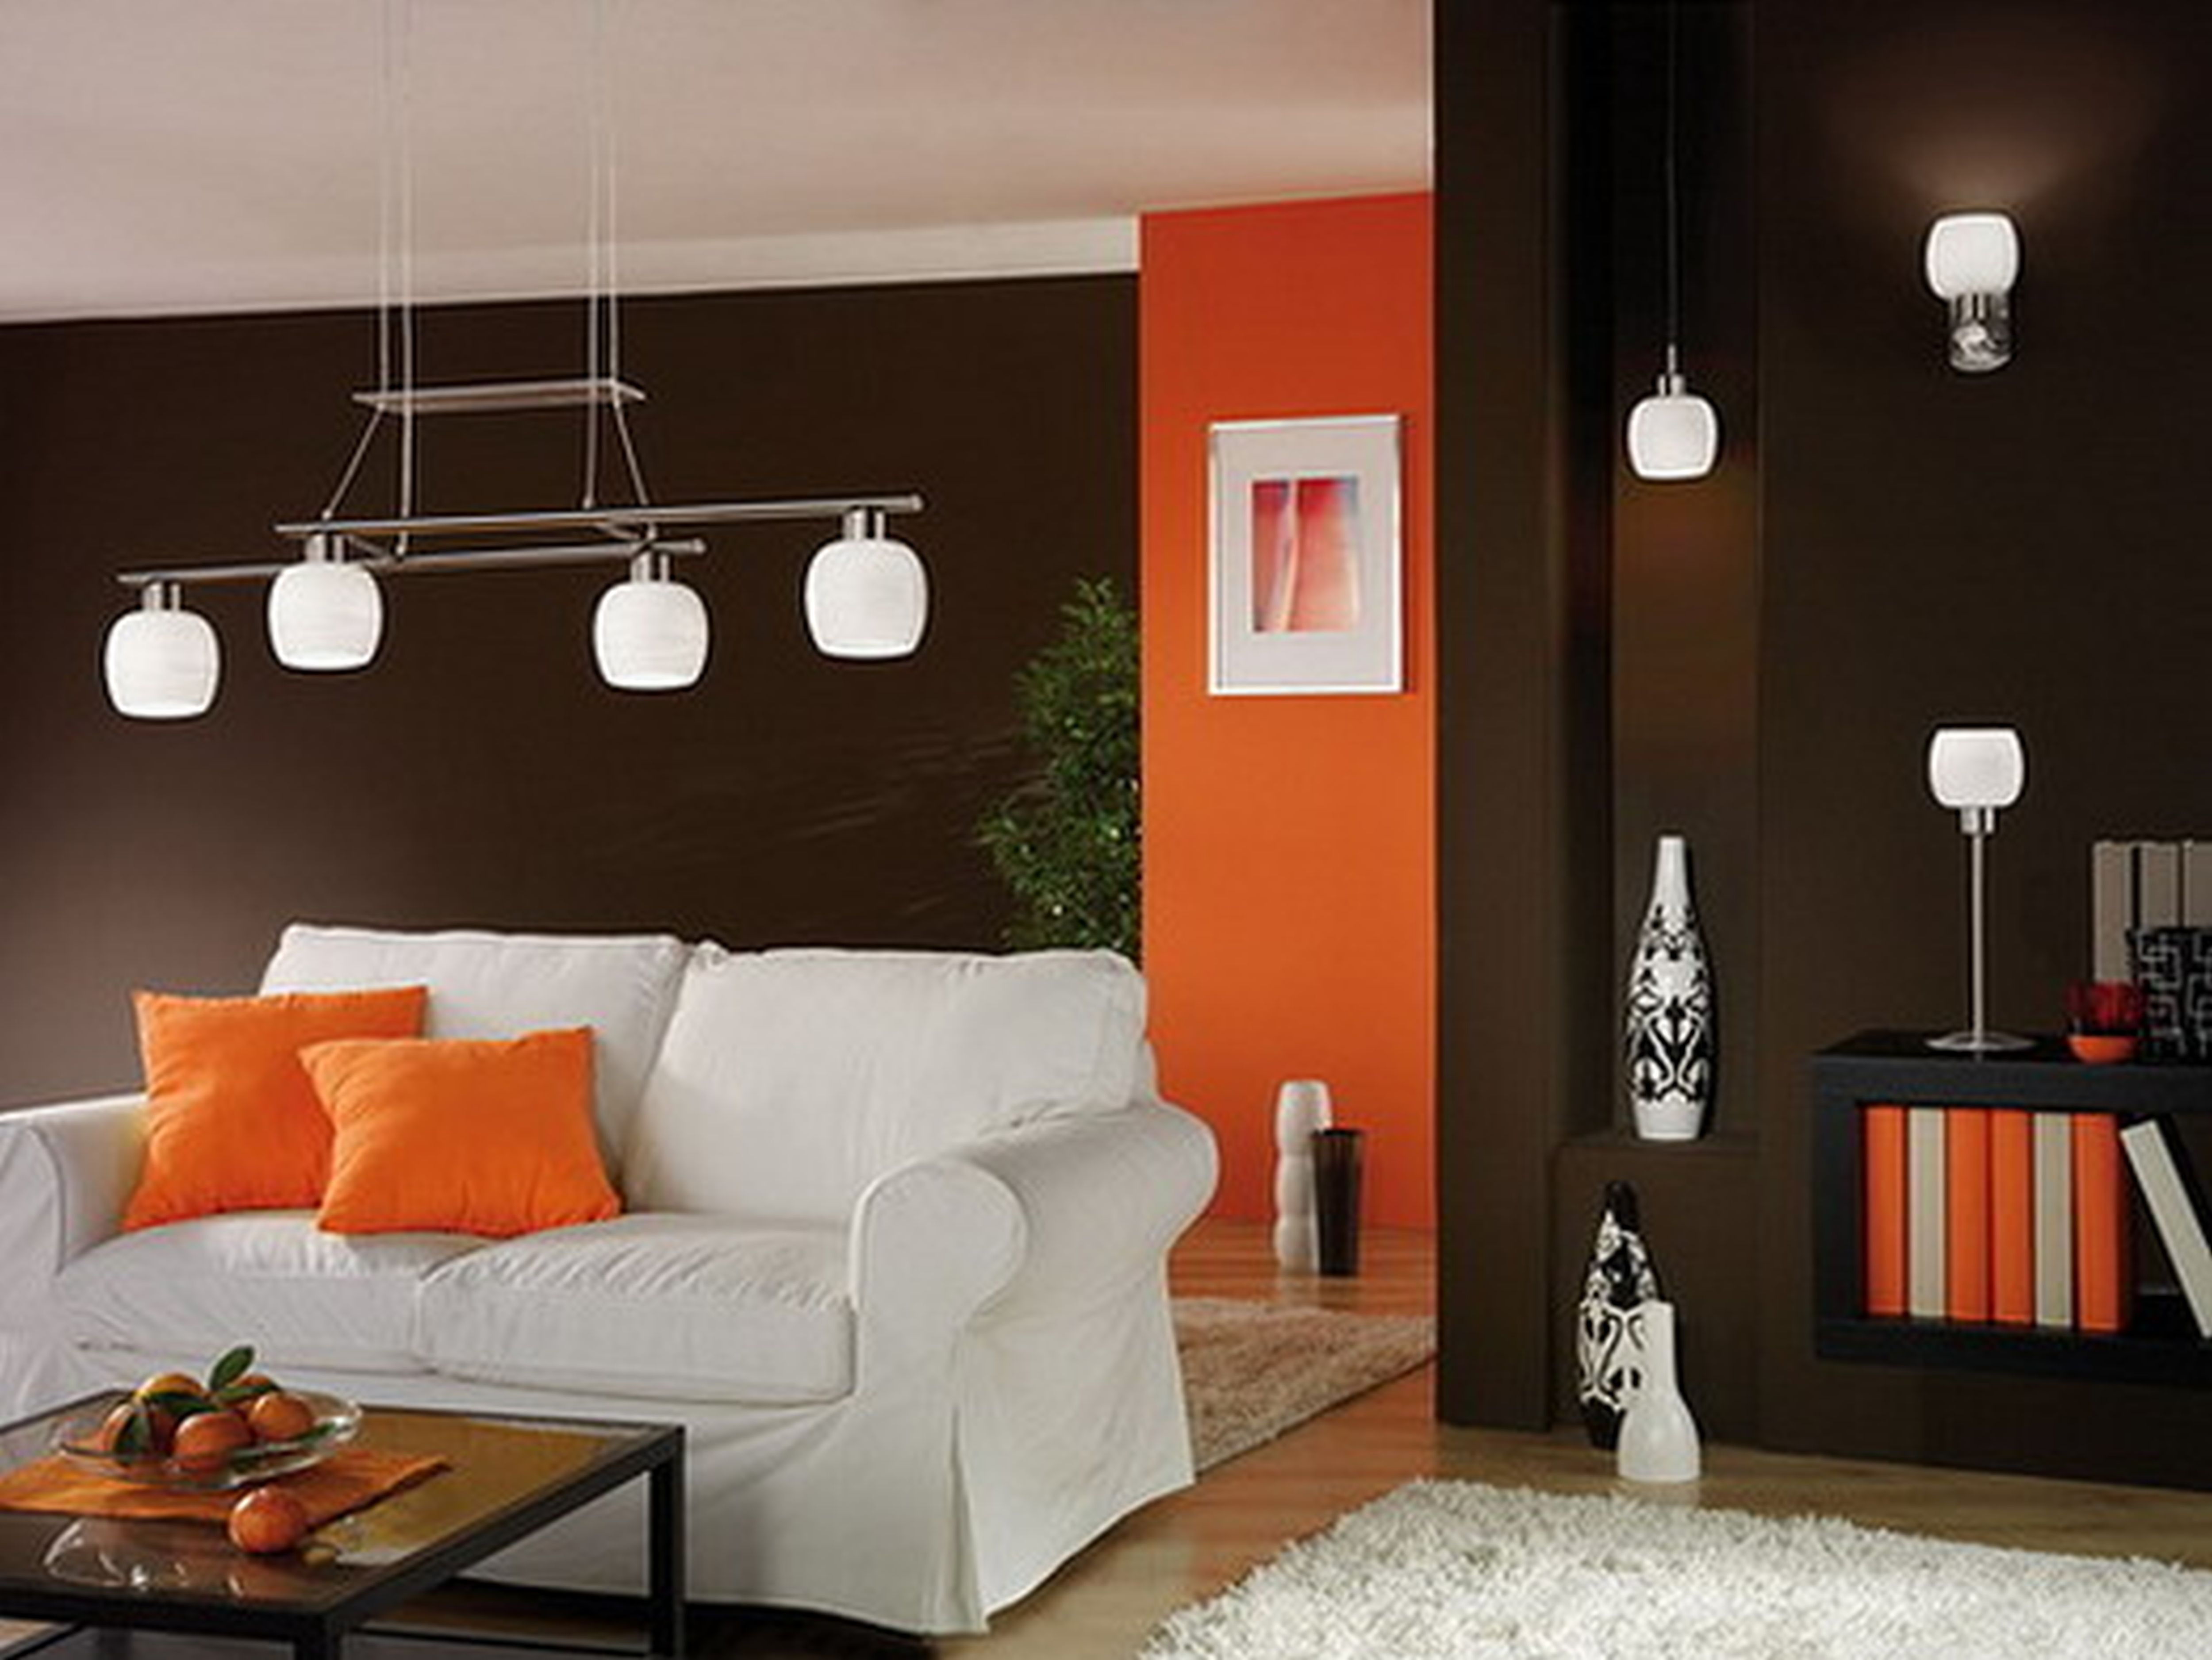
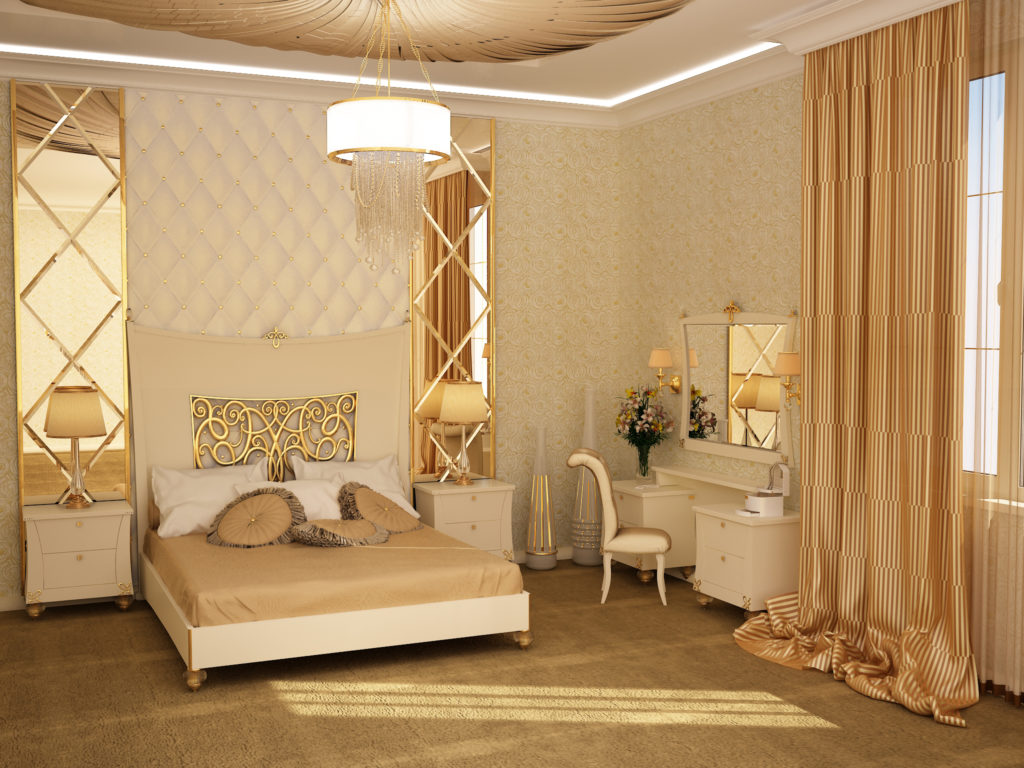
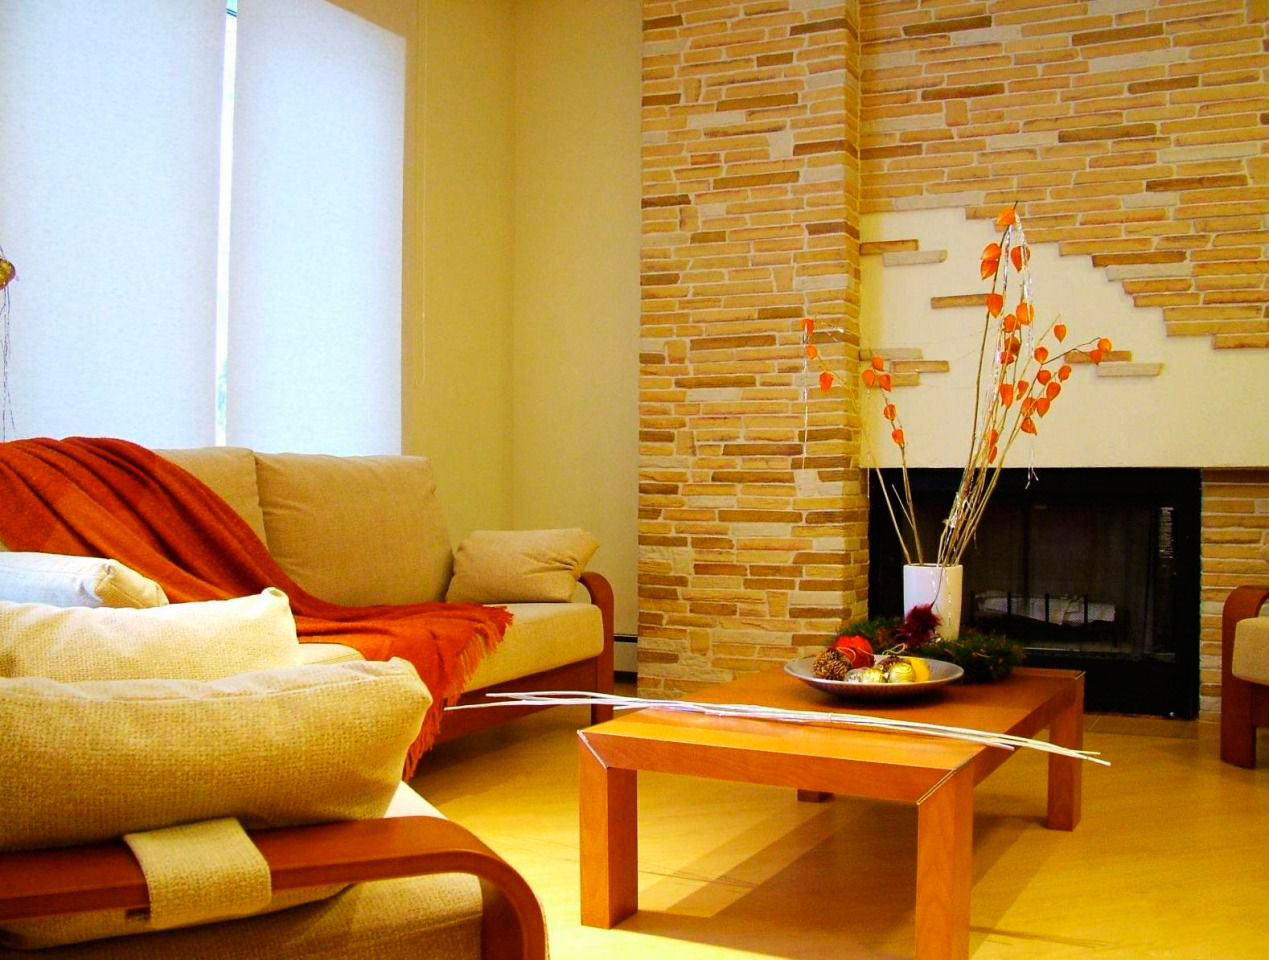
- Never lose their relevance wallpaper in a bright palette, suitable for minimalist and classic interiors. An excellent background for the interior are monochrome wallpapers of different colors with a pronounced texture. Glitters, glitters and blotches of contrasting colors help to revive them.

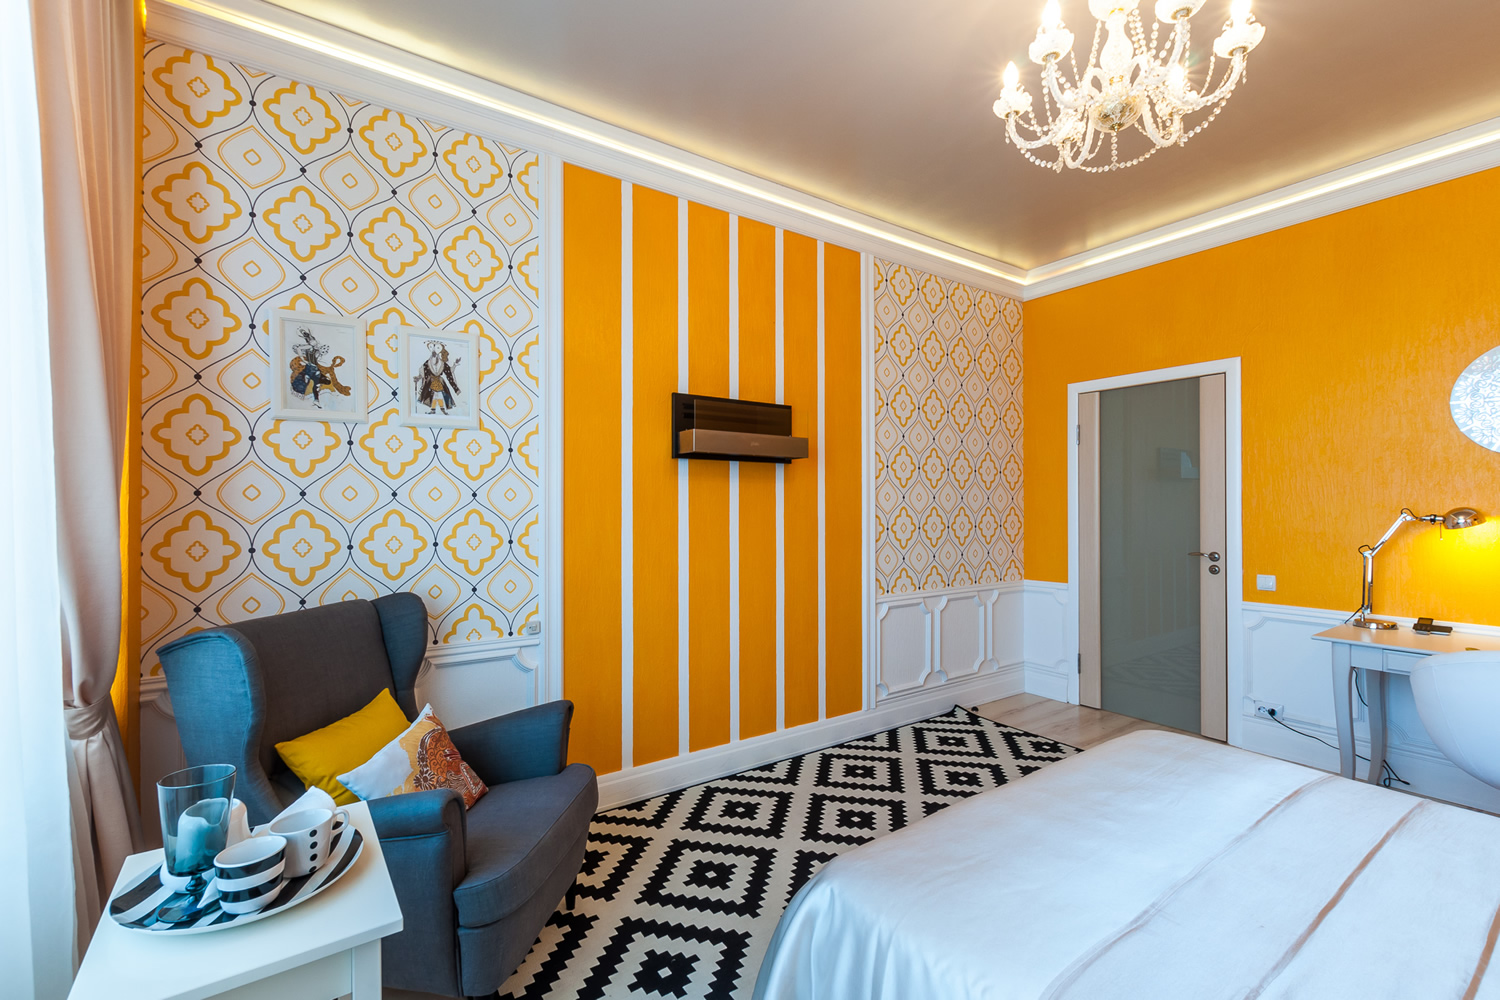

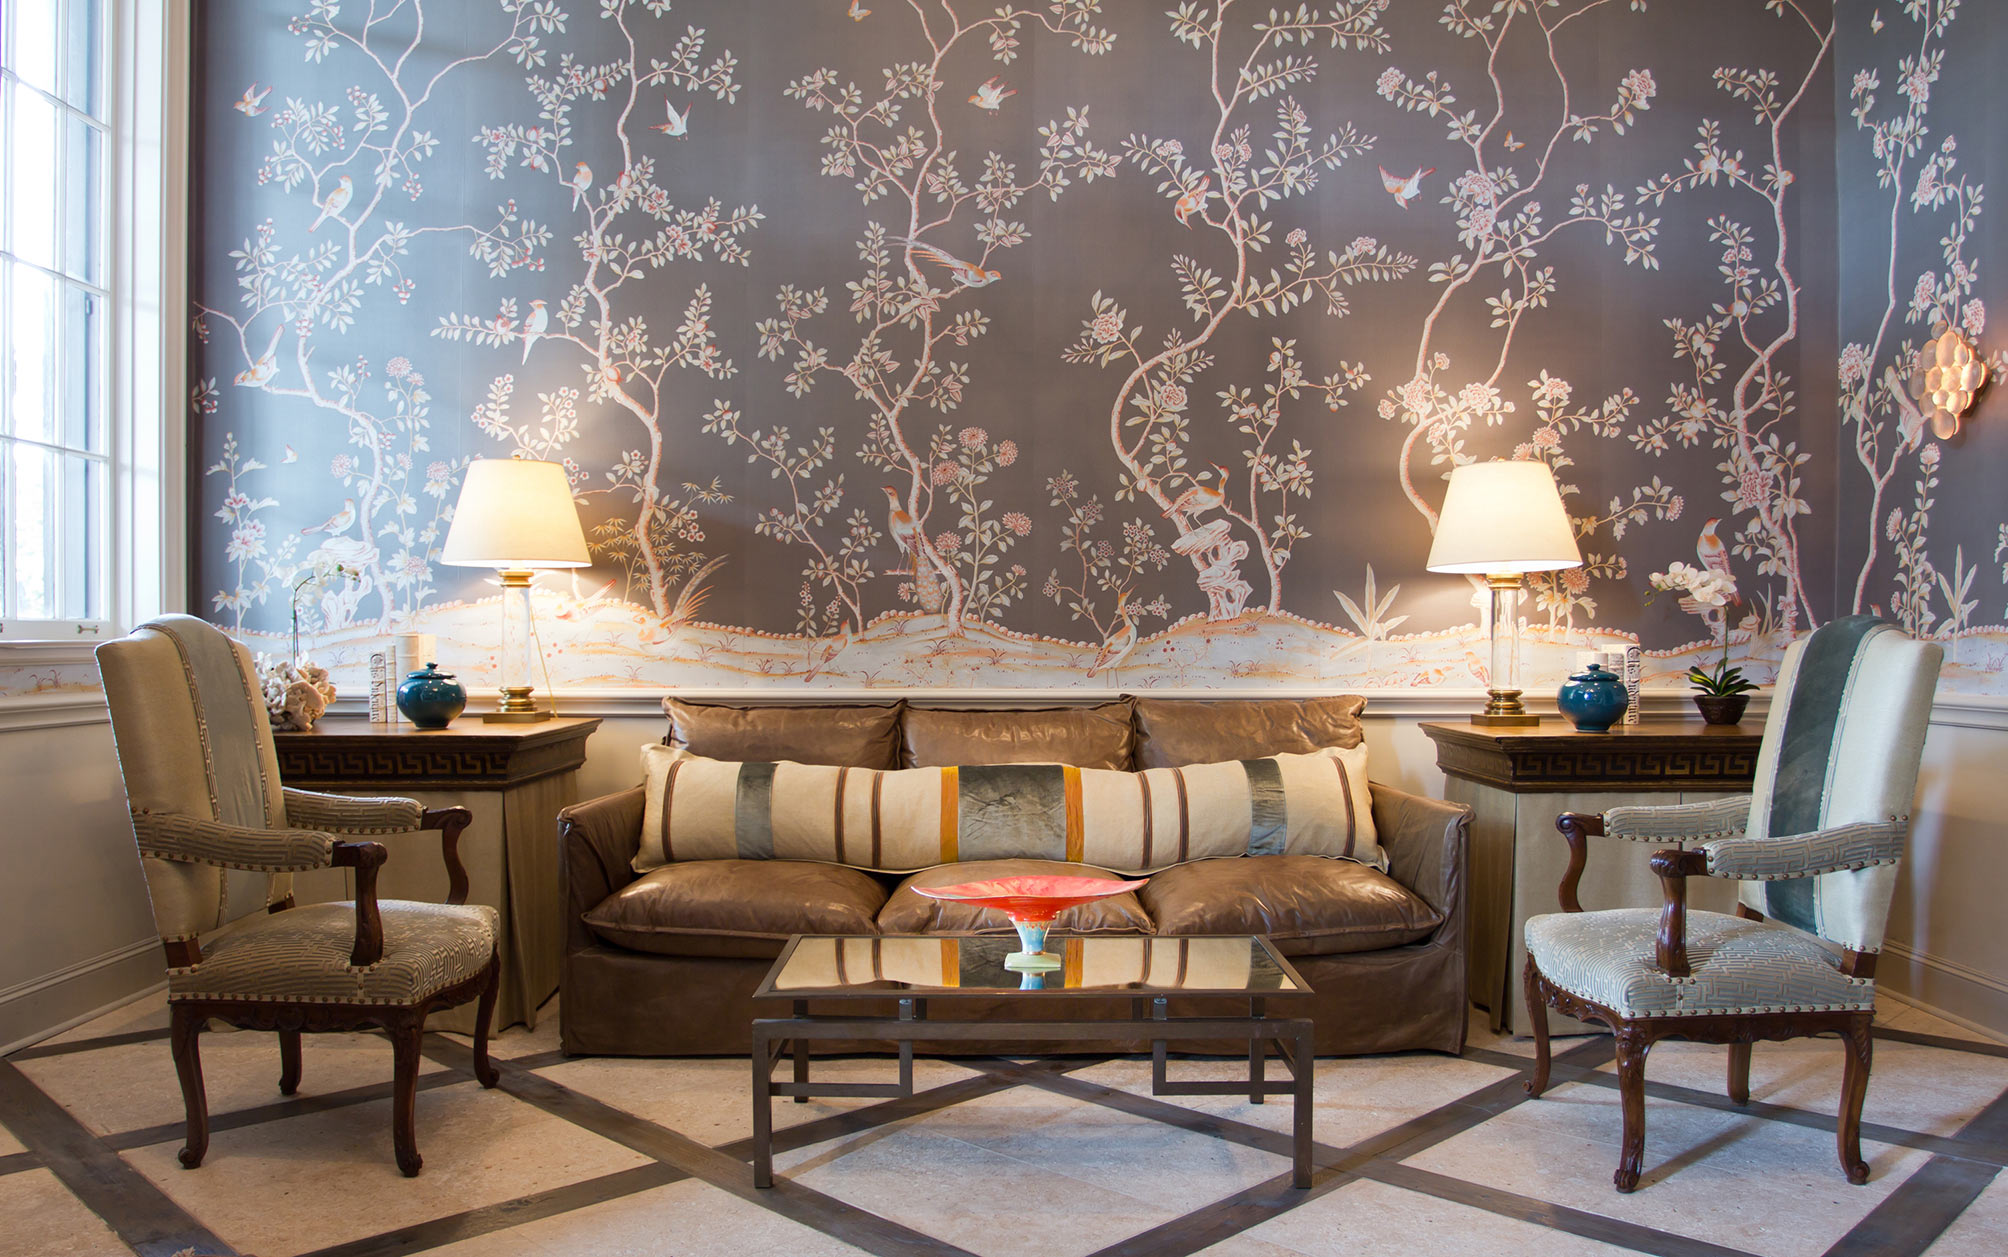
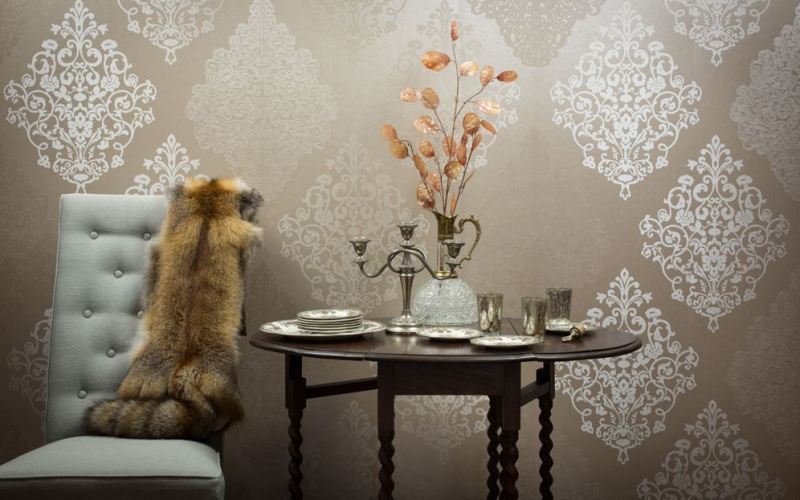
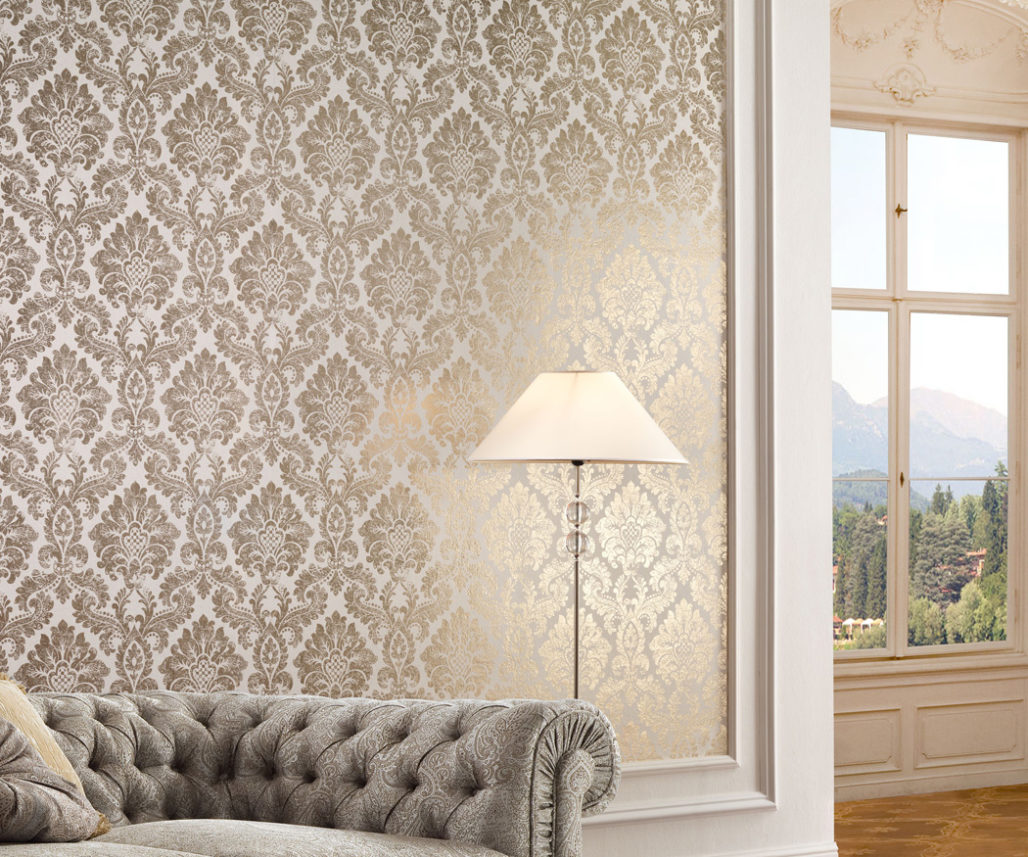
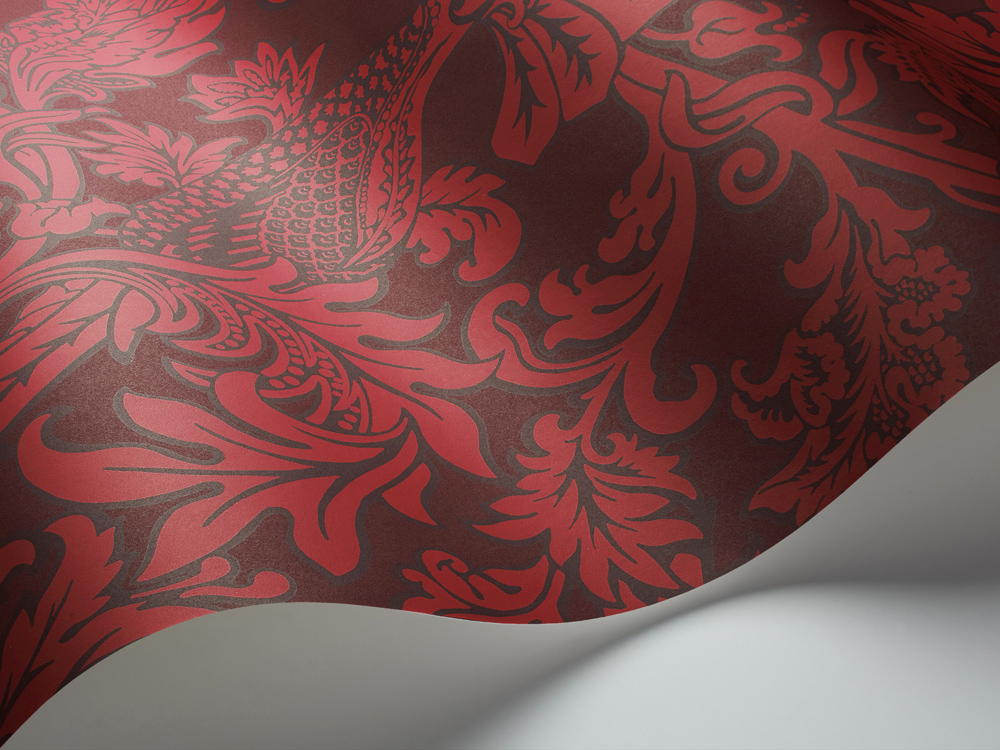
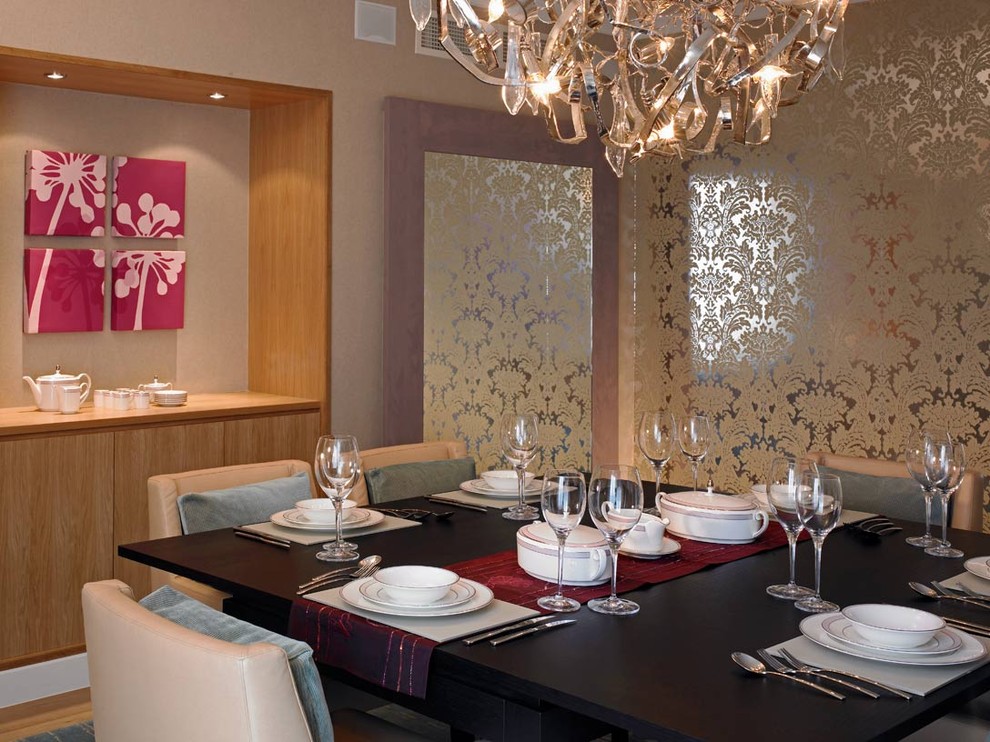
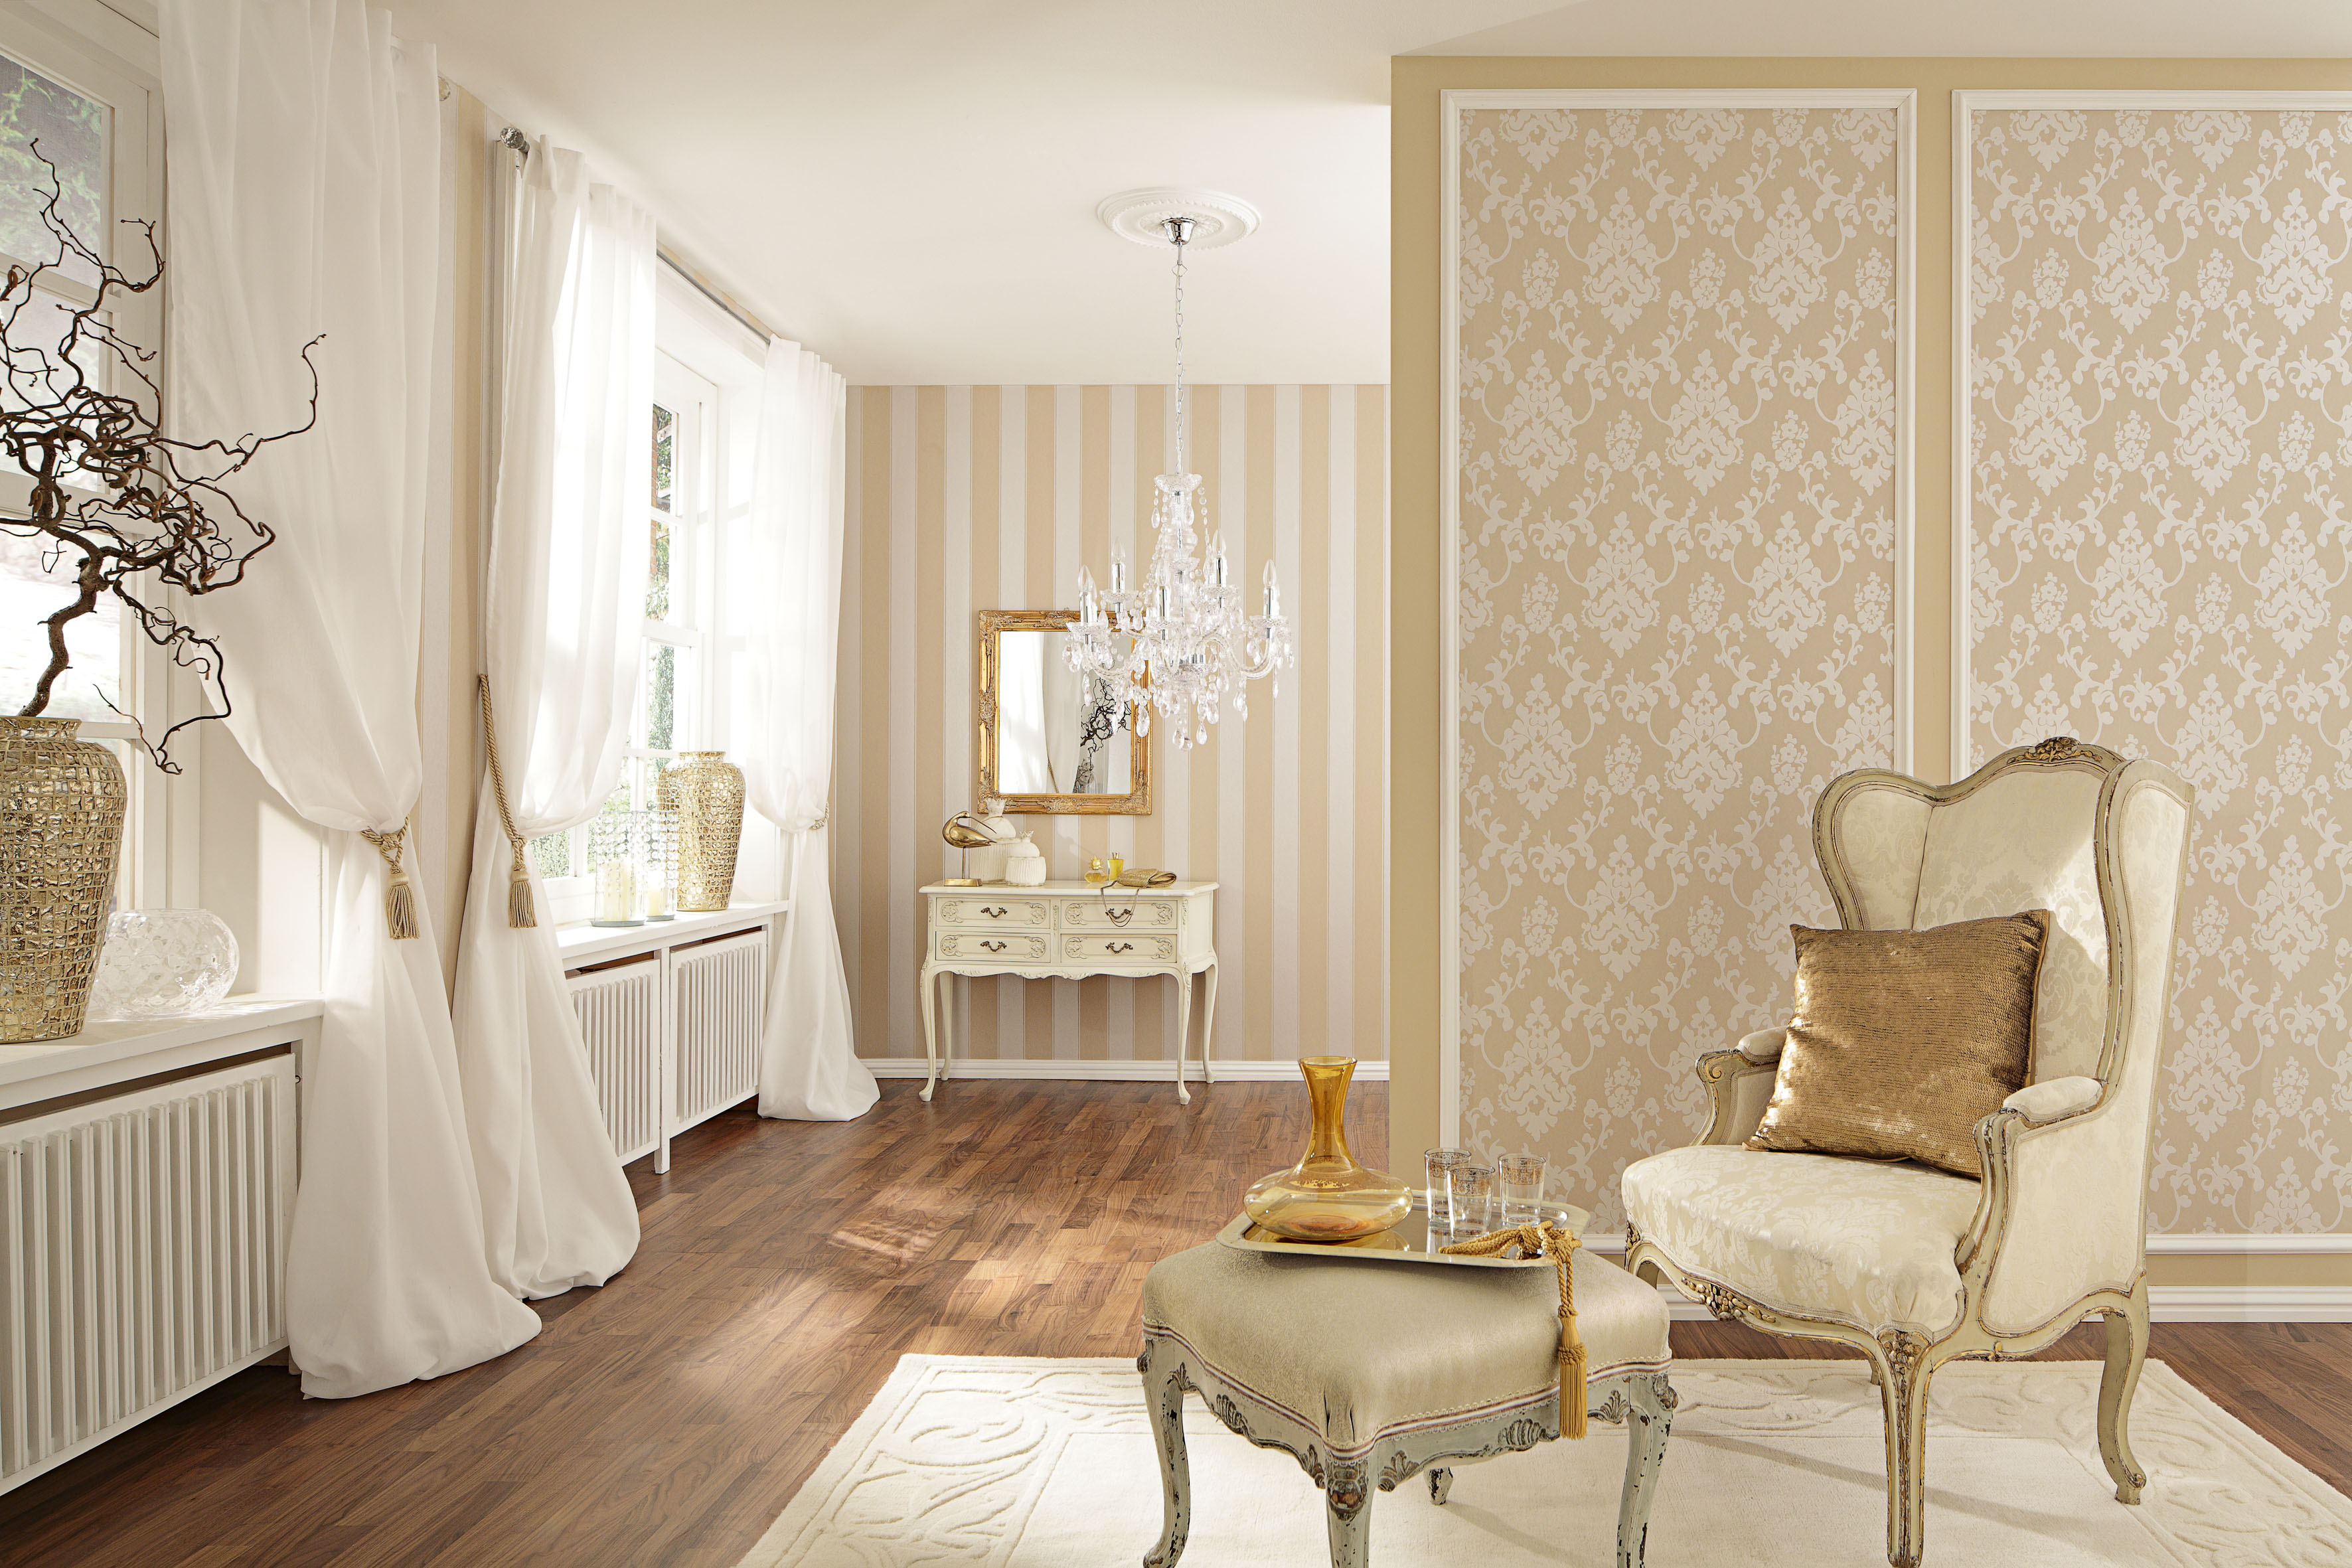
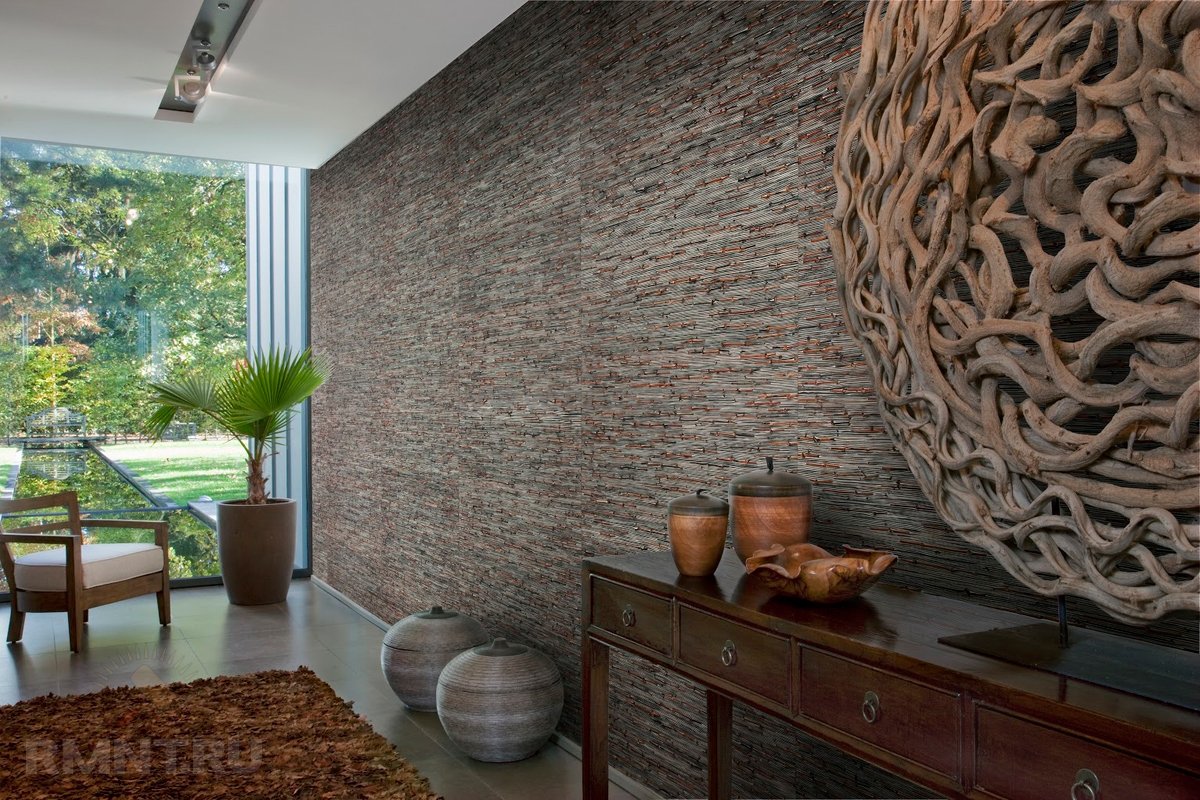
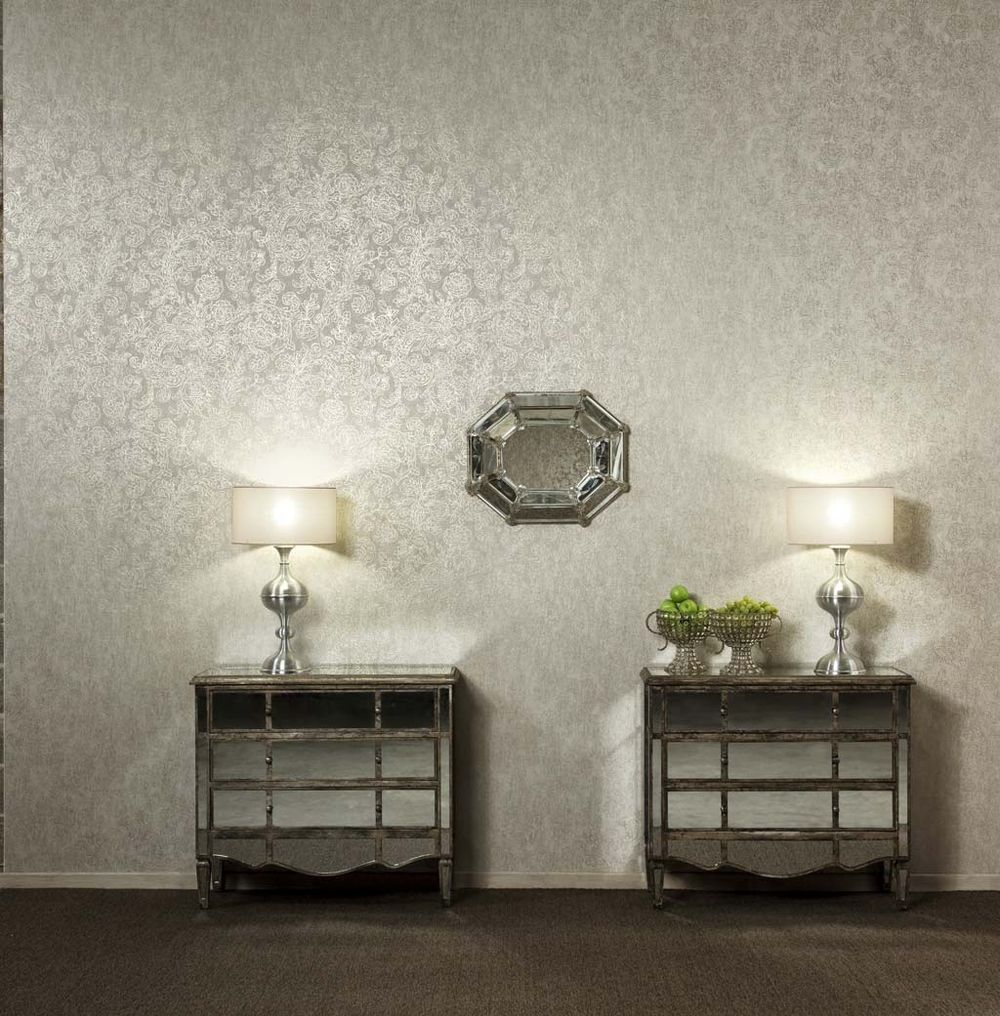
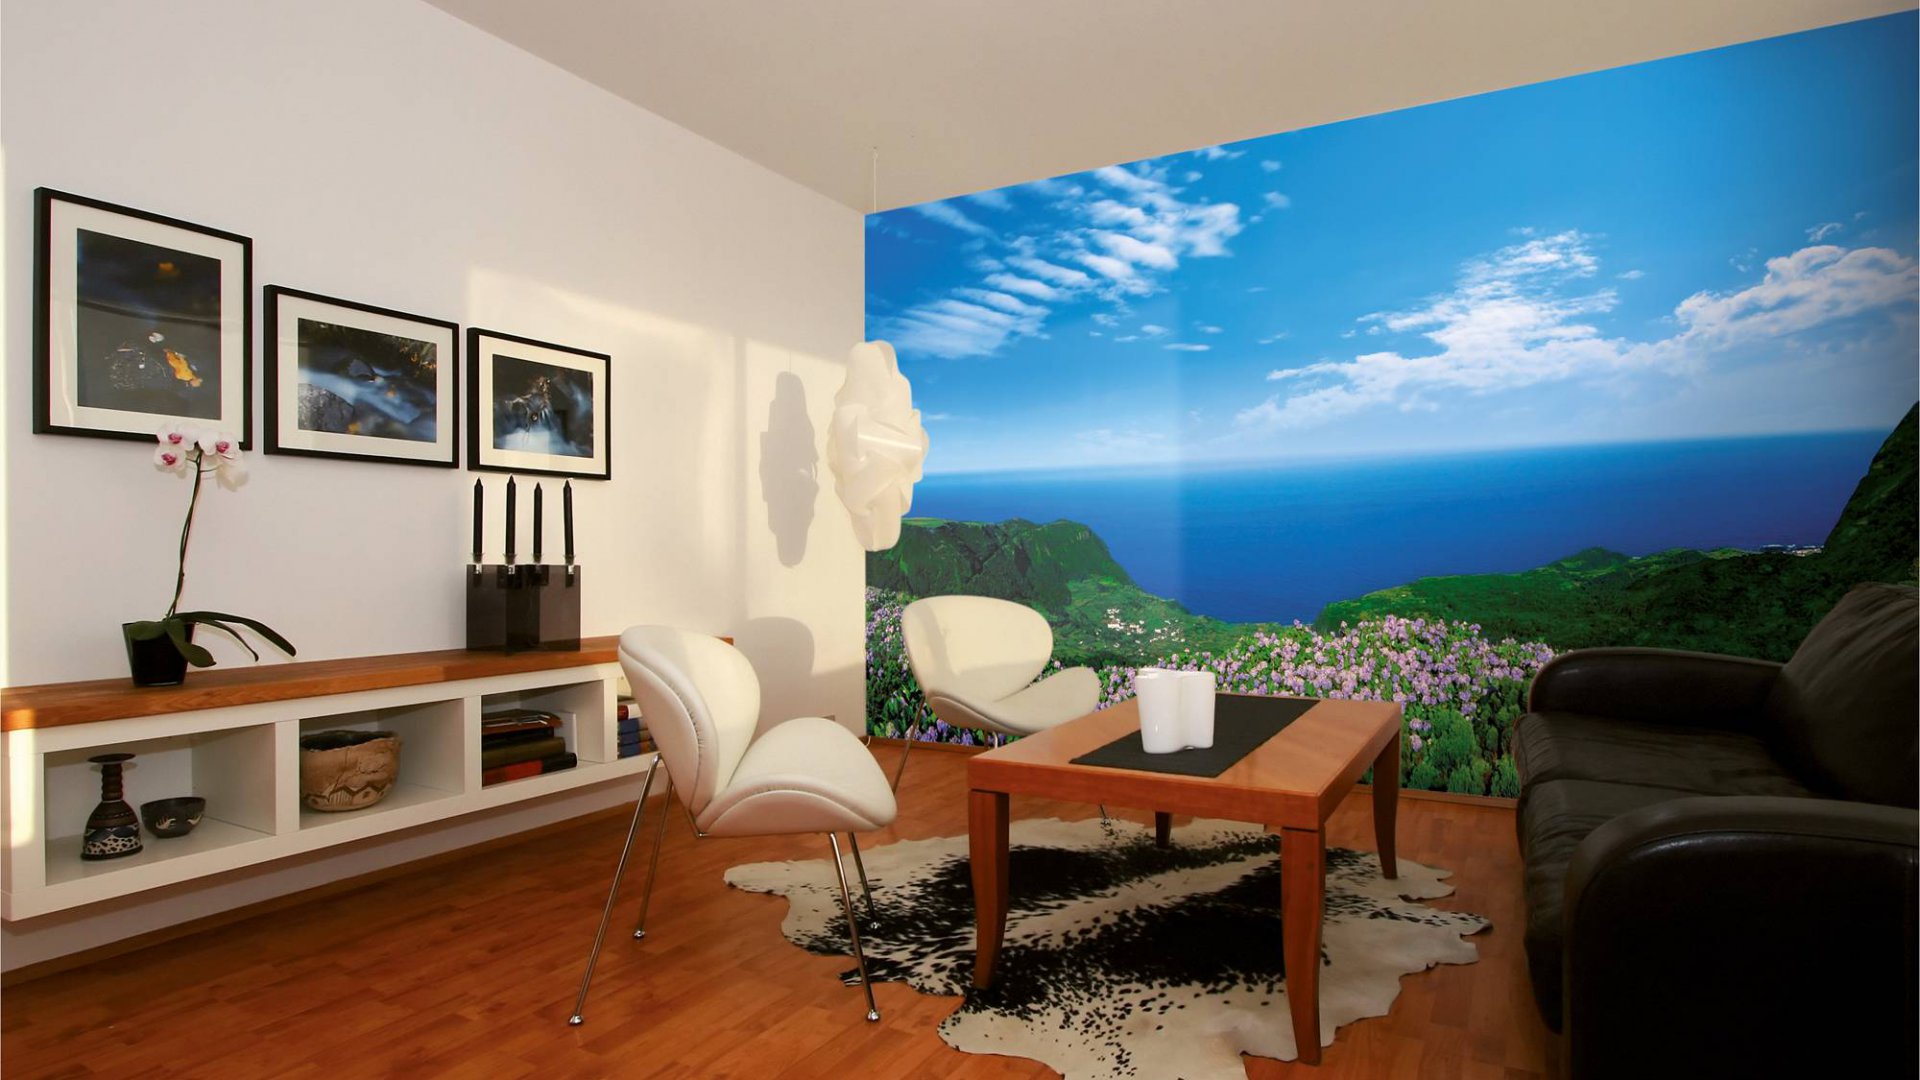
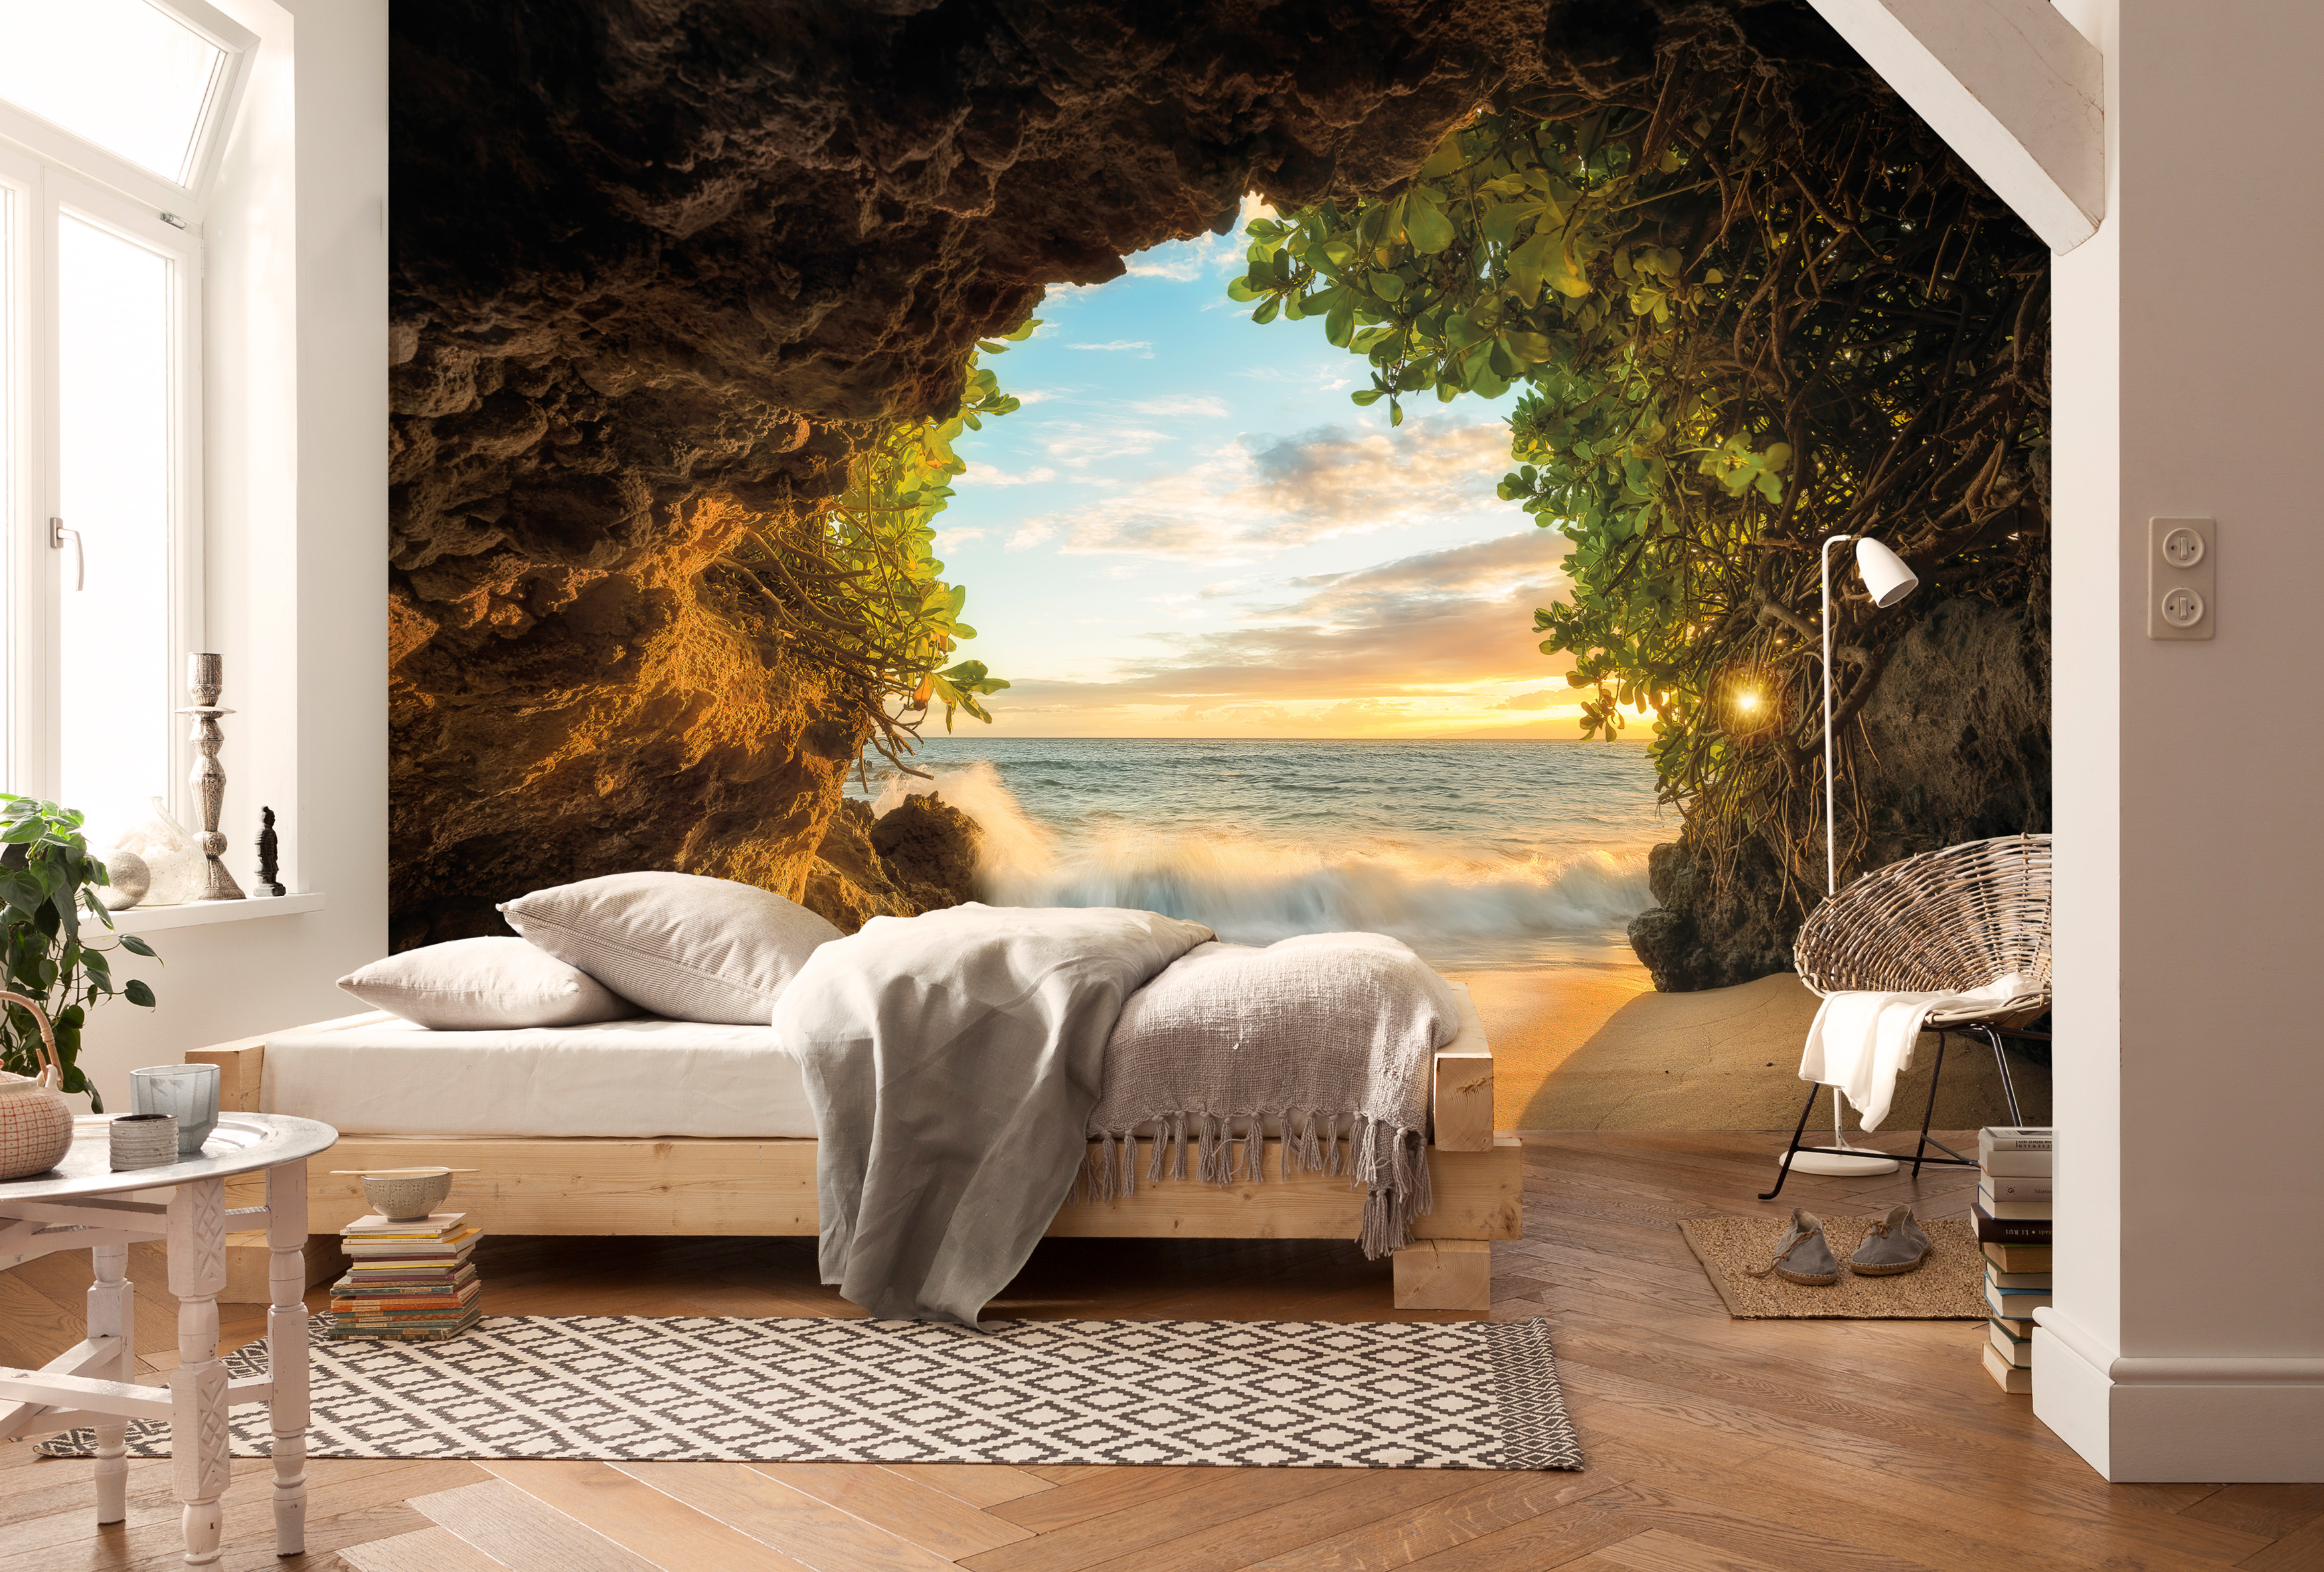
- Textile and natural products look luxurious in the interior, and metallic and photo wallpapers give a highlight to modern styles.
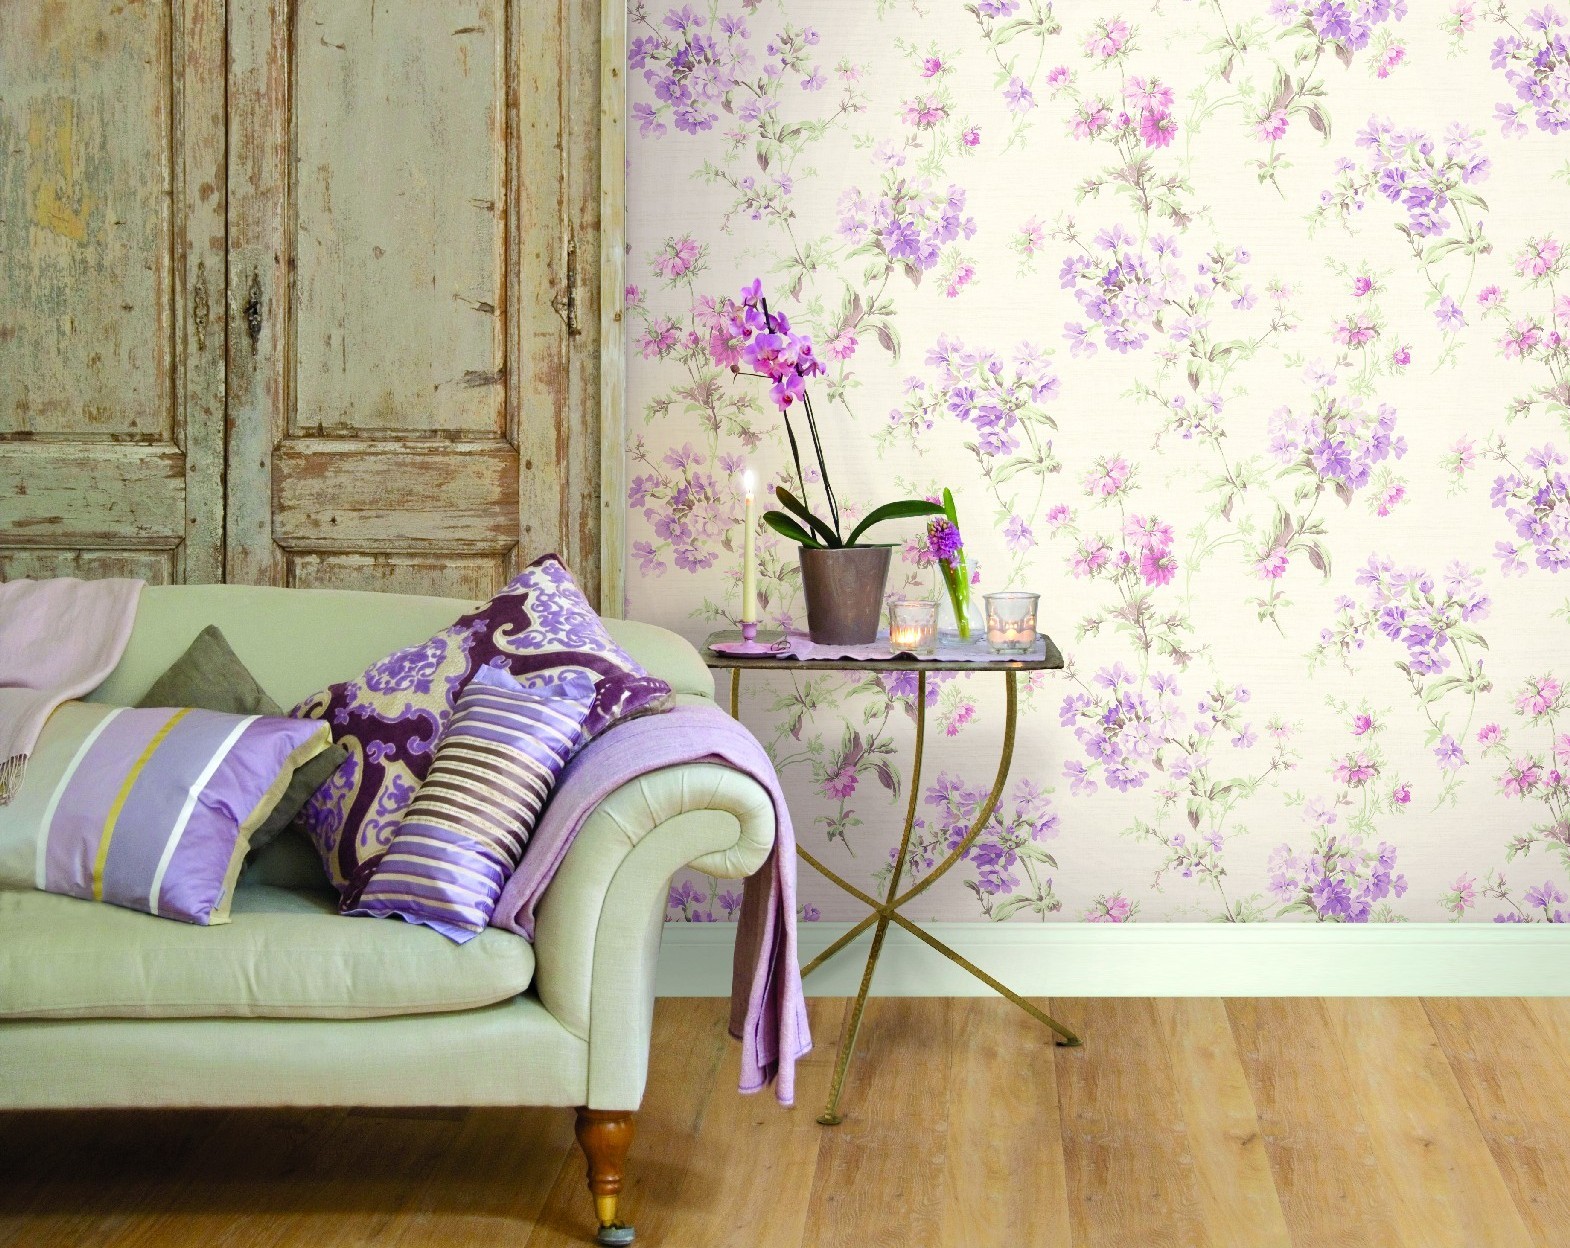
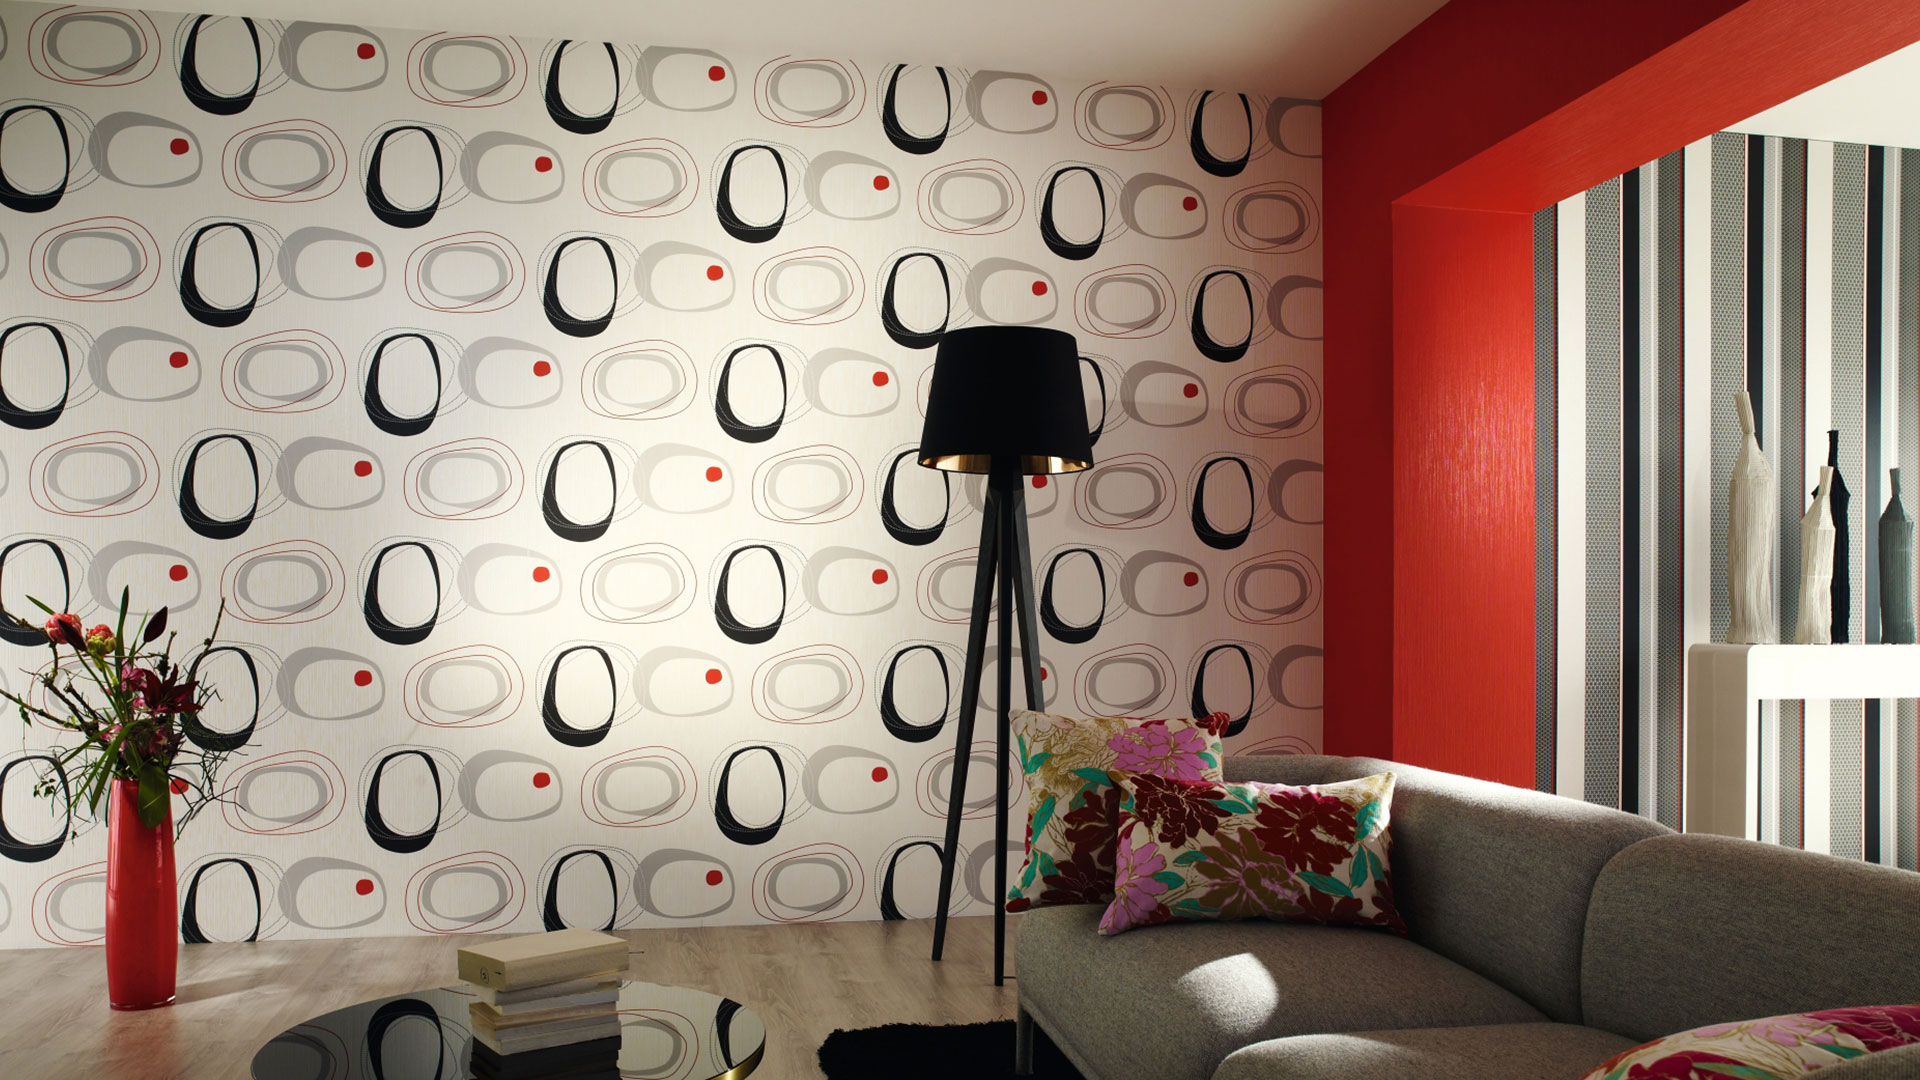
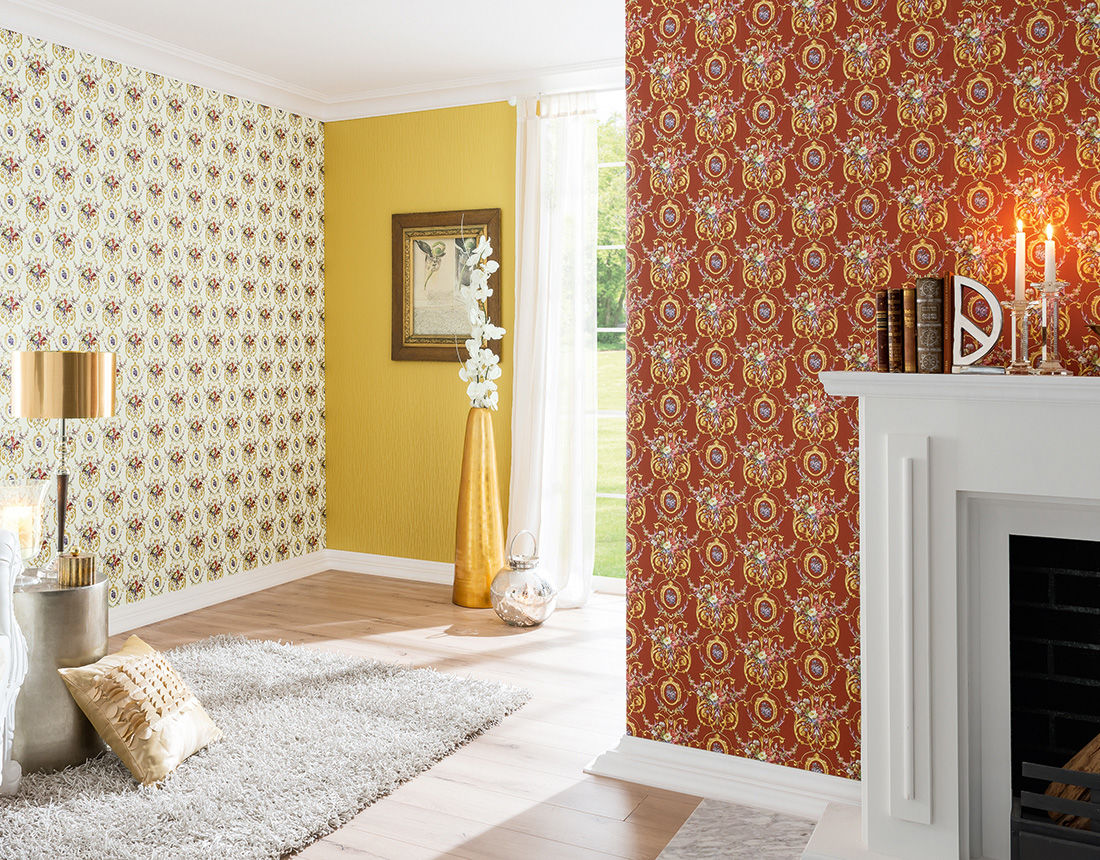
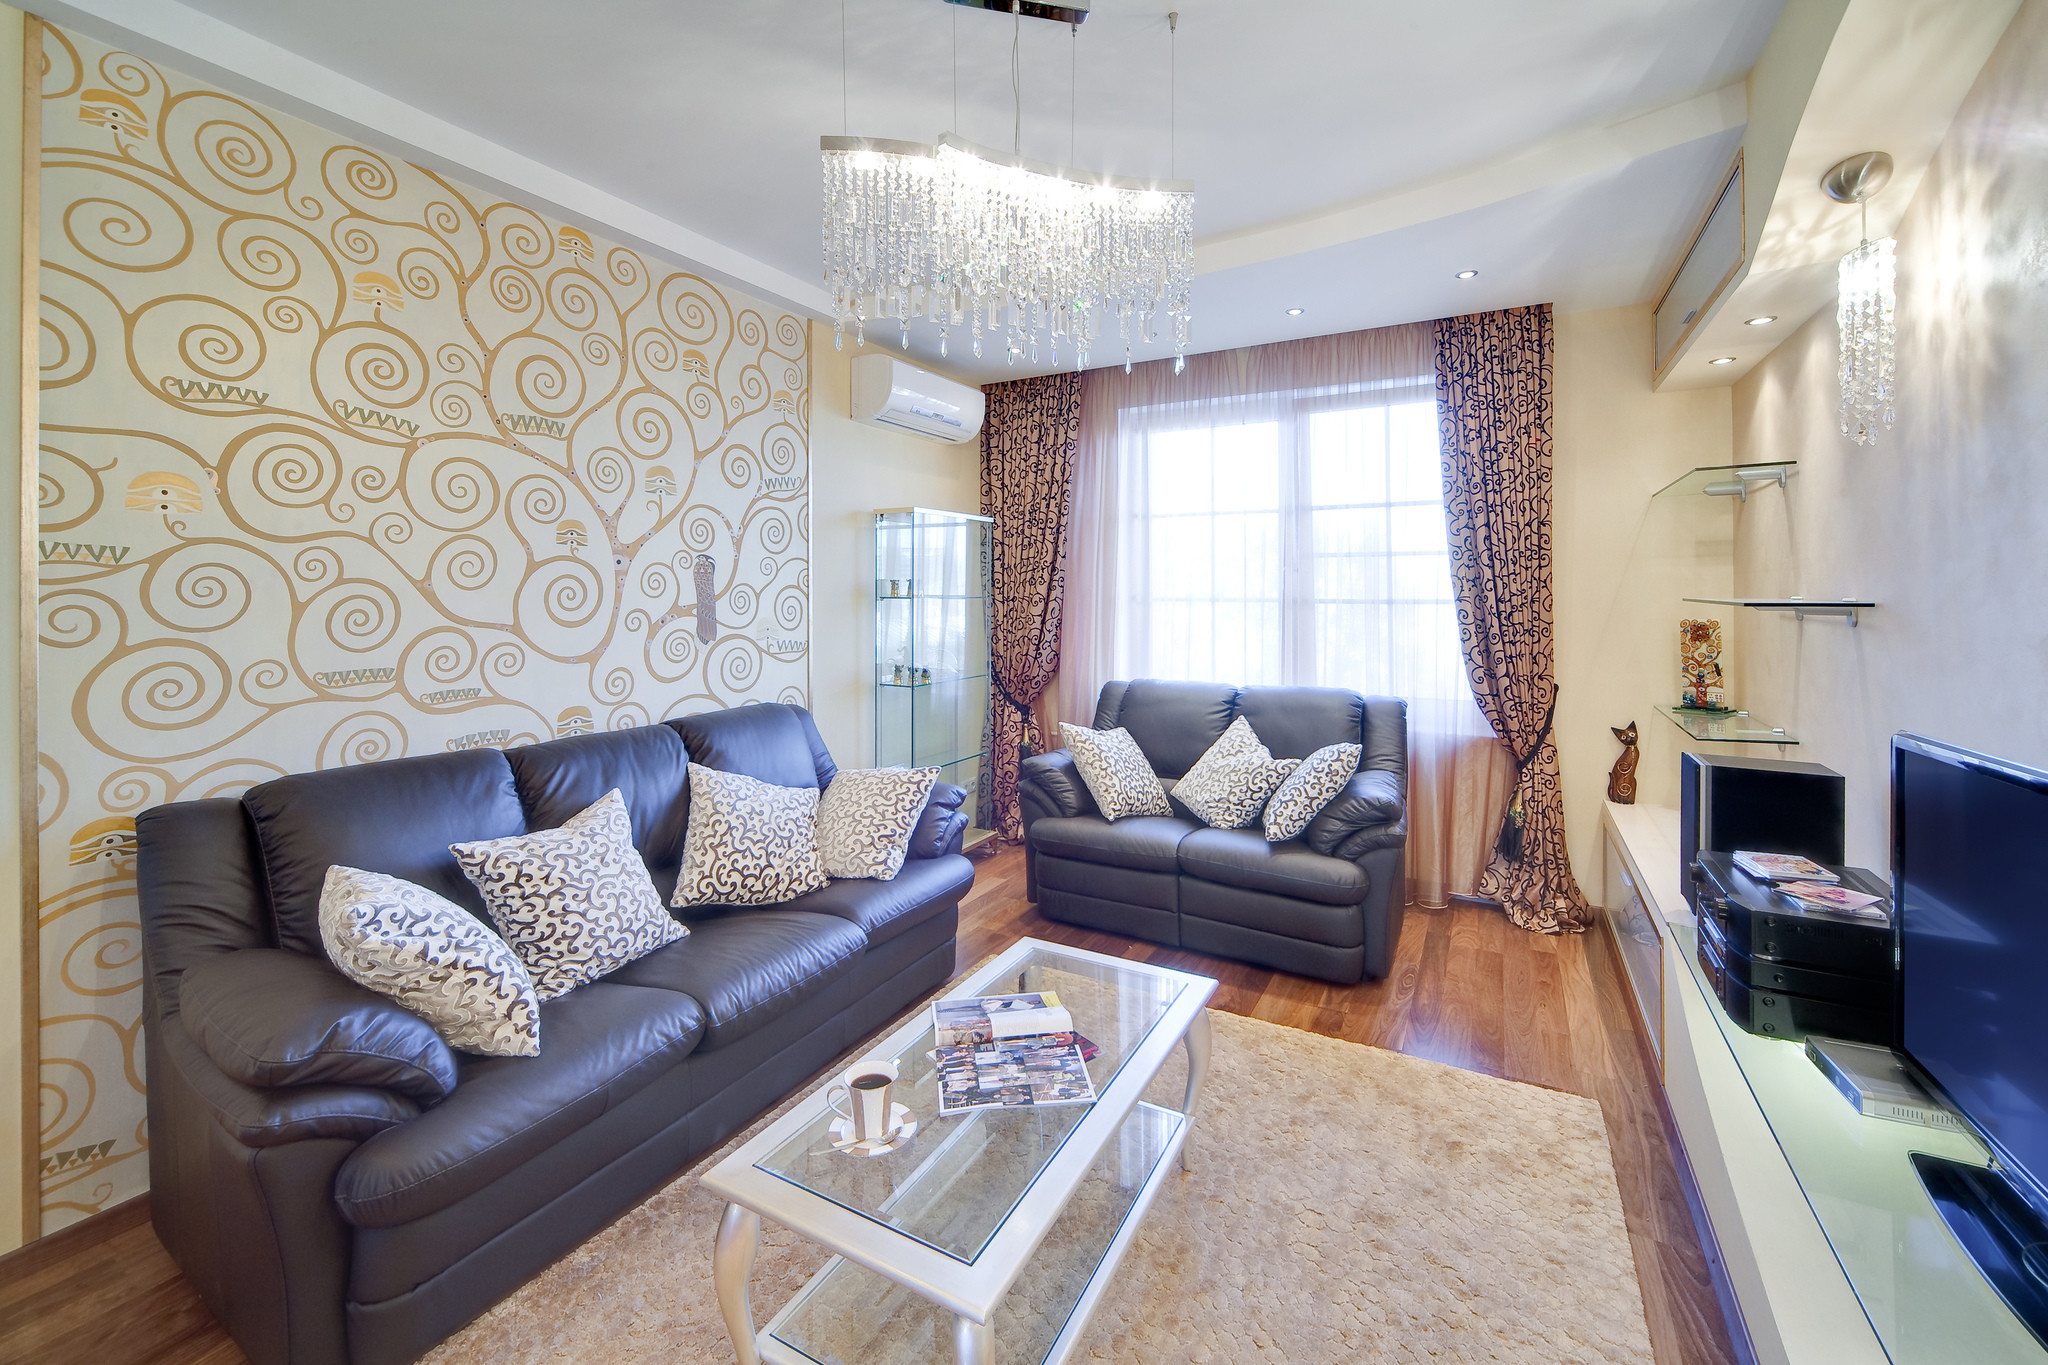
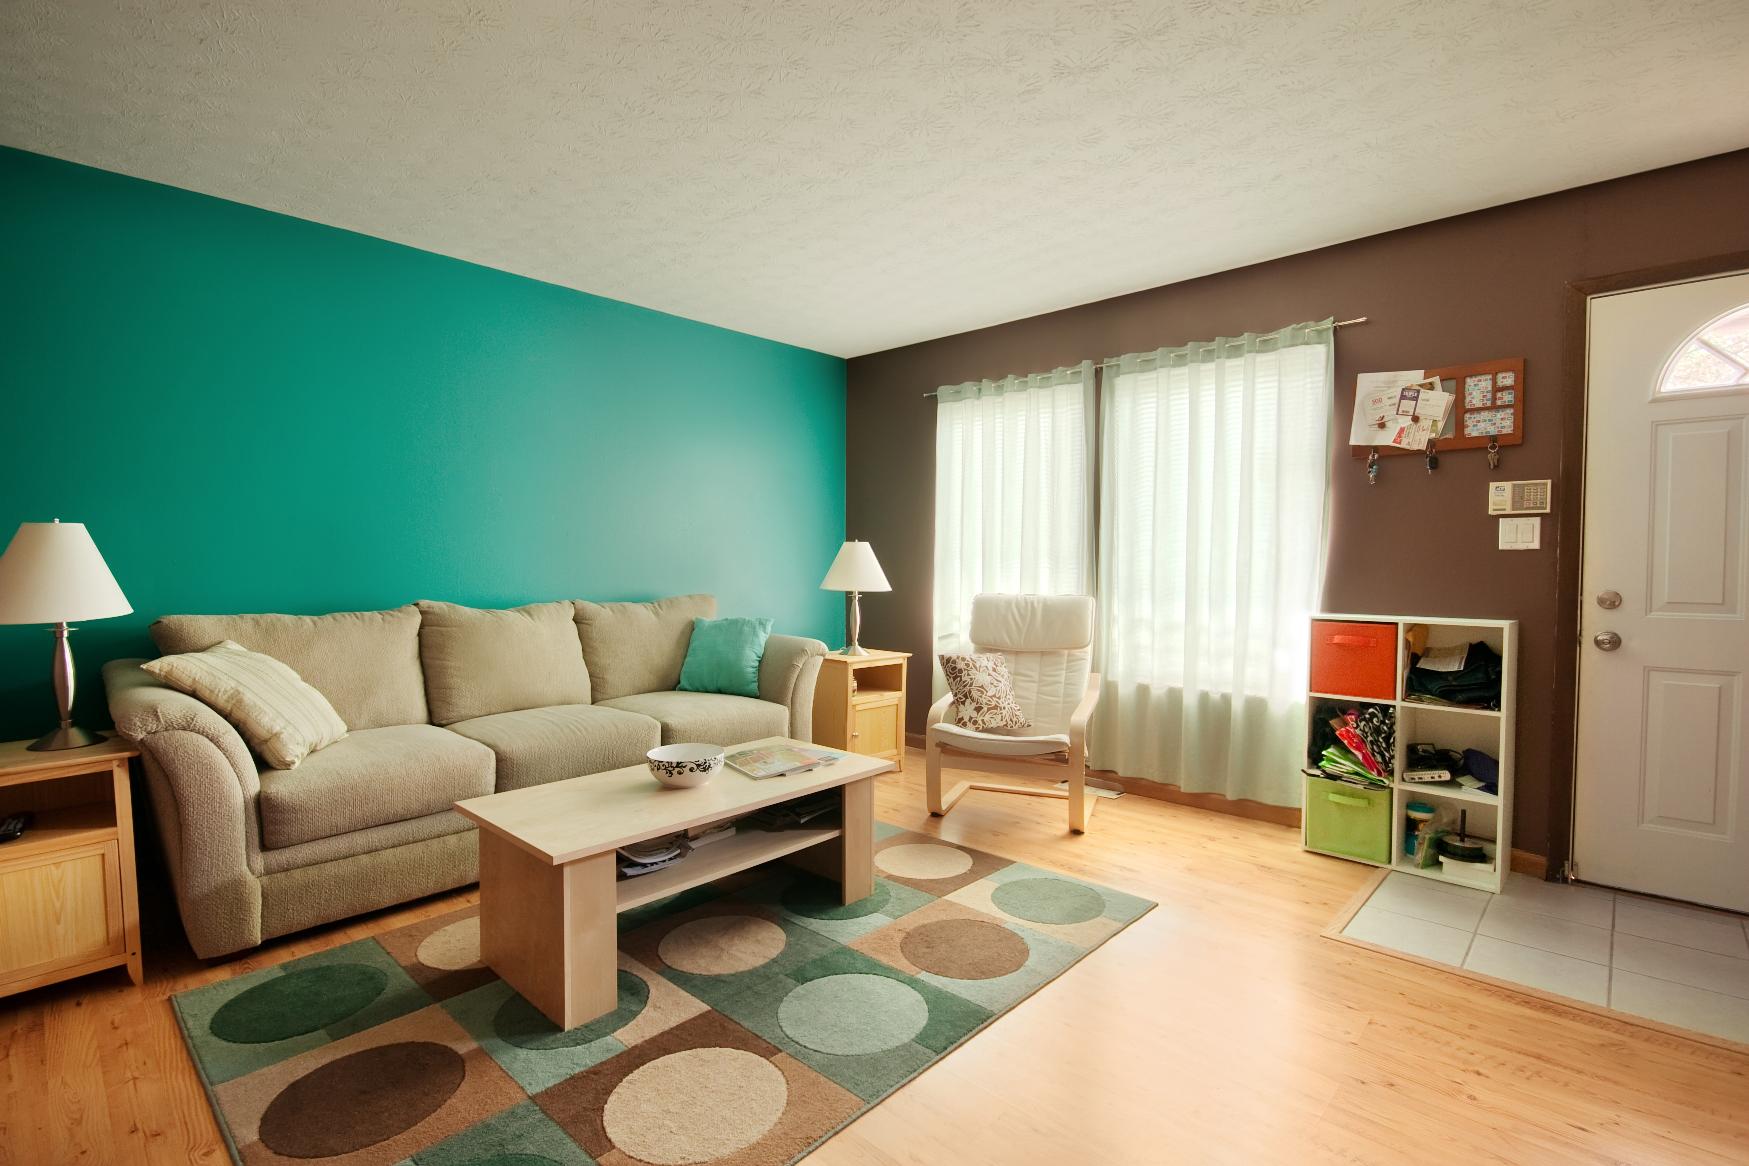
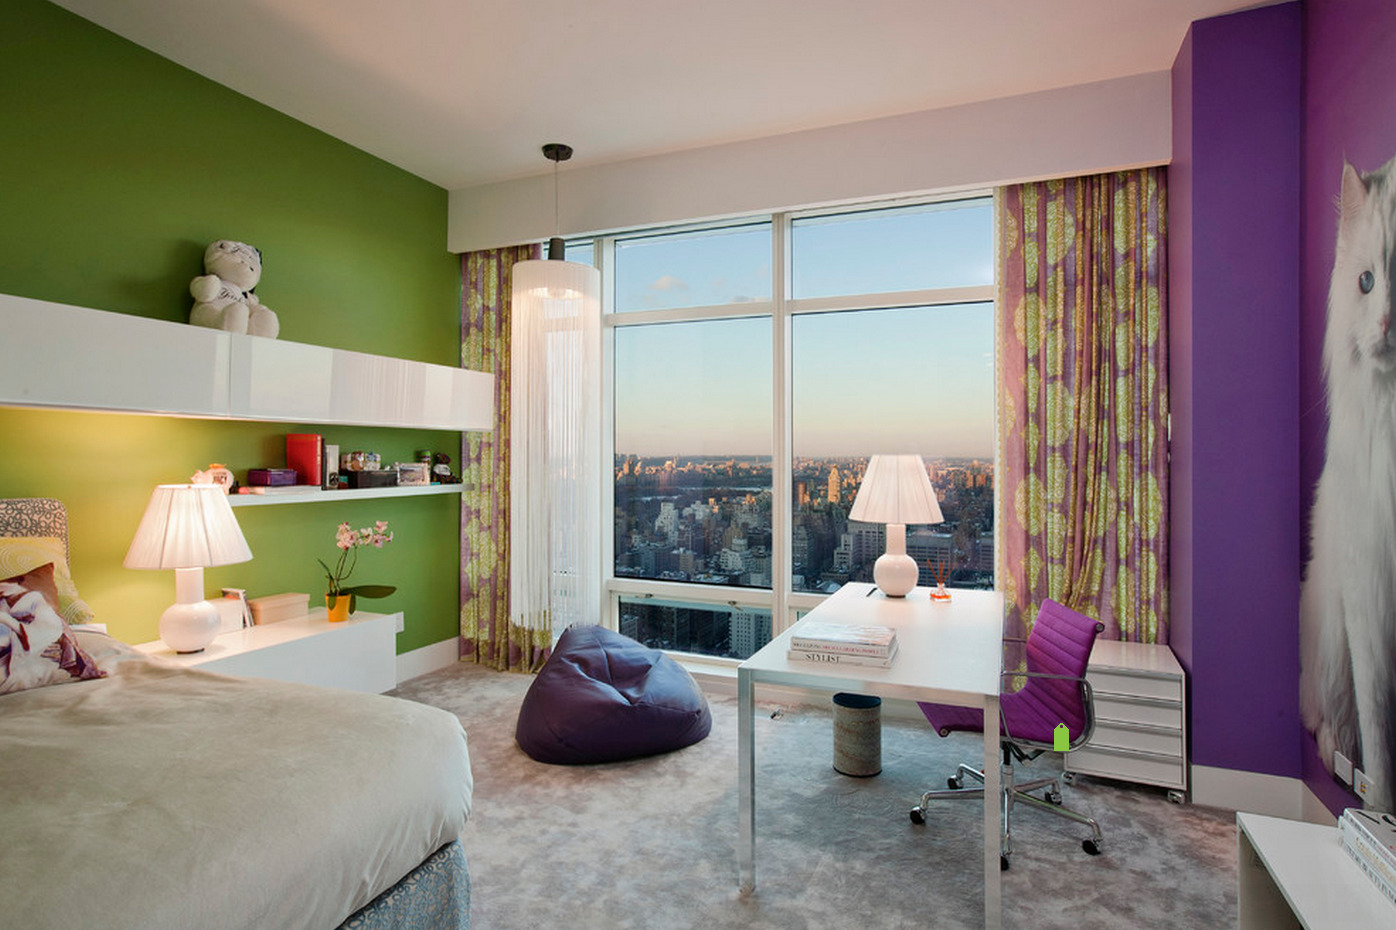
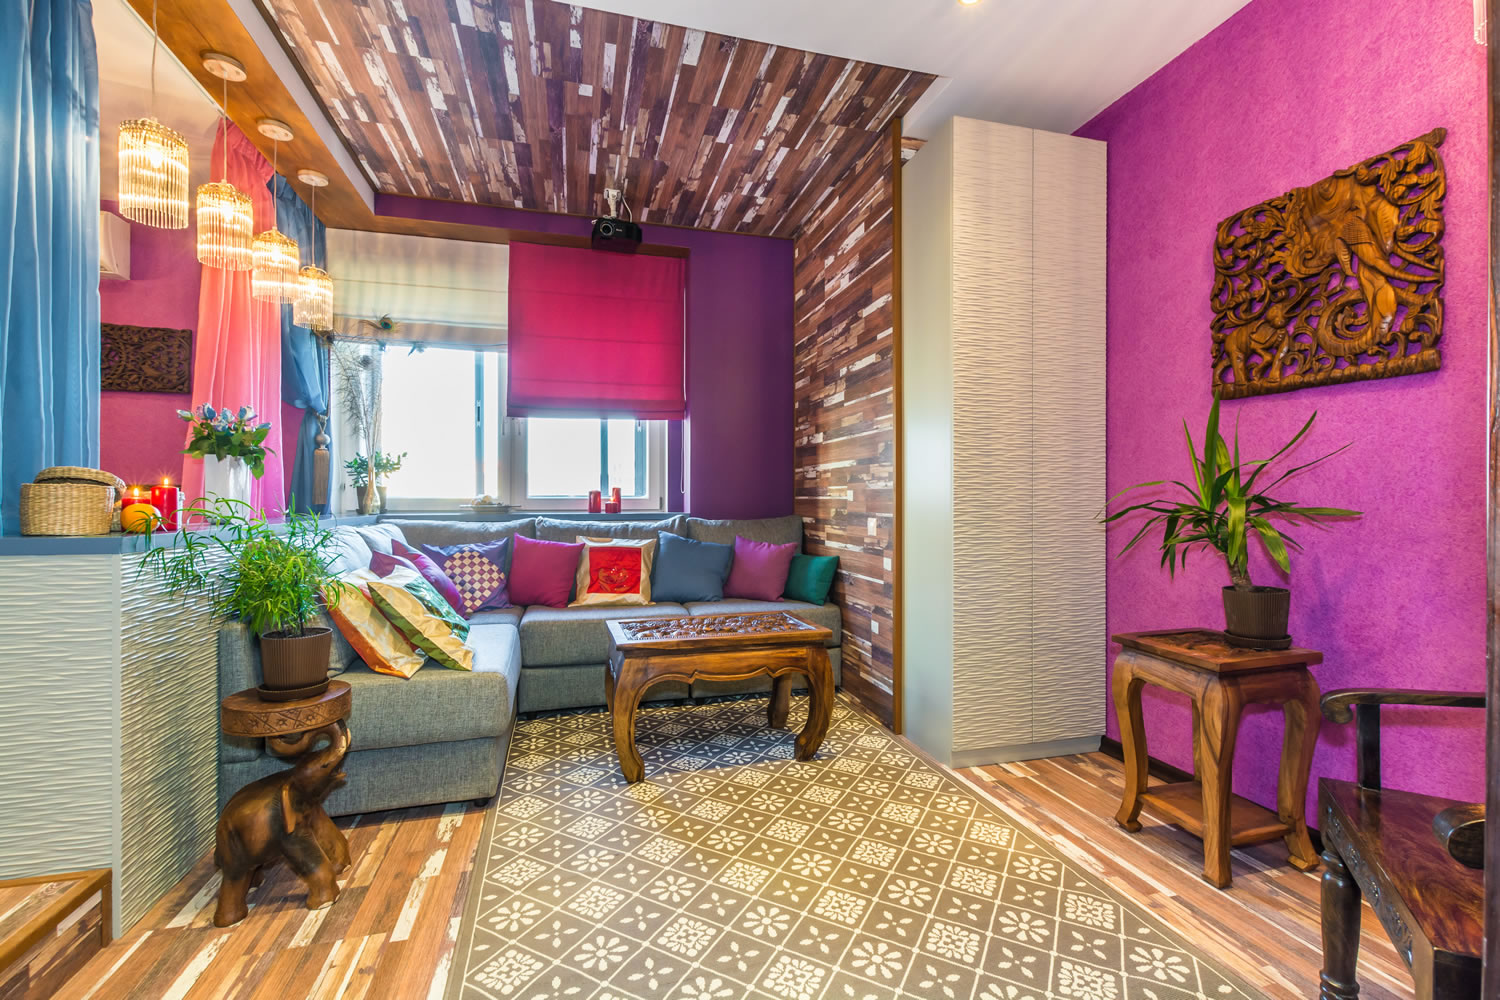
- The option in bicolor works successfully, when 2 or 3 of 4 walls are decorated in one color, and the rest in another. This not only creates an original contrast, but also allows you to visually change the parameters of the room, bringing it closer to the ideal square shape.

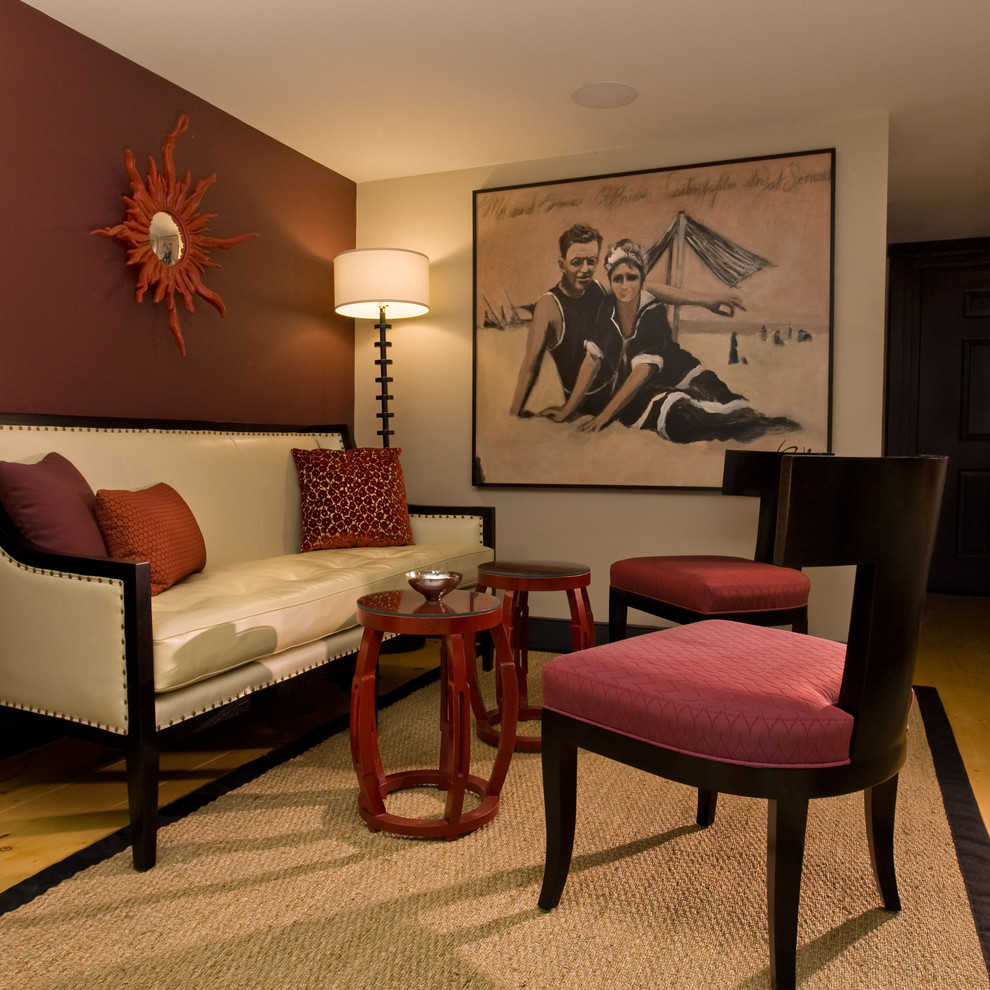

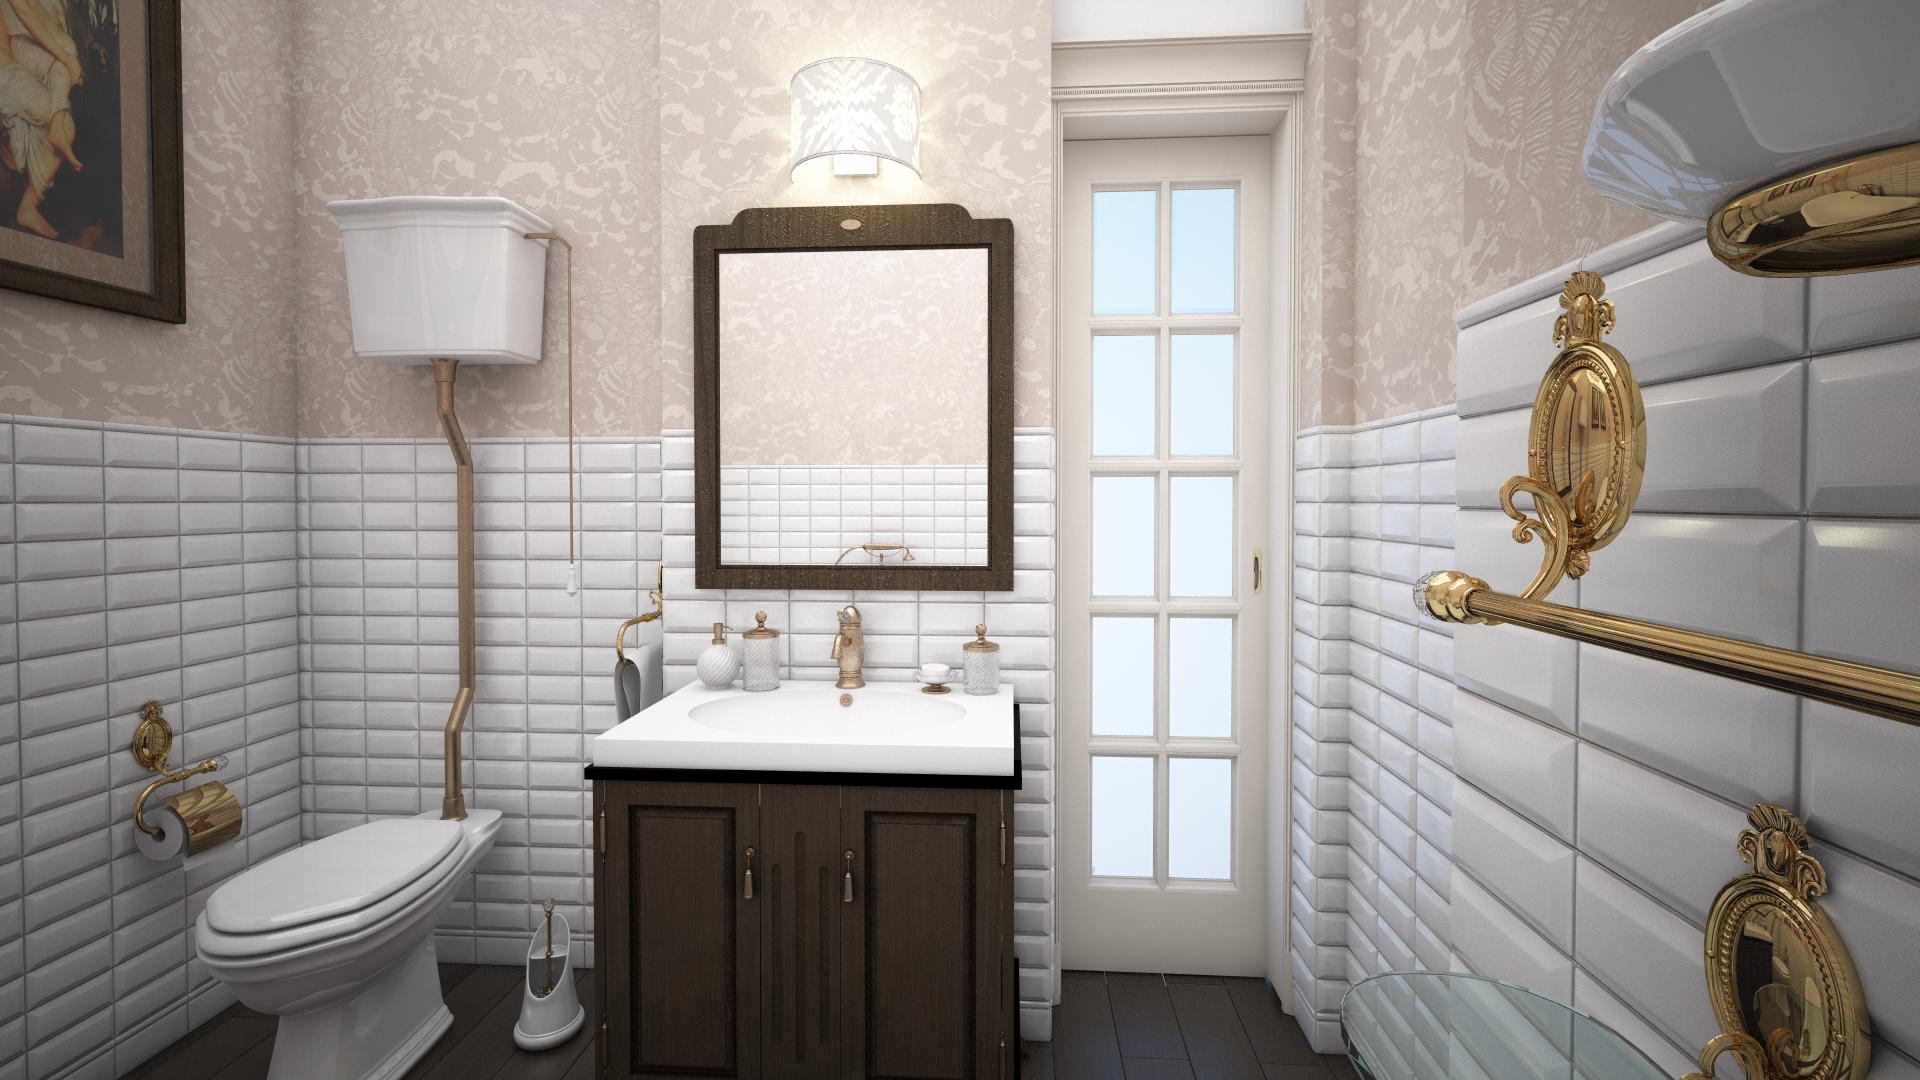
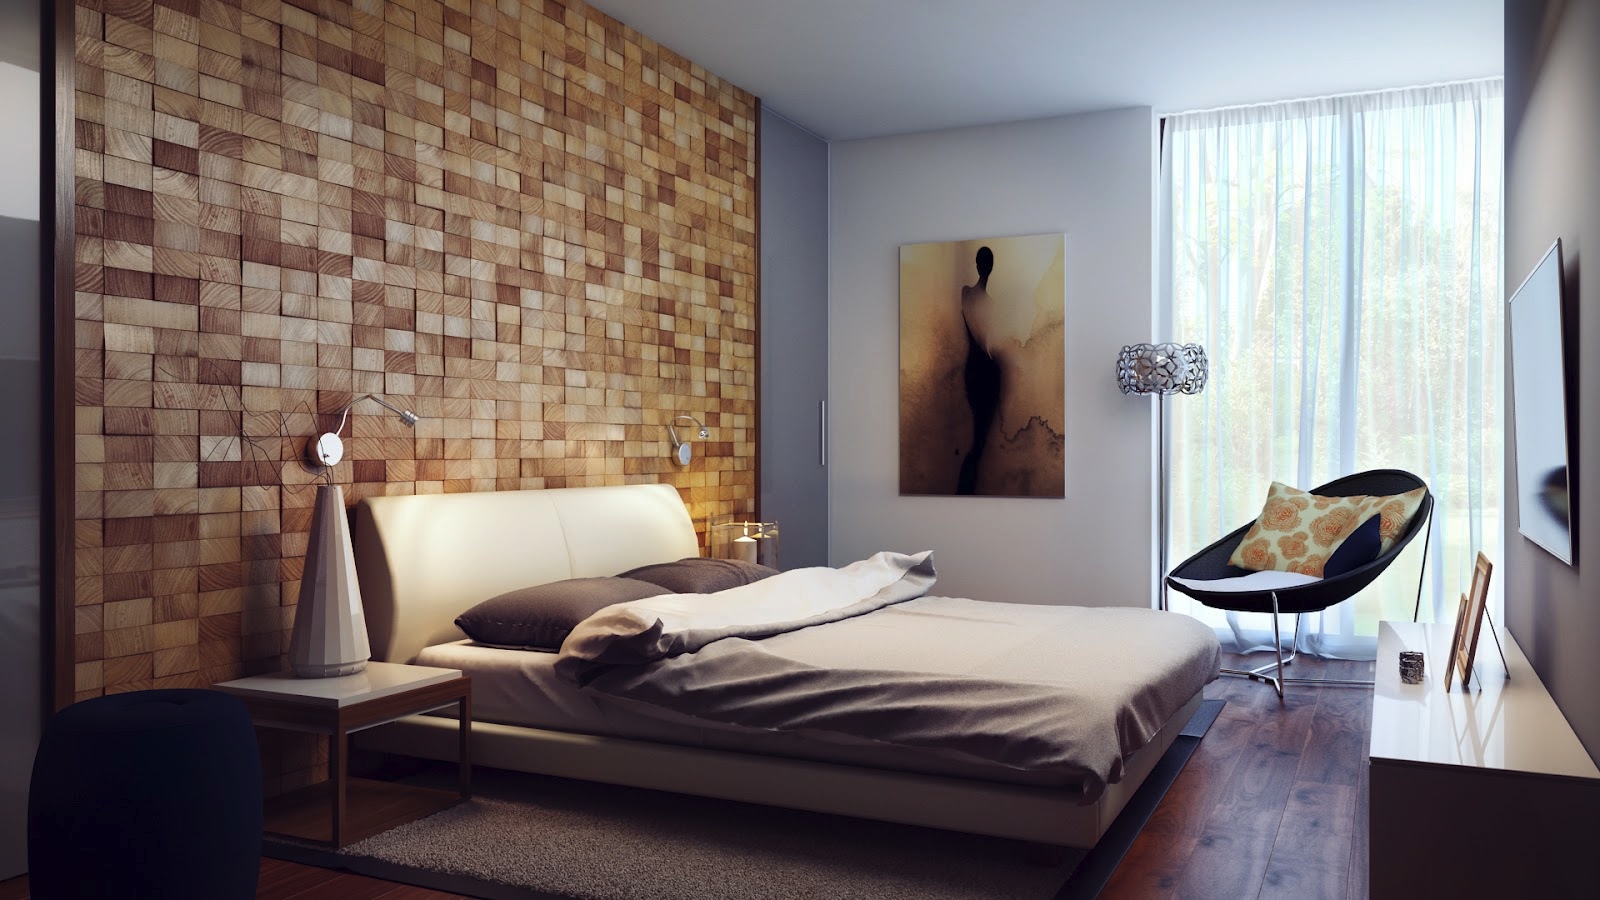
- Also important is the combination of wallpaper with paint and other finishing materials: metal tile, mirror and glass, textiles, decorative stone, bleached and painted wood, brick.
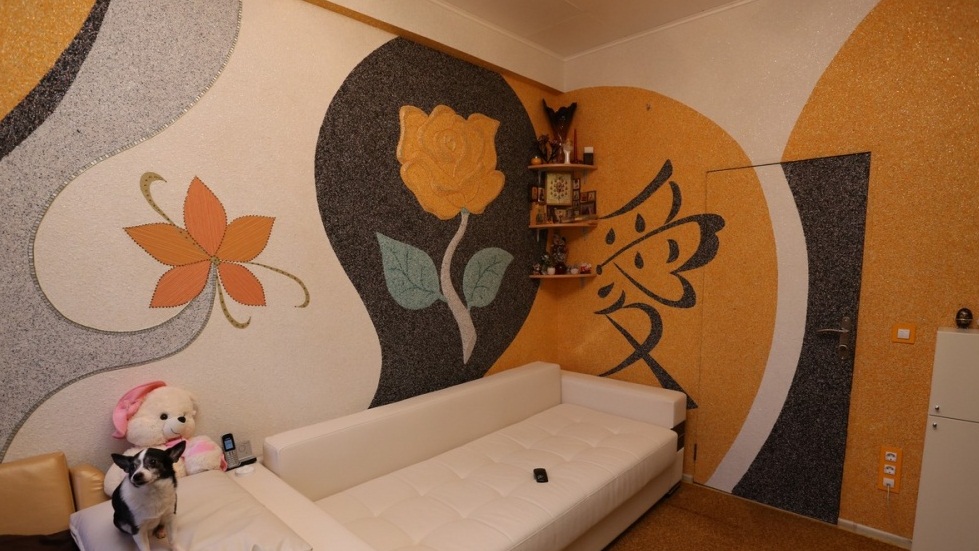
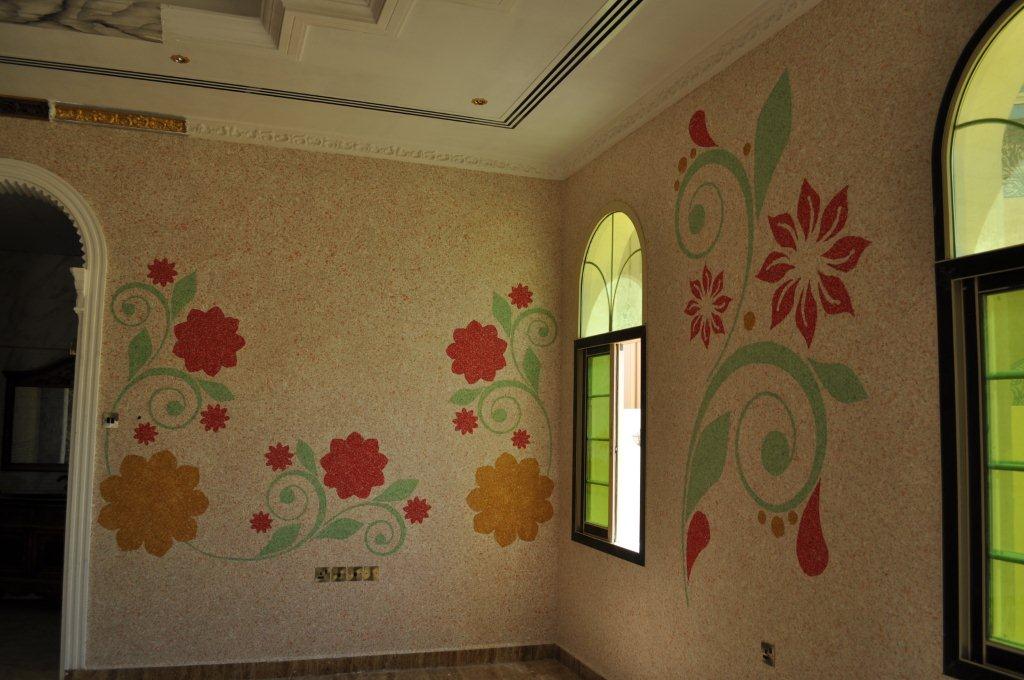
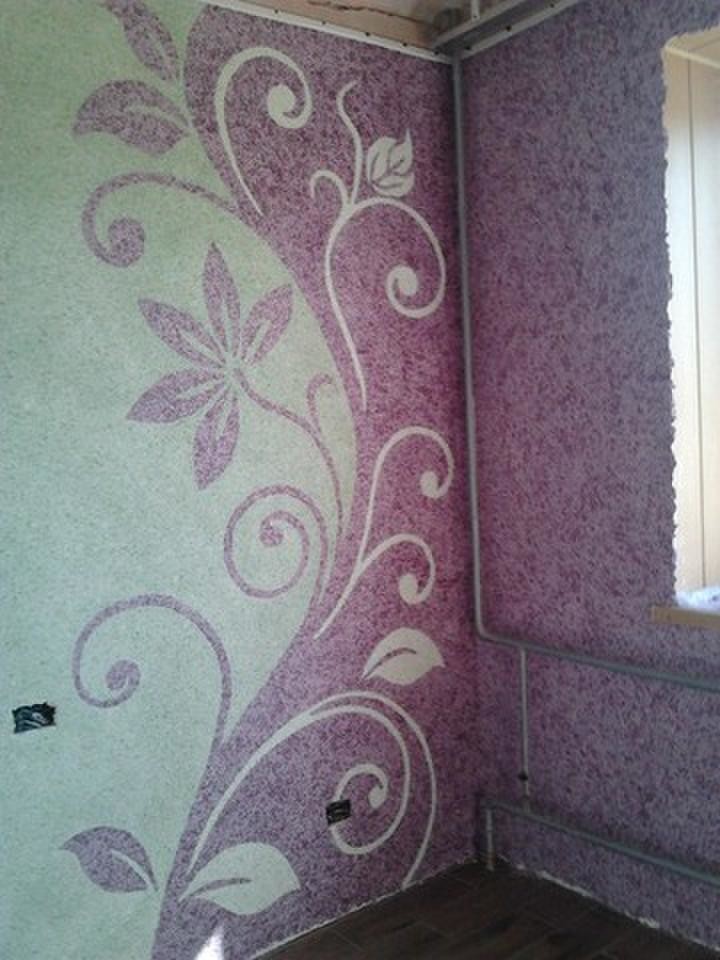
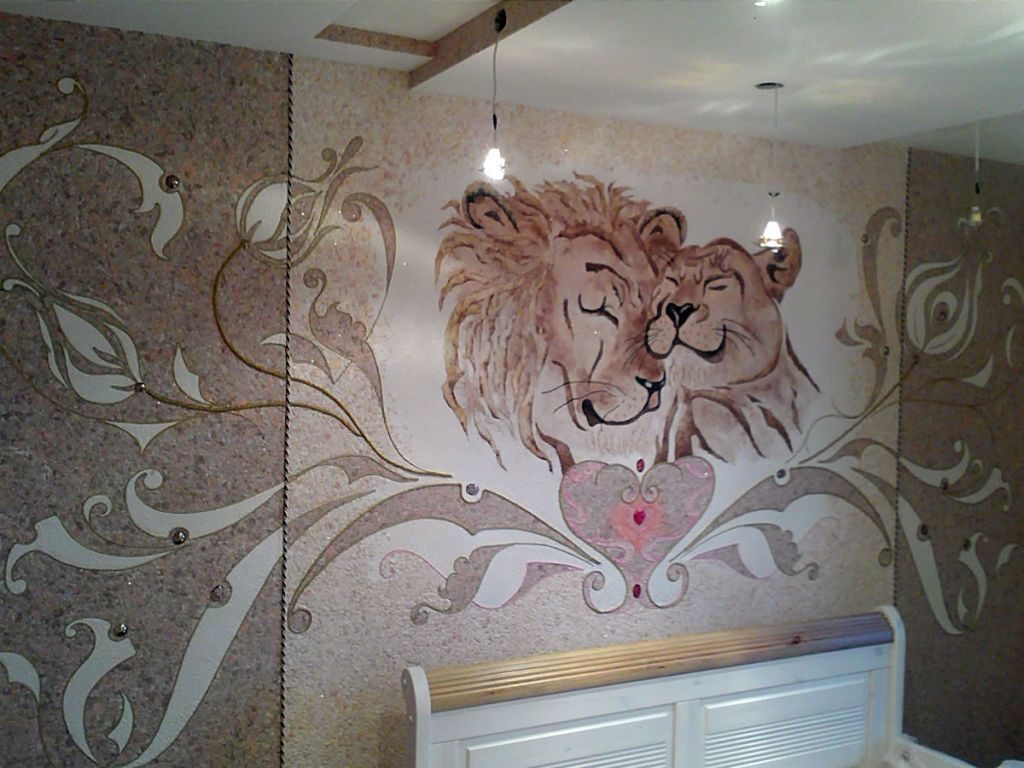
- A separate field for creativity - liquid surfaces, providing the ability to create multi-color drawings and three-dimensional decor.


How to glue the wallpaper, see the video below.


