How to glue the ceiling plinth to stretch the ceiling yourself?
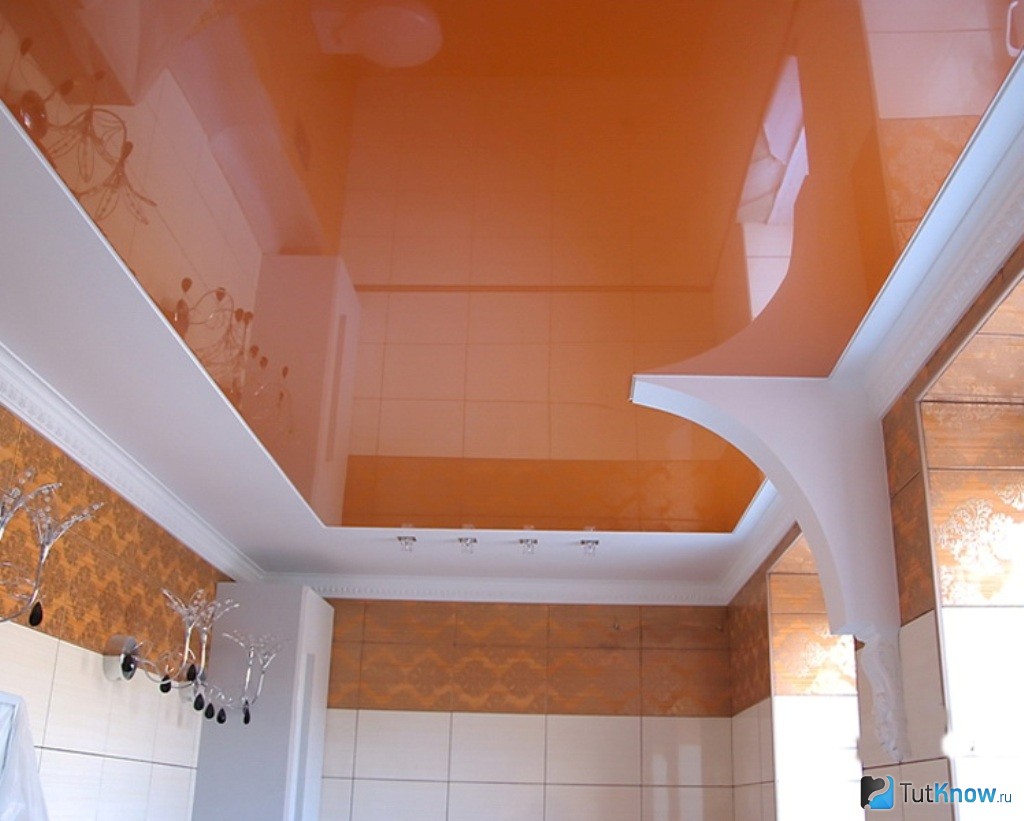
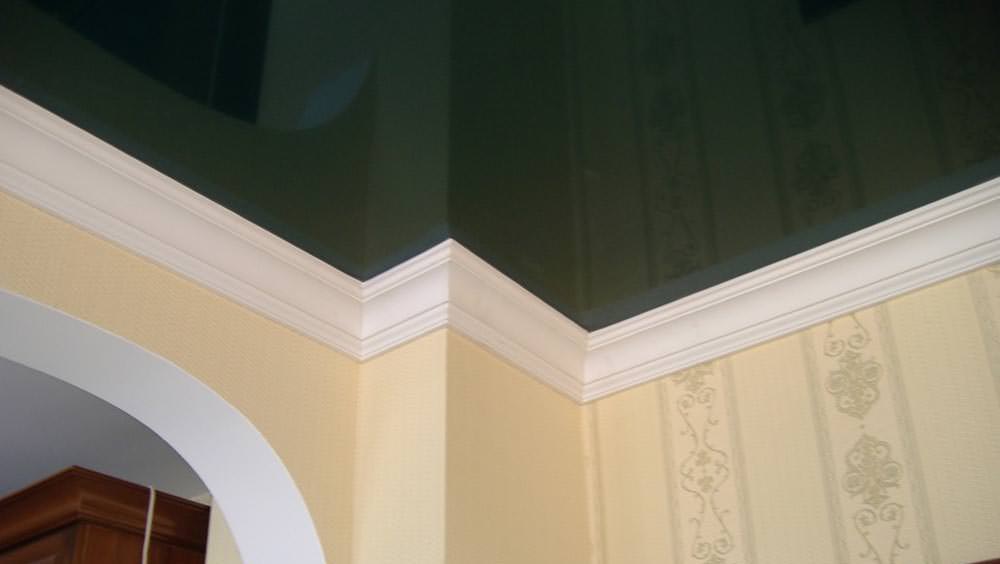
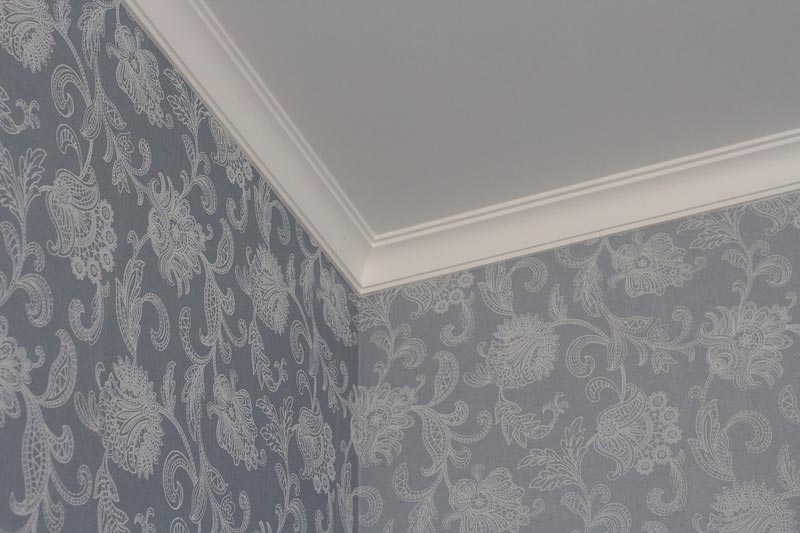
Recently, suspended ceiling has become very popular. It looks beautiful and modern, and its installation takes much less time than installing ceilings made from other materials. In order to stretch the ceiling and the walls looked like a single composition, they glue the ceiling plinth between them.
Special features
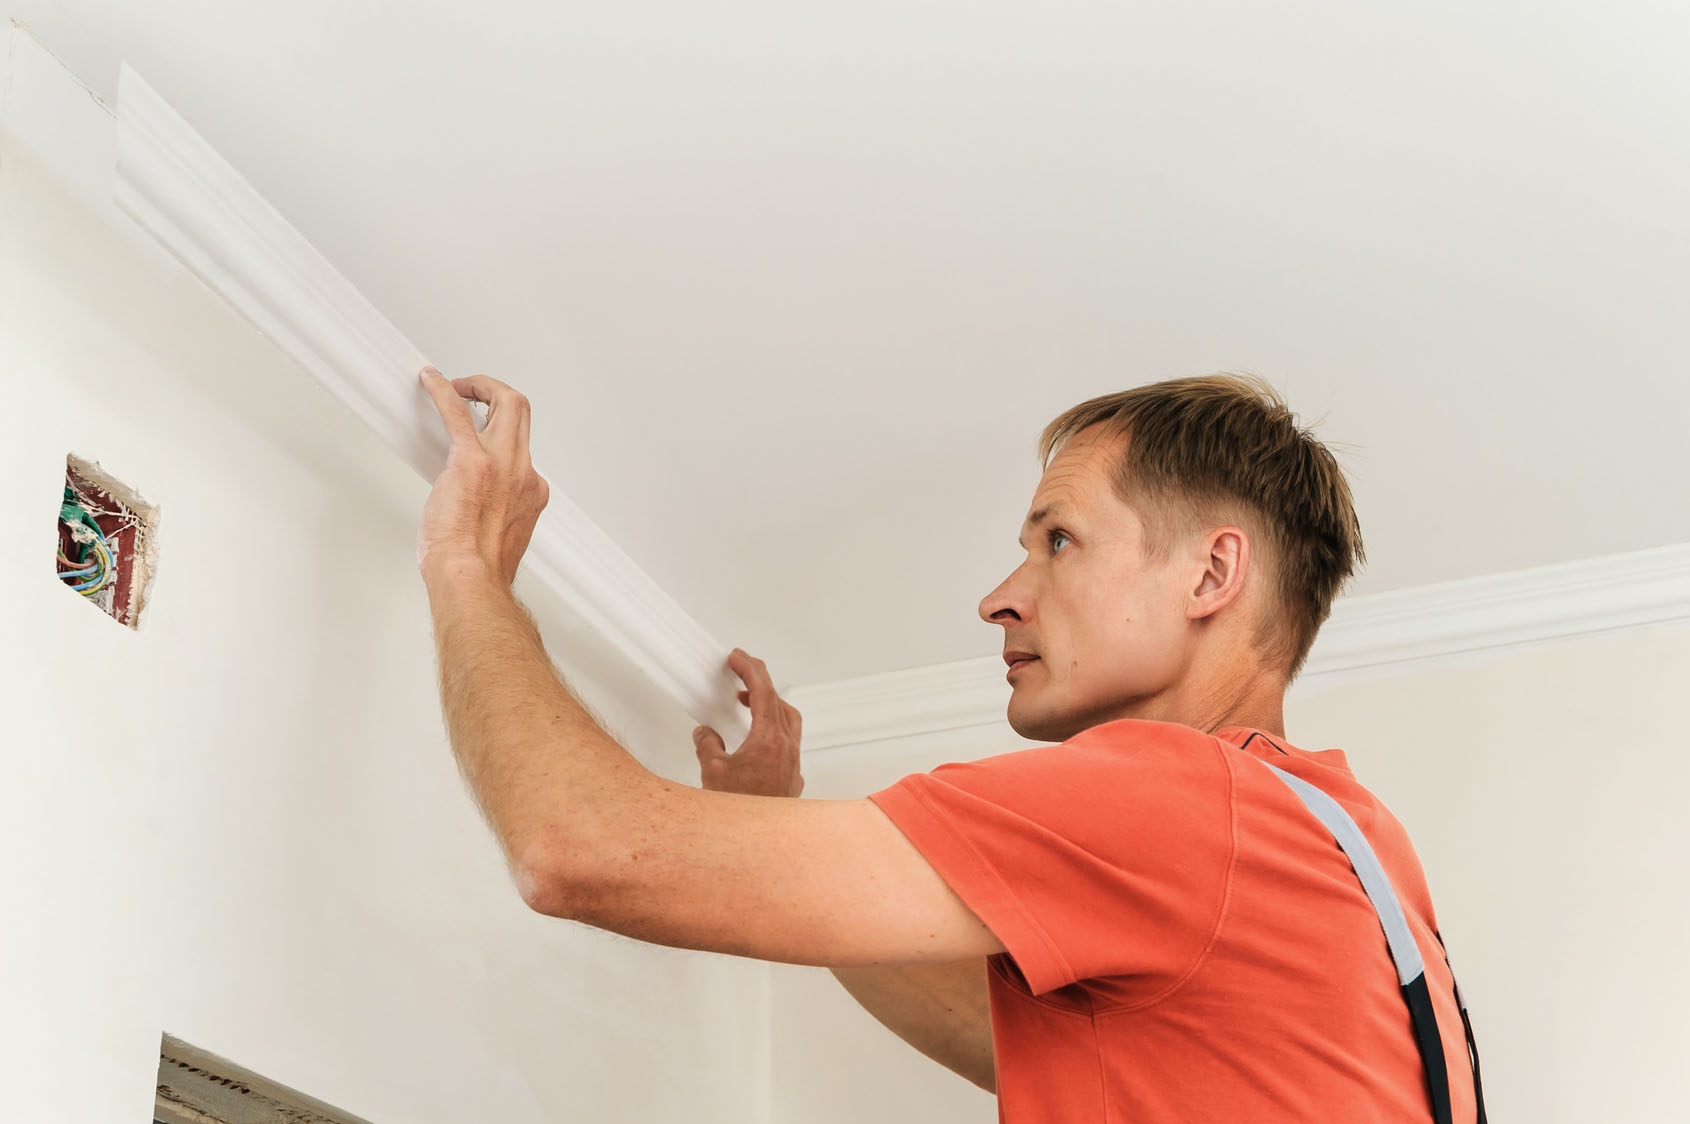
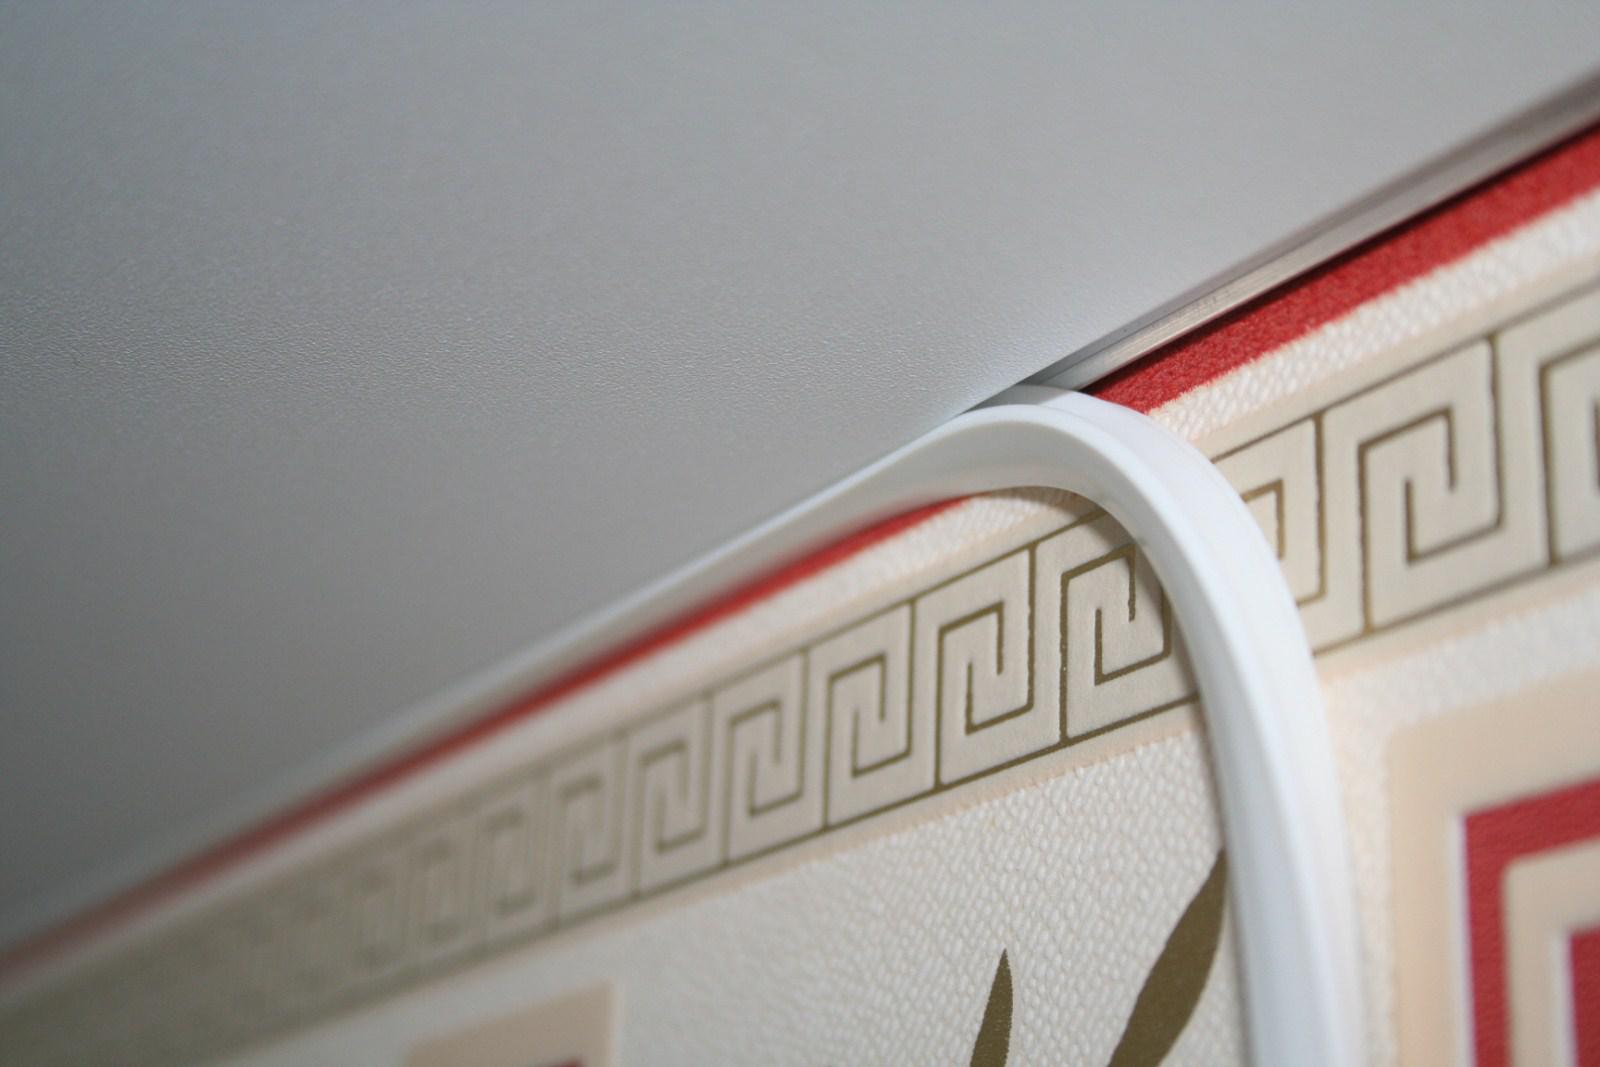
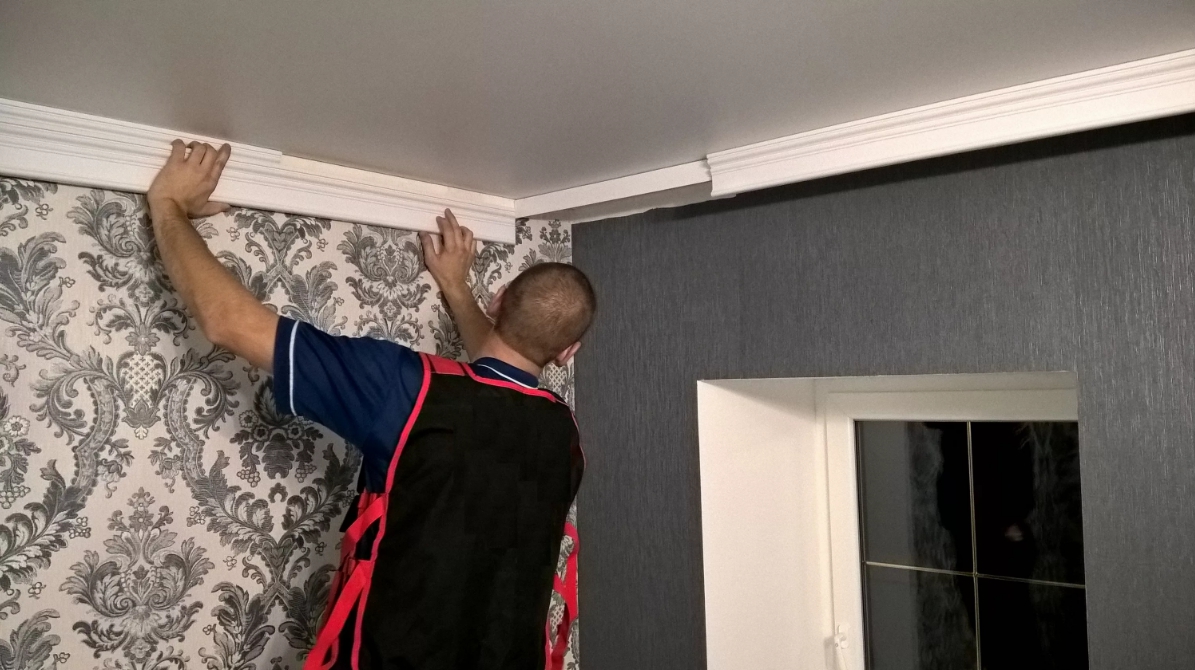
More specifically, the plinth is not glued to the ceiling itself, but to the adjacent wall.
This is done for several reasons:
- The ceiling itself is a thin synthetic film and there is the likelihood of its mechanical and chemical damage.
- Stretch ceiling is not fixed so tightly that the whole structure is securely fixed.
- When drying, the glue decreases in volume, which will entail the contraction of the film web, the formation of distortions.

In addition, the non-contact method of installing the ceiling plinth to the stretch ceiling is quite practical. As many times as necessary to glue the wallpaper, change the baseboard, the ceiling will remain the same for a long time. That is, if you glue the plinth directly to the stretch ceiling, then you can’t remove it back; at the same time, you can unstick it from the wall many times.
It should be noted that removing the baseboard from wallpaper is a rather complicated procedure. Therefore, it is recommended to first glue the plinth, and then wallpaper. Also, before starting work, it is recommended to perform the marking using a chopping rope. This will ensure an even installation.
Types of baseboards
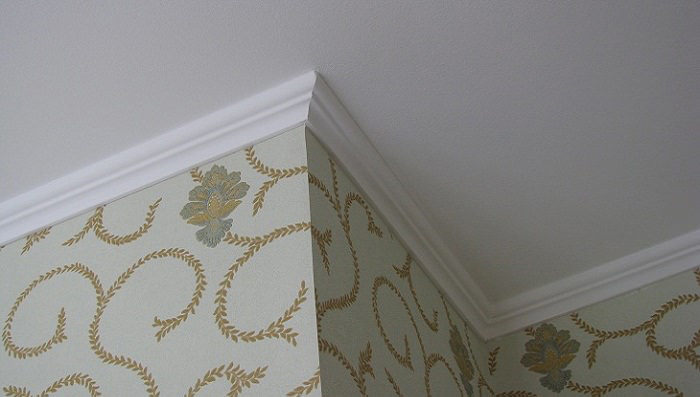
Ceiling skirting, baguettes or fillets, as it is called by professionals, can be made of foam, polyurethane or plastic. There is also wooden and plaster plinth, but it is not recommended to glue it on the suspended ceiling due to the gravity of the material.
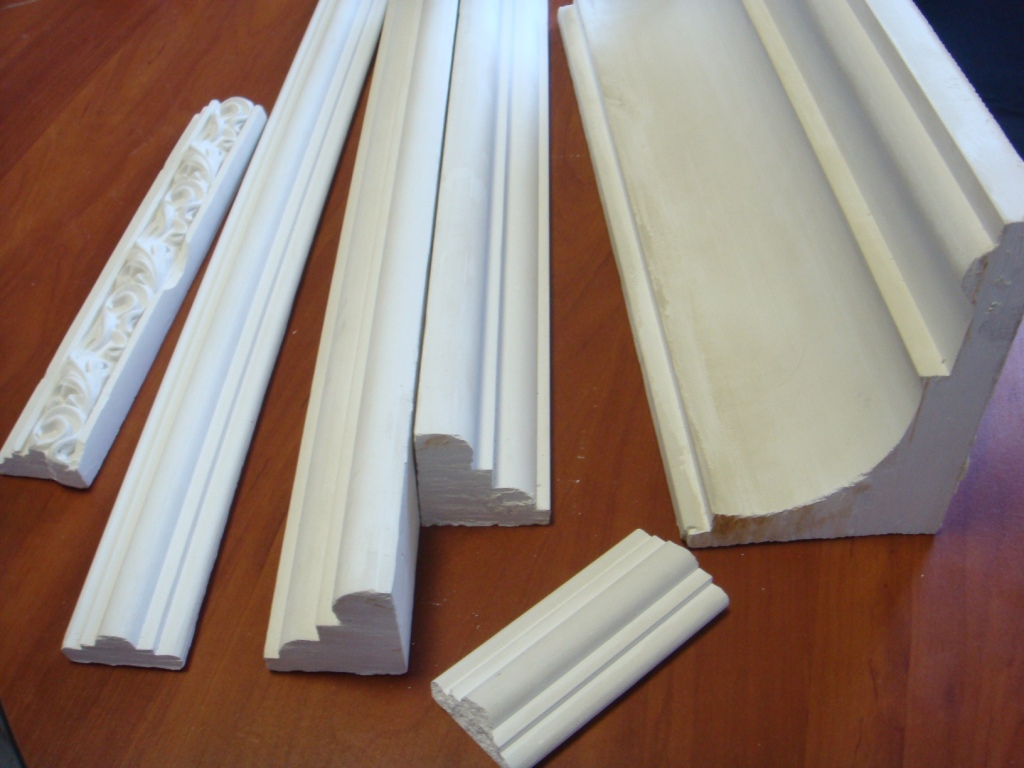
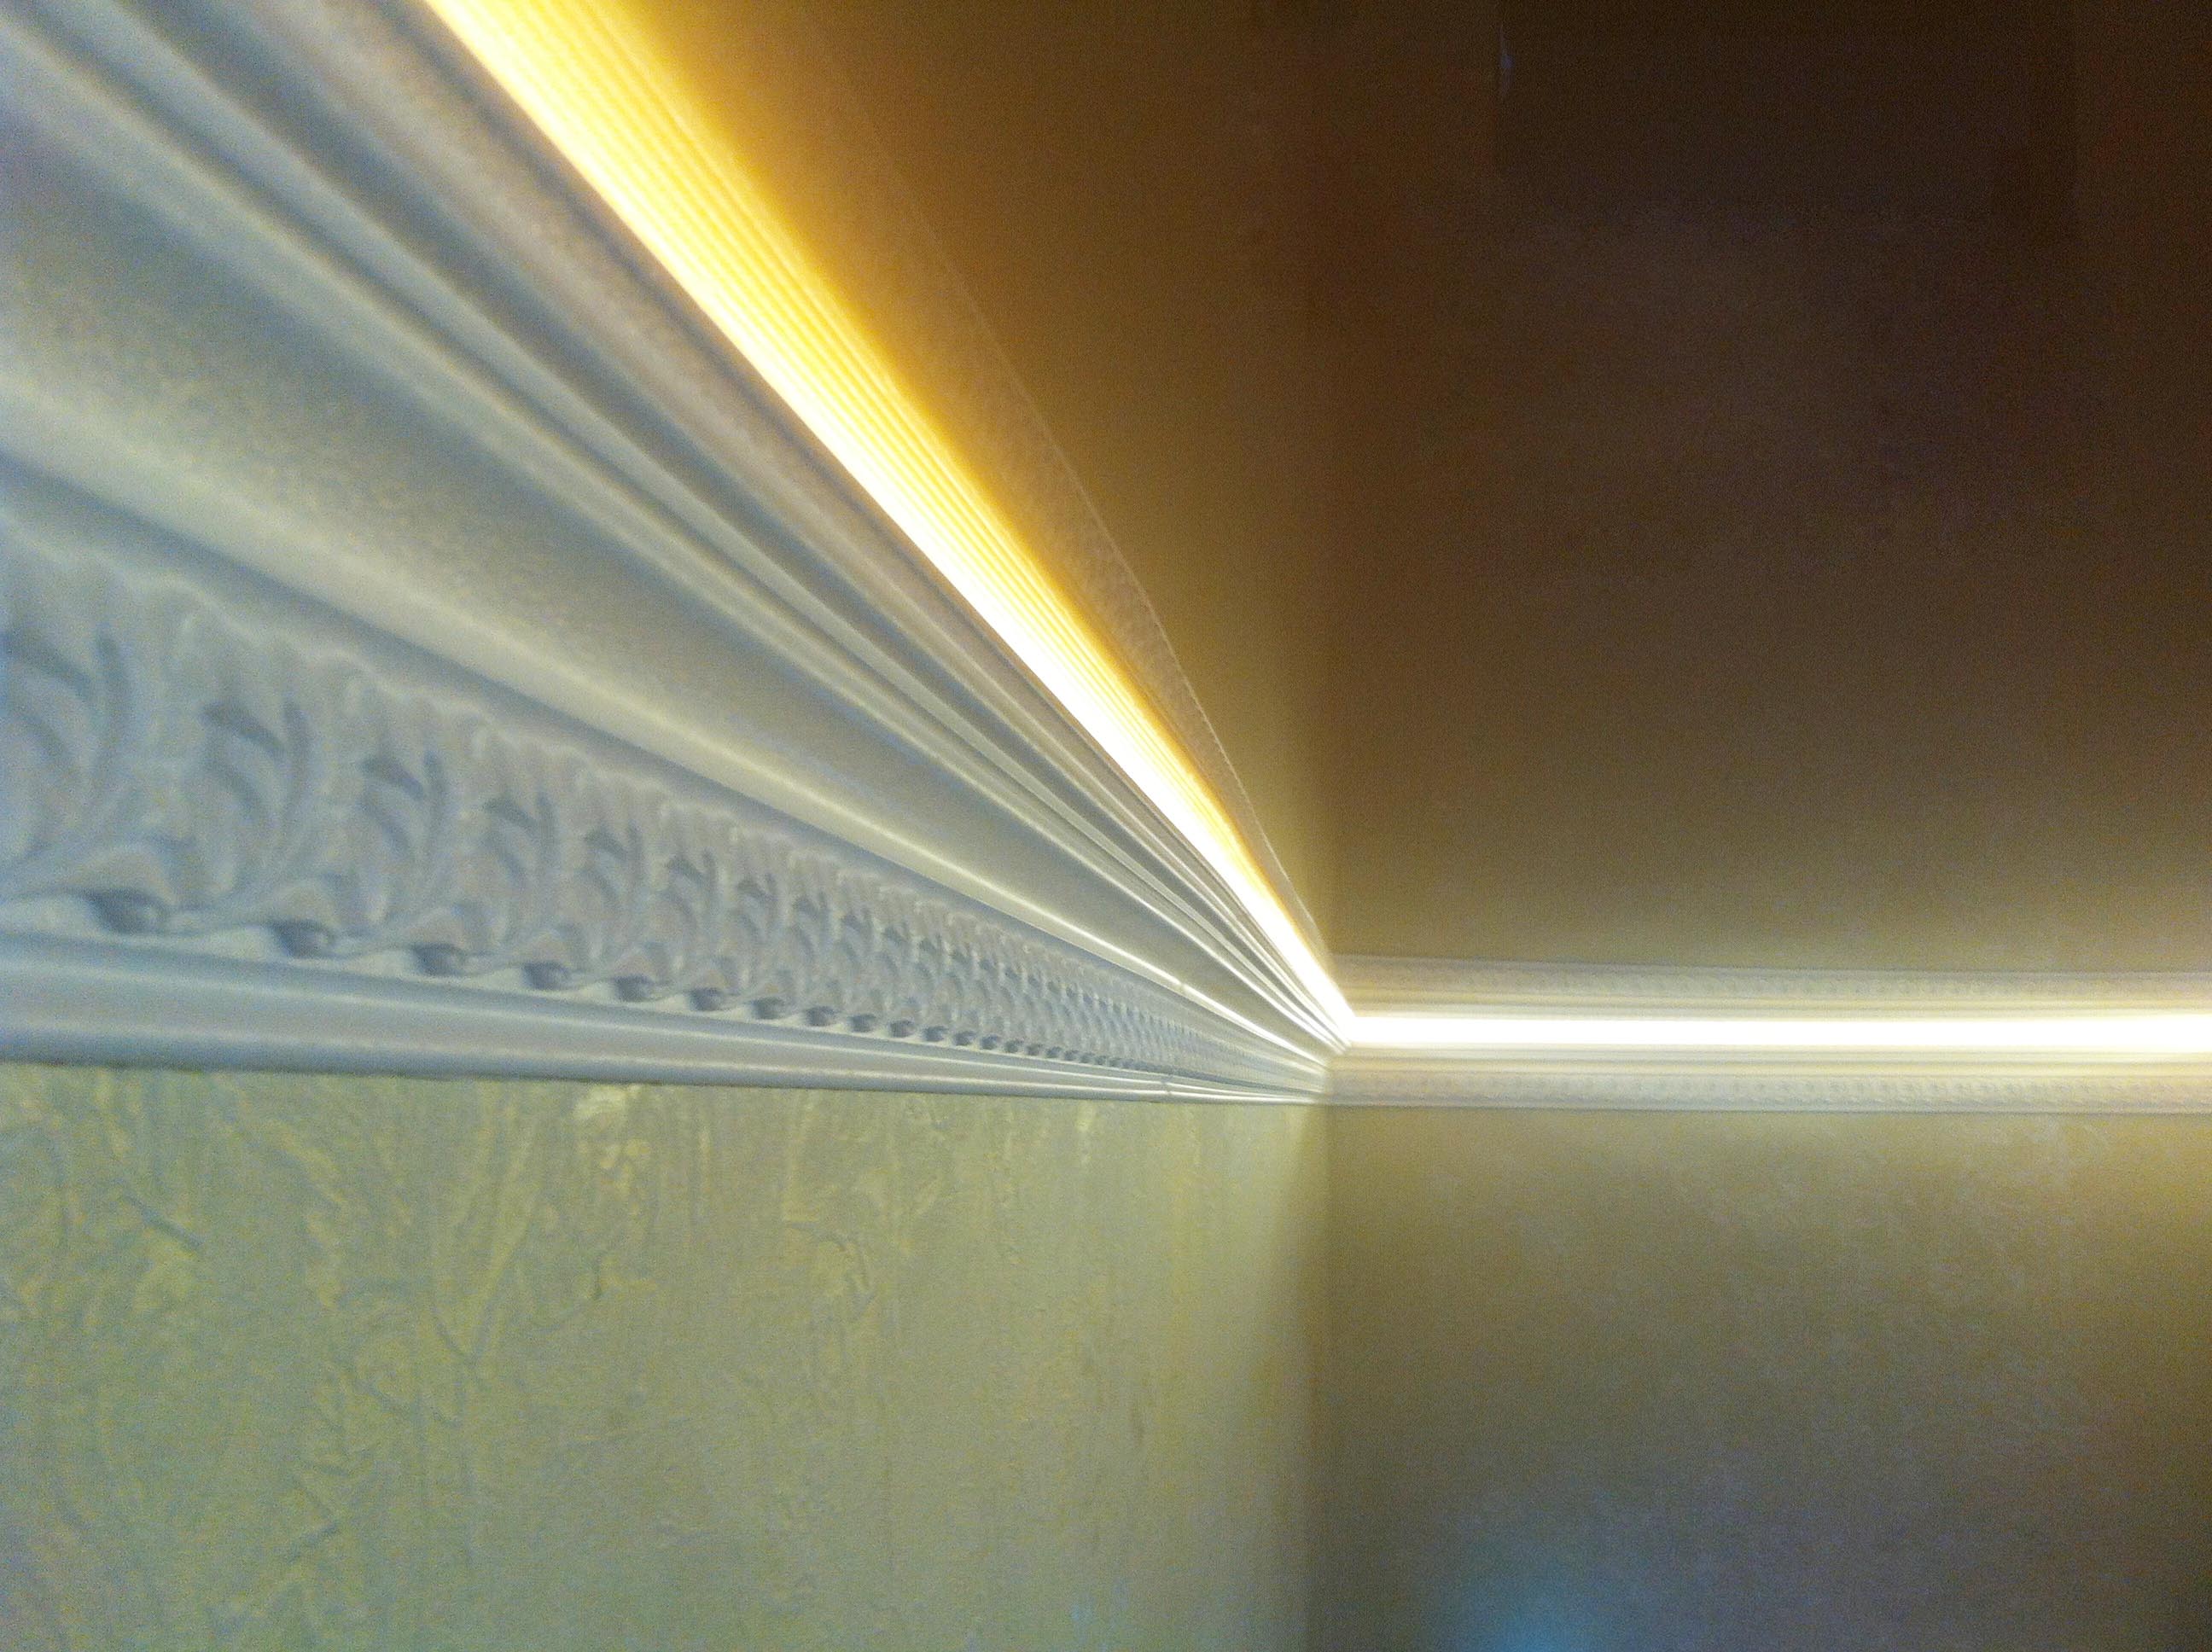
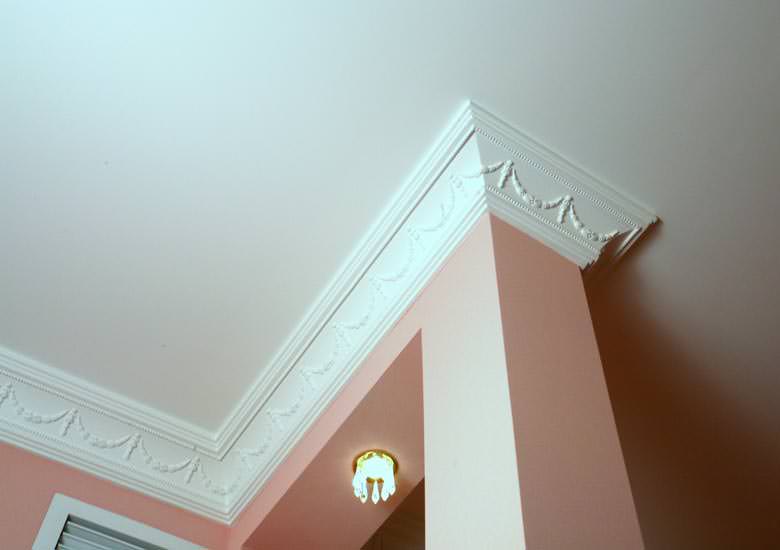
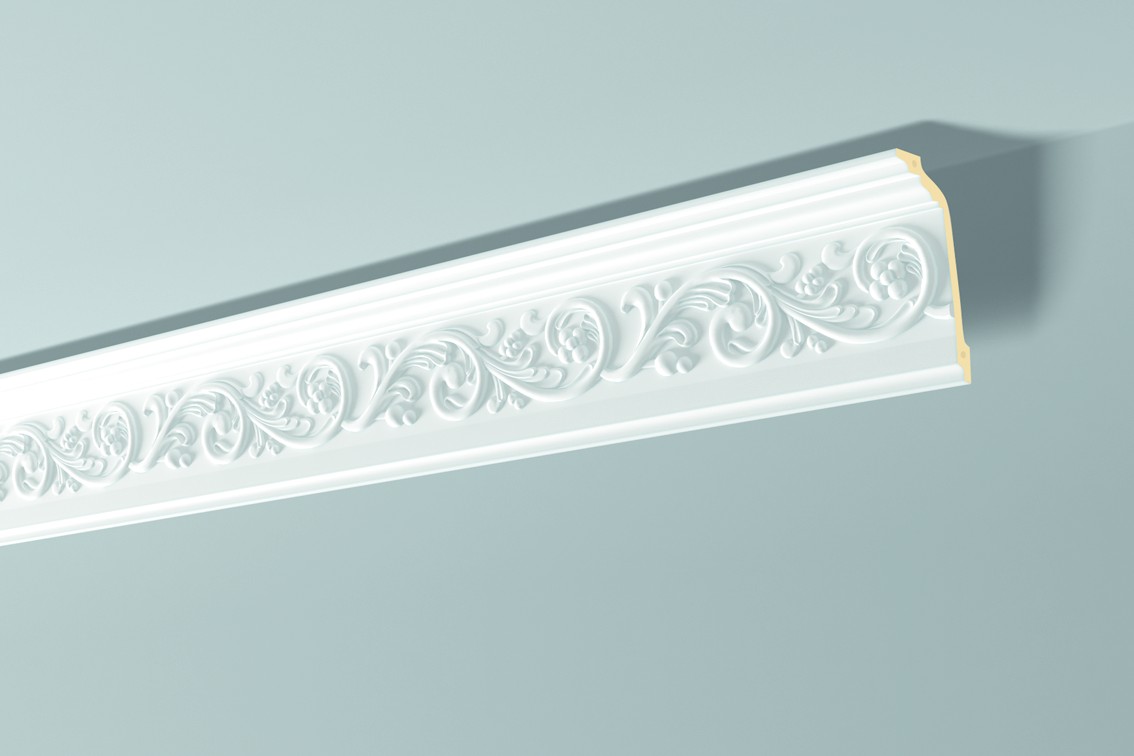
Fillet for stretch ceiling have different lengths and widths. Their surface can be perfectly smooth or beautifully embossedpattern. A variety of modern models allows you to choose a baseboard to the interior in absolutely any style.

Styrofoam
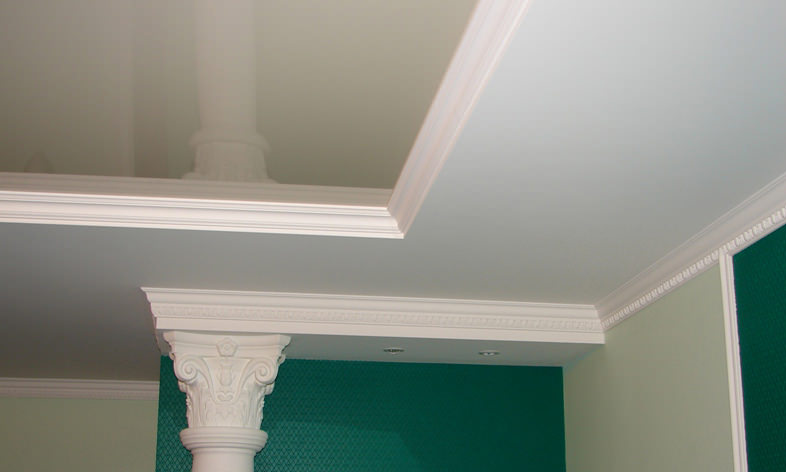
The plinth made of polyfoam differs in the small weight and ease in work. This is a great option for a combination with two-level stretch ceilings. The disadvantages of this material include its fragility, as well as the lack of flexibility. In this regard, the foam plinth is not suitable for rooms with curved walls, as in almost all cases it cracks and breaks. It is advisable to test the glue in advance, as there is a possibility of foam destruction under the influence of the chemical components of the adhesive composition.
Polyurethane
Polyurethane fillets have a higher flexibility and durability compared to foam. Polyurethane is sufficiently resistant to different types of chemical effects, so it is easy to pick up glue for it. Its good flexibility allows you to fit beautifully in the rounding of the walls.
However, polyurethane plinth is heavier than analogue of foam. Experts do not recommend gluing it to the wallpaper, as they simply can not withstand its weight.In addition, he himself can bend under his own weight. The installation of the plinth takes place before works on the final design of the walls.
It should be noted that polyurethane fillets are much more expensive than polystyrene foam. Their cost may differ by half and more.
Plastic
Plastic baseboard - one of the most common and affordable materials. Modern technologies allow plastics to imitate various materials, such as wood, metal and many others. This property allows plastic baguettes to fit into interiors that are different in style. In the work of plastic skirting is considered the most convenient, because it is compatible with wallpaper.
Duropolymer
Duropolymer fillets - this is a fairly new type of baseboard. Duropolymer is a very durable composite polymer, which is made from expanded polystyrene under high pressure. Compared with polyurethane analogues, duropolymer baseboards are almost twice as heavy, but they can boast better mechanical strength.


Rubber
Rubber baseboards for suspended ceilings look very attractive. As a rule, this option is an excellent solution for rooms with high humidity.It is often chosen for showers or bathrooms. Fastening rubber plinth by using special grooves.
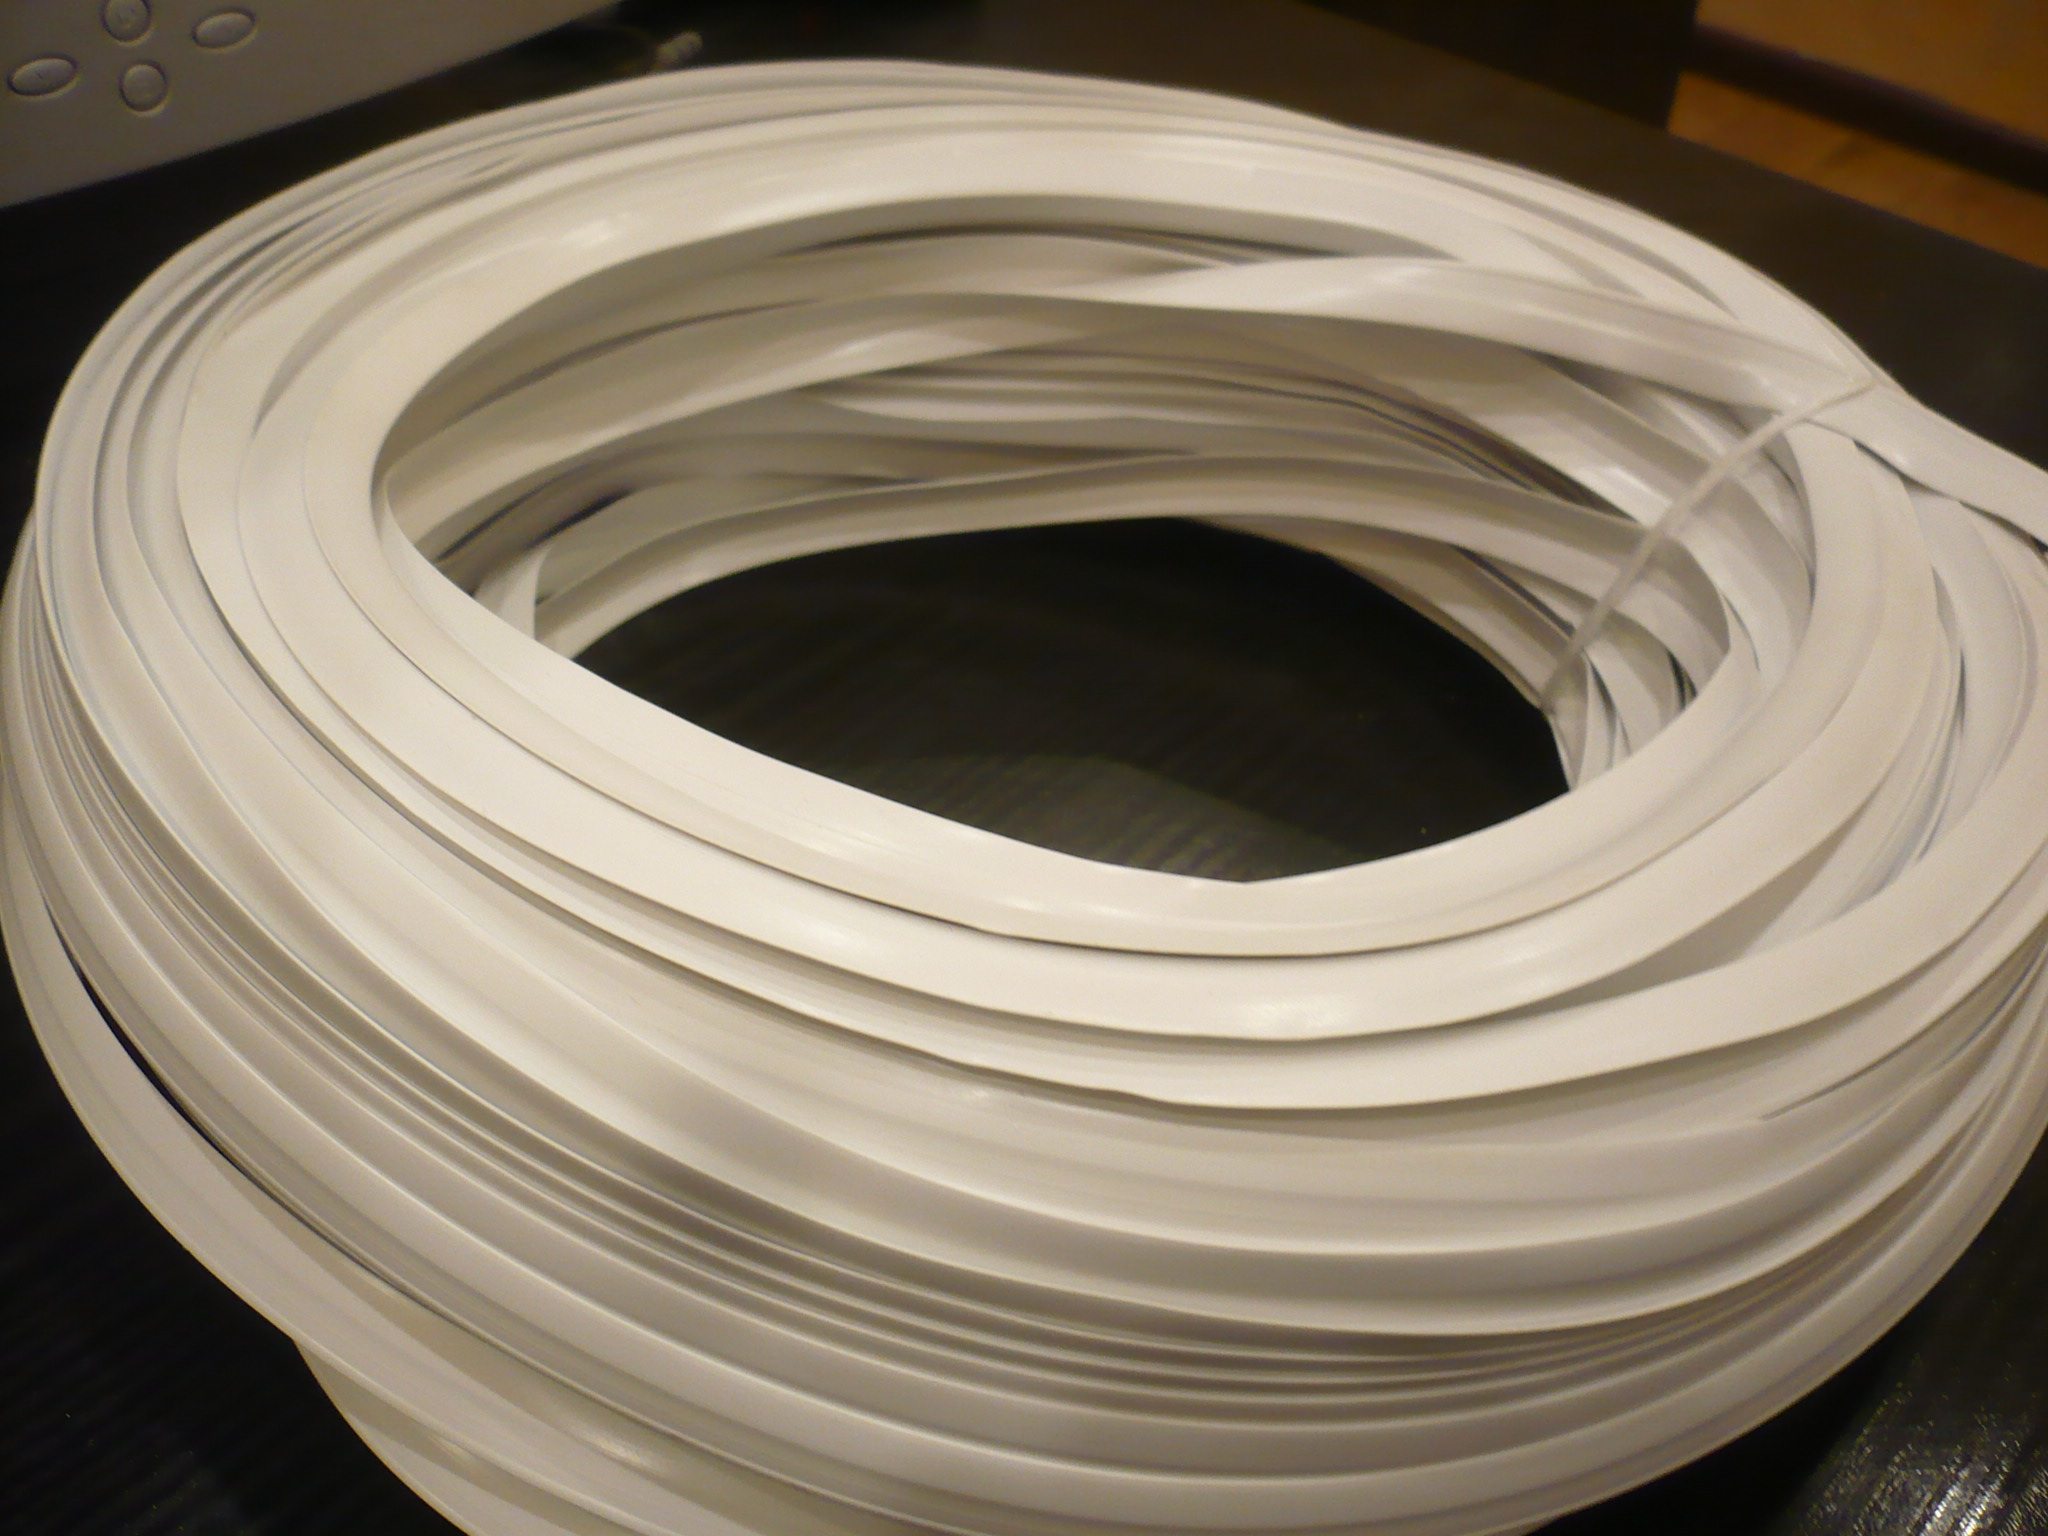

Extruded
These are flexible fillets, which are used for curved structures. To fix them you need to use water-soluble adhesives.

How to choose glue?
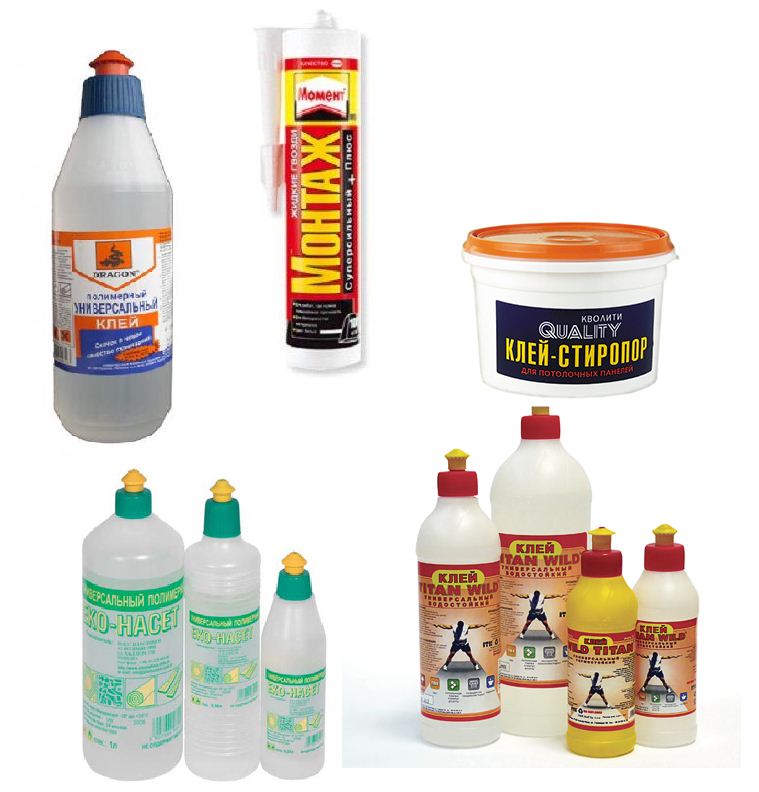
To install the ceiling plinth, you need a special transparent or white glue, an important feature of which is that it does not darken over time. The advantage of the adhesive composition is considered to be quick setting, as in this case it will not be necessary to hold the plinth for a long time. When choosing a glue, the baseboard material that you are going to attach is of paramount importance. Some adhesives can destroy materials that are weak to chemical attack. This especially applies to foam plastic.

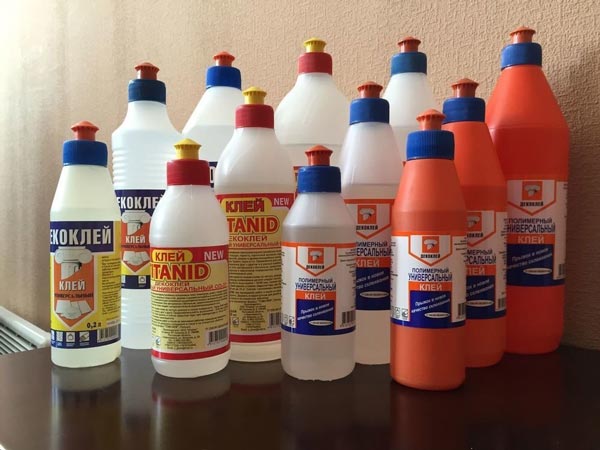
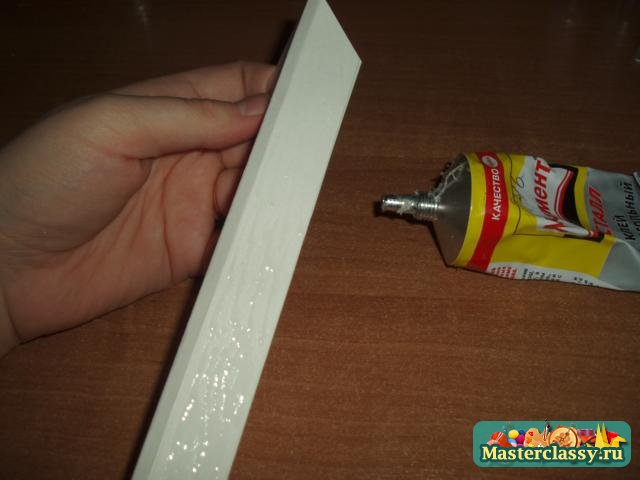
The most common when working with ceiling moldings and stretch ceiling received the glue "Moment", "Liquid Nails" and Adefix:
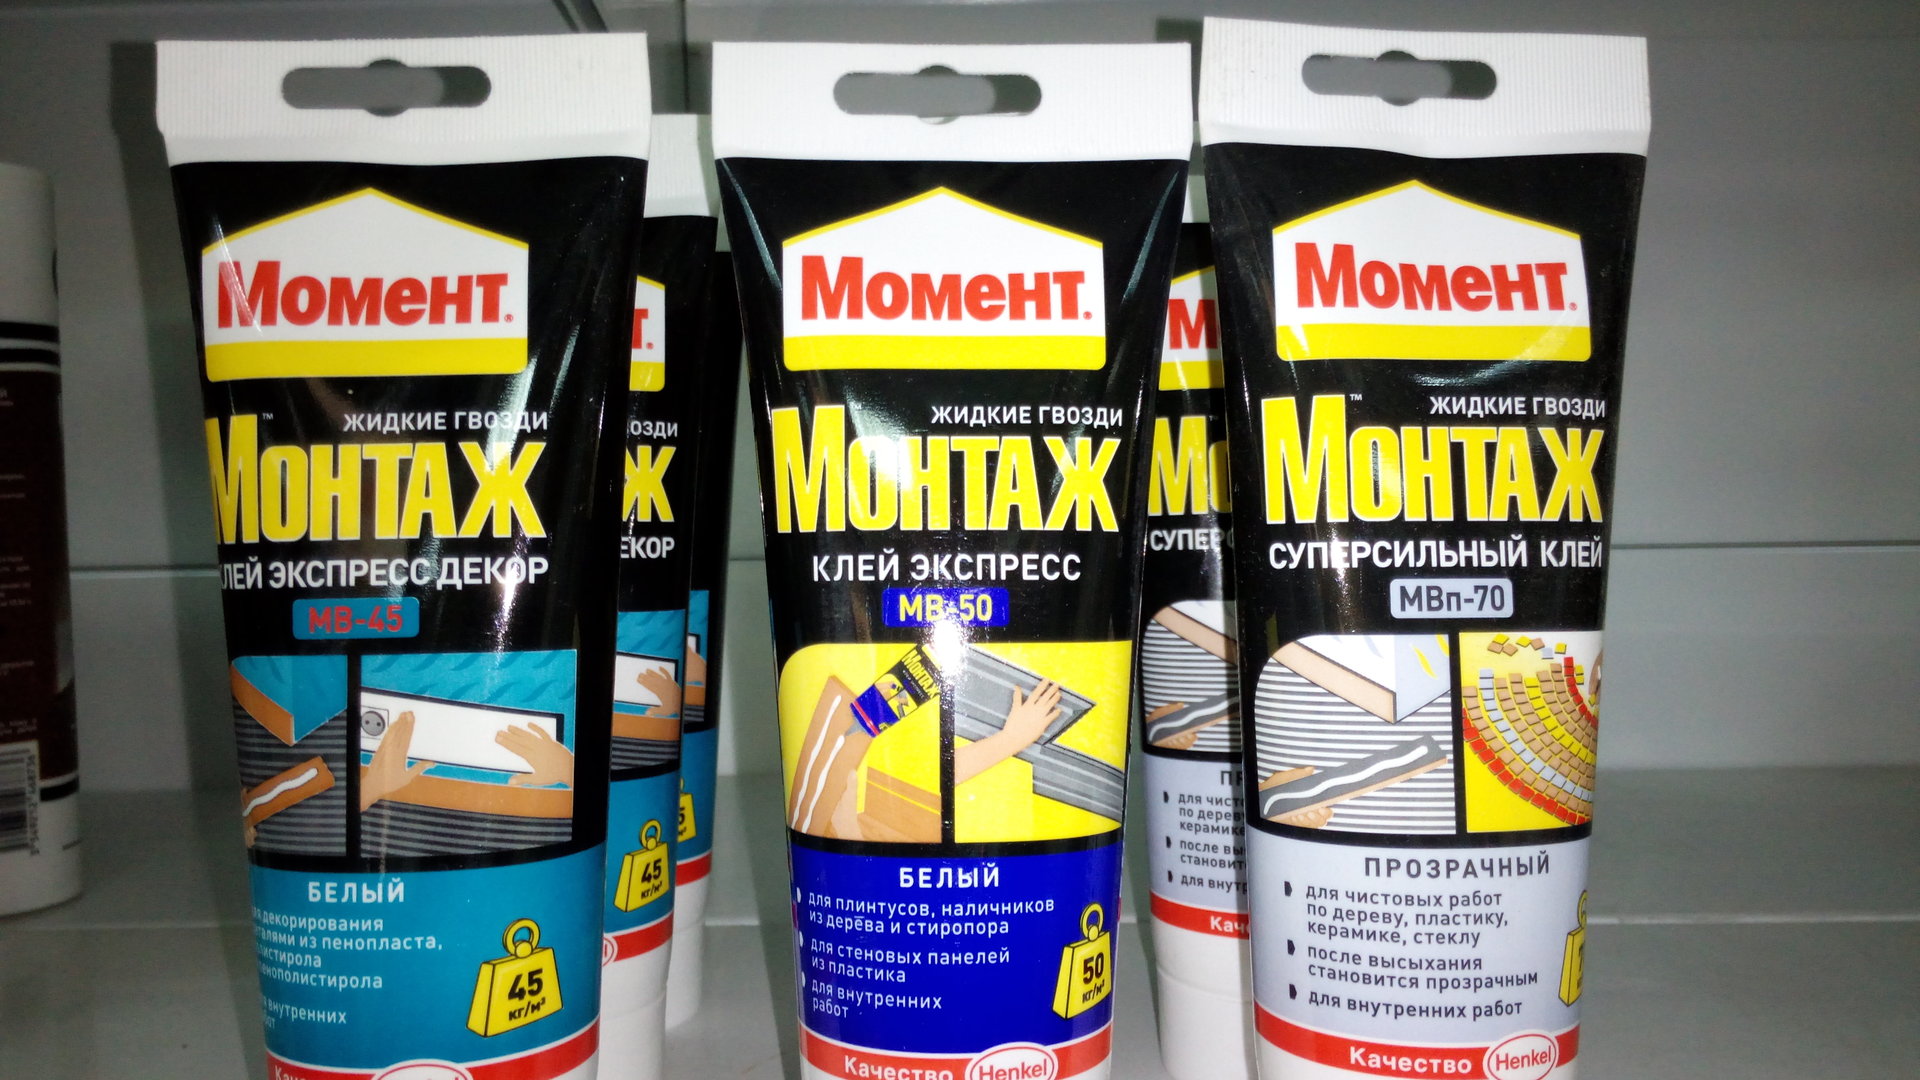
- "Moment" - is a universal glue with excellent adhesive ability. In addition, he quickly grabs, and the fillets glued by him hold very firmly.
- "Liquid Nails" designed to fix the plinth of heavy materials.One of the advantages of this adhesive composition is that it is not susceptible to water. They can be fixed fillets in wet areas.
- Adefix - it is white acrylic glue, which is suitable for gluing plinths from foam plastic, polyurethane, extruded polystyrene. In its composition, it does not contain solvents and when cured it remains elastic.
Subtleties of installation
There are two main options for mounting the ceiling plinth to the stretch ceiling with their own hands:
- Galtels are glued on completion of all work.
- Galtels are glued upon completion of the installation of the stretch ceiling and before finishing the walls.
First option
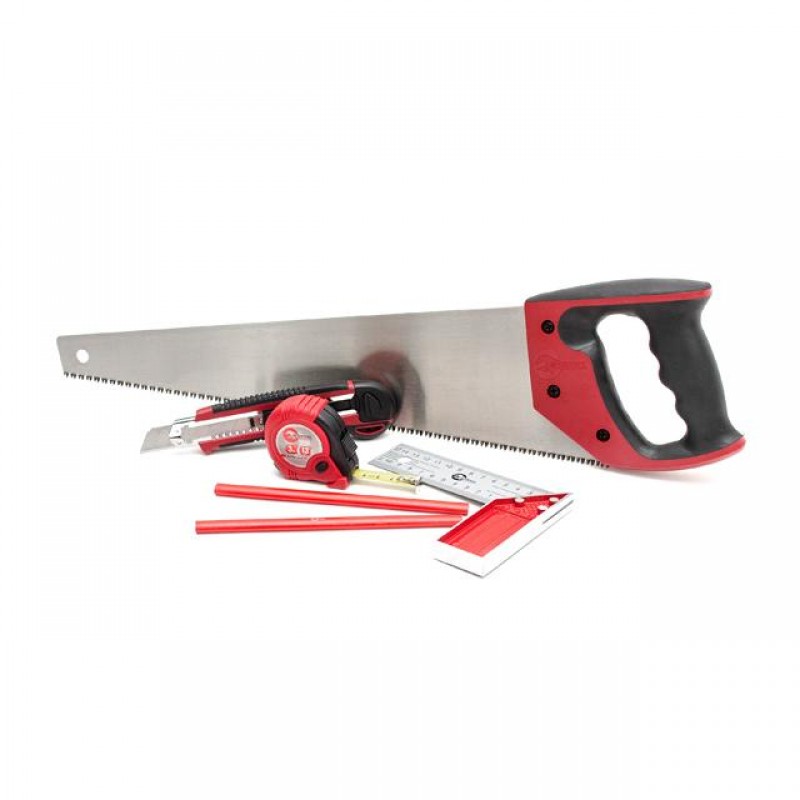
First you need to prepare glue and tools. Of the tools needed: stuslo, stationery knife, saw, tape measure, a clean rag. As an additional equipment it is necessary to attract a ladder or stand. Next, select the angle and begin the work.
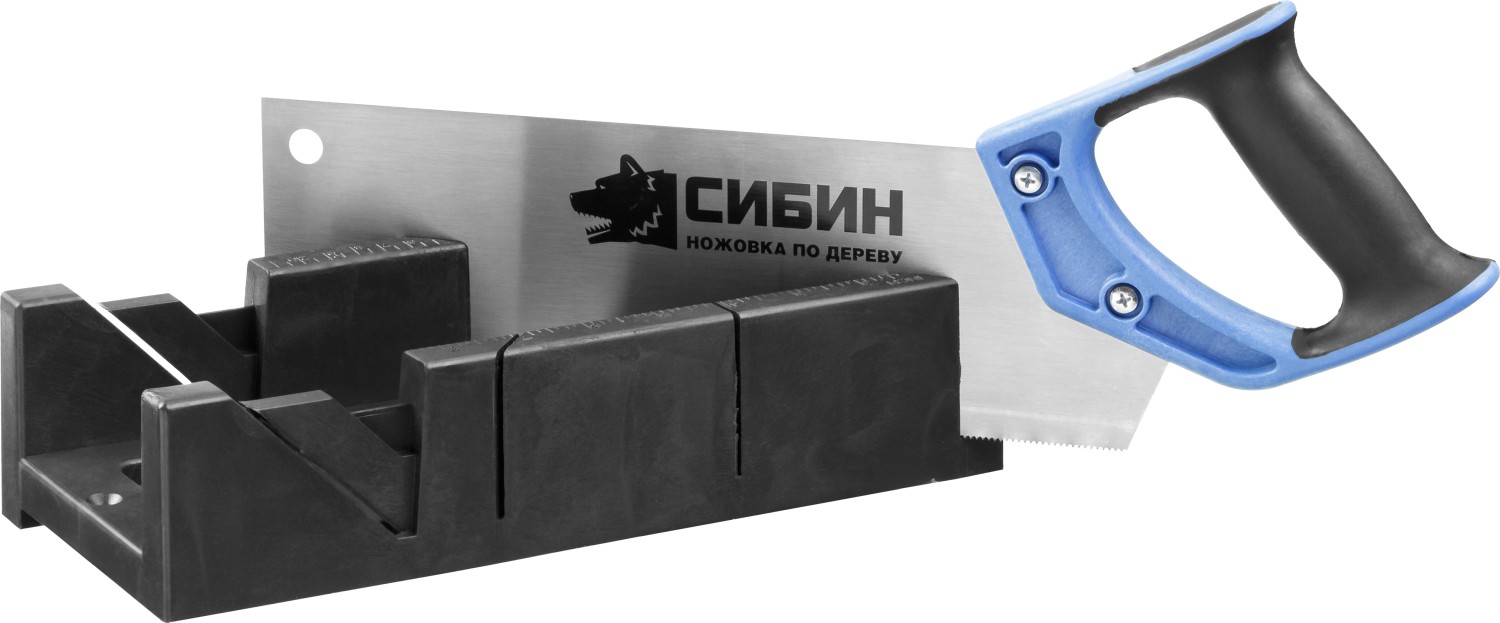
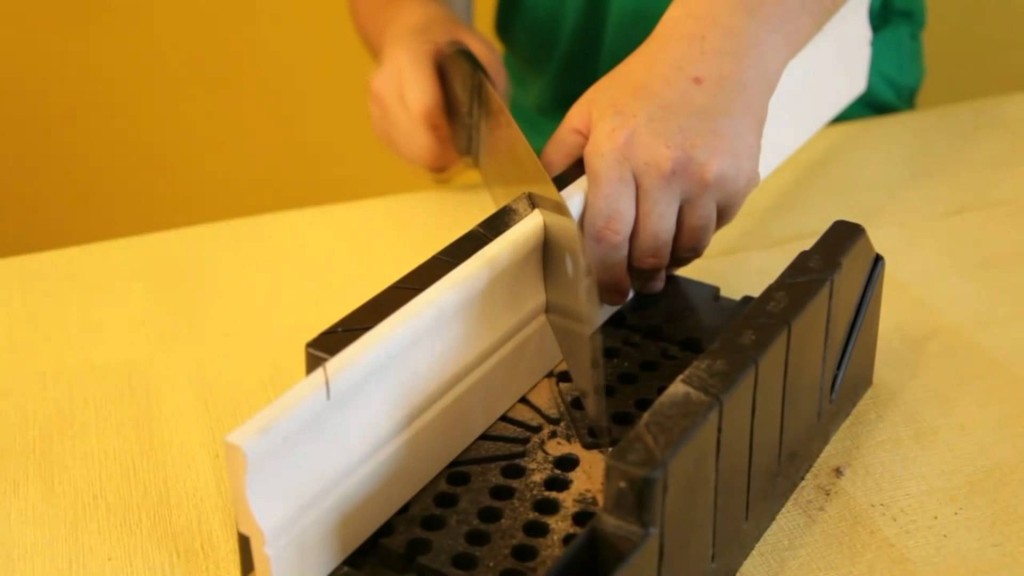
The corner trimming of the plinth is done with the help of the stousla. This is a tool that has special slots angled in order to correctly cut the angle. The part needs to be inserted, taking into account what angle you need to get after trimming - external or internal.The procedure should occur quickly enough, but at the same time and smoothly, to prevent the element from moving.
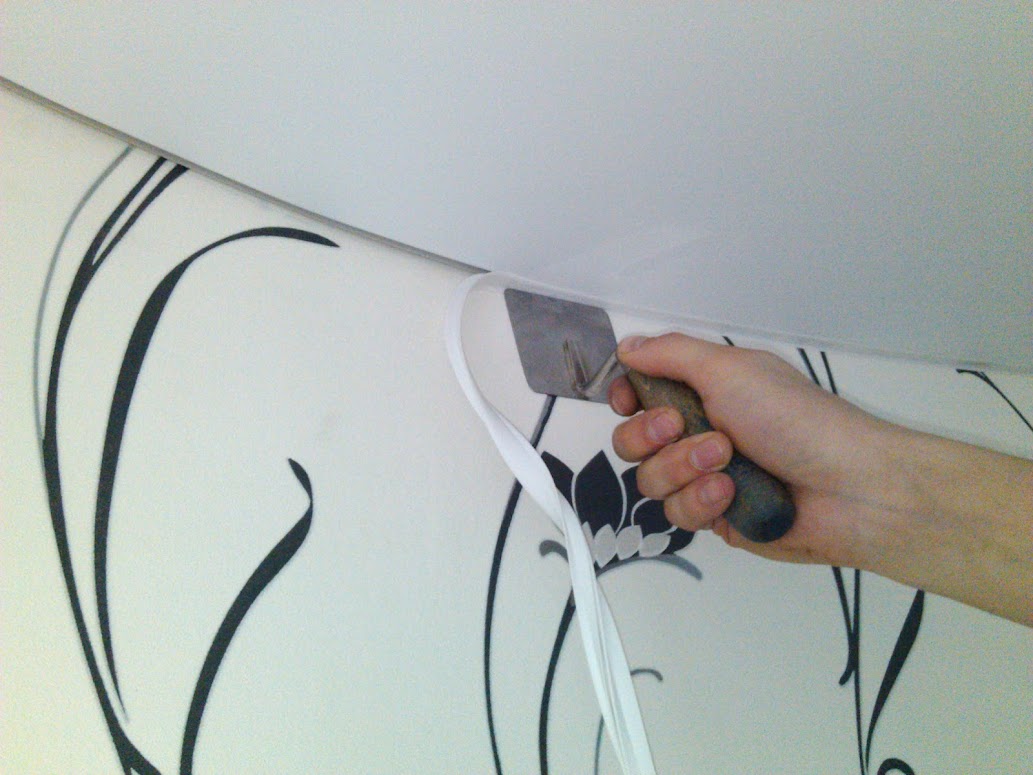
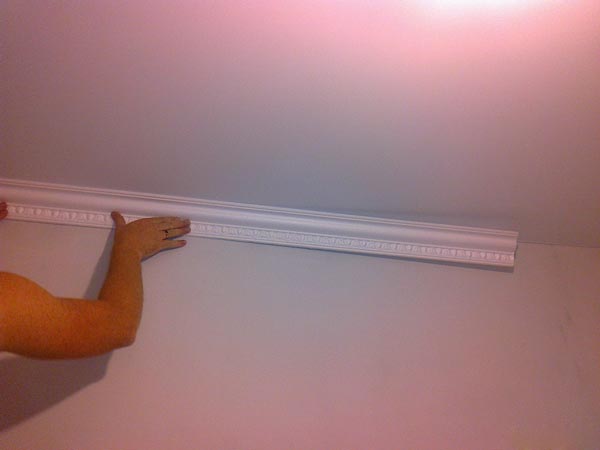
It is recommended to pre-fasten the plinth prepared for the sticker to the wall in order to check the correctness of the final position. Preventing the displacement of fragments will help pre-markup with the help of a chopping rope.
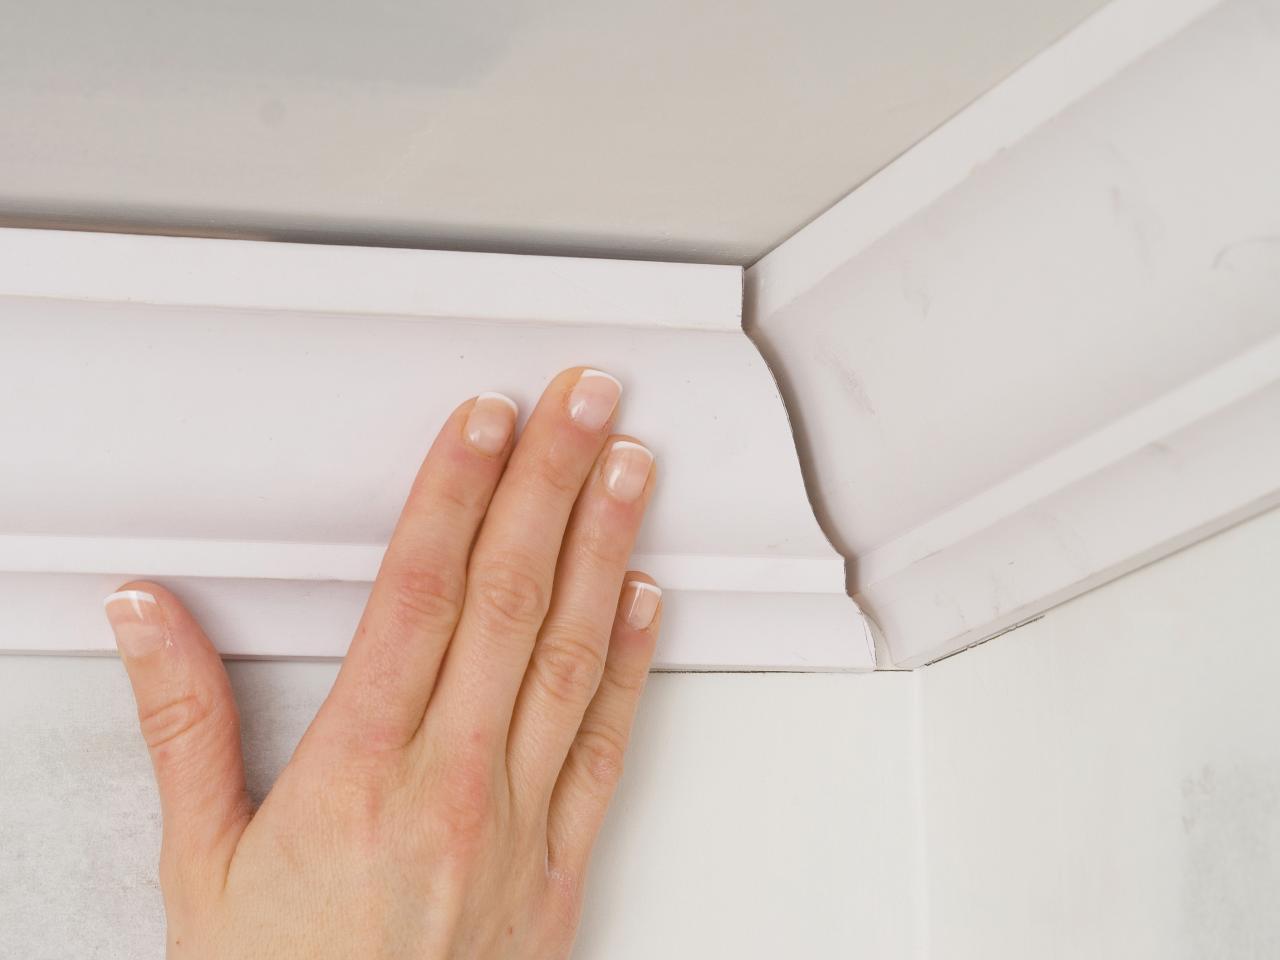

The adhesive composition is applied only to the part that will be adjacent to the wall. To do this, a small amount of glue is applied on the inside. To prevent excess glue from spitting out, the composition is not recommended to be applied directly to the edge, it is necessary to retreat a little. After applying, you need to give the glue a little soak into the baseboard, and then press it into the selected area.
If the walls do not have perfect evenness, a gap is formed between them and the fillets. If the gaps are small, there is a chance to eliminate them. For this, the masking tape is glued to the part and to the wall in the place of the defect, and after drying the masking tape is removed.

Thus each detail of the plinth is glued, eventually returning to the starting angle. It should be noted that in this case it will be very difficult to remove the wallpaper in this case without damaging the plinth.
Second option
This method is considered to be more benign for wallpapers, that is, you will not need to re-stick wallpaper after mounting the fillets. Installation can be carried out both on glue, and on hard putty. With glue, the sticker procedure is no different from the first option.
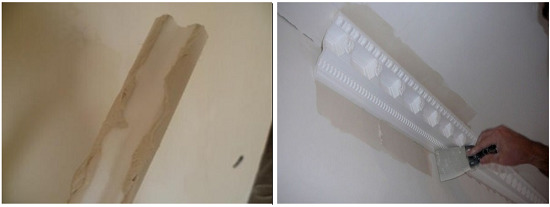
When using a putty, it is bred a little thicker than for working with walls. Adjustment of the ceiling plinth will need to be done before applying the putty. After that, you need to slightly moisten the place of installation of the plinth on the wall and its rear part. Then, putty is applied to the same part of the plinth using a small spatula. The detail of the fillet must be put with effort so that a part of the solution flows out from under it, filling in the voids, and the excess putty is removed with a spatula and a damp cloth.
Tips and tricks
In order to beautifully and without errors mount the baseboard to the stretch ceiling, experts Recommend to listen to some recommendations:
- If you are afraid to stain the stretch ceiling, use the usual food film. It is easy to glue to the ceiling and just as easy to remove.
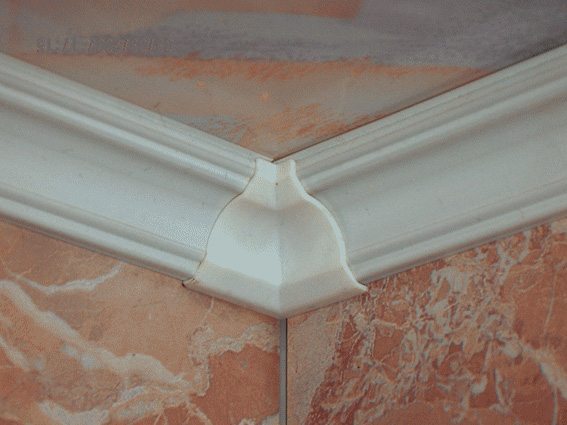
- To facilitate installation, you can use ready-made external and internal inserts.
- When working with a plinth for the first time it will be better to practice in pruning in advance. To do this, take a small piece of fillets and stusloh. Set the device at 45 degrees and cut off not only the upper but also the inner layer.


- For faster and better work, the installation of the plinth is recommended with an assistant.
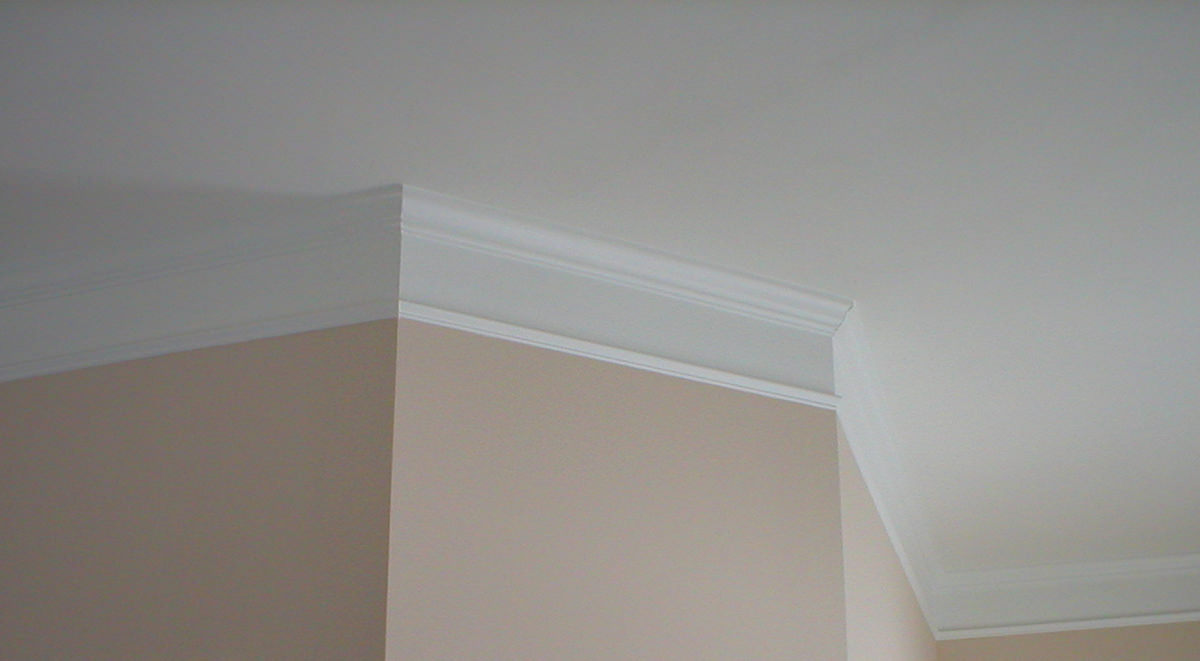
- Work begins strictly in the corners of the room.
- Professionals prefer to first glue the fillets in all corners, and then fill the space between them.
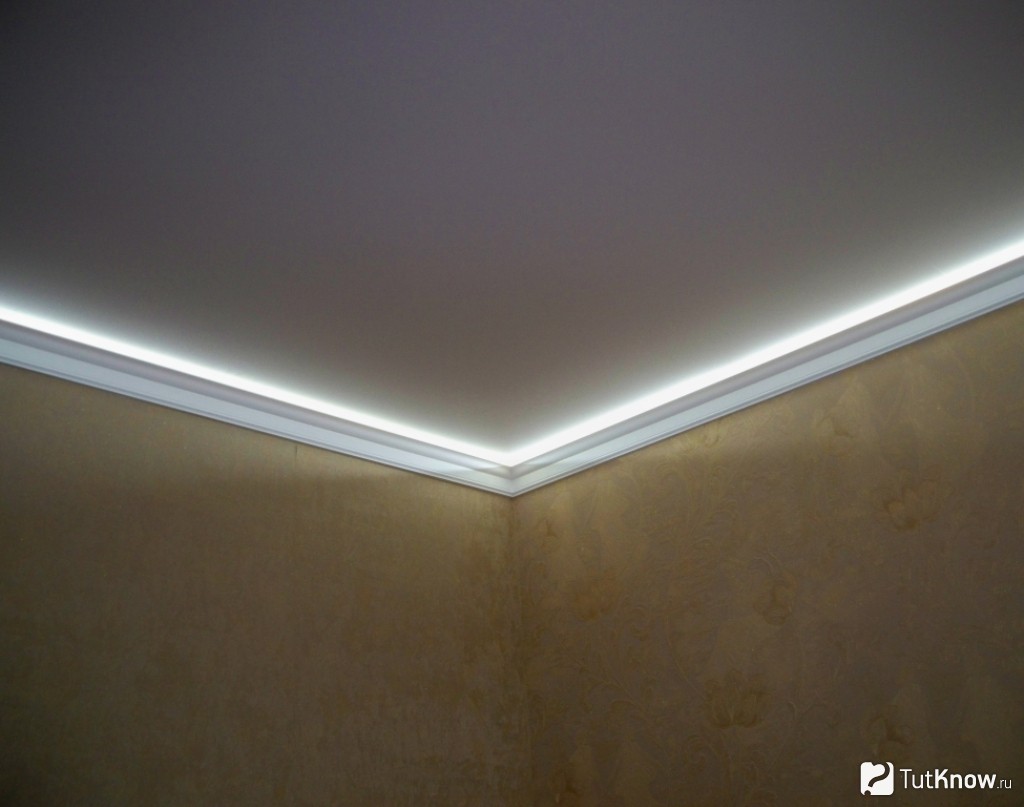
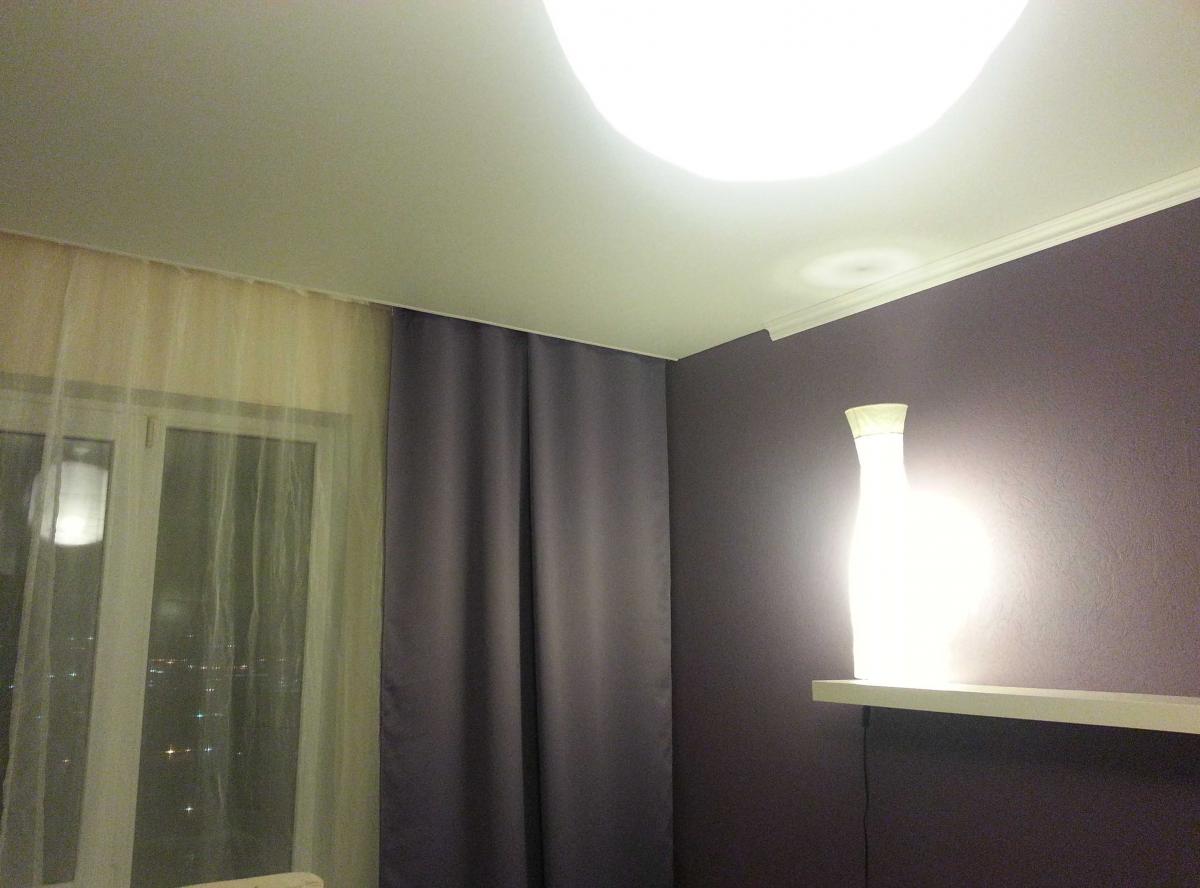
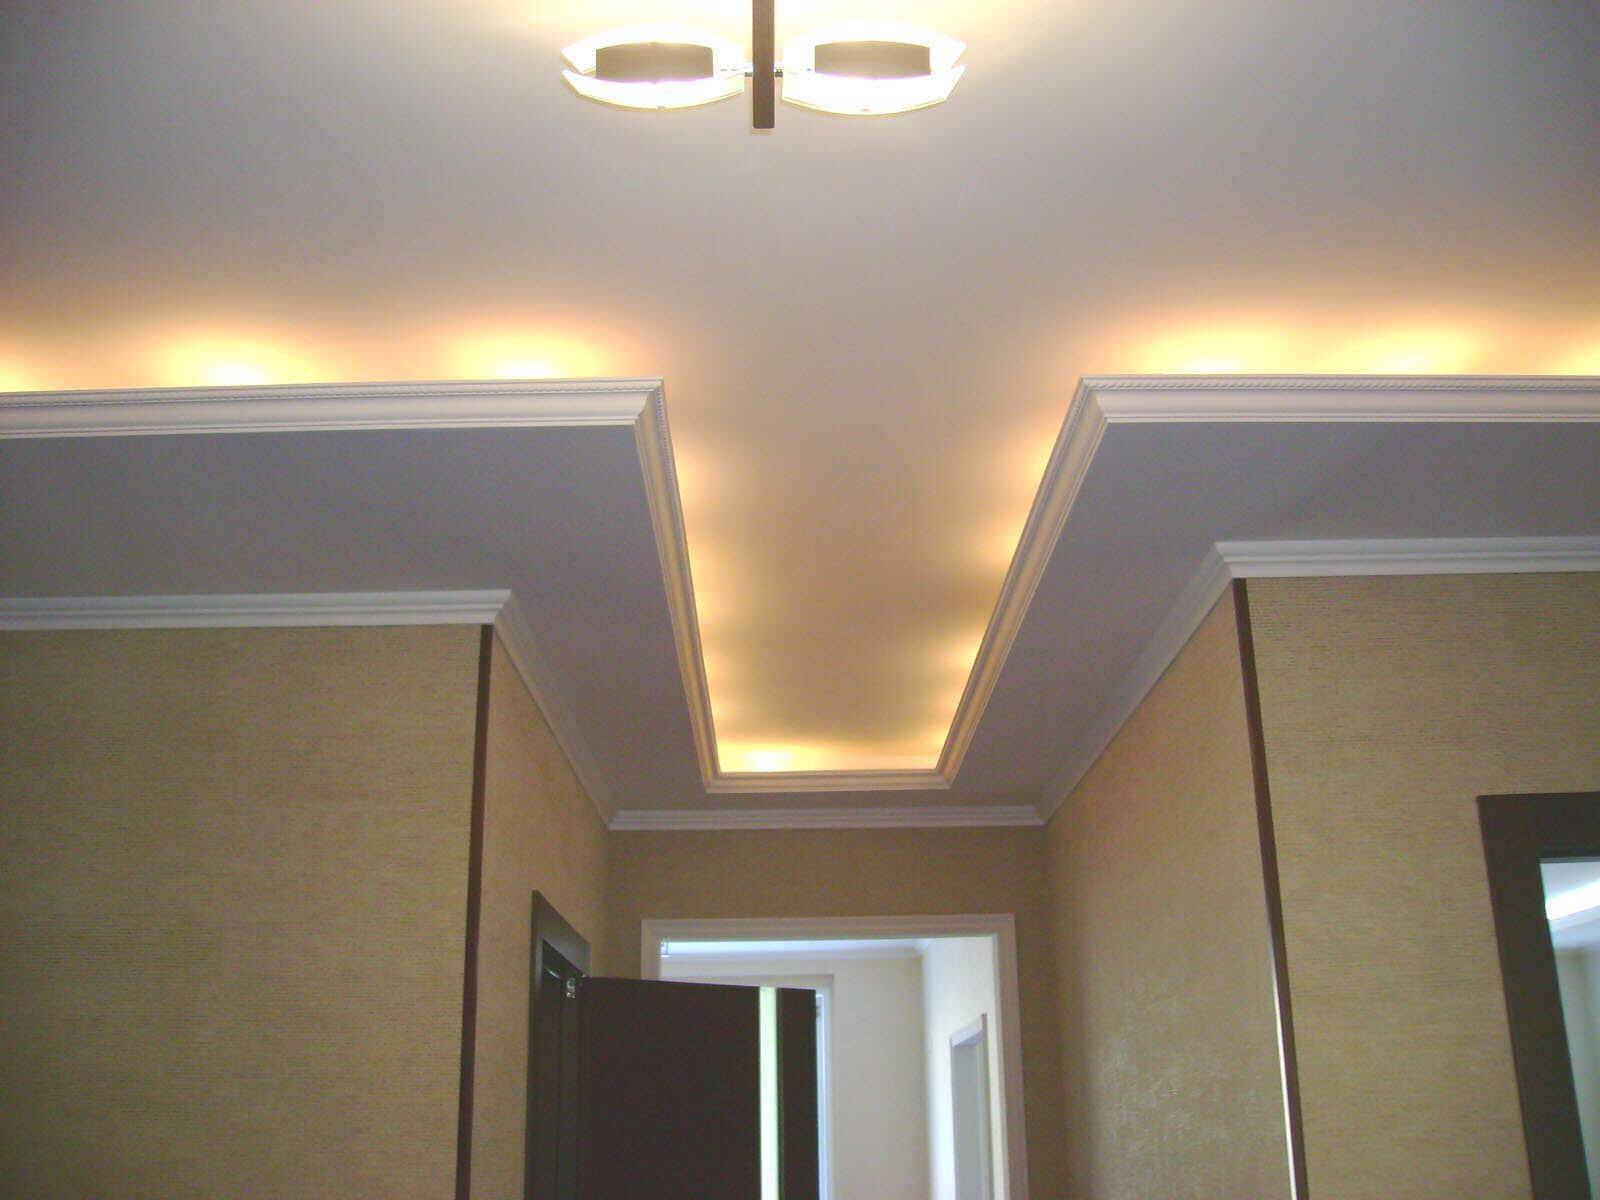
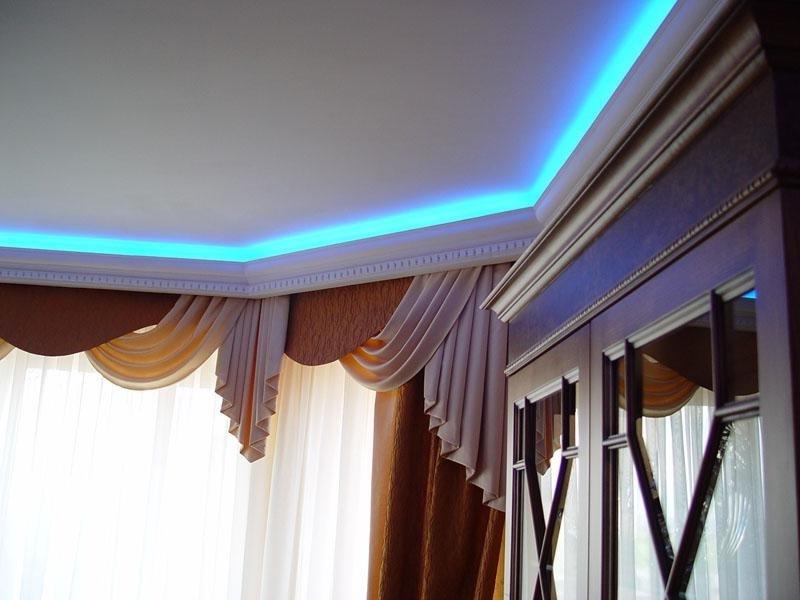
- Between the ceiling and baseboard you can put lights. For this, it is necessary to increase the distance between them to 2 cm in advance.
- If you still decide to attach the plinth to the wall with wallpaper, you can carefully remove some of the wallpaper using cuts in the places where the plinth will be glued.
- If the smell of glue seems too sharp, you can wear a protective mask.
How to glue the plinth baguette to the stretch ceiling, see the following video.


