Corner wardrobe do it yourself
In an effort to save money, many people try to assemble the furniture with their own hands. It also allows you to embody your plan, regardless of anyone, and in addition, raises self-esteem, as well as any possession of a useful skill. There are certain rules for how corner cabinets are created.
Step-by-step instruction
It is not so difficult to make furniture (the same corner cabinet), you just need to know some key points and be able to use the drawings.
Before drawing, you need to decide on the geometric shape of the future product:
- trapezoid;
- the letter G;
- a triangle.
There is another option - with five walls.


Deciding to do it yourself - it means you need to think about all the sizes, which wall, shelf or box will take as much.
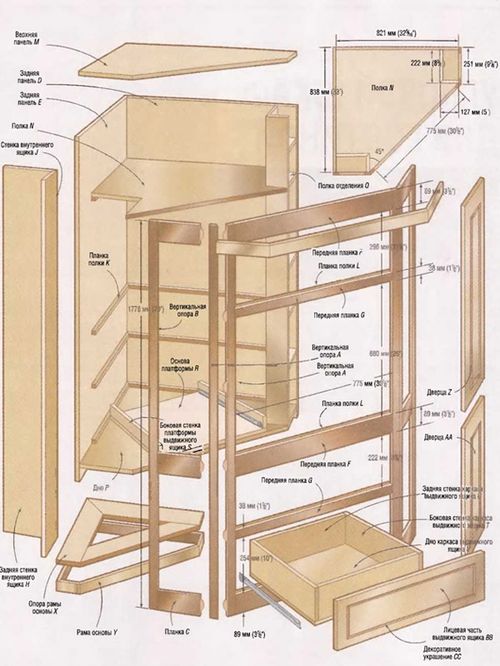
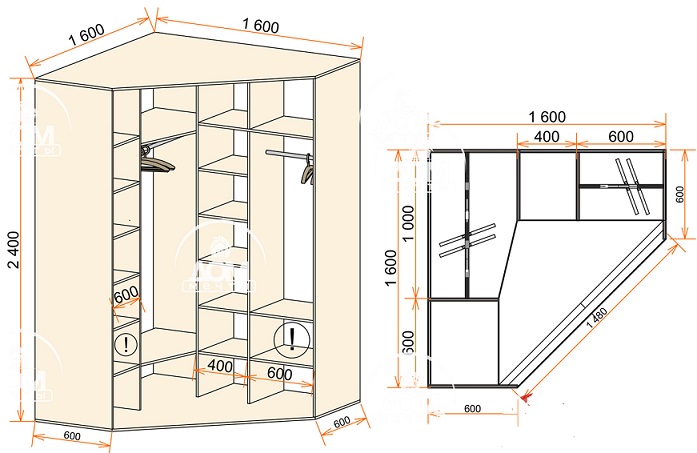
Take for example the following values: length and width of 90 cm, height of 250 cm. According to the assembly scheme, it is calculated how much material will be needed and for what.
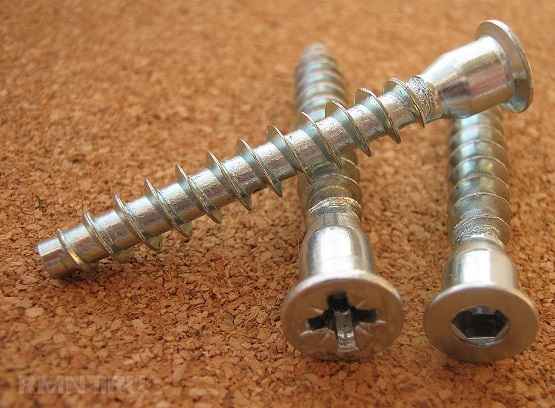
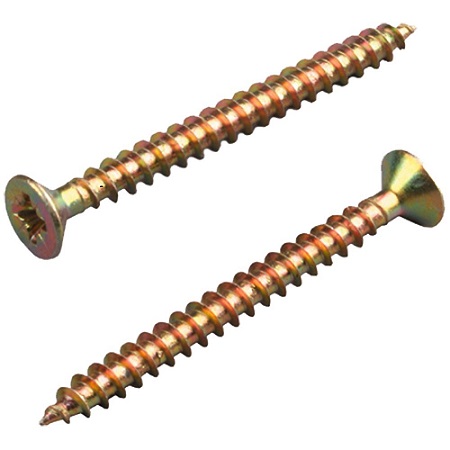
You can not make a homemade cabinet without the following materials:
- self-tapping screws;
- glue;
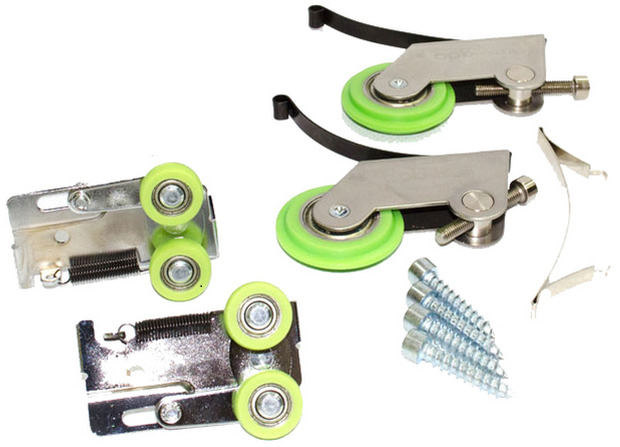
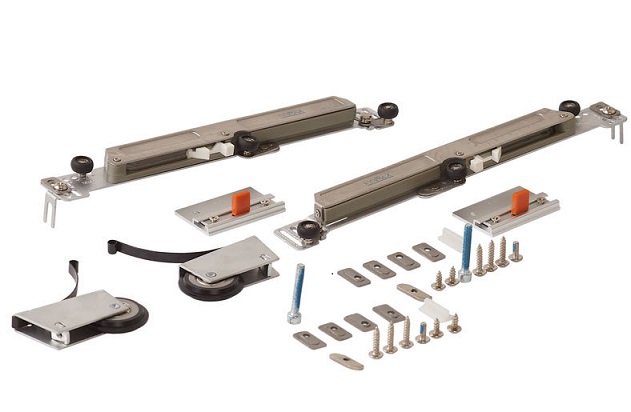
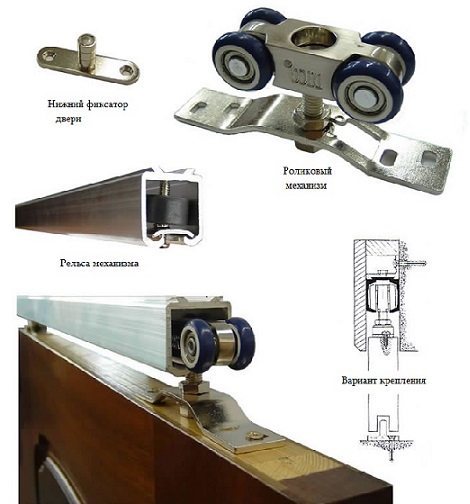
- rollers;
- accessories;
- profile;
- mirrors (optional).
It is clear the desire to save, working with their own hands, rather than ordering a wardrobe, but there are times to save money on which is undesirable. A big mistake is made by those who order bad rollers or refuse a steel profile due to its alleged high cost.

Be sure to prepare the workplace, the corner cabinet can be assembled properly only in this case.
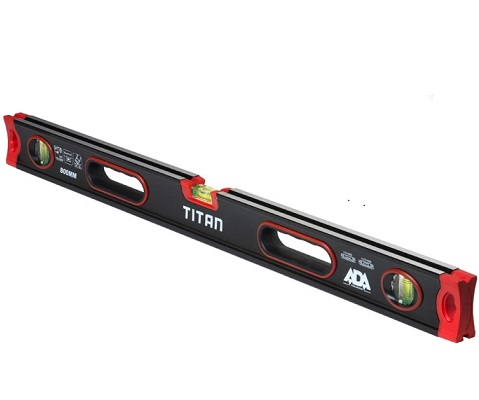
Required tools:
- drill;
- building level;
- perforator;
- hand saw;
- hammer.
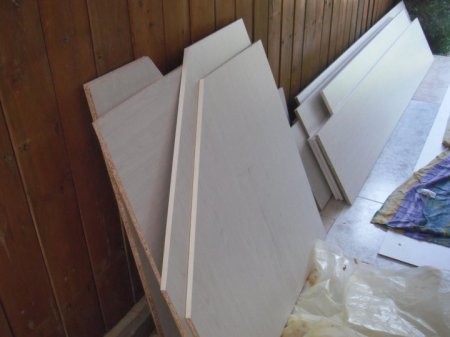
If you want to speed up the work and do it carefully, order cutting boards in a professional workshop.


The size of the product should correspond to the area of the room where the future cupboard will fall. The basic principles are also taken into account. So, under the outerwear it makes no sense to take the compartment already 80 centimeters and below 140 cm.This is where the scheme comes in handy, having made and used it, you will not miss the size, you will not find that there is not enough space inside for everything you need. View of the cabinet on the assembly it affects very little.
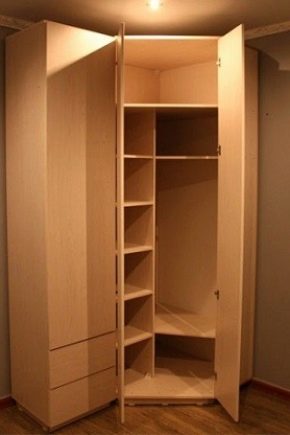
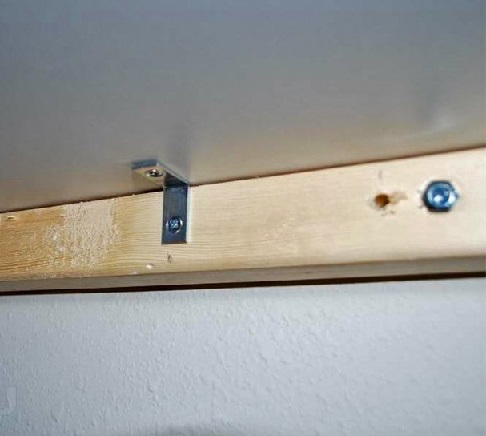
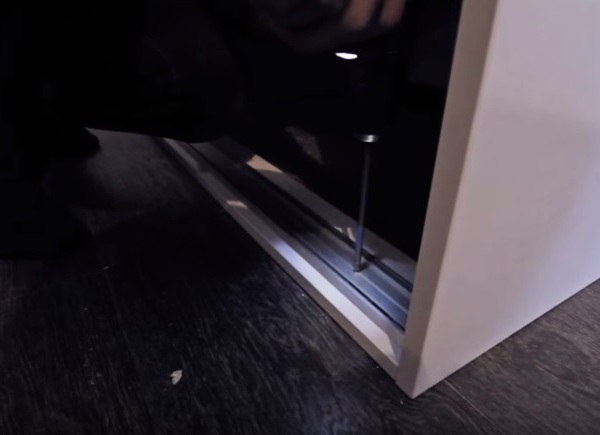
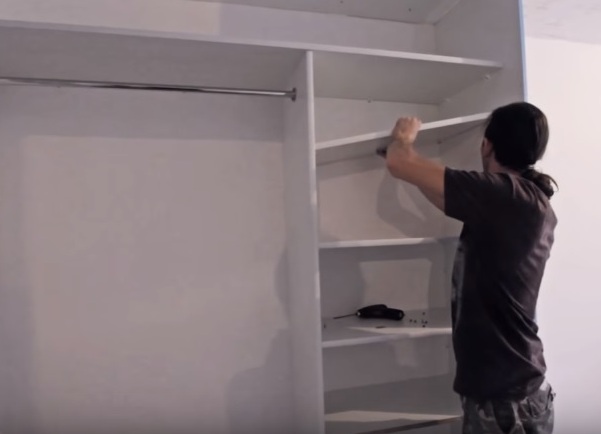
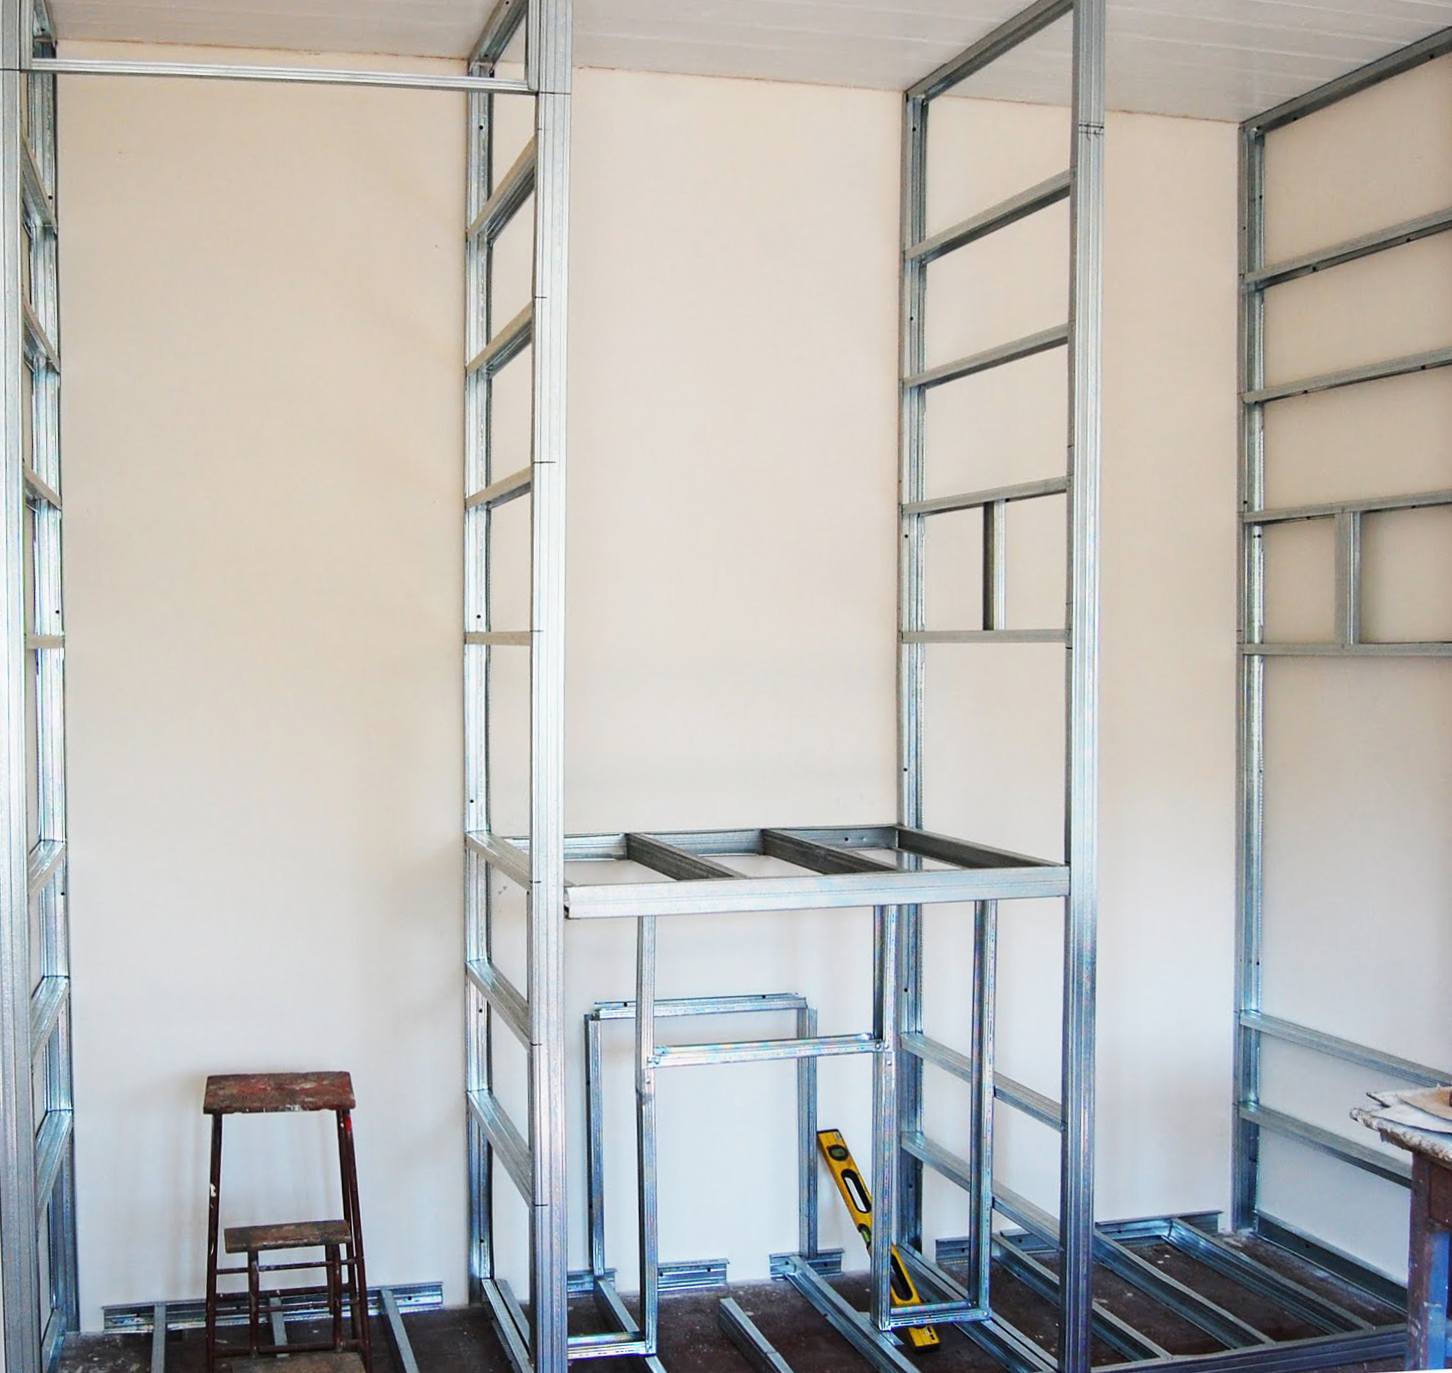
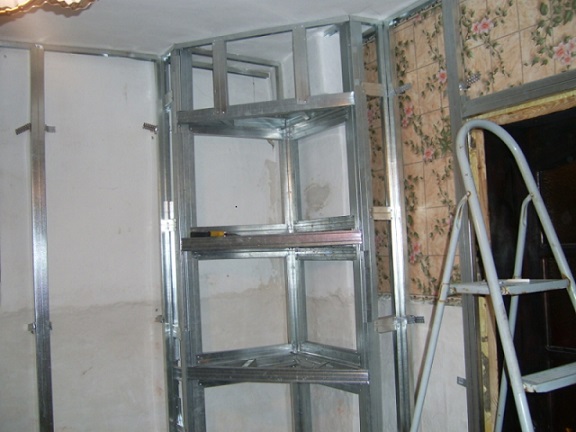
The first step is to mount steel corners., which will hold the sides of the structure, will not allow it to deviate from the floor and ceiling. Finished parts are used to make the frame, fixed on the door rollers, put the guides and are engaged in the door. In this last step, all actions are surely controlled by level to eliminate the slightest distortions.

Internal work is no less important than the formation of the shell.
Here the steps are as follows:
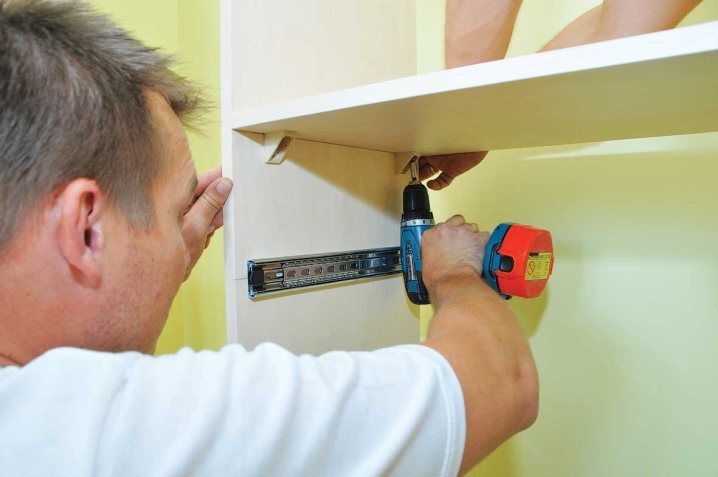
- put brackets;
- fix the shelves in the proper places;
- to assemble fittings (first of all, partitions, then shelves and hangers, mirrors, and leave the handles for later).
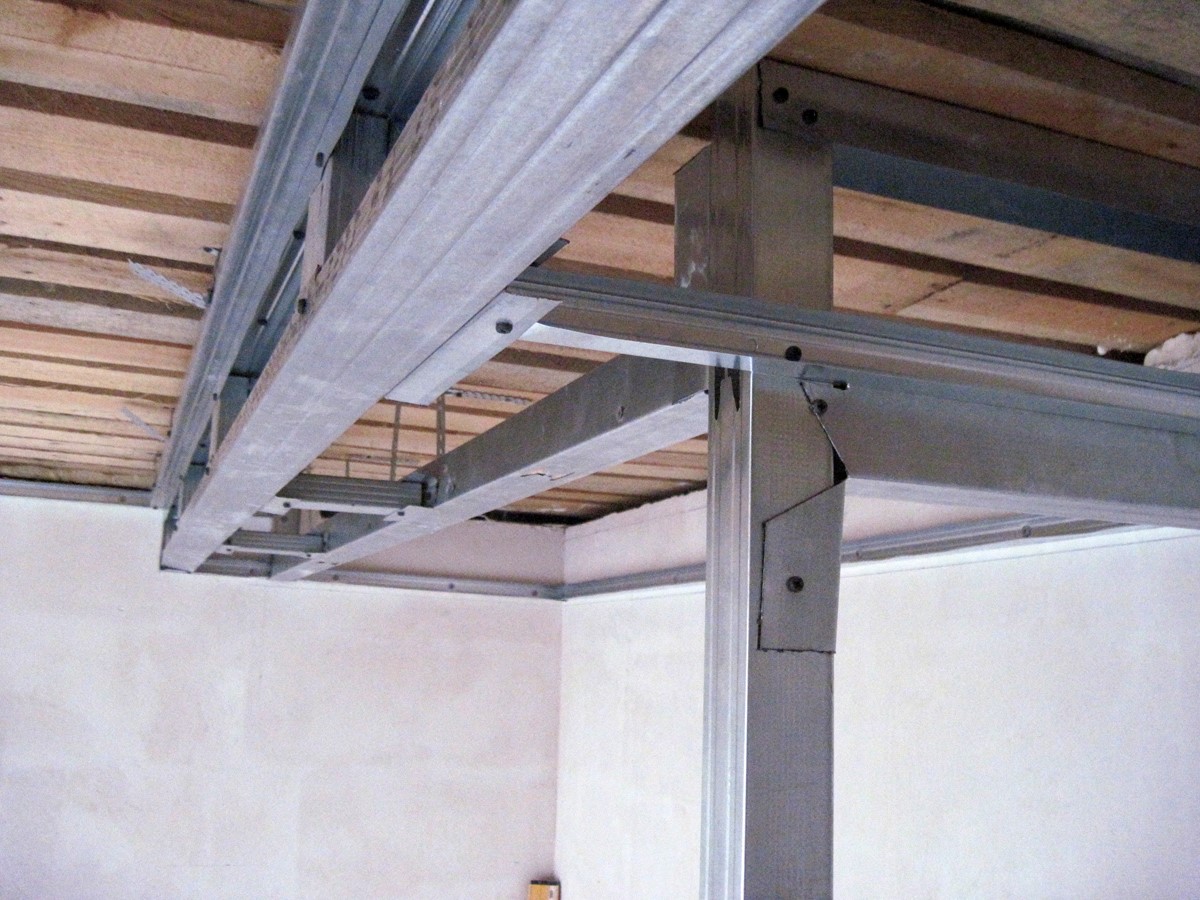
Be sure to select fasteners in accordance with the base material (dowel-nail for brick and concrete, nail or screw for wood, special dowels with expansion whiskers and cross notch need to be screwed into aerated concrete). Vertical racks, inserting them into the guides, should be fixed with suspensions.Stiffeners can not be neglected, you need to try to make them as much as possible - especially in places where there will be a box or shelf. Replacing the metal profile on the slats is permissible in exceptional cases, and the wood must be completely dry, otherwise shrinkage deforms the entire cabinet.
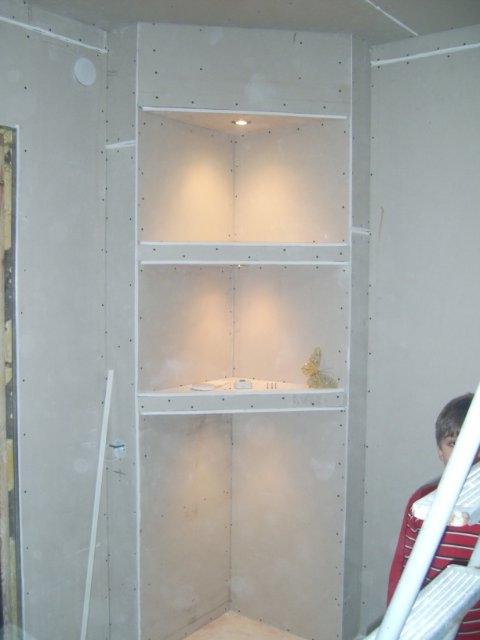
Without special changes, this scheme is also used in assembling drywall cabinets, but there are some differences.
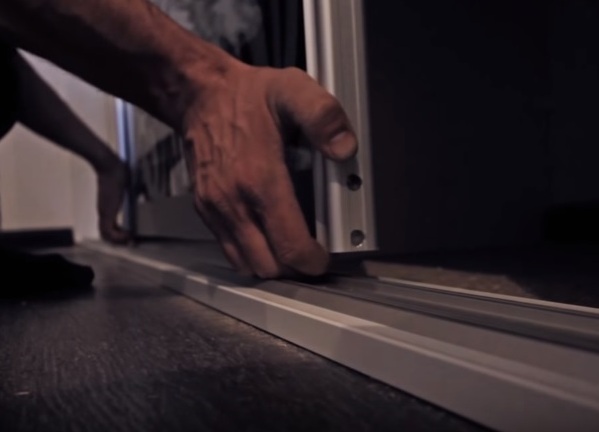
The starting point in this case is not the installation of the frame, but the marking of the floor and ceiling according to the scheme. The most practical is to mark with a rubber cushioning tape, but only along it to attach metal profiles as accurately as possible. In order for the cabinet design to last longer, be sure to use stiffeners by inserting them between the profiles of the rack.
If you do not want to face a situation when something needs to be redone, perform the next step especially carefully. Blanks need to put in their designated points and attach to the screws (screwing them at a distance of 20 cm or so). Make sure that the caps enter the material per millimeter, and wherever you will then mount the shelves, corners are installed.
In no case do not do it yourself and do not order anywhere on the door to a home-made cabinet, until the rest of the structure is assembled! Otherwise, you can face the fact that the dimensions have changed somewhat, and it is impossible to finish the job. After the door comes the turn of the rods and (if any) fixtures.
Then it remains only to take care of decorating it (priming of internal and external surfaces, sealing joints with plaster plaster, gluing serpentry tape, installing paint corners, puttying, drying, polishing and refilling, priming and finishing). What exactly to finish - tiles, other materials, or simply paint, you need to decide for yourself.
Design features
Complaints about the lack of space in an apartment or house are very frequent; upon closer acquaintance with the dwelling, it turns out that very often the individual corners are empty, they cannot be used. Both problems are solved at the same time, if you make a corner cabinet - it’s also much more economical than buying it in a store, or ordering it in a furniture company.
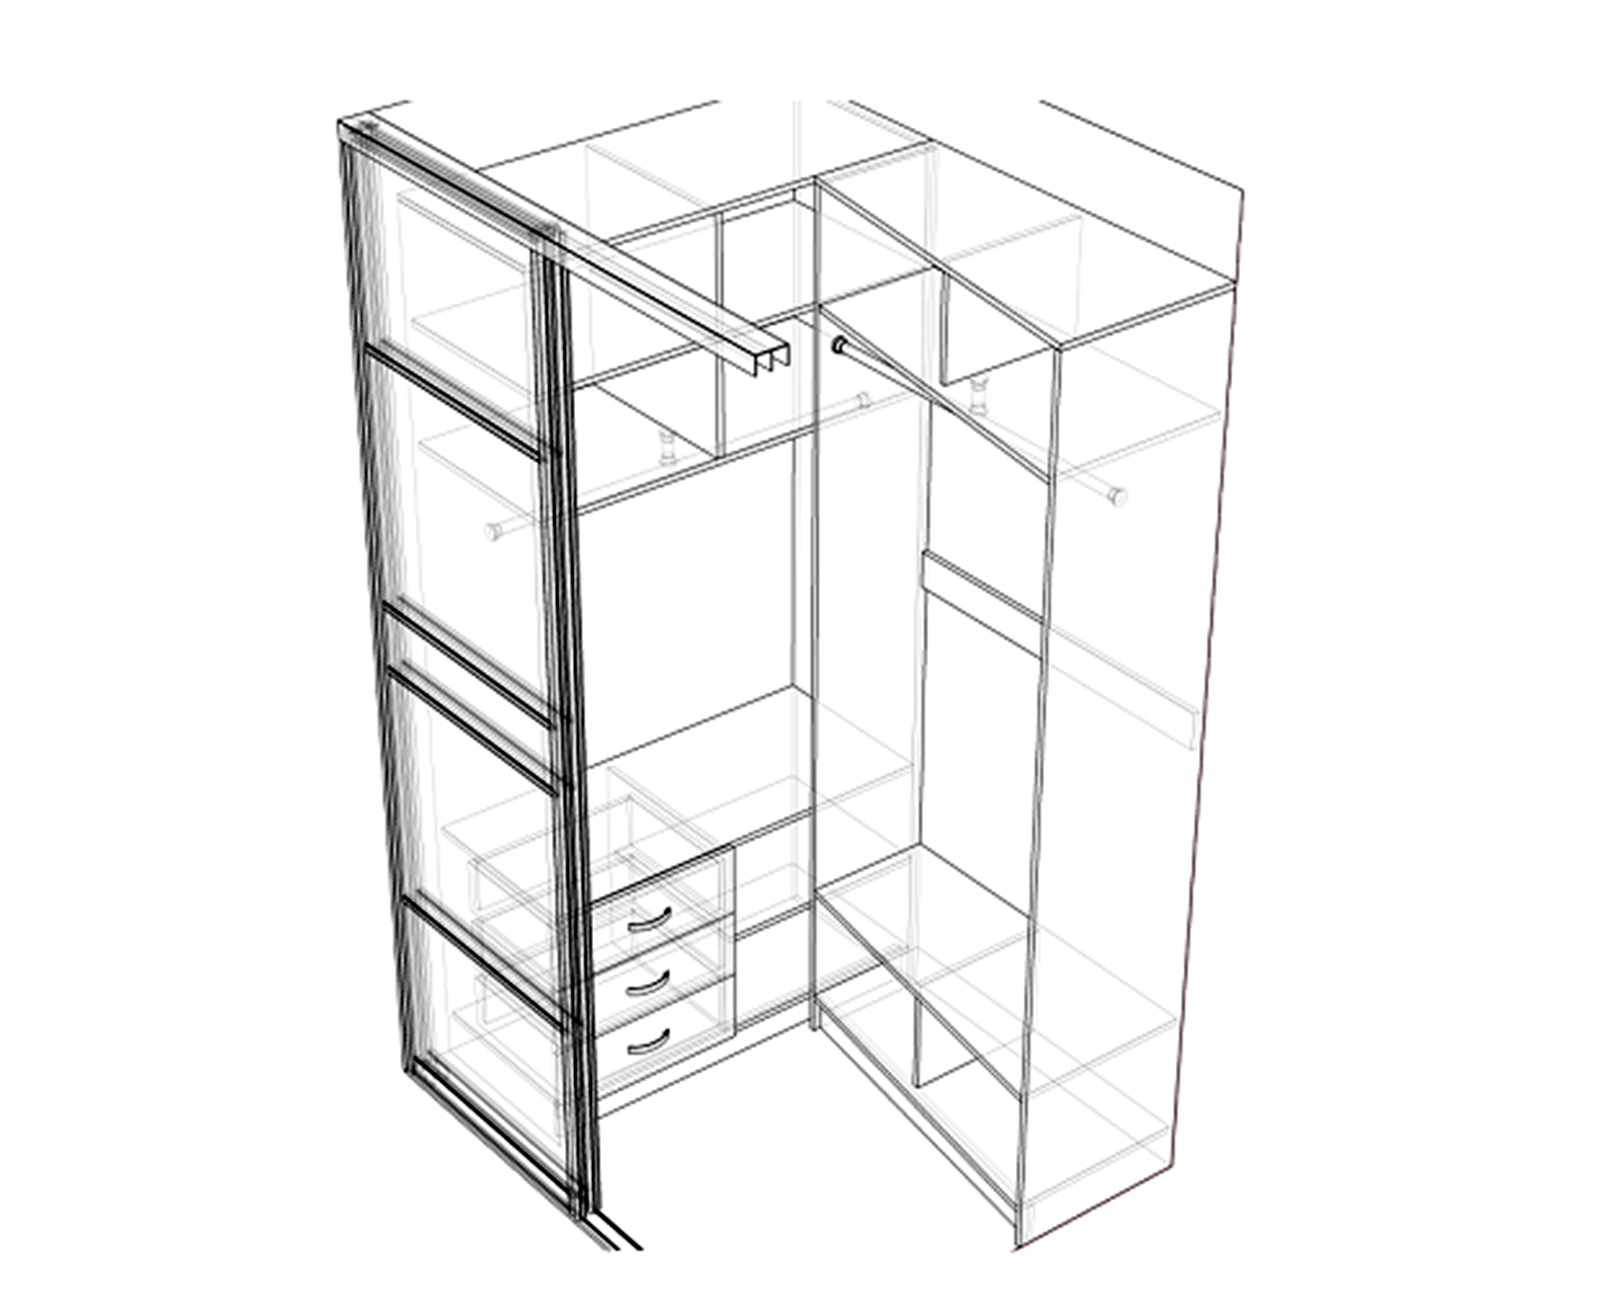
Almost every person can make a drawing, but professionals need to cut out the details in accordance with the idea, because it is too hard and troublesome.The height of the section where fur coats, jackets and coats are to be stored should be flexibly adjusted to the height of those who will use the closet, everyone should be able to reach the crossbar freely. An important clarification: placing the crossbar in width, you will achieve greater returns from the internal space.
Finally, a carefully thought-out scheme helps to navigate in size, it is better to pay attention to it than to risk it in vain.
It is advisable to make a scheme, being exactly where the cabinet will have to stand - then do not lose sight of any details. Even the smallest components should be reflected in the drawing. Mark the location of the rolling drawers, doors and baskets; the thickness of the material is indicated accurately, and the specification of any element is given. Yes, it is quite difficult - but there will be no good way to do the job. The luminaire installation sites (if they are provided) should be noted immediately, both when drawing up the plan and at the beginning of the work itself.

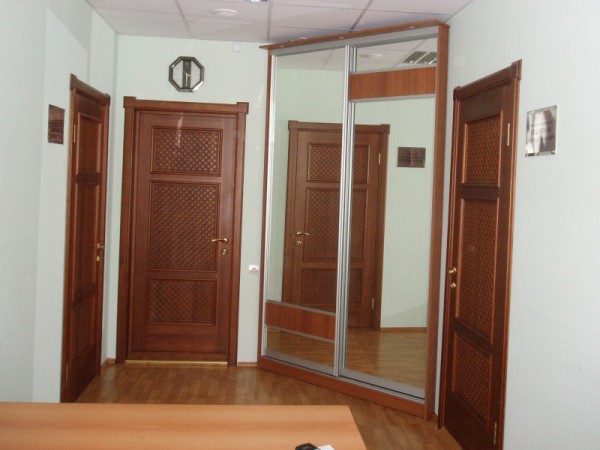
Styles and accommodation options
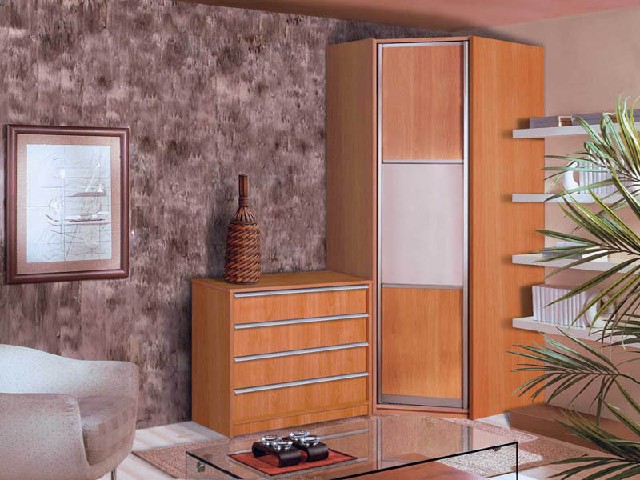
In the bedrooms with a traditional interior furniture from MDF or MDF, covered with film, plastic layer or veneer, looks perfect.With the help of a mirror canvas, not only can I expand the room, but also correct some visual problems. Many designers like to use rugged glass, allowing them to show imagination and realize the most daring projects.
Country style It helps to feel easy and at ease, to remove the burden of ever-haunting problems. To keep it simple is to give up bright colors and designs; the less processed a tree looks, the more accurate the correspondence to the canon of style.
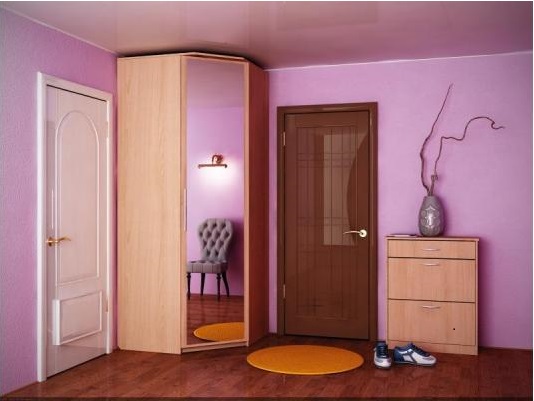
With regard to the installation site, the best solution, most experts believe a place where the walls are in contact with each other. If you wish, you can completely cover one of the walls, and leave the other free of furniture.
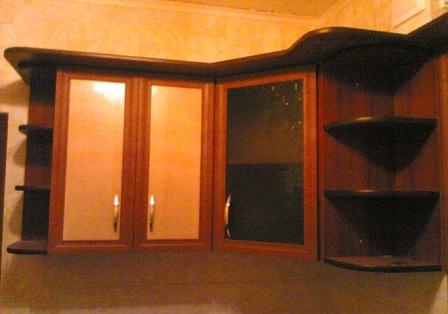
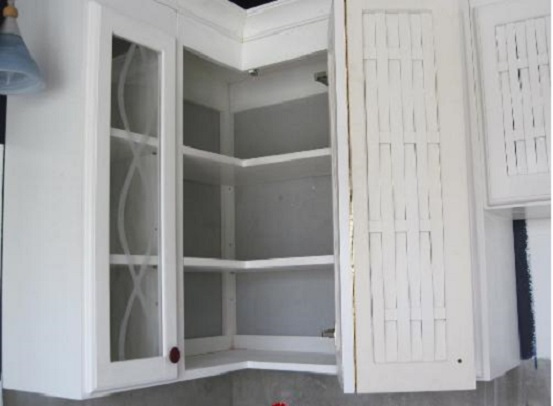
One accommodation option is kitchenwhere the cabinet is placed for culinary needs. The device has cabinets in any room, but even against this background, the kitchen stands out. There is always not enough space, and therefore any way to at least slightly improve the efficiency of space use is beneficial. Note that it makes sense to measure surfaces and order blanks only when the floor, walls, and ceiling are aligned - otherwise the cabinet may not fit in a given place.
To correctly design an angular kitchen cabinet, you need to use only two types of connections (it should be connected at the right angle with the worktop, and at a 45-degree angle with the sink). In contrast to the direct option, additional inserts should be provided (they perform two functions at once - the mechanical connection of the boxes and the replacement of part of the facade). A ledge is made above and below.
It is impossible to calculate the design correctly and estimate the consumption of materials for it, if one does not take into account that the upper and lower elements are located in the gap separating the lateral lobes, otherwise it will not work out the facade as it should. The table top must have an identical geometric shape.


Models
It is very important to draw a good scheme, choose a decent material and tool, combine all the details as it should be. But even before these works, you should decide what you want, because the wardrobe closet is different.
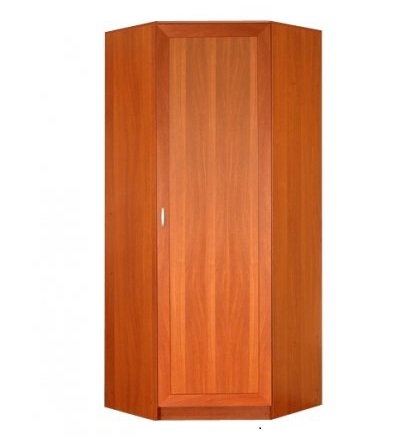
There are three main options:
- the simplest (for a pantry or other utility room);
- full-fledged product (such as a wardrobe closet or linen option);
- exquisite top-class furniture.
In the absence of sufficient experience and confidence in success, it is worthwhile to do only the first type of corner cabinets - let the result be not impressive, but practice,and errors do not put immediately on public display. Remember that you will save money only if you already have a prepared niche or a strong and very flat floor, otherwise leveling it will require too much effort and money.
Do not try to either unduly reduce or increase the size of drawers and shelves - this will equally make them impractical and inconvenient to use. Creating a model, you need to take care not only of the fact that the facade was beautiful, but the frame is durable. A very important point is the presence of mezzanines, thanks to them a certain amount of used space is added. Hanging closet to do no more difficult than usual, you just have to be careful to avoid mistakes.
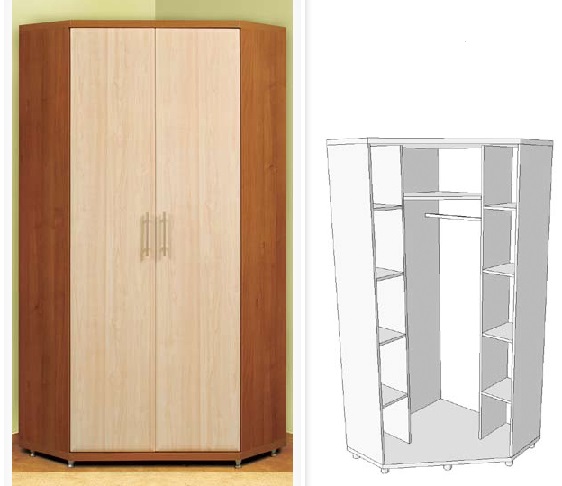
Dimensions
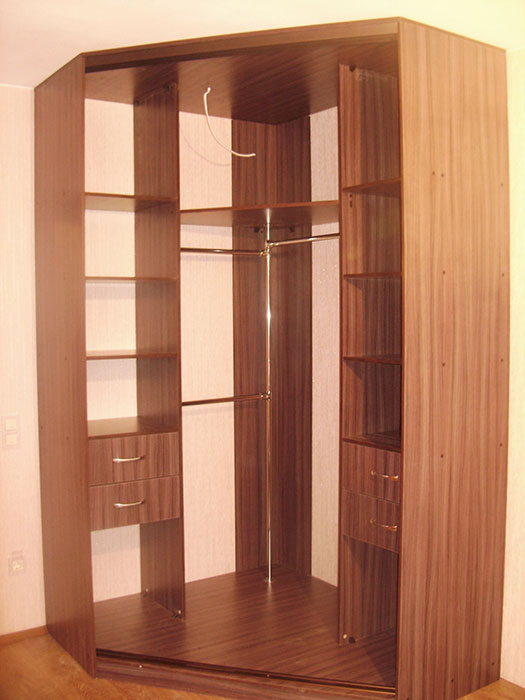
The cabinet, which will have to stand in the inner corner (except single), is started to be designed and assembled from the corner section, and only after it comes the turn of the wings and the attached stand. Two sections of 80x80 (one under the outer clothing) - this is the very minimum, without which there is nothing to talk about at all.
The optimum height is up to the ceiling or slightly lower. For a diagonal cabinet of triangular section, the sum of the lengths of the sides of a right angle cannot be less than 120 cm; if you have to make one of the walls much longer than the other, it is advisable to prefer the shape of a trapezoid.The depth must be at least 40 cm, and typical values are 0.45 and 0.6 meters.

Necessary materials
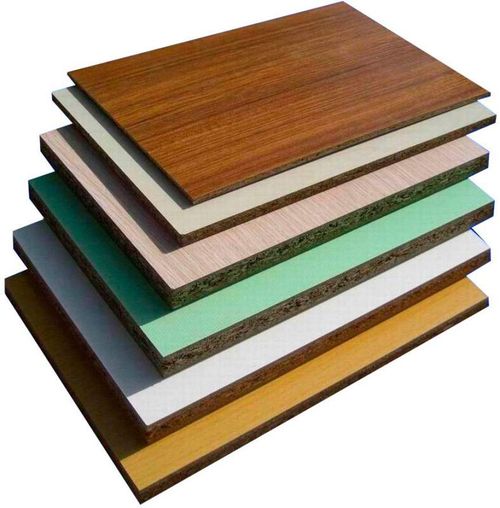
The main three types of raw materials are as follows:
- laminated chipboard;
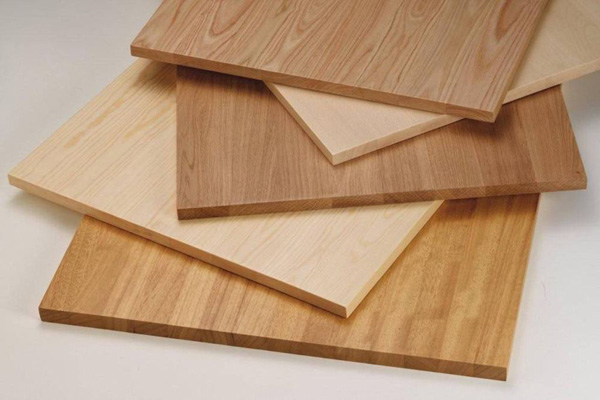
- furniture shield;
- the boards.
Wood is not as durable as a chipboard, and when calculating consumption, it must be borne in mind that it will take 50% more thickness to achieve the same strength. All parts made of laminated chipboard should be covered with melamine, and in principle, this can be done at home, but not always cost-effective.
The option when drywall is used is very complicated. The hinges are not able to keep in profile, you will need to make a special wooden frame on top of the facade, otherwise the door will simply “lead”. And the profiles themselves must be special, it is not so easy to find them, even in a large hardware store. A big disadvantage is that such a cabinet is unacceptable to move. Taking a tree from an ordinary cabinet is not a good idea.
Wood needs to be thoroughly prepared and carefully selected, but if you want to get furniture over the weekend, which will serve until the next major overhaul, there are no alternatives - there is only laminated chipboard on confirmatics.

And one more nuance: it is quite possible to make a good modern wardrobe out of the old chiffonier - but it will be necessary to use new fittings. Guides, rollers, handles and doors, even if they still look normal, are almost certainly obsolete. Be sure to check if there are any deflections at the door panels. Sawing off parts of parts is undesirable, and whenever possible it should prefer the material extension.
As you can see, there is nothing extremely difficult in creating a corner cabinet with your own hands. It will only be necessary to do all the work carefully and without retreating from the planned stages. Then you will save money and be able to enjoy the achieved result for several years.
How to assemble a corner cabinet with your hands, see the next video.


