Comfort in the interior - homemade laundry baskets
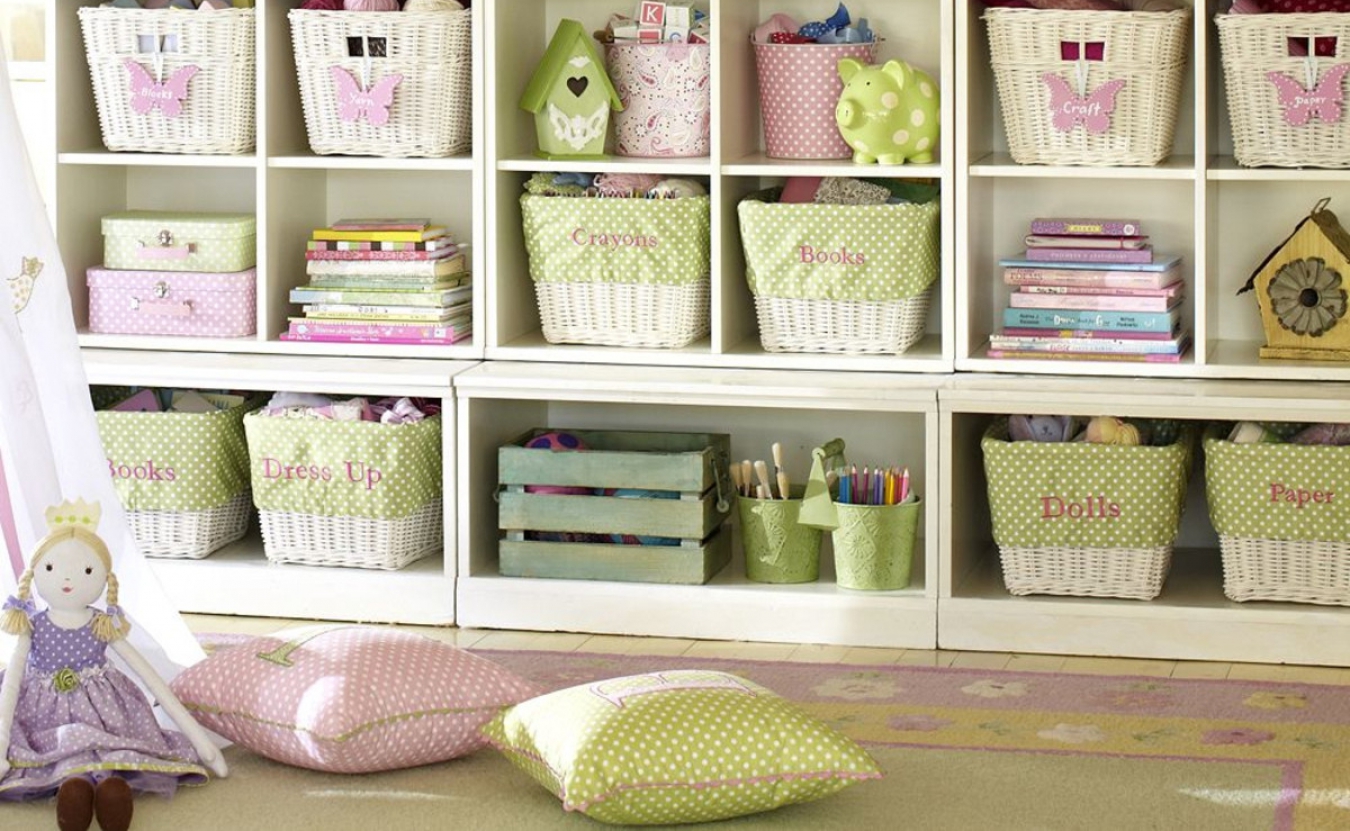
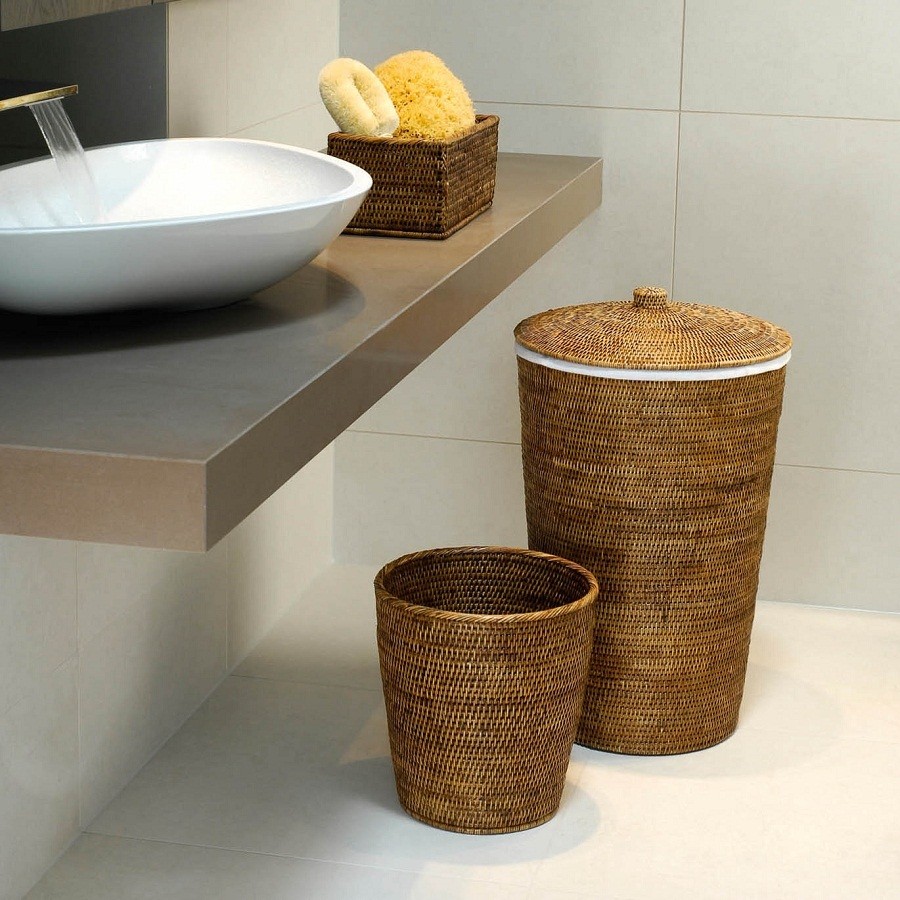
Recently, the laundry basket is not only a practical item, but also a full-fledged element of the interior. It fits nicely in the bathroom. There are both metal and wicker products. As more and more often the laundry basket acts as a component of the decor, various home-made analogues appeared in which the craftsmen used all their imagination and creative abilities. The box for dirty linen with a lid can be woven, sewn, made of cardboard or crocheted - it all depends on your skills.
Types of baskets
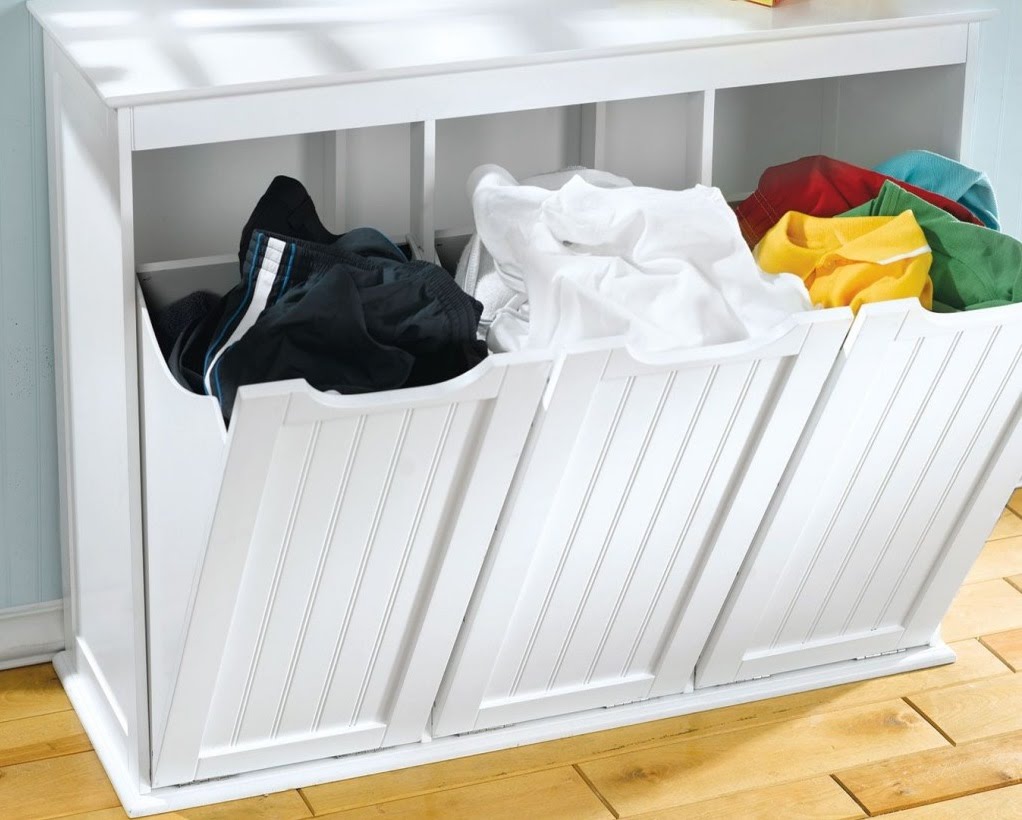
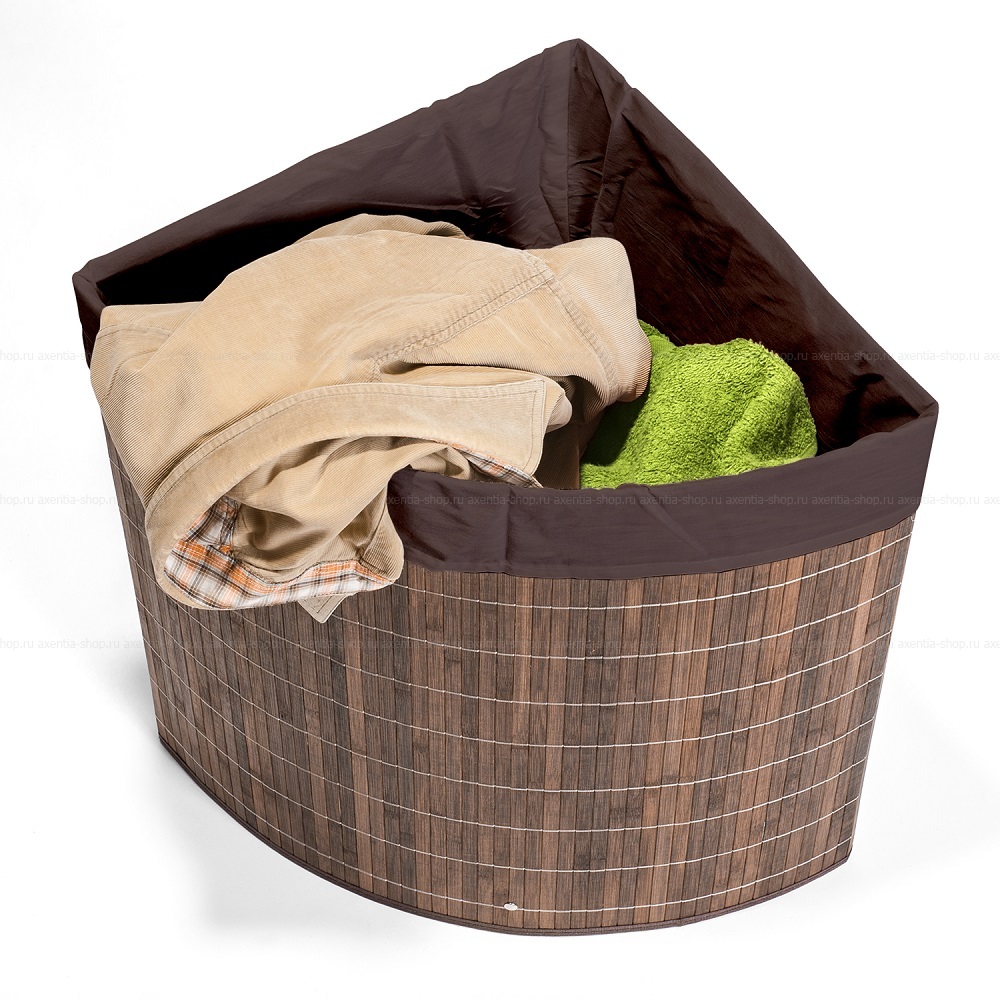
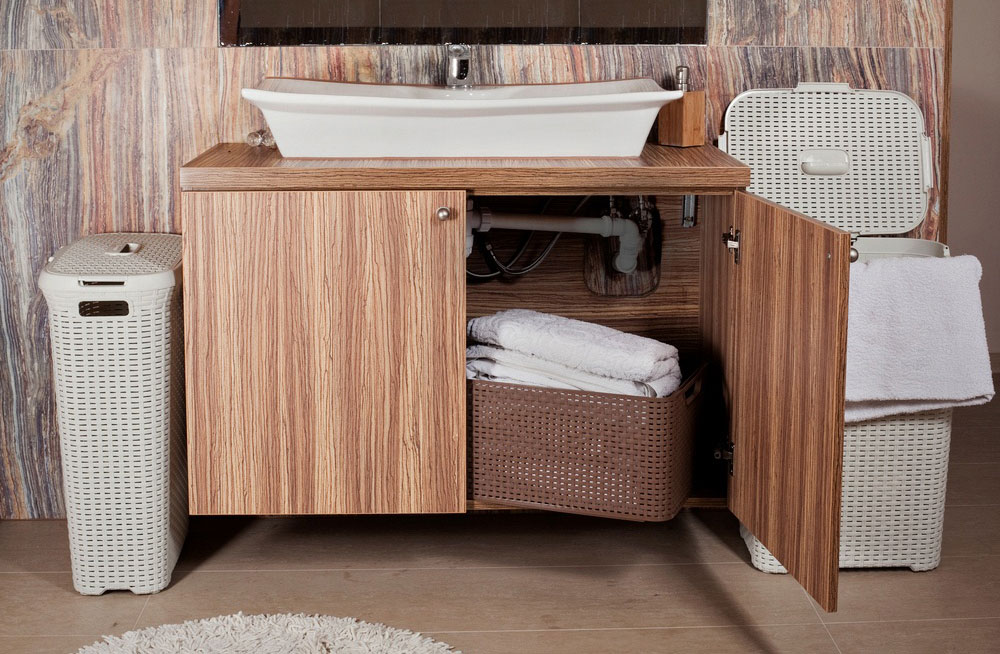
Linen baskets are classified by type, given their shape. If you are seriously thinking about the independent production of a laundry basket, it is advisable to think in advance about its shape, especially if you are the owner of a small-sized bathroom.So, the most common model is a standard laundry container. It differs in the materials involved in the manufacturing process and in the method of installation. The angular and straight container is often installed near the washing machine. The corner model is necessary in small bathrooms, as the corners are most often not used.
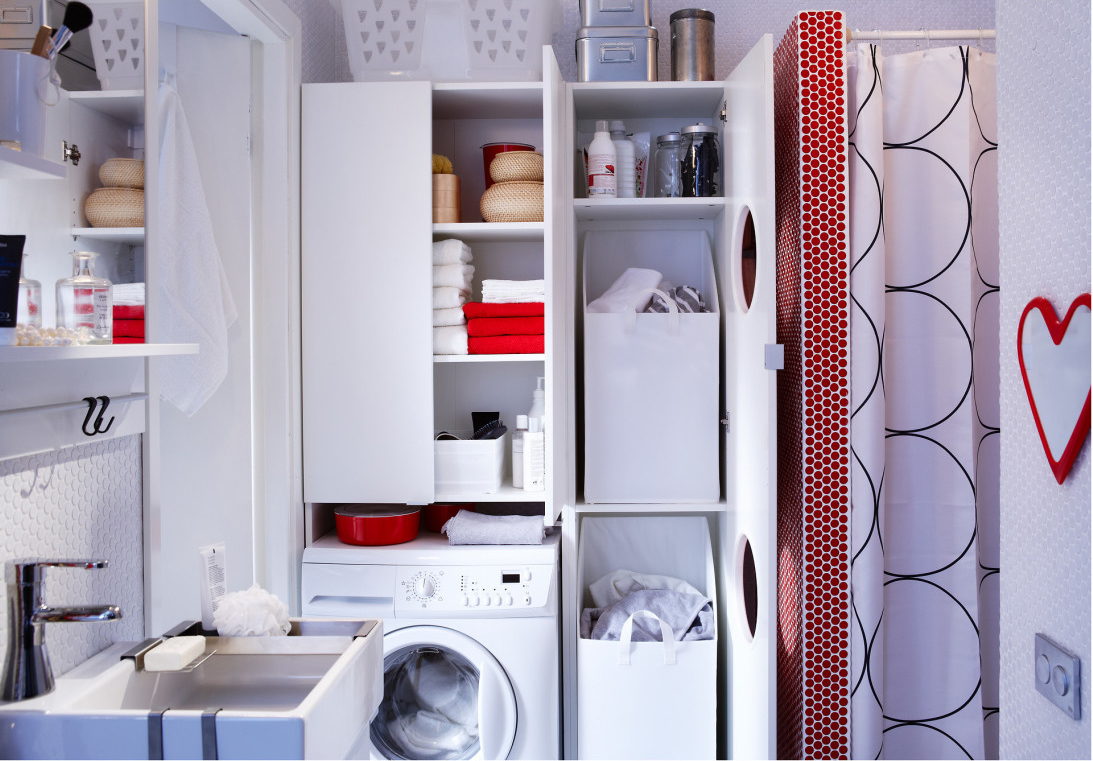
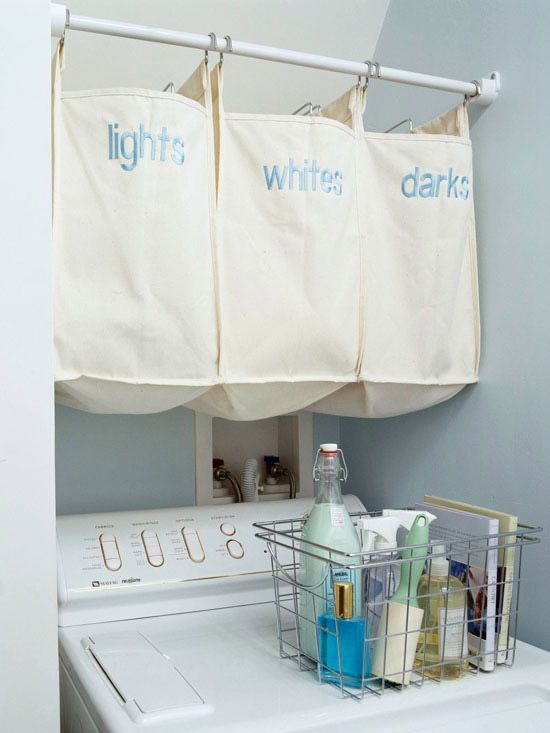
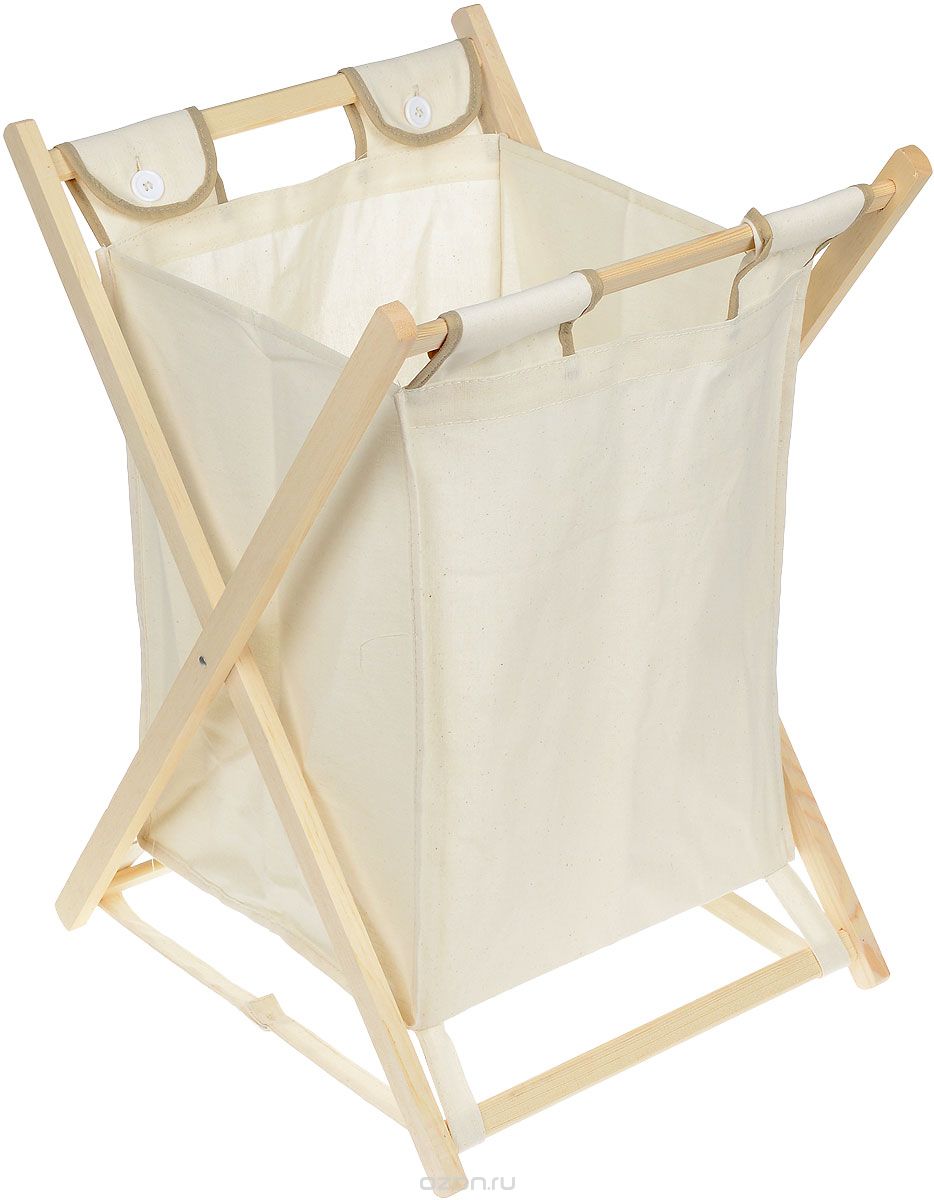
Of homemade products, the most practical is the wall laundry basket. It is mounted on a free wall or placed in a hanging closet. This product is not conspicuous at the entrance to the bathroom and does not clutter up the space. Another practical option is a collapsible basket, externally similar to a standard container. This cover is useful for arranging small-sized bathroom.
Materials
For the manufacture of a laundry basket with their own hands is often used the method of weaving, so work will need materials suitable for this method. In specialty stores, rattan baskets are most common. This is a peeled and dried stalk of rattan. The stems have a flexible structure,which allows a person to give the product almost any shape.
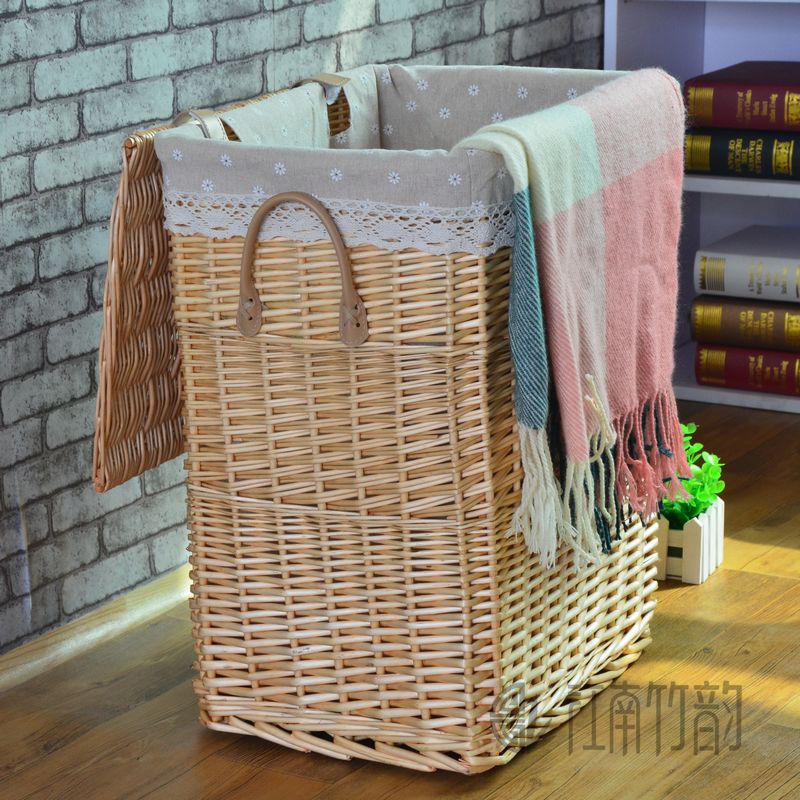
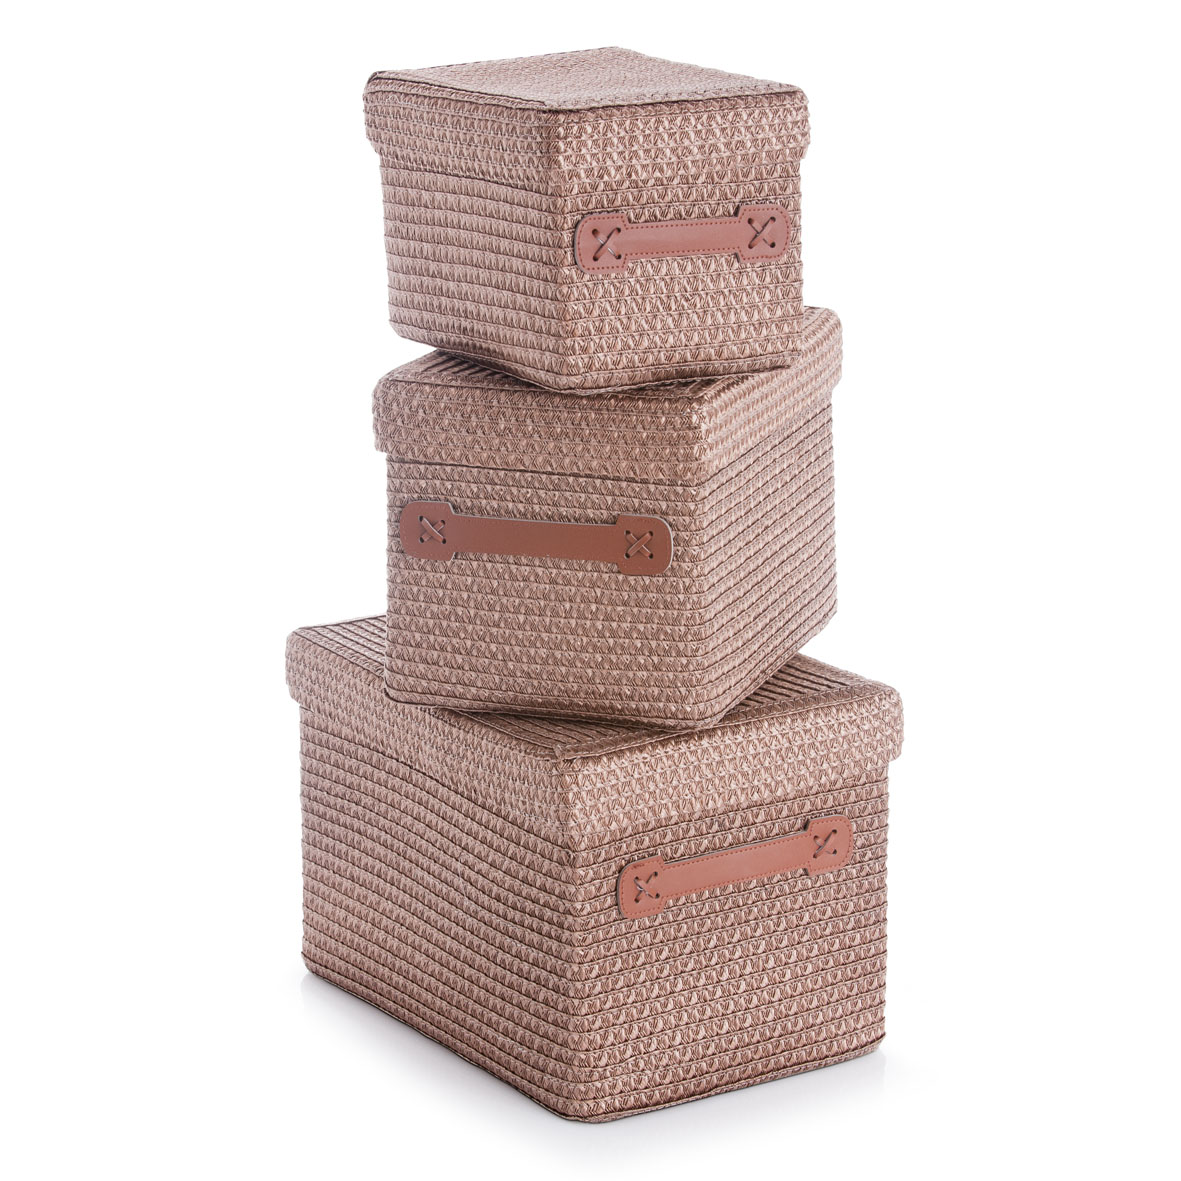
Another popular and popular material for weaving a laundry basket is the vine. This is a kind of thin and long stem (most often the stem: herbaceous or woody). For products used vine grape and willow. From natural materials for weaving baskets you can also often find bamboo. Original products are obtained if you use in the manufacture of ordinary newspaper or textiles. In addition, such baskets are not only unique, but also no worse than those presented in stores. It is worth noting that the materials involved in the process, requires a minimum amount.

Required tools
Variations on the creation of laundry baskets at home a lot. After you decide on the model, it is advisable to prepare in advance all the tools required for the work. Their choice will directly depend on the type of material with which to work. But the first thing you should think about before you start making a basket is its dimensions.It is necessary that the product harmoniously fit into the interior of the bathroom, and at the same time it did not look bulky or impractically small.
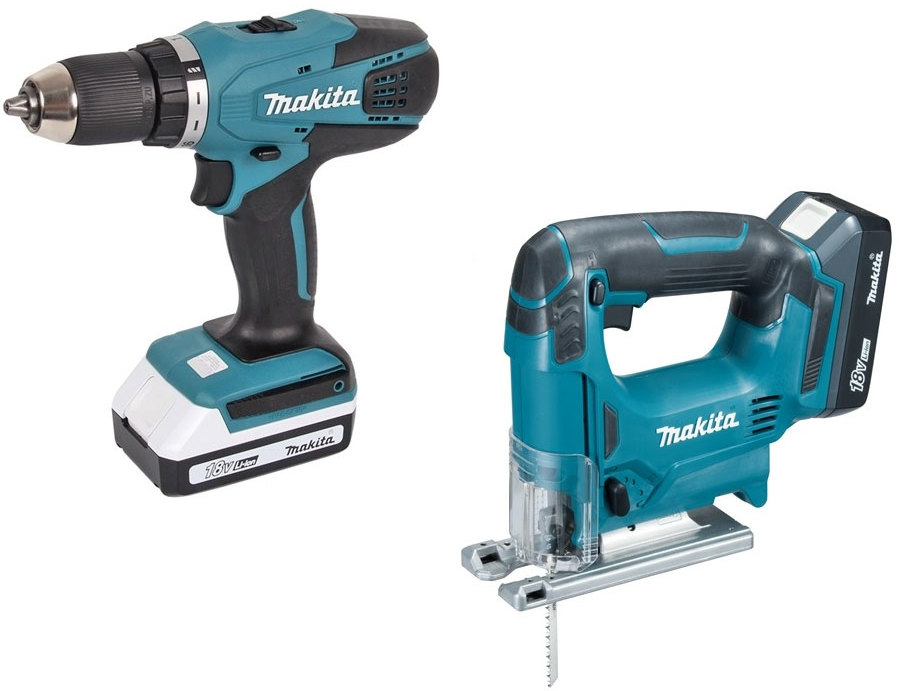
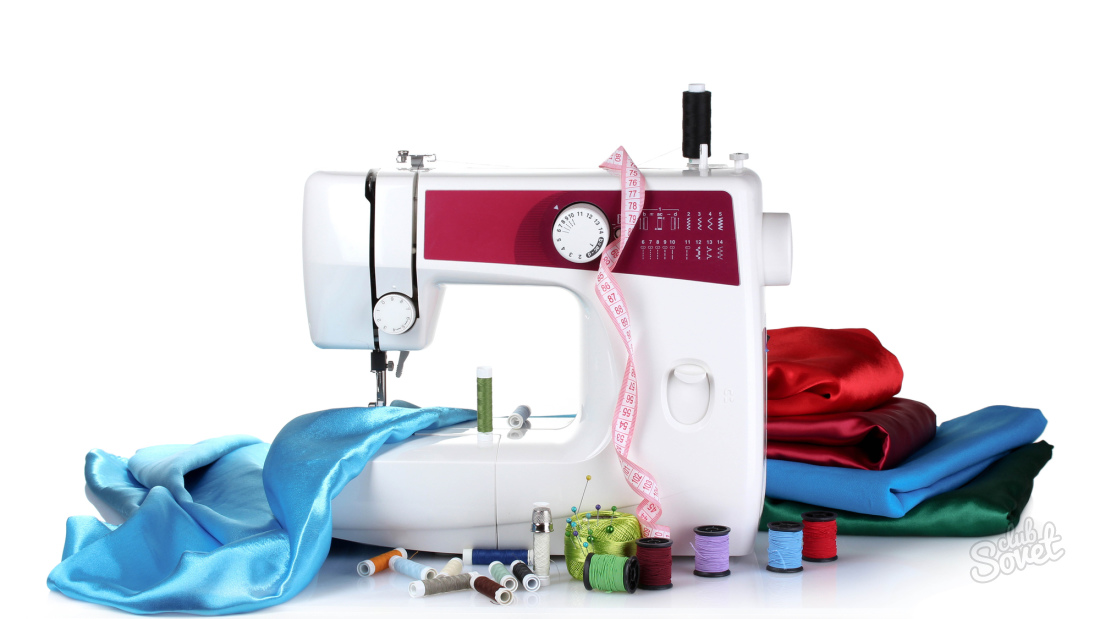
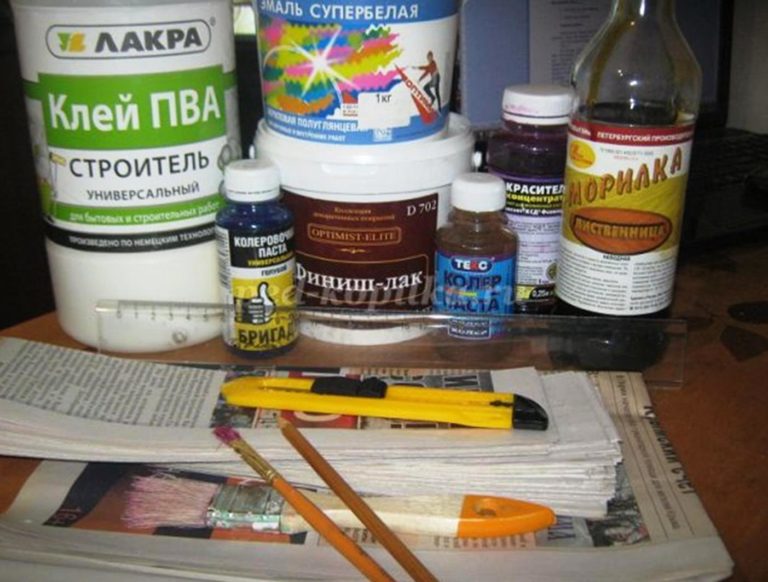
For a wooden basket, you will need to resort to a jigsaw and screwdriver. A textile product requires a sewing machine, scissors, thread and needle. When using paper materials, such as a newspaper, you will need to finish processing the resulting product. This is necessary to give strength and moisture resistance of the laundry basket. That requires the acquisition of varnish or stain. In addition, a suitable composition, for example, conventional PVA, will be required for gluing the paper construction. To work with plastic, you need another adhesive material suitable for plastic.
Production in stages
From newspaper tubes
It is worth replacing, in order to build a container for laundry from newspaper sheets will require a lot of patience, but the process is extremely fascinating. It will take to prepare - a large amount of newspaper. Also stock up with white glue, varnish or stain, scissors, pencil and a thin needle.

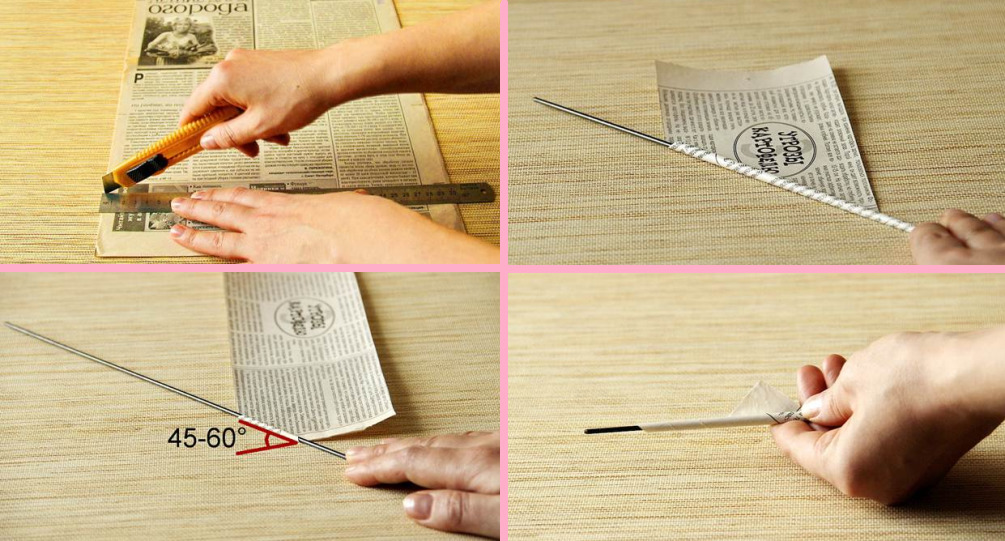
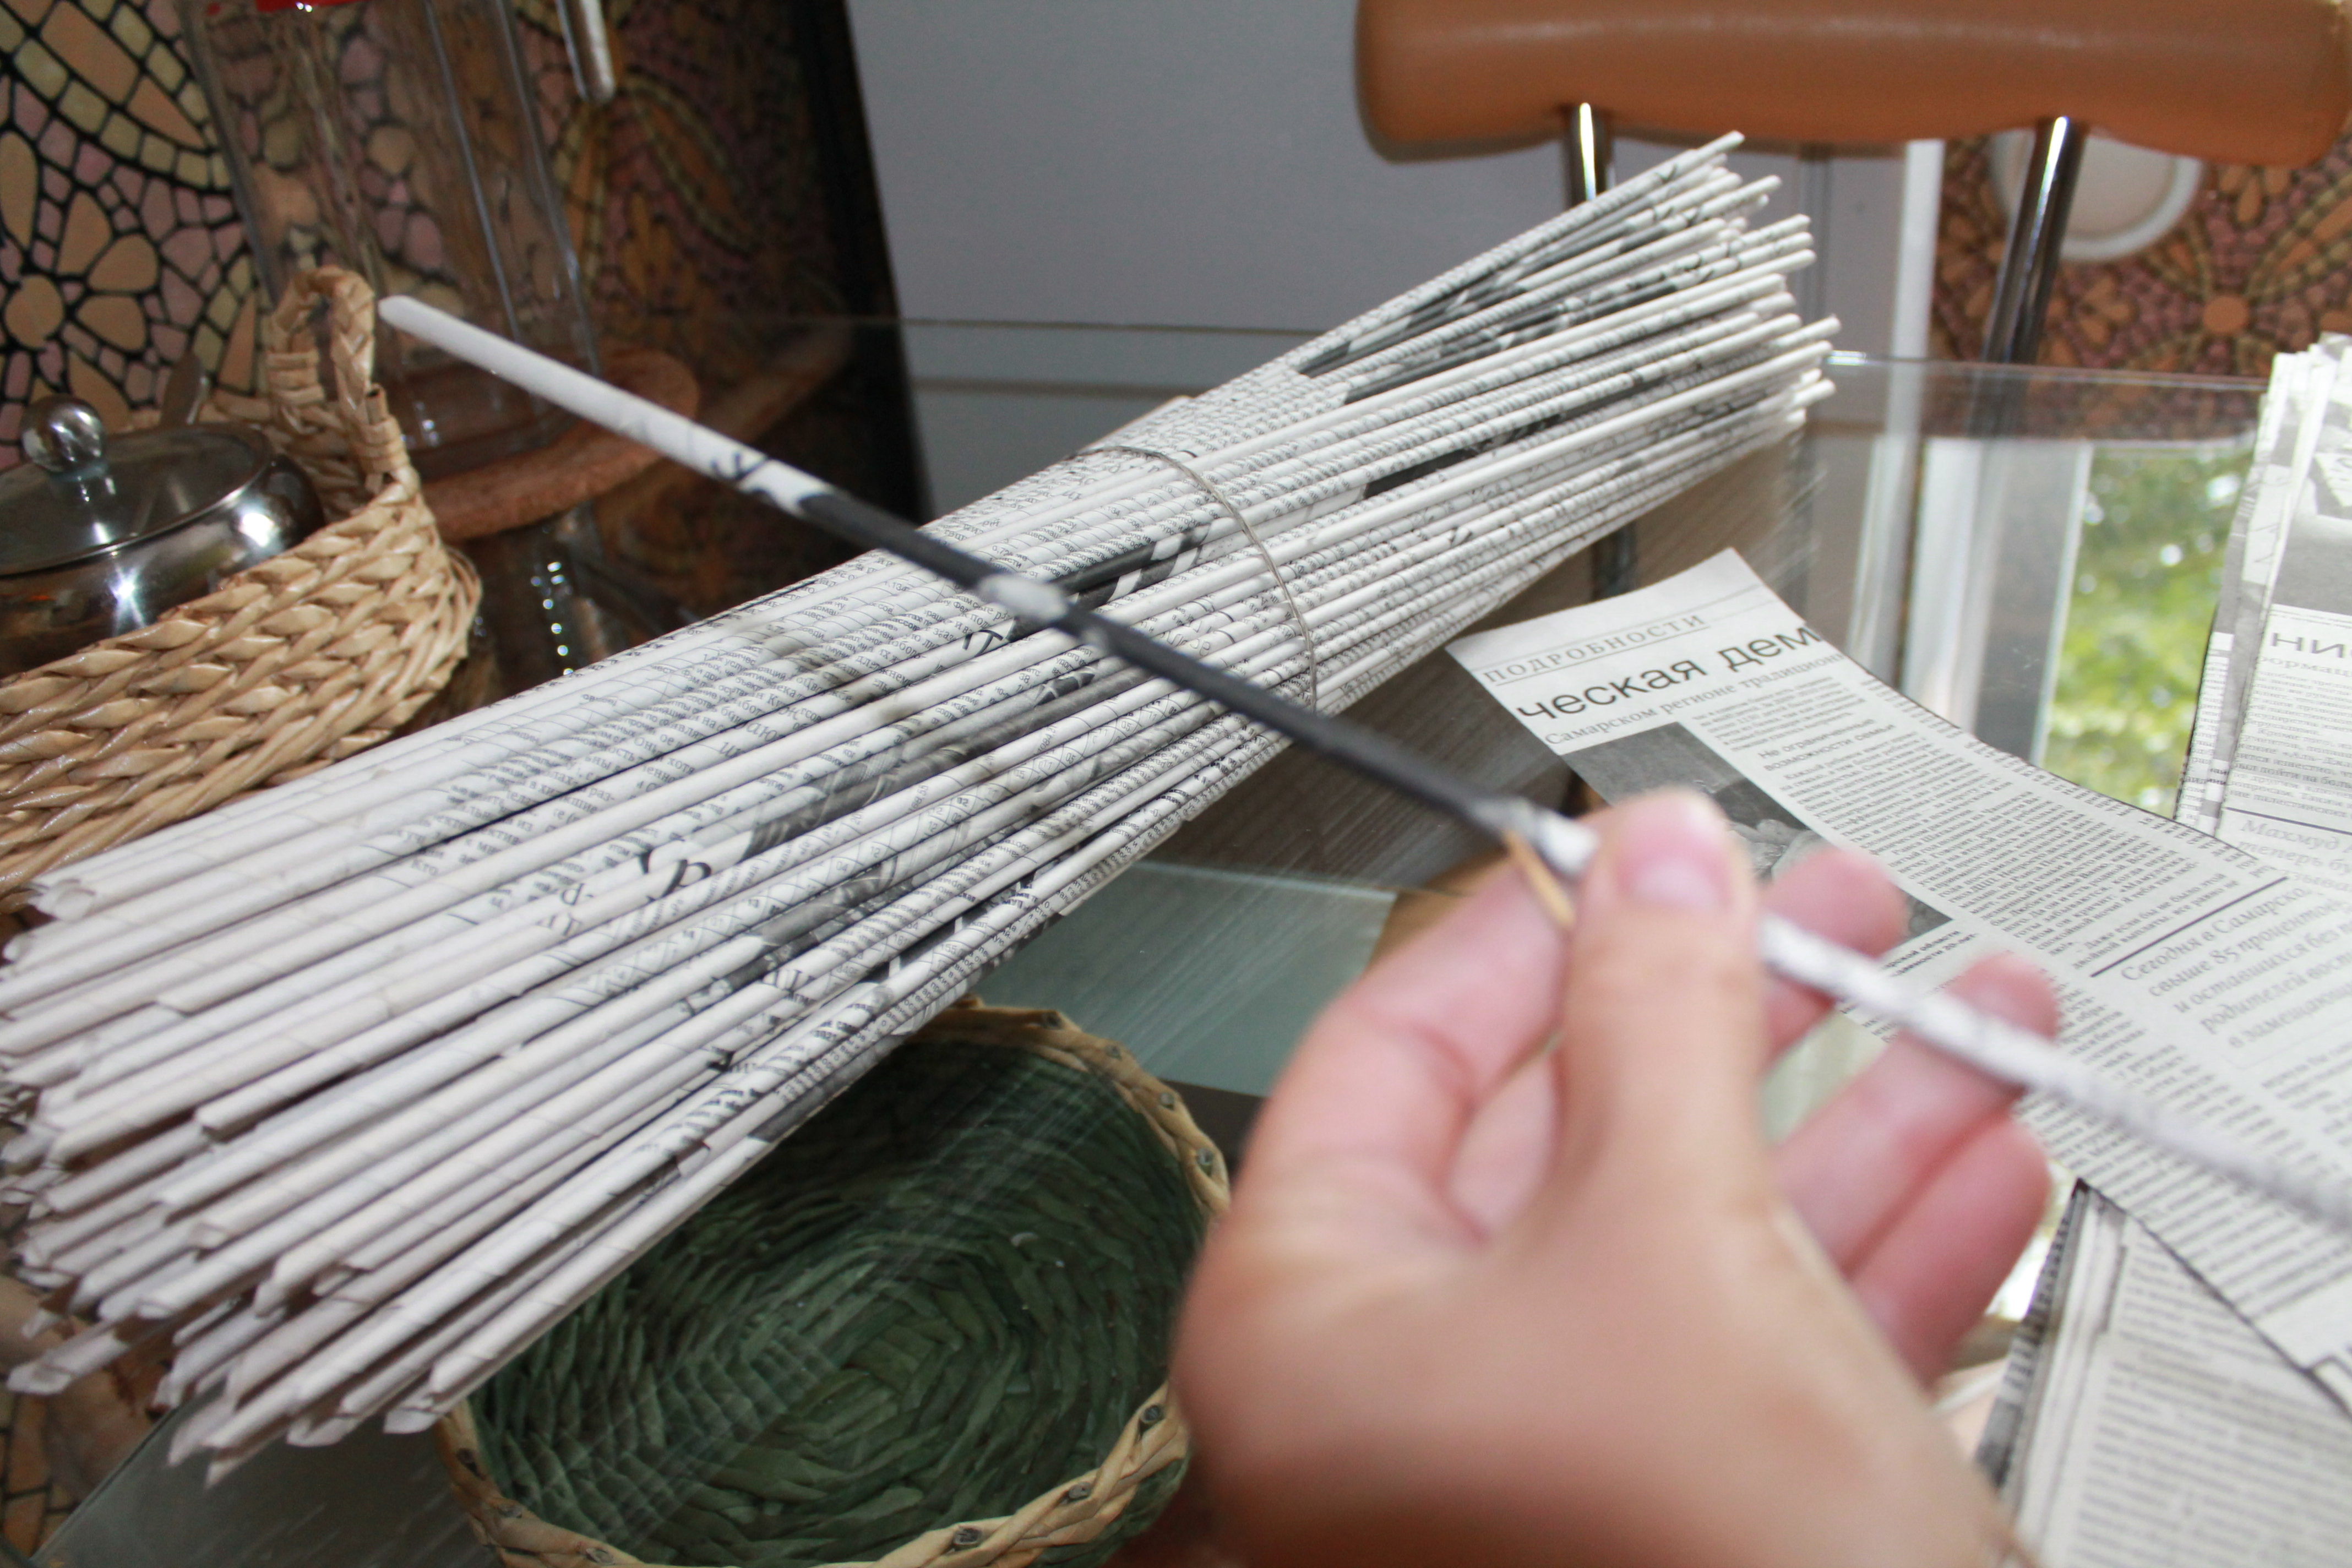
First of all, you need to build tubes. To do this, fold the newsletter in half and mark seven centimeters on it.Then cut them. With the help of fine knitting needles, twist the obtained strips at an angle of 30 degrees. In the process of twisting, pay attention to one of the ends of the tube - it should turn out to be slightly thicker than the other end. In this case, the tube itself should be sufficiently tight. After that, coat the area with adhesive and leave to dry. Remove the needle from the tube and repeat the procedure until the required number of tubes. To the length of the tube enough for weaving it is necessary to glue them together. Put a small amount of glue in a wider edge and insert into it a tube with a thinner one.

Weaving the basket is recommended to start from the bottom of the product.
To execute it, use the following algorithm:
- First of all, it is necessary to count ten tubes. Lay out the other five tubes horizontally and press with a ruler.
- Lift each odd tube and grease the even tubes with a small amount of adhesive.
- Attach the sixth tube to the areas with glue and press it again. Raised previously duct lower.
- Repeat this procedure again, this time raising the even nubules.Glue the seventh tube.
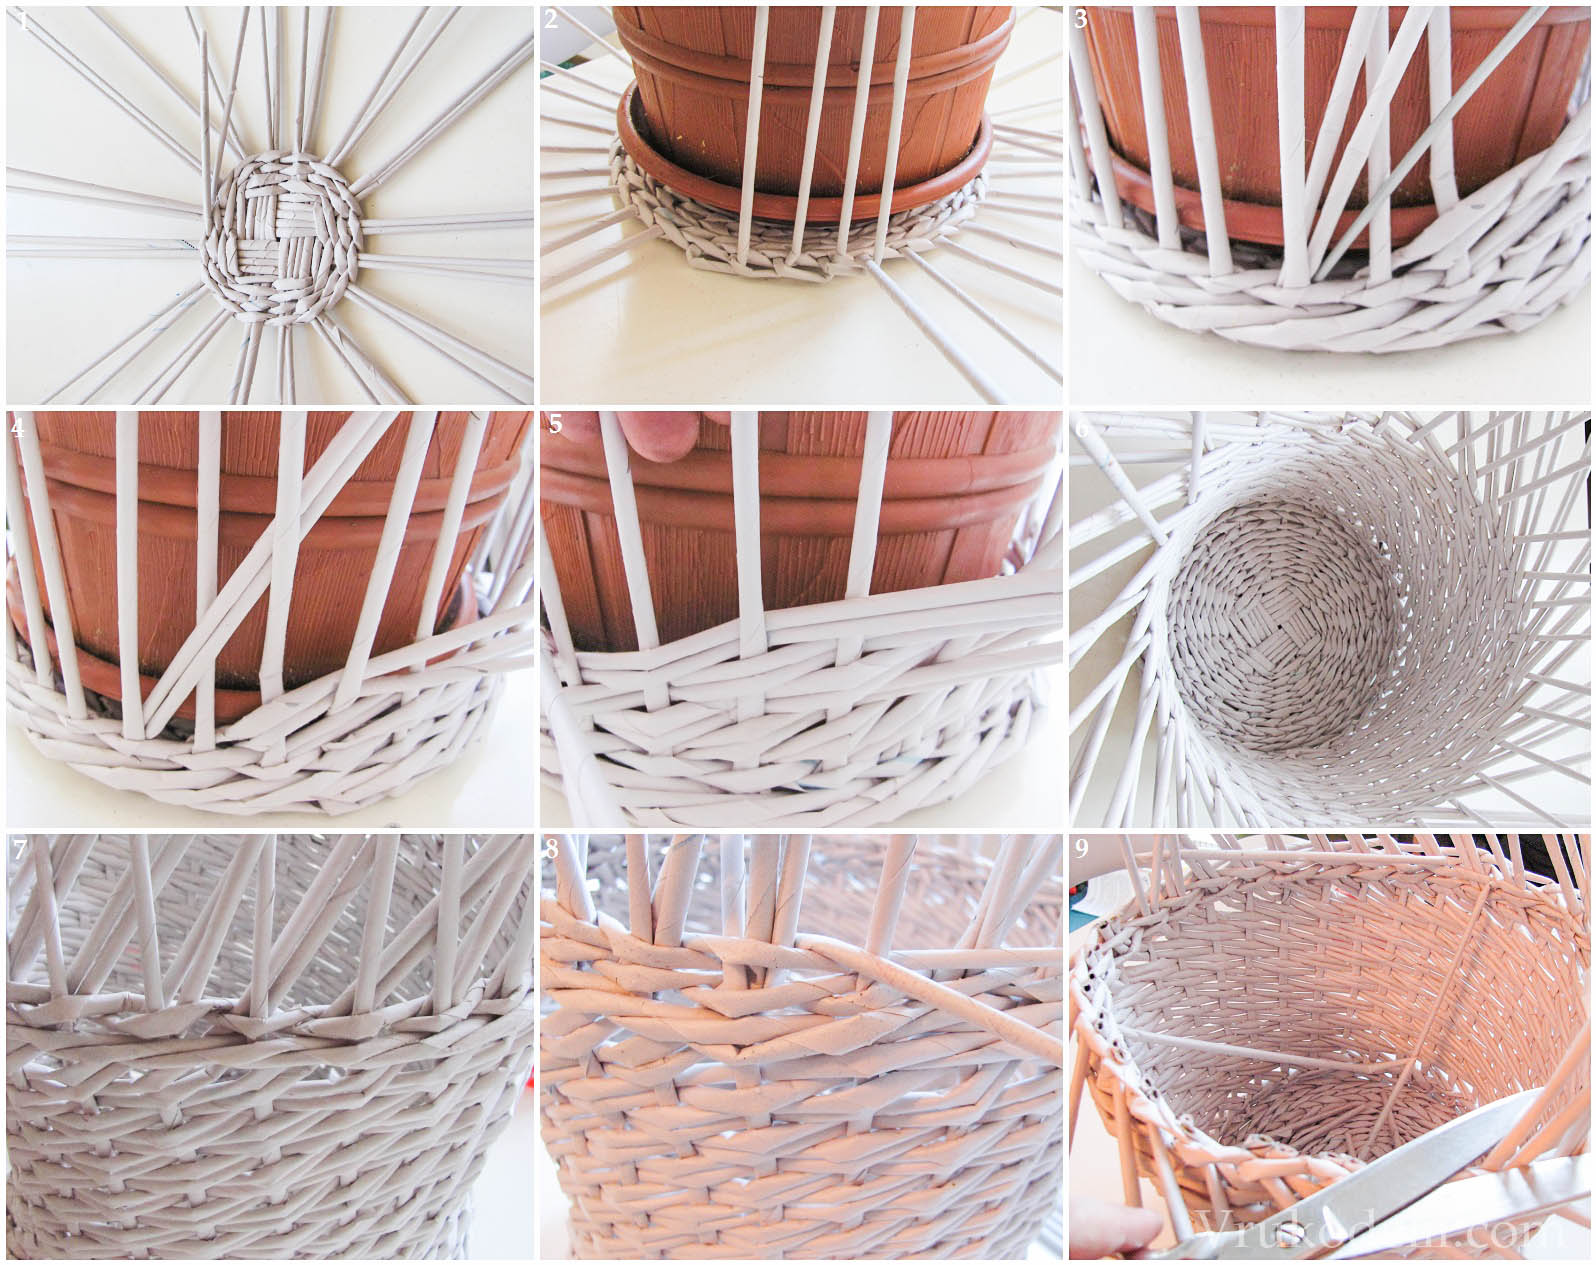
- Continue weaving until all ten tubes are glued together.
- Then rotate the topmost tube horizontally up to ninety degrees. In the same way, bind it with the rest of the tubes.
- Continuing to weave in a circle, try to slightly push the tubes apart. This is necessary in order to get a round bottom.
- After the bottom obtained reaches the required size, it will be necessary to bend all the tubes upwards. For a more comfortable weaving - place on the bottom of any shape that will be the basis to help you make a flat product.
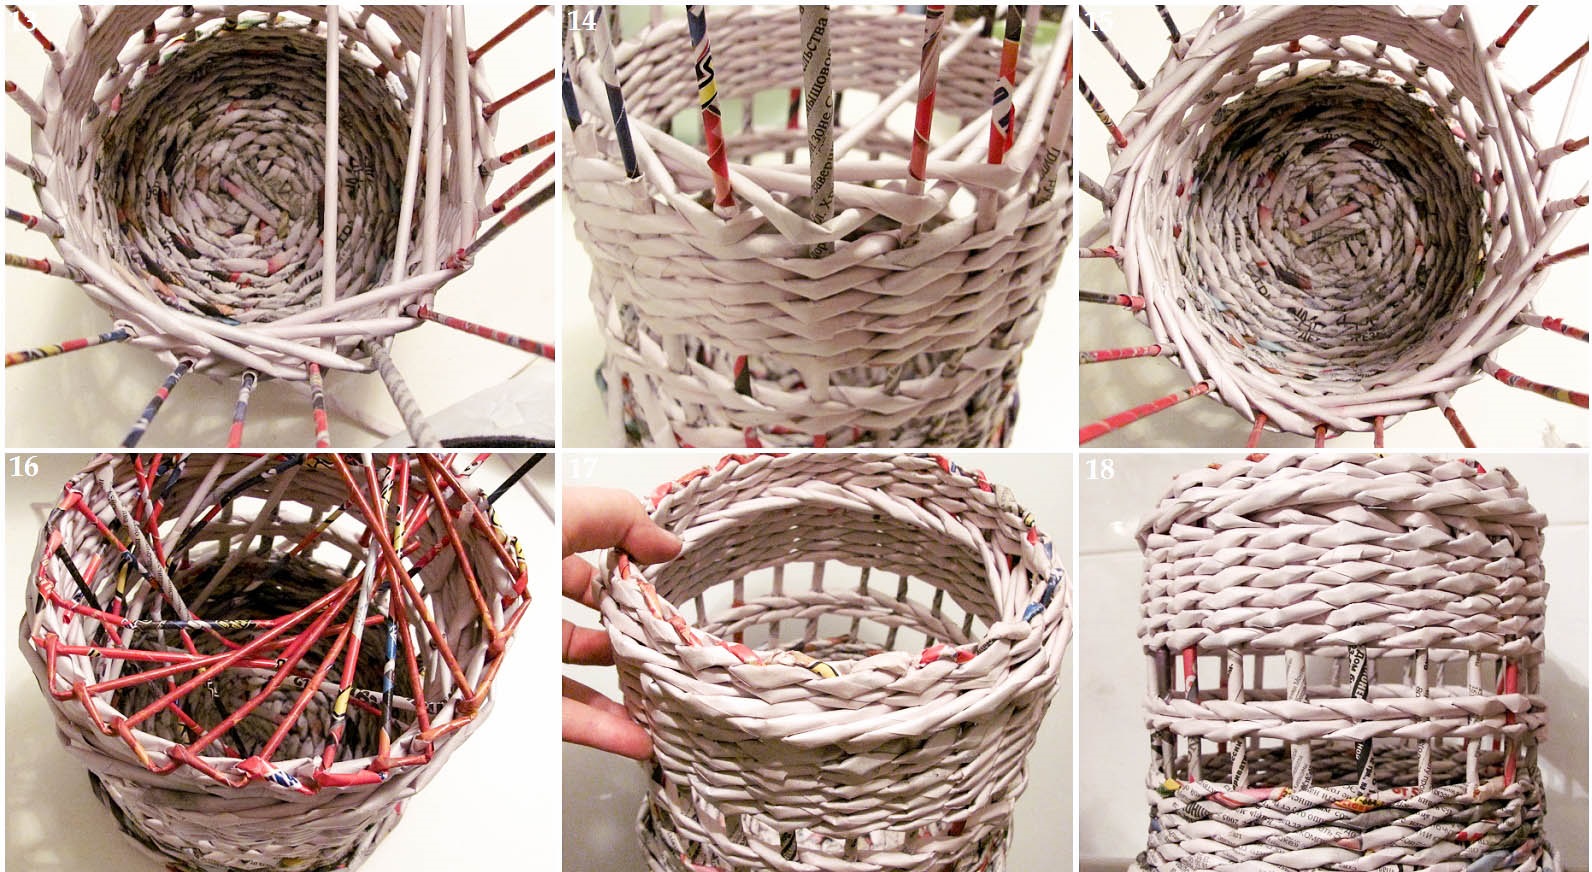
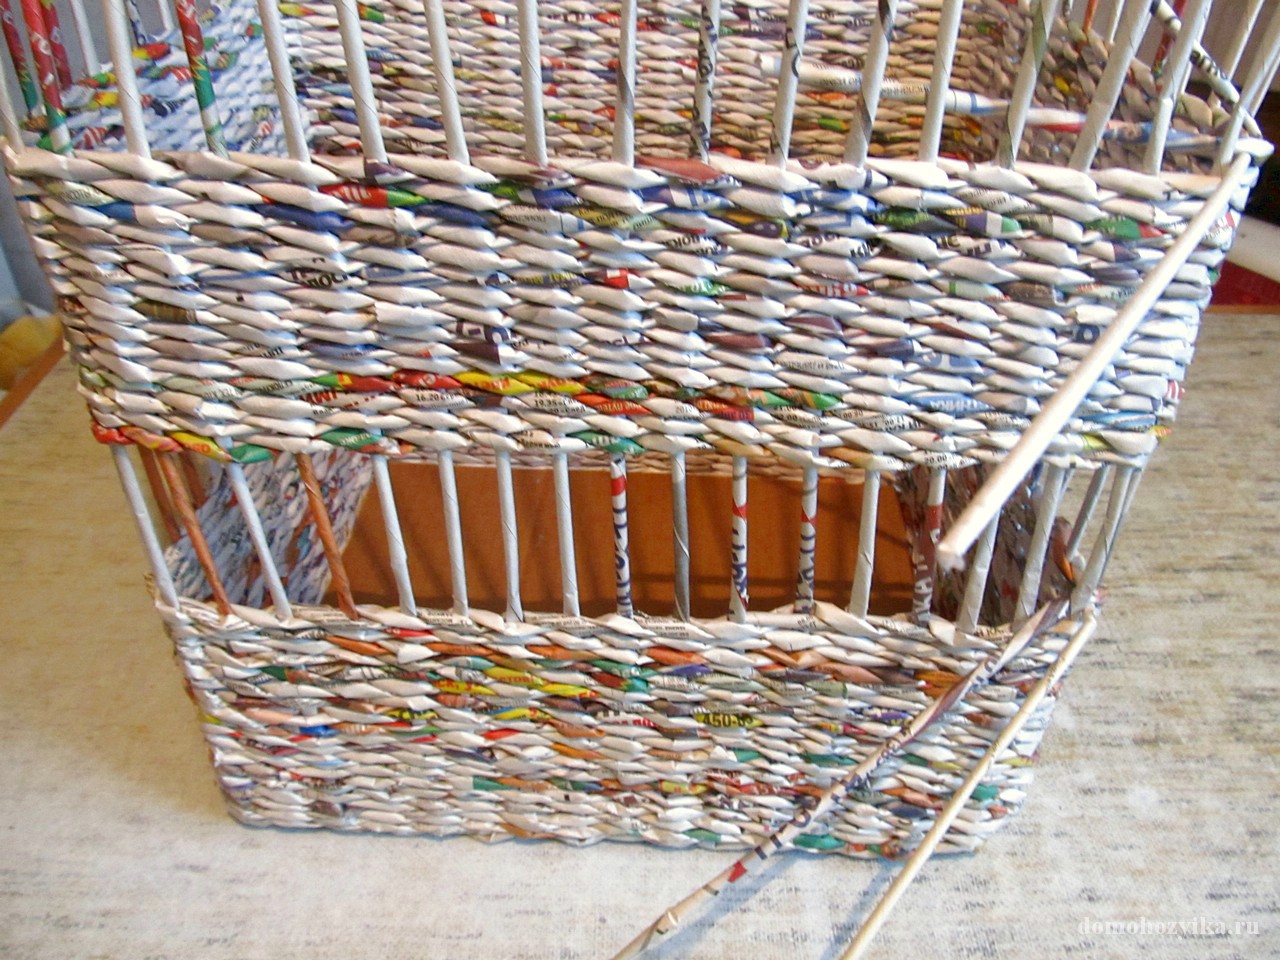
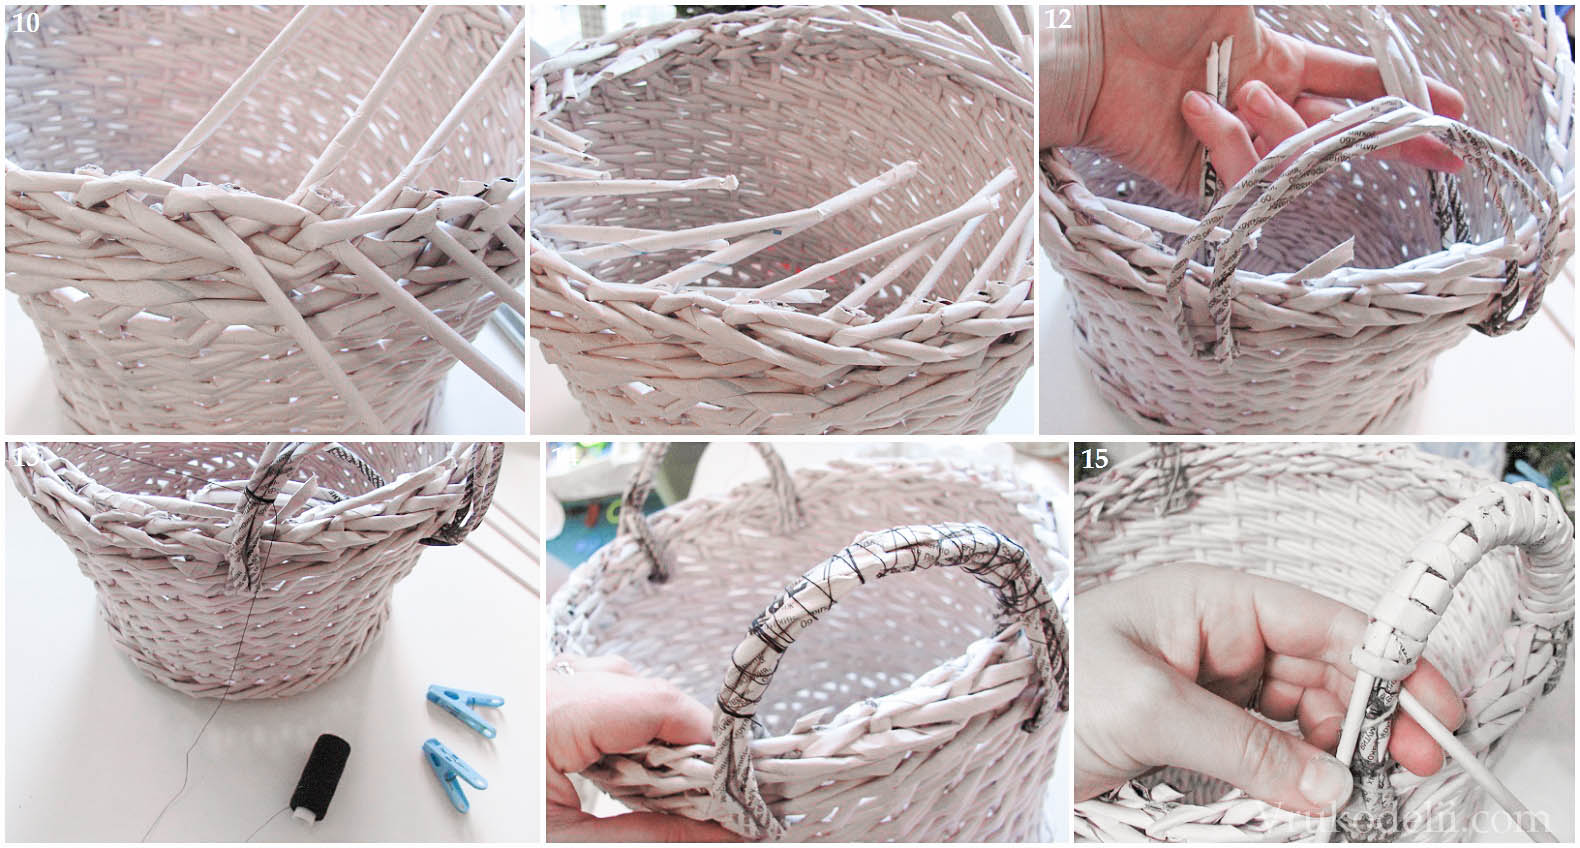
After the bottom is finished - you can start making the side of the basket. After placing the form, press the tube to it until it fits snugly. Then begin weaving the side parts, alternately threading a horizontal tube above and below the other tubes. If the horizontal tube does not have enough length, put a little glue in its end and insert another tube with a thinner edge. Having obtained the necessary height - finish the weaving. Process the entire basket with an adhesive, then apply a layer of stain or paint with any color you like. The final stage will be coating the product with varnish.
From fabric
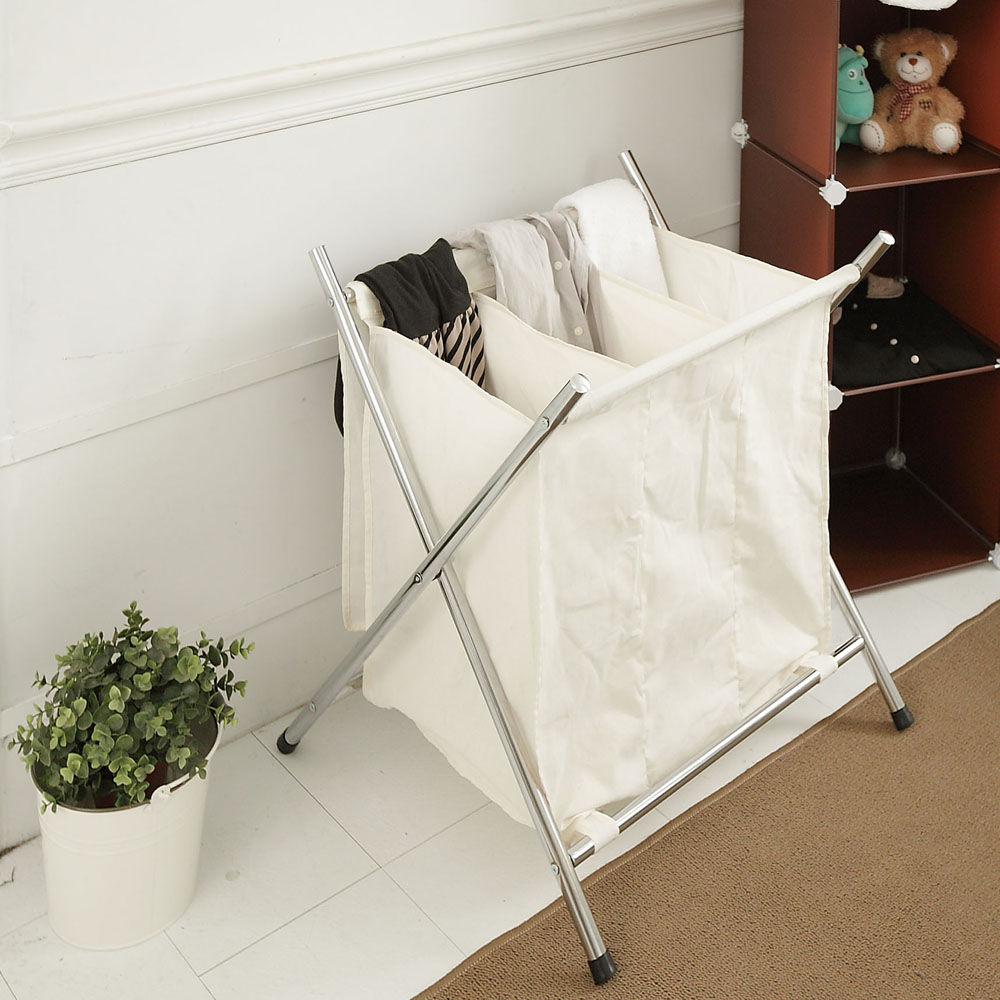
For the manufacture of practical folding laundry baskets, you need to stock up on a folding frame, thread, cotton fabric and a sewing machine. So, first of all, decide on the required size of the future product, given the size of the folding frame. According to the results obtained, cut four pieces from the fabric for the side part and one piece for the bottom base. Sweep up all parts or secure with safety pins. Using a sewing machine, connect on the seamy side. Remove the bag and iron it if desired. Use the remaining pieces of fabric to create loops — cut four pieces and, twisting the bag on the wrong side, fasten the loops on the sewing machine.
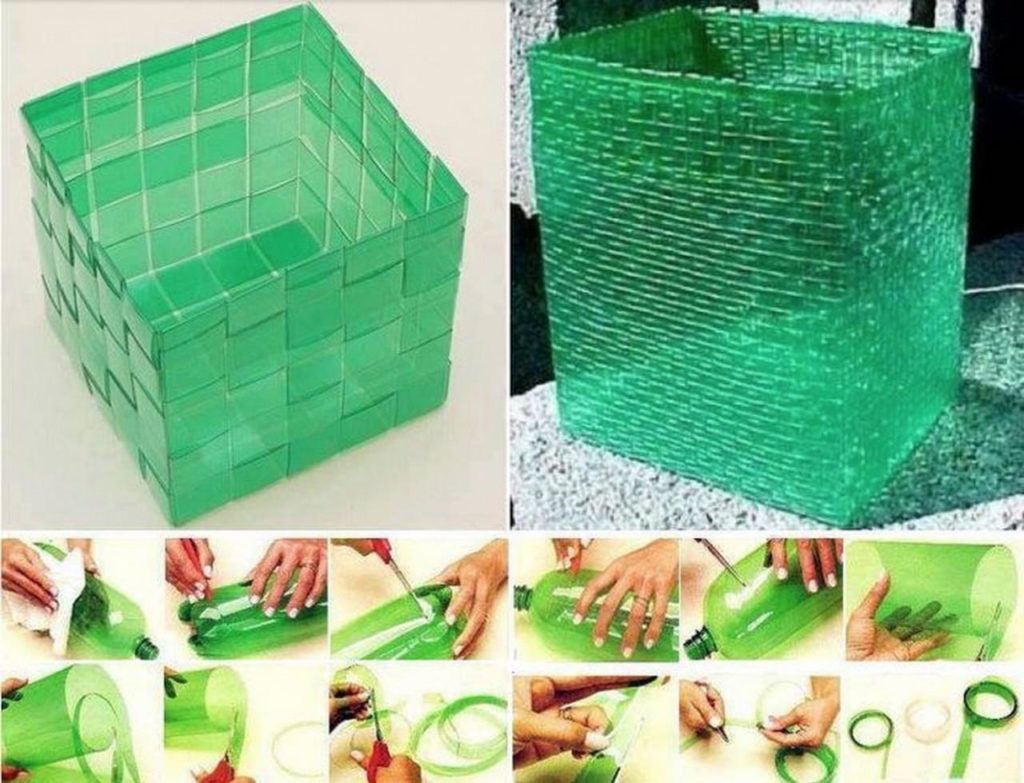
On a plastic frame
For the basis of basket weaving, you can take any available plastic material. For example, a bottle of carbonated drink. In addition, you will need to acquire the following materials: scissors, ruler, pen or pencil, box and specialized adhesive composition.
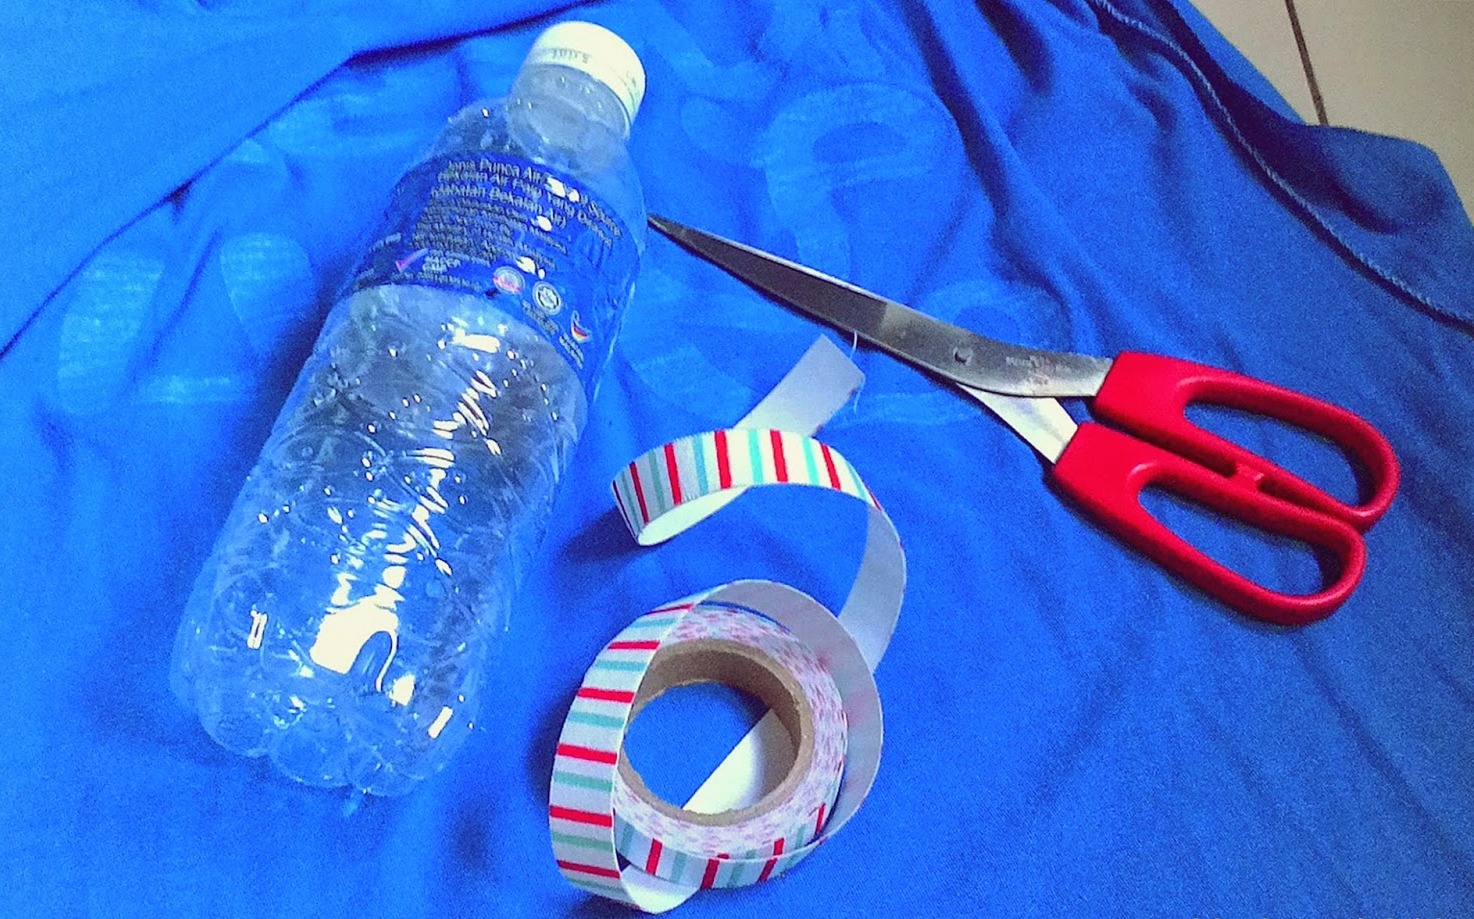
- Using tape it is necessary to wind the bottle at a slight angle. Next, using scissors or stationery knife, cut the bottle. It should make a spiral.
- Repeat the procedure with the remaining bottles.
- Taking a pre-prepared box, put it base up.
- Fix a small amount of plastic strips in the middle. Skip the rest of the strips between them - imitating chess order.
- After you get the base of the desired size - lift the strips up and secure with a rubber band or rope.
- Braid raw edges in the previous series.
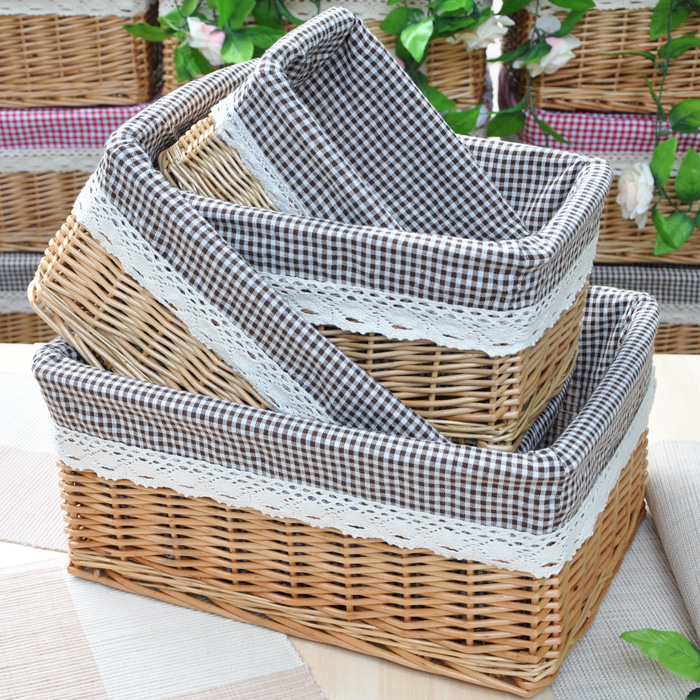
From the vine
To make a linen container, you need to acquire the following materials: rods with a diameter of five millimeters and one centimeter, rattan, an awl, shears and a sharp knife.
Consider phased basket weaving:
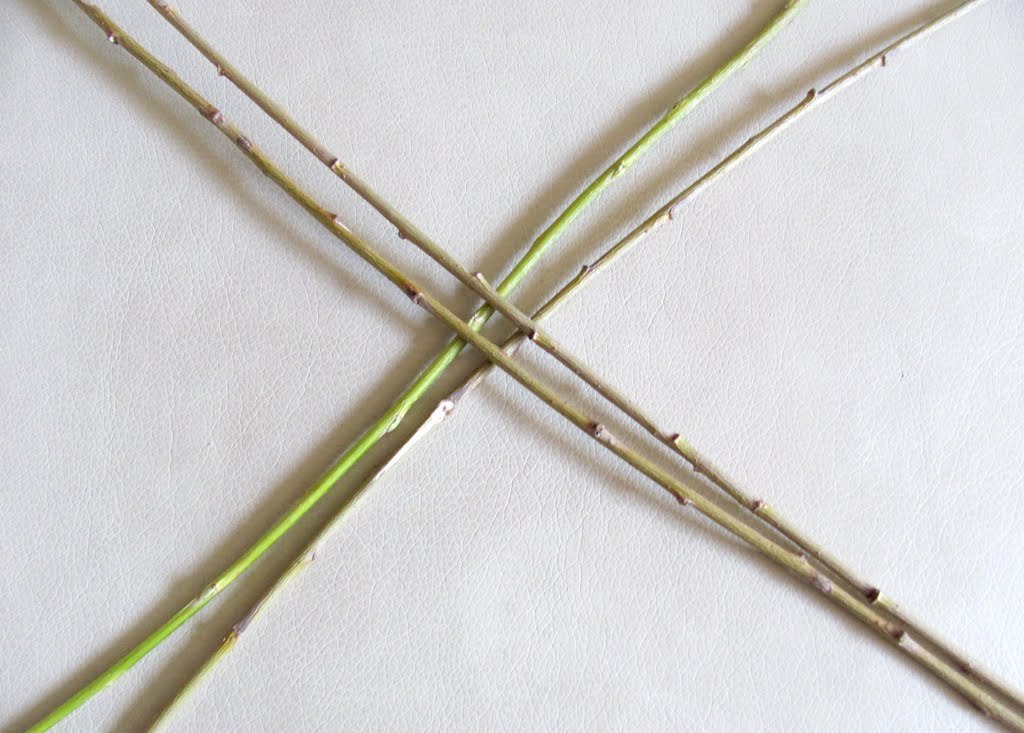
- Before working with a vine, it is necessary to soak it in cold water for 2-3 hours. Then wrap it in a damp cloth and place it in a polyethylene bag. The same procedure is subjected to rattan. Further on several rods make an incision in five - seven centimeters at the end of the rods, on the other in the middle make a small hole.
- Having inserted the awl through the bars with a hole, the rod with a notch is passed through. A cross should be formed.
- One side of the cross is wrapped with rattan.
- Using the left side of the rattan, the cross is encircled in a circle.
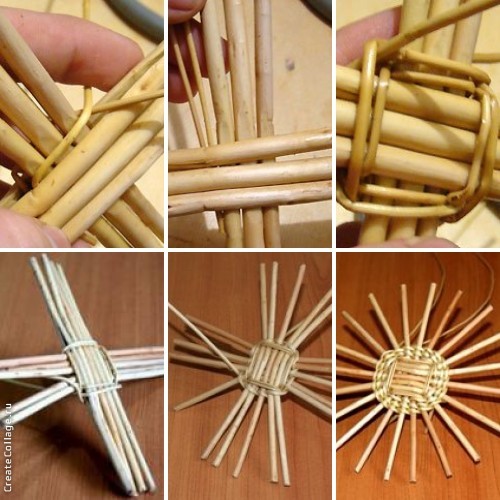
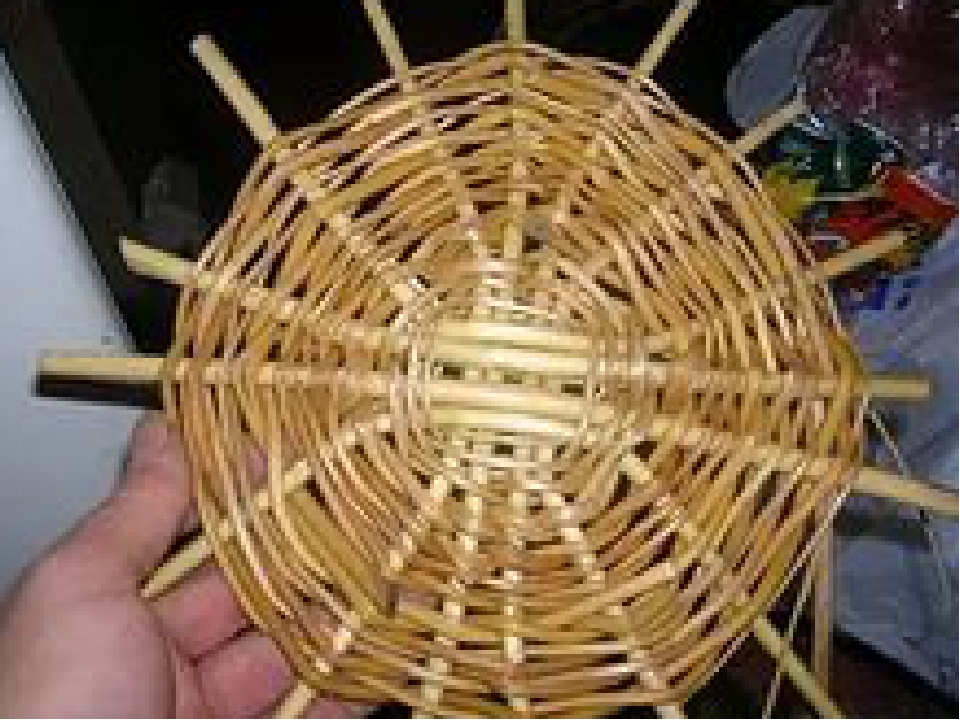
- Repeat the procedure using the right side of the rattan.
- At the end of the second round, rattans are inserted between the twigs of the vine.
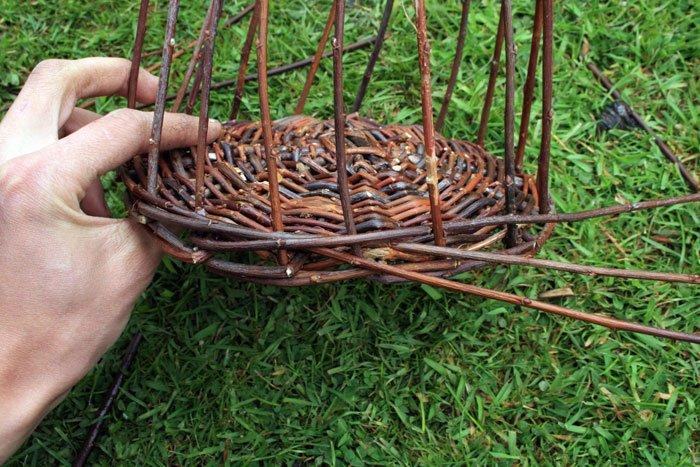
- Further weave six rows. Then cut the vine into sixteen parts and sharpen the edges.
- After you get the required size of the base of the basket - you need to divide the rattans and the vine into rods, the length of which is seventy centimeters and insert them into the bottom of the basket.
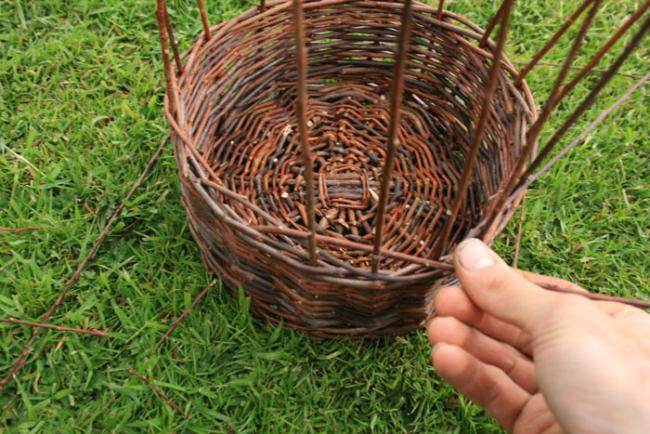
- It is recommended to do another row to fix the base and bend the bars upwards. This will be the basis for the sides of the basket.
- Wrap up curved rods with rattan until you reach the required height. To obtain neat edges, you will need to weave curved rods into the previous finished row.
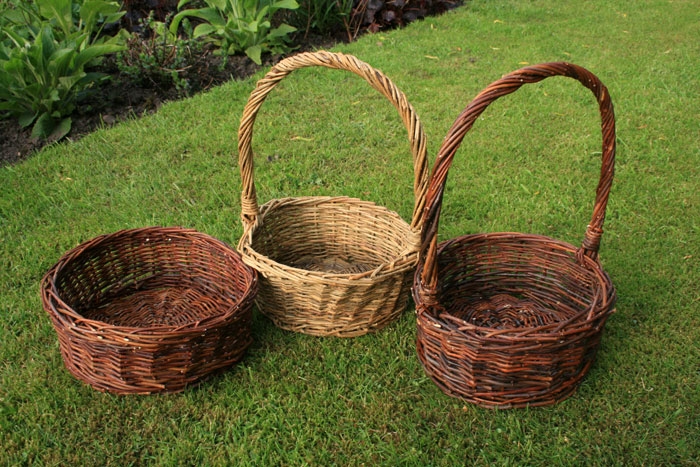
The best options
The original laundry basket is obtained from the newspaper. Such a product is not only unique, but no worse than the models presented in stores.
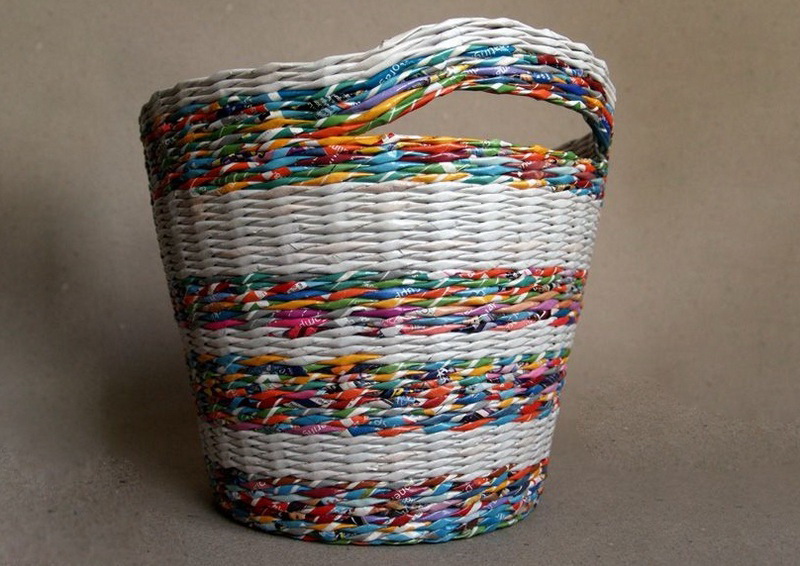
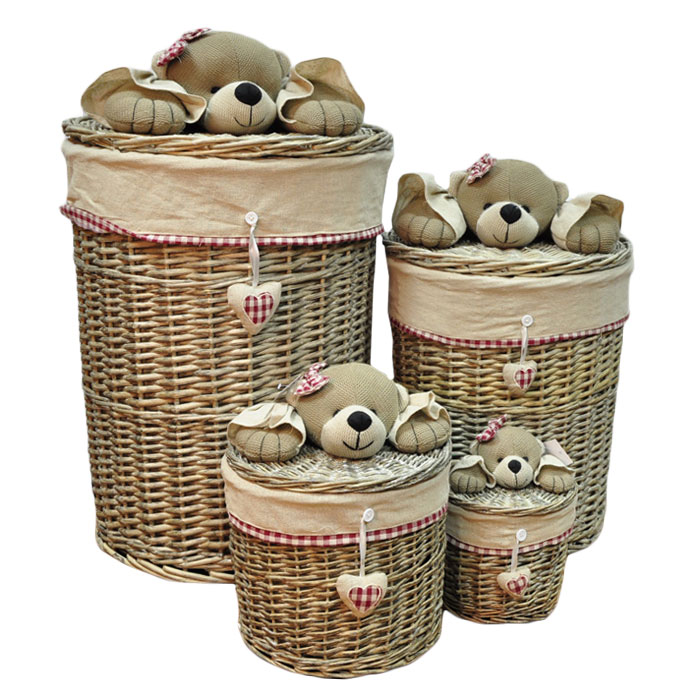
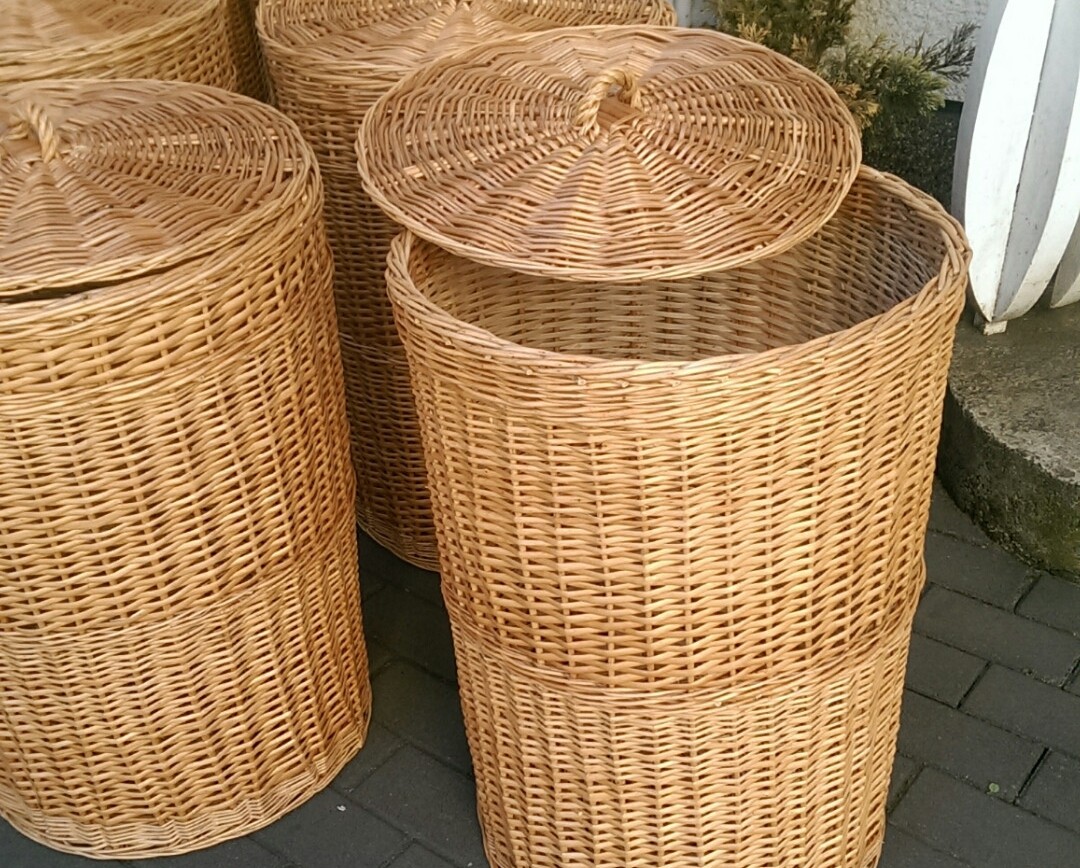
The most popular material for weaving a laundry basket is the vine. For the manufacture of such products used raw grape tree and willow.To further decorate the woven model, you can add satin ribbons to its design.
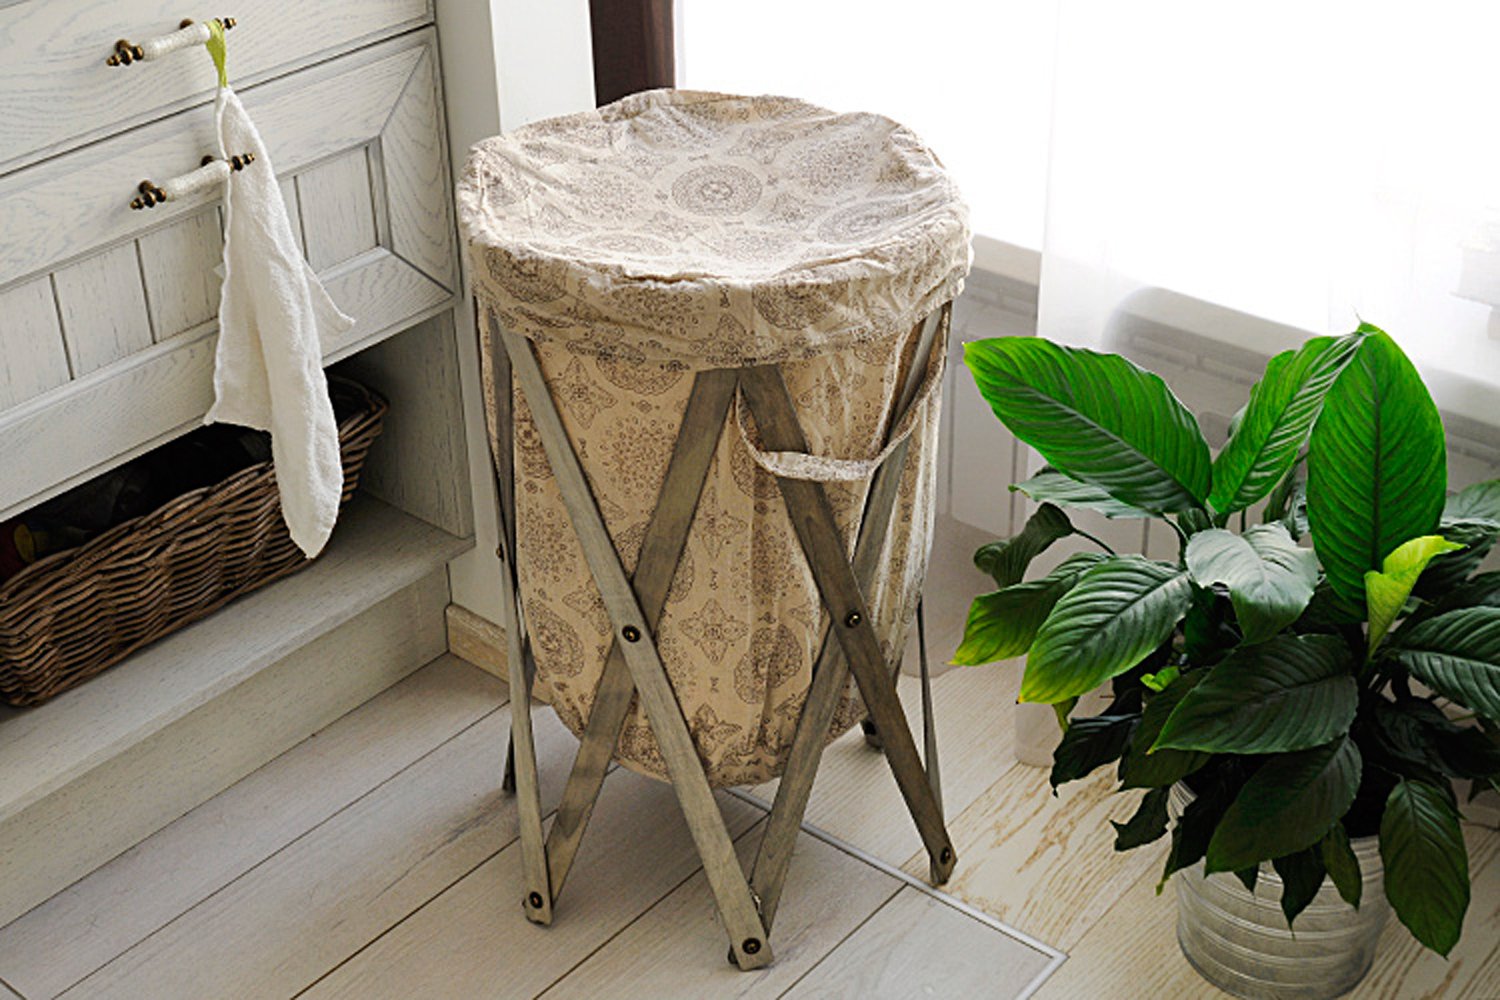
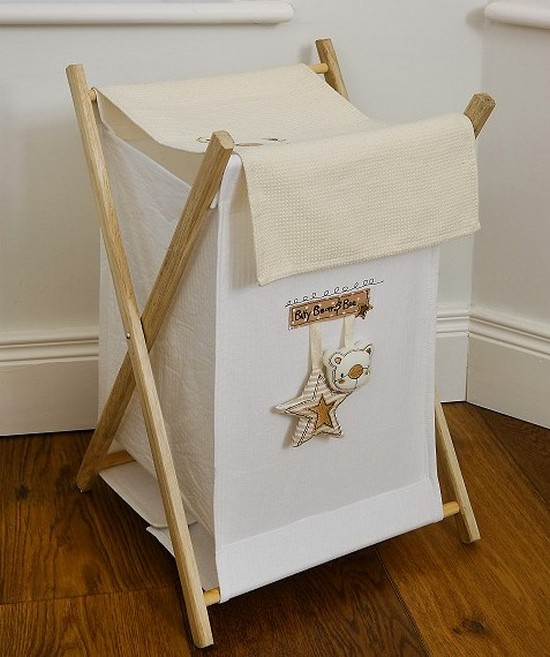
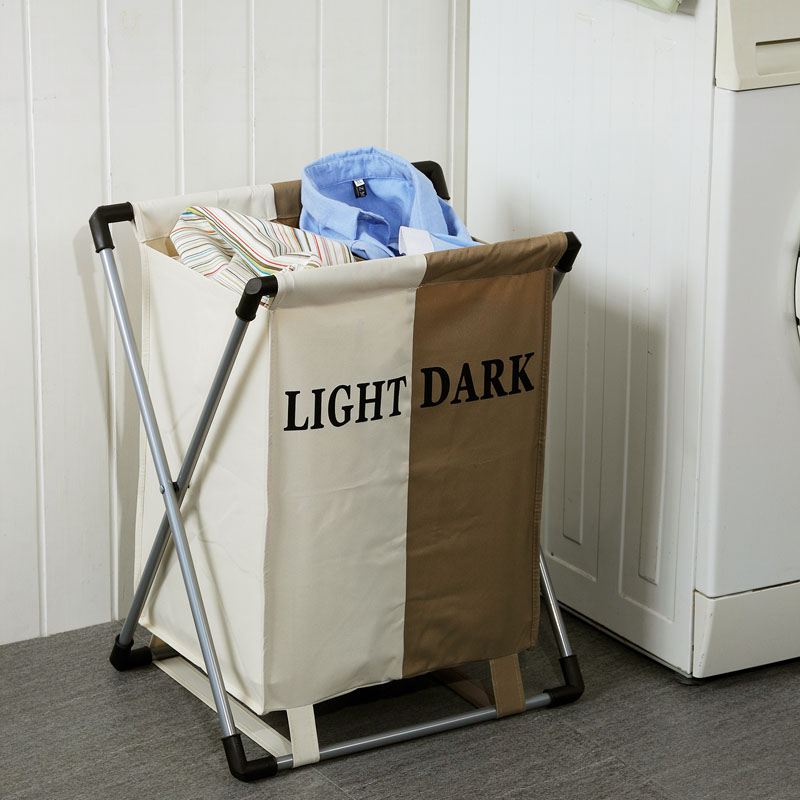
The most practical option is a convertible basket. You can make it yourself using a folding frame and a piece of cloth. If desired, the product can simply be folded and put away in another place.
What to make a laundry basket, see in this video.


