How to properly disassemble the watering can from the shower with a switch?
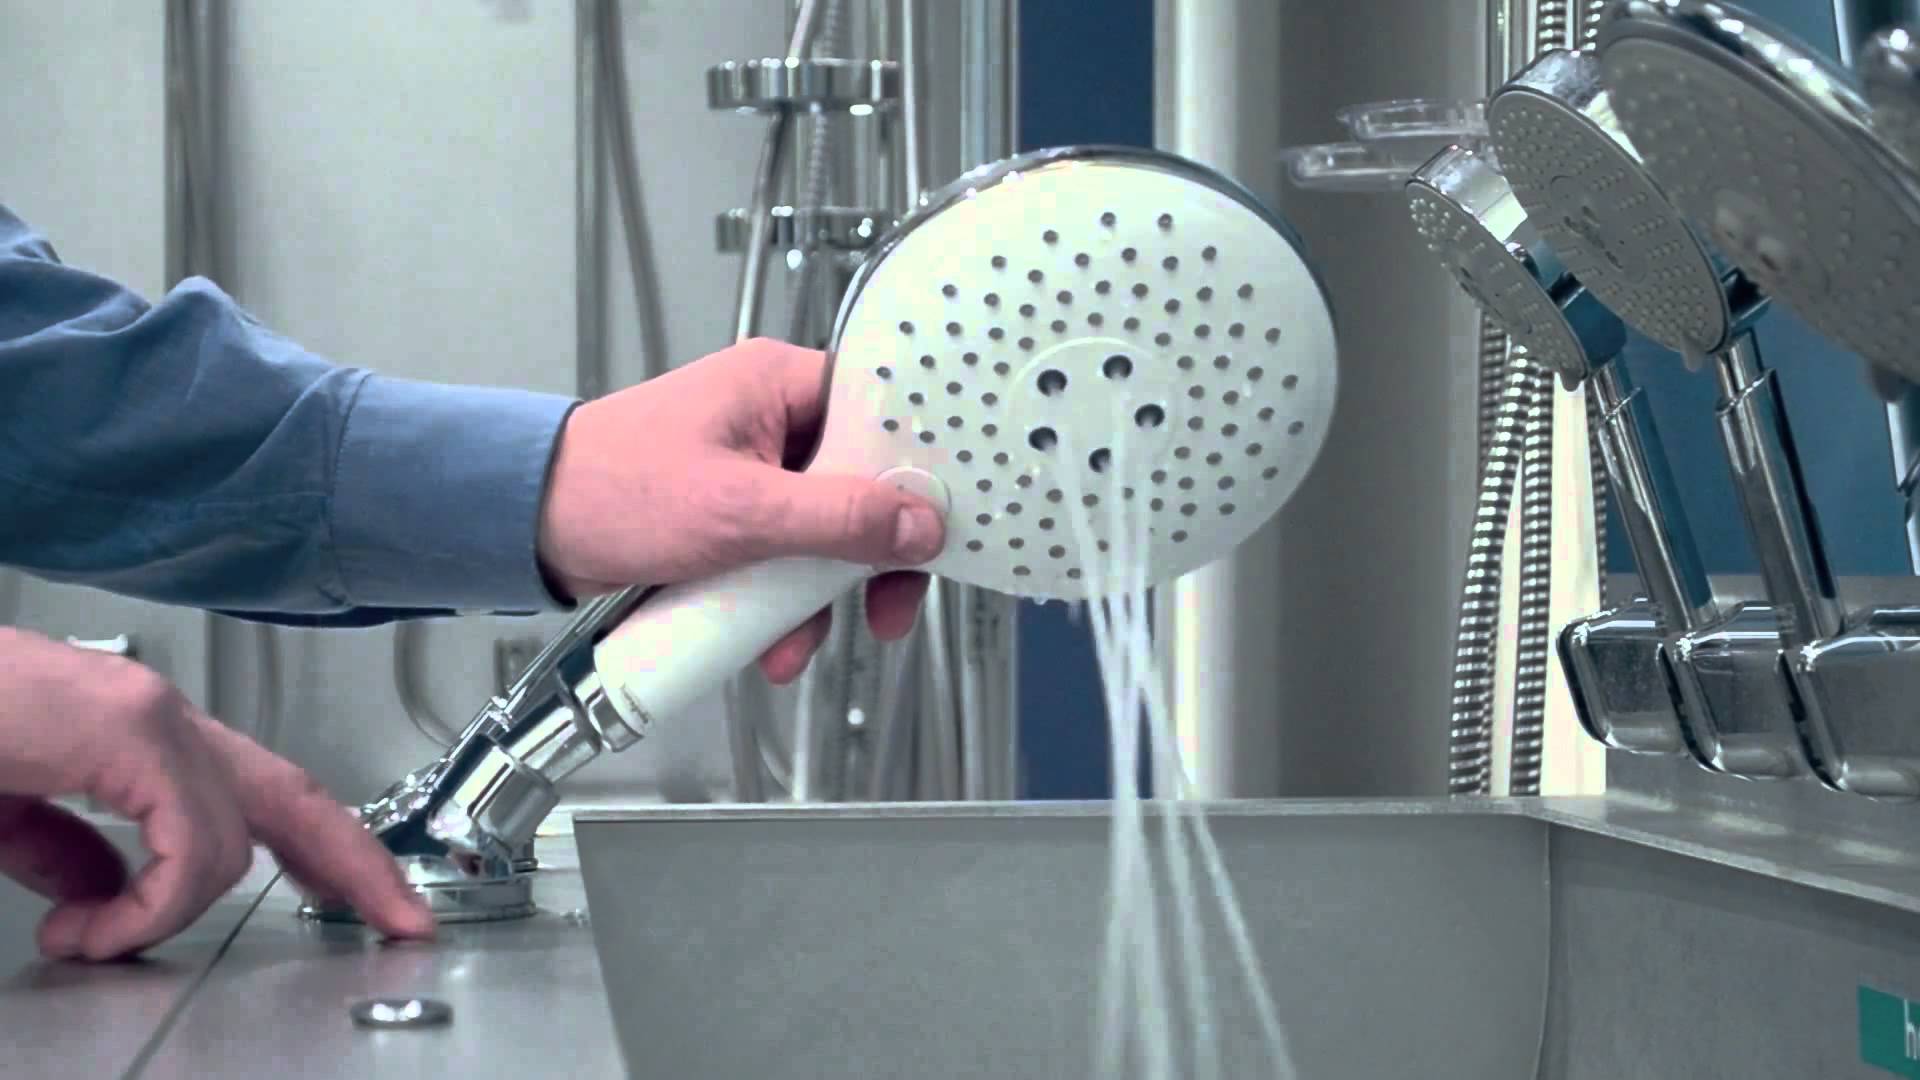
A shower is a basic appliance in every home. It not only satisfies the human need for cleanliness, but also relaxes or invigorates with its jets. However, the shower water can become dirty due to low-quality water and its poor filtration, so there is a need to disassemble it.
How does it work?
If water does not flow from some of the holes, this means that the watering can is clogged. Attention should be paid to the problem as quickly as possible. Otherwise, the device will completely become worthless, and you will have to purchase a new one.
Watering can have several varieties.
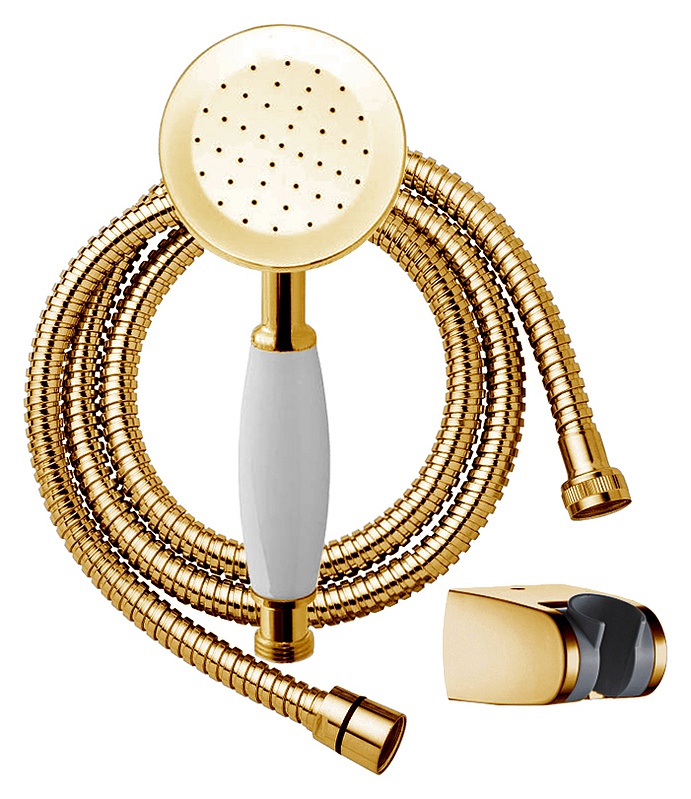
- Stationary. Divided into wall and ceiling models.
- On a flexible hose. Can be fixed with brackets and fixed rod.
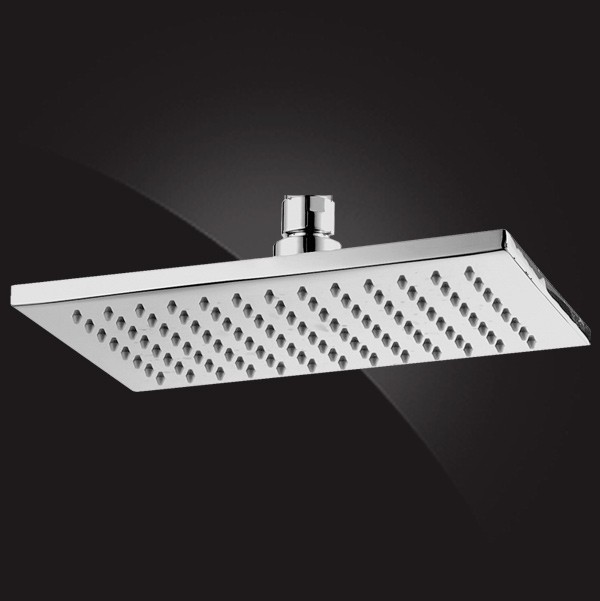
These features in their own way affect the course of work.However, the structure of the shower head is almost always the same.
It includes the following components:
- a body that can be made of any materials;
- multi-layer swirl fluid. Sometimes it can be combined with the general body;
- water supply chamber;
- a mesh covering the chamber and influencing the formation of the flow;
- fixing screw;
- gasket;
- mode switching mechanism.
When the device device has become more understandable, you can proceed directly to the work itself.
Disassembly instructions
It is necessary to take an adjustable wrench No. 1, a pin wrench, a Phillips screwdriver and a cross-shaped slot. A pin wrench is usually sold with a variety of other tools. You can replace it with any other tool that works in a similar way. All small parts that will be extracted, you need to save in a separate place. Care should be taken when handling the gaskets so as not to damage them. It is worth being as accurate as possible during the disassembly process, because without lost elements the functioning of the shower head will be disrupted and you will have to buy new ones or change the device altogether.

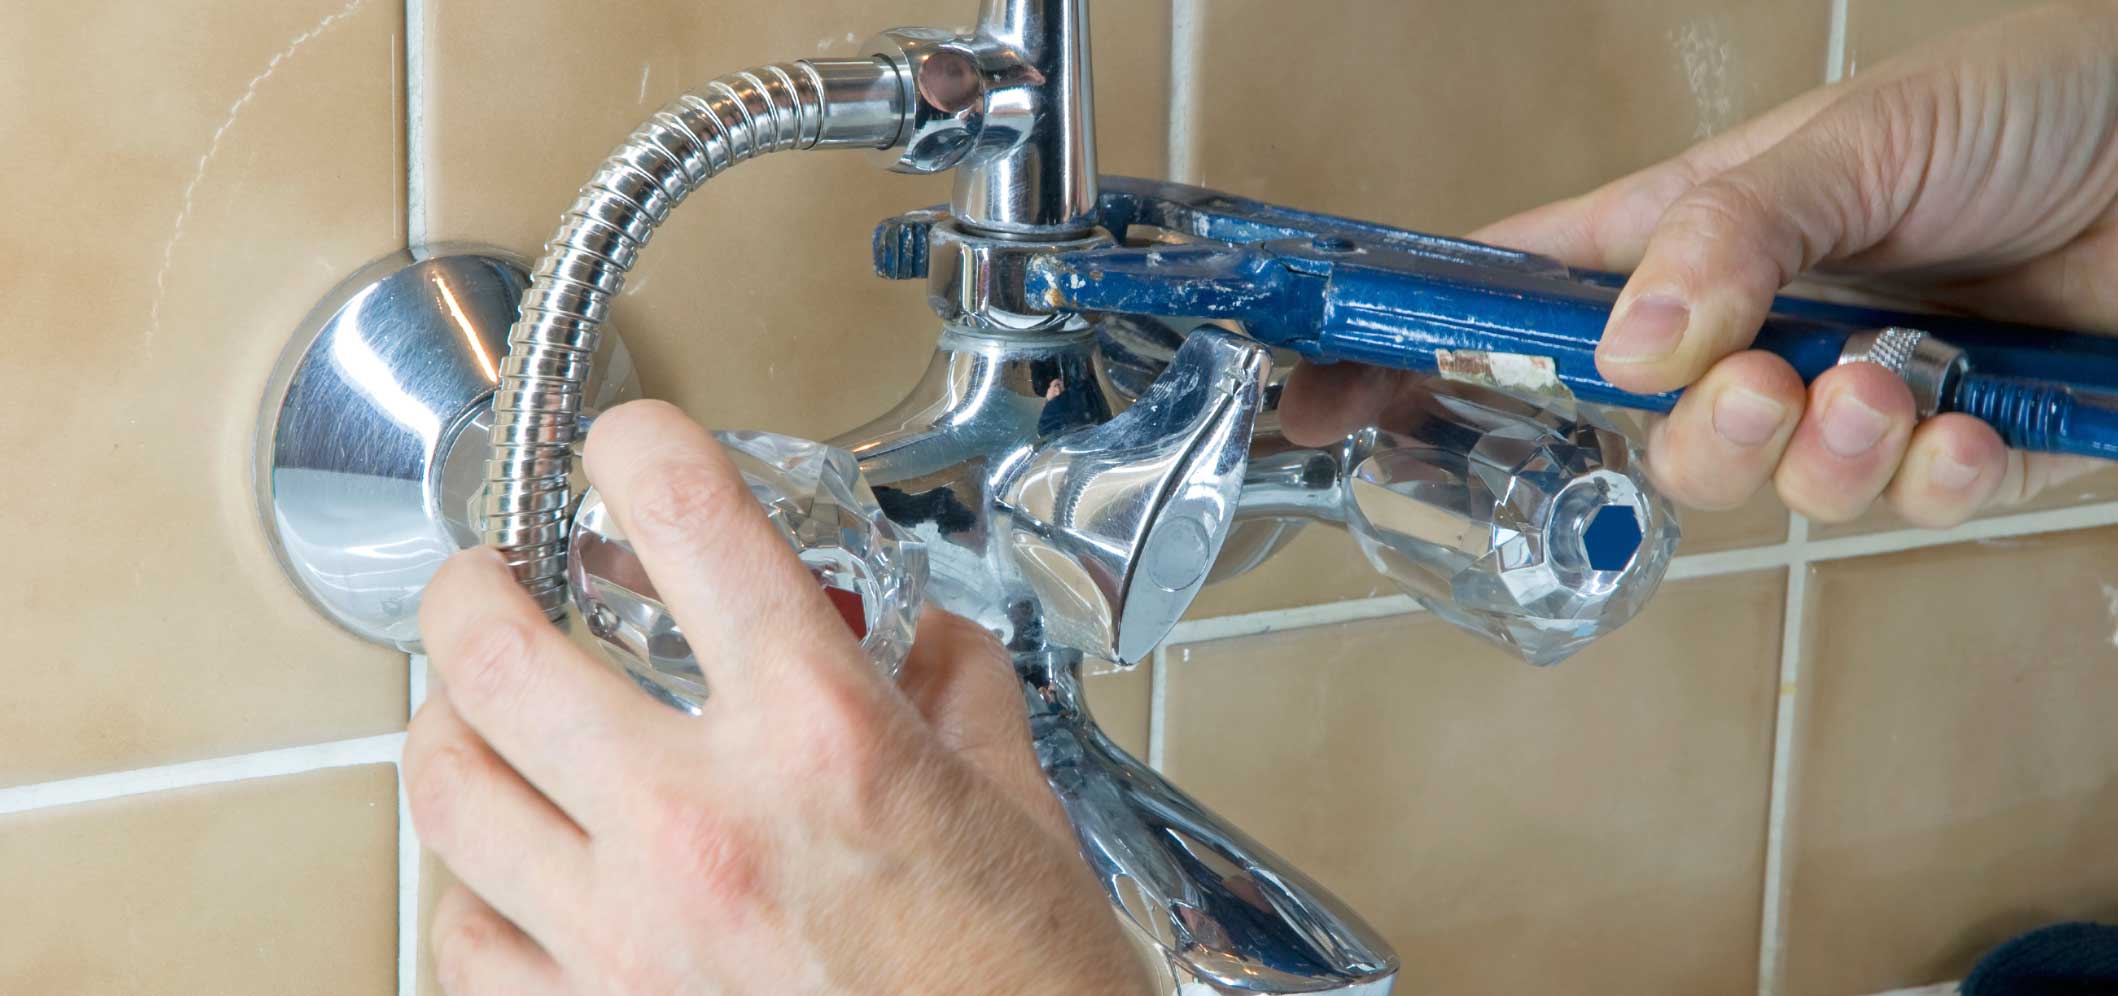
To disassemble the watering can, you need to follow this algorithm.
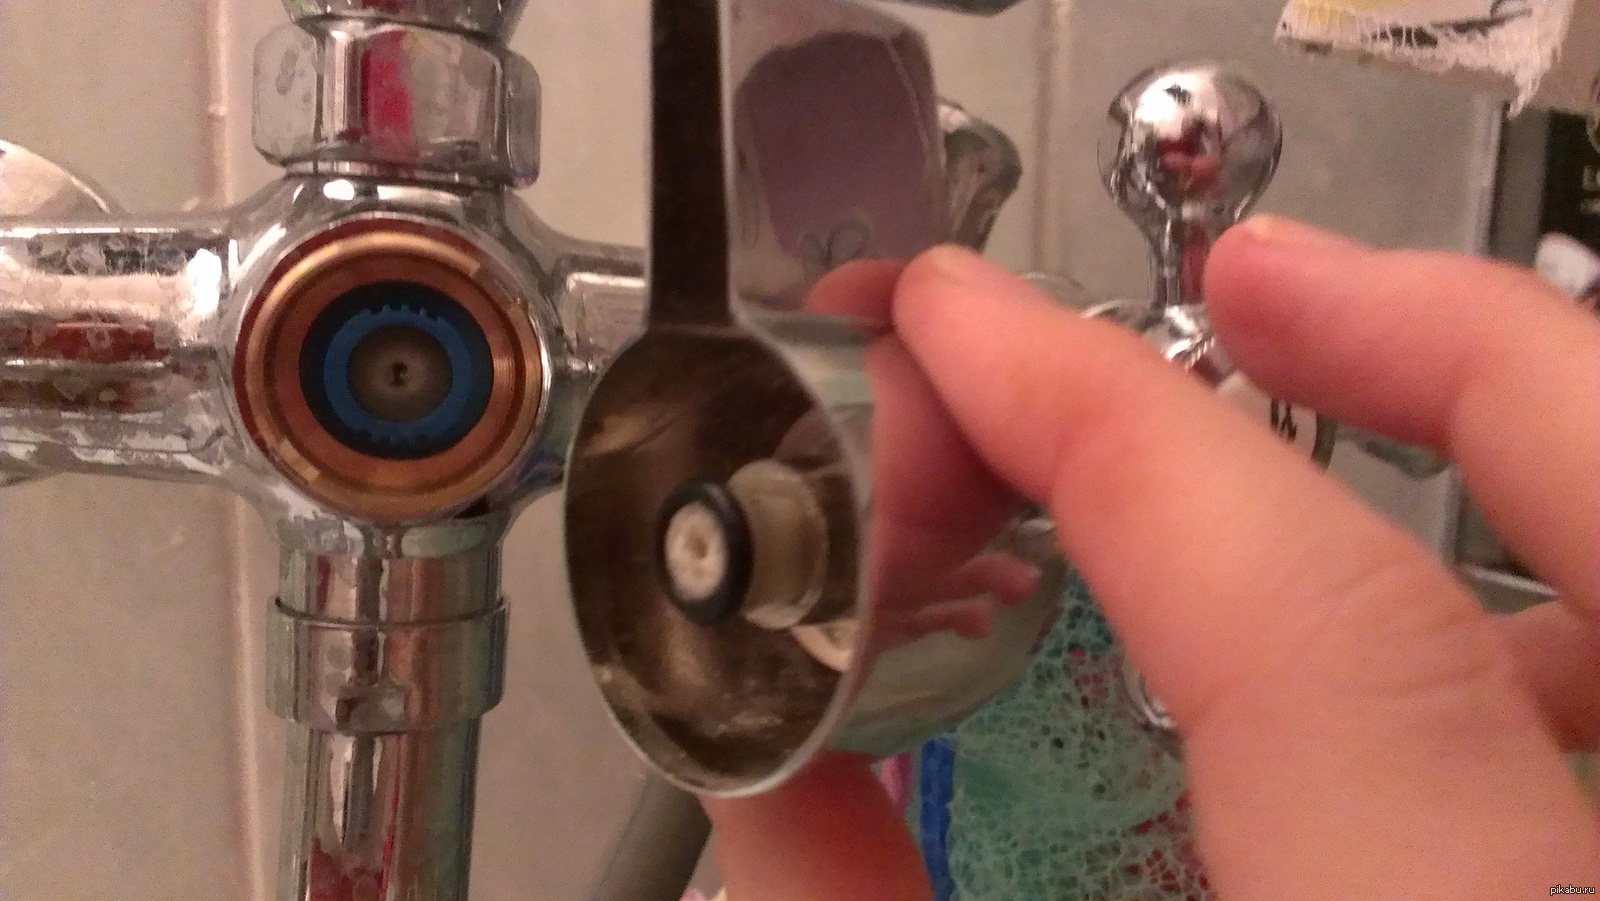
- Turn off the shower, unscrew the nut at the interface with the flexible hose, and then remove the watering can.
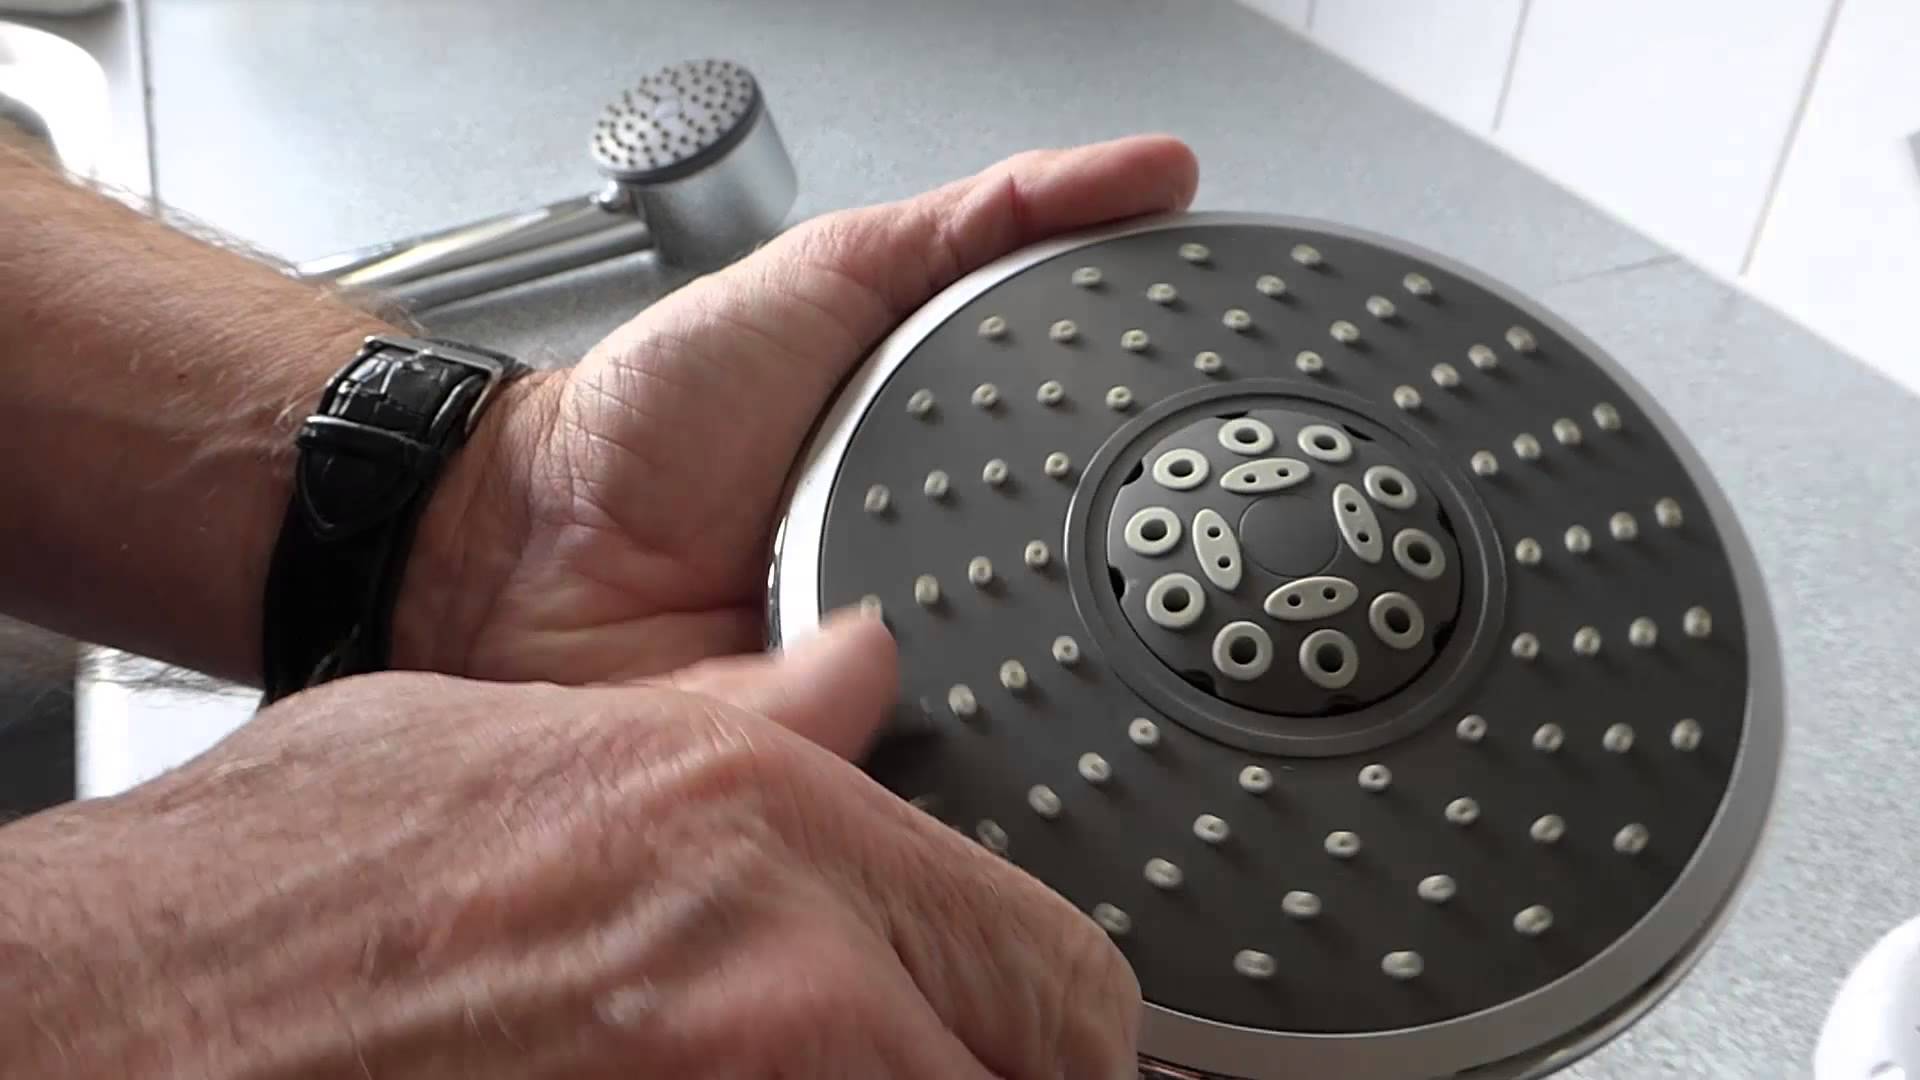
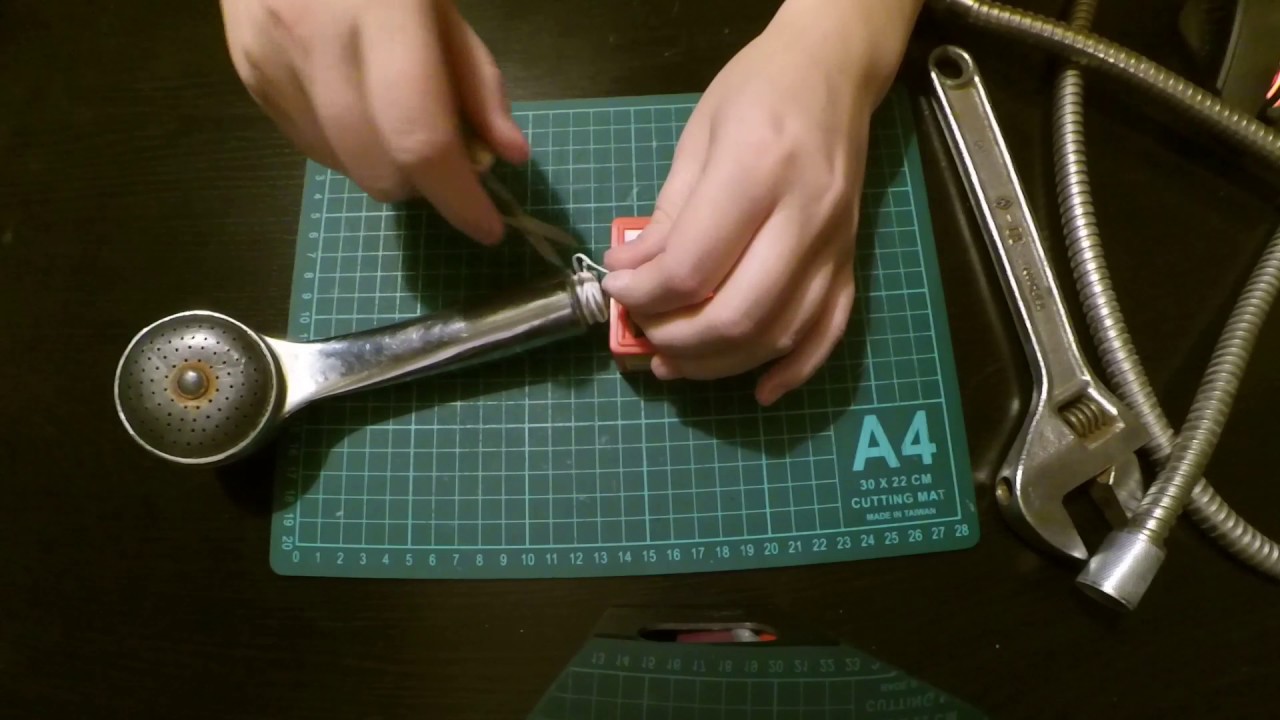
- Need to look at the grid panel. It has several holes in the center (from three to five). The part is unscrewed from right to left with the help of a key specially designed for this. If there is no such tool, any object with rounded ends will fit, for example, scissors. But you need to be very careful, because with the wrong movements you can damage the surface of the element.
- It is necessary to unscrew the screw that secures the opened multi-layer swirl with a Phillips screwdriver or slot.
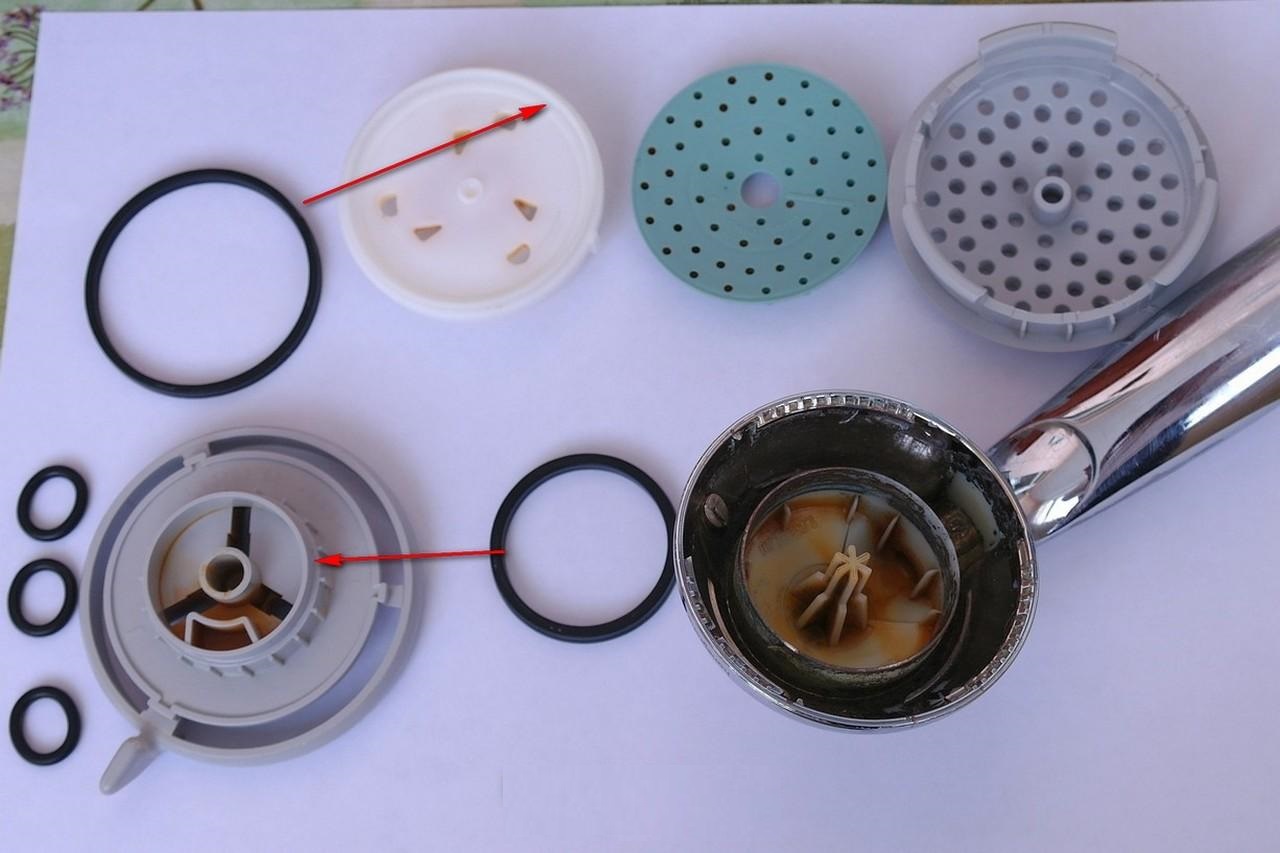
- Then you can see a few circles of the mesh of the shower, as if nested into each other, as well as a switch. These items need to pull out.
- It is necessary to remove the parts intended for redirecting the water flow - dividers and partitions.
- It will be necessary to remove the swirler with extreme care. Gaskets made of rubber are located nearby, you should try not to hurt them and not to damage them. Sometimes there are screw fasteners. It should be said that the box of the swirler may not understand, then further actions with it are impossible.If there are plastic latches on it, and there is no experience in such work, it is better to postpone the repair process: they do not stand up to rude attitudes due to their fragility. Also located here is a switch spring. It is necessary to monitor its safety, because it is one of the most important parts of the soul, which can not be lost.
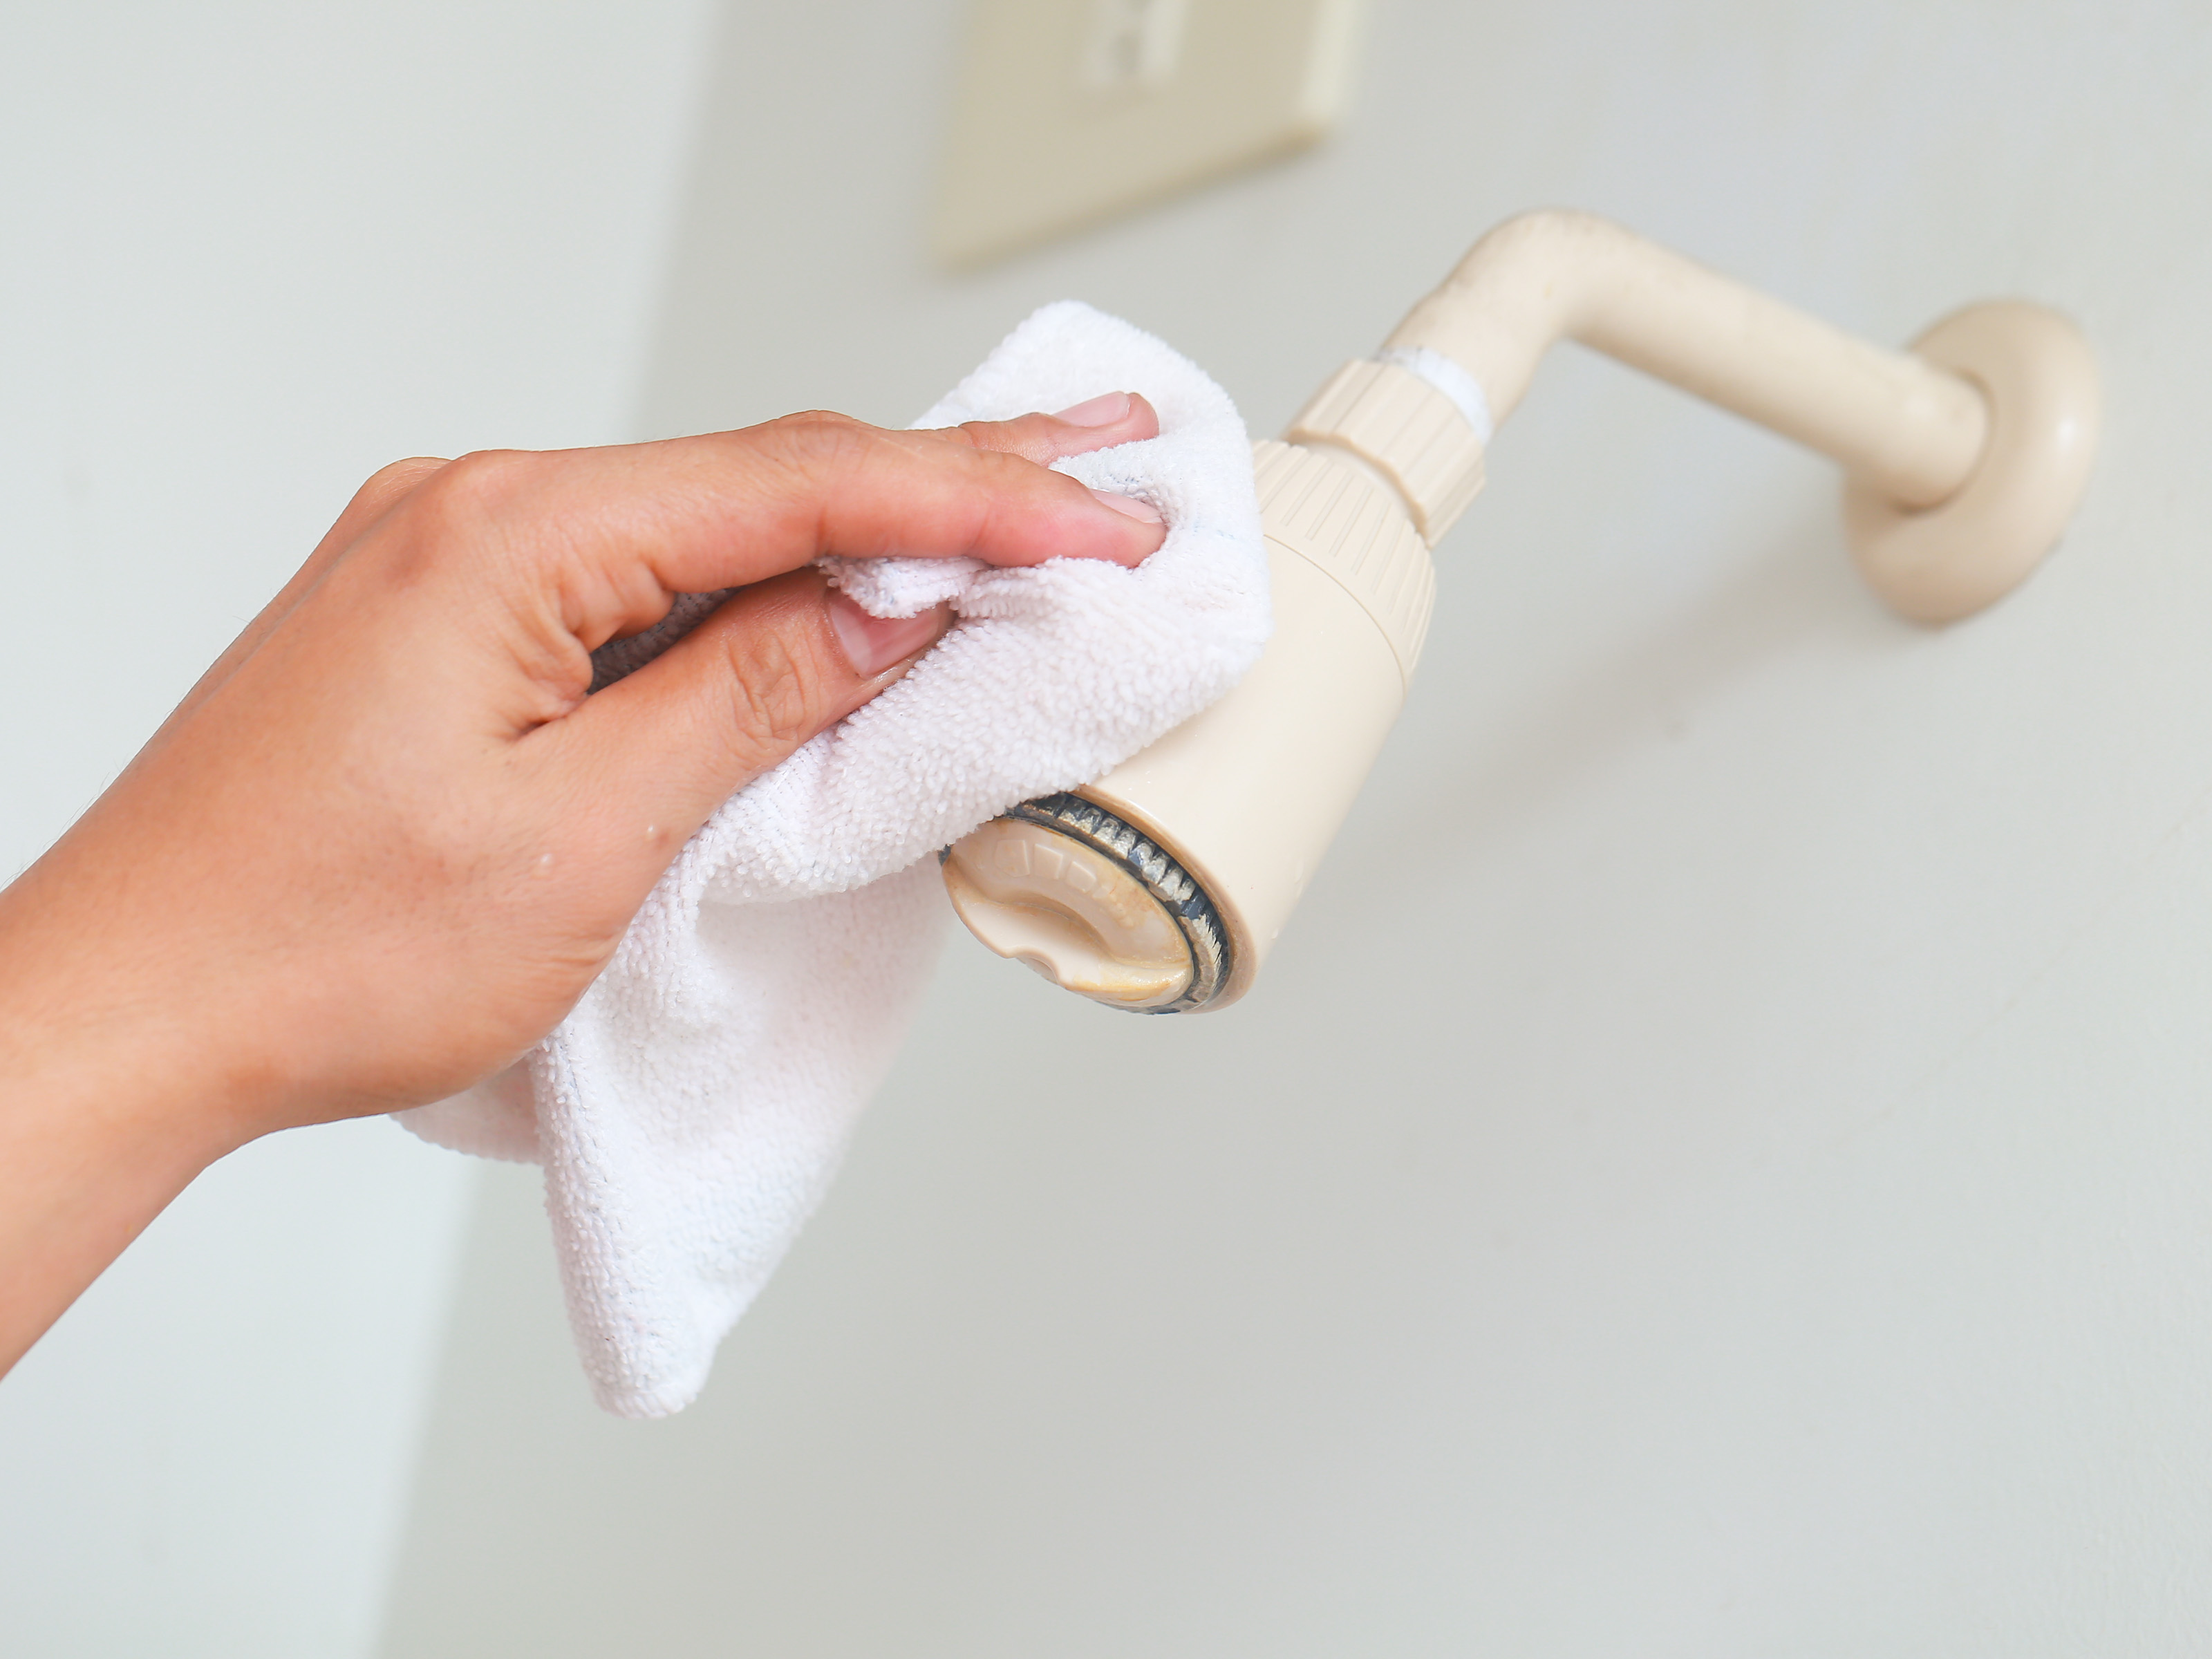
After the completion of repair work, the parts should be cleaned from the inside by rinsing or by means of cleaning. It is necessary to remove plaque formed due to rust and impurities contained in the water. It is also called water stone. To eliminate it, you may need more serious methods, which will be discussed later.
The assembly process is identical to the actions that were taken during disassembly. They must be repeated in the opposite order: put the swirler and the extracted parts back, insert the shower screen and switch, tighten the screws and the screen panel. After that, you can turn on the water and look at the result of the work done.

Cleaning
You can use different methods to effectively clean the shower head. Sometimes you even have to use several methods at once.There are two substances that relieve the device from contamination.
- Vinegar. Before you start using it, you should take any container, pour 9% vinegar into it. Three hundred milliliters are usually enough, but the mass of acetic acid can vary depending on the diameter of the watering can itself. The mesh and parts that require cleaning should be placed in a solution for a long time. The preferred time is 7-8 hours.
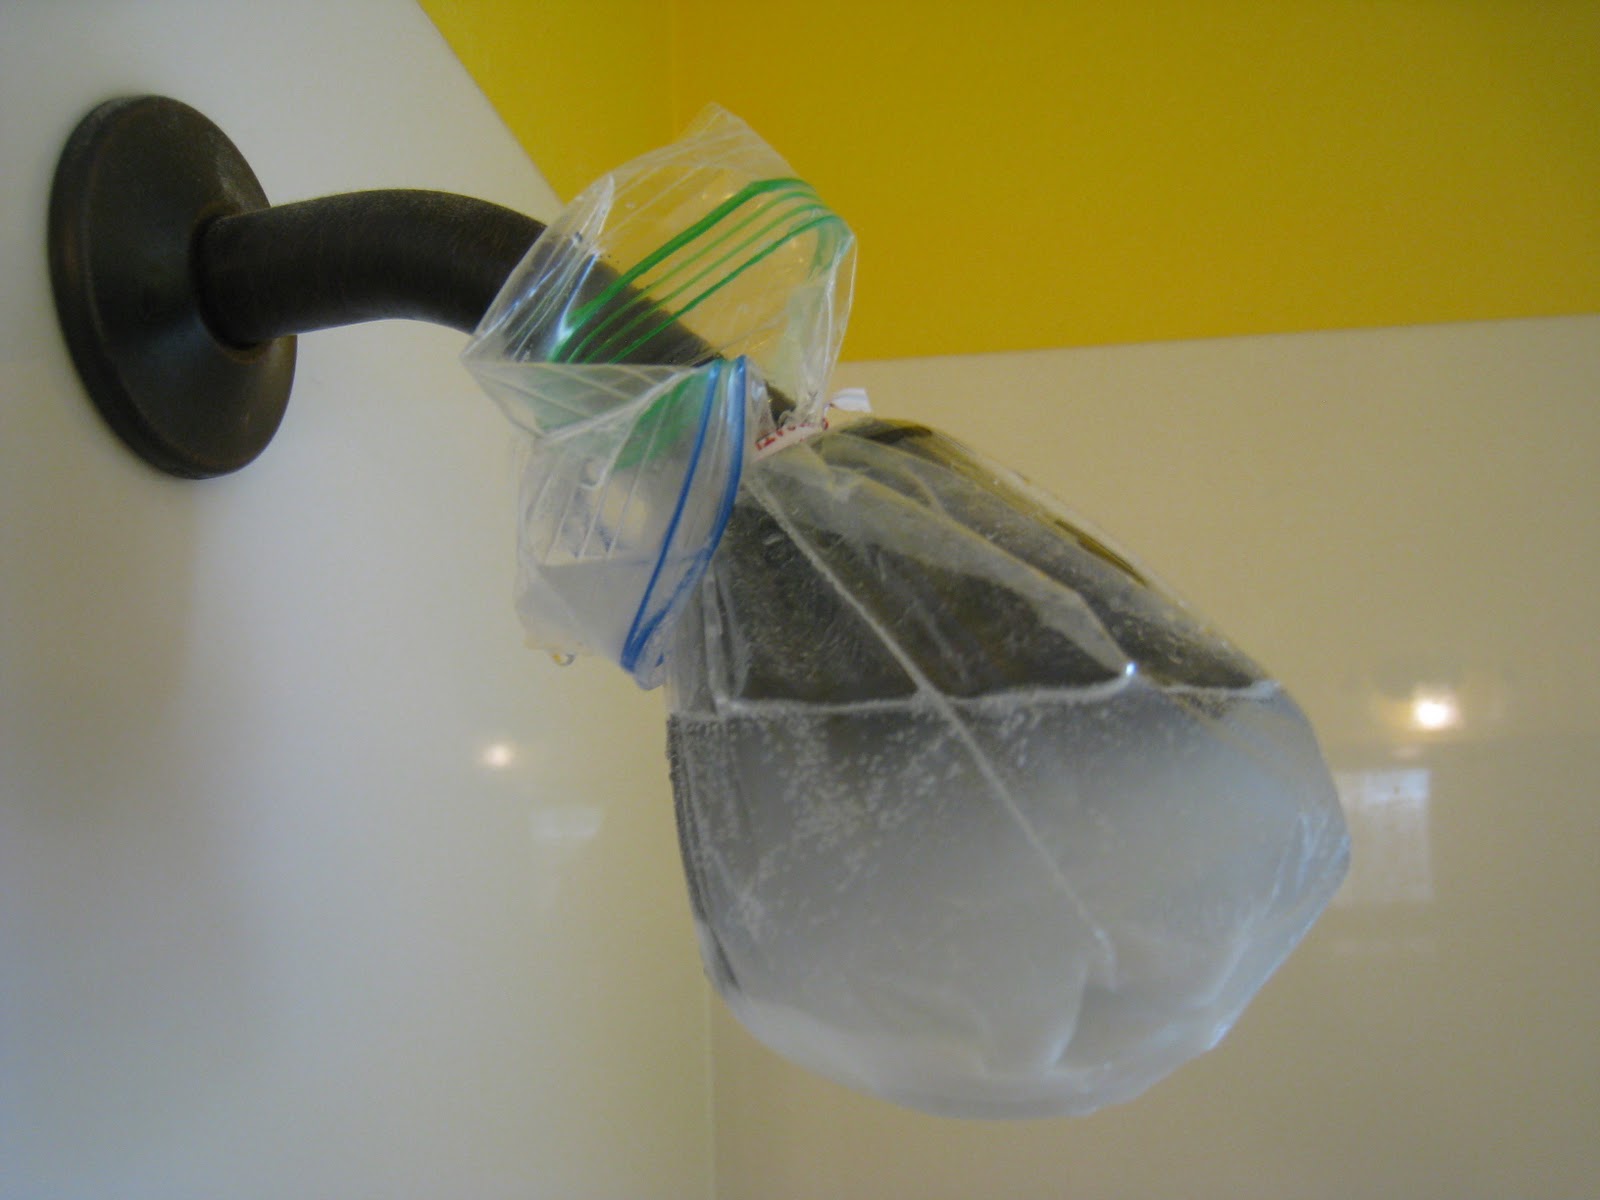
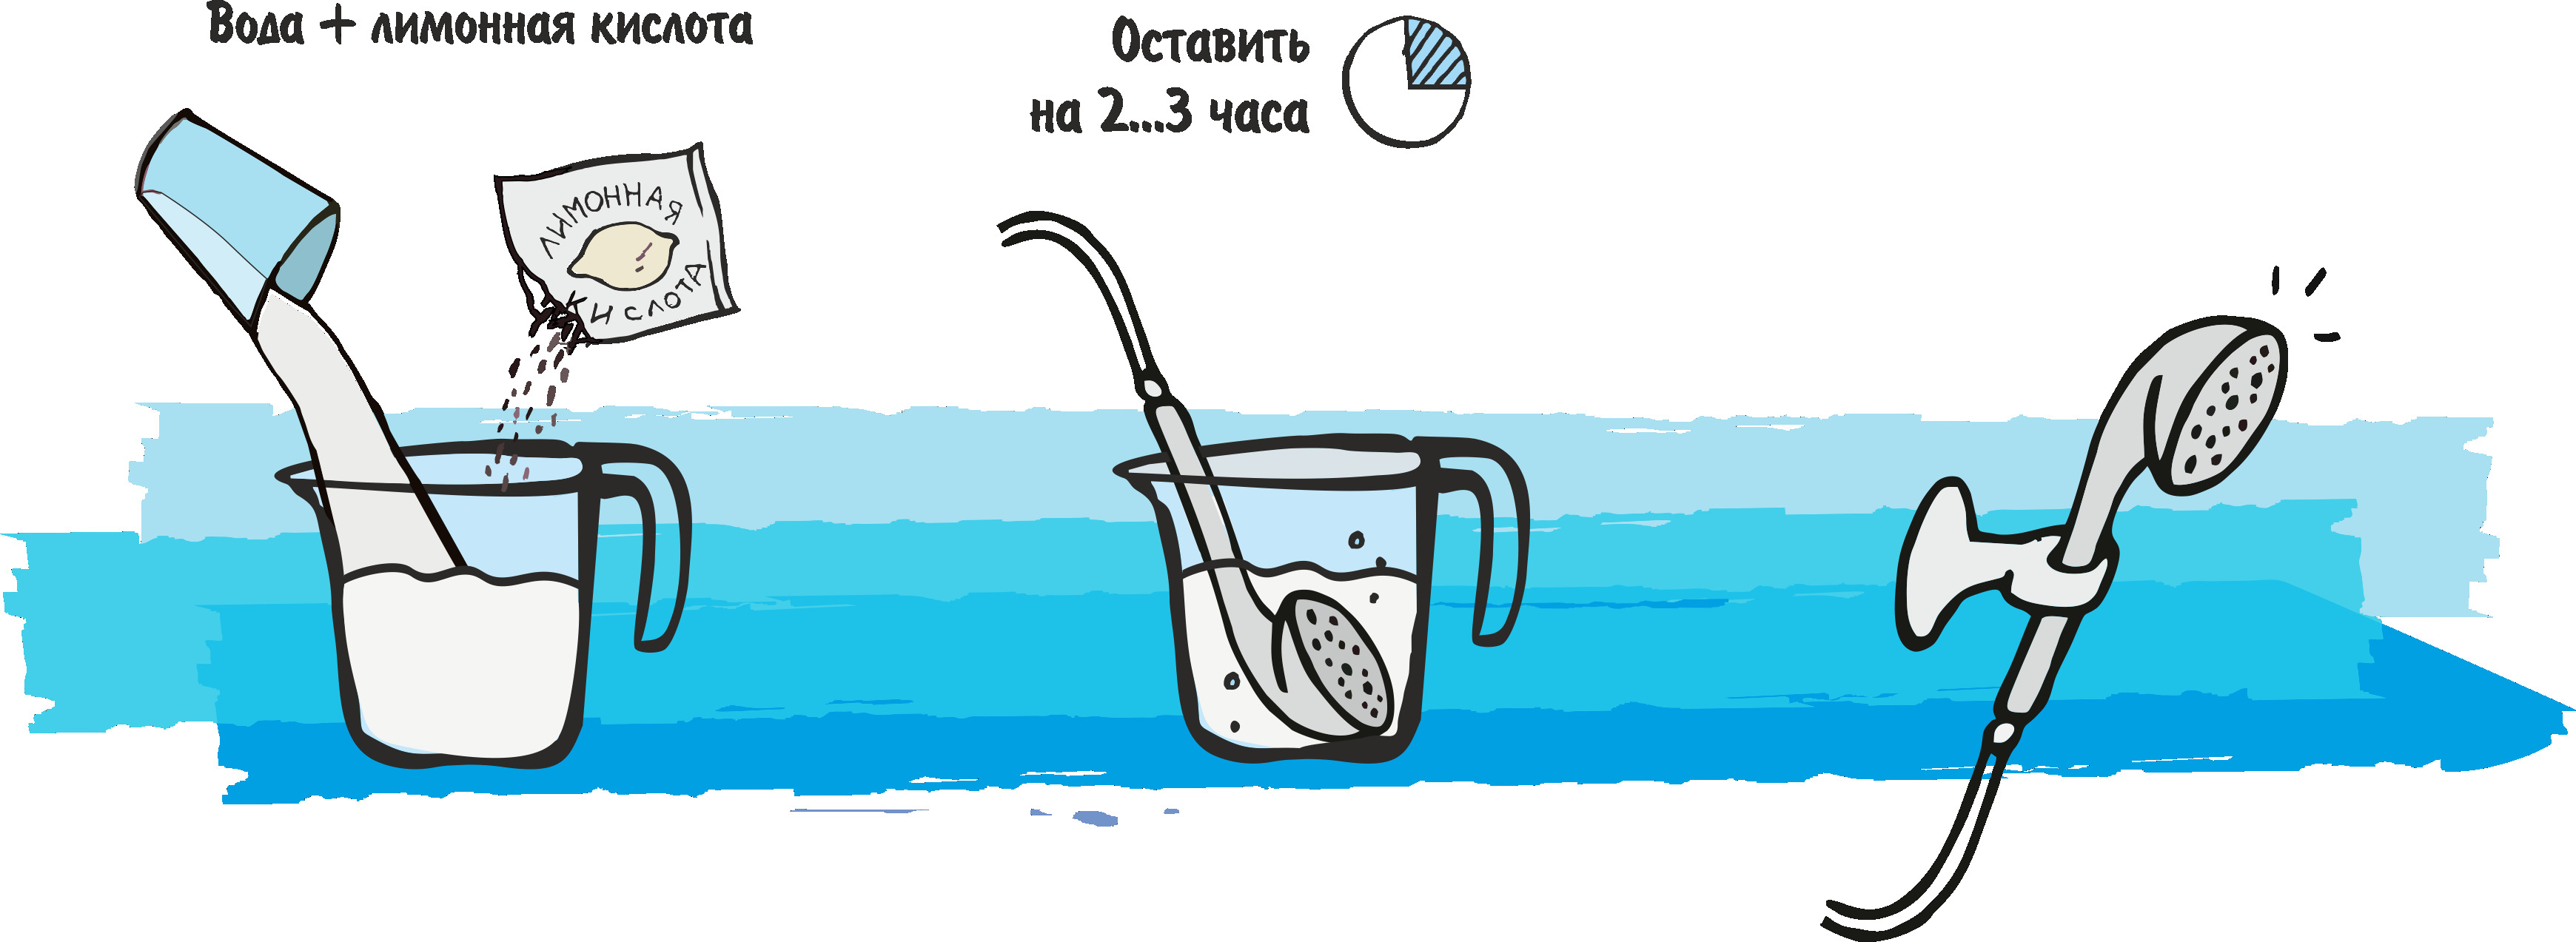
- Lemon acid. It acts faster than vinegar, and also copes with various contaminants. As in the previous case, you need to lower the clogged parts of the shower head into the dishes with citric acid prepared in advance, and then pour hot water over it. Parts must be completely immersed in the resulting solution. After it cools, you can notice the bubbles formed - this means that you can remove parts of the shower head. For additional effect, it is worth brushing them with a hard, hard or iron sponge. The softened blockage will be removed without difficulty. The whole process will take from 15 to 25 minutes.
Shower switch repair
What should be done if the trouble happened with other details? Each of them is important, and the mode switching mechanism is an equally important part of the shower head.
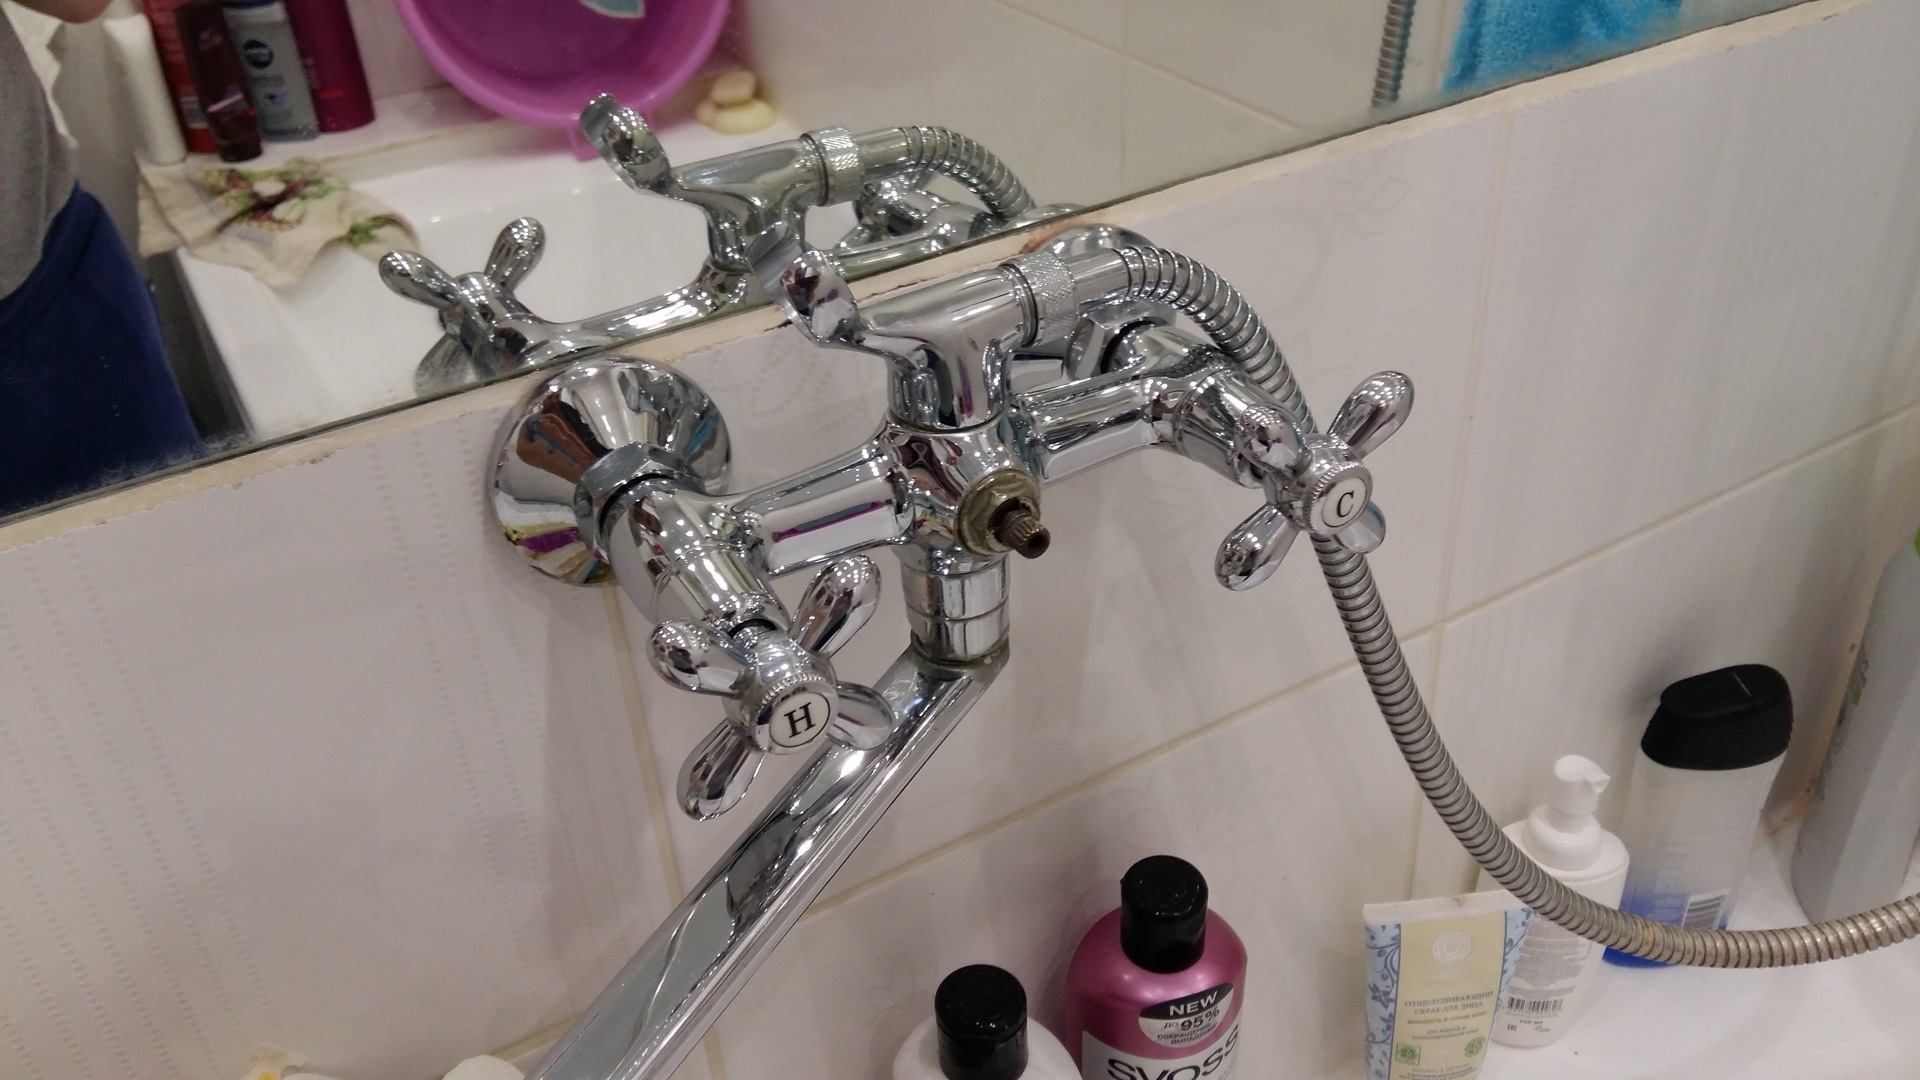
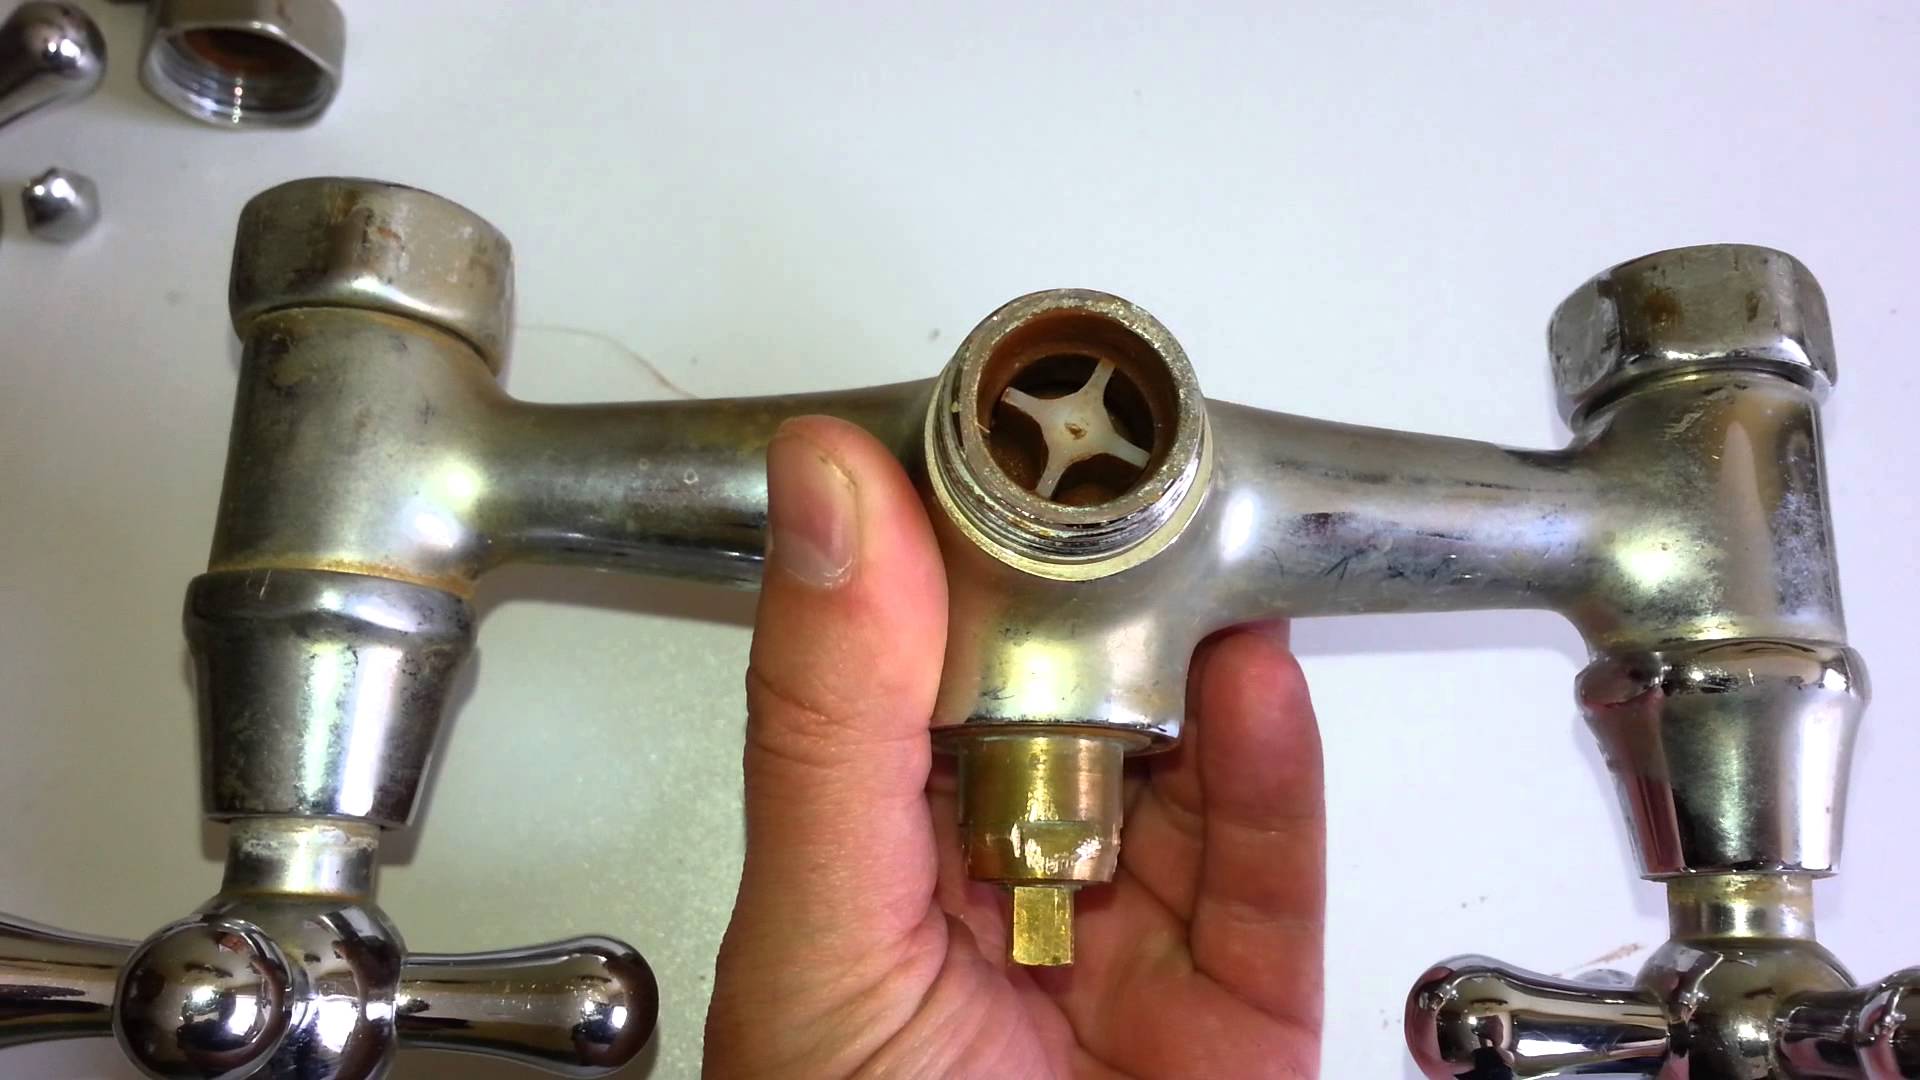
If the water starts to leak, it is a reason to think about fixing the device. But before starting work, it is necessary to diagnose the cause of the breakdown, because it can have both a large and a small scale. For example, tightening the nut in importance can not be compared with the replacement of any important part of the device. However, the switch in the mixer is something without which the normal functioning of the device is difficult to imagine. This mechanism blocks the water flow and prevents spontaneous flow of fluid. It connects the hose and spout.
The switch has three positions: one is stop, and the other two change the direction of flow, that is, they are responsible for the supply of hot or cold water. Also, there is a blocking of the shower mode and vice versa. But in the event of a malfunction it is impossible to carry out the correct adjustment of the flow of water.
There are several types of soul switches, from the characteristics of which the actions during repairing depend.
- Suberic. Today it is extremely rare and almost never used.
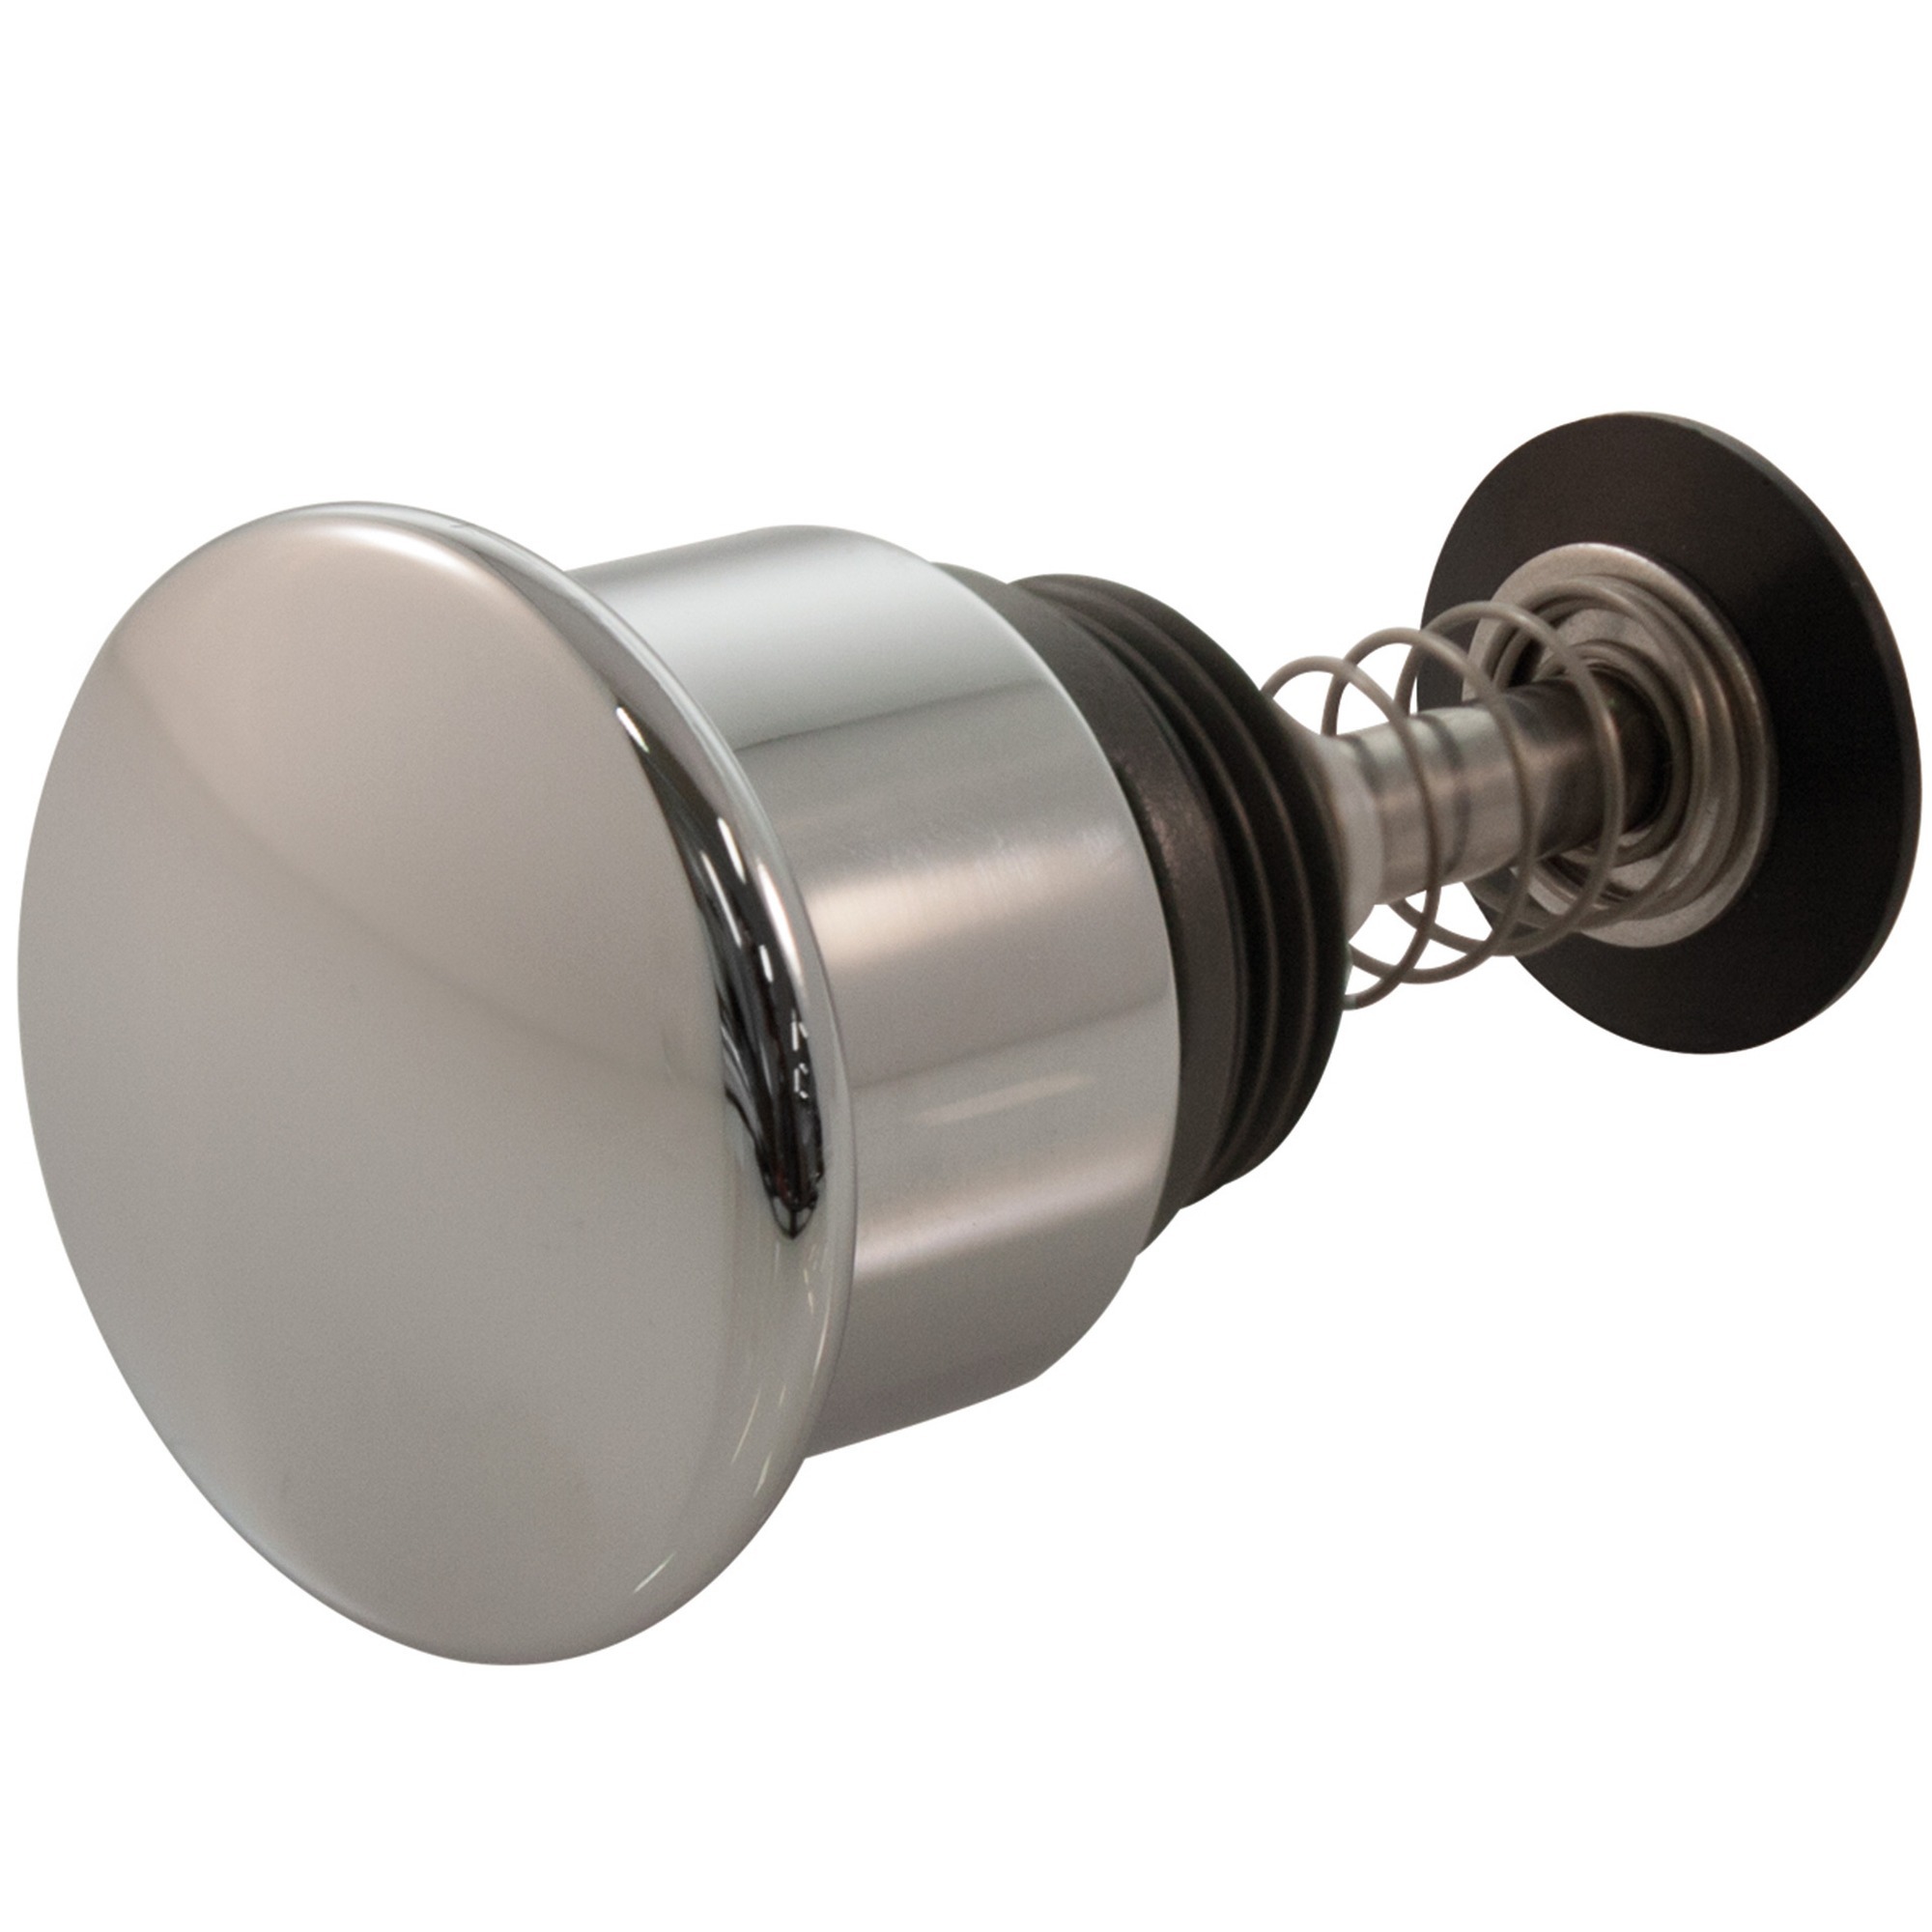
- Push-button or exhaust. Now practically does not occur. It is divided into two types: automatic and manual.Used to mix hot and cold water.
- Cartridge. The most modern type of switches. Unfortunately, it has a flaw - in case of faults, you will have to replace it with a new one.
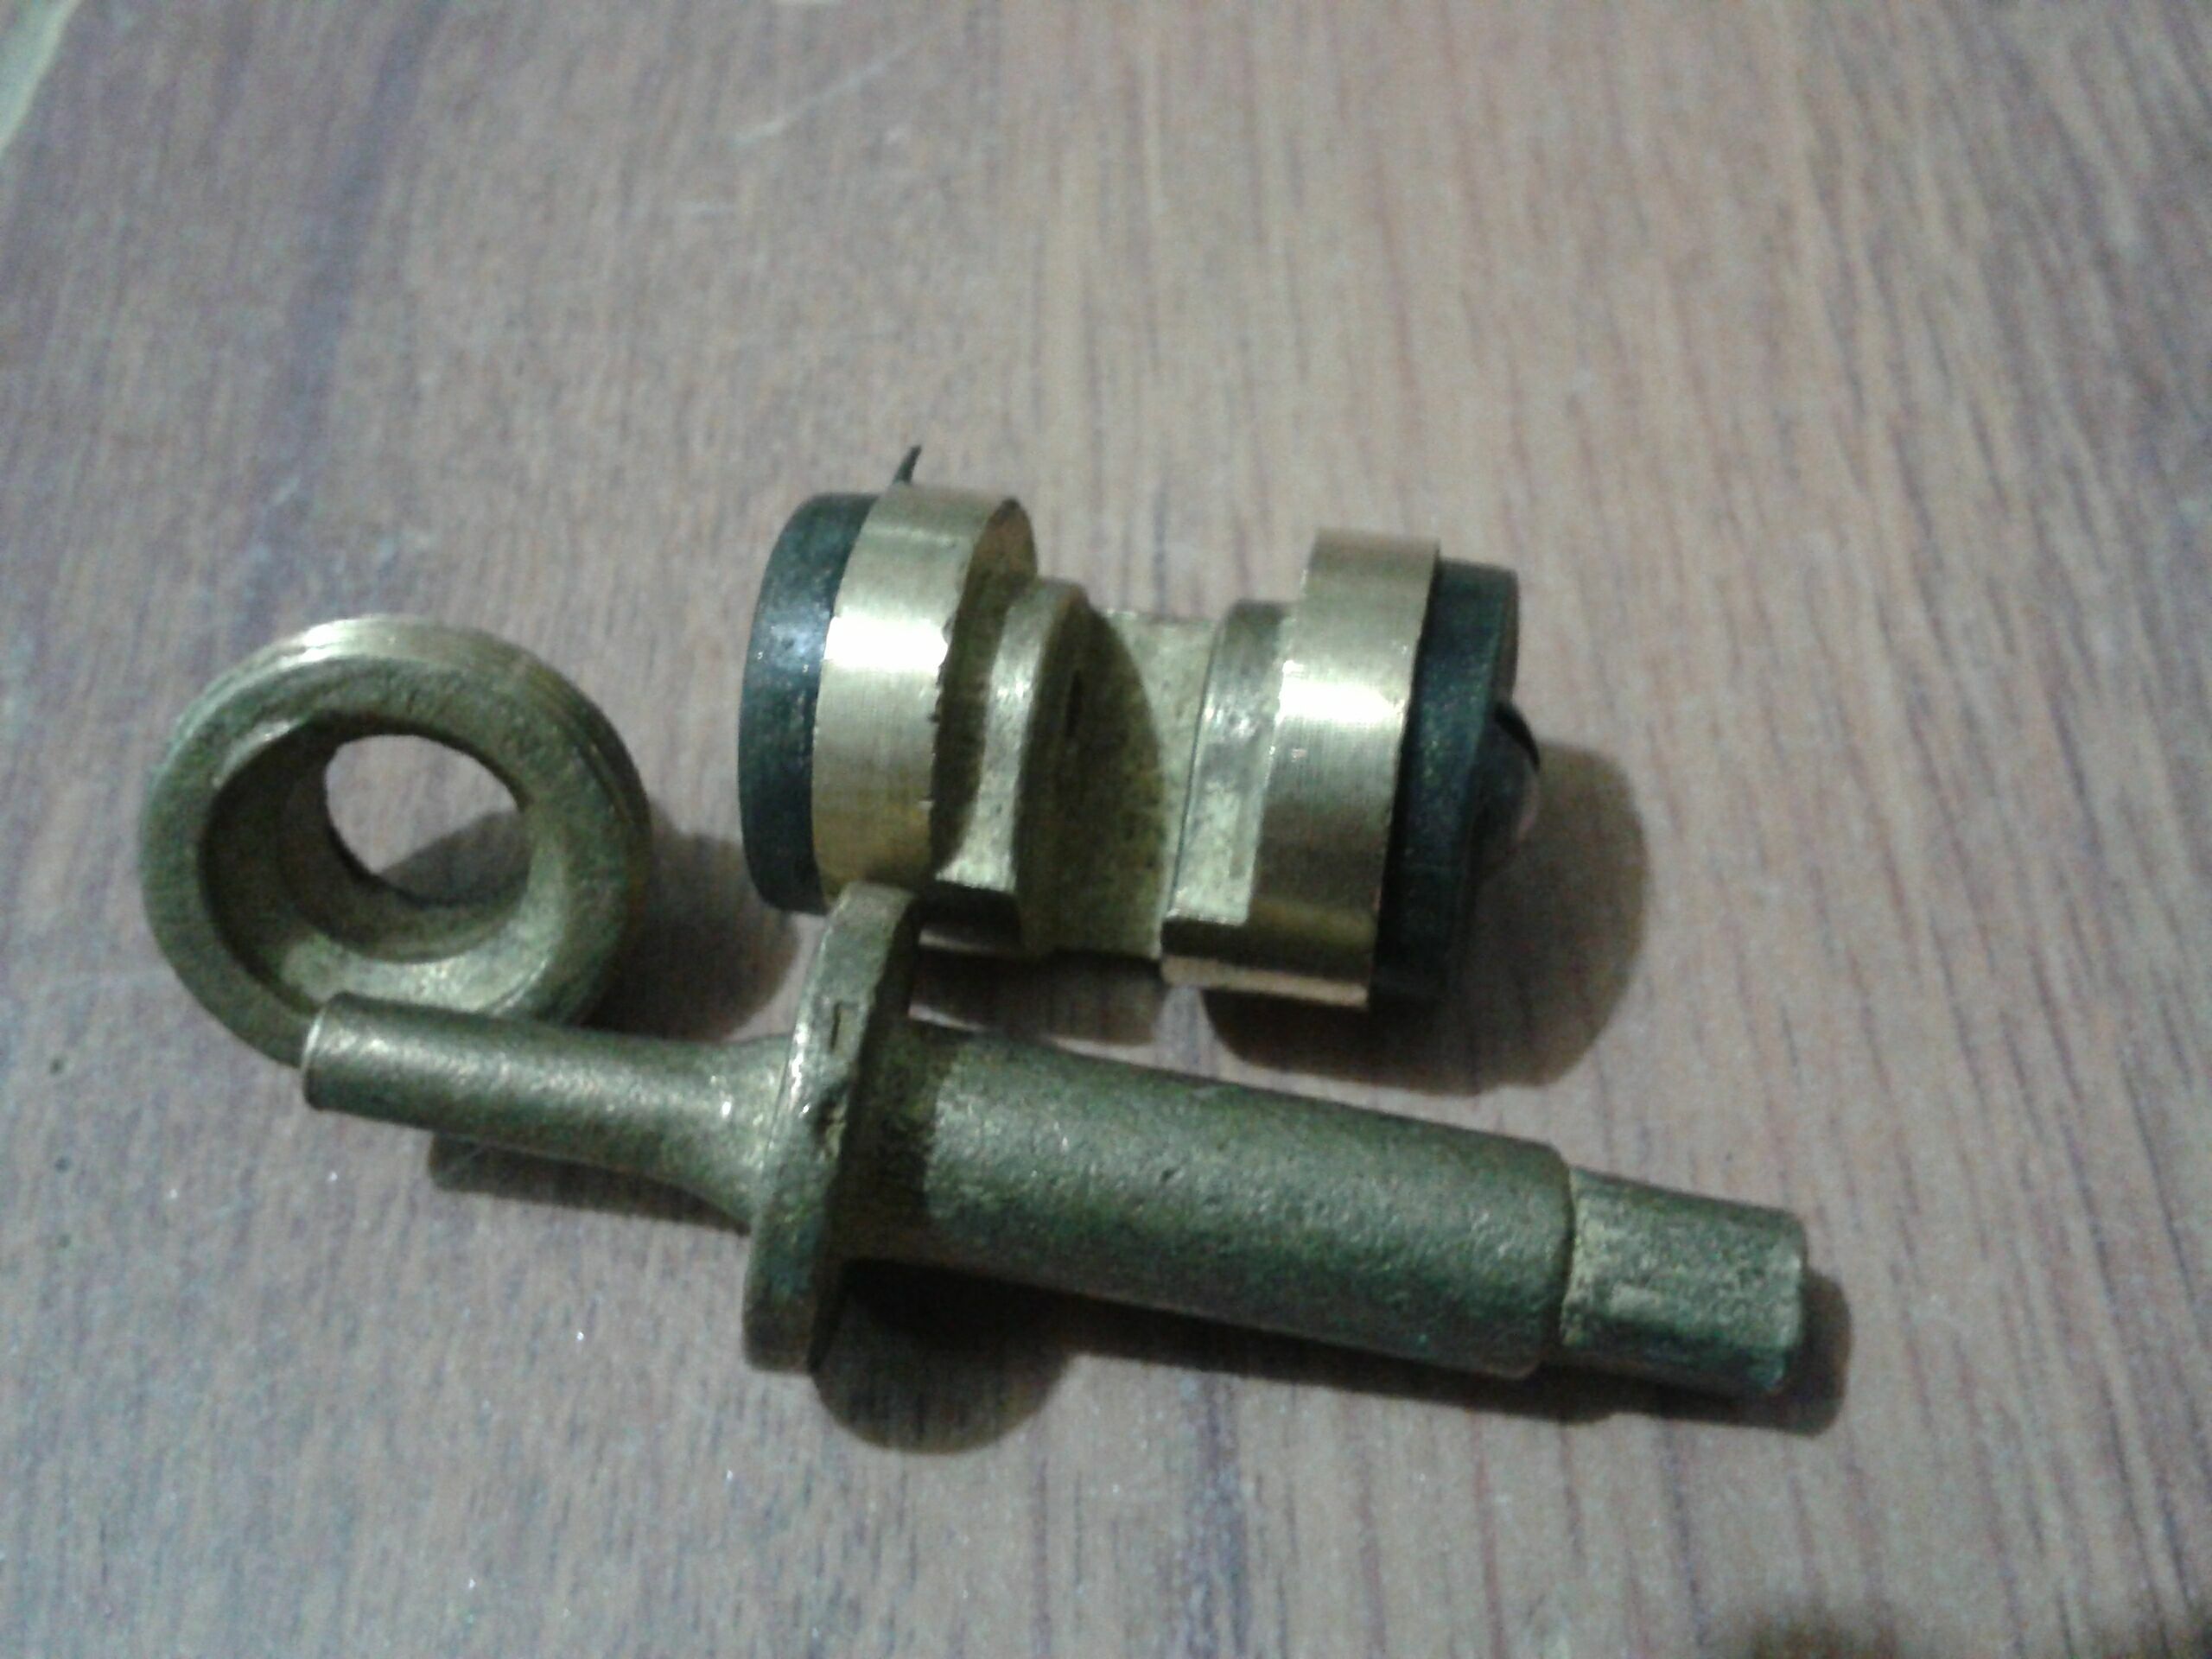
- Spool of. The most common detail among all existing.
- Flag Changes the direction of flow of water when it turns in one direction or another.

How to disassemble the switch?
This process, though simple, requires concentration. Because of the wrong actions, more serious problems may occur.
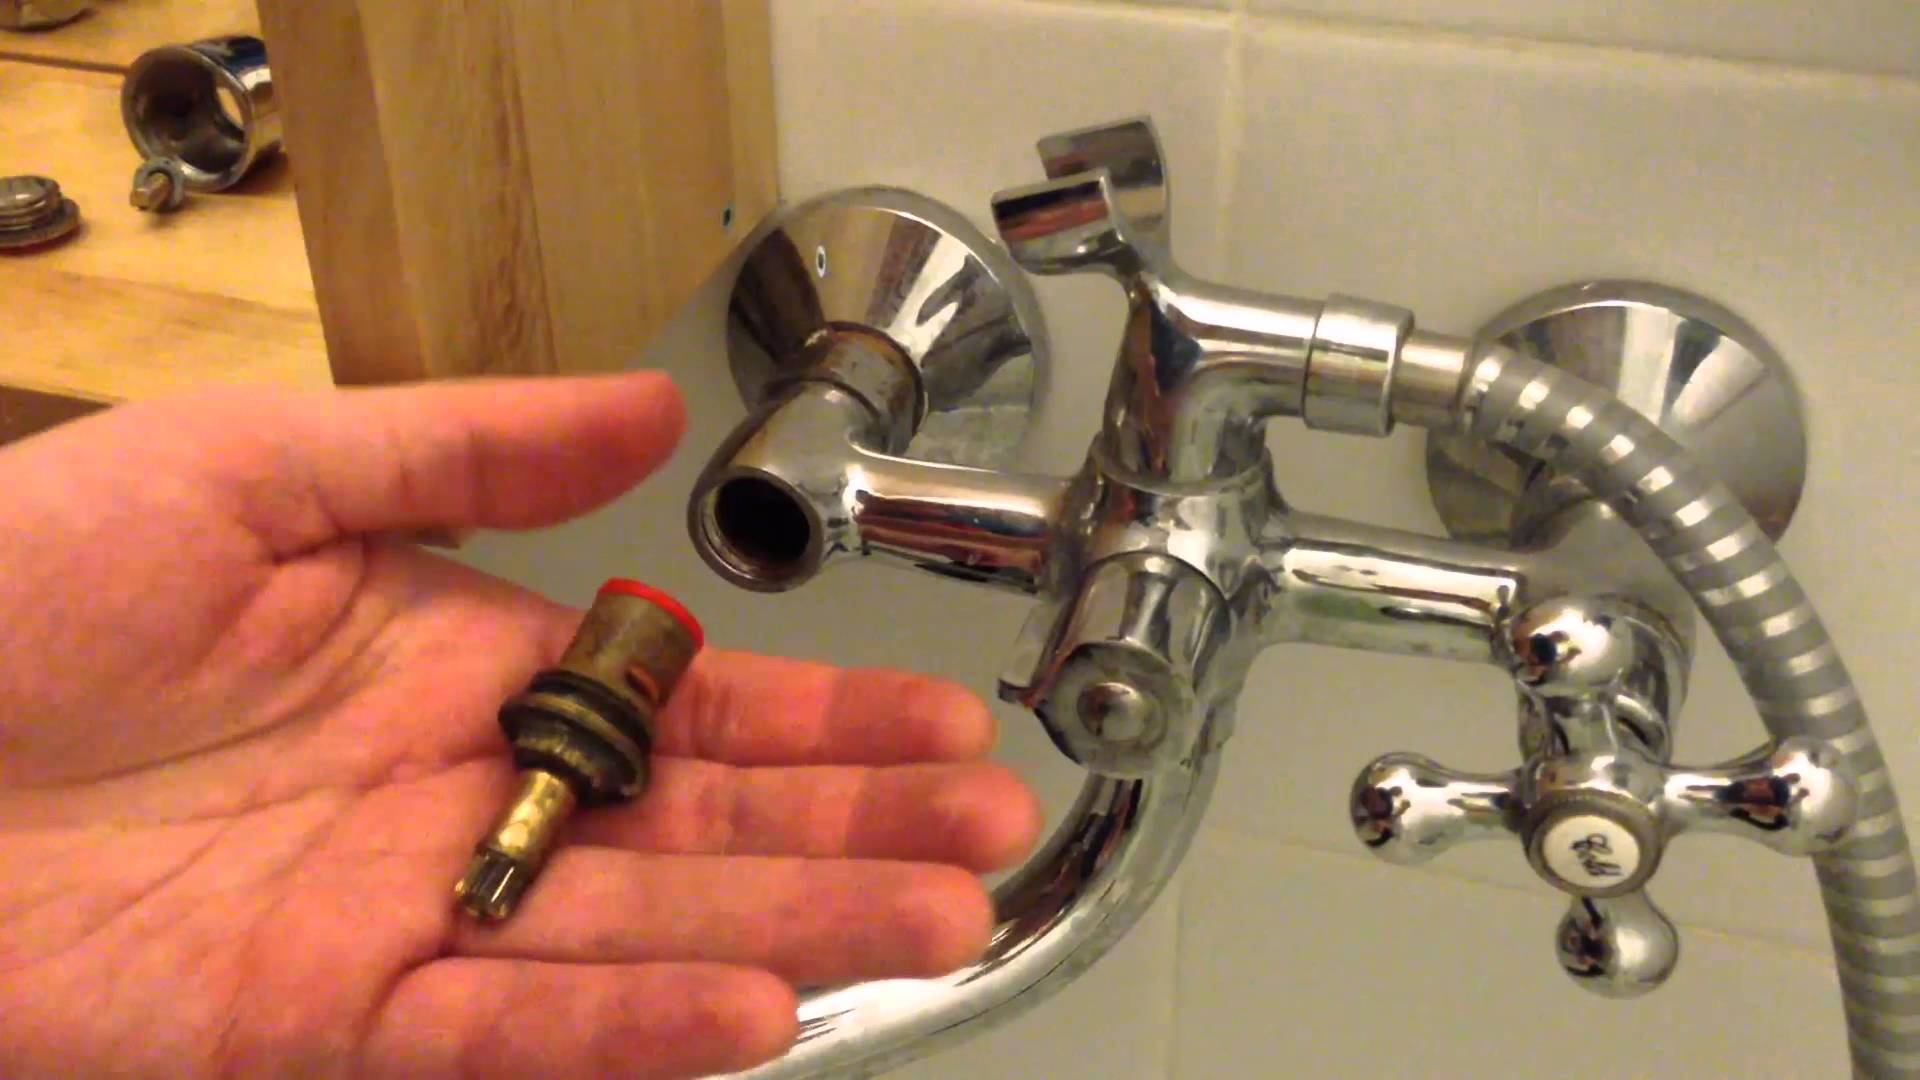
To disassemble the switch, you must perform the following steps:
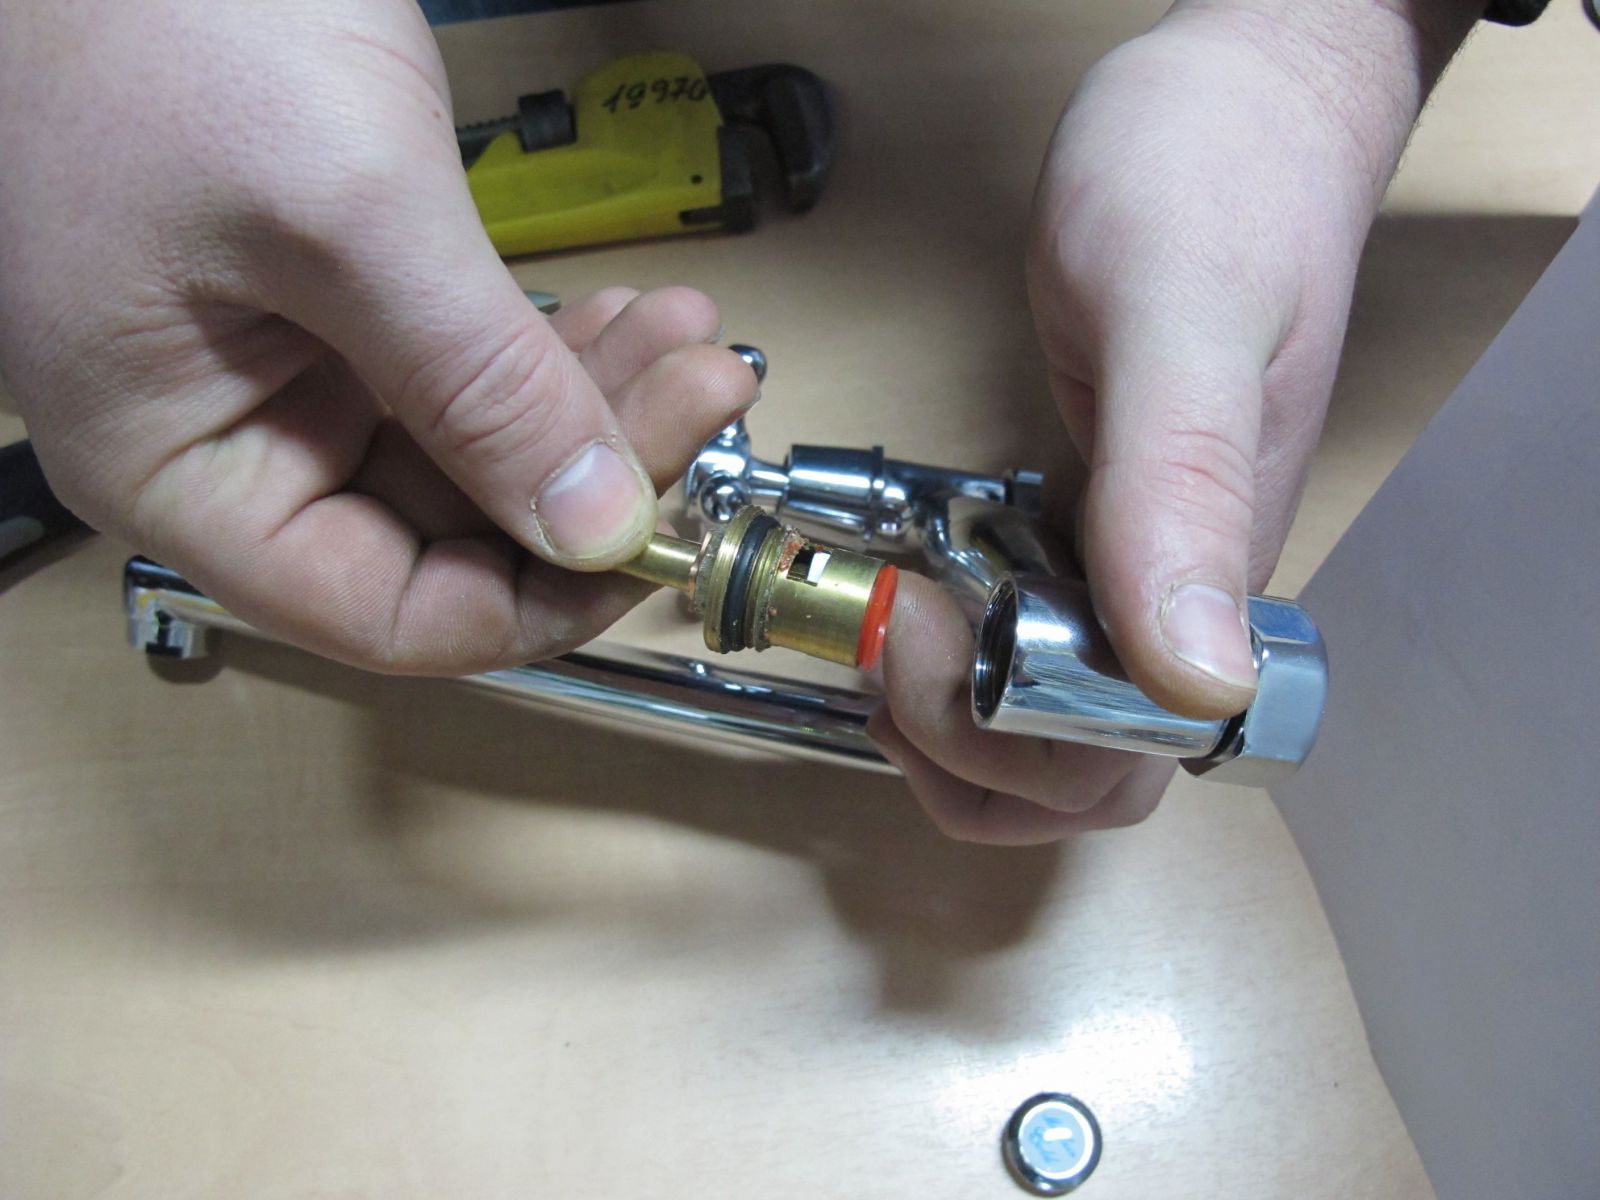
- unscrew the shower and spout;
- remove the protective cover of the switch;
- unwind the switch;
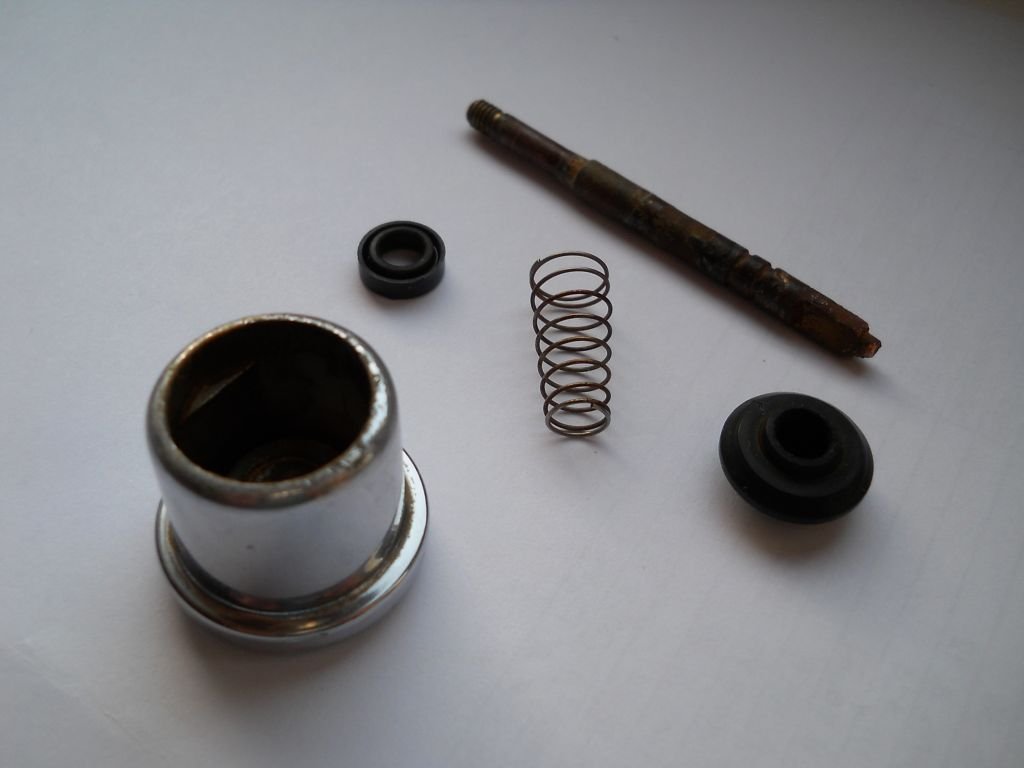
- gently remove the stock drain mechanism;
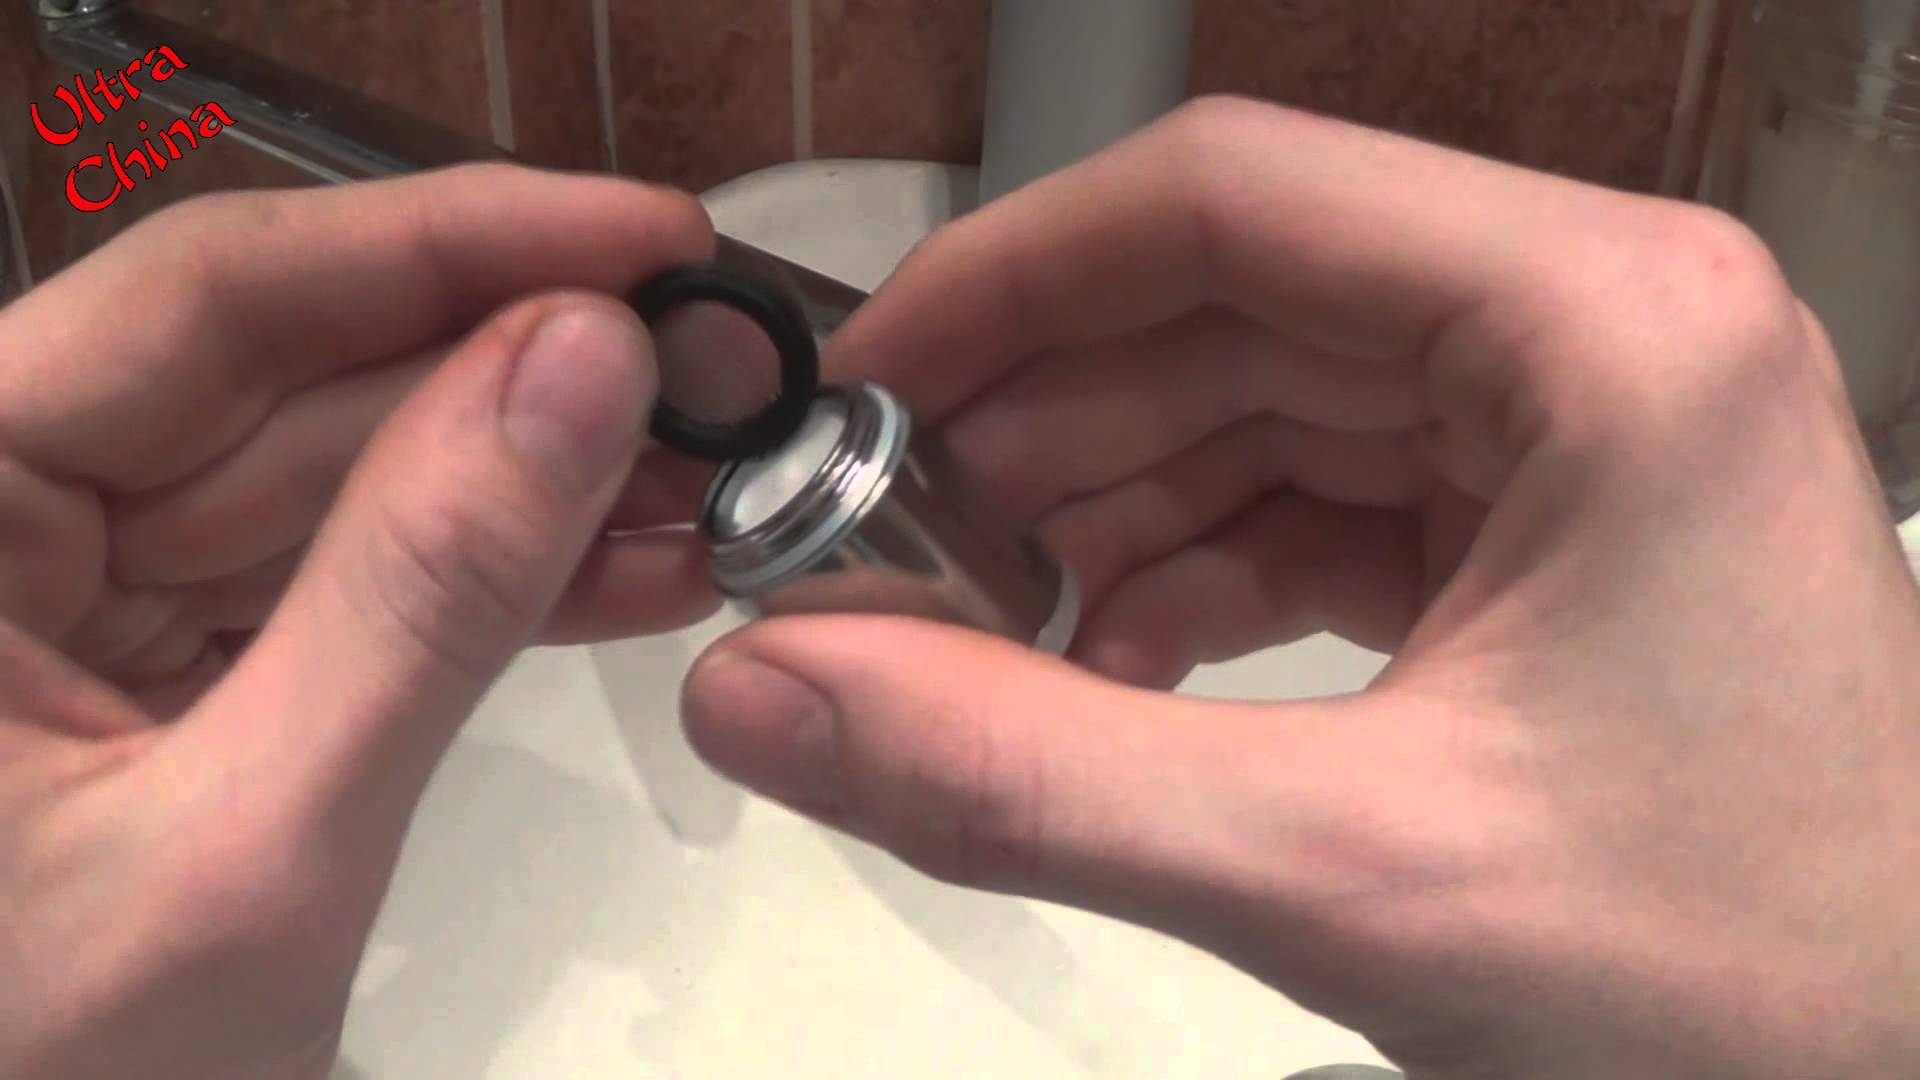
- replace sealing rings.
Then it remains only to repeat these steps in reverse order, and check the functionality of the repaired switch. If the device has stopped working due to the fact that the ring has worn out, the switch will stop leaking. But if these actions did not help, then you need to continue to look for a solution. Deterioration may result in the deterioration of only a few parts.
Need to adhere to the following operations:
- in the broken spool switch, you need to remove the sealing rings and replace them with new ones;
- The problem with the upper gasket can be eliminated if you get it using a thin hook or other sharp and long object. This will avoid disassembling the mixer;
- disconnect the spout and hose from each other if you need to replace the two gaskets. To do this, remove the switch and adapter.
Tips
Change in the bathroom nozzle on the soul is a snap if you follow the above tips. It can also be opened to remove limescale from the inside, or paint if necessary. A cracked handle can also be easily replaced or repaired.

Clearing a clogged shower head is a procedure that requires time and attention, although it is simple. With the help of a small set of tools and tools to get rid of dirt, you can achieve the desired result independently and without the need to call professionals.
On how to properly disassemble the watering can from the shower with a switch, see the following video.


