Shower cabin drain: device and installation features
Arrangement of the shower cabin drain is important, because without it there will be no comfort when taking water treatments. Improper installation of the drain will cause water to leak.
Features of the device
Provide a place in advance and select a version of the system drainage.
If it is assumed that the shower will be equipped with a pallet, there may be two options:
- ladders;
- channels.
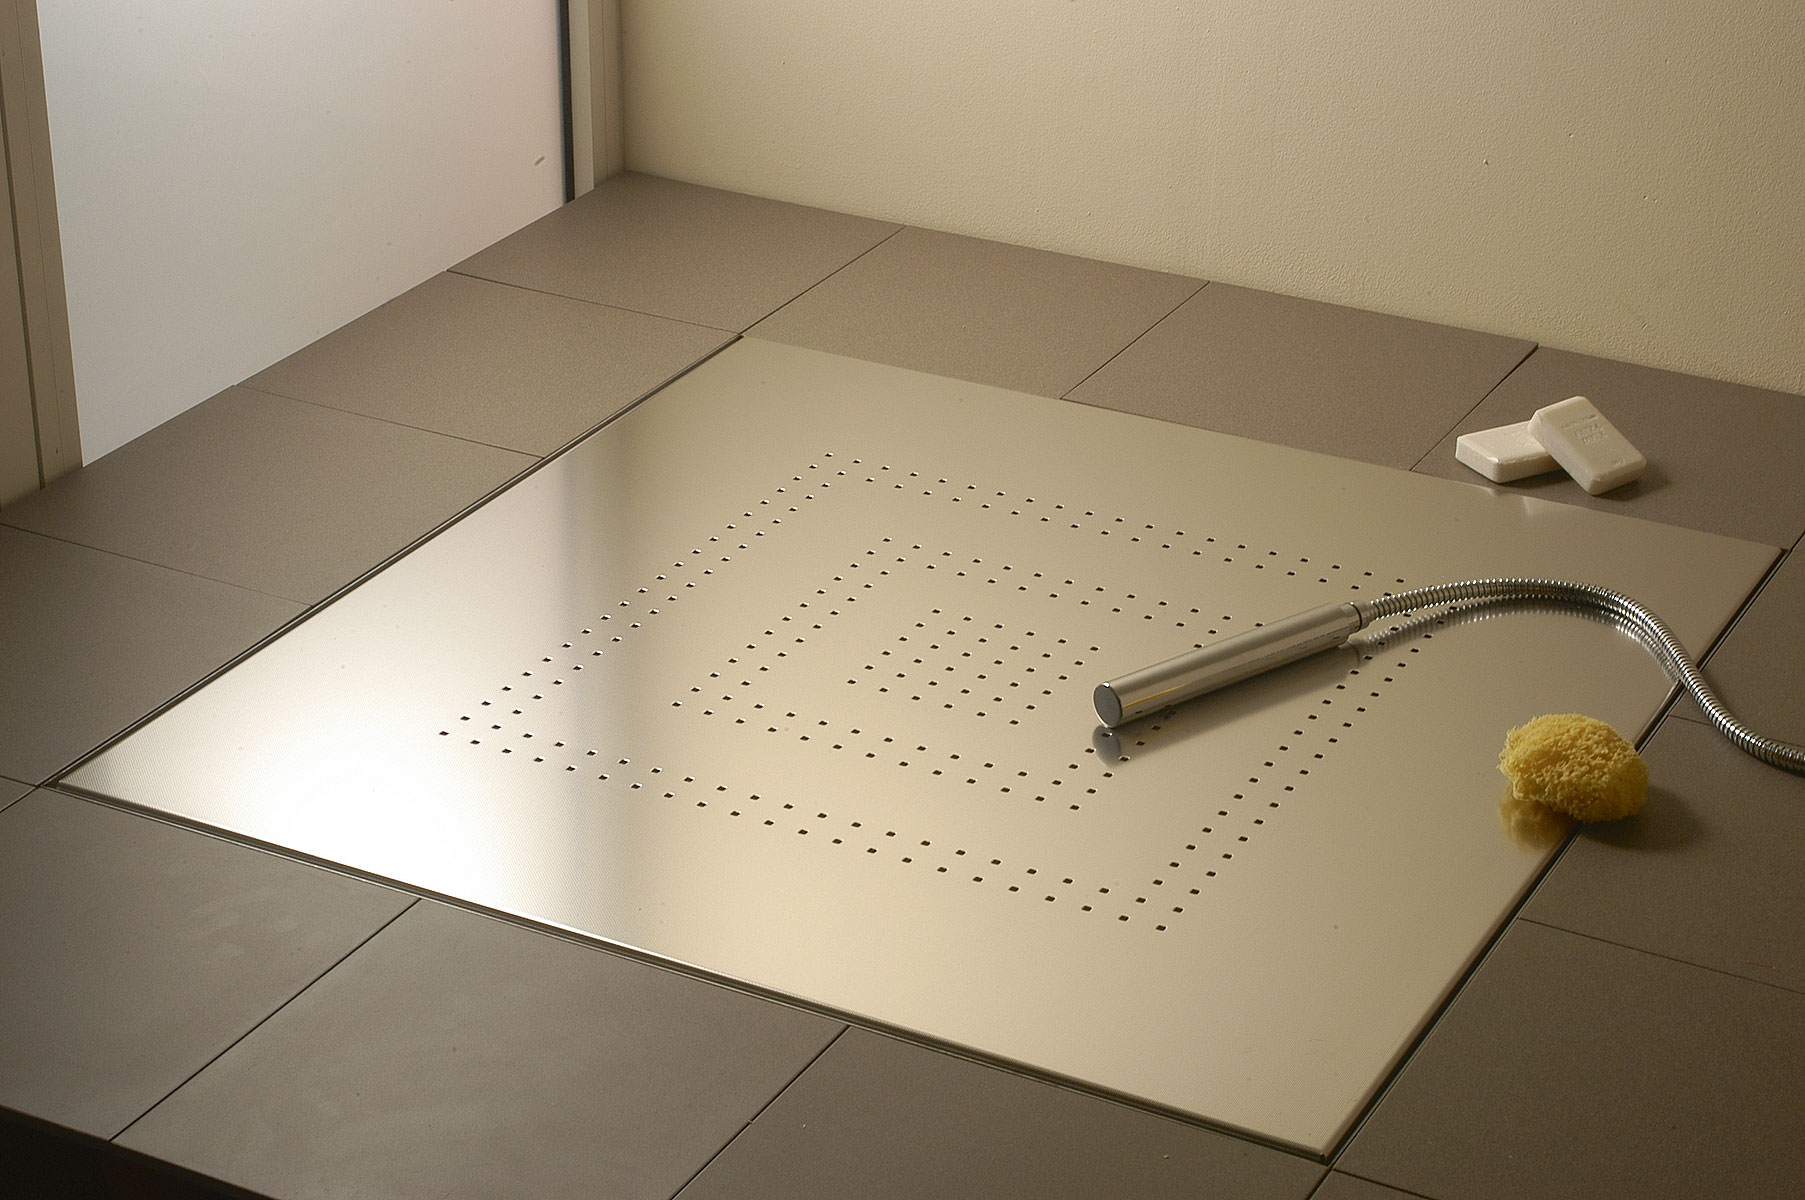
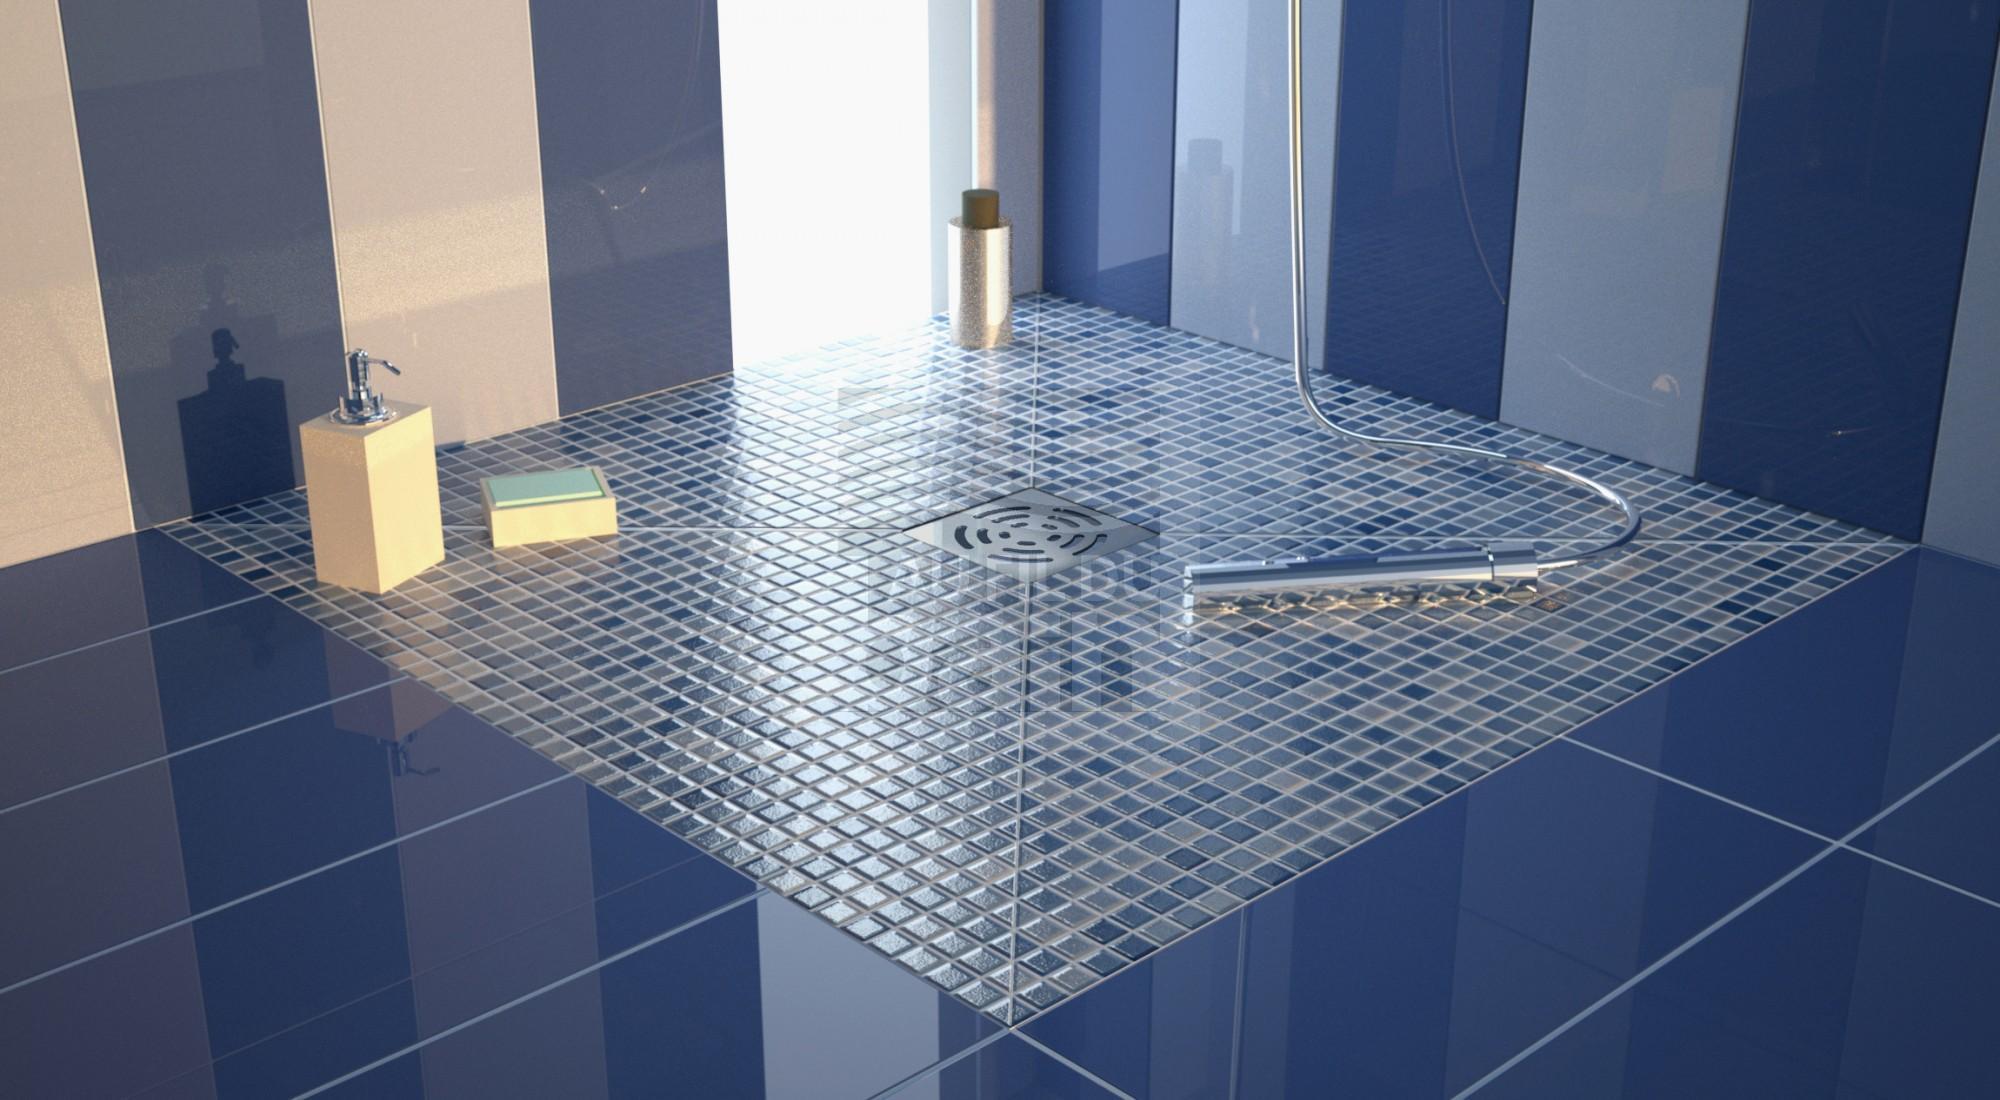
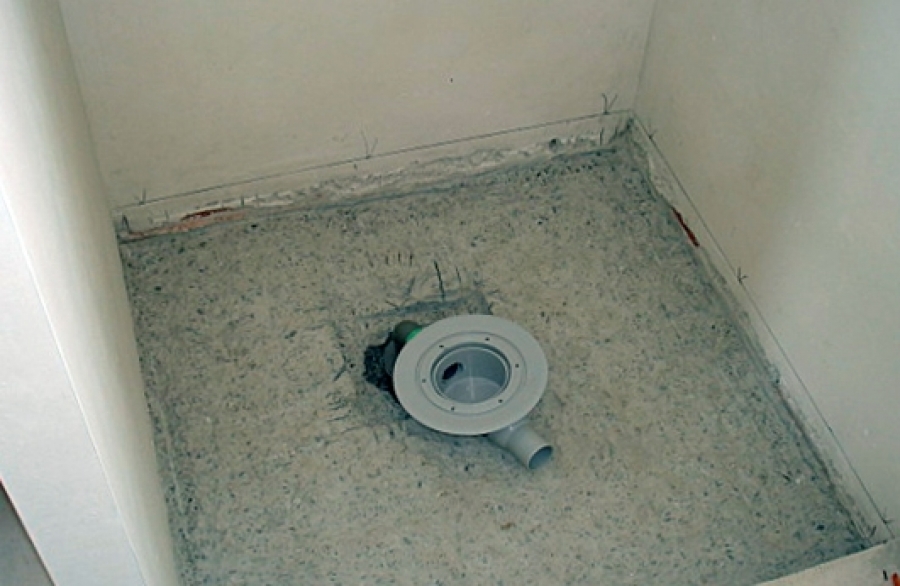
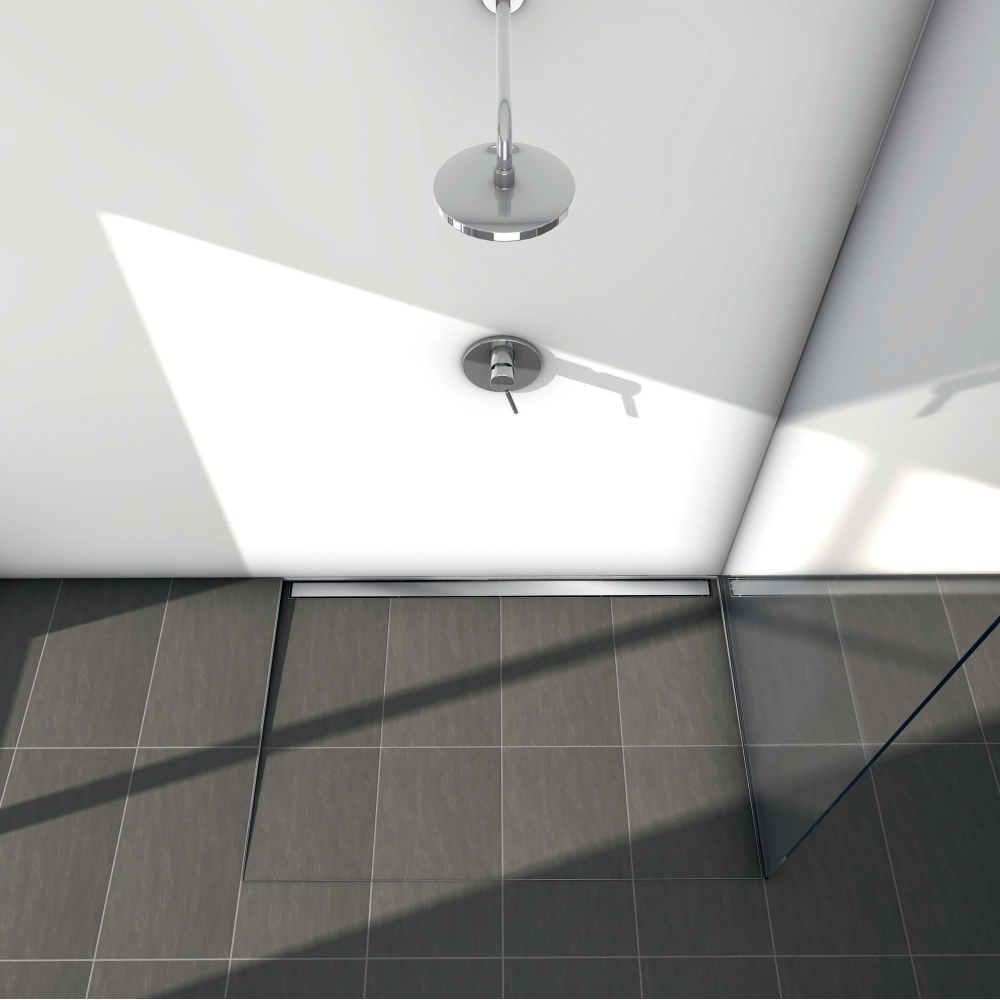
In the shower without pallets drain ladders are more often used, which are equipped below floor level. A feature of the system is the obligatory presence of a lattice area, under it there is an opening for draining. Inside the drain hole is mounted wastewater reception mechanism. It is needed so that the drains do not go back to the shower, otherwise stagnation and unpleasant odor are formed.
To completely eliminate such problems, the floor in the shower is mounted with a bias towards the drain valve. Here it is important to think about the placement correctly, because if the grill is installed in the center of the shower, then the floor should be tilted in 4 x planes, and if the drain valve is placed in the corner, then you can do with a slope in one or two planes.
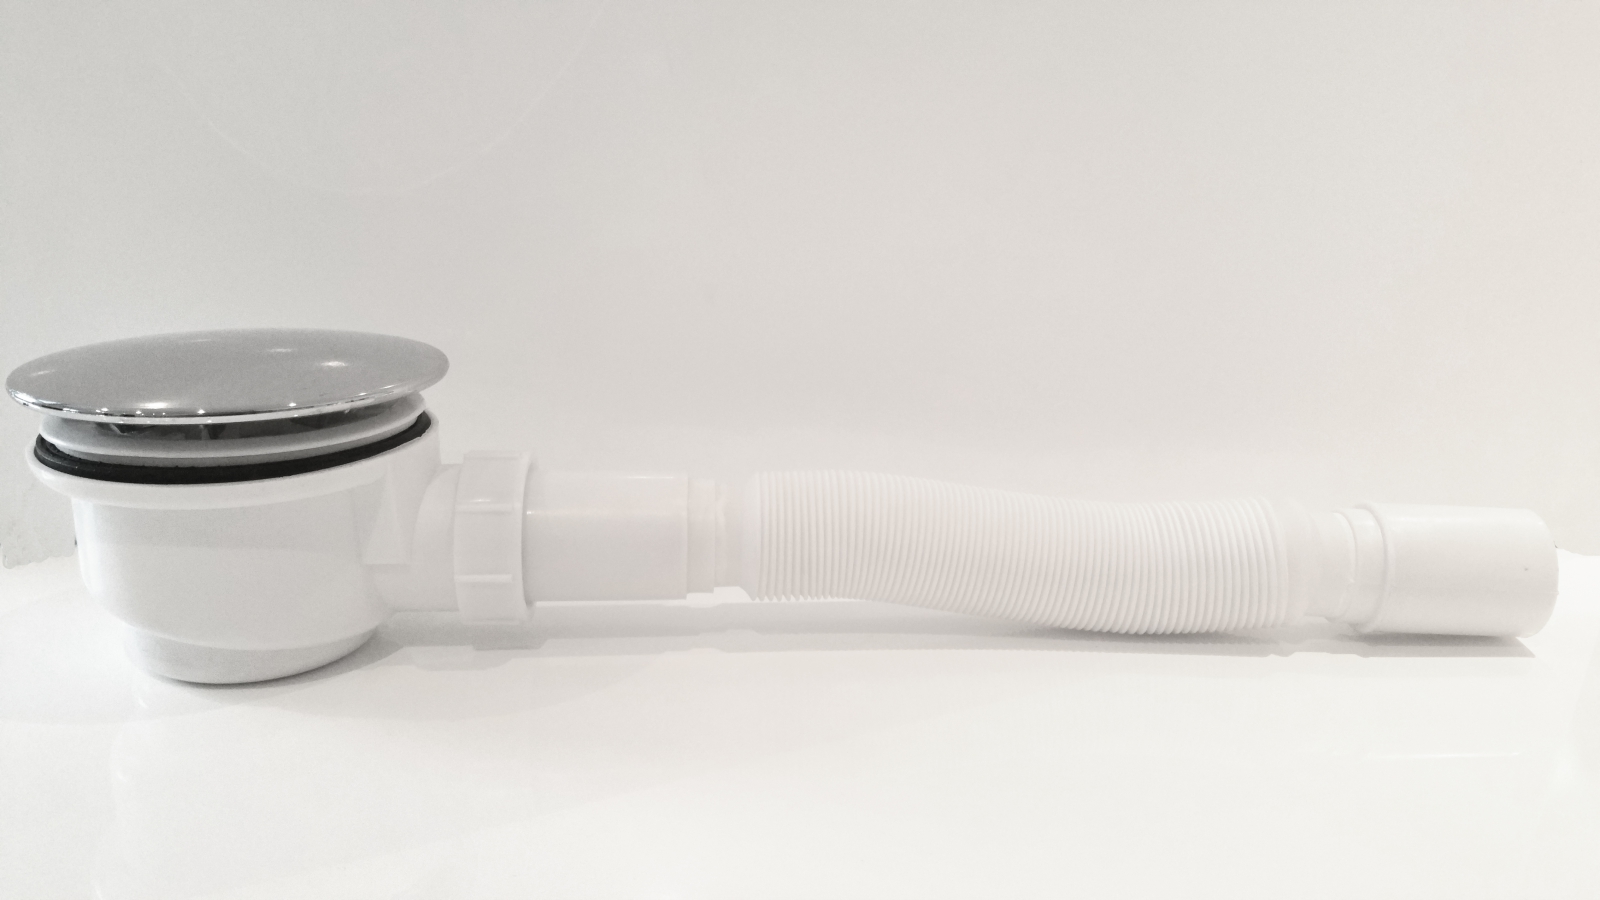
The gangway looks like a precast system, which includes:
- the ladder itself;
- siphon;
- gaskets and seals;
- water seal
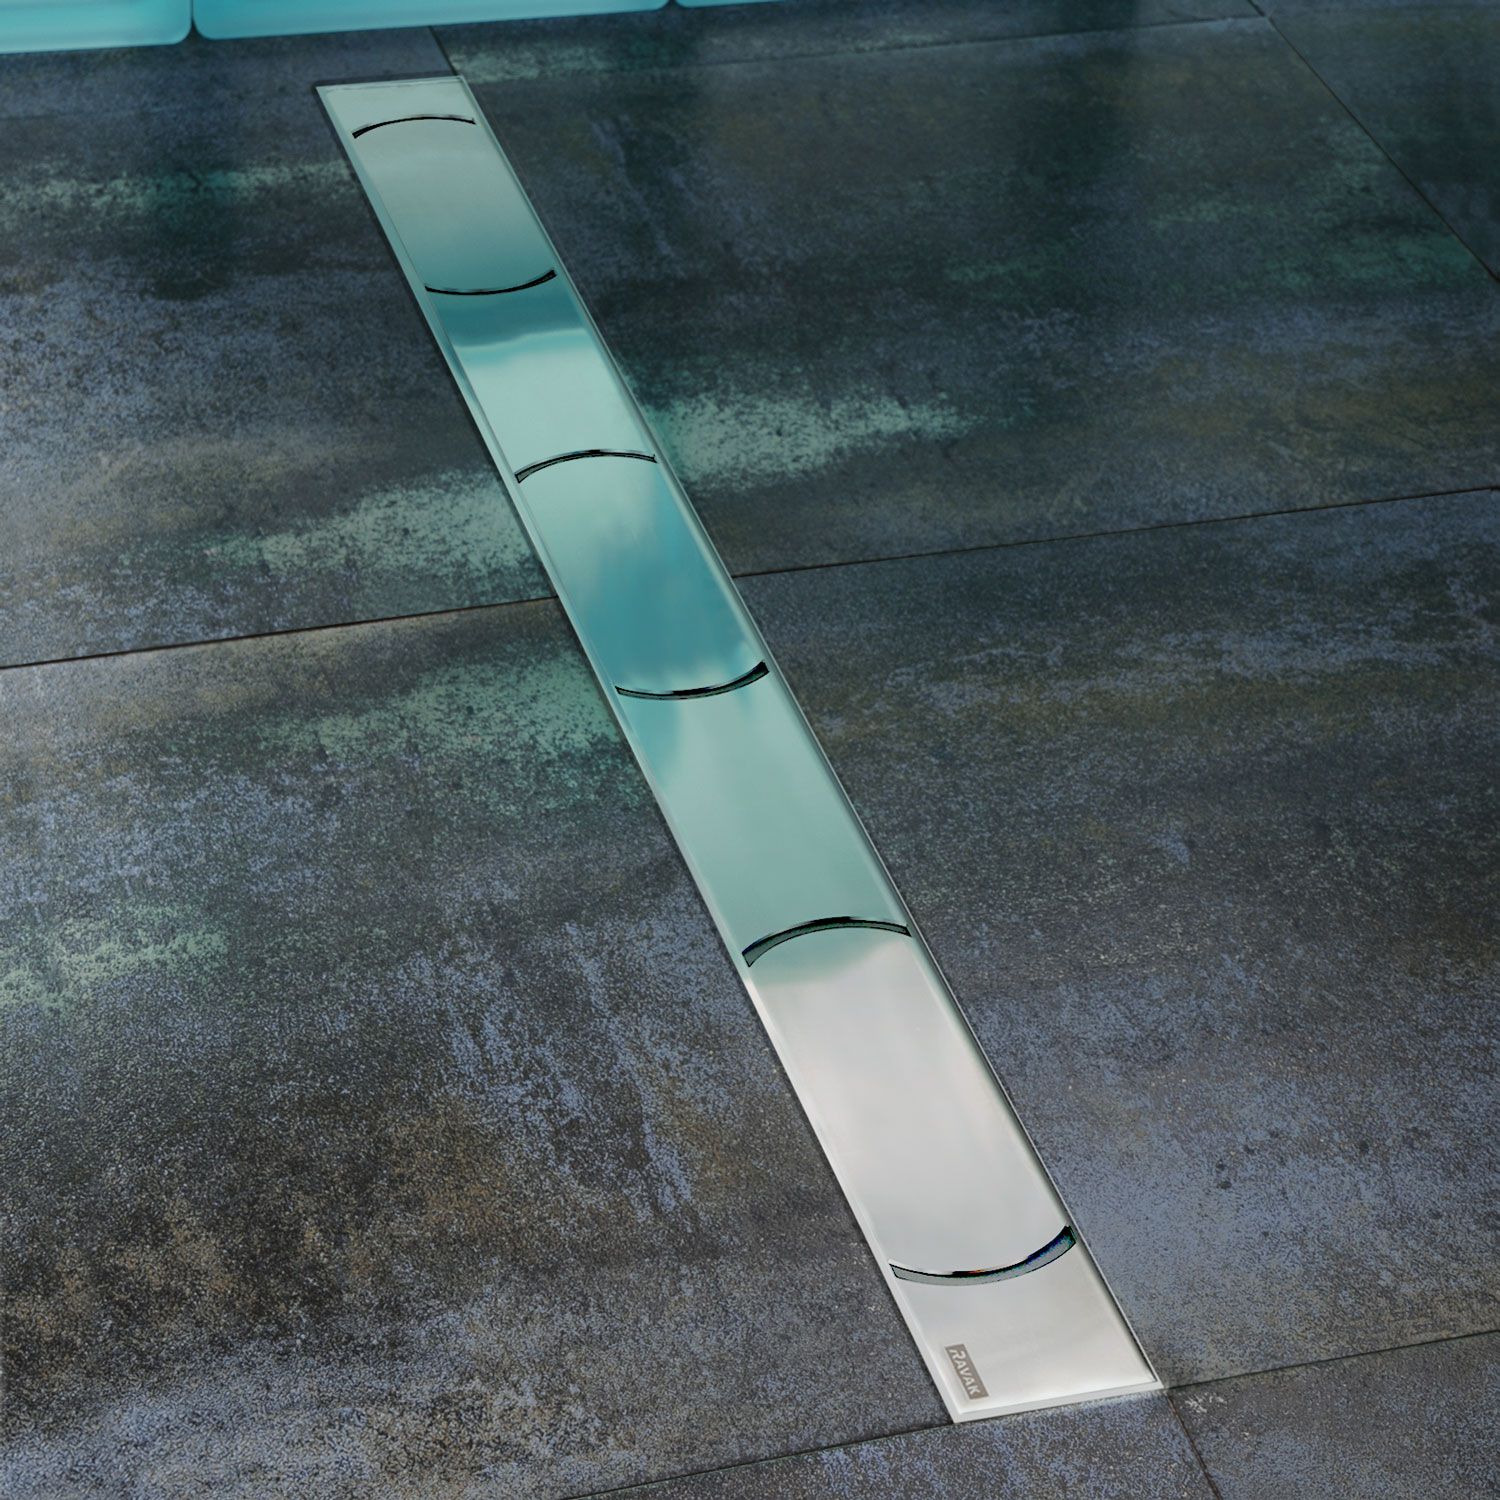
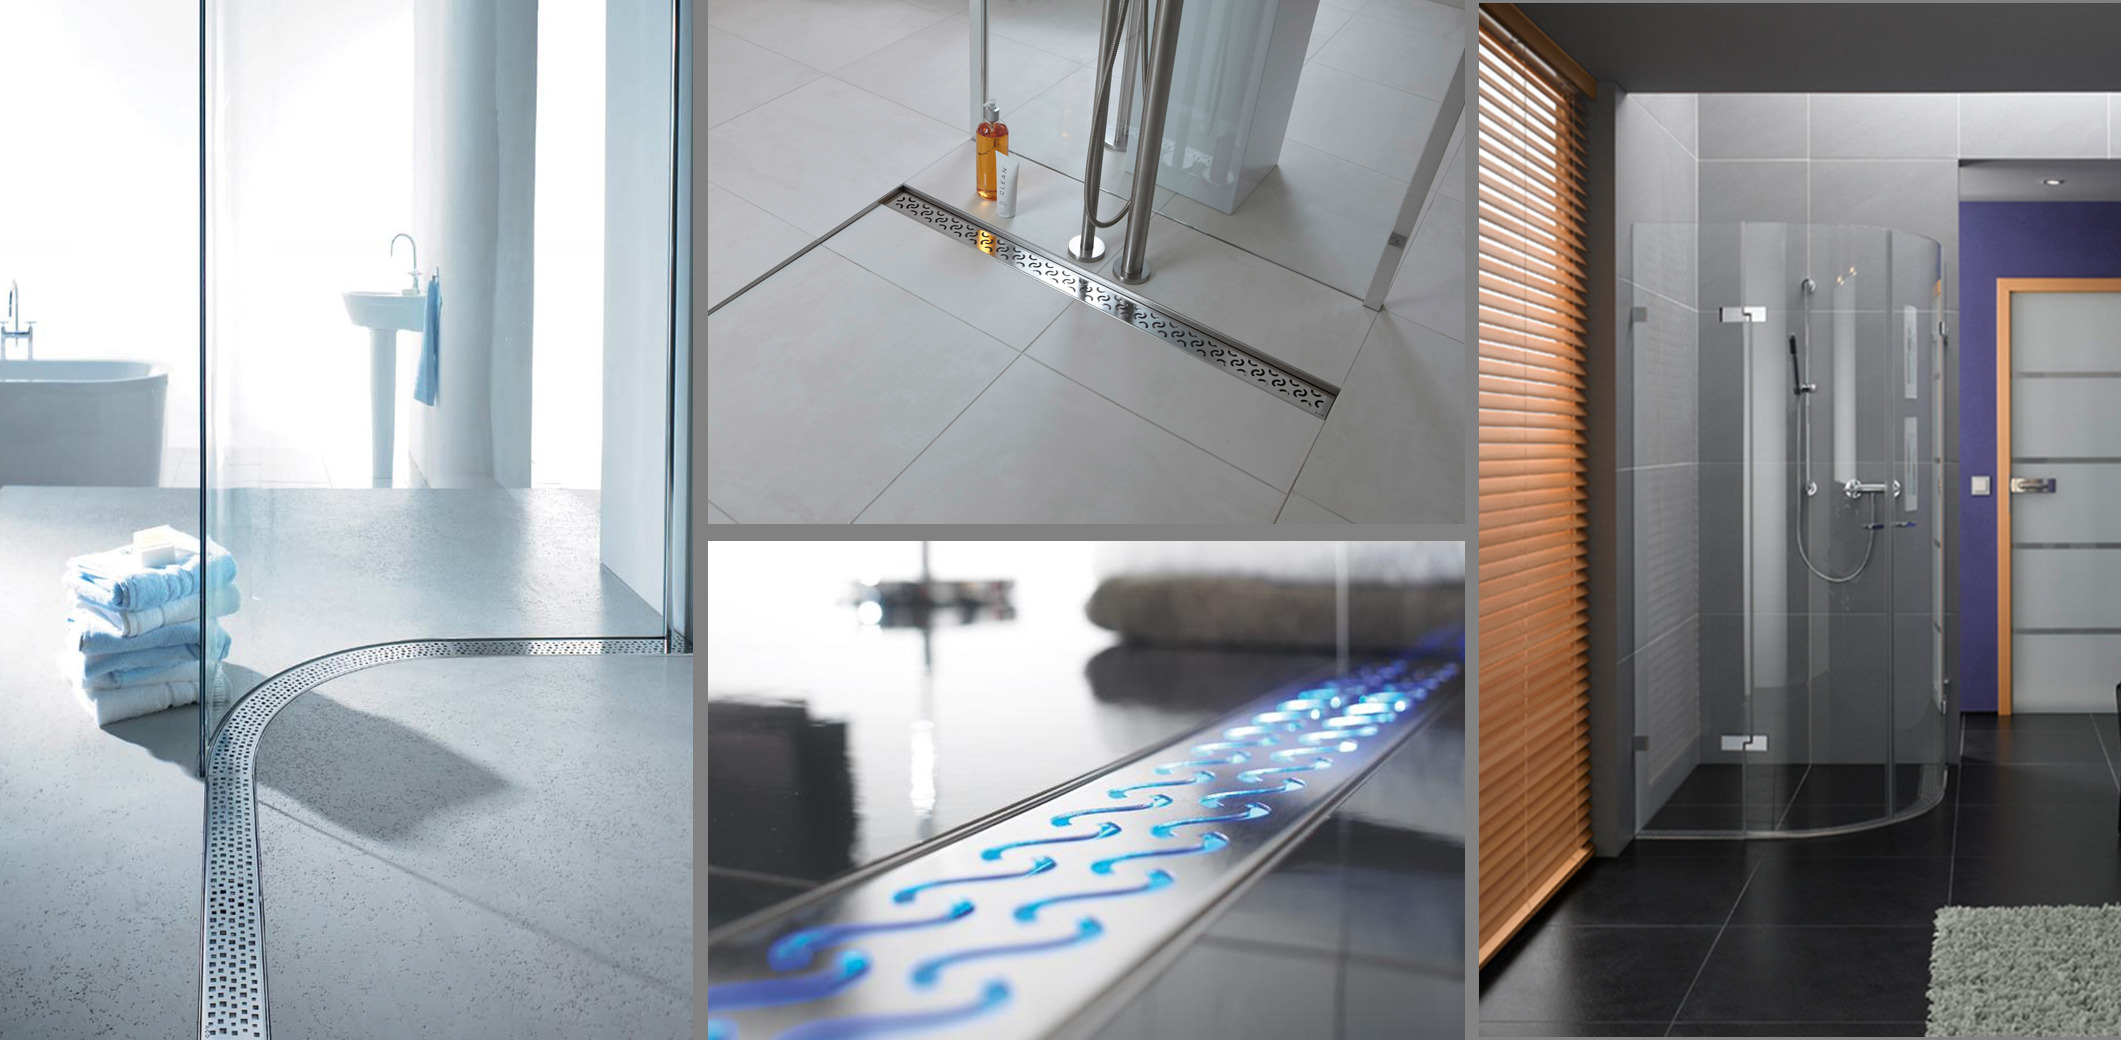
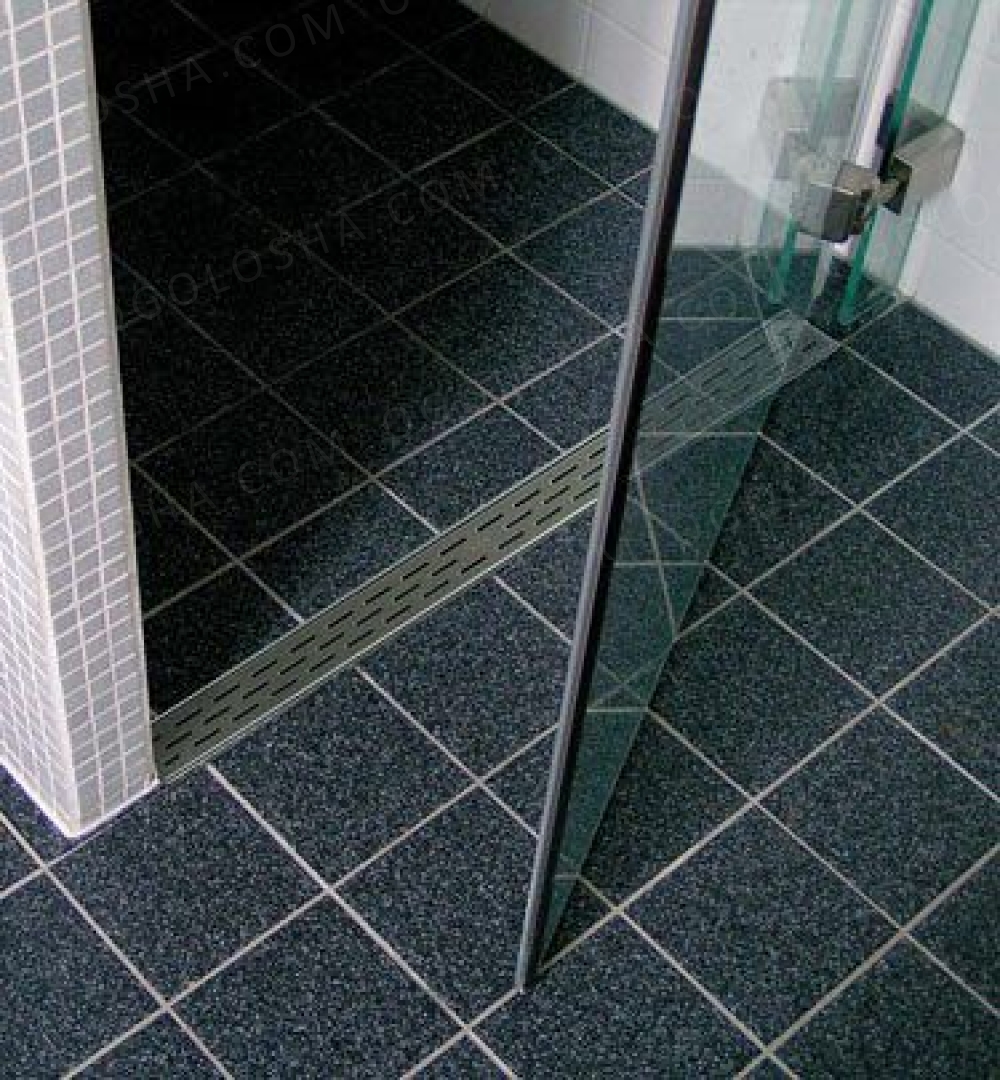
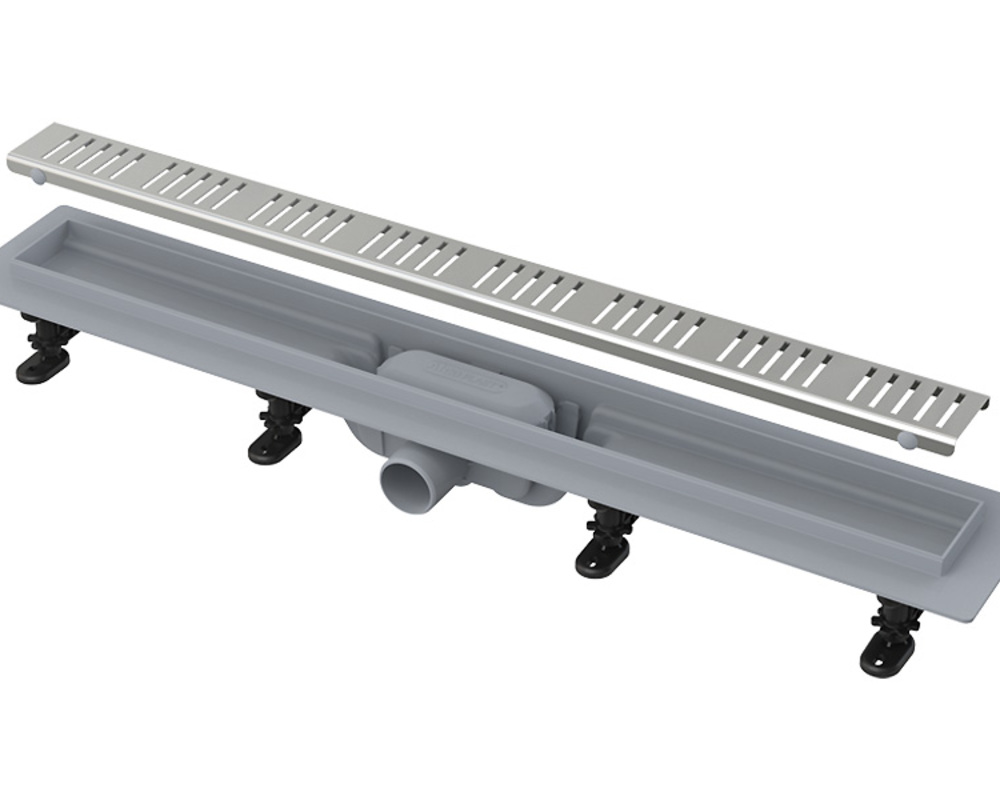
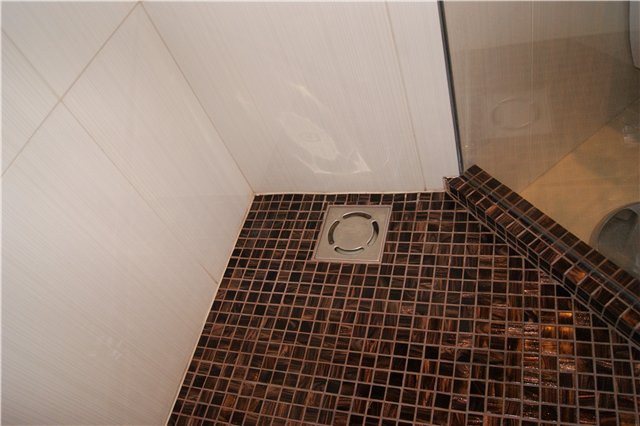
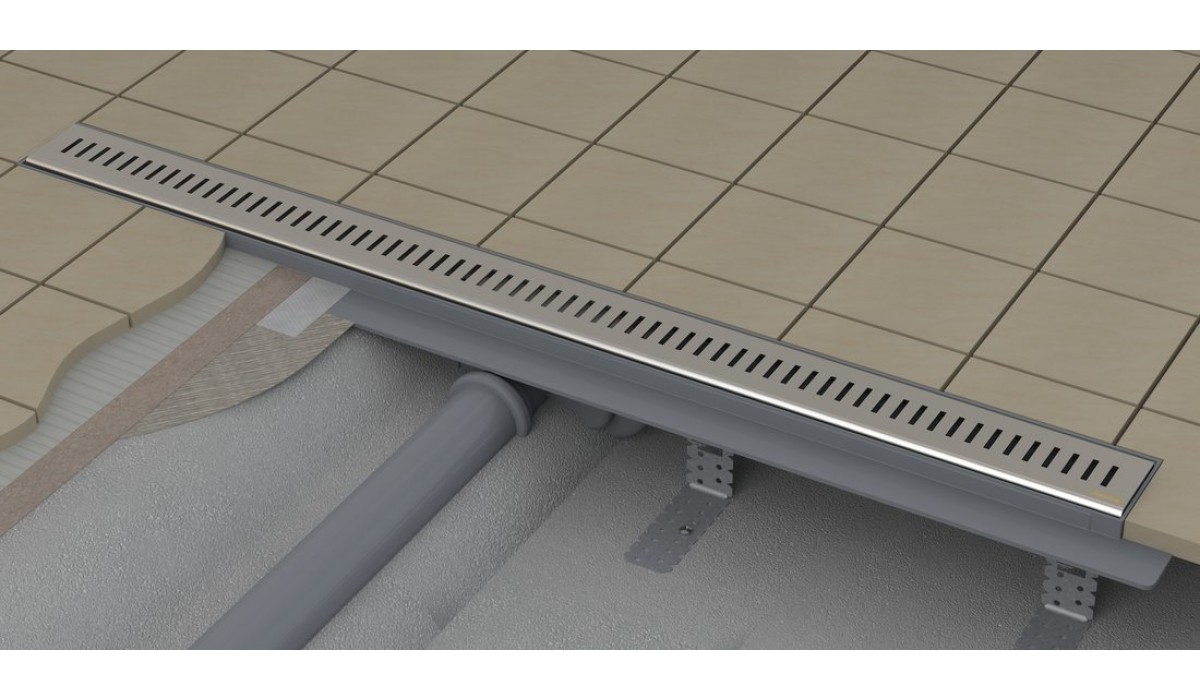
The shower channel is an elongated rectangular case consisting of a lattice with a drainage tray and drain. The direct purpose of the species is to drain drains from the shower into the sewer system. On sale you can see the lattice of various shapes from different materials. Configurations can be chosen according to needs and financial possibilities.
The shower channel is installed at the door to the bathroom or close to the wall. The slope of the base must be done in one direction (depending on the location selected for the channel). Properly installed channel provides a good drainage, but otherwise - overflow of water may occur, which can then fall under the tile.
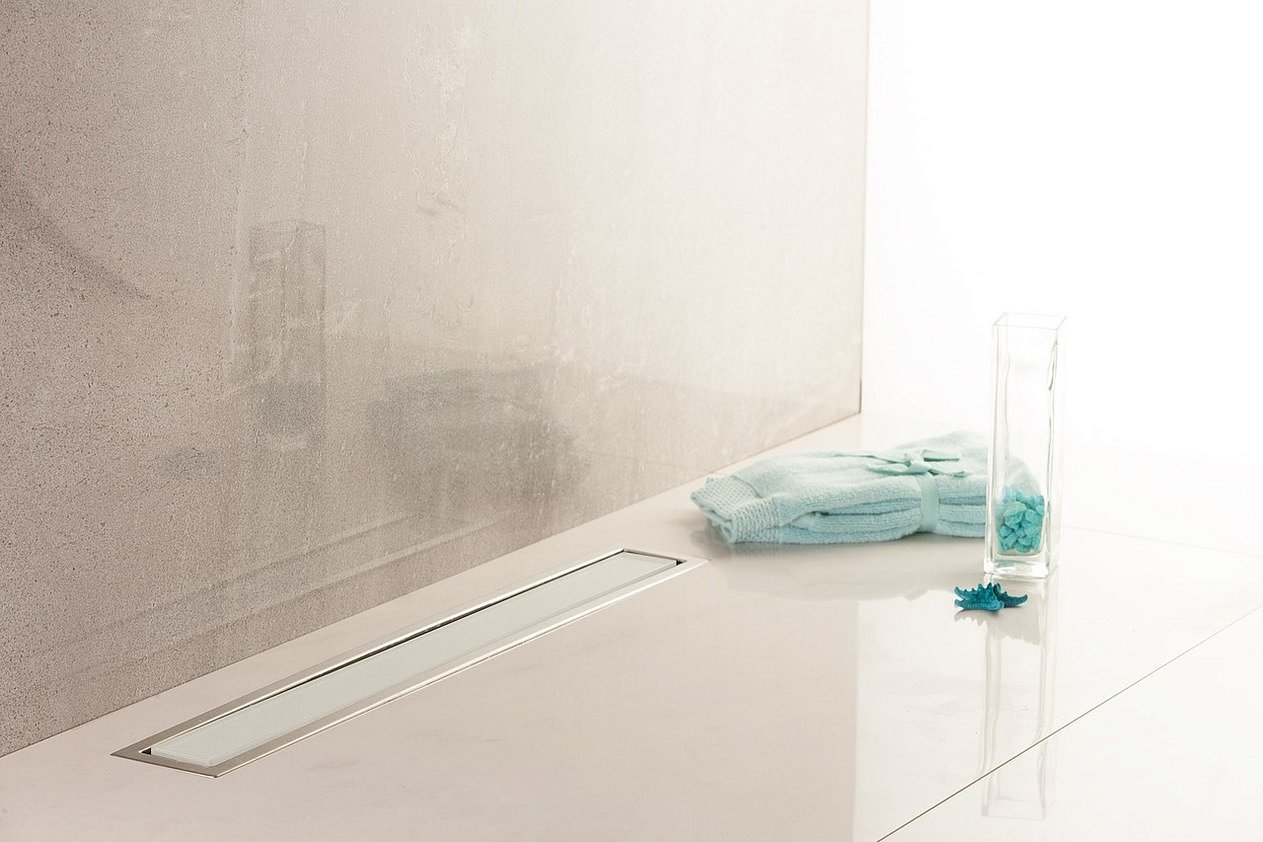
Modern mechanisms are able to pass up to 20 liters per minute. Standard materials for the manufacture of channels - plastic or stainless steel. Such drain systems are sold both in parts and as a whole. Selection options are quite flexible.
The choice of installation schemes can take into account finding the existing sewer distribution, as well as taking into account the height of the shower base. Depending on the existing scheme, one or another equipment is purchased. View the types for cabs with and without a pallet.
Criterias of choice
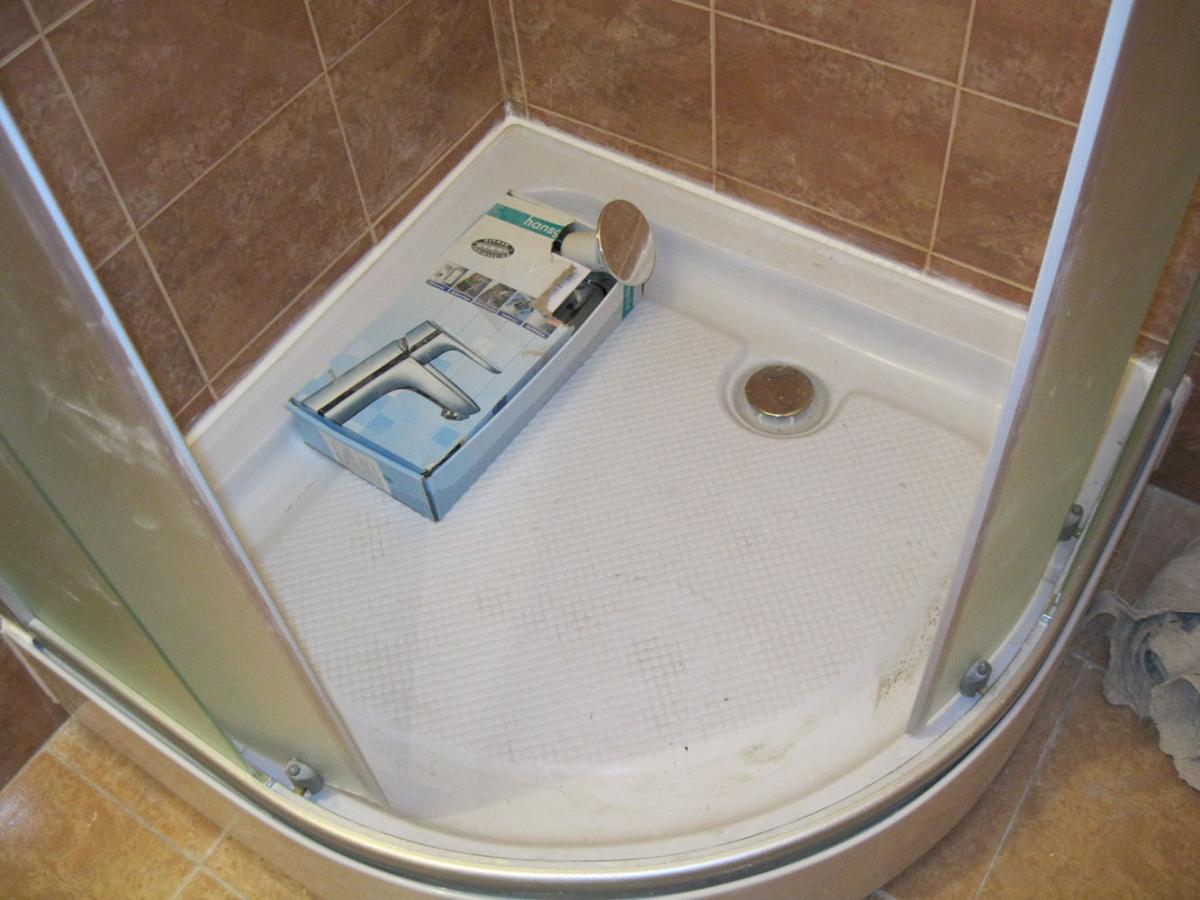
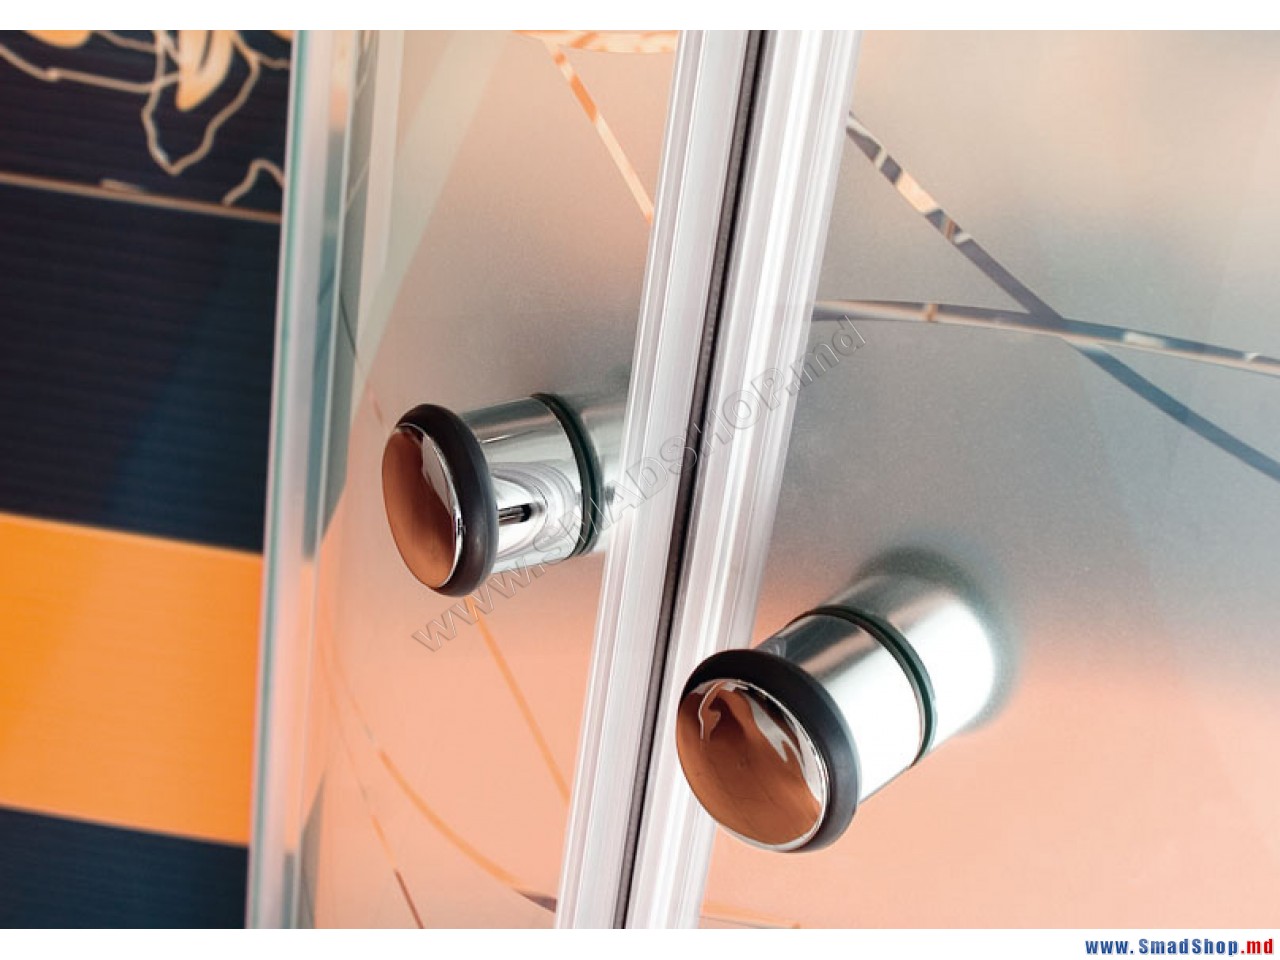
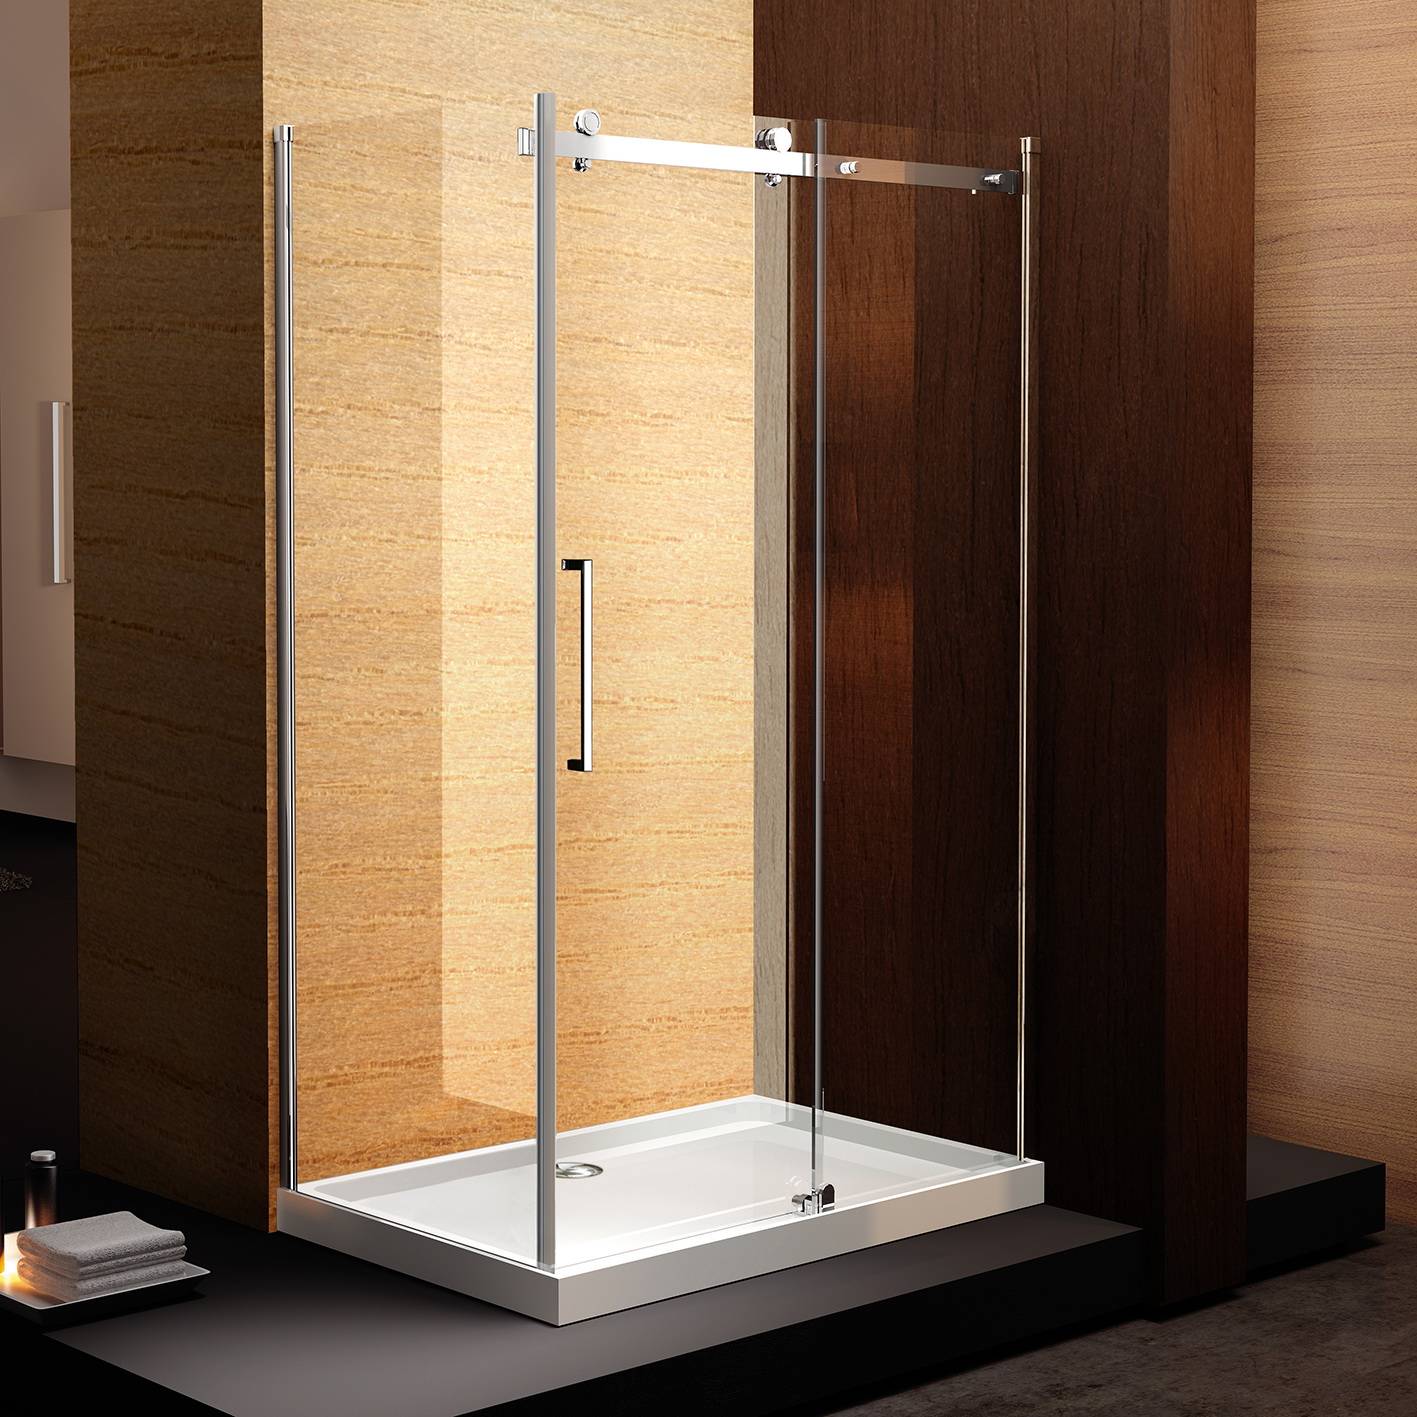
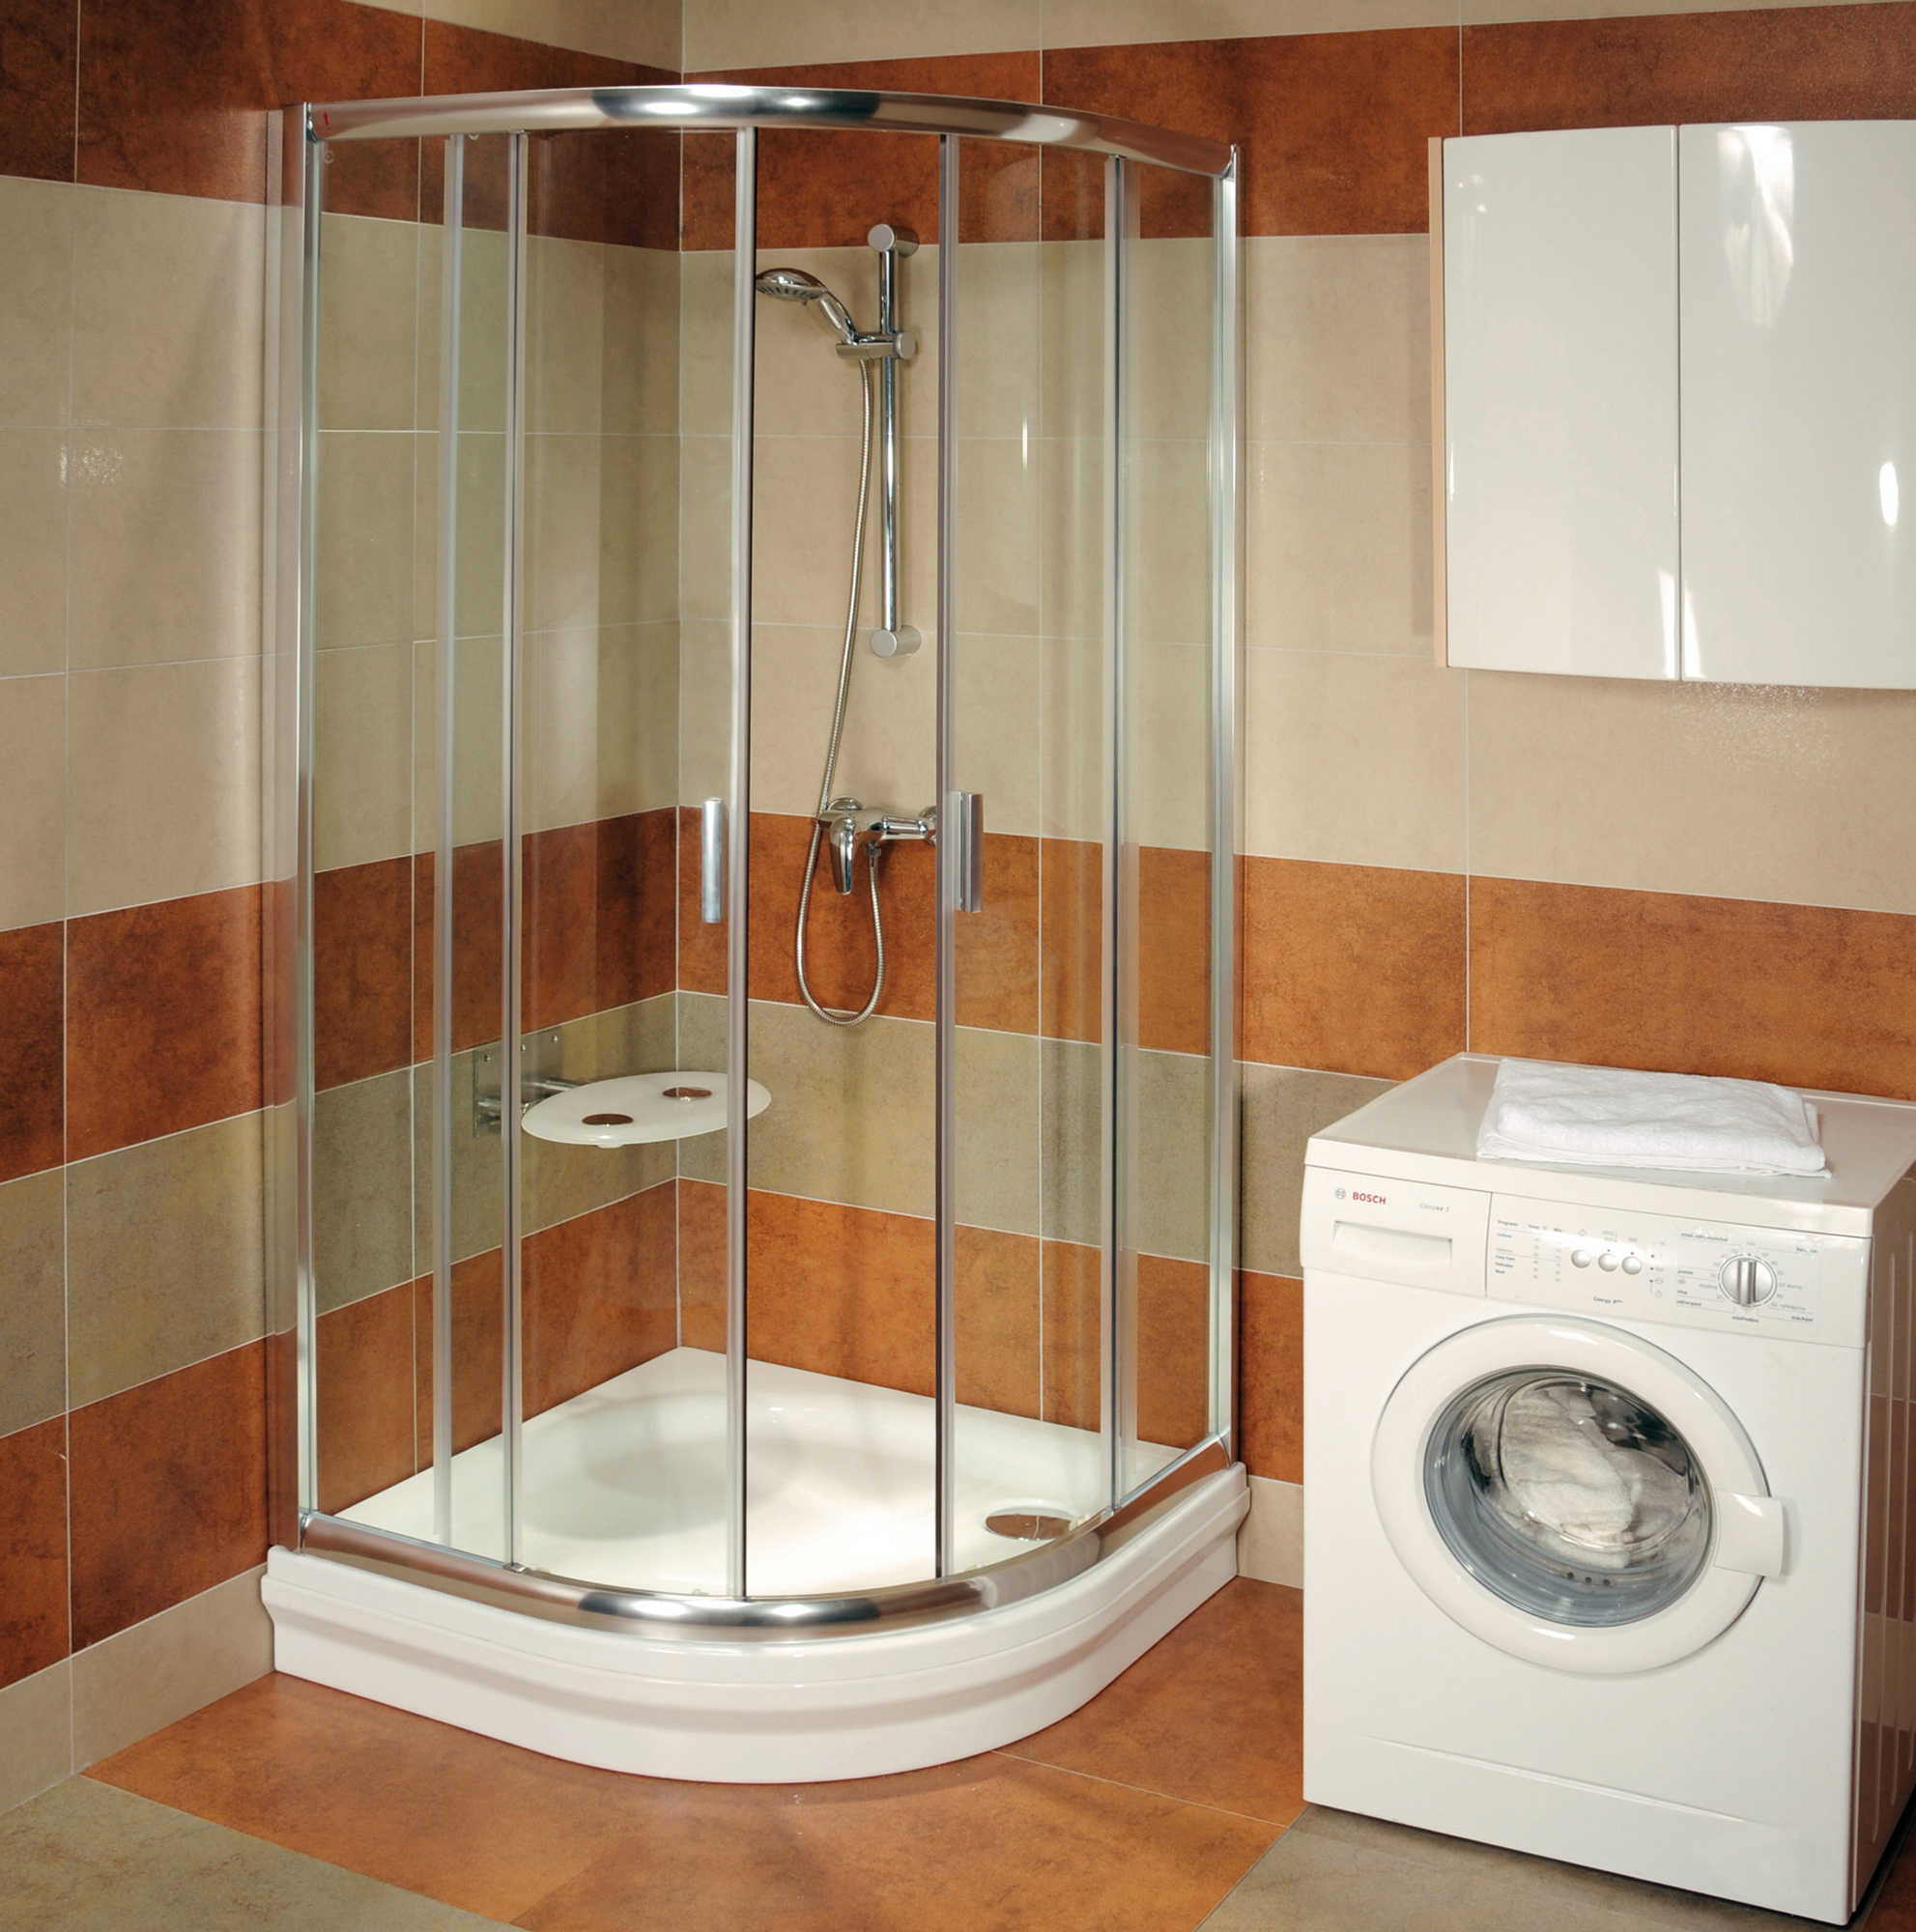
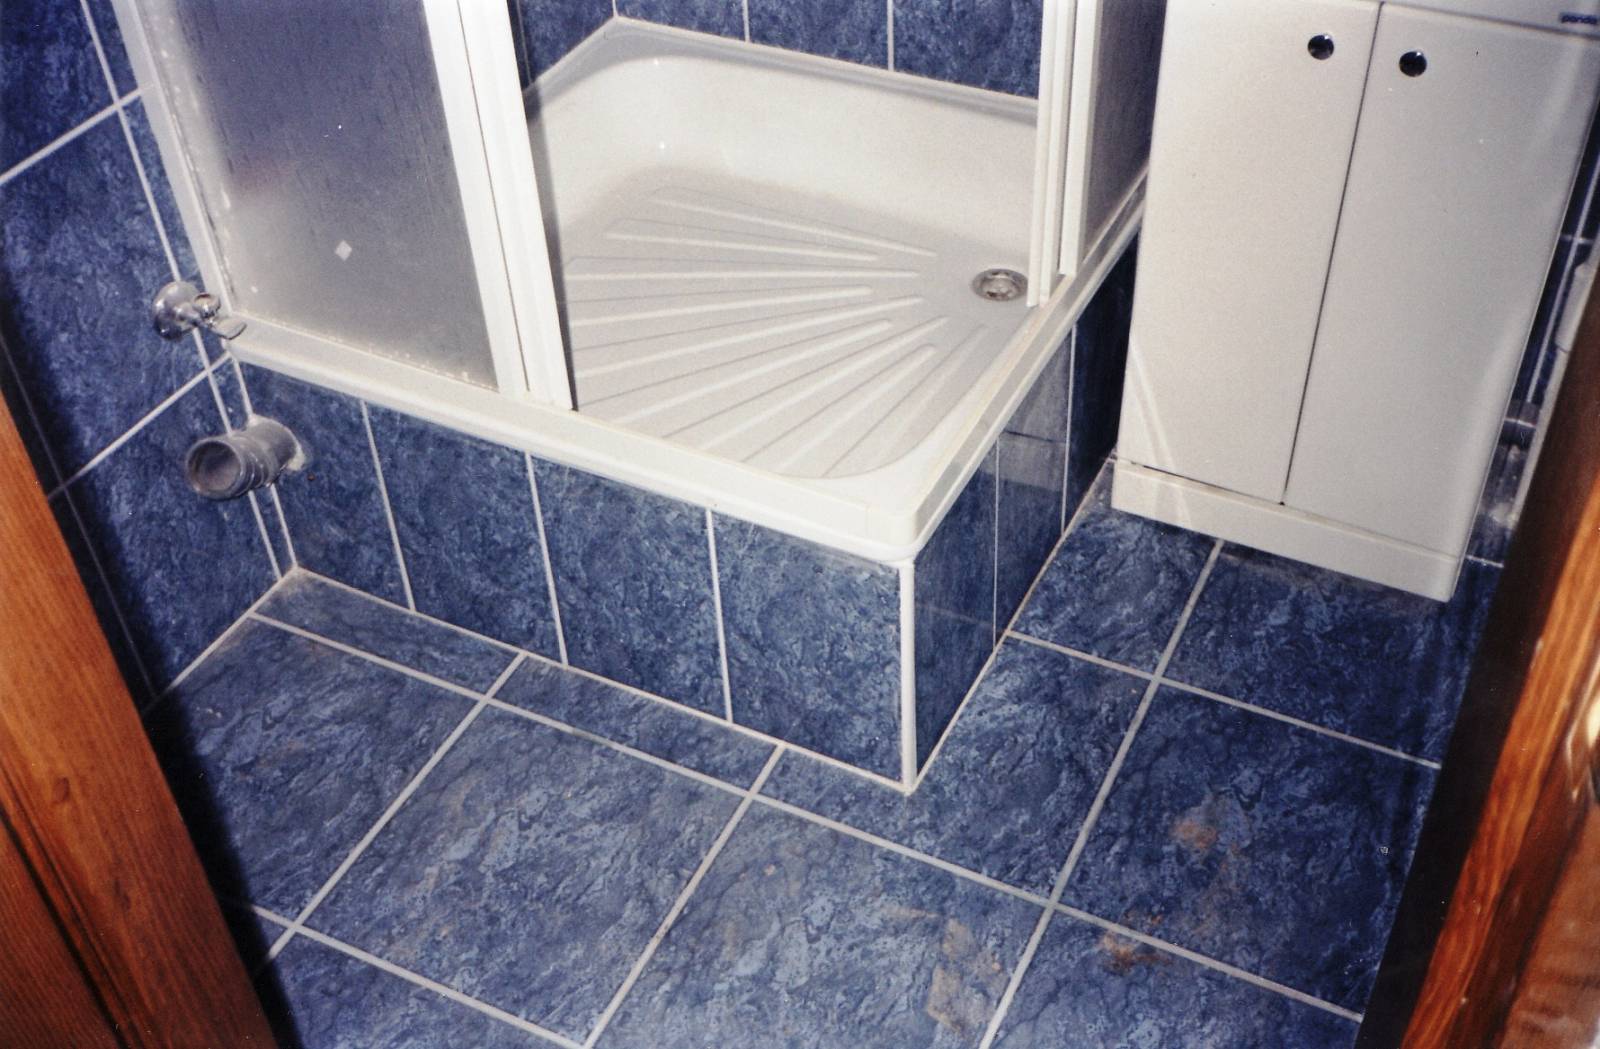
Fencing with pallets are numerous variations that are presented in large quantities in retail outlets. The drainage scheme in them is simple: through the brass hole at the bottom. Arrangement of such a system is convenient. It is not required to prepare the floor first.
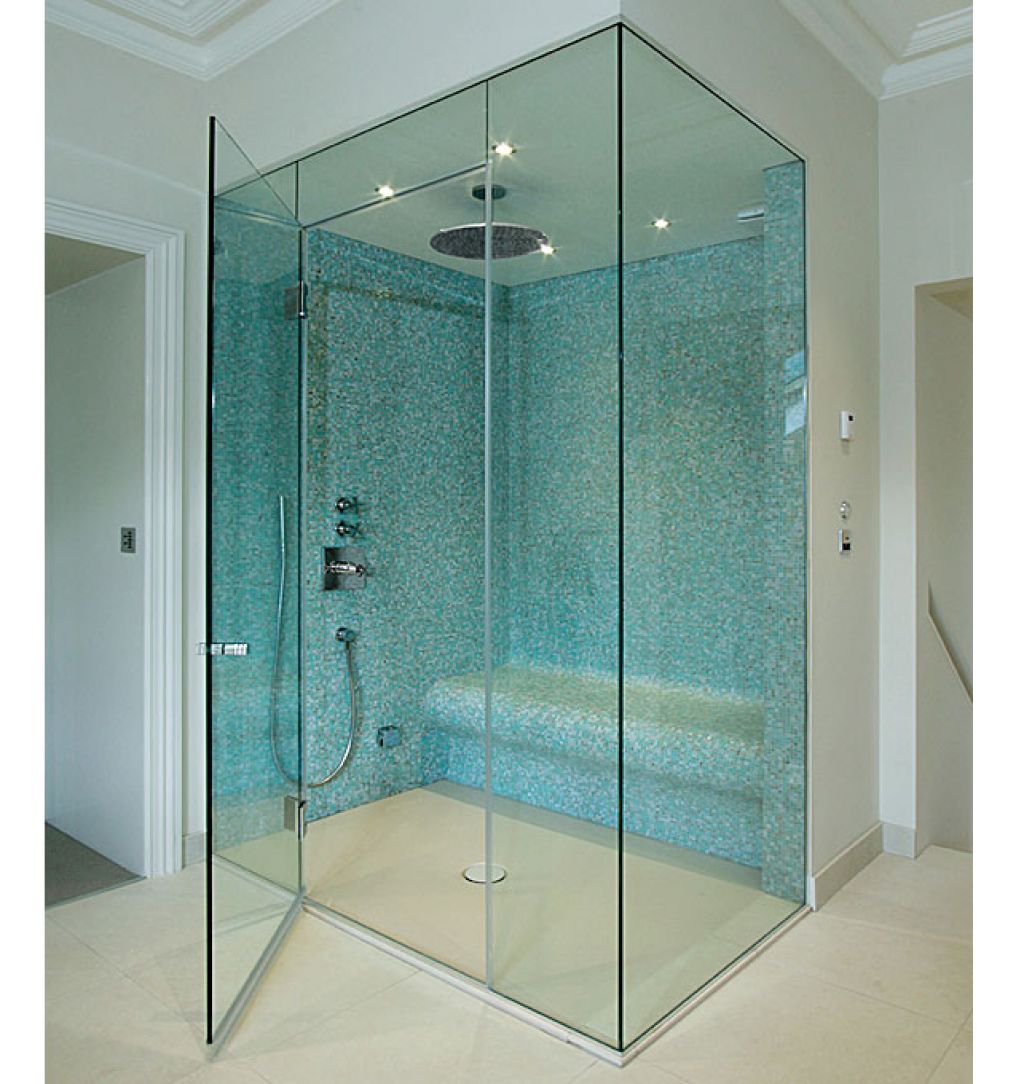
Palletless fences are often found in public washing stations and saunas., but recently in the home bathrooms. The role of drainage in such souls is played by special openings in the floor, which are lowered below the floor level, at the stage of its installation.
Engineering systems in modern stores are represented a lot, sometimes the line between types is erased, and there is confusion in definitions.To clarify the features of devices and installation it is worthwhile to disassemble the system in more detail for different showers.
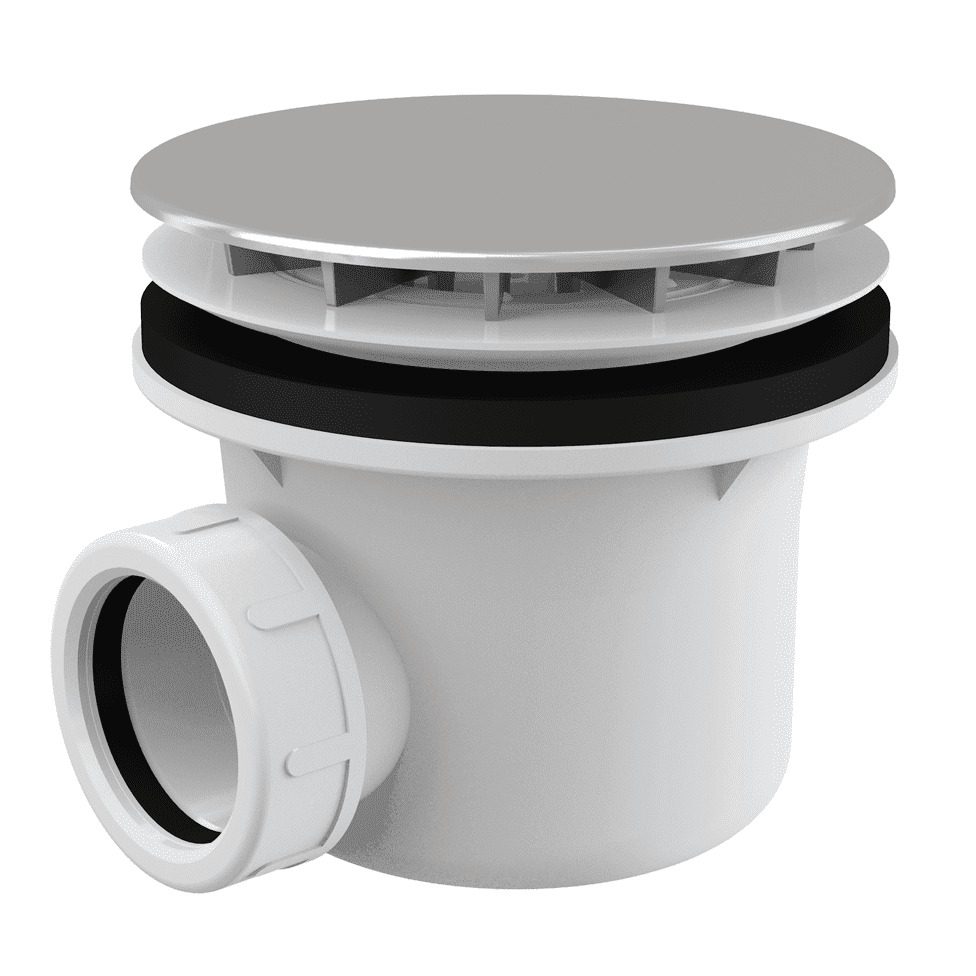
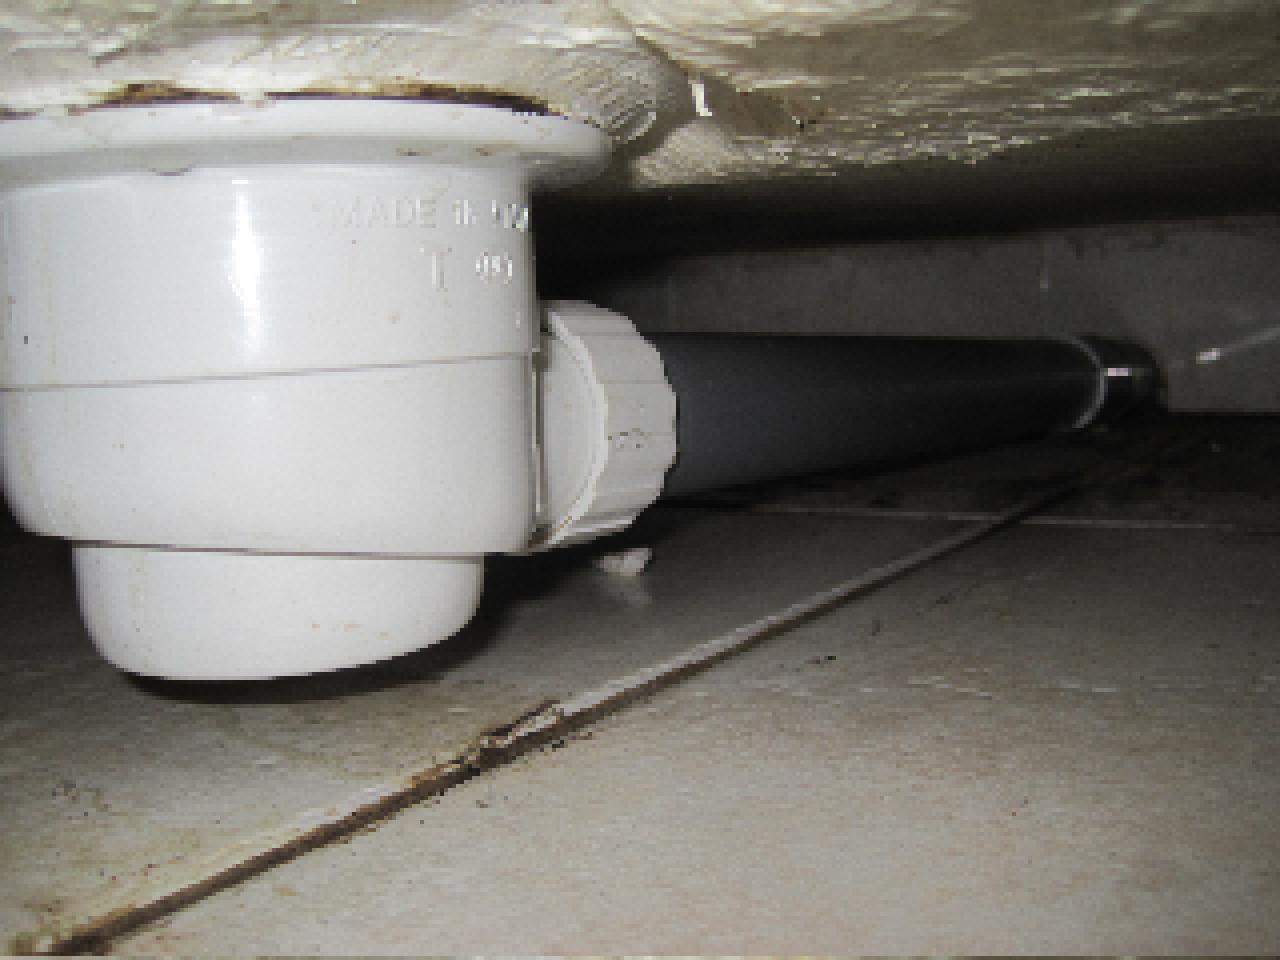
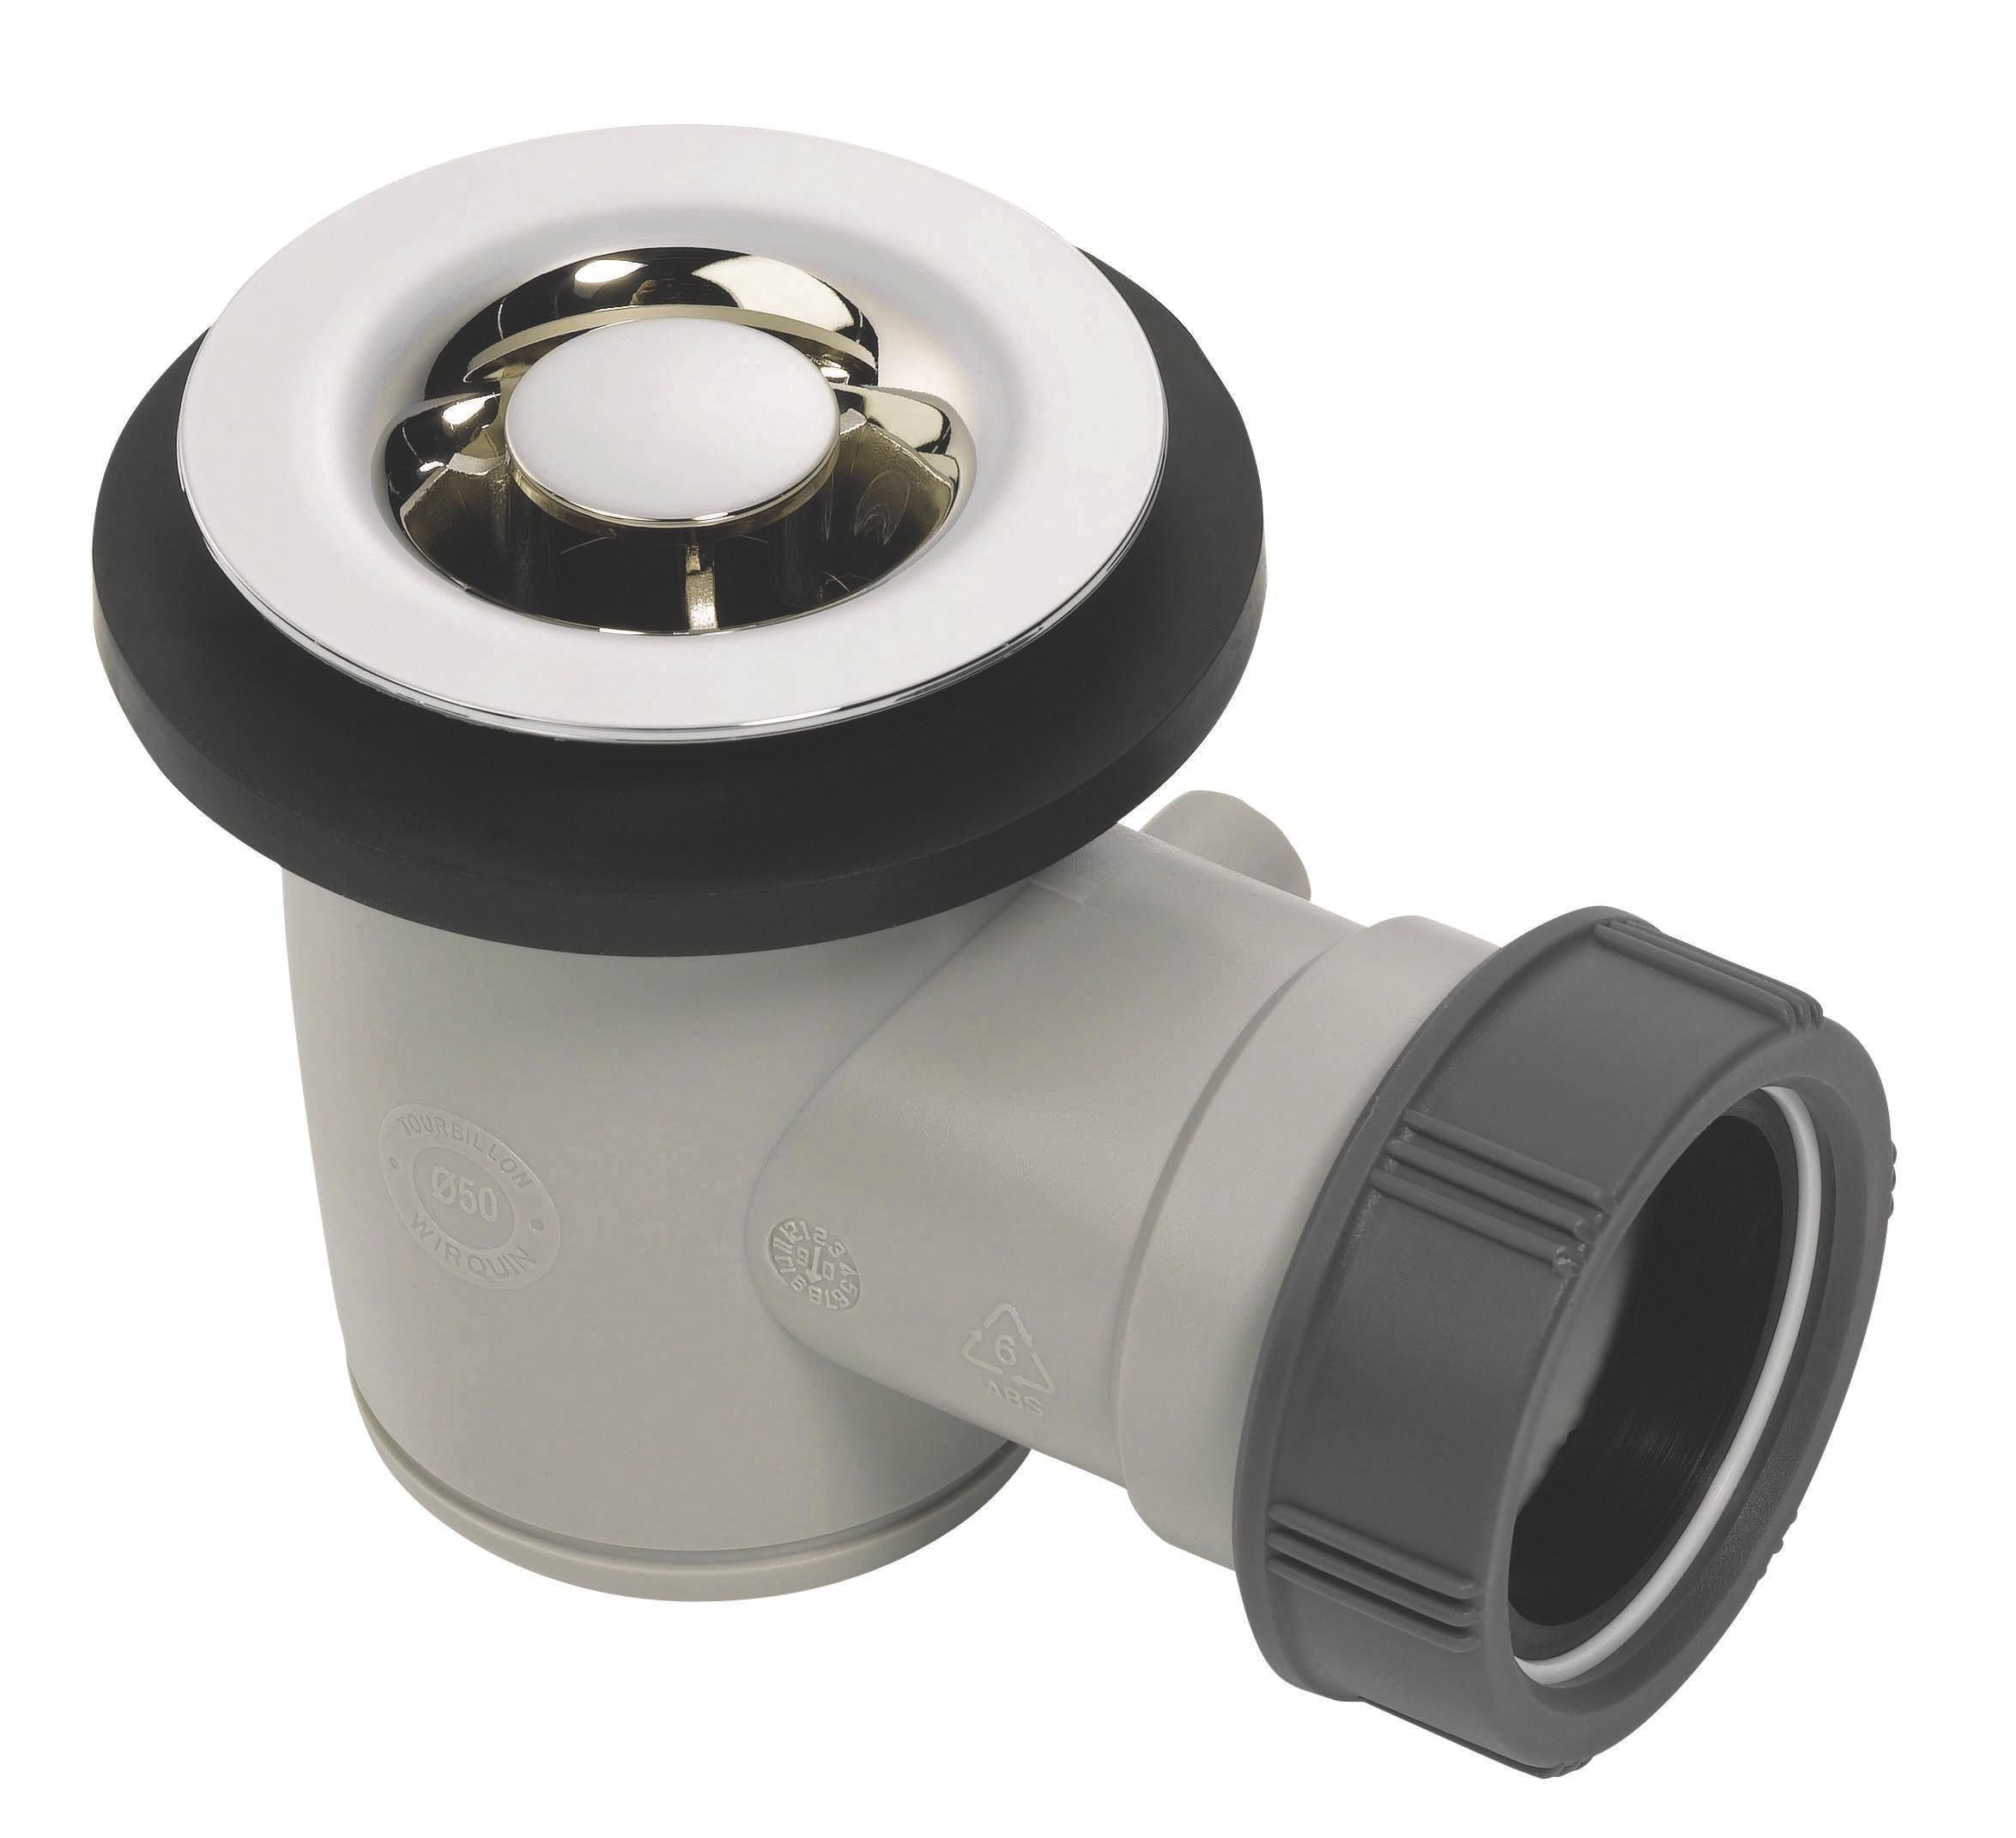
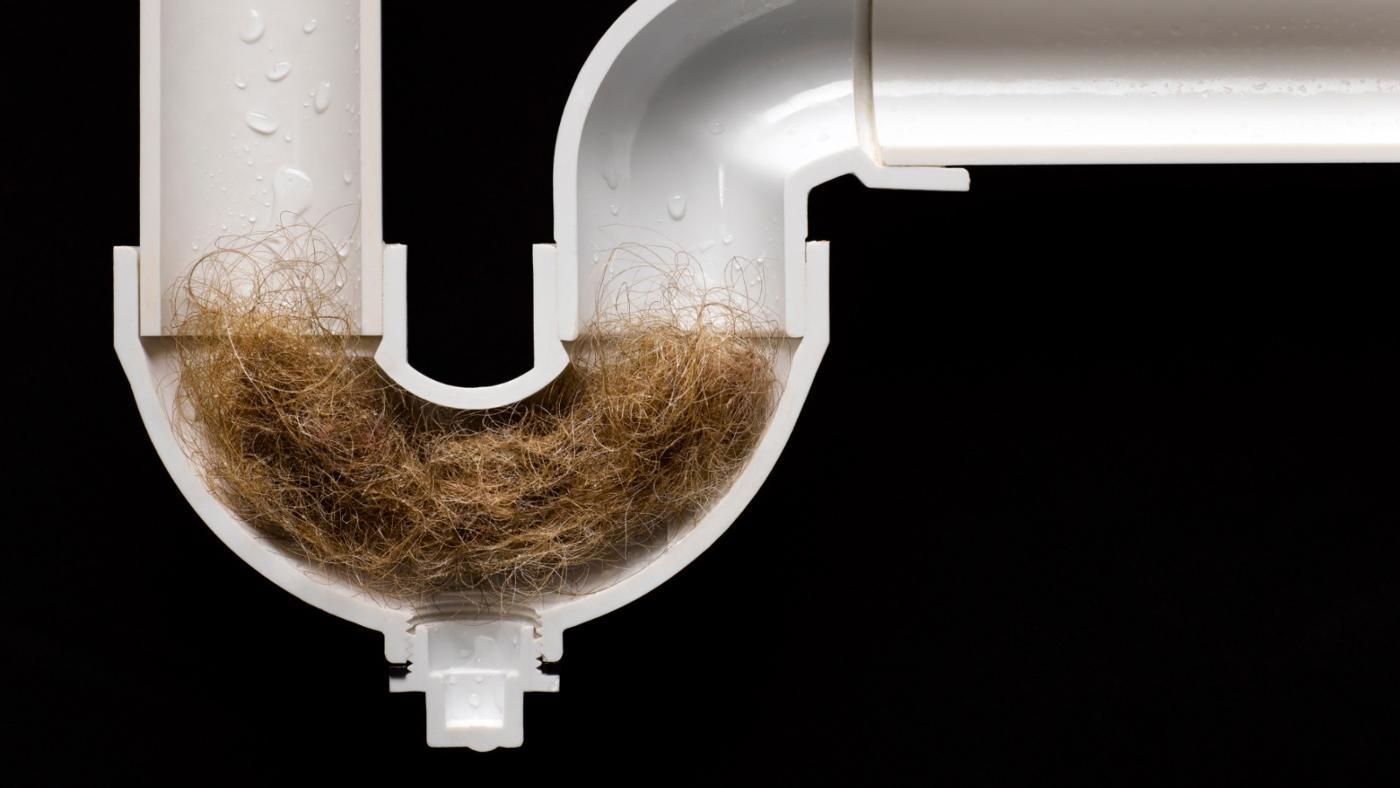
The main component of the systems is a siphon. The main purpose of this part is to protect sewer pipes from clogging. The siphon classifications are interconnected with the height of the product and the diameter of the outlet stroke.
Systems are bottle-type and knee. Stainless steel, cast iron and plastic are used as the basis for the production.
Different siphon designs have different throughput. If you choose a device with low rates, determined by the volume of water, you can fill the entire floor while taking a shower. To avoid trouble, it is advisable to calculate the volume of fluid consumed before purchasing the device.
Particular attention should be paid if the details of the design are not purchased kit. The individual parts and holes must match.
Regardless of the choice of a particular system, you will need, besides siphons, to:
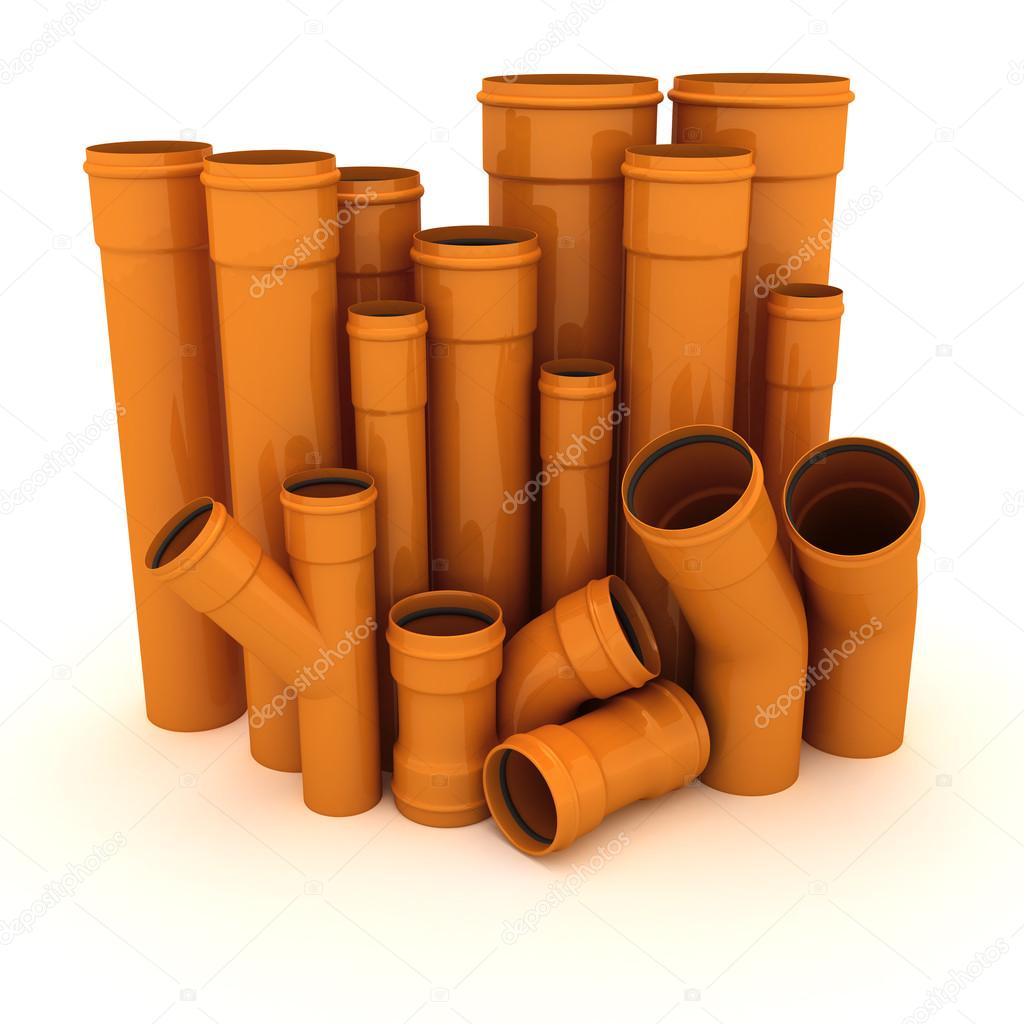
- plastic sewer pipes;
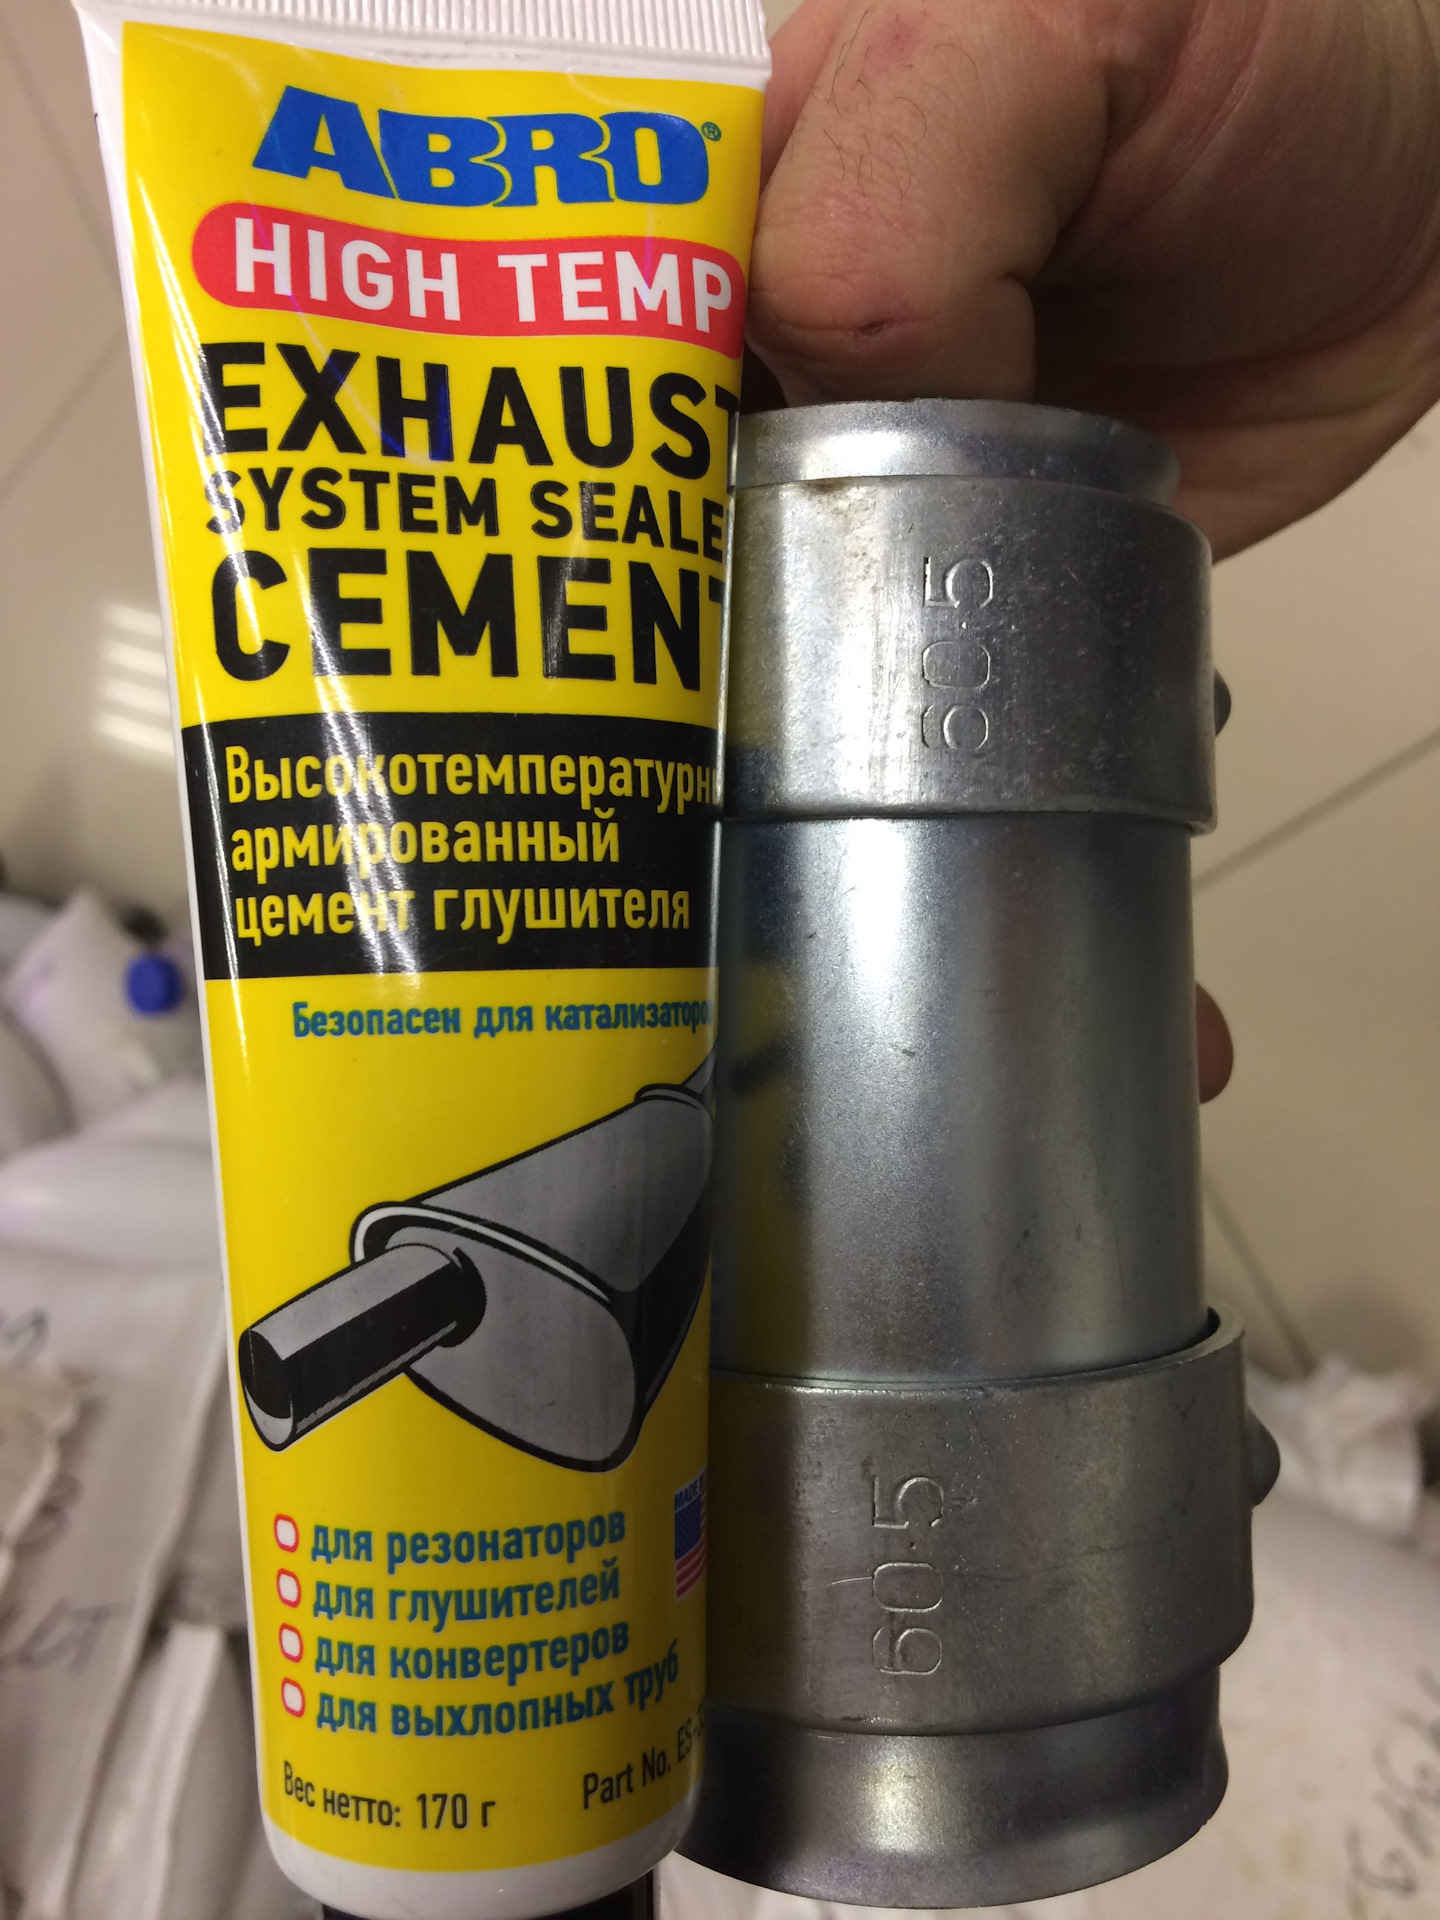
- sealant;
- tools for work
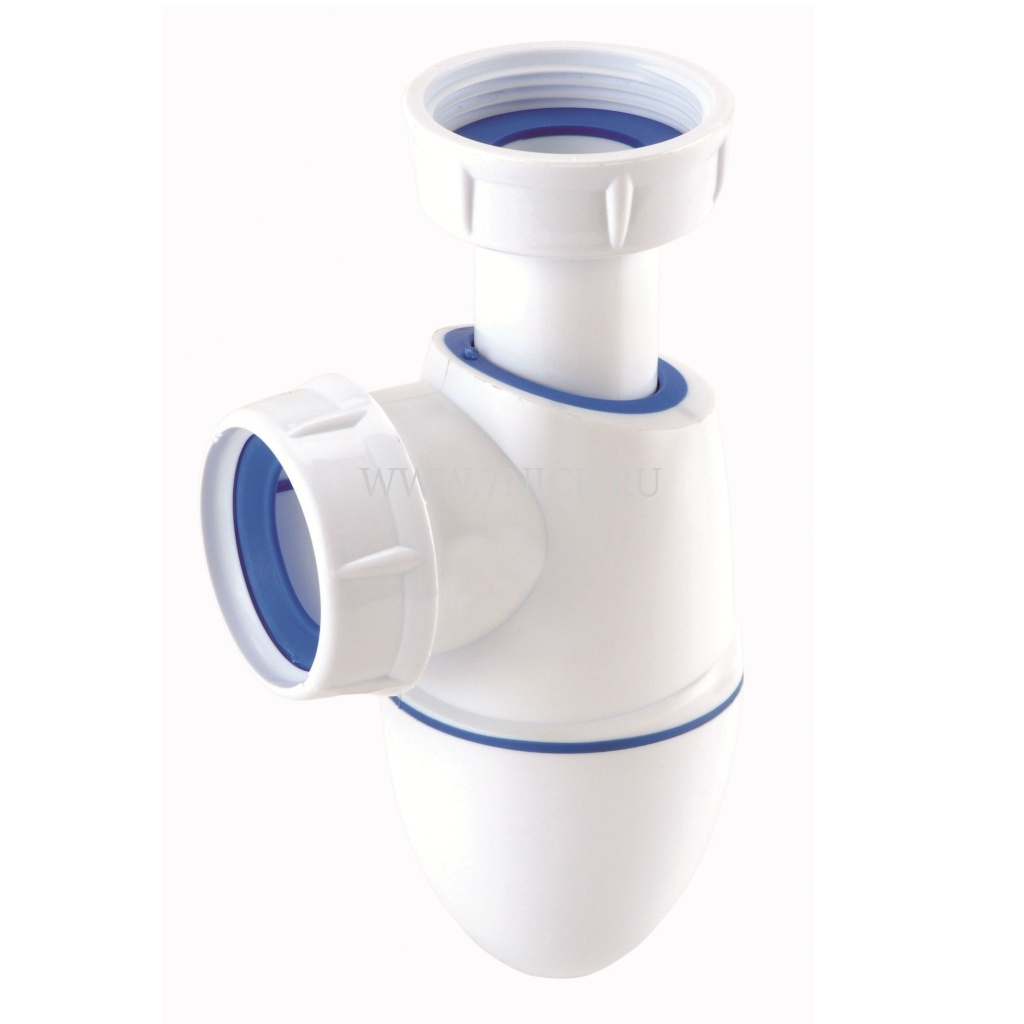
Now more about the types of siphons.
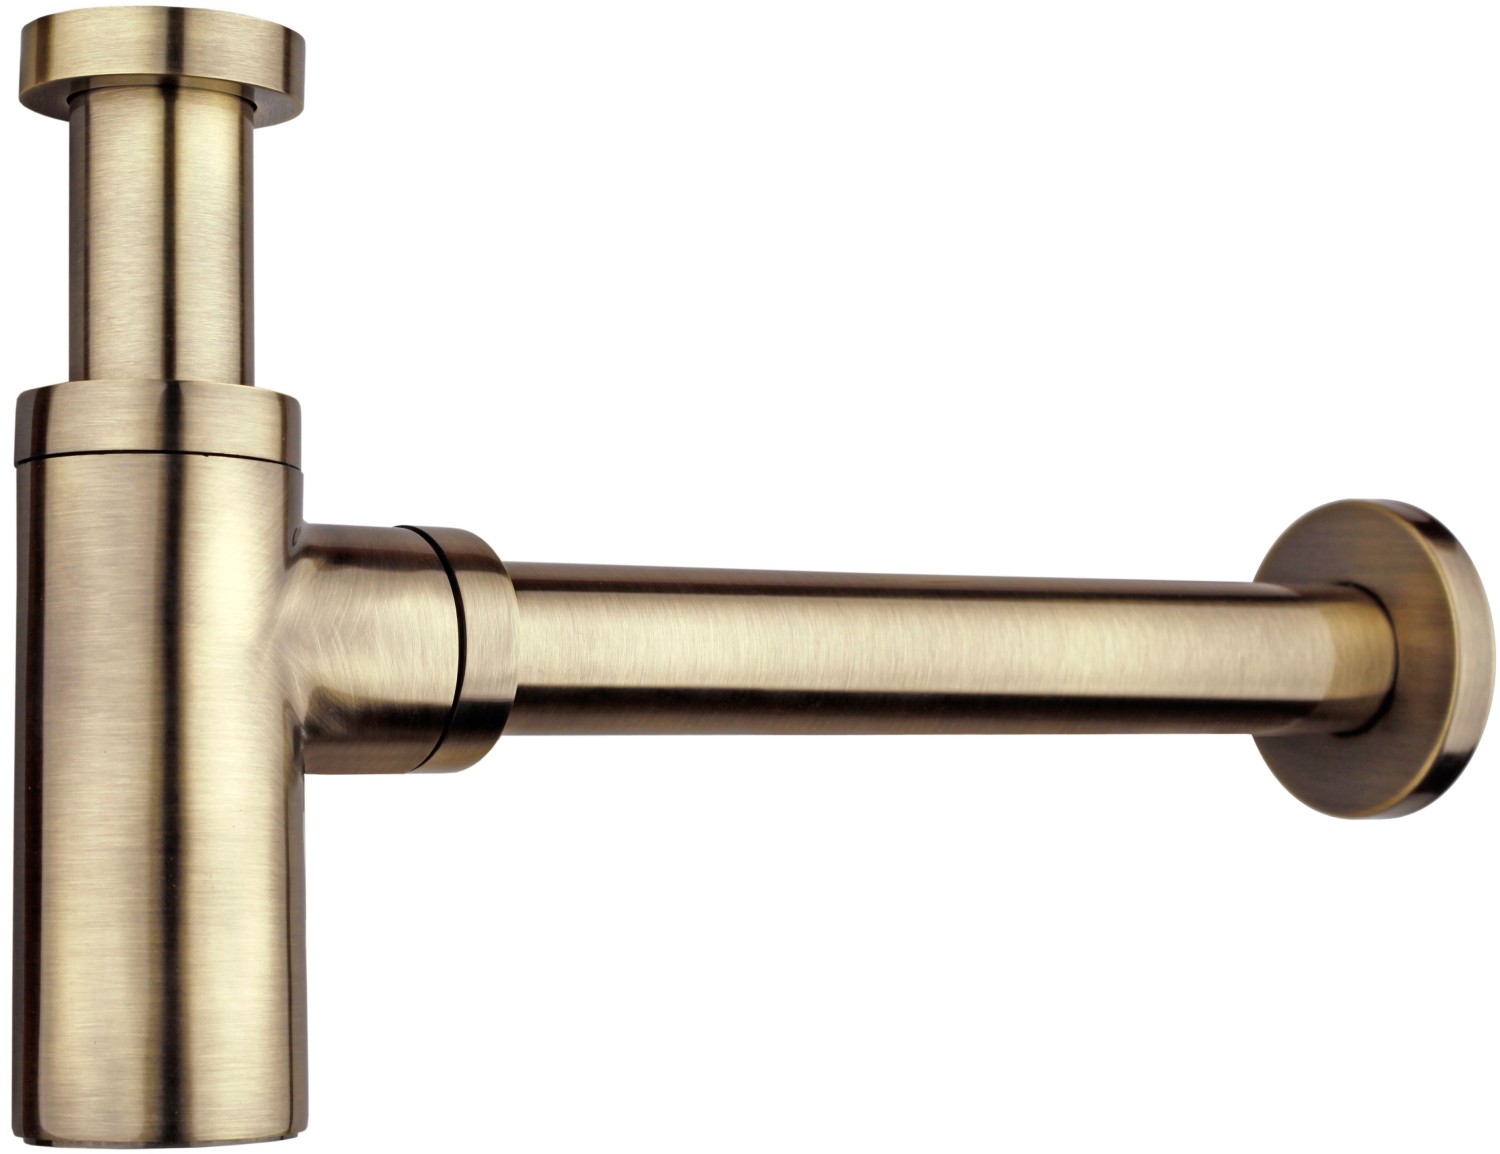
- Users could see the bottle-type version on sinks and sinks, here it is - the main view.This siphon is good for a booth with a tray. The shape of the system resembles a bottle connected to a drain. On the side of the connecting pipe is displayed, which is sent to the sewer drain. The lower part of the structure is a unscrewing cap, which removes the falling dirt. The system is simple in arrangement and further cleaning.

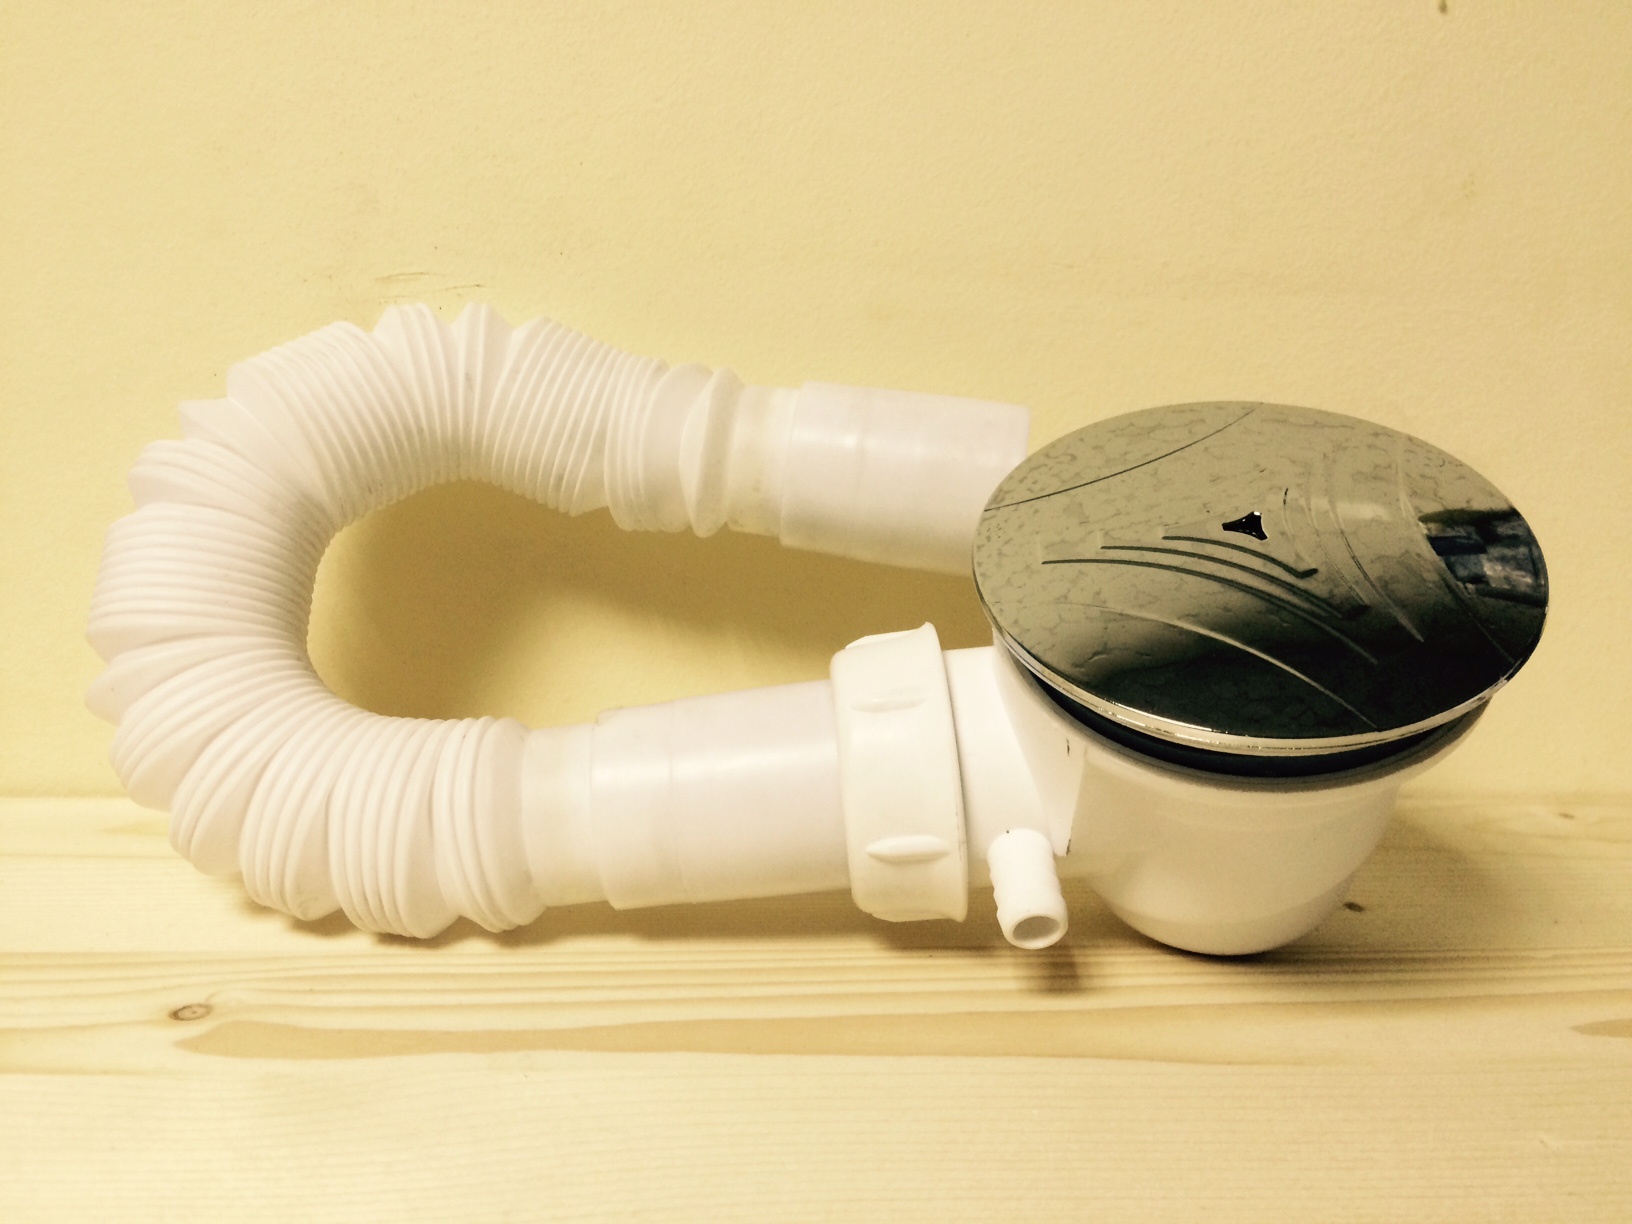
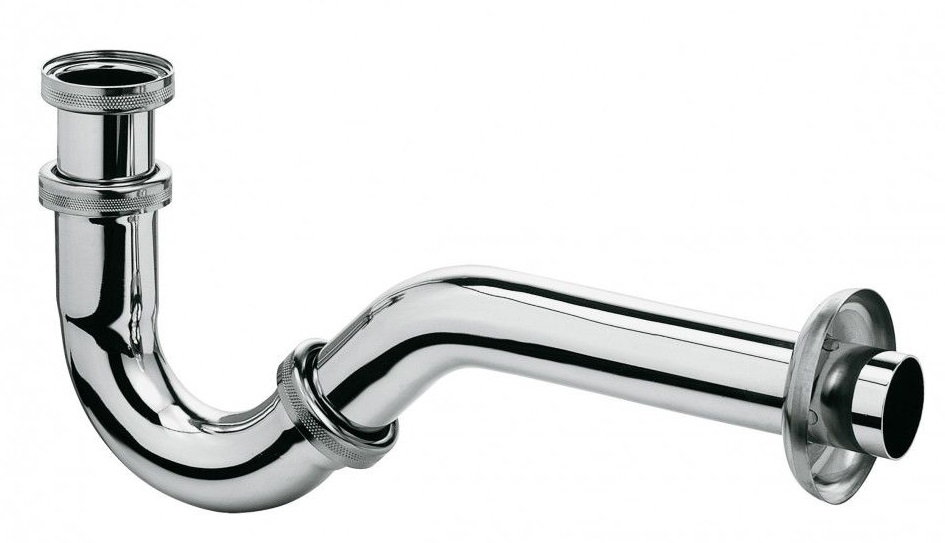
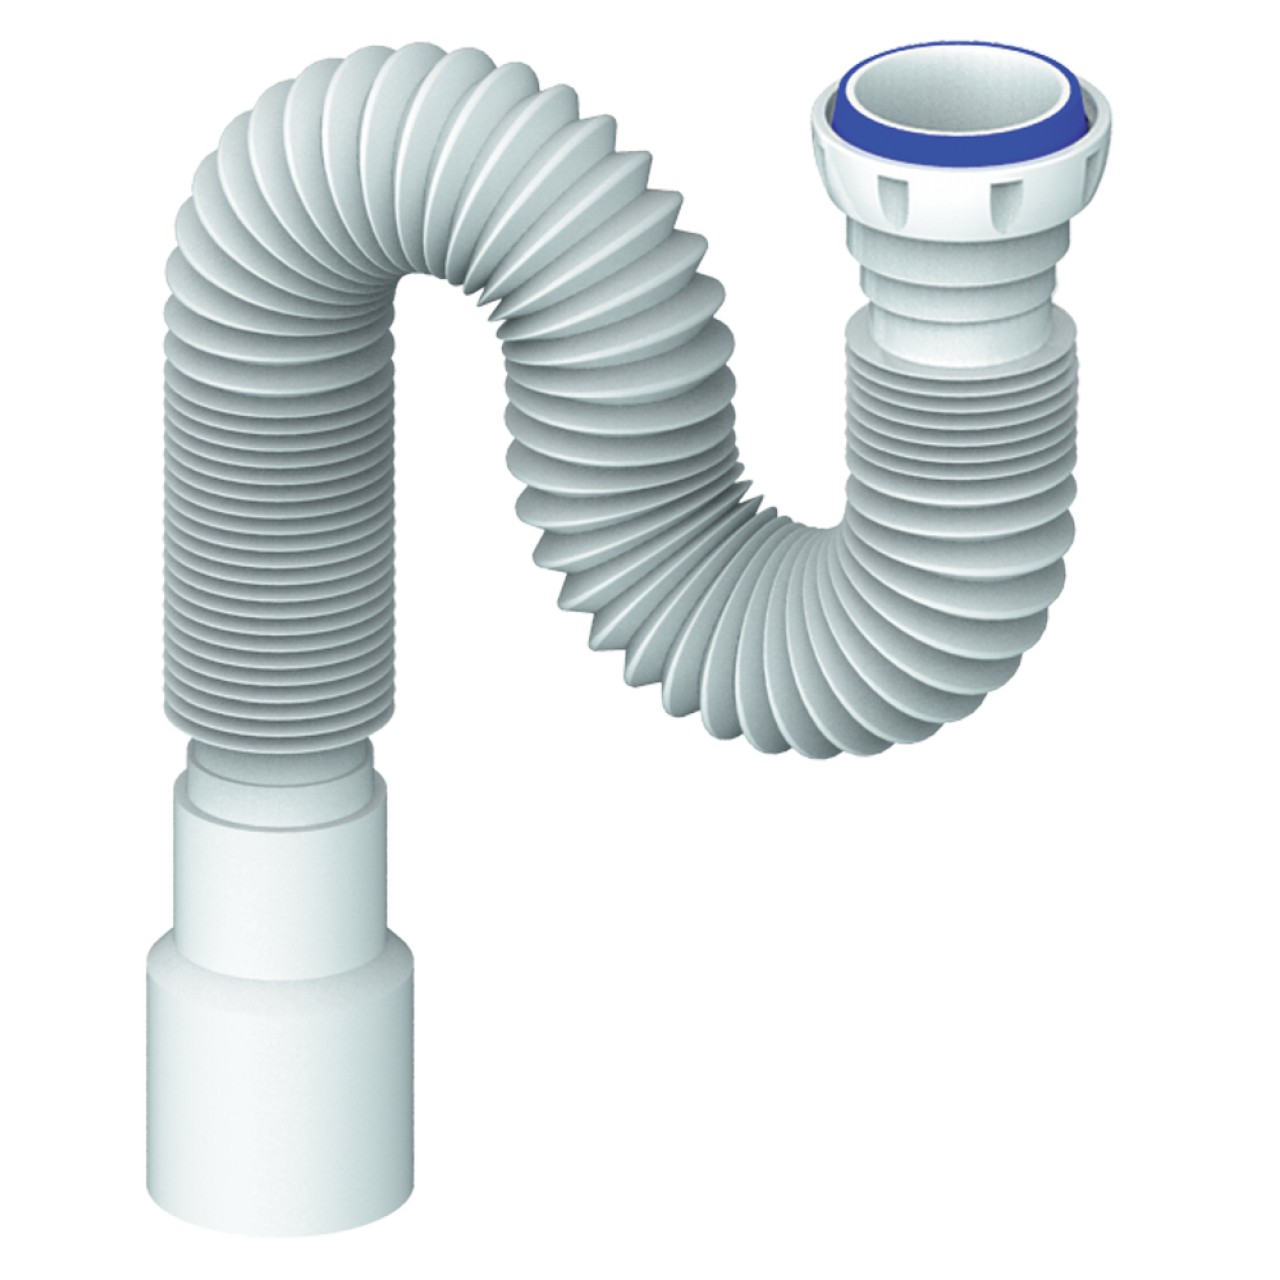
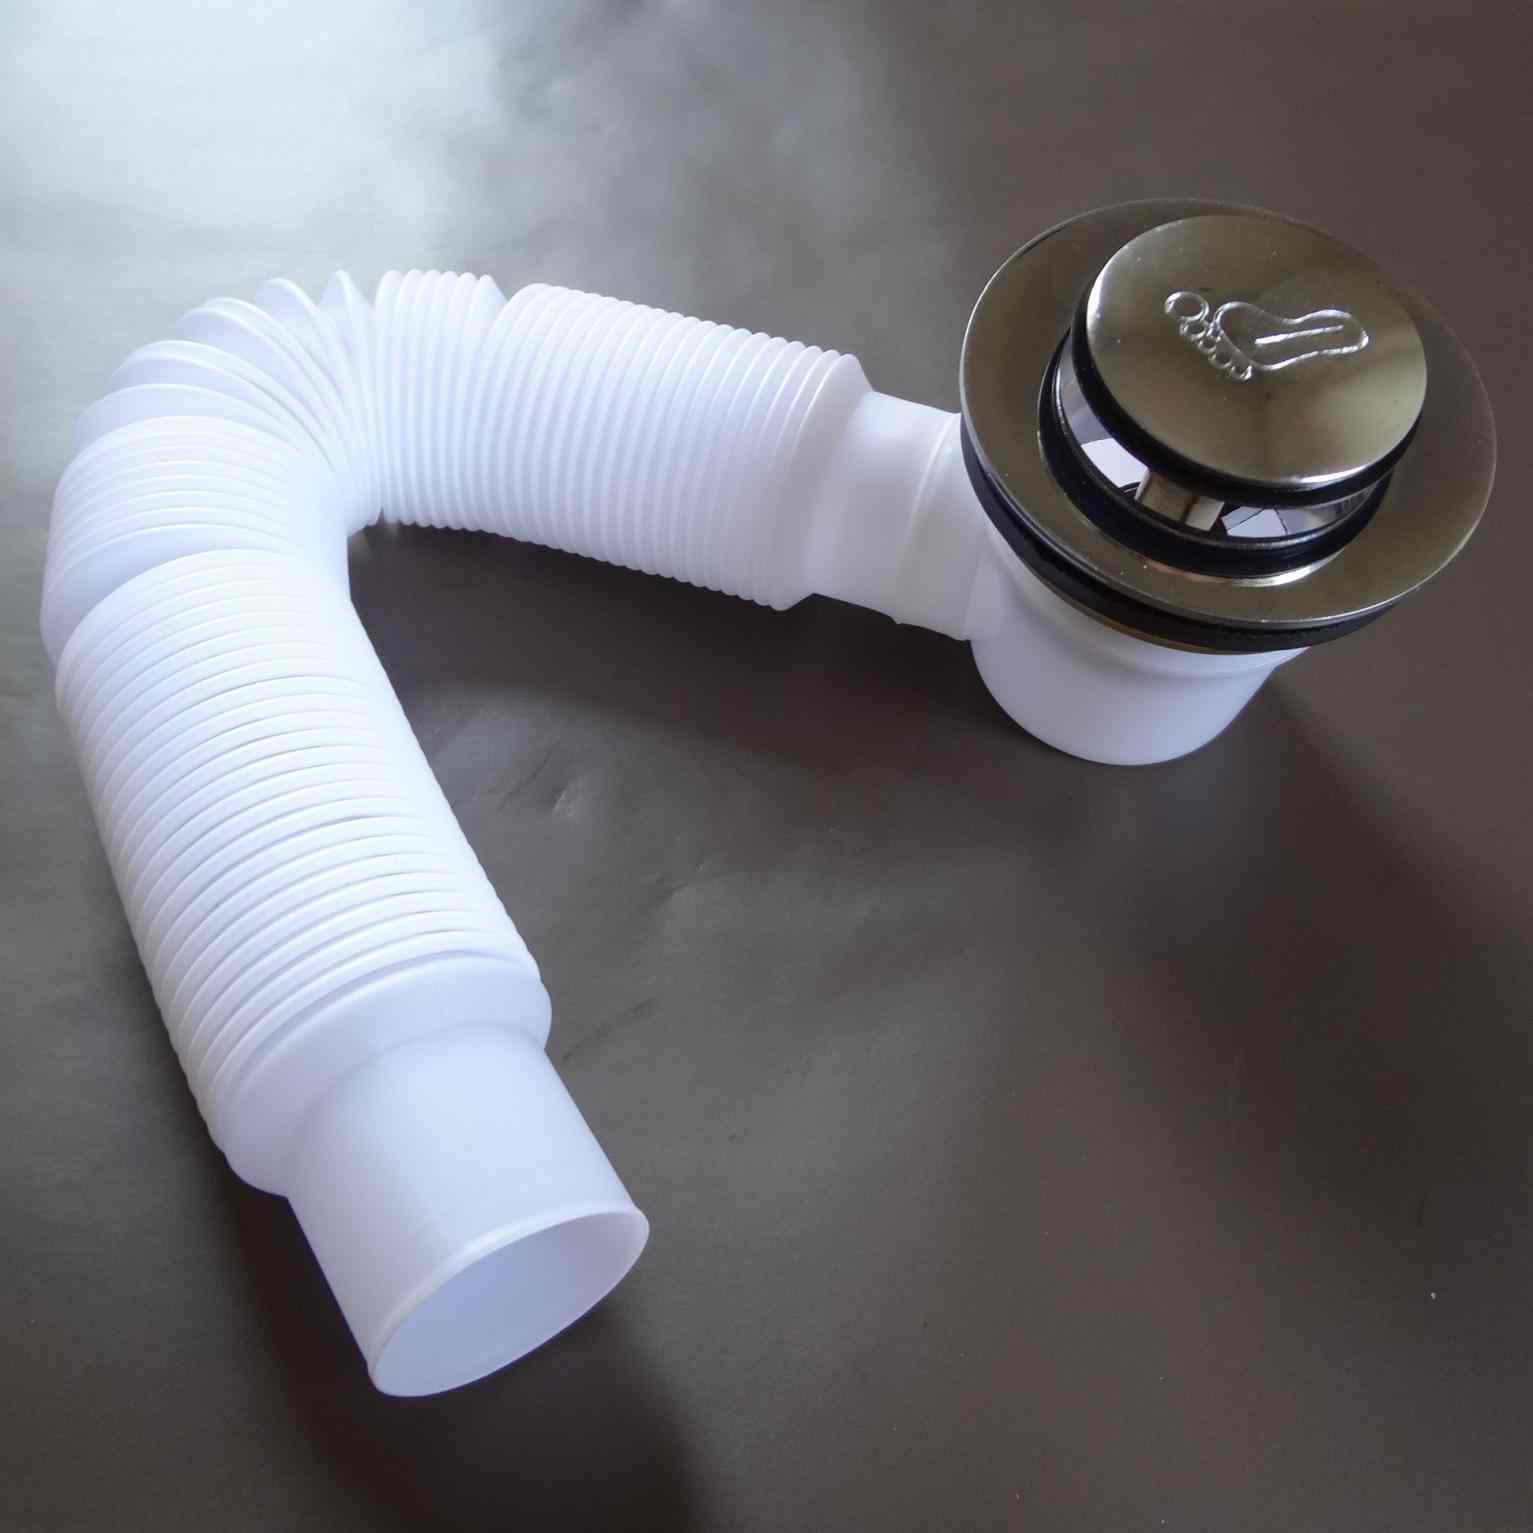
- Siphon of the knee version looks like a tube (curved S or U). The bend is supported by clamps. The main advantage is low height. However, cleaning the device is much more complicated, especially - if the element is corrugated.
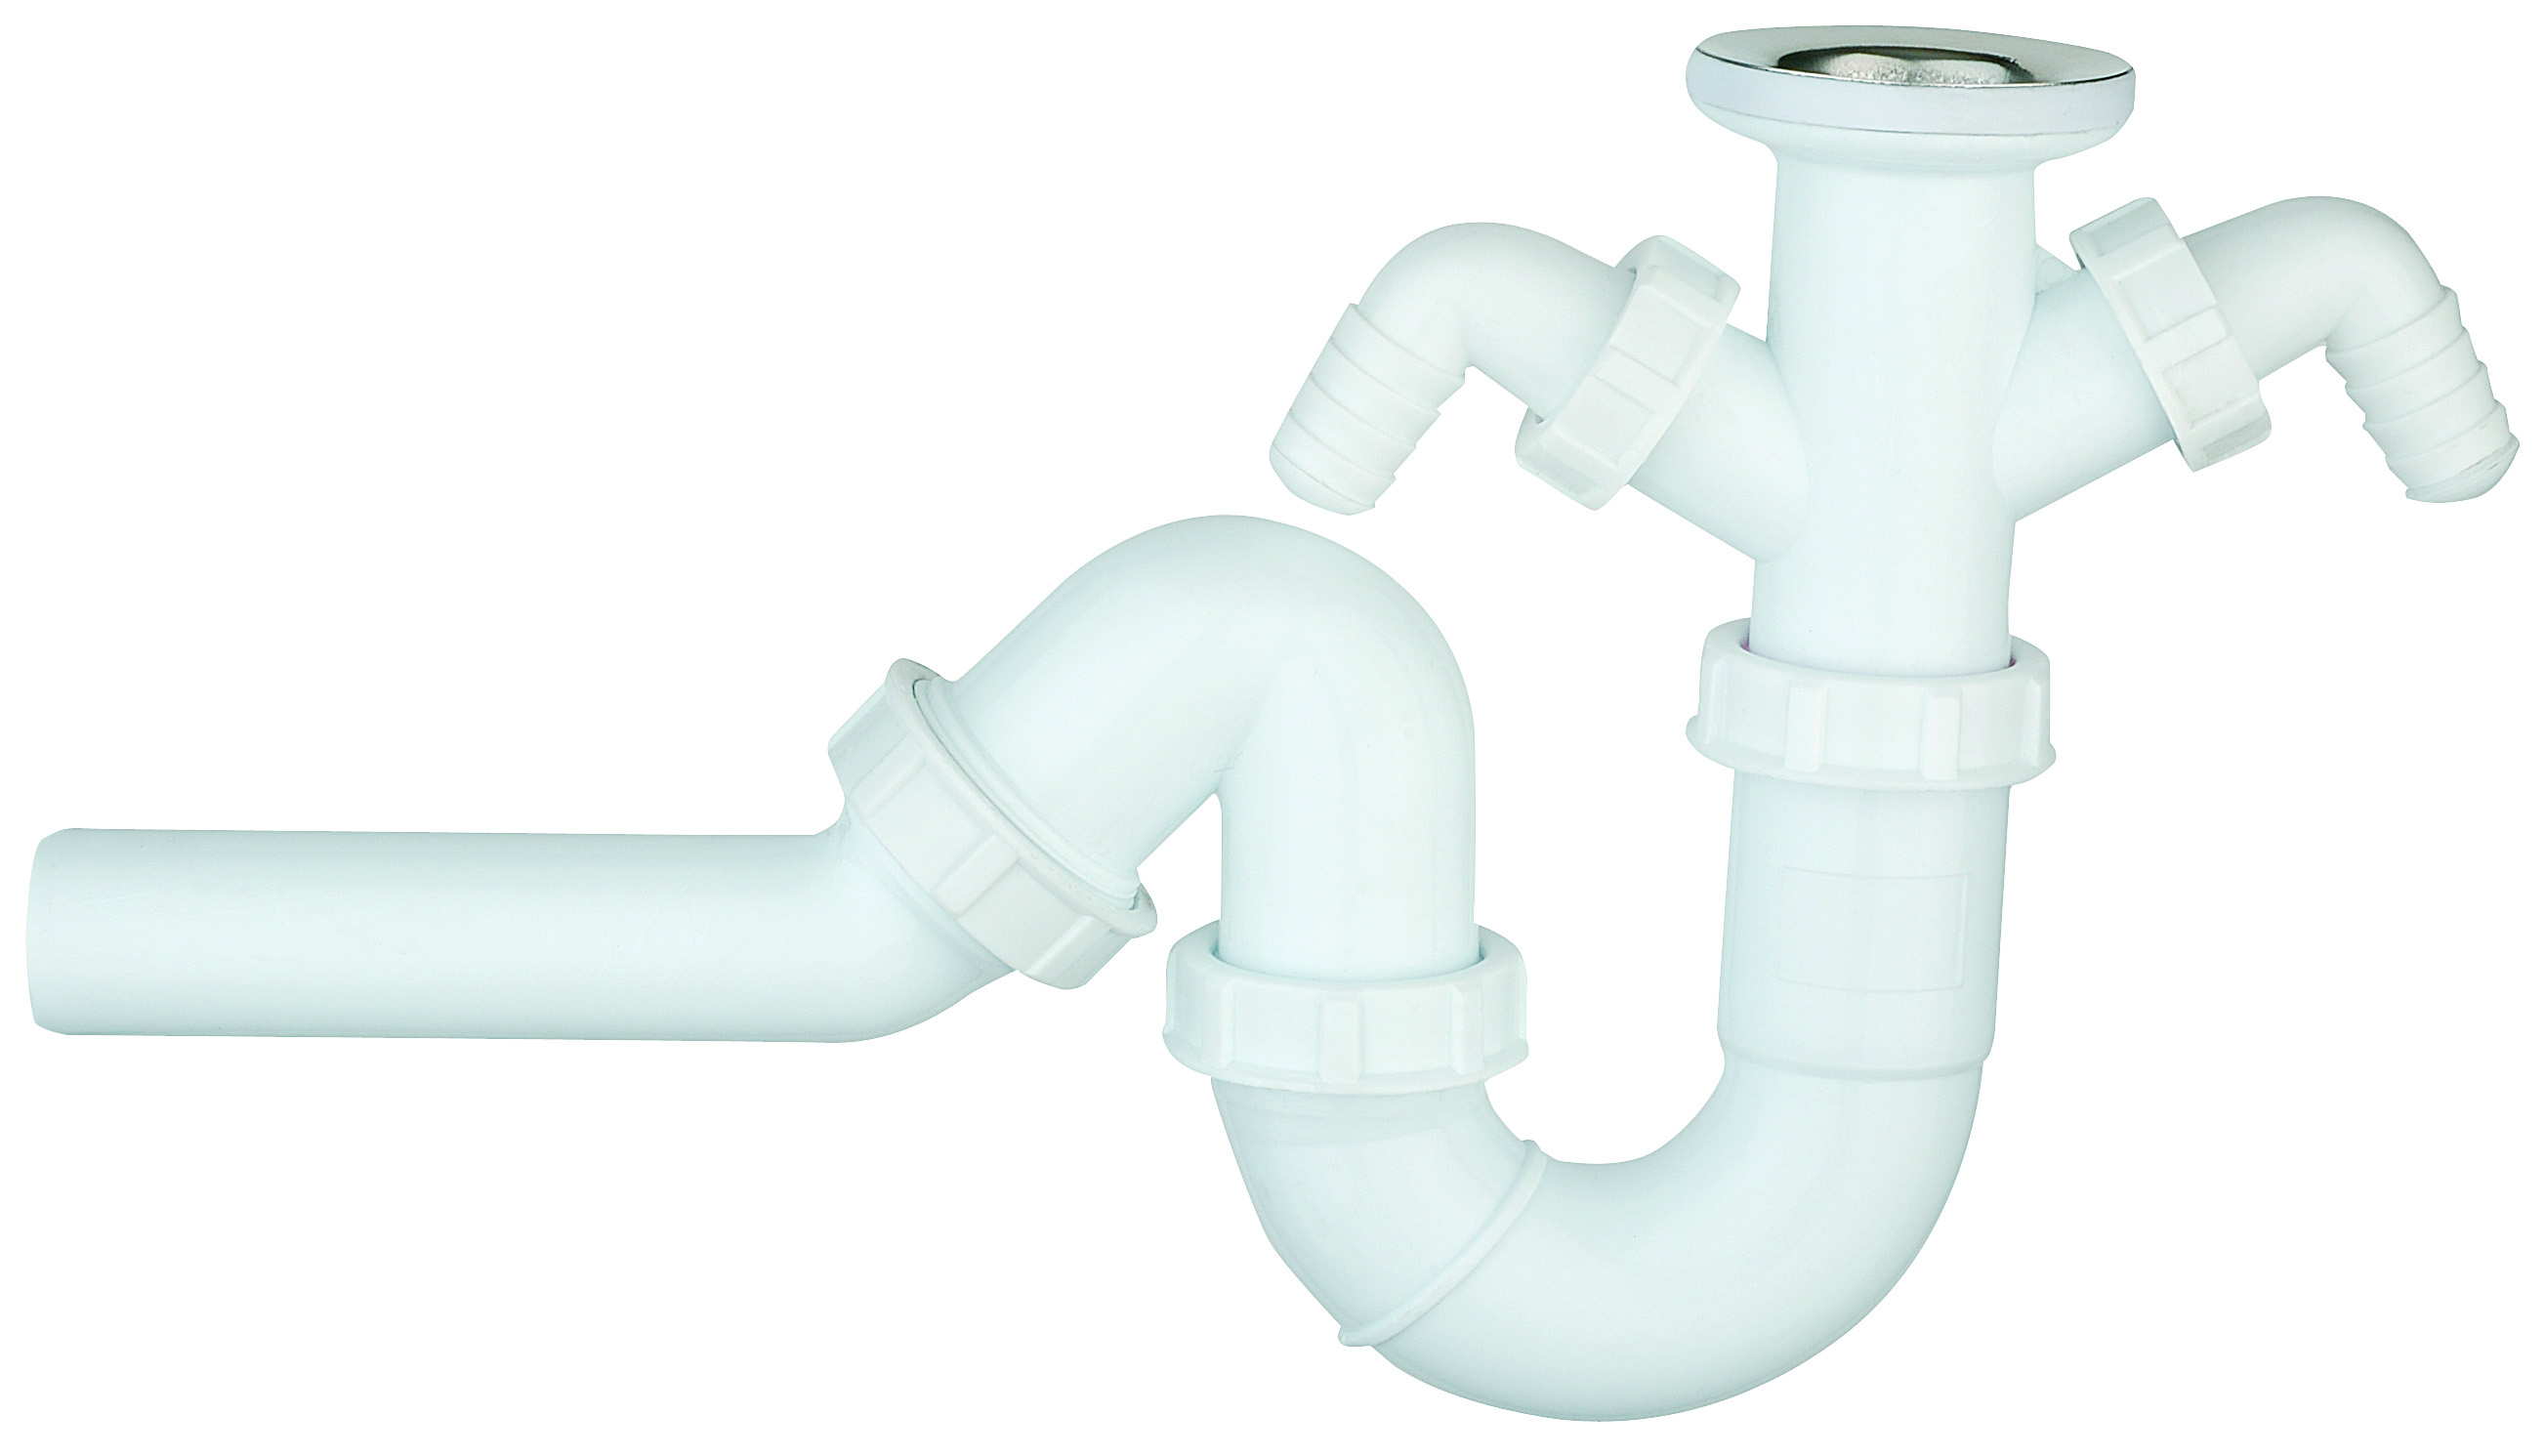
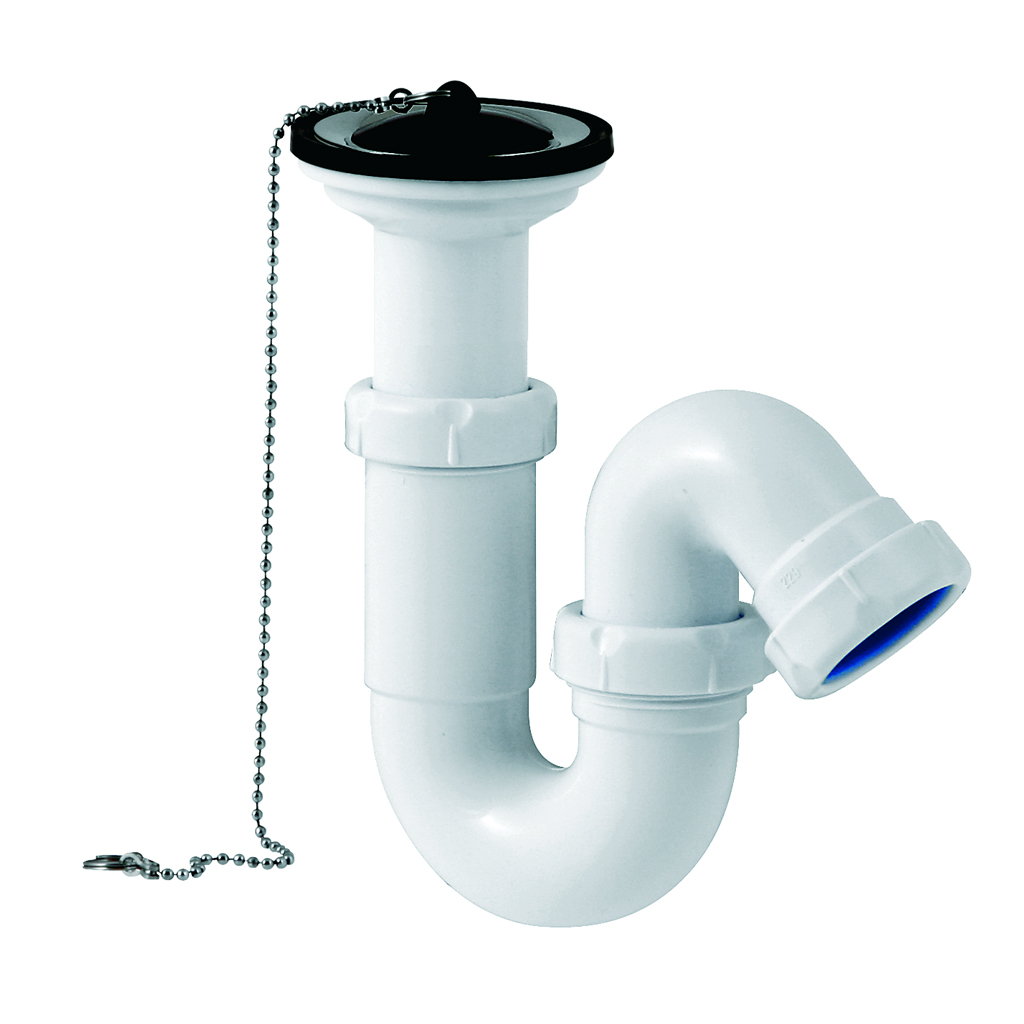
However, this part is convenient to install, since the bend can be laid absolutely anywhere and at any angle. Corrugated pipe is often used to drain drains from the shower enclosure. Due to the elasticity, it is possible to embody an external beautiful system of water outflow.

Installation and installation
As described above, simpler installation is a shower system with a tray.
Invert the base and secure the joints of the structure and the drain channel. Install the system and fix all this with system tools.Note that the base is above the bottom edge of the system. Turn the base over and arrange it in place. Adjust the legs for height. A difference of about five degrees should appear between the height of the drain in the siphon and the sewer drain.
You can connect the drain: install the mesh and protect the edges with a sealant. Install the tee by connecting the bent pipe to the nipple using gaskets. If necessary, install a special valve; here it can be replaced with a “drain-overflow” system (choose at your discretion).
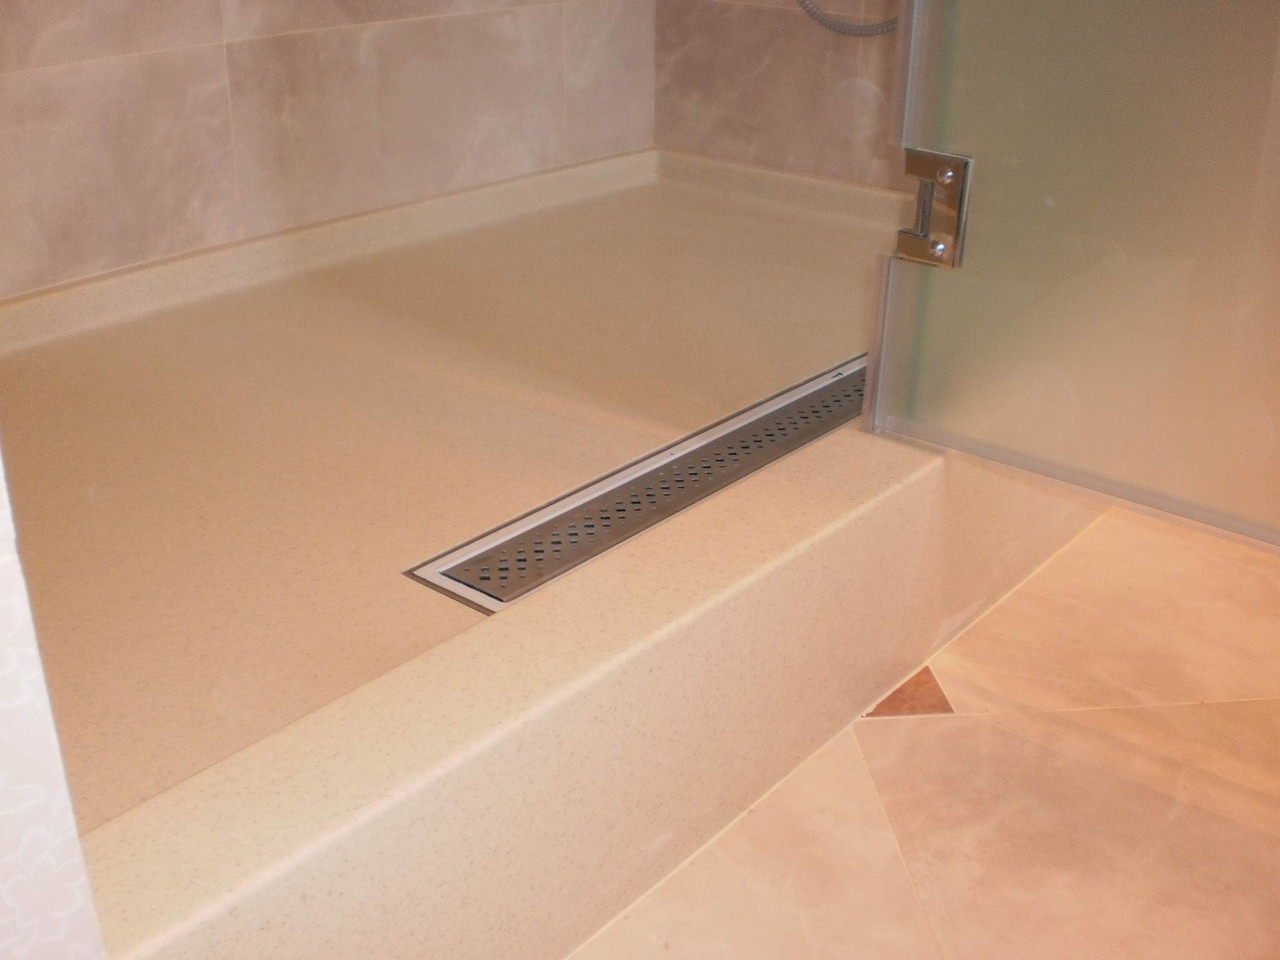
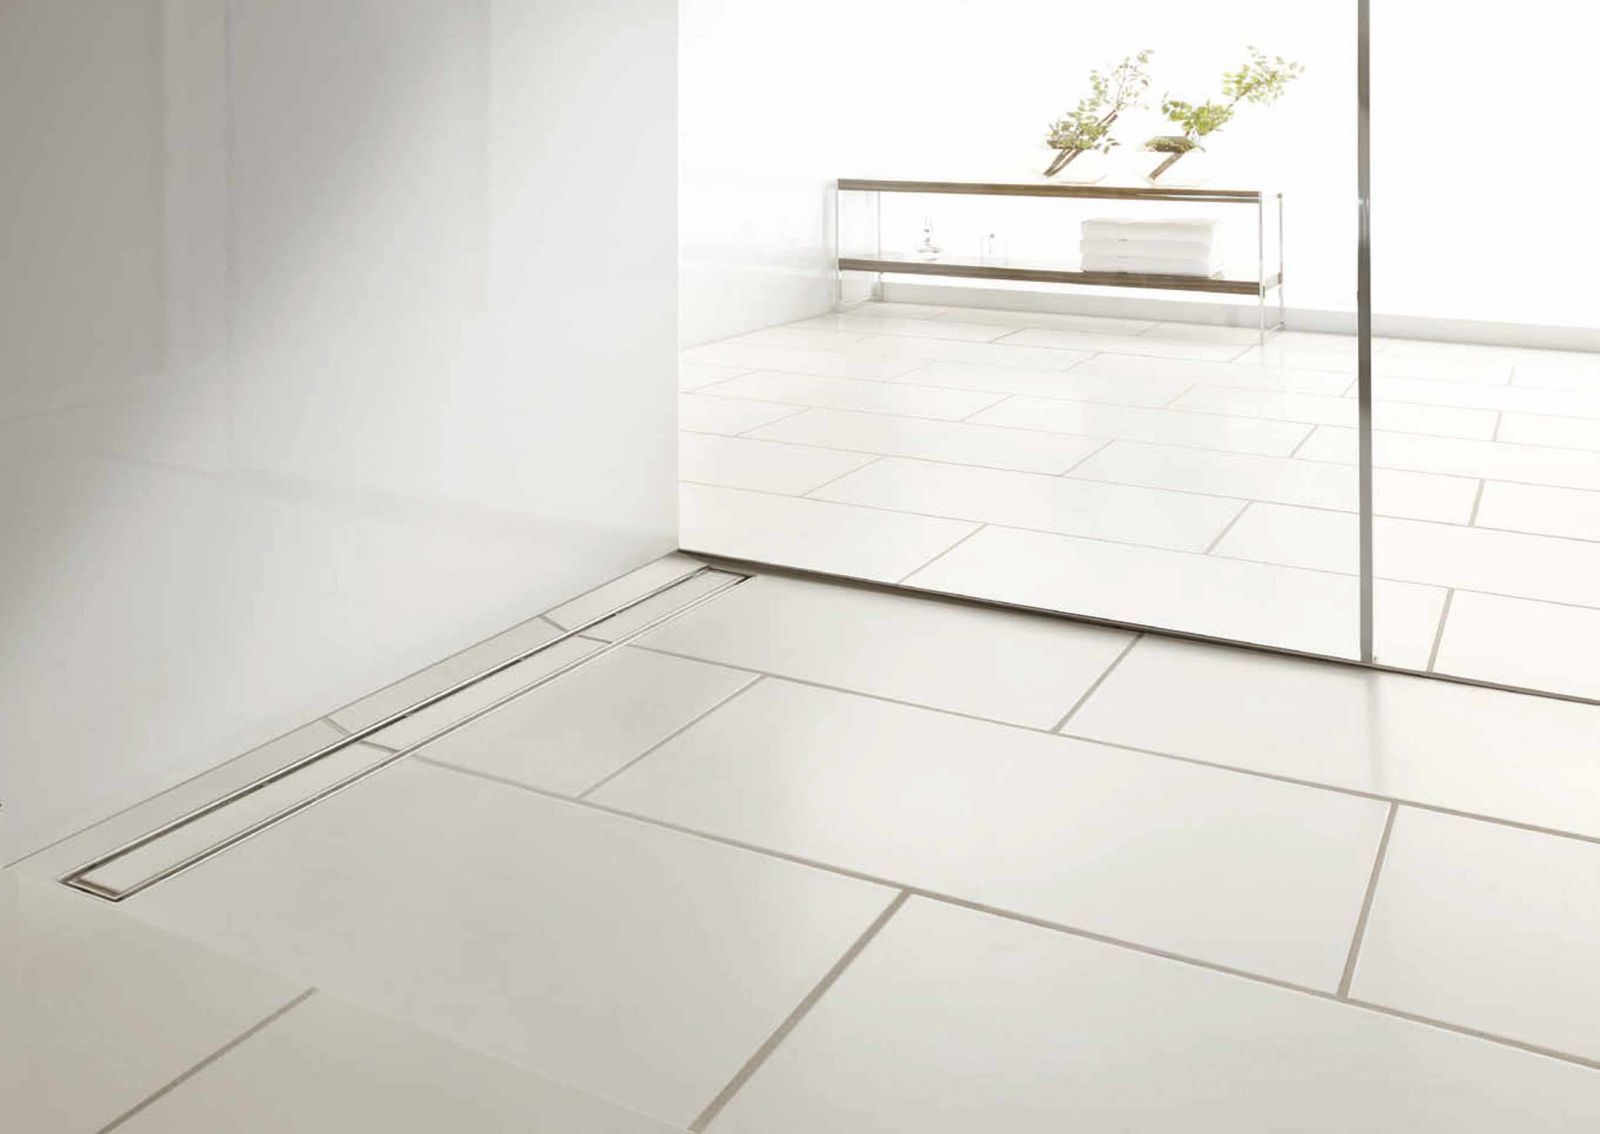
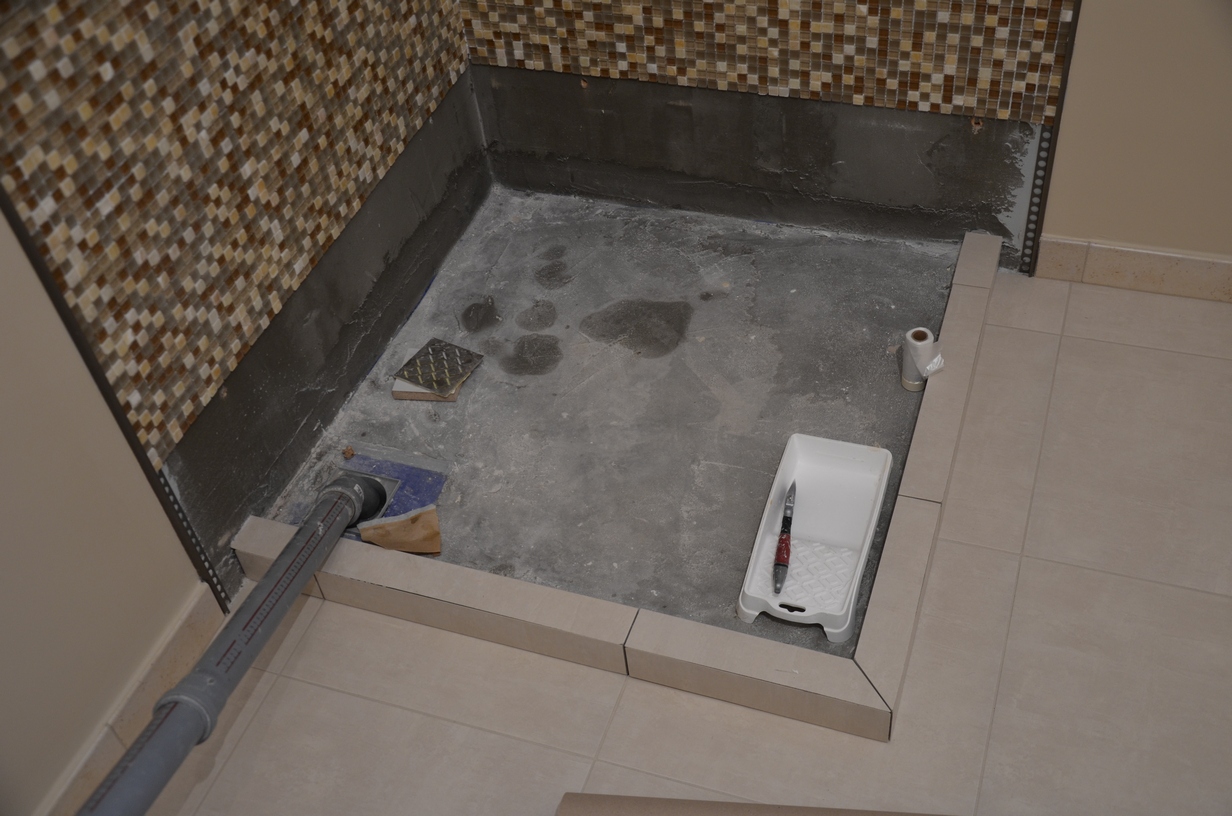
If the shower is not planned to install a pallet, then it will play the role of the floor of the bathroom. To do this, it initially fits at the right angle, so the existing base will have to be disassembled. Directly to the floor is installed channel drainage. Fix it on all sides with a solution of cement. To prevent the polished surface from being damaged, cover the channel grille with tape.
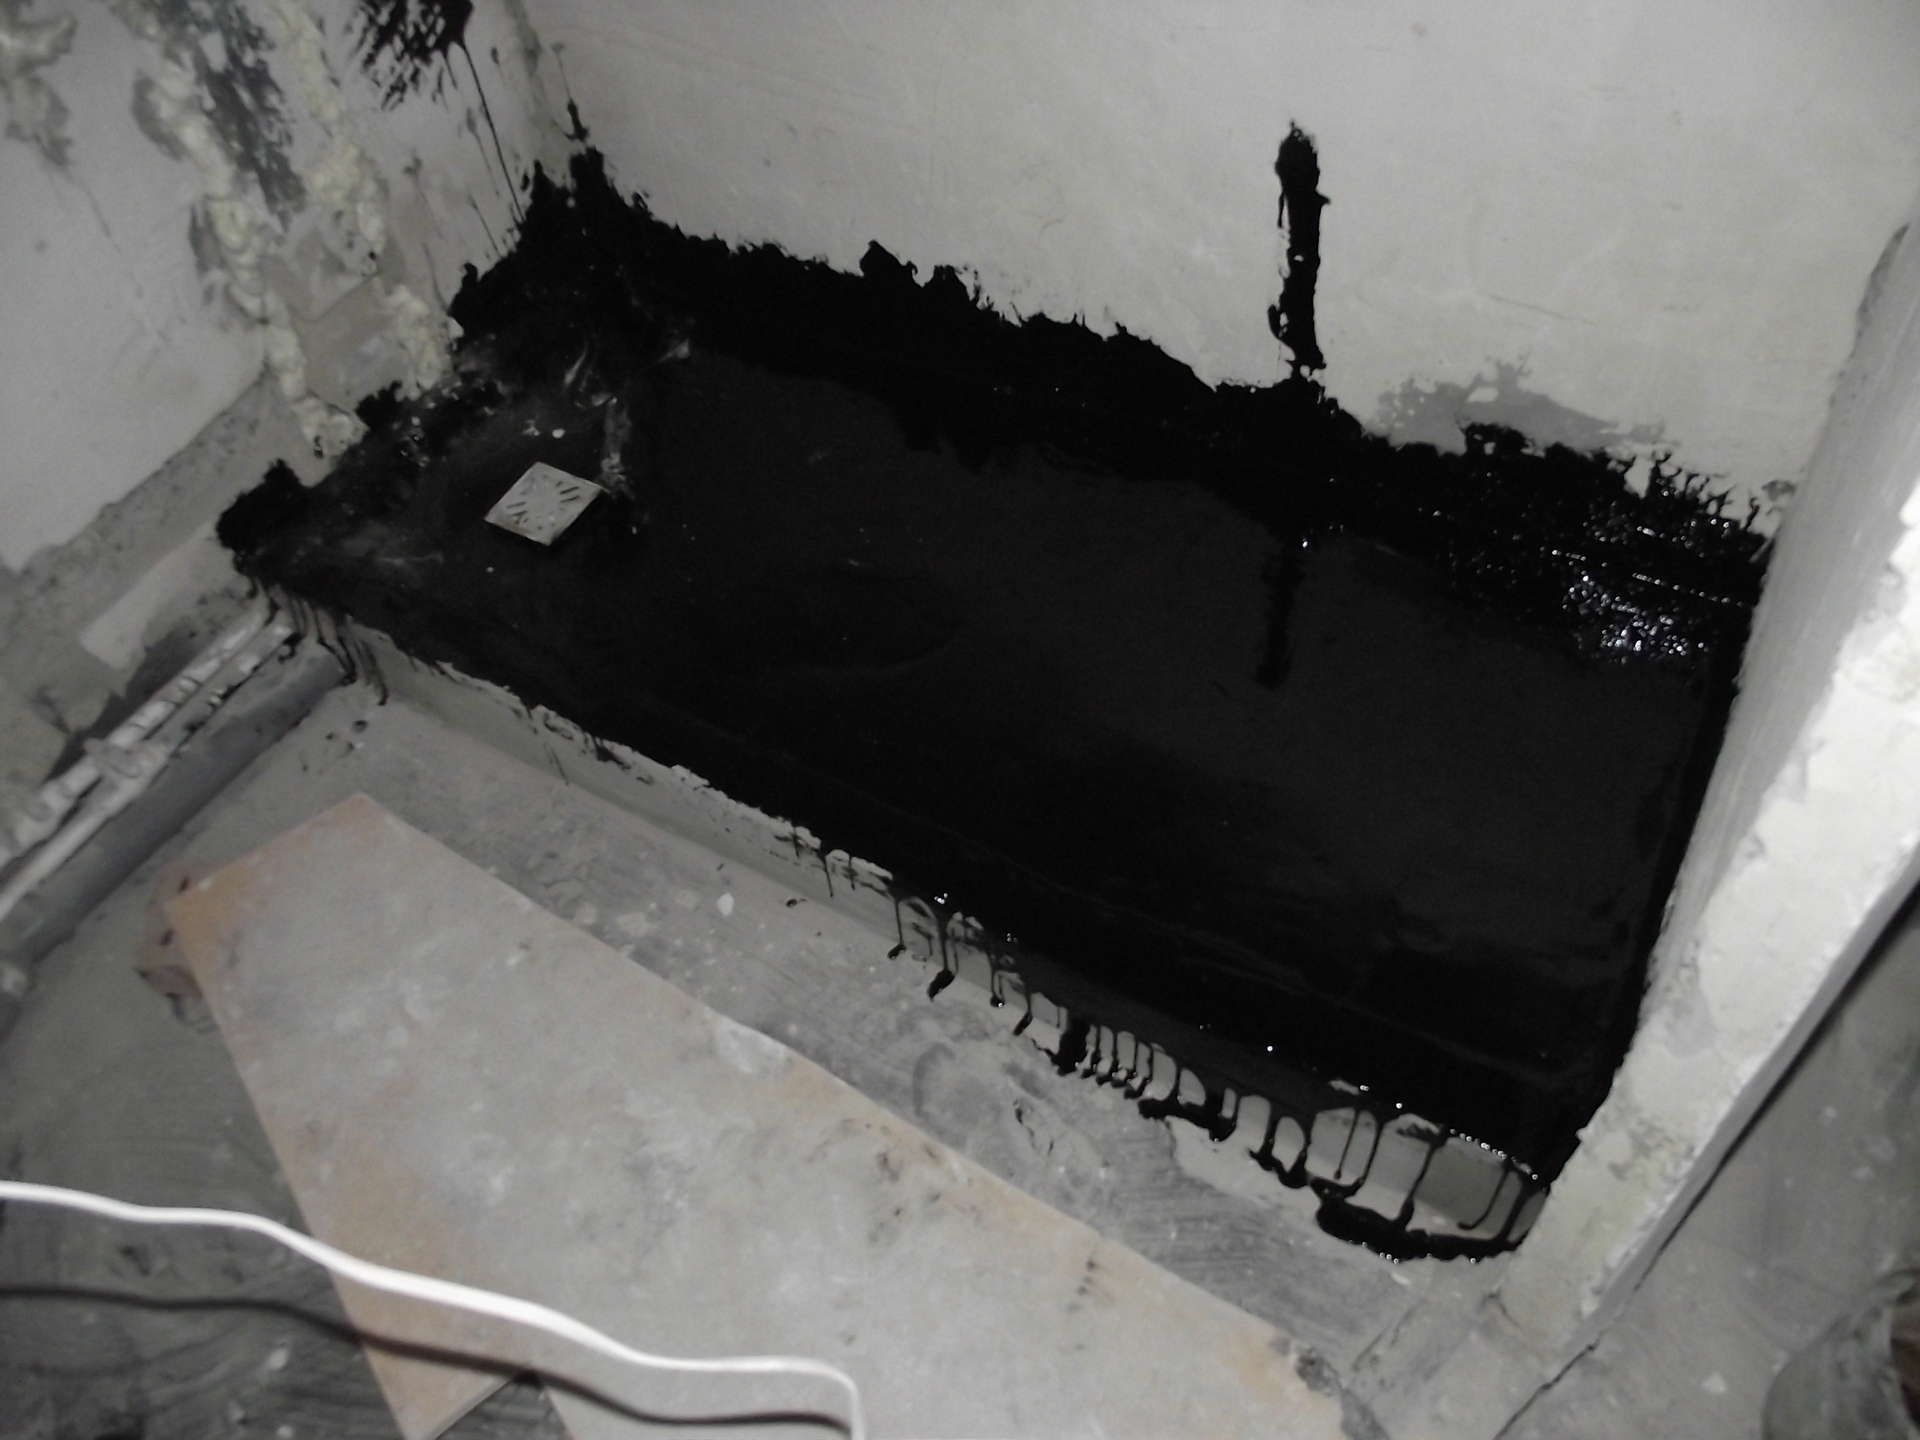
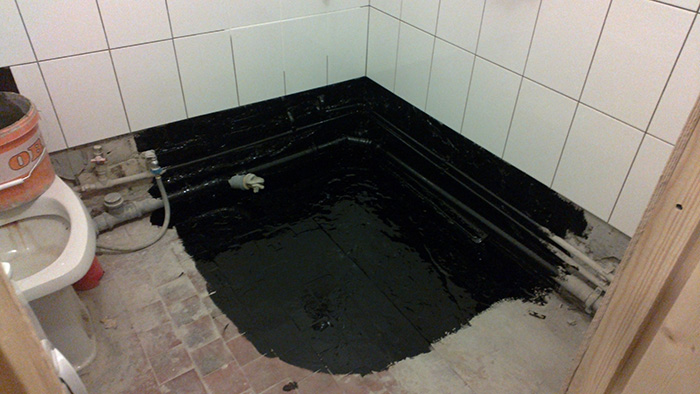
Secure the channel with special brackets to the base of the floor. If the tray body is metal, ground it. On the sides of the case there are regulators with which you can align the device in accordance with the horizontal level.Pay special attention to tightening the nuts: weakly twisted nuts can not be adjusted or removed. The mechanism will be cemented at floor height.
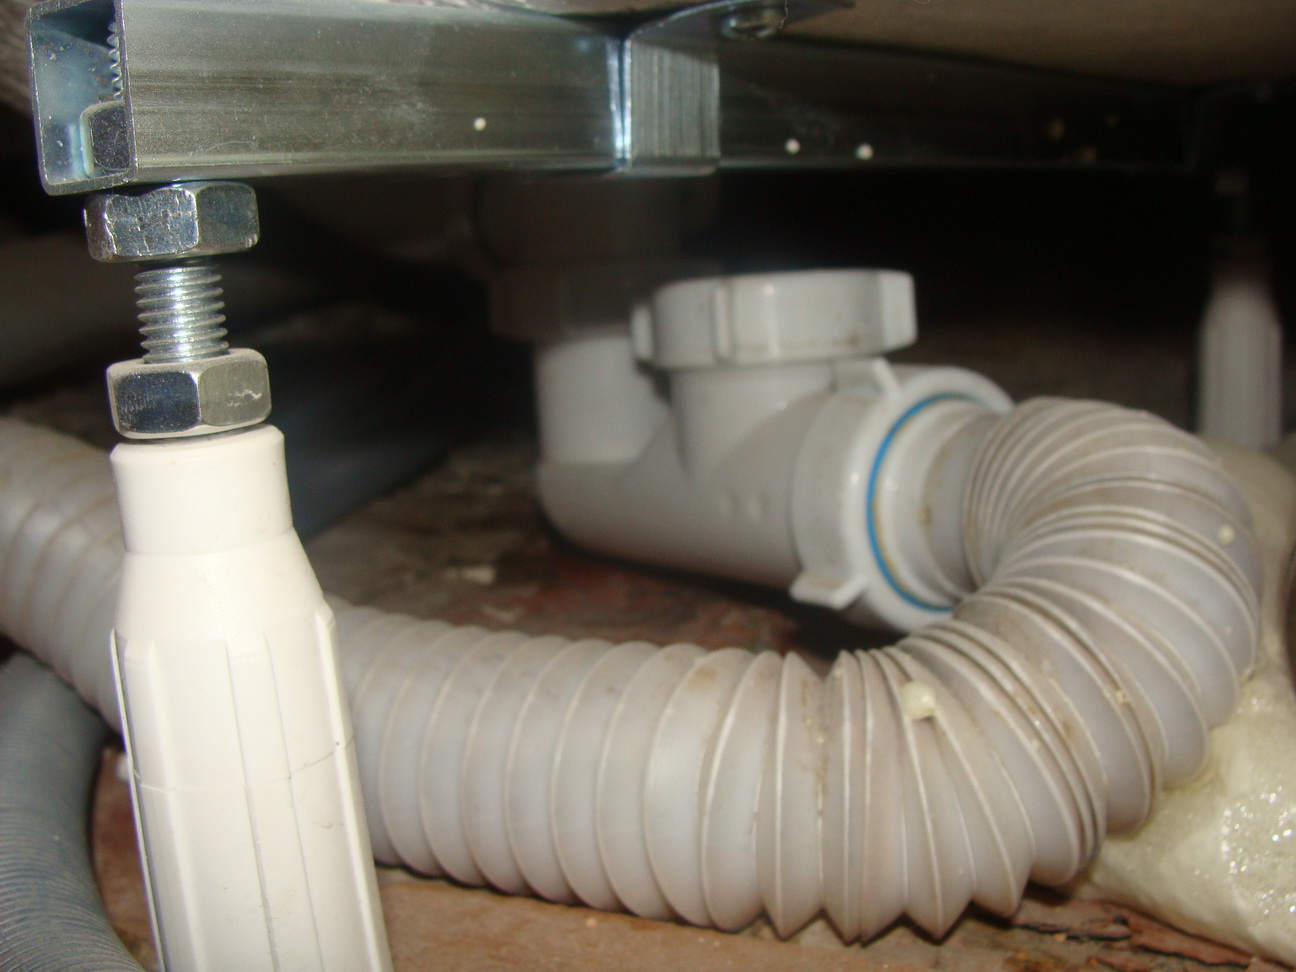
Take the connecting hose and attach it to the nozzle. The other end of the connection must be arranged to the tube. Make sure the hose is tight. To prevent leakage, you can treat the pipe with a thin layer of silicone.
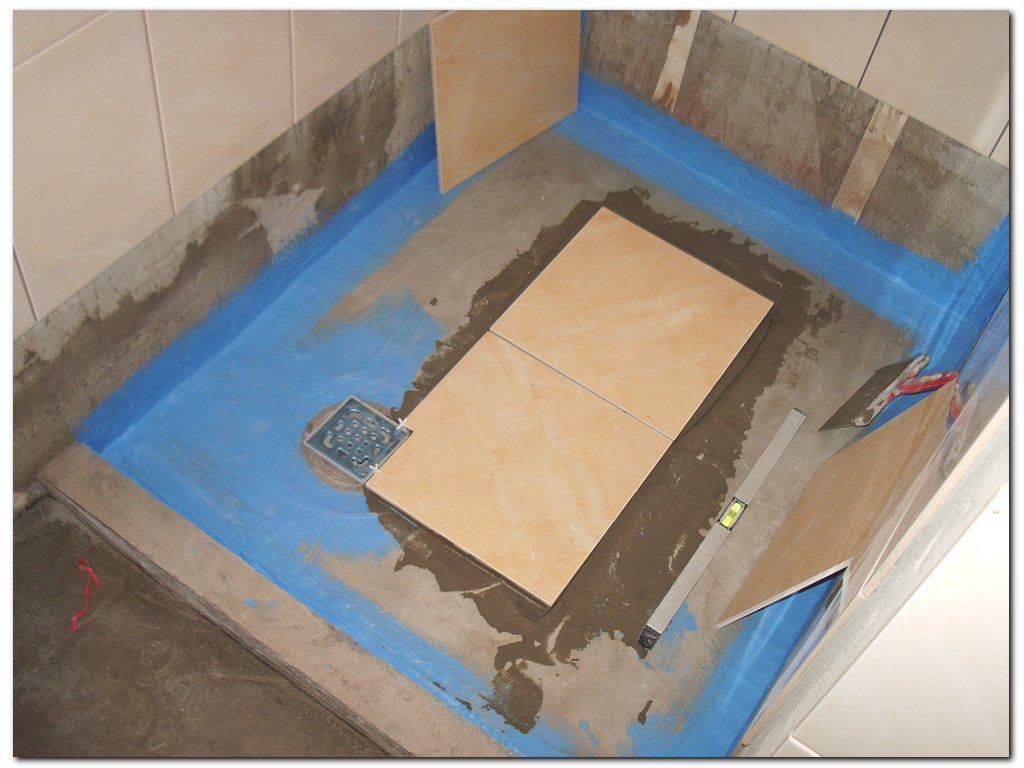
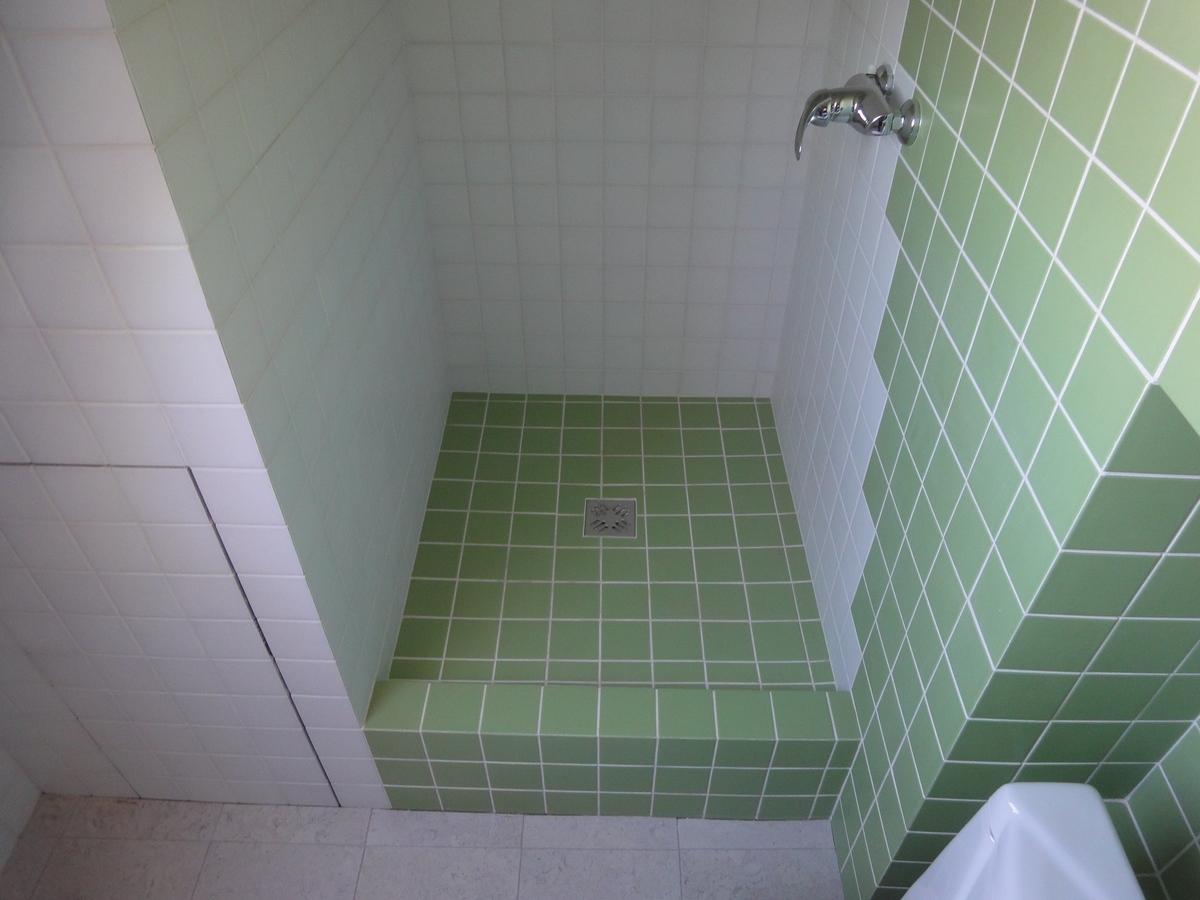
Next, fill the space left on the sides of the channel with cement. Consider the thickness of the finishing material that will be laid on top. Ceramic tile can be used as a shower base (it can be exchanged for any other waterproof material).
To prevent drains from accumulating at the canal, the top of the tile must be slightly higher than the canal. When installing fences without a base, lay the tiles from the structure. The junction with it should turn out to be perfectly smooth, and sharp edges should be absent altogether. For a better flow, you need to make a direct slope to the sink, which should be 1-1.5 cm per 1 m of the entire base.

After laying the tiles, clean the joints with the edge of the structure and fill them with sealant. The protective adhesive tape from a design can be removed only after full dryinghermetic layer.
Installation of the shower ladder is similar to the actions when arranging the previous design. Trap systems are cheaper in price than canals, but they are sold without locking mechanisms. Therefore, you should take into account the installation scheme and features.
The appearance of this drainage mechanism resembles a simple case with internal parts: a button or a valve and a diverting system. The device requires the initial hard installation at the right level. Installation in height will provide the usual bricks, planted under the structure. Also fit a few tiles or other suitable materials. Here it is more difficult to adjust the horizontal position.
Control of the layout of the ladder construction is possible only after pouring the screed from cement mortar (until it dries). The obligatory waterproofing is laid on the screed, and after - the topcoat. After complete installation and some time of use, the internal parts of the device are easily disassembled. You can only clean the drain pipe with a special cable.

Useful recommendations
Before buying a siphon, measure the gap between the outlet valve of the pallet and the floor. The design should fit under the pallet.
Be sure to match the size of the valve of the pallet with the width of the neck of the system. Standard dimensions vary: 52, 62, 90 mm
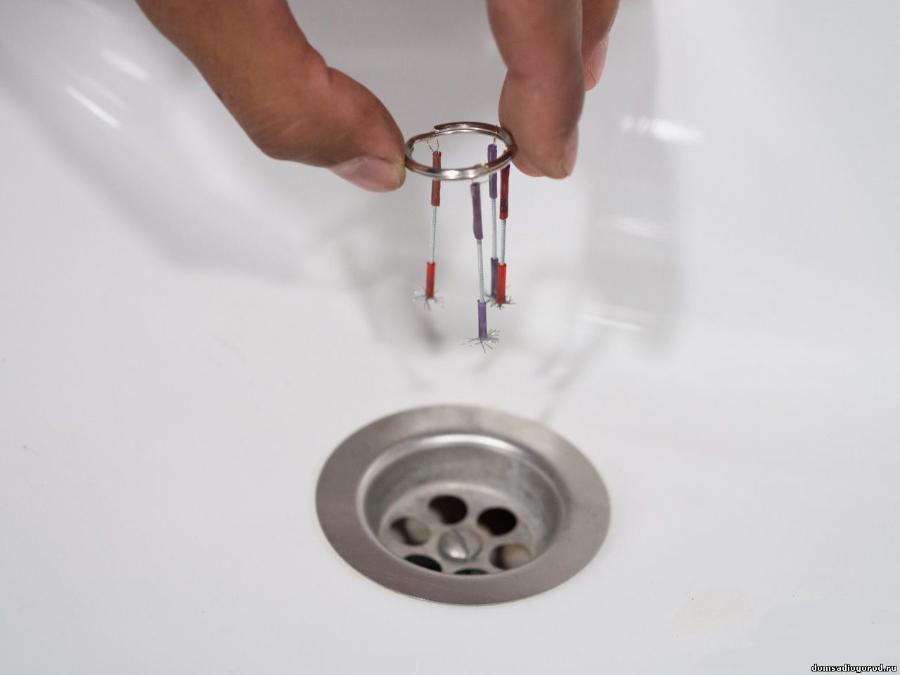
Pay special attention to the system of cleaning garbage at the entrance to the drain in the low bases of shower enclosures.
When arranging the channel system, consider some features.
- The capacity of the channel should not be less than the water flow in the shower. For example, the usual hydromassage consumes 10 liters of water per minute.
- Consider the location of the tray from the nozzle, as well as to the sewer pipe. The smaller it is, the better.
- Check the bandwidth feature of the system if in doubt. Try to fasten the structure to the base and the pipe and give it water under pressure.
- Consider the diameter of the hose that goes from the nozzle. It should not be less than 40 mm. Its slope should be 30 mm per 1 m.
- To provide better access to the structure (to clean it), select the sectional option. It is mounted in the door of the room.
- Consult with professionals and (only if you have confidence in your own abilities) proceed to the installation of the system.
How to assemble a shower cabin, see the video below.


