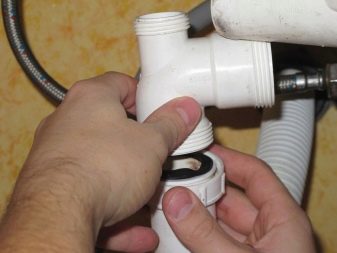
How to properly collect the siphon for the sink?
Replacing the sink siphon is an easy task if you follow the recommendations of experts. It can be mounted in several ways, so you need to know how to unscrew and connect it in each case.
Purpose
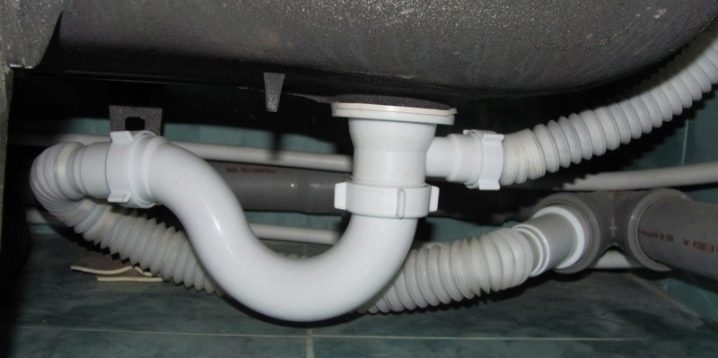
Siphon is a pipe with bends through which drain water flows from the bath, sink, washing machine into the sewer system.
The purpose of the siphons can be as follows:
- when draining a small amount of water remains in the siphon, which serves as a special sump, thereby preventing the penetration of unpleasant odors, gases, sewage noise back into the dwelling;
- does not allow to breed to various bacteria;
- prevents the formation of blockages of different origin.
Types: Pros and Cons
There are several main types of siphons. It is necessary to consider some of their characteristics, disadvantages and merits.
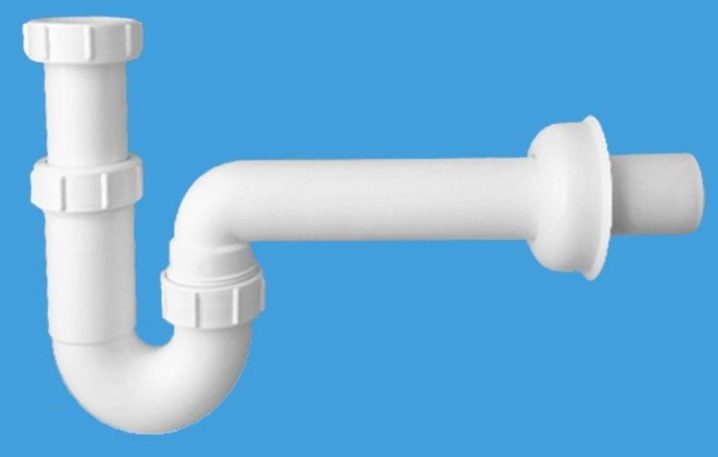
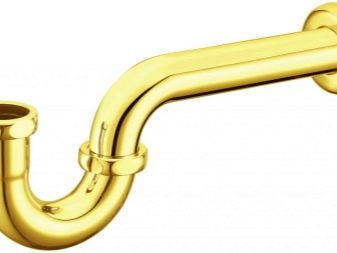
Pipe type
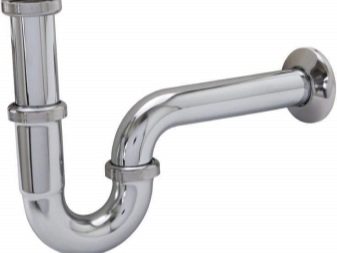
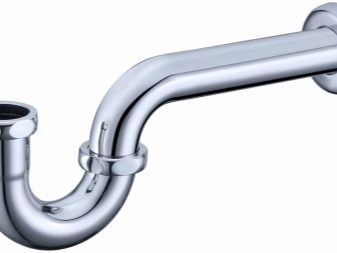
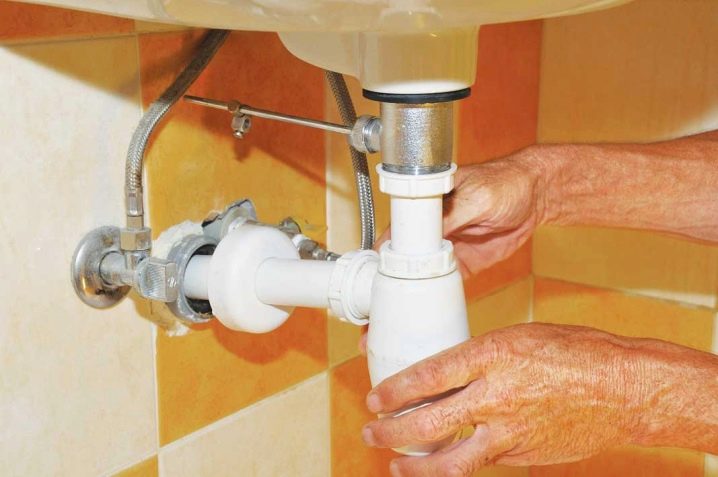
It is a simple device in the form of a rigid pipe, bent in the shape of an English letter U or S. This type can be either solid or collapsible. There are options in which a special opening is provided at the lowest point for the extraction of various solid particles. At pipe type of a siphon the increased accuracy of its assembly is required. The advantage of this type is that for its cleaning it is not necessary to disassemble the entire siphon, completely remove the bottom "knee" from it. The downside is that due to the small hydraulic valve, with infrequent use, odors can occur; due to lack of mobility, it cannot be installed as needed.
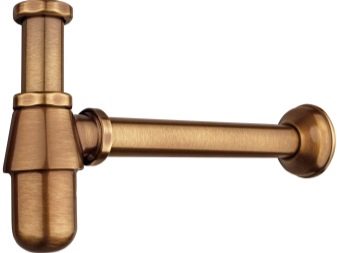
Bottle Type
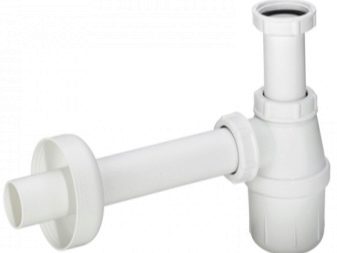
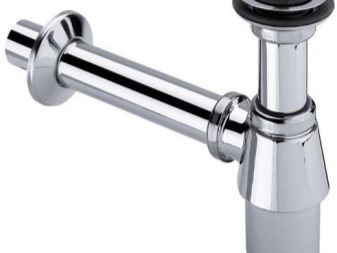
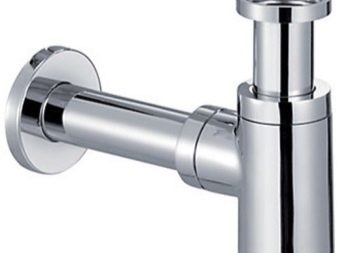
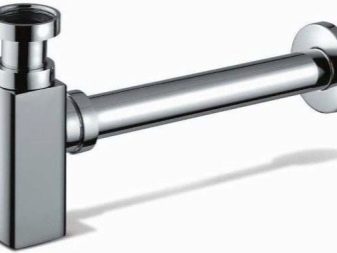
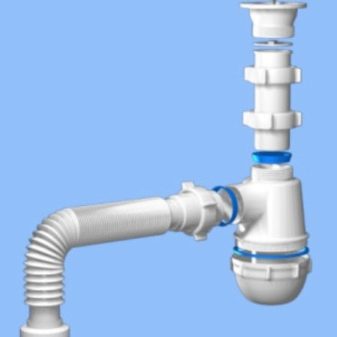
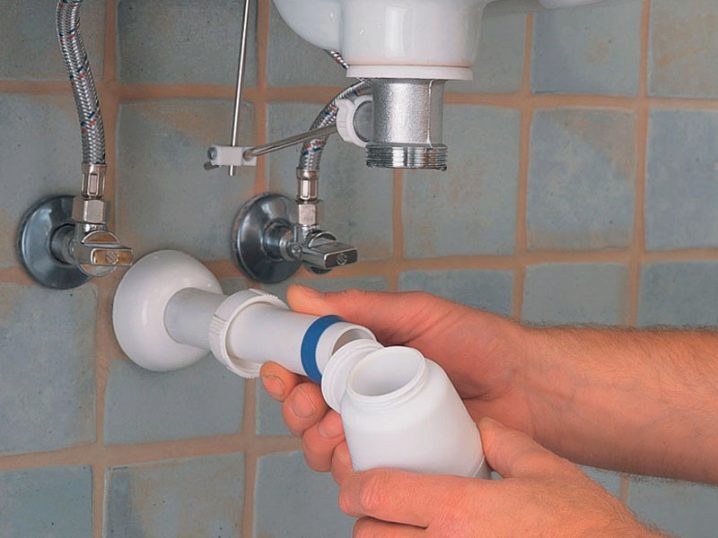
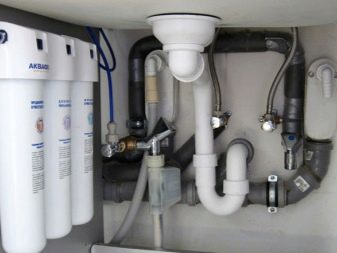
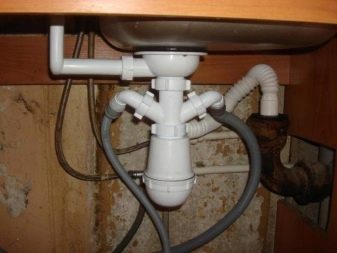
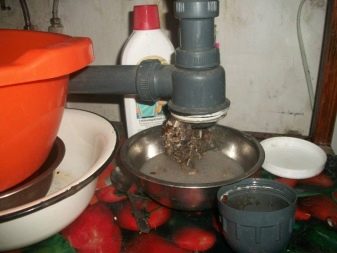
It is the most common in comparison with others, although it is the most complex construction of all. It acquired its name due to the fact that in the area of the water gate it has the shape of a bottle.Its main advantages include fast and convenient installation, even in a confined space, disassembly is easy enough, cleaning does not take much time, small things that get inside will not go down the drain, and sink to the bottom of the bottle. Only it can be used to connect a washing machine or dishwasher, without inventing an additional drainage system for them. A significant disadvantage is that the pollution accumulates at the junction of the siphon with the sewer pipe and causes it to clog.
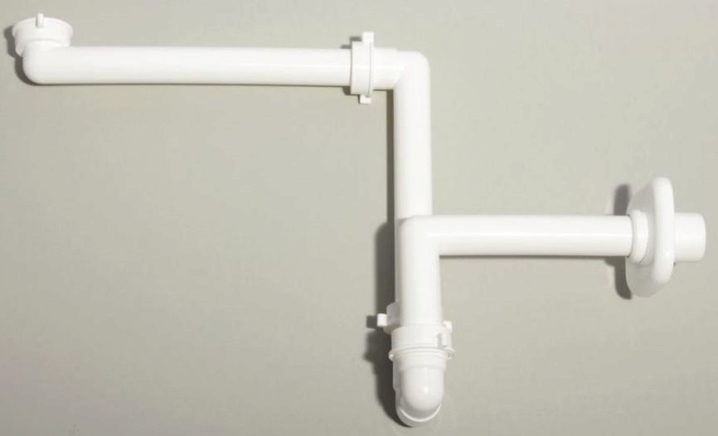
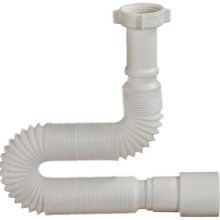
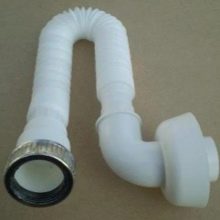
Corrugated type
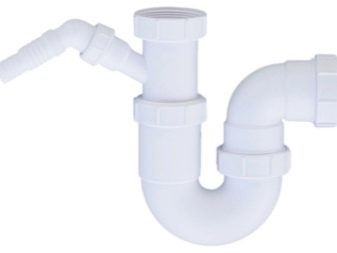
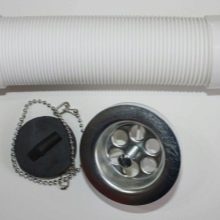
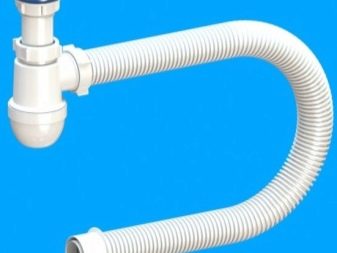
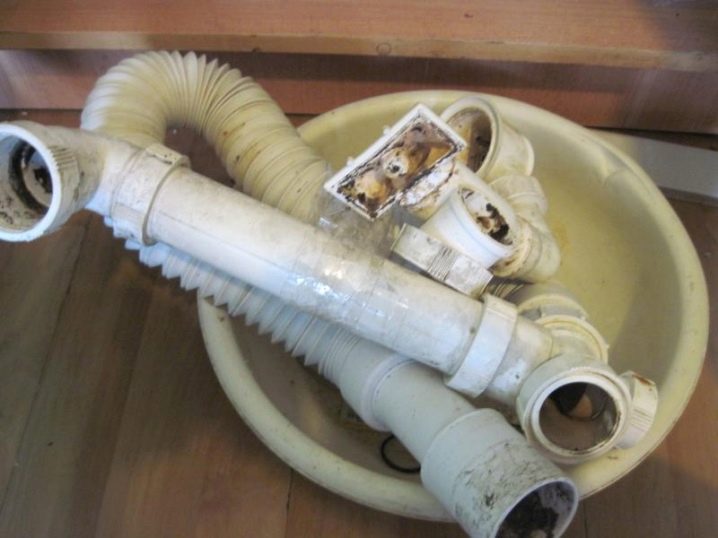
It is a flexible tube that can be bent in any direction. This is one of its main advantages, when it can be installed in places that are inaccessible to the previous two. Its advantages include a relatively small price, and the minimum number of leaks due to one junction. The minus is an uneven surface that collects various mud deposits on itself, they can be removed only when the structure is dismantled. Do not pour hot water down the drain if the siphon is made of plastic.
Materials and equipment
The siphon material must be resistant to chemical and thermal aggressors, therefore it is made of polyvinyl chloride, chrome-plated brass or bronze, and also of propylene. Constructions made of brass or bronze are quite expensive, look aesthetically pleasing and are quite prestigious, but nevertheless they are resistant to corrosion, various oxidants. Devices made of PVC, polypropylene and plastic are much cheaper, and also have a simple assembly, the stability of compounds, but not particularly durable.
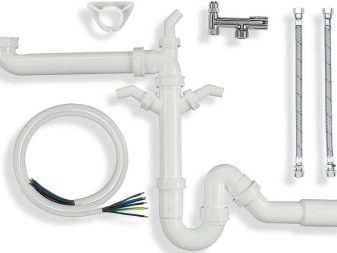
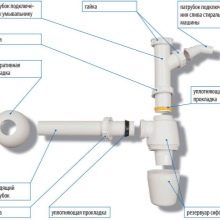
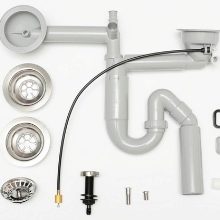
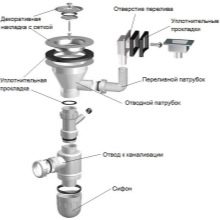
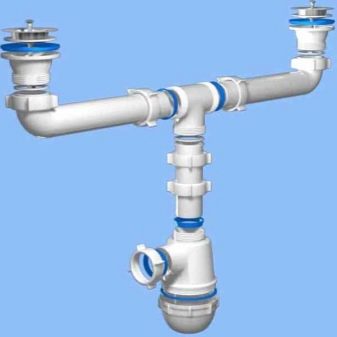
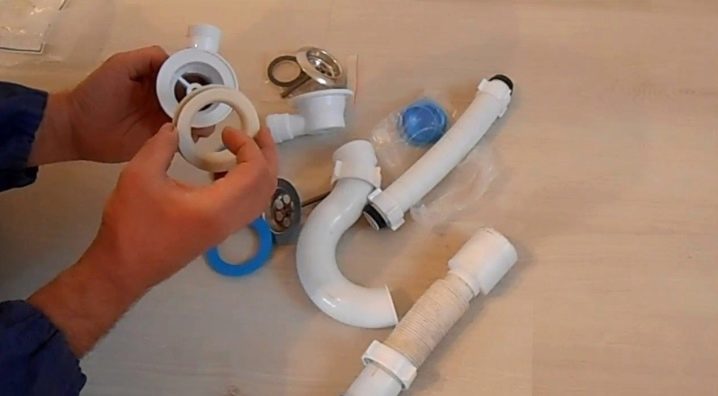
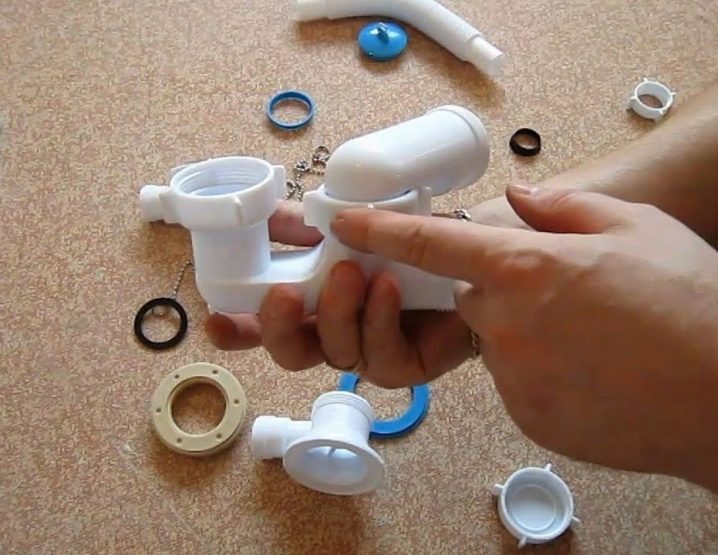
A typical set of any siphon consists of the following elements:
- enclosures;
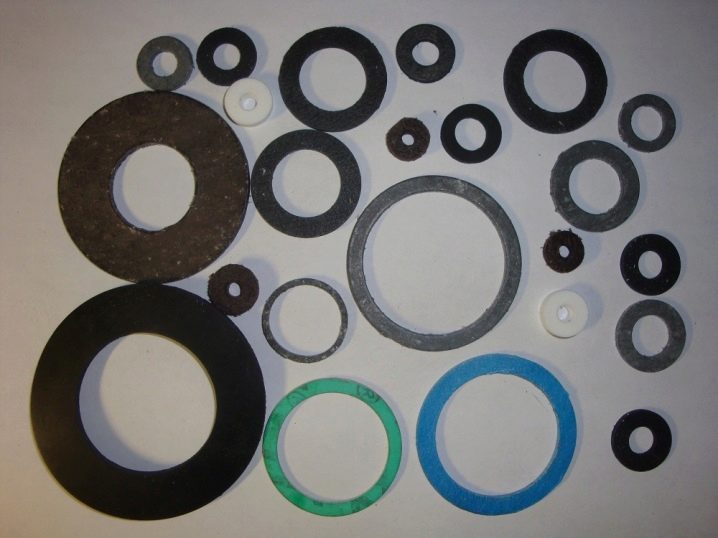
- rubber pads of a thickness of 3–5 mm, preferably of oil-resistant (white) or silicone plastic;
- protective grid with a diameter of 1 cm;
- nuts;
- pipe (exhaust or branch) to install the gasket. It has 2-3 distinct rings, a side, and can also be equipped with a lay-out for connecting a dishwasher or washing machine;
- drainage to sewer;
- stainless steel connecting screw with a diameter of up to 8 mm.
How to choose a kitchen and bathroom?
Siphon for the kitchen or bathroom should be chosen, following, of course, practical purposes.But the features of the room should also be considered.
In the bathroom, the siphon should ensure the absence of odors from the sewage system, as well as quickly and in time to discharge the sewage. Siphons that have connecting elements made of hard materials should not be purchased, as the installation will be difficult. In this situation, a corrugated type of drain tube is an adequate option. Due to the flexibility of the device, it will not be difficult to install it and change it in hard-to-reach places in the bathroom, all the more it will be quite easy to replace the siphon.
For the kitchen is best suited bottle type siphon, because various parts of fat and food waste will not fall into the sewage system and contribute to its clogging, but will sink to the bottom of the flask. Moreover, if the device itself becomes clogged, it can be easily and conveniently cleaned. For sinks in the kitchen with two drain holes are perfect types of siphons, additionally equipped with overflows.
It is possible, of course, to use other types of siphons, but only rarely and in conditions of limited space, because odors can occur as they have a rather short hydraulic lock.
Assembly and installation
Assembly and installation of siphon structures for a washbasin, sink or bath usually does not take much time and also does not require special skills. However, you should take into account the various little things, so as not to redo everything a few times, whether it is the installation of a washing machine or dishwasher, as well as other various equipment. When buying a siphon, you need to check whether all elements are present, and also disassemble with the instruction manual.
For washing
The siphon can even be assembled by someone who has never done it.
However, a few nuances should be considered.
- All connections must be leak tight. It is necessary to conduct an impermeability check with the lower plug, usually under pressure from sewage. When you purchase a siphon, it should be well checked for the presence of a marriage, which can violate the integrity of the gasket.
- When buying a assembled siphon, it is necessary to check the presence of all the gaskets in it, to make sure that the device elements are well fixed and tightened.
- Assembling the kitchen siphon must be done manually to control the clamping force, as well as not to break the product.
- When installing all connections of the siphon, especially the bottom plug, the gaskets of the device should be well fixed so that there are no leaks. Here sealant will approach. Screwing elements of the siphon must be done to the end, not pressing hard.
- Having completed the connection of the outlet pipe, due to which the mounting height of the siphon itself is adjusted, it is necessary to fasten the fixing screw, removing the excess sealant.
Before installing the siphon, preliminary work is carried out to start. For example, there is a new metal pipe in the kitchen, so it needs to be connected to a siphon, but before making this connection, it will need to be cleaned of mud deposits and put a rubber gasket. However, if a pipe made of plastic is installed, then first you should withdraw its end to a certain level (not more than half a meter), only then a special adapter should be placed on it.
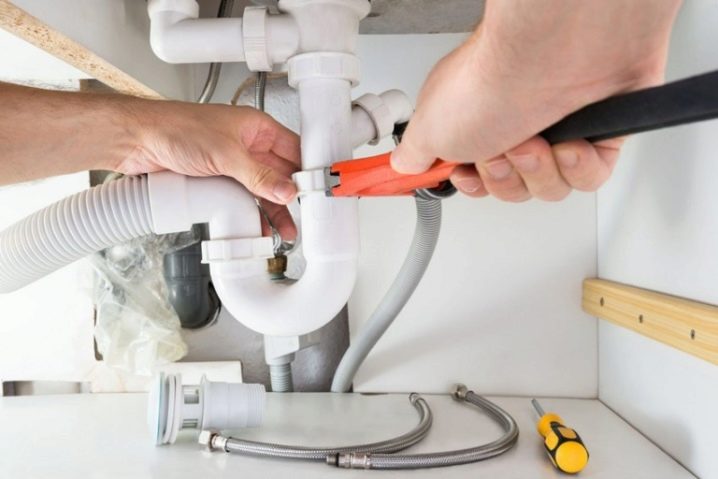
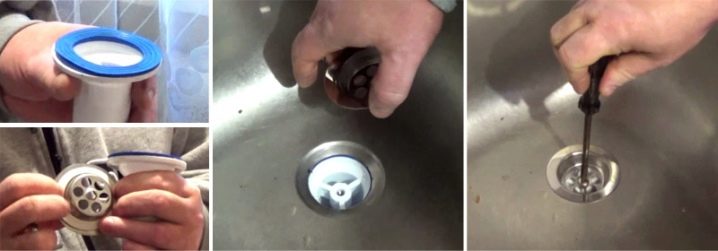
Further, the obsolete siphon is dismounted using a screwdriver to unscrew the mounting screw. It should be carefully cleaned of fat, dirt deposits and rust place for planting a new siphon. After all these manipulations, you can put a siphon on the sink.The main component of the siphon needs to be manually connected to the pipe under the sink. In the siphon manuals, it is immediately recommended to attach a washing machine or dishwasher, but still it is necessary first of all to connect the structure with the sewage system, to carry out an initial test, in which the auxiliary taps are closed with special plugs that are part of the siphon set.
After that, an inspection is carried out, during which there should be no leakage. Only then it is possible to attach additional equipment, the drain hoses of which are fixed with clamps. When installing it is important that the drain hose coming from the siphon is not twisted or bent.
For washbasin
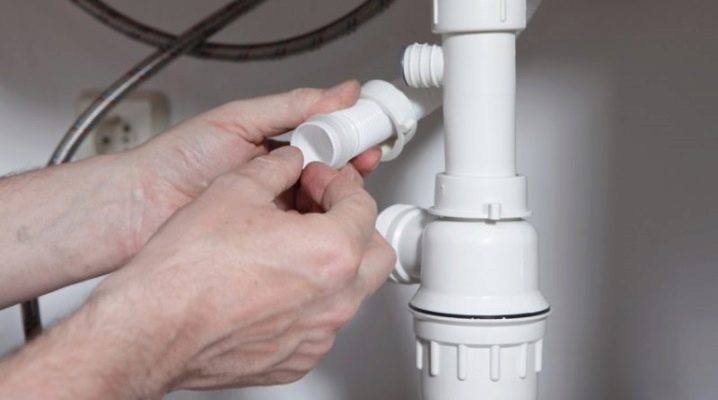
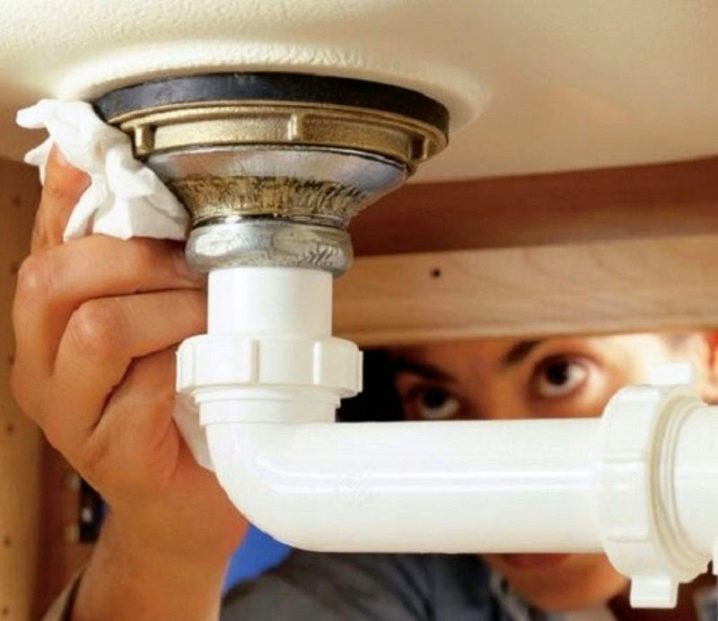
As usual, you need to disassemble the old device. Unscrew the rusty screw in the drain grate or remove the lower section of the obsolete siphon. Then wipe the drain hole.
The assembly can be made as follows:
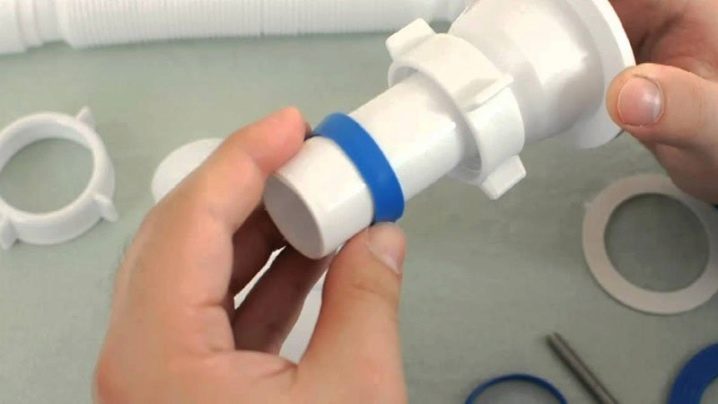
- select the widest opening of the drain device, attach the widest flat gasket to it and the cover-cap on the side;
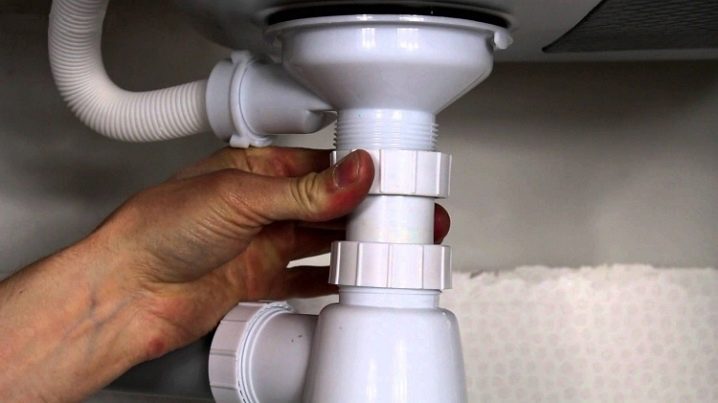
- screw the union nut onto the nipple, tighten the conical gasket with the blunt end of the nipple that fits into the dorsal opening. And tighten the pipe.Some options include combining the nozzle with a sink funnel;
- the gasket and the nut are mounted on a corrugated drain pipe, which is then screwed to the siphon;
- Do not overtighten the siphon elements during assembly so as not to damage them.
Having successfully completed the assembly structure, you can continue its installation.
- Above the washbasin, you must place a metal grid with a ring. Forge a drainage device under the sink hole, carefully holding and straightening it.
- Screw the connecting screw into the net.
- The resulting structure is connected to the sewer system, using a corrugated pipe, which should be stretched to obtain the required length.
- Make a check at which the device must be filled with water, providing a water plug. There will be no leakage if the structure is properly assembled and installed.
For Bath
The siphon for the bathroom is assembled in almost the same way as the previous two. Installing a new siphon on the bath, you need to start with sandpaper to clean all its drain holes for a good connection of gaskets in the future.
After that it is necessary to apply the following action plan when assembling and installing the structure on the bath:
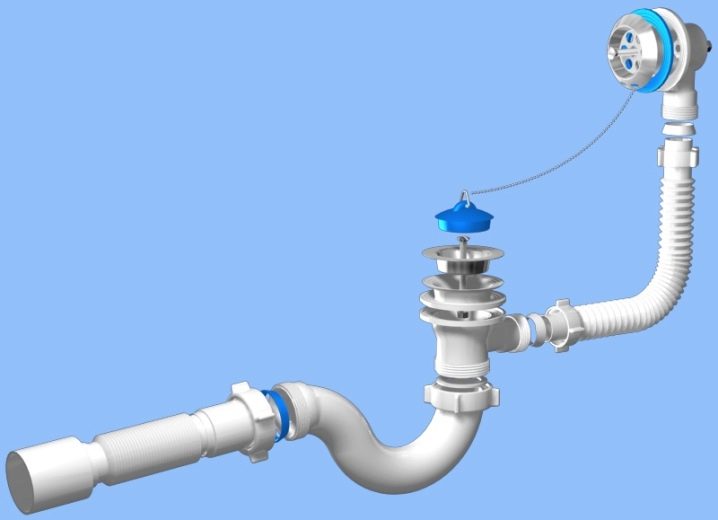
- using one hand, take the lower overflow, on which the gasket is already installed, attach it down to the drain aisle. In this case, the other hand on this passage is applied to the drain bowl, joining with a screw, covered with a layer of chromium. Further, while holding the lower element of the neck, the screw must be tightened to the end;
- in a similar way to assemble the upper passage, during assembly of which the branch pipe used for draining sewer waste must be specially pulled in the direction of the drain element of the structure, so that later it is convenient to connect them;
- the upper and lower aisles should be connected with a corrugated hose, which should be fixed to them with designated gaskets with nuts;
- A drain valve must also be attached to the drainage passage. So that there are no overlays during the installation of the elements, they are checked for the presence of defects, which can interfere with the good fixing of the drain sewer:
- Next comes the connection of the corrugated tube, which connects the siphon to the sewage system, to the water gate.It should be noted that some variants of siphons are directly connected to the sewer pipe, and others - only with the help of a sealing cuff.
Use: Tips
The following tips should apply when using different types of siphons:
- It is not recommended to use daily cleaners. This contributes to damage to the drain pipe;
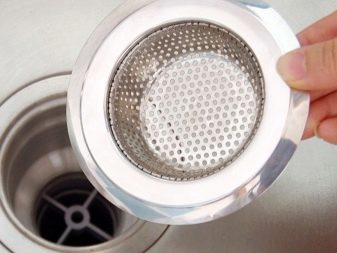
- To avoid the accumulation of mud deposits or the formation of debris in the siphon, it is necessary to use a protective grid in the sink;
- close the valve completely after its use, because constantly dripping water leads to siphon wear;
- requires periodic cleaning of the device from limescale and mud deposits;
- wash the sink and drain it with a jet of hot water, but not boiling water;
- if the siphon has leaked, be sure to replace the gasket;
- Do not immediately turn on the hot water after the cold; it can also damage the siphon.
Detailed instructions for assembling the sink siphon in the video below.
