Bath restoration methods
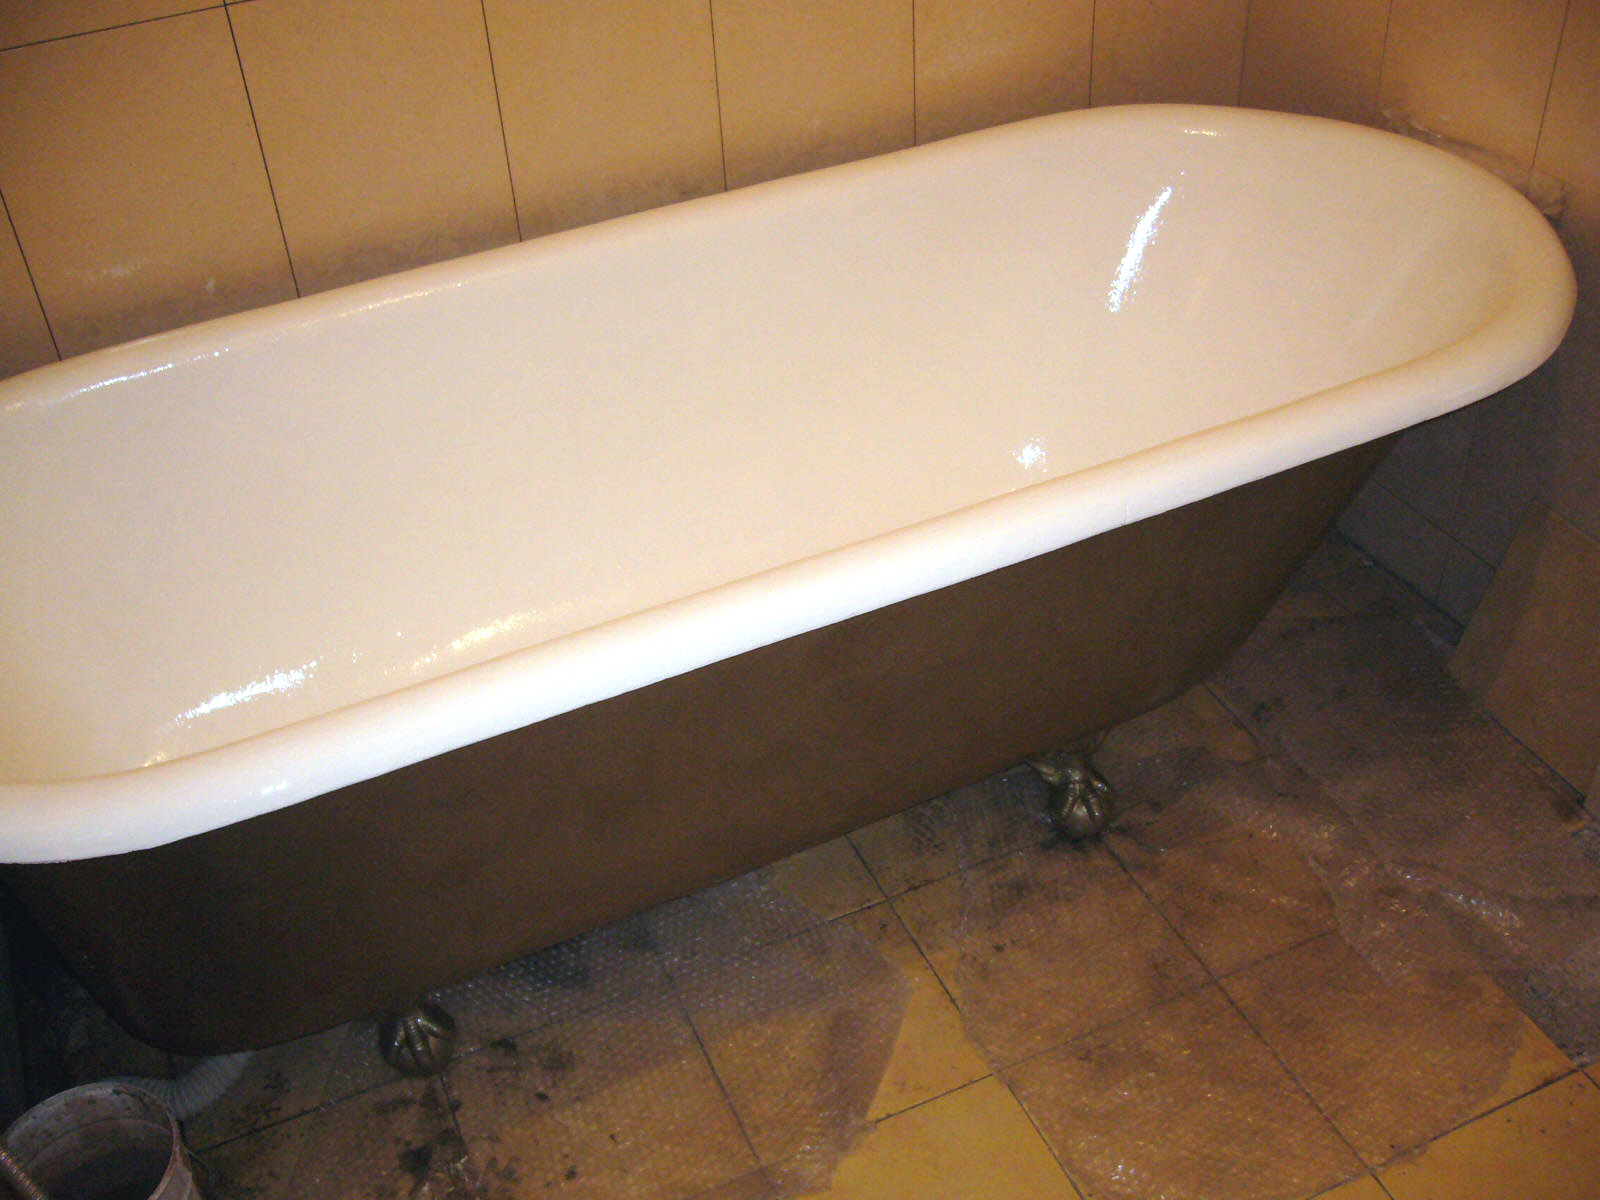
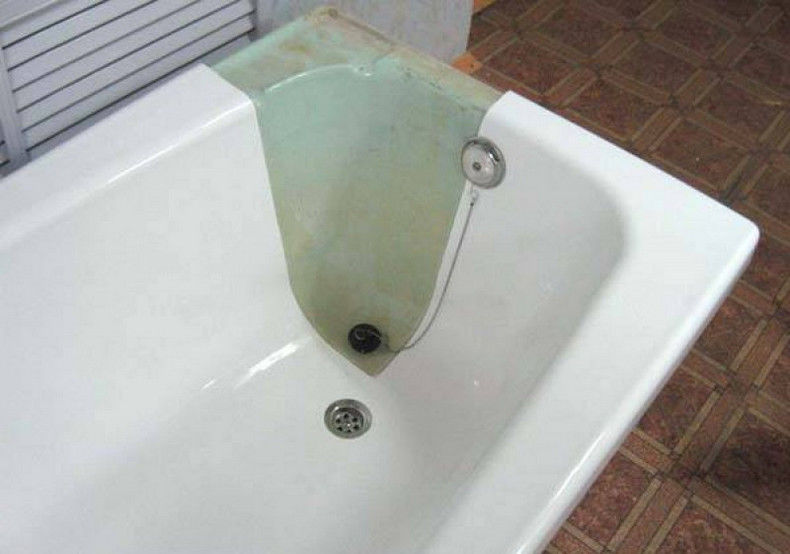
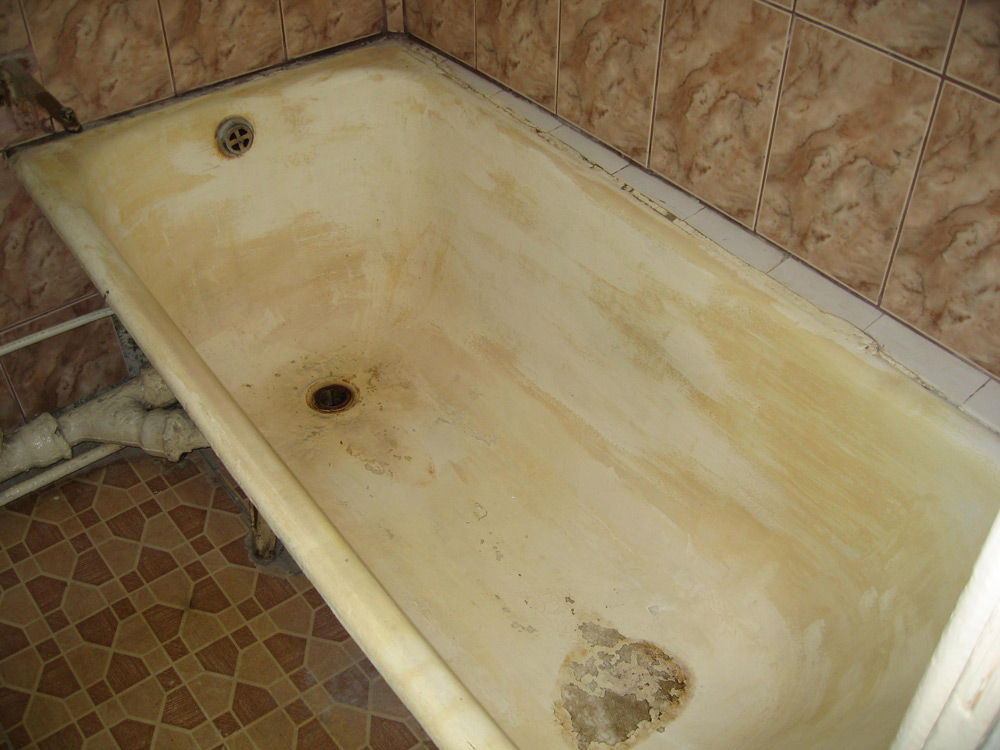
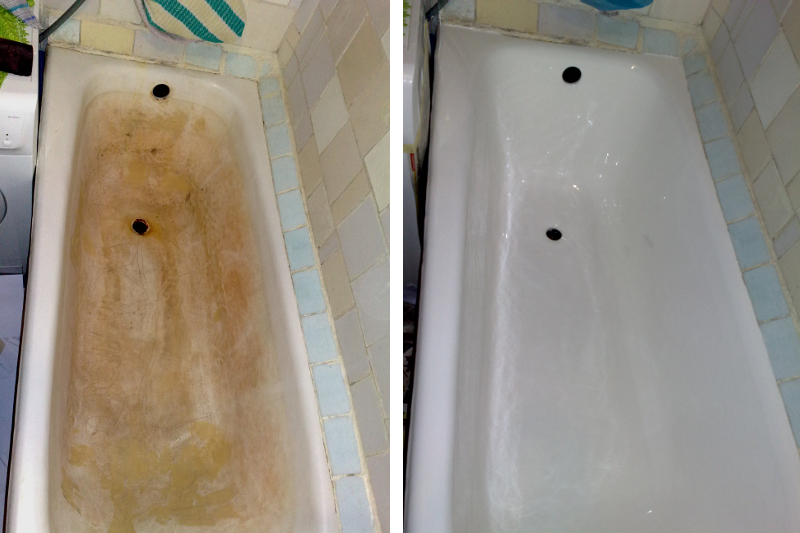
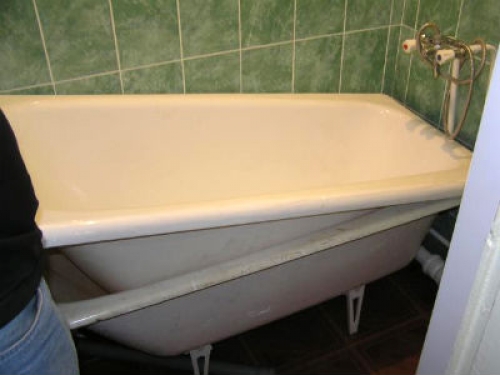
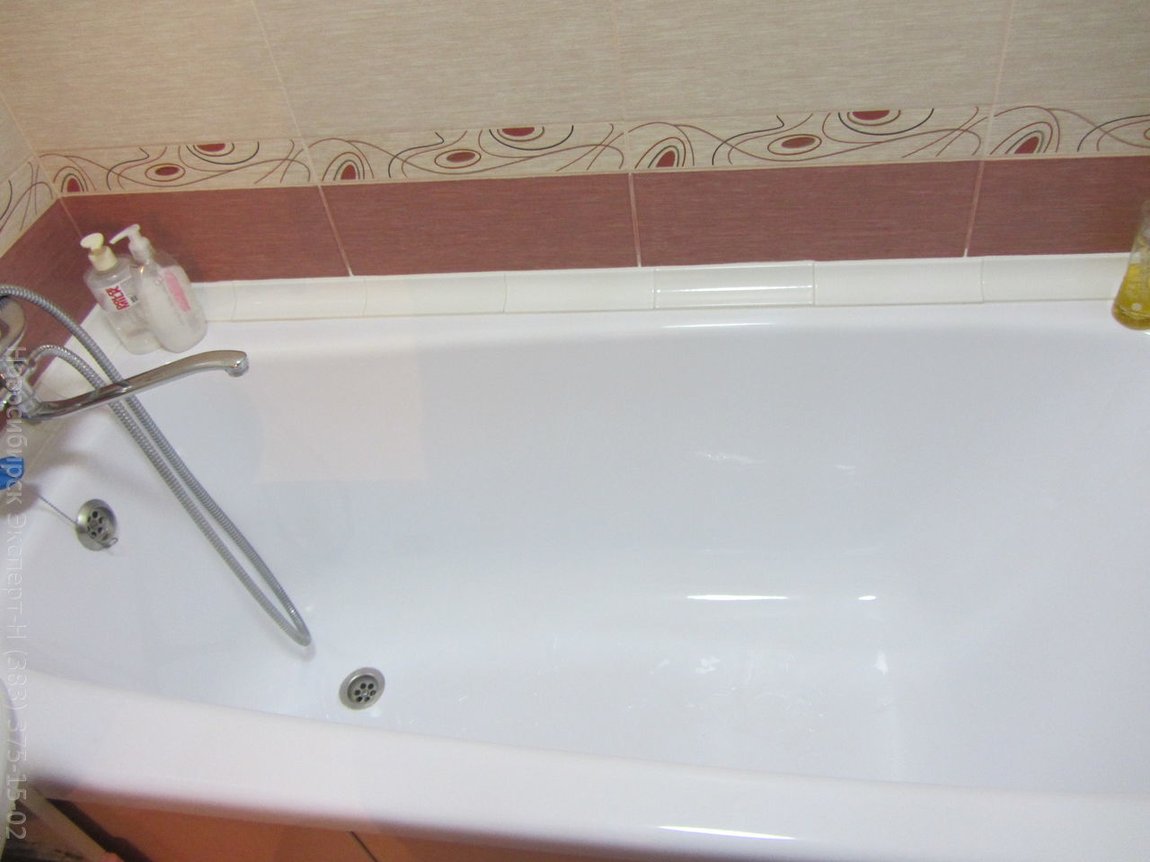
Any bath with its constant use over time becomes useless. Chipped and cracked, yellow spots and even rust. In addition, each use of cleaning agent leads to a thinning of the coating. It is completely impossible to buy every time a new plumbing, therefore it is worth referring to the restoration, which can be done independently without the help of specialists.

Special features
There are different types of restoration of baths, but there are only three major ones. The first is the application of a mixture of enamel and hardener, which is also called two-component enamel. The surface of the bath is covered with a solution as well as with ordinary paint. The second method is pouring acrylic into the bath. You must first sand the surface and degrease it thoroughly. After pouring acrylic, you must wait two days, and only then begin to use the plumbing.Finally, the bath can also be restored by installing an acrylic liner. This “second bath” should be absolutely identical to the first and fixed inside with glue or foam.
It is necessary to choose a specific method based on the state of the bath bowl., from which it is made of materials, as well as financial opportunities. If we talk about independent work, then most often choose painting enamel or bulk acrylic. Independently installing a “bath in a bath” is unprofitable, since the cost of the insert itself is about 80% of this very complicated procedure with a guarantee.
The compositions
To cover the owners for many years, you need to carefully select the composition for the restoration, having previously studied their properties and basic characteristics. In the first case, when the use of enamel consisting of two components is planned, the coating can in principle be applied using a roller, brush or aerosols. But it should be borne in mind that the spray enamel is more used to eliminate minimal defects, and on a large surface creates a non-uniform color. That is why most often selected brush.Usually sold a kit with enamel and hardener, and sometimes the means for pre-cleaning.
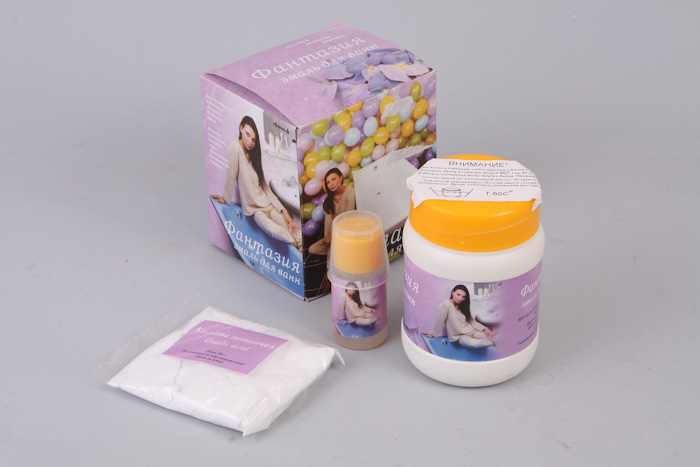
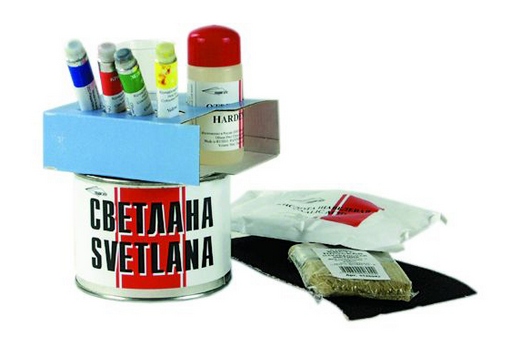
The color of the enamel will depend on the illumination of the room, so it is recommended to choose it in the room where the bathroom is located. In addition, the hardener (dark red, dark yellow and dark brown) can change the final shade of the coating. Thanks to these two details, the best option would be to purchase a set with a set of tinting pastes. The Fantasia and Svetlana kits from the Russian manufacturer Rend House are considered a good option. They differ in the composition of the sets: both have two-component enamel with a hardener and preparations for the preparatory work. However, “Svetlana” also includes tinting pastes that will give enamel any shade.
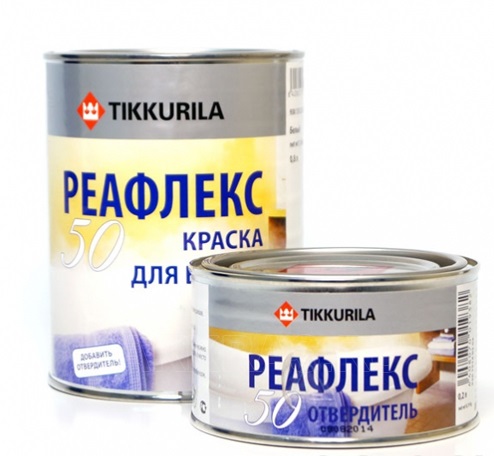
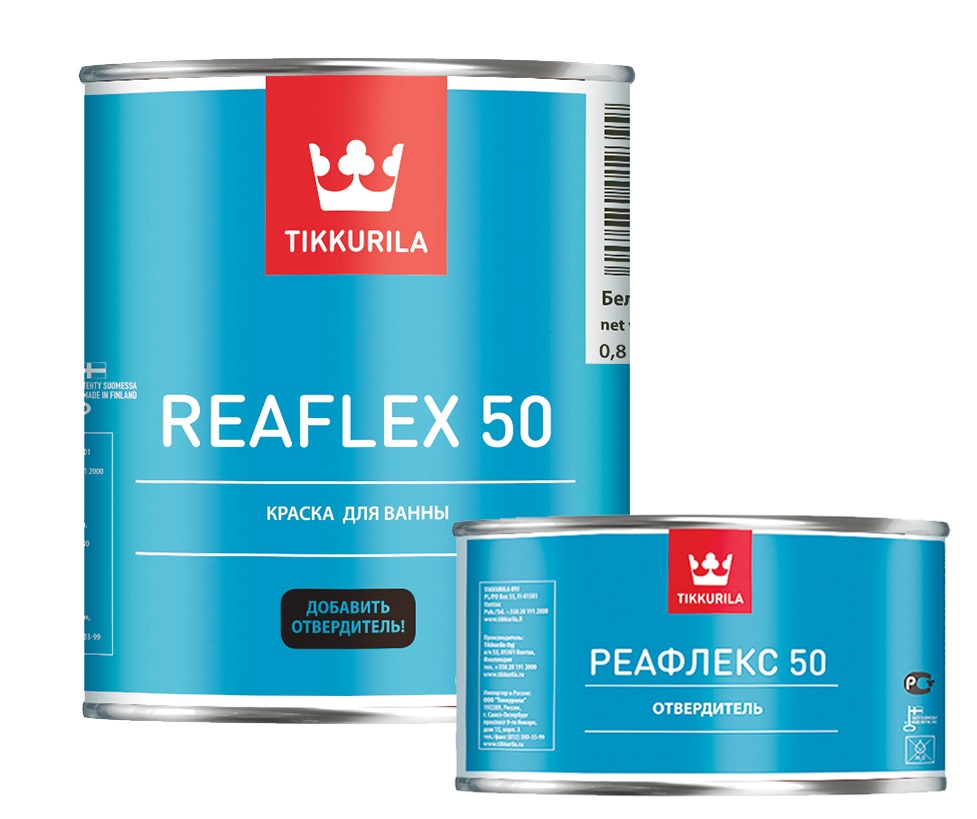
Many recommend choosing a composition that is a joint “brainchild” of Russia and Finland and is called “Reaflex-50” from Tikkurila. It is considered one of the highest quality, albeit expensive, and can even be used for a pool of concrete. Working with this two-component enamel is quite simple, but the bath will dry for a week.The quality of the coating will depend on compliance with the instructions and proportions when mixing the components. Reeflex also has its drawbacks, for example, due to the fact that the solution is quite liquid, you will have to apply 4 layers, otherwise you will not block the original coating. It will take a whole week to work. There are other enamels - silicone, which says "for bathing".
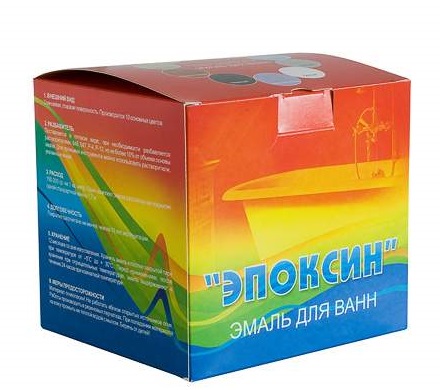
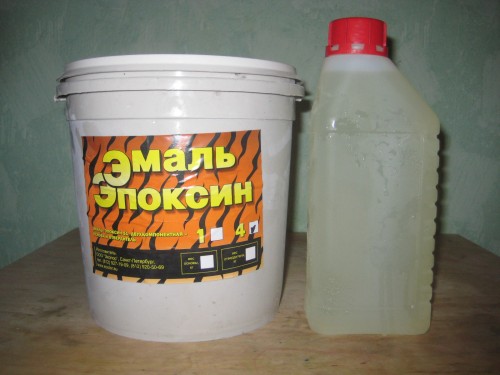
Some choose enamel "Epoxin-51" or "Epoxin-51C"which are produced in Russia based on ingredients made in Germany. Both are thick and bicomponent, applied with a brush. As a second component, a colorless transparent amine-type hardener is used, which protects the finished coating from yellowing. These enamels dry very quickly - enough for two days, and are able to serve up to 9 years without the appearance of yellow spots. Unfortunately, excessive density makes it difficult to progress. "Epoxin-51C" compares favorably with the enamel "Epoxin-51" in that the curing time is twice as short.
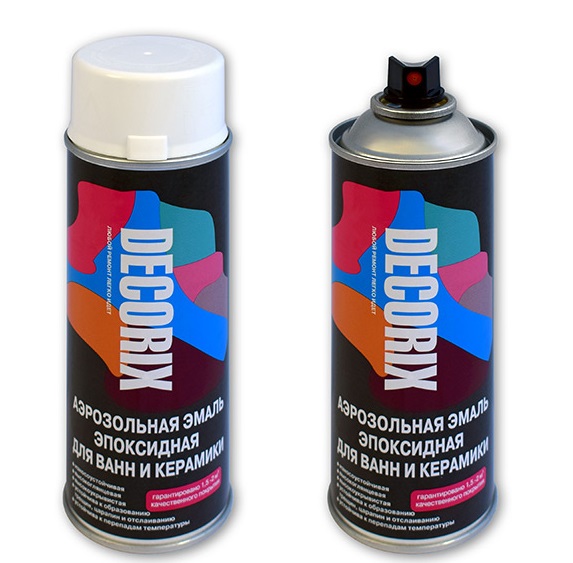
Aerosol enamel KU-130 from Kudo in cans is created on the basis of modified artificial resins and is used for the restoration of not only enamelled, but also ceramic sanitary equipment. Enamel is completely ready for use, before applying the balloon only needs to be shaken.According to the manufacturer, the ambient temperature should be above 10 degrees. The composition is liquid, so it is not able to cope with surface defects. The enamel is applied in 2-3 layers and dries in 24 hours. It is resistant to high temperatures and is sold only in white. One barrel is enough to handle two square meters of surface in one layer.

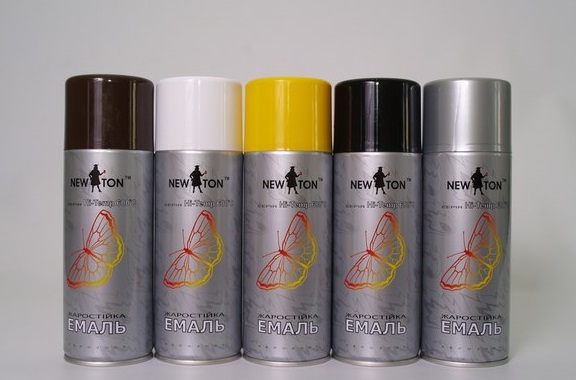
Aerosols are selected in situations where the native enamel bath loses its original whiteness and rust stains or scratches. Spray paint is able to restore the resistance of the coating to hard water, to make it smoother, to return the original shining color. It makes sense to use aerosols also in cases where the enamel of the bath due to the frequent use of aggressive cleaning products becomes too porous and begins to quickly absorb dirt and rust.
If we talk about the second method of restoration, it is important to remember that in no case can you use ordinary acrylic, sold in hardware stores, because it can ruin the bath and cause severe harm to health. That is why the choice is usually made between liquid self-leveling acrylic, often called plastol, and glass.Stakril is cheaper and fits well on the surface, but quickly seizes and therefore causes difficulties for beginners. It is easier to work with plastic and besides, it does not have a nasty smell.
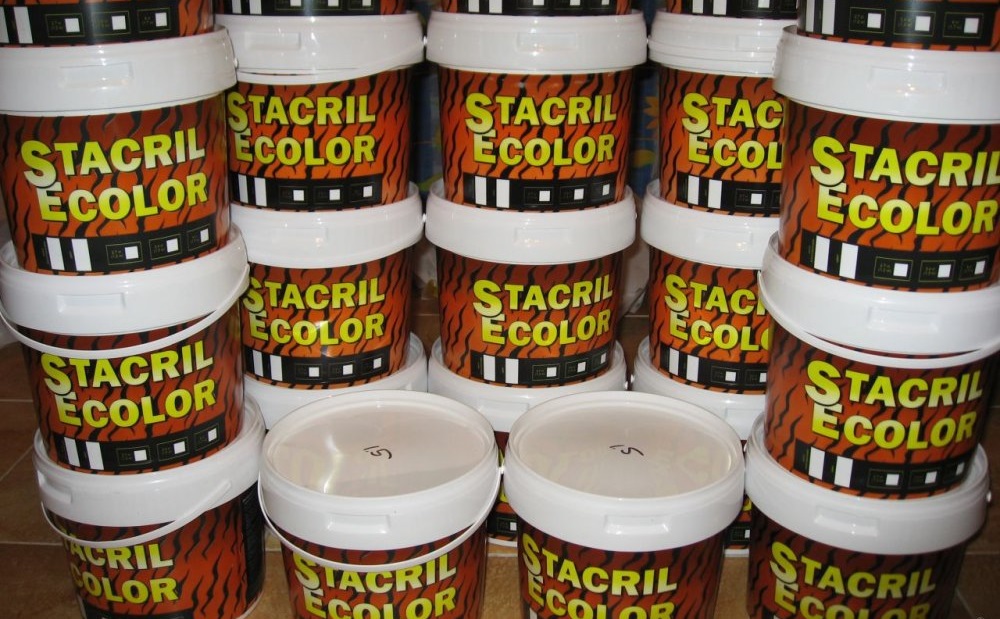
"Stakril Ekolor" is considered the successor of the line of means "Epoxin-51", and therefore the preparatory work before applying it is completely analogous. It's funny that stacking pastes for “Stacklear” are also taken from the “Epoxin” kit. The composition is very sensitive to the moisture and quality of the surface being restored. Even minor base defects must be carefully filled.
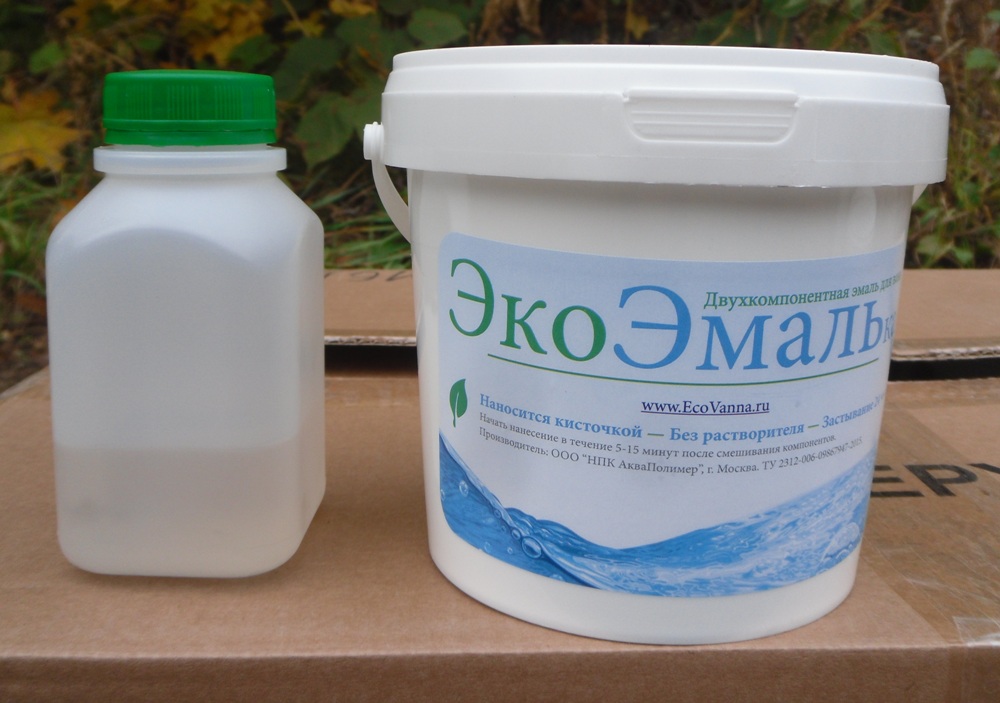
The liquid bulk acryl of the EcoVanna company comes in several varieties: antimicrobial, quick-drying and bactericidal. The coating is environmentally safe, has a faint odor and is completely non-toxic. The service life is expected to be from 5 to 6 years. Despite all the advantages of acrylic, it is worth remembering that even water-based paint on the walls and ceiling of the bathroom is not recommended for use on its basis. Although the composition is completely environmentally friendly for health, it is easy to apply and firmly held, it is better to leave it for other rooms.

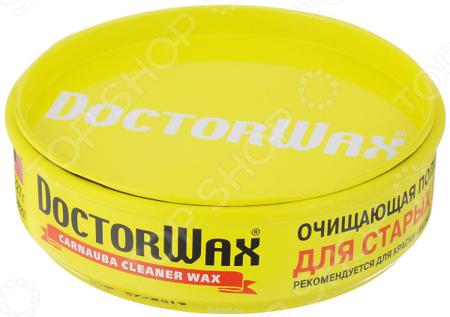
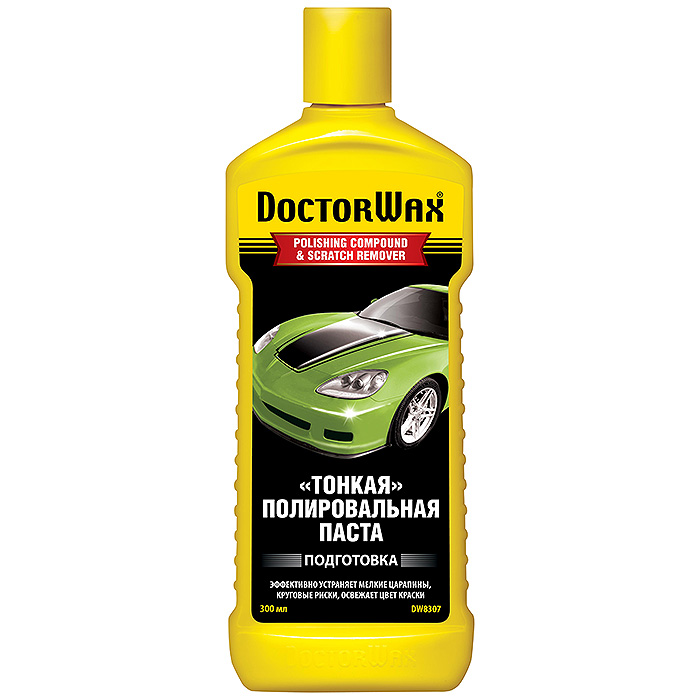
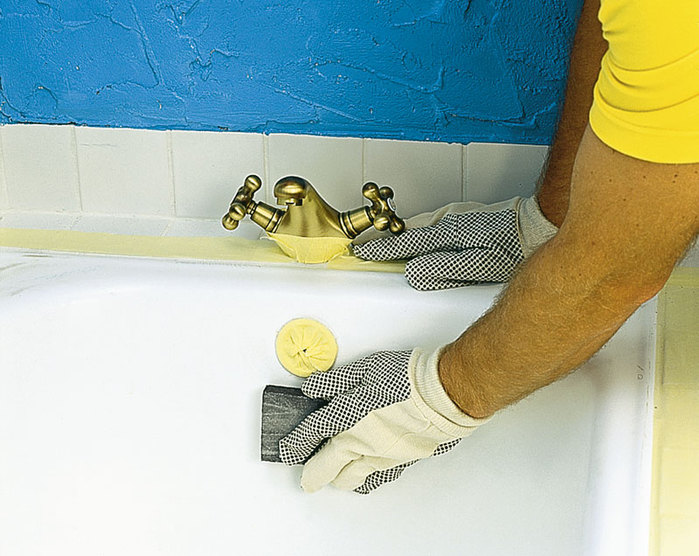
In general, an ultra-soft abrasive automotive polish can be an alternative to a complete bathroom restoration. But its use is possible only in the case of minor defects. Enamel should not have eaten dark spots, deep scratches and cracks. We buy a “thin” polishing paste, for example, DoctorWax, and a stronger, but more delicate, working glass polish. The first will go to the initial stage, and the second - to the finish. Thin polish is rubbed in a circular motion in the enamel with the help of white cloths. Each area of enamel must be polished with maximum intensity.
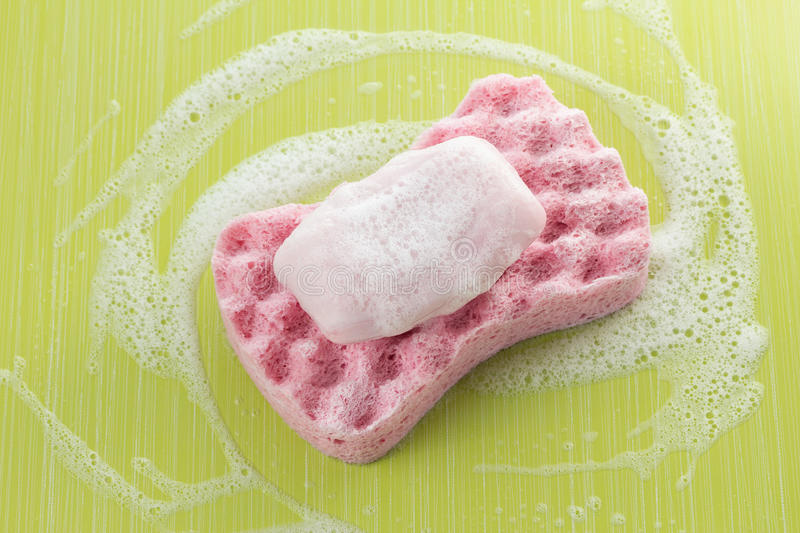
The solution is washed off with liquid soap and a sponge, and the process is repeated until the entire vial is empty. If the work is done qualitatively, then by this time the bath is no longer matte and rough. At the second stage, work is carried out using glass polishes. A thin layer is applied over the entire surface and dries. It is then rubbed off with a rubbing motion.
Recommendations for preparation
All three existing methods of plumbing restoration require the same preliminary work. In general, in order to prepare the bath, it is necessary to remove the layers of the old enamel and to ensure maximum adhesion of the cast-iron or steel surface with the planned coating.To do everything yourself at home, you have to buy some materials, such as sandpaper, scouring powder, masking tape, cloth, and others. If it is only necessary to restore a small chip, scratch or crack inside the bath, then there is no need to carry out the full recovery process. Previously, to solve this problem yourself, it was recommended to mix the glue with tooth powder or epoxy with porcelain dust, and then apply this solution on the defect. Today, such measures are considered ineffective, so problems with chips are solved differently.
To restore the steel area, first a rust converter must be applied to the defect. and, after waiting for the recommended time, rinse with water. Then the chip is cleaned with a powder or dishwashing detergent, washed and wiped dry. At the next stage, the surface is degreased with acetone or another solvent, again dried and heated by a hairdryer. After the car putty, it is necessary to cover up the chip, wait for it to dry and sand it with sandpaper. At the final stage, the damaged place is covered with acrylic or automotive enamel.Well suited putty company Novol, universal or fiberglass. It has a gray color, so it is invisible from under the cover. It hardens in 10–15 minutes, after which it can be cleaned with sandpaper so that a smooth surface is obtained.
Stripping old enamel
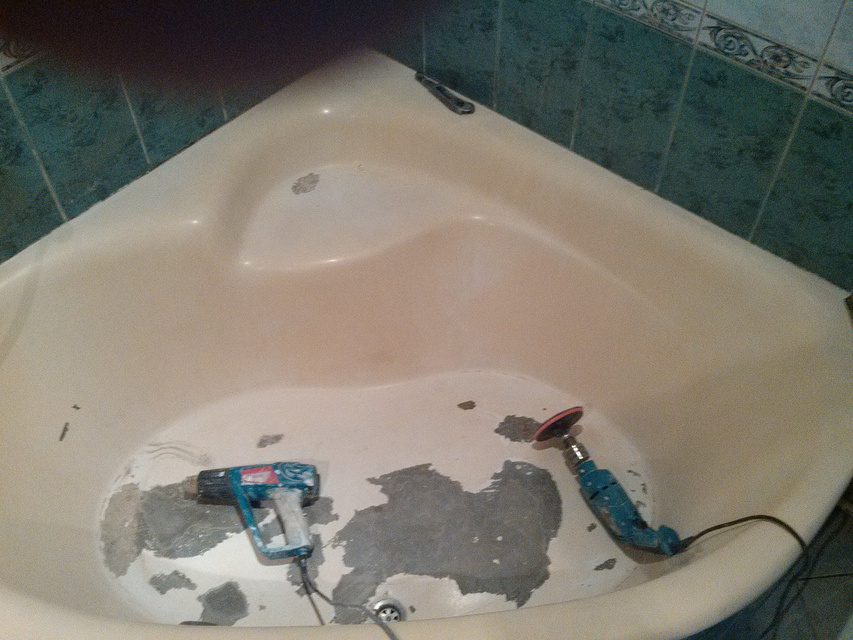
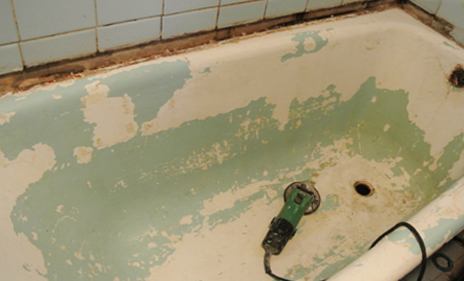
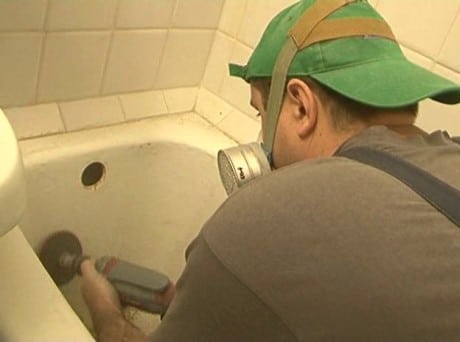
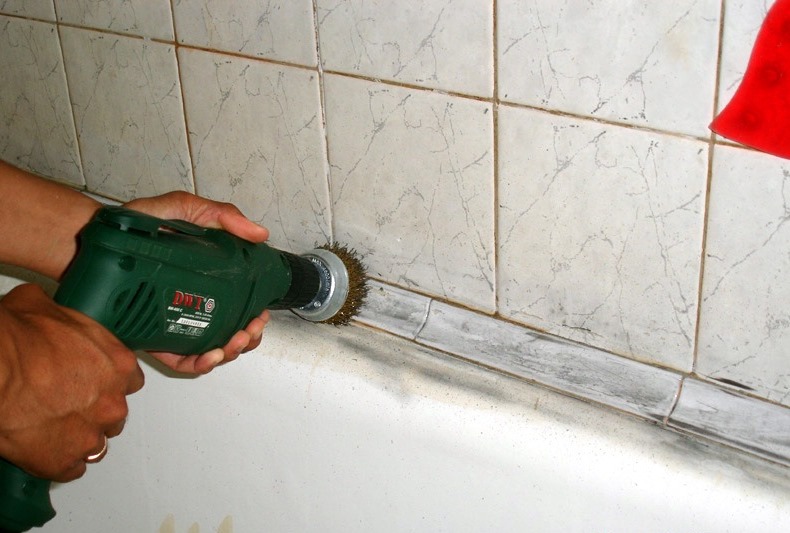
The entire surface of the bath must be cleaned using a brush and abrasive agent, that is, powder. Then coarse sandpaper is taken and cleaning of plumbing is carried out until the risks from abrasive appear, that is, metal does not appear. It should be noted that when grinding there is no need to wash off the cleaning agent. And you can also use the angle grinder, which has a special nozzle. This will speed up and simplify all the work. Sometimes old enamel is removed by sandblasting or hydrochloric acid diluted with water. The next step is to wash off the remnants of crumbs and remove the lather.
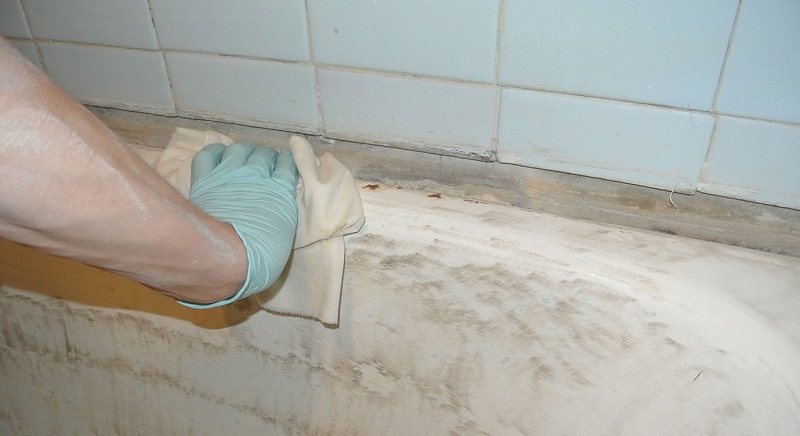
The bath is soaked with oxalic acid, then the acid is neutralized with soda. Hot water is drawn to the sides, after which you have to wait 10 minutes. After the water is released through the drain, and the bath is wiped dry.To plumbing to dry faster, it is recommended to use a building hairdryer. In preparation for further polishing, you must carefully check the product for the presence of chips, cracks and other defects. If it is decided to polish the deformed bath, it will lose its attractive appearance.
Surface degreasing
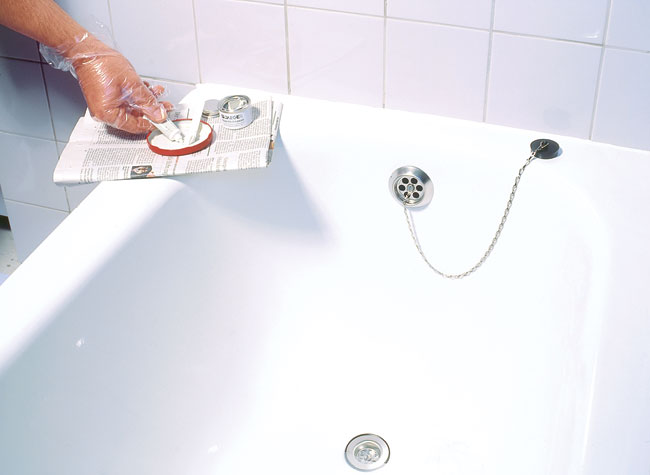
In the next step, a car putty is applied to the bath, which, having dried out, is polished with sandpaper. Paper should be fine. The remains of dust are cleaned with a vacuum cleaner or a soft brush, and the surface is degreased with a solvent. Next you need to wipe it with napkins or a soft, lint-free cloth. At the next stage, you will have to dismantle the shower hose yourself. Spout and taps should be wrapped with polyethylene or something similar, so that water droplets do not spoil the work. And also it is necessary to remove the drainage grate, and replace the siphon under the bath with dishes (for example, a basin), so that acrylic or enamel drops fall into it.
Preparing the solution for restoration
To make the right means for the restoration, you just need to follow the instructions. Usually it contains all the proportions and sequences of actions.It is necessary to mix the composition well and, if necessary, divide it into several parts.
Final bath preparation
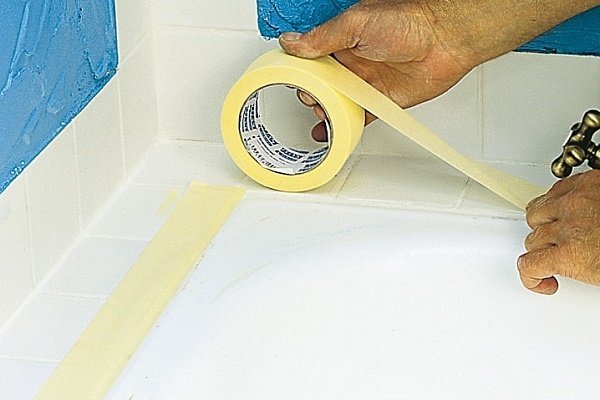
After all the above-mentioned procedures, it is necessary to seal with masking tape and cover with old newspapers and polyethylene everything that is near the bath to be restored: a washing machine, shelves, sink or cabinet. Do not forget about the floor, and put the bags on the mixer and shower.
Stages of restoration
Restoring with the help of enamel or liquid acrylic, it is possible to process not only the oldest bath, but also a metal shower tray, a washbasin and a kitchen sink - items from other rooms. And it is also possible to put in order a separate section, and not the entire surface. In general, it is recommended to apply various restoration methods for different purposes. All work, including preparation, will take at least 3-4 hours, and a maximum - a day. The first stage of the bath restoration is always the preparation and removal of old layers. The following steps differ depending on the method chosen.
Enamel
Those who decide to paint the bathroom enamel, it is worth remembering that this method is short-lived, but cheap.Enamel can be used to restore cast iron and iron baths. Unfortunately, most often the updated plumbing will serve another 1-2 years, and then it will have to be restored again. In general, the bath, restored with the help of enameling, is able to live without repair work from one to five years, depending on the quality of the work done. The solution has a very pungent chemical odor, which is harmful to health, therefore, all work should be carried out after protecting the mouth and nose with a respirator, and hands with gloves. It is very important to carry out all activities exclusively in a well-ventilated room.
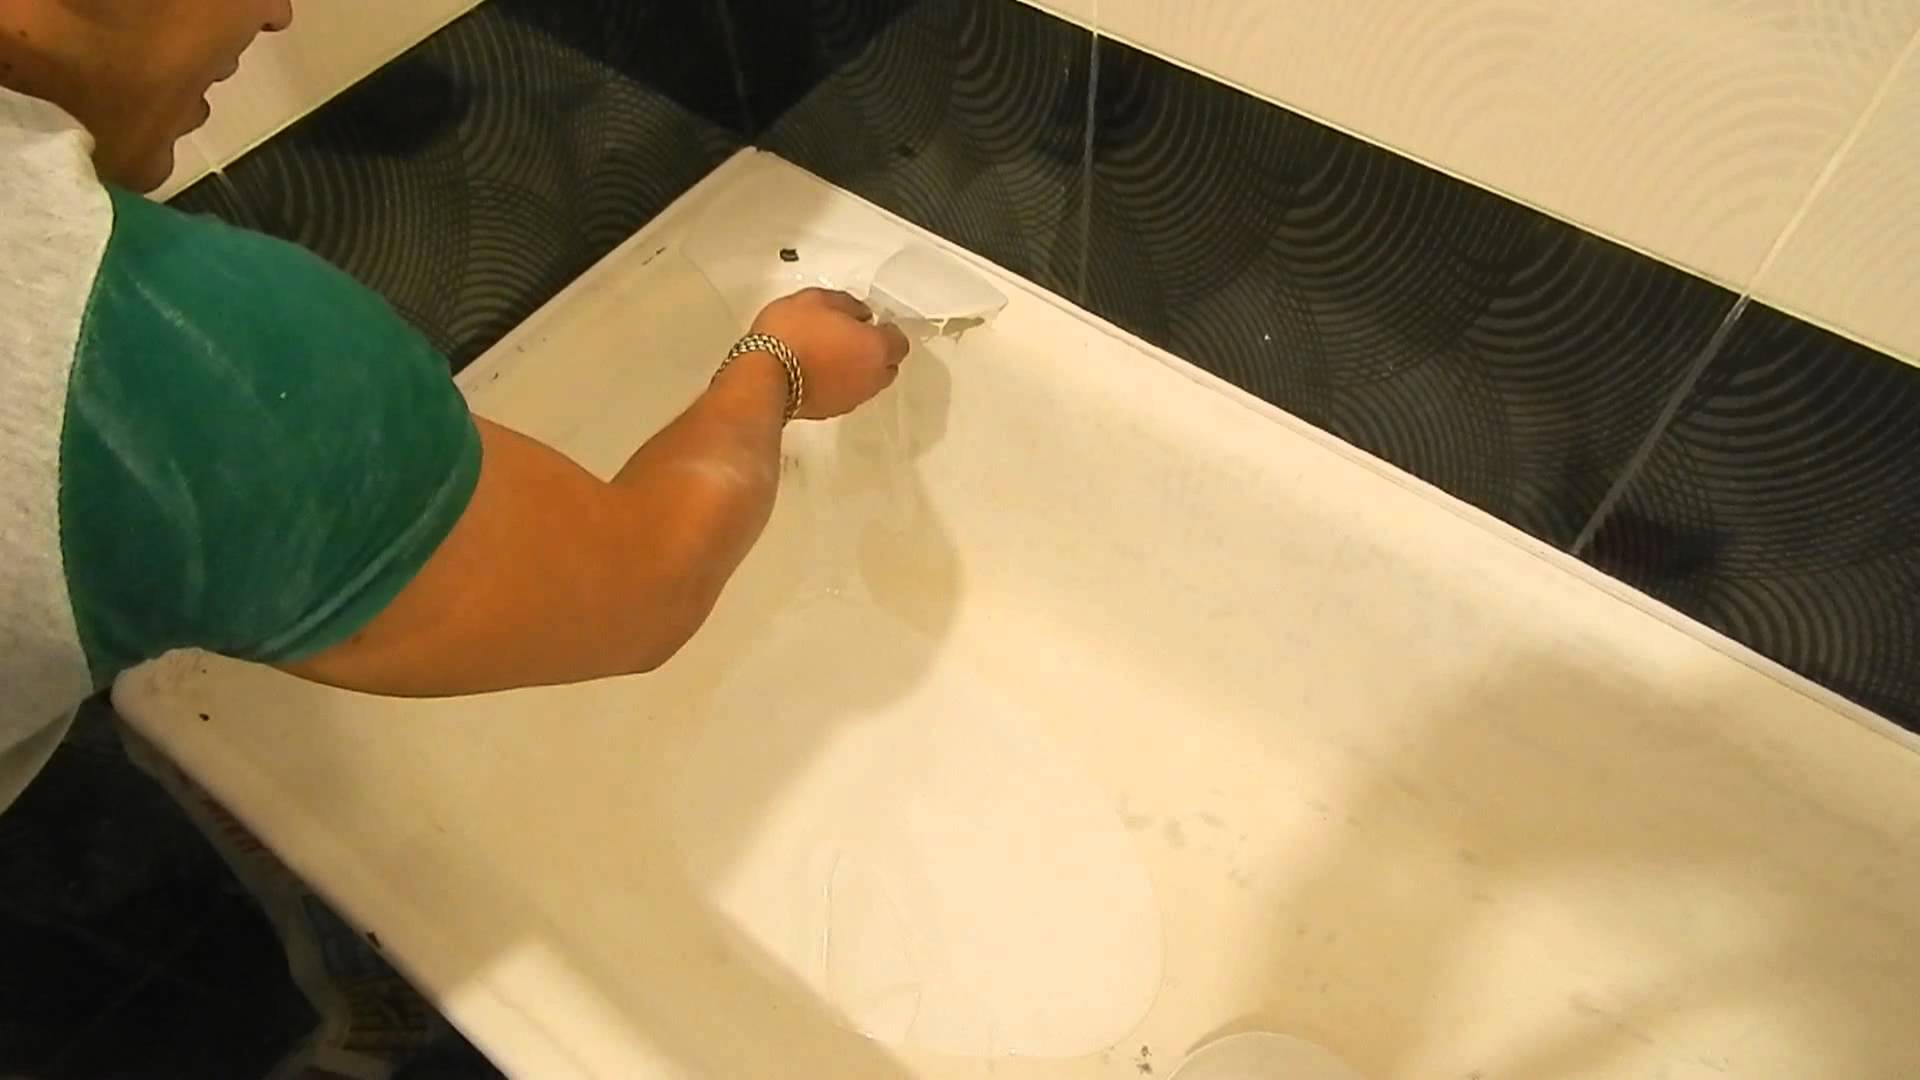
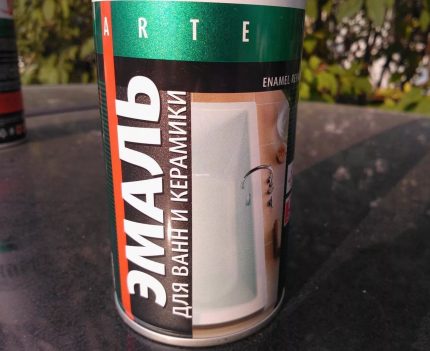
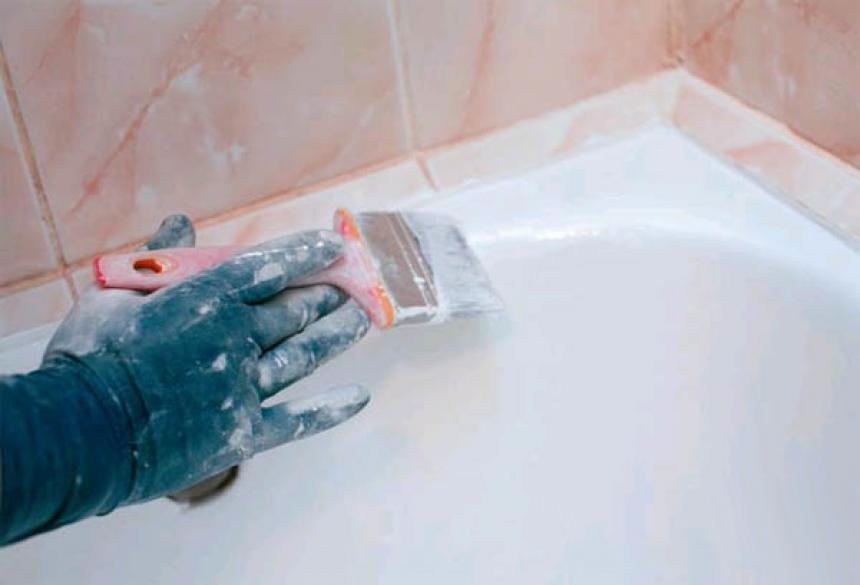
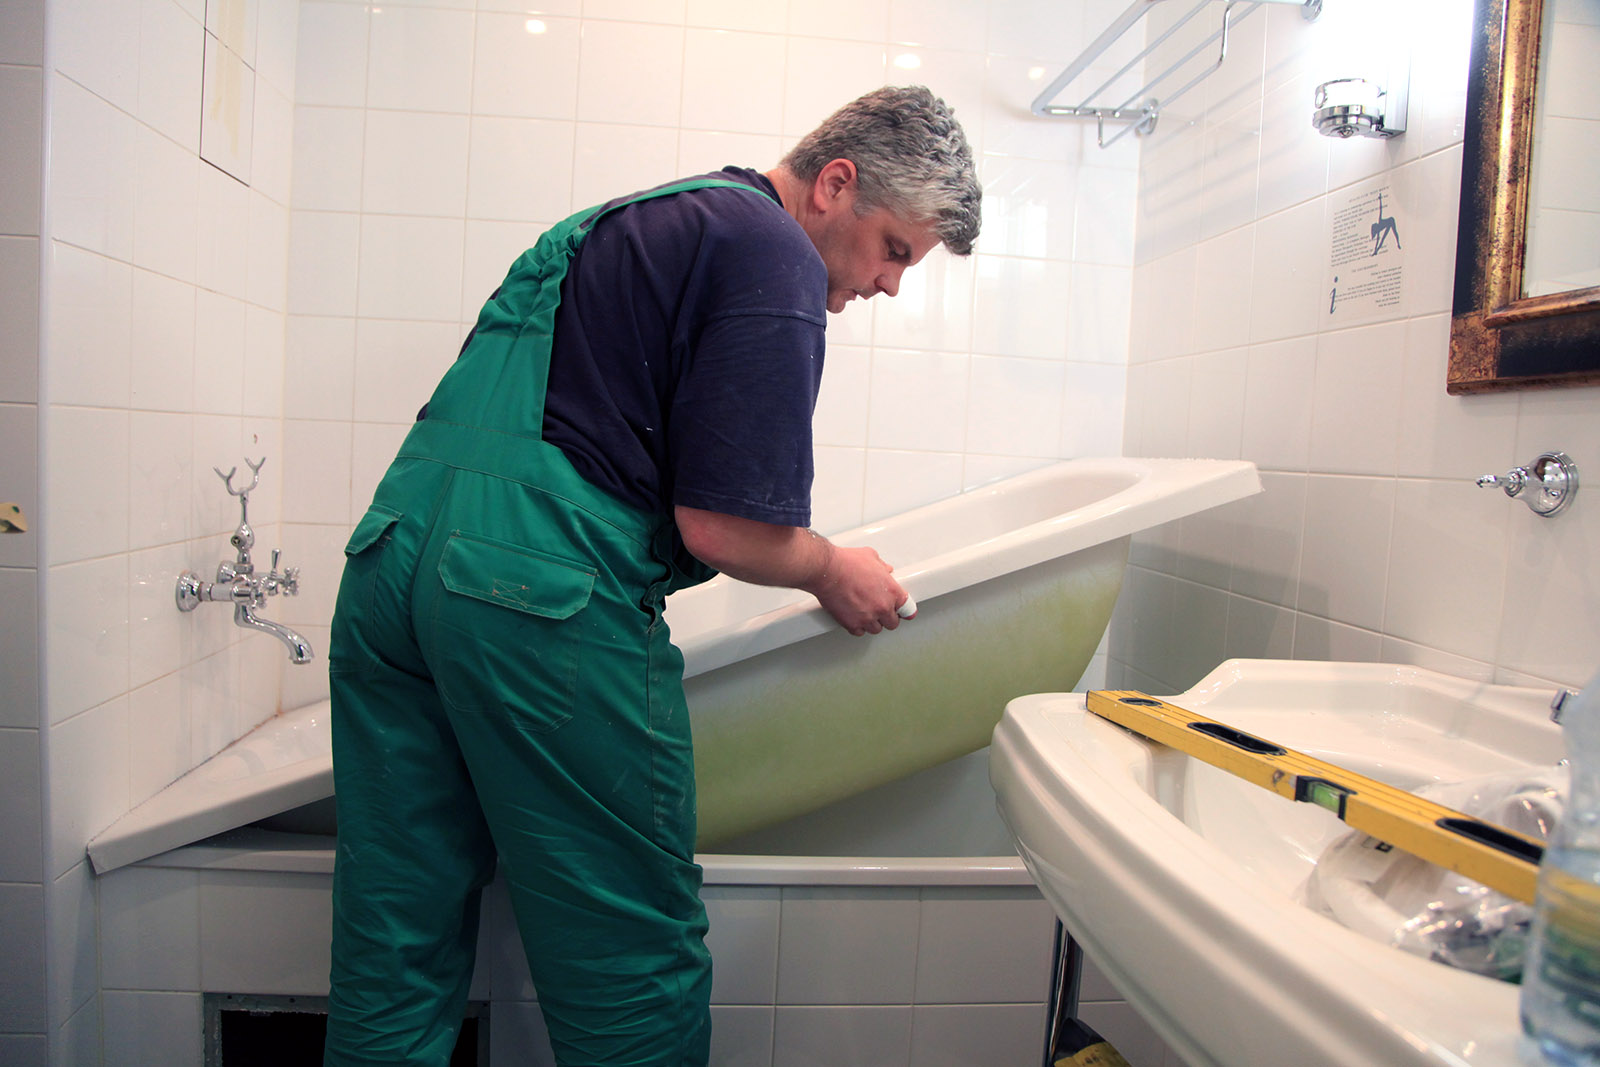
It is extremely important to use enamel suitable for bathing - only this variety is safe for humans. The rest, in contact with hot water, begin to emit toxic enzymes. The cost of enameling ranges from 2.5 thousand rubles with the cheapest paints to 3.9 thousand rubles with high-quality foreign analogues. Enamel and hardener are poured into convenient dishes and mixed until homogeneous with a mixer. The resulting solution is applied with a wide brush, the painting is carried out first with horizontal and then vertical strokes.The layer should be thin, but even and without drops, it is recommended to smear the composition so that it fills all the pores. It is more logical to start from the edges of the bowl, and then move to its bottom.
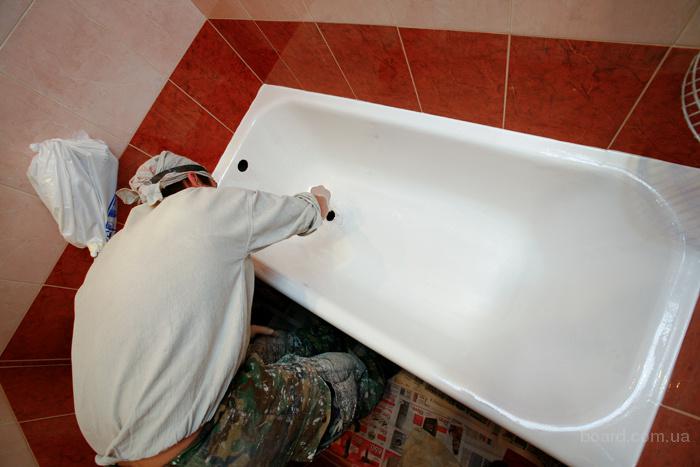
After painting for the first time and a pause of 10–15 minutes, without waiting for it to dry (otherwise the enamel will be covered with dust), the application of the second layer begins. The smudges are neatly “stretched” by the same brush. Then you must leave the bowl for 15 minutes and paint the bottom of the plumbing one more time. It is convenient to apply the finishing layer with a roller or with the help of a compressor, which will help to evenly distribute the composition on the walls.
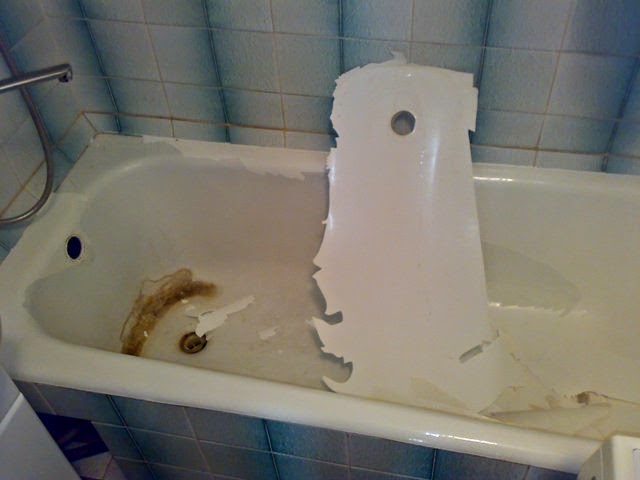
Drying of the bath is carried out for five days, but even a week is better. During this period, you can not turn on the water and to allow the ingress of dust and dirt on the treated surface, and the temperature should be maintained at 23 degrees. It is worth remembering that this method of plumbing restoration is inappropriate for baths with a large number of minor defects (chips, cracks, scratches), as they can be seen even after enameling. In general, the owners of enamel baths need to be very careful: the cracks spread rapidly, the enamel exfoliates, water accumulates under it, a nasty smell and even mold appear.
Bulk acrylic
Restoration with liquid acrylic is much more convenient than when choosing painting with enamel. They can put in order both cast-iron and iron baths. The mixture does not have a sharp odor, is convenient to apply and has much better strength characteristics than paint. Filling acrylic spreads itself and forms a monolithic film on the surface of the bath, masking all defects and repelling dust and dirt. In this case, the solution dries just the time required for comfortable work, and does not leave streaks, bubbles or smudges. The cost of restoration in bulk acrylic will be from 3,500 to 4,100 rubles.
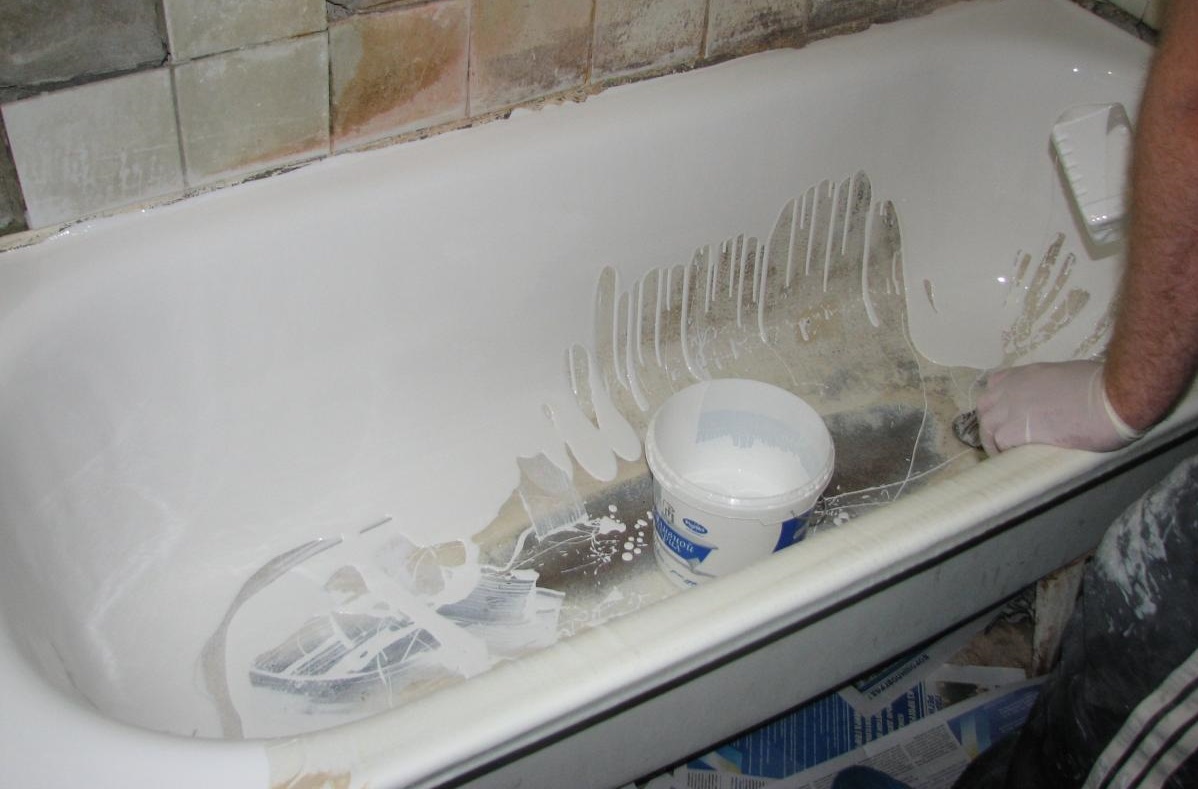
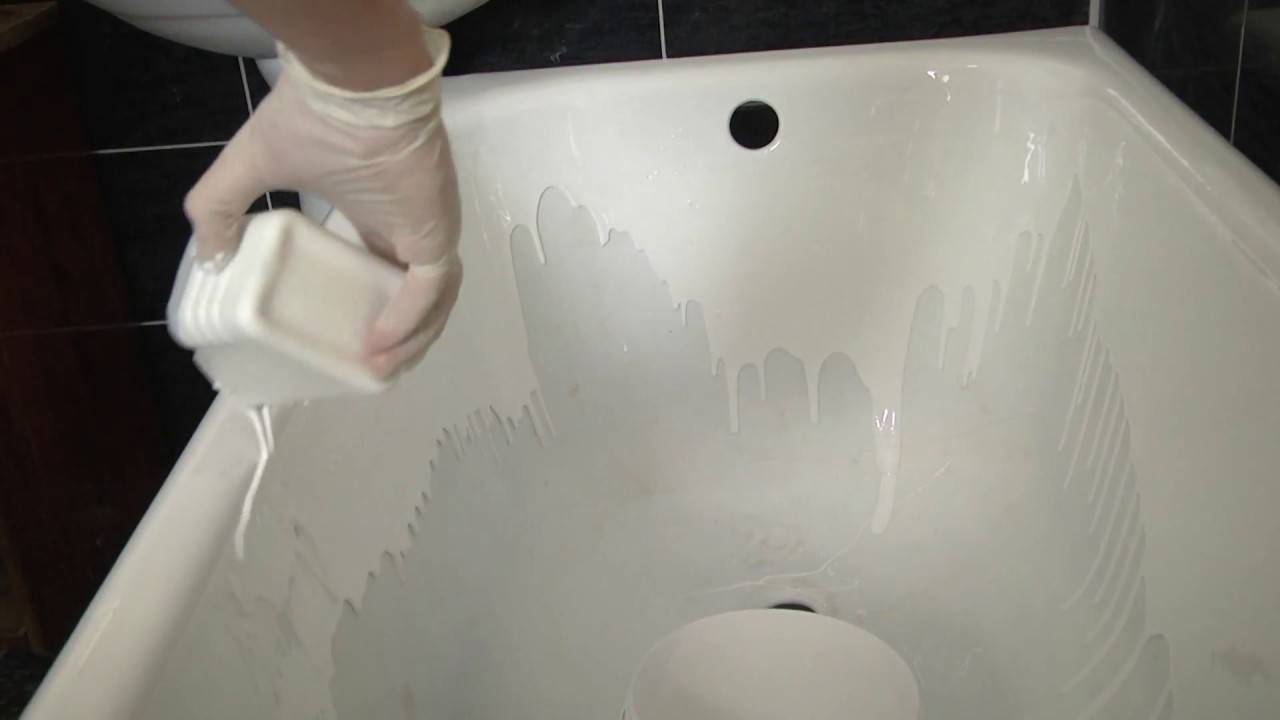
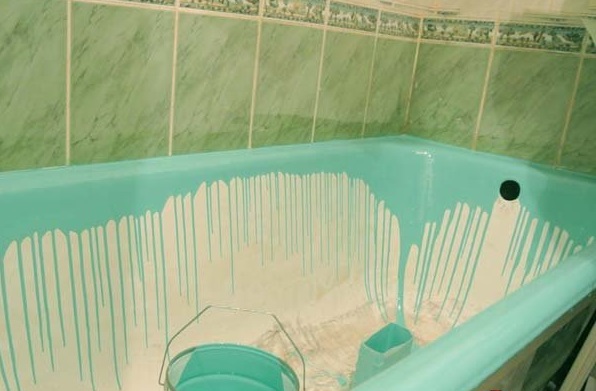
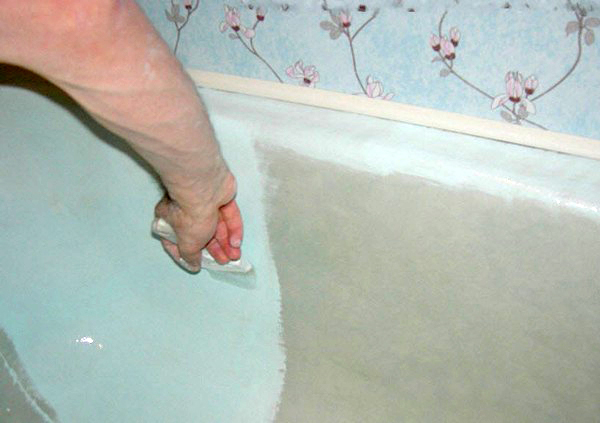
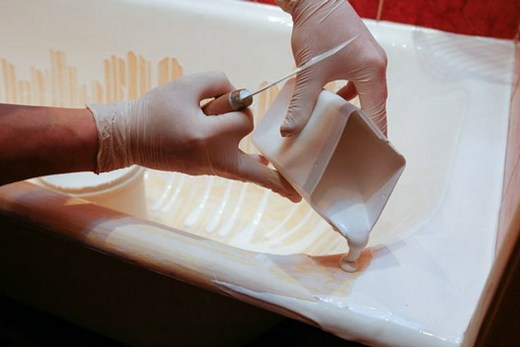
First of all, acrylic is mixed with a mixer at low speed or with a wooden stick in a convenient dish., then shimmers into a small glass and pours out onto the top edge of the bath. With a rubber trowel, it is pushed under the edges of the tile. As soon as the solution reaches the middle of the wall, it is necessary to begin to move the glass around the perimeter, periodically topping up the mixture of common dishes. The layer should be about 4–6 millimeters thick, so the solution should not be poured too hard or fast. Then the process is repeated, but you need to pour from the middle of the walls, and not from the top edge. If bubbles form, then a plastic spatula or brush is used to eliminate them.

To save the mixture is not necessary, since the surplus will still go to the drain. It takes about one and a half to two days to harden. As soon as the surface hardens, you can remove all the protective coatings, return the siphon to the place and start using the sanitary ware. When it is necessary to repair a material of a certain color, you can mix acrylic with tinting paste, if manufacturers allow it. However, its amount can not exceed 3% of the total.
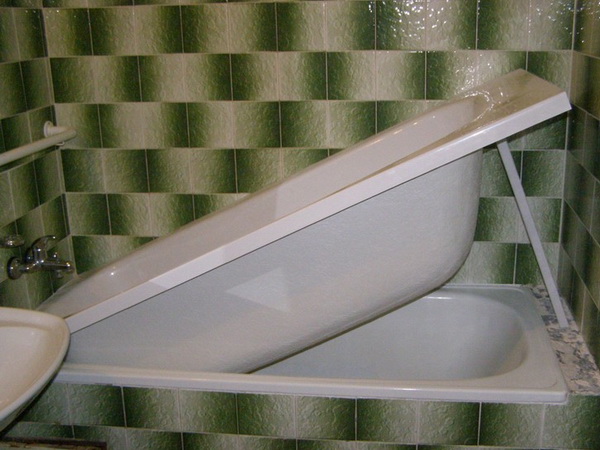
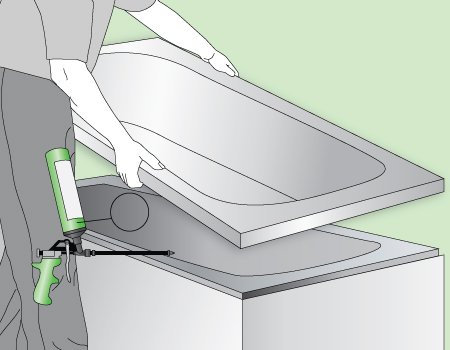
Using acrylic liner
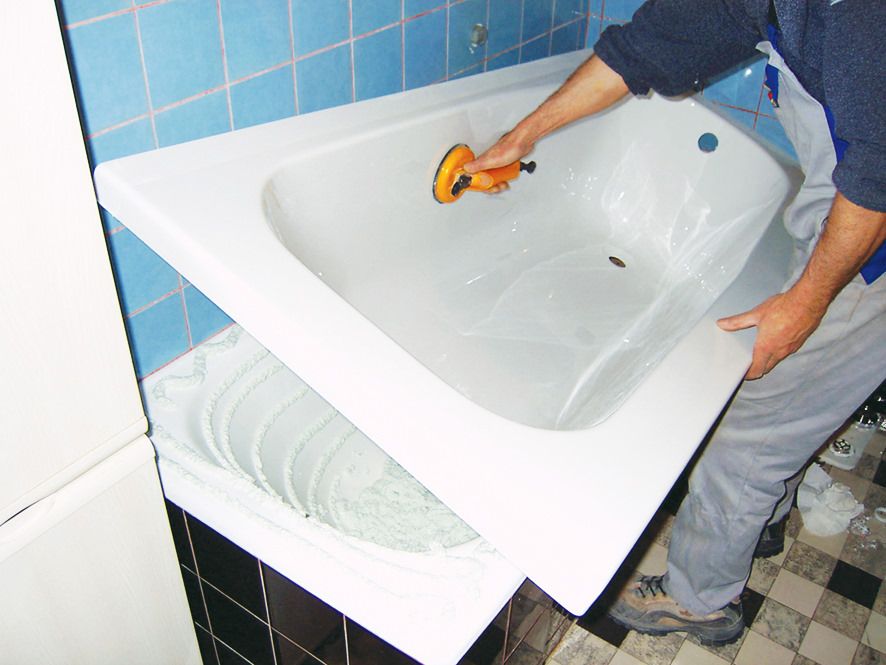
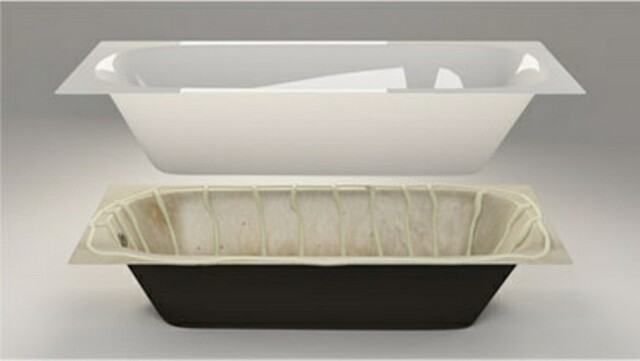
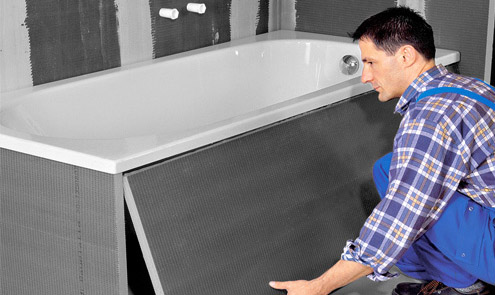
The installation of an acrylic liner or “bath in a bath” is suitable for those who wish to do all the work quickly and without the forced lack of hygienic procedures. Such coverage can be installed in just three hours with your own hands and start using the plumbing the very next day. It should be clarified that the acrylic liner not only has high strength, but also reduces the thermal conductivity of the bath, which allows it to be warm for a sufficient time. It is important not only to choose the right “second bath”, but also to distribute the adhesive composition - a two-component mounting foam and silicone sealant. The cost of mounting an acrylic liner from third-party companies will be from 4,000 to 4,700.rubles without additional work.
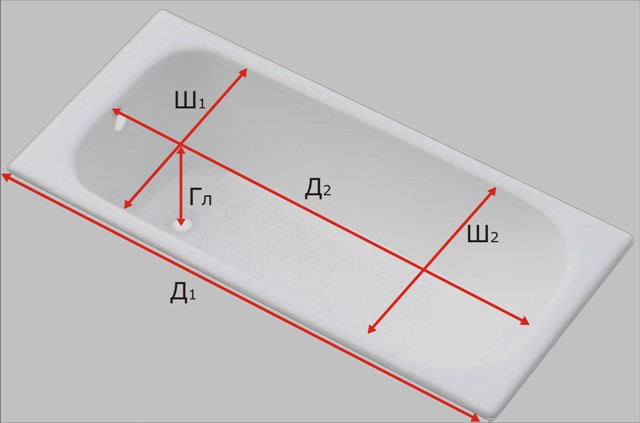
The liner is a construction made of acrylic, plastic or silicone, copying the shape of the bowl. After completing the preliminary measurements of the bath, you can buy it in the store, and then stick it yourself at home. Today, the acrylic liner is the most popular, as it looks much better than silicone and plastic, and will function for up to 30 years. Unfortunately, it is strictly forbidden to install it in bending iron baths and light iron baths.
The only problem with an acrylic liner is its installation, which is considered very difficult. It must be placed so that it covers the edges of the bath, but if the design is already mounted close to the wall, you will have to break the tile and remove the side. Also, if improper installation between the liner and the bottom can collect water, which will lead to dampness, mildew and odor. Inserts are made for standard tubs 1.5 meters long and 1.7 meters, so it will be very difficult for owners of unusual designs to choose an alternative to themselves.
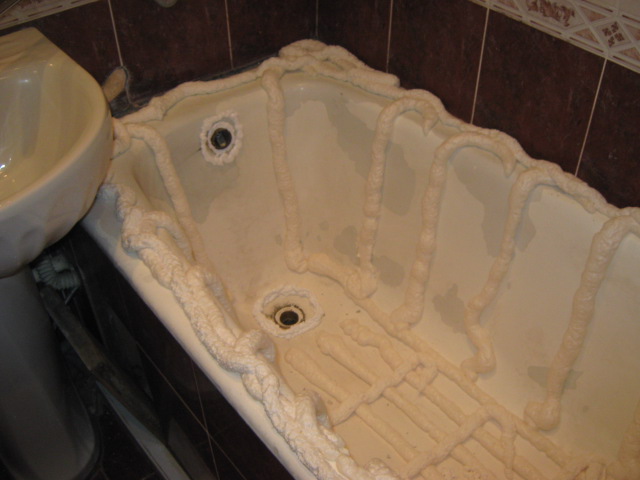
Prior to the above process of preparing the bath, it will be necessary to dismantle the strapping elements. Then, having prepared the product, it is worth paying attention to the liner - cut the technological edge and, inserting it into the bath, mark up the technological holes, draw the drain and overflow circles. On a marking holes are drilled and it is possible to put sealant with foam. The sealant is distributed around the drain and overflow holes, and the foam - in stripes on the bottom, sides and walls. At the bottom - 4–5 pieces along and with a step of 5–7 cm transverse bands. On the side surfaces with approach to the side - three strips in the corners, and on the sidewalls they make a cage with a step of 5–7 cm. Two strips are placed on the side. We can not ignore the recommendation to introduce a special composition into the foam, which does not allow it to swell.
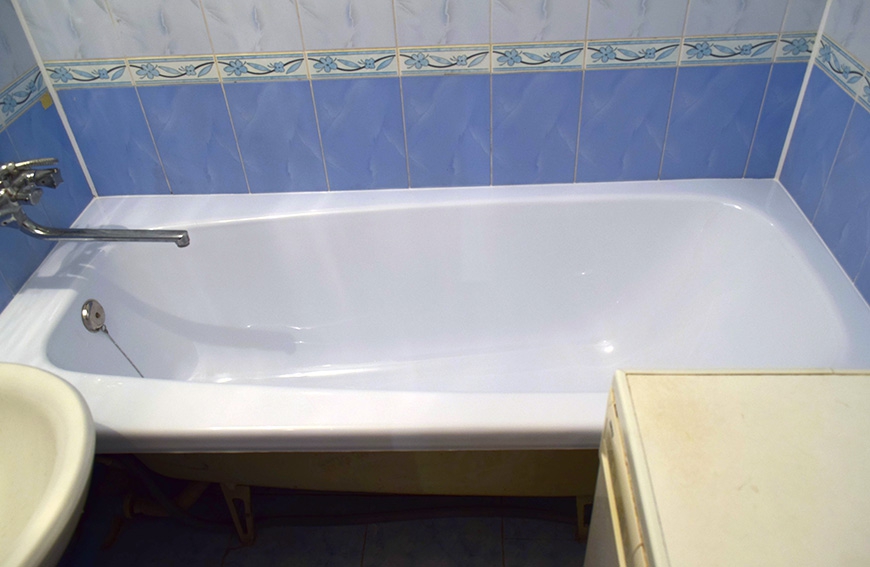
The insert is quickly inserted into the bath, pressed and leveled - it should take no more than 5 minutes for everything, otherwise the composition will harden ahead of time and will not “grab” the material. The sides are pressed down with your hands, then you should stand with your bare feet on the place where the drain is located and go to the opposite edge - this way the liner will be in the right place. After it is recommended to repeat the pressure with your hands again. Excess foam and sealant are removed and the siphon can be mounted back.And also an important step is to fill the bath with water for a day so that the foam during the solidification could not force out the liner. The water level should be 1-2 centimeters below the drain hole. The next day it can be drained.
Terms of care for the new coating
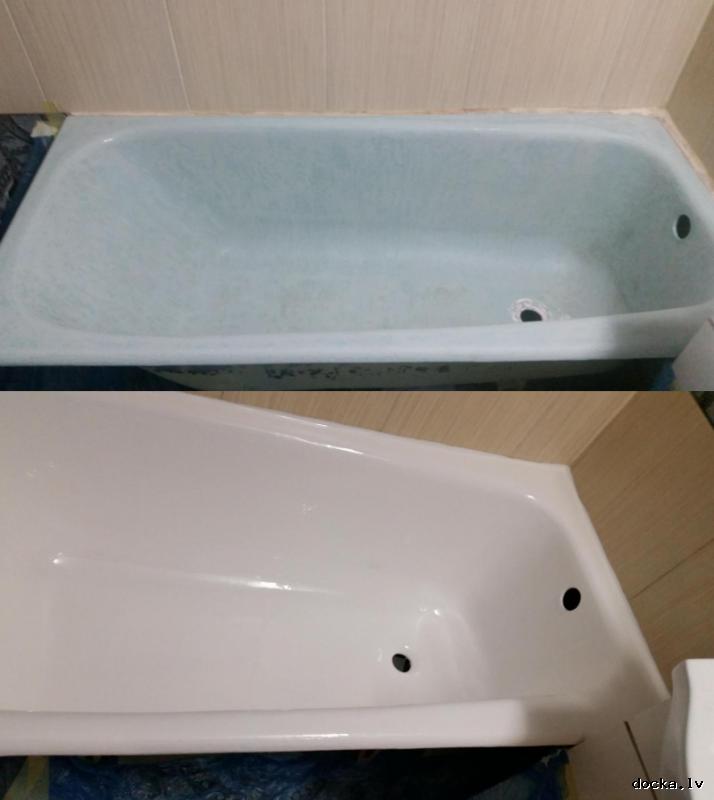
It is important to remember that even if the bath bowl is properly restored, it will no longer have the original performance characteristics. In addition, you will need a softer care and, possibly, a change of washing chemicals. If the bath was enameled or the coating was restored by liquid acrylic, then after some time you will notice that the original color will begin to shine through the coating. There is a possibility that it will significantly change the shade of plumbing. A new coating will be more susceptible to damage, for example, from falling objects or dyes. The cigarette will also begin to leave ugly stains on the surface. However, judging by the reviews, if you carry out all the work qualitatively with good materials, the bath will seamlessly serve a couple of years.
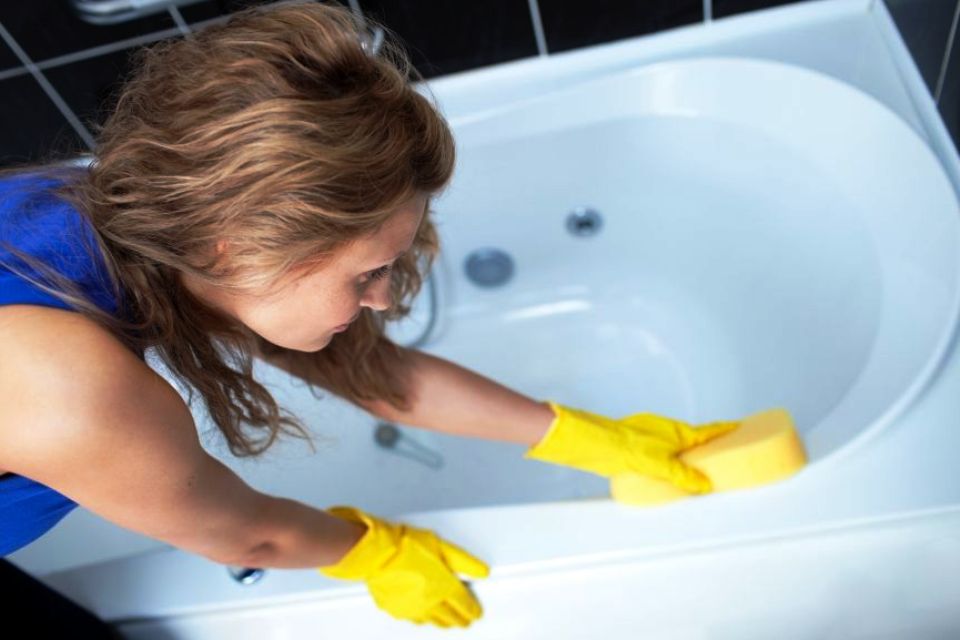
If we talk about the baths, "saved" with the help of enameling, the care should be very neat, as the enamel with a thickness of 0.5 millimeter is extremely sensitive to mechanical stress, aggressive chemistry, and even the state of tap water. It is forbidden to wash plumbing with harsh, scratching solutions and powders. Strong detergents should be used no more than 1 time per month, for the rest of the time, preference is given to gentle gels and liquids, detergent, soda and soap diluted in water. Apply the product is only soft rags and foam sponges. It is important to avoid dropping heavy items such as shampoo, deodorant or shower heads into the bath. When deciding to take a bath with multi-colored salts or a “bomb”, it is worth being aware that the enamel can be painted. The remaining recommendations for plumbing with enamel restoration are consistent with tips for acrylic coatings.
In the case of plumbing, reconstructed with liquid acrylic or acrylic liner, the following tips are given.
- for washing the surface, liquid products such as Domestos, Sanoks and Comet are used, or washing powders that do not contain particles that scratch the surface and easily dissolve;
- detergent should remain on the surface for no more than 5 minutes;
- it is not recommended to wash the bath with strong chemicals and abrasive particles not intended for this, and it is also strictly forbidden to drain chemical reagents, photoreactive substances and other hazardous solutions into it;
- the gel should be applied with soft sponges, and hard sponges and metal brushes should be discarded forever;
- it is worth making a general cleaning once in the period from 3 to 5 days, but you have to rinse it after each shower;
- if such a nuisance occurs that the hair dye will be in the renewed bath and leave a stain, then it is recommended to thicken it with fluoride toothpaste and leave it for 10-15 minutes;
- in the first seven days after the restoration procedure, it is prohibited to sharply change the temperature of the water and fill the bowl with either ice-cold liquid or boiling water;
- It is not recommended to bathe furry pets without special bedding, because claws always leave scratches on the surface;
- damage will eventually change color due to scale and rust, and it will be almost impossible to destroy;
- you should also be careful when moving the washing machine and other dimensional objects, which, leaning against the bath, can damage it;
- if metal pots or buckets are placed in the bath, the bottom must first be secured with a rag or a rug;
- There is also the durable use of a suction pad, which for comfort is placed on the bottom of the bowl, and the constant “undermining” of water. It is necessary to avoid staining or boiling things in the bath.

Special rust remover should be used to remove rust., and during the formation of limescale - vinegar or citric acid. The bath is filled to the brim with warm water, to which 1–2 cups of vinegar or 100 grams of citric acid is added, after which the solution is left for 3–4 hours. After completing the procedure, you need to drain the water, rinse the bowl and wipe it dry. In order to maintain the acrylic gloss for a long time, the bath should always be rubbed with a soft cloth after use.
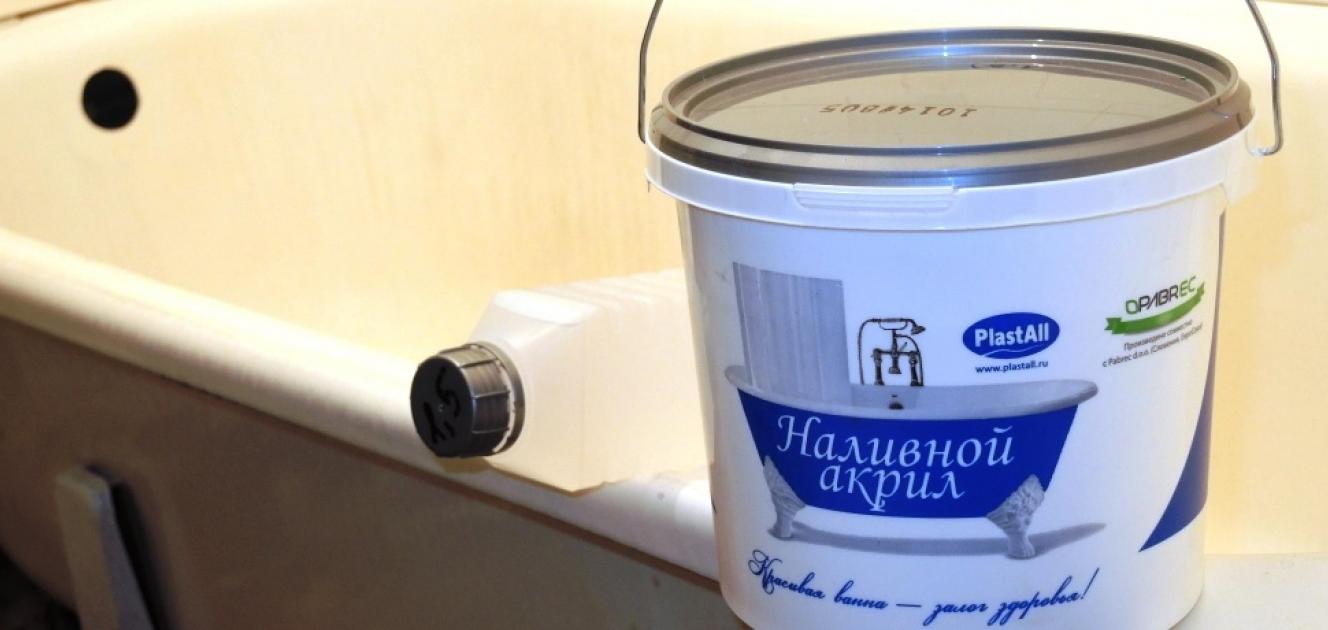
Restoration bath "Bulk PlastAll acrylic", see the following video.


