How to cut the hinges in the interior door?
Each man, the owner of his own apartment or house can benefit from such skills as the installation of interior doors. In this case, it is necessary to competently carry out the installation of the hinges during the installation of the doors - the further functioning of the entire interior design will depend on this.
Variety of loops
When choosing the type of interior door for your home, not everyone begins to think about the details, which also play a serious role in the installation. Therefore, in addition to the design of the door leaf and the reliability of the purchased box, such a small thing as hinges should be paid special attention. By the way, an ordinary door leaf, to which suitable canopies were not specifically chosen, is considered an ordinary simple blank, that is, there is little use from it.After mounting the hinges, the door will turn into a functional, full-fledged design.
There are five types of door canopies used today more often than usual. Therefore, it is necessary to understand the existing forms before installing the interior designs. The specific design of the door can be determined by the installation of hinges.
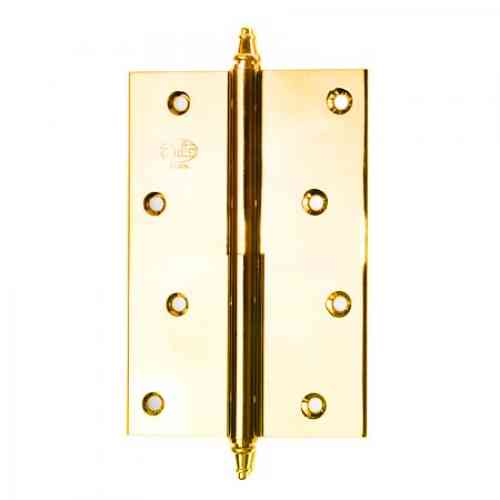
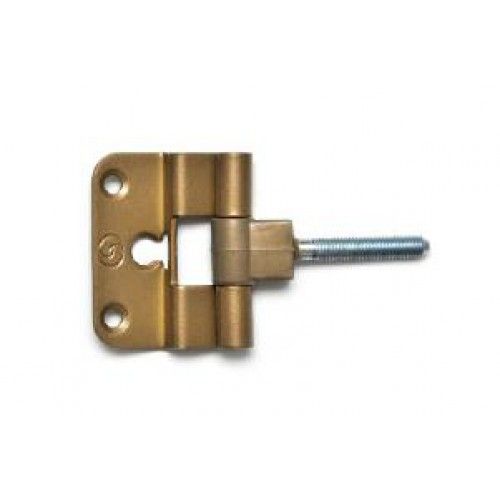
- Italian, that is, those that are hinged with a special design. Canopies of this type are mainly mounted on European models of doors.


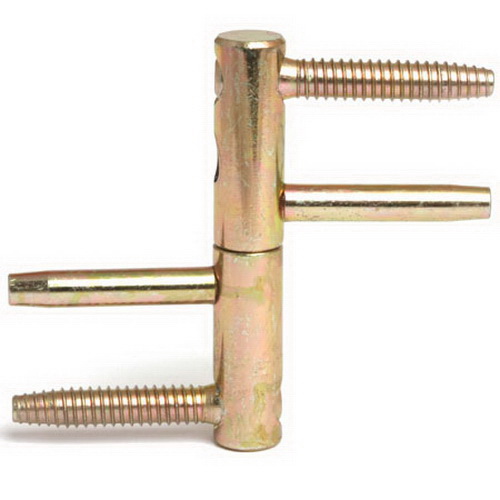
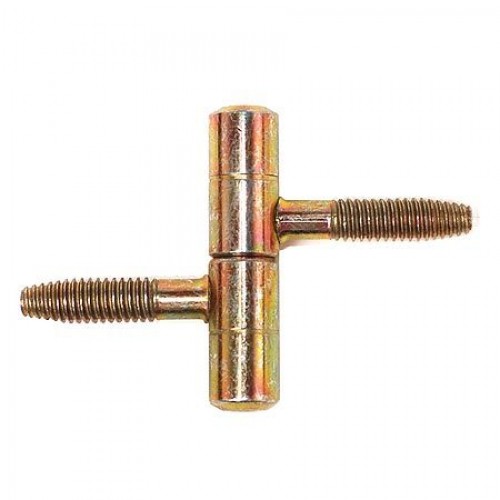
- Screwed in - products without plates. These canopies, instead of plates, have pins located on a rotatable axis. This type of product is ideal for light door panels.

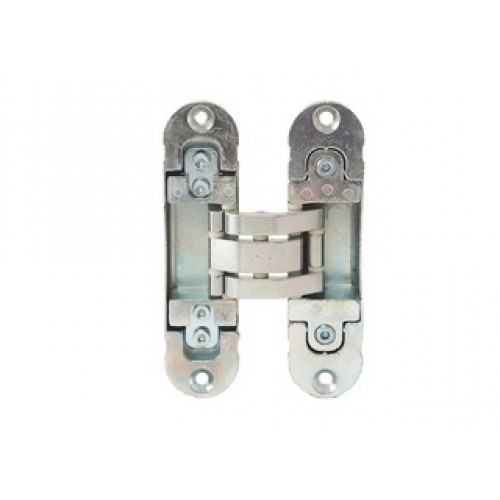
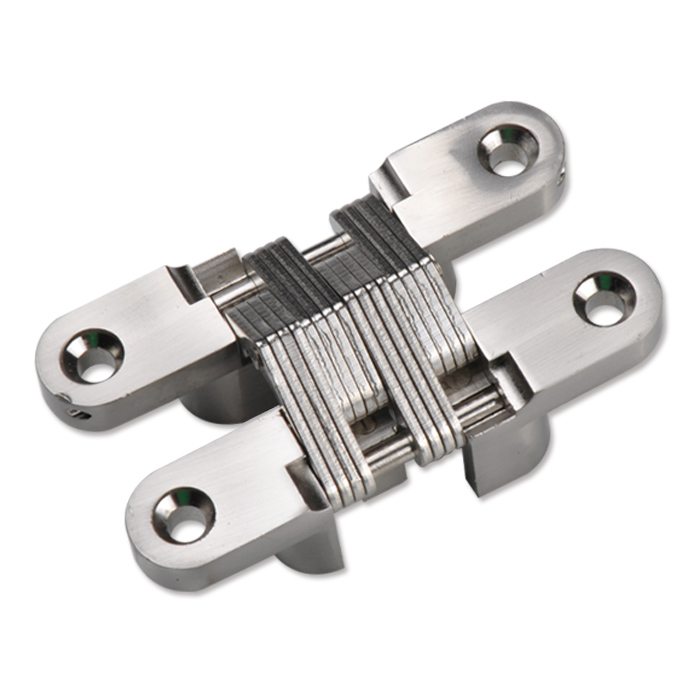
- Hidden - These are products that are mounted only on the most expensive interior design. These hinges have a special hinge embedded inside the door leaf.
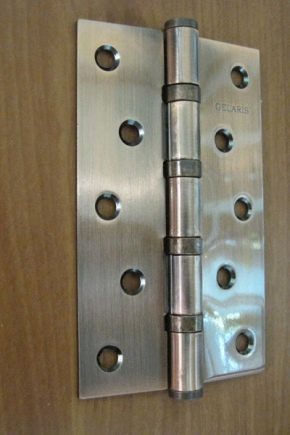
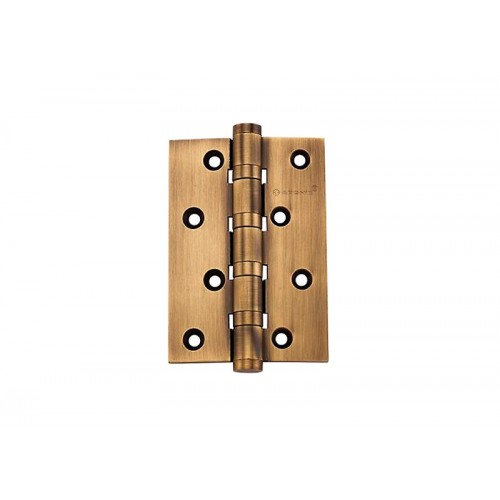
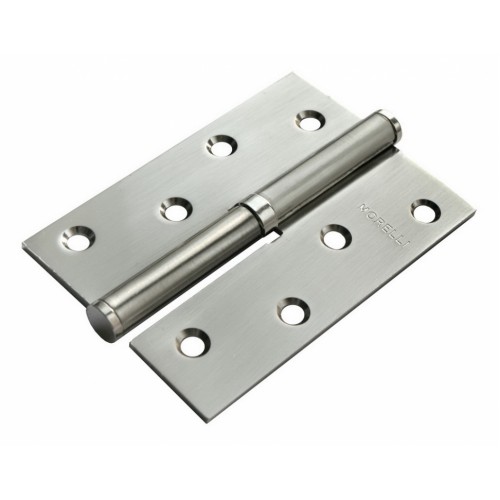
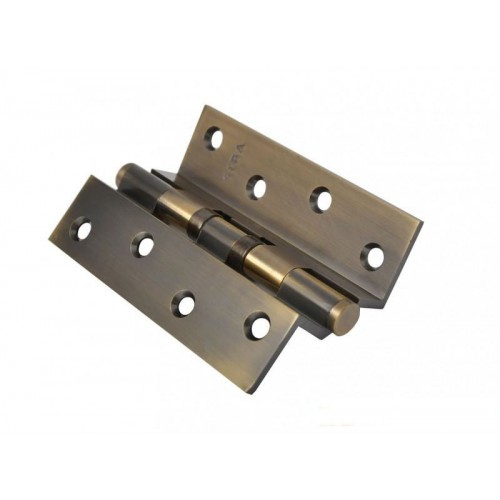
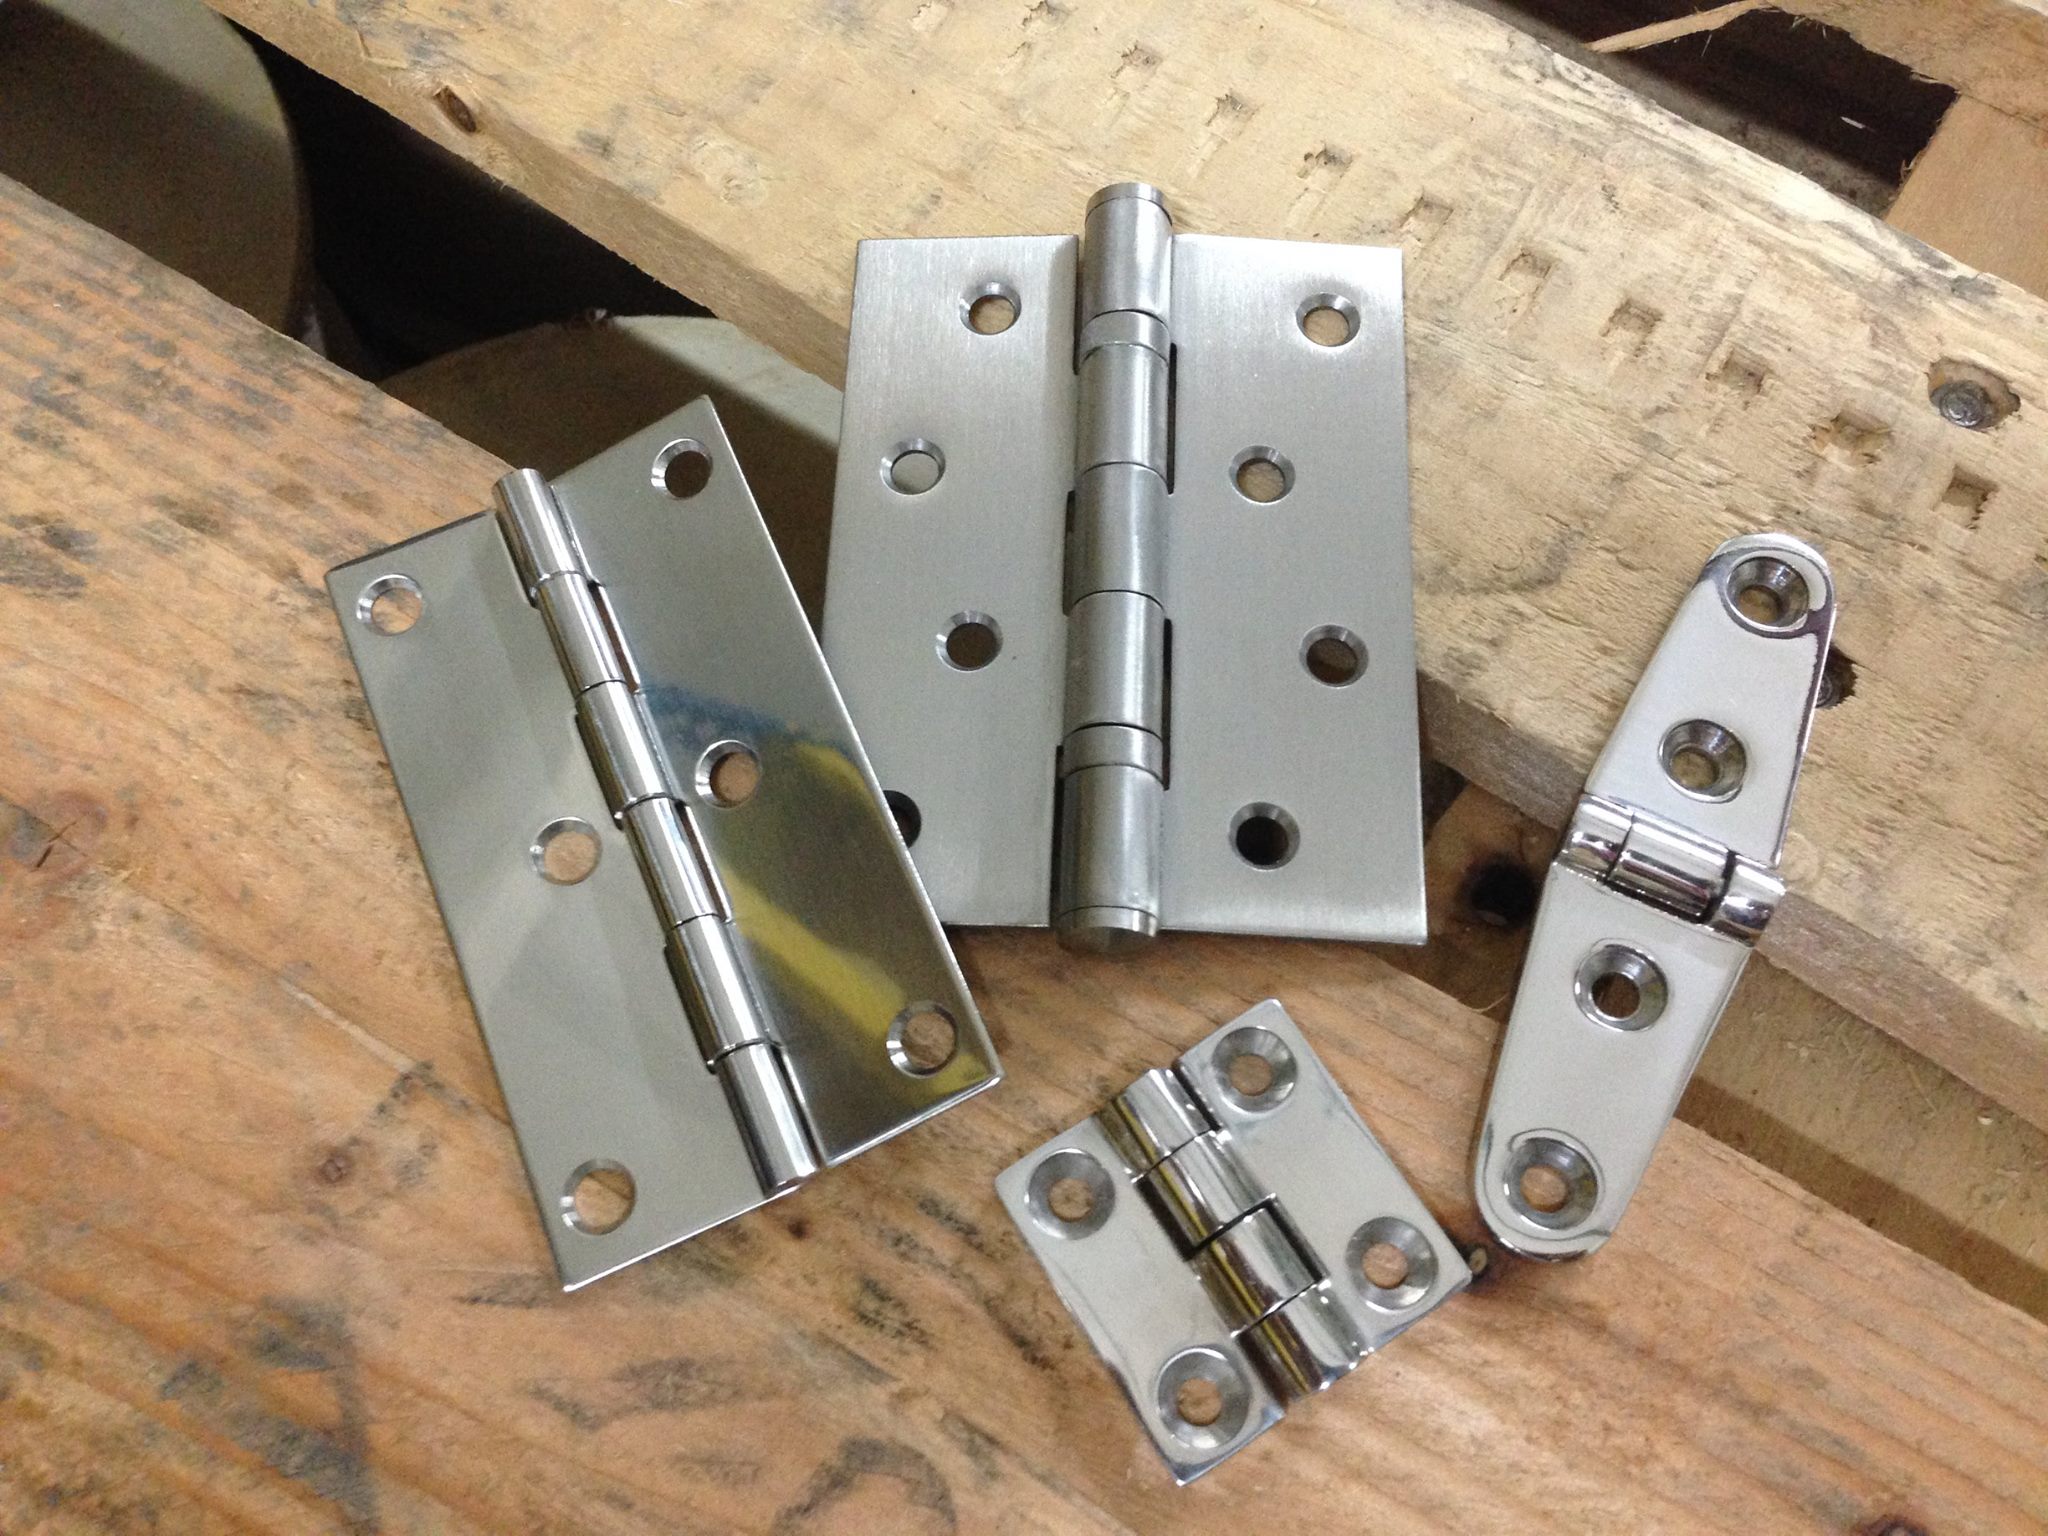
- Card. These options are also called straight. This type is the easiest, on the sides it is equipped with special plates.

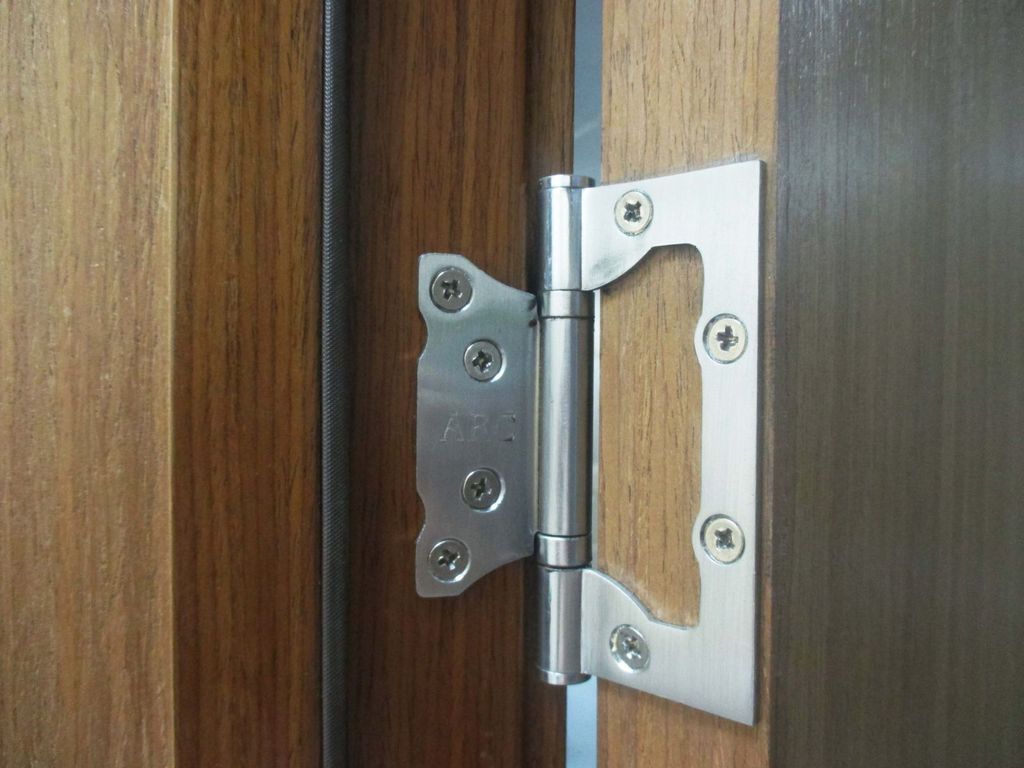
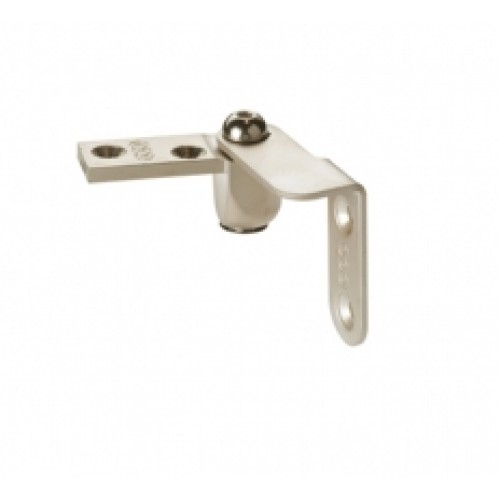
- Corner canopies from angular shape distinguishes only the plates. This type of hinge is usually installed on the pendulum door design.
In addition, all loops are divided into right-sided, left-sided and universal. The latter type can be installed on the canvas from either side. Installation methods may also be different. Sheds are mortise, that is, together with the door they are formed into one surface, and mounted in a pre-prepared recess. Overhead hinges are placed on top of the interior design, and screw - screwed with pins.
Installation
Tools that will be needed during installation:
- construction knife;
- stand, which will be used for door panels;
- template used for the router;
- chisel with a screwdriver;
- frezer;
- construction level with a pencil and a hammer.
First of all, it is necessary to choose loops. Here you need to be very careful, because the comfortable operation of interior doors directly depends on the quality of these products. Then you should choose the type of canopies - universal or detachable (that is, the right type of loops or left).
Doors that are installed on detachable awnings can always be removed, and the hinges themselves do not need to be removed. Before purchasing such products, it is important to know what type of opening at the interior door, since it can be left or right.Universal type is used for doors of left-side and right-side opening. This type of hinge will have to be dismantled in the event that the door needs to be removed - it is necessary to unscrew the screws from the box itself.
Next is to determine the size of the door to calculate the number of required loops.
The number of sheds can be determined by the criteria below.
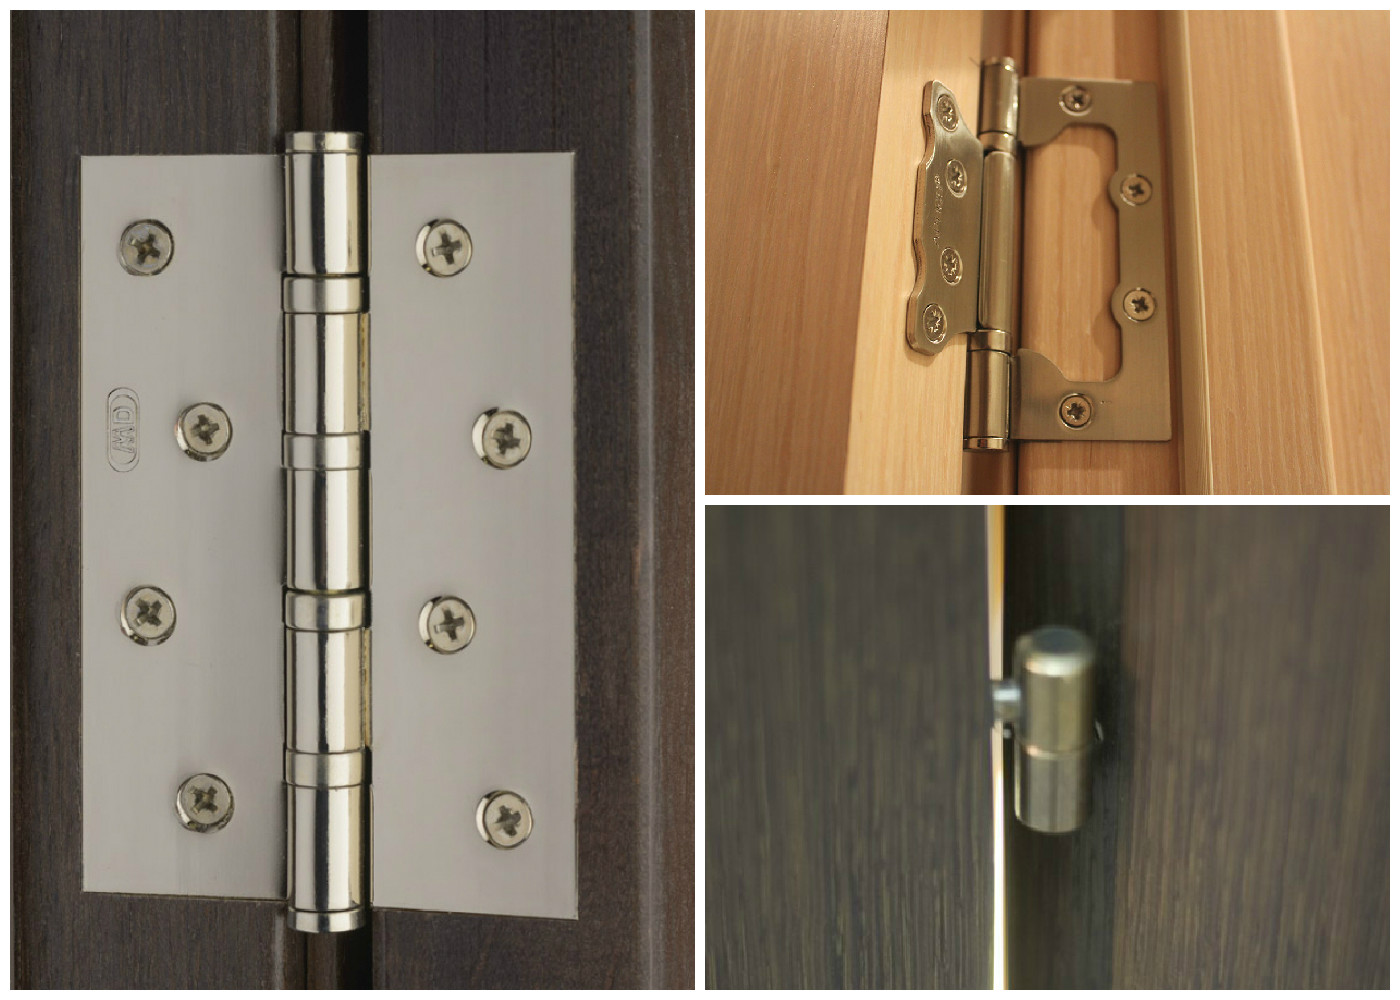
- Loop maps, sizes of its thickness. Thick card - high-quality fastening of the door to the box. In this case, the play will be less, as well as sagging of the canvas itself.
- Electroplating with polishing. The coating will be without sags, scratches and chips, that is, uniform.
- Conjugation, as well as mandatory coaxiality of parts. In addition, the loop cards must fit perfectly to each other, that is, be identical. Confirmation of high quality is the presence of bearings that replace ordinary anti-creak rings.
- Canopies. First of all, you need to determine the place where the awnings will be installed, and then make the markup.
From the edges above and below respectively measure out about 250 mm. Then a loop is applied to the measured point and outlines the entire perimeter with a pencil.After that, a cut is made under the loop itself.
First, attach one half of the canopy to the interior design, and then the other to the box itself. By the way, embed awnings logo should be up - this will install the product correctly.
Of course, to achieve a smooth selection, you need to use a professional milling machine. It is also better to get a template.
Fraser adjust to the desired depth of cut, that is, the thickness of the map loops. Only then can milling holes be made.

If there is no milling machine, you can always make a hole with a chisel. It is necessary, using a construction knife, to cut the cover of the door leaf according to the markings, which should be made in advance with a pencil. The cut is made to the depth of the veneer or laminate - so it will be possible to limit the progress of the chisel itself during operation to ensure a smooth cut edge. In the resulting frames, in the slot with a chisel make holes on the depth of the canopy card.
Then the corners must be further processed using a straight and angular chisel. The cut is checked by applying a loop that should fit perfectly in this prepared hole.
After that, the holes for the screws are prepared.To properly fix the hinges with them, holes are pre-drilled when installing. To save time on the markup is better to use a thin drill.
The box also produces a cut for each of the loops. For proper placement of the hole for the second half of the loops should prepare the box itself. To do this, make cuts in a box at an angle of 45 degrees. You also need to calculate the height of the gap and the blade itself in relation to the floor.
You can mark each hole for hinges in several ways.
The corner of the door frame is assembled, and then the desired length is measured with a tape measure - the distance should be comparable to the markings marked on the surface of the canvas.
Then the side part is applied directly to the door itself - here it is necessary to take into account the gap below the floor. After that, the door with the box is docked, and marking is done.
In the same way, holes are made for the other halves of the loops in the box.
Then the sections are cut with a chisel - for this you can use milling. Angles align.
With the help of a drill prepare the site where the screw will be installed in the future.
Door frames, like the canvas itself, are made of different materials, therefore, preliminary drilling is mandatory for solid wood, and the MDF box does not need preliminary drilling.
After all the manipulations, you can begin to fix the canvas itself to the door frame. In the work you can put the wooden wedges, as professionals do. After the box and hinges are installed on the door leaf, blanks on the box, production of fasteners for the second half of canopies and complete docking of the structure, the door leaf is put to the box - now you can fasten the second part of the hinges with screws.
Then make the adjustment. It is necessary to adjust the gaps so that the fit of the door directly to the box is smooth. After that, the gap between the doorway and the box is foamed.
How to cut the hinges in the interior door, you can see in the video.


