Herringbone laminate laying technology

Laying the floor - one of the final stages of any repair. You can choose almost anything as a material: laminate, parquet, tile, linoleum and much more. Often the choice falls in the direction of the laminate, as the most high-quality and inexpensive coating. In our article we will discuss one of the types of installation of this material - laying herringbone.
Special features
There are several ways to lay laminate:
- Direct laying laminate. The easiest option is when the boards are placed one behind the other in a row with some offset. Begin this stacking from the wall.
- Diagonal laying laminate. Boards are mounted at an angle of forty-five degrees to the wall. Start laying in this case is necessary from the far corner.The method is far from being the easiest, so when choosing it, it’s safer to turn to professionals, or at least stock up with the necessary tools to cut the material evenly and at the right angle.
- "Christmas tree". Boards are placed at an angle to each other. In this case, you need a special laminate with locks on the ends.
- Other options.
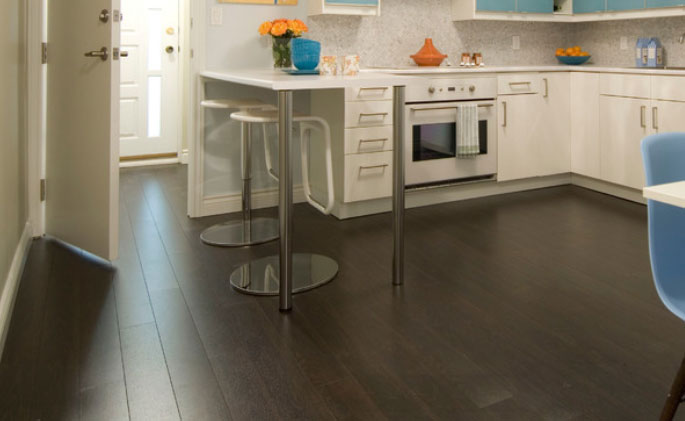
It is important to remember that laminate is not a material for wet rooms. In the kitchen, bathroom or bathroom, you should use something else, for example, tiles designed for laminate flooring are perfect for such rooms.
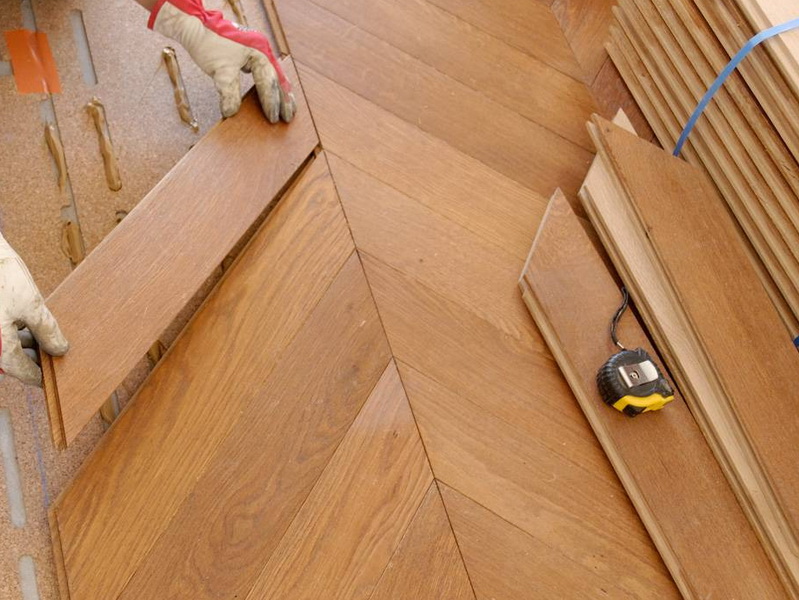
Such a pattern is achieved by laying boards at an angle of 90 degrees to each other, for this you need to choose special collections with locking systems that allow you to attach the end of the board to the sidewall.
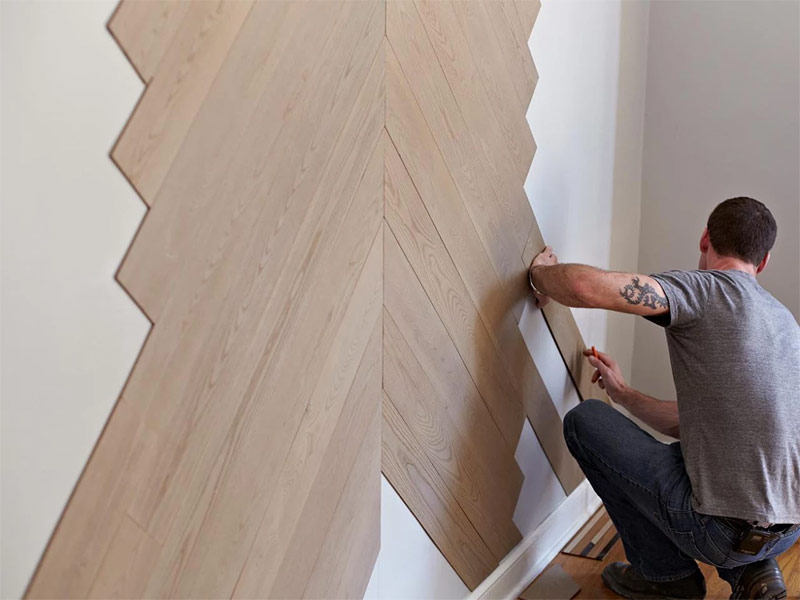
Herringbone laminate installation is carried out along with or against the vector of natural light propagation. If there is a desire to visually create the impression of a continuous plane, it is necessary to perform the installation along the vector of light. If you make the installation of panels against the rays of light, then you can visually expand a small room or room, but you cannot hide the joints.
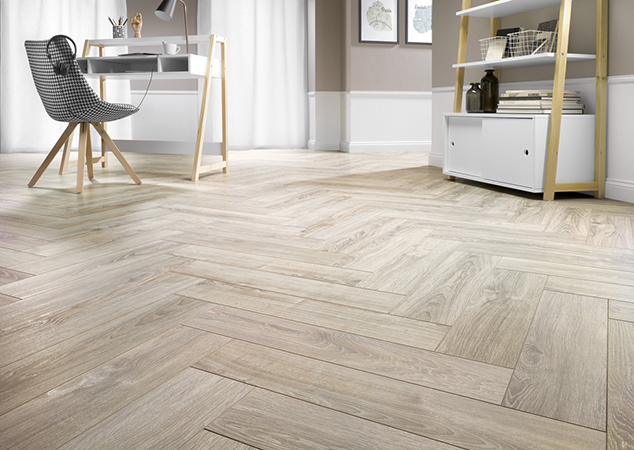
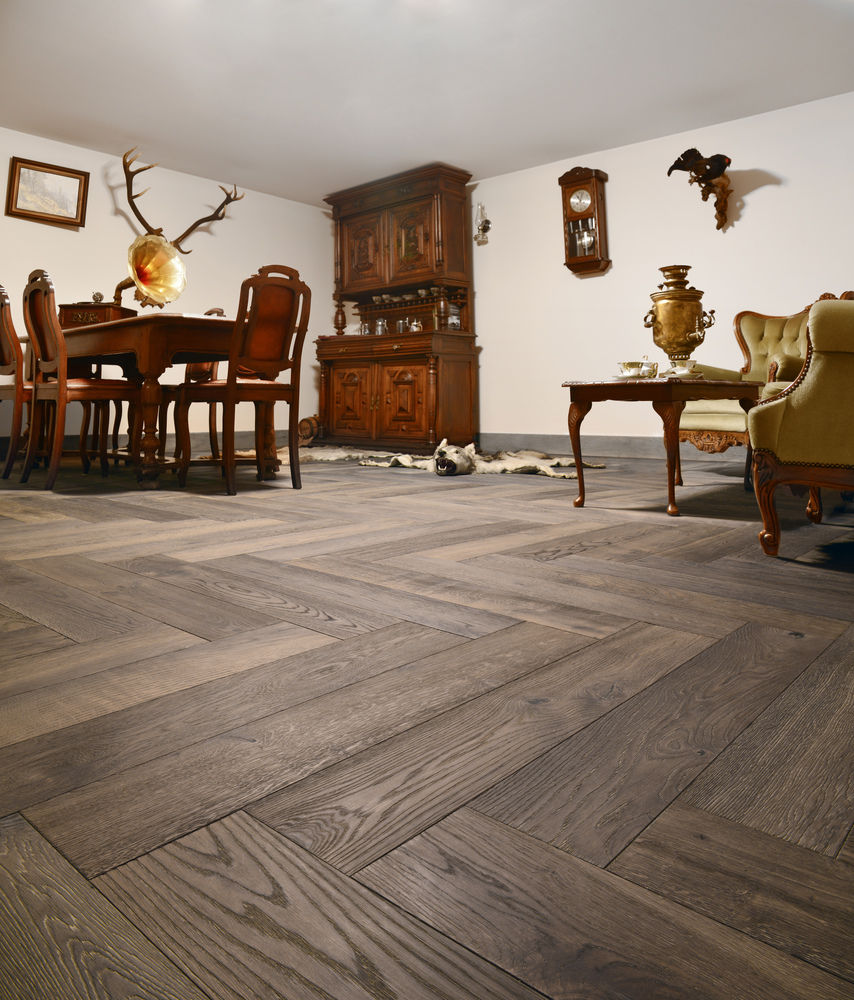
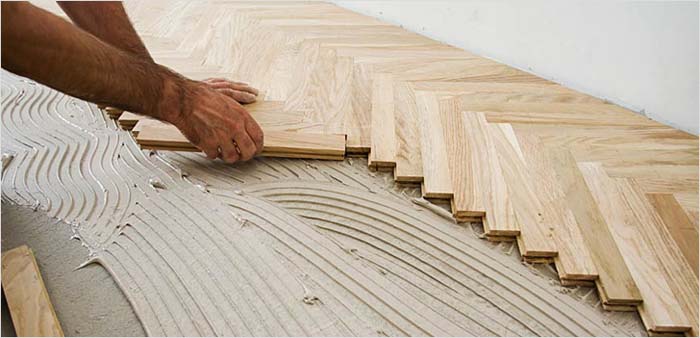
There are enough drawings for laying laminate in this way, but the most popular is the “French Christmas Tree” - a drawing that is very often used for laying parquet in European interiors. Laminate "under the French tree" gives the floor a visual volume. Clear, regular lines of wooden slats at a certain angle (usually 30 or 45 degrees) are folded into a kind of stepped pattern, and the floor ceases to be flat.

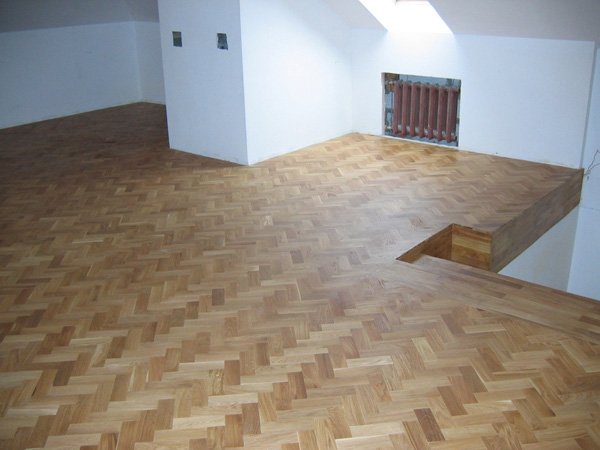
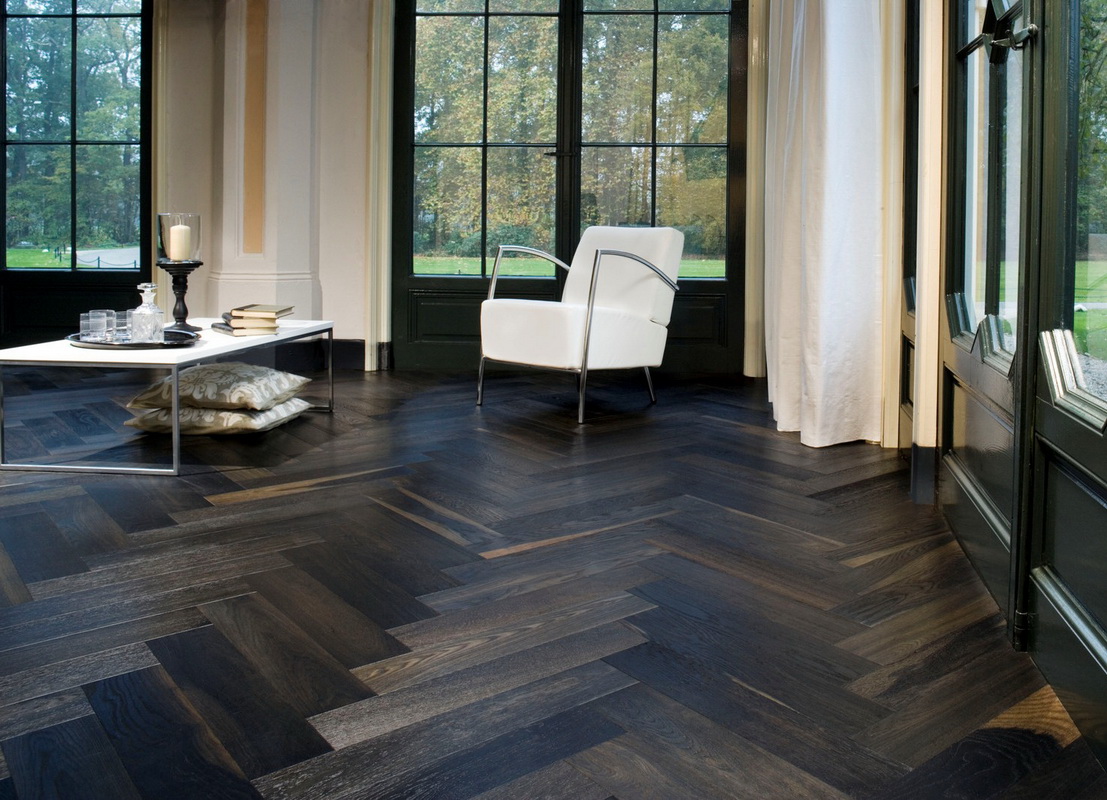
Another option is "Hungarian Christmas Tree". Compared with the oblique method of installing the "French Christmas tree", the "Hungarian" gives more dynamism and brightness to the final finish. It differs from the French in that it is laid at an angle of 90 degrees.
Advantages and disadvantages
Like other methods, this option can find its pros and cons.
Let's start with the pros:
- Beautiful and unusual finish for your floor. Allows you to create a unique gender.
- A wide variety of patterns.
- Imitation of natural parquet, which always looks very noble.

But not to do without cons:
- Only suitable laminate from special collections.
- Materials and installation work are more expensive than usual options.
- A lot of scraps, therefore, high material consumption.
How to lay laminate?
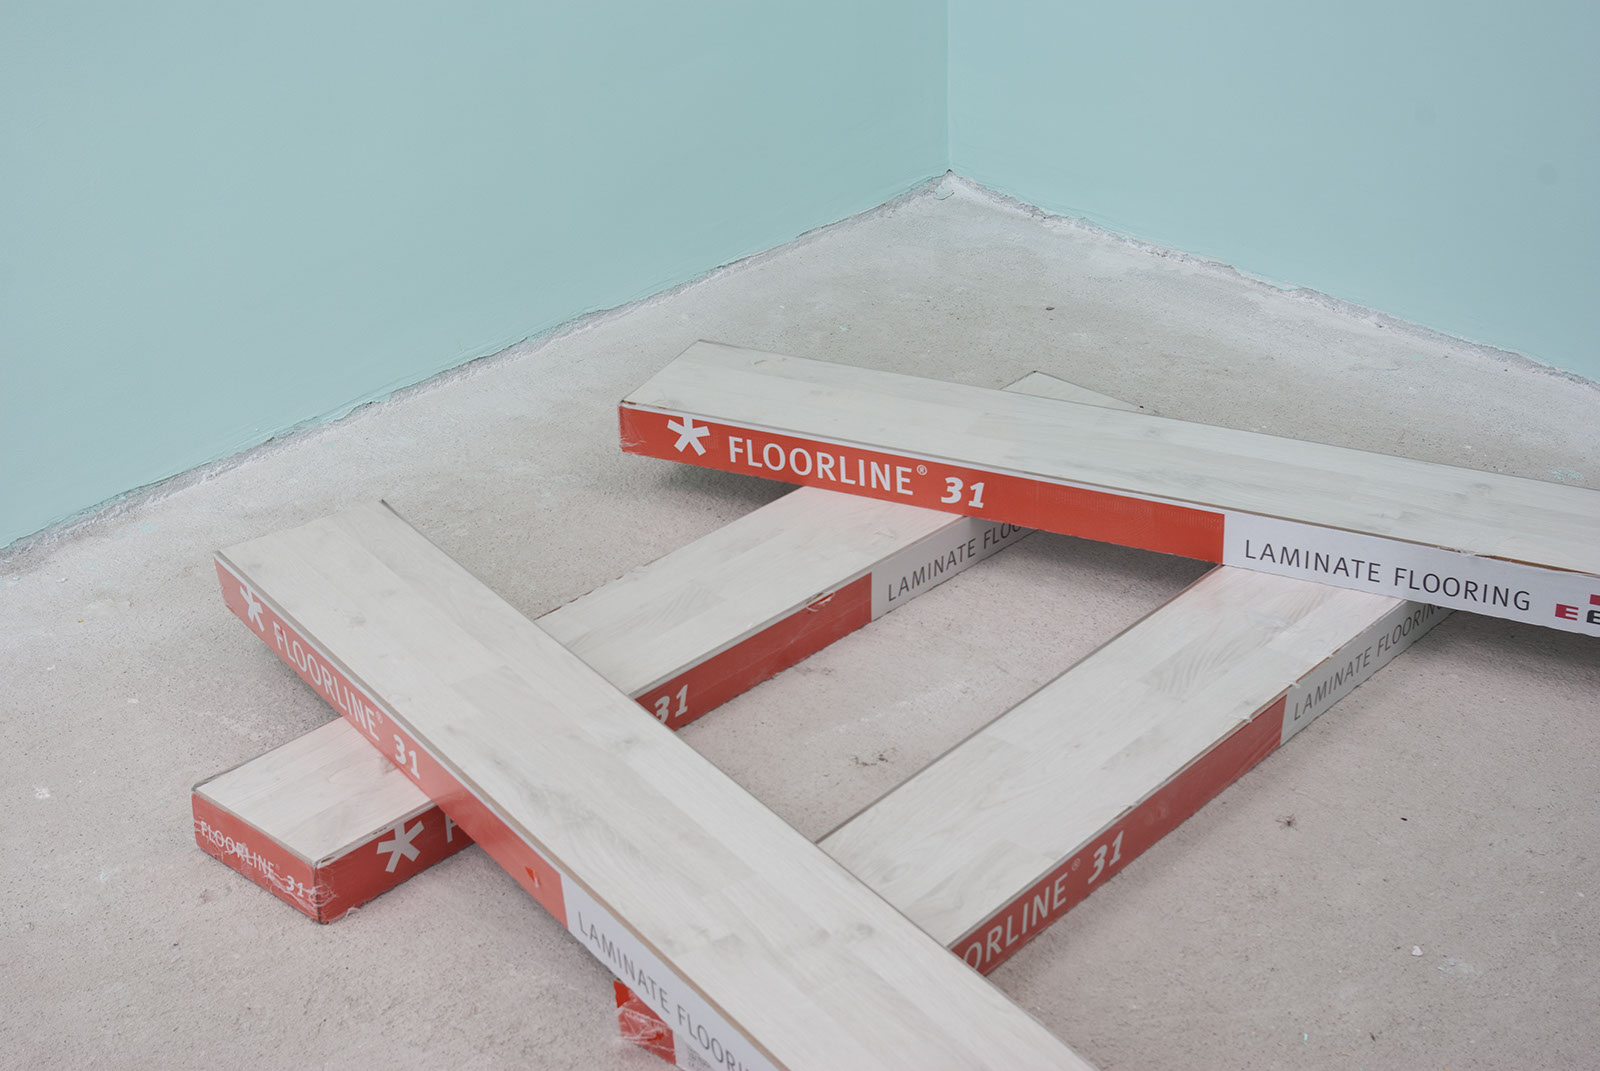
Do-it-yourself laminate installation is not a very difficult task, you just need to follow the recommendations of experts. First you need to choose the material, calculate its quantity and buy in the store. For the “Christmas tree”, the stock of material in comparison with the floor space should be at least 15%.
Together with the laminate itself, the substrate for it is also purchased. For the Christmas tree layout, you need to take a special look with locks on the ends. Among other things, it should be noted that during lamination the floor narrows and expands after the temperature, therefore the distance from the wall should be about 1 centimeter.
So, the scheme is chosen, the material is selected and purchased. After that, you need to go to the preparation of the surface to be aligned.
There are different ways to align:
- Grinding.
- Pouring concrete screed.
- Plywood flooring.
After leveling, the height difference should not exceed 2 millimeters over a plot of 2 square meters. Then the surface must be thoroughly vacuumed and all rubbish removed, otherwise squeaks may occur if dust gets between the boards.Another laminate can not be put on the day of purchase, you must first give the material time to acclimatize. In this case, the boards should be stacked parallel to the floor in the center of the room where it will be installed.
We proceed directly to the process of flooring:
- The base is completely covered with polyethylene, the film thickness is not less than 200 microns. The film protects the slats against moisture. Strips can be put with overlap, so that it is more convenient to even fasten with adhesive tape.
- We lay the substrate of extruded polystyrene foam, polyethylene or cork. It is necessary to lay it end-to-end, because the thickness of the material is more than 2 mm, and thickening will appear when it overlaps. The substrate can also be sealed with adhesive tape. If the substrate is laid in several layers, it is recommended to lay the layers crosswise. The substrate must be laid across the direction of laying boards.
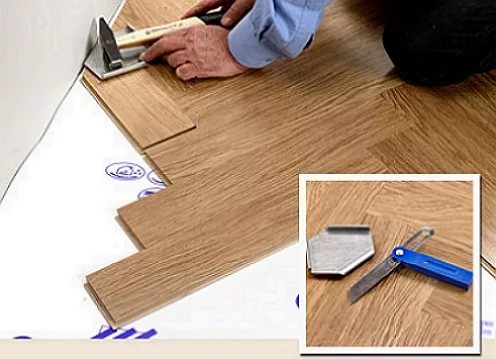
- We put the first row of the laminate, combining the end grooves with the face grooves in the manner proposed by the manufacturer. For a better connection, you can tap the laths on the other side with a rubber mallet or with an ordinary hammer through a gasket.
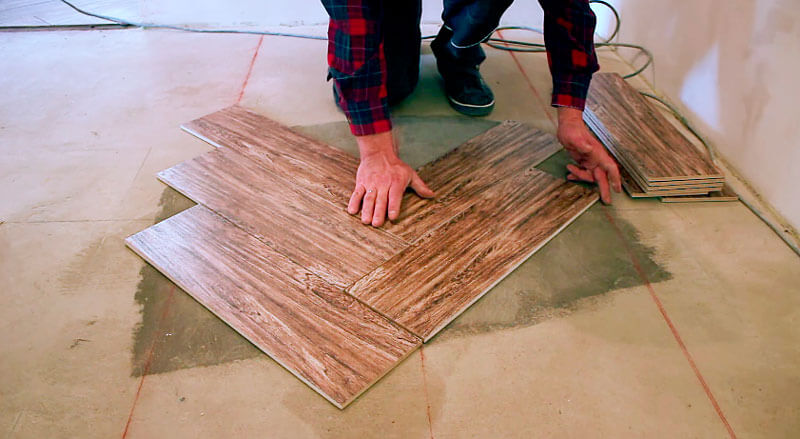
- Putting the next row, in accordance with the selected scheme "Christmas tree".
- We connect both rows.To do this, it is necessary to insert a tongue of the second row into the groove of the first under the angle specified by the manufacturer. Slowly dropping down, you should wait for a characteristic snapping.
- We place the finished fragment to the wall, before it is inserted between the laminate and the wall wedges, providing a deformation gap.
- Further, with the already assembled part, the third row is joined in the same way. And so on to the end.
Often in the coating should be left slots or holes for pipes, radiators or doors:
- In the case when radiators do not allow the board to snap under the board, it is necessary to cut off a part of the ridge and attach the panel with glue.
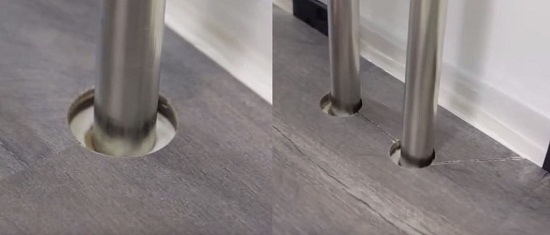
- When mounting around the pipes on the board, the location of their location is marked as accurately and accurately as possible, after which a hole is drilled with a radius a little larger than the radius of the pipes. After that, parallel to the end line, a slit is cut with a hole, most of which is mounted by the usual method. Part by pipe mounted with glue. All remaining gaps can be hidden with plastic overlays, grout or sealants.
- Making a doorway begins with sawing jambs, in accordance with the thickness of the coating strips,substrate and material alignment. It is recommended to perform work on the preparation of the doorway in advance, before laying the laminate. Among other things, it will protect the coating from debris and possible damage, such as scratches or chips.
After that, you should accurately measure and draw the desired contour under the door on the panel. We must not forget about the gap between the wall and the floor, which should be closed box. Lay laminate without gaps under the timber jamb.
If there is a sill, then the boundary of the laid material is carried out on it, if there is no threshold, the border should be located under the door leaf.
It is possible to “shorten the door”: then a plastic or aluminum transition profile is added to the height of the covering, which serves to mask the seam. Also, the end profile covers the expansion joints, which divide the laminated floor into sections, if the area of coverage is more than ten in length or eight in width in meters.

Beautiful examples in the interior
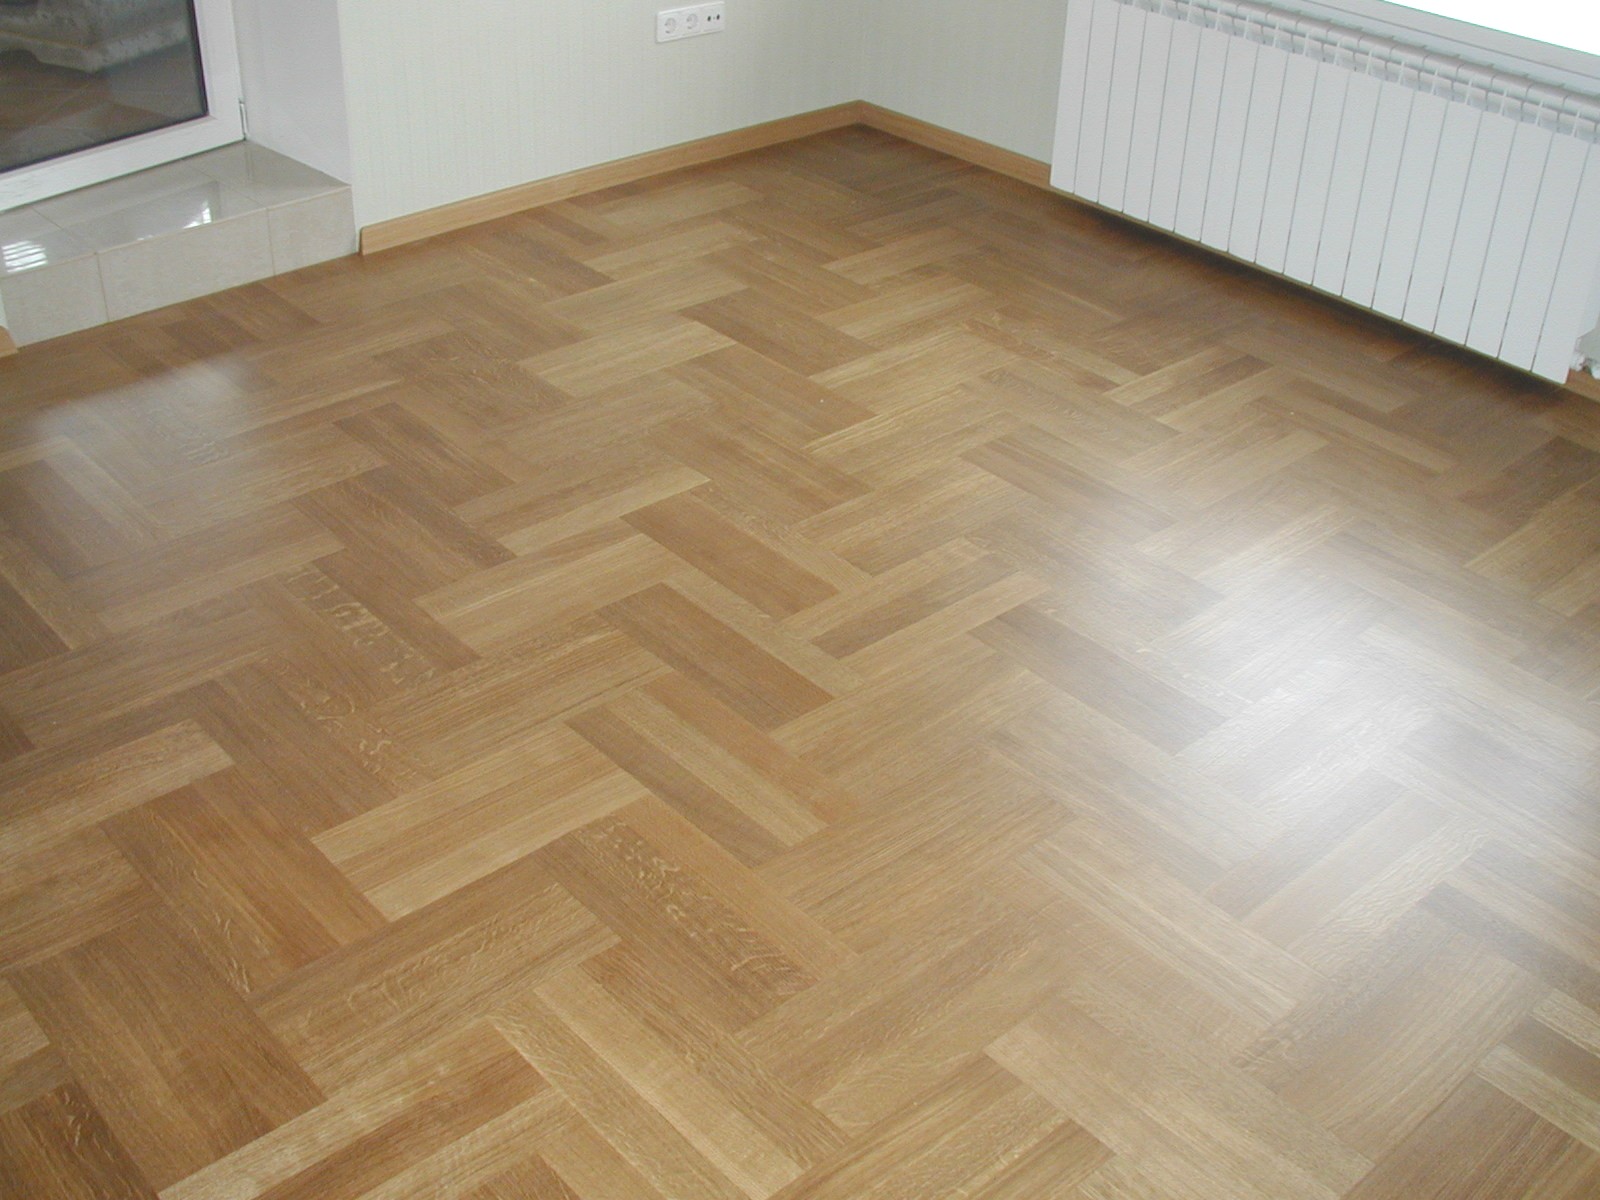
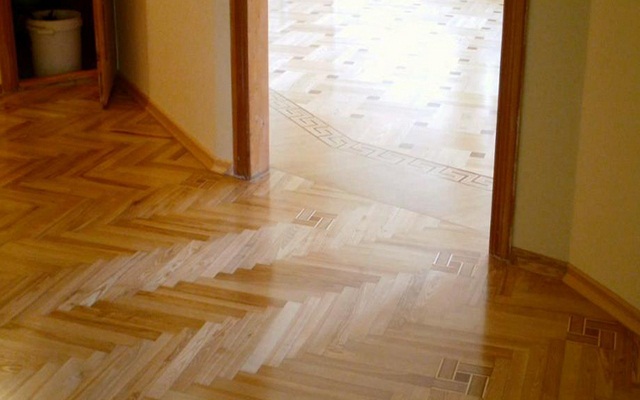
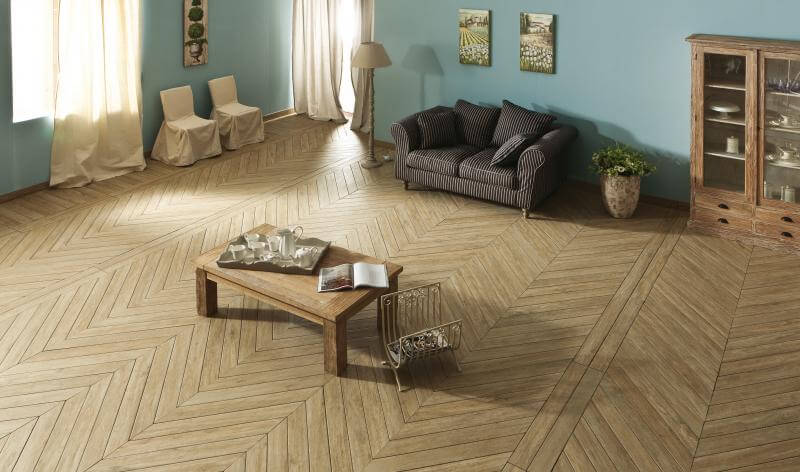
This is how the laminate flooring in the interior looks like. The photo shows a picture "French tree", which creates a visual volume, and it looks very unusual.

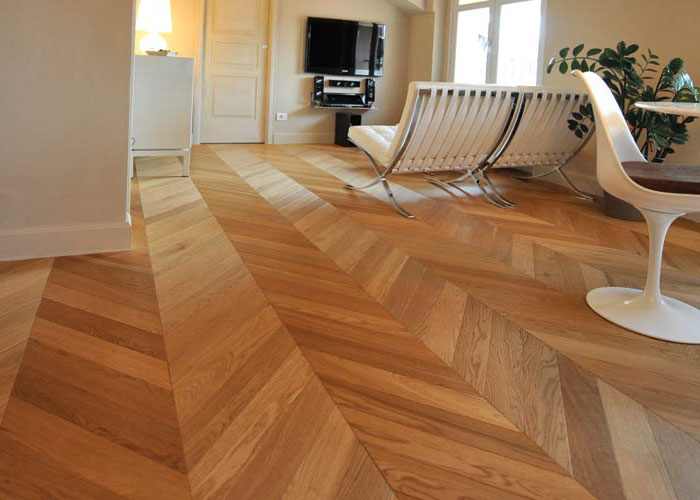
This photo also shows the “French Christmas Tree”.Looks much more interesting than a regular styling pattern. "Chess".
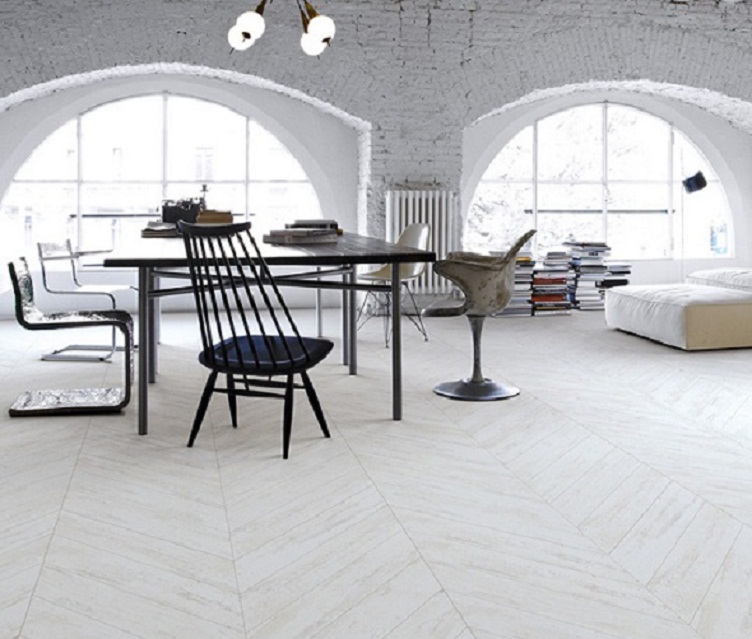
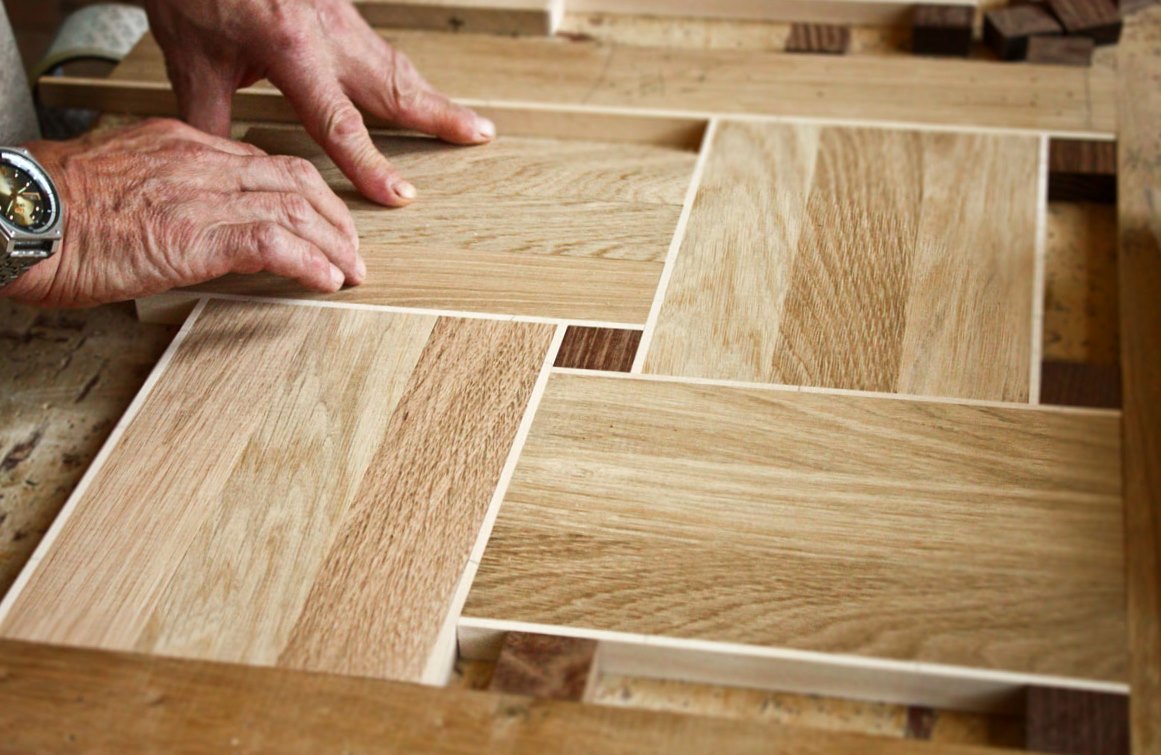
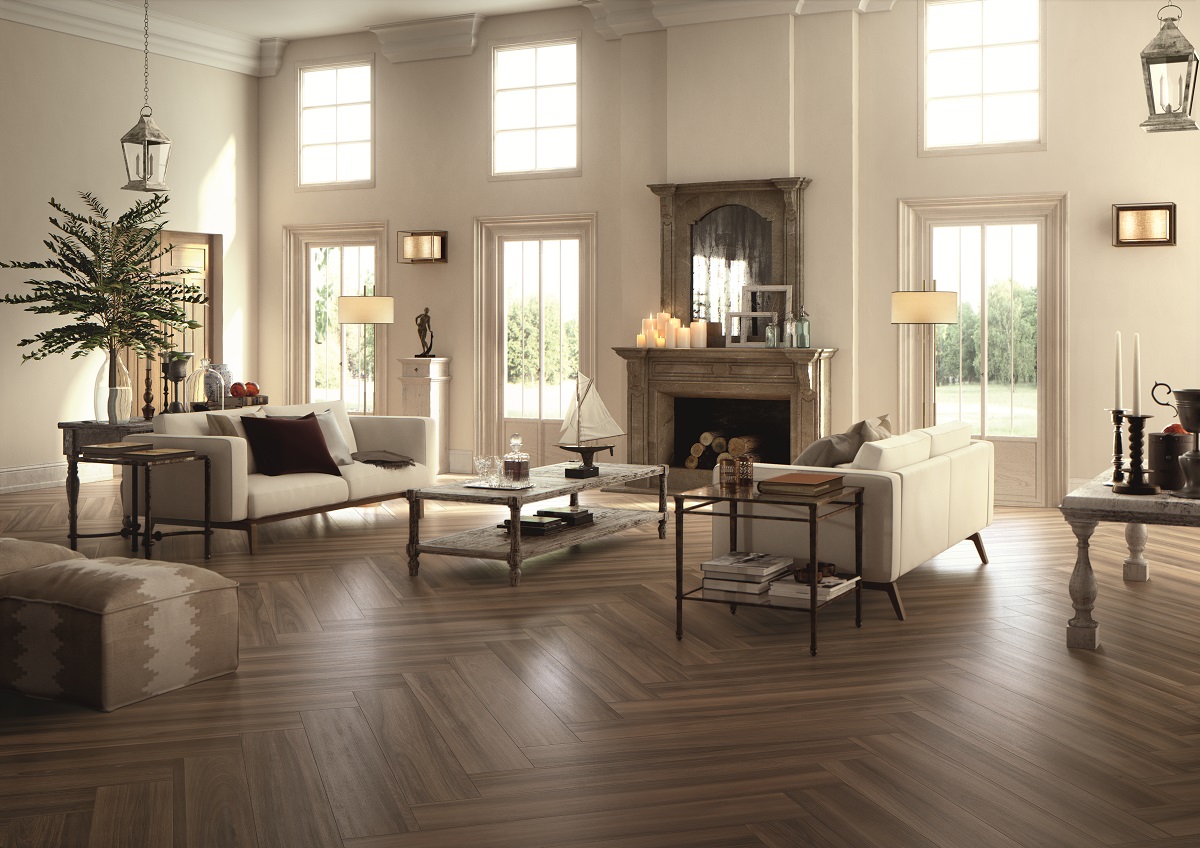
In this example, the boards are laid in relation to each other at an angle of 90 degrees, which means that we have the “Hungarian Christmas tree” in front of us.
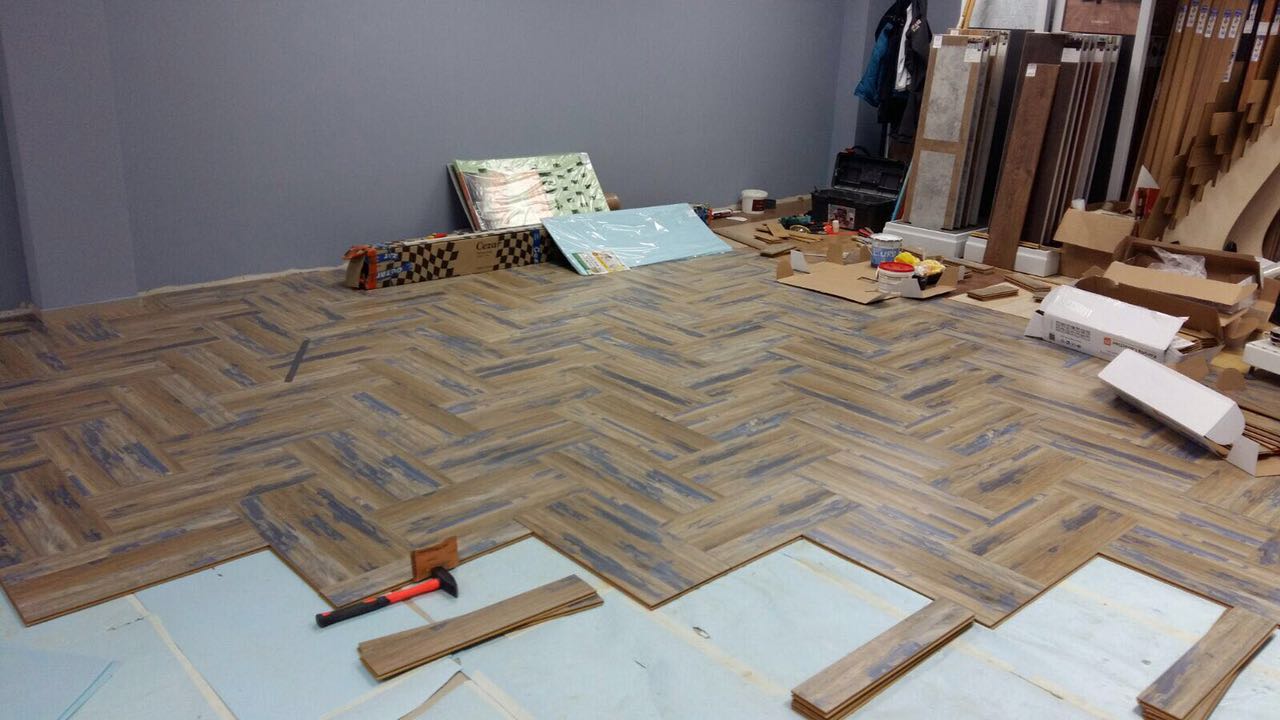
Another use case "Hungarian tree". Like all the other “Christmas trees”, the Hungarian creates a unique and interesting floor pattern.
The method of laying laminate "herringbone" and some of the nuances can be found in the following video.


