How to install the radiators in the apartment?
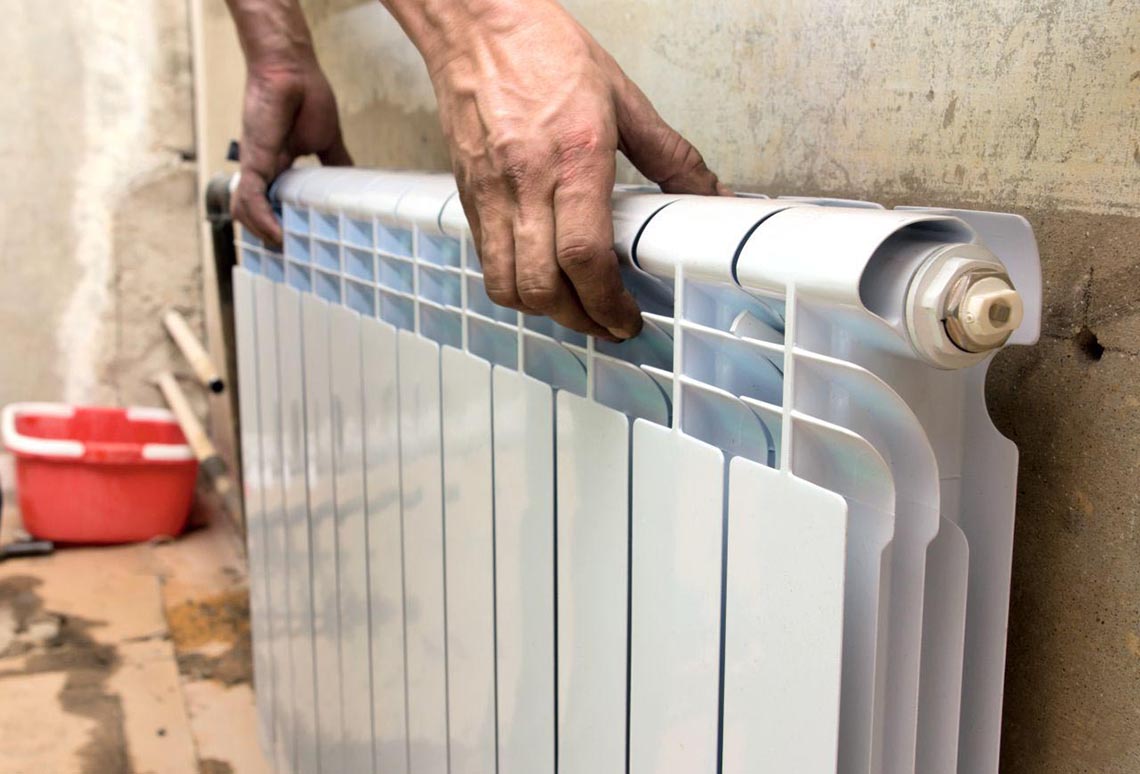
In order to be warm and comfortable in the apartment during the cold season, it is necessary to carry out the installation of batteries in a quality manner. An important step is the correct connection of all elements. The rules and basic rules are spelled out in the legislation, and it will be useful to become familiar with them. If there is a desire and opportunity, installation can be performed independently.

Features and types of heating systems
It depends on how much heating systems are installed in the room, how warm it will be in the apartment.
They can be divided into 3 main types according to the wiring diagram:
- single pipe;
- two-pipe;
- collector.
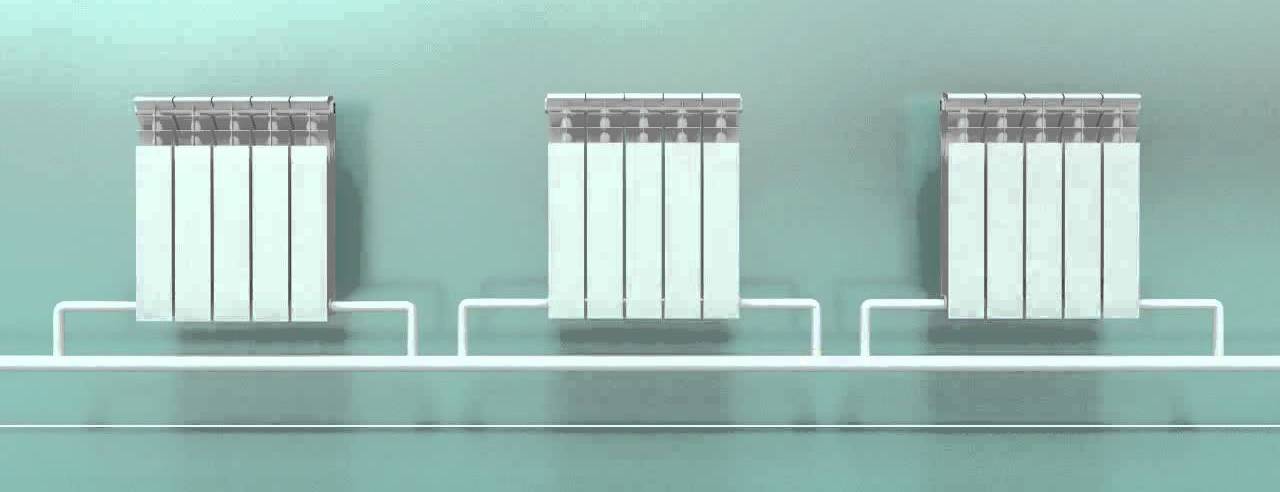
As for the one-pipe system, in this case the coolant flows through one pipe to all the batteries, and eventually returns along it after it cools down.This option is the easiest to install, and for this reason it is used in all high-rise buildings. However, there are also disadvantages, in particular, when moving to other radiators the coolant cools down more and more, respectively, less heat enters the room. In addition, you can not turn off only one battery for repair, in this case it is necessary to block the entire riser.
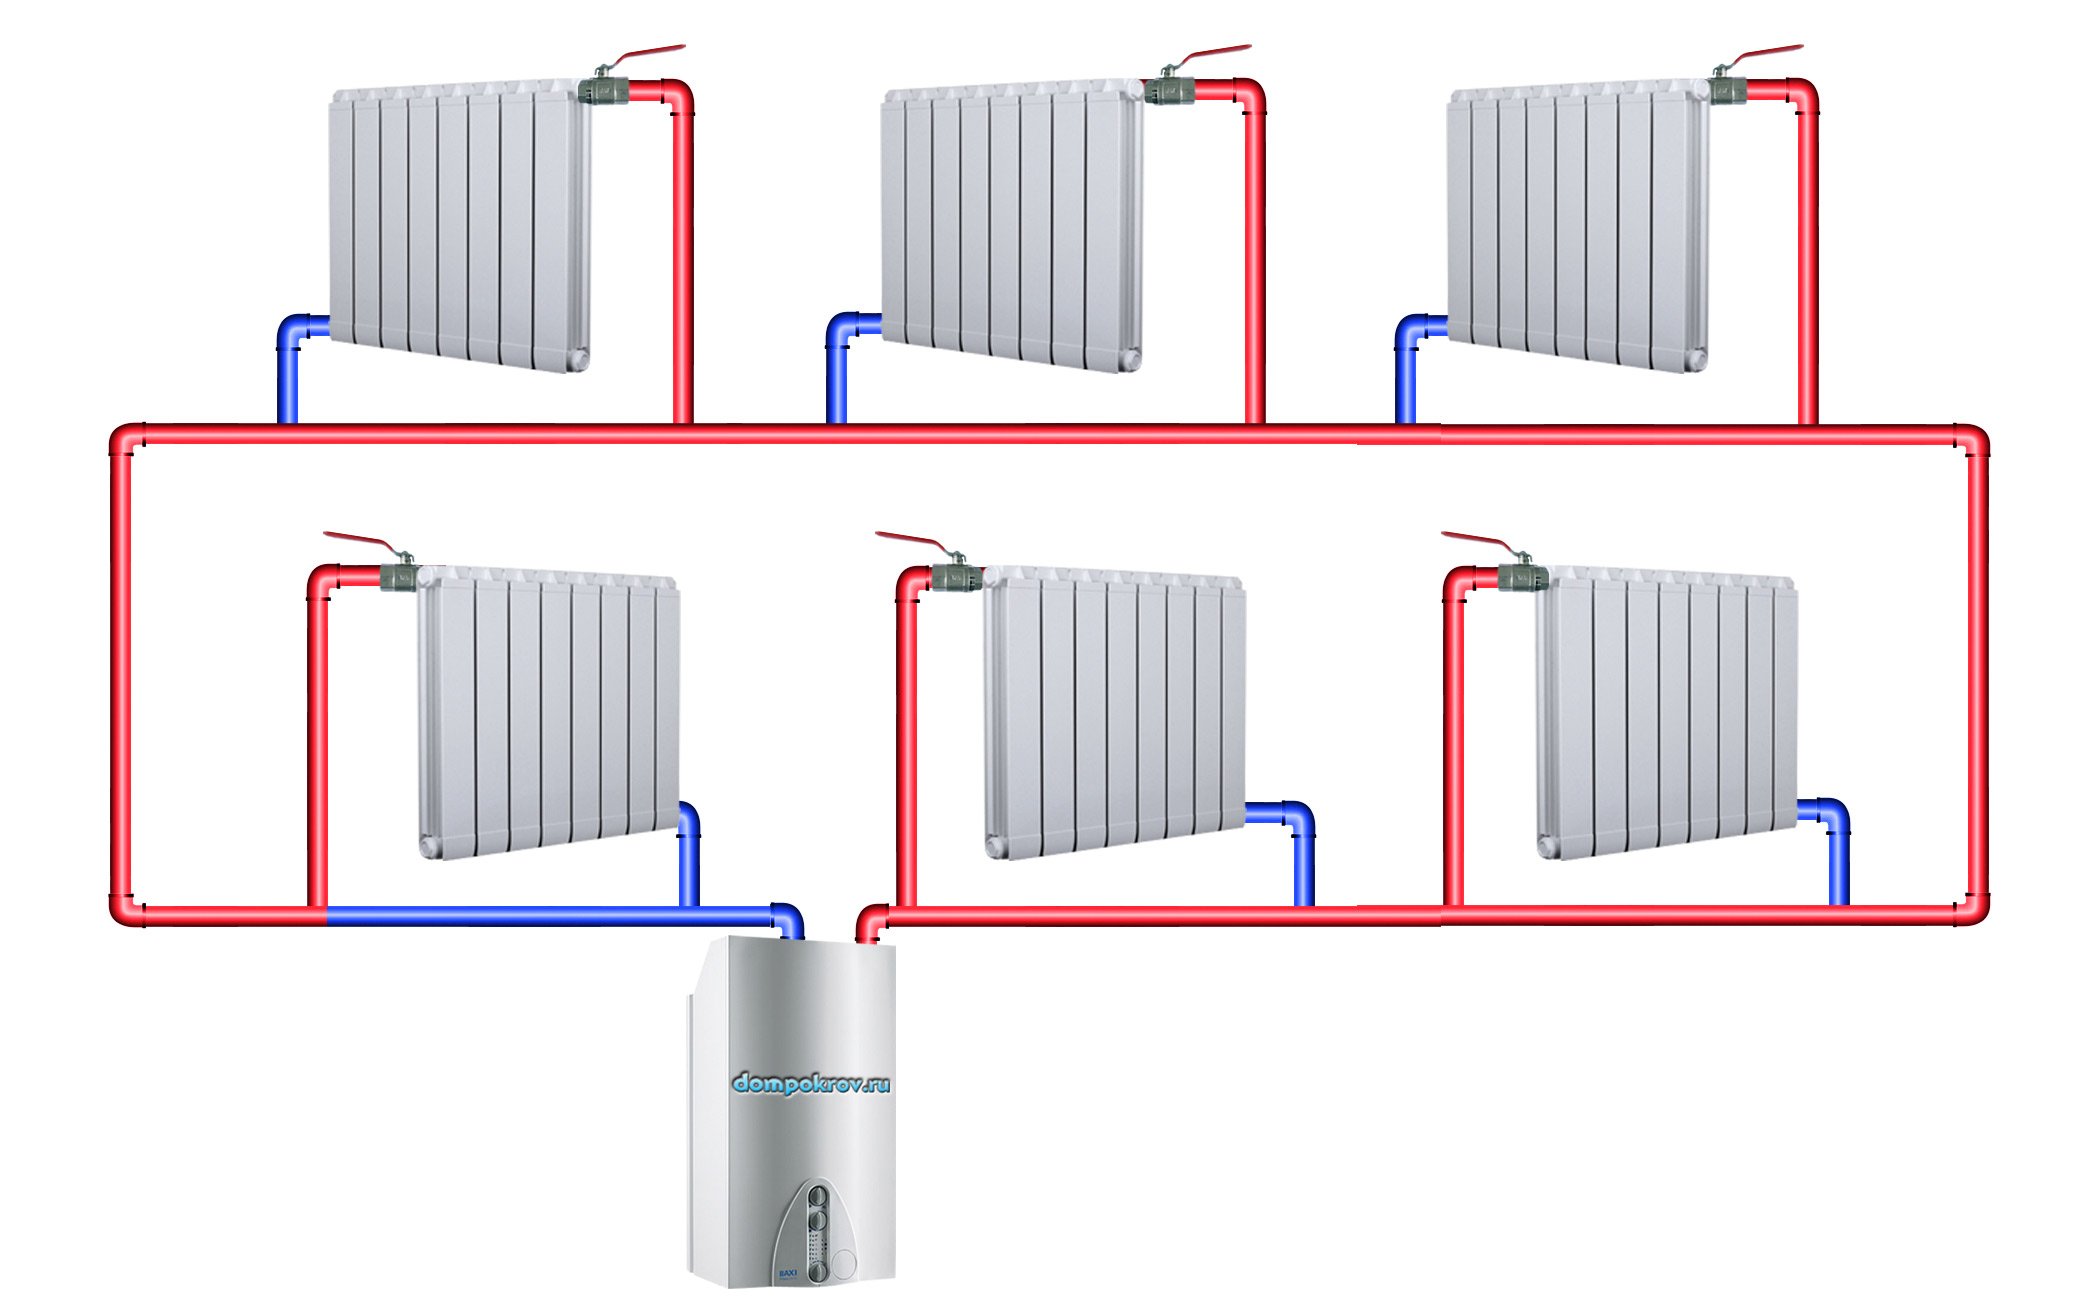
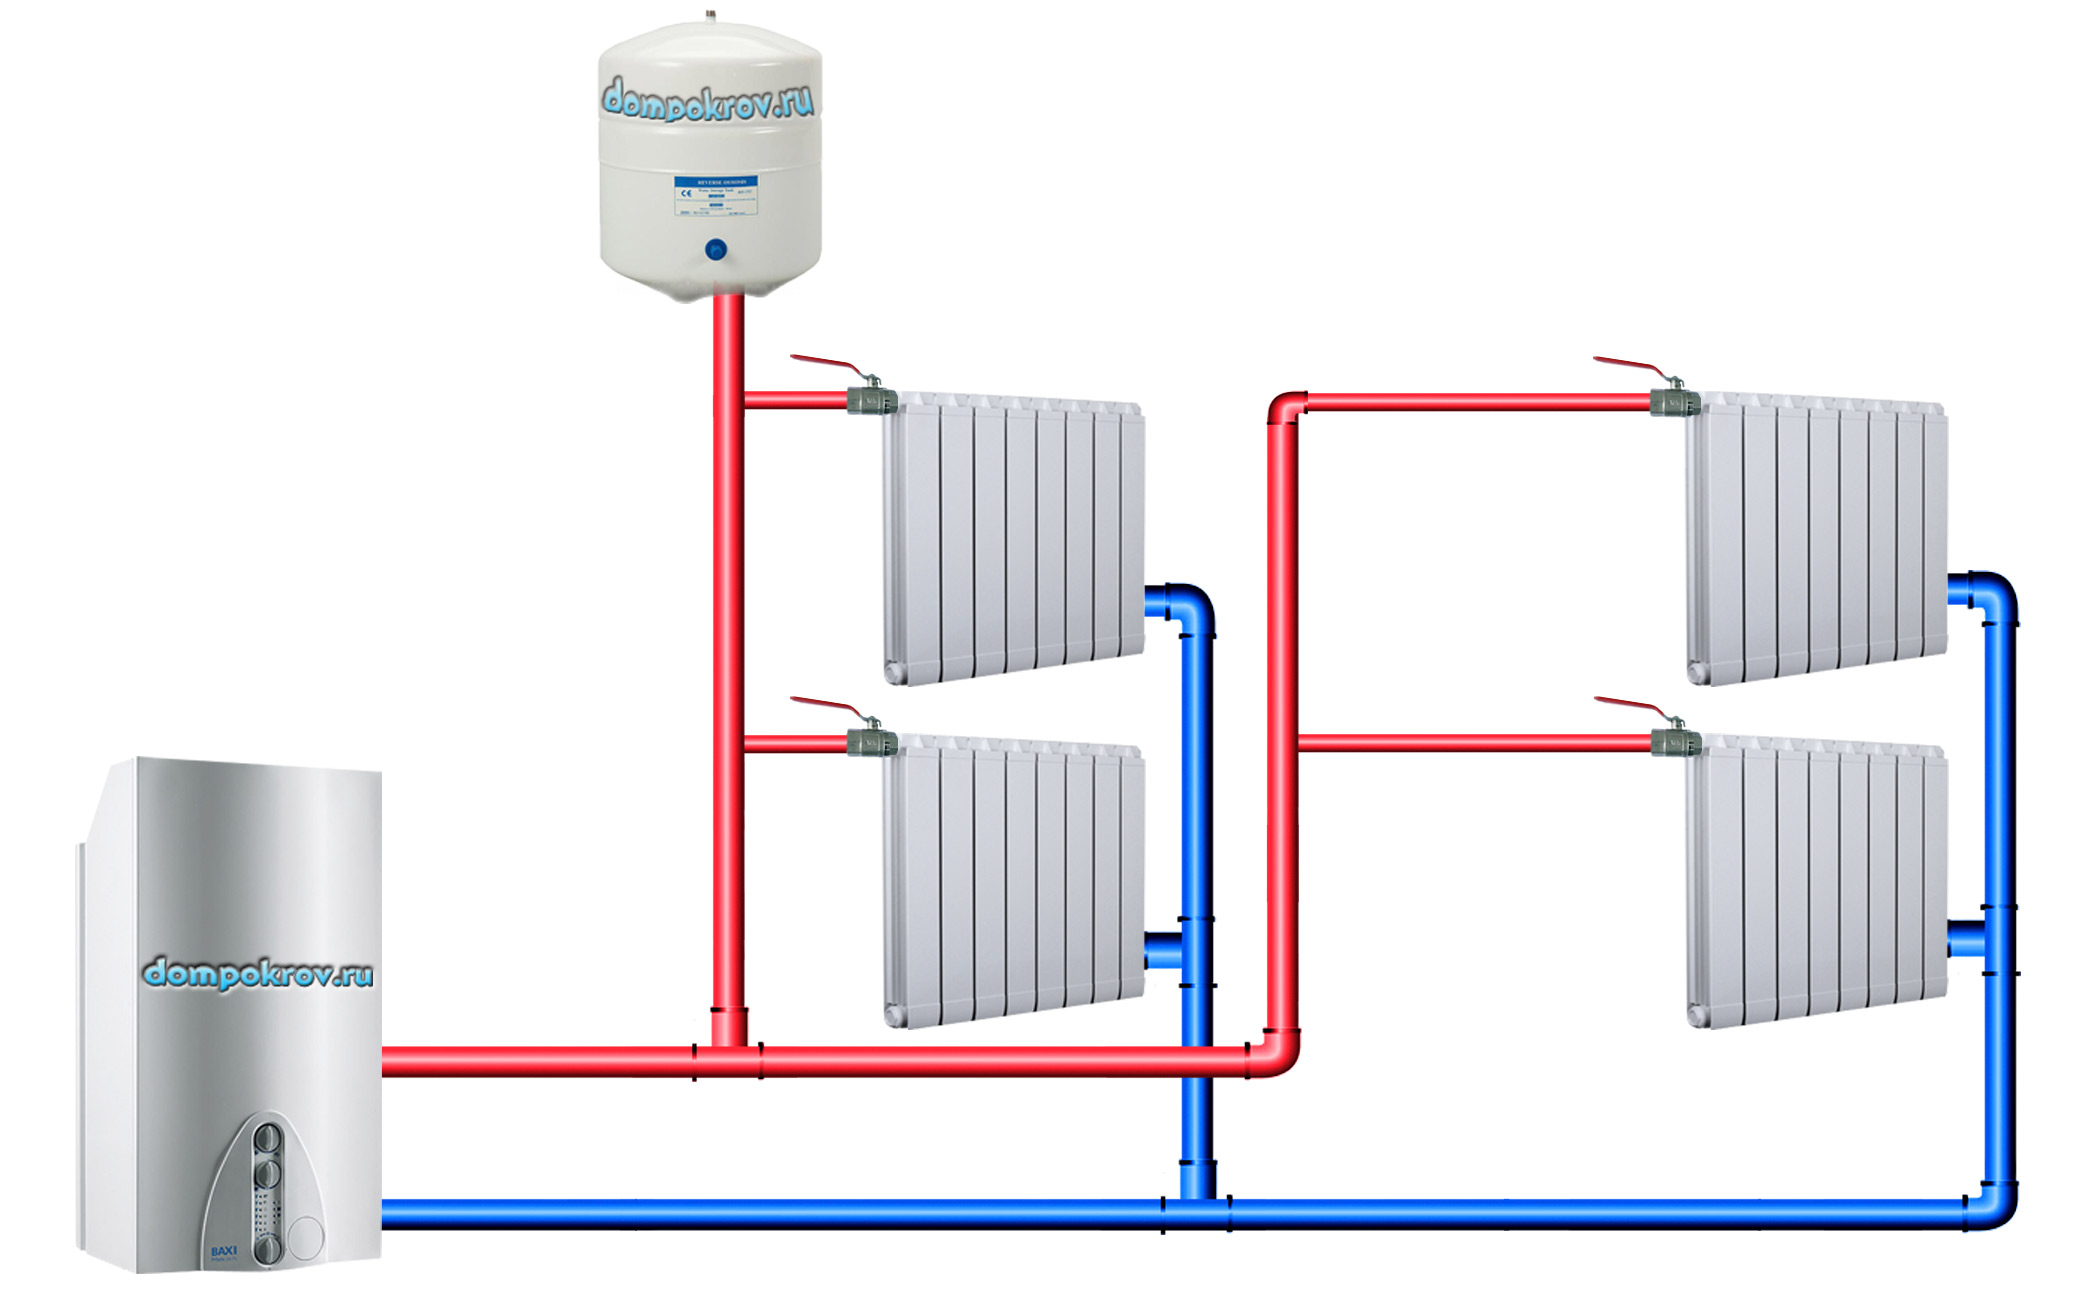
With a two-pipe system, the coolant flows through one pipe, but separately to all batteries. In this situation, all radiators are heated evenly, and the cooled water goes through a separate pipe into the boiler, where it heats up again. If it is necessary to replace the riser, it is not necessary to disconnect; it is enough to cover only one battery, which simplifies the work compared to the previous option.
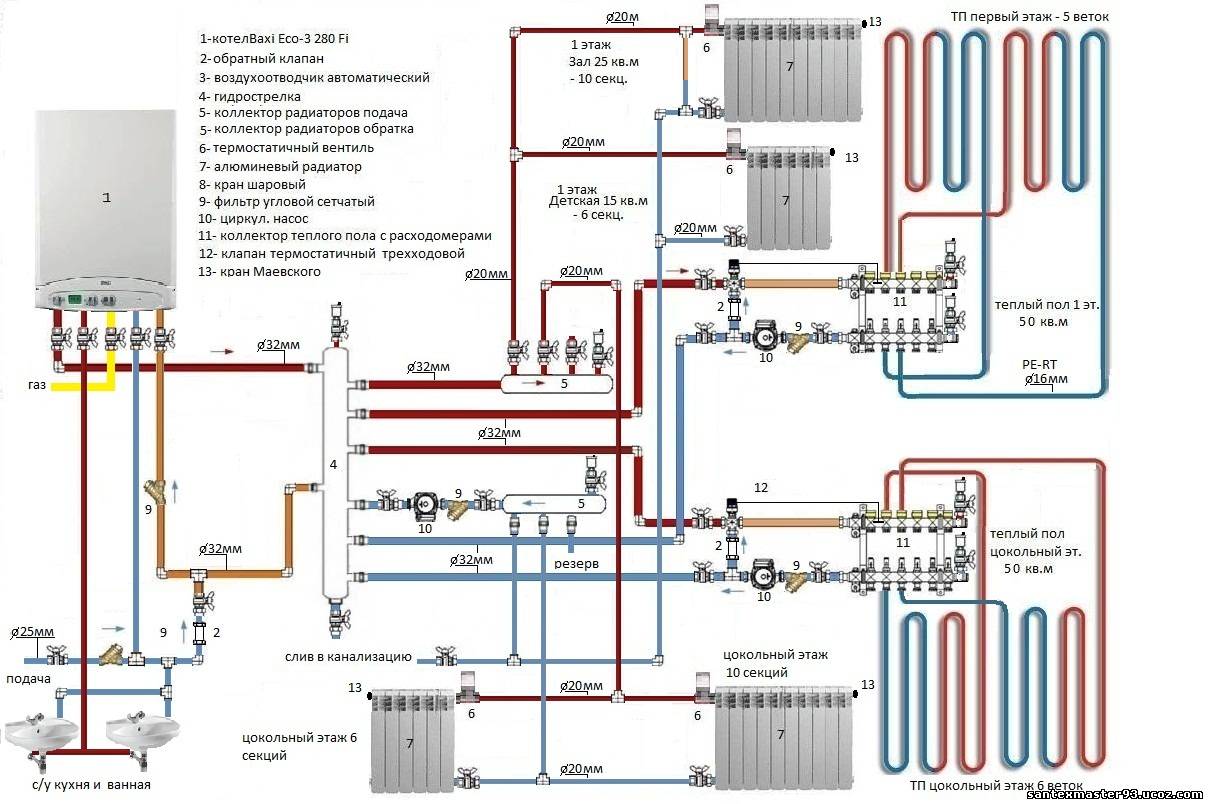
A system using a collector is used primarily in cottages and is much more complex. In this case, separate pipes go to each radiator. Installation of the system on its own is impossible, the work of specialists is required.
The batteries themselves, depending on the material of manufacture, can be:
- bimetallic;
- aluminum;
- cast iron;
- steel.
Bimetallic elements include elements made of various metals and are often used in apartments. They are characterized by good heat dissipation, easy to install, but at the same time they have a rather high price. Working pressure - 35 atm.
Aluminum batteries also do not create installation problems and give off heat perfectly. Due to the pressure up to 18 atm, they are often installed in multi-storey buildings. Radiators are resistant to corrosion, but they can not be mounted with copper pipes, as the base can react, which will lead to the destruction of both elements.

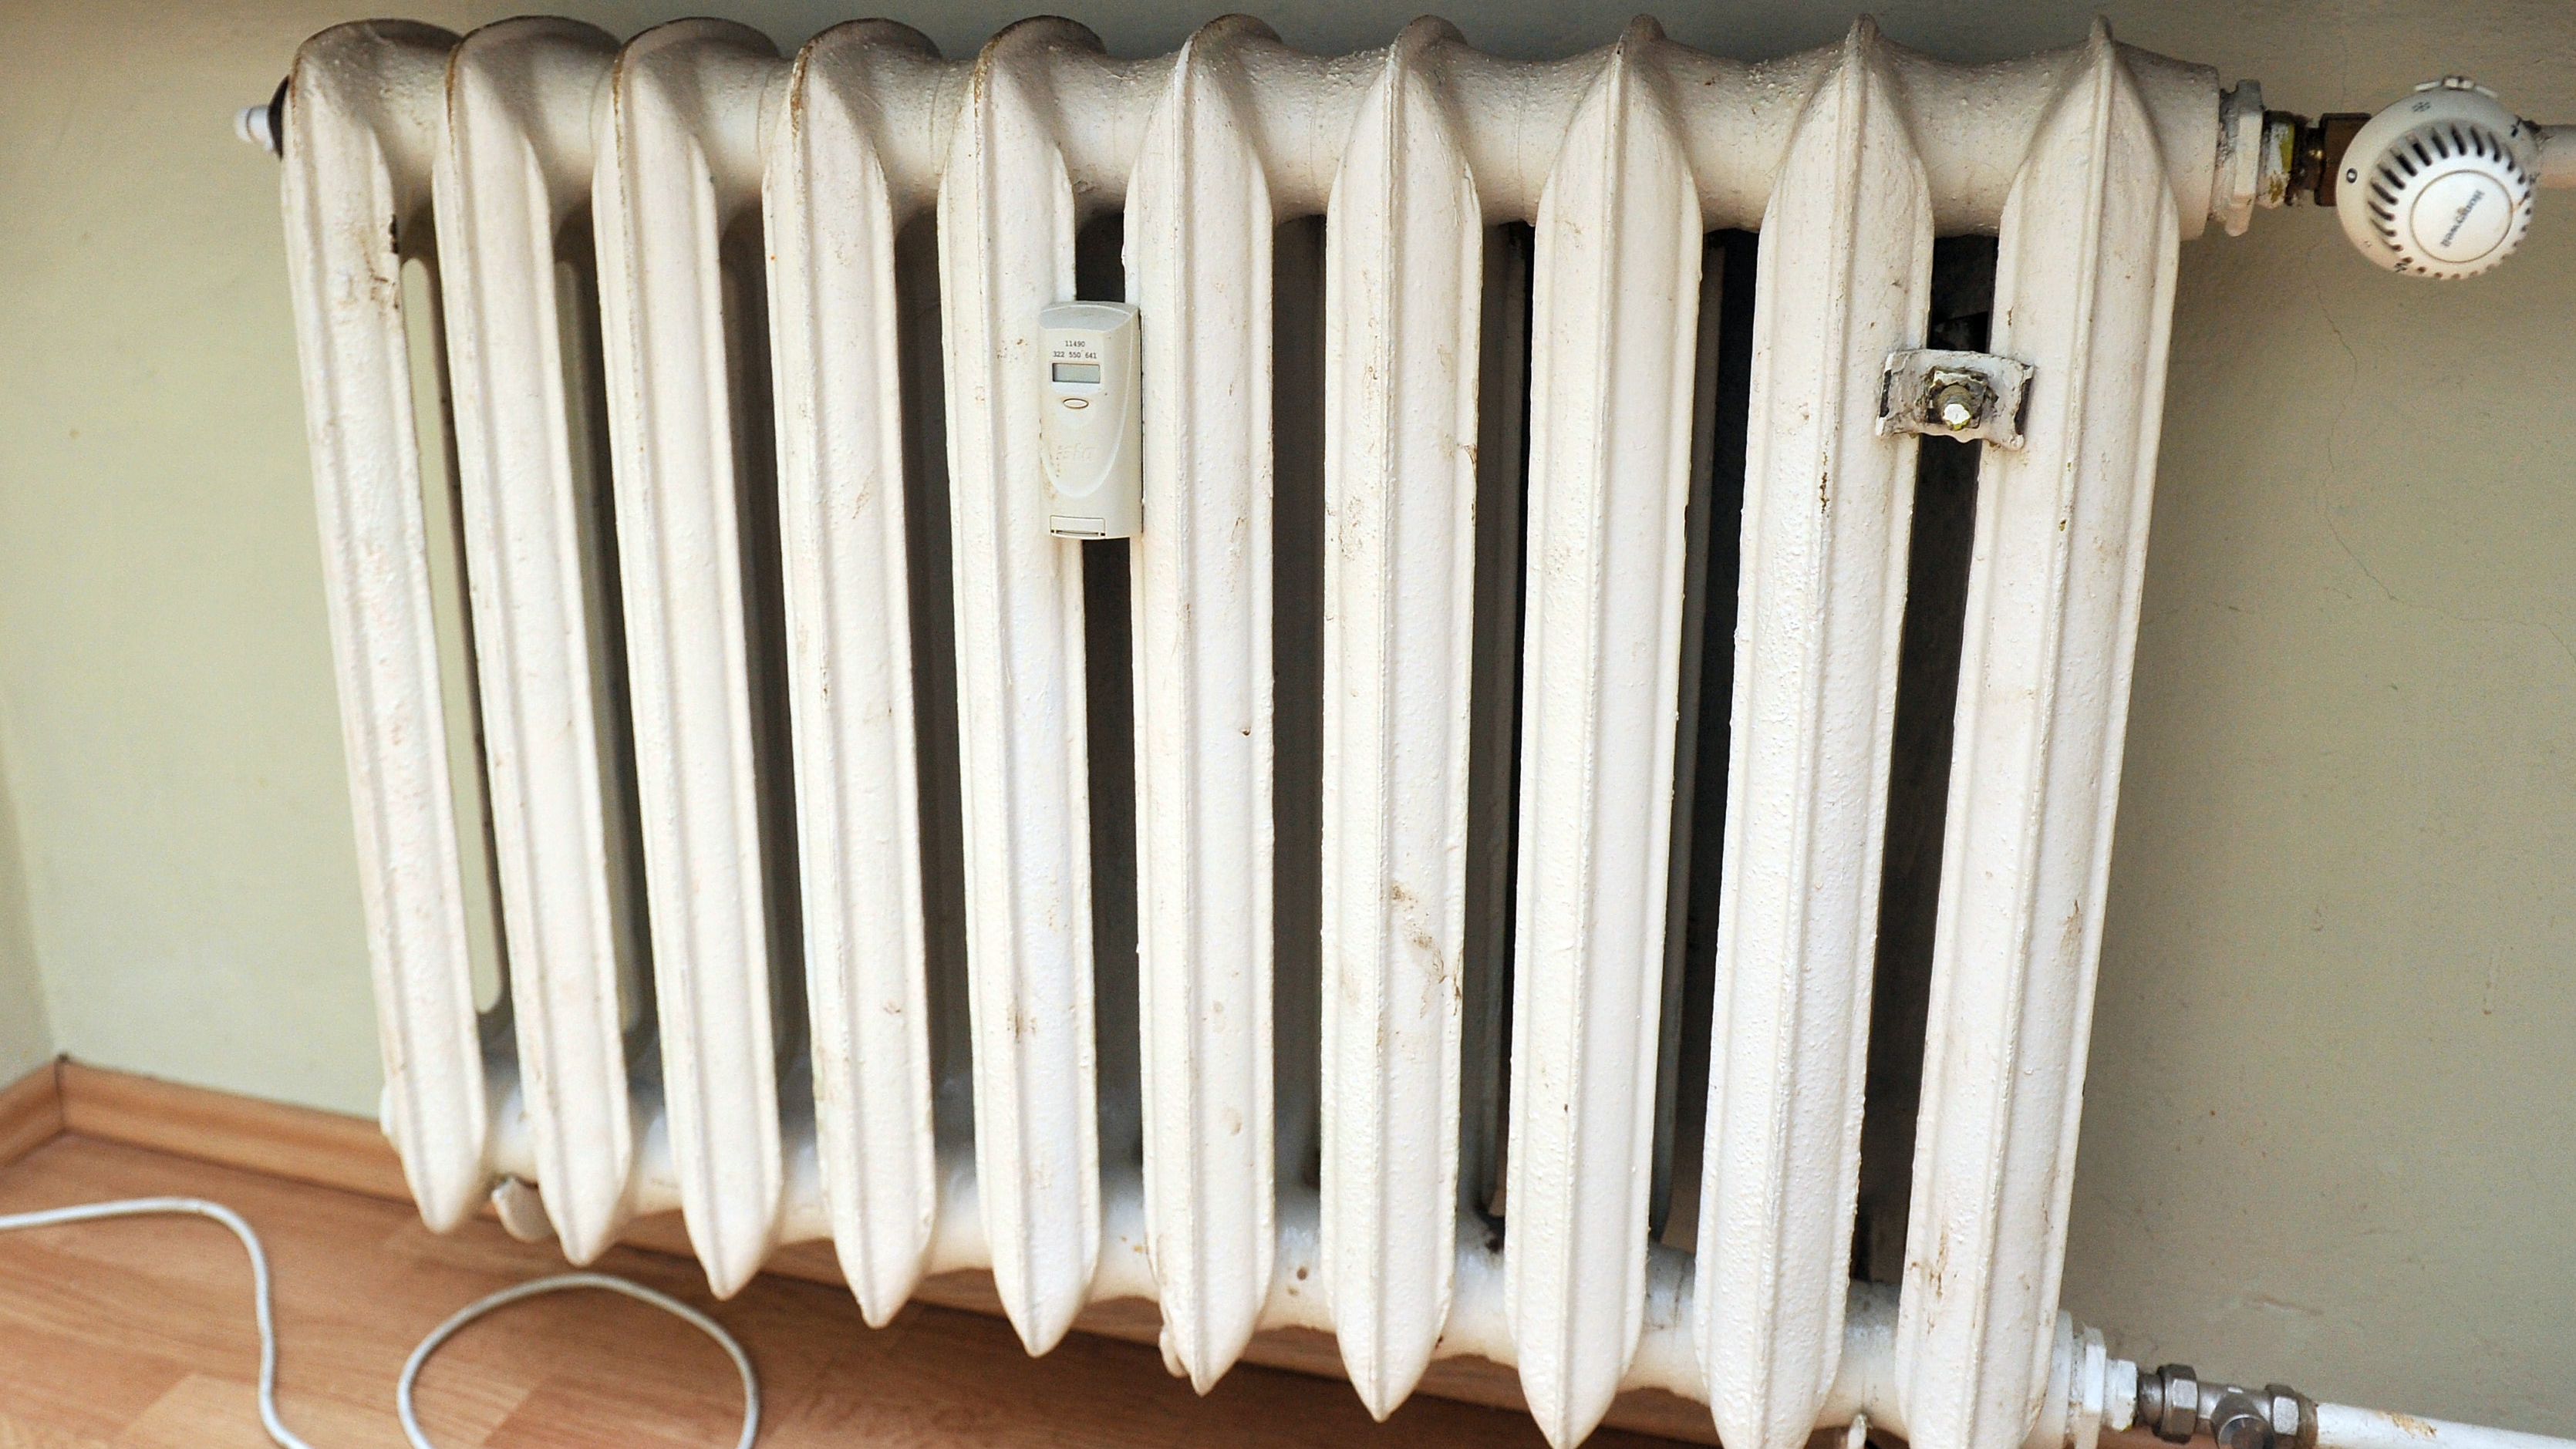
Cast iron batteries are most often used in the old housing stock.where there are few floors, as their pressure reaches only 12 atm. In the apartments they are installed quite rarely. Radiators have considerable weight, which creates difficulties during installation, besides, they heat up and cool down for a long time. Among the advantages can be noted their strength and long service life.
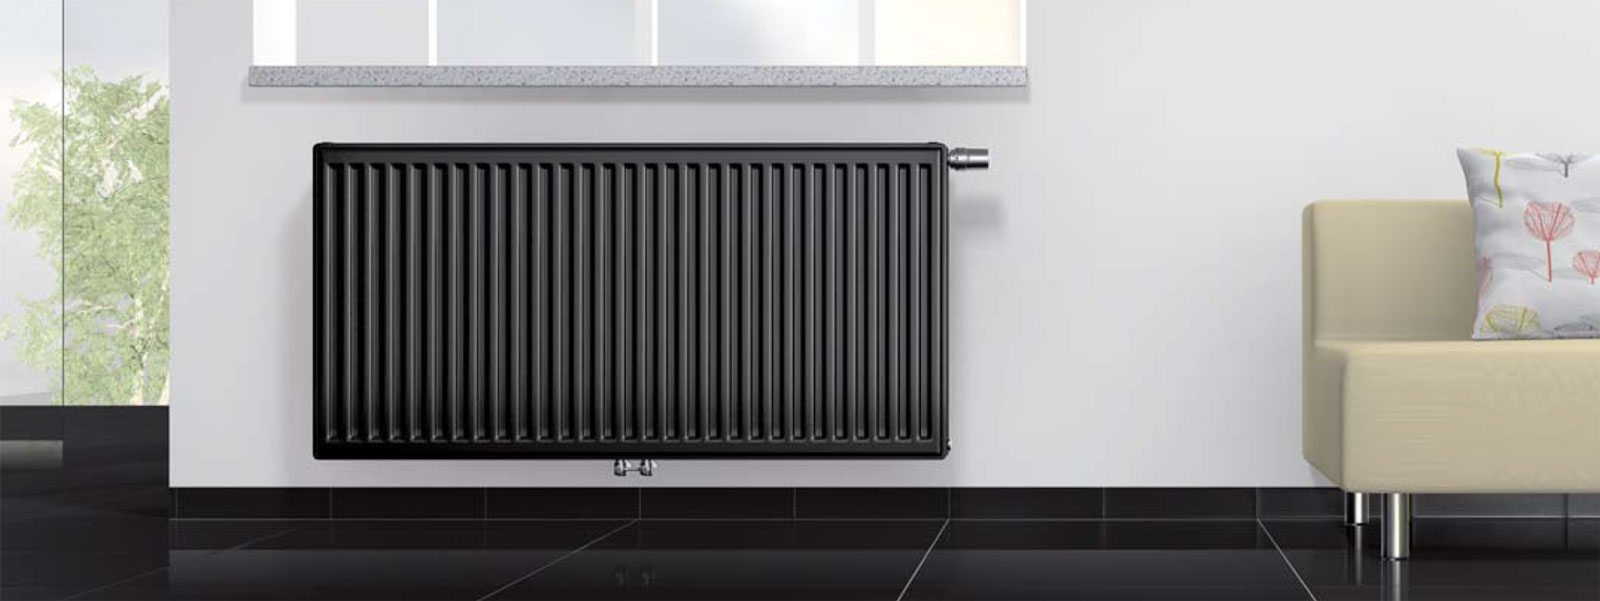
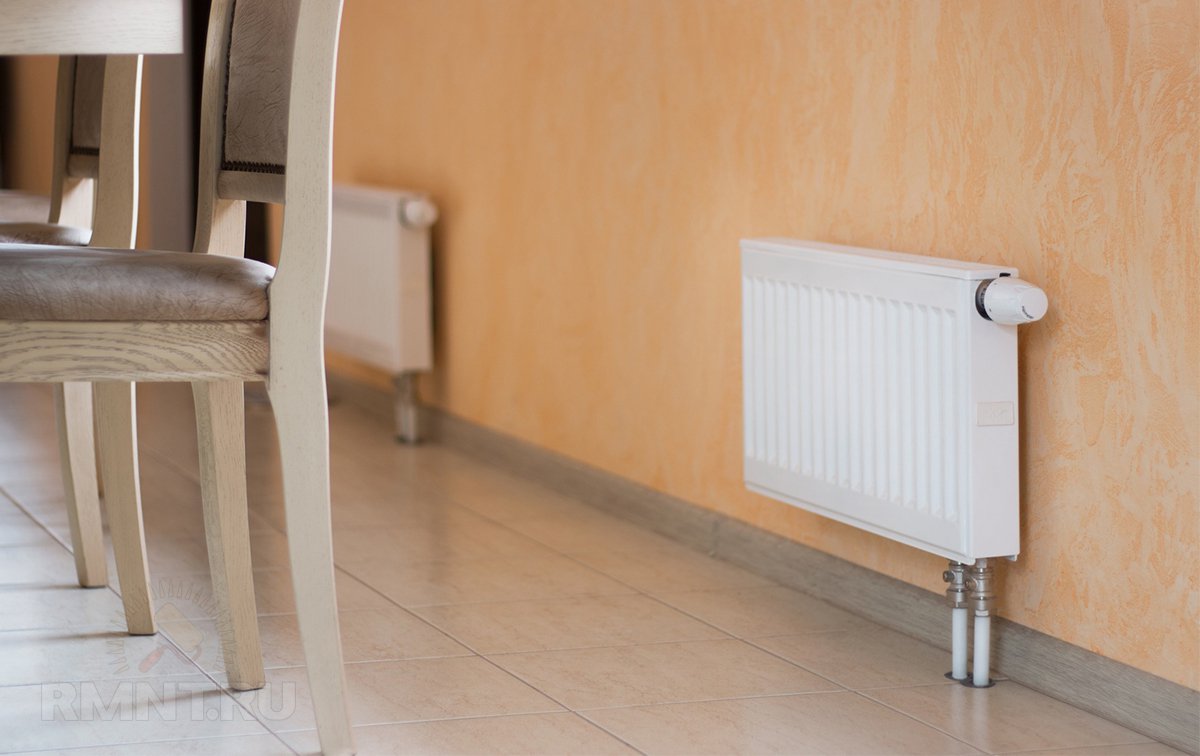
Steel radiators have a reasonable price and are suitable for apartment buildings. Among the shortcomings, consumers note a short lifetime - about 15-20 years. And also in this case there is no possibility to increase additional sections.Easy to install and can be installed with any pipes.

Depending on the material of manufacture there are differences in the installation of radiators. Due to its strength, cast iron heating elements are more resistant to mechanical stress, the rest require care in working with them. Installation should be carried out exclusively on walls of brick and concrete, if there is a wall of plasterboard nearby, a special stand is necessary.
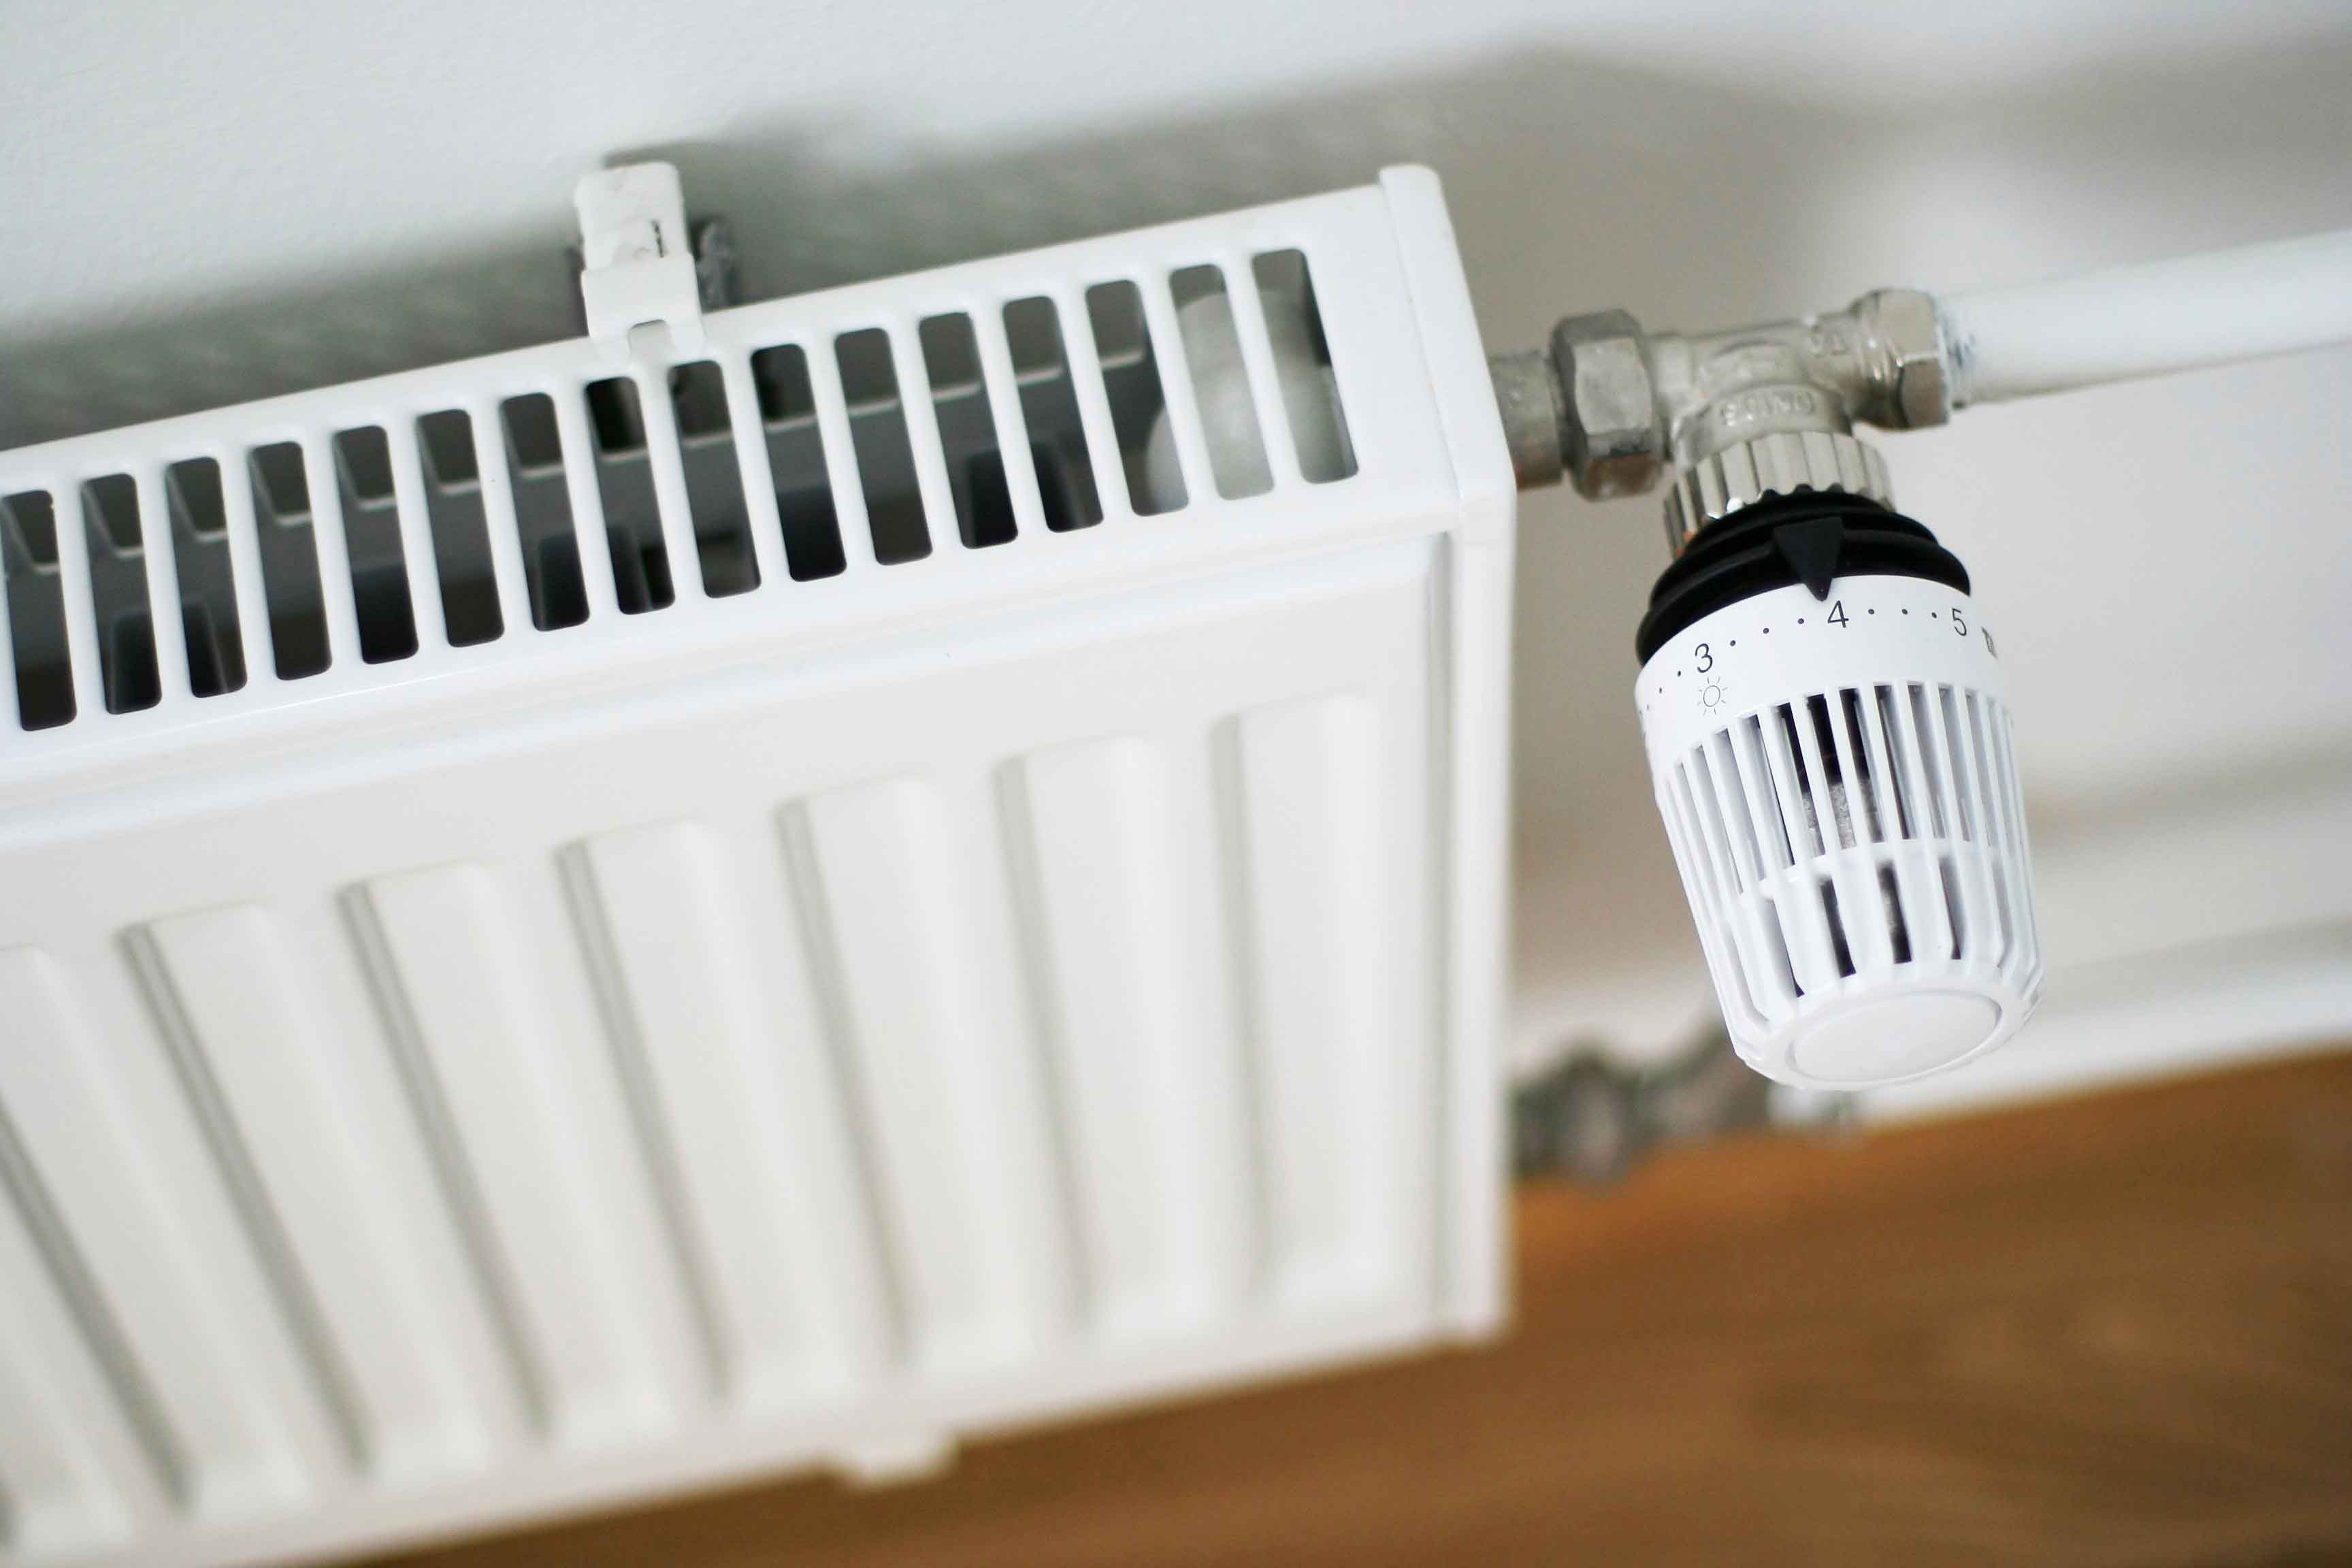
In modern models it is necessary to provide Mayevsky's crane.
Connection methods
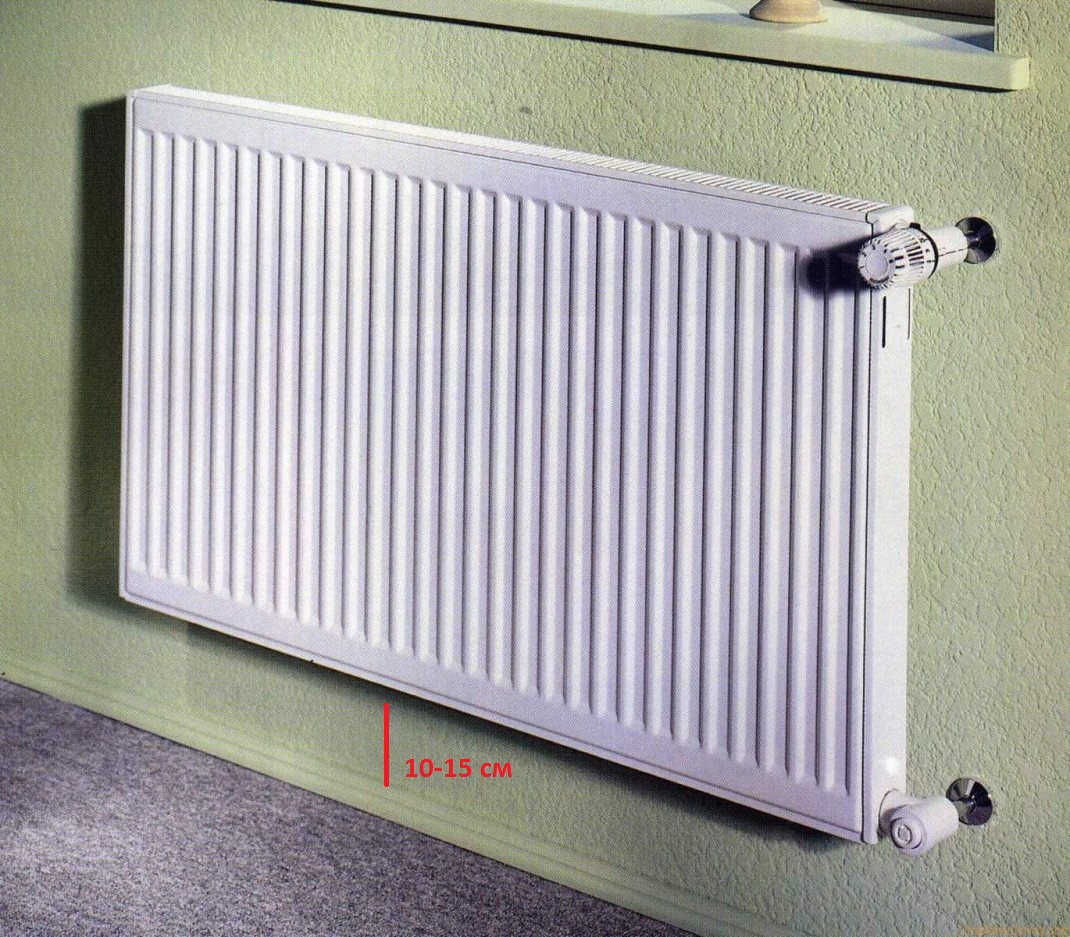
SNiP prescribes the basic rules for installing radiators. The ability of the radiator to withstand pressure is important. Material production should not react with the pipes that are supplied to the product, in order to avoid corrosive processes. The battery should be placed 10 centimeters below the protruding part of the sill to release heat flow.
The distance between the floor and the lower part of the radiator should be more than 10 and less than 15 centimeters. This is a matter of principle, otherwise the processes of uniform heat exchange will be disrupted.All sections must be connected smoothly and have no significant differences in height.
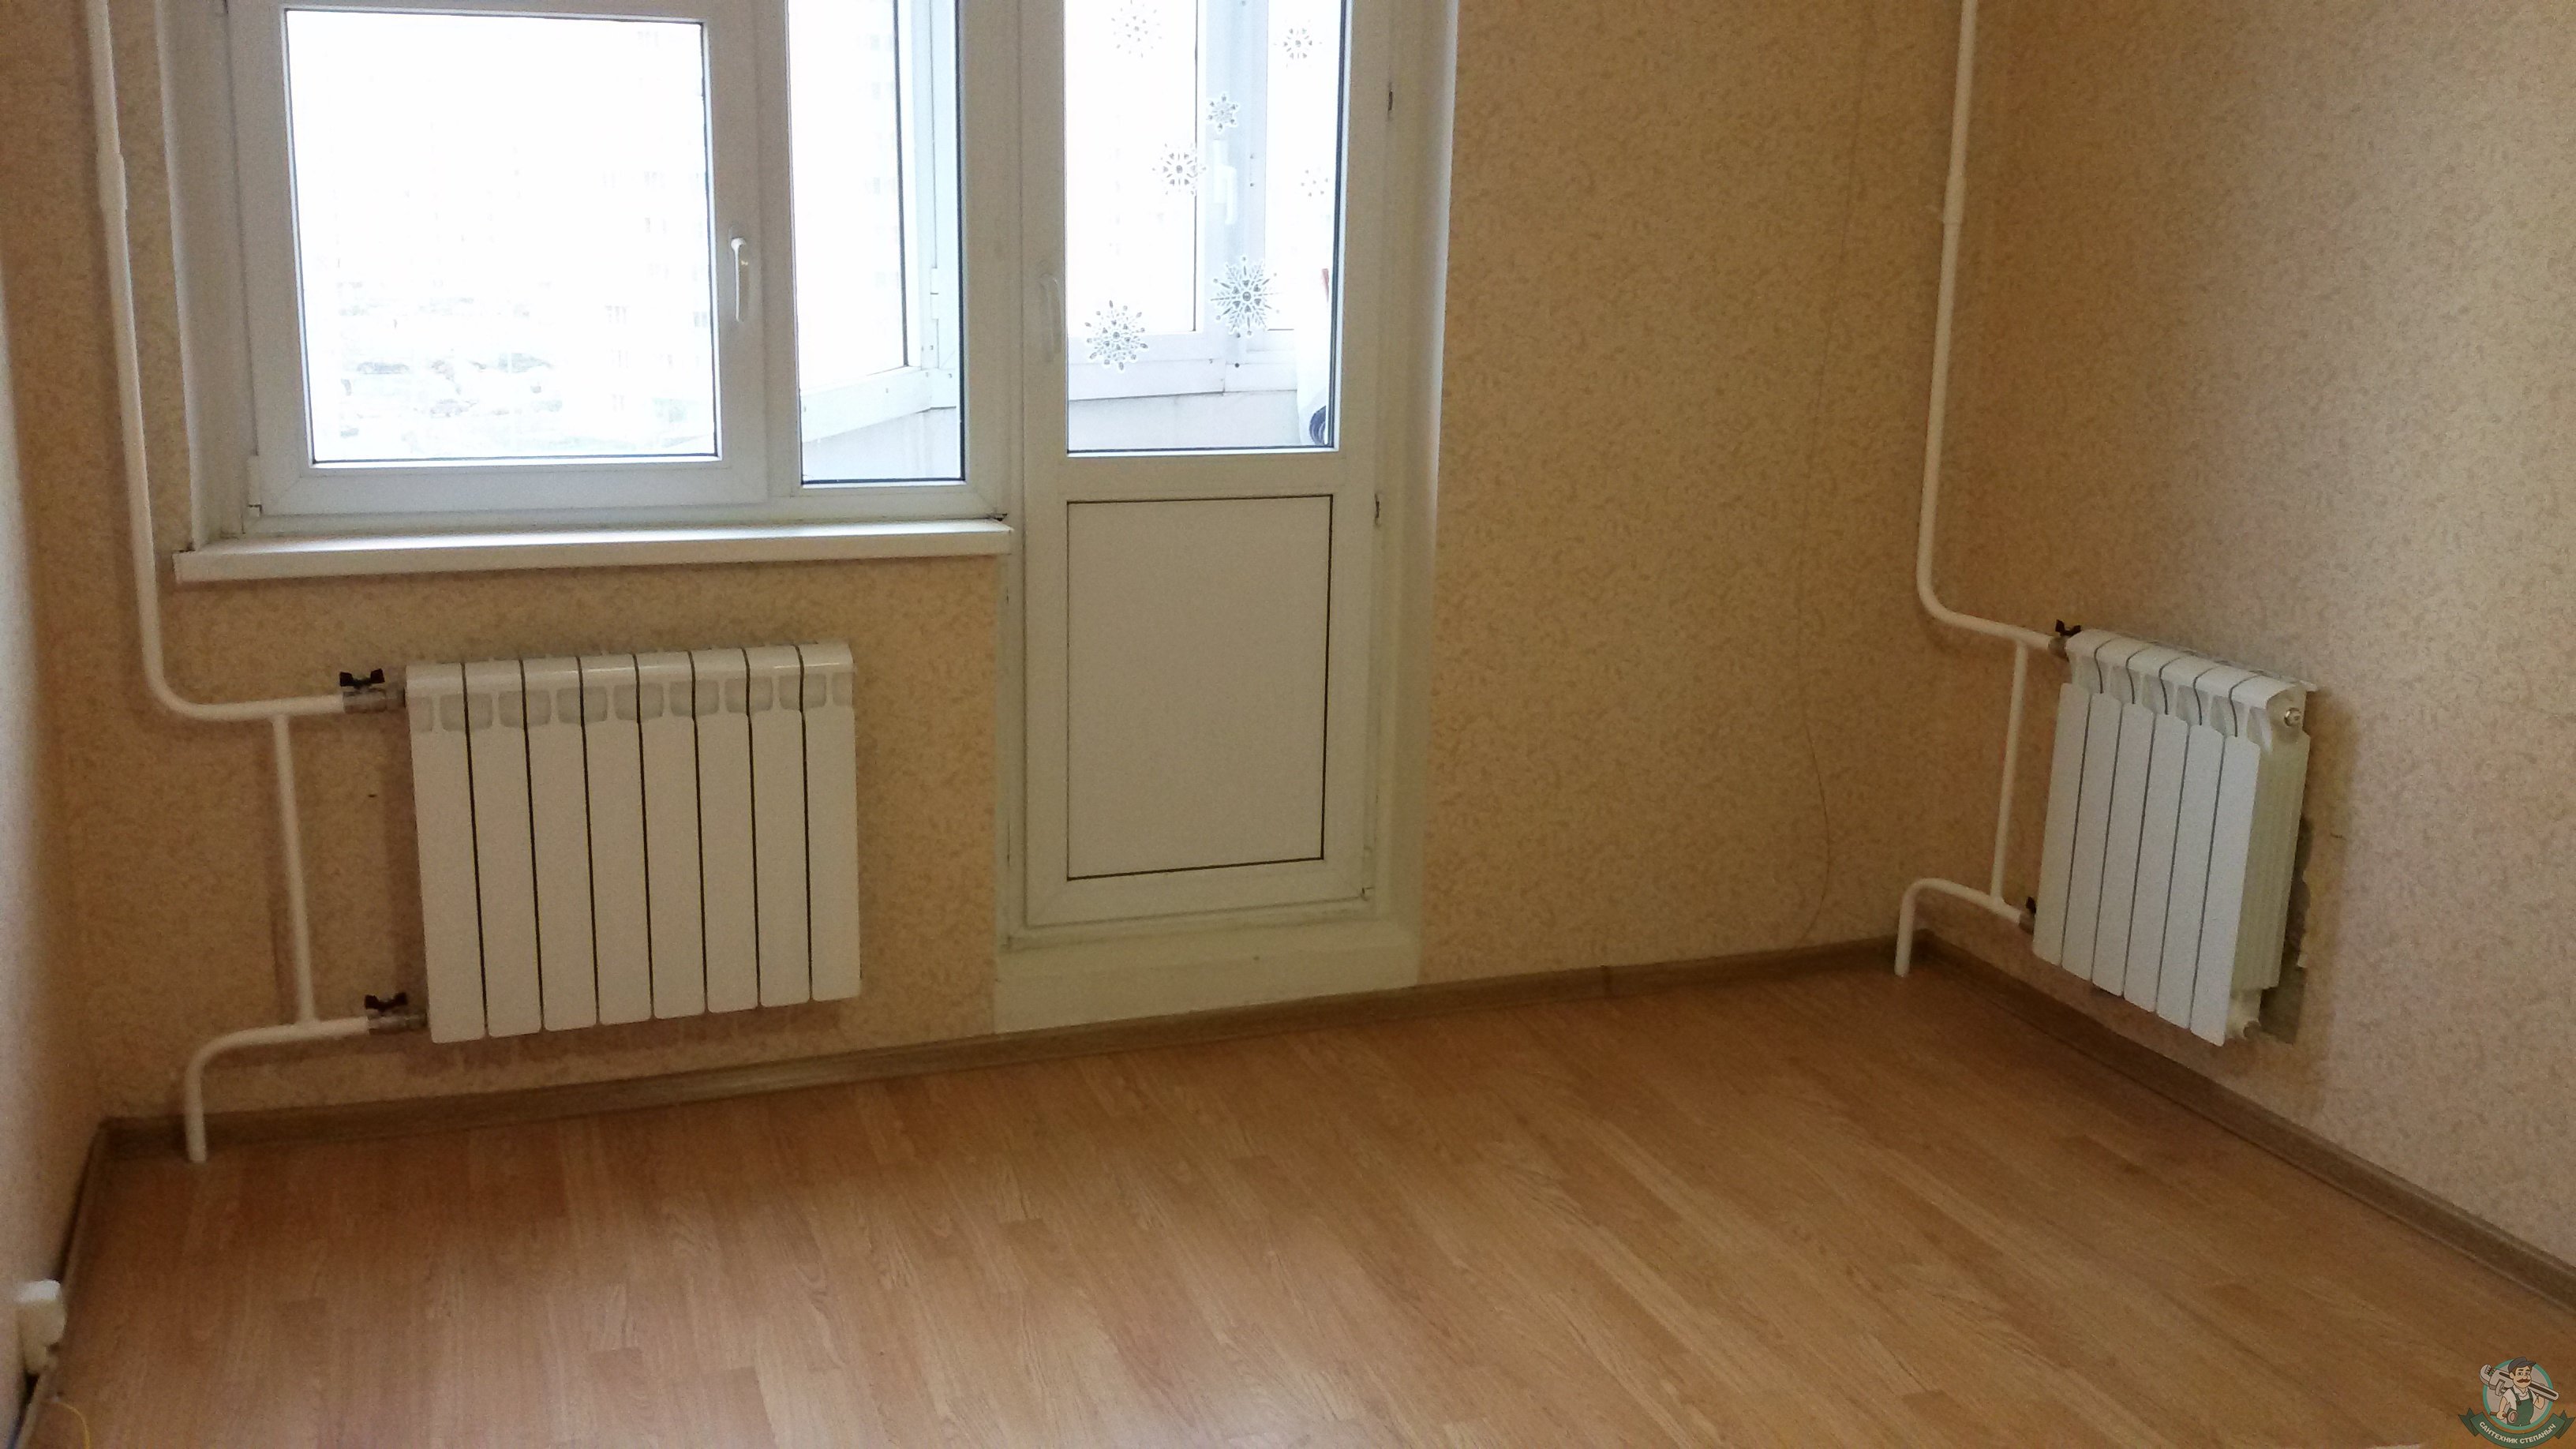
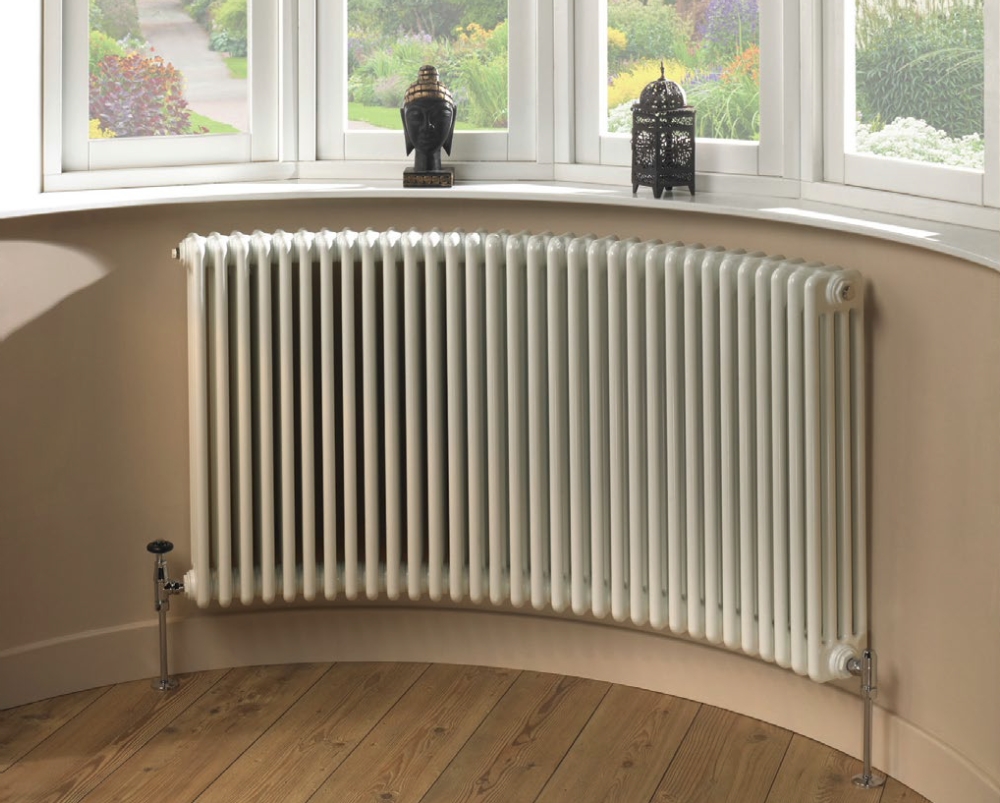
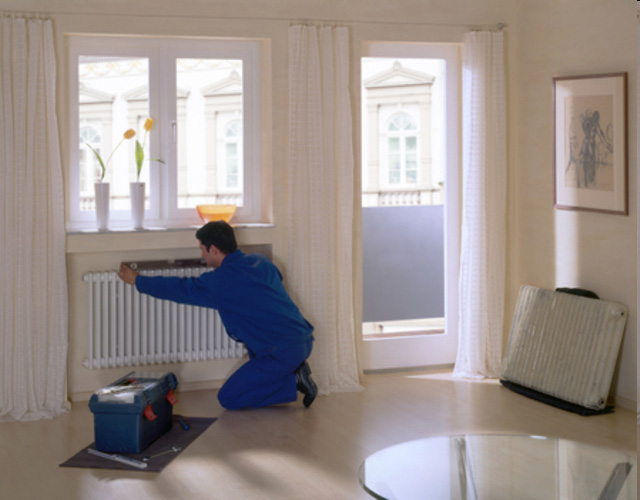
To heat transfer took place most efficiently, it is important to correctly place the heating radiator. Experts recommend placing it under the windows to minimize the heat output through these areas. In the case when there is an external cold wall, it is recommended to place additional devices on it.
In general, batteries in an apartment can be located in several ways:
- lateral arrangement;
- lower;
- diagonal
- consistent.
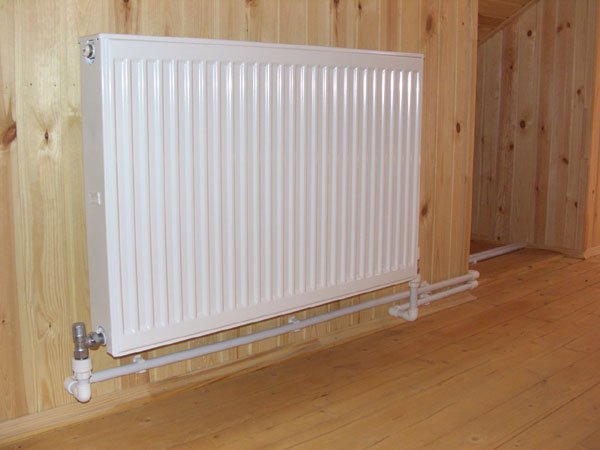
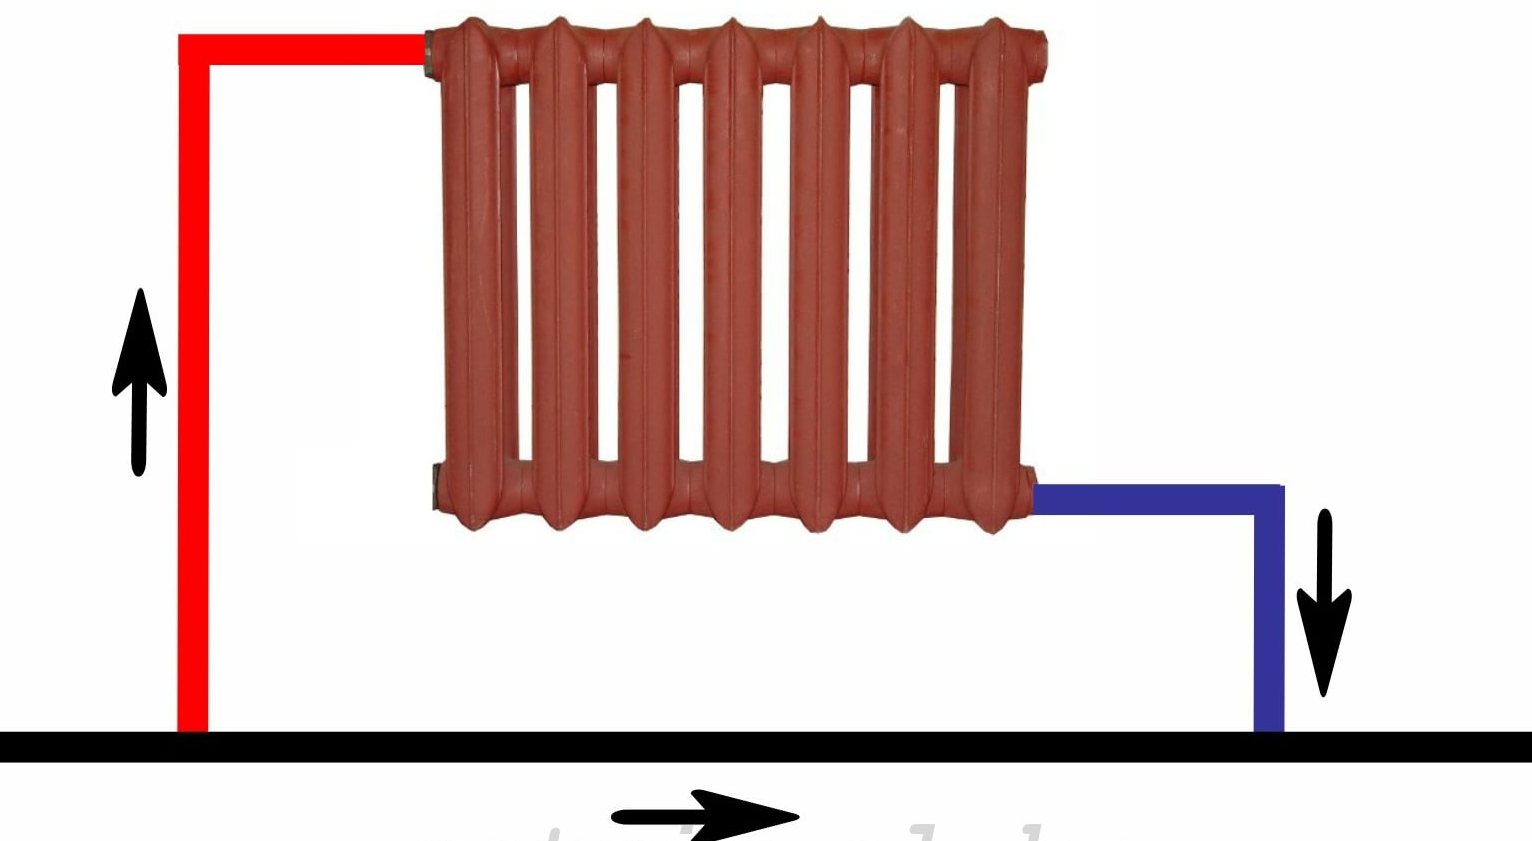
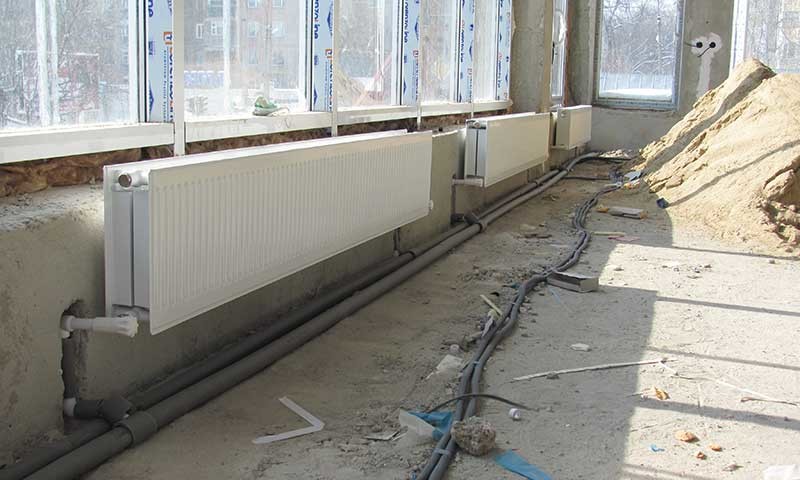
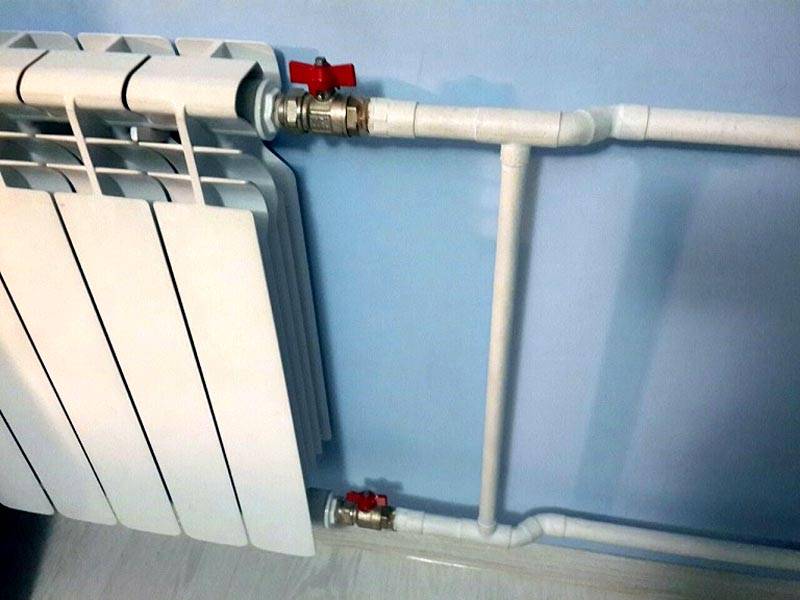
The most popular is the lateral arrangement of the batteries. It is characterized by high heat emission. The pipe through which the hot water flows is introduced into the upper branch pipe, while the discharge comes from the lower one. In the case of the lower placement, both connections are located at the bottom. The scheme is relevant if the pipes are placed in the floor or under the plinth.
Diagonal is used when the battery has a large number of sections, 12 or more. The coolant enters through the upper pipe, and comes out below. Consistently relevant when the plumbing system has enough pressure to allow hot water to pass through all the batteries.
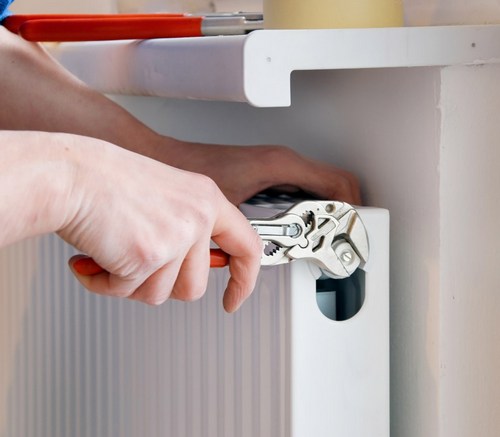
In cases when the installation of an additional radiator is necessary, first you need to remove the coolant from the system. After fixing the brackets, the radiator is attached, the connections are fixed with a special key. At the free hole you need to install a crane Mayevsky, close the rest with a stopper. Next, you should attach the battery itself and carefully align. After that, the rest of the elements are fed in and everything is connected into a single system, which must be completely sealed.
Replacement rules
There are cases when radiators need replacing.
This can happen in two situations:
- battery failure;
- replacement of old radiators with new ones.
In the event of a breakdown, it is imperative to notify the housing office and the ECD. Representatives of these organizations are required to visit the apartment, inspect and confirm that it is impossible to restore the old radiator, and its replacement is required.
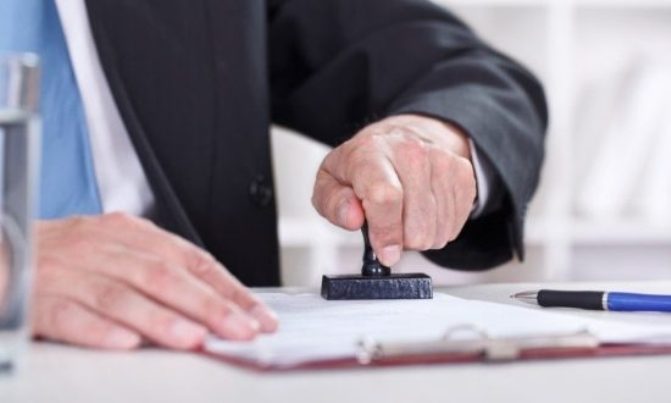
It may happen that when repairing or for other reasons, tenants decided to replace the old radiators with more modern models. In this case, the owner must be ready to go through the coordination activities.Without the consent of the management company and the documents confirming this fact, the replacement of batteries is prohibited.
Representatives of the above organization should take part in the process of work, otherwise such actions pose a number of problems.
AT first of all, the parameters of the heating system of the whole house may change. In addition, in order to install a new radiator, it is necessary to block the entire riser, and this action can only be carried out by employees of the management company. If you do it yourself, the violator can face a considerable fine. But you also need to know the temperature regime, which will directly affect how much heat the device will give, and, accordingly, the favorable microclimate in the room.
After registration of all documents you can purchase the necessary elements and devices. Further, the installation date is agreed, according to which the work is carried out. Specialists will help you properly connect, configure and run the heating system.
Preparatory work
Before you begin work on the installation of heating devices, you need to specify the type of wiring, according to which the system is organized.It depends on what exactly the parts and in what quantity will be required during the installation process. Prepare the work site as well as the necessary tools.
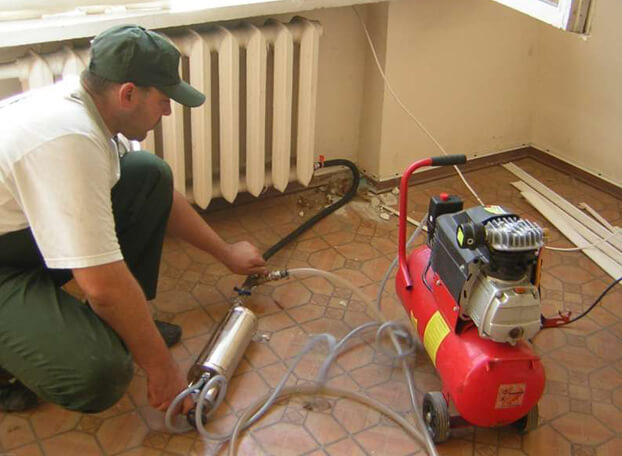
The first thing to start with is the overlap of the riser. If there are old batteries, they need to be turned off, drained all the water, and then disconnected from the heating system.
If necessary, use a pump with which you can remove the liquid from the radiator as much as possible.
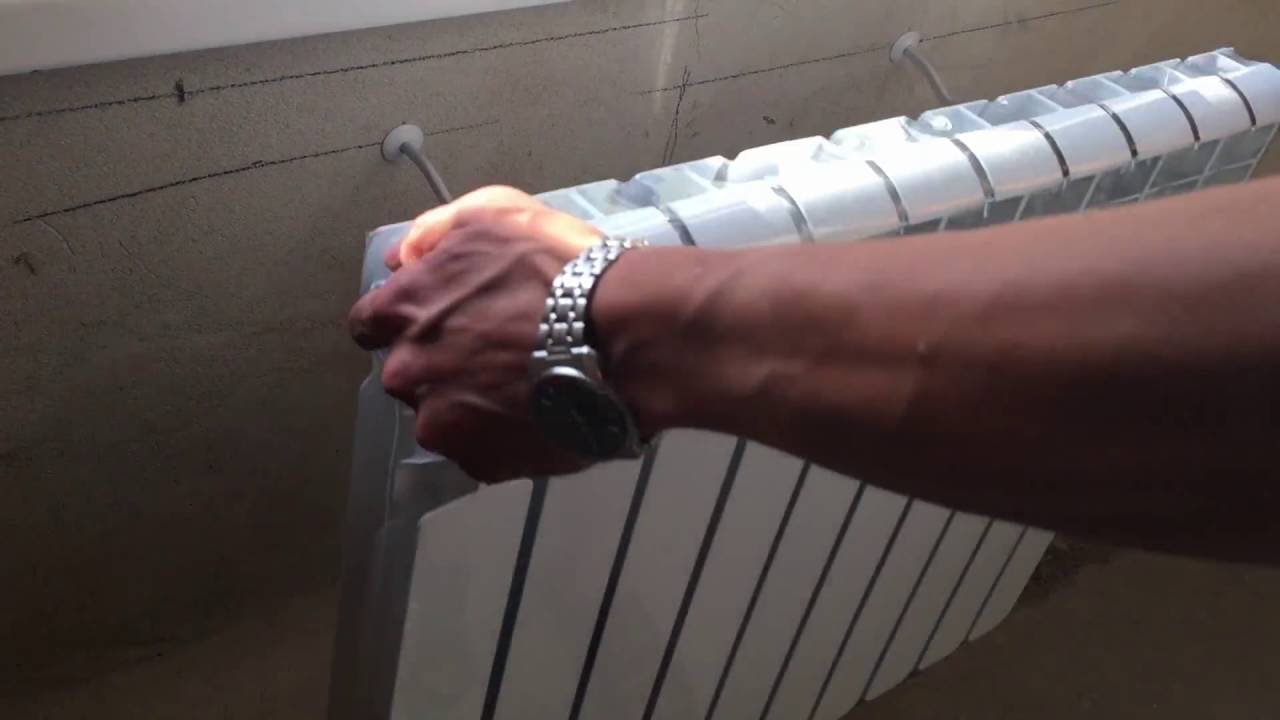
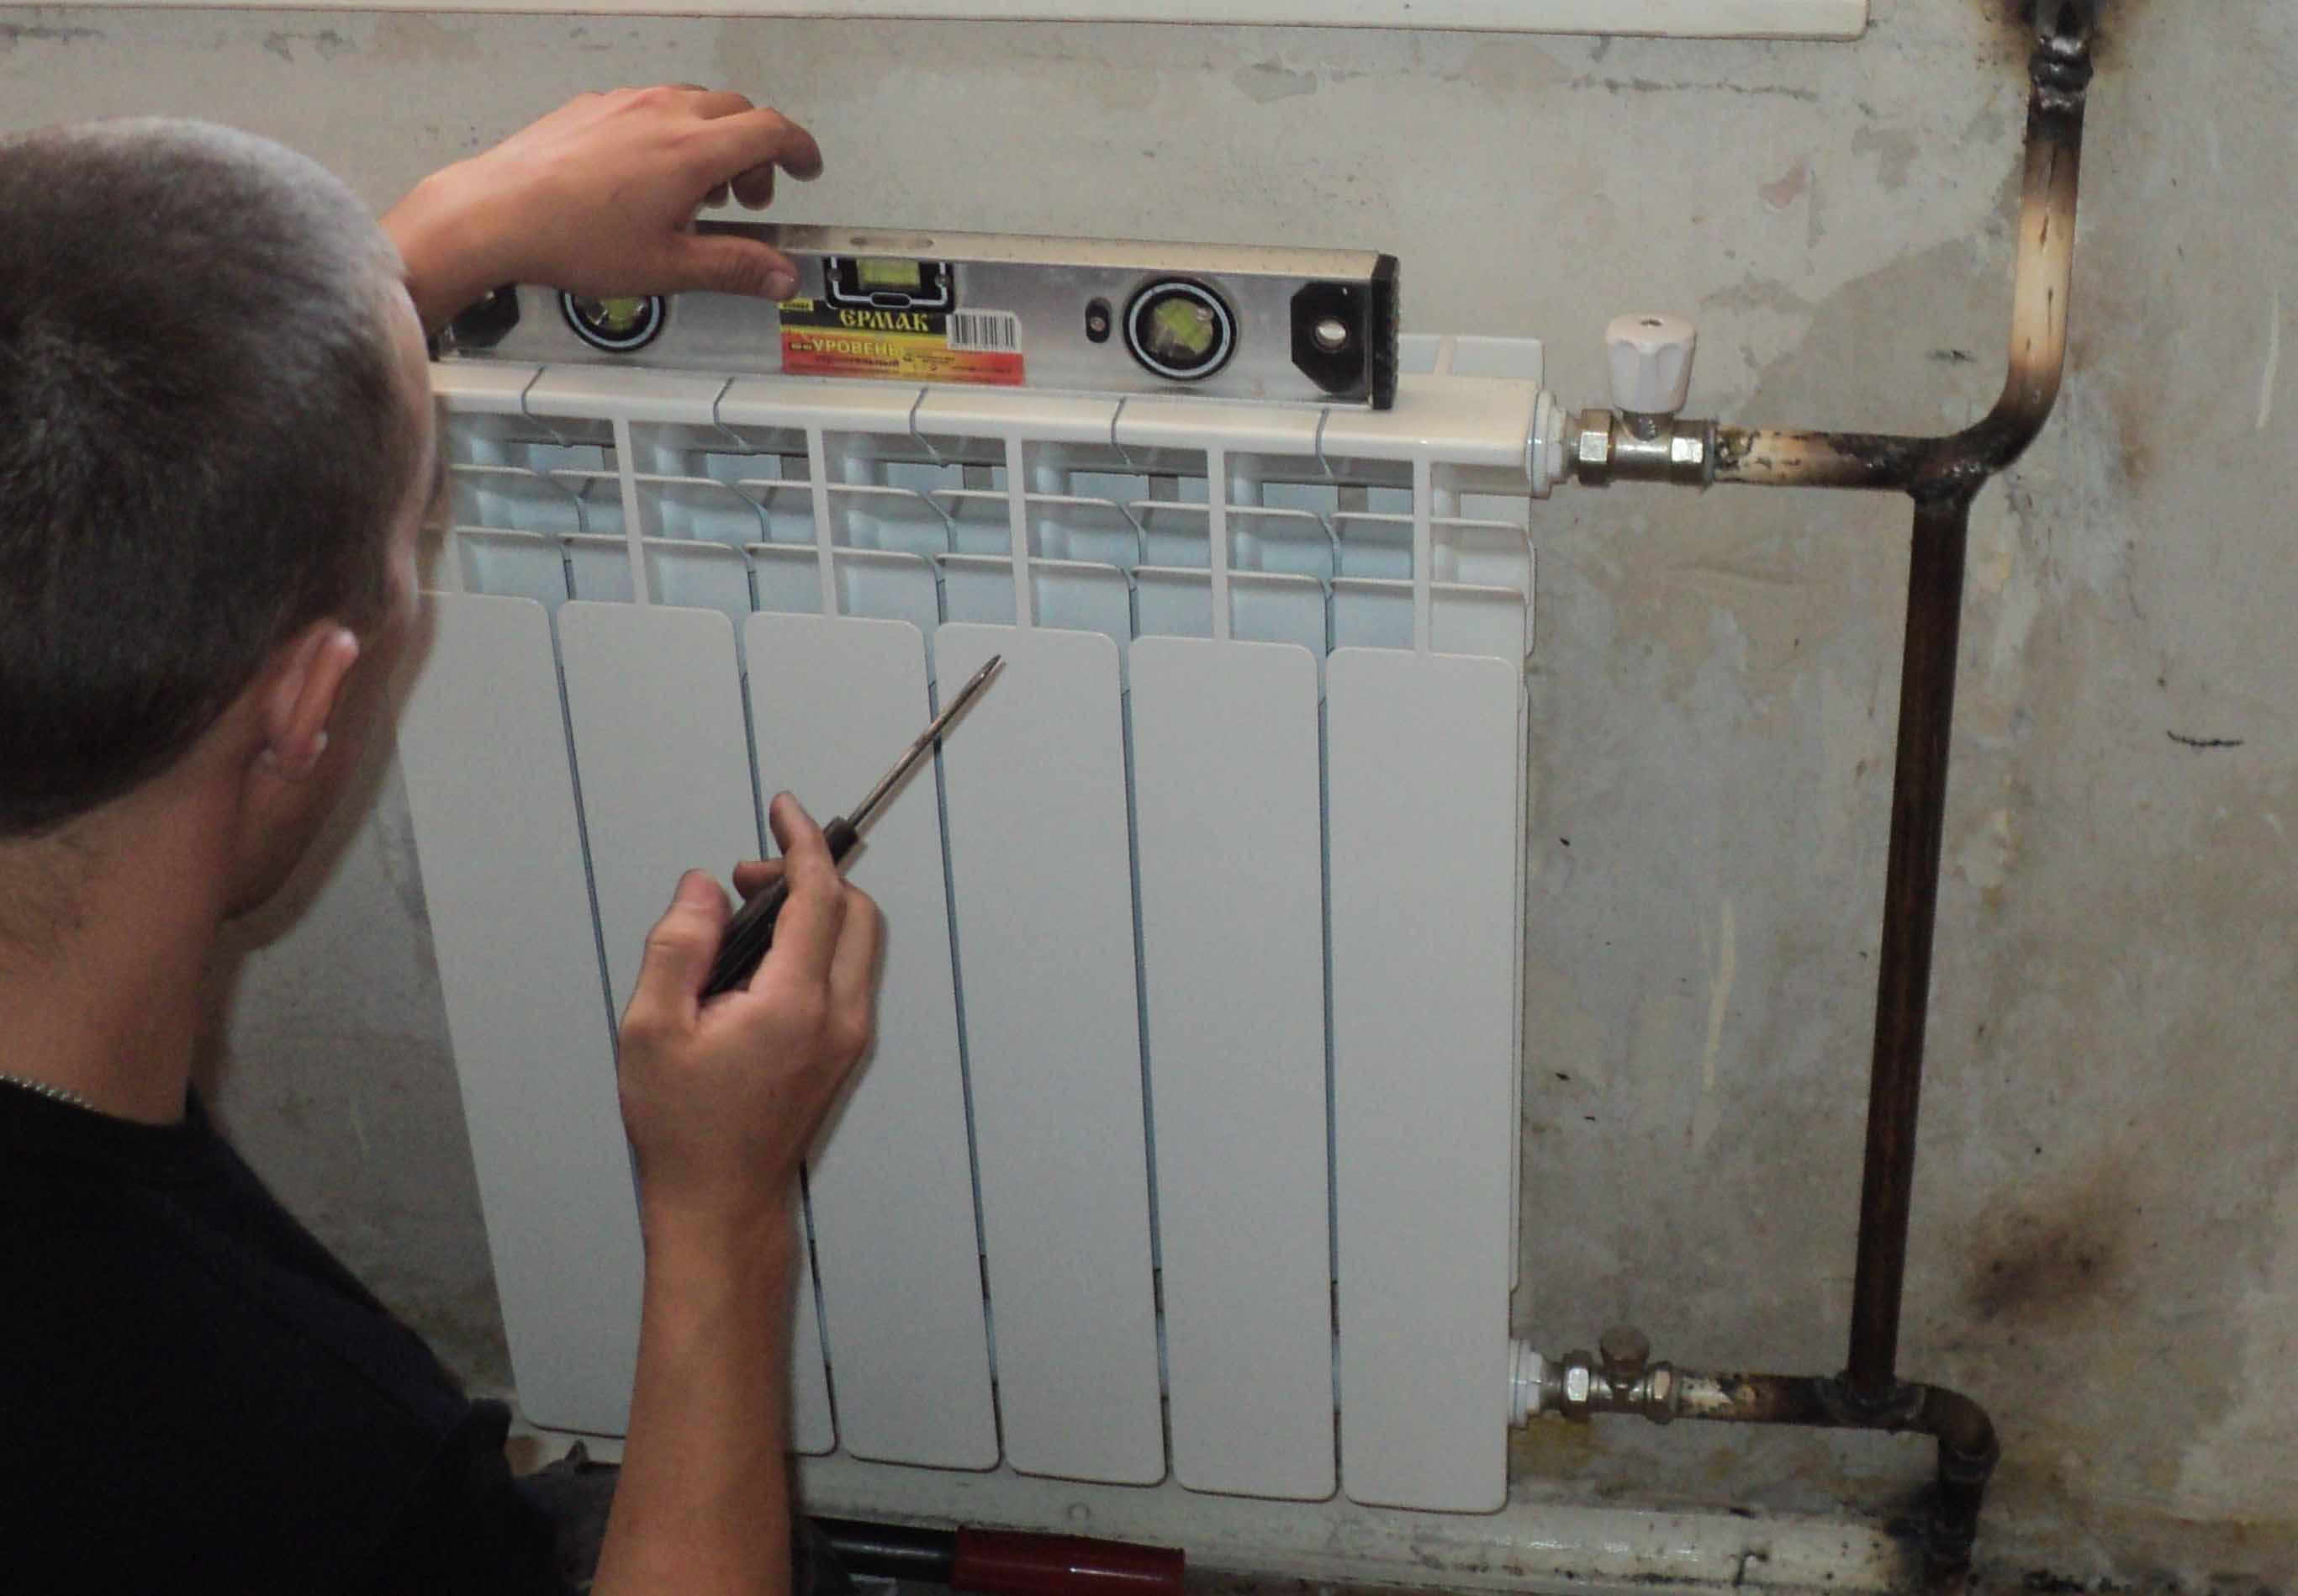
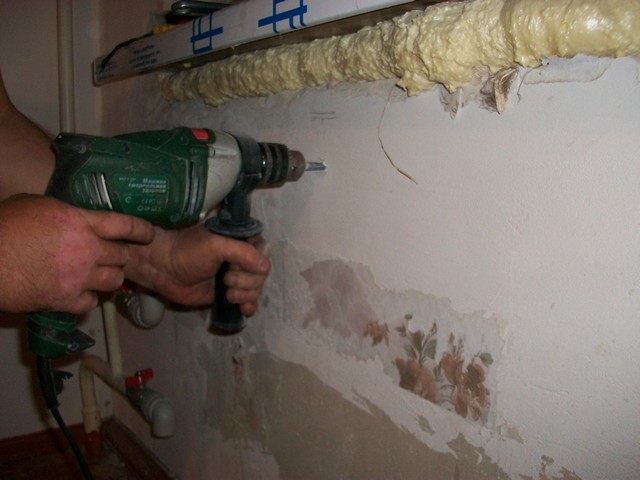
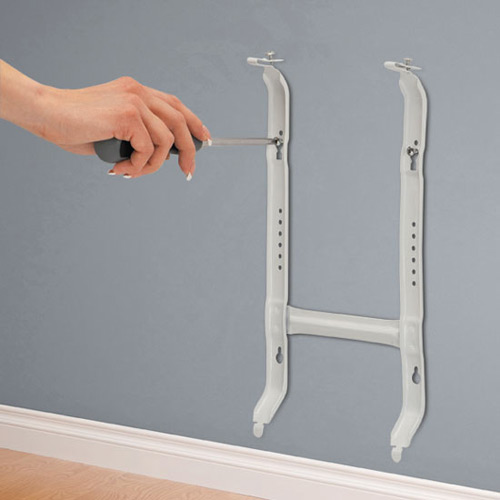
When the coolant is removed, it is necessary to determine the places where the heating element will be mounted. Next, install the brackets. They will need 2 or 3 in order to fix the top of the battery, as well as a pair to hold the bottom. The location of the brackets is required to be checked using a special level. After that, the site can be considered ready for work.
Installation
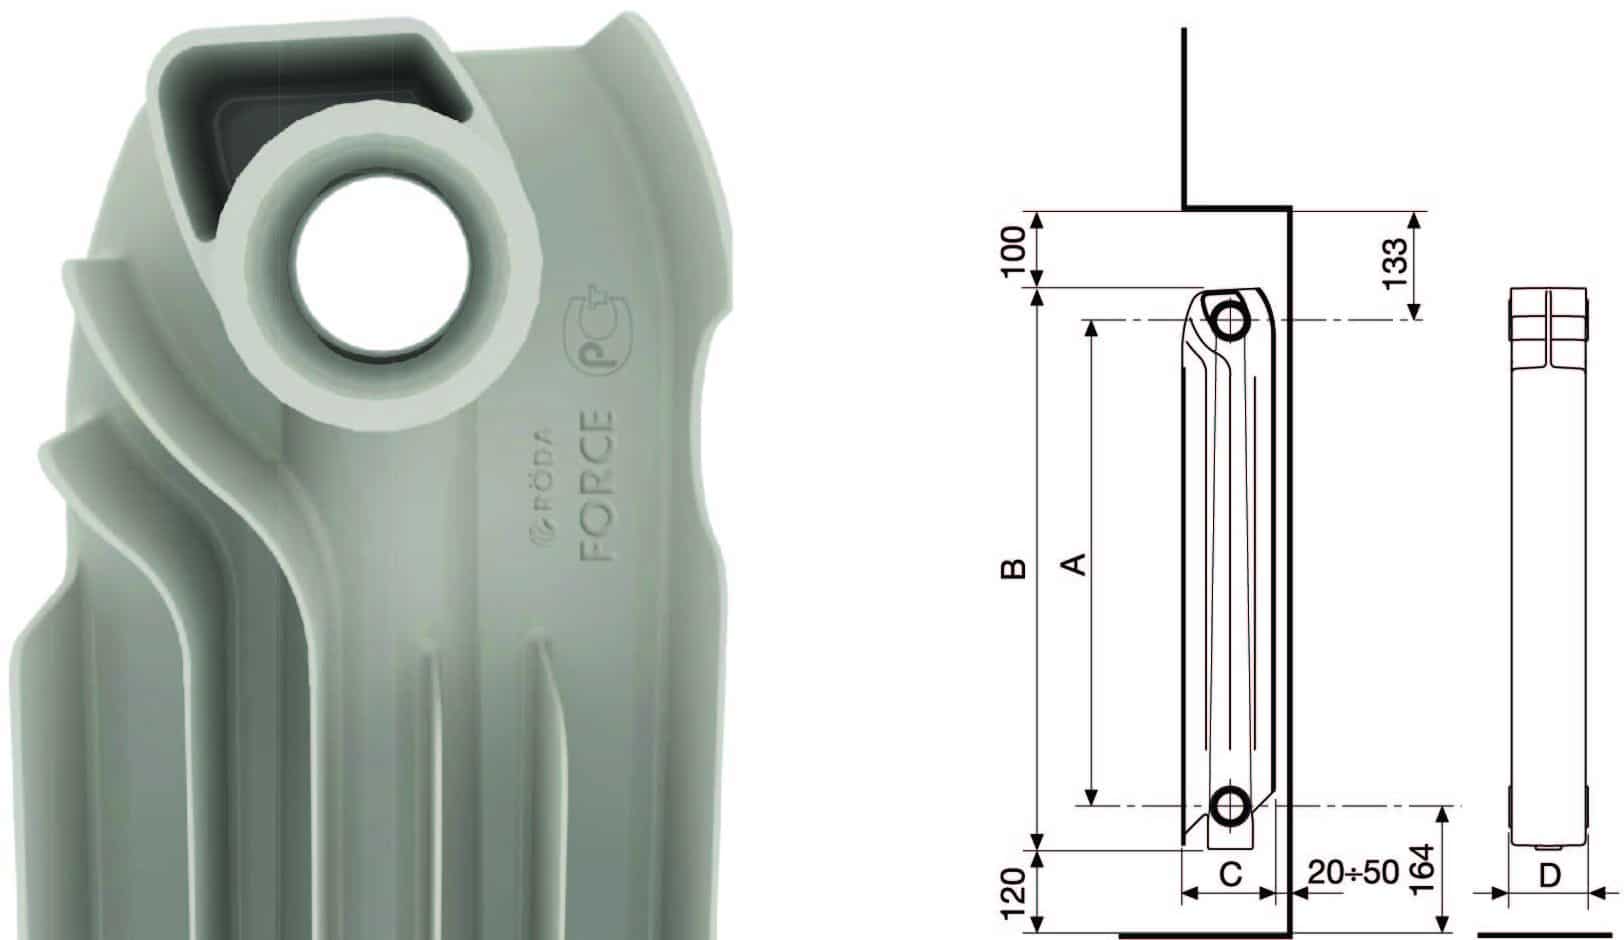
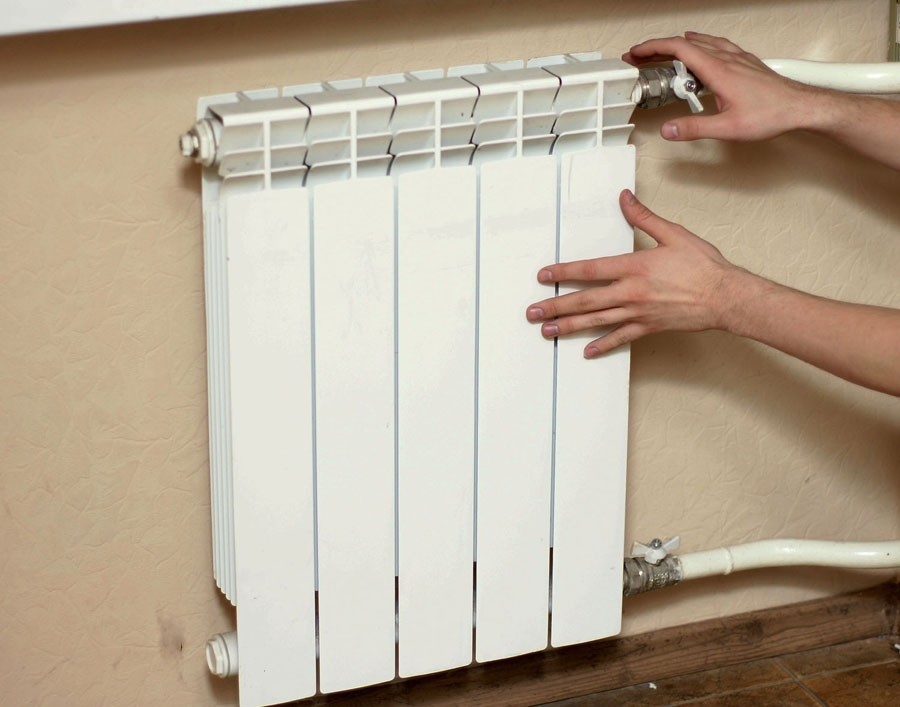
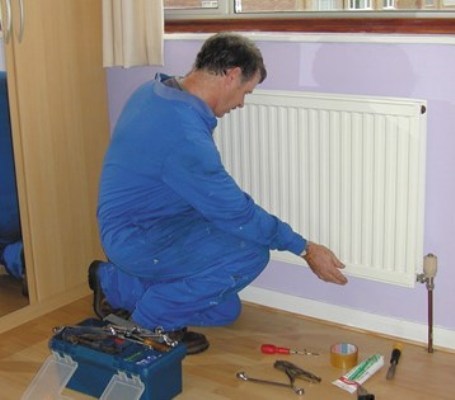
After the preparatory work has been carried out, you can proceed to the immediate installation of heating devices that need to be put on the brackets. If the installation of the brackets is done correctly, the rear wall of the radiator will closely adhere to the supports and will be securely fixed to them.When installing the battery itself, it is necessary to bear in mind that it is necessary to withstand a slight slope, which will be about 3 millimeters per 1 meter of the heater.
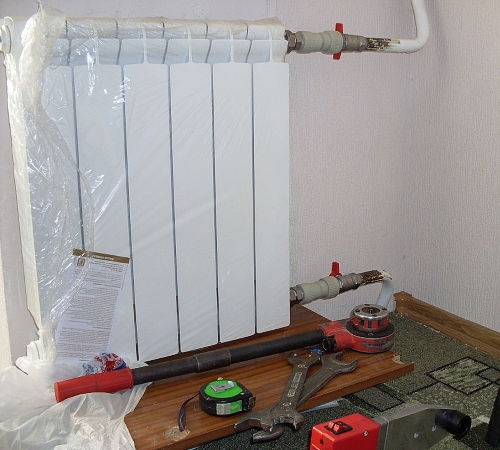
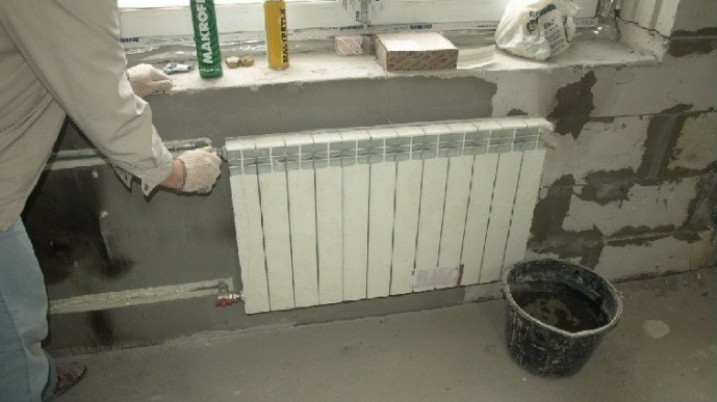
Batteries are installed, pipes and fittings are brought to them, and all of this is carefully fixed. It depends on how well the work is done, how much the system will be sealed. Then you can open the riser and fill it with water. This will check how tight the connections are.
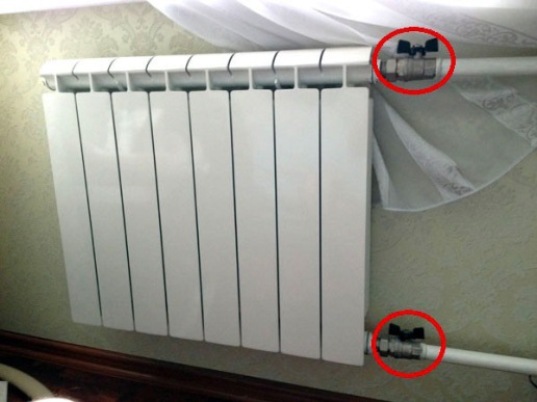
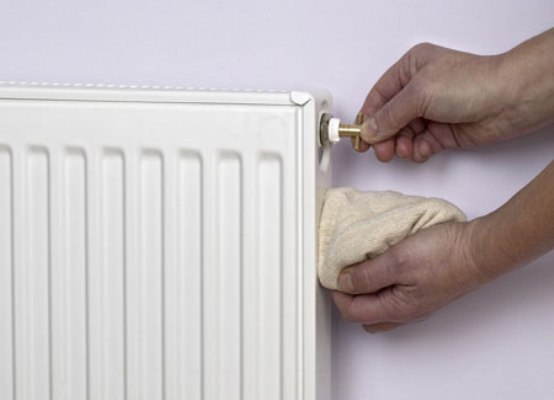
When installing heaters with your own hands, you must pay special attention to the installation of the shut-off and control elements. It is obligatory to install the Mayevsky crane, because it will continue to play a major role in the descent of air at the beginning of the heating season. The element should be located near the highest point.
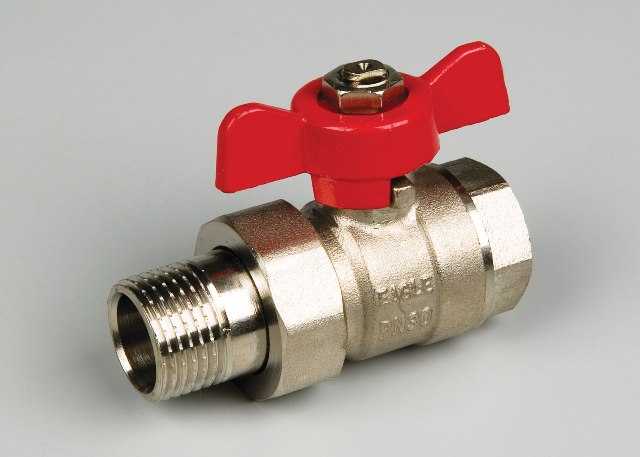
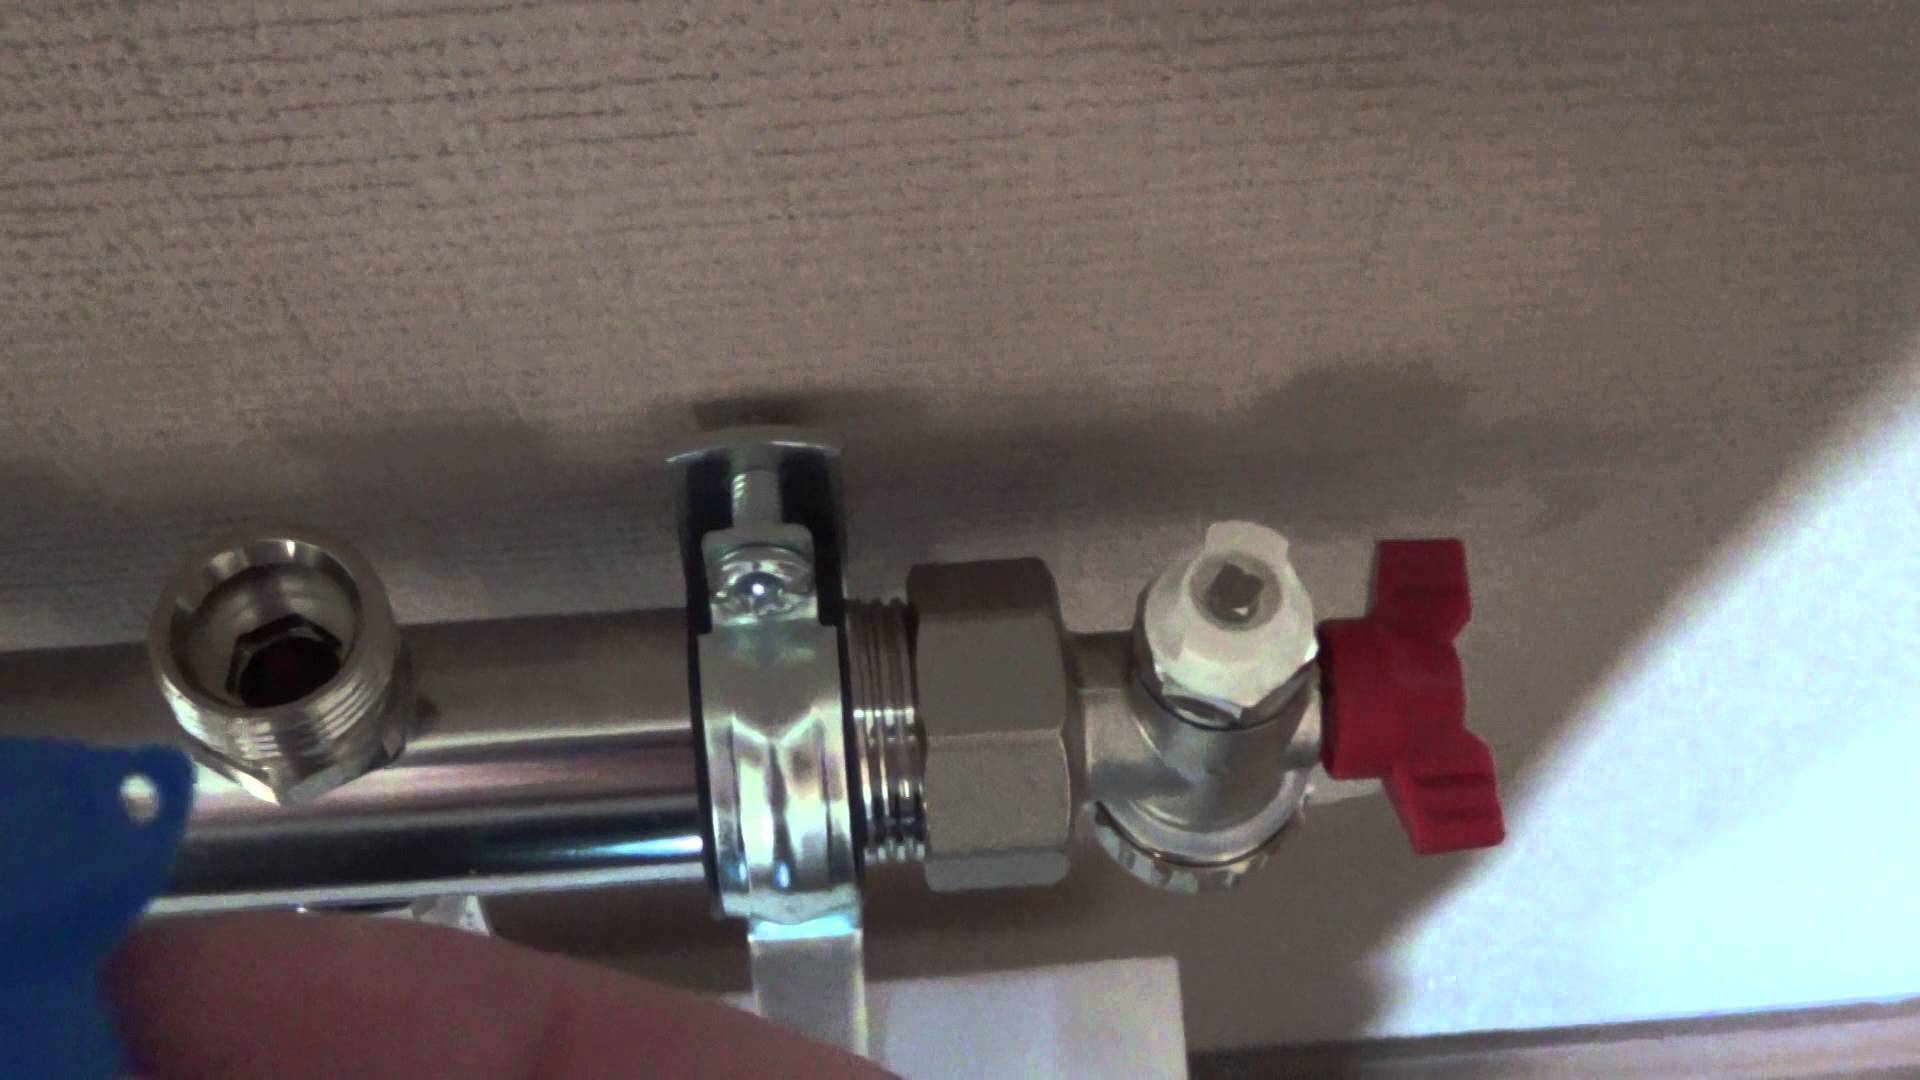
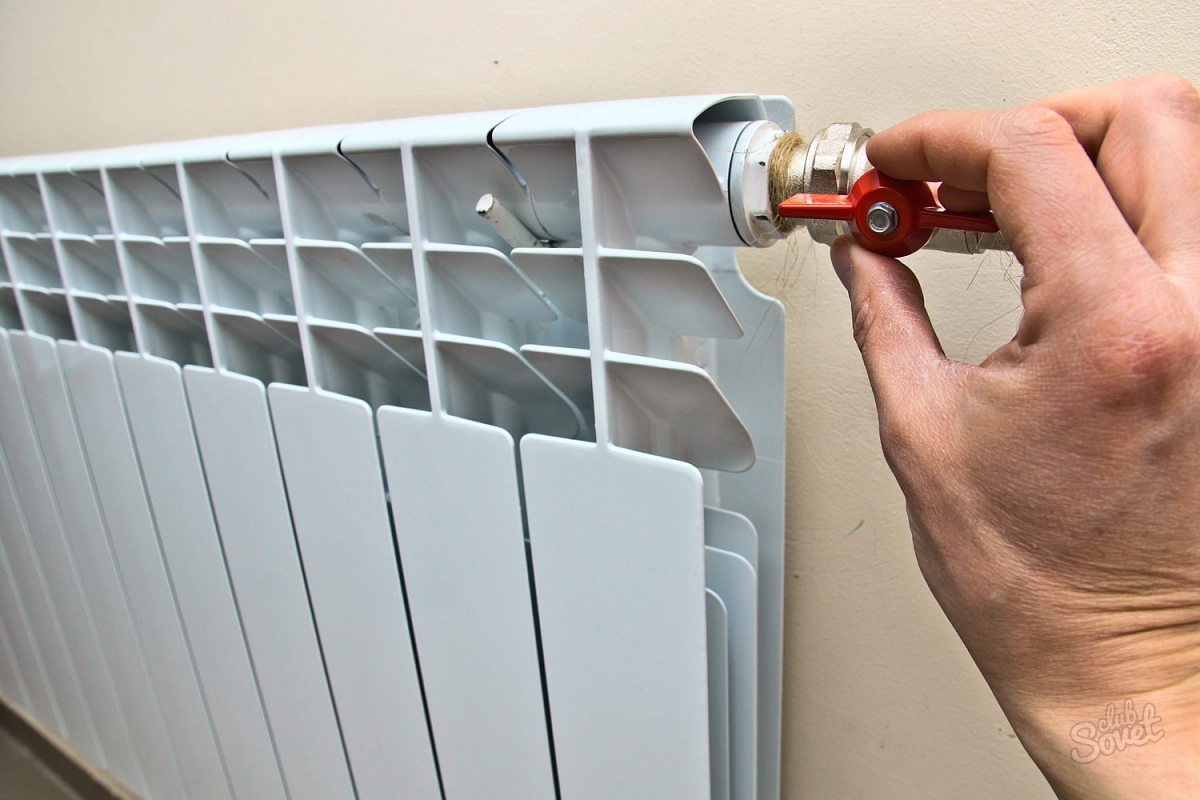
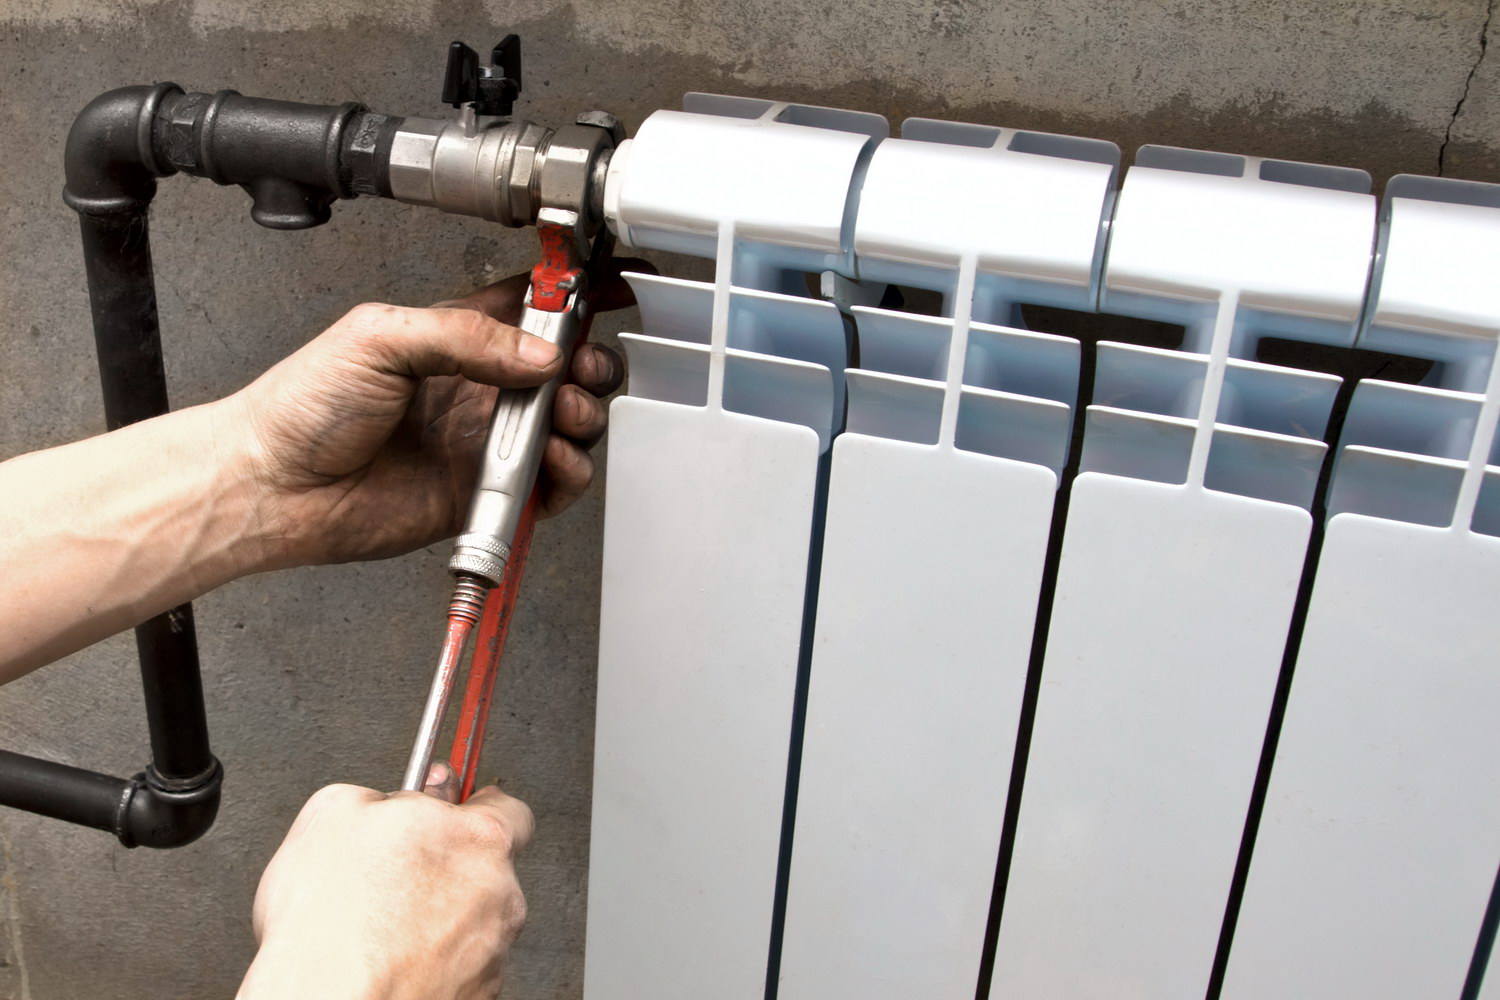
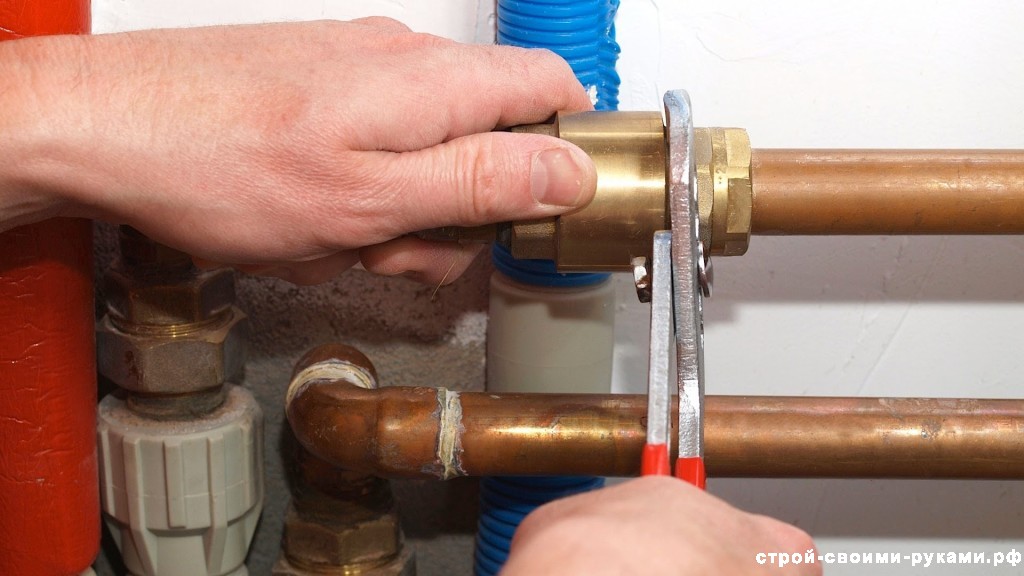
When working with a one-pipe system, it is necessary to install a bypass, which has a valve, as opposed to a two-pipe one, when the connection only takes place with the drive, which also has a valve. Drives are attached to the pipes using torque wrenches. These keys are not included, when the radiator is installed by experts, they bring this tool with them.If the work is carried out independently, the keys will need to buy, because without them the work can not be completed. This element ensures reliable fastening of fasteners.
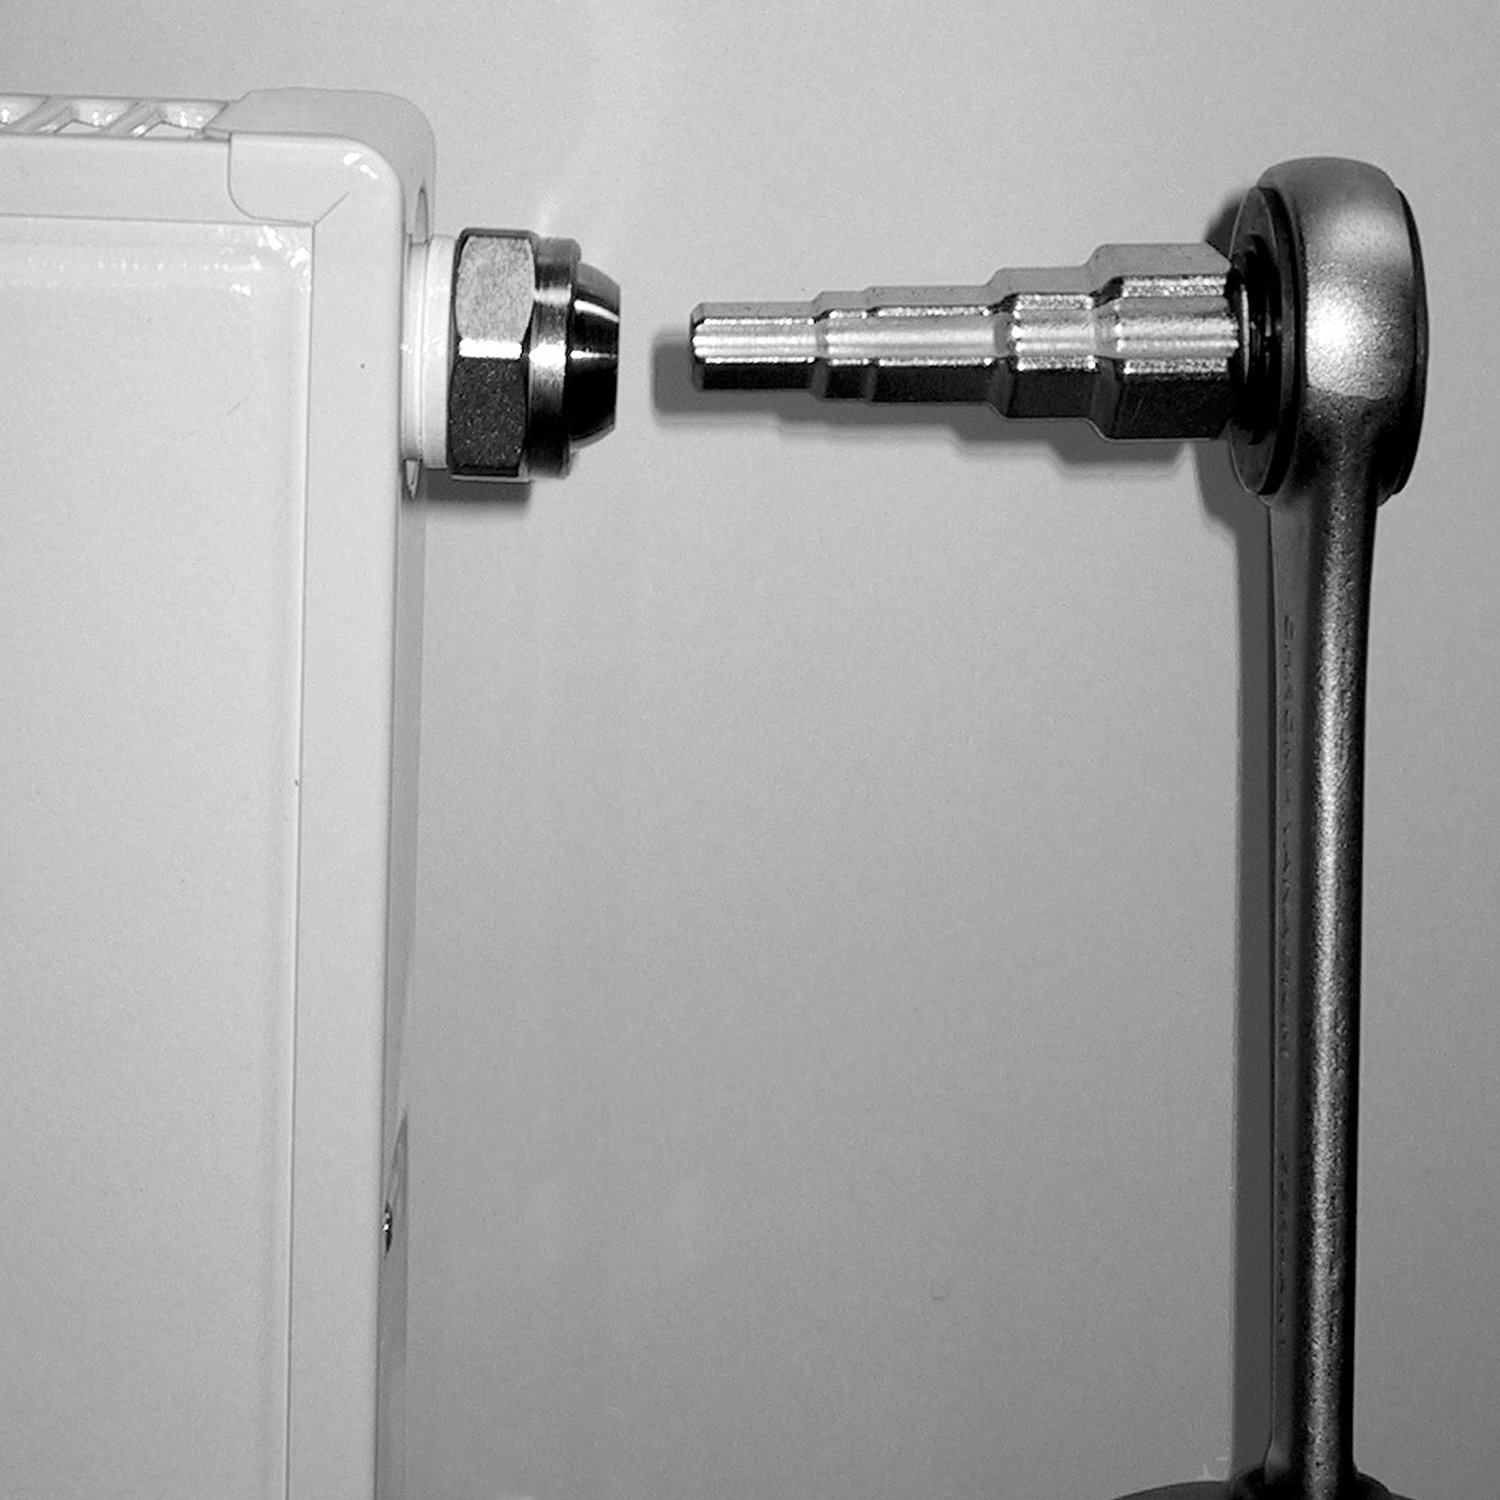
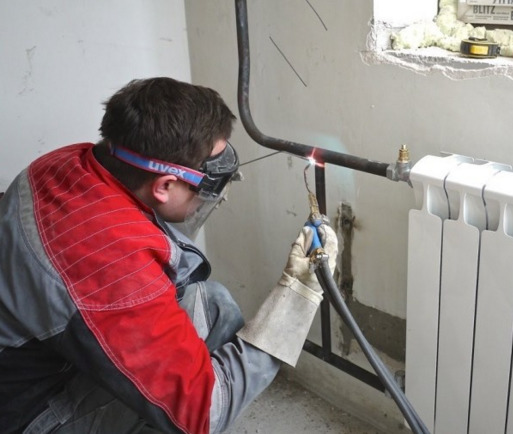
Fasteners can be twisted or not screwed, the torque wrench eliminates such an error. With a weak connection in the process of operation, the formation of leaks is possible, which poses serious problems. When the work is done, the joints should be reliably sealed, for this you can use a special seal. If material allows, you can use welding.
Another important step is crimping. Special expensive tools are also needed to carry it out, so it would be advisable to call a plumber from the management company for this purpose.
A trial run of the heating system will help identify shortcomings and errors in the work, so that if necessary, they can be immediately and quickly eliminated.
How to turn on the radiator?
The inclusion process is recommended to entrust experts. To do this, you can invite a locksmith. After overlapping cranes "American" opens the connecting valve and return pipe.If no leaks are detected, the valves on the radiators themselves open, while the bypass valve, on the contrary, closes and water begins to flow into the system. The air is exhausted by the Mayevsky crane.
When the heating systems are warm enough, a straight pipe opens to restore the pressure. This test ends, and apartment owners will be able to enjoy the long-awaited warmth.
For information on how to properly install heating batteries with their own hands, see the following video.


