How to make a screen on the battery heating?
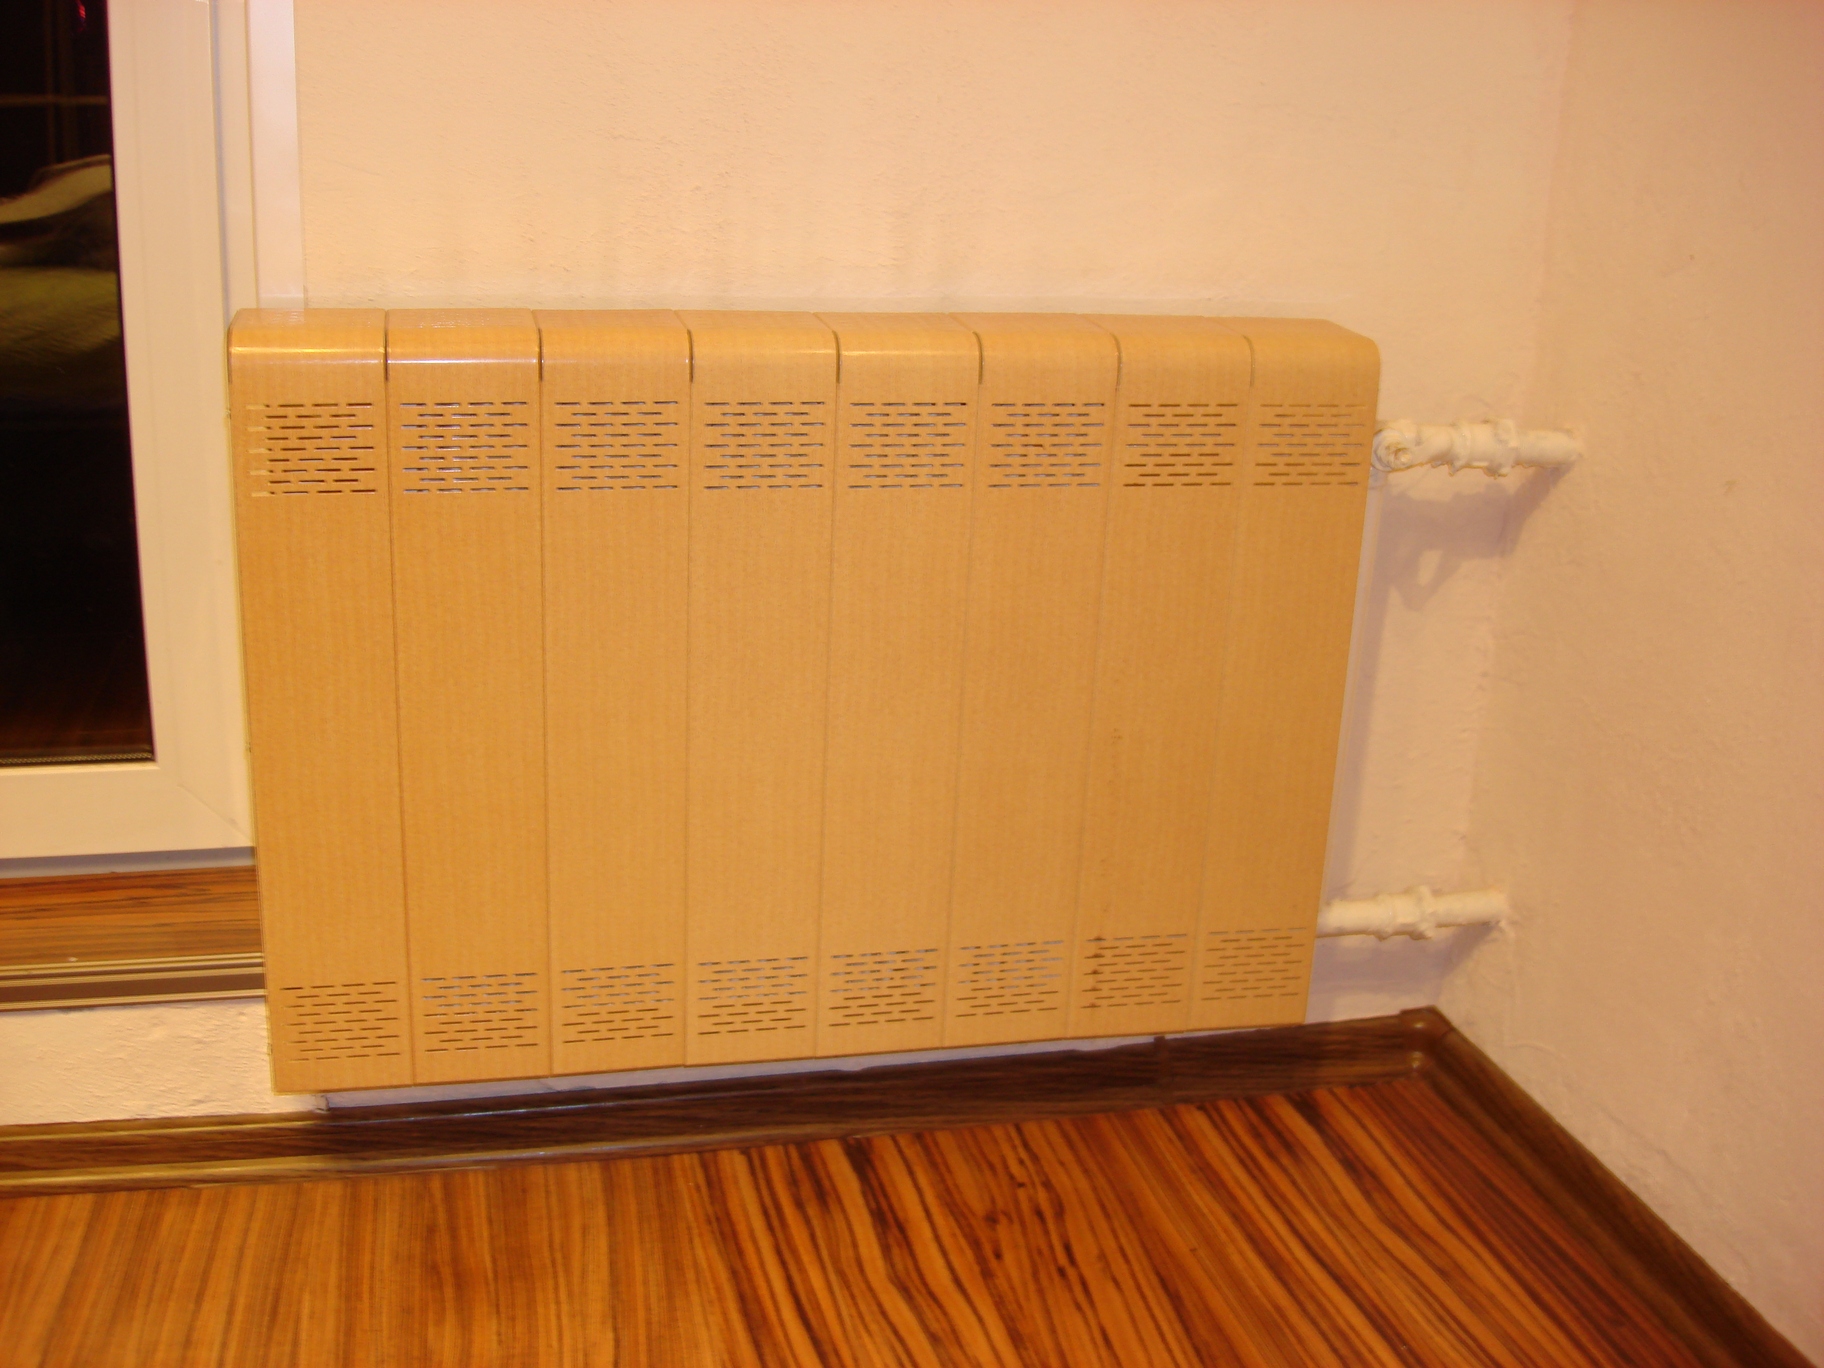
Repairs in the apartment is completed, but old batteries or even the newest radiators of heating attract attention, getting out of the carefully thought out image of the room. Disguise them, inscribing in a single style of the room, will help the decorative screen. Despite the commercial availability of a large number of ready-made solutions, they are not always suitable for a particular room in terms of size, design, and functions.
But if you are one of those masters who love and are able to bring a zest to the interior of their home, then you will be interested to learn how to make a screen on the heating battery at home.
Radiator grill functions
The use of decorative products for batteries gives their owners a number of advantages:
- Batteries are effectively disguised, which transforms the room, keeping a single and unique interior style.
- Radiators are protected from dust, which facilitates care for them and increases service life.
- Households are protected from the possibility of accidentally getting burned or hitting protruding parts of the radiator.
If you design and create a shield on the radiator yourself, you can give it additional functions:
- Proper screen design will help air flow evenly distributed around the room.
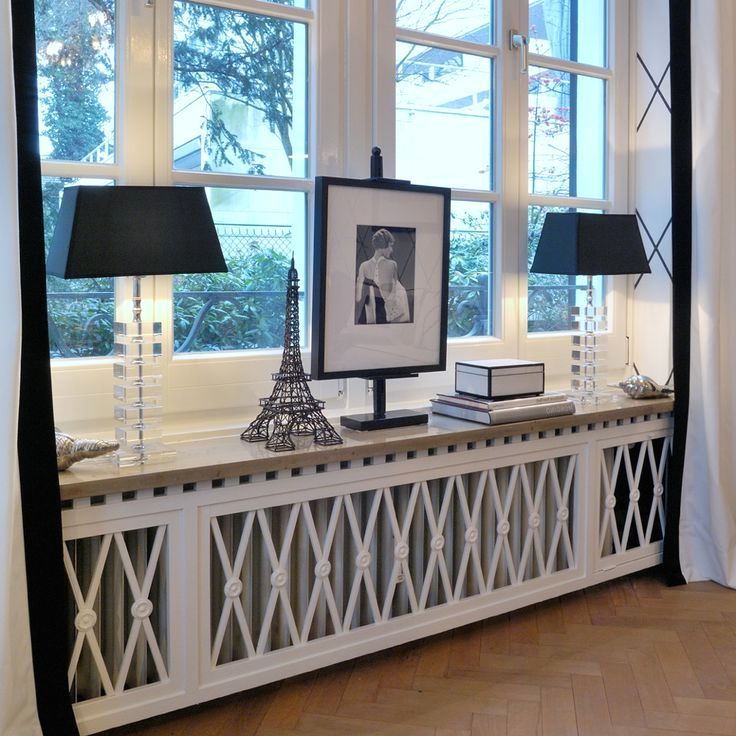
- The top cover can be made in the form of a shelf for books, lamps, interior trifles.
- The screen can be equipped with a folding table, at which it is pleasant to have a cup of tea or read a book.
- Having provided a cover with hooks, the owner of the shield will receive a clothes dryer in the heating season.
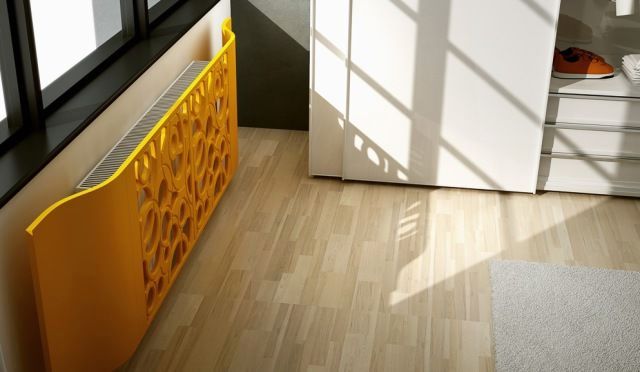
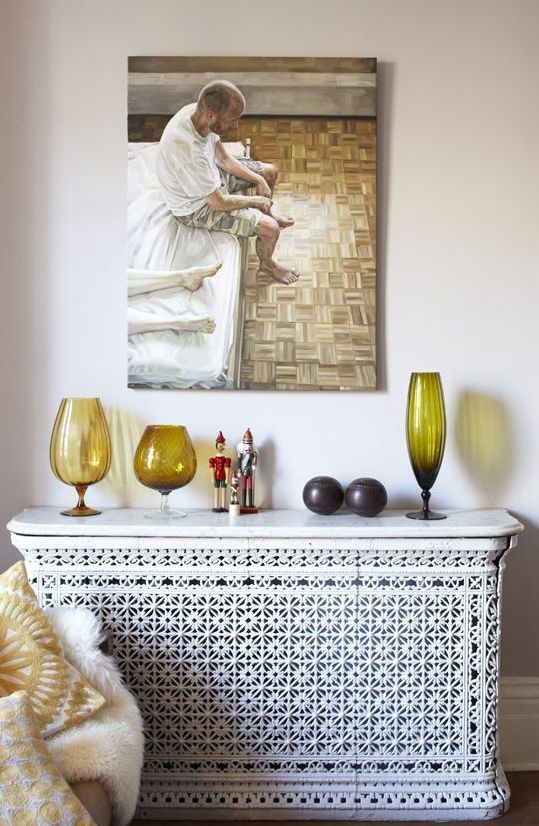
Having armed with all the variety of materials on the market, their colors and textures, rich imagination and little experience, you can create an exclusive screen that fits perfectly into the interior and will perform all its functions. Today is quite popular radiator openwork model.
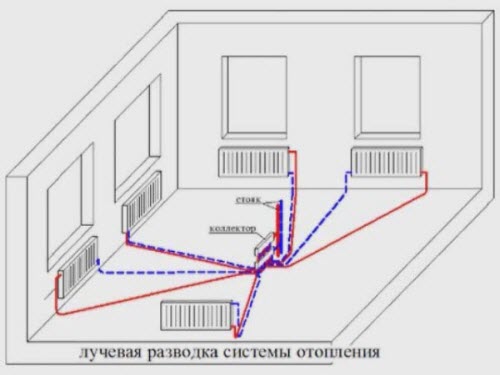
How does the heating system work?
If you are afraid that by closing the heaters with screens, the room will become cooler, then this is not so. Properly chosen design, taking into account the principles of operation of the radiator, does not reduce the degree of its heat transfer.
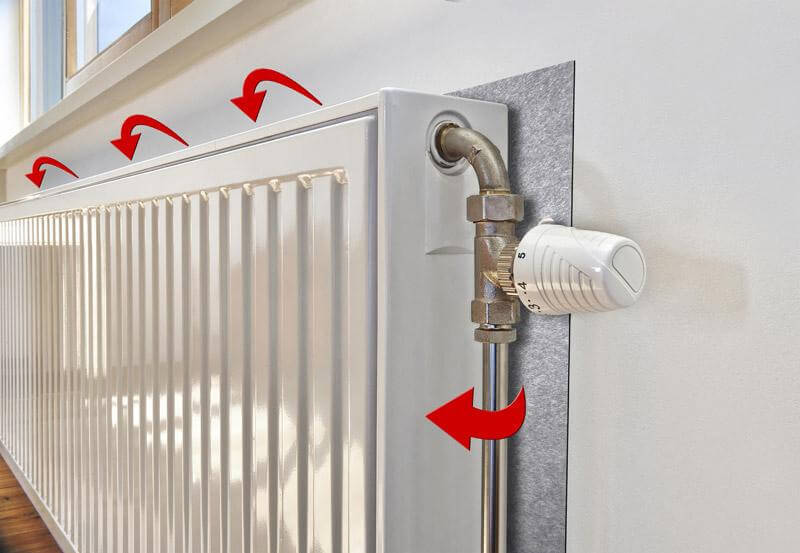
Heating devices transfer heat in two ways. - convection (mixing of cold and warm air masses) and radiant energy (radiation power is higher, the higher the temperature of the radiator).
The batteries begin to heat the air first due to convection, but with increasing temperature, infrared radiation is more intense. Heating devices made with the newest technologies are able to catch the changing external conditions, redistributing the flow of energy in order to increase its transmission.
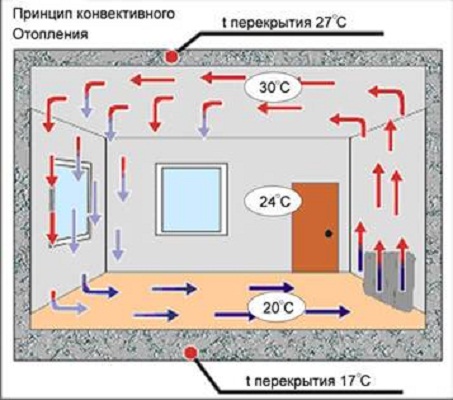
For example, air circulation is hampered by a curtain or decorative shield. The modern radiator will begin to raise the temperature of the front panels, so that the heat transfer will start to occur not by convection, but by infrared radiation. This property significantly increases the efficiency of radiators.
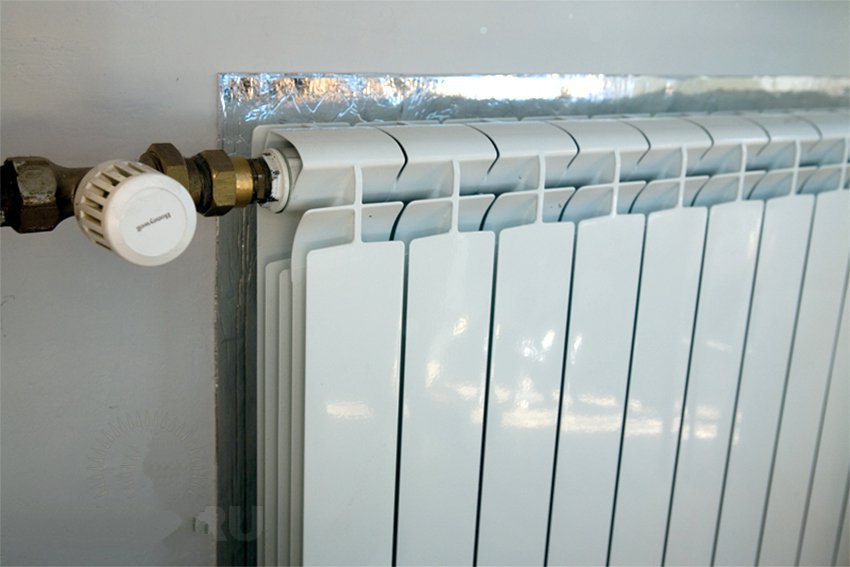
For any type of radiator it is necessary that the front panel of the decorative screen has a lot of holes, and there was enough space between the panel and the radiator to form an air gap. Thus, heat transfer by convection will not be disrupted.
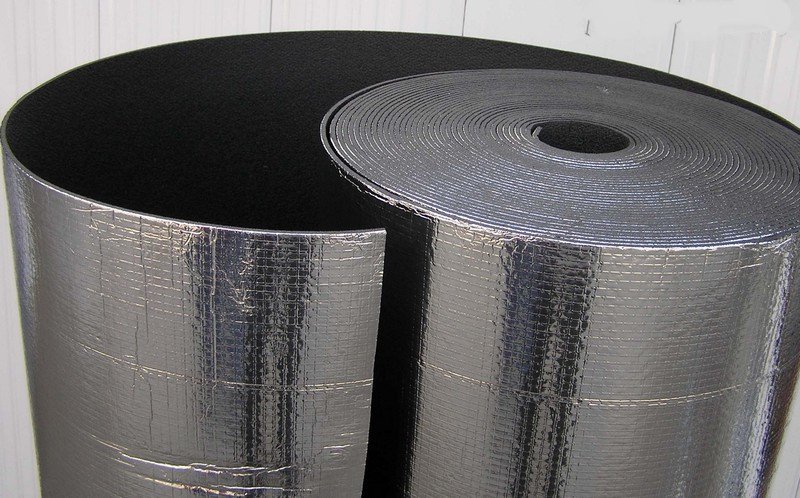
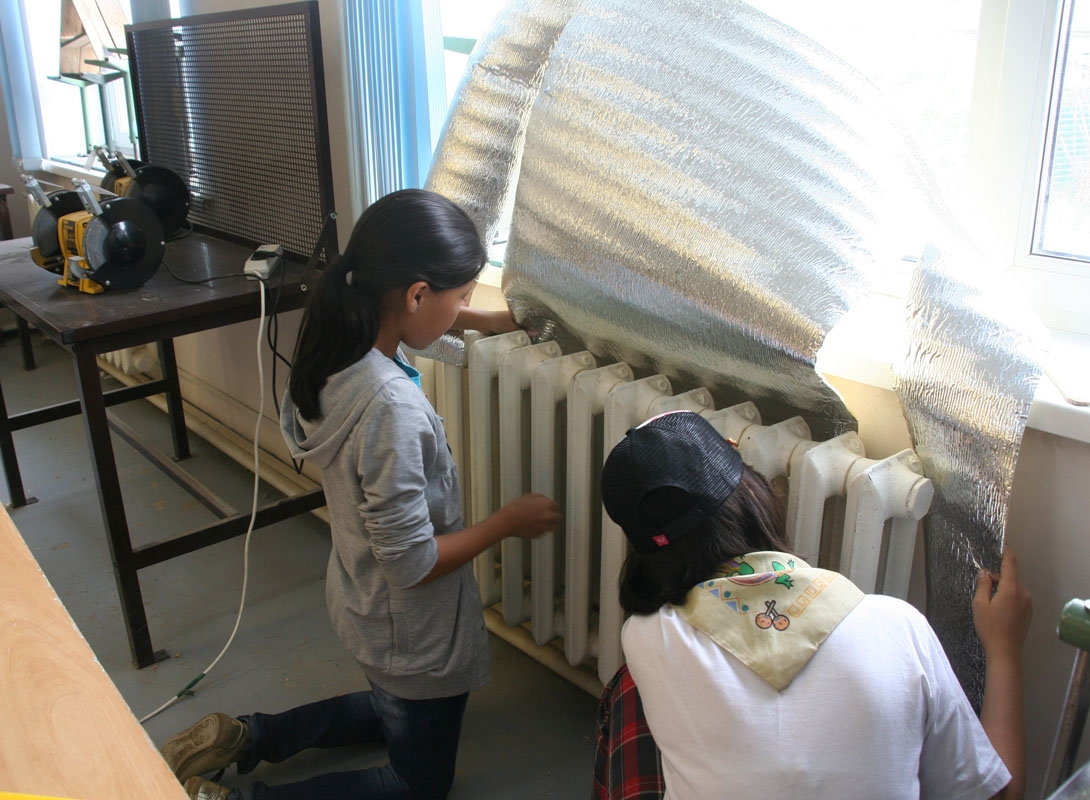
If you place a substrate with heat-reflecting properties behind the heater and make the back surface of the screen black, this will increase the heat transfer due to infrared radiation.
Varieties of accessory
Depending on which installation method is chosen, there are three types of screens:
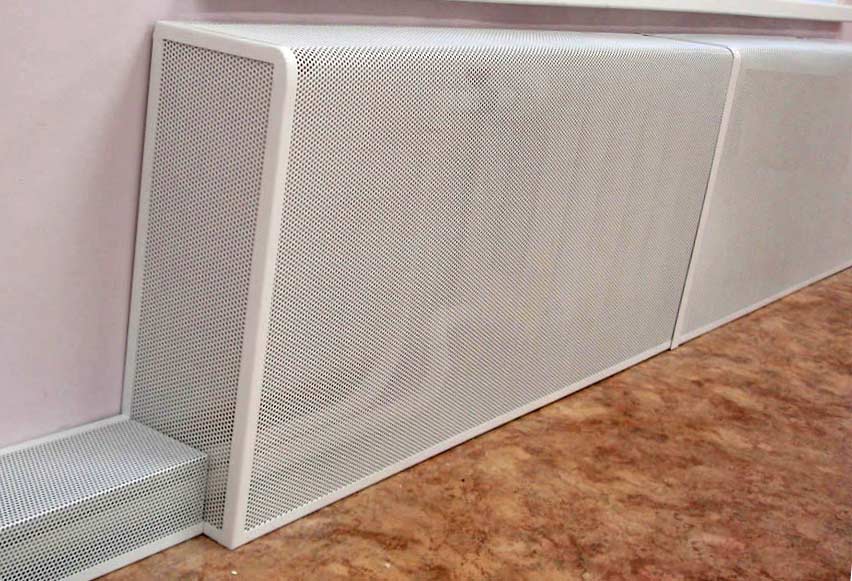
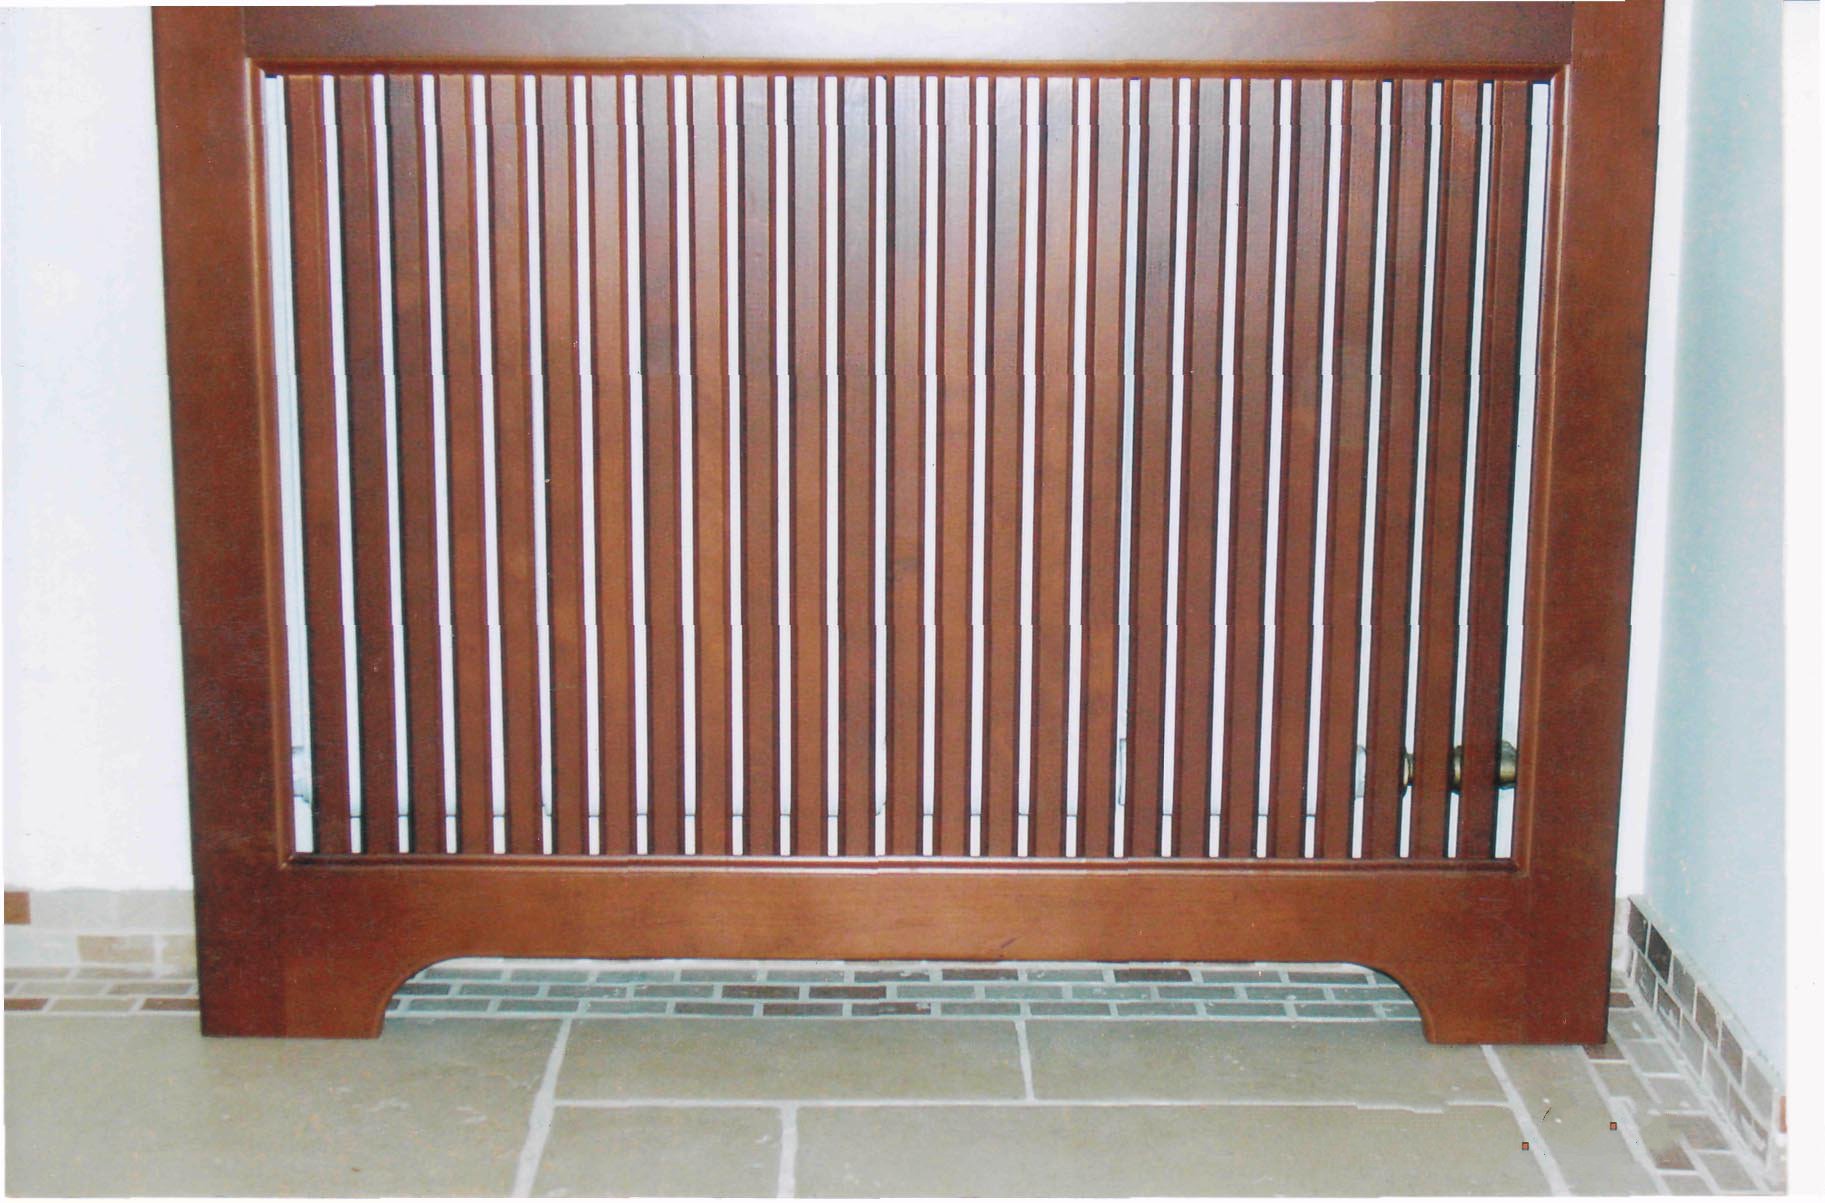
- three-sided box with a lid (stand);
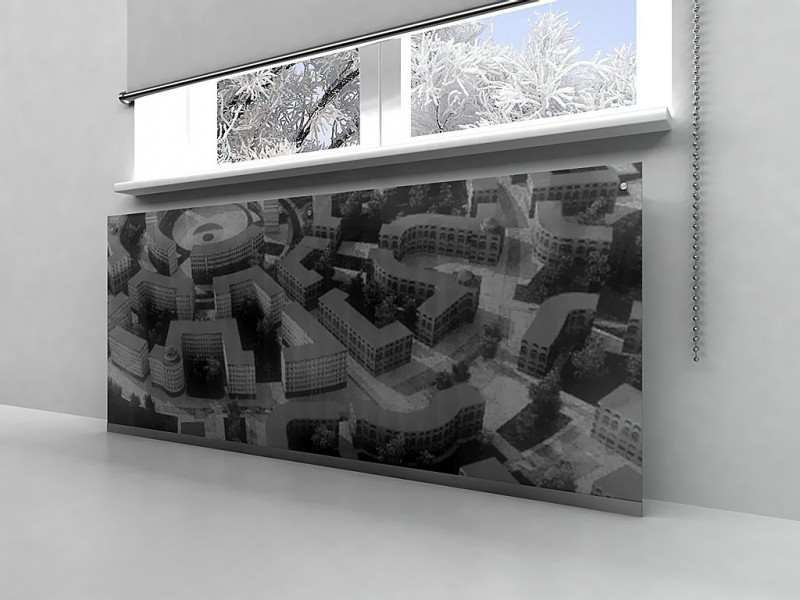
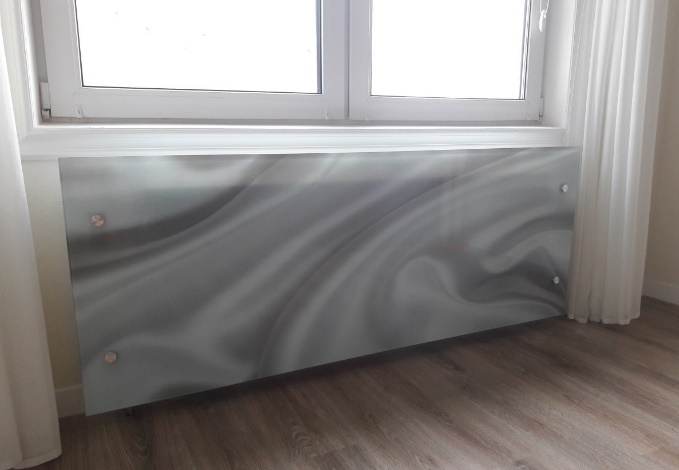
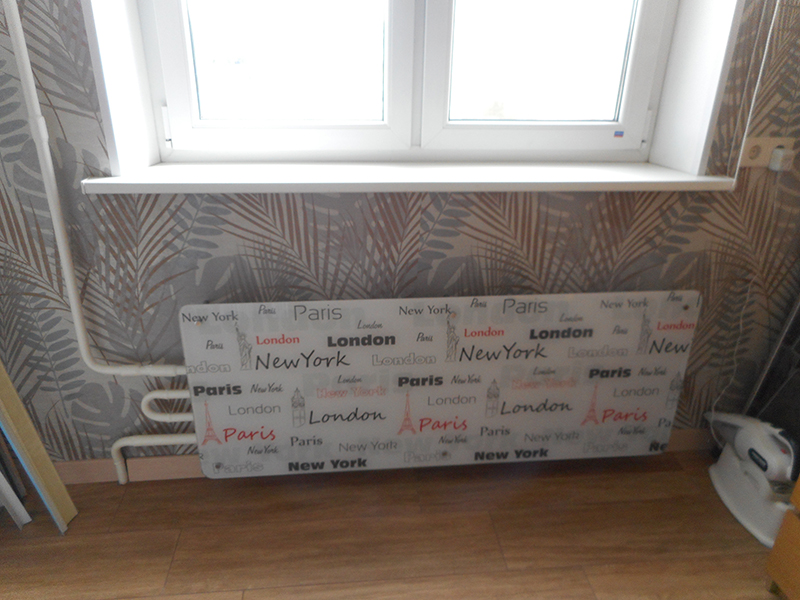
- flat panel;
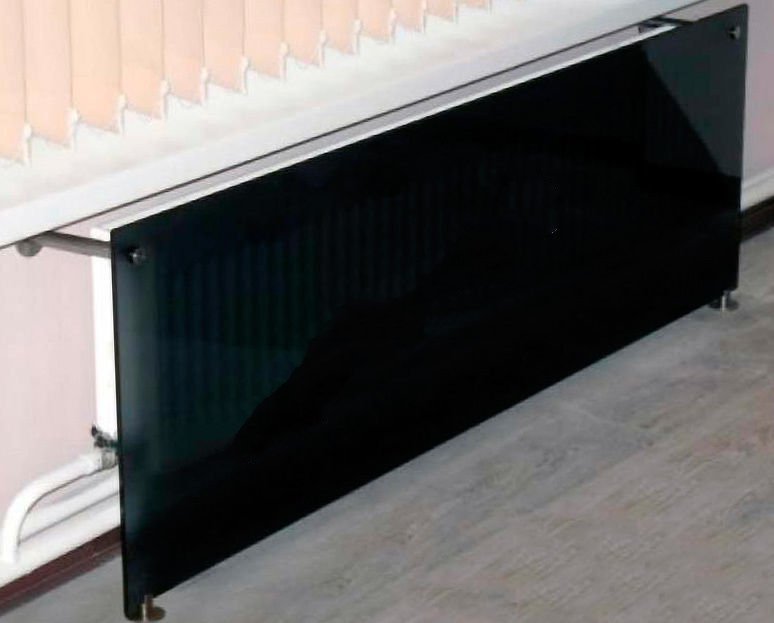
- hinged screen.
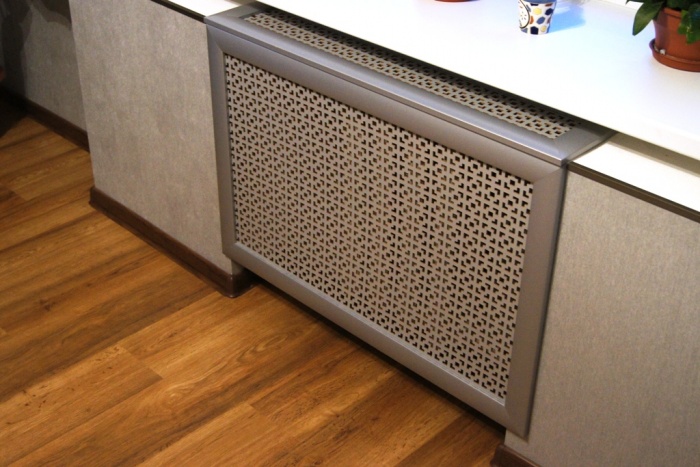
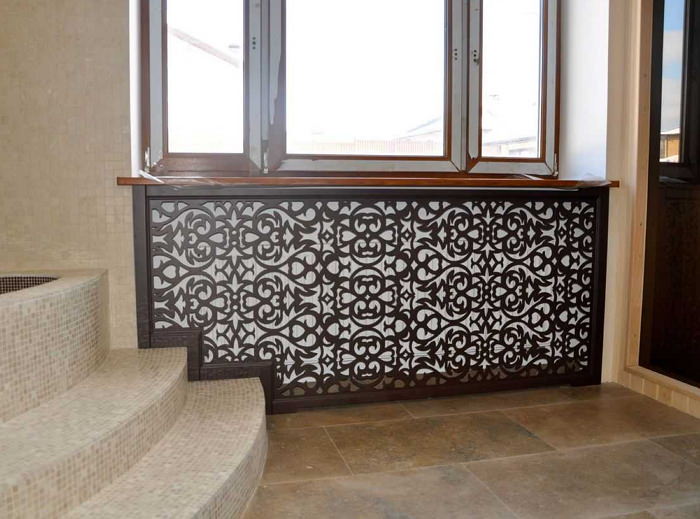
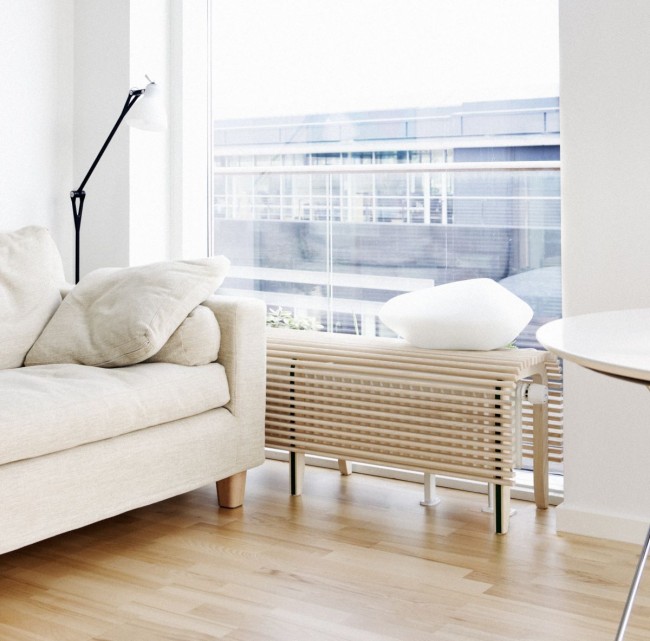
If you need to completely hide the battery, use the design in the form of a closed box with a lid. A radiator in a niche or under a window sill is masked with a shield in the form of a flat panel. If the radiator protrudes from under the window sill, then use a hinged screen, consisting of a cover and a flat facade.
In the manufacture of a decorative shield, you can choose the following materials or their combinations:
- metal;
- tree;
- plastic;
- glass;
- MDF, chipboard, fiberboard.

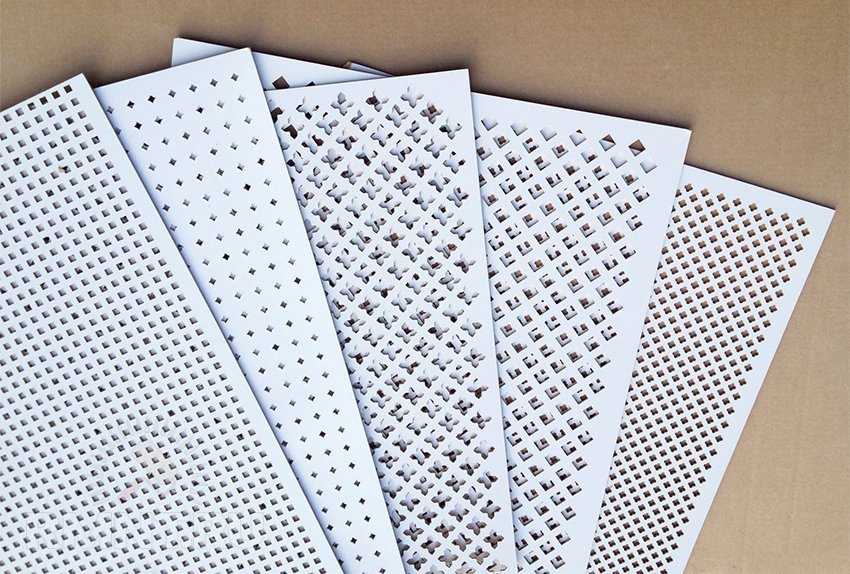
The shield of the metal perfectly conducts heat. A metal product can be given a very sophisticated look using perforation or welding according to customer’s sketches. But in order to work with metal independently, one needs skills and equipment.
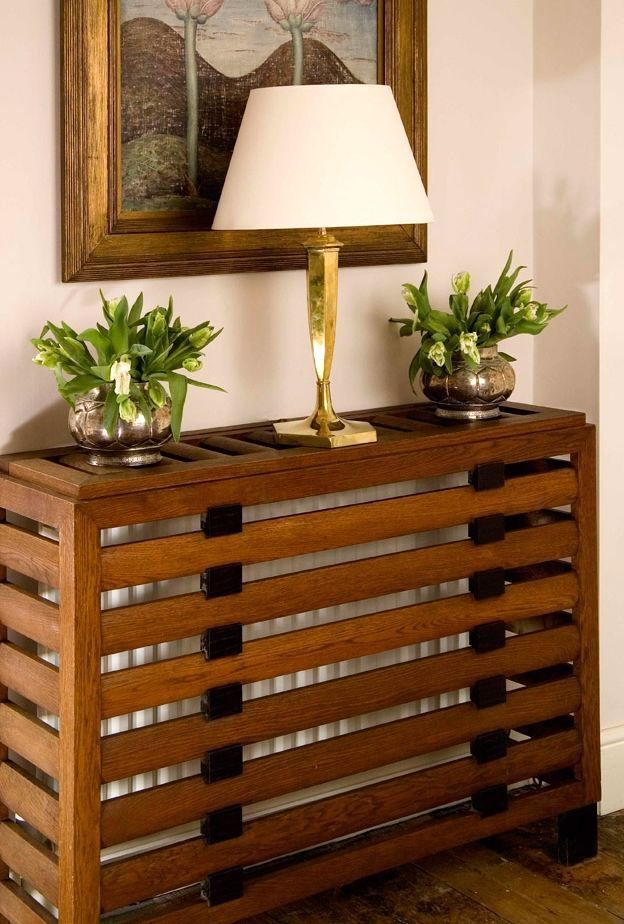
The screens of wood are environmentally friendly, look noble. In this case, the tree is a malleable material, very simple in processing. But wooden boards under the influence of hot air and humidity are prone to deformation and drying, so you need to select high-quality, dried wood, and the finished screen soak with special means.
Plastic impresses with its availability, rich choice of colors, ease of processing. But it is short-lived, it is deformed from the heat, it releases substances unsafe for humans. Therefore, plastic screens should not be installed where people live.


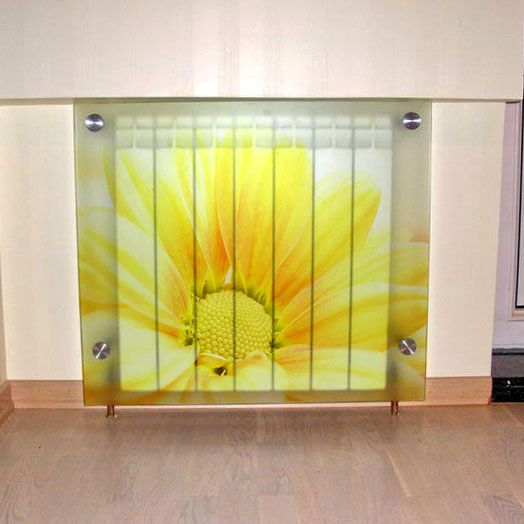
Tempered glass screens are durable, the glass itself is thick, with edges already machined. You can decorate glass with almost any pattern and add LED lighting. Glass screens are categorized as elite models, they are expensive.
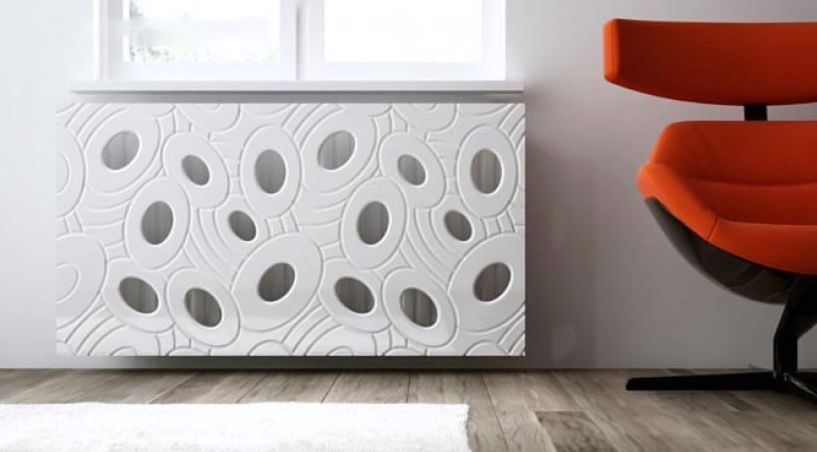
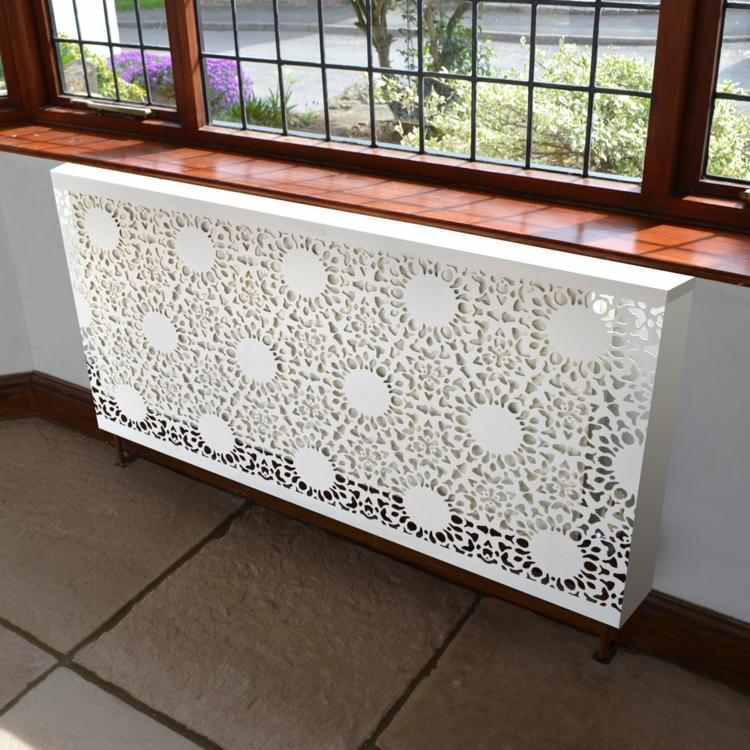
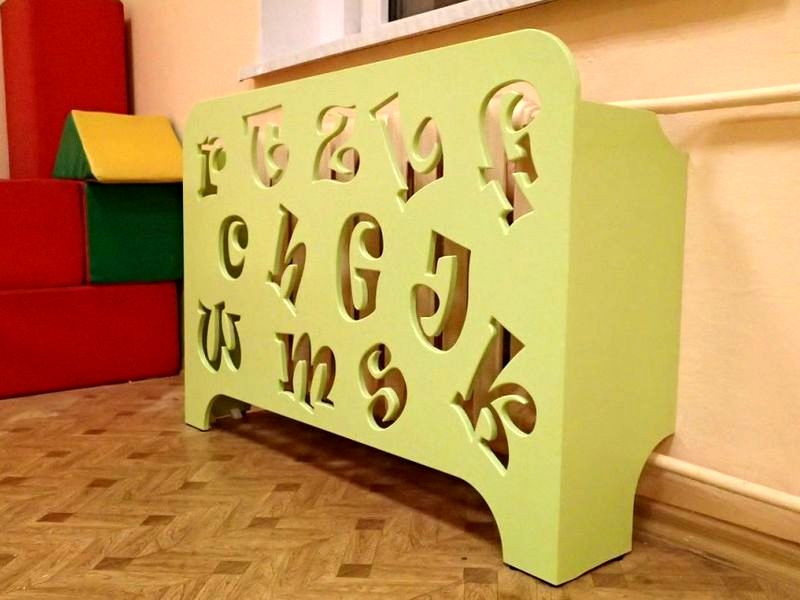
MDF screens - the most common design option for heating appliances. Plates from the finely dispersed fraction differ little from wood in their quality, they are easy to care for, and easy to work with. MDF screens are distinguished by the richness of the color palette, a variety of textures and styles.
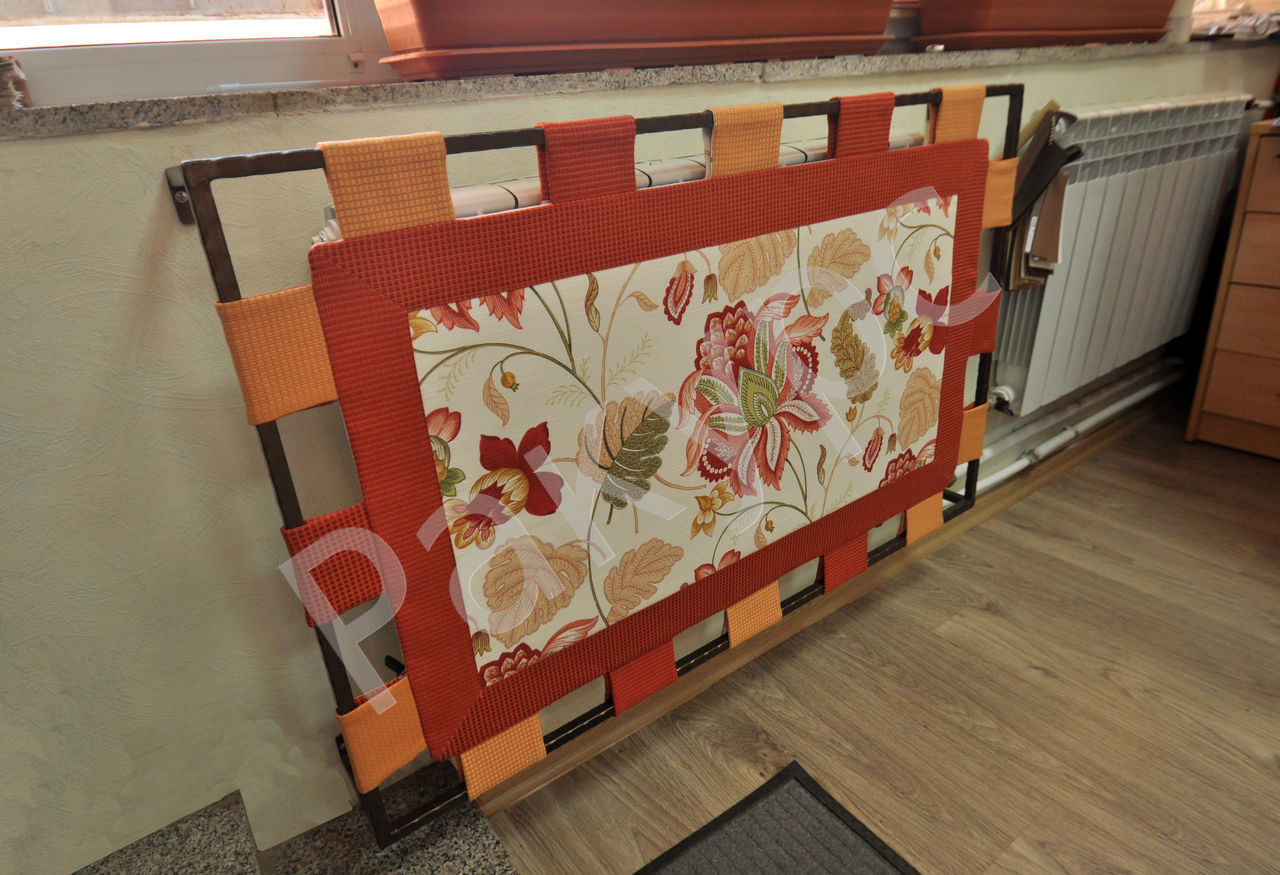
In the manufacture of decorative shields creative masters can use atypical materials, such as thick fabric.
How to do it yourself?
The production of a shield on a heating device begins with the selection of the desired design. It is necessary to proceed from the location of the radiator, the existing skills of processing various materials, the availability of working tools and the materials available. At home, the easiest way to do it is to make either a screen box or a grid board. Consider how to make such screens yourself.
"Box"
The most popular among home craftsmen is the screen in the form of a box. Variants of manufacturing panels for such a duct weight, as well as the materials used. Consider the most affordable and easy to create a box of mesh, framed by a frame. First you need to prepare something from which and with the help of what we will do.
Tools and raw materials
- panels of the finely dispersed fraction (MDF) or chipboard (chipboard), which are in color in harmony with the interior of the room;
- metal mesh;
- metal sheet or foil for the rear heat-reflecting element;
- legs (dowels, fixing hooks; anchors, bolts);
- hacksaws for wood and metal;
- drill;
- sandpaper;
- glue, small cloves, furniture stapler;
- fixing materials (brackets, screws, corners).
Action algorithm
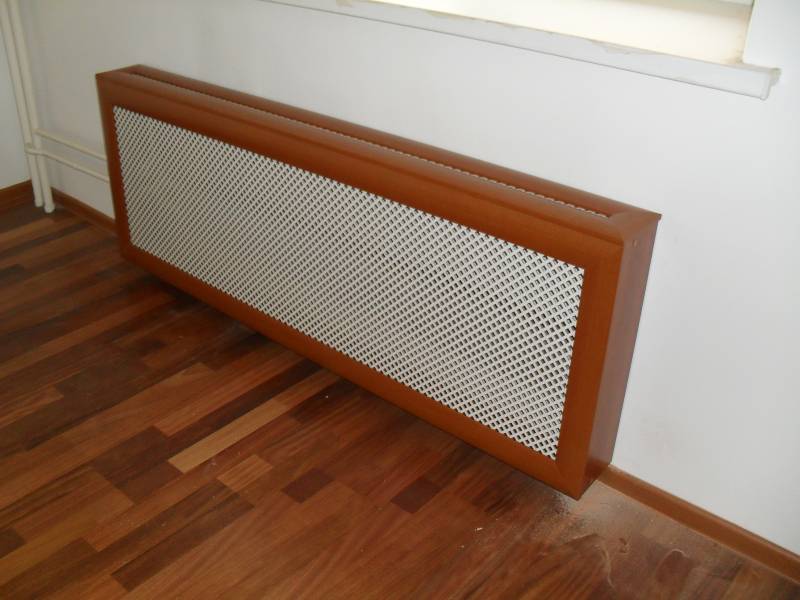
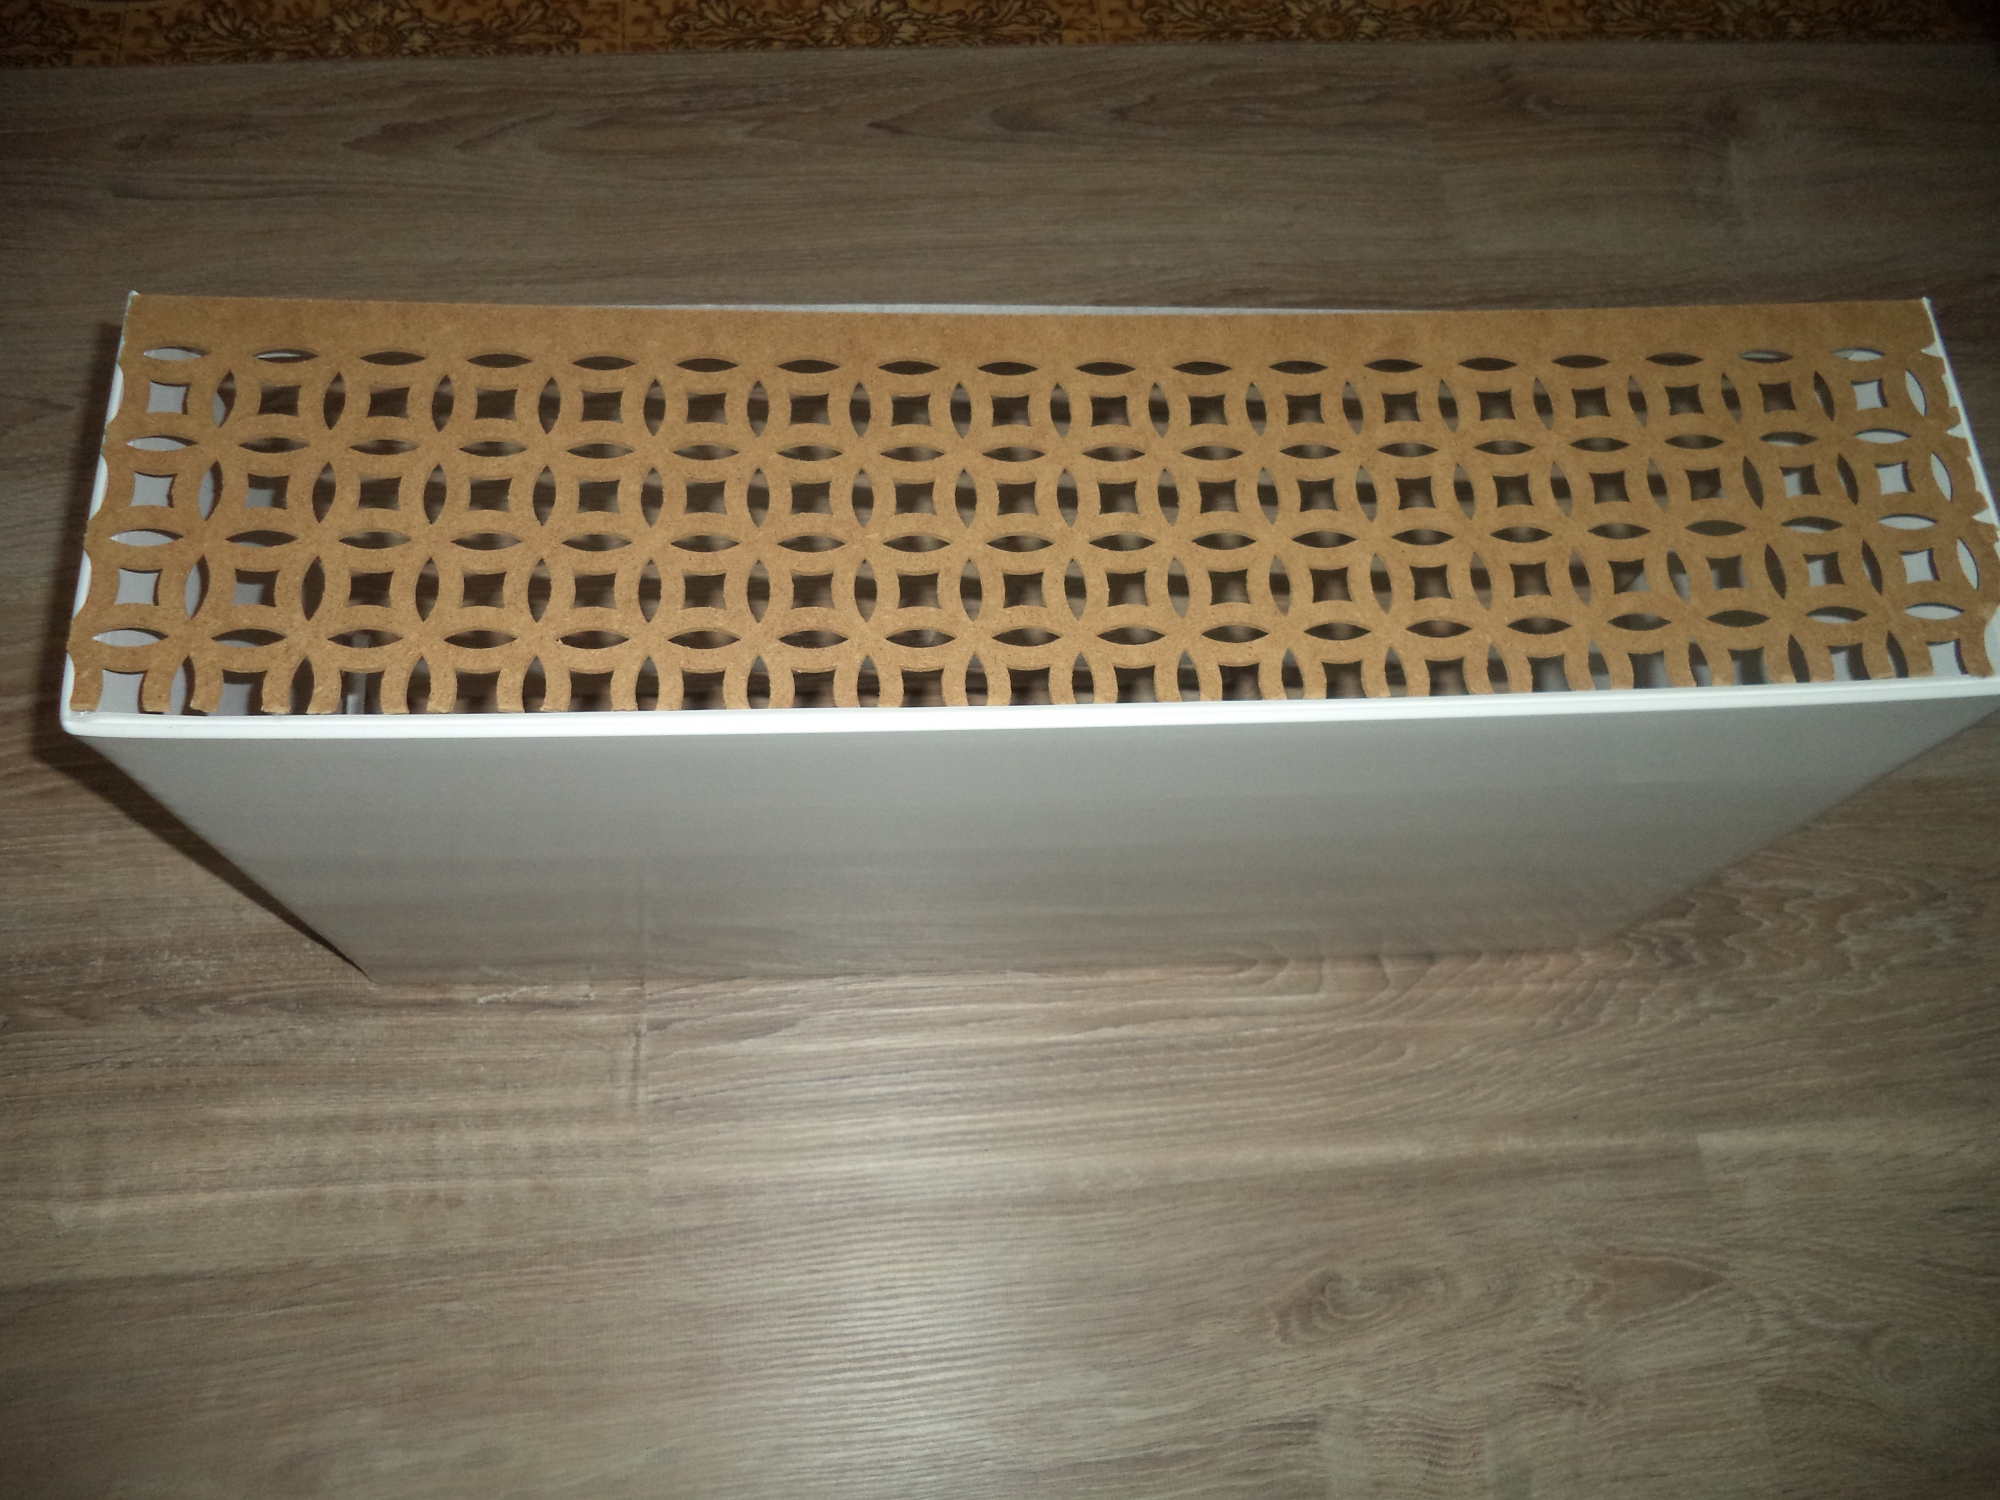
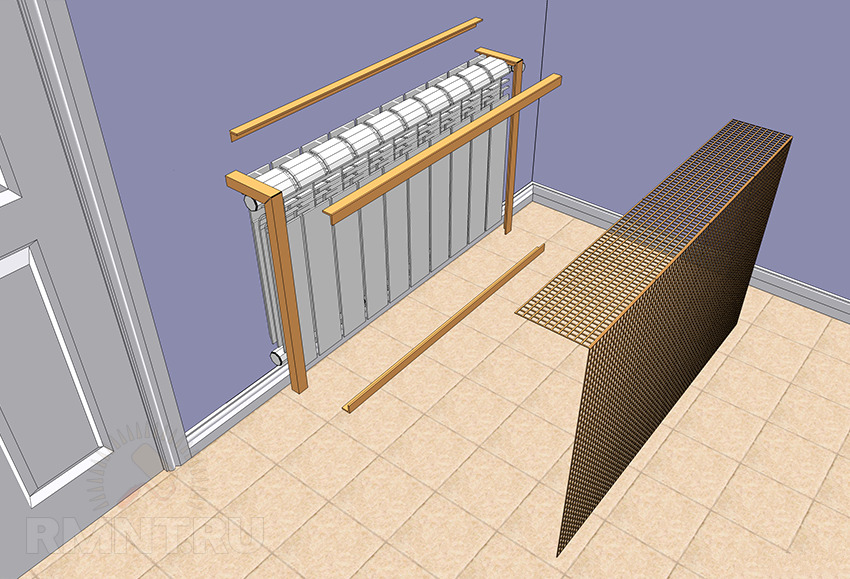
The screen box is a box without a back wall. The front and end panels of the box are planes of metal mesh framed with a decorative slatted frame. This option looks beautiful and does not interfere with the heat transfer of the battery. The screen cover is performed either from the grid (by analogy with the front panel), or from a single sheet.
The manufacturing process consists of taking measurements, drawing a sketch and creating patterns, transferring patterns to the canvas, cutting out parts, assembling, and decorating in accordance with the style of the room.
Taking measurements, creating thumbnails
Begin work on creating a screen box with the definition of parameters and drawing a sketch of the future product.
- Take measurements from the battery - height and width. For the optimal size of the front panel, the height value is increased by 5 cm, and the width - by 10 cm.
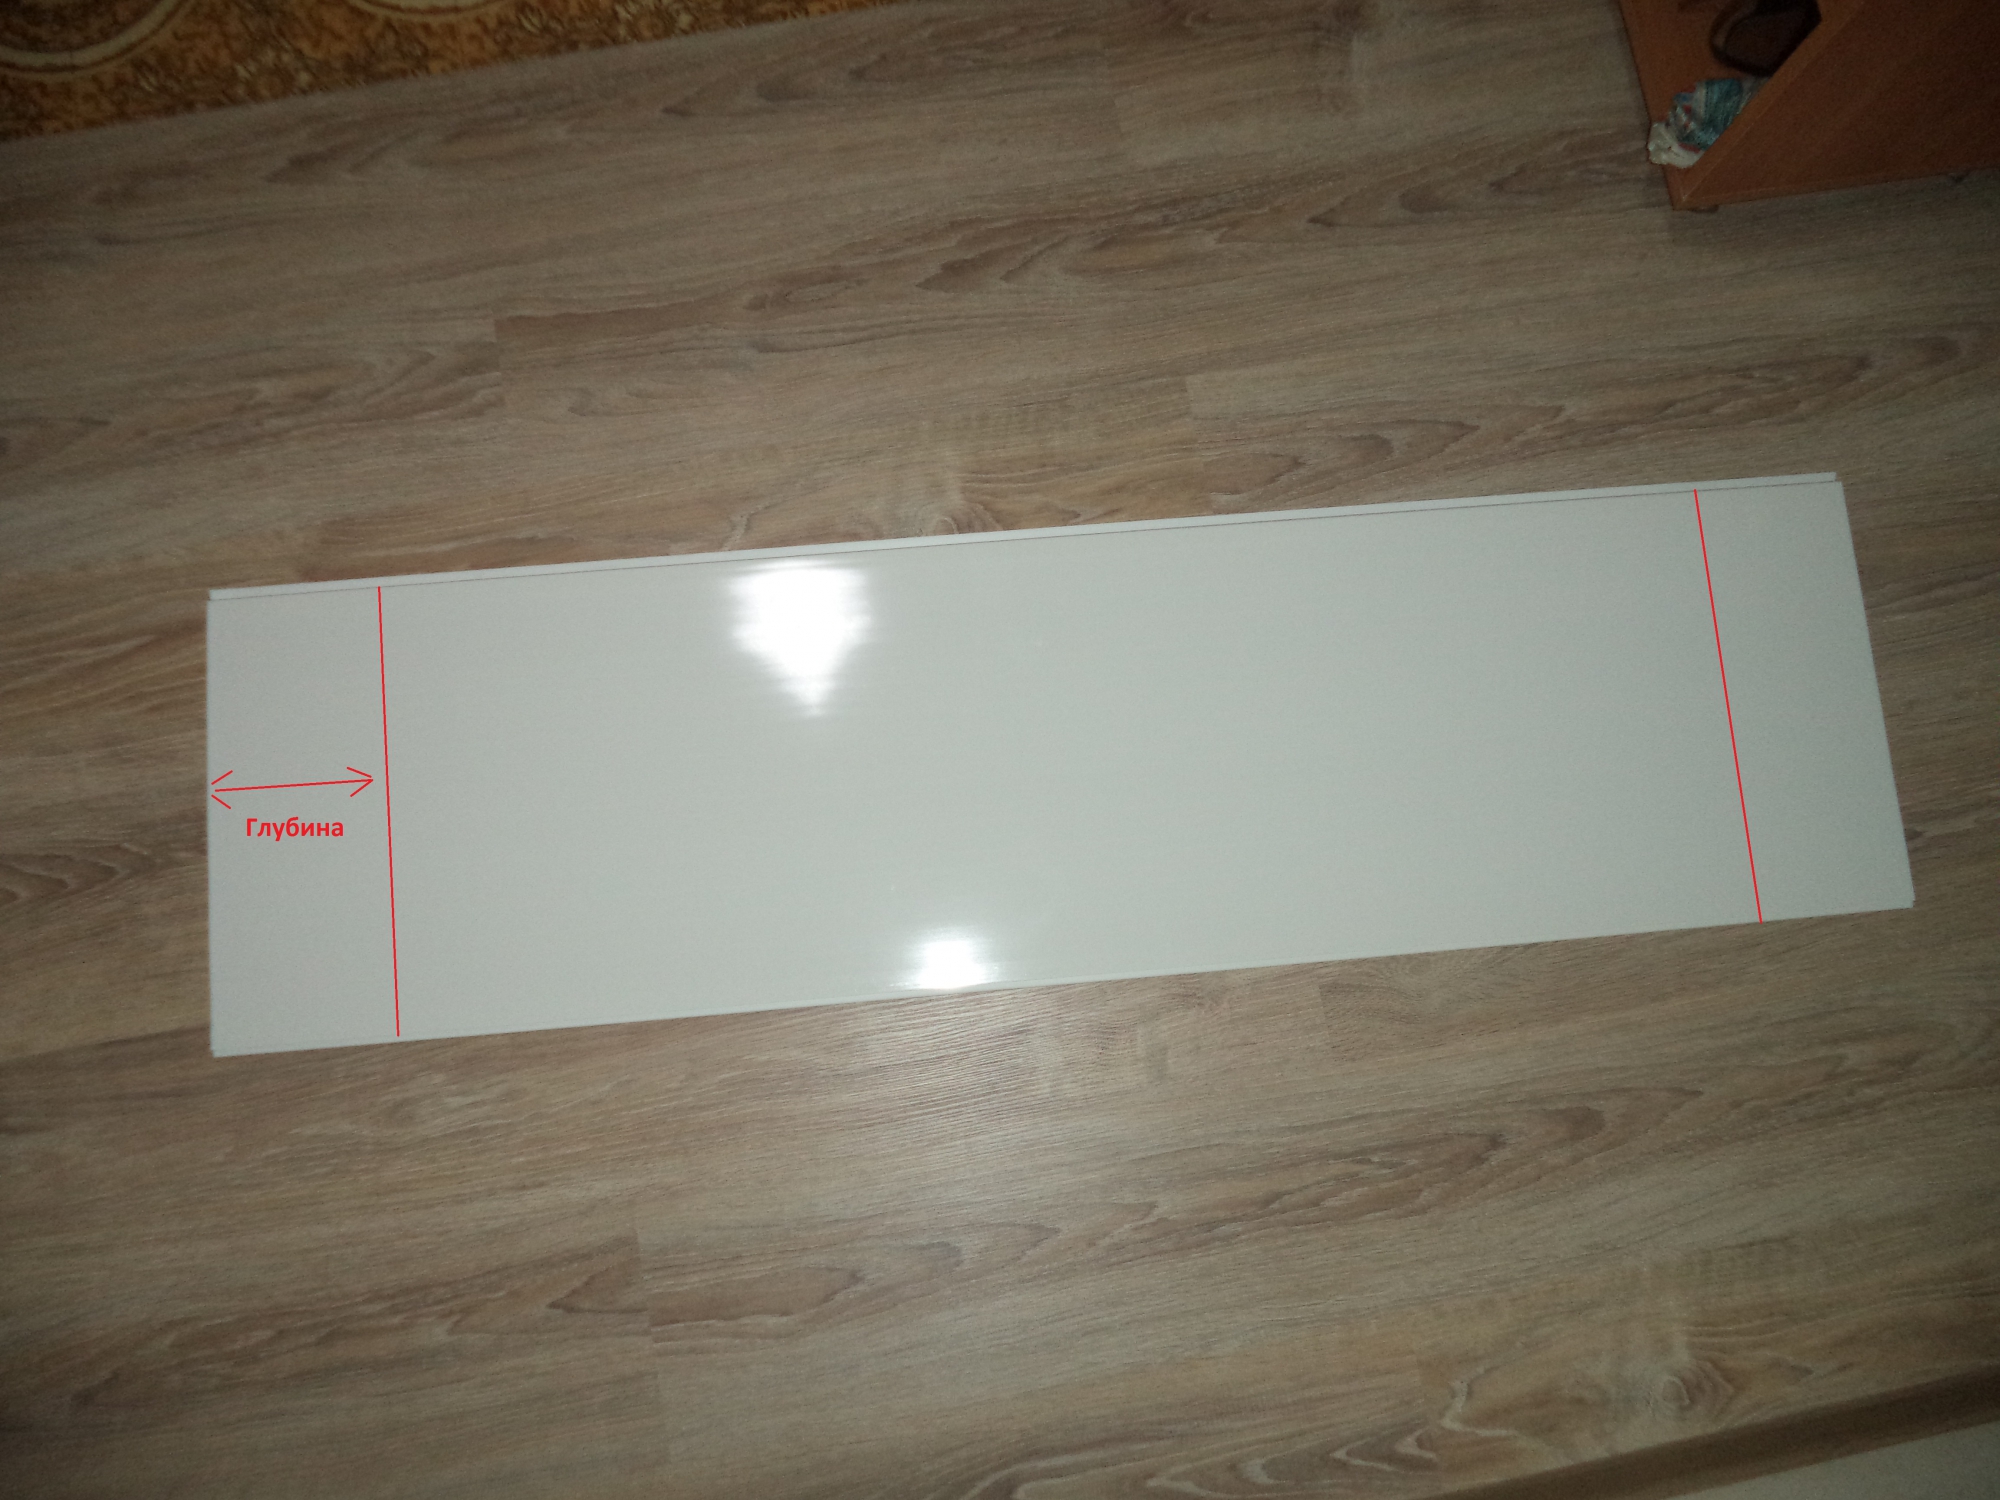
- Measure the depth of the battery. The resulting value is increased by 2.5 cm. Thus, the width of the end parts is obtained (their height will be equal to the height of the facade screen).On the pattern mark the location of the pipes.
- Determine the size of the cover. Its length is the width of the front panel, and its width is 1-2 cm longer than the width of the end panels.
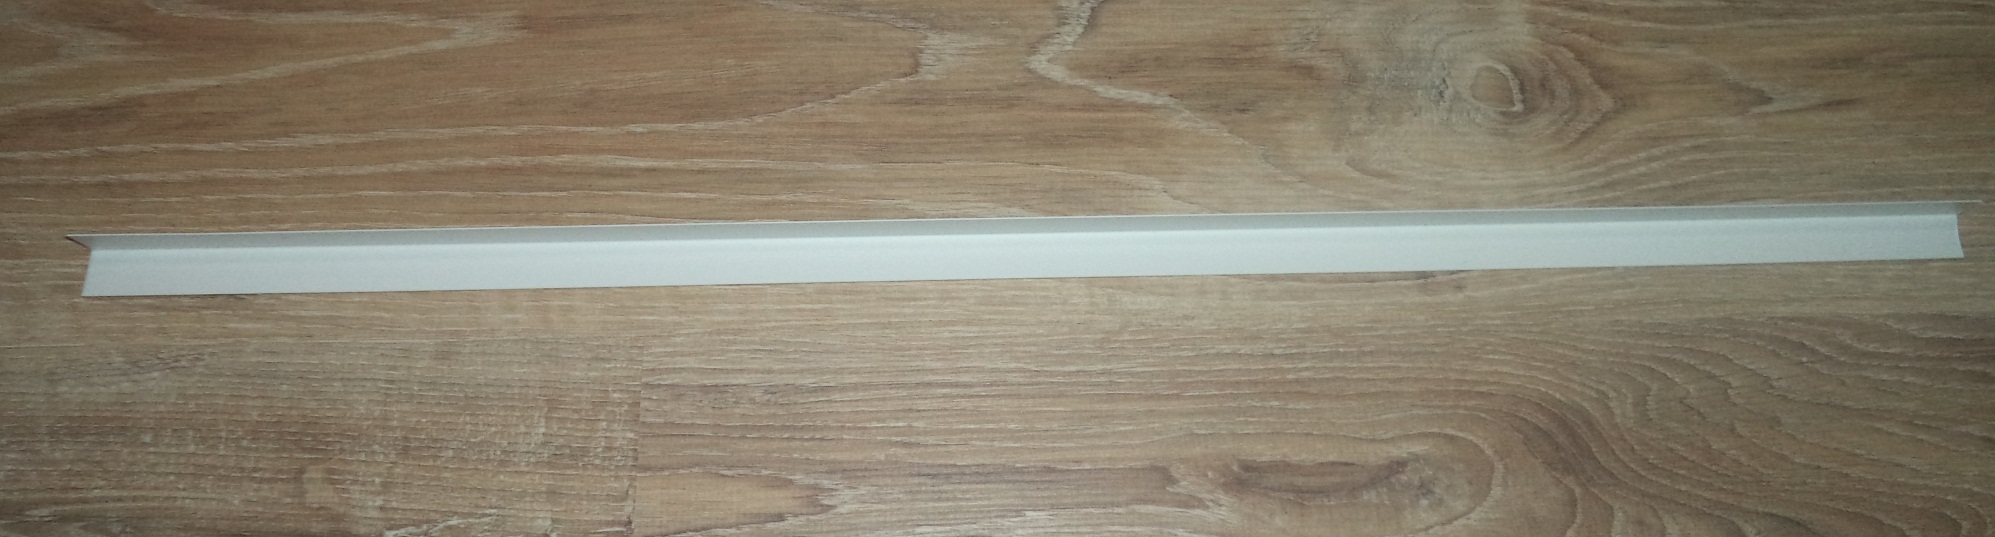
- The bordering frame is equal in length to the sum of the cuts of all panels, and in width it corresponds to the master's wish (for the facade, the width of the frame is recommended to be 11 cm).
The individual details of the screen are cut out, adhering to the following algorithm:
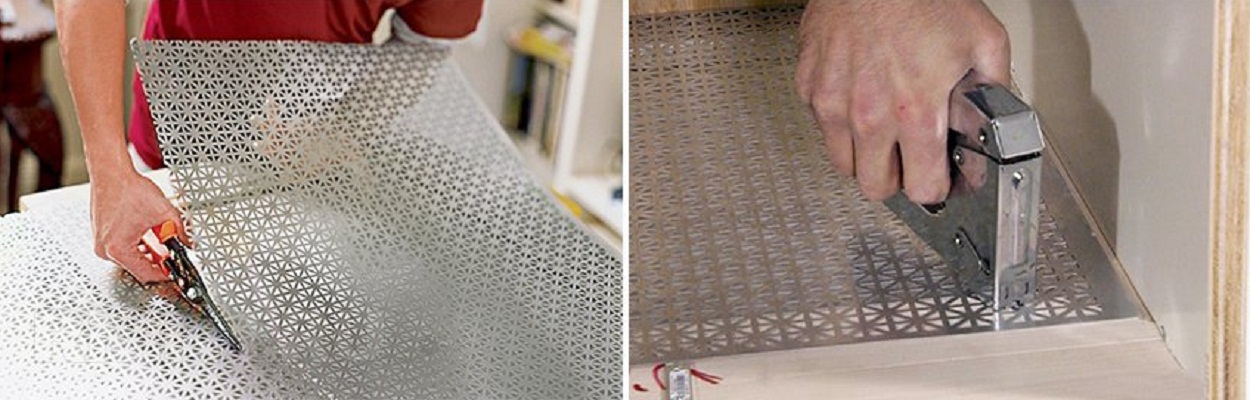
- The resulting patterns are redrawn onto a metal grid and cut or sawn along the contour. It is necessary to prepare one element for the facade, two - for the ends of the box and one element for the cover (if you do not intend to have a one-piece cover). On the details of the end panels provide places for entry and exit of heating pipes.
- Elements for framing a cellular element (four slats for the facade, eight slats for the end panels and four slats for the lid) are cut from chipboard or MDF. If the lid is solid, then it is cut out according to the pattern of chipboard or MDF.
- The ends of the resulting rails cut at an angle of 45 °, after making the markup. Spil polished with sandpaper.
Assembly
When the main elements are prepared, you can assemble.Four slats of the facade are fixed between each other with carpenter's glue and additionally lined with carnations. On the same principle collect the framework of the end elements and the cover. On the reverse side, a metal grid is attached to the frame with a stapler.
The finished panels are joined together: first one end panel is fastened to the facade, then the second. At last fix the cover. After the assembly is completed, the finished shield can be decorated.
Installation
Before installing the box, a heat reflector (metal sheet or foil) is glued to the wall behind the heater. The dimensions of the heat reflector are not particularly important - in terms of the radiator size, the size of the box or a little less. A part is cut out of metal or foil and fixed to the wall behind the battery. Then you can mount the box itself.
Choose one of the installation options:
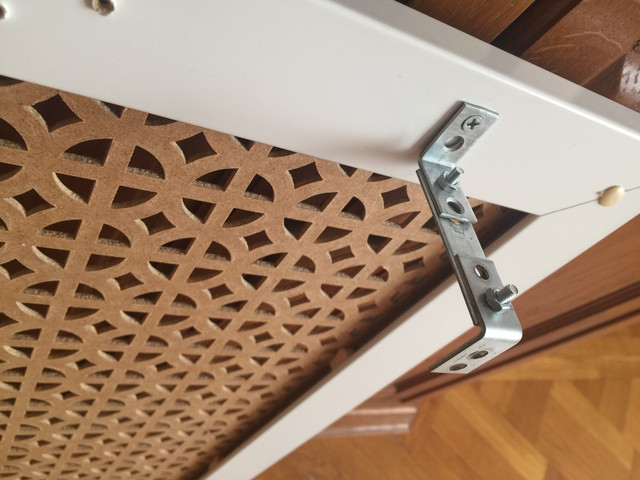
- Legs. Metal corners with furniture legs are attached to the bottom of the box (choose legs with adjustable height). Expose the required height of the legs and mount the screen.
- Dowels with hooks. Putting the screen to the place where it will hang, on the wall mark where to drive dowels. Perform holes in these places, drive in dowels.Mount the mounting hooks, which hang box.
- Anchors with bolts. Schedule the places where you should hammer anchors, drill holes, drive in anchors, tighten bolts in them. On the bolts mounted decorative screen box.
Decorative grill
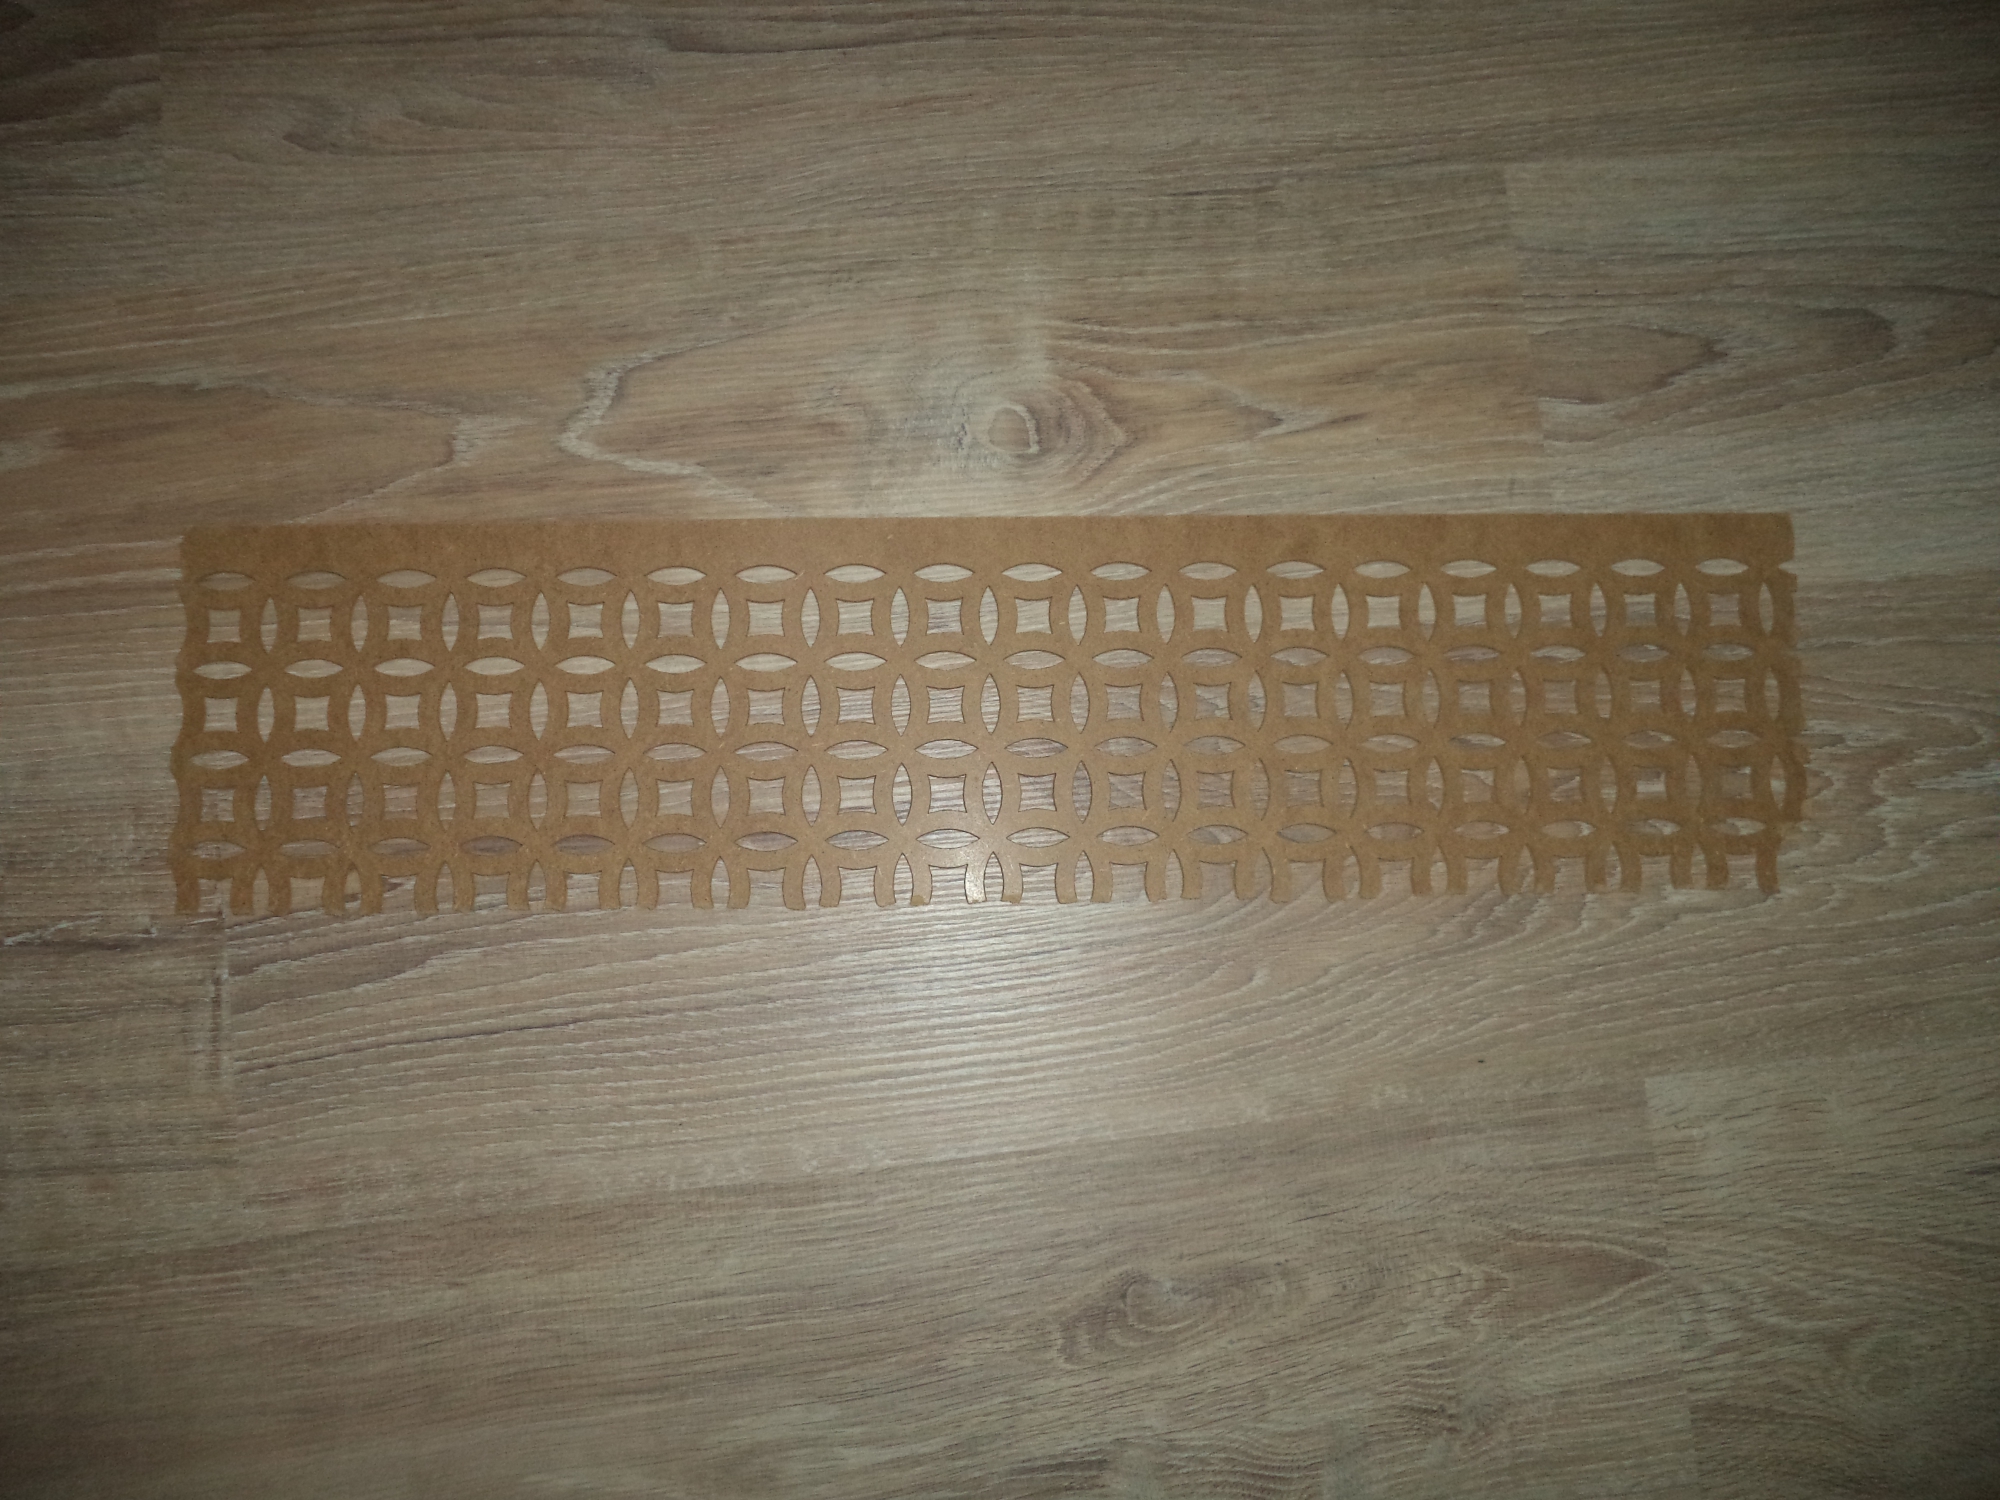
If there is no need for a screen box, you can completely do with a screen in the form of a facade panel. Such a panel can correspond to the size of the radiator or its size and shape to meet the desire of the owner. It is possible to make a grid shield in the form of a frame with a grid of metal or perforated MDF panel. The process of manufacturing such a lattice is similar to the process of manufacturing the front part of the camouflage box, discussed above.
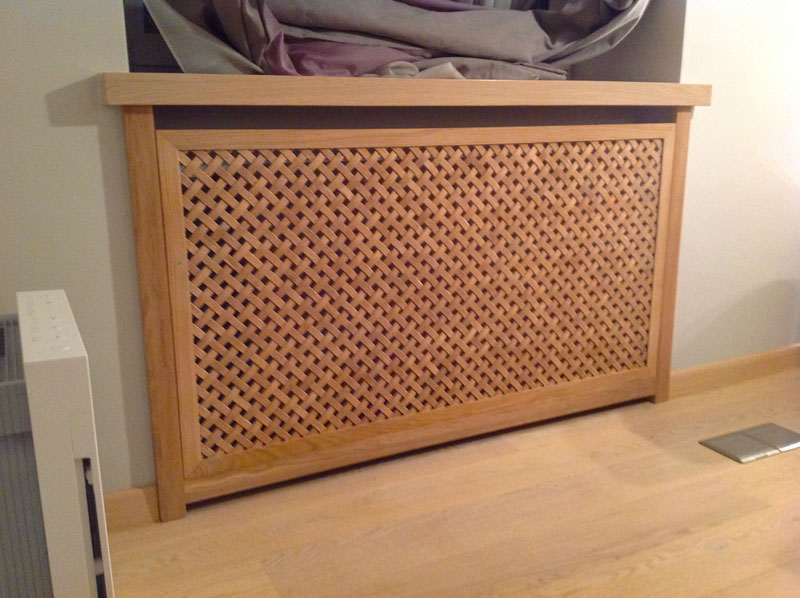
If experience allows you, you can make a decorative shield in the form of a wooden slatted lattice in a frame (like a blind). Reiki in such a frame are located in any direction - horizontally, vertically, diagonally. Complicating the task for yourself, you can pile up a honeycomb lattice from the rails (you can lay the slats not only at a right angle).
Recommendations
The decorative screen should not interfere with the heating of the room, especially if the radiators of the old model.This task copes well with the grid, grille or canvas with a large number of holes that do not impede the passage of air.
To enhance the functionality, durability and visual appeal of the screen, raw materials can be combined.
Decorative screen protects against dust, but cleaning is still not avoided. When choosing a screen model, consider the cases of cleaning, planned seasonal work, an accident.
Creating a decorative shield with your own hands will not cause difficulties if you understand the technology and have at least a little experience in carpentry work.
How to make a screen on the battery with your own hands, see the following video.


