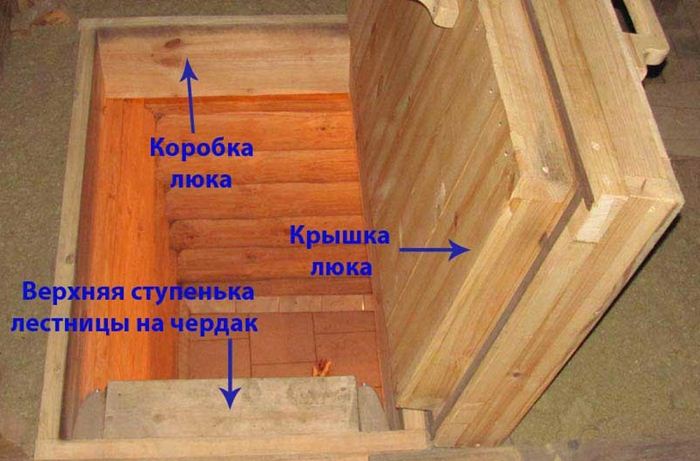
The details of the selection and installation of the hatch in the basement
Almost every private house has a basement. If the option of descending into it fell on the hatch, then you need to equip it according to all standards. First you need to decide on what material and what design it will be. After that, it is clear whether a high-quality assembly of the hatch is possible with your own hands, or it is better to give preference to the finished product. Before making a decision, it is better to familiarize yourself with all the subtleties of the question and, after weighing them, decide on the choice.

Special features
A hatchway in the basement is necessary to maintain the temperature regime, ensuring the safety of products stored in it and preservation. In addition, it prevents accidental fall in the opening. The specificity of its design and operation must comply with a number of requirements:
- fit into the interior of the room, can camouflage under the floor covering or minimally stand out against the general background;
- the strength of the hatch is sufficient so that when even a few people step on it, it does not fail;
- device opening mechanism is simple and reliable;
- hinges, curtains and handle must be of impeccable quality;
- open / close and lock the hatch without effort;
- the design with two handles is more convenient than with one;
- for covers weighing more than 10 kg, it is better to use an electric drive or a powerful shock absorber.
Kinds
The classification of cellar hatches can be carried out according to several parameters.
According to the form:
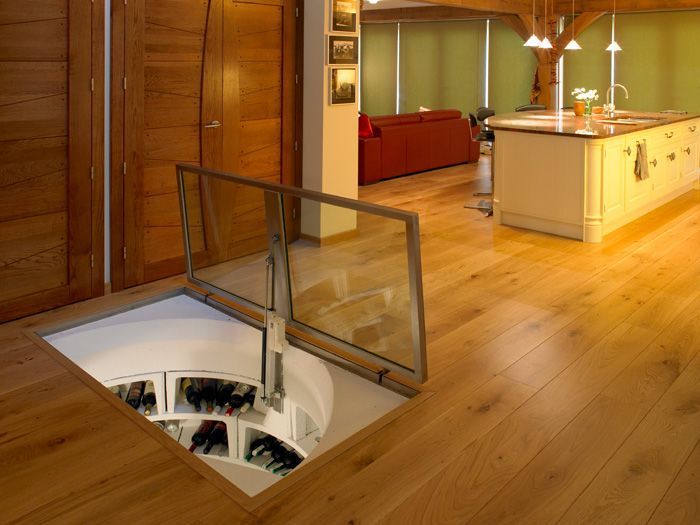
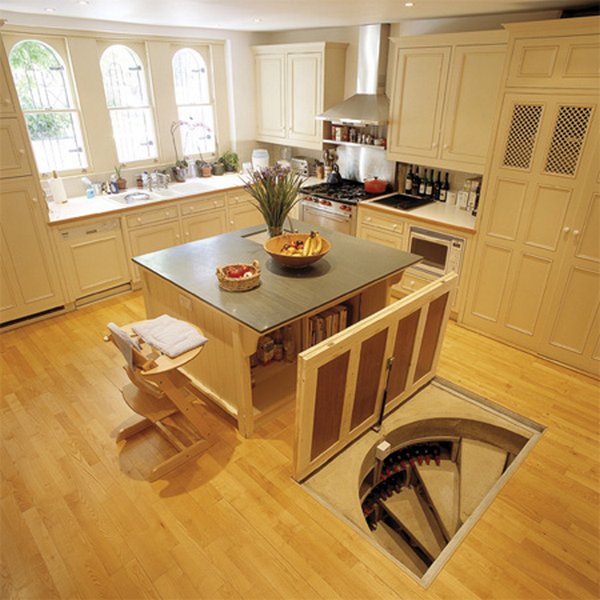
- square - 75x75 cm and larger;
- rectangular, for example, 120x80 cm are often used for wine cellars, as well as when stored in the basement of household equipment and other elongated items - stairs, building materials and other things;
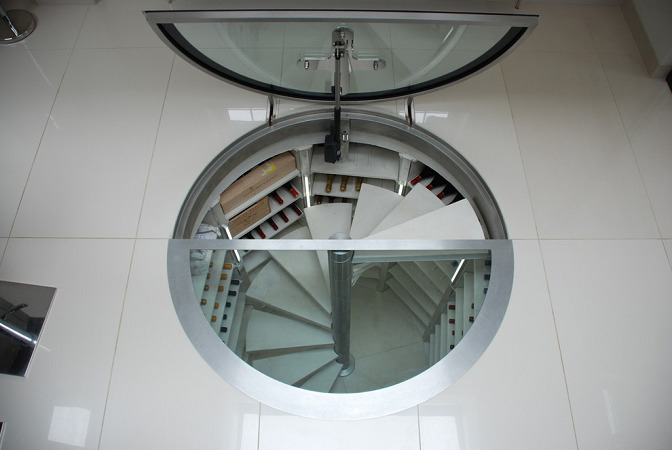
- round.
By material:
- wooden - lightweight construction, high thermal insulation, well suited for a grocery cellar in the house;
- metal - durable and reliable option, unpretentious to operating conditions, for example, can settle in a garage without heating, secondary buildings on the site and the like.
By the number of valves:
- single doors - the standard solution for the cellar in the house, do not take up much space, it is easy to camouflage under the finish;
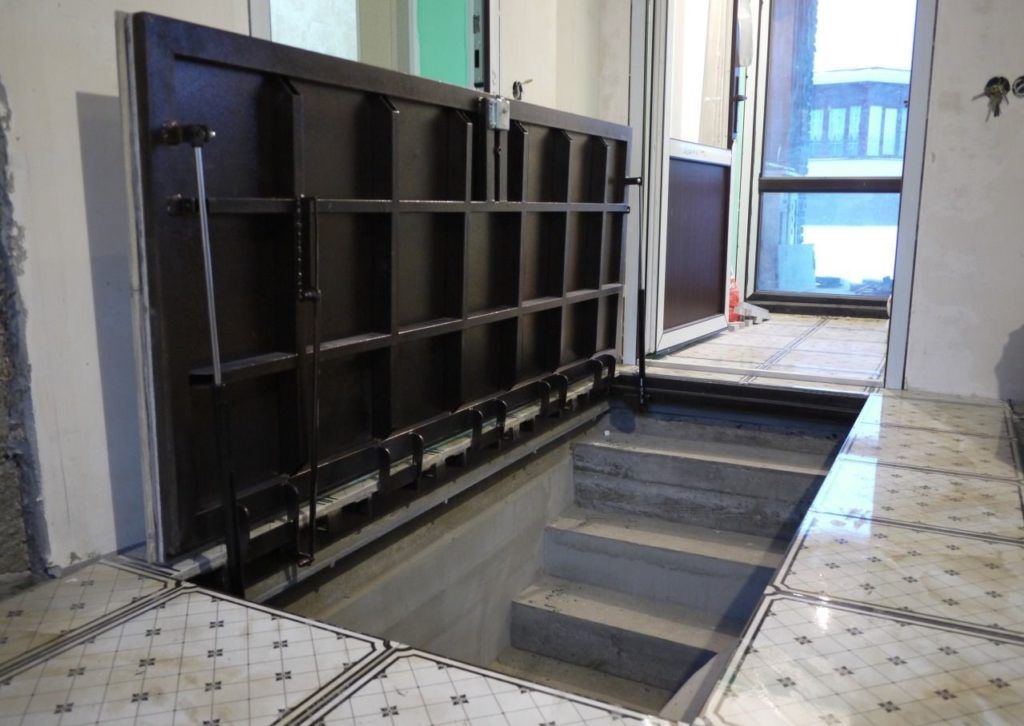
- bivalves - used when necessary to move large objects, for example, equipment for installation / disassembly in the basement, furniture, boxes and the like.

By type of opening mechanism.
- Removable - in this embodiment, there are no loops, and it is arranged like a cork in a bottle, usually made of wood, sometimes it is a secondary hatch over the metal for thermal insulation;
- Folding or swing - the standard version, cooked on loops, can be single or double;
- Lifting-sliding - for this type, a special mechanism is necessary to lift the hatch and make it possible to move it to the side.

On external coating:
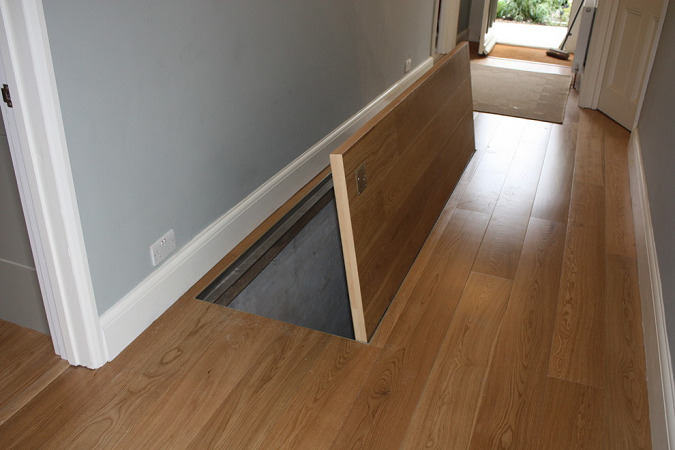
- unfinished;
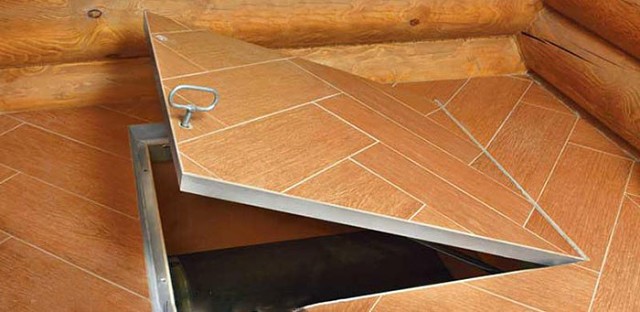
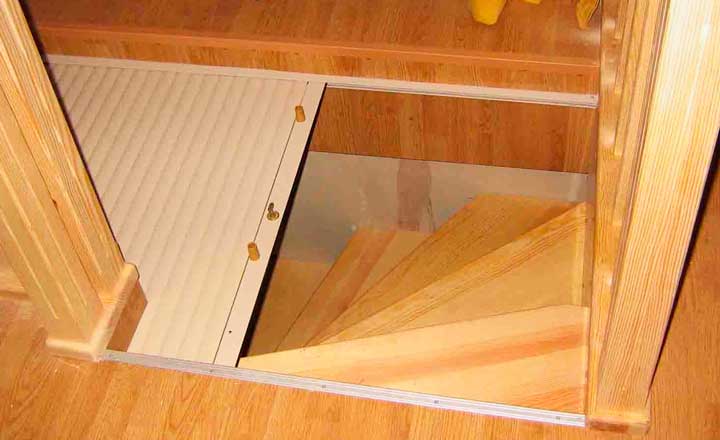
- camouflaged - various materials are used for the coating: tile, laminate, parquet, linoleum, wooden slats, stone and the like.

By the applied lifting force.
- Hand held - they require considerable effort, they practically do not camouflage with tiles and other finishing materials due to the already large weight, they are unsafe to handle - you can stumble and fall when lifting the hatch, which is quite easy under physical exertion;
- Hand held with shock absorber - the force of the gas shock absorber is used to compensate for most of the load, which makes it possible to finish the hatch with tiles, wood, cement, and so on, relatively safe;
- On a mechanical load - lifting the hatch is only due to the force of the electric motor, very easy to use and safe, because you do not need to lean over the opening.

To destination.
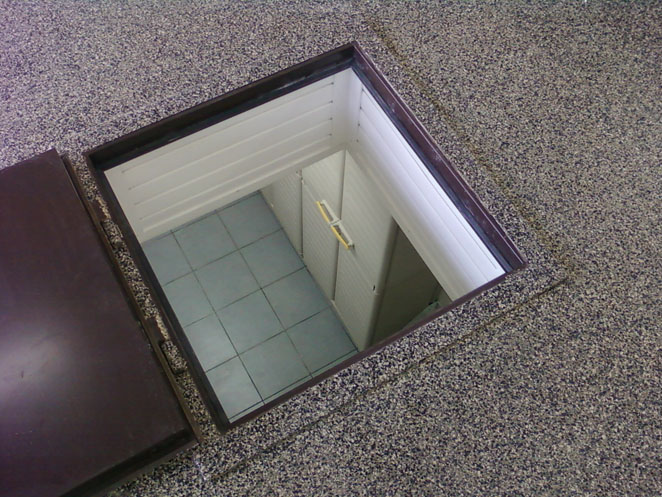
- Hatch over the grocery cellar - must maintain airtightness and maintain the temperature of the underground room, when creating a layer of insulating coating is used, and the gap between the lid and the frame should be minimal, a sealant, for example, rubber should be used;
- Hatchway above the basement - in this case, you can only ensure the strength of the structure, while depending on the objects stored in the basement, the width of the opening should vary, if large equipment is installed below, the hatch should be planned taking into account the possible replacement of units, then you cannot do without a double swinging structure; This category includes various audit pits with communications and similar premises;

By the ability to withstand the door to the door, you can choose any. Among the possible options:
- insulated;
- glass;
- secret;
- auto;
- retractable and so on.

The modern range is quite diverse. Sheds are often located indoors.
Blueprints
When designing a hatch, it is necessary to take into account a variety of parameters: dimensions of the structure, features of the functioning of the mechanical component and the like. Each design has its own distinctive features.
Consider the process of designing a basement hatch for components.
- Parameters taken into account:
- perimeter size - common;
- planting size - dimensions of the hole in the floor;
- lumen size;
- cap size.
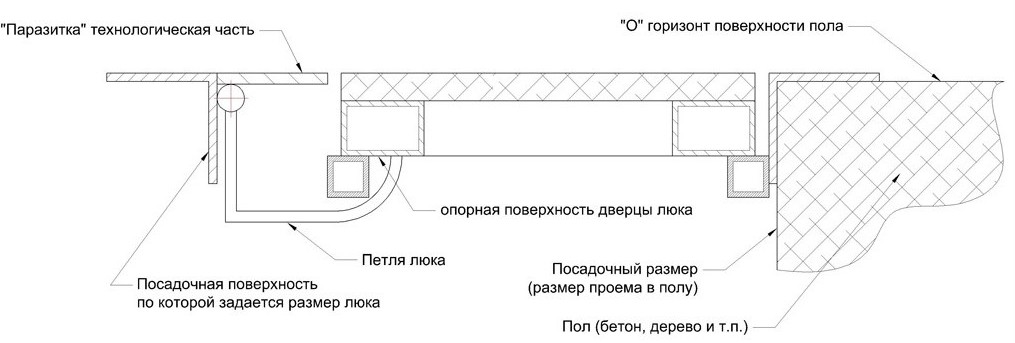
- Material and construction:
- wood or metal, the thickness of the elements;
- the structure of the frame cover and support frame;
- hinges or a similar mechanism for opening the hatch;
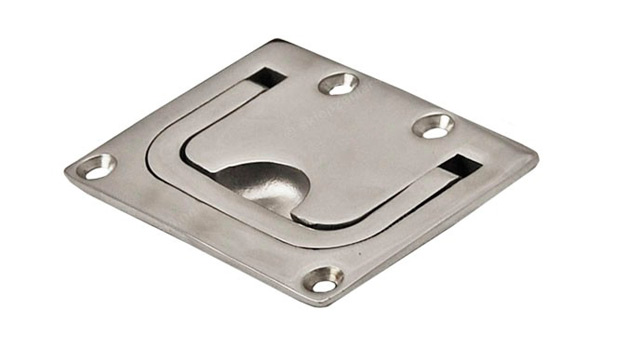
- hatch locking mechanism, handle for opening;
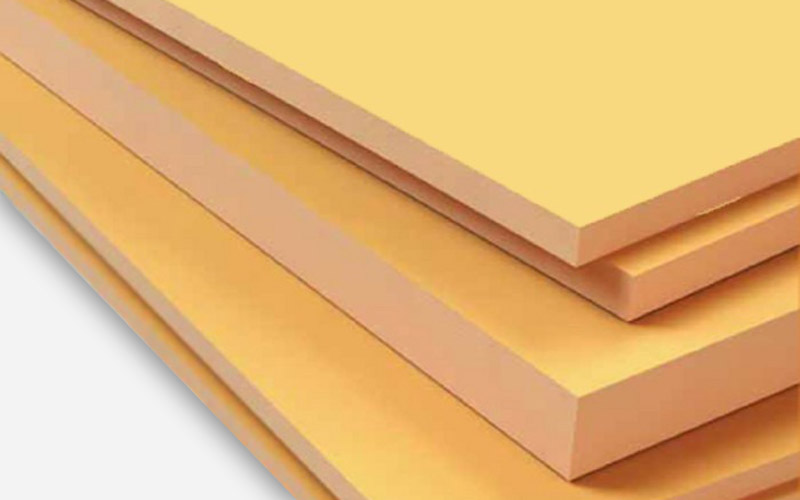
- insulation - mineral or glass wool, polystyrene foam, polypropylene and the like;
- the use of shock-absorbing compensators, electric motor, necessary to facilitate the opening / closing of the hatch;
- gap seal, provides sealing of the hatch, the preservation of temperature, in addition, makes its opening / closing less noisy;
- hatch trim.

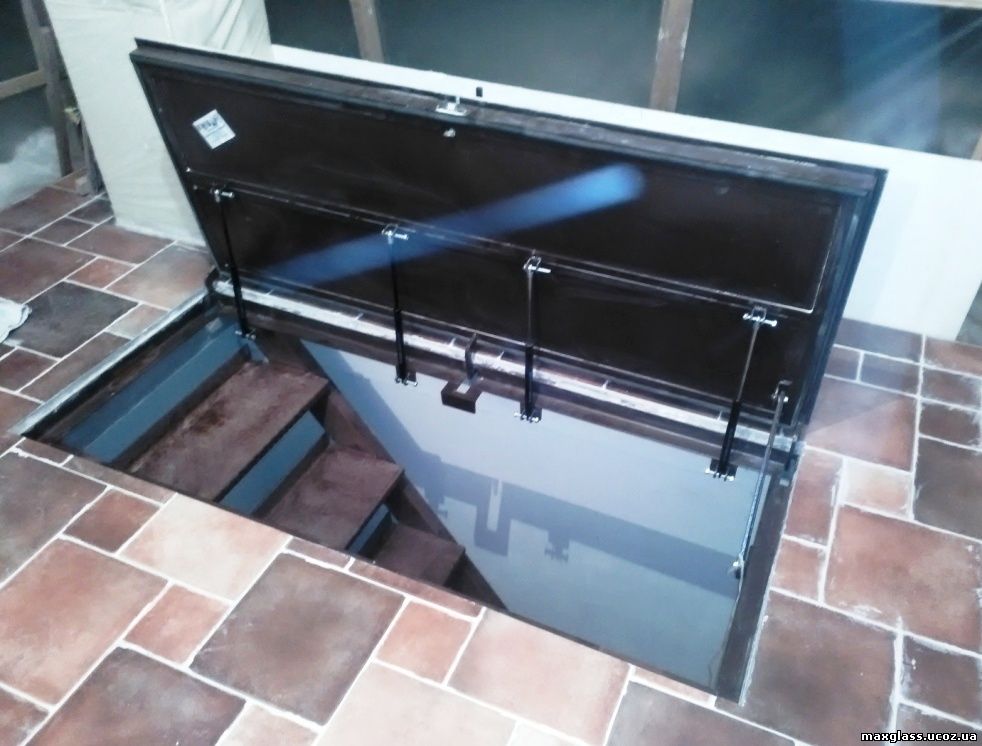
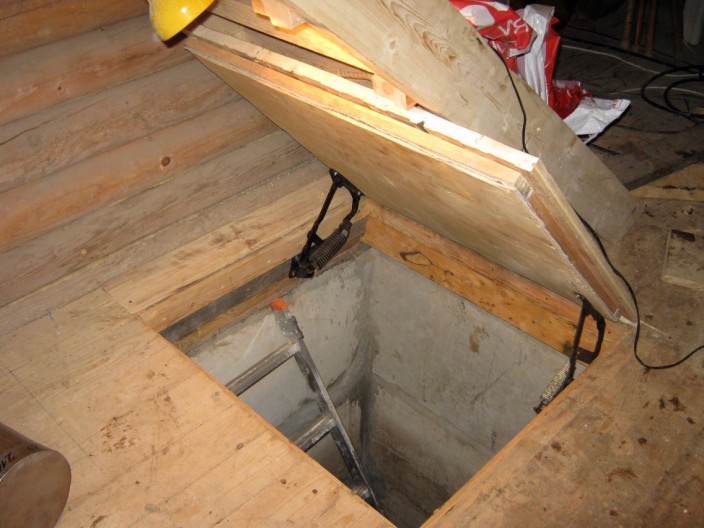
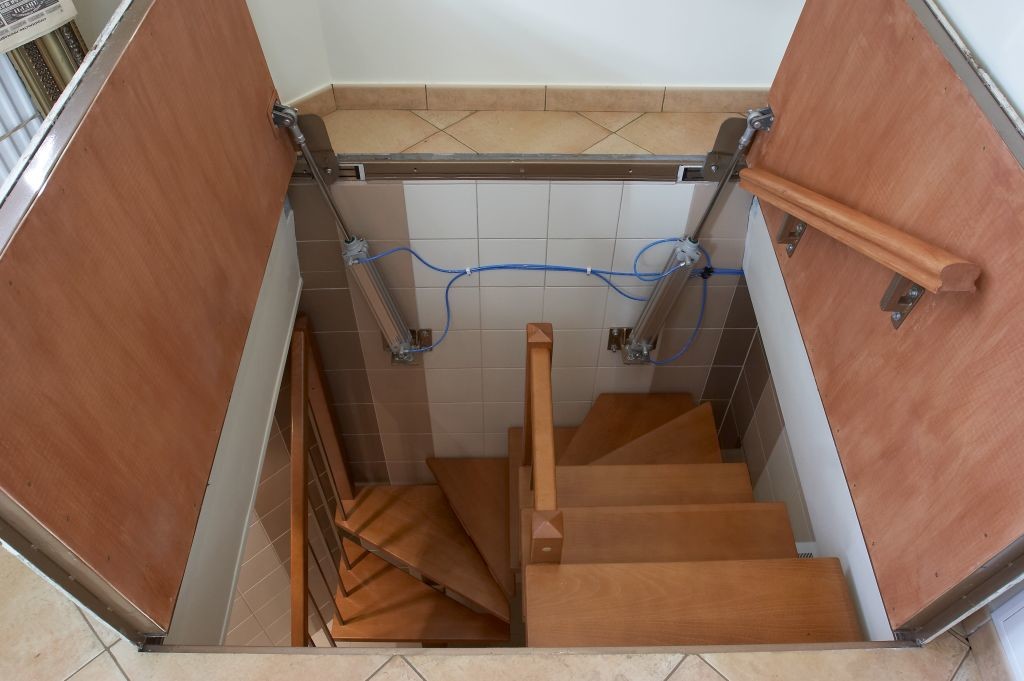
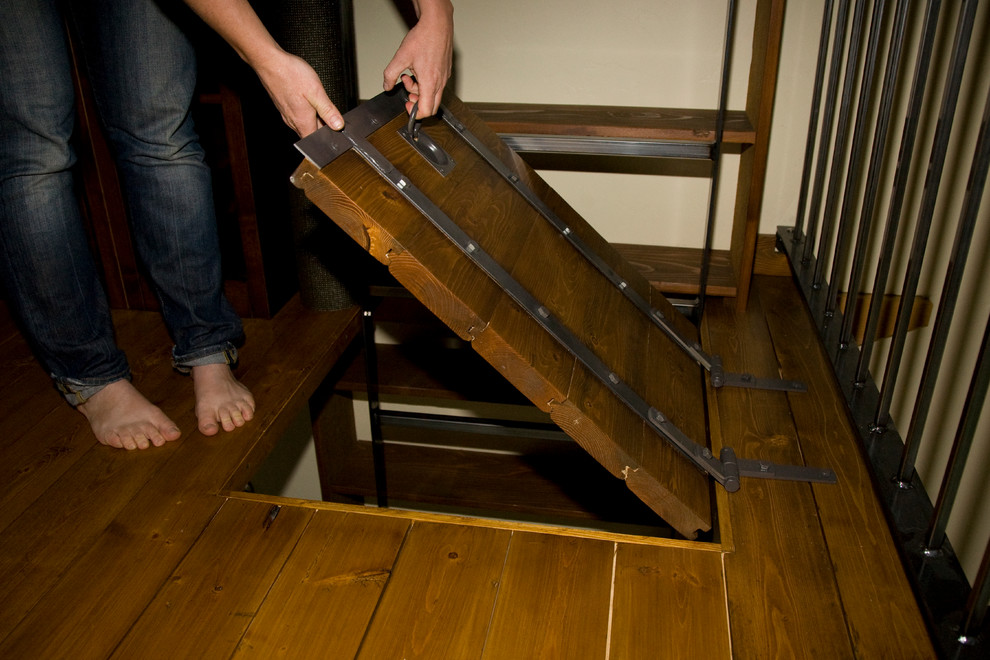
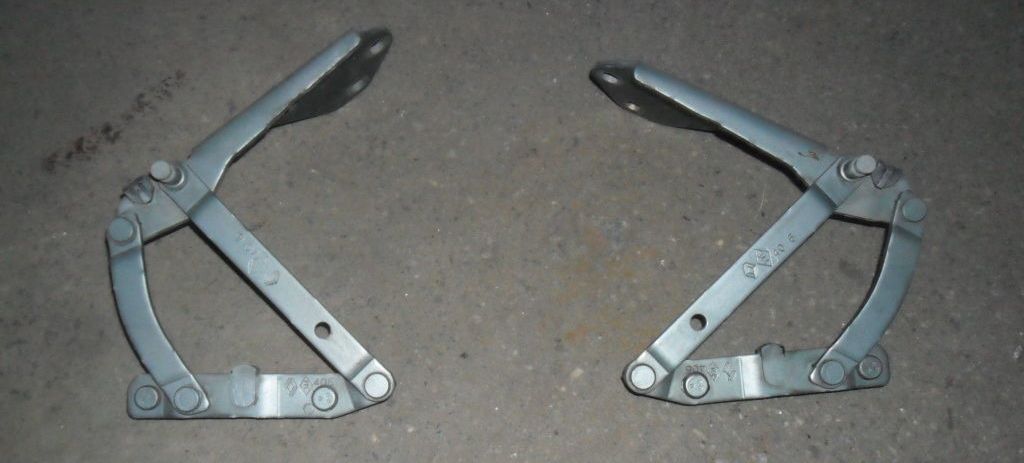
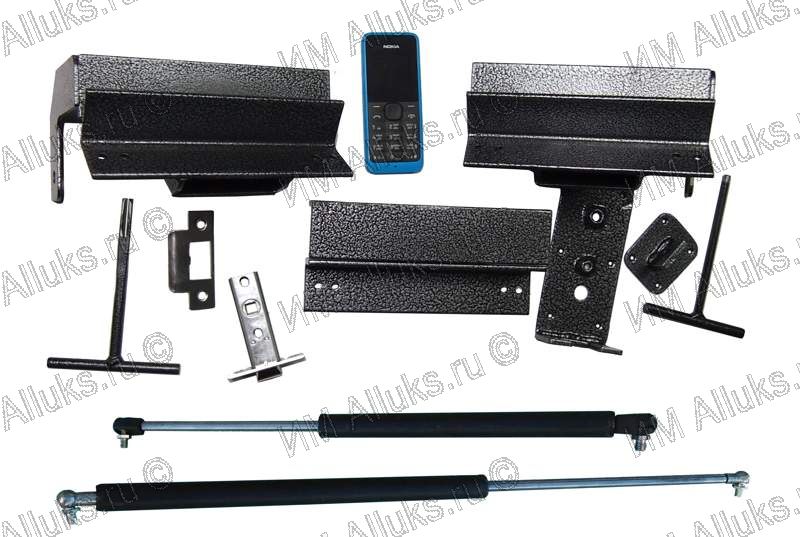
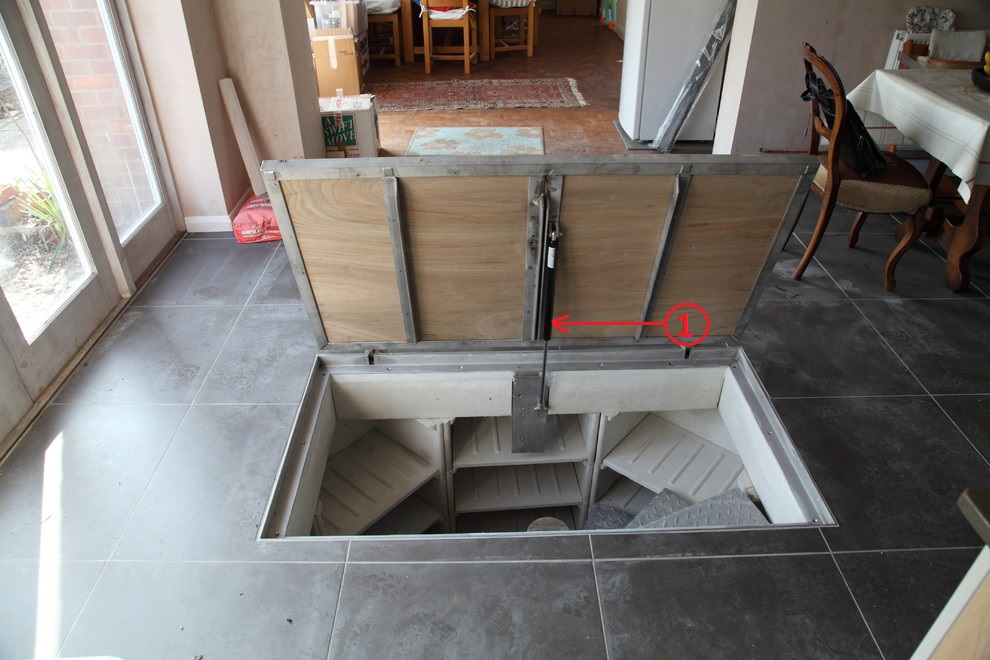
Basement cover hinges, shock absorber
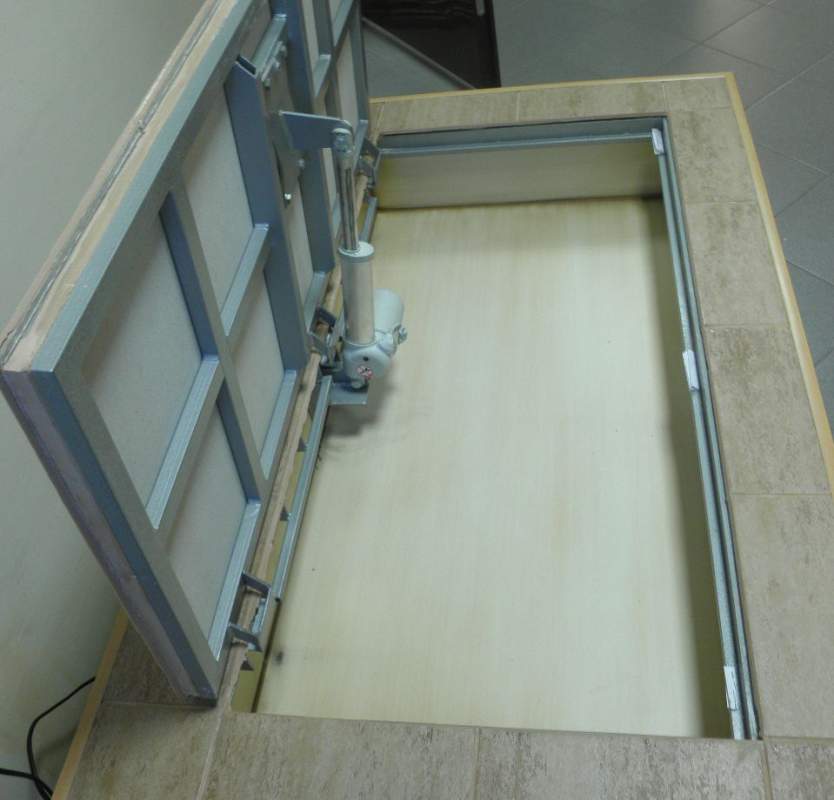
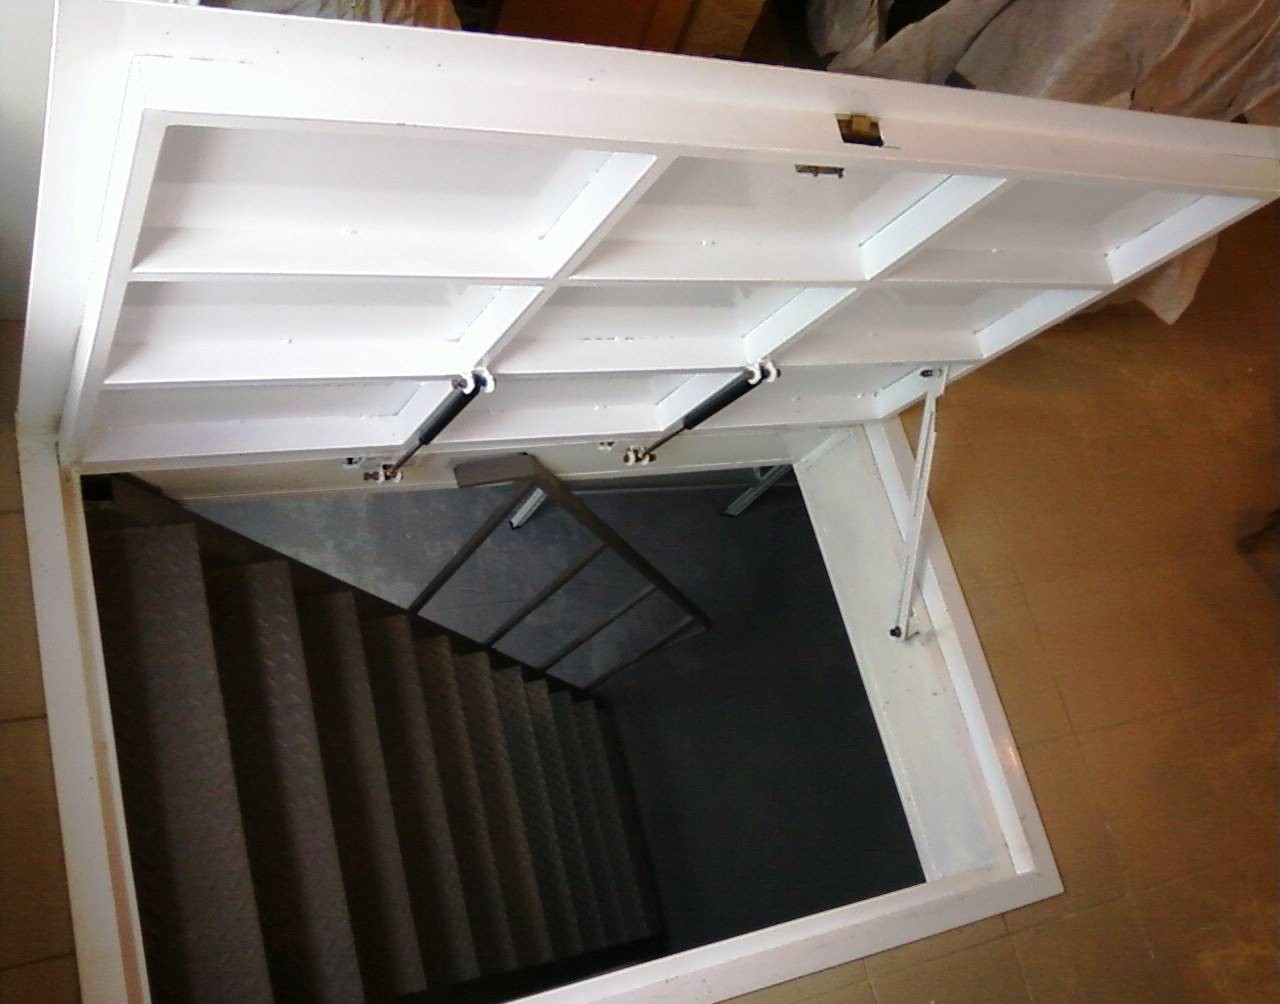
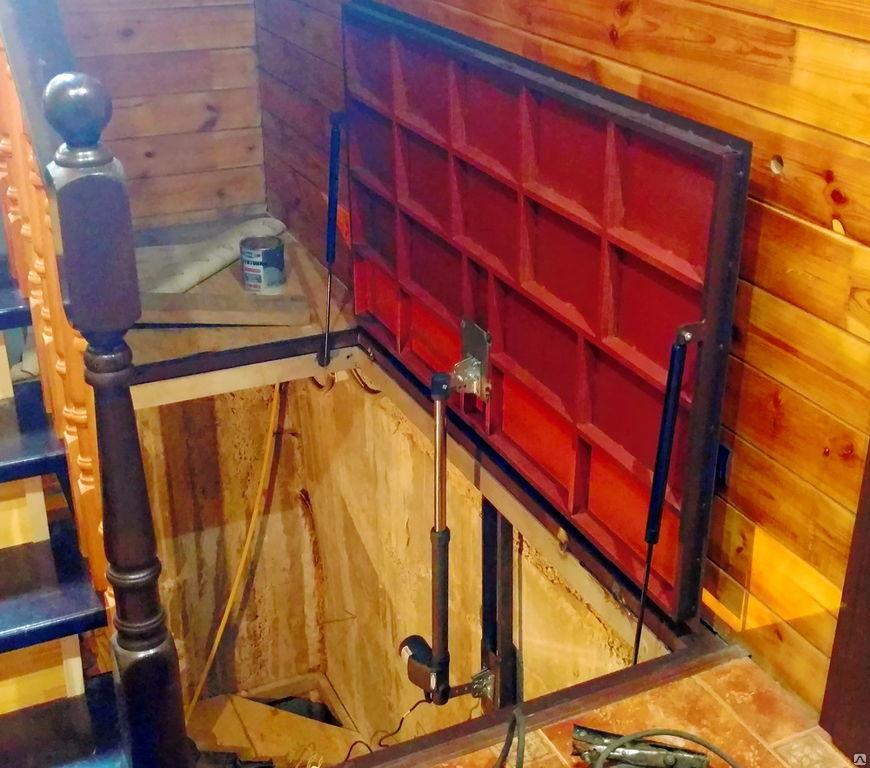
One of the main elements of the design, especially if the option is chosen with covering the surface of the hatch with a finishing material for the interior of the room. In this case, the weight of the lid increases significantly and requires a different solution than in the absence of plating. In general, there are several options.
If you are equipped with a lid in a self-made cellar, you can use regular hinges without fixing the position. And you can use hinges to open the hood of the car, any “VAZ” or other options will do. Using this hatch is much more convenient, and, moreover, safer.
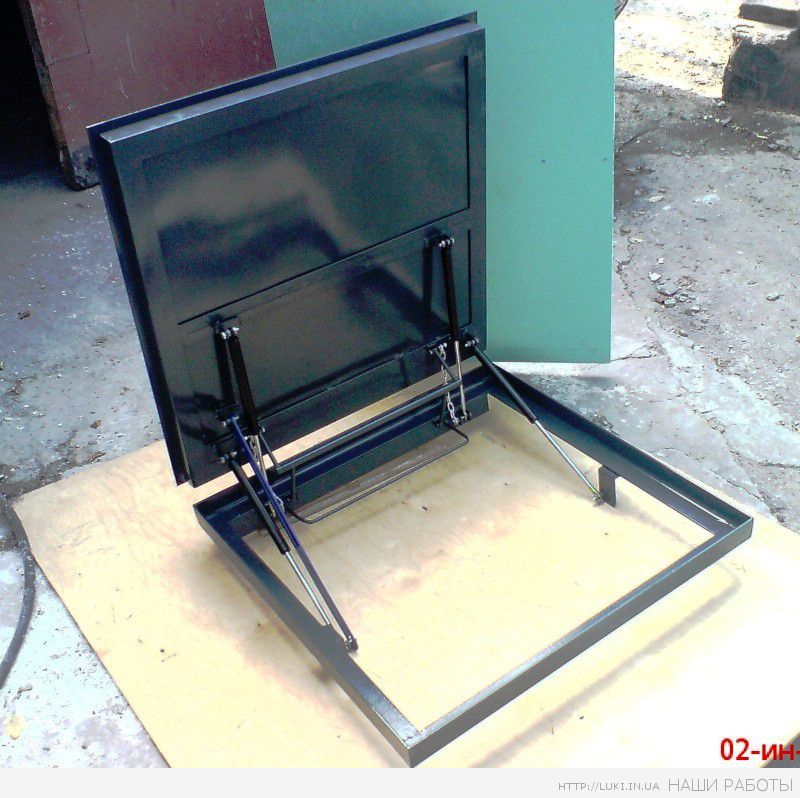
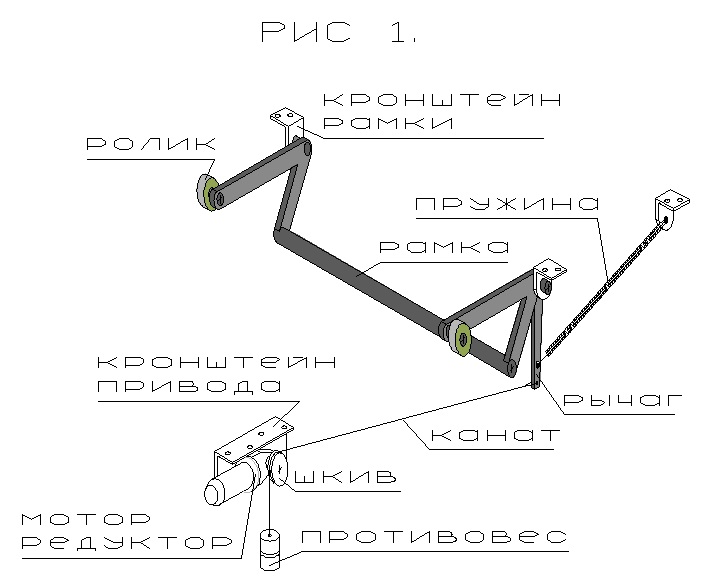
With a massive structure, you can make a mechanism that compensates for the load. For it will need such details:
- spring twisted;
- kosyachny fastening;
- steel bar;
- hinge with bracket and screws.
Get a homemade shock absorber.

The most convenient option is to arrange the lifting of the cover by means of an electric motor, you also need a toggle switch and a power source to connect it.Loops in this case can be used if the cover will be lifted, for example, by a cable, or not used if the cover is attached to the shaft directly.

How to do it yourself?
There are certain criteria, following which you can make and install the hatch with the correct functionality yourself.
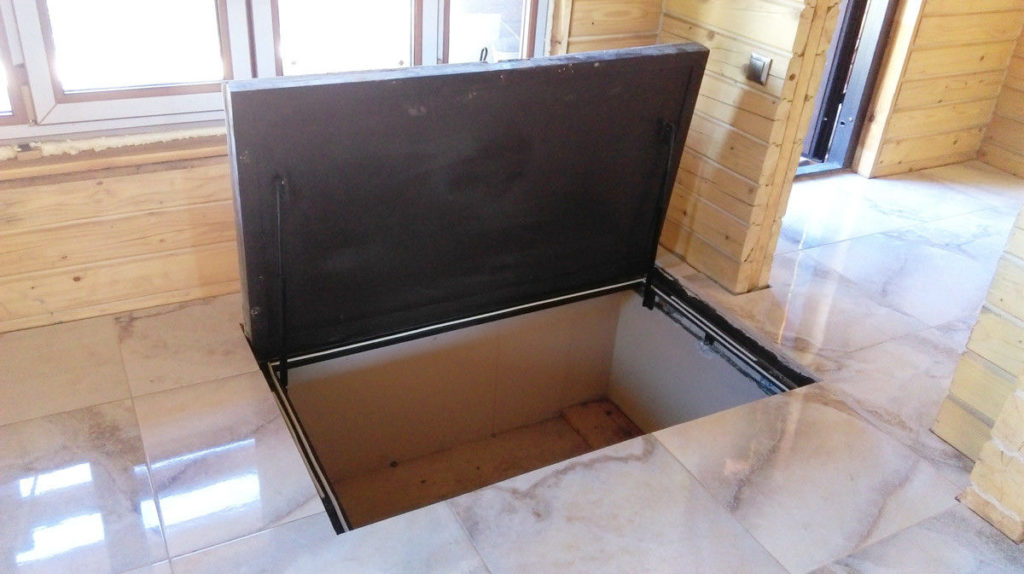
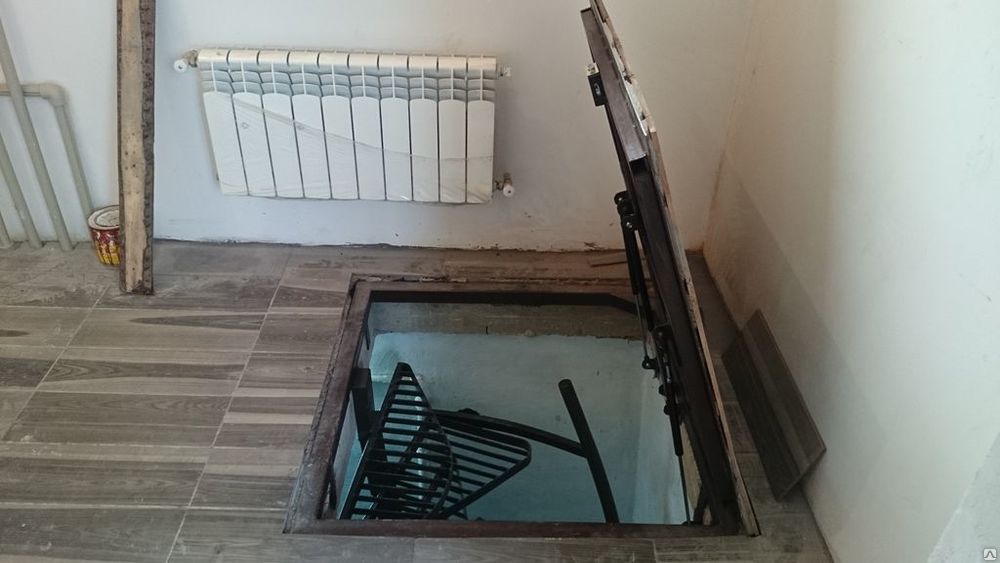
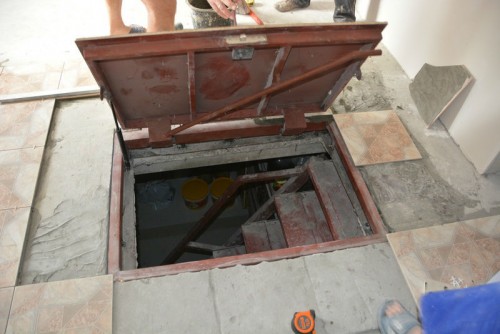
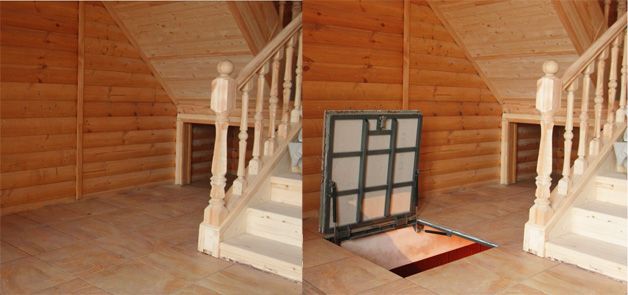
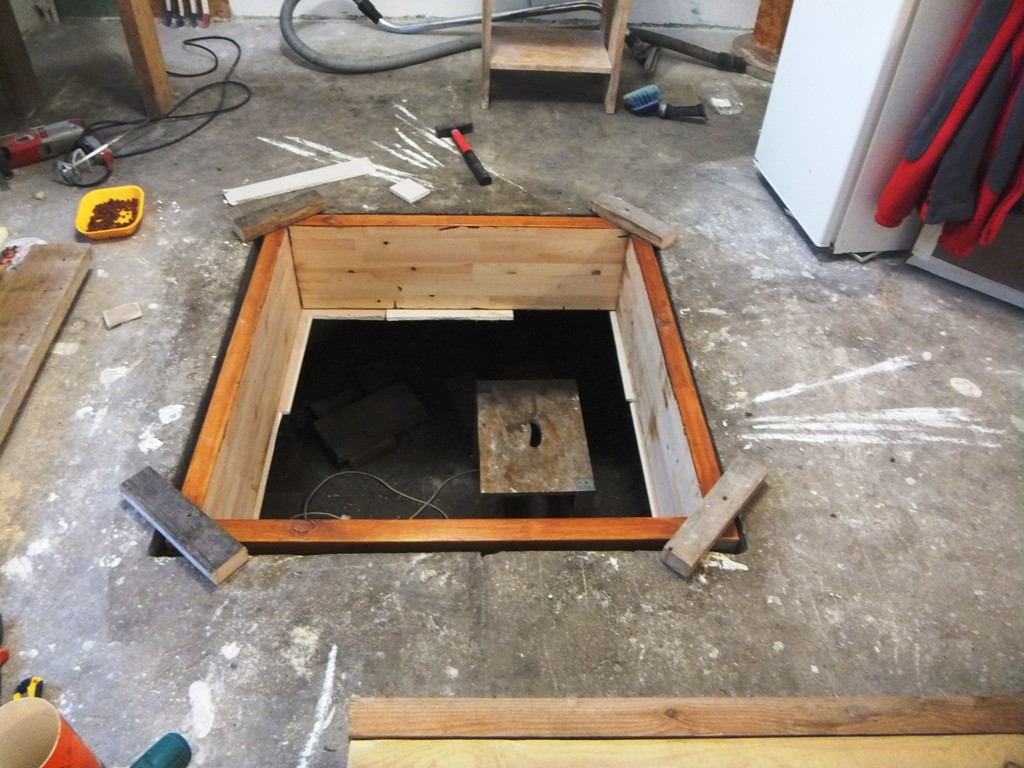
To choose a place for the hatch you need so that it was convenient to go down to the basement. This is primarily a question not about comfort, but about safety. The minimum size of the portal should be 750x750 mm. The design should follow the balance between its weight and strength.
The design should take into account the issue of tightness and heat insulation. Otherwise, the hatch will spoil the inner microclimate of the cellar and may result in damage to its contents. The main flap (s) must be below floor level.
It is worth thinking about equipping the hatch pneumatic piston. It will not only improve usability, but also make it safer.
Wooden hatch do it yourself hands
Wood is easy to process and has excellent performance characteristics, including heat insulation, which is very important for the hatch.The wooden hatch looks nice, lends itself well to decoration or camouflage, and its production is available to a person without advanced carpenter skills and special equipment such as gas welding for a metal model. To make the hatch with your own hands, you need the following tools:
- hammer;
- saw;
- screwdriver;
- brush.

And also need the following materials:
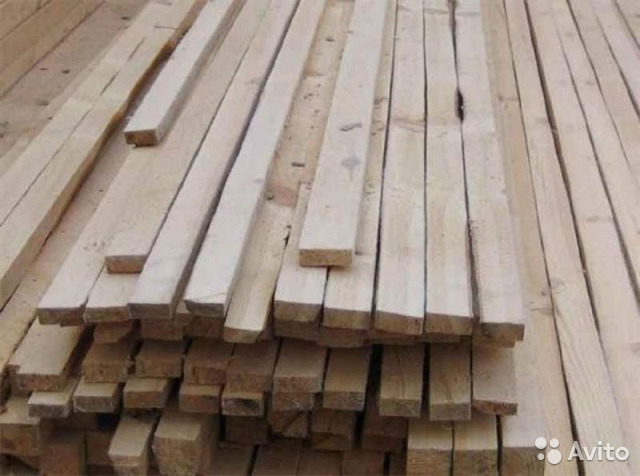
- flooring board;
- rake under the crate;
- bars for supports;
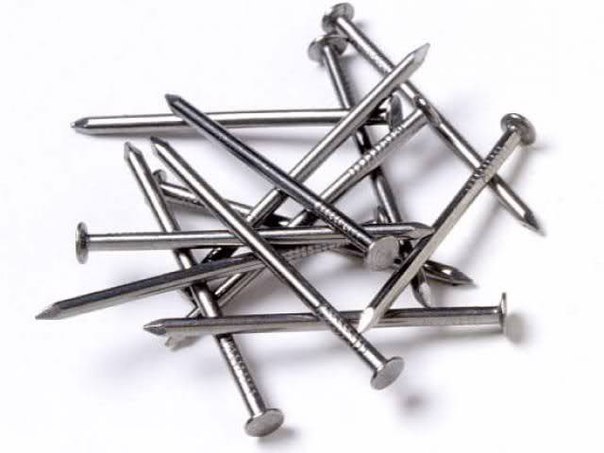
- nails and screws;
- plywood sheets;
- heat insulation film;
- mineral wool or other heat insulator;
- pencil and chalk;
- linseed oil;
- a pen;
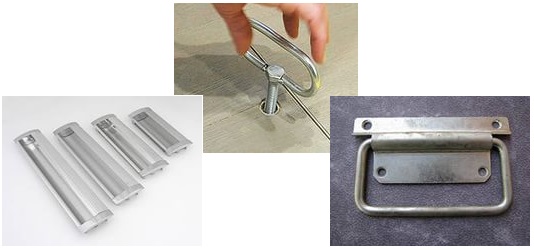
- hinges;
- shock absorber (optional).


The hatch will have dimensions of 80x80 cm in the internal opening, and its cover is 5 mm smaller on each side. This will ensure a snug fit with relatively free running.
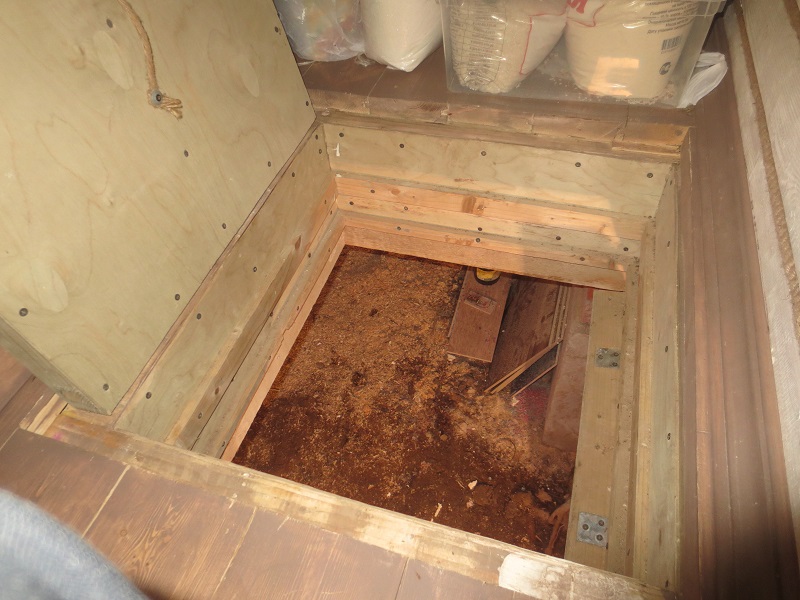
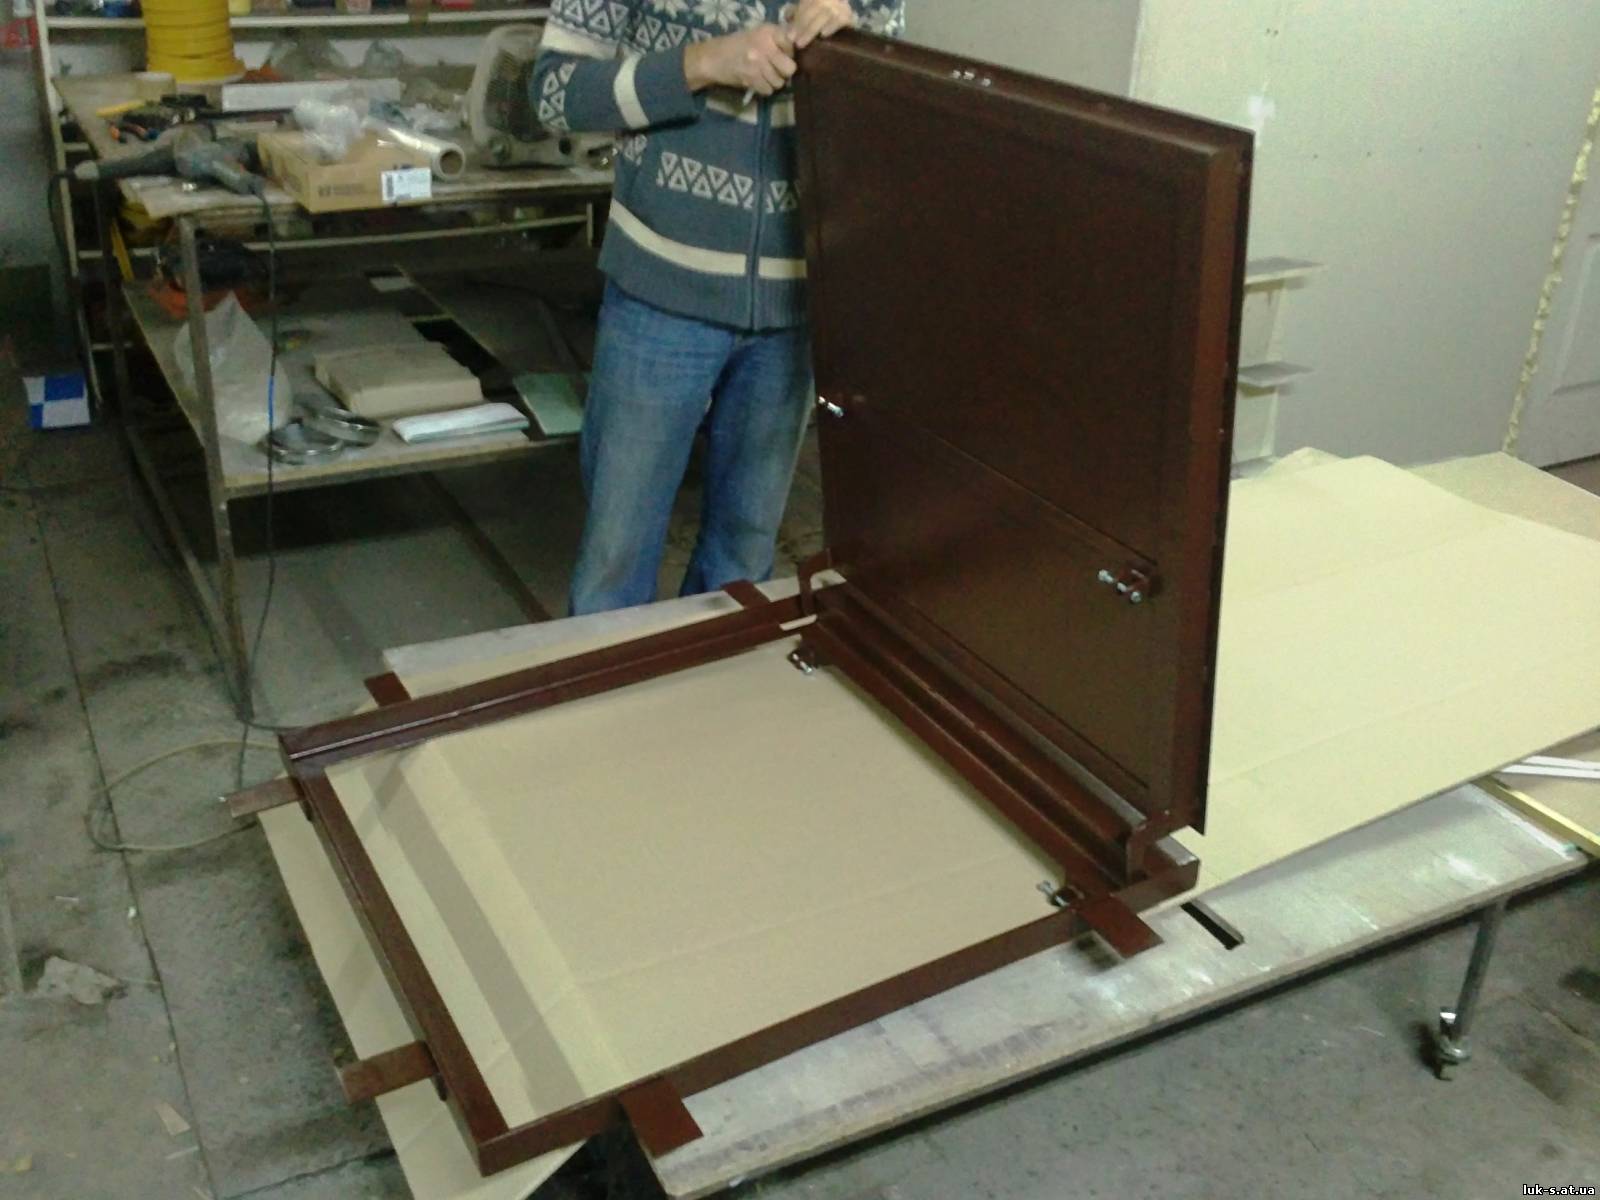
The process of arranging the hatch is as follows:
- the basic frame is made, it is attached to the rough flooring;
- batten cut to 79 cm in length;
- blanks are fastened with bars transversely;
- slats are cut to 79 cm, nailed around the perimeter, crate is made of them;
- mineral wool is laid between the crate and covered with a heat insulating film;
- a layer of insulation is covered with a sheet of plywood 79x79 cm and fixed;
- the surface of the hatch is covered with a material similar to the floor covering;
- mounted handle, the cover sits on the hinges.
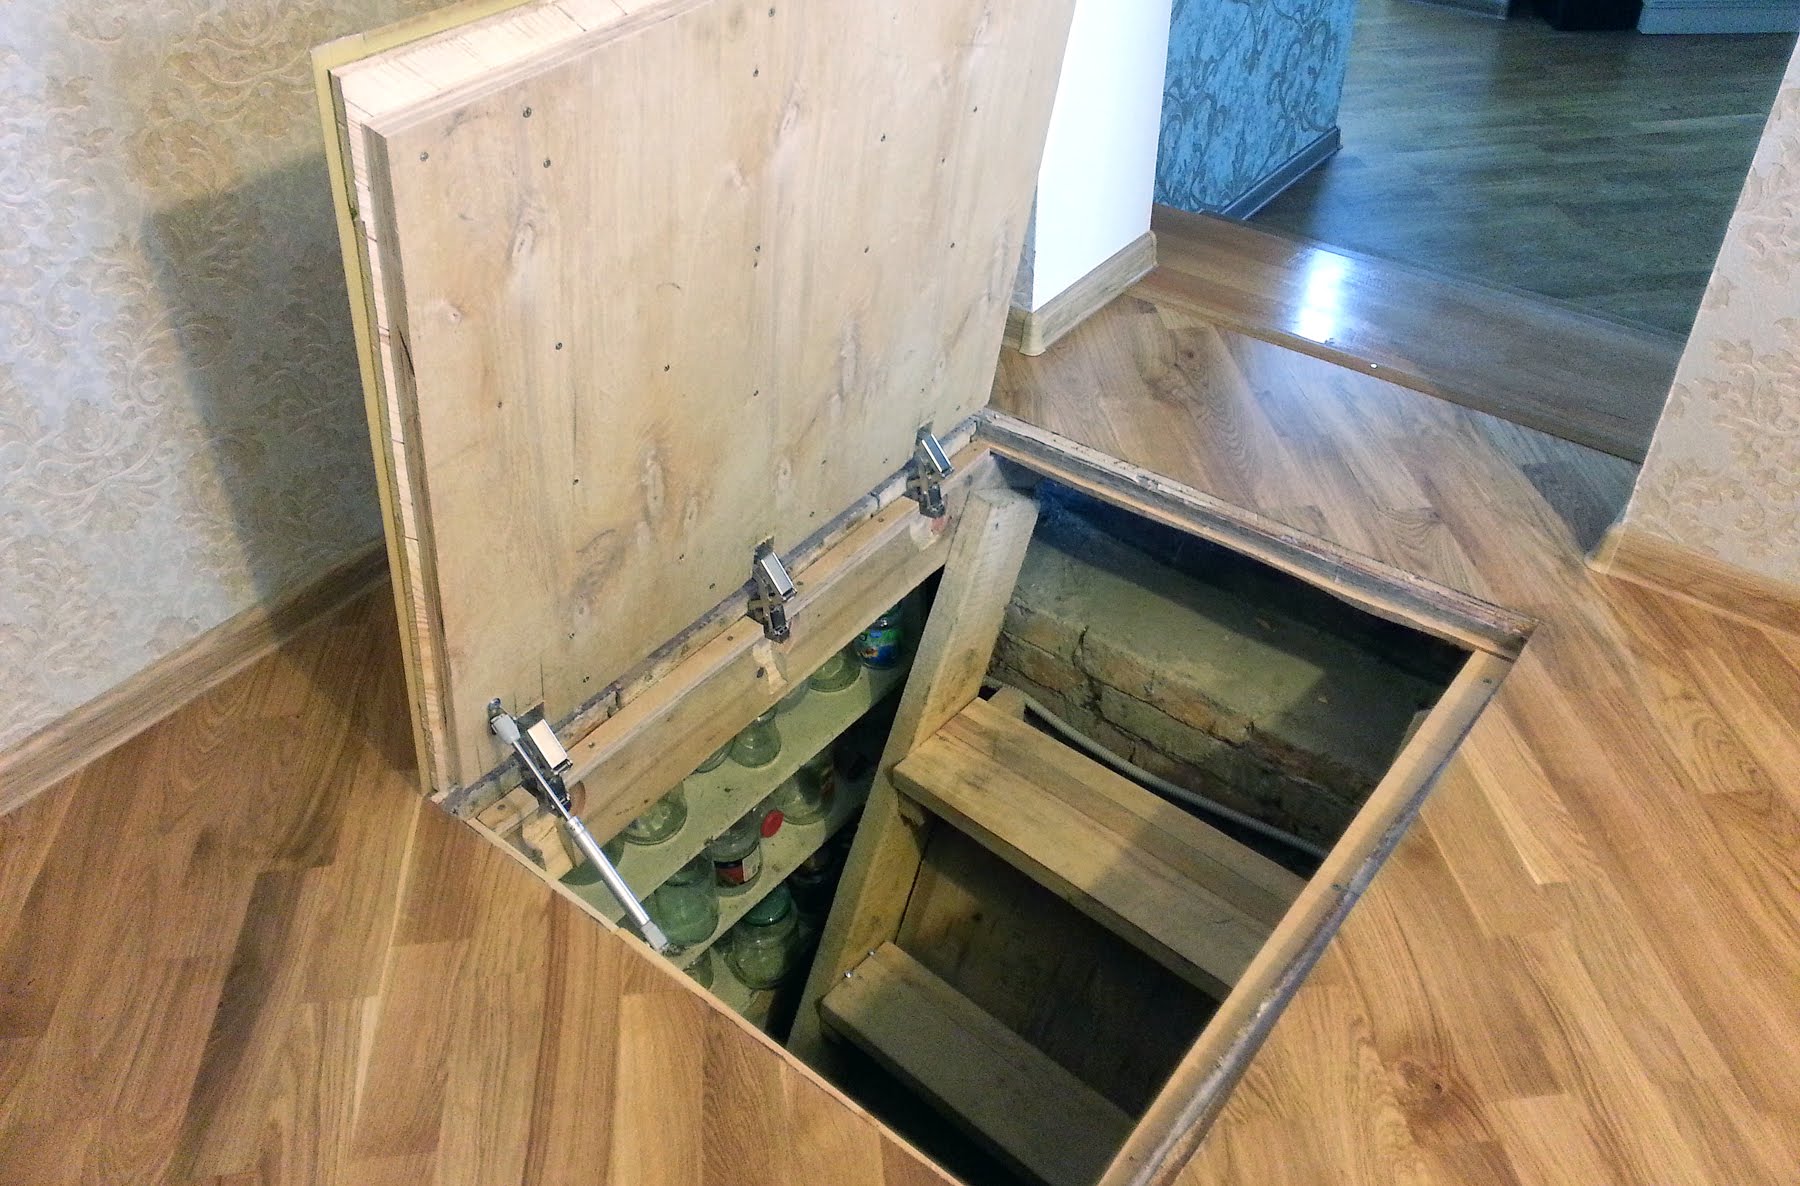
In the process of manufacturing all wooden parts must be treated with linseed to protect against fungus. The height of the upper plane of the hatch should coincide with the level of the floor.
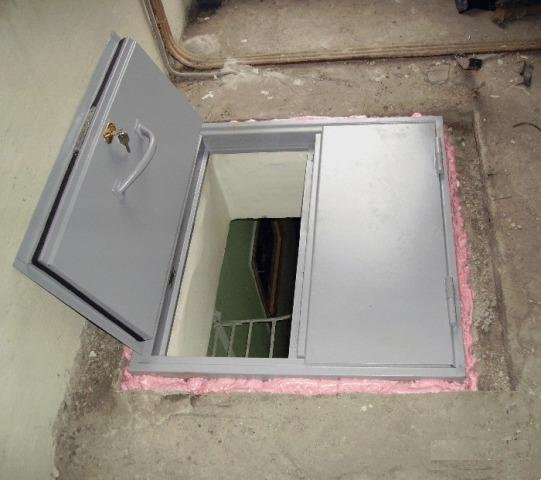
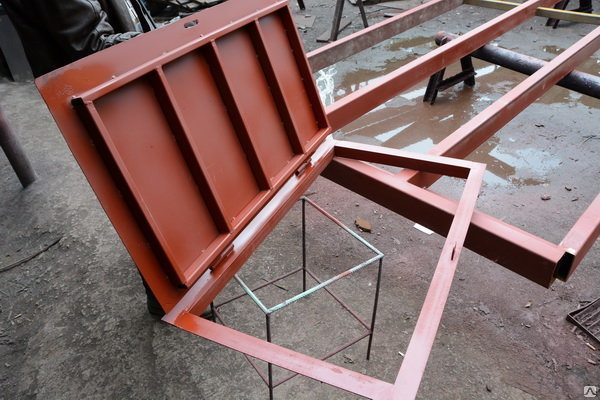
Metal hatch do it yourself hands
The main advantages of the metal hatch is reliability and durability. For its manufacture will need such tools:
- welding machine;
- disk grinder;
- roulette;
- knife;
- screwdriver.
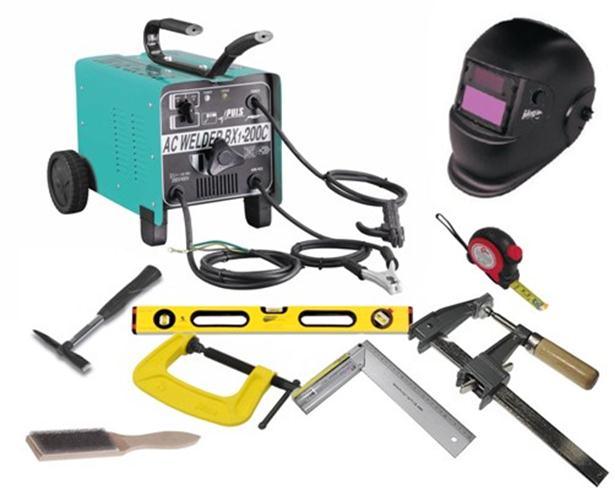
Required materials are:
- sheet steel 1 and 3 mm thick;
- Corner steel profile 3-4 mm;
- hinges and handle;
- anchor bolts;
- gas shock absorber;
- expanded polystyrene plates or similar material for insulation;
- primer;
- rubber for compactor.

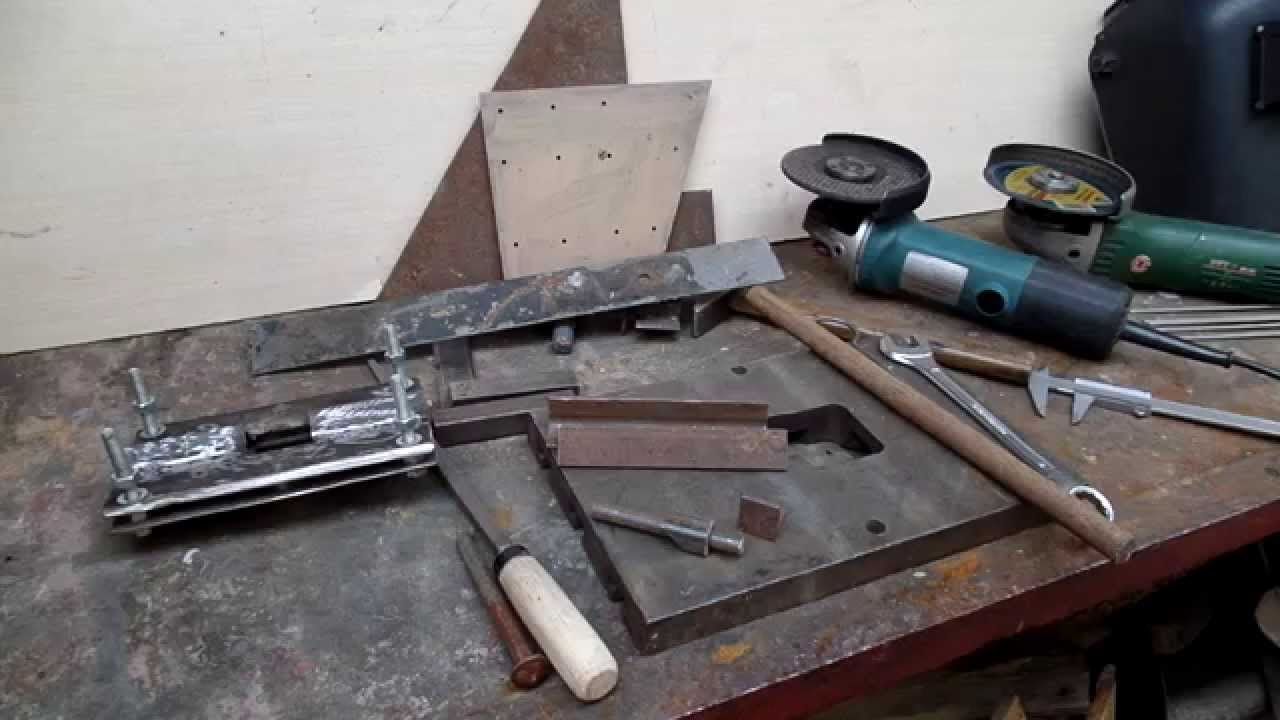
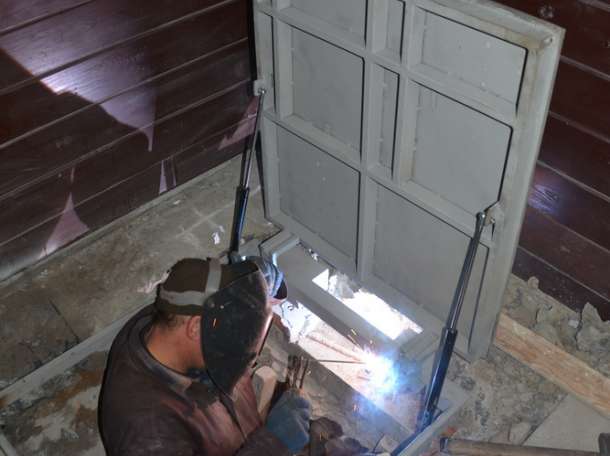
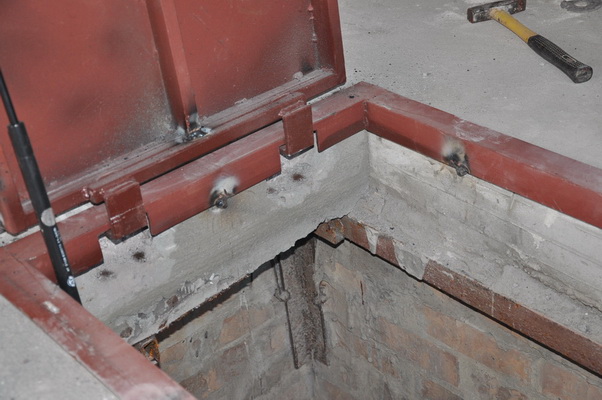
The first stage is to create a manhole cover, for this you need to do the following. A billet with dimensions of 80x80 cm is cut from a 3 mm thick steel sheet. Along the edges of the billet, steel corners and stiffening ribs are welded to the inner side so that the sheet is divided into 4 squares.In the cells formed by stiffeners, expanded polystyrene is inserted, cut into appropriate rectangles. A layer of insulation is covered with a lid cut from steel sheet 1 mm thick, the dimensions of which can be determined by measuring the resulting frame from the inside.
The second stage is the creation of a support frame and its installation with a cover over the opening. According to the size of the cover from the steel corner, the frame is brewed, taking into account a small gap - 3-5 mm for the seal. The frame is fixed with anchor bolts. Loops are welded to the cover and frame. Mounted seal around the inner perimeter of the frame. The cover is installed, the gas piston is welded after preliminary fitting of the optimal position, you can pre-grab the shock absorber for a more realistic simulation. The surface of the hatch is sheathed according to the finishing of the room.

Tips
In addition to the general provisions on the installation of the hatch, there are many fine subtleties, each of which has a positive effect on the final result.
The corner used for the construction of the frame should be no thinner than 4-5 mm, this thickness will provide structural strength and integrity of the hatch.
If shock absorber (s) are installed, its power should be such that the cover closes smoothly and opens smoothly. Too weak is useless, and too strong will cause discomfort.
The shock absorber should be installed so that when opening the lid and floor form a right angle - 90 degrees.

If the hatch will camouflage under the flooring, then at the design stage, the top plane of the lid must be at such a level that, after being coated with finishing materials, it forms a uniform surface with the floor. The trim layer should be as thin as possible: the deeper the hatch cover, the harder it is to open.
When the hatch is trimmed with flooring, the hinges are hidden. At the same time, there should be a gap between the finishing covering of the floor and the hatch, it will ensure the normal bending of the loops and their free running.
The size of the gap should be estimated at the design stage, you can attach pieces of wood with a thickness similar to the finish to the hinges and see if they can bend.

How to install the hatch in the basement, hidden under the tiles, see the following video.


