How to make electrical wiring in the garage?

A well-equipped container for a car or other transport must necessarily have a well thought-out electrical wiring. And even if someone managed to establish an apartment (home) power grid, repairing more than one device with their own hands, we should not rush to work. To get started, you should figure everything out and thoroughly figure out what exactly you need to do.
Special features
Electricity in the garage is always necessary. Even those who are not going to repair their car or motorcycle, are forced to recharge batteries there and light up the premises in the dark. If the garage is also used for repair, for servicing cars, you have to sharpen the tool, drill and cut, grind, solder, boil metal ... But the inevitable placement of nearby fuel and lubricants, constant dampness and contact with the ground require doing the wiring very carefully.
It is recommended to find out all about the electrical safety standards and about the basic provisions of the technology works.
Not every garage owner has enough free time and knowledge., to study building codes and regulations for electrical installations. Unlike electrical work in the house and in the apartment, it is necessary to obtain permission from the board of the garage cooperative or from the owner of the rented parking space. Connection to three-phase networks of 0.4 kV will also require coordination with the electricity supplier, the same organization should make a project according to your application.

Important Requirements
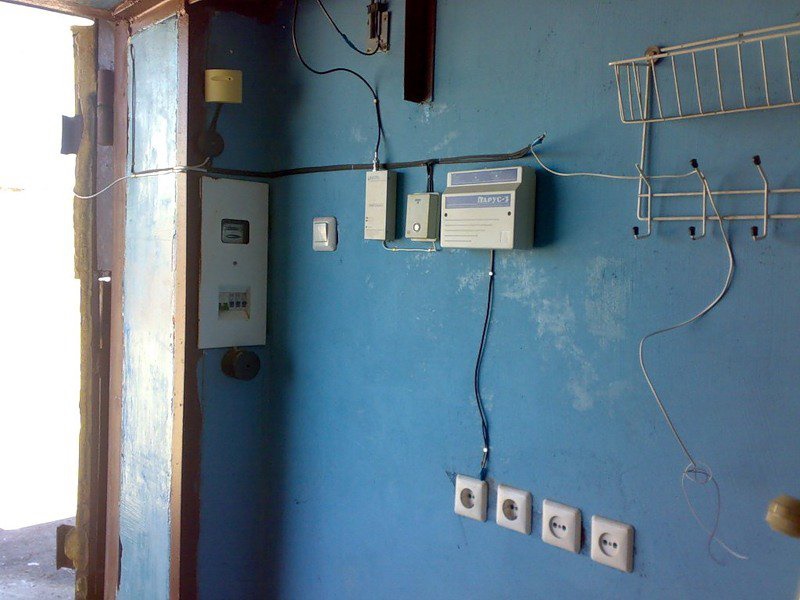
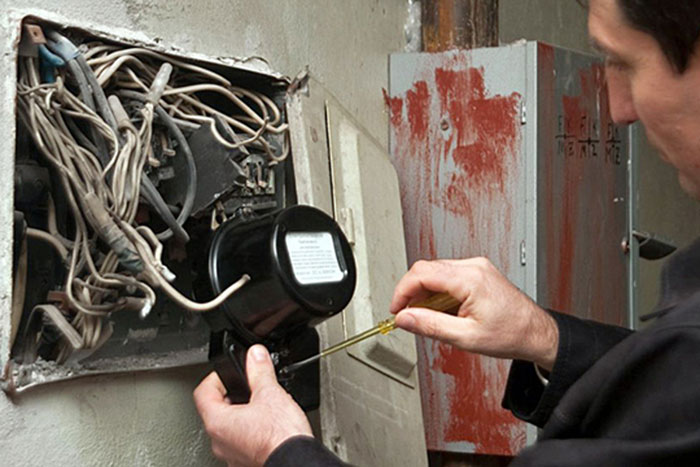
Using a network of 220 V imposes much less restrictions on the owner of the garage. However, he must purchase a meter that can withstand 50 amps of electricity and the corresponding cables. Ensuring the supply of load current is closely monitored by energy supervision. In the event of violations, he is entitled to issue an order to dismantle the illegal power grid and even impose a fine on “initiative electricians”.

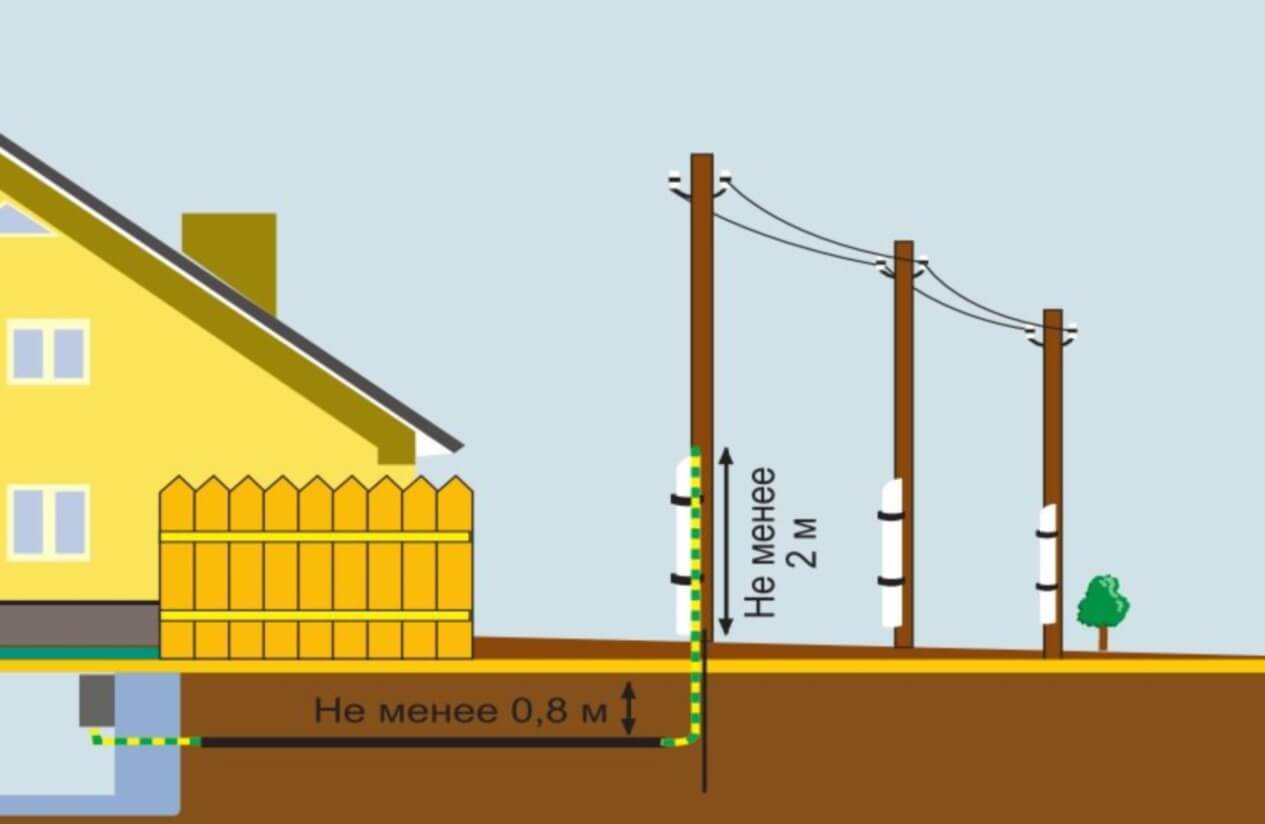
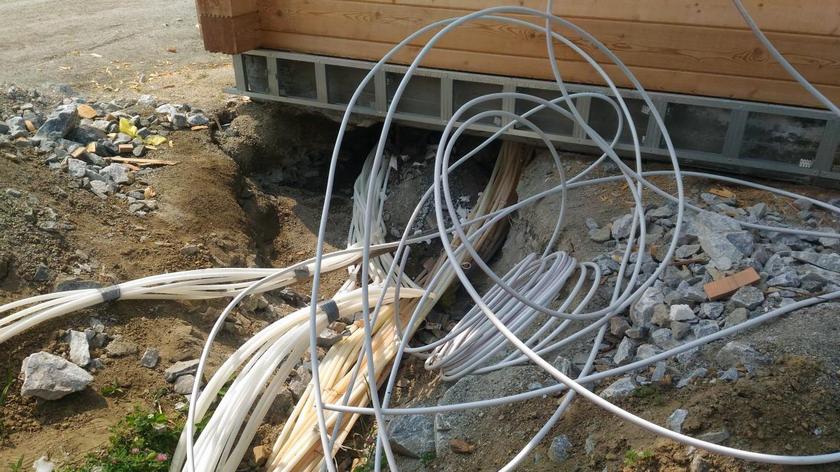
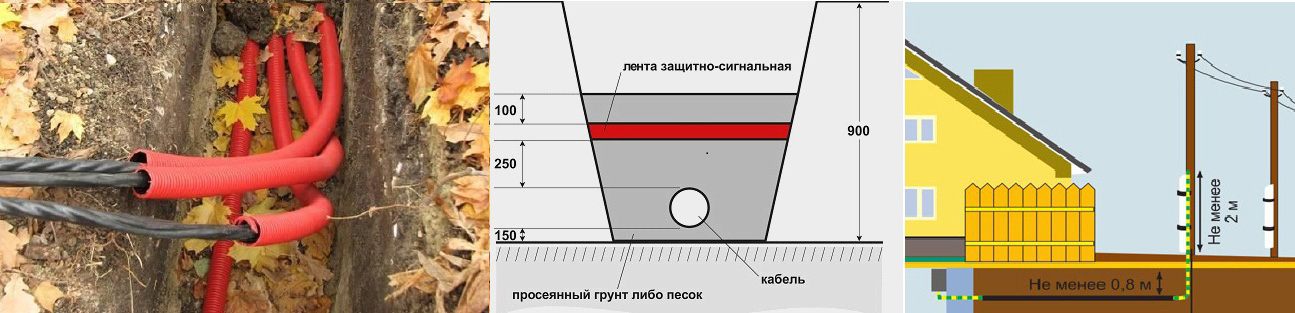
To conduct electricity from home is possible by air and underground means.
Cables are suspended in the air and are held by a 0.3 cm diameter steel wire. According to current regulations, underground lines are supposed to be pulled in corrugated plastic pipes laid in trenches 0.8 m deep. Sand dredged the bottom of the excavation (0.1 m layer). A similar line is connected to a personal counter, protecting the segment with a special automaton.
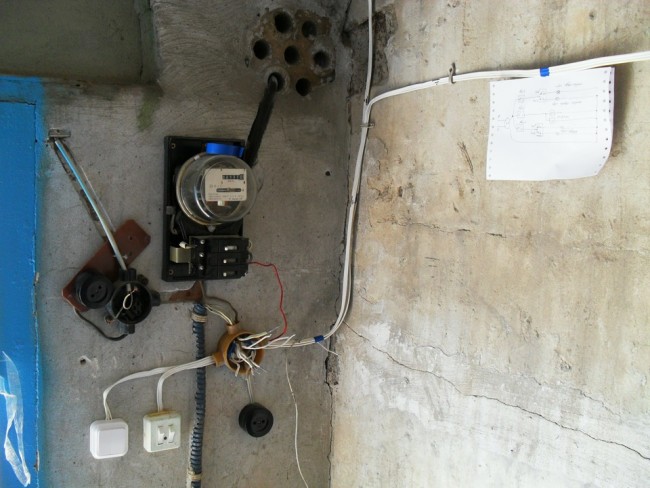
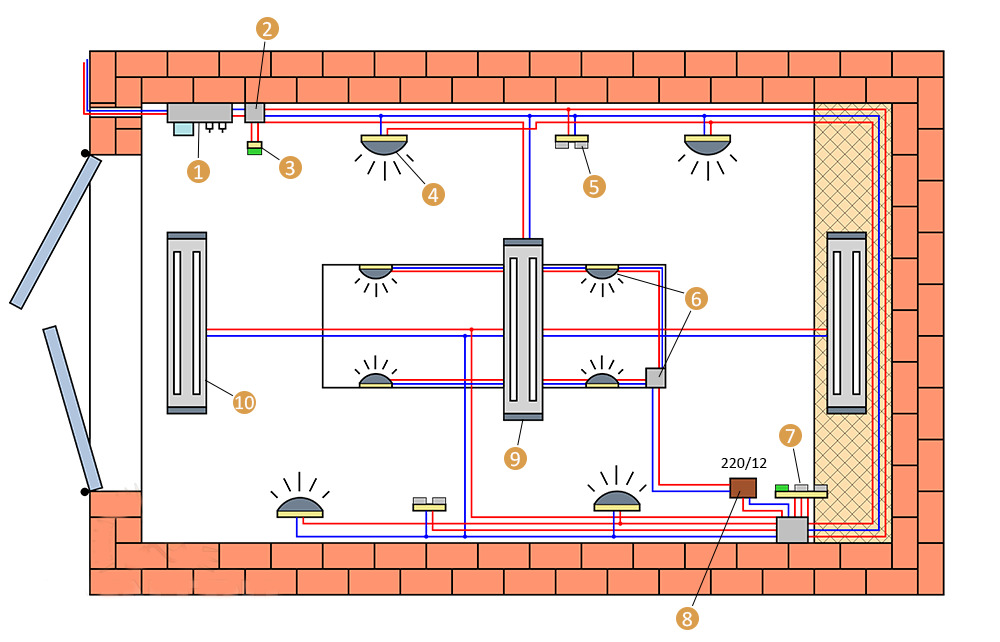
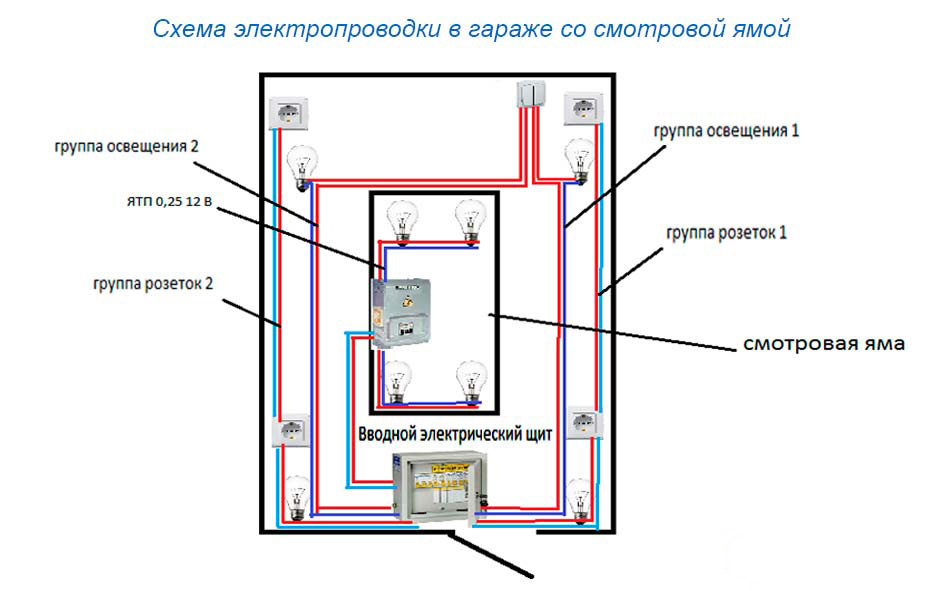
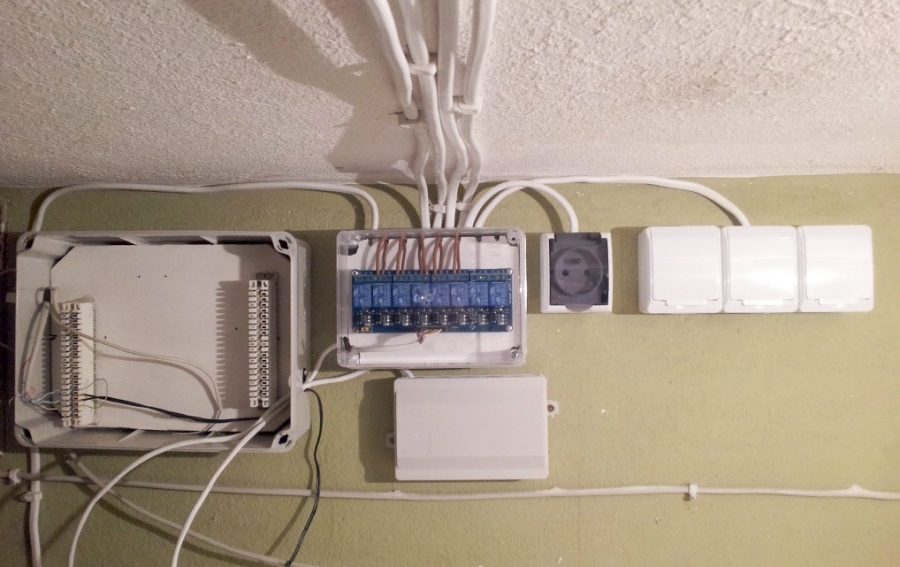
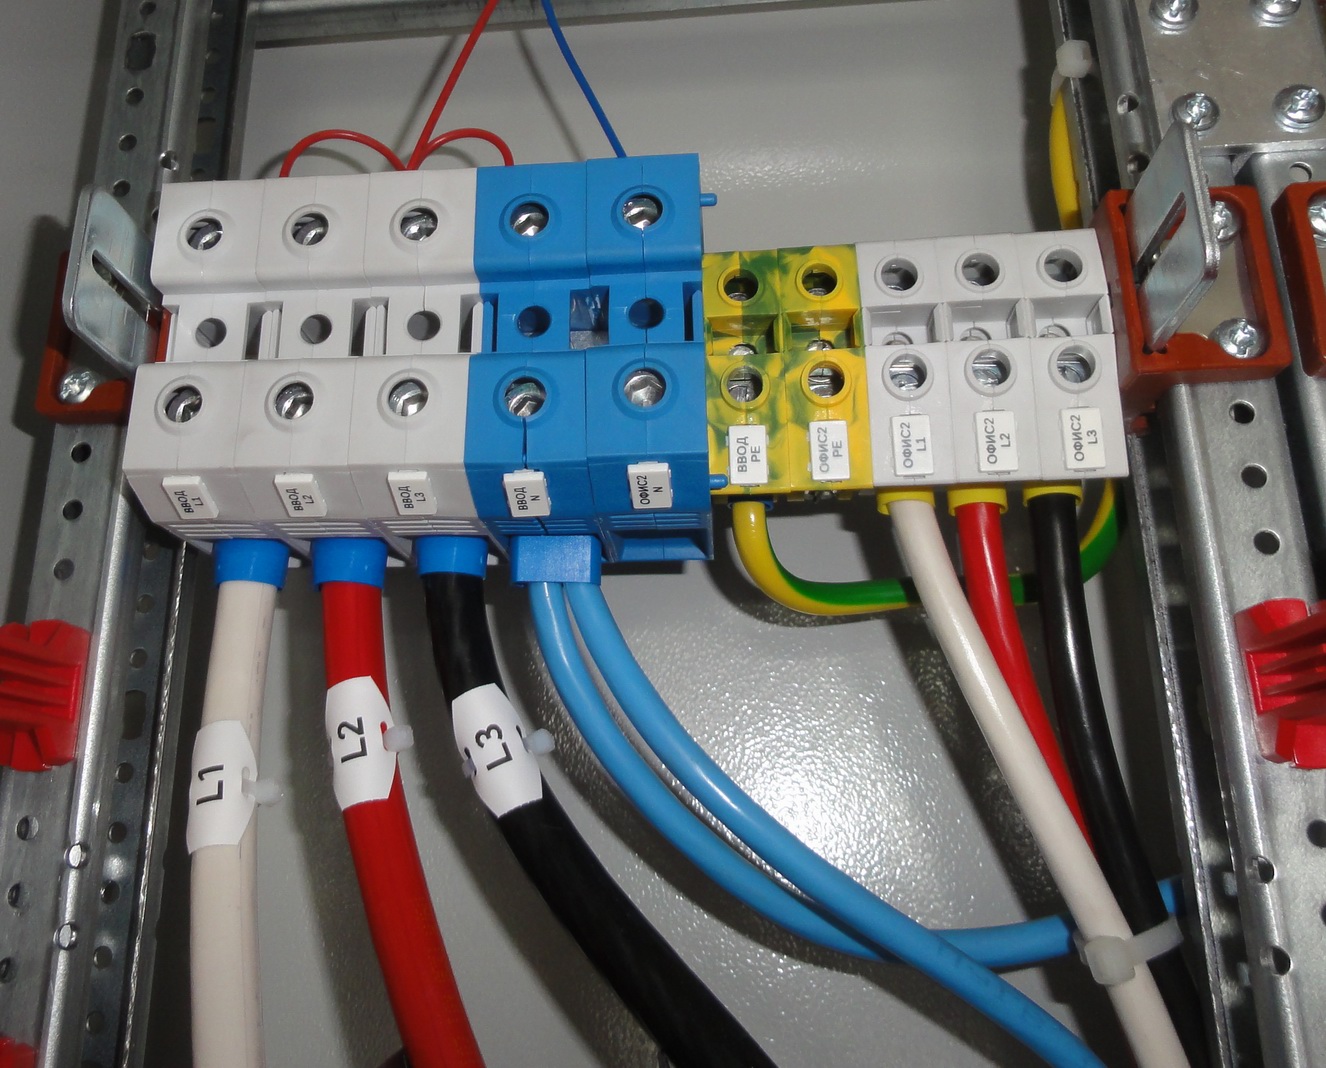
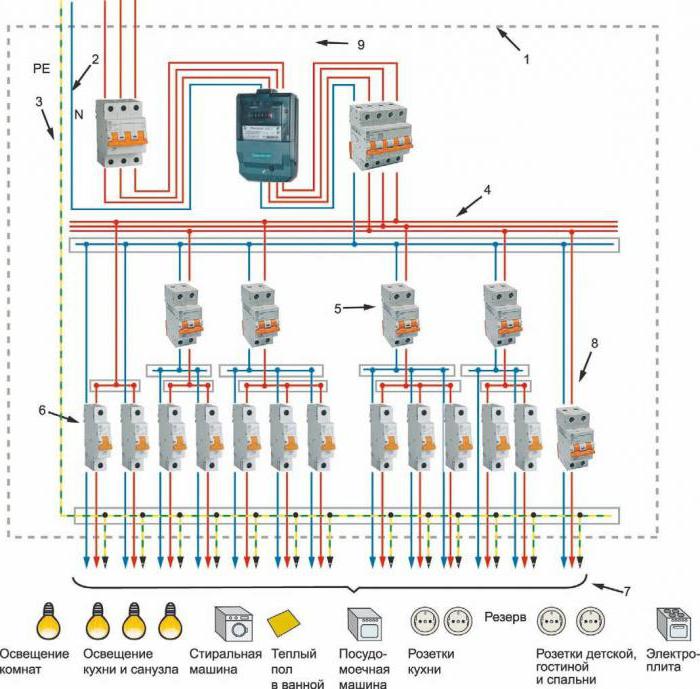
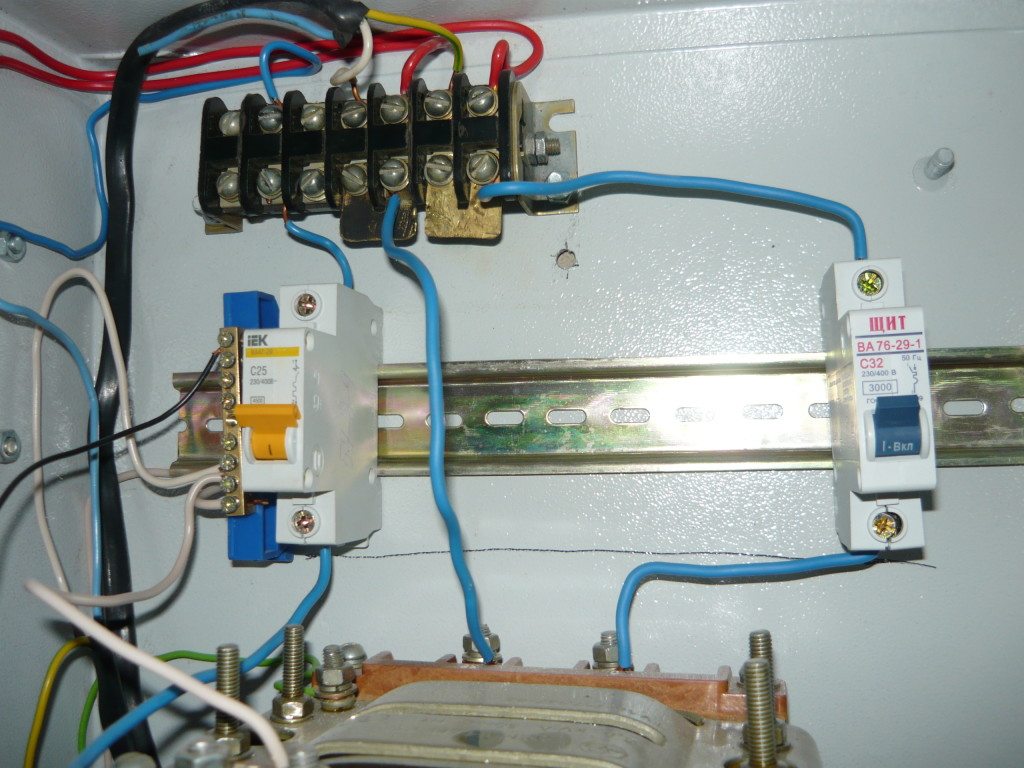
To distribute electrical energy, use a special switchboard installed directly in the garage. For it provides the main machine, the same type installed in the apartment (house). These requirements are key, and all other points depend on the scheme used.

Mounting scheme
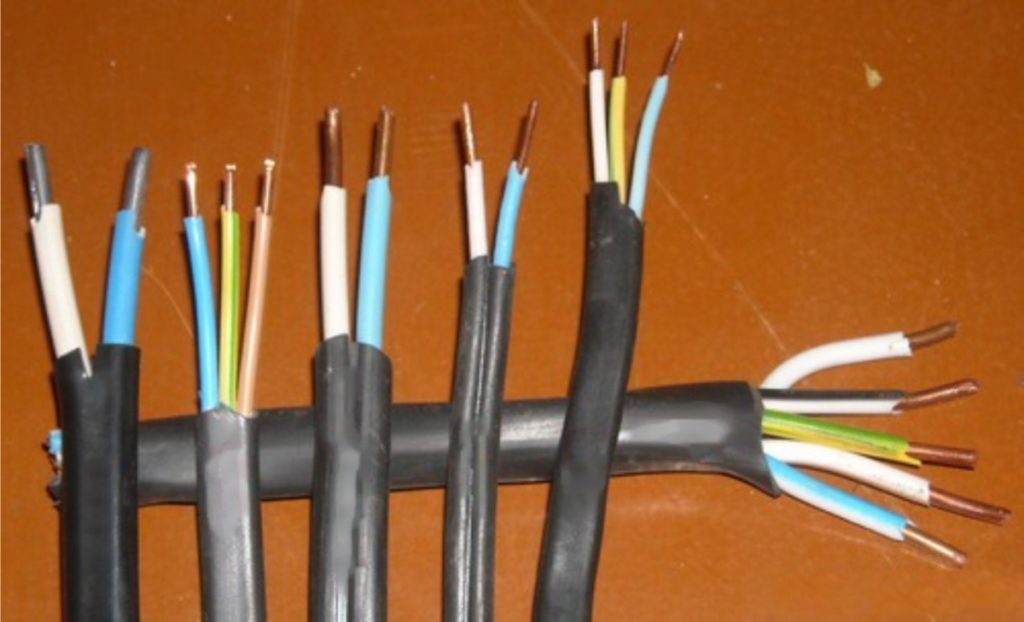
High-quality, well-designed electrical circuit - the main guarantee of successful work. It is important to distinguish between so-called concepts and layout schemes; in the first, the electrical circuit itself is described, and in the second, the location of consumers (with a mark of distances or with an exact scale). For the greatest convenience and to eliminate errors, wires are designated with the same colors that they have in real life.

Phase conductors in networks are subject to hazardous voltages in relation to earth. But to connect a residual current device without protective earth will not work.
It is strictly forbidden to bind protective earths and neutral according to safety standards, this is contrary to the basic requirements for wiring currents.
Residual current devices are differential transformers., folding input (with phase) and exported (via neutral) currents. When insulation is damaged, when a short circuit to the case occurs, these currents are different and do not mutually quench each other.
Protection against leakage current will work only if it is directed along its own special grounding line. With the help of the main circuit breaker, the network can be de-energized when short circuits occur on the main line or when all the lines have been simultaneously overloaded. This device is irreplaceable in the repair, and when testing the system, and when searching for faults in it.


It is recommended to supply electricity on the same line, because there will still be only one energy consumer in the garage.
Separate groups are connected to "their" machines in the phase circuits.Placed tires in tires are constructively performed as strips or bars of copper and brass. They make holes for wires, tightened with screws.
The work of an electrician with a three-phase garage network has no significant differences from the procedure already described. It should only be mentioned about the two auxiliary phases and the built-in automata, RCD instead of the usual, designed for one phase. Phase wiring is carried out as with ordinary lines under a voltage of 220 V, together with a neutral. The voltage of any pair of phases should be 380 V, with a phase angle of a uniform load of 120 degrees.


To build the grid properly, you will need:
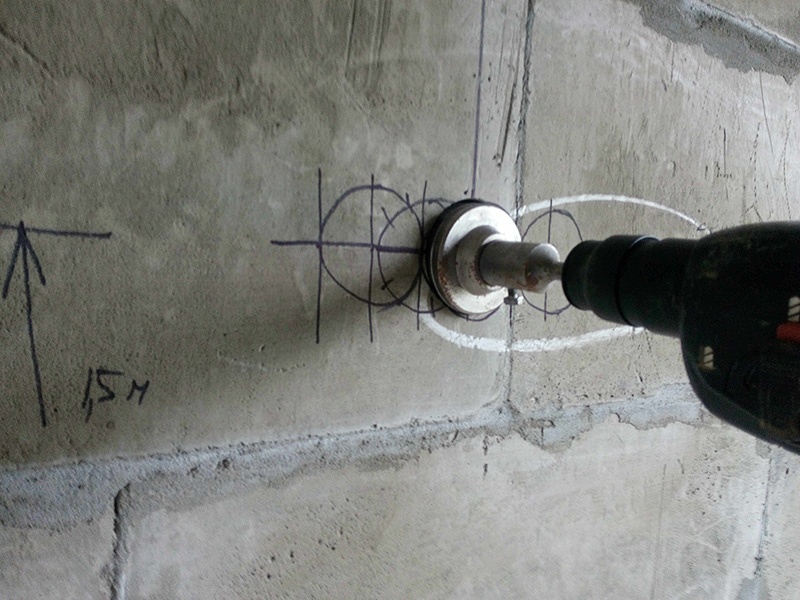
- create a scheme with clear and sharp images (symbols);
- mark vertical fragments of wiring with “+” signs with assigned height;
- strictly observe selected signs for outlets, lamps and other items.
When the schemes are formed, you can begin to complete the garage power supply.

Choice of cables and wires
When selecting any cable and wire, it is necessary to focus on the voltage of 230 V (it replaces the old 220 V and will soon become a generally accepted standard).
In most cases, it is assumed that:
- ceiling lights are rated at 80 watts each;
- 3 luminaires installed at 36 V, 0.1 kW each;
- Sockets for connecting the working electrical equipment to 5 kW in total are brought into the same pit.
Starting from the transformer, you should use a copper wire of a closed format.
If at least part of it is carried out inside the concrete floor, a 4.5-square-meter lived vein is needed. mm For outlets in the inspection pit, use closed-type wires with a cross-section of 1 square. mm more. More detailed information about the properties of electrical wiring in relation to your garage can always be obtained using special formulas. The thinnest cable used to connect the ceiling lights - 1.5 square meters. mm (thinner does not exist).

To save money, it makes sense to buy aluminum wires, especially in the least loaded areas.
As in any other room, do not bind copper and aluminum - this also needs to be taken into account when selecting the wiring. Only double insulated cables with insulating conductors are able to compensate for the adverse effects of negative conditions in garages.
The selection of automata is made "by current". On the ceiling light sources you need 2.5 A, on the pit ones - 15 A. The formula for calculating the required power of the transformer is the same as usual. A safety device designed to withstand a current of less than 20 A and to operate at more than 20 mA is completely unsuitable, because leakage from serviceable devices is almost imperceptible.
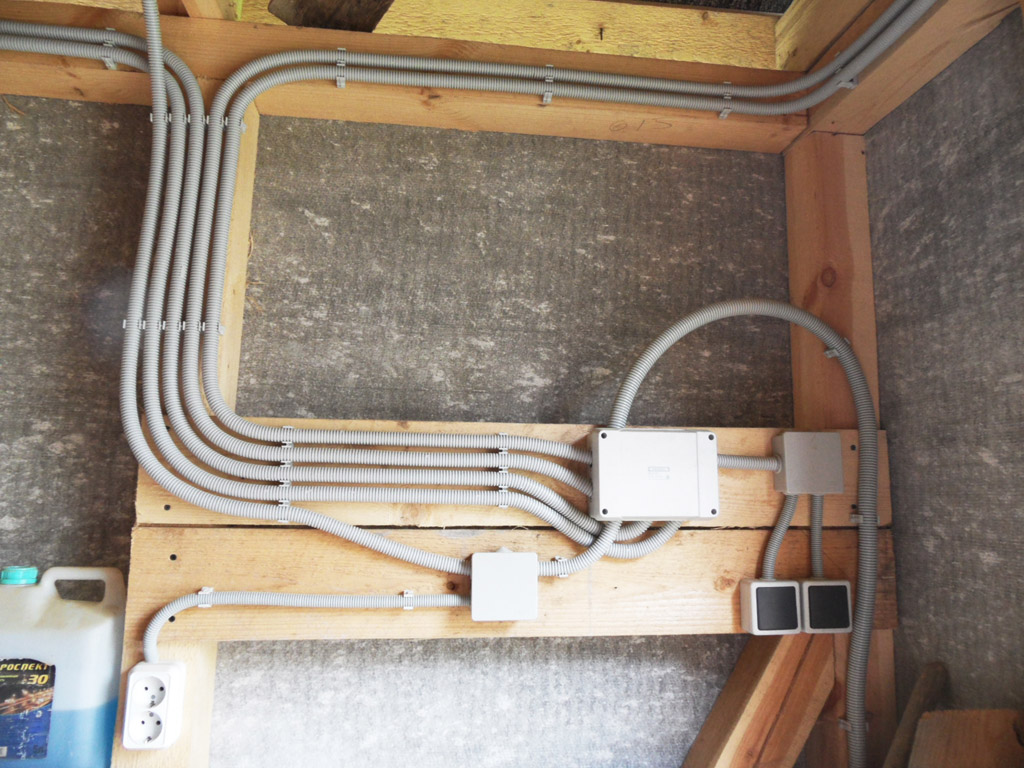
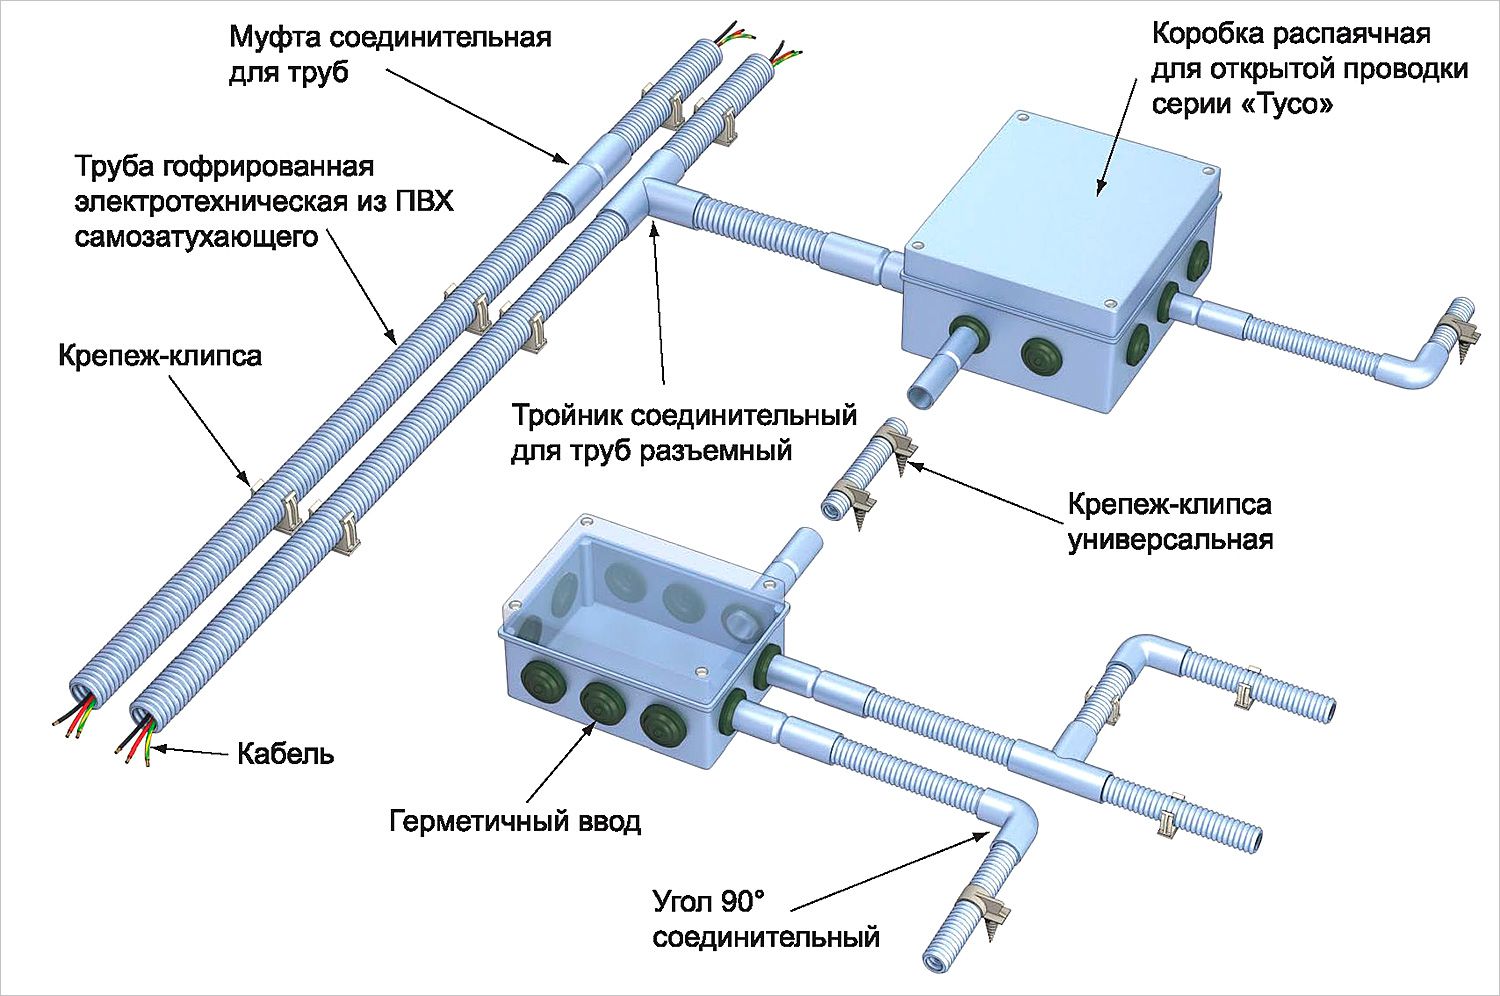
To accommodate cables and tires will require:
- closed type shields;
- box;
- cable channels;
- hermetic trays.


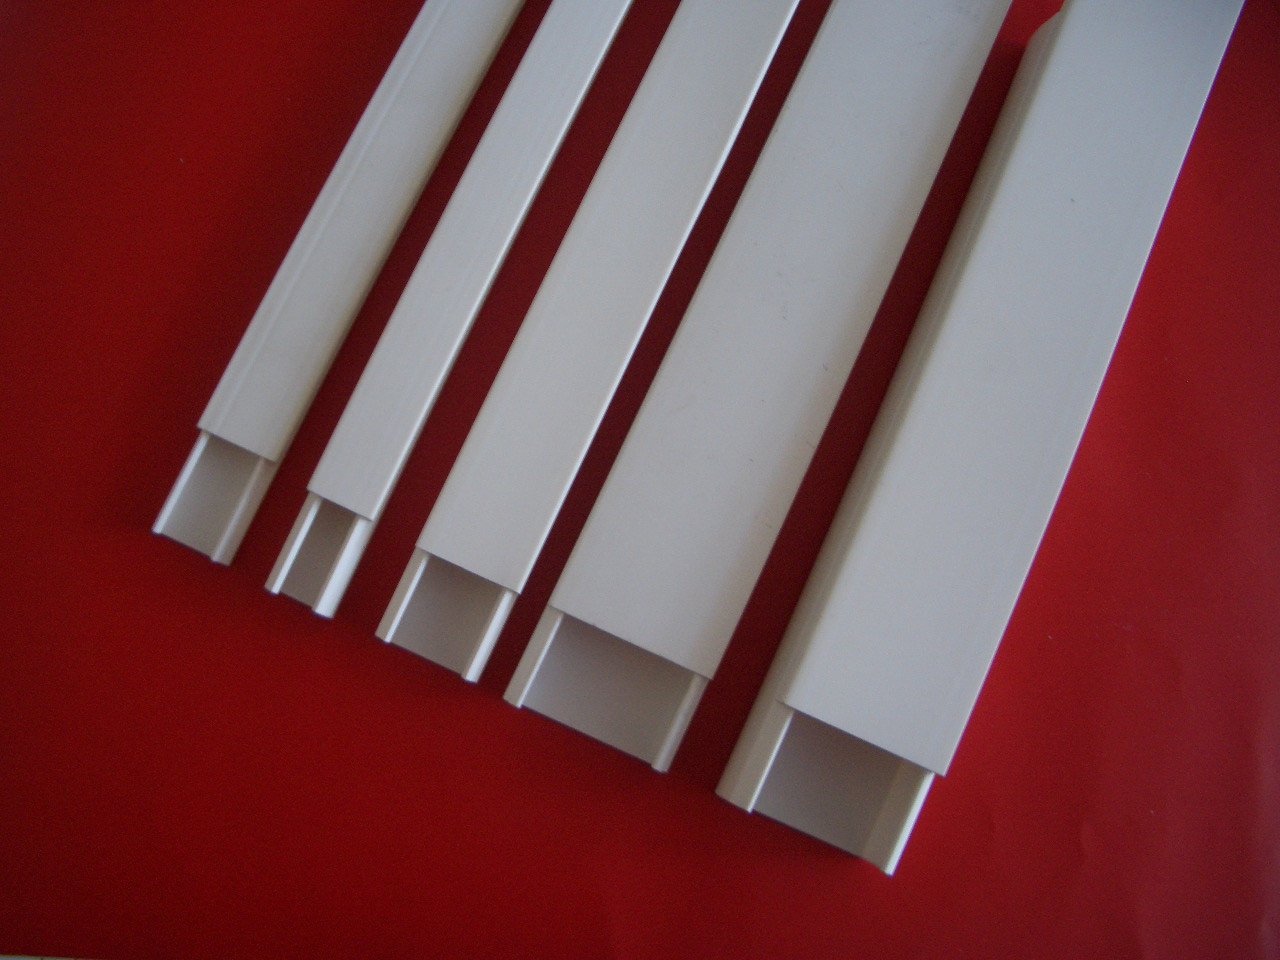
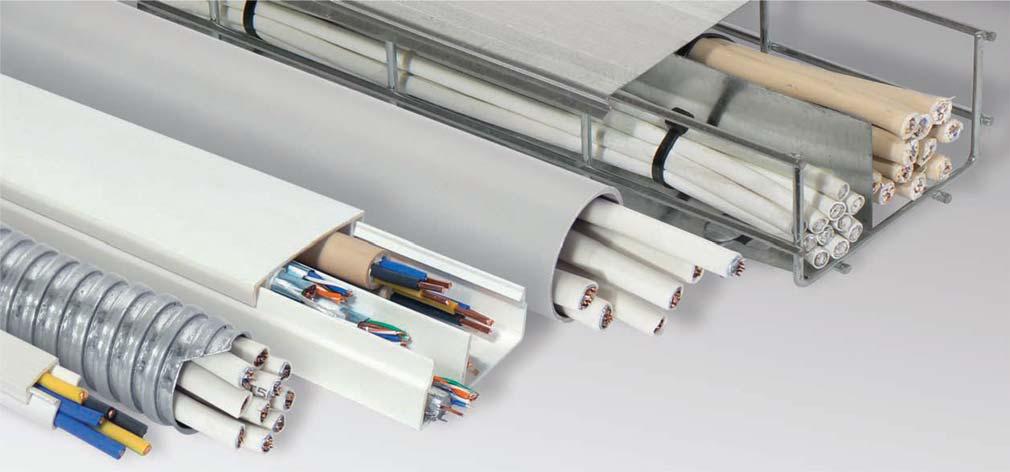
Most often, such products are made of metal, but a growing and larger market share is occupied by round and rectangular pipes made of plastic. Corrugated products should be resorted to only as a last resort, they are quite tiring to use. Electricians consider the cable tray with snap-on lid to be the most modern and practical solution. Metal-plastic pipes proved to be quite good - the same ones that are commonly used in plumbing and heating systems.
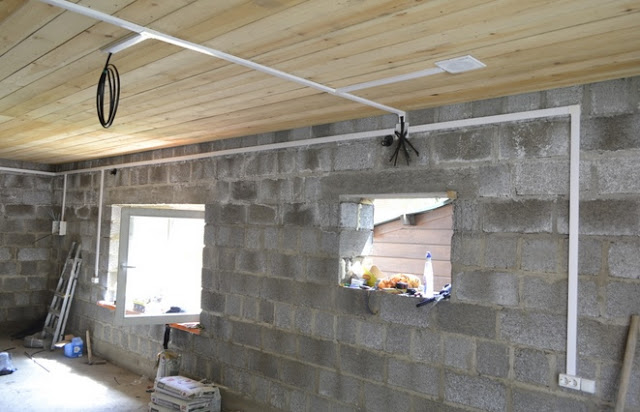
Mounting technology
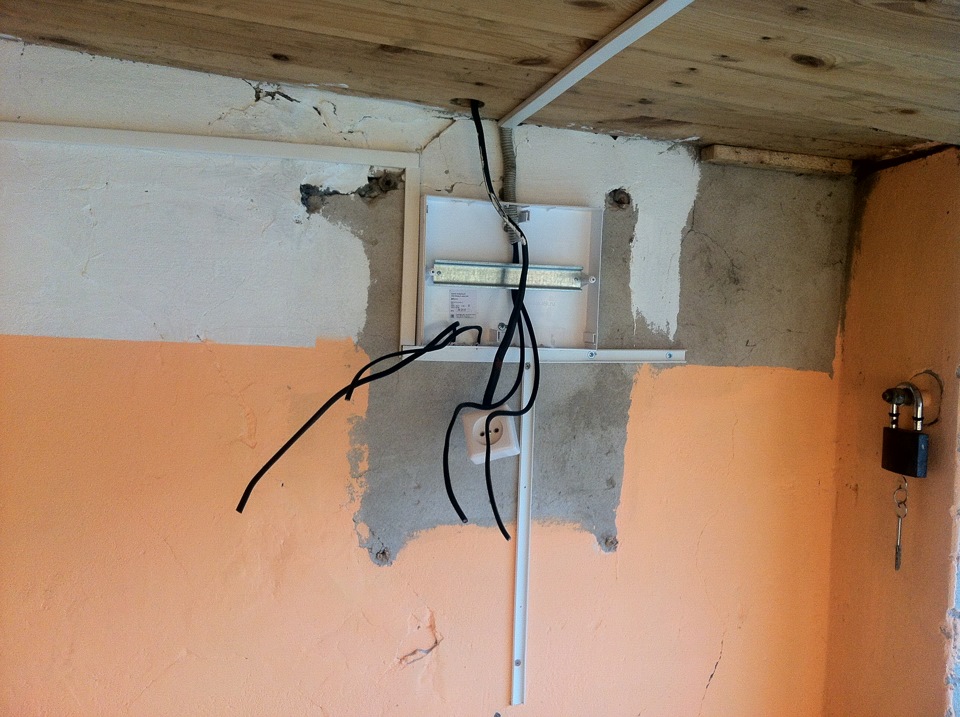
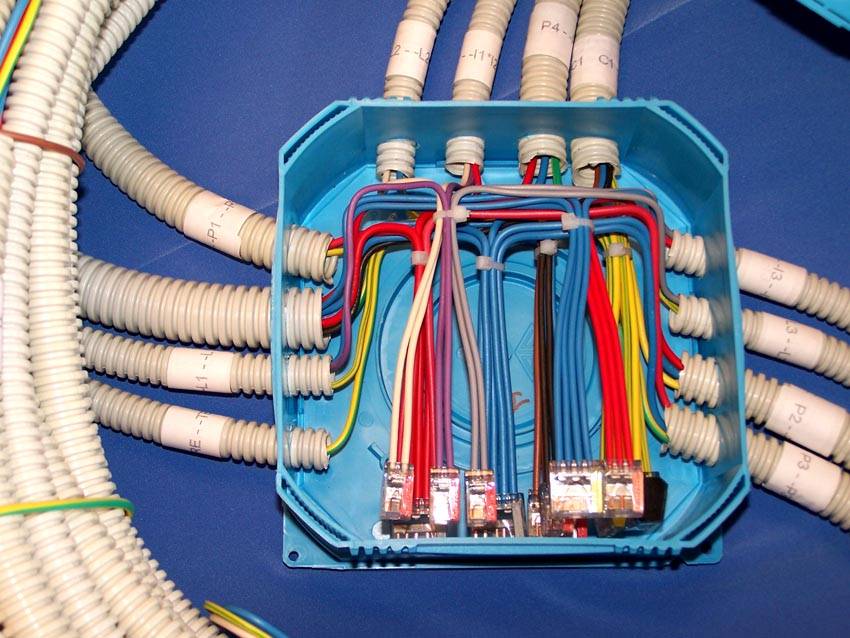
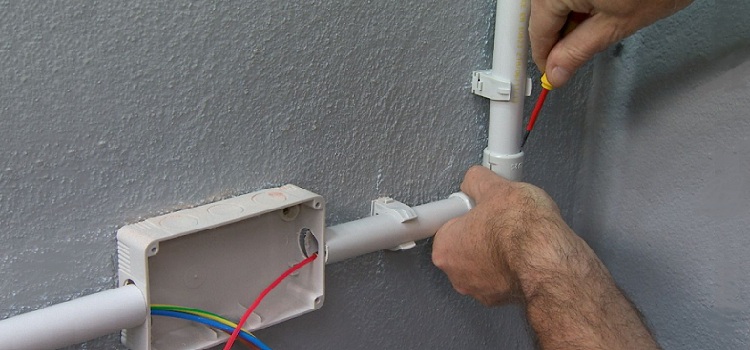
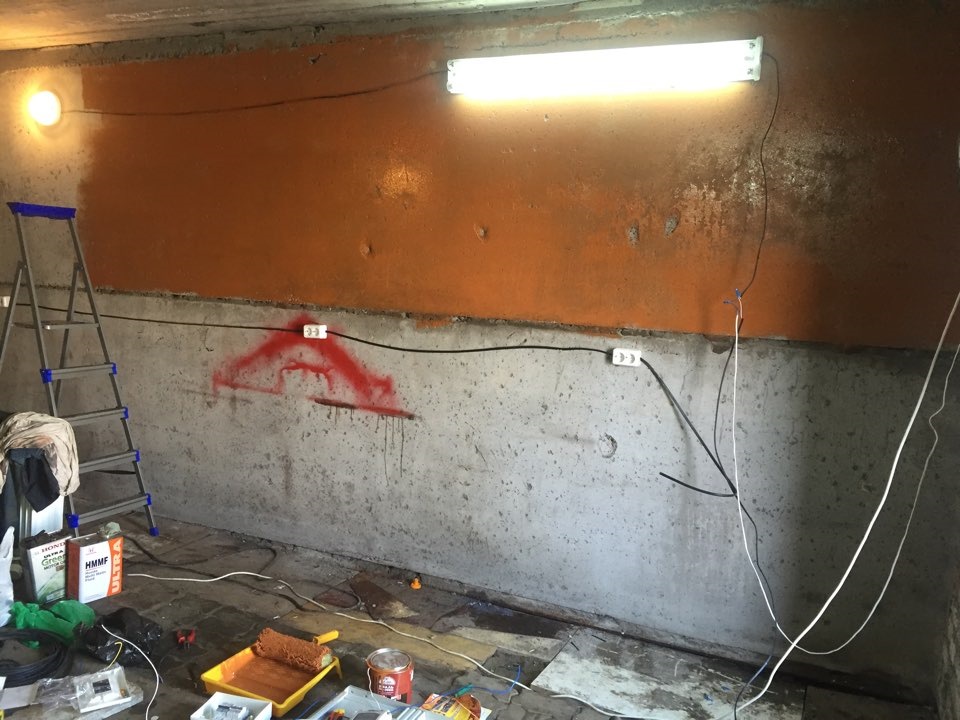
Having purchased all the necessary materials and tools, you can begin pulling the wiring. Where it is not possible to make a fold in the form of a large radius of pipes, it is worth using boxes. They will help distribute the branches and arrange the switches properly.It is necessary to fasten and boxes, and connecting and pipes on the supporting structures as carefully as possible. Responsible owners of garages, both those who install wiring with their own hands, and those who turn to professionals, always evaluate the tightness of the joints of any pipe and box.
It is important to remember that even the most simple and carefully thought-out materials by engineers and constructions are installed only with careful, painstaking work.
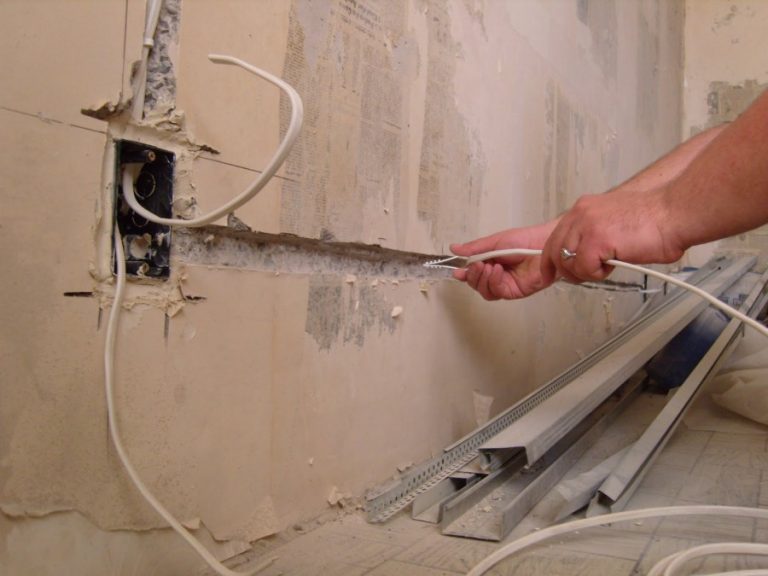
To correctly pull a cable through a pipe means to lead the wire first inside. To do this, use a special head that will prevent jamming and clamping. Only then comes the turn of tying the cable to the wire and passing it through the pipe. Trays are desirable to use on the vertical segments of the wiring, ceiling lights are suspended on tensioned cables (not under voltage!).
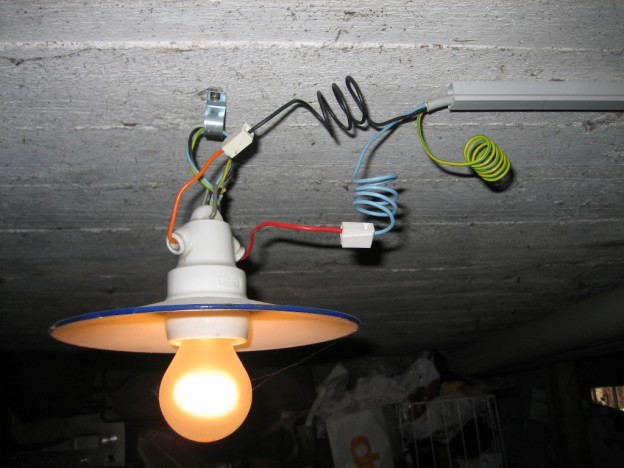
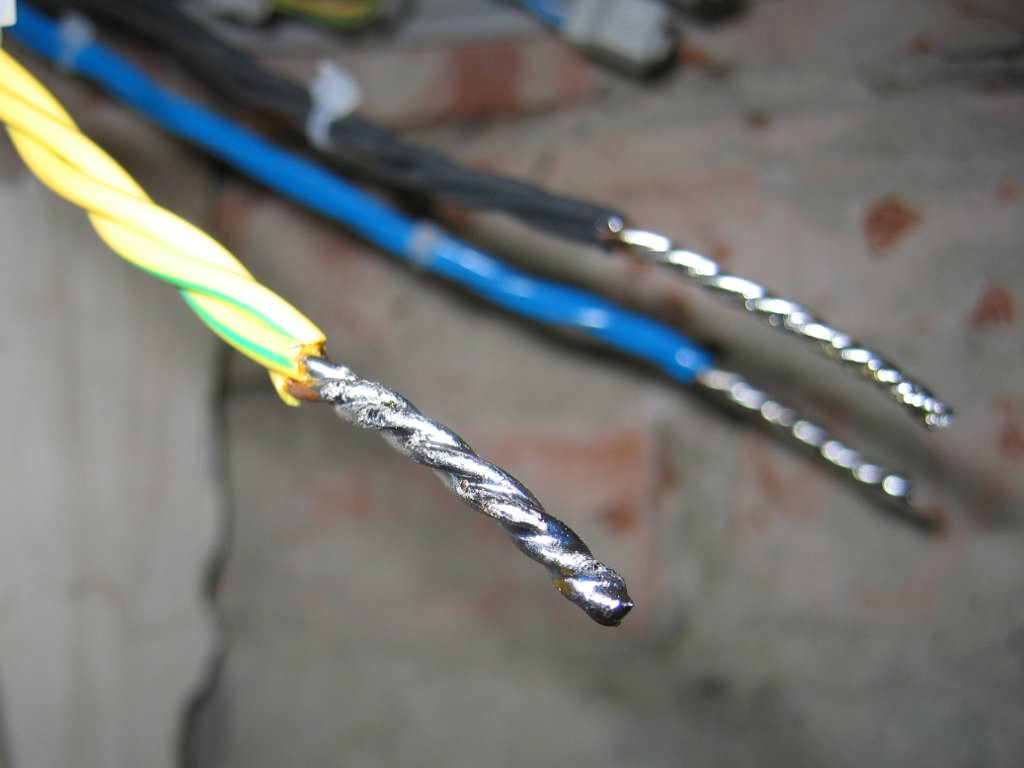
To make the fixing of the wires in the boxes reliable, it is recommended to either clamp them with screws, or to solder twists made of copper. Where it is necessary to join aluminum and copper wires, they are separated by clamps or washers from other metals. Great attention should be paid to grounding.None of the step-by-step instructions for installing wiring in the garage can not bypass it.
A typical work sequence is:
- next to the capital structure, a steel pipe covered with a zinc layer, 2 m long, is driven into the ground;
- A round steel block with a diameter of 0.6-0.8 cm is welded to this pipe;
- a circle of steel is painted with hydrophobic paint and led to the garage;
- it must be laid to the shield, next to which put the terminal;
- behind the terminal is a thick copper wire (thickness is the key to low resistance).
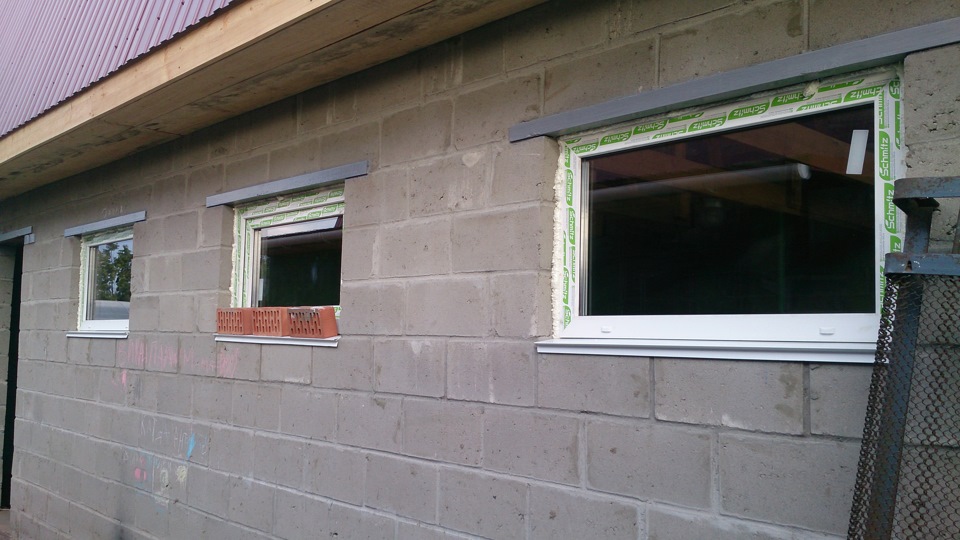
Since the garage is a damp and dangerous place, where the risk of electric shock is high, so you should choose sockets and lighting devices that meet the protection class IP44.
To make a full-fledged workshop, you will have to dissolve three-phase wiring based on copper cable, the cross section of which is at least 6 square meters. mm The cable is placed so that it is not less than 11 cm to the ceiling, and the socket and the floor should be separated by 50 cm. It is desirable to withstand a gap between the installation and the heating pipes of at least 15 cm.

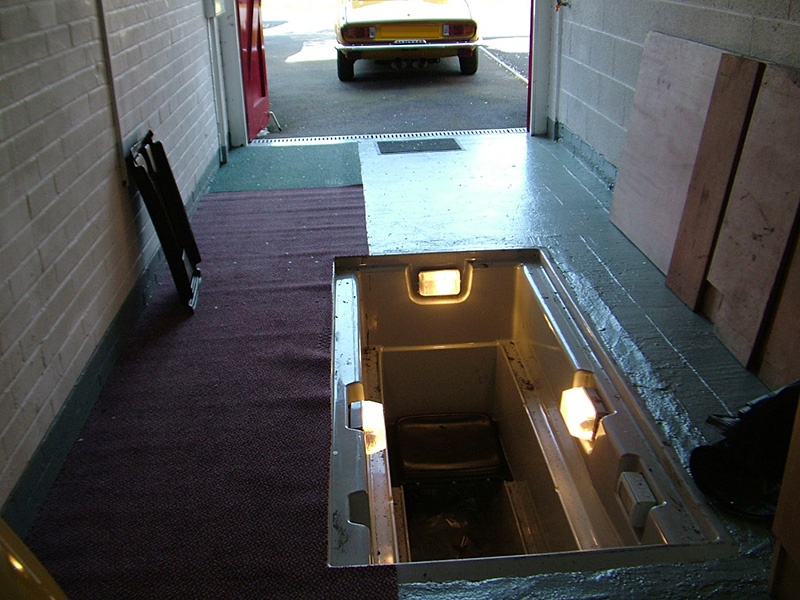
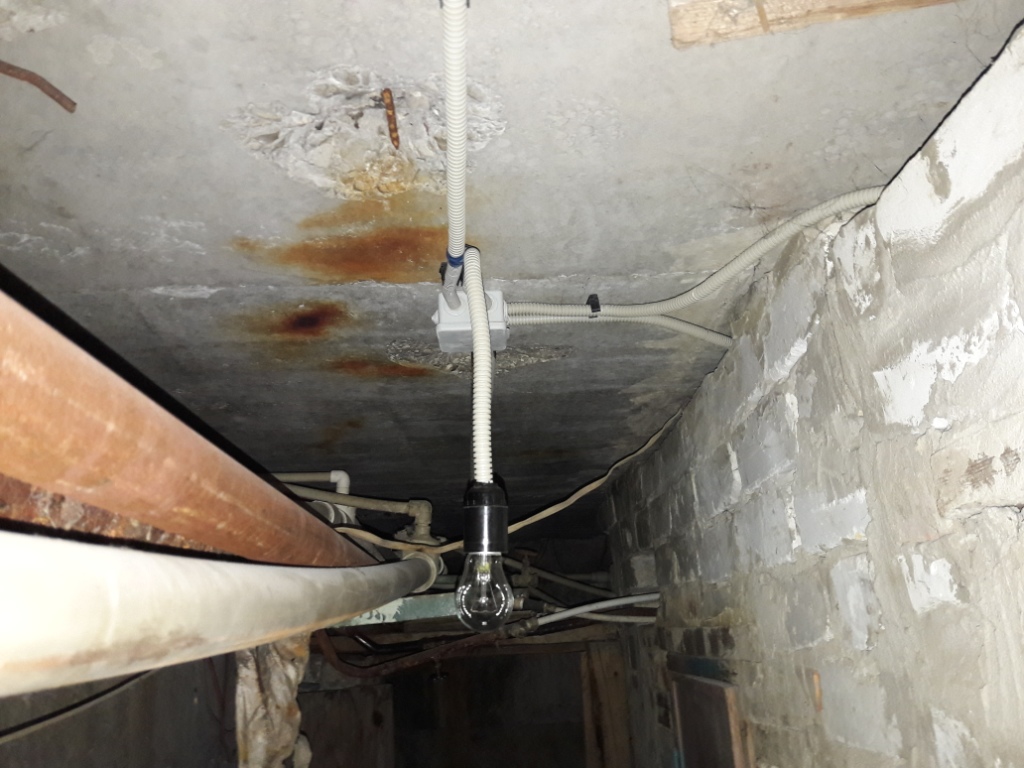
Many garages are equipped with a cellar, and this part of the room also requires special lighting., that is, laying the wires and connecting them to lighting devices.The cellar already belongs to the raw spaces, where you have to install the power grid as carefully as possible. And when he is also located in the garage, the strictness of the requirements only grows. Step-down transformers with a discharge current of 12 V should be used. Only after making sure that the room is completely dry, it is permissible to use standard 220 V electricity.
It is advisable before the start of work to show the garage to an experienced electrician and to coordinate with him the purchase of all the components. This will allow you to take into account the specifics of the network being created as accurately as possible, to avoid errors in its construction and malfunctions.
Useful tips
According to those who have already had to create hidden wiring in the garage, the best solution is to stretch the cable channels from non-combustible materials. The smooth surface on the inside is much more comfortable than a corrugated sleeve. If suddenly the wiring does not stand, you will always be able to open a small section of the wall and change the burnt wire or even part of the channel.
For all the importance of electrical wiring, care must be taken to have a window in the garage.
It provides natural light and supports the most economical use of devices.This means that the same wires and distribution hubs will work longer.
The introduction of electricity into the garage is traditionally provided by "gander" - inch metal pipes, placed on the roofs. The tops of the racks are used to secure the pins, equipped with ceramic insulators. This method of connection is permissible only when it is mentioned in the technical specifications issued by the electric grid companies. The standard height of the "gander" is 2-2.2 m, the hanging end of the cable should not fall below 2 m.
Connection through the external support pole means that the cable will be stretched directly from the line to the front shield. In residential buildings, such a scheme is justified, but placing a counter on the outer wall of the garage is a temptation for vandals and non-ferrous metal hunters.
Therefore, insist if the power industry wants to use the remote method so that the connection goes through an underground cable.
Before you pull the wires, you need to prepare:
- sharply sharpened knife (it will allow to strip the wire);
- nippers (preferably with insulated handles);
- flat and Phillips screwdrivers;
- tester (helps to detect the presence of current in different parts of the network when it isverification).

When selecting a cable, it is necessary to take into account not only its own characteristics, but also insulation parameters.
It is very important that it be both elastic (it is more convenient to work) and durable (service life and safety of use depend on it). You can not begin to work with individual parts of the wiring, without making sure that they are reliably de-energized. Also note that the installation of external wires and their connection to the input to the garage should be made only by professionals. The inlet should be located at a sufficiently high height and leaned out to avoid precipitation and penetration of the gulf.
Sockets should be distributed evenly, unless a different arrangement is dictated by the characteristics of the room and the desired instrument connection points. If you have to work at height (say, stretching the wires on the ceiling and at the top of the walls), you need to use only goats, scaffolds or ladders.
Categorically you can not get up on the barrels, boxes, chairs, and other improvised items.
Before starting work, it is advisable to check the instrument for serviceability every time, and the wires for the integrity of the insulation.
For information on how to do the wiring in the garage yourself, see the following video.


