How to glue a ceiling tile from polyfoam?
Among all the coatings used for decorative ceilings, foam plastic tiles are becoming increasingly prominent. And this is quite natural, since it has a democratic cost and a very spectacular appearance. The ease of installation is also noteworthy: it is not difficult to glue the ceiling tile; anyone who is not too lazy to read the recommendations listed below will cope with this task.
Special features
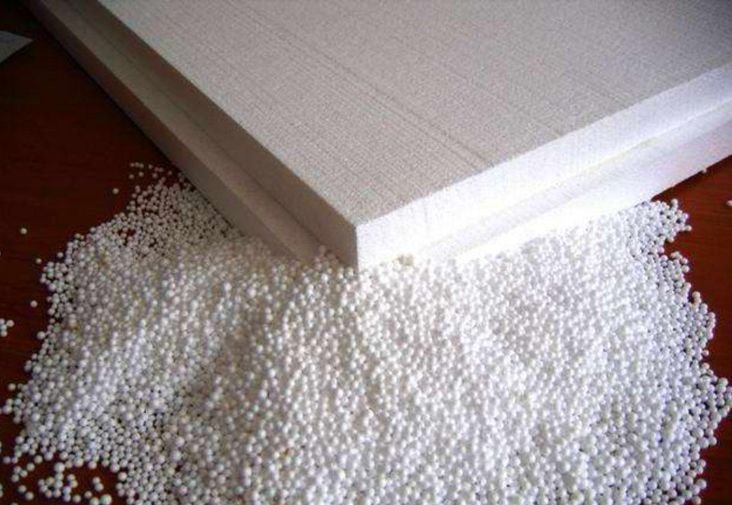
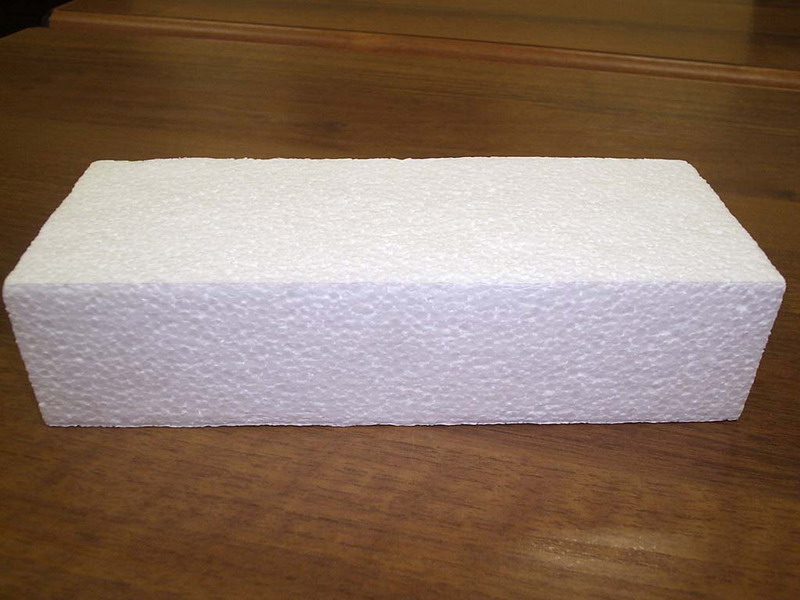
The materials from which these products are made are foamed polymers, also called cellular. Due to the peculiarities of its structure, they allow to provide high sound and thermal insulation of the equipped premises, making the home more comfortable.
Another significant feature of the foam tile is its lightness, which allows to carry out almost all the necessary work alone (with the exception of the markup, which is desirable to be done with a partner).
It should be noted and a variety of ceiling plates from polyfoam.
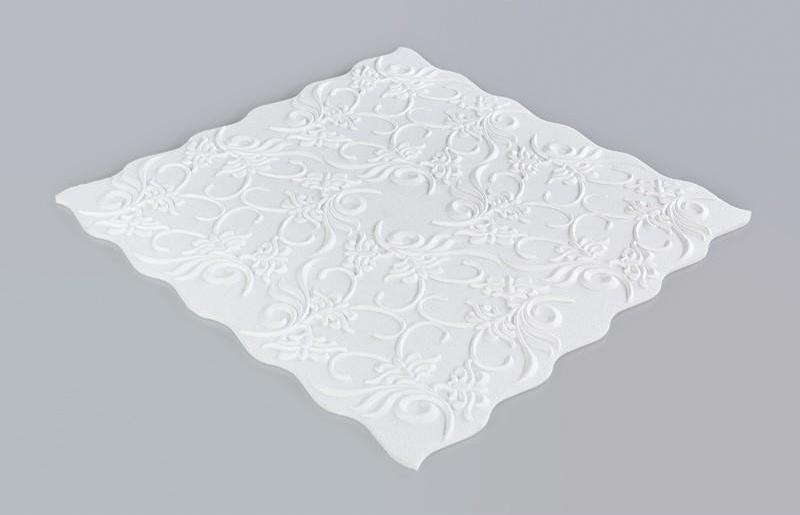
They may have a different shape, which happens:
- rectangular (its square variation is most popular);
- diamond-shaped;
- hexagonal.
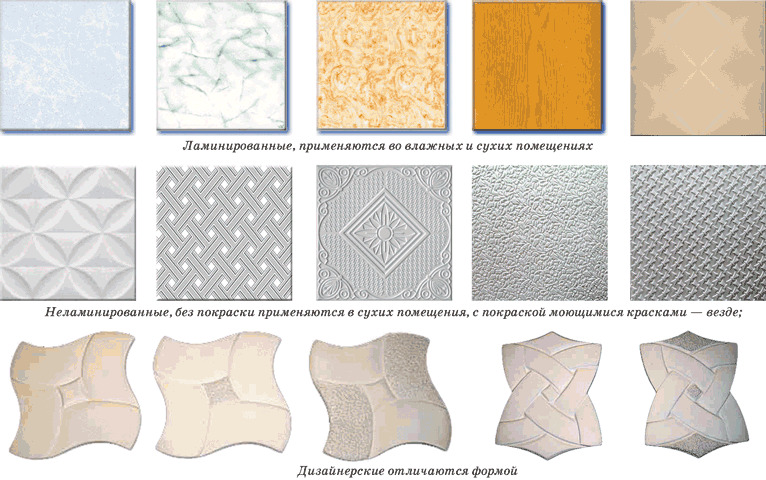

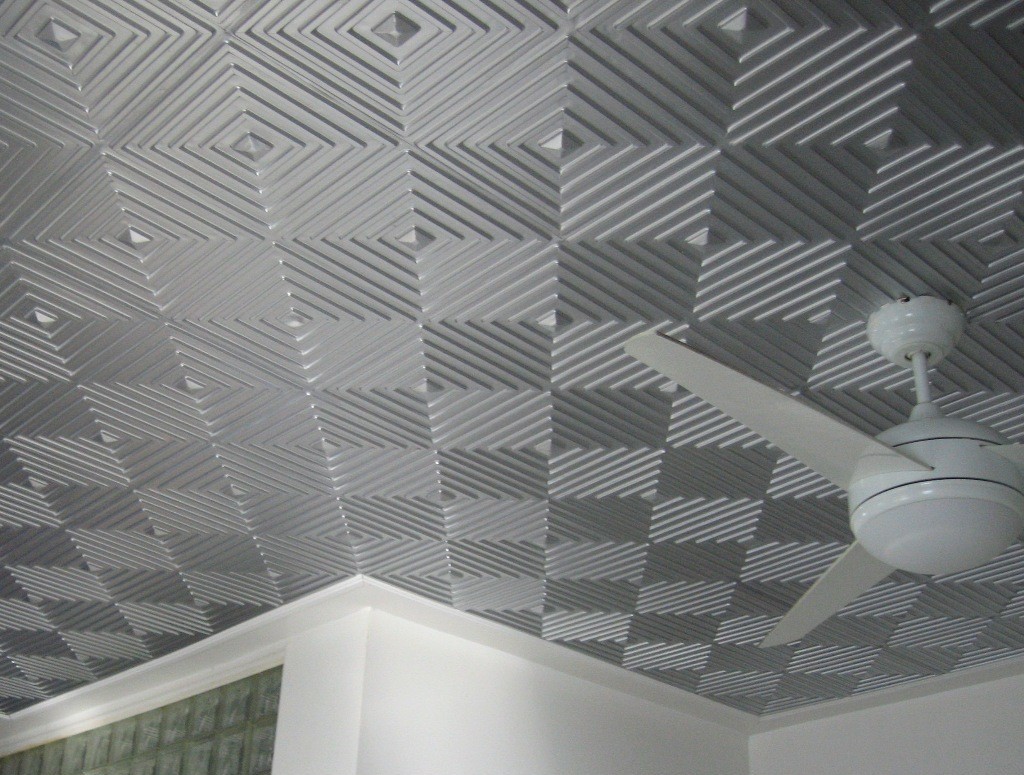
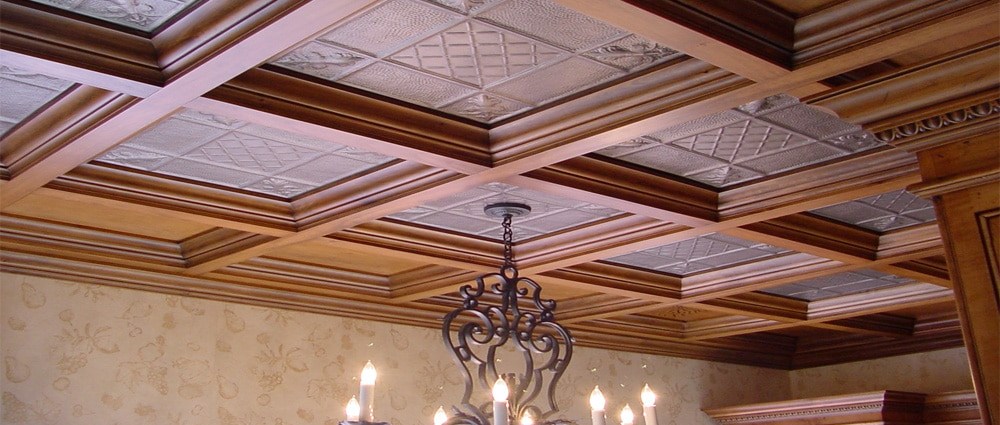
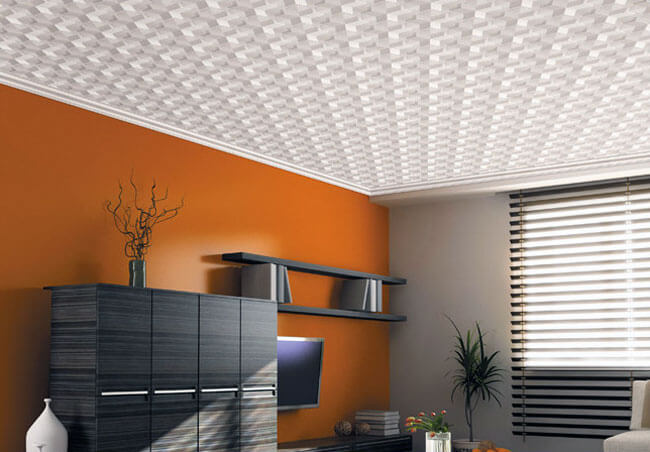
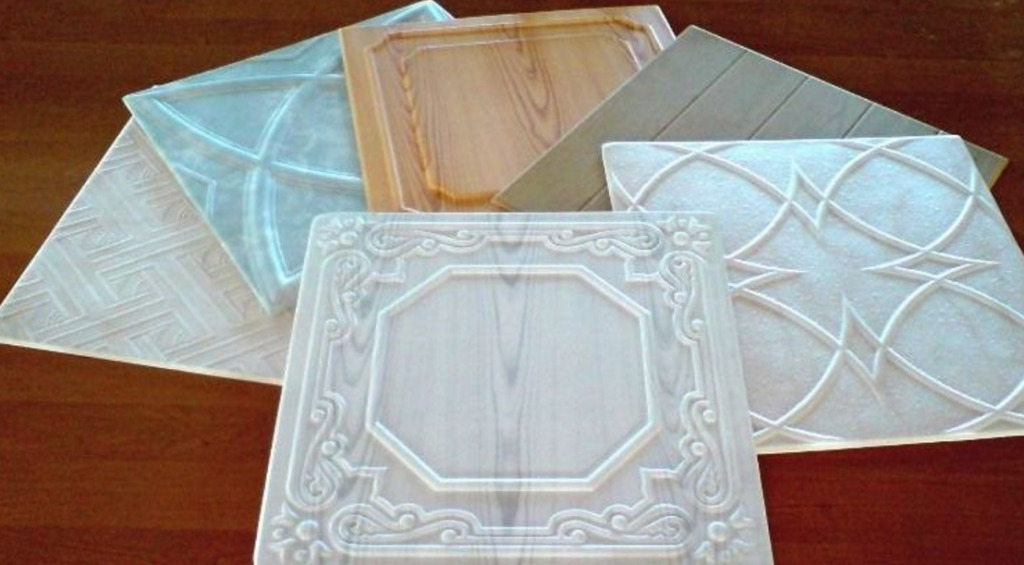
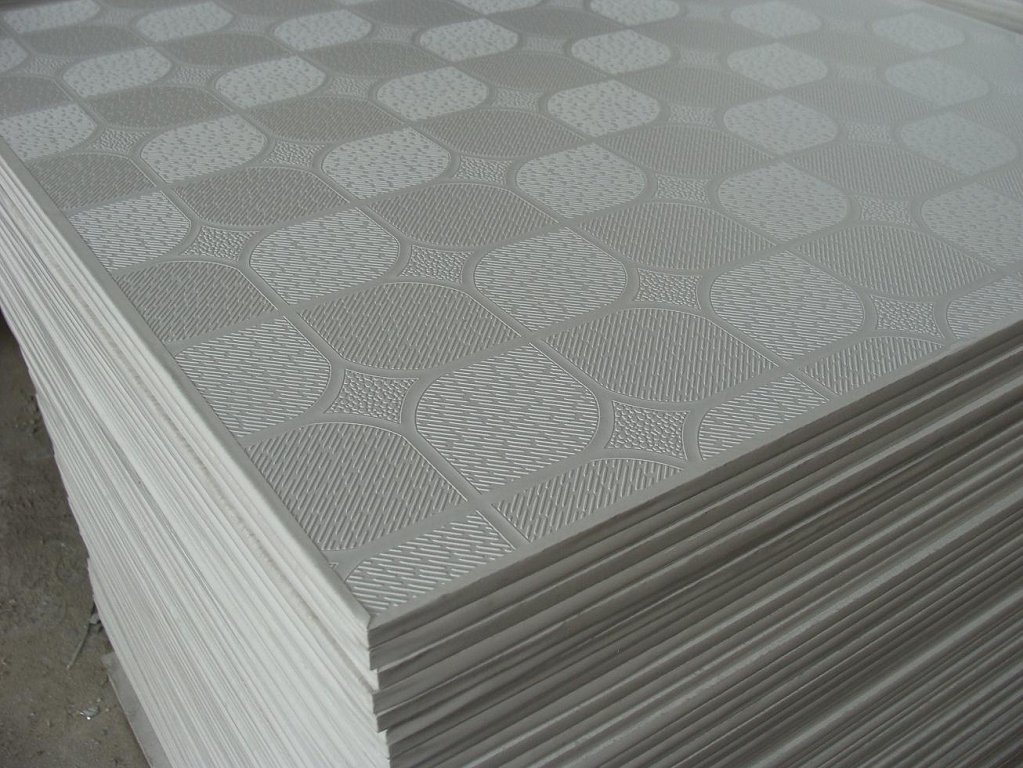
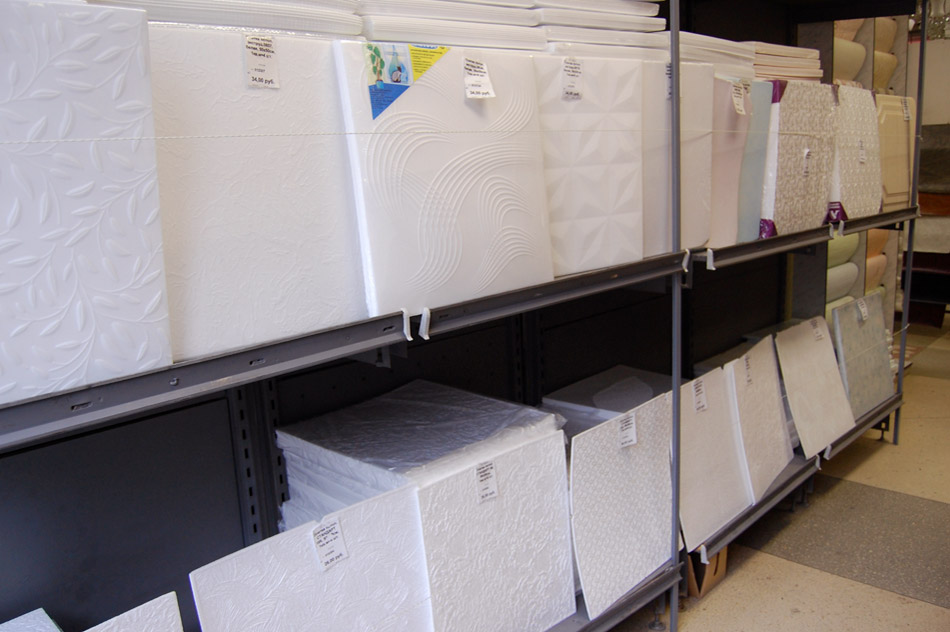
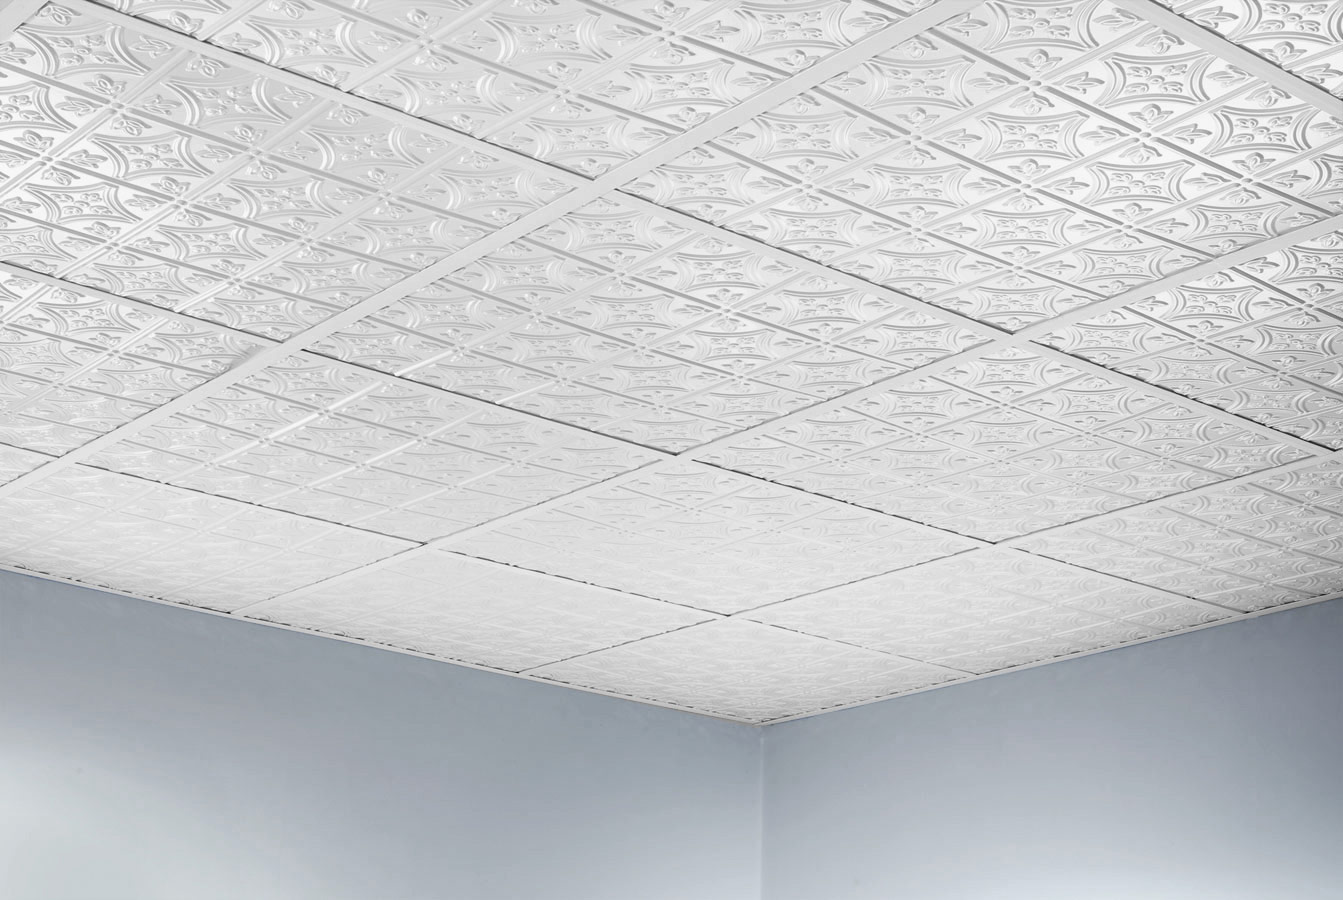
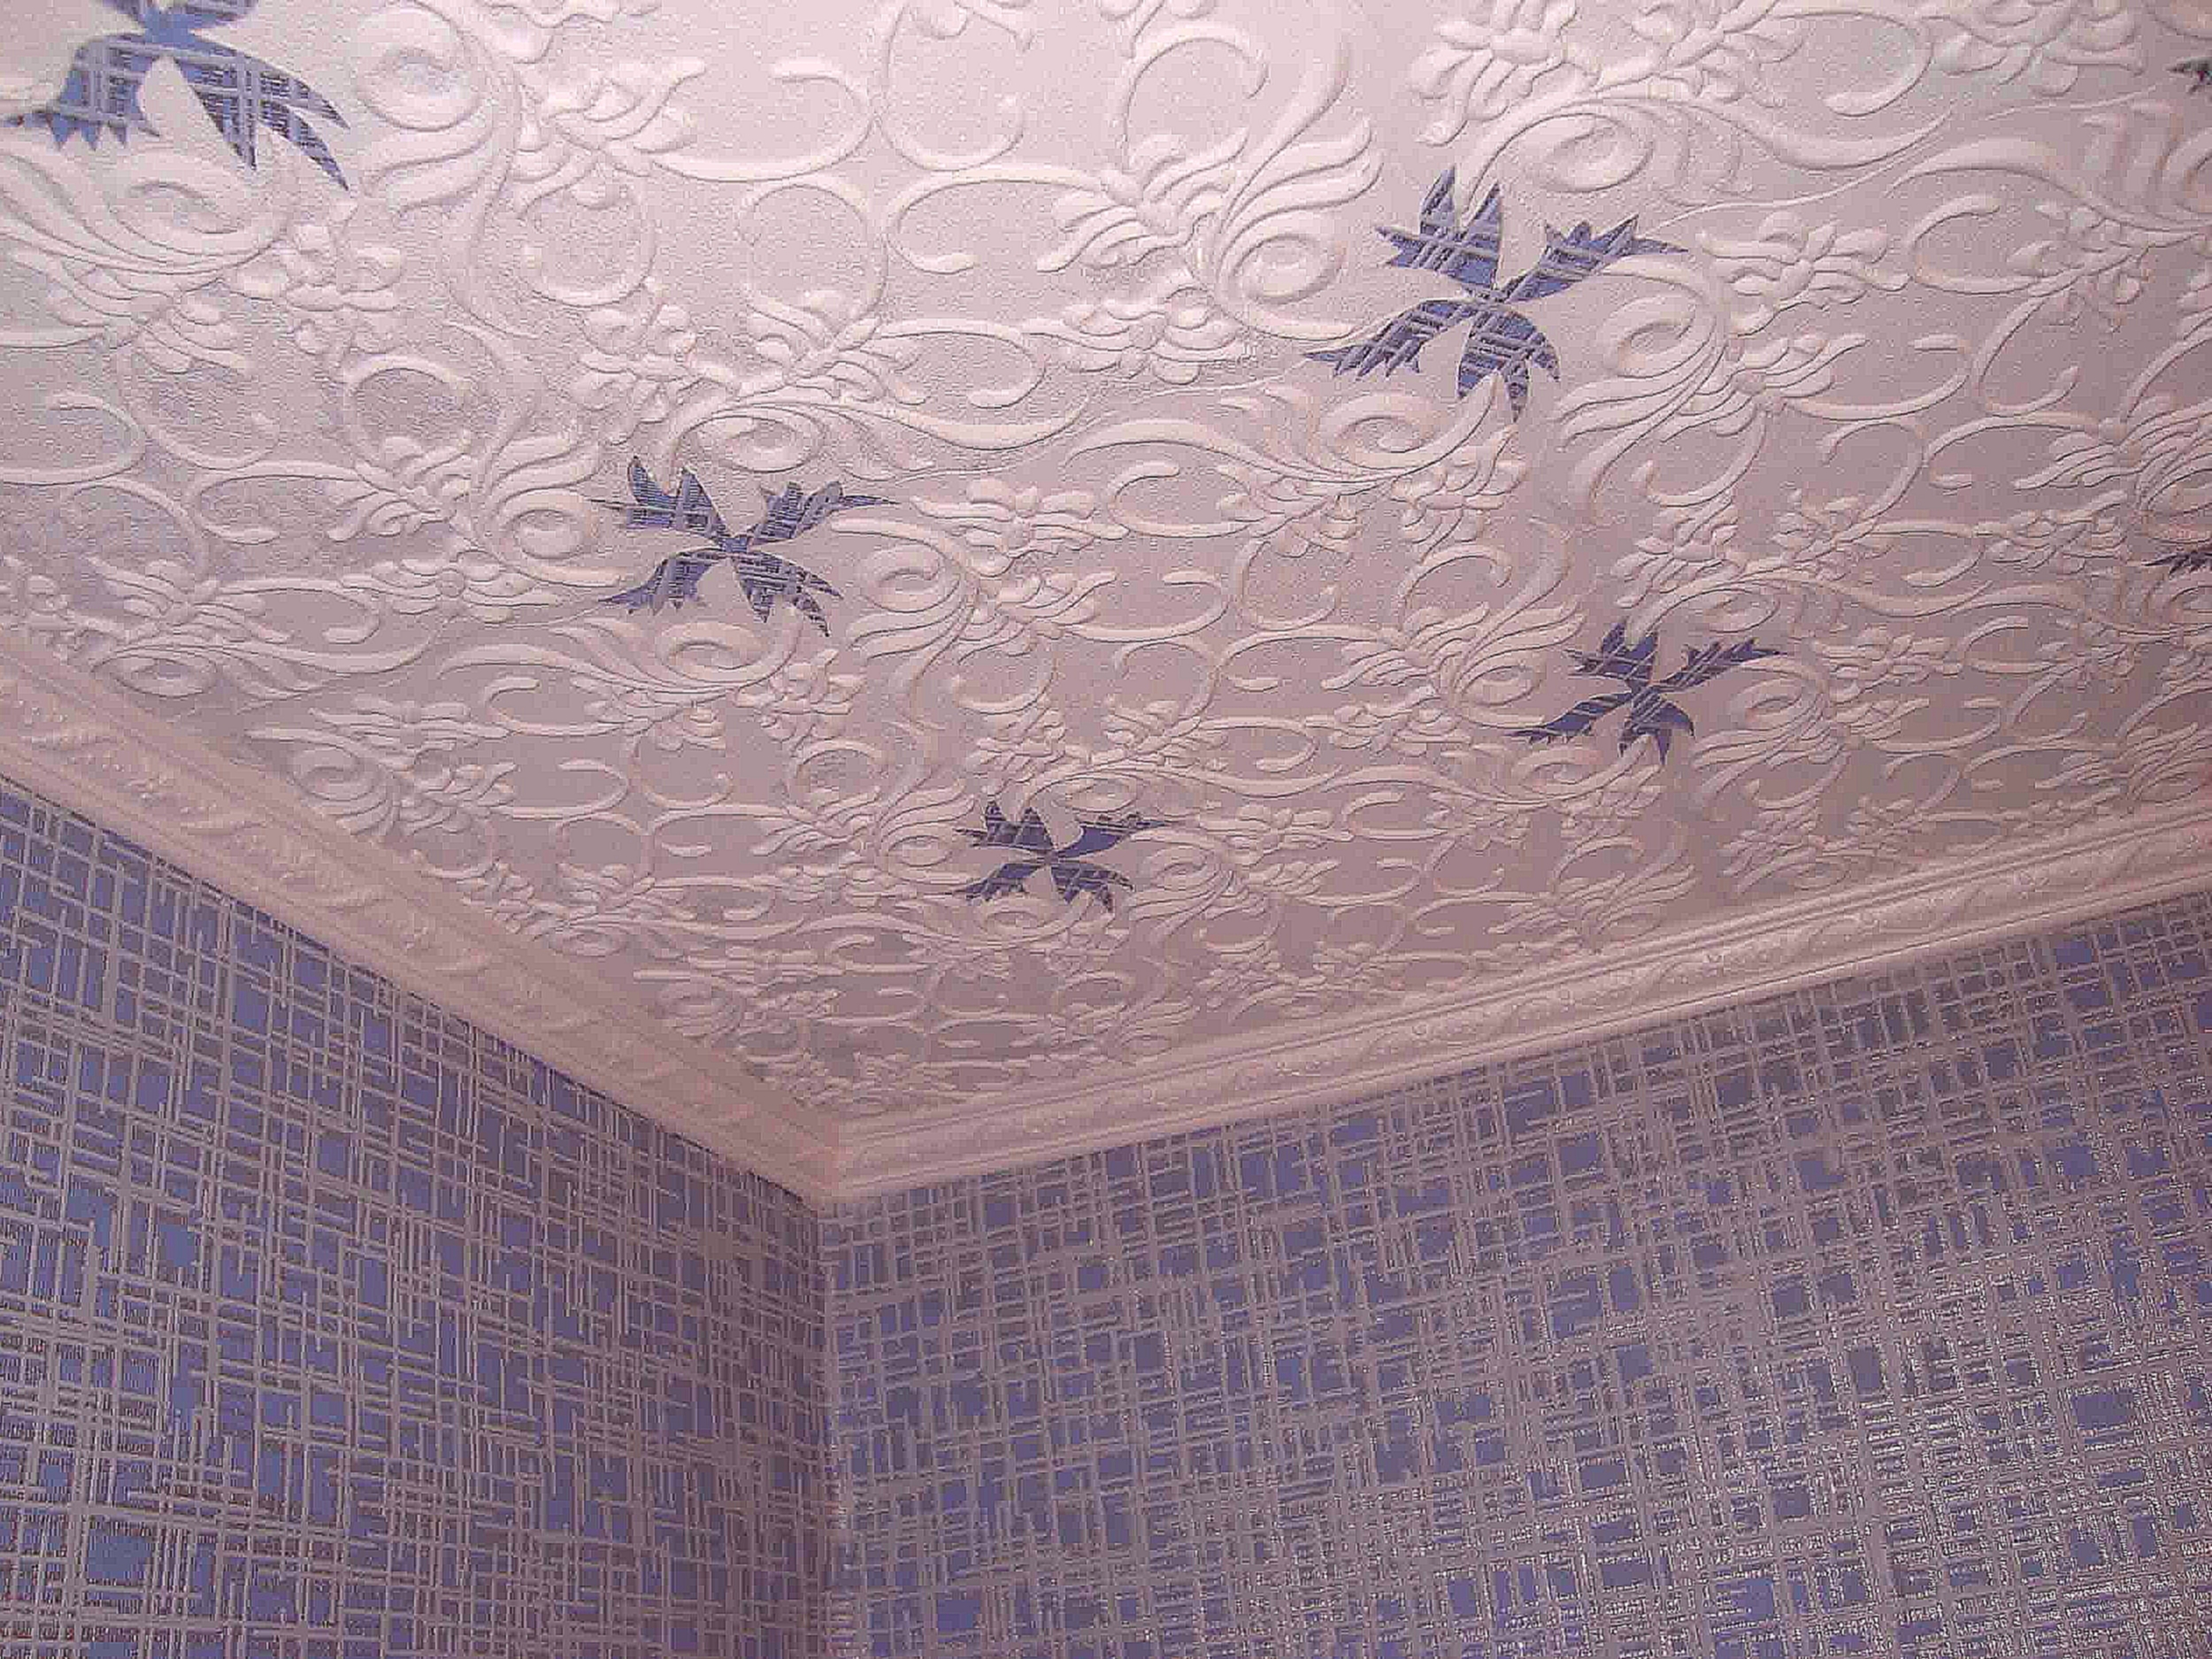
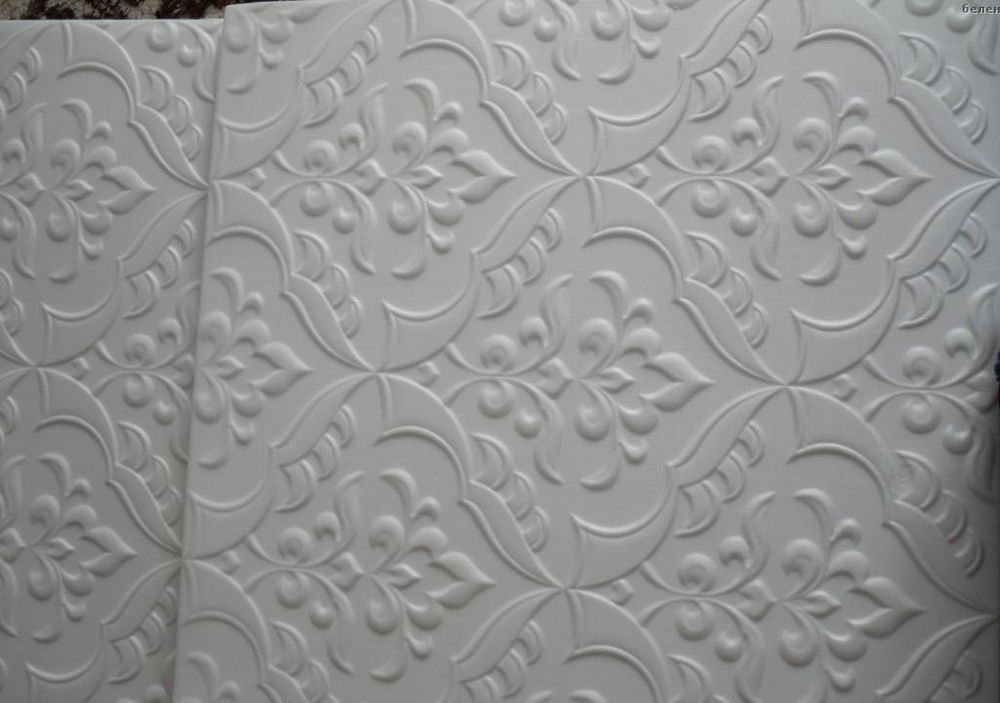
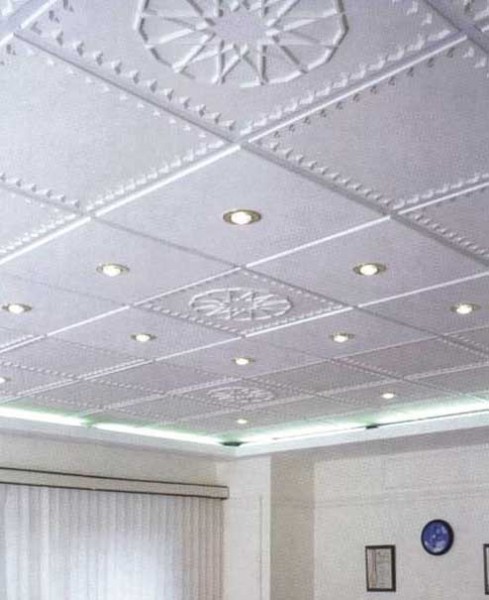
As for the surface of such products, it can be plain and laminated, smooth and embossed. In addition, many foam panels have an original color, imitating wood, stone, stucco, fabric and other materials. The choice of the most suitable type of plates depends on the taste preferences of the owner of the dwelling, as well as on the specifics of the room. In particular, it is better to paste over the kitchen ceiling with laminated foam plates, and the best solution for a bathroom is considered to be the use of waterproof panels.
Material calculation and glue selection
Before proceeding to the procedure of pasting the ceiling with foam plates,should determine the right amount of the finishing material. To do this, you must divide the two areas - the ceiling and tiles, the first to the second. Considering that the products in question most often have dimensions of 50x50 cm, the area of each of them is 0.25 m².
It is also worth noting that the resulting numerical value must be added 10-15%, acting as "insurance" in case of excess material consumption or damage.
If the owner of the premises does not consider it necessary to calculate a specific number of necessary foam panels, it is reasonable for him to use an alternative solution:
- determine the area of the room by multiplying its length and width;
- add to the result of the standard 10-15%;
- Buy calculated tile area in a specialized store.
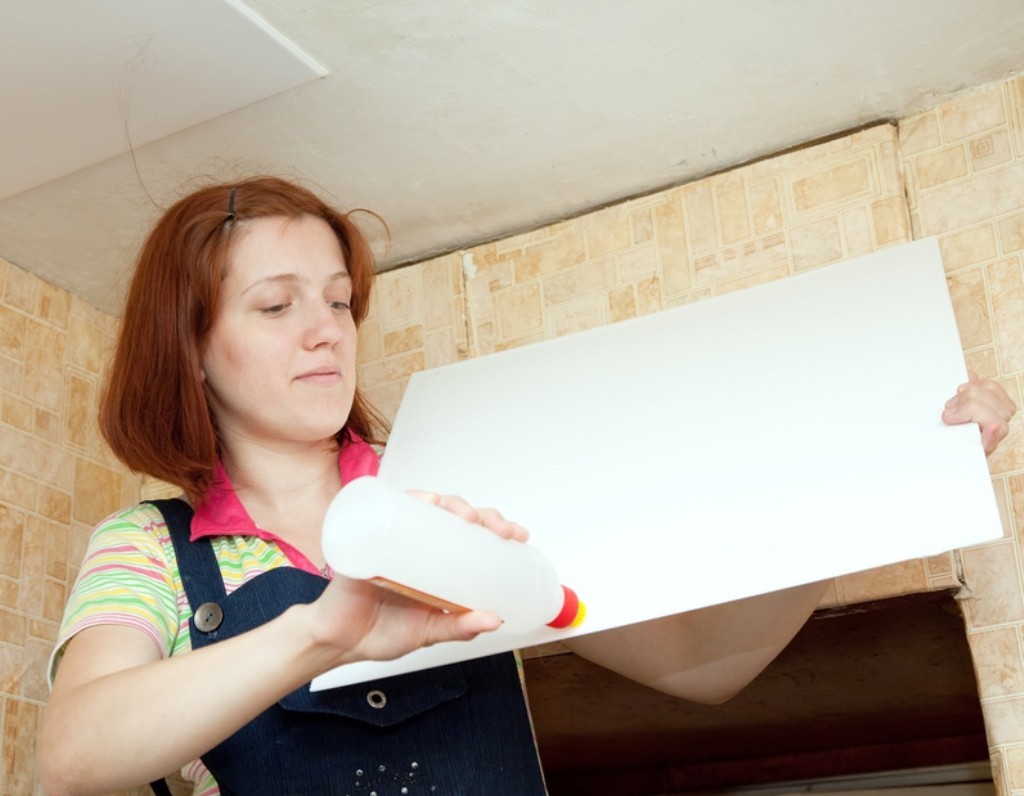
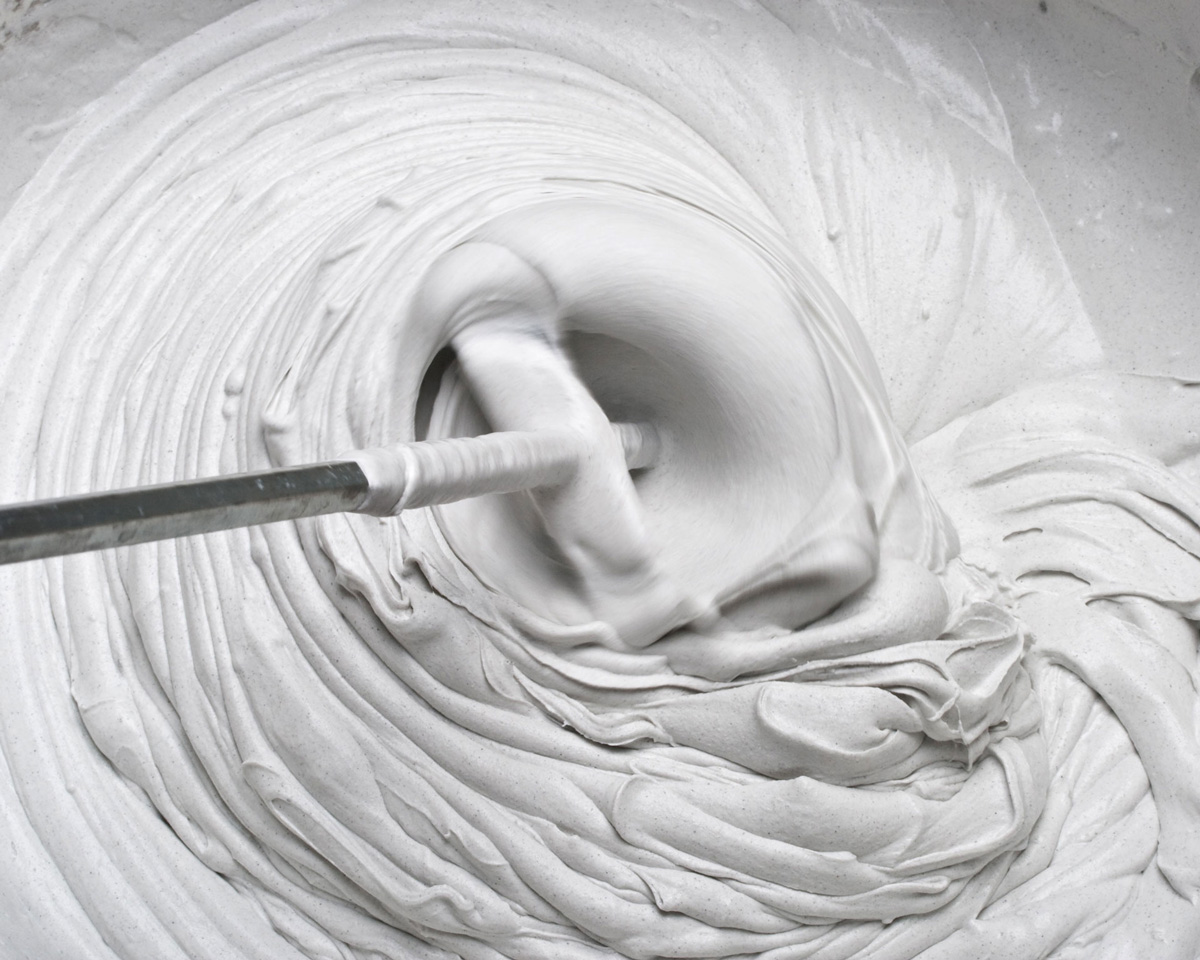
You can also buy glue, the composition of which is suitable for foam panels in the best way. It should be bought in accordance with the amount of finishing materials, based on the average consumption per 1 m². Experience shows that pasting the ceiling, whose area is 24 m², involves the use of 400 ml of glue, and 450 ml is enough not only for the implementation of this procedure, but also for secure fastening of the friezes.As for the ceilings, the surface of which cannot be called ideally smooth, then it is best to glue the tiles to them with a finishing putty mixed with PVA construction glue in a ratio of 5: 1.
Another point worthy of attention, is the calculation of the total length of the acquired ceiling plinths.
This value equals the perimeter of the room, to which you should add 5% to compensate for the inevitable undercuts.
Surface preparation and marking
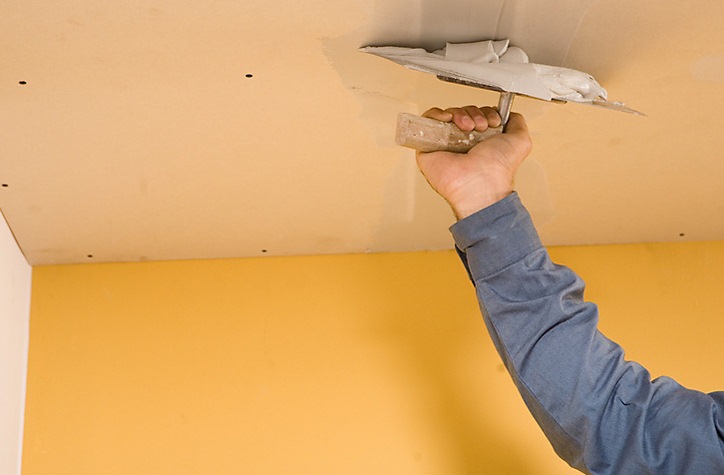
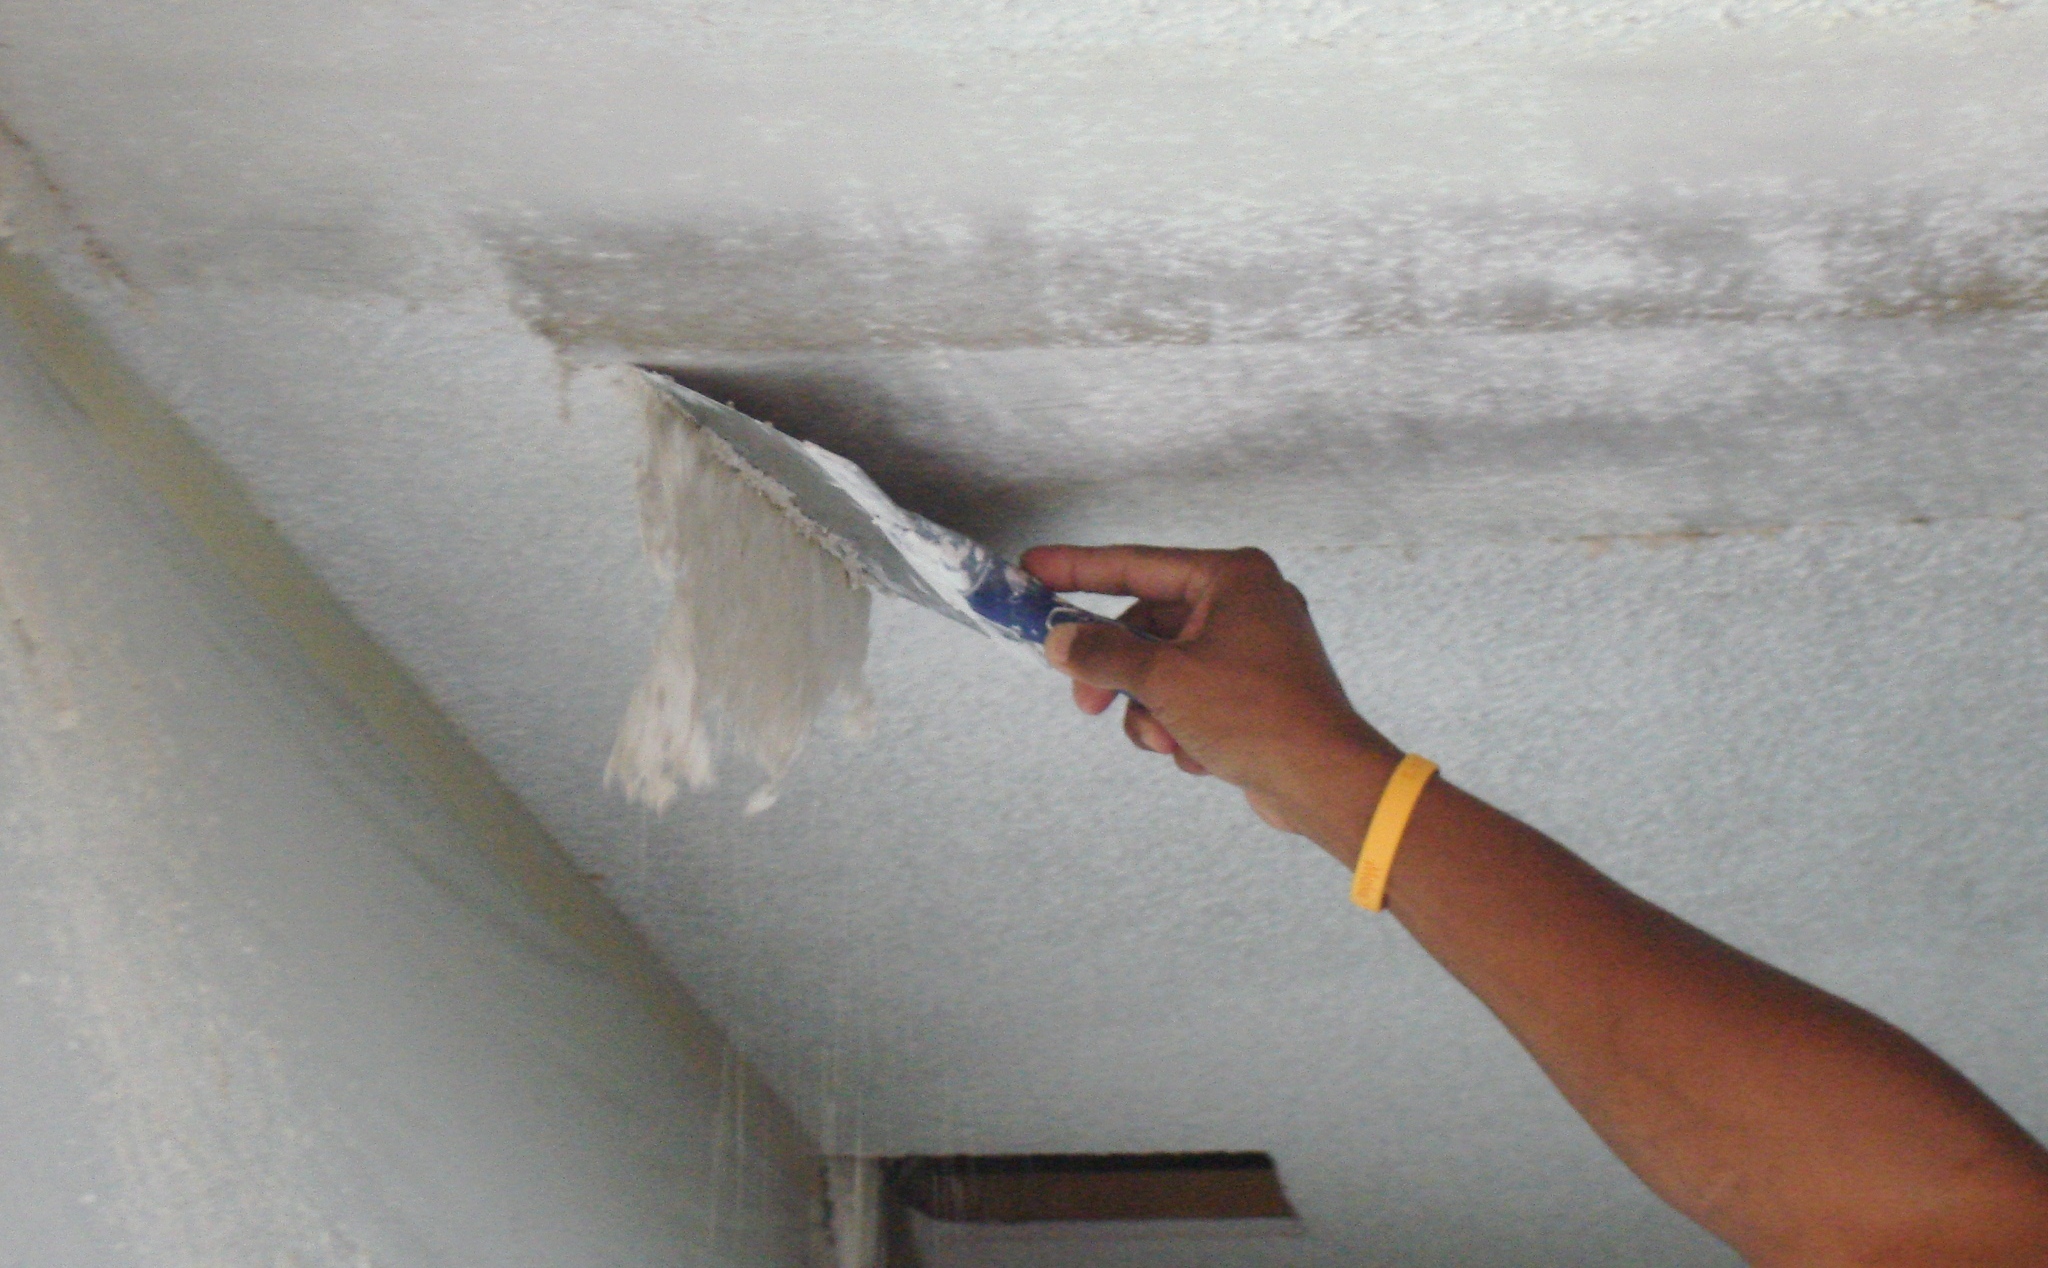
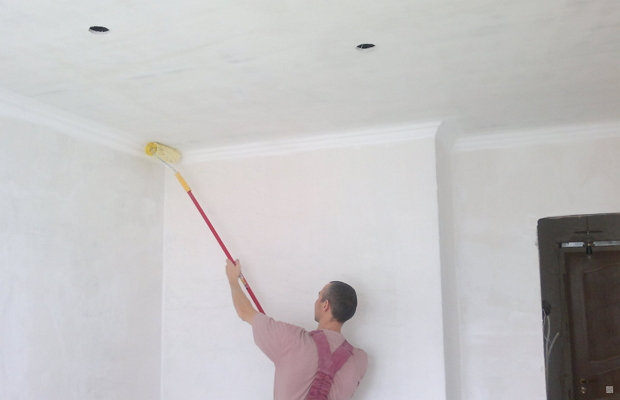
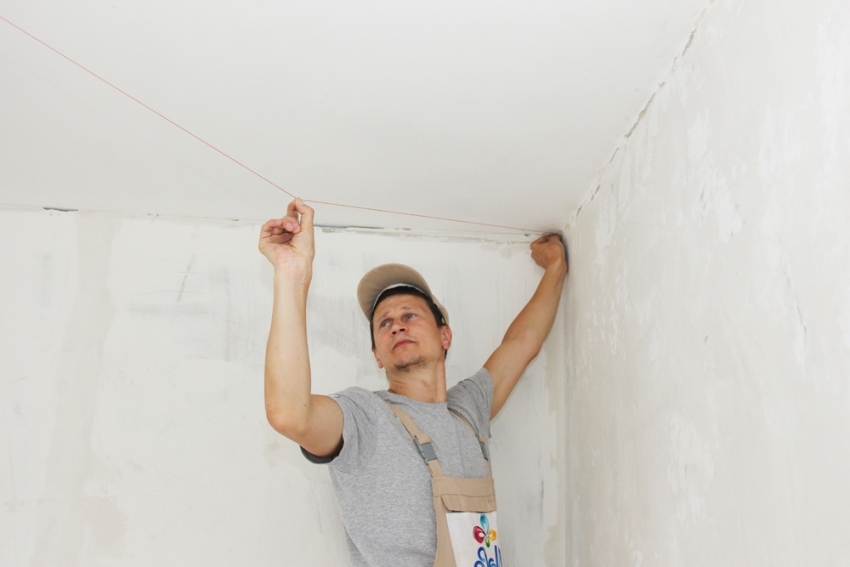
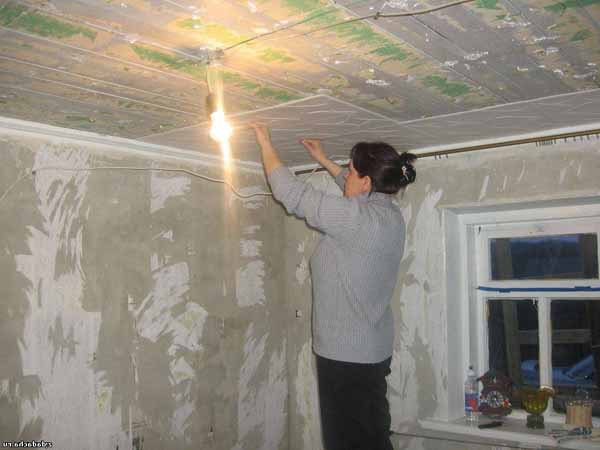
The procedure that precedes the pasting of the ceiling with foam panels is thoroughly cleaning it. It provides for the removal of the previous finish, which may be wallpaper, tile or whitewash, as well as cleaning the surface from various kinds of dirt. Next, the ceiling must be treated with a primer - a special compound that provides maximum adhesion and negates the likelihood of the spread of pathogenic microflora. Special attention should be paid to the largest irregularities and differences, if any, are taking place.
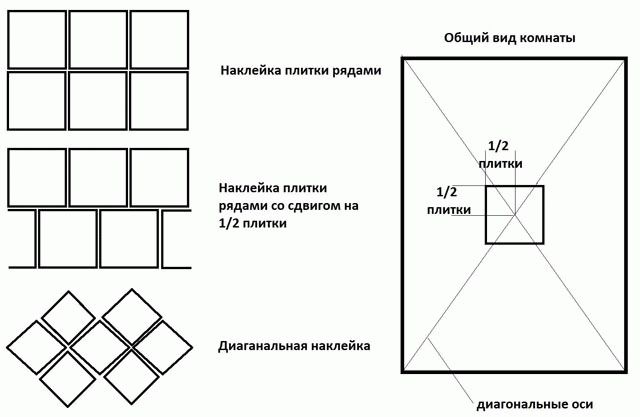
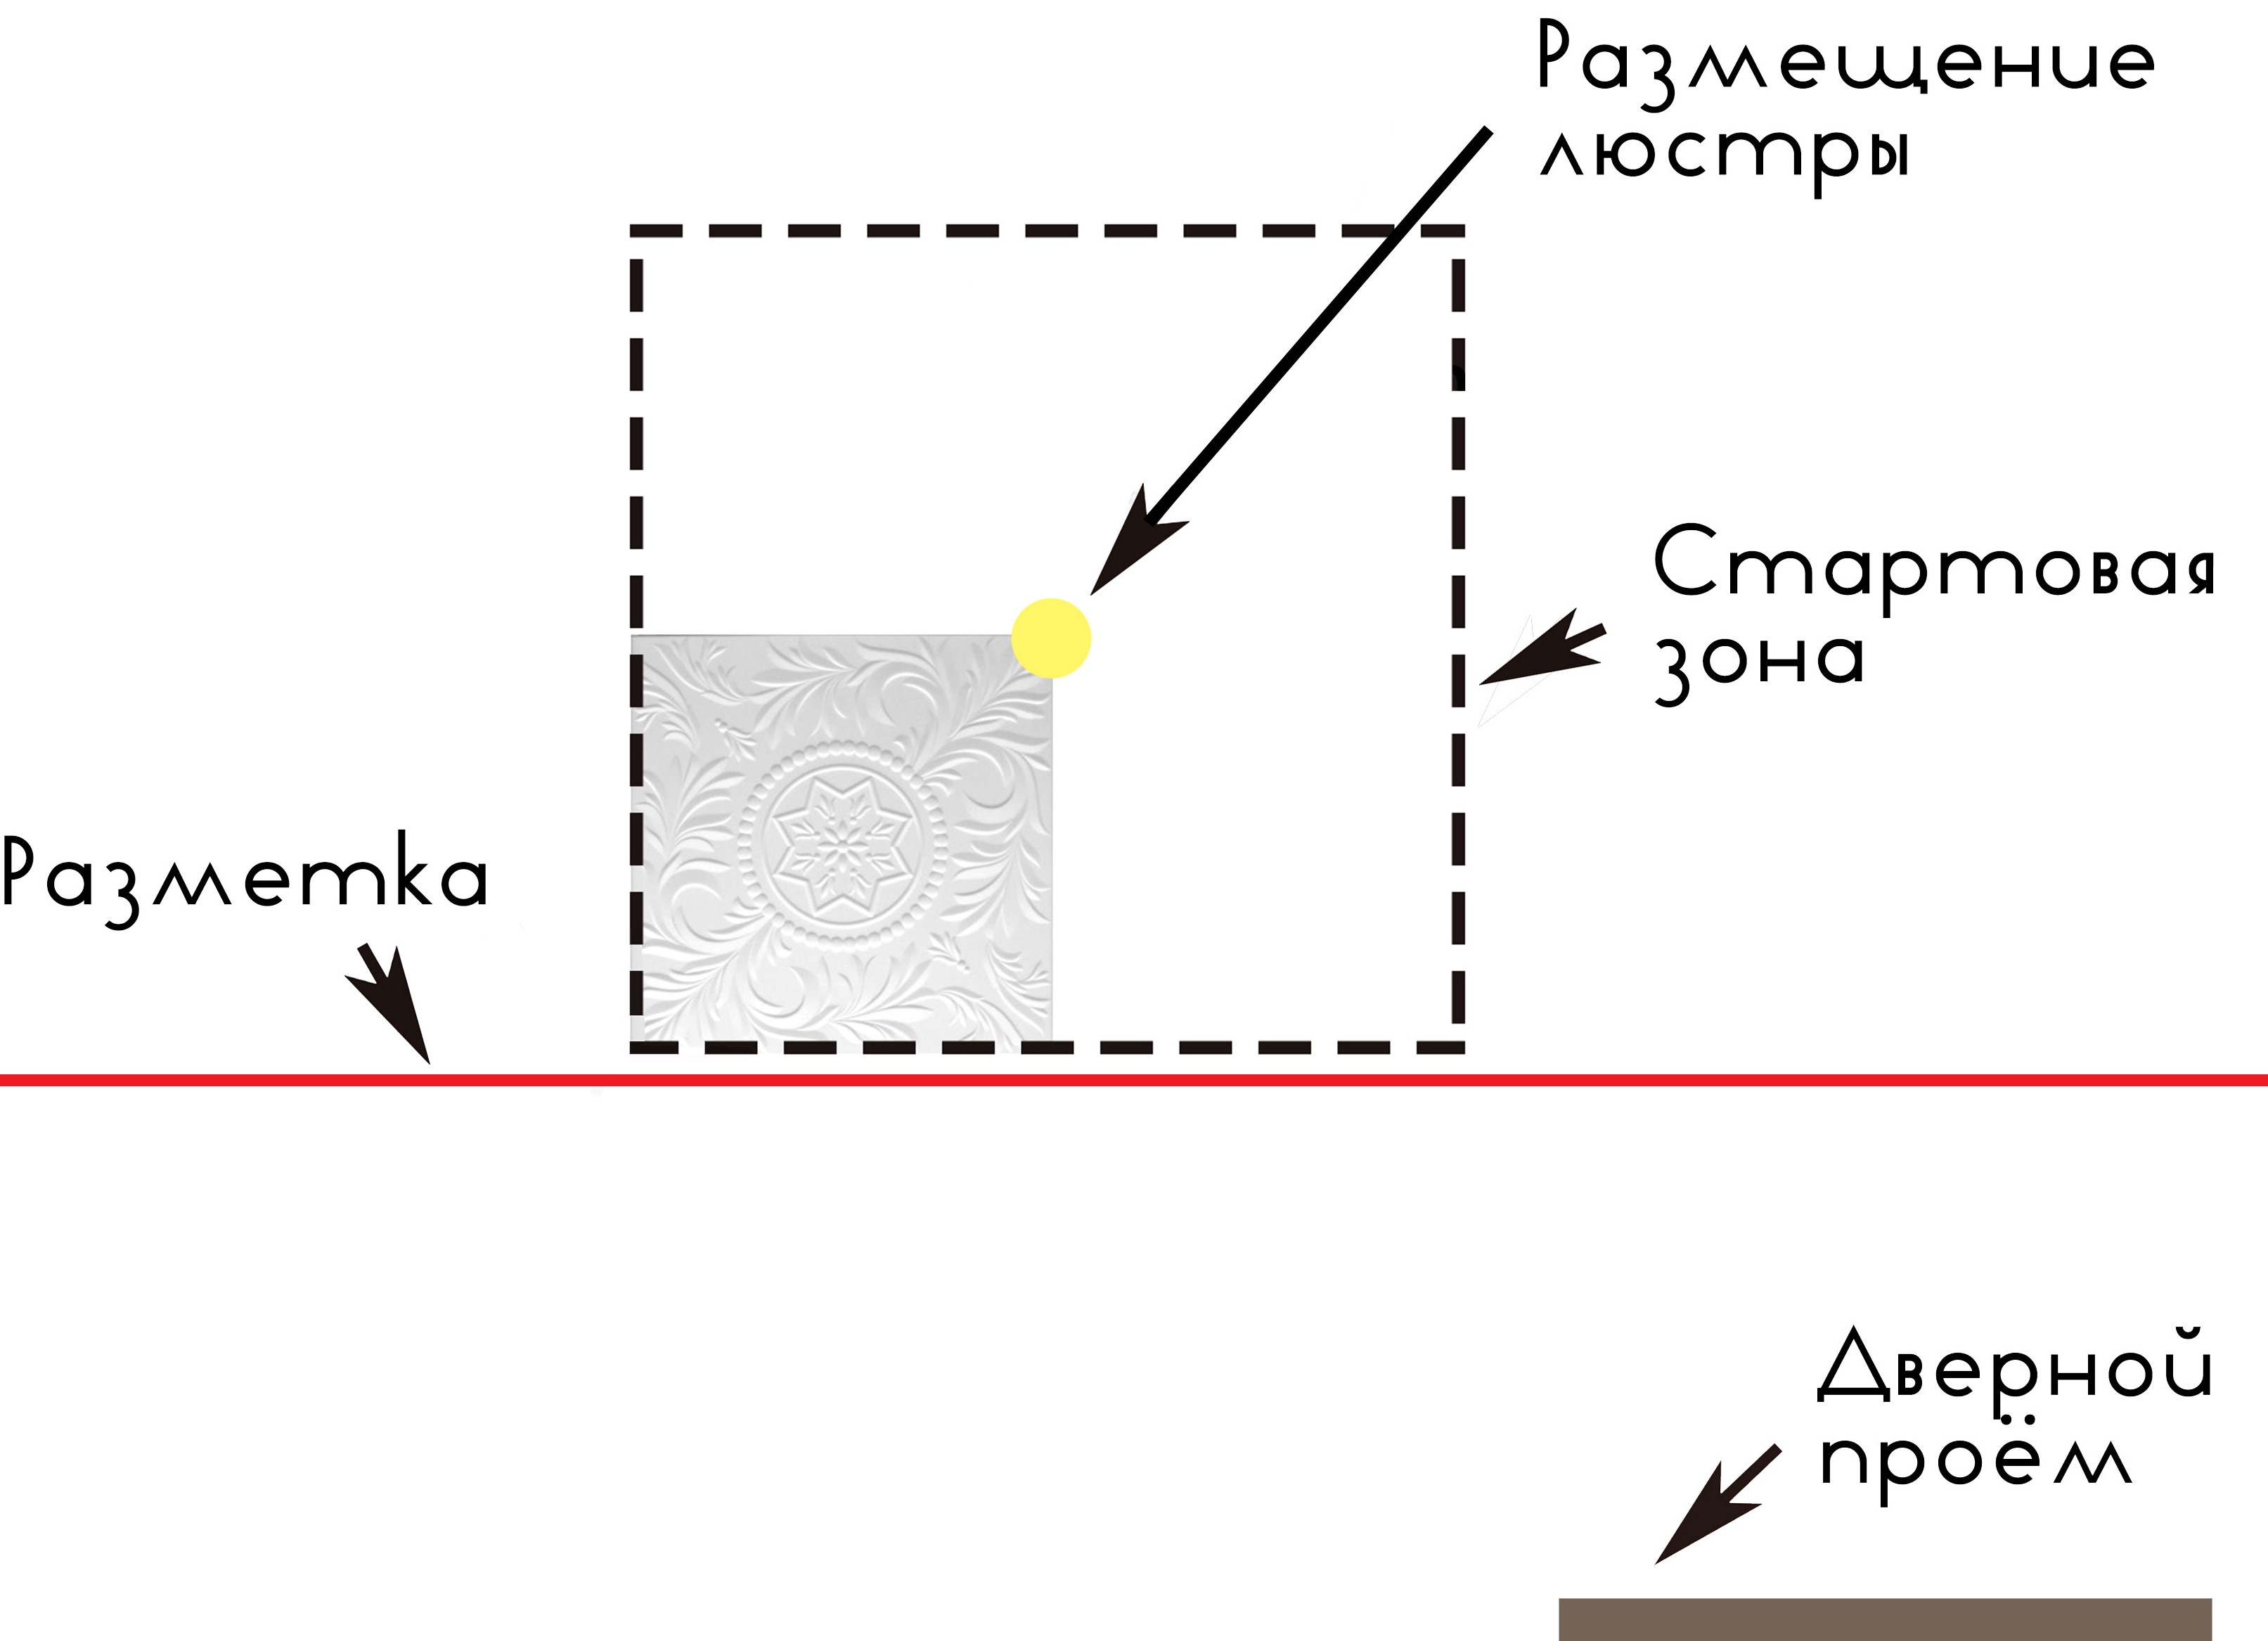
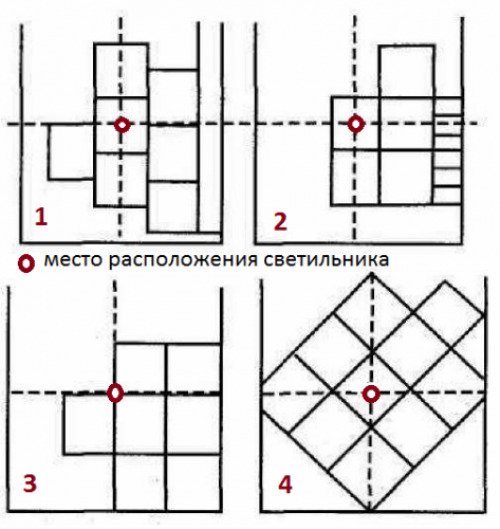
Upon completion of these activities, you can begin to markup the surface - the task, the correct solution of which involves taking into account the location of the foam plates.The latter depends largely on the characteristics of the room: for example, the longitudinal installation is great for small rooms, and the diagonal one is great for large ones. As for the point, which is a guideline for the pasting, most often its role is played by the center of the ceiling or the location of the chandelier.
The options presented suggest the following actions:
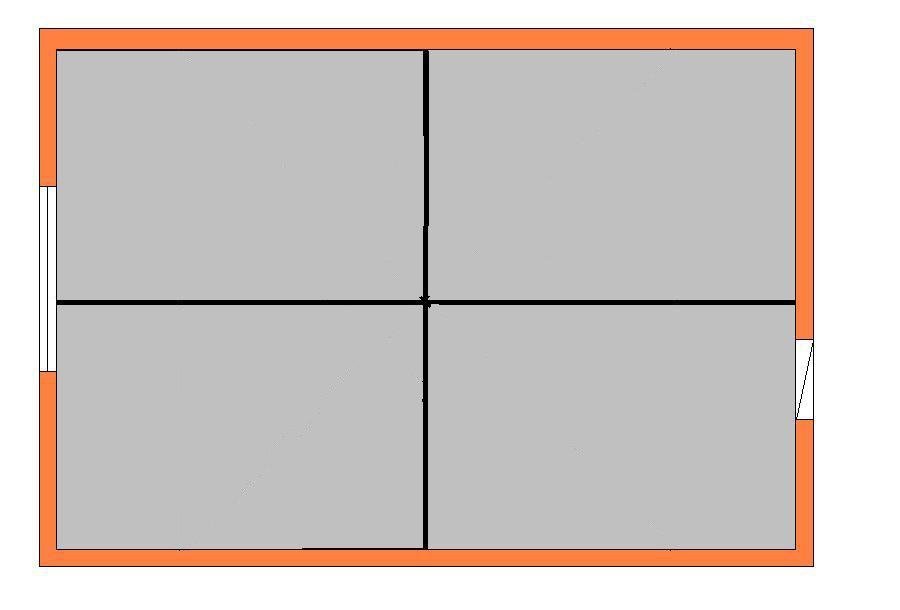
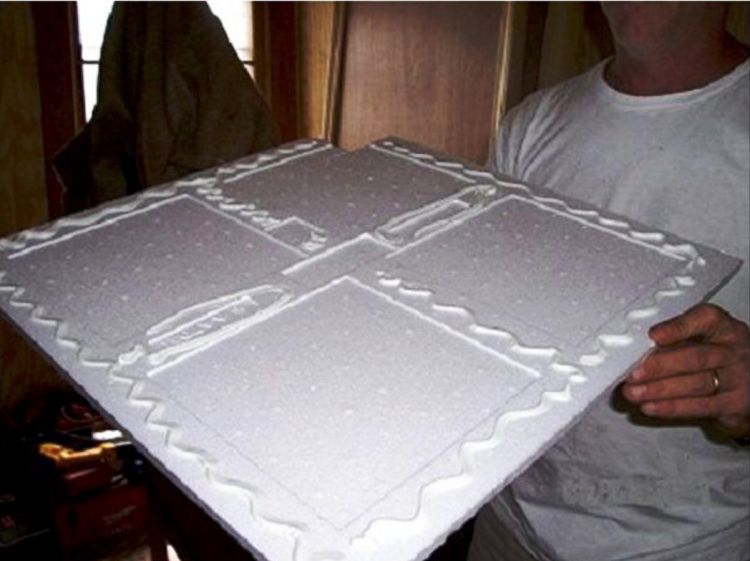
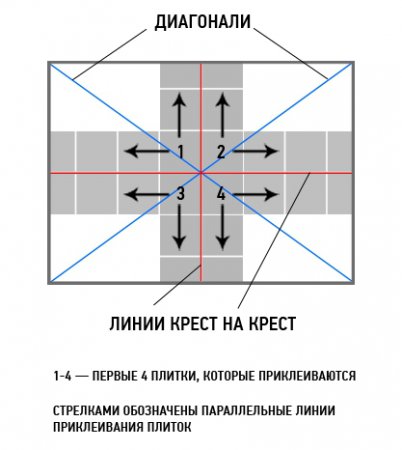
- Longitudinal. This method is the most popular, which is primarily due to its simplicity. First you need to choose a starting point (for example, the center of the ceiling), and then divide the surface into 4 parts through parallel walls with lines. The result of this operation will be 4 squares or rectangles. From the same point you need to start pasting the ceiling with foam panels.
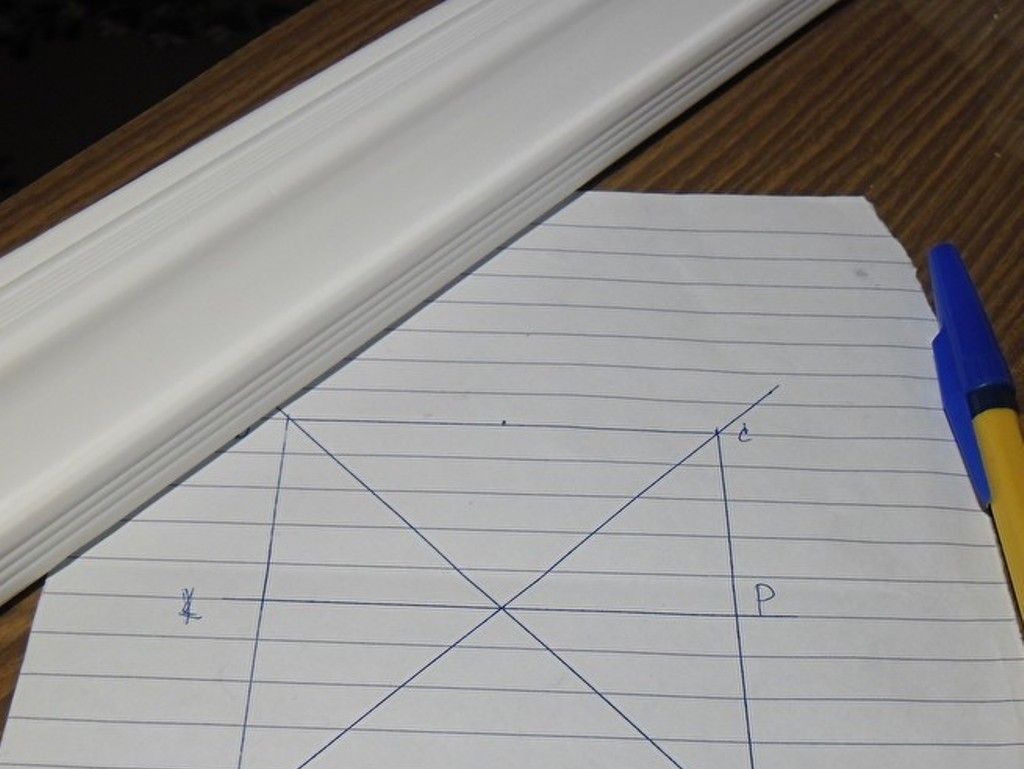
- Diagonal. In this case, the marking is performed in the same way as in the situation with the longitudinal arrangement of the plates, with only one difference. Each of the formed right angles, the vertex of which is the starting point, should be divided into 2 equal parts by means of the corresponding line - bisector. This action shifts the styling by 45 °, which ensures the diagonal arrangement of the decorative elements.
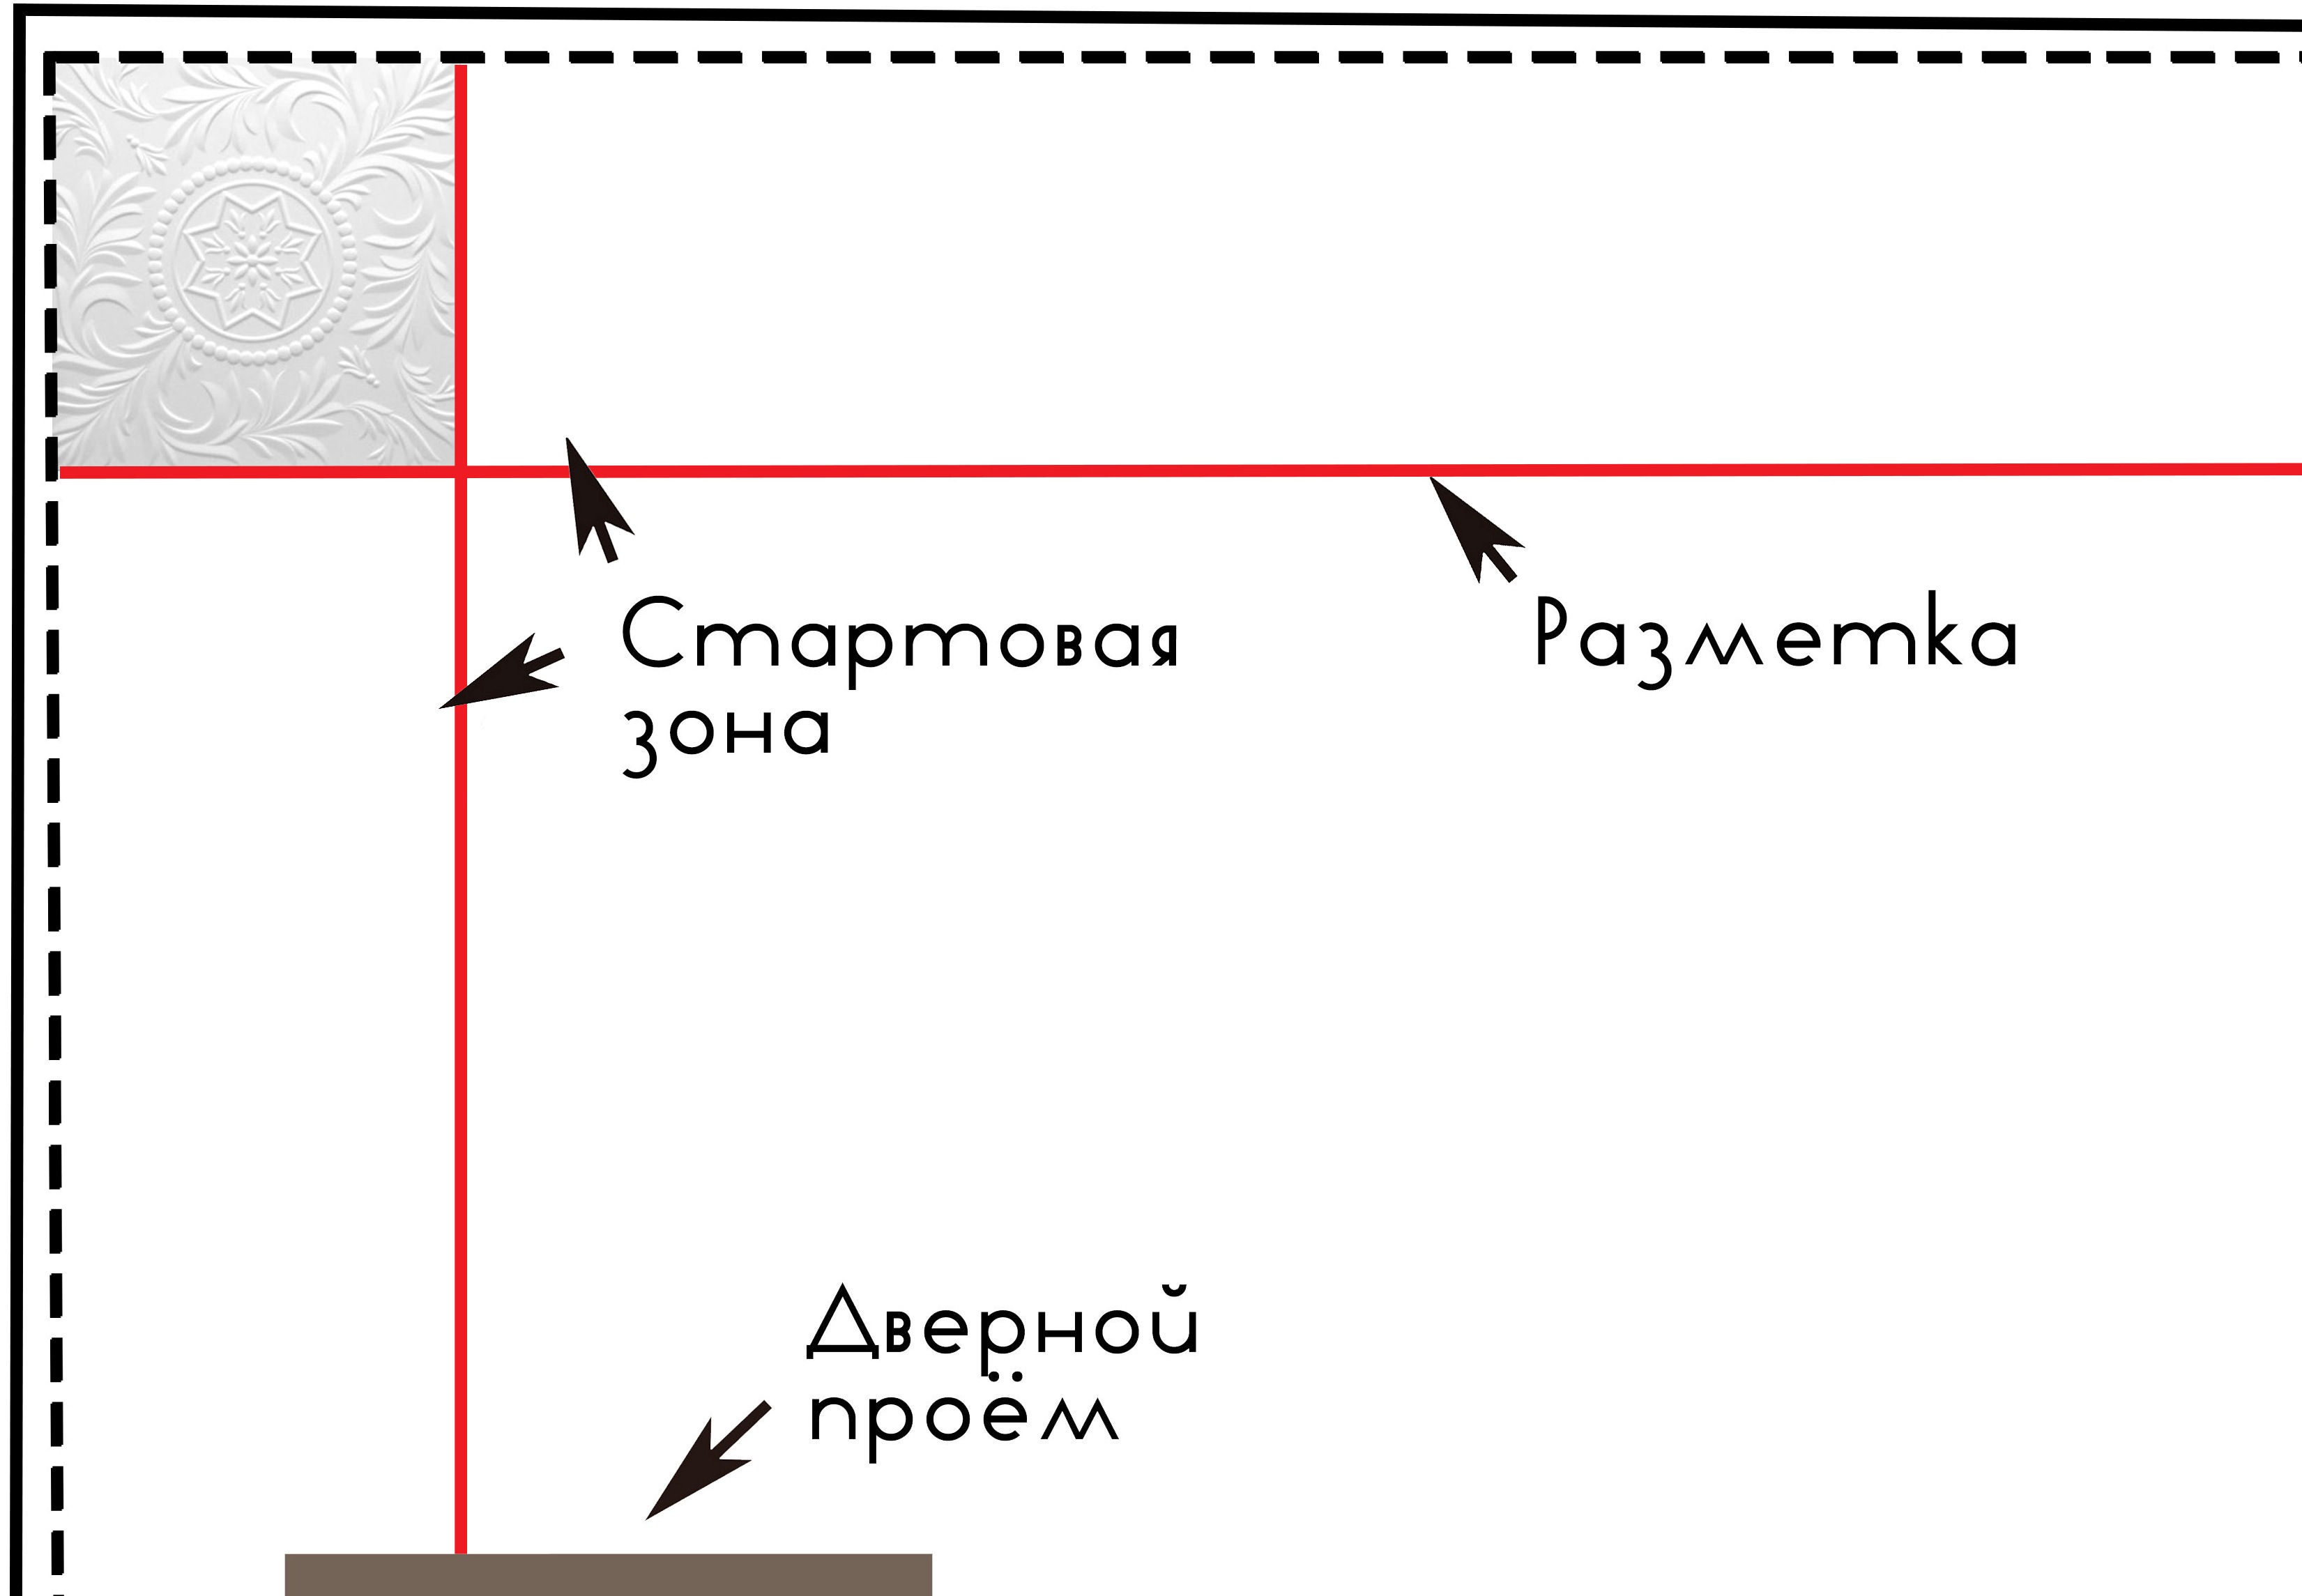
If the center of the room serves as a guide, then it must be unmistakably found.For this, it is enough to have a pair of threads stretched from the diagonally placed corners of the room: the desired result is the point at which they intersect.
The marking of the surface is preferably carried out using a tailing cord, trying to achieve the highest possible accuracy.
Installation
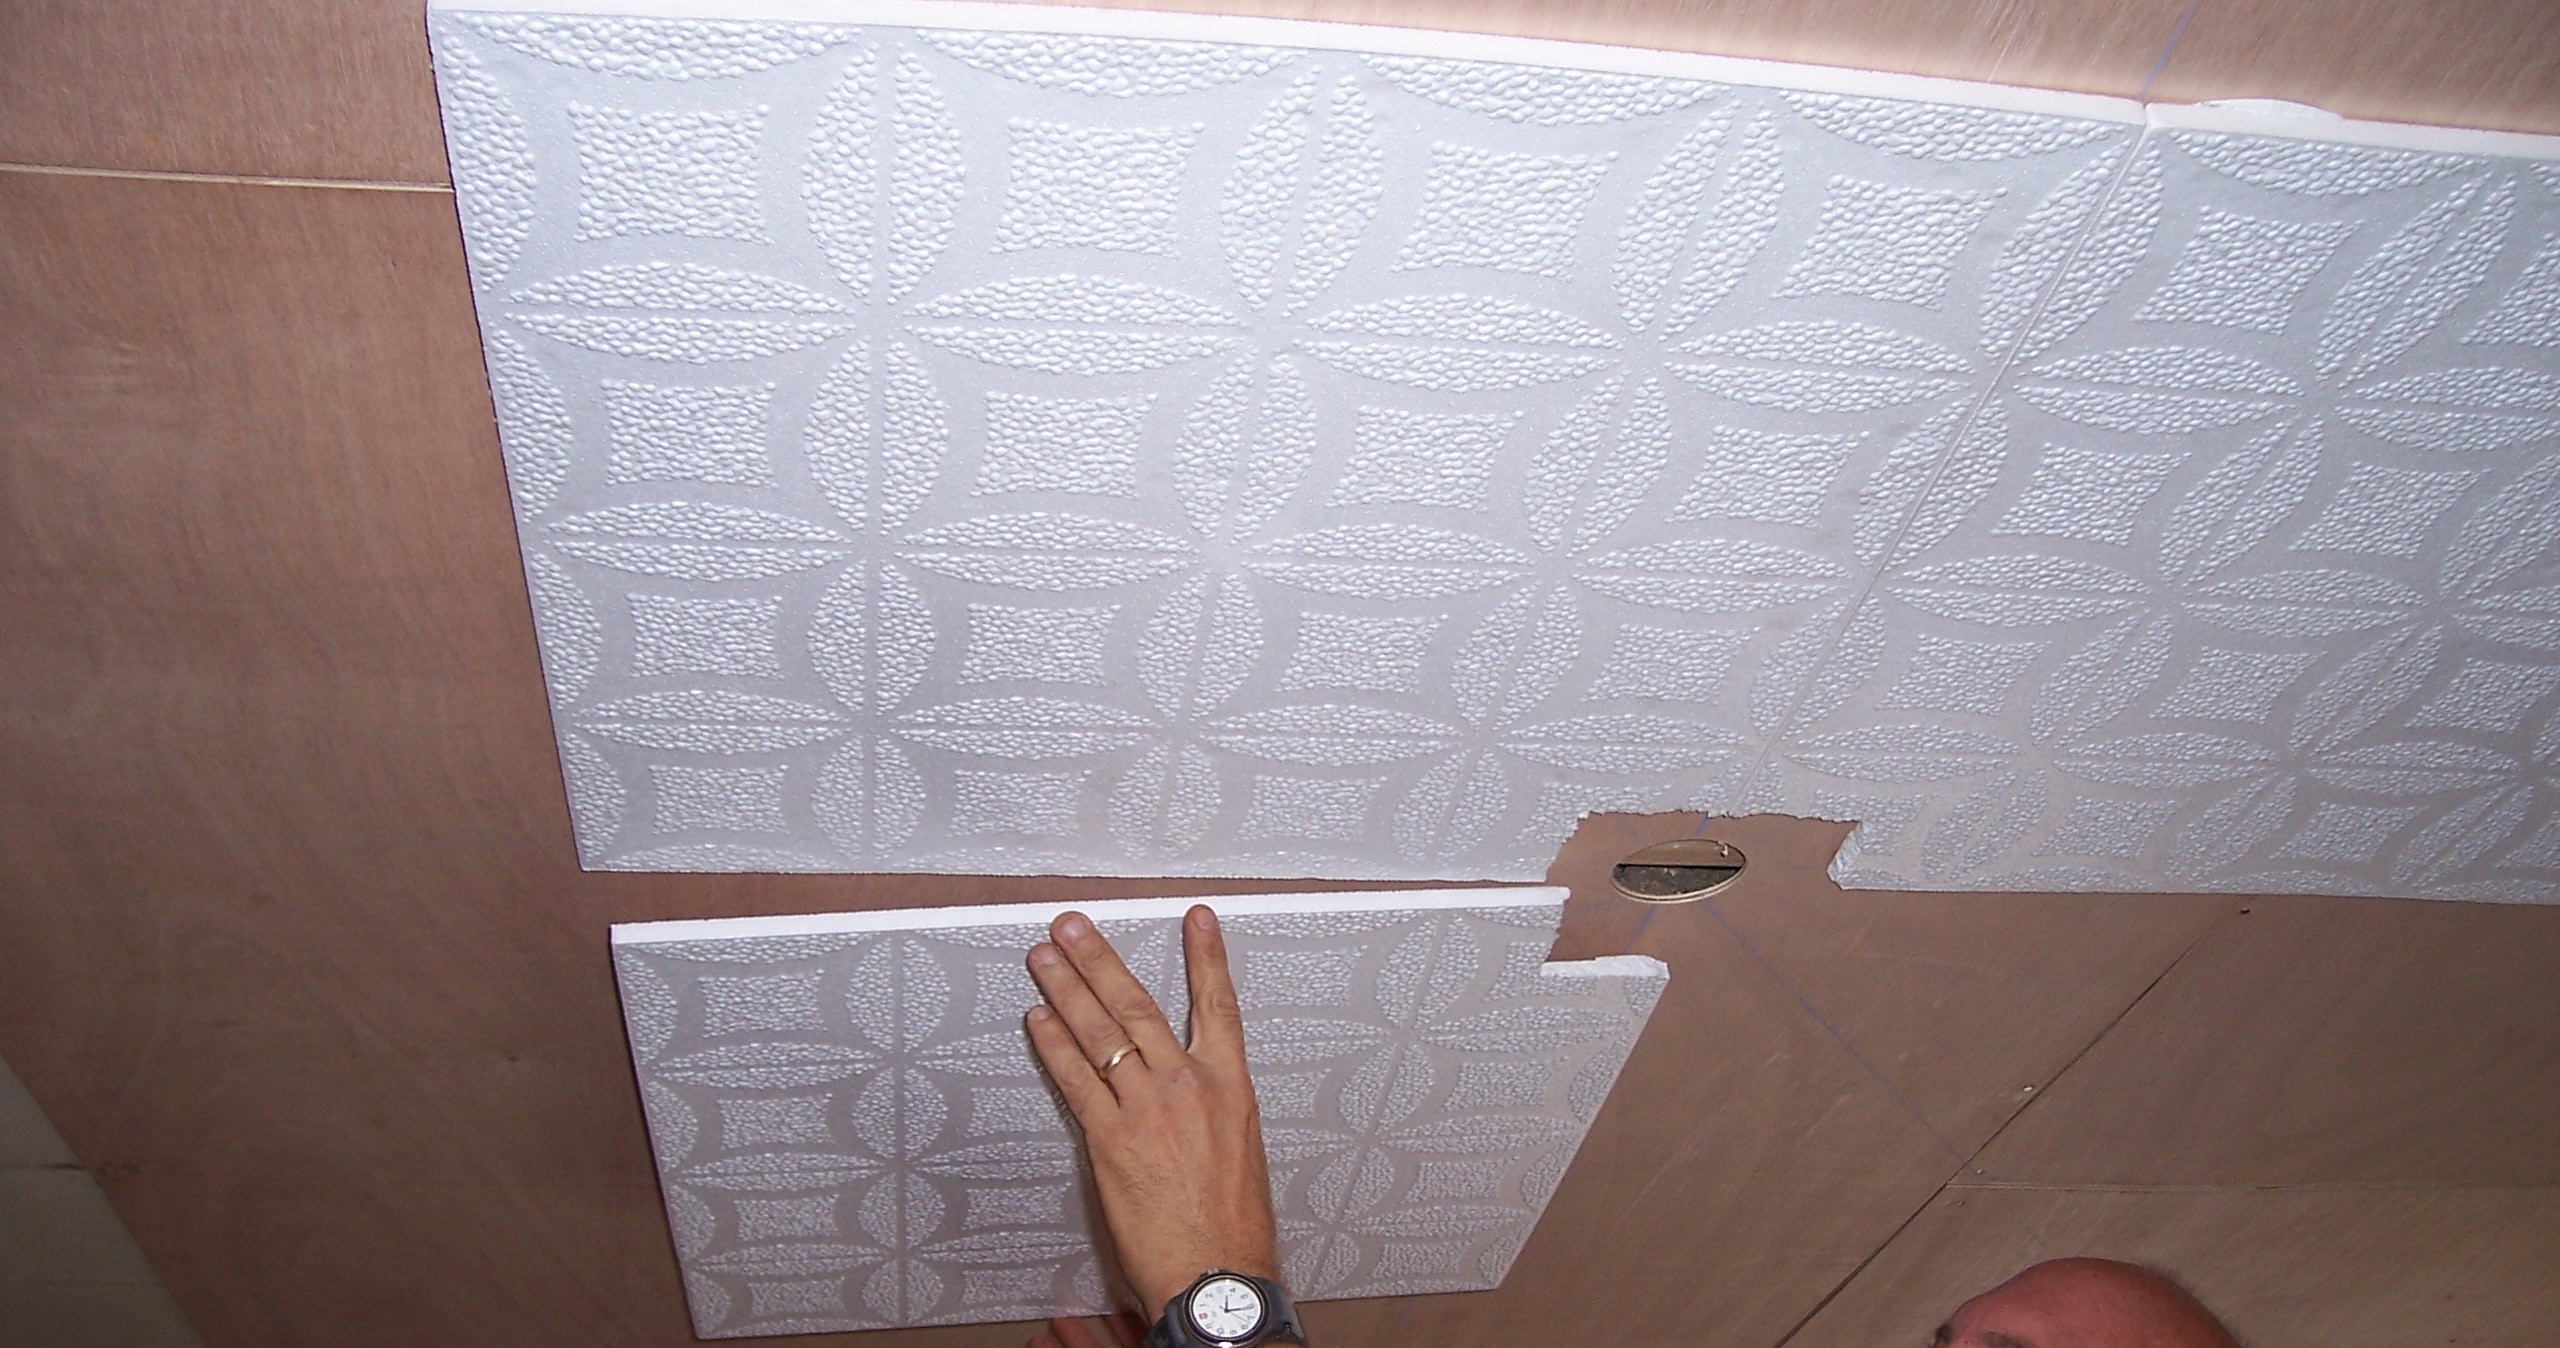
Having completed the marking of the ceiling, the owner of the room can proceed to the pasting procedure. If the panels look the same, they can be glued in any sequence, and in a situation where the tile has a composite pattern, it is necessary to strictly adhere to the required pattern.
In addition, the following rules should be considered:
- Pasting of the ceiling with foam plates is desirable to be carried out after disconnecting the power supply.
- To decorative elements do not get dirty, you need to work with them in gloves.
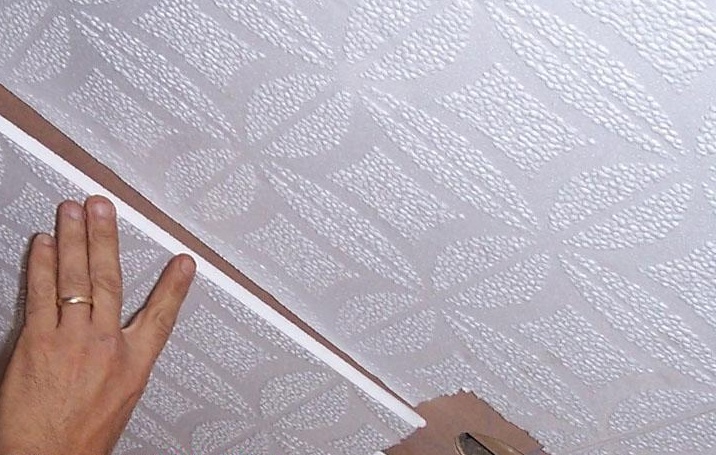
- Apply glue to the back side of the tile can be different. In particular, this is done by a solid line or dashed lines, as well as in the center and corners of the ceiling plate. The optimal tool in such cases is a comb.
- It is advisable to apply the glue only on the foam panel in order not to close the markup created earlier.
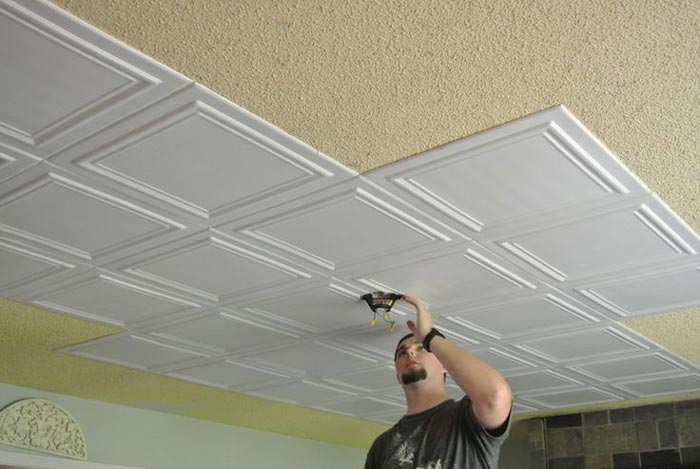
- It is necessary to start pasting from the chosen starting point - so that the corners of 4 central tiles meet in it. If it will be located fixture lamp, then the corresponding angles of the foam panels will have to be carefully trimmed.
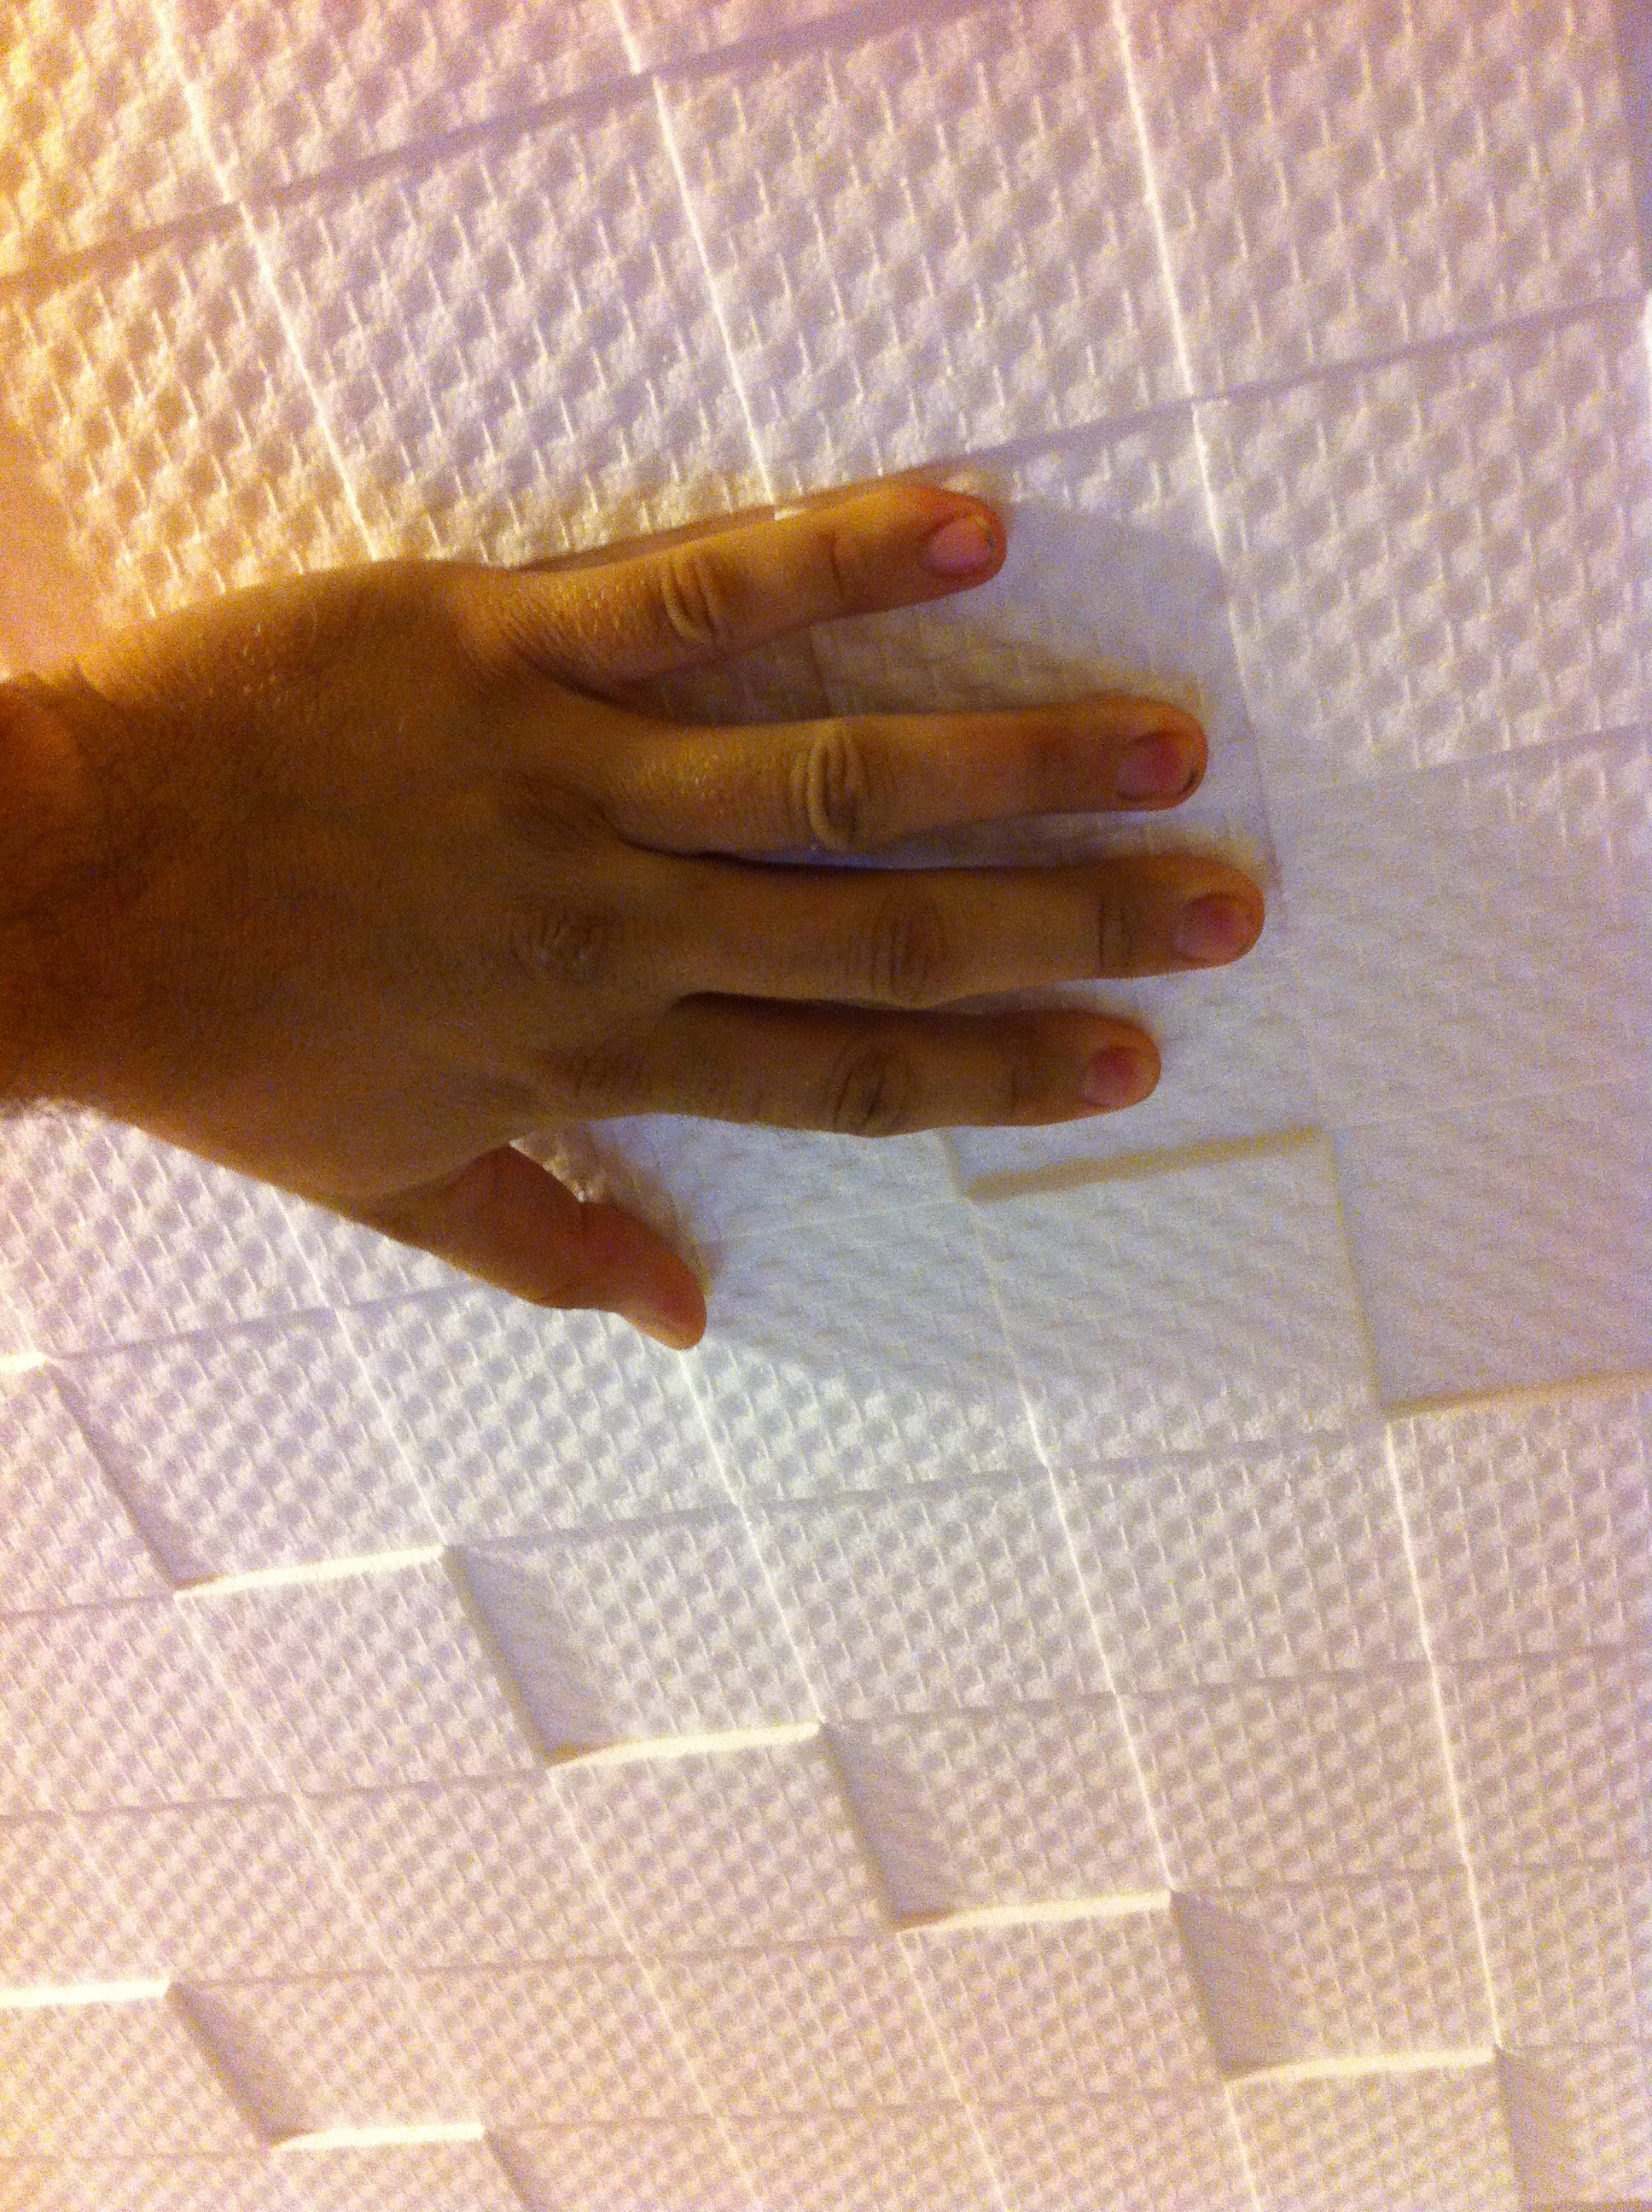
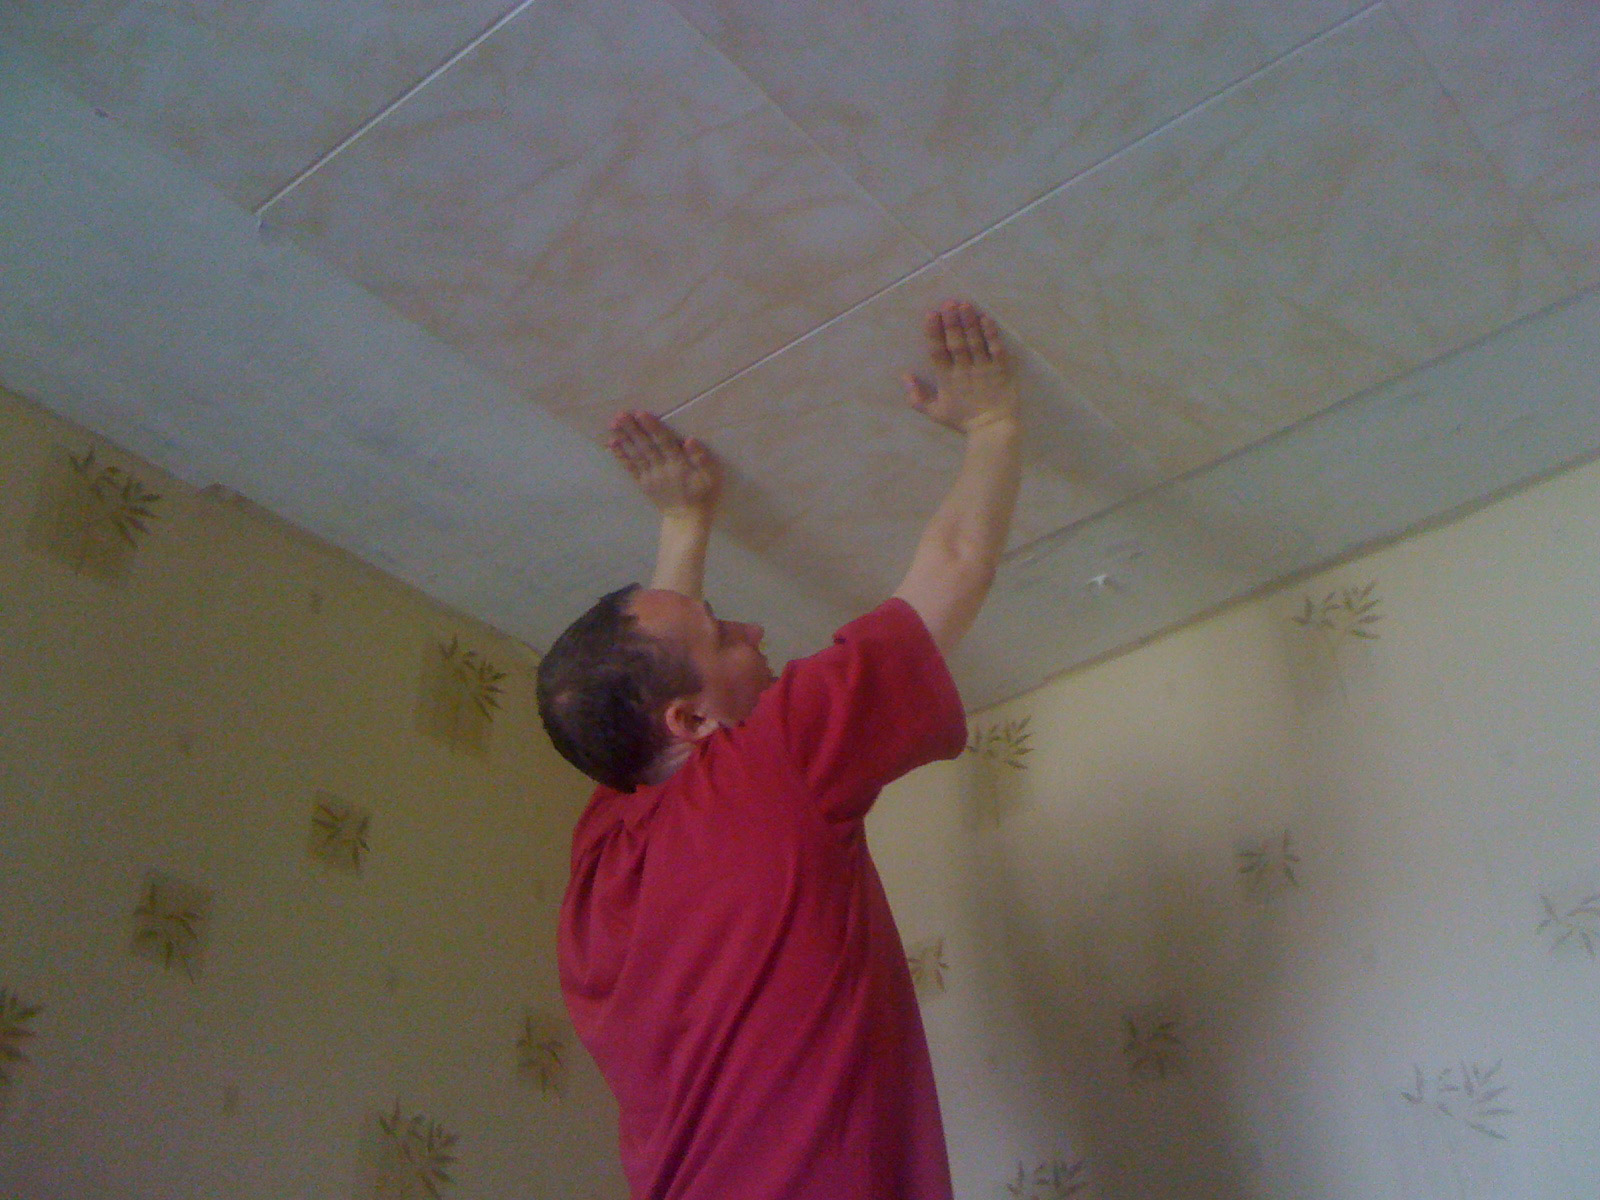
- After aligning the plates along the marked lines, they should be pressed tightly to the ceiling. At the same time, it is not necessary to apply excessive efforts - in order to avoid the appearance of dents on the mounted decorative elements.
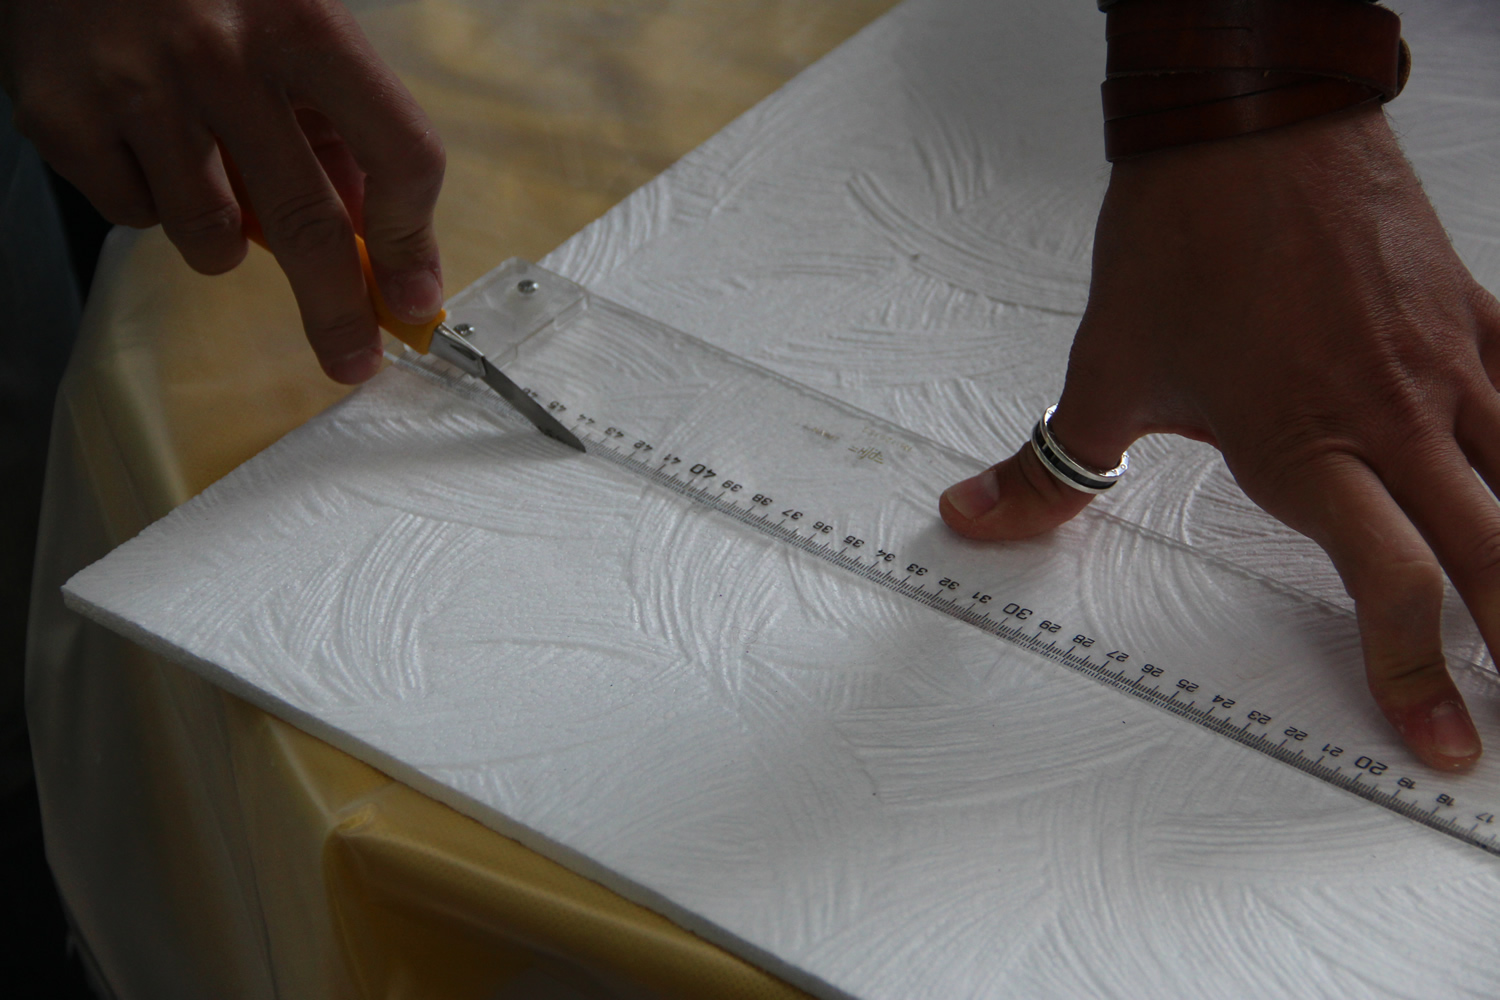
- Plates intended for the last rows should often be cut to the required size. As soon as this procedure is completed, check fitting of foam panels should be carried out. If the dimensions of the products meet the conditions of the problem, you can proceed with the application of glue.
- The gaps that are formed at the edges of the ceiling after pasting it, you need to fill the carved fragments of ceiling tiles that have the appropriate dimensions.
It should also be added that all work should be carried out gradually, step by step, equipping small surface areas. In addition, it is important to get rid of excess glue in a timely manner, “armed” with a slightly damp cloth.

Sealing of seams and gluing of friezes
Practice shows that sometimes the dimensions of ceiling tiles belonging to the same model may differ slightly. As a rule, such deviations do not exceed 1-2 mm, but this is enough to displace the joints between the glued panels. In order to avoid such a misfortune, experts advise to install foam plates at a slight distance from each other - about 2 mm.
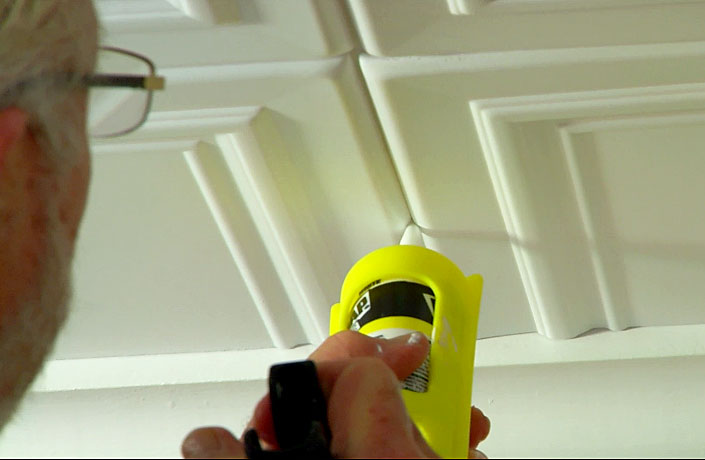
In the future, the seams need to close up with putty or acrylic sealant matching colors, providing excellent masking gaps and optimum grip. After drying, the created decorative surface can be covered with water-based paint, which allows you to hide any, even the smallest errors.
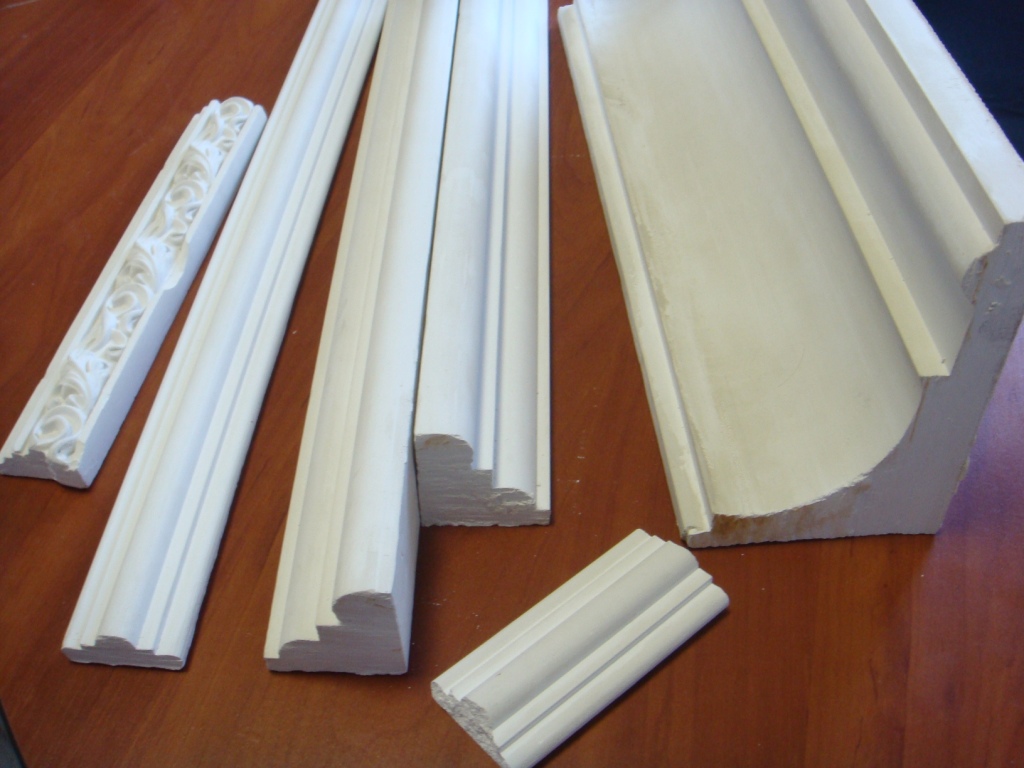
The final event is gluing on the ceiling foam friezes. Like the plates, they can also “boast” a variety of design options involving a variety of shapes, shades and features of the relief.
If you highlight other points characteristic of the ceiling plinths of foam, their list is as follows:
- Narrow friezes, decorated with not very catchy ornaments, are most suitable for small rooms.With wide products, the situation is the opposite: it is desirable to use them in rooms with a large area.
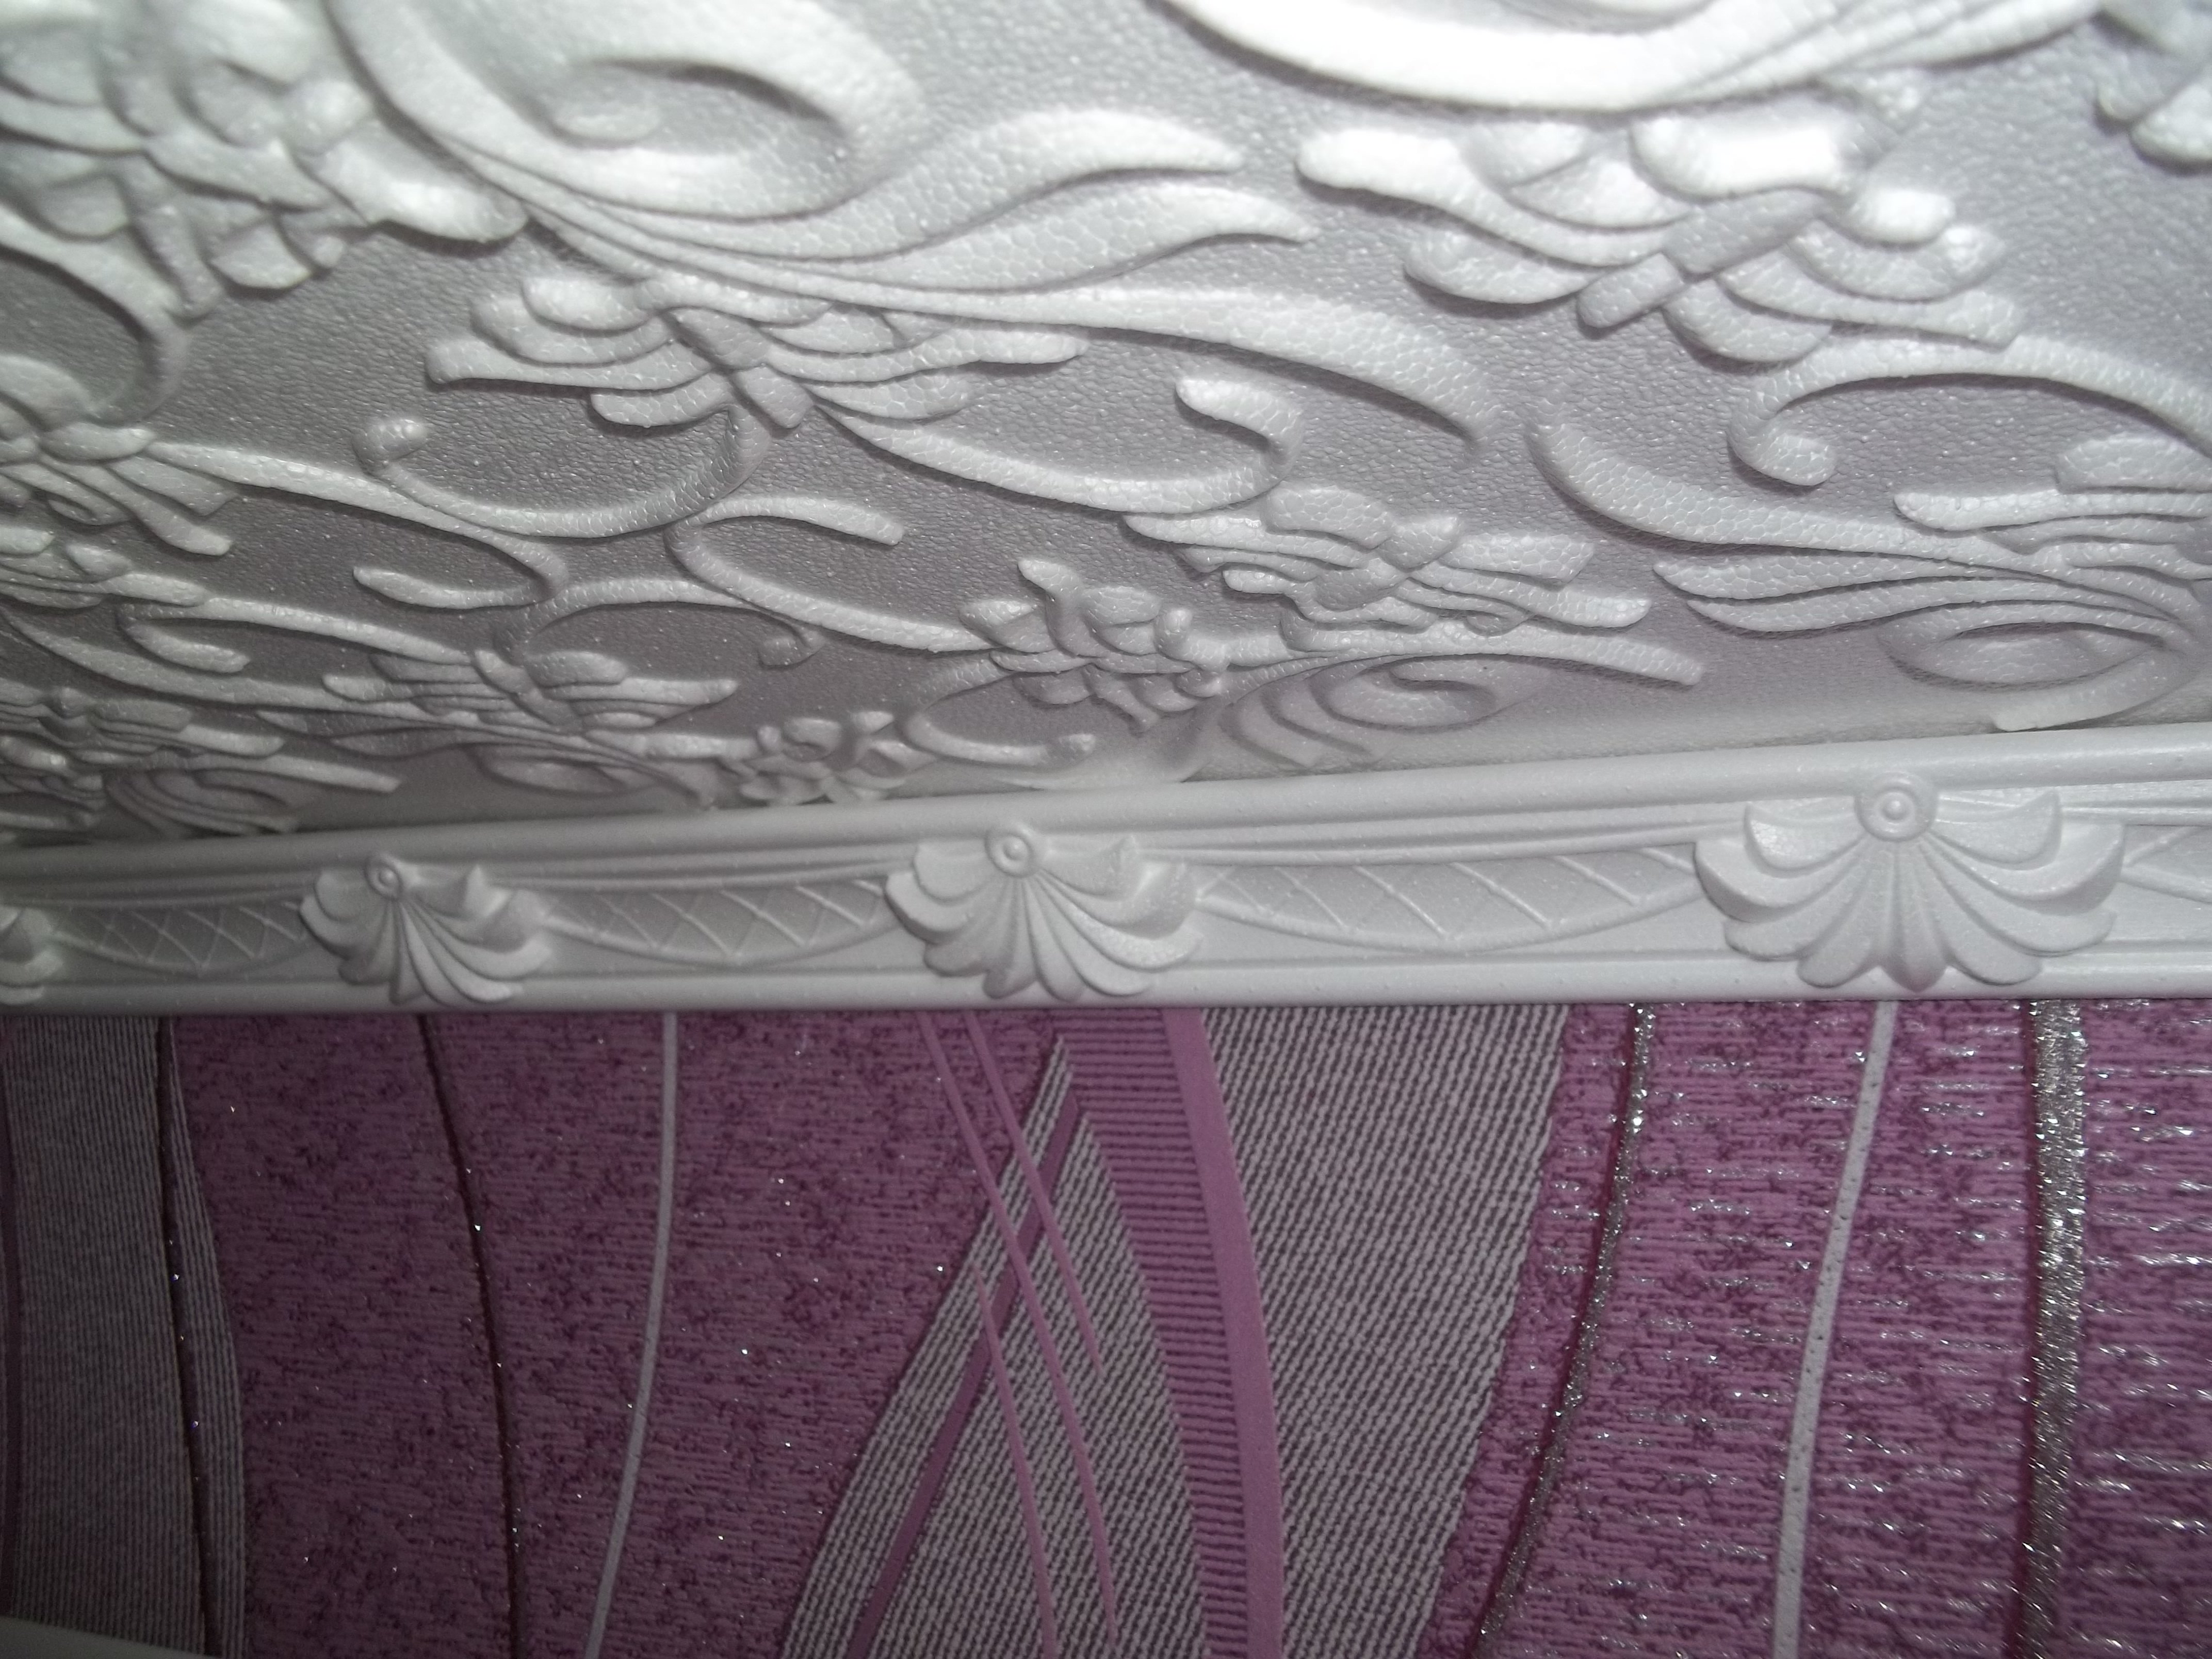
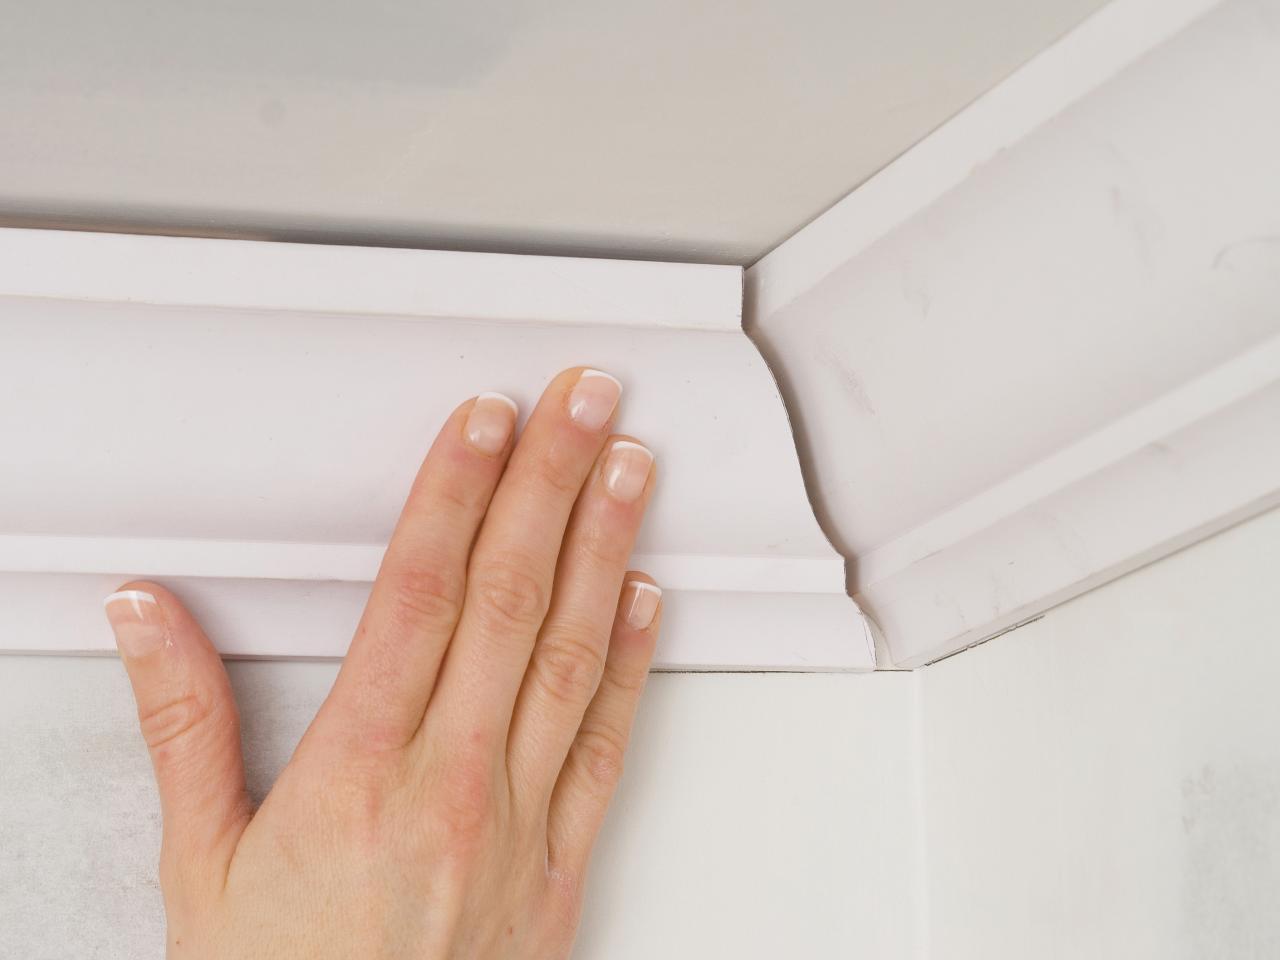
- It is necessary to glue the friezes from the corners of the room, making a fit along the length of the walls and using inserts.
- In order to gently trim the ceiling plinth under 45 °, you must use a special carpentry device - the tuslom.
It is possible to glue the friezes both before decorating the walls with wallpaper, and after - with the only difference that the first option implies a higher accuracy of fitting the canvas. Finally, it remains to close all windows and doors in the room more tightly in order to minimize the movement of air flows.

Useful recommendations
In order for the selected foam tile to meet all the expectations of its owner, experts advise to consider the following:
- When choosing a finishing material, special attention should be paid to the quality of the edges: all edges of the ceiling panels should be perfectly smooth.
- To deform or trim the edges of the foam plates is not worth it. Following this advice allows you to get the seams with the least visibility.
- The clearer the ornament and the smaller grain the tile has, the higher its quality is.No less important is the strength of foam panels: a good product is considered to be a product that does not break under its weight, if you take it for any of the corners.
- The ceiling of a small room will not seem too "heavy" if it is decorated with slabs with a small pattern.
- The choice of the diagonal version of pasting involves a greater consumption of material, but allows for a better perception due to less noticeable seams and a visual increase in the surface.
- Foam panels are not highly resistant to mechanical stress. Given this circumstance, the tiles should be handled with care - from the moment of purchase to the completion of all finishing works with its use.
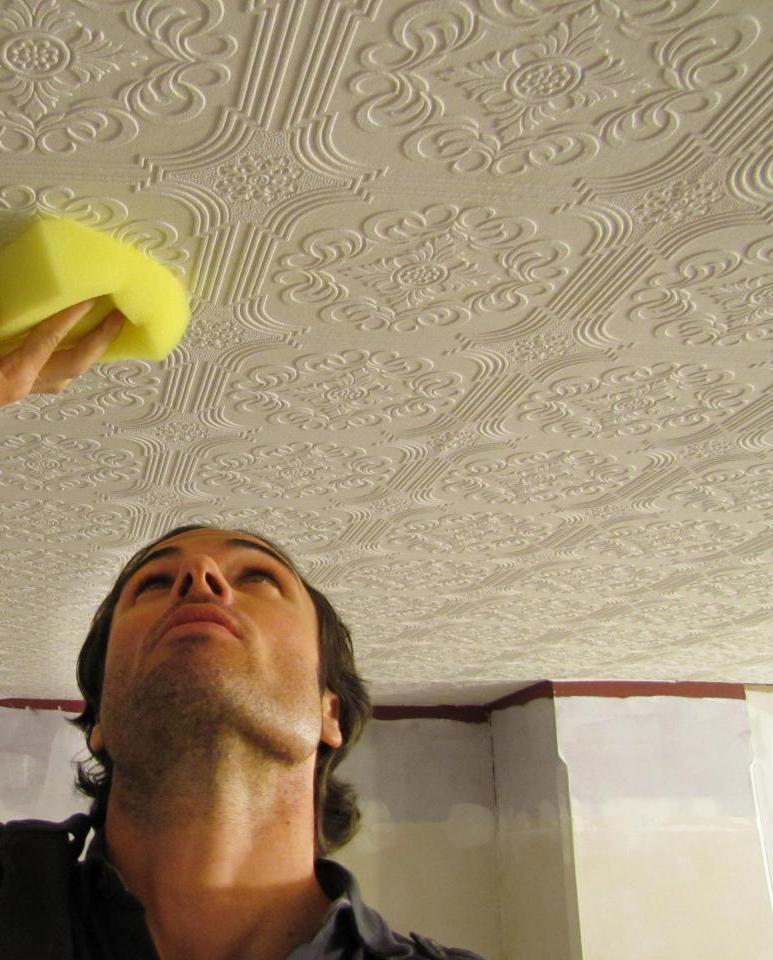
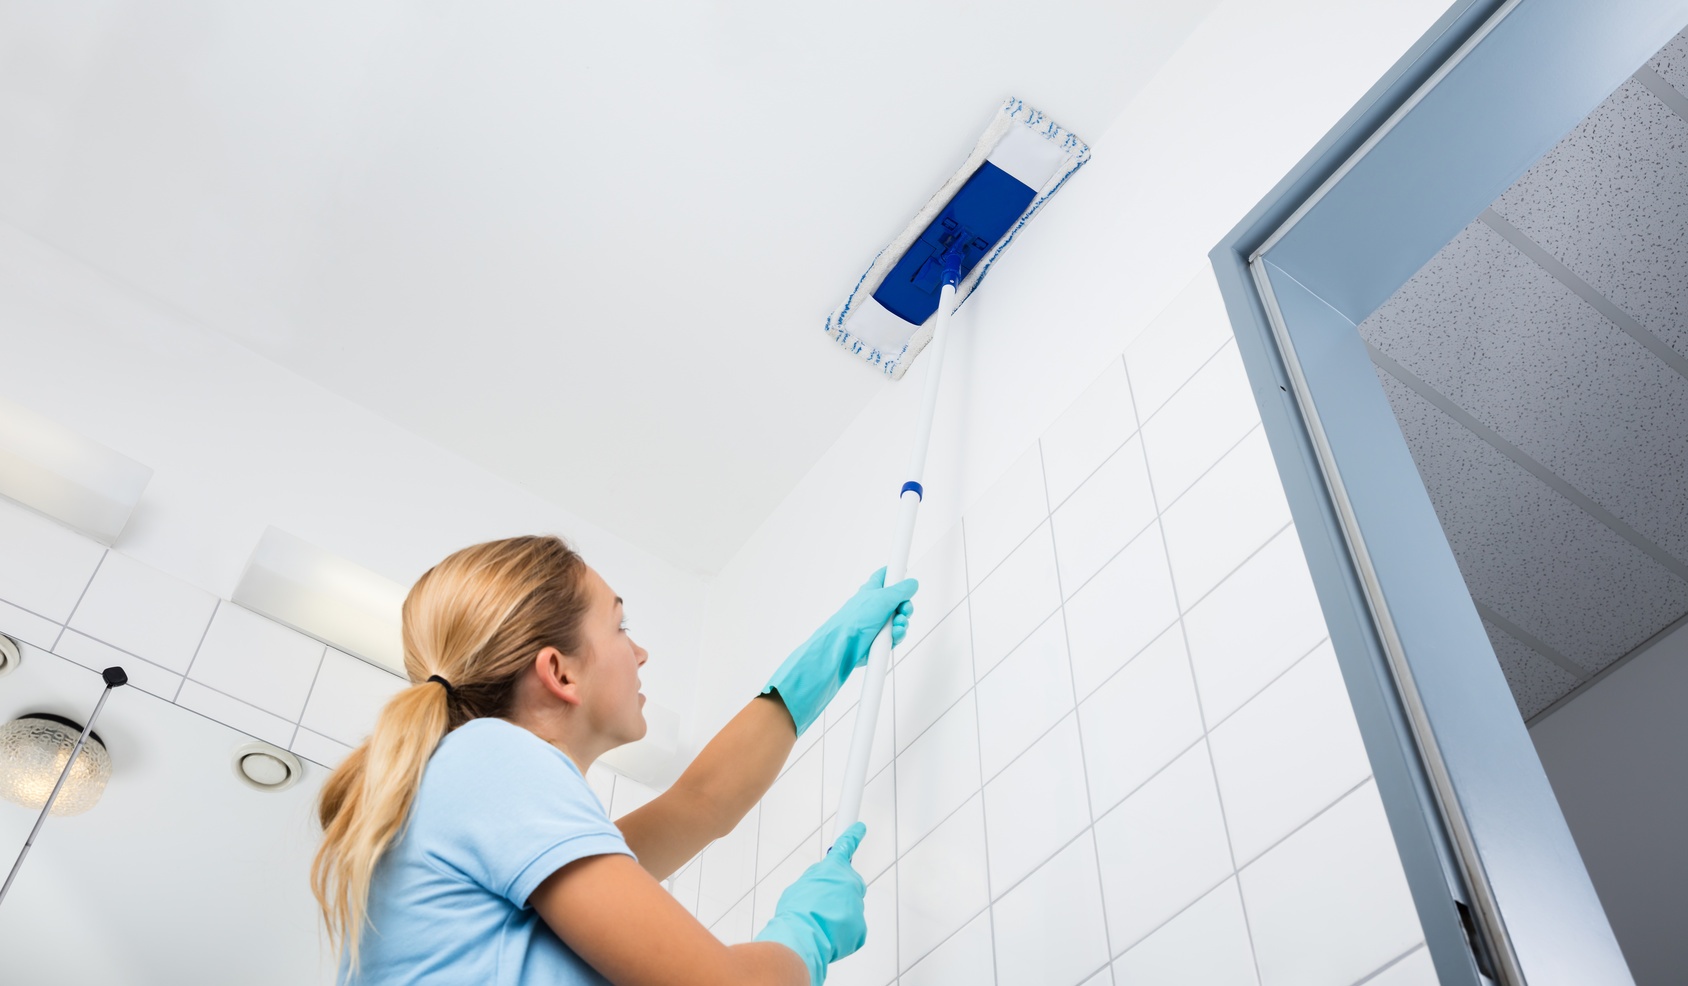
In the future, the glued panels should be periodically cleaned with a dry cloth or gently vacuumed. But from the use of aggressive chemical compounds must be abandoned - due to the fact that they can lead decorative items into disrepair.
Summing up, it remains to state that the pasting of the ceiling with foam plates can be performed without significant time, money and physical effort.Accounting for the simple rules listed in this material is all that is required to achieve an optimal result.
For how to glue the ceiling tile of foam, see the following video.


