How to putty corners?
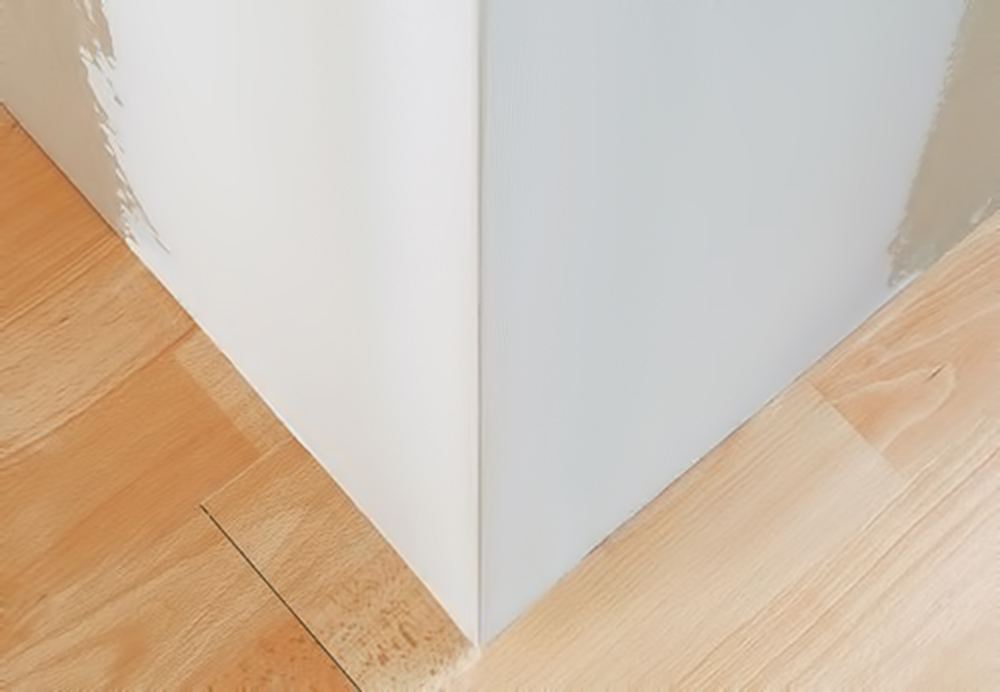
The formation of smooth inner and outer corners is a very important point when carrying out finishing works. Correctly decorated corners give the room a neat appearance and emphasize the geometry of the space. With strict adherence to the technology of finishing and proper selection of consumables, the process of self-filler will not cause difficulties.
Material selection
On the modern market of construction and finishing materials puttyings are presented in a wide range. Their compositions differ in their purpose, properties and time of viability.
Before you start buying the material, you need to familiarize yourself with some characteristics of each type:
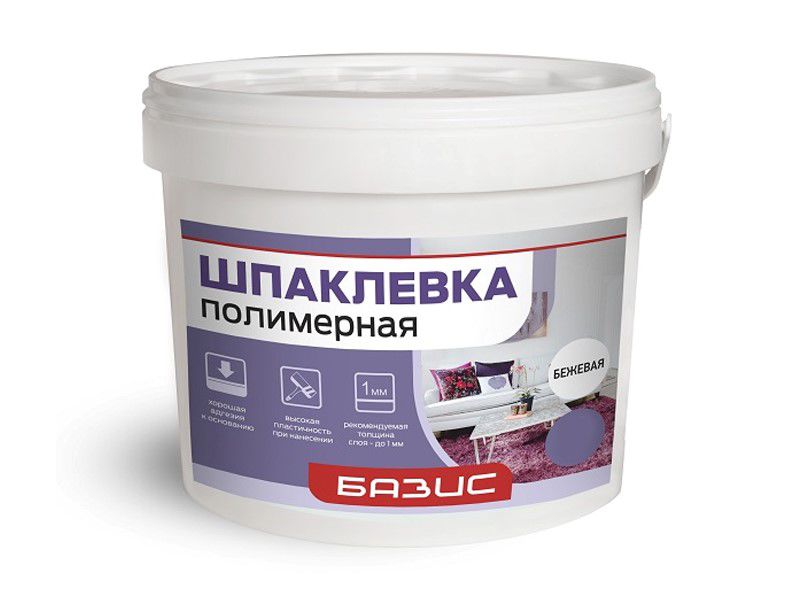
- Polymer putty is a finishing coating and is used at the end of finishing work. Mix well levels the surface of the wall and has a high moisture resistance;
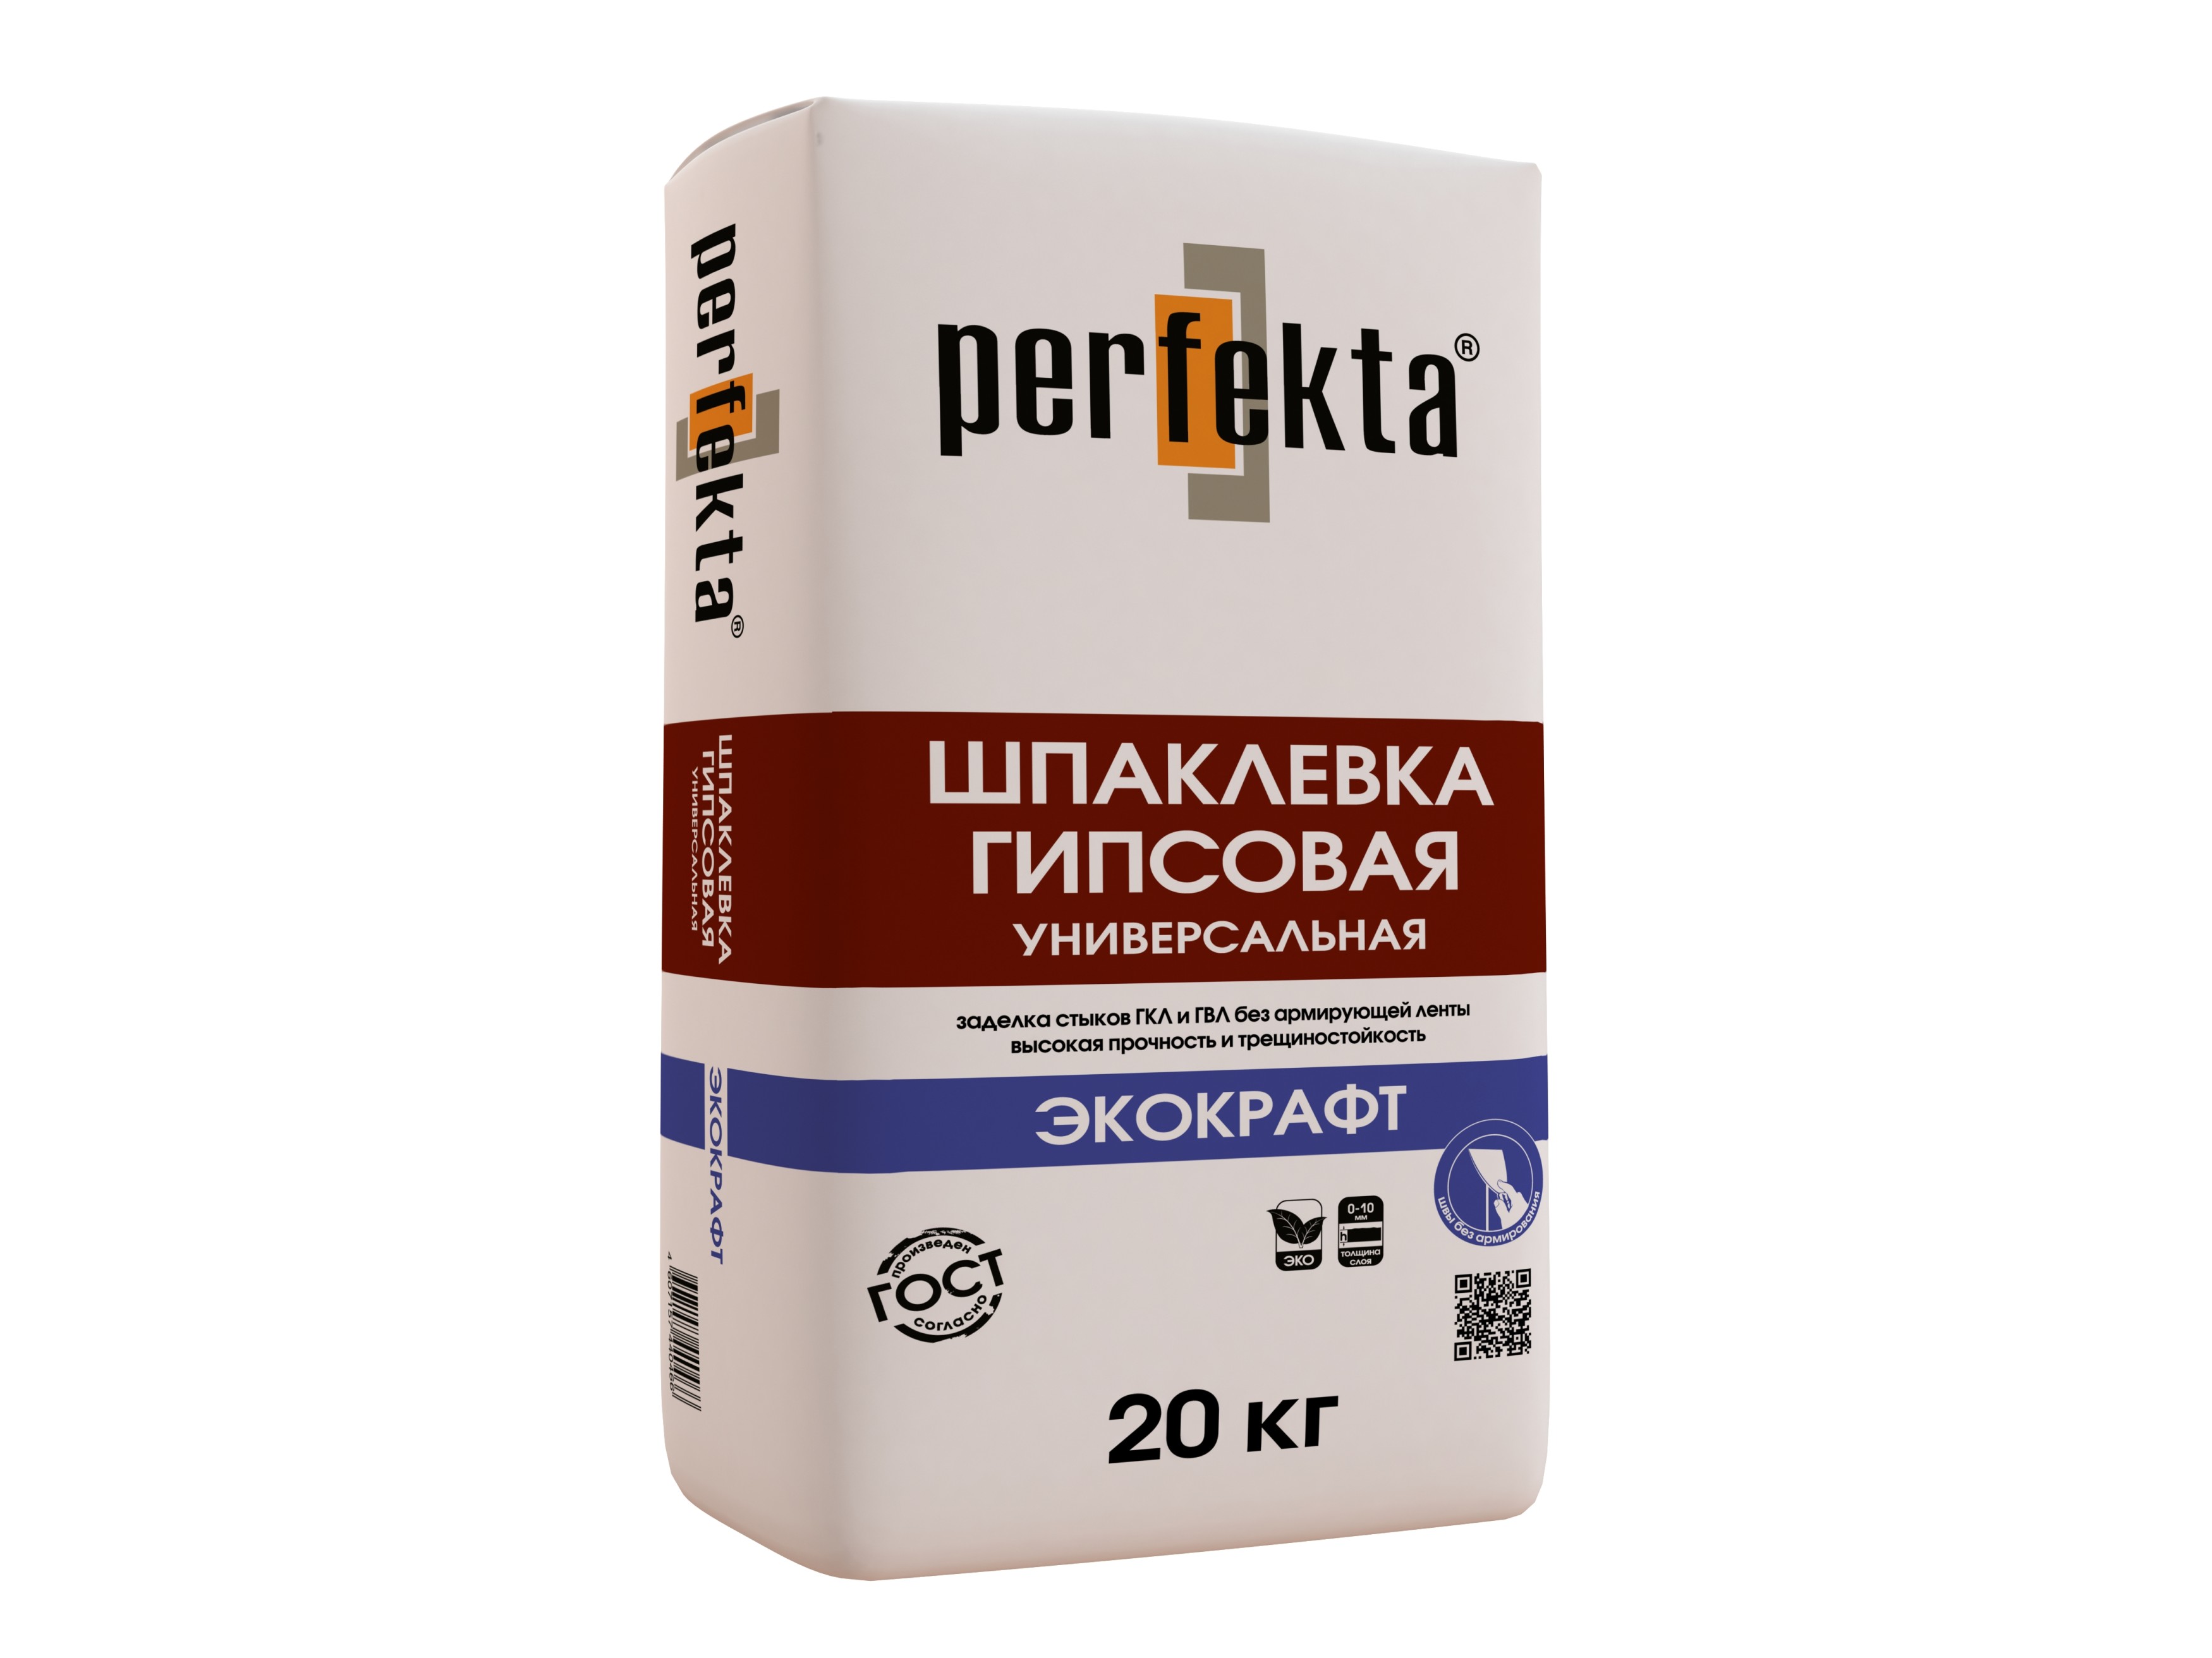
- Gypsum is allowed for use only in enclosed spaces. Forms a smooth surface, quickly hardens and dries;
- Cement putty has high moisture-resistant qualities and can be used when finishing bathrooms and kitchens. The disadvantage of this type is the probability of cracking after drying. To prevent cracking, the surface should be moistened periodically until the inner layer is completely dry.
In the form of release putty are dry, requiring self-preparation, and ready. According to their purpose, they emit specialized, leveling, finishing, decorative and universal solutions. The choice of material is carried out individually and depends on the type of work performed and the degree of external factors.
You should also purchase a primer. For the formation of both external and internal angles it is recommended to use solutions of deep penetration.This will ensure good adhesion of the mortar to the wall and prevent delamination and chipping of the plaster.
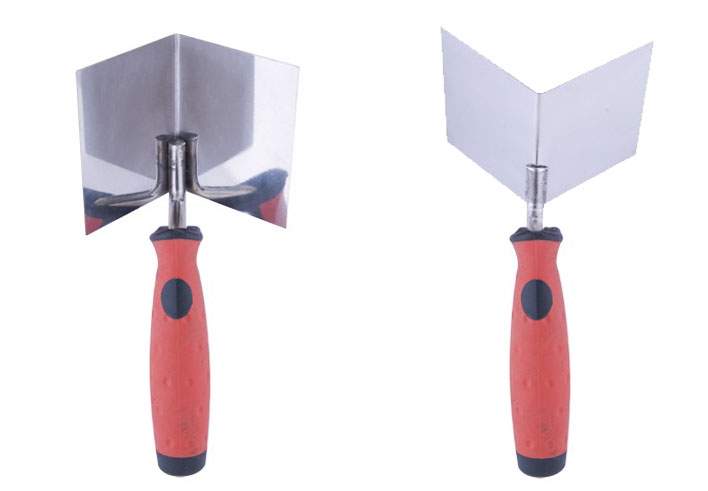
From the tools you need to prepare three spatulas: two straight, 25 and 10 cm wide, and angular. To obtain a homogeneous solution when using dry mixes, you will need a paddle attachment on a drill or a construction mixer. As a surface leveler, you can use a grinding grater with sandpaper or a mesh fixed on it, and when preparing the surface for sticking wallpaper it is better to use an abrasive with P100 - P120 grit.
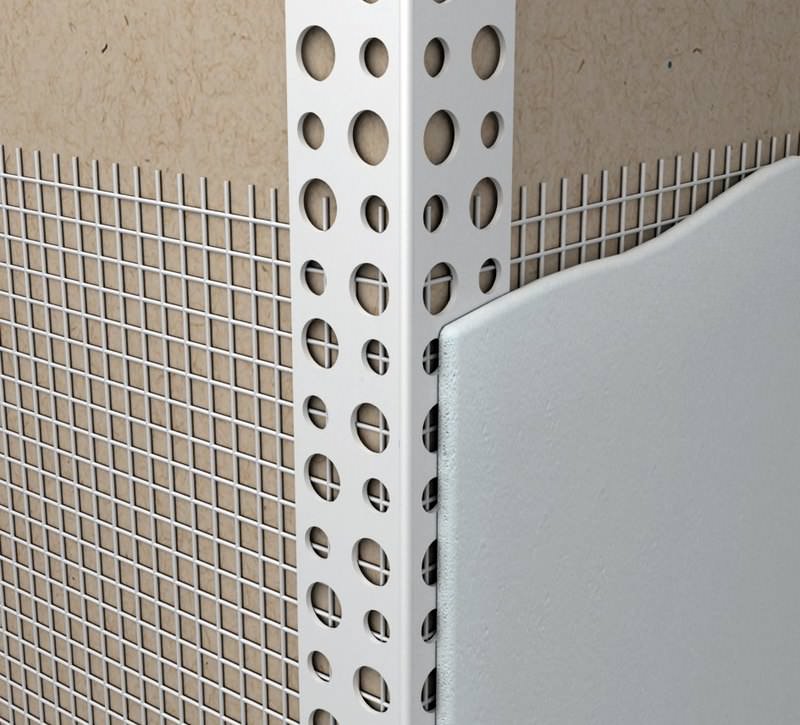
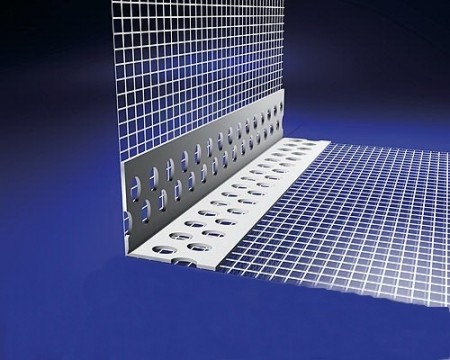
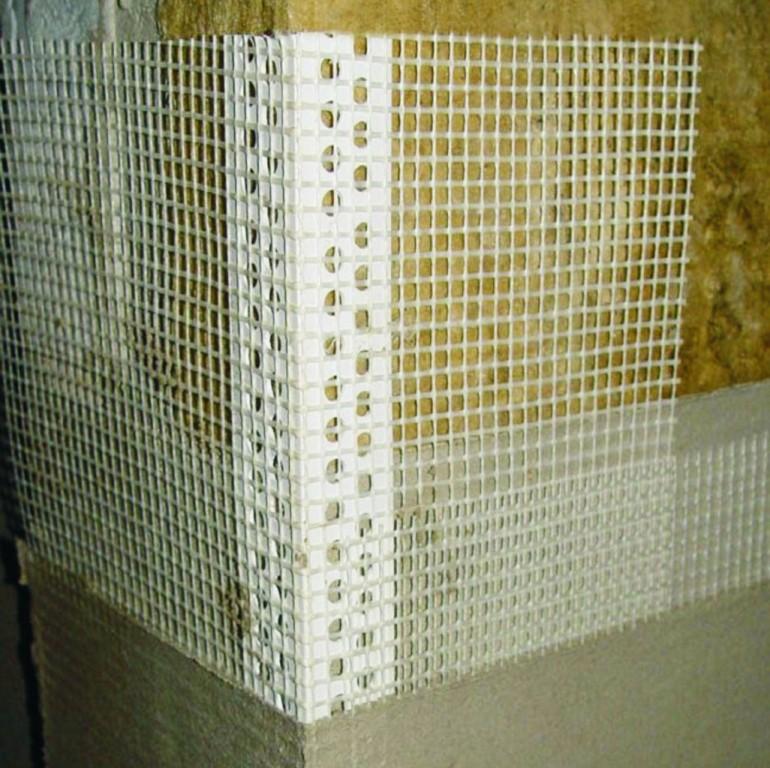
To strengthen the outer corners, you should purchase perforated corners, and for the formation of internal corners - a serpyanka net.
Technology works
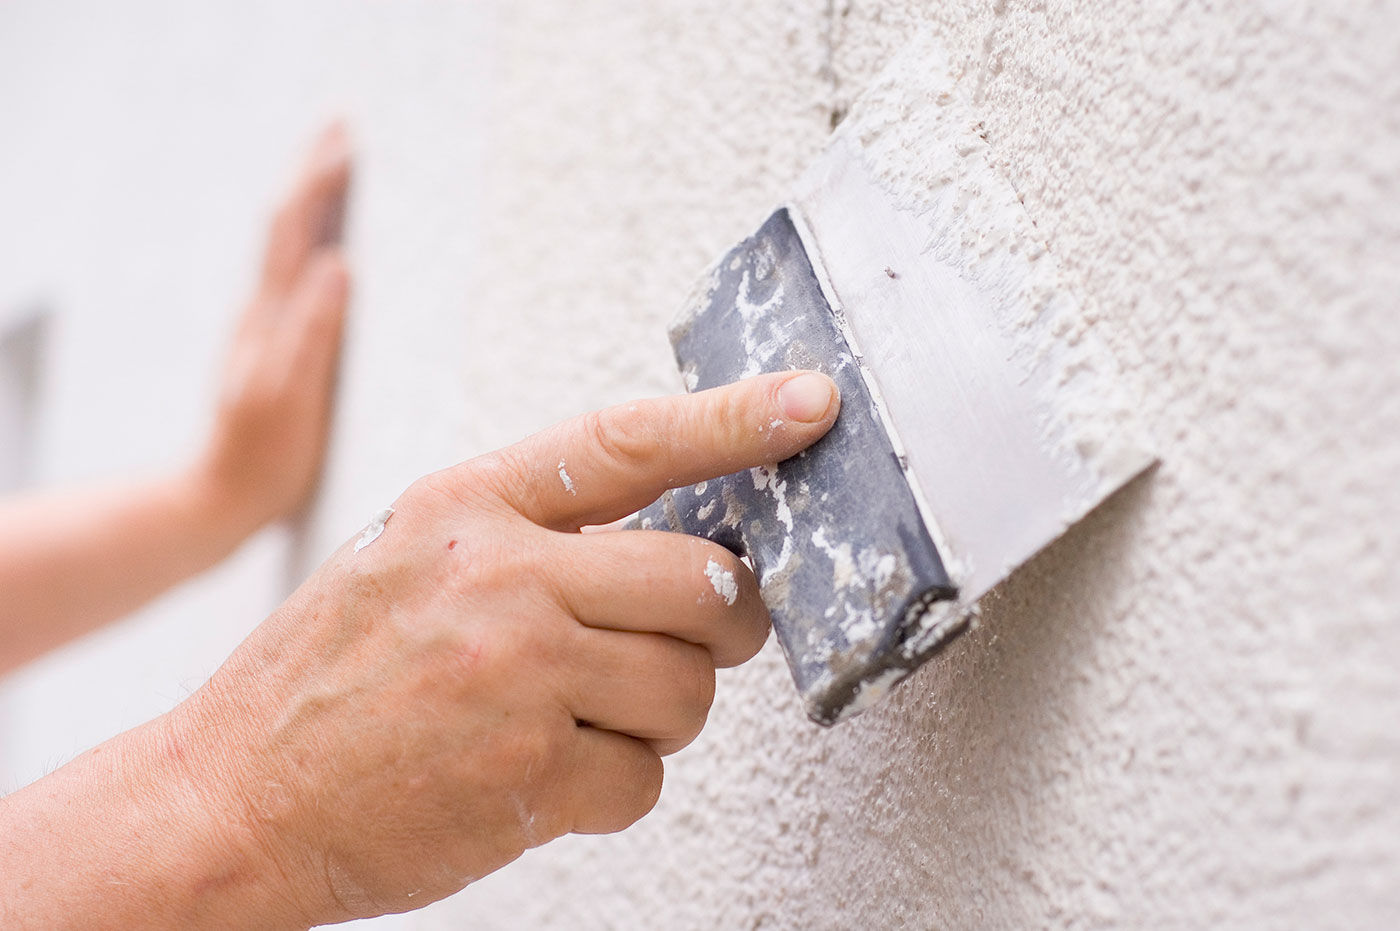
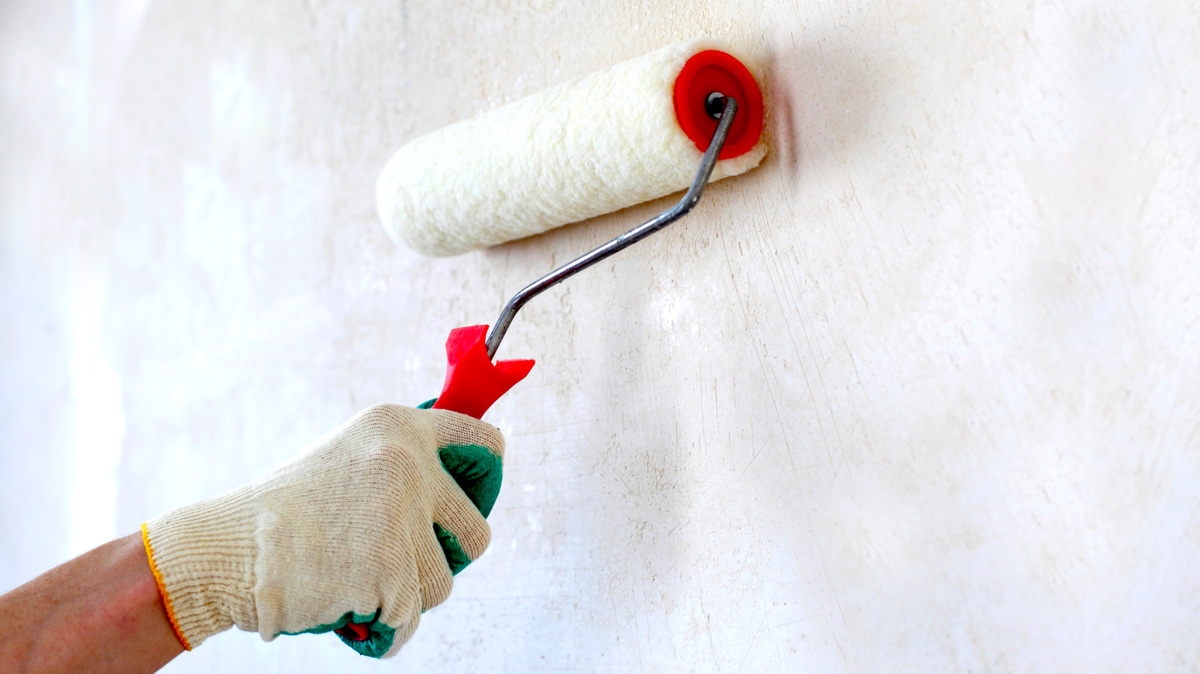
The first step should be a visual inspection of the surface of the corner and the removal of obvious projections using a construction knife. Then you should check the vertical walls with a level and a pencil note strong deviations. Further, both walls are grounded at a distance of 30 cm from the corner. After that, you need to put the necessary layer of putty in places with pronounced depressions and chips.
The thickness of the layer should be small,therefore, if necessary, it is better to apply several thin layers.
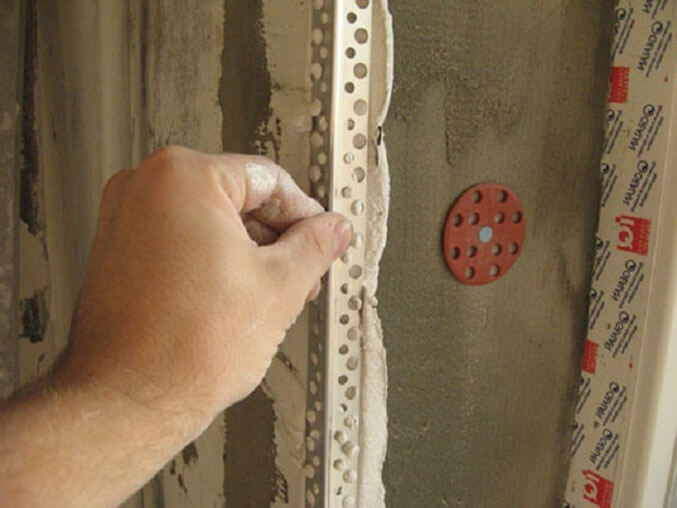
The next step will be applying a layer of putty on the wall surface adjacent to the corner. from top to bottom and installation in a newly applied solution of a metal or plastic angle with perforated sides. Excess mortar that comes out through the holes in the corner must be removed with a narrow spatula.
When using a plastic model, it is important not to confuse it with a corner for plastering, which has rather thick sides and is not suitable for putty. The advantage of plastic lining over metal is the impossibility of their oxidation, corrosion and destruction.


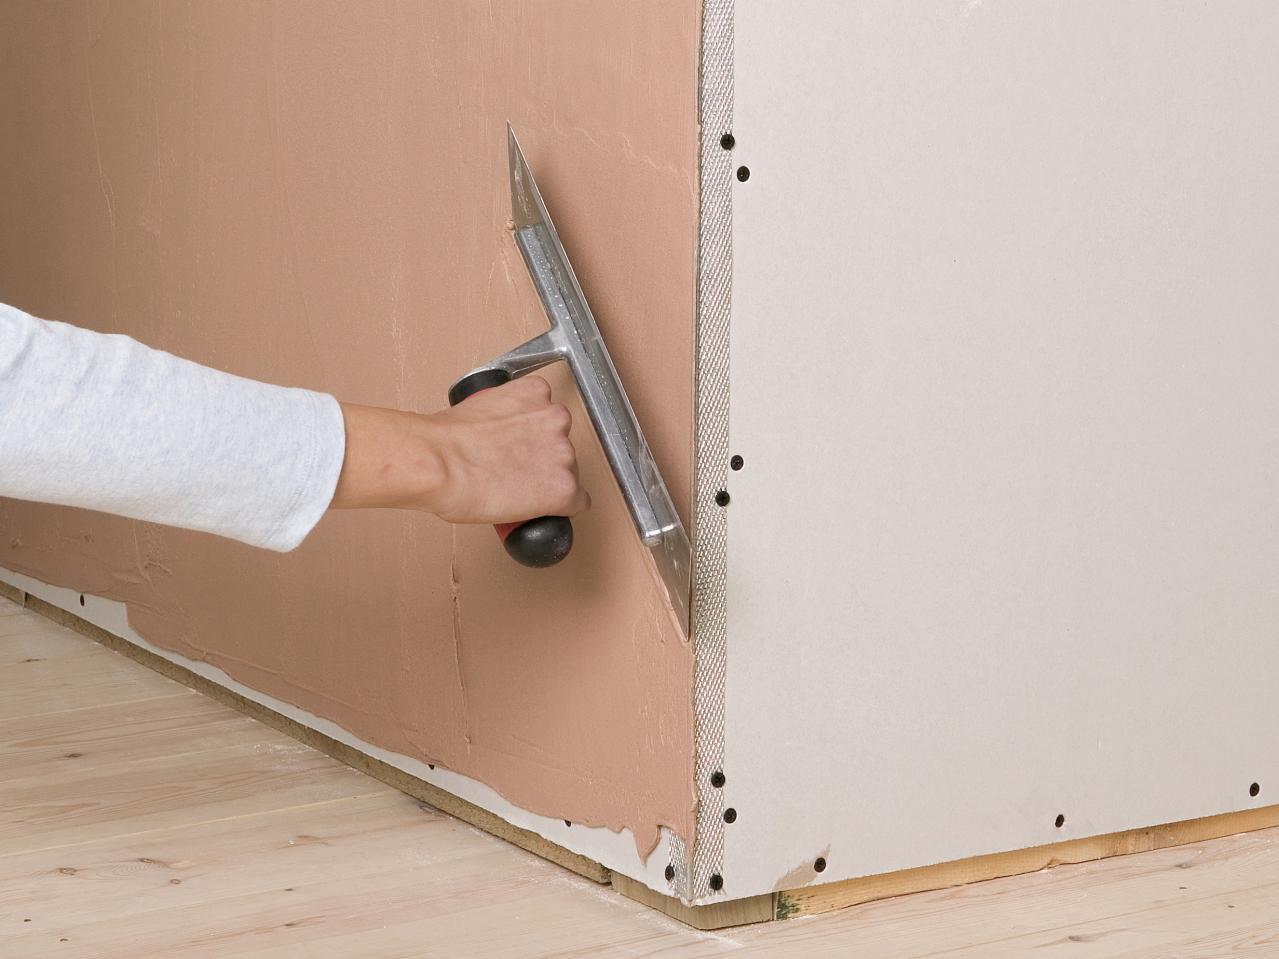
Next, the perforated area must be set to the level and add a solution under it, where necessary. After the putty grabs, you can begin to putty adjacent walls. The solution is applied alternately on both surfaces at a distance of 25-30 centimeters from the corner and leveled with a spatula. Excess mixture is removed with a narrow spatula. The thickness of the putty should be sufficient to ensure that the perforated pad is not exposed when polished.
If wallpapering is not planned, then the chamfer at the joint can be removed. This will prevent subsequent chipping, but will slightly reduce the attractiveness of the corner.
After the mortar has dried, you can begin grinding the corner and then priming the surface. Then a finishing putty is applied, which after drying is also carefully polished. If after applying the finishing solution some flaws are found, then they should be putted, allowed to dry and polish again. At the end, the surface is once again primed, after which it becomes ready for finishing decoration.
It should be remembered that the formation of slopes using a perforated angle is possible when performing right angles. For finishing beveled corners material does not apply.
Ways
In order to properly putty the inner corner, you must first hold the building square from the ceiling to the floor and mark all deviations with a pencil. The protrusions are cut using a planer, and the depressions are primed and puttied. After the mortar has dried, the surface of the walls that form the corner should be primed, and only then proceed to the putty.
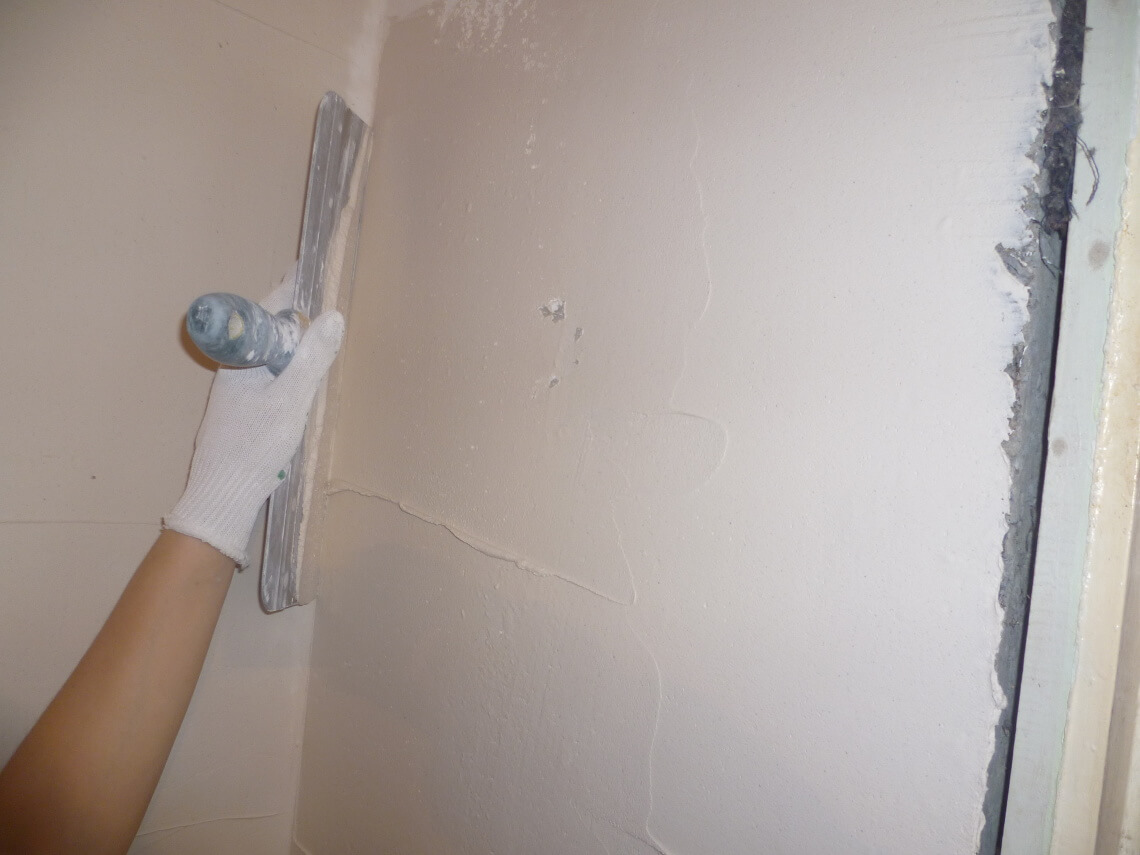
The technology consists in alternately aligning each of the walls with the application of the solution as close as possible to the corner. Excess solution is also removed alternately - first from one wall, then from another. To facilitate the work on the formation of the angle, you should use a special angular spatula, with which you can form a perfectly flat joint. After applying the solution and the initial setting, it is necessary to perform a control angle measurement with the help of a construction angle. Revealed cavities will have to be filled again, and irregularities will be removed during the subsequent grinding.


If the joint turned out to be slightly rounded, then the formation of a right angle is achieved by grinding with emery cloth No 150. Grinding adjacent walls is also performed alternately until a sharp and smooth inner edge can be removed.
When filling plasterboard corners against the walls, a self-adhesive serpyanka grid should be installed. Its width should be 5 cm. The sticker should be made very carefully, avoiding bending and skewing of the material. Further work is carried out according to the technology used for concrete foundations.

Complex forms
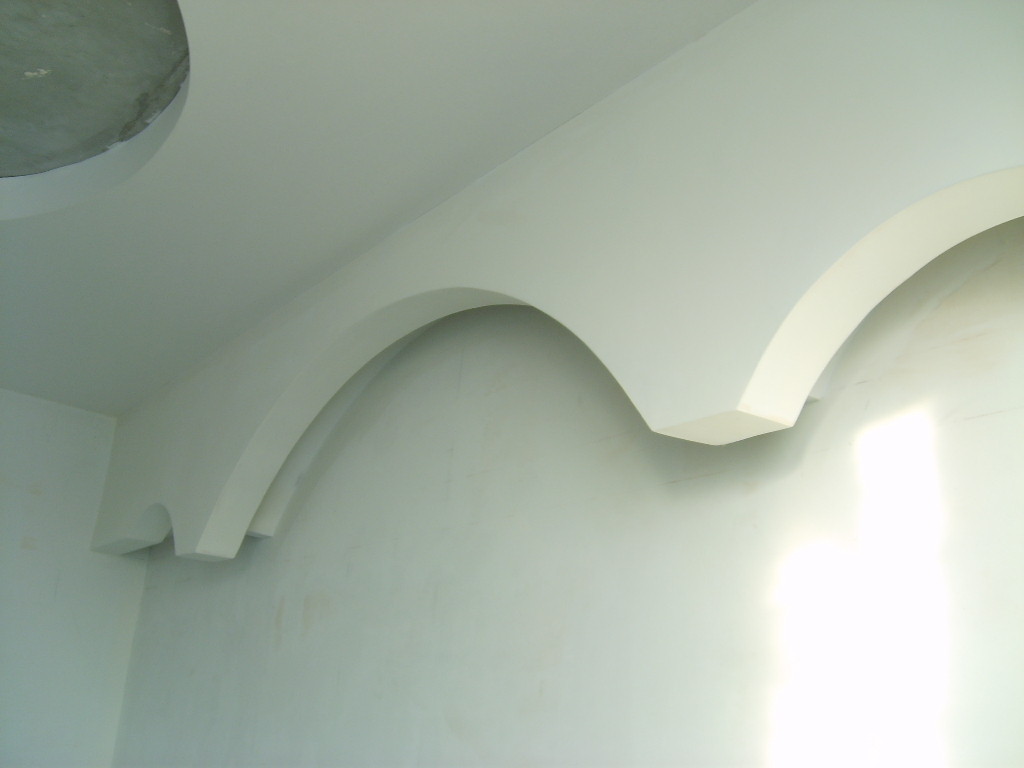
For filling of complex architectural structures and arches, it is recommended to use a plastic corner, bending in any direction and allowing you to form even and beautiful corners. Before you begin to putty putty, you need to visually inspect the surface and remove the protrusions with a planer or construction knife. When finishing plasterboard constructions, it is required to run a hand along the edge of the surface and check it for the presence of protruding screws. In case of bulging caps, fasteners should be tightened.


Then the surface must be primed and let it dry. Next, you should measure the edges of the formed angle and measure the arched angle of the required length. It is necessary to cut off so that all along the edge there are no joints.
If for some reason the overlay is mounted butt-joint, the docking ends of the corner should be secured with “Fugen” glue and additionally fixed with a construction stapler.
After fixing the lining should begin to putty curly bends. You need to start to draw a corner from a curved surface, and then move to a flat one. An important condition is the uniform application of the composition.Excessive thickness and inaccuracies in the formation of smooth transitions can be leveled using sanding, for which paper with marking P120 is recommended. Further, the surface is dedusted and primed.

Execution examples
Strict compliance with the installation technology and accuracy during the work allows you to easily make repairs with your own hands, saving time and not resorting to the services of specialists.
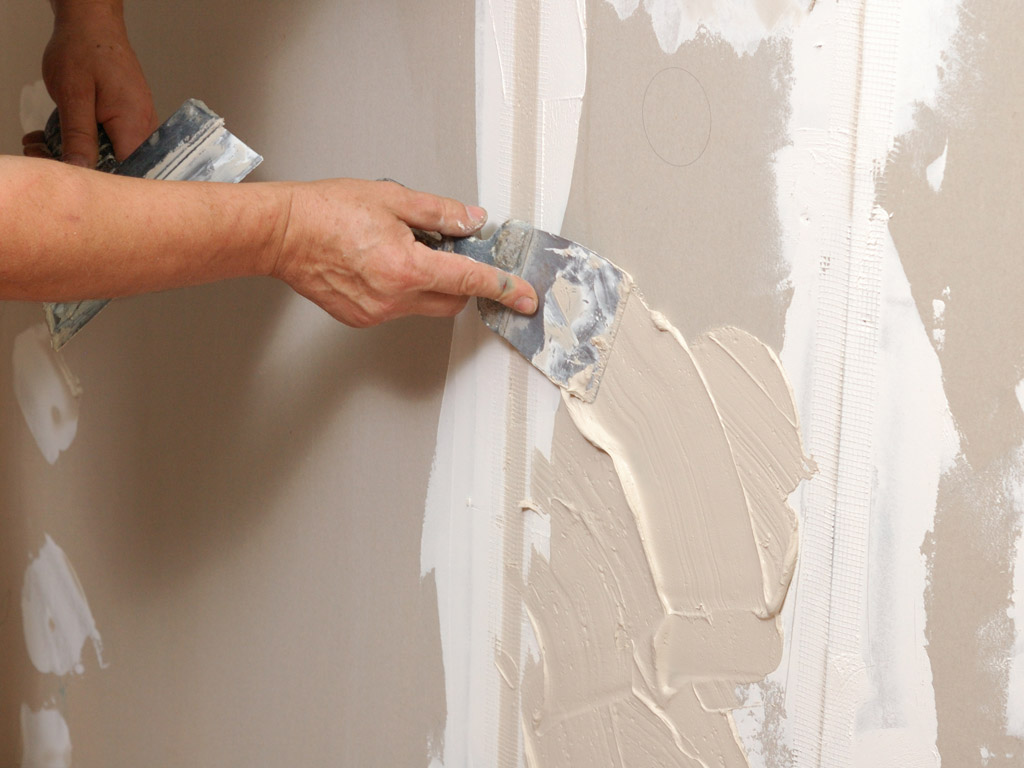
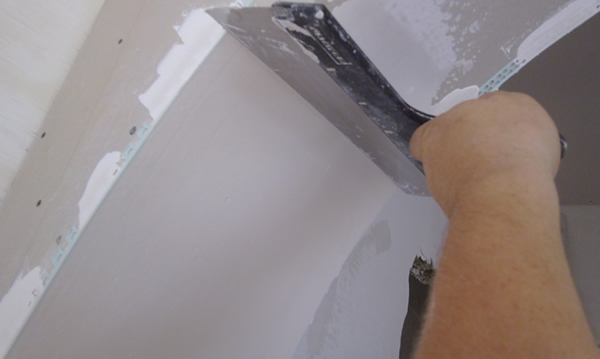
- Finishing the inner wall joint with an angular spatula.
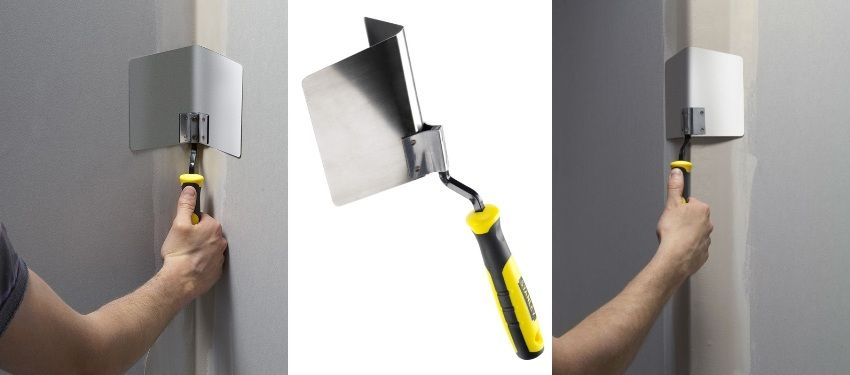
- Making the outer corner with a plastic corner.
- Installation of perforated metal angle on the outer corner.
- Preparation of figured corners for puttying with the help of overlays.

See below for tips on how to properly corner the corners.


