Sanding the walls after putty: the technology of repair work
The preparation of walls for finishing is a long process, which consists of a large number of actions: it is applying plaster and primer, sanding the walls, re-priming, decorating. Sanding the walls after puttying is a necessary process; it allows you to remove minor irregularities that are difficult to notice right away. Perform such work is necessary, otherwise the wall will not be smooth. Even the most experienced craftsmen will not get a smooth surface immediately after applying the plaster. It is necessary to understand the technology to perform the necessary work.
Special features
It may seem to many that such work is not needed, because most often the walls seem to be even.However, when gluing wallpaper, there will be so many irregularities that the desire to clean the wall will appear very quickly. It will be very disappointing, because the wallpaper, which recently stuck, will have to be torn off from the surface.
All cavities and bumps, cracks and other flaws will be visible already on the paper canvas - even if the wallpaper is thick. Even if you work with a spatula as carefully as possible, traces may remain, and it will not work to hide them. When painting all these irregularities will be even more noticeable.
To avoid problems, unnecessary hard work, it is better to once properly prepare the surface before further finishing work. For this process it is necessary to prepare not only the tools, but also yourself - you need to be patient and persistent. Then you are waiting for great results.
Selection of tools
Before the implementation of the work will need to prepare all the necessary tools.
You will need the following:
- several types of emery cloth;
- rectangular bar;
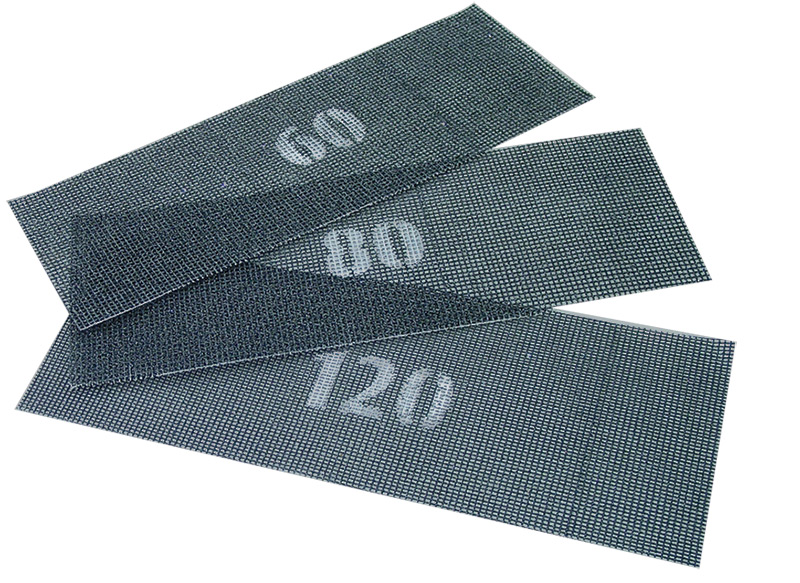
- sanding mesh;
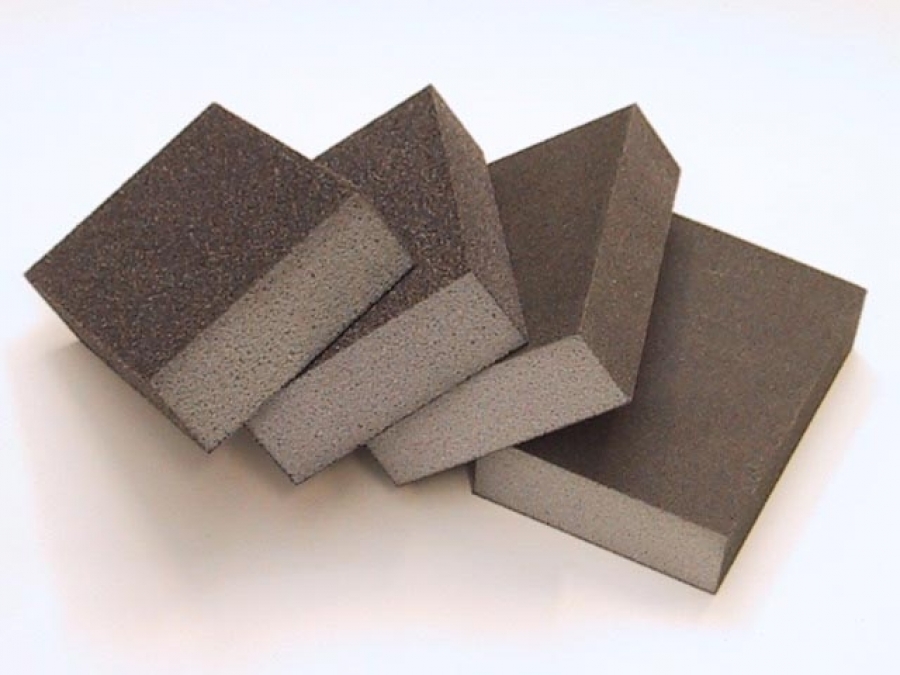
- sponge for working in hard to reach places;
- set of spatulas;
- spotlight or large flashlight;
- staircase, table, durable stool;
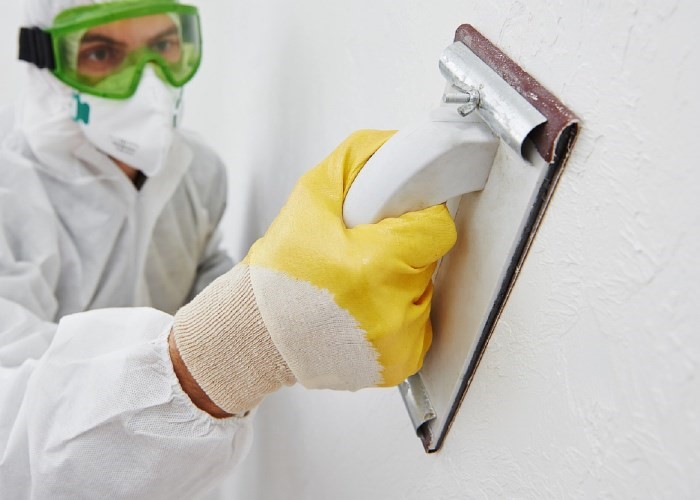
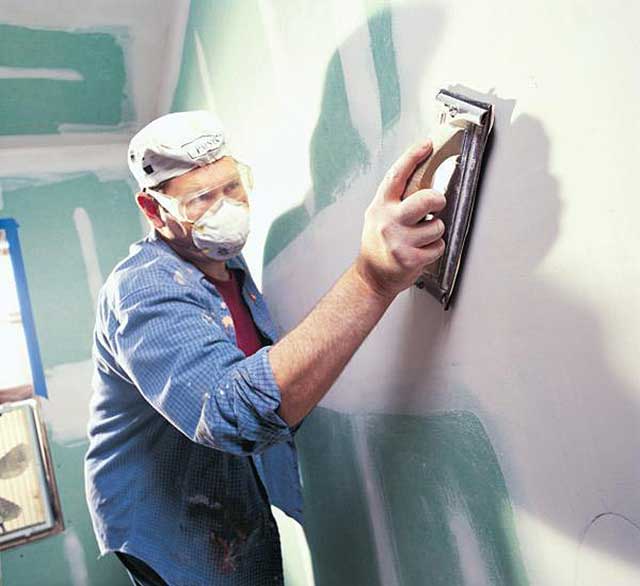
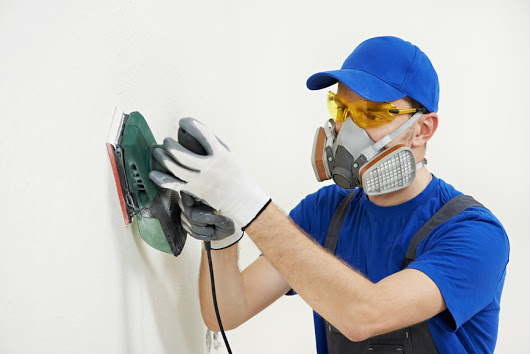
- personal protective equipment.

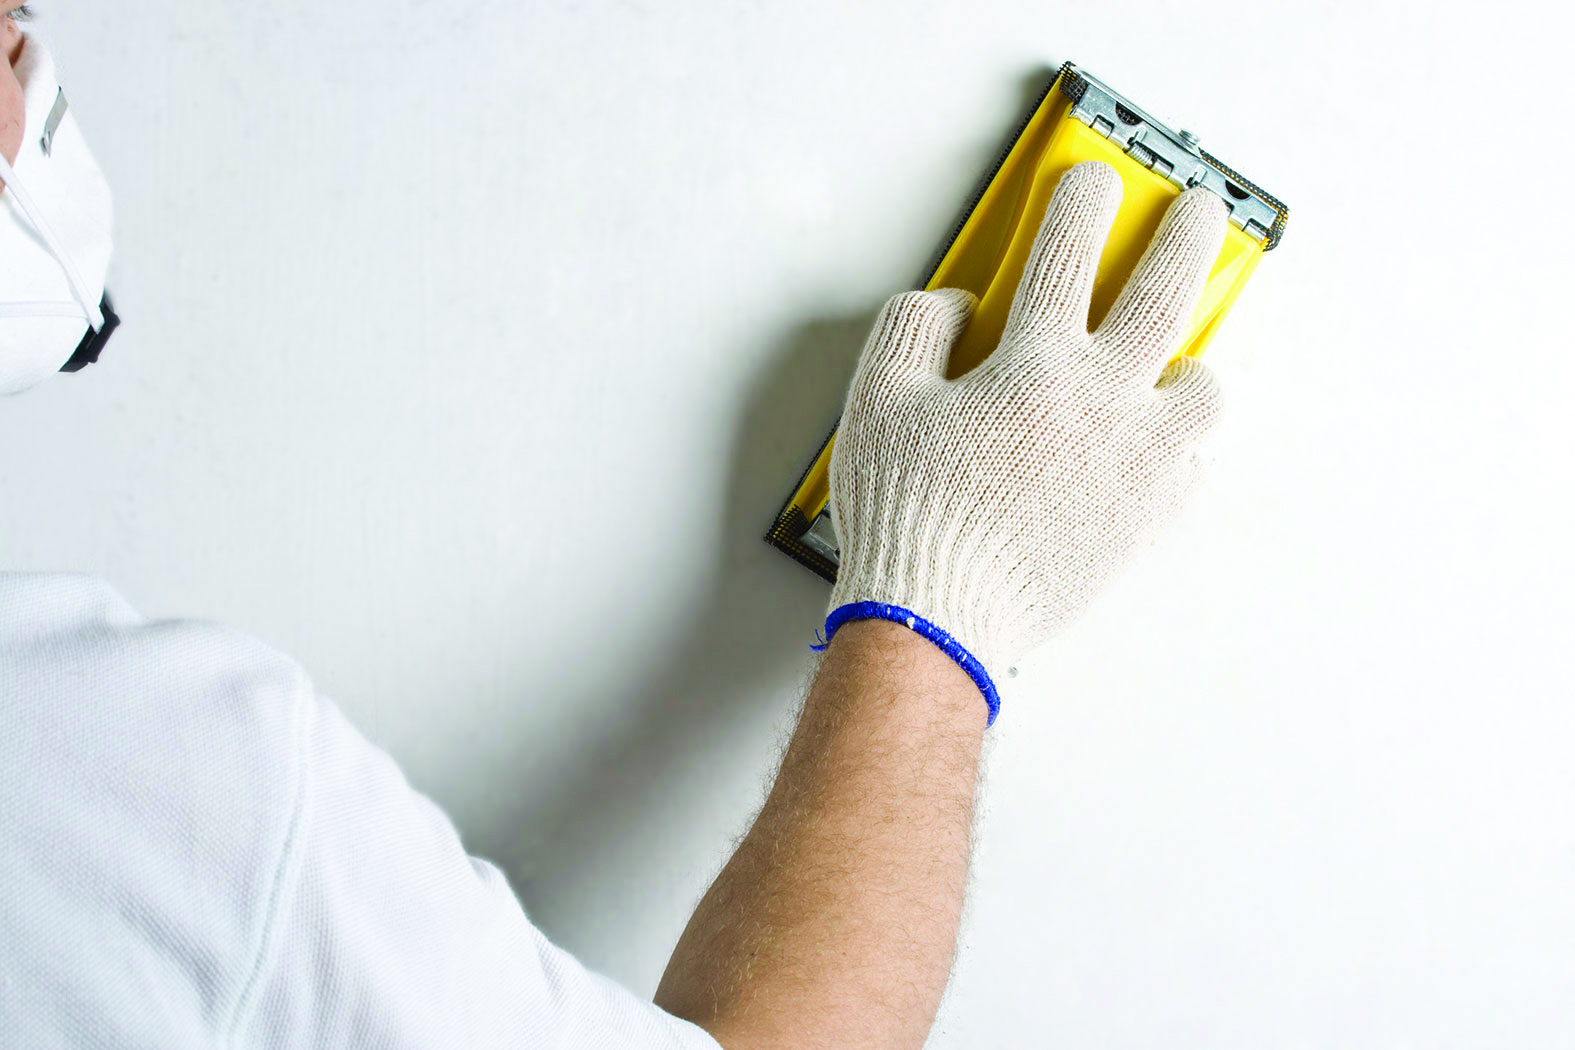
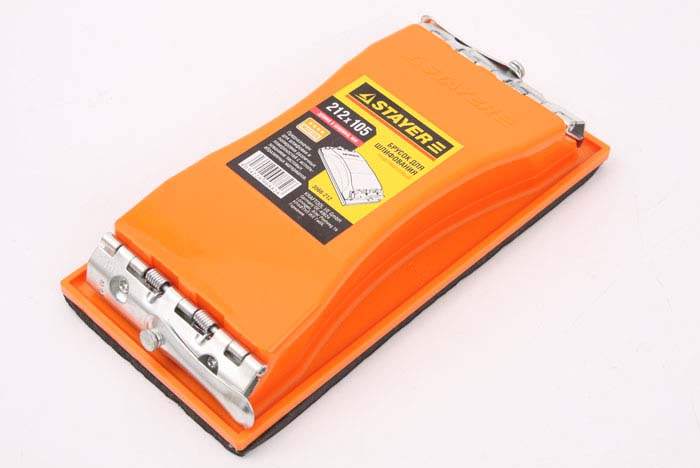
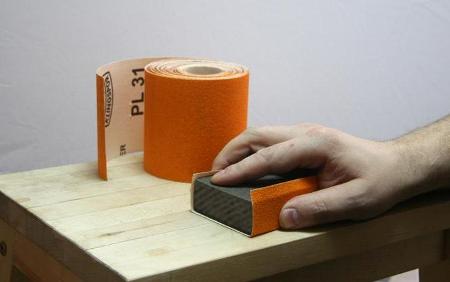
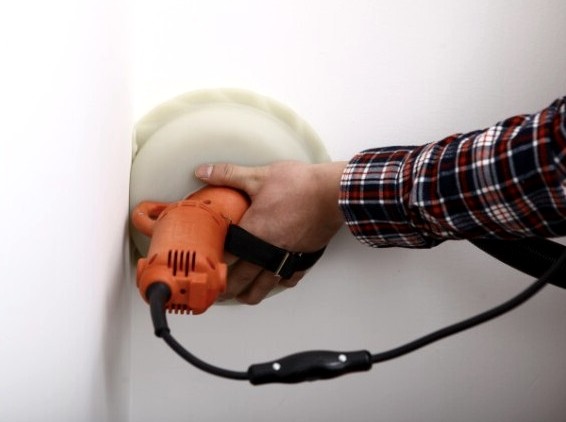
Bar
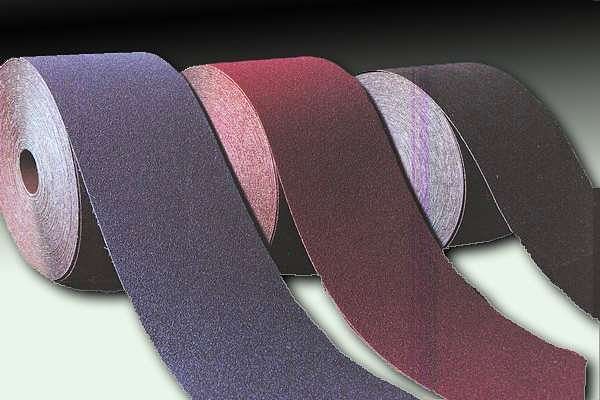
If you are going to do the work manually, a grinding bar will be needed. The tool itself is simple: a rectangular product with sandpaper or mesh. The sandpaper is a cloth on which abrasive grain is “scattered”. The most important characteristic of sandpaper is grit.
Sandpaper can be coarse-grained or fine-grained.
Coarse sandpaper is used in the following types of work:
- very rough grinding;
- primary grinding;
- polishing soft wood;
- finishing processing of hard wood.
Fine-grained sandpaper is used in such works:
- finishing processing of hard wood;
- polishing of final coatings;
- wet grinding;
- metal grinding;
- grinding of plastic products;
- polishing ceramics;
- fine grinding;
- polishing.
The grain size in fine-grained emery paper is 5-65 microns, in coarse-grained - from 60 to 1100 microns. There are also larger grains, up to 2000 microns, but such products are very rare and are used only for very rough processing.
This method of sanding is considered a proven time.When working with large surfaces, you need to stock up with sandpaper and mesh, and patience.

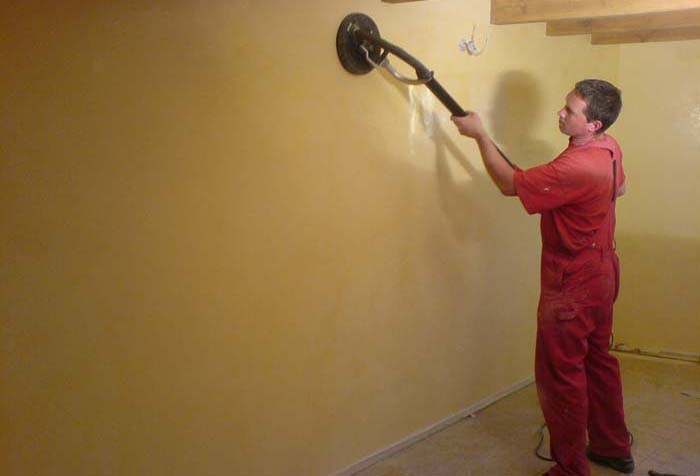
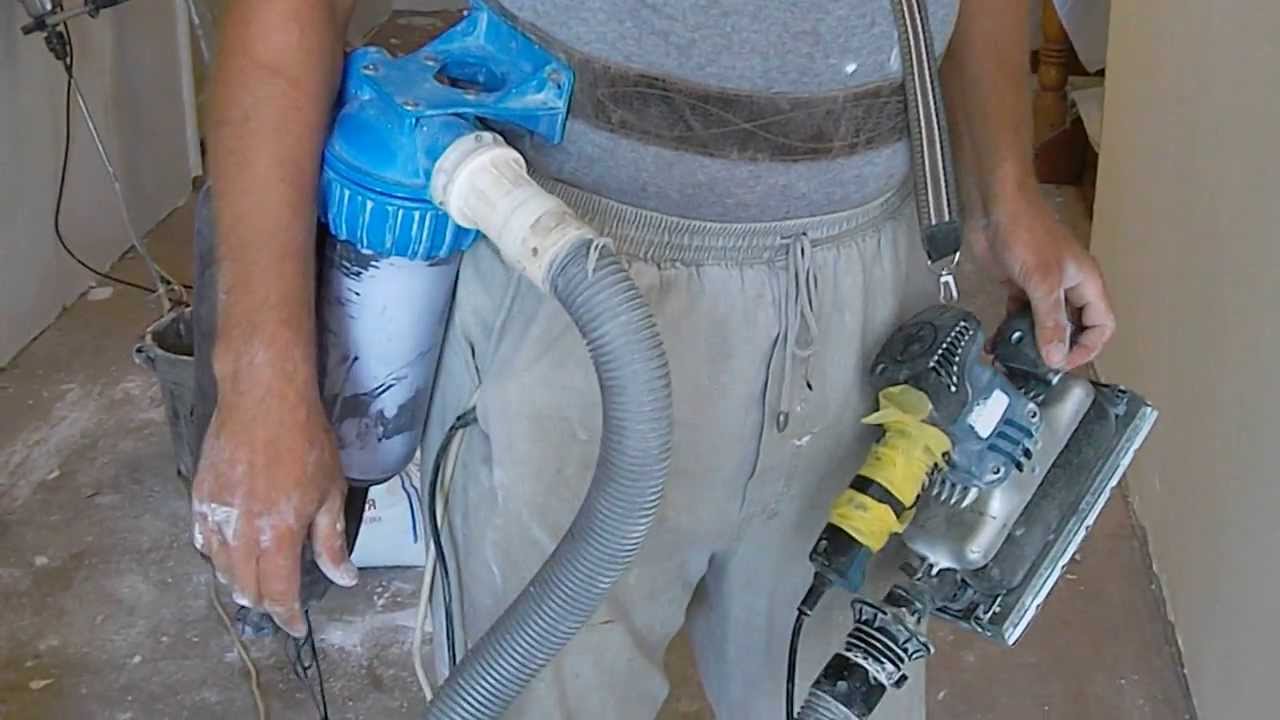
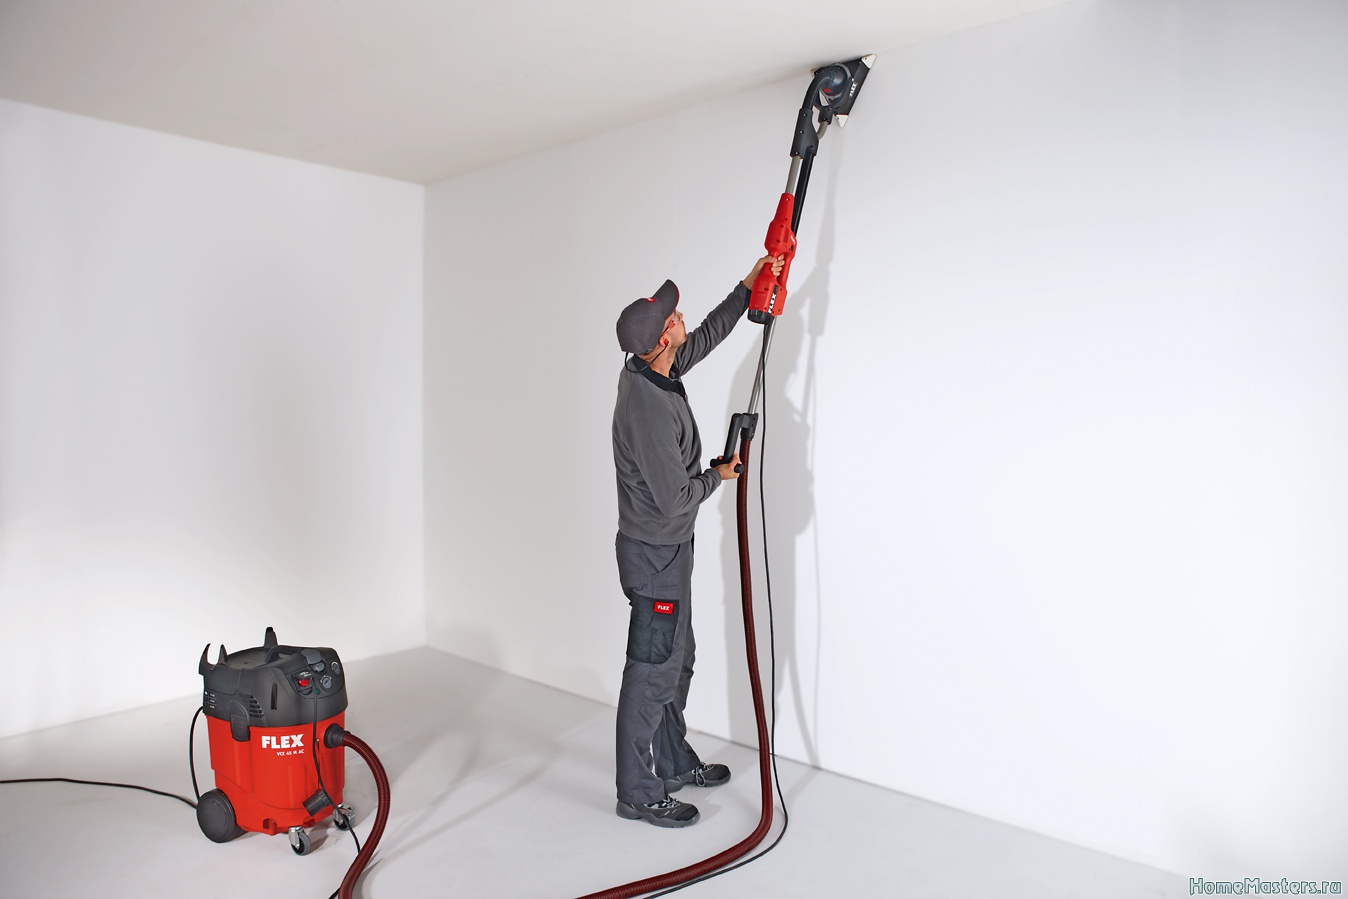
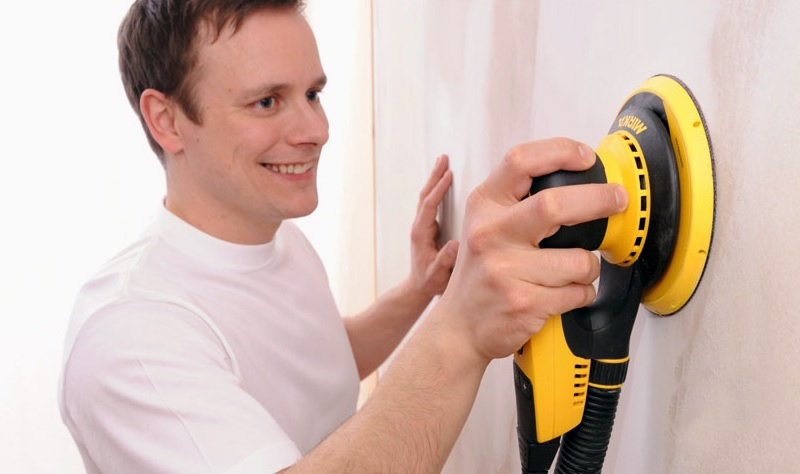
Sander
It is worth paying attention to the mechanized devices - grinding machines. Thanks to them, you can quickly make a fairly large enough surface. Electric cars are heavy in terms of weight, but easy to use.
There are three types of machines:
- Belt grinder differs in considerable power, therefore it is not used at finishing works. Usually it is necessary for grinding the first layer. The tape with abrasive grains moves with the help of special rollers. The alignment is done automatically - this is what makes it convenient. When using special rollers and nozzles, you can get to the corners and other hard-to-reach places.


- Eccentric orbital sanders are very popular. With their help, you can not only make the surface even, but even remove old paint. The device has a circular platform to which abrasive material is glued to the velcro. The diameters of the circles are different. The main drawback is the inability to work in the corners.


- Flat vibrating grinder It is widely used both for grinding and for polishing. The abrasive cloth is attached to the typewriter with special clips. Use of various nozzles is possible (for works in corners and hard-to-reach places).

How to skin: step by step description
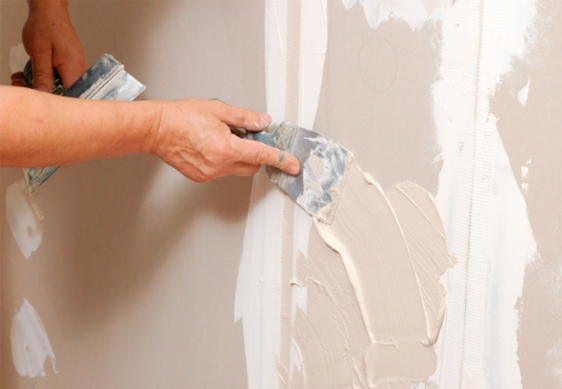
Before starting sanding, it is necessary to inspect the surface. If there are large depressions, then it is better to seal them with a putty. Visible large bumps can be removed with a spatula. After this work, it is necessary to check whether the entire putty has dried.
Doorways should be closed with wet pieces of cloth. This is necessary so that the dust does not fall into the rest of the premises. Only after that you can start the main work.
Professionals advise starting grinding from the top left corner.moving down and to the right. Through gradual advancement, good results can be achieved. Do not press the tool too hard, otherwise new cavities may appear on the wall. Evenly grind the surface will help circular movements tool.
During the whole process, it is necessary to ensure that the skin is not worn and not clogged. It needs to be changed (as needed).In order to save it, you can rinse with cold water, but you can not use a wet skin. Further sanding is possible only with complete drying.
The grid also needs to be monitored, and it is worth doing it more carefully. The grid can be bent, as it is less durable. When working with a grid, scratches may appear on the wall.
For proper grinding of the corners with your own hands, it is best to use a regular sheet of emery paper, without a bar. The bar may leave scratches on another wall.
Usually it is best to sand the wall twice, this will allow you to achieve the best possible results. First, it is made with coarse sandpaper. In the second grout, fine sandpaper is used.
After carrying out all the work should be a thorough check. Most often it is carried out by level, less often - by searchlight. When using a level, it must be applied to all places (to identify hillocks or depressions). The searchlight is easier to use: it must be directed to the surface from the side, and all light distortions will show problem areas.
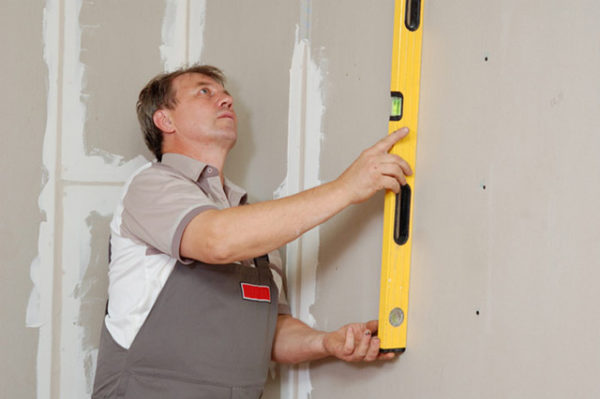

In both cases, you need either putty, or additional work with the skin.After additional work, it is necessary to check the filled places again - and, if necessary, to sand them completely, in order to remove all existing defects.
Only after all this work has been done will the putty wall be even. However, all dust must be removed from the surface. Dust can hide the smallest defects. This is especially important before applying paint or wallpapering. You can use a regular brush or vacuum cleaner.
Useful recommendations
There is a lot of advice from experienced professionals. If you take them into account, the process will take place with fewer errors (or without them at all).
We can highlight the following useful recommendations:
- Do not prime the surface before sanding.
- Sanding should be carried out only a day after applying the putty. During this time, the filler should dry, but it will be necessary to check.
- To check and select the sandpaper, which will be needed when working, test grouting is necessary (it is better to choose invisible places for this).
- The bar or grinding machine should carry out circular movements.
- Need to work only in good light.This will help to see all the obvious bumps.
- If small cavities appear, then with a rubber spatula you can apply a little putty. Then it is overwritten. Before carrying out such work, the surface may be slightly moistened. With water you can not be too zealous.
Sanding the walls is not an extremely difficult job, but it takes time, effort and patience. Maximum accuracy is also required. You can always fix the flaws on the wall, so that when finishing finishing no unnecessary problems. It is important to remember about choosing a tool - the result also depends on it. It is necessary to rely on the advice of professionals, and on their own experience.
Recommendations specialists in sanding walls, see below.


