Ways to fix the toilet to the floor
Now it is difficult to imagine a bathroom without this product. You can install the toilet in different ways, for example, independently or by resorting to the help of professionals. Many people think that such an installation is something complicated and troublesome, which is what the service companies use. The cost of work varies depending on the city and the organization itself. And most of the firms fastens toilet bowls only on regular fasteners. The price of their services starts from 1200 rubles.
Private plumbers, or the beginning masters will offer the services cheaper.But the quality of work in this case will already be in question. However, if you look at the materials and the sequence of actions, it turns out that there is nothing complicated there, and you can handle it yourself. And the cost of work will not be high.
Features of the device
Before proceeding with direct installation, it is worth getting acquainted with the varieties of toilet bowls. They can be divided into such features as the shape of the tank, the shape of the bowl and tank, the material of manufacture, as well as the angle of discharge.
Tank shape
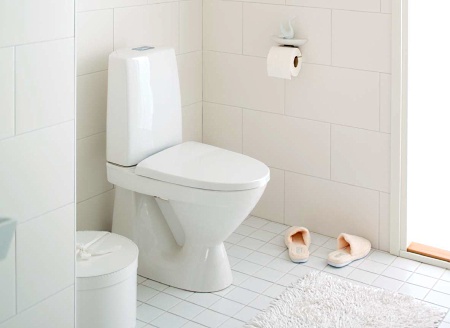
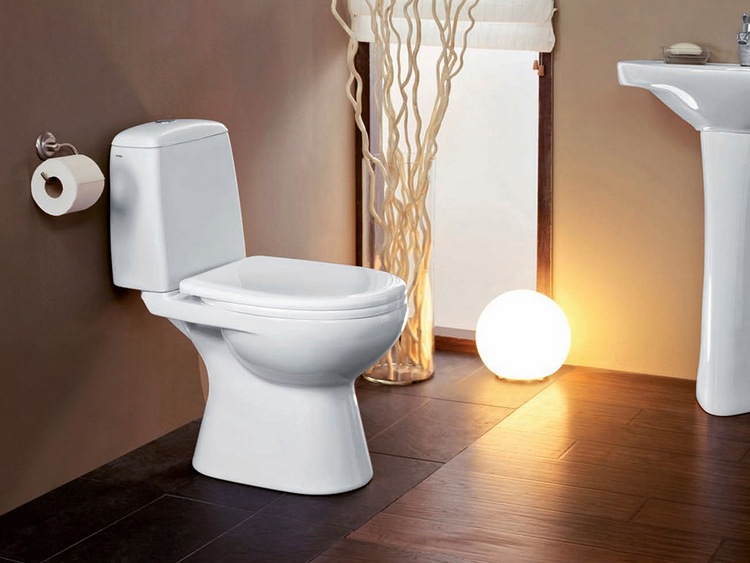
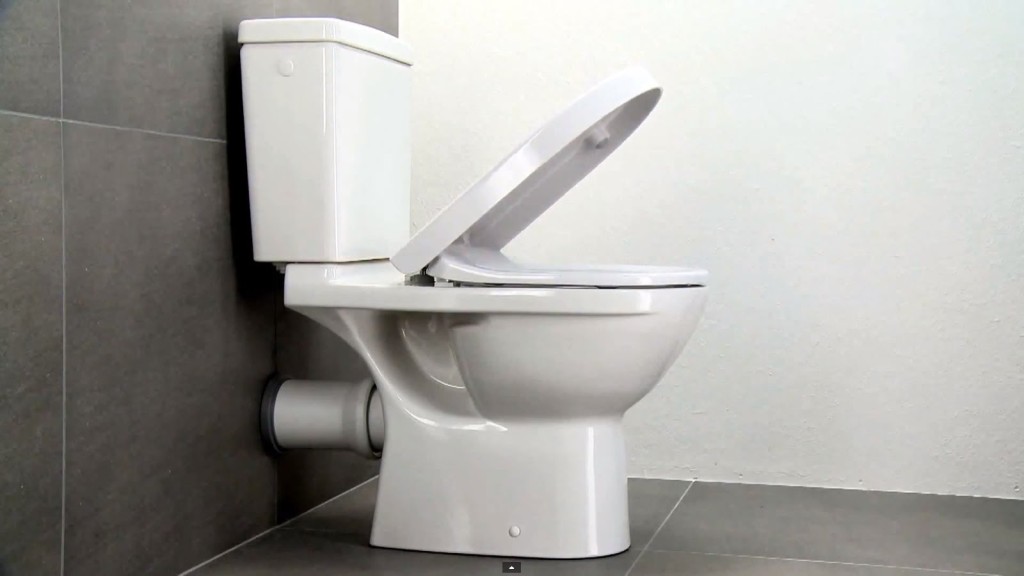
- Compact - this view is in the toilet of each of us. It is easy to maintain, and gently flush water, compared to other species. But it has a little pressure. The tank is mounted on a special ledge, bolted in the back of the toilet and adjacent to the wall.
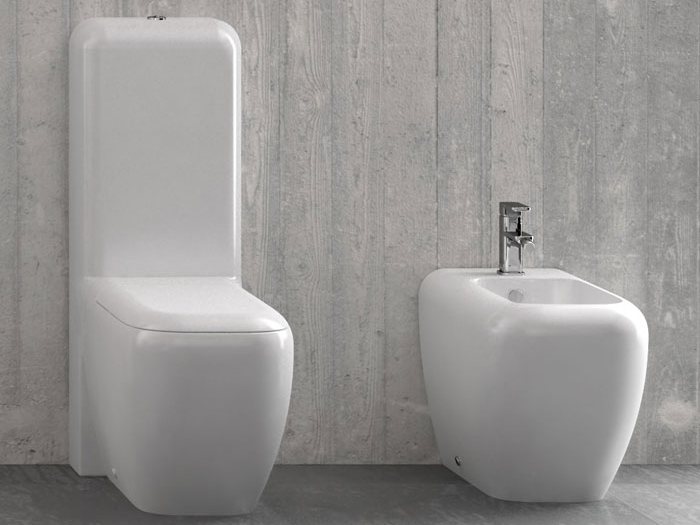
- Monoblock - This is a whole, bowl and tank. They cannot flow at the joints. But if the tank or bowl is damaged, the device must be replaced completely, because you cannot disassemble them into individual parts. In addition, the model requires more space than a compact or mounted.
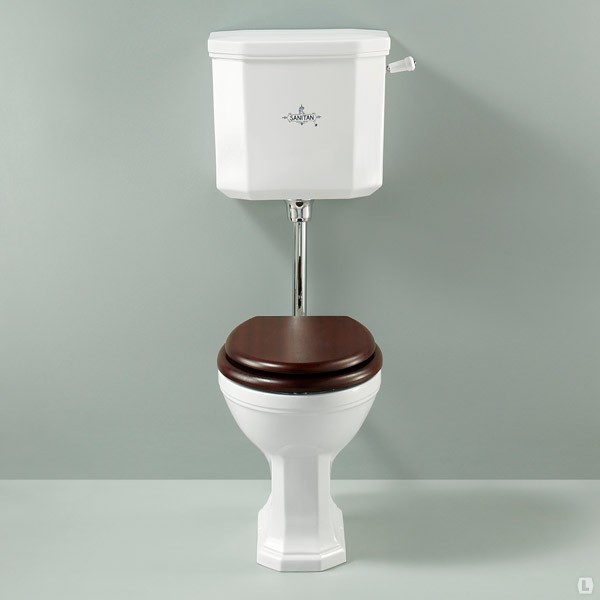
- Separated - Occasionally found in old houses. The flank is attached almost under the ceiling. Connects to the bowl with a long pipe.This design has a powerful water pressure when draining. Takes less space due to the high position of the tank. It is still produced, but it costs a lot, because it comes as an exclusive product in retro style.
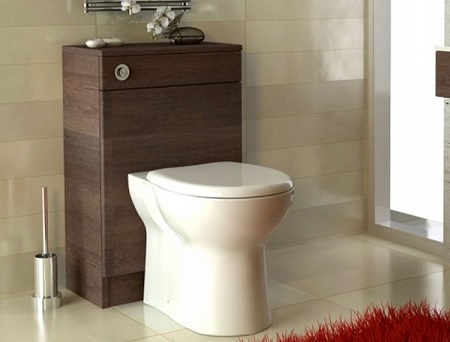
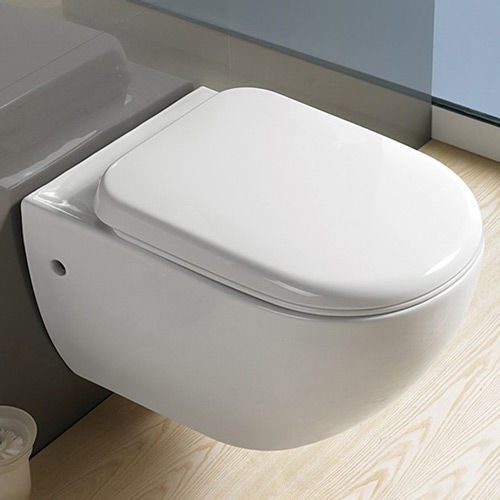
- With hidden cistern (the bowl itself can be mounted) - the tank is installed inside the wall, and the bowl is outside. The whole structure rests on a metal frame, which is hidden under a tile or drywall. It looks very nice, but difficult to repair. If you have problems with the tank will have to break the wall.
However, in small rooms, where every centimeter counts, this type is the best option. Allows you to save half a measure of space due to a niche in the wall where the tank is hiding.
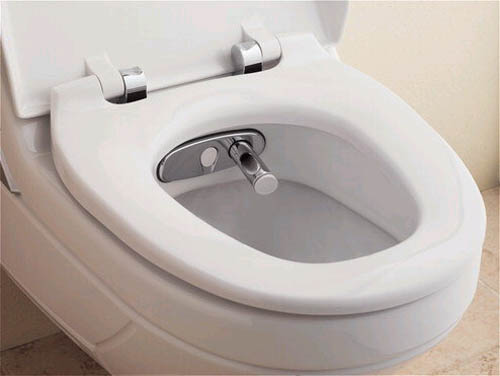
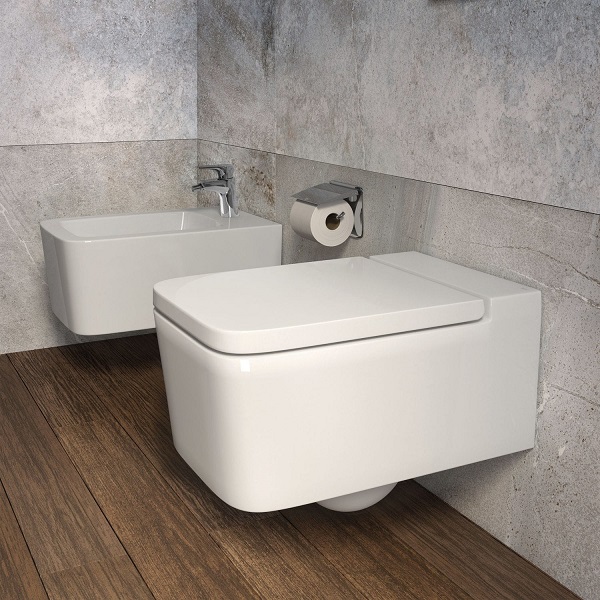
- Combined with a bidet - has a built-in small tap. Different manufacturers offer many shapes and sizes. Installation of such a device will be more difficult than a conventional toilet.
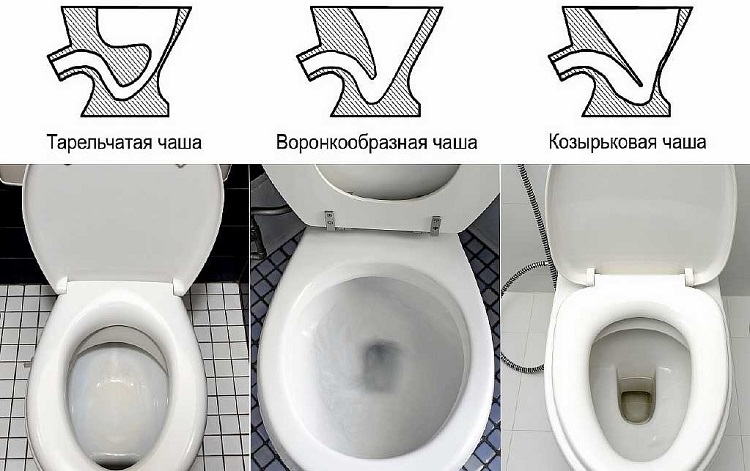
Bowl Shape
- Visor - the most frequently used. Water leaves smoothly, at an angle, so unpleasant odors do not linger, as the contents. The name comes from the protrusion that prevents water from splashing during the drain, and provides the necessary slope for flushing the toilet.
- Funnels - in the center of the bowl there is a funnel, because of which the flush occurs very quickly and thoroughly, but it protects from a surge worse than a visor.
- Dish-shaped - obsolete view, which is not available now. Inside the bowl there is a flat shelf for the accumulation of defecation products. Although this design was free of splashes, it was cleaned only under running water. Another drawback of the species is the rapid spread of smell.
Manufacturing materials
- Faience - affordable. But not durable. It has a porous structure, which makes it difficult to clean. The service life of 15 years. Strongly inferior in quality to other materials.
- Porcelain - more expensive faience, due to production costs, but safer and more durable. Easy to clean and has a long service life. Now they use ceramics more often, while shorts are covered with a thinner layer of glaze, but cheaper to manufacture.
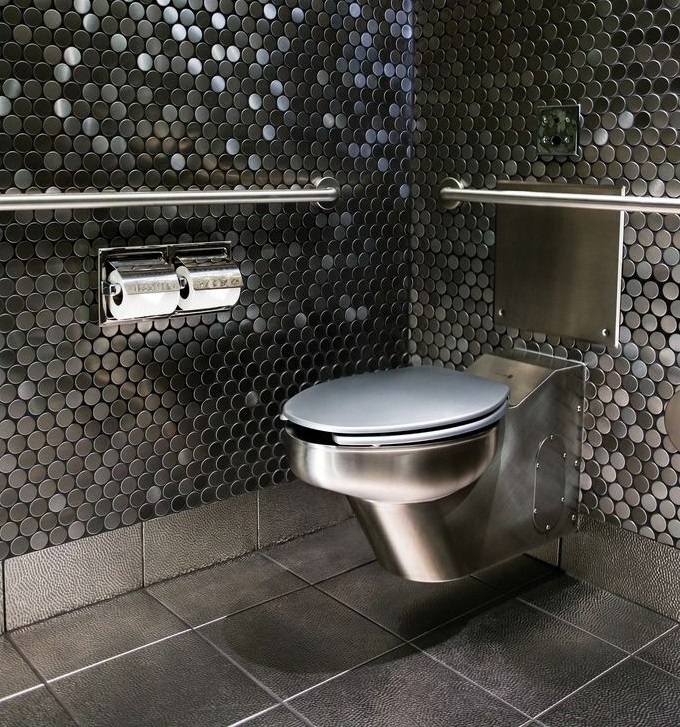
- Steel - such toilets are all seen in the toilets of trains. They are durable and wear-resistant, easy to clean. Not the cheapest for the price.
- Reinforced acrylic - this type consists of plastic, practically without a porous structure, and therefore the most hygienic. But poorly withstand high temperatures and very fragile.Most often stand in shopping centers, because of its low cost.
Drain angle
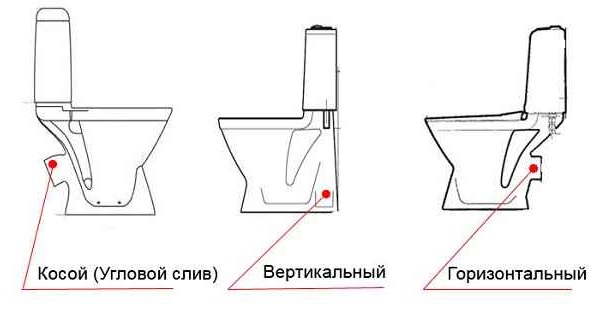
- Oblique - suitable if the sewer outlet is at the level of the floor or slightly higher. The angle of inclination may be different - 30, 40, 60, 75 degrees. Pick one that fits well.
- Horizontal - it is convenient if the drain pipe is hidden behind the wall. It is, if the exit of the sewer is 10-15 cm above the floor level.
- Vertical - was distributed in houses, with sewage in floors. If the sewer outlet is directed upwards, and it is hidden in the floor.

Regardless of how you are going to fix the toilet on the floor, you first need to make some preparations:
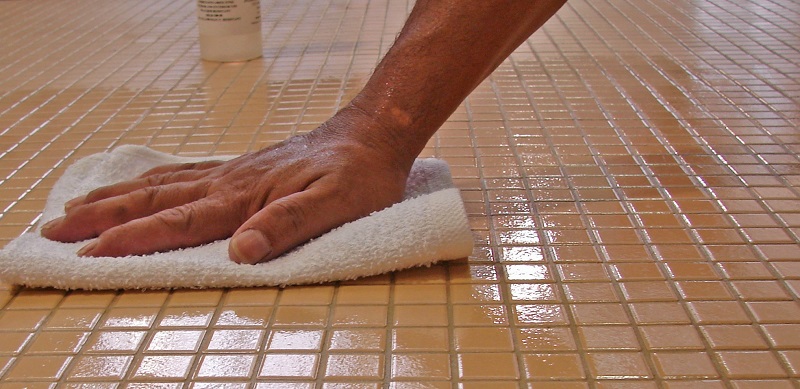
- Prepare the installation site. Clean and degrease the tile or dismantle the old toilet and level the surface.
- Collect the tank before installing the toilet bowl (for compact). Follow the manufacturer's instructions that came with the model.
- If you connect to the old cast-iron riser, pre-dry it and clean it in order to avoid leakage problems in the future.
- Prepare in advance all the tools for assembly and installation.
Mounting methods
Depending on the materials used, there are such types of installation.
- On regular hardware. That is, the dowels, they usually come with the purchase of the product. The main difficulty is to evenly tighten the bolts on both sides, without having to overtighten them.
- On glue. Here we will talk about epoxy or sealant. A simple and effective method of attachment to a ceramic surface. A beginner can handle it, even if you have the floor with heat.
- On cement mortar, or tiled glue based on it. A significant disadvantage of this method is the difficulty of dismantling plumbing, for example, during redevelopment or clogging.
It is difficult to make such fasteners to a wooden covering.
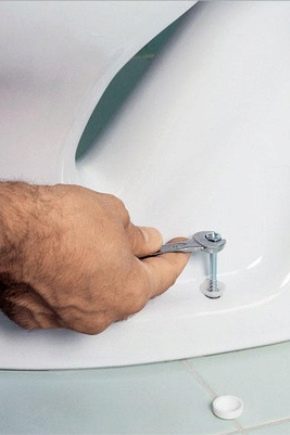
Fastening on regular hardware
You can glue the toilet to the tile floor. However, in order to more reliably strengthen the structure, experts recommend additionally using a special screw.
Materials and tools
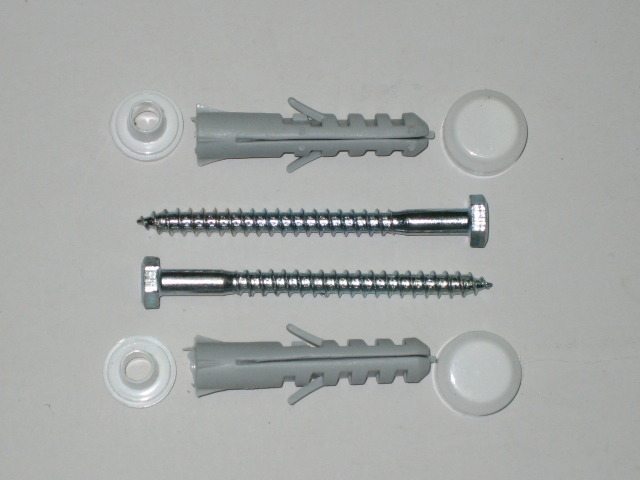
The standard kit supplied by the manufacturer contains:
- screws 2-4 pcs. and plastic dowels;
- washers, for laying between self-tapping screws and a toilet bowl in places of fastening;
- decorative caps.
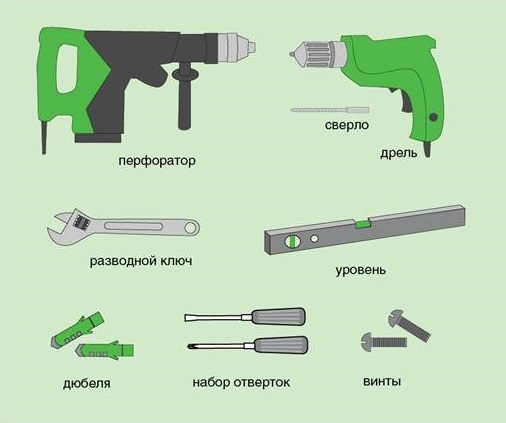
Additional tools will also be needed:
- hammer, marker, pliers and screwdriver, keys;
- perforator with a drill to the size of dowels;
- drill for tile 1-2 mm more dowels;
- glue: "liquid nails", silicone sealant, epoxy resin;
- a corrugation (if the outlet of the toilet bowl does not coincide with the socket) or a cuff (if the outlet coincides).
Work order
It should strictly adhere to the algorithm of actions for installation.
It consists of several stages.
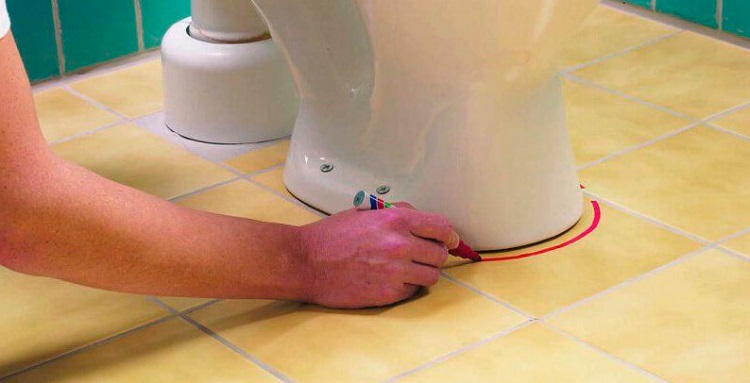
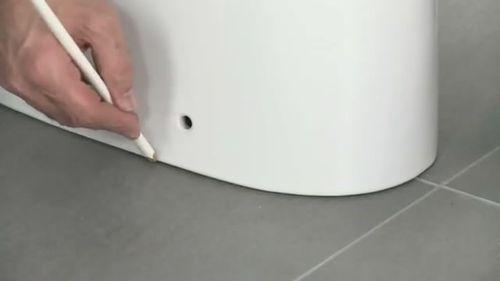
- Put the toilet where it will stand all the time and draw the markup, drawing the outline of the base with a marker on the floor. Apply points on the field of fasteners.
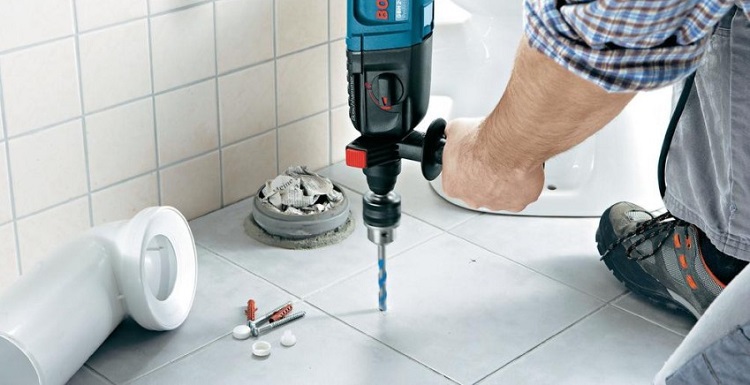
- Drill holes for dowels on the floor.
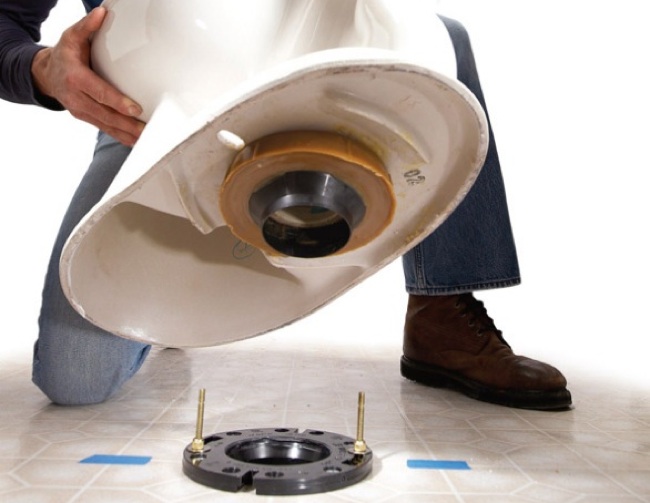
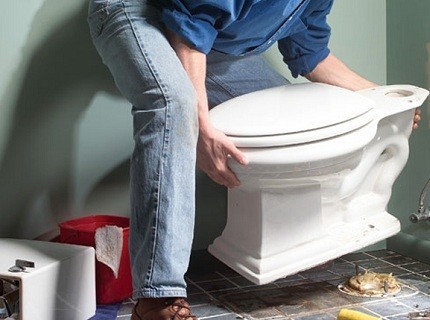
- Put the toilet clearly on the marked line.
- Check that the holes do not move, and drive dowels into them.
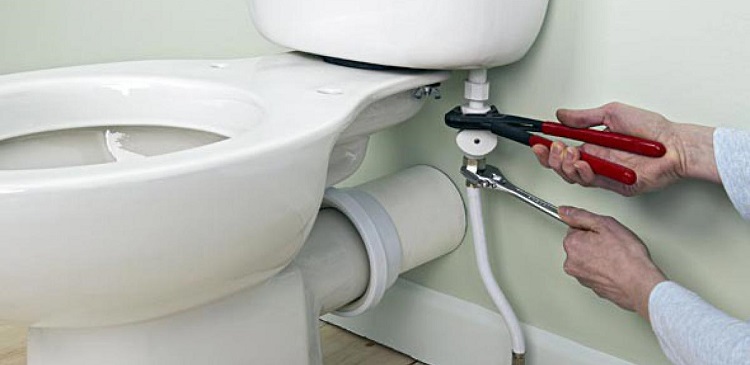
- Apply sealant to the edge of the sewer pipe and insert the cuff or the corrugation into it. Sealant protects against smells in the house and leaks.
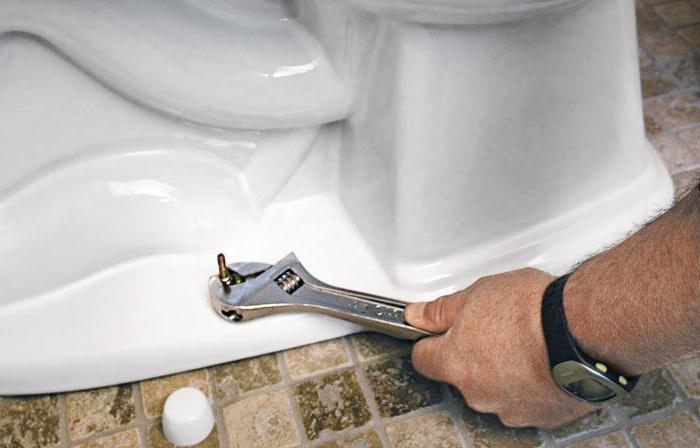
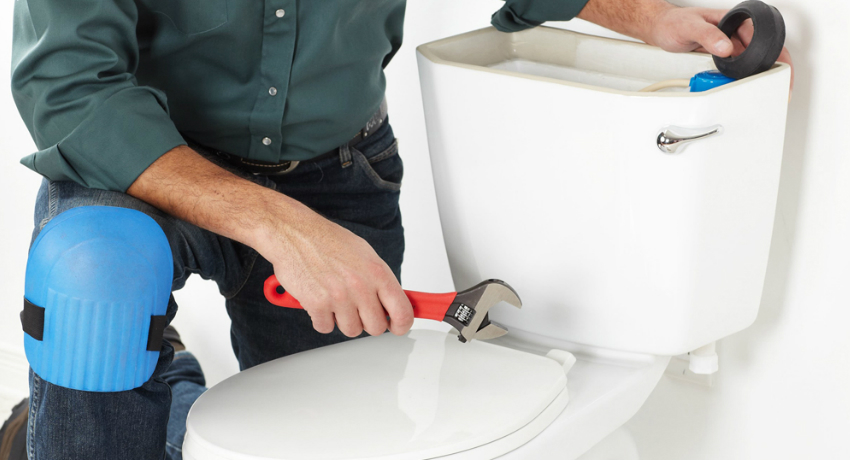
- Screw the toilet down until it stops moving. No need to tighten the bolts too much. Be aware of the uniformity of tightening. Be sure to use plastic washers. Without them, metal bolts can chop pieces of faience or even split the base.
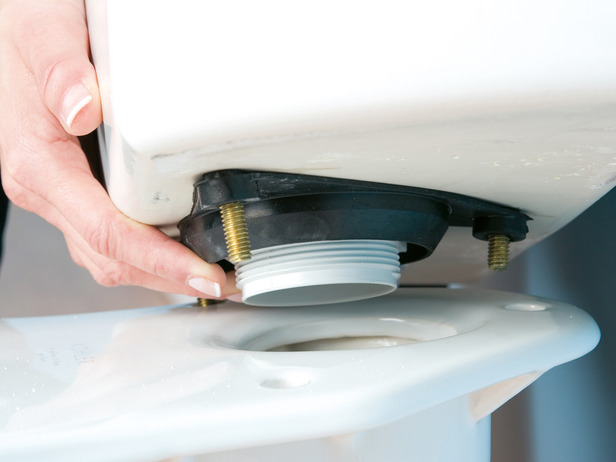
- Put the tank.First, lay a gasket on the toilet shelf, and on top of it, install the tank itself, tightening it on the bolts.
- If the tank with a separate shelf, do not transfer its weight to the ears of the toilet bowl - they are too fragile. Back up either from below or behind, distributing this to its weight.
- In order to avoid clogging the filter in the cistern at the first water intake, first pour a little directly into the toilet through a pipe.
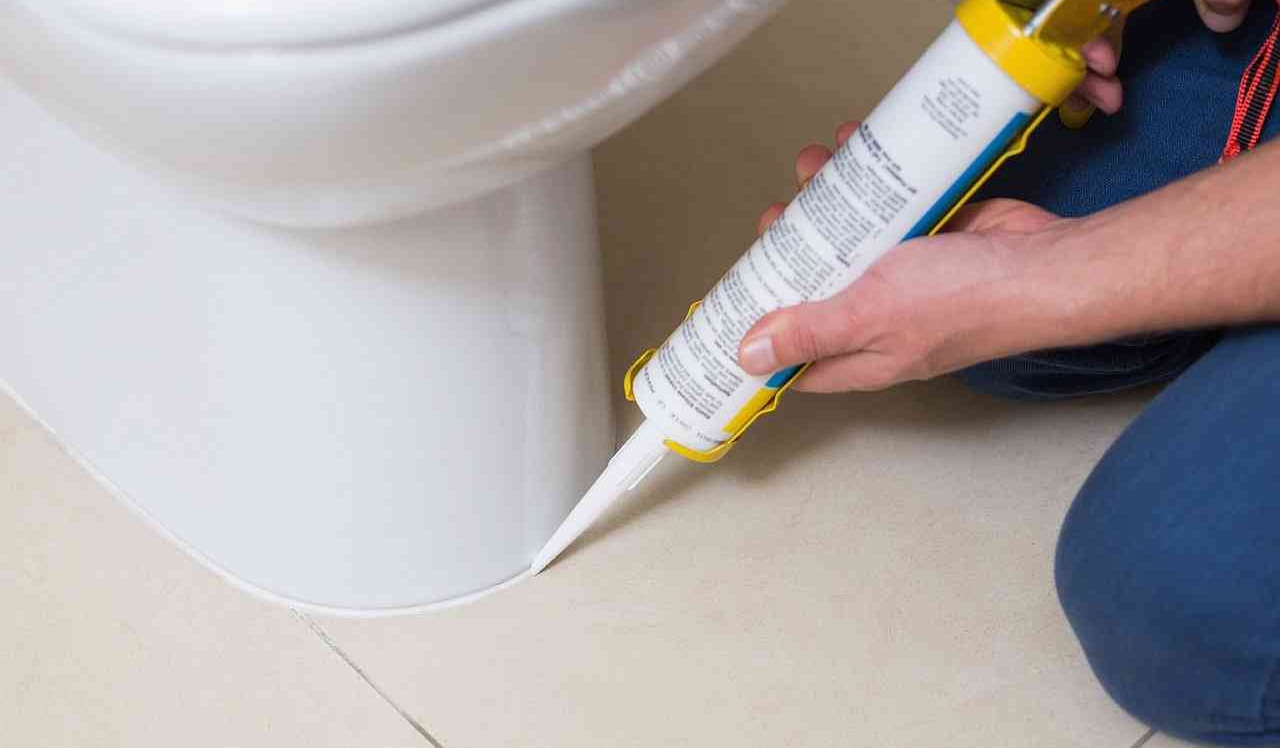
Installation on glue
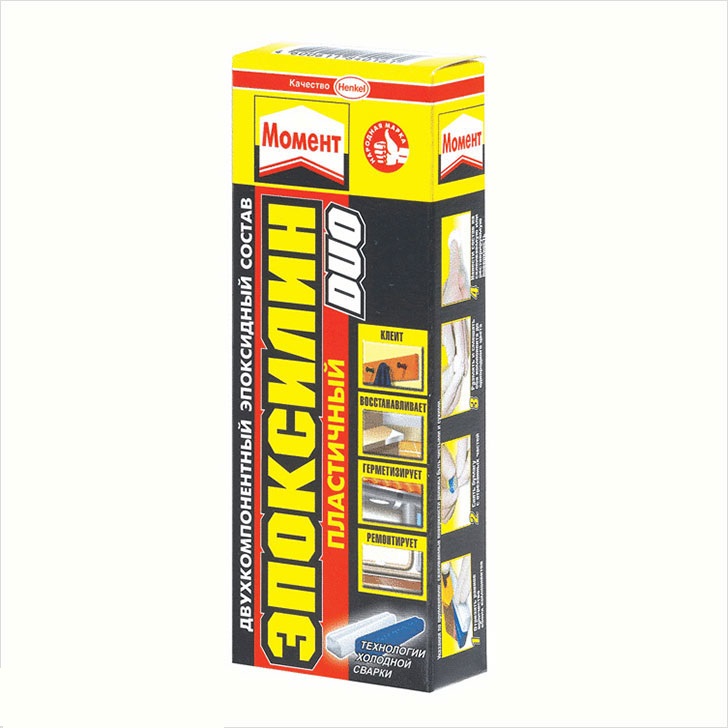
The two most common adhesives are silicone sealant and epoxy resin. They are easy to handle - you just need to be able to handle the glue gun correctly. This method is easier than bolting. There is no risk of splitting the product by over-tightening the bolts, or damage the toilet tile. Installed on the glue toilet just will not stagger. It is also possible side gluing.
In addition to glue, you still need:
- ammonia;
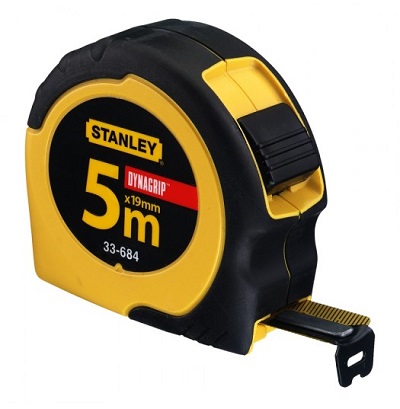
- tape measure and triangular ruler;
- narrow spatula;
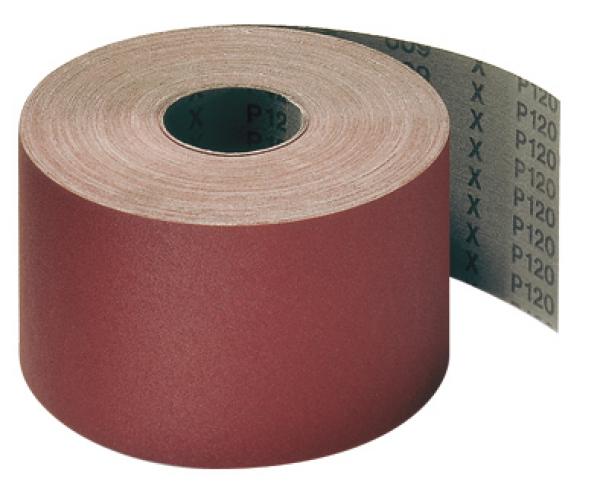
- sandpaper;
- pencil or marker.
The process of gluing the product to the floor itself is carried out in the following sequence:
- Place the toilet on the cardboard to avoid scratching the tile and center it with a ruler and tape measure.
- Remove the substrate and draw the markup with a pencil or marker.
- Emery paper walk around the edge of the support of the toilet. To align it. So grip with glue will be more reliable.
- You can also walk with emery cloth on the tile, but here it is important not to go beyond the marking line. Otherwise, traces will remain noticeable after installation;
- Alcohol degrease the surface where you will install plumbing and wipe dry.
- Carefully apply the glue from the syringe to the edge of the support. If there is a lot of glue - it will be visible on the edges and it will stain the tile, and, on the contrary, they will not be enough, then the toilet will not be firmly fixed.
- Put the toilet with adhesive in place of the markup. It is important to put it perfectly precisely so that you do not have to move its tile.
- Spray the floor around the base of the toilet bowl with soapy water so that it will not stick to the tile when you remove excess sealant.
- Remove residues of glue from the floor with a narrow spatula moistened with the same soap solution.
- Do not move or touch the toilet for 12-24 hours to allow the glue to dry.
- Install the tank, supply water to it and connect the outlets to the sewer after the adhesive has dried. The final touch will be mounting the cover and seat.
How to fix with cement mortar?
This method is convenient in the event that a new toilet bowl is installed in place of the old one that was removed. Or if there are no other tools and glue at home to put the product differently. Instead of cement mortar, you can use ready-made tile adhesive based on it. Such a tool is universal and it can be used to attach many structures in the bathroom, for example, a shower unit.
Need tools:
- narrow and medium spatulas;
- building level;
- hammer;
- chisel;
- concrete solution;
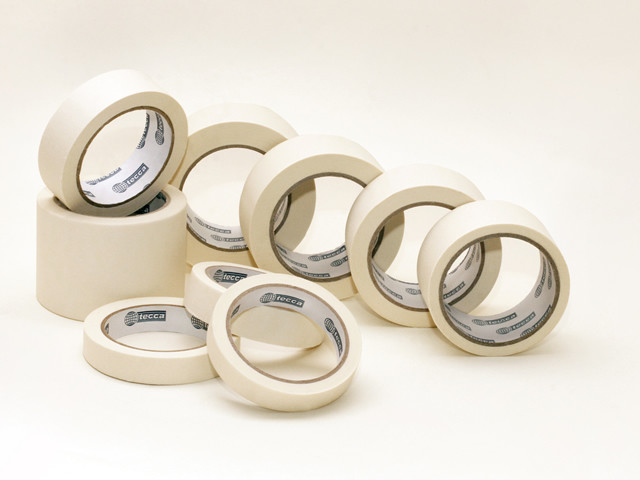
- masking tape

Installation is carried out in strict sequence.
- Put the toilet where it will be stationary. Check that all the structural elements fit together.
- Use a marker to circle the base of the toilette's leg, and put it aside.
- Along the marker line, apply on the tile the notches with a chisel and a hammer. Be careful not to split the tile. Protect your eyes from splinters and dust with special glasses.
- Instead of notches, you can stick masking tape on the circled line. It is important that he did not go beyond the edges of the contour. Its rough surface also grasps well with cement.
- Dilute sand and cement in a ratio of 2: 1.If there is no sand, then you can just do with cement. Tile glue will require 3-4 kg, it will be more convenient than cement - more quickly effective and has a convenient powder form, in comparison with concrete, which may contain large fractions of sand.
- Wet the tiles before sizing. Then, without going beyond the border marking, apply adhesive solution.
- Dampen and lower cut the toilet bowl legs. Prepare two plastic pads 5-7 mm thick and 50-80 mm wide. They need to be put on the front and back sides of the base to create a “pillow” between the toilet and the tile. When placing the toilet, level it exactly to avoid skewing.
- Collect excess cement that has protruded over the edges with a spatula and level the seam. Gaskets will be available only after complete drying, and the holes from them to fill and align. If you are glued to the cement mortar, then it should dry 3-4 days. At this time, you can not use the toilet. Drying time of cement glue is written on the package.
If you do not deviate from this algorithm, the quality of work will be on top.
Important nuances
When installing the toilet in a new place should consider the distance from it to the entrance to the bathroom.The perfect distance from the door - 50 cm or more.
You should not use the percussion mode when drilling tiles. This material can be drilled only at low speeds, periodically cooling the drill and the hole itself with water. Otherwise the litka will crack.
The connection point of the drain must be easily accessible. It is important to make sure that it does not swing, that there are no defects in it. Supply of cold water should be carried out freely, with one hose.
Planning a place for the toilet, it is important not to forget about the tank. It should be mounted perfectly smooth. “Try on” the tank on the toilet in order to understand how much space it will take, and whether it will be convenient to carry out plumbing work in the room in case of repair. It is necessary to check the ratio of fasteners of both parts with each other and see if they are broken.
Upon completion of the installation of the toilet bowl and the tank should be a test run of water. If there are no leaks and the toilet does not hang out, you can safely use it.
In the next video you will find instructions for installing the toilet on the example of a model from Ideal Standard.


