The installation process of the faucet in the bathroom
If you decide for any reason to change the faucet in the bathroom, there are two options for resolving this issue: call a qualified specialist who will do everything quickly, but you will have to pay for his services, or take up the business yourself. If you choose the second option, then this article is for you.
Special features
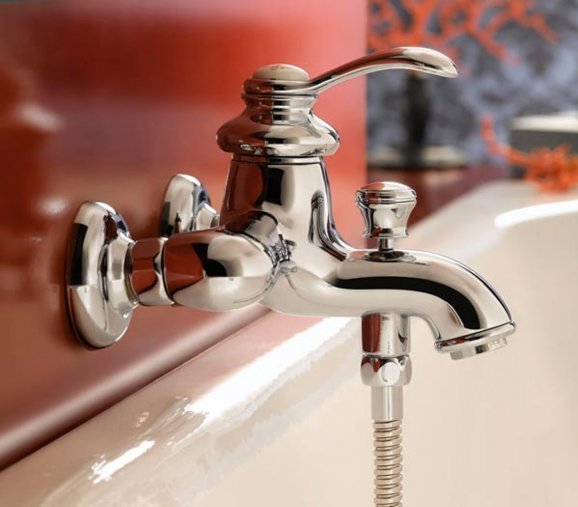
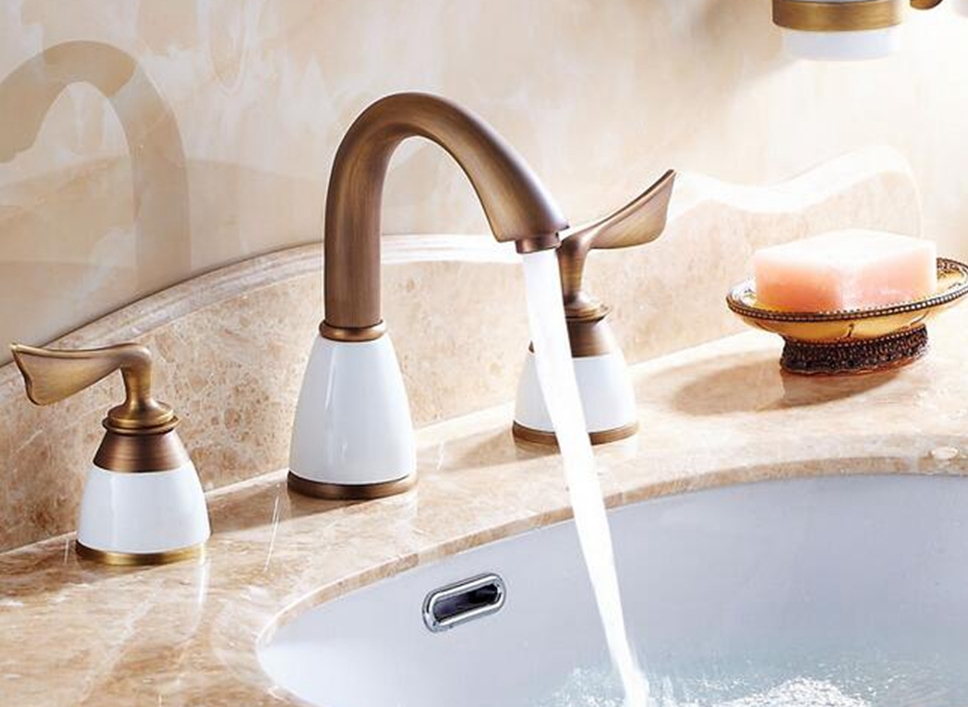
Nowadays, the mixer performs not only the function of supplying water, but is also an element of decor. It should fit harmoniously into the interior of the bathroom, be compact and beautiful. Modern manufacturers of plumbing provide us with a huge selection in different price categories, but still it is worth taking into account several useful tips from experts.
Installing one faucet for the bath, sink and shower is impractical, it will quickly become unusable.Check the equipment very carefully: it should have a flexible manual adjustment and a holder for fixing. Spouts are often not provided in many models of mixers, and this is a small but negative.
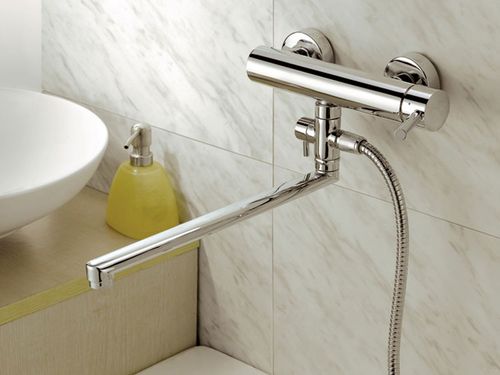
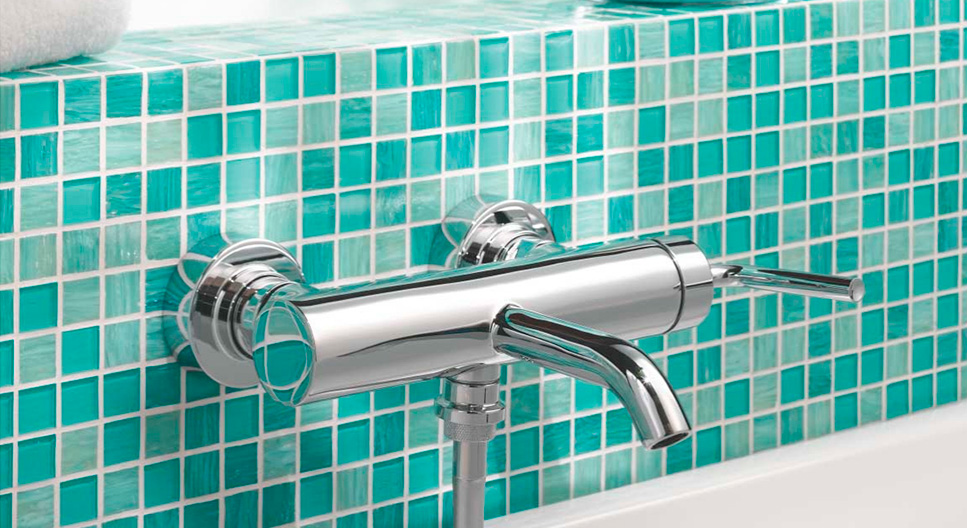
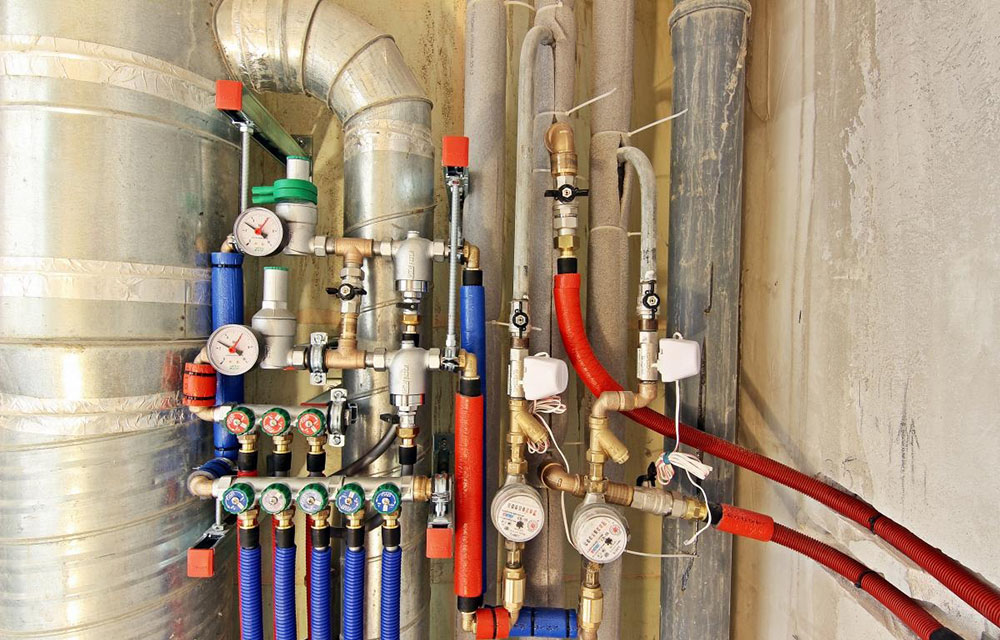
The most common type of installation of the mixer - mount on the wall. Such installation is performed with permissible wiring pipes for water supply. It is necessary to adhere to the standards - the mixer is mounted at a height of 1.2 meters from the floor, the distance between the water outlets is 15 centimeters. You should take this work very seriously, as the uninterrupted operation of your mixer depends on the correctness of its performance.

The next option is to mount on board the bath. Plus here, all the parts will be hidden behind the body of the bath, and during installation they use flexible hoses, which gives you the opportunity to mount them in any suitable and convenient place for you. But there is a small minus. On the bathrooms of the old model there is no place for the installation of the mixer, therefore this method is used in most cases for acrylic baths of the new generation.
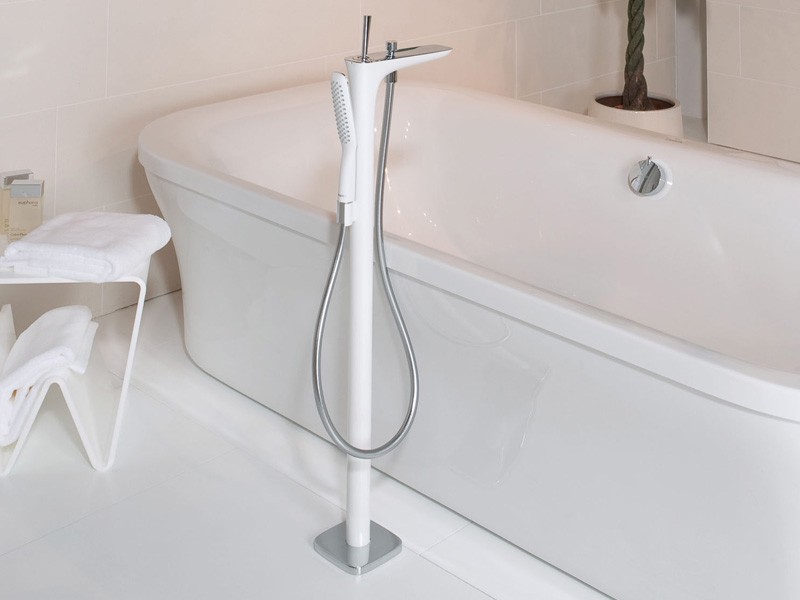
The last type of installation - installation on the floor. This is the most expensive way, it is not suitable for bathrooms of small size, and it will be difficult to produce it yourself, if you are not a specialist plumber.
Kinds
One of the most important characteristics of a mixer is its appearance in terms of functionality and the material from which it is made.
Mixers are of four types:
- two-lever (two-valve);
- single lever (single jaw);
- cascading;
- thermostatic;
- sensory.
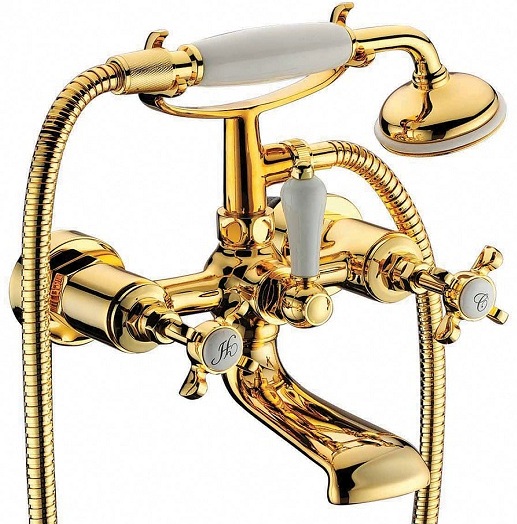

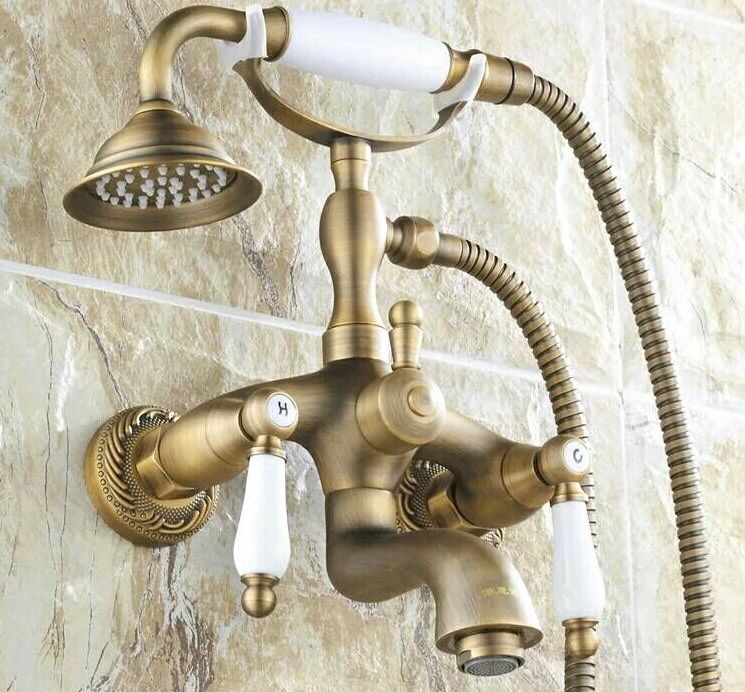
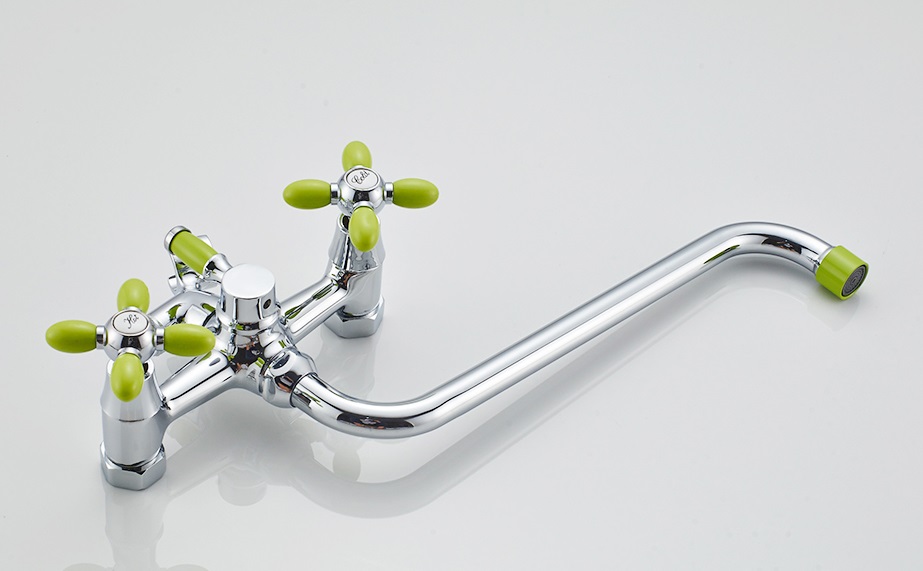
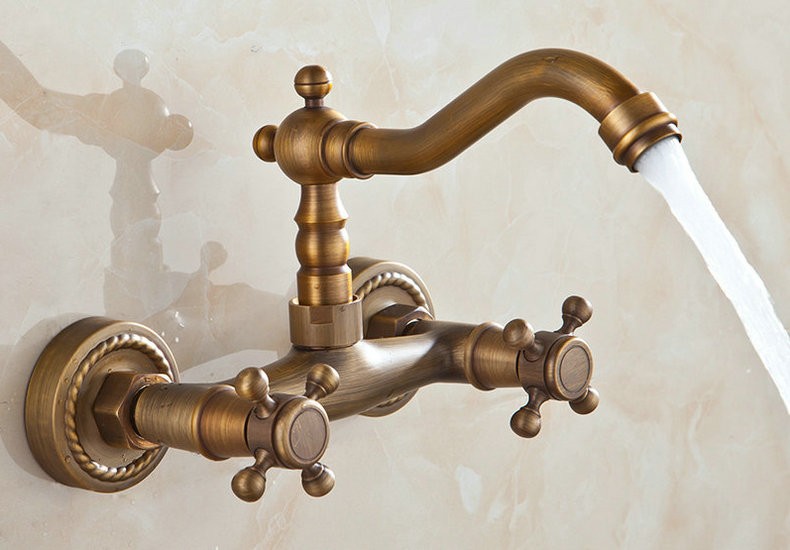
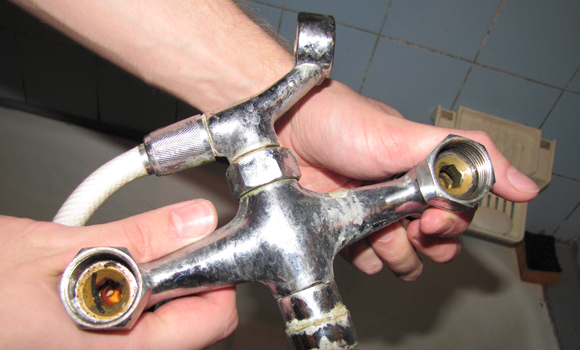
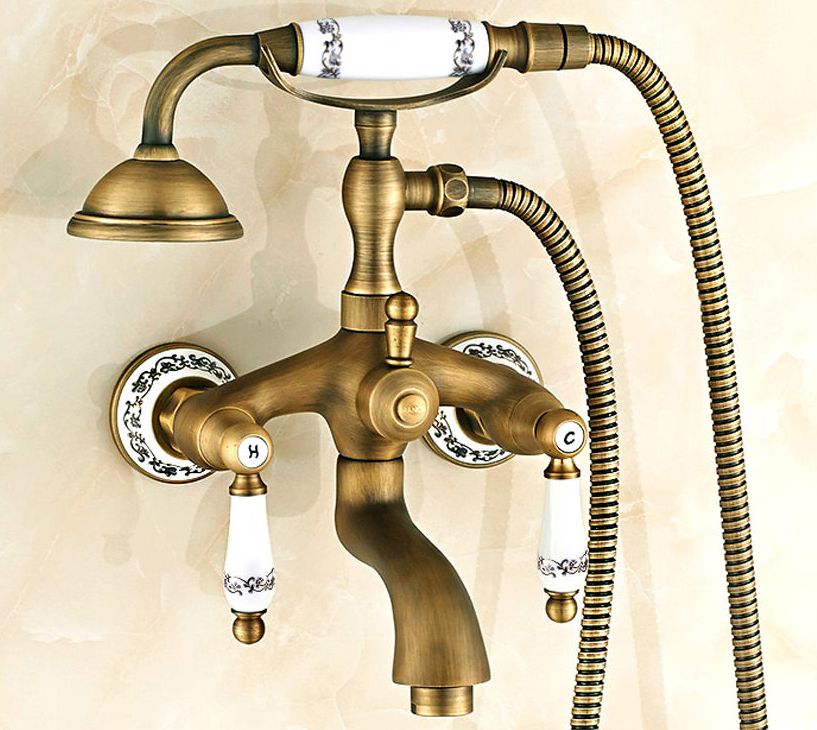
Two-valve - the most common type of mixers. For the supply and adjustment of water (and hot and cold) are two elements - valves and levers. You manually bring the water to the temperature you need. On the spout of the mixer there is a mesh, the function of which is to reduce splashing of water droplets. Note that when mounting two-valve mixers, you must remember to leave a gap between the pipes, which should be equal to 15 cm, and use eccentrics.
Mixers of this type have two small minuses. Firstly, it takes time to adjust the required water temperature, and secondly, the sealing gasket wears out very quickly, so these mixers have to be repaired repeatedly.
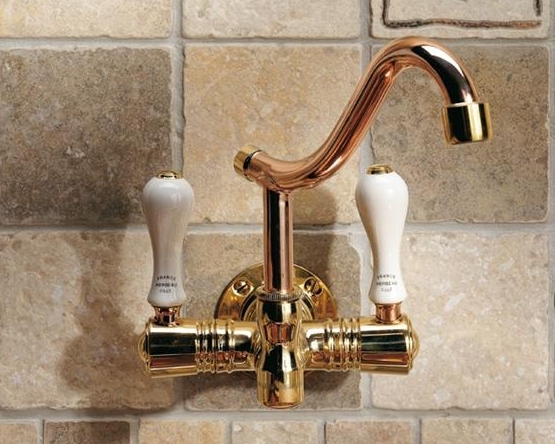
Analog of the two-valve mixer - two-lever. Water is regulated by turning the knob 90 and 180 degrees, and instead of a rubber sealing gasket, these mixers are equipped with ceramic plates that protect against rapid wear. But at present, the demand for these two types of mixers has fallen significantly, since more advanced models have been produced.
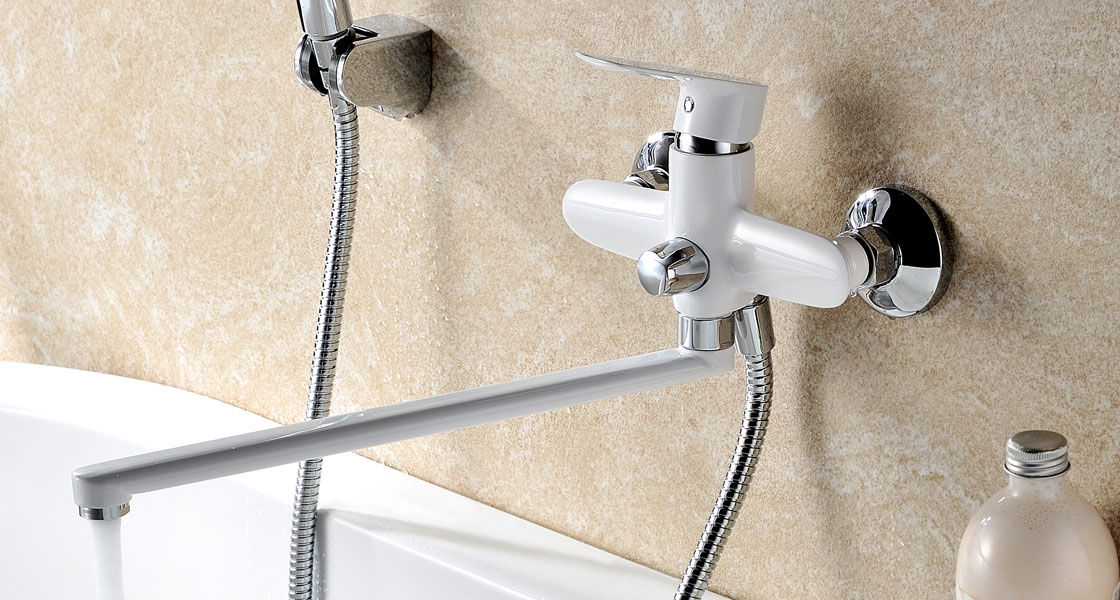
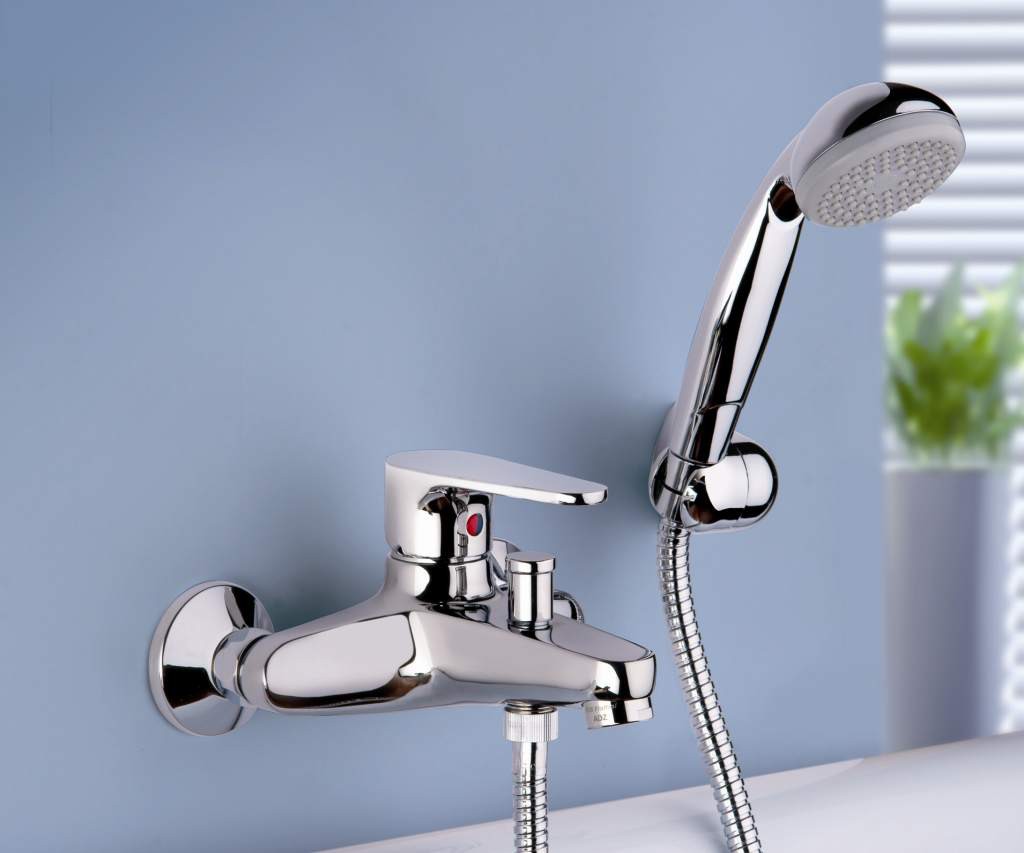
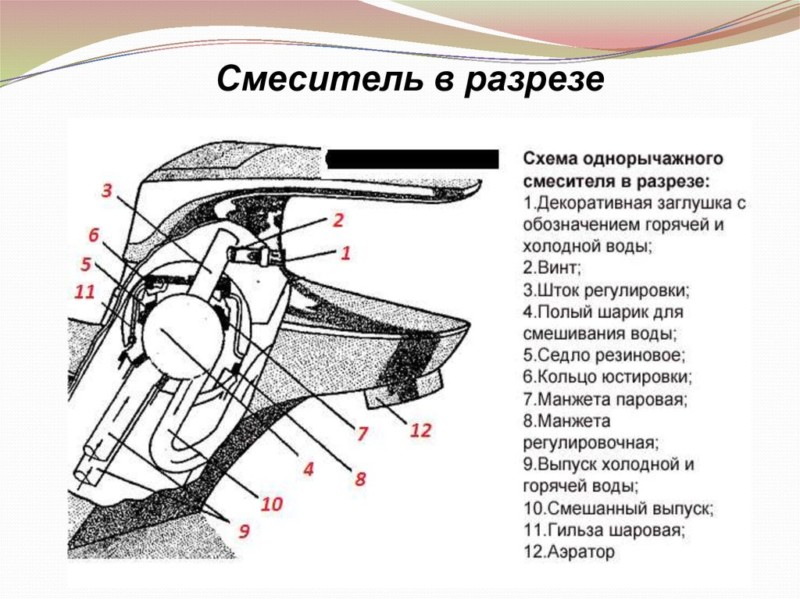
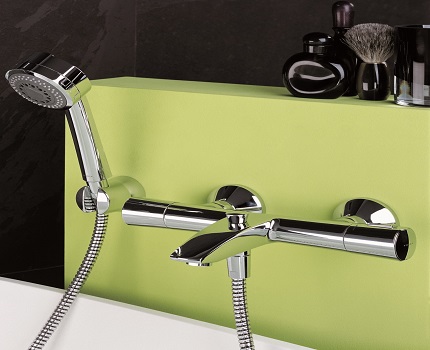
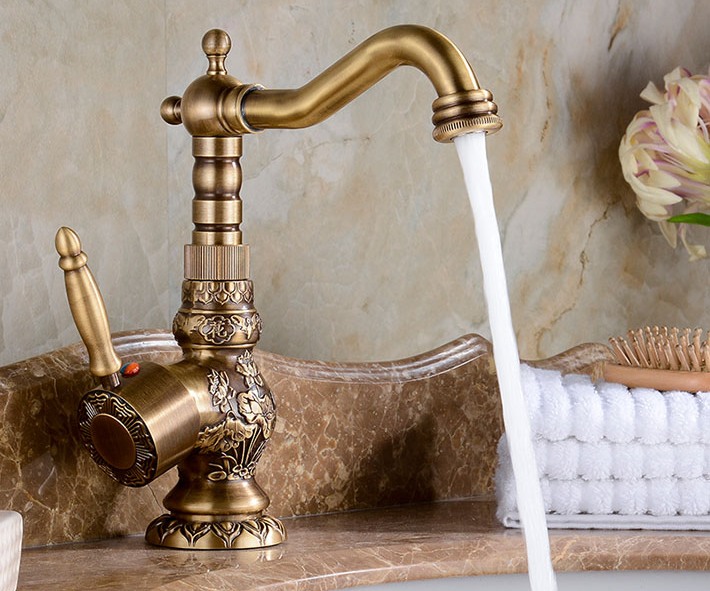
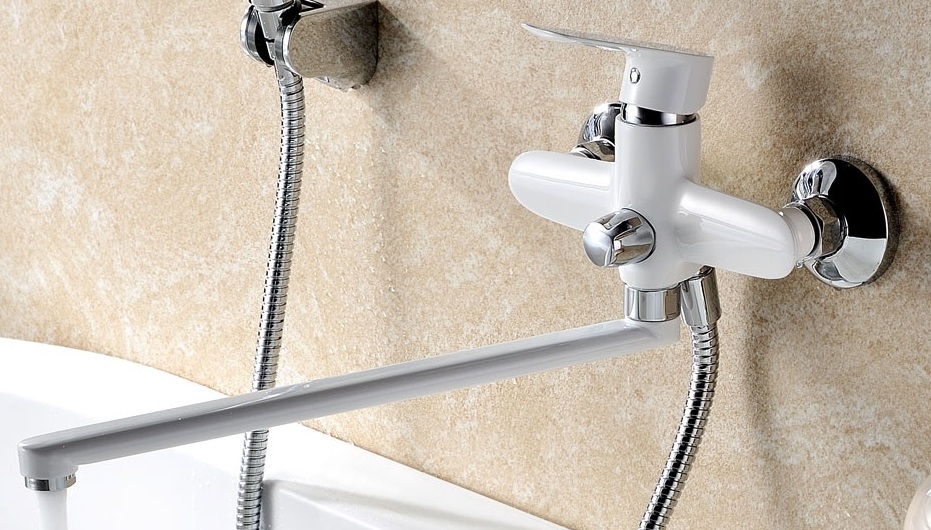
Single-lever (single lever) mixers are currently in the highest demand in the market. Using them is much more convenient compared to the previous ones - with one handle you control both the water, and its temperature, and the pressure force. In addition, it will also save your time. There are two types of single lever mixers: with lever with joystick. When installing them need eccentrics and seals. They are good at saving, filtering, purifying water.
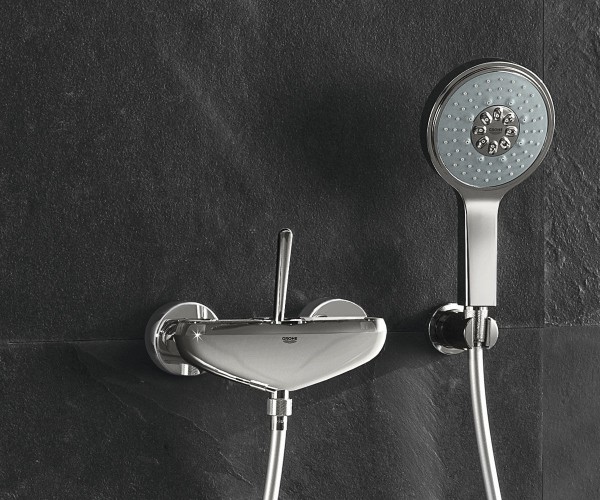
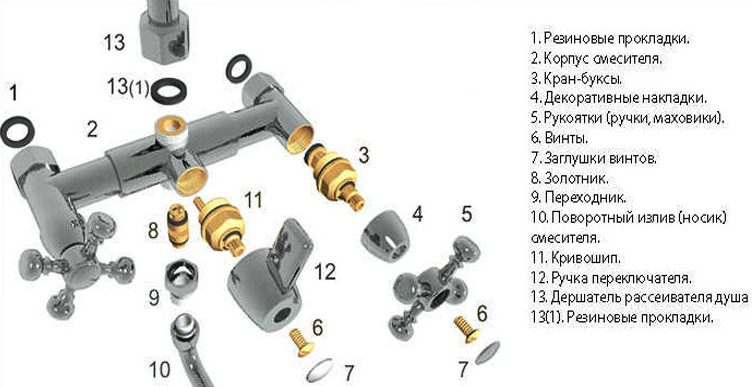
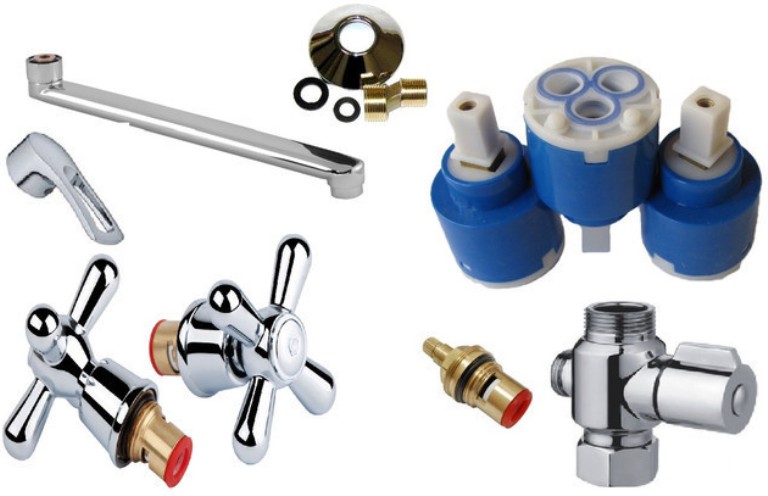
The main part of the mixer is a lever that is mounted on the fixing screw. Also included is a cartridge. It is he who is most prone to breakage, but it is not difficult to replace it yourself. The mixer of this type has the following design: control knob, connection fitting, check valve and shower hose.In the event of a breakdown, all these parts are very easy to remove and replace.
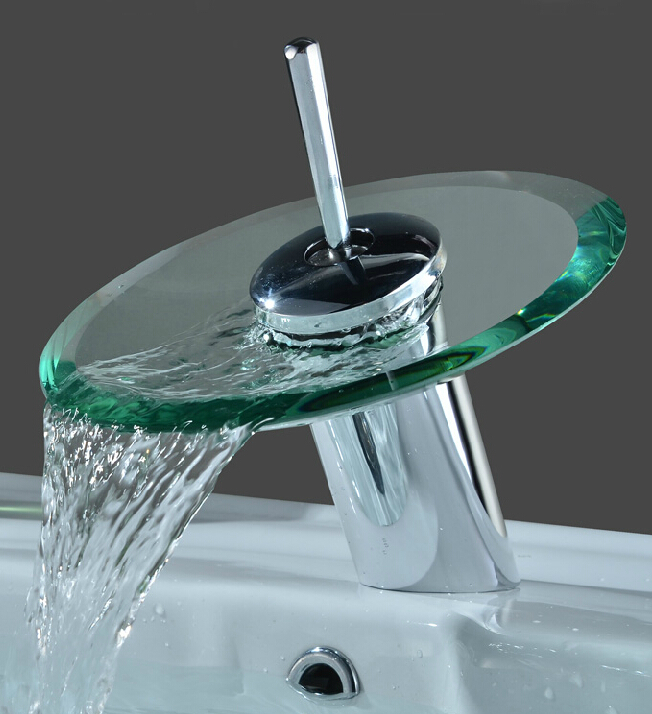
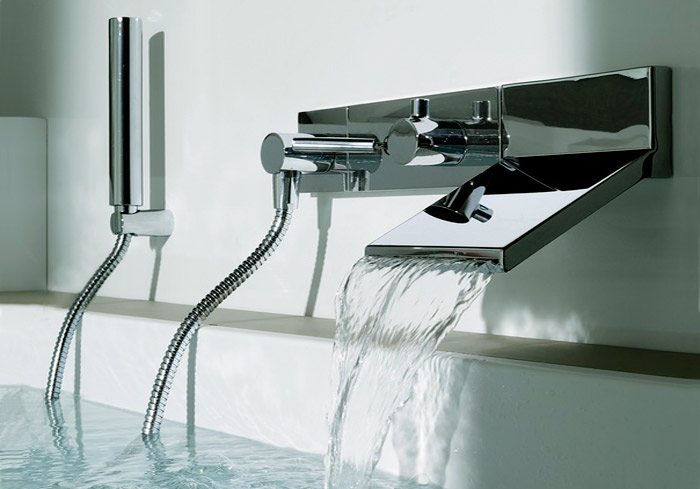
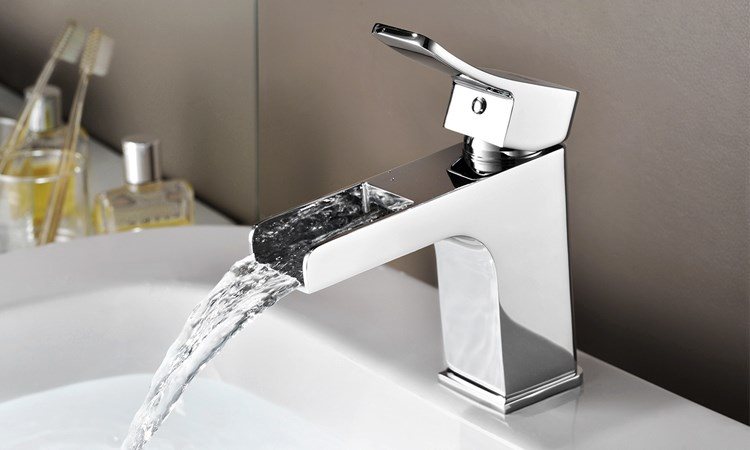
Cascade mixers are called this because of the very fast spout and the visual effect of the waterfall. Some models have a hydromassage function.
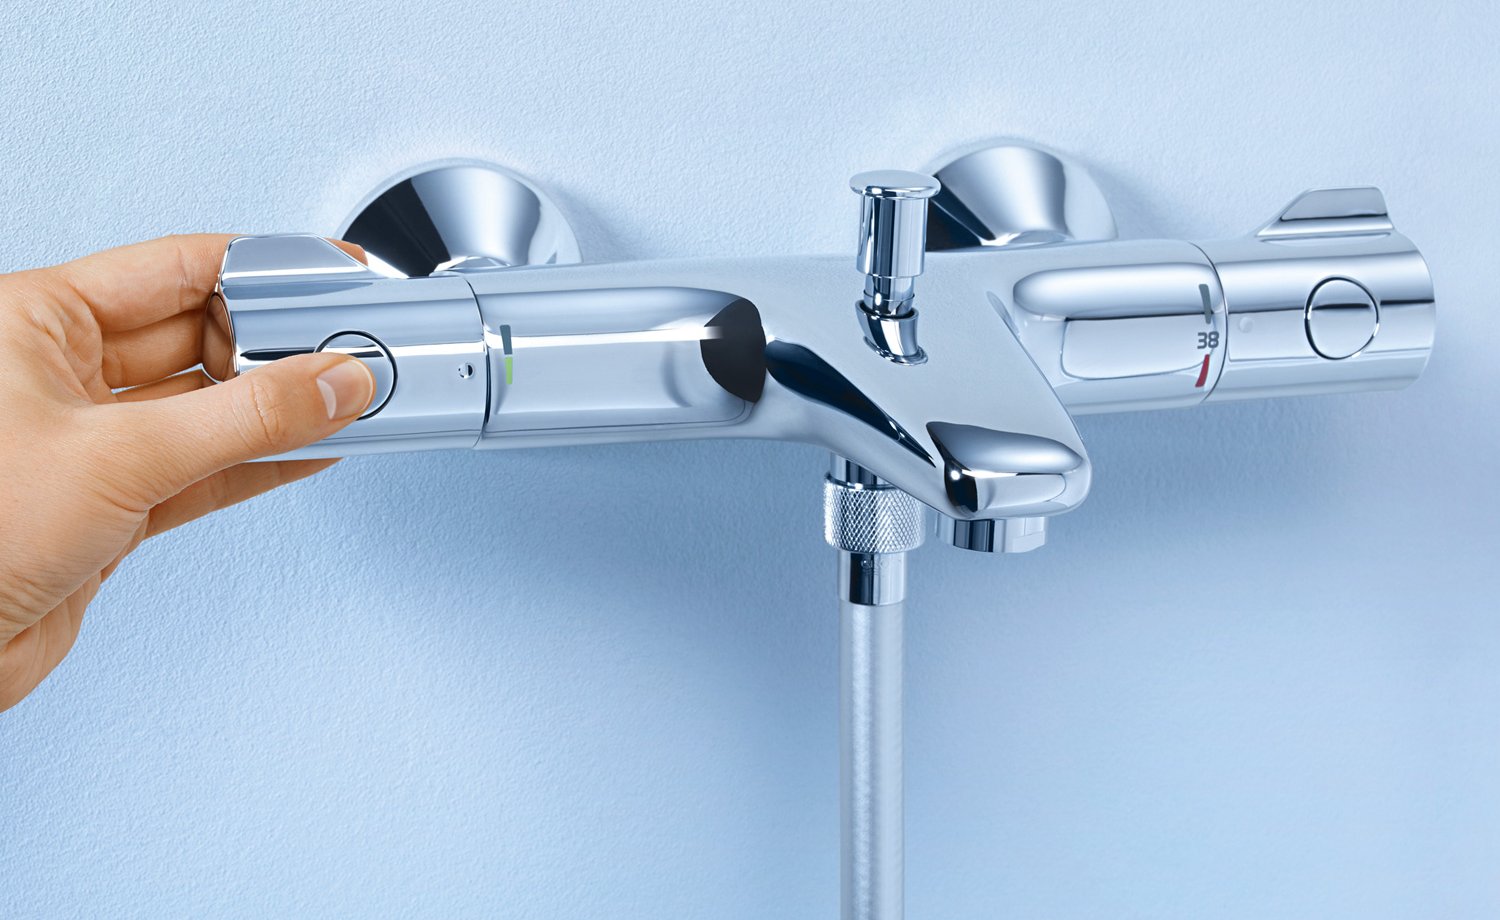
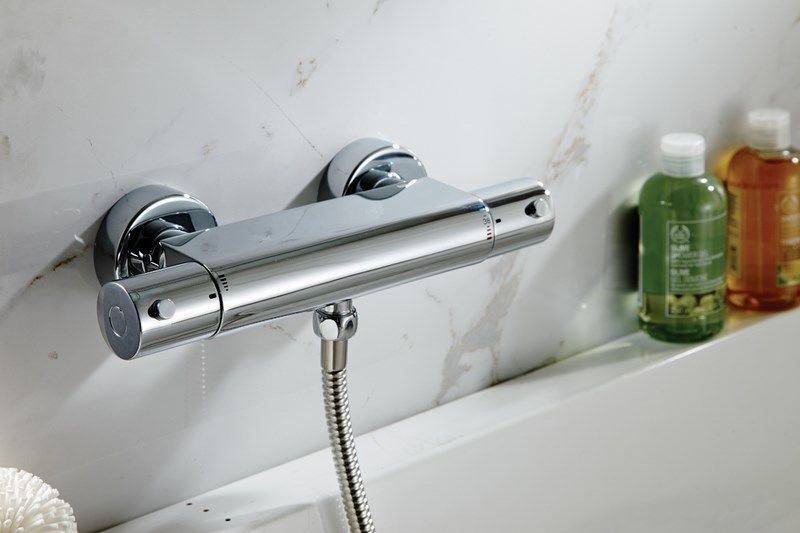
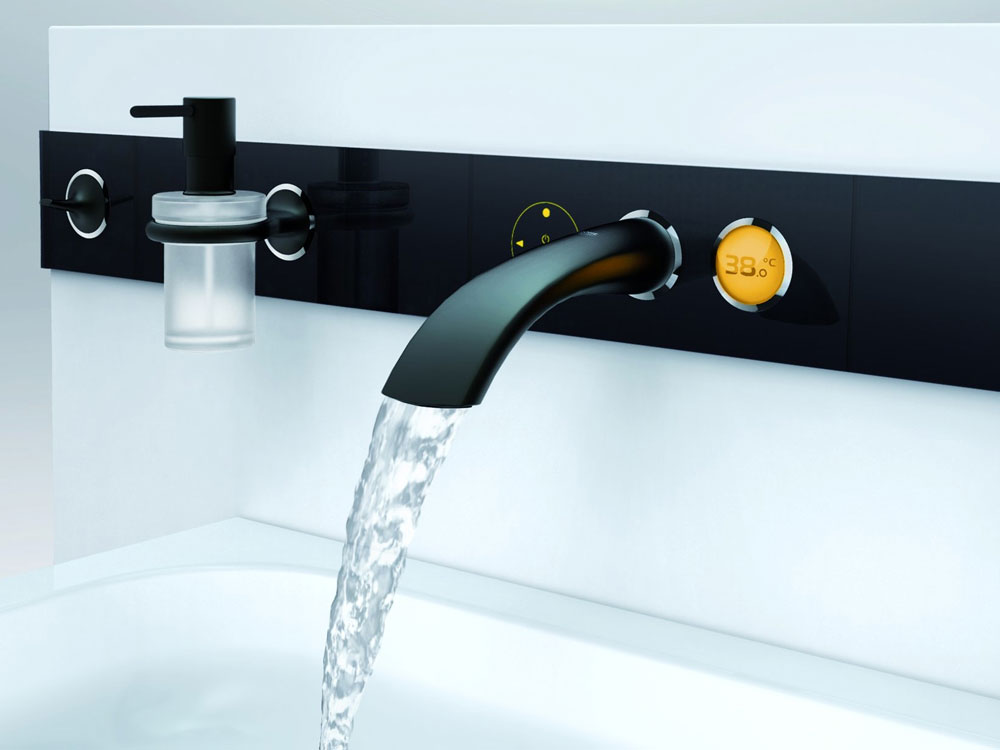
Thermostatic faucets - smart model. You program all the parameters that are convenient for you and they remain unchanged with further use. This model is good because it protects against unstable operation of the water supply system.
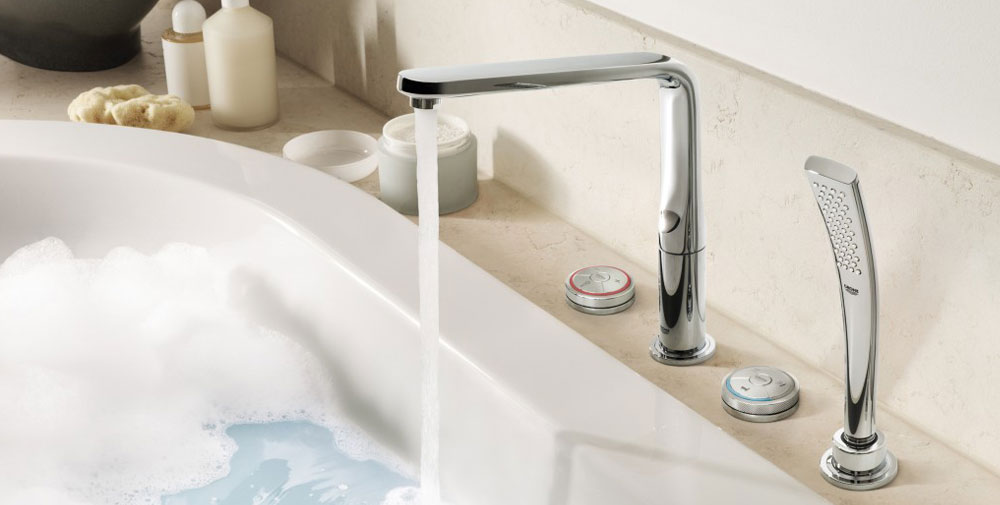
Touch faucets - the latest and most convenient model. The water turns on itself when the hands approach, and it turns off as soon as you stop washing them. A big plus of these mixers is cost effectiveness.
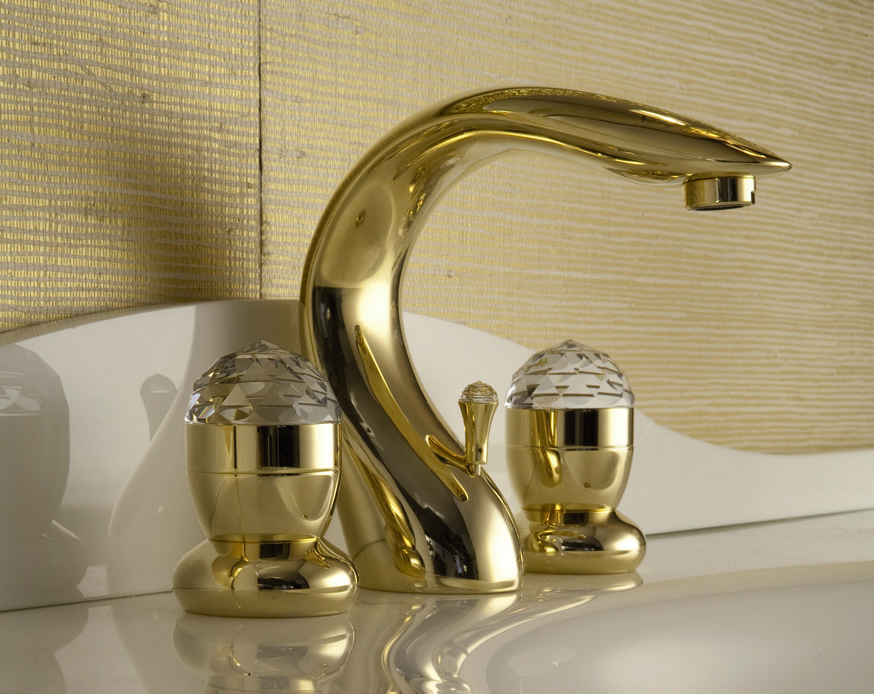
As for the materials used in the manufacture of mixers, in vain, many believe that this is not such an important question. It is worth remembering the three main factors that must be considered when choosing a mixer in the store - strength, corrosion resistance and environmental friendliness.
Silumin is the most short-lived and quickly deteriorating material from which relatively cheap models of an in-line mixer for washing are made. Despite the advantages in weight, their lifespan is very small and, as a rule, they break very quickly. It is better to give preference to models made of brass - such mixers will serve you much longer.Never buy faucets (and any other plumbing fixtures) that are coated with nickel, since the negative effect of this alloy on health has long been proven. It is always better to choose a model whose dusting is chrome.
For the built-in concealed single-lever mixer, stainless steel, it is desirable to choose a vertical liner.
Wiring and Connection Diagram
So, you have chosen the model you need, now you can get to work. To any of the models, regardless of price and quality, must be attached instruction with the installation scheme. After carefully studying it, you can independently connect the mixer. It should be already assembled, so you just have to check the seal in the spout, the fitting of the glands, the operation of the valve head, inspect the gaskets and seals, turns the valve.
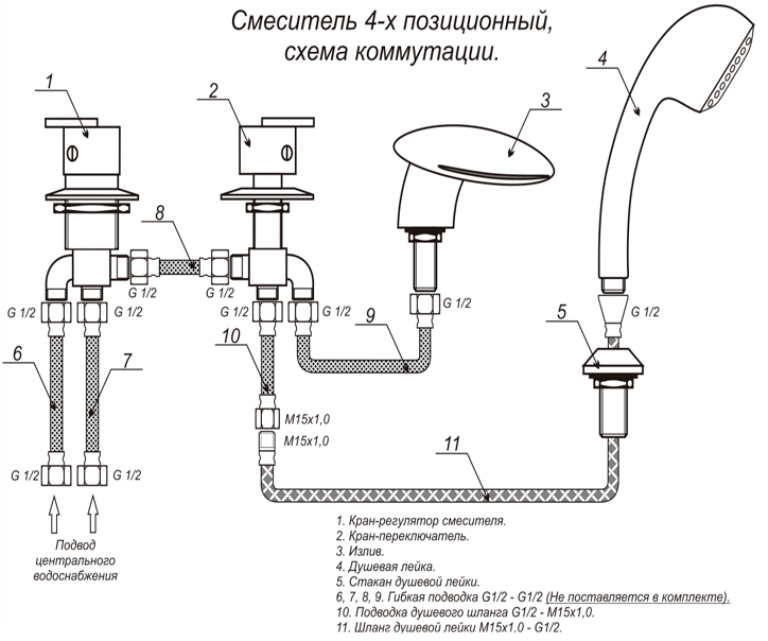
Next, unpack all the boxes and packages that come in the kit. There is a standard set: sealing gaskets, nuts, eccentrics, wall reflectors, bushings, faucet spout and shower head. All this you will need to connect to the crane.
Strict compliance with the instructions will not create any problems.But do not forget about the standards: the installation height must be at least 1 meter from the floor.
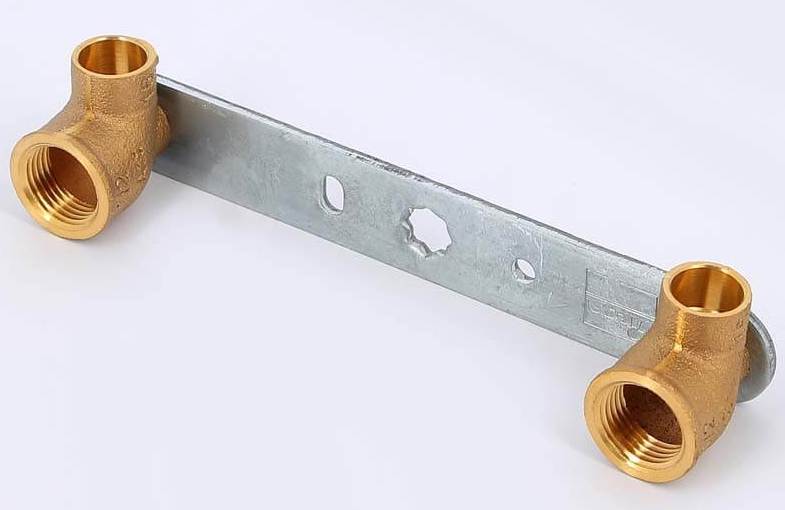
Install water sockets in appropriate places, when removing fittings, calculate the distance between the pipes with water - it should be 15 cm. It is very important that the fittings are mounted strictly horizontally to each other and are not too long. Having finished with the findings of the fittings, proceed to the main part of the work.
Required tools
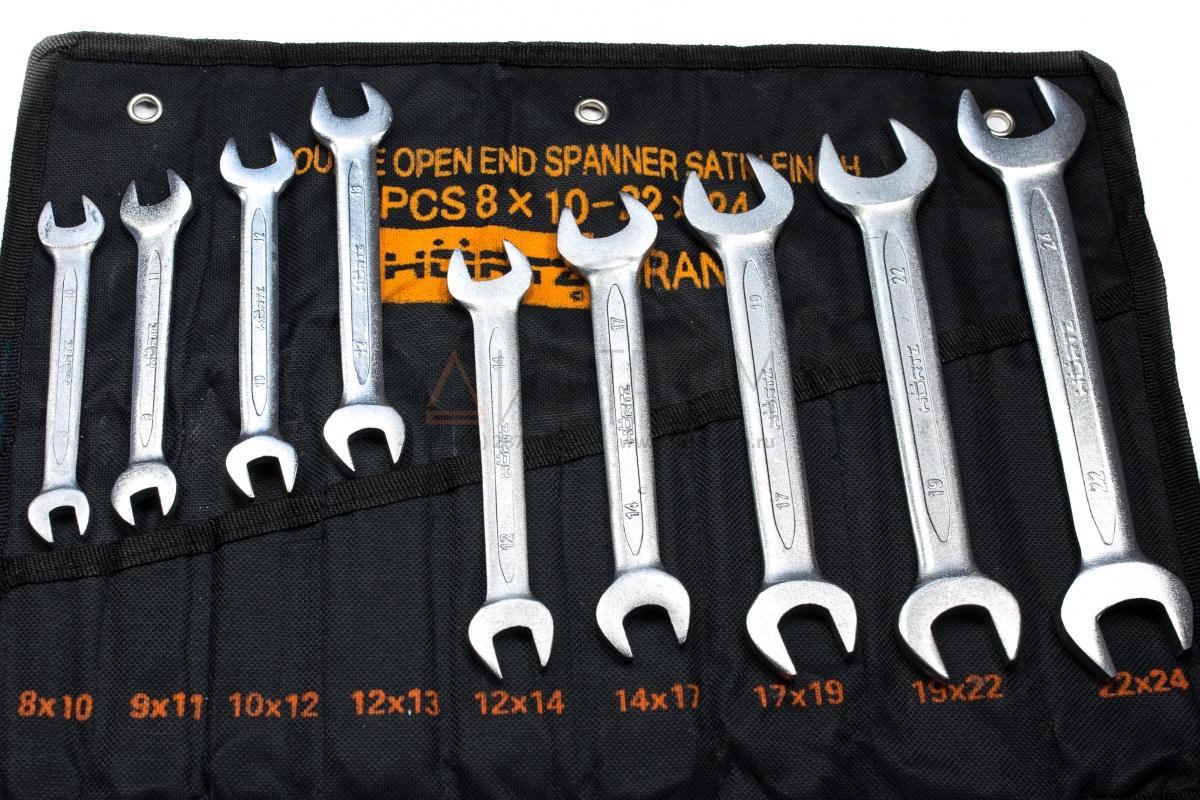
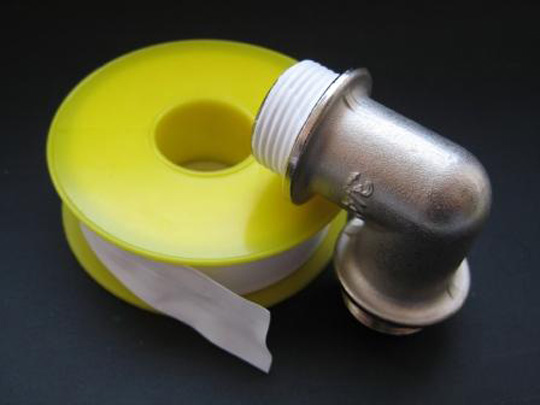
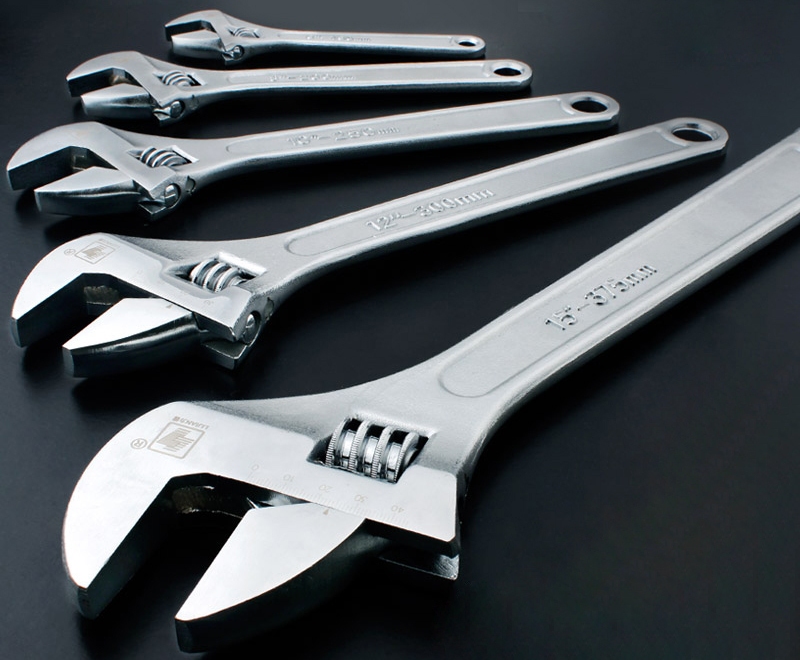
It is necessary to immediately prepare all the necessary tools: the mixer itself and all of its components, flat-nose pliers, a building level, a tape measure, an adjustable wrench, and open-end wrenches. Also prepare flax tow, silicone, sealing tape. Be sure to need a piece of soft cloth, a bucket, wet wipes, and even toilet paper.

A great option - tools without teeth, but if they are not there, don't be upset; just cover the details with a rag or towel. This will protect them from damage to the coating. Paper is needed to wipe everything and check for leaks. And if the flow takes place, you will have to disassemble and reassemble the structure again, and this is unlikely to give you pleasure.
Preparatory work
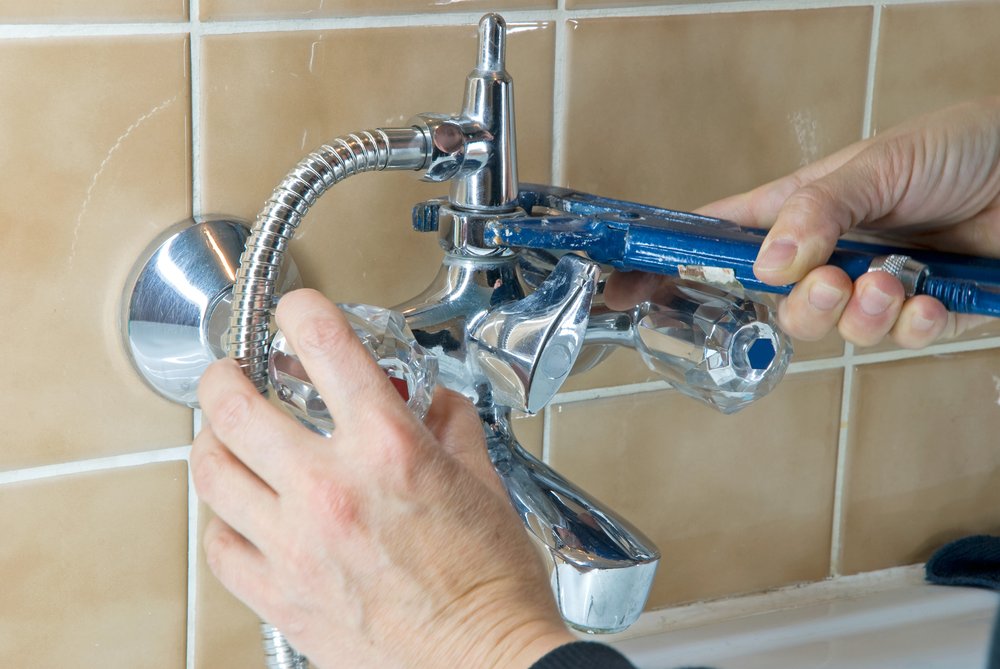
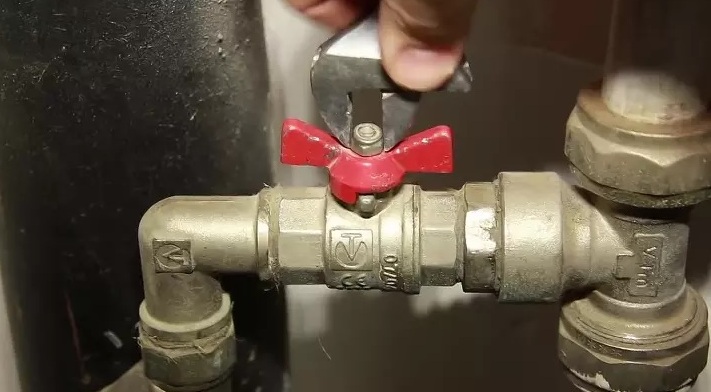
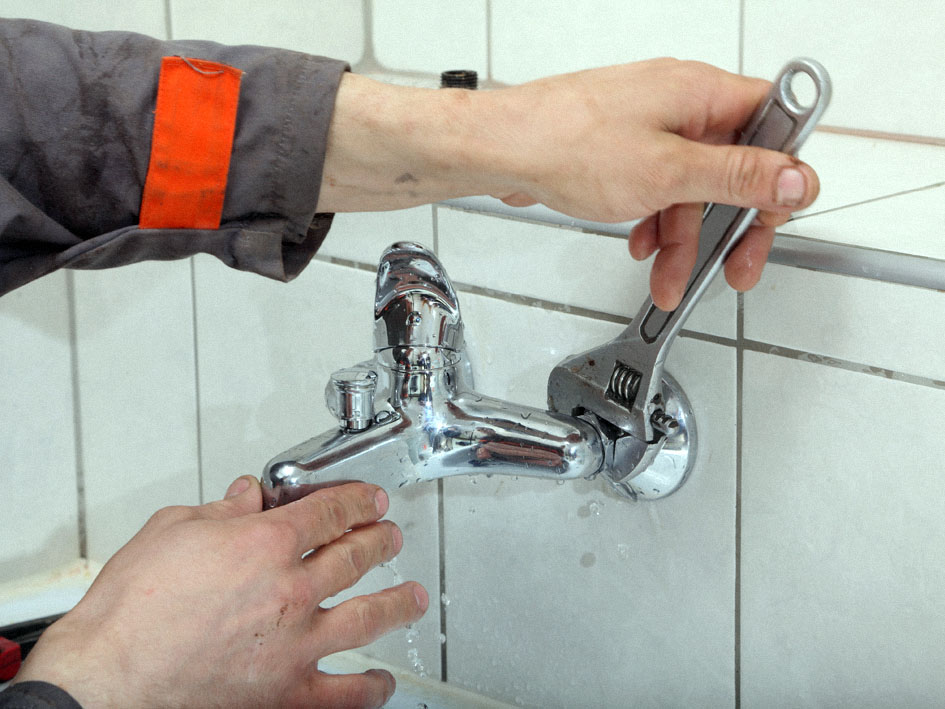
Before you start installing a new mixer, you need to get rid of the old one, which may have already been unsteady. It will be easy to do. First of all, turn off the water supply, but not only from the main system, but also the boiling water from the boiler or gas column. Pull all the water out of the tap, unscrew it. This should be done very carefully and carefully, otherwise you may damage the threads on the fittings in the wall. If they are damaged, they will have to break the wall and change them. Polypropylene pipes from the plumbing circle require careful attention.
After removing the old tap, you need to be extremely careful to clean the fittings in the wall and remove from there all the remnants of the old winding or paint.
Installation details
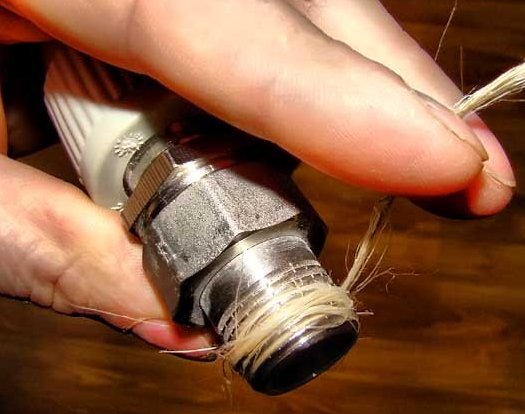
It is necessary to fasten the gander to the main unit, then turn the hose with a watering can. The keys do not need to use and tighten the nuts too. After assembling the model, you can begin the installation, which consists of the following stages: we wind the eccentrics with sealing tape, after we insert the fittings located in the wall that are left from the old tap.
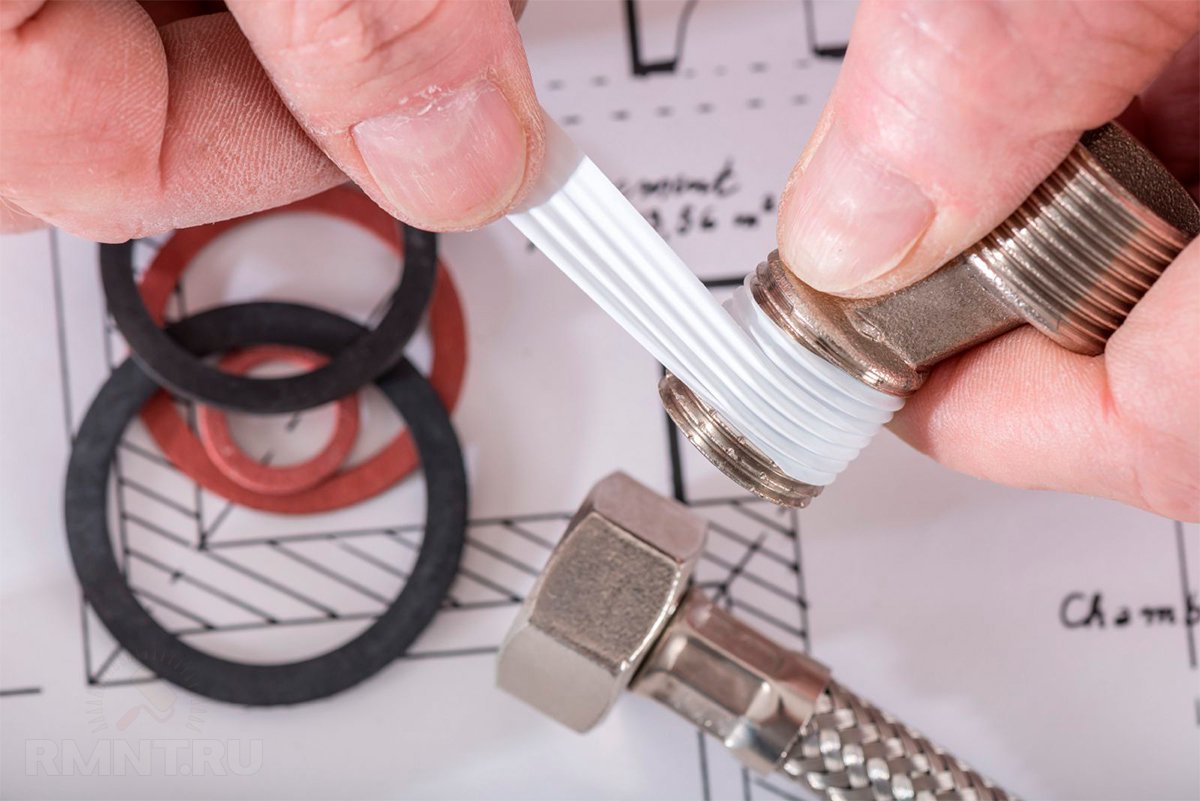
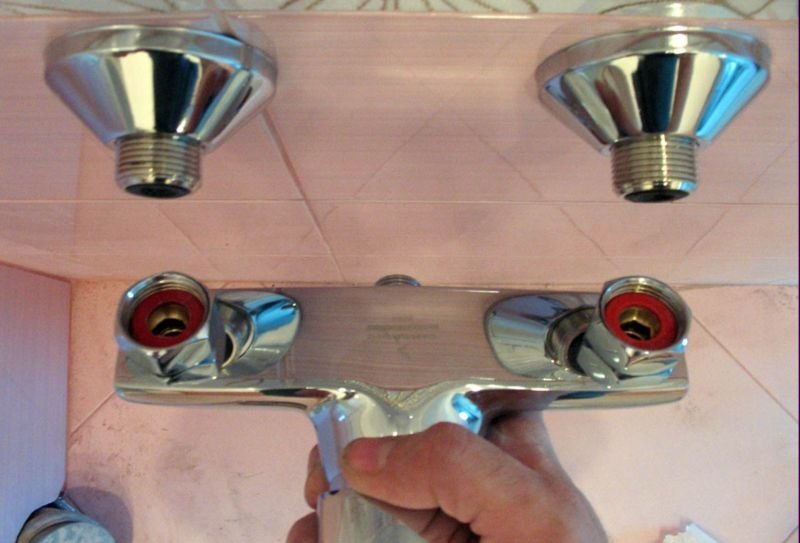
This should be done very carefully. If there is no ribbon at hand, tow can become a substitute.Next, screw the eccentrics, strictly measuring the distance between the inputs on the mixer and using the level. This is done for a reason - the distance should be strictly 15 centimeters. After that we wind on the eccentrics the main unit. This should be done slowly, as it should be fixed carefully.
Try not to rush, and if something does not work out, it is better to take a short break and calm down. If the unit is wound quietly on both sides, then everything can be correctly put. Then the unit must be removed and screwed onto the eccentrics decorative lampshades, which must necessarily fit snugly to the wall and cover the tap-in places of the mixer. If you have everything that way, then your work is done perfectly. Next, fasten the block back using the winding. In order for the shrinkage to be tight, you need to use gaskets of pressure nuts. Nuts need to tighten the key, but not very much.

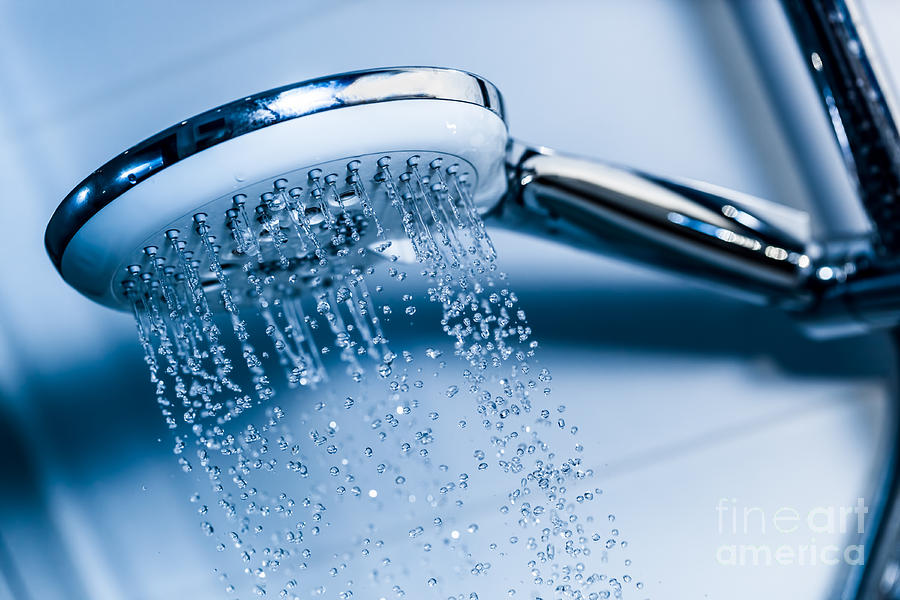
Open the hot water tap and check how the mixer works. Begin testing with a small head, gradually increasing the capacity of the water supply. Be sure to check how the shower works. If everything is OK, then you did it right the first time.But if there is a leak, you need to find its source, re-block the water and repeat all over again. There is a high probability that you very tightly tightened the nut or any mount.
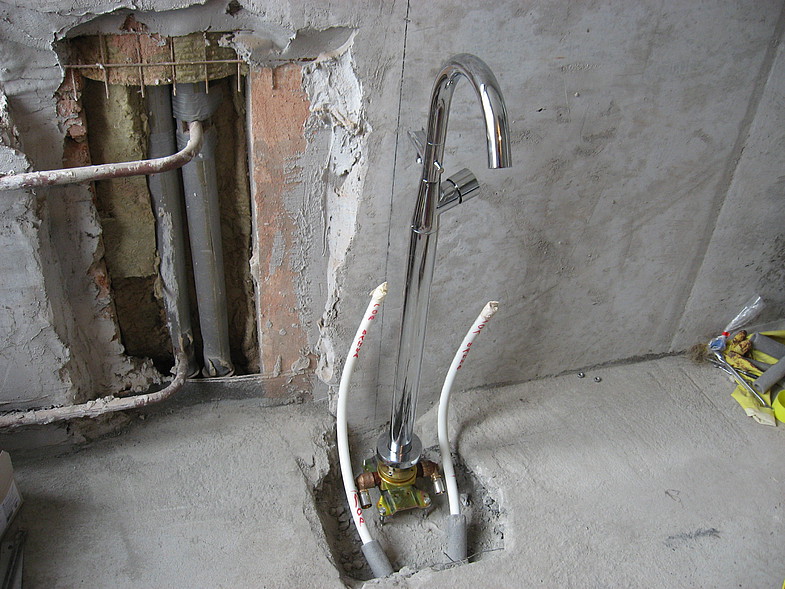
You have already understood how to install a new faucet instead of a failed one, now let's deal with a more difficult task - to install the faucet on a new wall. First make the replacement of pipes, revetted walls with tiles. Next is distributing plumbing pipes, installed beacons for plaster. The notches in the wall should be calculated so that they exactly coincide with the distance from the lighthouse to the tiled plane, which is approximately 17 centimeters. If you are not sure that you will be able to carry out all these works, then it is better to invite a specialist, so that later there will be no problems when mounting the mixer.
After all the work done, you can install the fittings. In order to install them, you need to postpone the distance between the centers of the fittings - 15 centimeters. The centers should be on the same parallel, the extreme point should protrude beyond the wall, the fittings should be at the same level with a suitable height. After installing the fittings, you can attach the mixer.This is done as in the previous version.
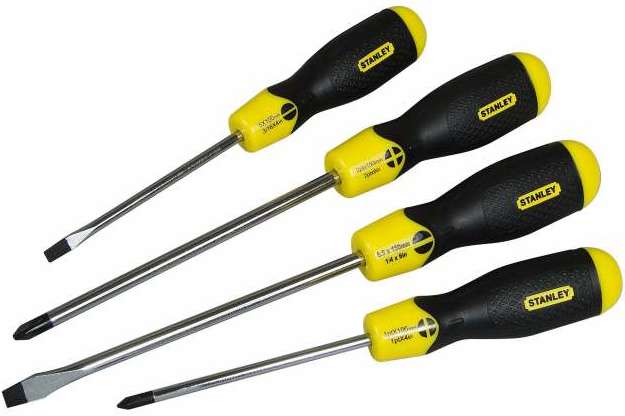
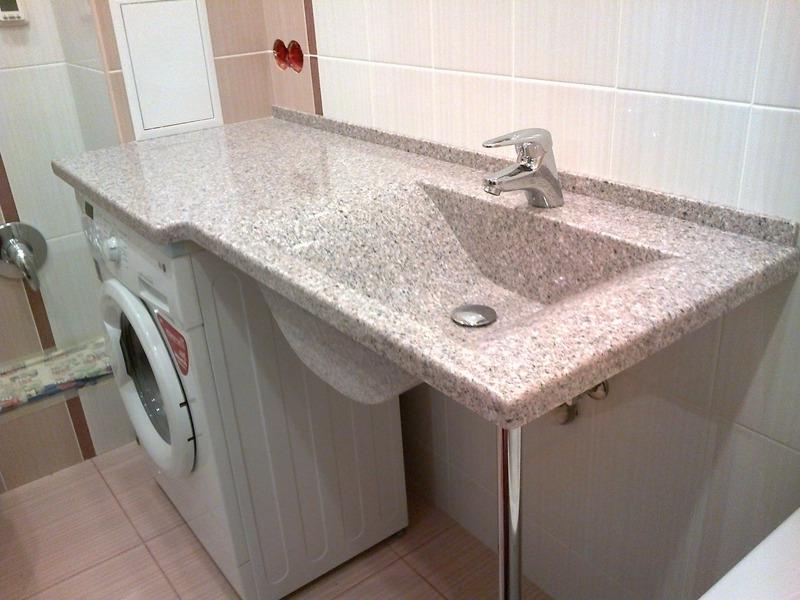
Now we will consider one more variant of installation of the mixer - on a horizontal surface. This need arises when installing the mixer on board the bath. Before embarking on such an installation, it is imperative to clarify whether the bearing side of the board will withstand the increased load. To mount the mixer of this type, you need a drill with a set of cutters, wrenches and screwdrivers.
At the beginning of the installation, it is necessary to make a markup, in order to reinforce the plates. After marking, holes are drilled in the side of the bath. Carefully read the instructions on how to attach the mixer to the pipeline using connecting hoses and other components that come in the kit. Next, we glue the horizontal surface with masking tape to protect the surface from chipping and damage, apply marking and start to drill the holes that are necessary to install the mixer. After the holes are ready, remove it and process the edges with a special tool.
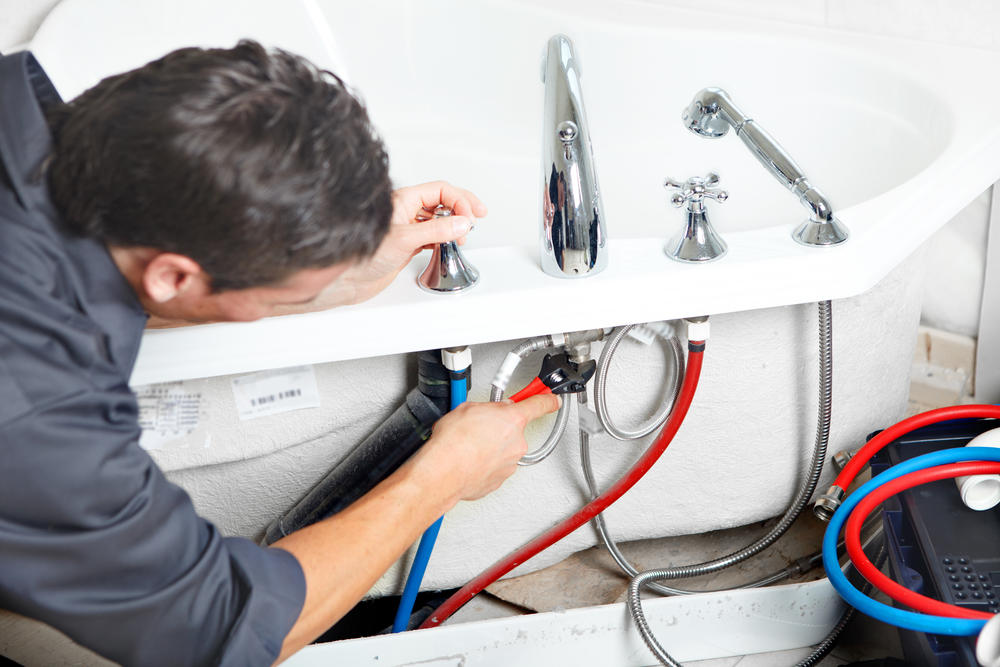
The next step is to collect all the details and fix them without using the keys.If the connecting hoses freely took their places, then everything is done as it should, and you can proceed to the final fixing of all parts of the mixer. The next step is to check the mixer for leakage.
The last way to install the mixer, recognized as the most difficult and expensive - to install the mixer in the floor. Even before the repair is done in your bathroom, you need to start laying two pipes for cold and hot water. Recesses are made in the floor in the size of the pipes, along these recesses are laid pipes to the place where there will be a bath. After this, the recesses are sealed, a floor screed is made and the tile is laid. Then we act according to the technology described above - we mount the mixer, check for leaks, etc.
Tips and tricks
Before you install a new faucet, you need to decide how many will be optimally convenient for you. In the event that your room is small, one is enough for you, well, and if the room is of impressive size, then several mixers will be appropriate and convenient. If you stop at the second option, then purchase all the products of one company.Be sure to take into account the weight of the mixer and the material from which it is made - these are very important characteristics. Good quality mixers are made of brass and bronze, cheaper ones - most often silumin. Produce mixers and ceramics, but these models are made to order.
The second stage is the choice of installation method. It all depends on your needs and material capabilities. Never take the time to install the mixer, approach the work responsibly, otherwise problems may arise. Installing a faucet in the bathtub is not that difficult, and if you do it right, it will last for a long time. Try to choose models of mixers that are under warranty service and be sure to check the equipment before purchasing.
Any thing ever fails or breaks. If your mixer starts to work poorly or is broken, do not be discouraged. Most likely, it is possible to fix it, for this you just need to know the device of the mixer and the cause of failure. There may be several of them - poor product quality, water pollution in pipes, high water hardness, which affects the components of your device.If your mixer is under warranty service, be sure to contact the store where you purchased it. You will either have it repaired or replaced with another.
The adjusting level can be made of an artificial stone. It is quite popular today, but the rate for such a device is significant. It is necessary to take this into account in your estimate.
To make your mixer last as long as possible, take a few basic tips into consideration. It is better to acquire such things from reliable manufacturers, and not cheap imitations on the market. The difference in price will be significant, but the quality thing will last much longer.
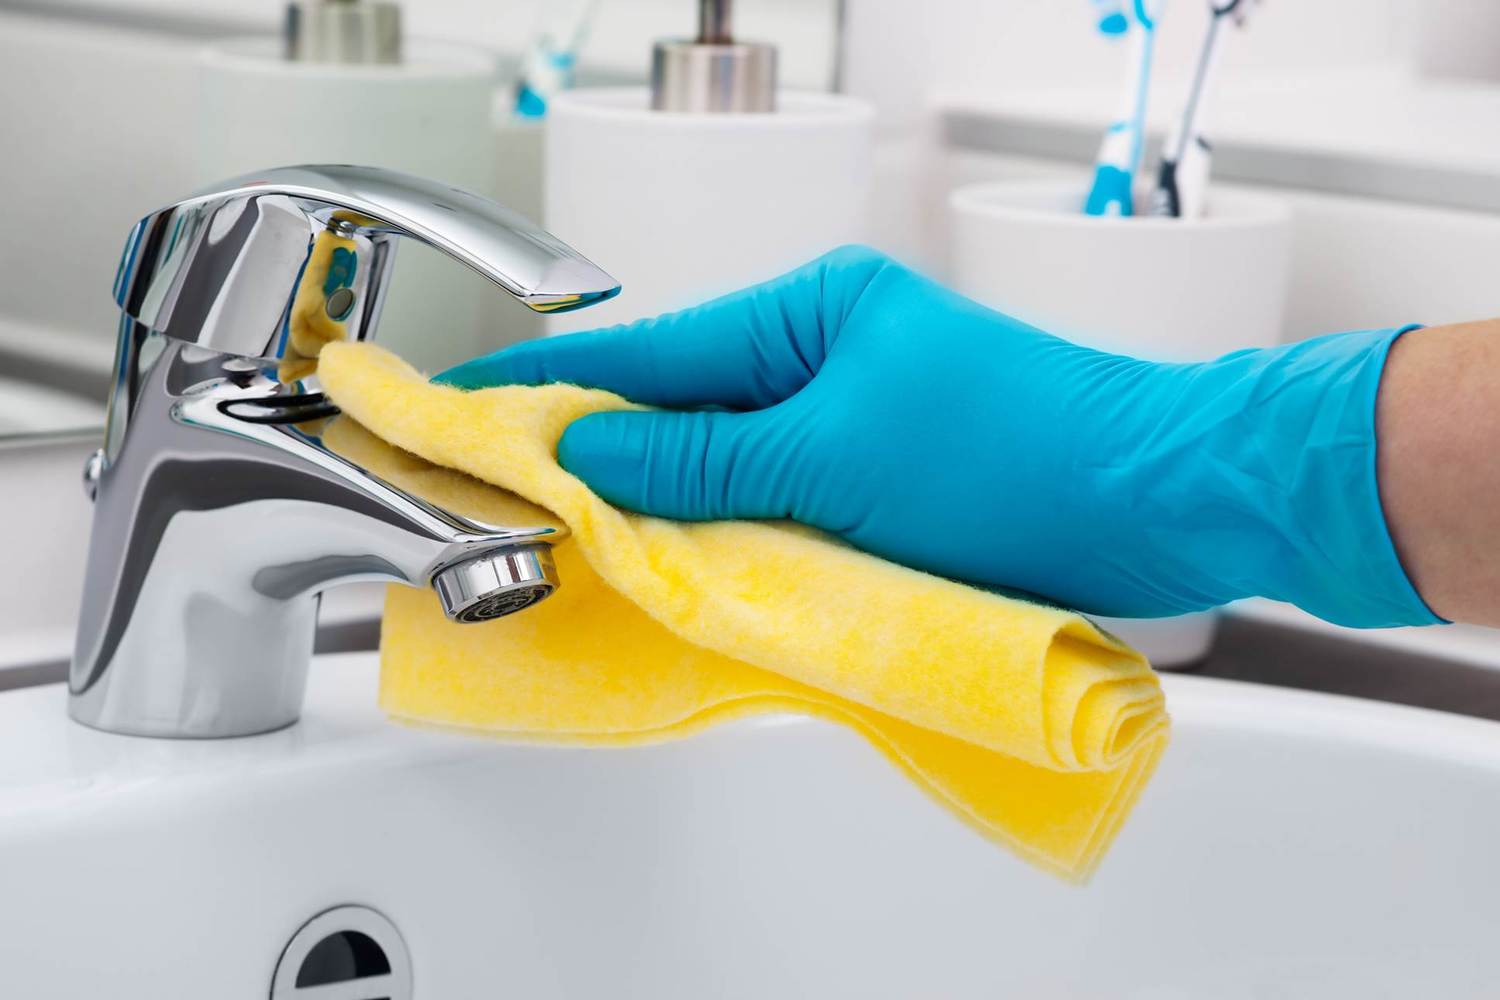
Do not forget that the plumbing requires care, which does not seem difficult to you, because modern manufacturers use for the manufacture of materials that are easy to clean. You do not need to use metal "hedgehogs", which will damage the top coating, and tools that have a lot of chlorine. In order to preserve the brilliance of your mixers for a long time, you need to use neutral products and ordinary soap. And if you can not remove plaque, then there is a very simple and cheap way - to use citric acid, which will very well and quickly cope with plaque and rust.All substances should be applied not to the surface of the mixer, but to the cloth, and to calculate the dosage, after carefully studying the instructions. Do not leave funds for a long time on the surface, even if contamination is strong. Better then repeat the procedure.
How to install the faucet in the bathroom, described in detail in the video.


