How to install a water filter?
The qualitative characteristics of drinking water from the central water supply leave much to be desired. In order to protect themselves as much as possible from the use of harmful bacteria, chlorine and heavy metals, cleaning filters are used.
Special features
Installation of the filter for water purification in the apartment or the private house can be made independently. Included in the assembly is an instruction manual, which provides a detailed diagram of the entire cleaning system, as well as a step-by-step algorithm for the work. Literally point by point, the developers explain how to assemble the structure and connect it to the general water supply.

In terms of their technology, the installation processes for different types of filters are almost the same.
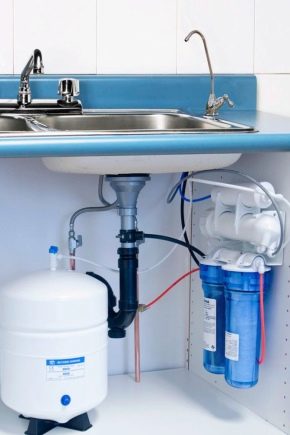
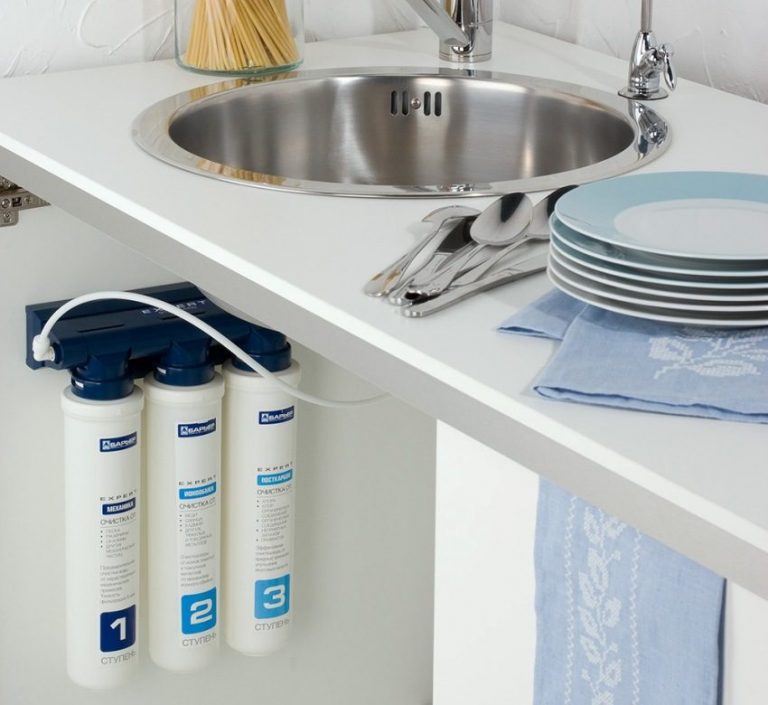
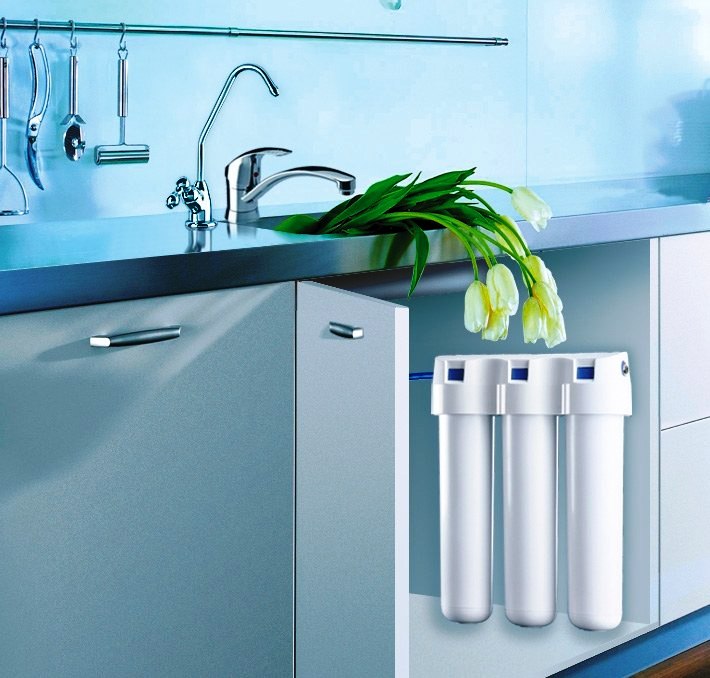
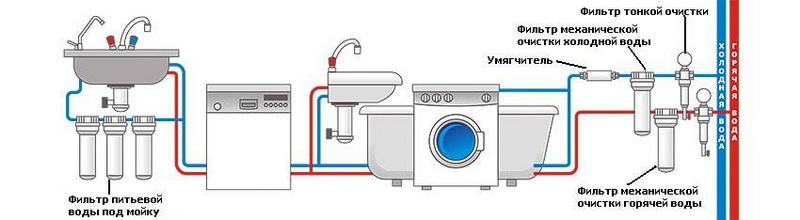
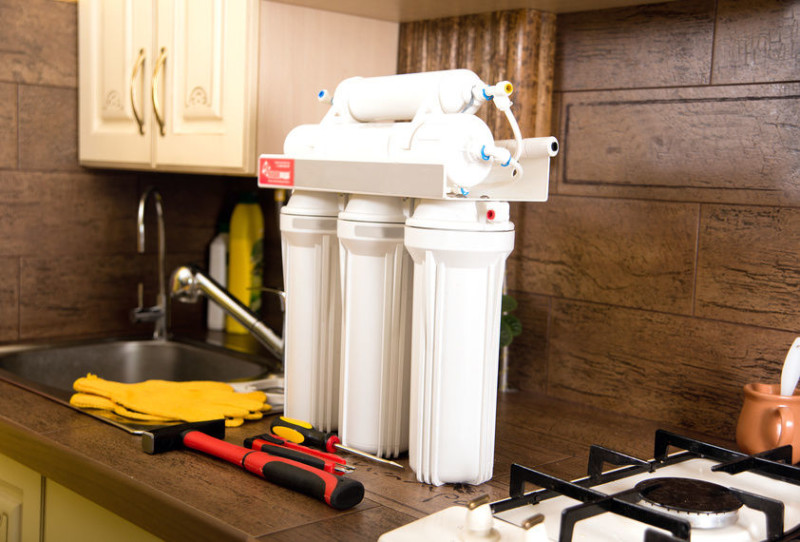
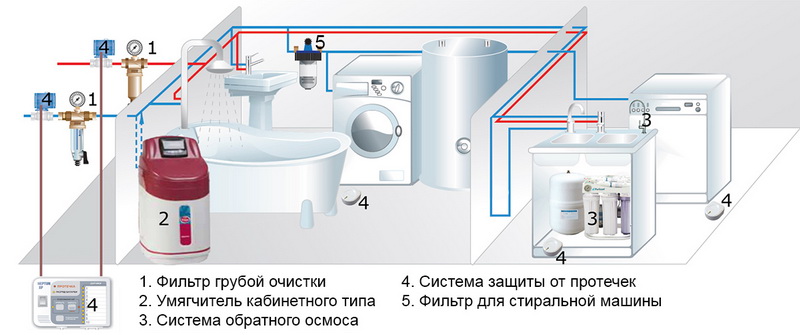
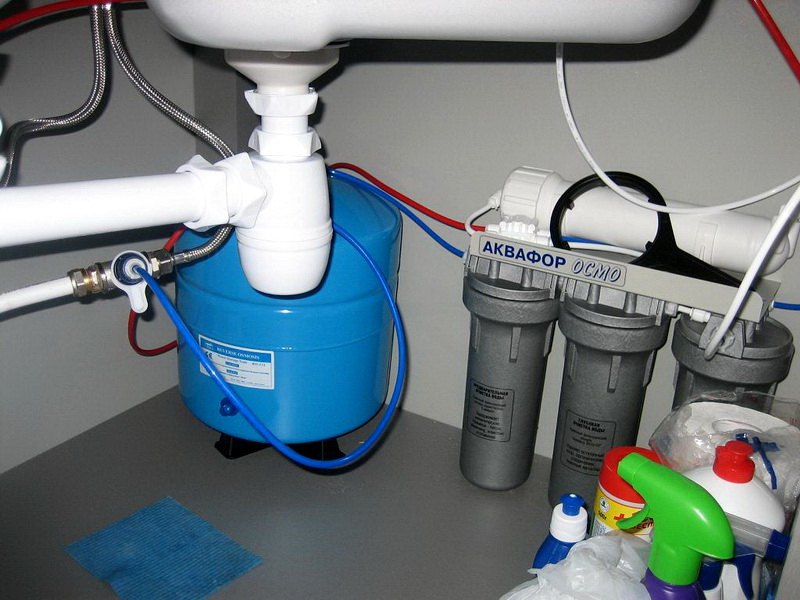
Modern filter systems allow their installation in a vertical or horizontal position. Widespread installation of filters under the sink or sink. It is of two types: flow-through version and reverse osmosis system. Popular companies for the production of filters and water treatment systems are "New Water", "Barrier" and "Geyser." Before proceeding with the installation, you should choose the most convenient place for further maintenance of the installed complex. After a certain time interval, the filtering elements are to be replaced; therefore, care must be taken to ensure unimpeded access to these or other blocks.
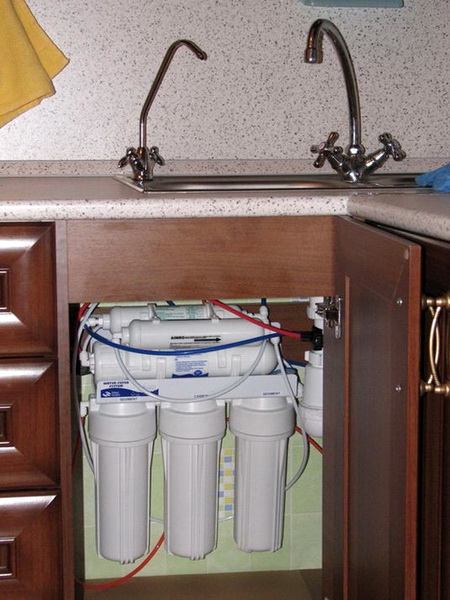
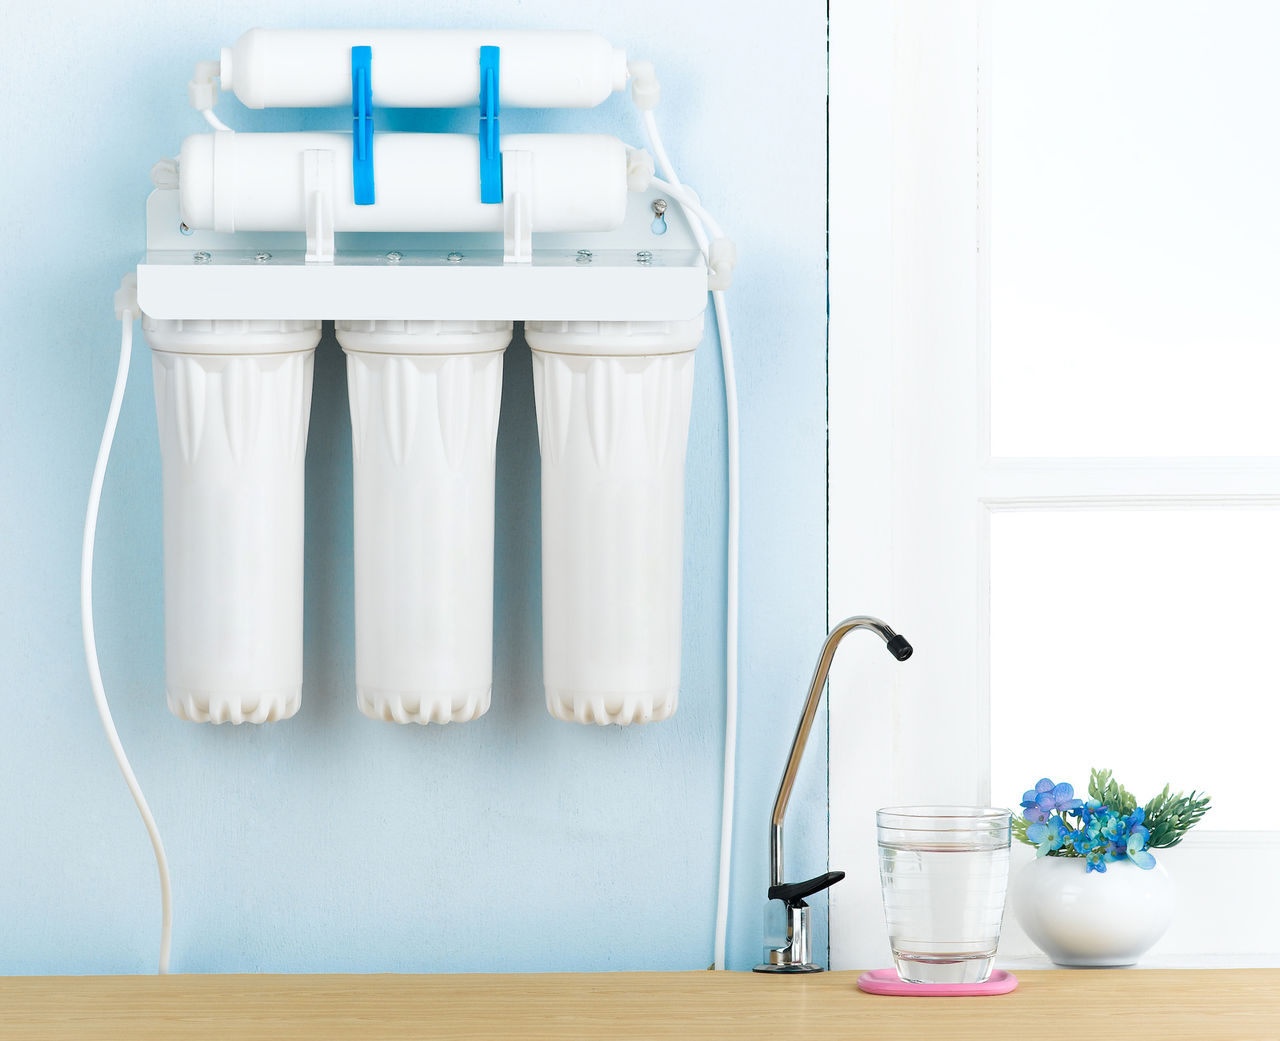
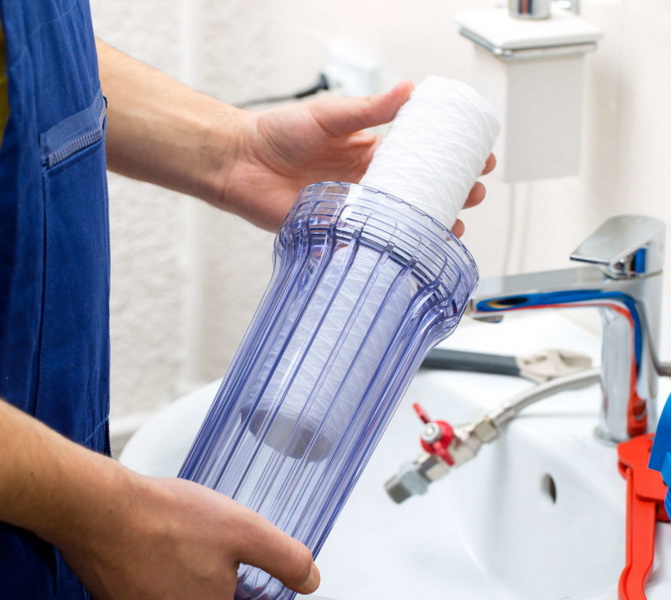
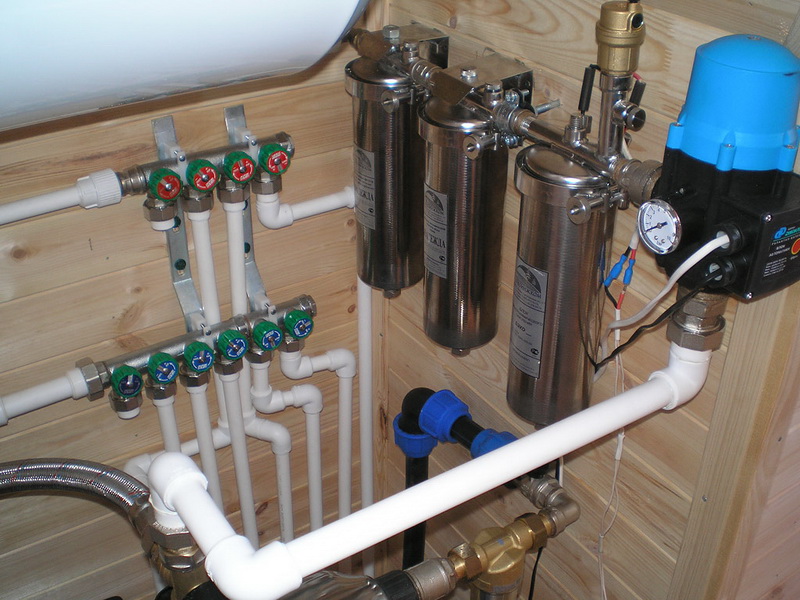
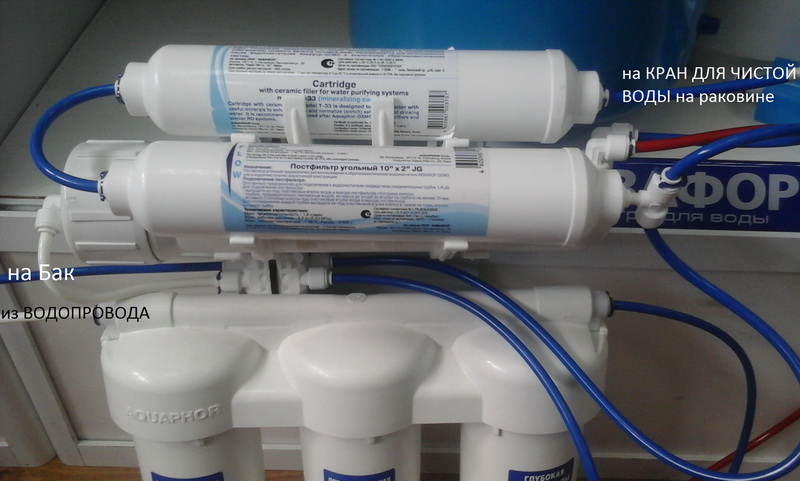
As a rule, the system installed under the sink includes from three to five sections. They are intended for the staged purification of water that has entered the apartment or house from the central water supply. The sections themselves are flasks equipped with cartridges. These flasks are made from plastic, steel or glass. Before purchasing and installing the entire system, a water analysis should be performed - get a conclusion of the sanitary epidemiological station.Having an accurate idea of the composition of the water in the house, you can make a purchase of cartridges with appropriate fillers to clean it. The whole system is connected to the ordinary water supply system, and as a result filtered water is supplied for drinking through a separately installed faucet.
Replaceable elements installed under the sink need to be replaced no earlier than after six months of operation. Having such a cleaning system in the apartment, the owner will be relieved of the need to purchase purified drinking water. However, all the components of the device for filtering water and the installation of the equipment itself are expensive, so you need to clearly understand that in the process of using cartridges or other elements, you will need financial costs to replace them.
Necessary tools and accessories
To install a water filtration system for washing yourself, it is enough to have basic knowledge of connecting plumbing to a common plumbing system.
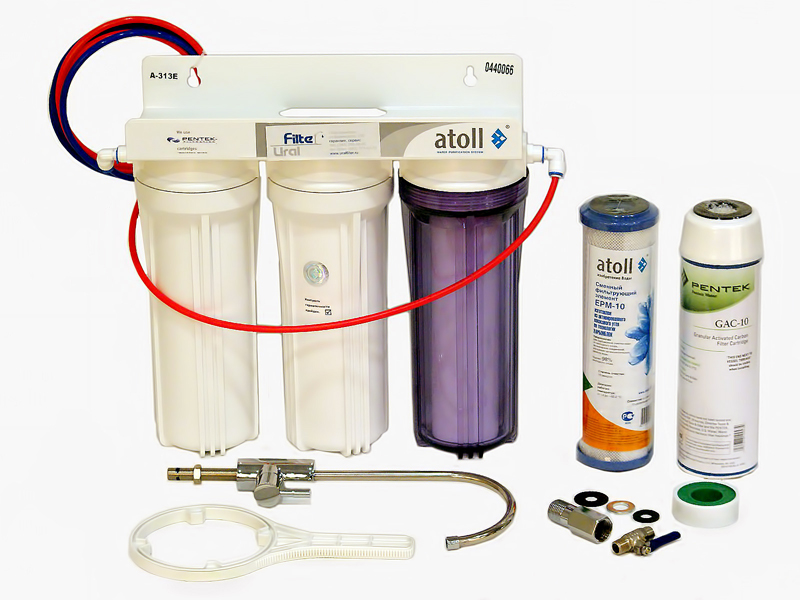
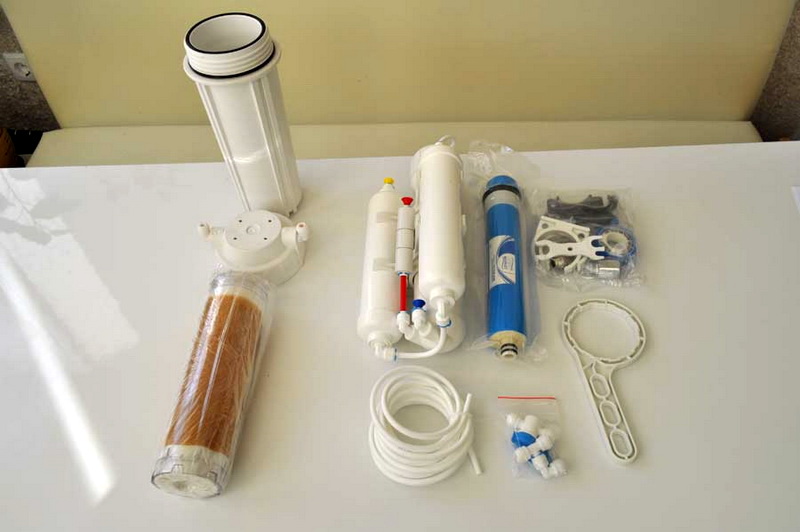
Any filter includes such components as:
- cartridges, each of which is placed in its plastic flask;
- connecting pipes (hoses) in the amount of 2 pieces - at the entrance and exit;
- fittings, key for loosening and replacing cartridges;
- brackets for fixing;
- gaskets;
- tap for filtered water;
- tee (straight cock);
- installation guide (instruction).
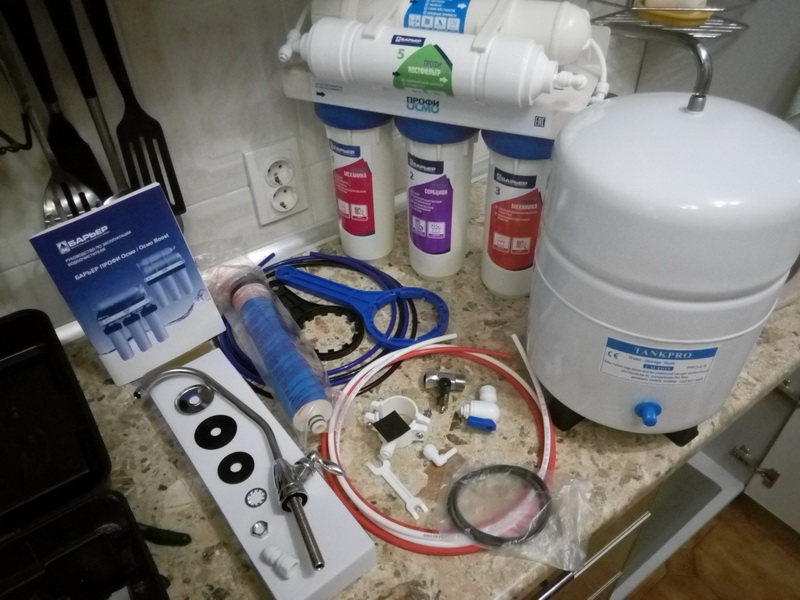
Some models of filter water systems include an accumulation tank. With it, water is evenly supplied through the diverting valve, even if the pressure in the pipes is low and the pressure is low.
For work you will need the following tools:
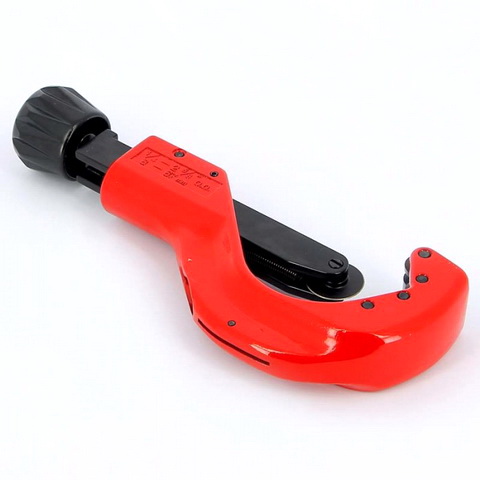
- pipe cutter;
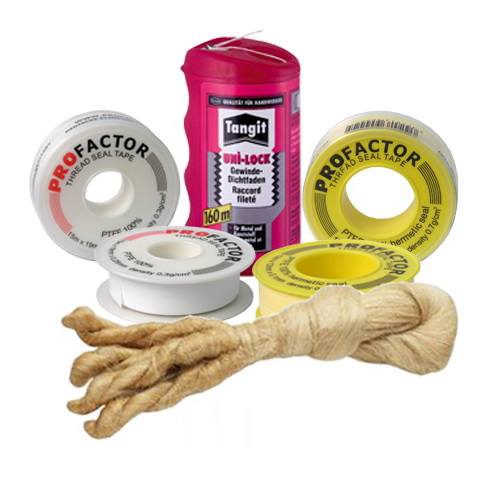
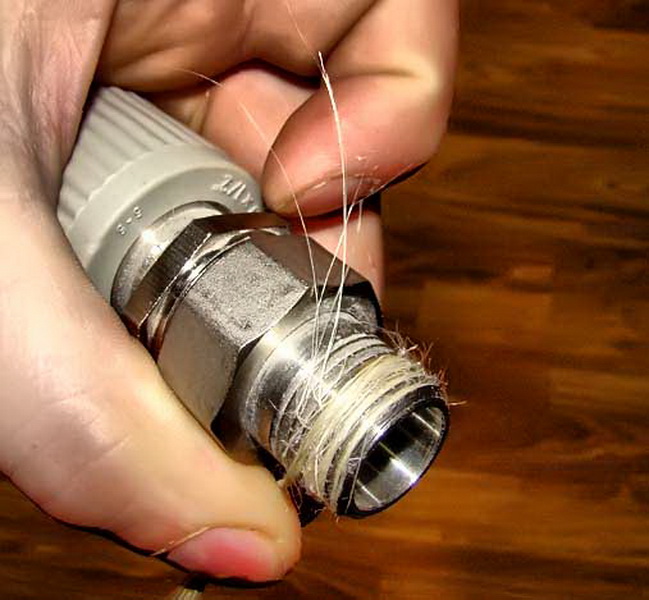
- tow and FUM tape;
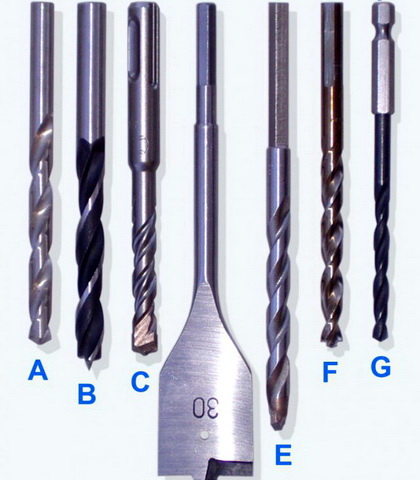
- drills with different diameters;
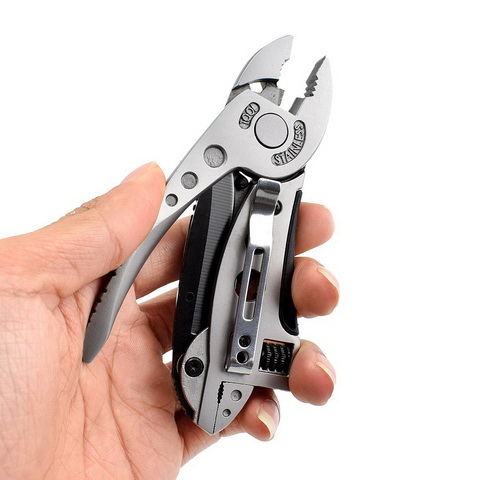
- adjustable wrench and knife.
Installation
The procedure for installing filters for water purification with your own hands is a sequence of the following actions:
- preparing the site for the installation and maintenance of the system;
- assembly of all components with the help of tools (including the preparation of a tap for purified drinking water);
- fixing the filter material on the wall of the sink;
- connecting the water filter to the water supply system (tie-in tee to the water supply network), connecting the water hoses;
- verification of the system after installation (flushing);
- launch of the structure.
In order to properly put the water treatment filters under the sink, you must comply with a number of conditions. First you need to turn off the water (shut it off). Drain the system will be through the knee sewer. It should not be blocked, otherwise it will need to be replaced. Any kit contains all the necessary components to install the filter. The box has a template (diagram) with a mark for fasteners. Such a template may be inside the package. First of all, they do the unpacking of the filter set and check its equipment.

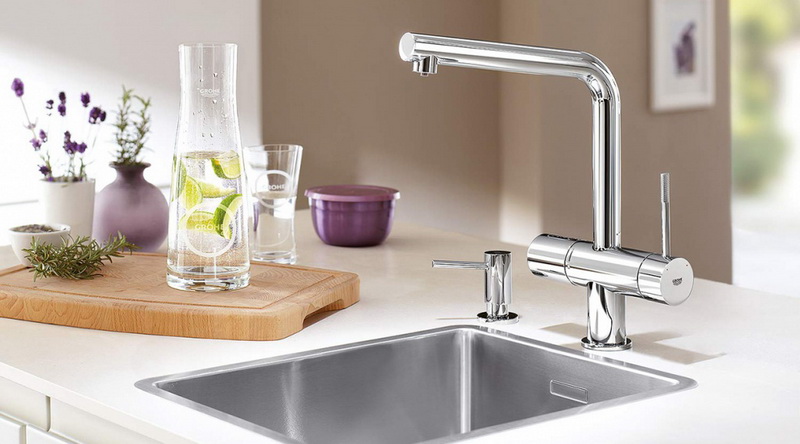
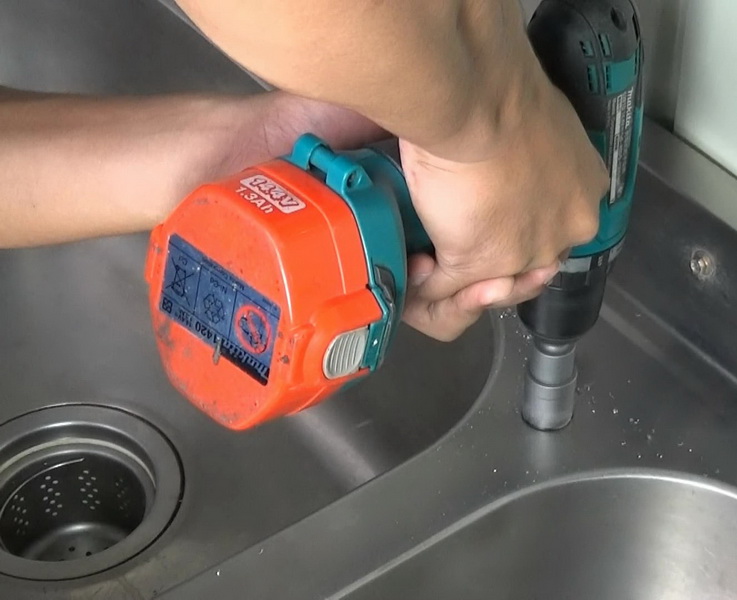
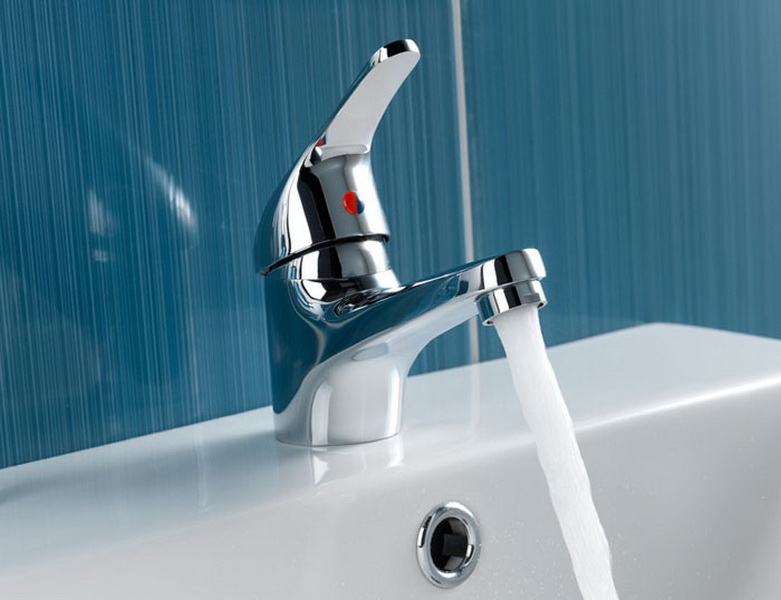
Then make installation of the crane for the filtered water. The opinion of experts is such that the crane should be installed not in the place of the usual, but a little stepping aside and placing it next to the stationary crane. In diameter, it is up to 10 mm. In the area designated for washing, a hole is drilled with a slightly larger diameter of the tap itself. A faucet can have a rod of various lengths - this is because its installation can be done on sinks of various thickness.
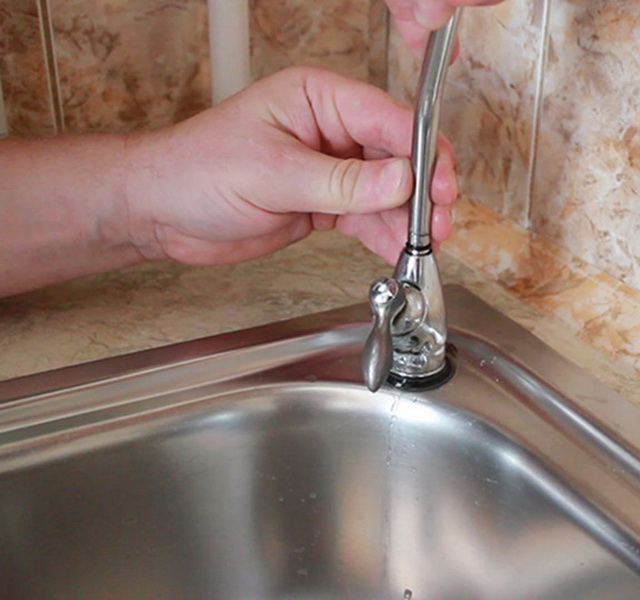
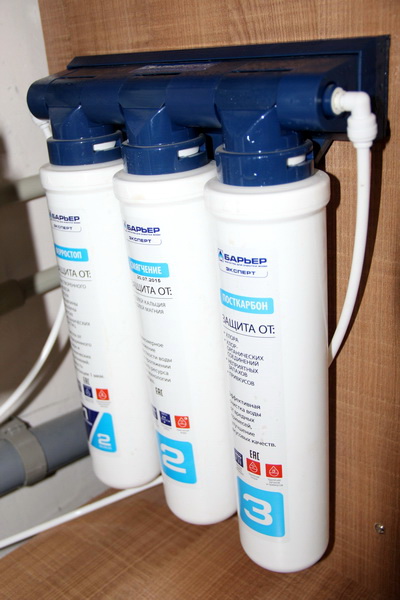
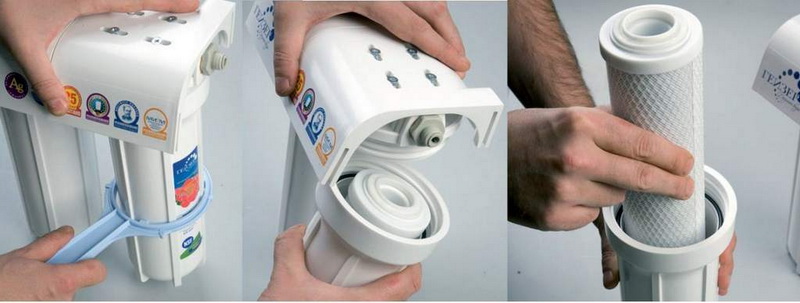
On the crane put on a decorative and rubber gasket (This is a part of the crane above the worktop), attach a rubber gasket and a plastic washer to the bottom, put a snap ring on top and tighten it with a nut, using an adjustable wrench. Take out the filter from the packing box.It consists of three flasks connected together. In cartridges different filling - fillers. In the middle flask there is a cartridge with coal. In contrast to the previous two, it is inserted into the flask in such a way that the coal is at the bottom.

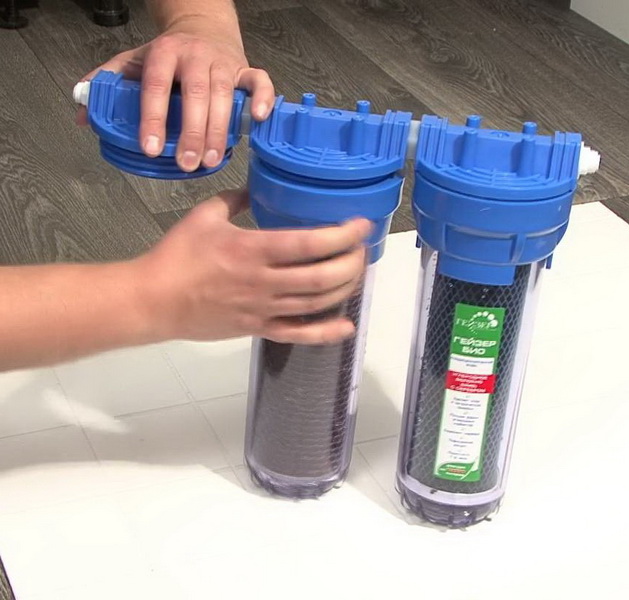
All cartridges are fixed seals that can not be lost if they are replaced, because it will be formed to flow due to water pressure. On the filter there are arrows for fastening the tubes to the entrance and exit. On the sides there are plugs. Unscrew the key carefully so as not to damage its body.
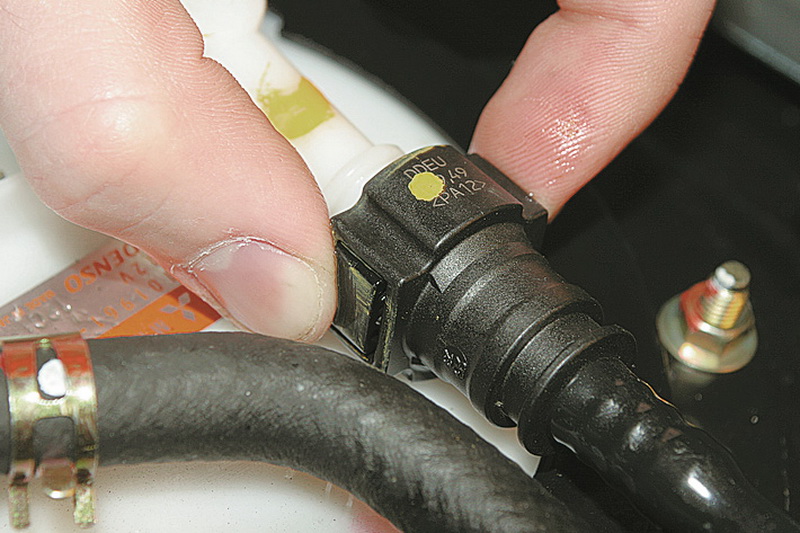
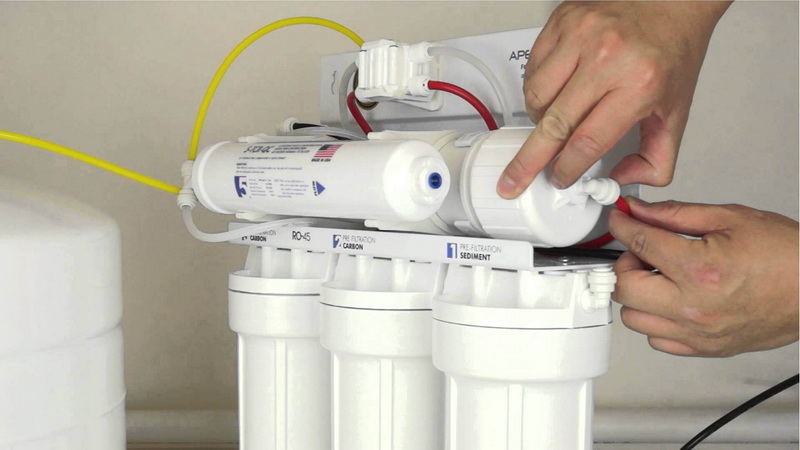
Then remove the plug on the side of the filter, where the output is indicated, and connect the hose. At the entrance and exit will need two hoses. One - the usual, and at the end of the second there is a metal tip - it is he who is put in the faucet near the mixer and is tightened with the nut previously put on him. Connect it to the faucet after installation under the sink filter. If it is necessary to disconnect the hose from the filter, then remove the retaining ring from the hose, press it and freely disconnect the hose from the filter.
The second hose is connected from the entrance to the filter - it is inserted into the tee (ball valve) on a half-inch thread and twisted in it eyeliner of the same size.In apartments where the mixer is connected to a rigid connection (copper pipes), a half-inch cap is placed on the ball valve or the threads are sealed with a FUM tape, and an additional tee is inserted into the entire system. In the case of collector wiring, a separate pipe from the collector goes to the drinking faucet - then there is no need to install a bushing valve.
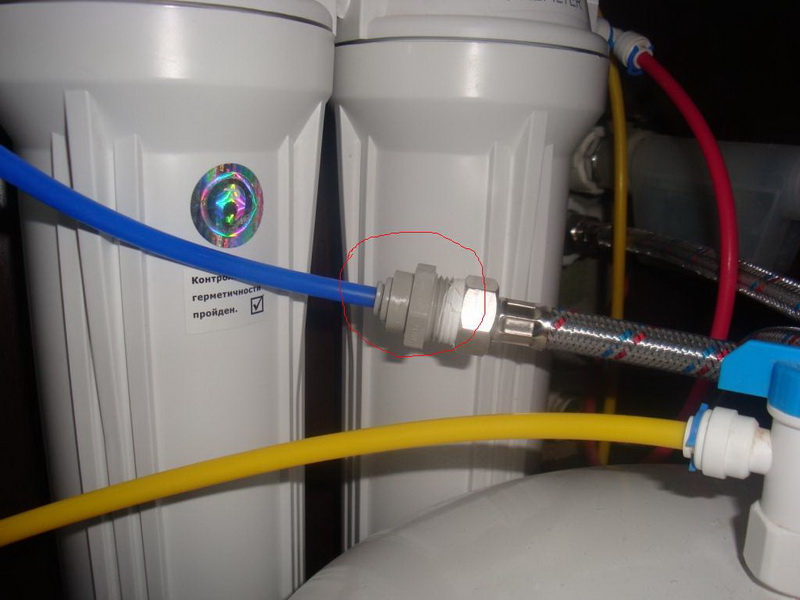
The reverse end of the second hose is inserted into the filter and, just like the first, is fixed with a retaining ring.
After the operations for connecting the hoses are done, a filter is installed under the sink. To do this, take a paper template and fix it with two screws on the wall of the sink. After that, the extra part of the paper must be removed - as a result, the points where the screws are screwed in will be clearly visible. The filter fixture is ready and you can hang a filter on it. After the filter is fixed at the sink, connect the two hoses. One of them is connected to the tap at the sink, and the other to the cold water inlet. To connect the second hose, connect the inlet to the filter.
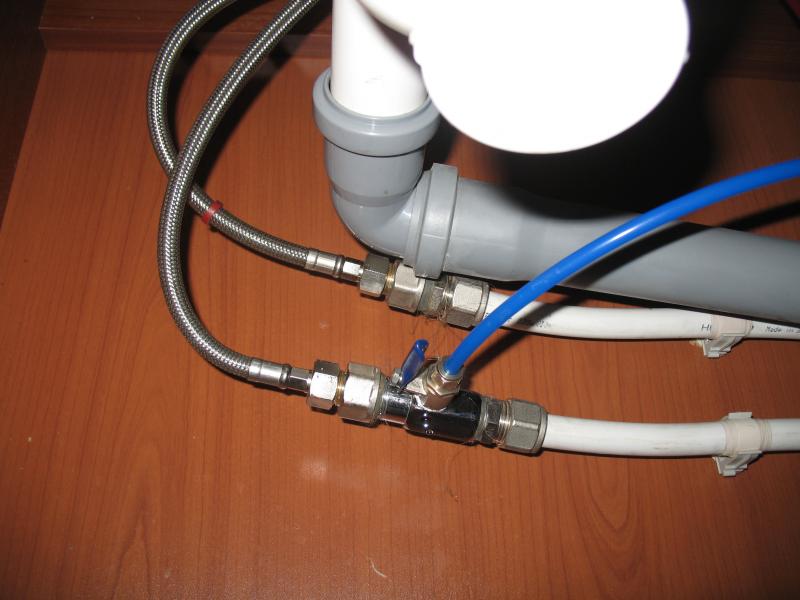
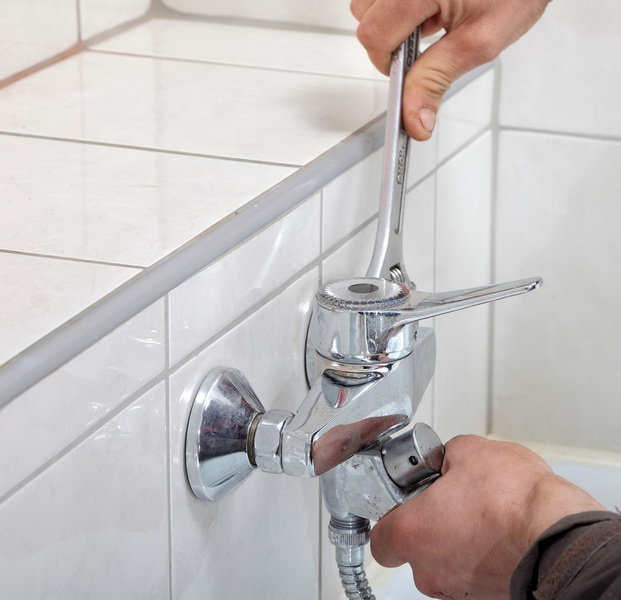
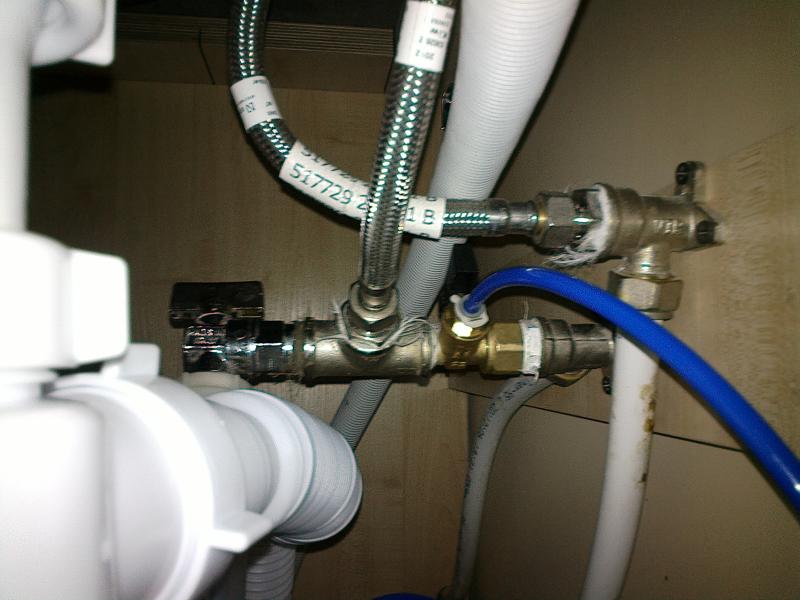
To do this, cut off the water supply to the apartment.The cold water faucet is opened and the water is drained — this is necessary to relieve pressure in the system. Under the hoses and the tap they put a rag or a rag into which the remaining water flows. Then unscrew the flexible liner. The tee (through-valve) is screwed on the cold water inlet. There is a gasket on the nozzle that prevents leakage and therefore no additional seals will be required.

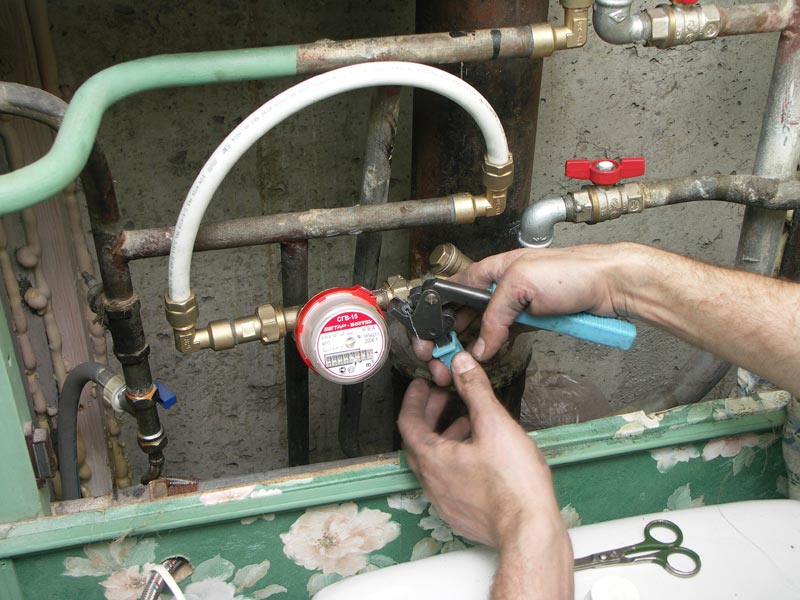
At the opposite end twist flexible eyeliner. After that, open the tap, and the water flows into the mixer. At the entrance to the filter insert the reverse end of the second hose and fix it with a retaining ring. The system takes a complete look. In order to ensure the reliability of the design and get clean, suitable for drinking water, the entire system is checked for leaks and make it flushing.


To do this, open the tap under the sink, and let the water. Carefully check all connections - inlet and outlet to the filter, as well as the presence of water leaks in the area of each filter flask. Carefully inspect the location of the through tee and flexible liner. In the absence of a leak, the entire system is started up for pre-flushing: the faucet installed at the sink is opened and the water is flushed for 10-12 minutes.
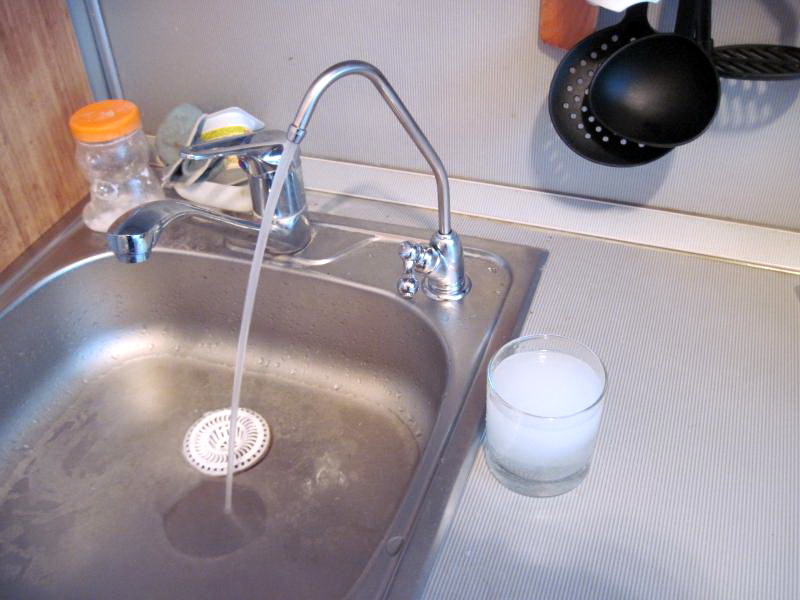
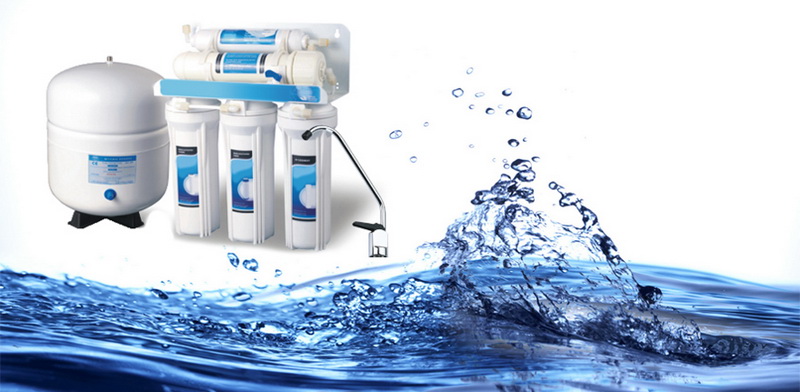
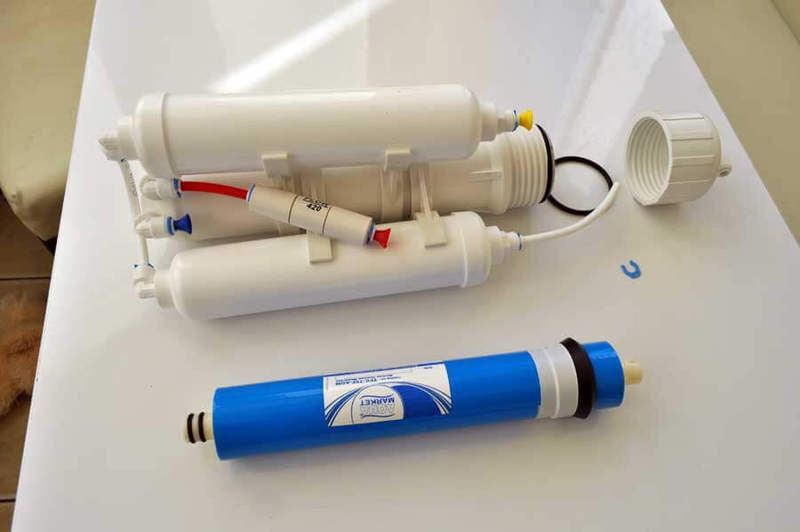
This completes the installation and preparation process for the further operation of the cold water purification filter. You can use the system. A popular cleaning water design is considered a reverse osmosis system. Additionally, in its kit, unlike a conventional filter, there is a membrane, a storage tank, a bioceramic cartridge and a mineralizer. Membrane protection allows discharge of polluted water into the sewer pipe and allows only clean drinking water to enter the filter faucet.
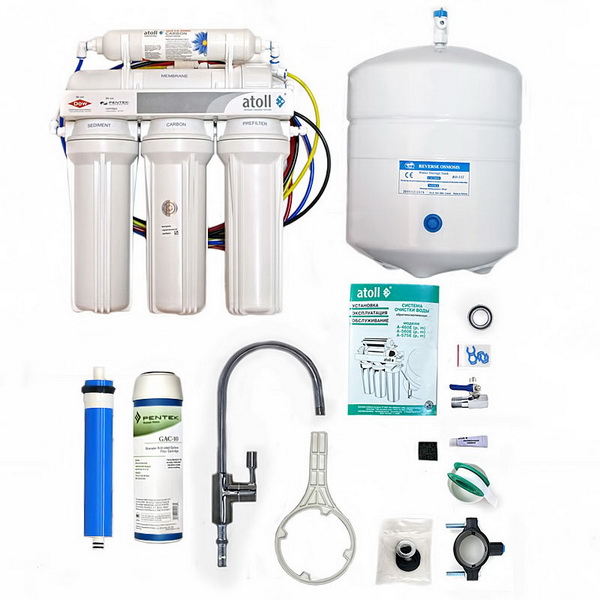
In reverse osmosis, water is divided into two streams. The first stream contains pure water, and the second - water with harmful elements. Only water molecules or particles of the same size penetrate through the membrane. Included are three flasks, one of which contains carbon filler, which allows to hold bacteria molecules. When water is filtered, its purification reaches a high level. Along with harmful substances, part of the useful water molecules is also removed. To compensate for the losses using an additional filter with a mineralizer. Water passing through itsaturated with healthy substances and acquires the taste of spring water.
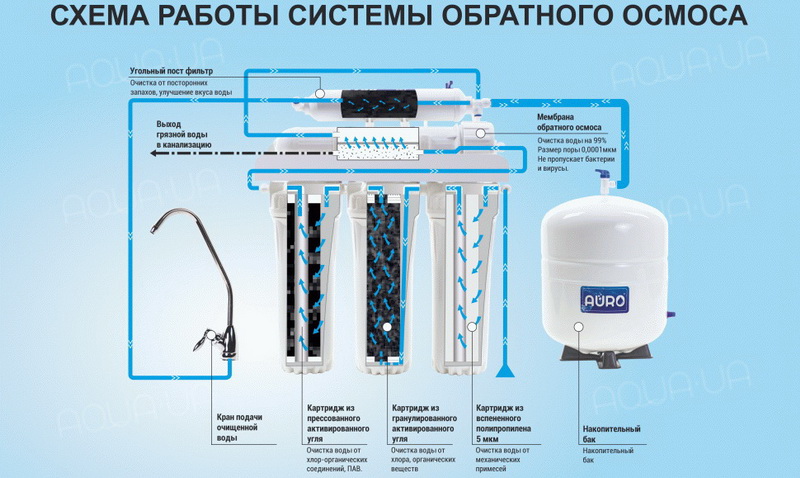
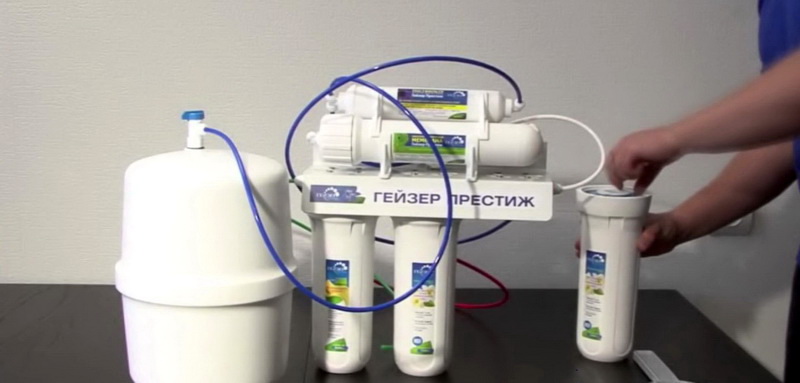
First of all, they make a tie-in into the central water supply pipe and connect a hose to it. On it, the water moves to the pre-filters, and from them the liquid flows to the membrane. From the case where the membrane is located, two pipes move, one of which is connected to the sewage system, and the other is designed to supply water to the expansion tank - water accumulates in it and also replenishes it to the full volume of the tank.
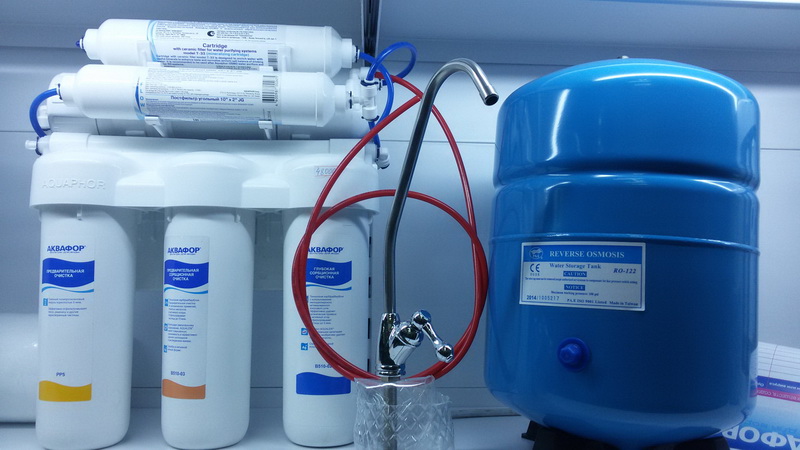
The set can be a tee for tapping into a water pipe - it is installed between the supply pipe to the cold water tap and the tap itself. The storage tank should be mounted using a stand. It is also attached to the brackets. When there is not enough space under the sink to install it, the tank is mounted somewhere at a close distance, for example, in a kitchen bedside table or cabinet. Then regulate the pressure in it, which should not be less than 0.95 atm. The readings are measured with a tonometer - with a low pressure it is increased (do pumping).
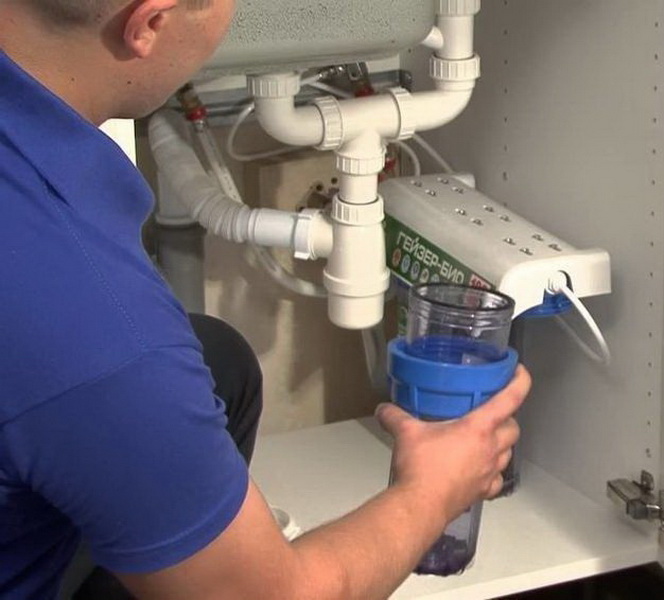
After the tank is installed, they are engaged in the assembly of the preliminary filtration unit. Spend fixing membrane filters. After that, all parts of the system are interconnected by tubes. At the end of the connection, they check for tightness of the whole structure and make it start. The installation of such a system is very similar to the installation of a conventional filter. Replacing the cartridges is done independently: first you need to turn off the water, unscrew the filter flask under the sink, remove the cartridge and change it to a new element. After that, you need to install it in place in the flask, screw and resume the water supply.
All filters for clean water differ in appearance. The component materials included in the installation kit are for the most part identical to each other. The Akvafor company is engaged in release of additional elements on filters. As is known, the cartridges in the filter flasks can differ in different systems and perform different functions for water purification (for example, remove heavy metal salts or chlorine).
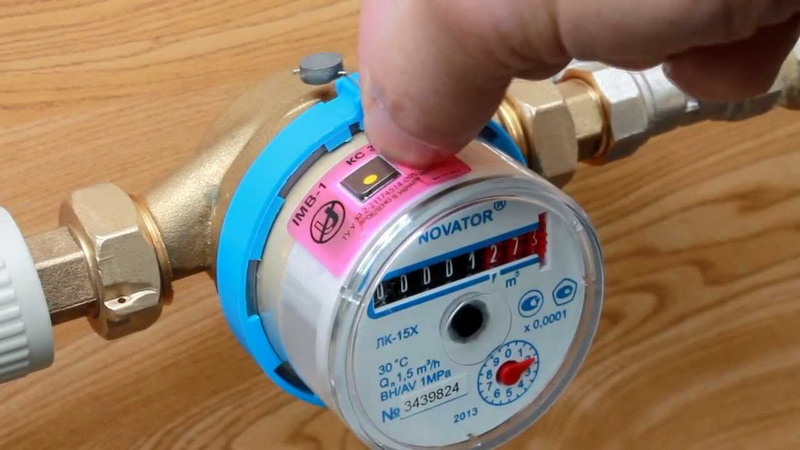
For different cartridges, their life is different. Installing an electronic indicator (counter) between the faucet of clean water and the filter will give the opportunity to monitor the life of each cartridge.An electronic meter with an indicator by means of sound reminds of the need to replace a particular cartridge when its usage time comes to an end. Also, with the help of an electronic meter, water consumption and the usage time of the cartridges are controlled. It can be set according to the number of filtered liters of water - in this case it will display how many days are left until the replacement. Another positive aspect of this attribute is its ability to influence the rate of water filtration.
Tips
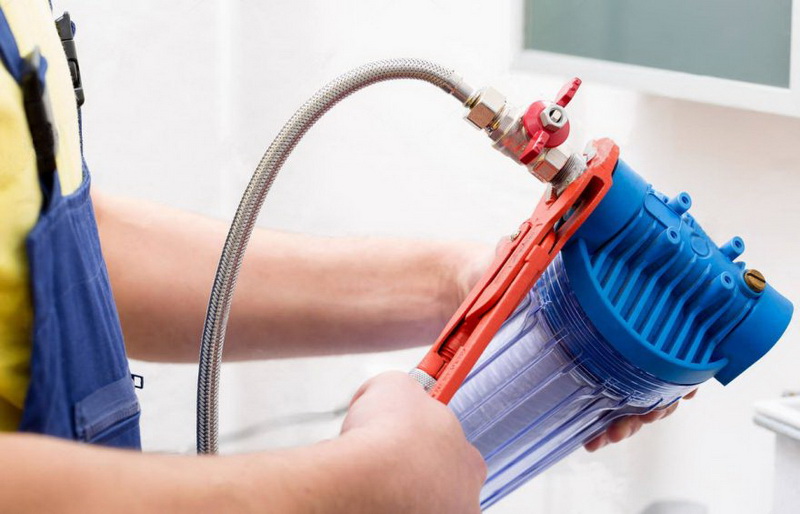
Professionals involved in installing water filters in apartments and private homes often provide useful tips on the proper operation of systems and their preliminary preparation for work. For example, if the filter flask is stuck and it is impossible to unscrew it, then it is best to use a puller for automotive oil filters. In order to rarely replace cartridges, you should pay attention to their labeling when buying. For example, the replacement of cartridges made of a material such as polypropylene is made more than once a year - it depends on the hardness of the water.
There are cartridges that change at the same time once a year. and no matter what the quality of water in the apartment. Manufacturers recommend that cartridges with carbon filler in filters be soaked in water for several hours so that all coal dust is completely washed out. Also, instead of soaking, the cartridges can be washed with a large pressure of water for 10-15 minutes. Coal dust in this way will be removed - this will prevent clogging of other cartridges in the following stages of filtration.
When a membrane is provided in the construction (with reverse osmosis) and a storage tank is present, the membrane is removed from the system, and the tank is blocked from the water supply by a tap. Then a large amount of water is supplied, which helps to remove unnecessary elements from the cartridges. The membrane is returned to the site after washing the structure and connect the storage tank. For high-quality water purification it is necessary to maintain the filter in the most favorable conditions during its operation. Connecting hoses must not be bent. If it is necessary to change the cartridges, then the flasks in which they are located should be washed with a soap solution and a large flow of clean water.
During the operation of the system, water can be supplied from the tap with a bitter aftertaste.Worry about this should not be, as in the cartridge may be composition for the removal of salts. You just need to flush the water. Such water flows into the tap for a short time and becomes completely transparent in a few minutes.
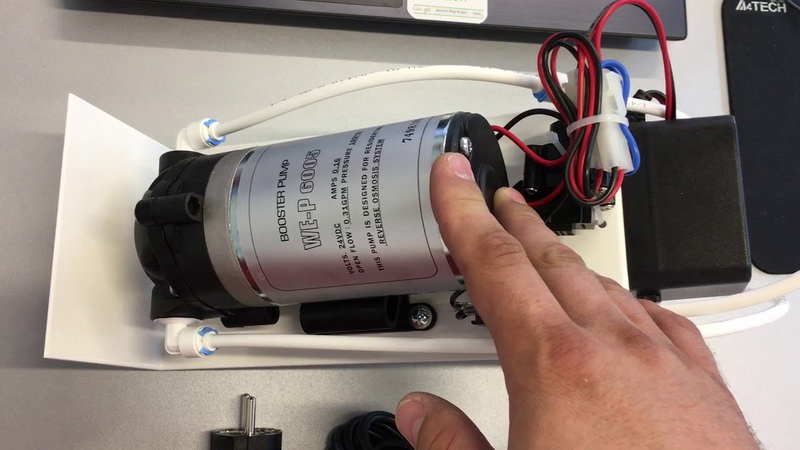
With excessively rapid contamination of filters intended for pre-treatment of water (rusty water), there is a problem of accumulation of mucus in the cartridges. This does not allow the system to work properly. The reason for this condition may be the presence of low pressure in the network of central water supply. In order to get rid of this kind of inconvenience, you should use a pump that can increase the pressure.
If the owner is not sure that he will cope with the task of installing a filter for purifying drinking water, then it is better for him to contact the craftsmen or companies involved in installing such systems in apartments and private houses. Properly installed filtration system and the presence of clean water in the faucet will provide an opportunity to maintain health for many years.
How to install a water filter for yourself, see the next video.


