How to paint the ceiling with water-based paint?
Repair work related to the finishing of the ceiling structure is of particular importance, since this surface is always visible, so any defect will be immediately visible. Finishing the ceiling can be carried out using a variety of colors, but the most popular today is water-based, as it is not only easy to use, but also safe. But do not forget that this paint has its own characteristics, which consist not only in the composition, but also in the methods of application to the surface.
Features of the coloring composition
The main component of water-based paint is water. It is in it that the particles of a substance are dissolved. Some give a shade to the surface: these are pigments, while others contribute to the formation of a protective film.After applying the composition to the surface, the water evaporates and the substances dissolved in it form a durable film.
The composition of the paint may include a variety of substances.that improve the properties of a particular type. As additives, thickeners, antiseptics, antifreeze, defoamers and other additives are used.
The source of white is most often zinc oxide. Sometimes titanium dioxide is added. In inexpensive stamps they use, like many years ago, chalk. Also, minerals such as barite, calcite, mica, talc are used as dyes. In modern paints, as a rule, minerals can add in a complex, thus improving the properties of paint.
All water-based paints have a percentage of incoming substances, where the share of the foaming agent is 50%, the share of pigments and fillers is 37%, plasticizers 7%, and other additives about 6%.
Species
To date, there are several varieties of water-based paint.
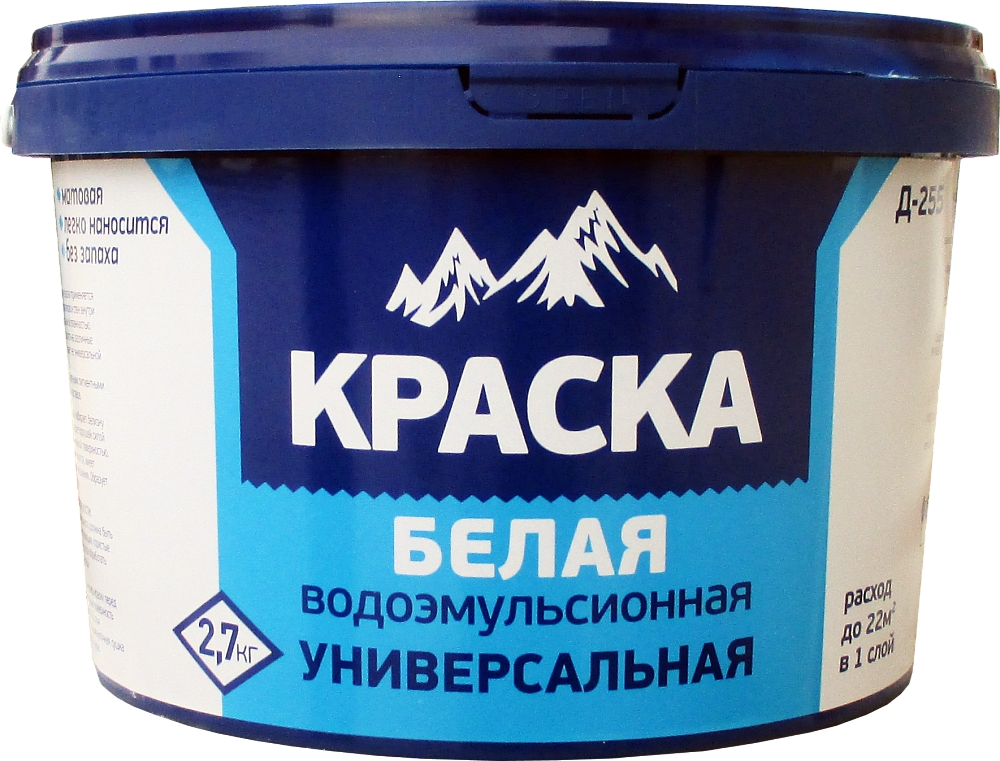
The most inexpensive are those that include a substance such as polyvinyl acetate. Emulsion based on polyvinyl acetate is used mainly in rooms with low humidity levels, since this composition does not tolerate moisture: the surface treated with them can not be washed.
For concrete and stone areas use paint, which includes liquid glass. This type refers to silicate paints.

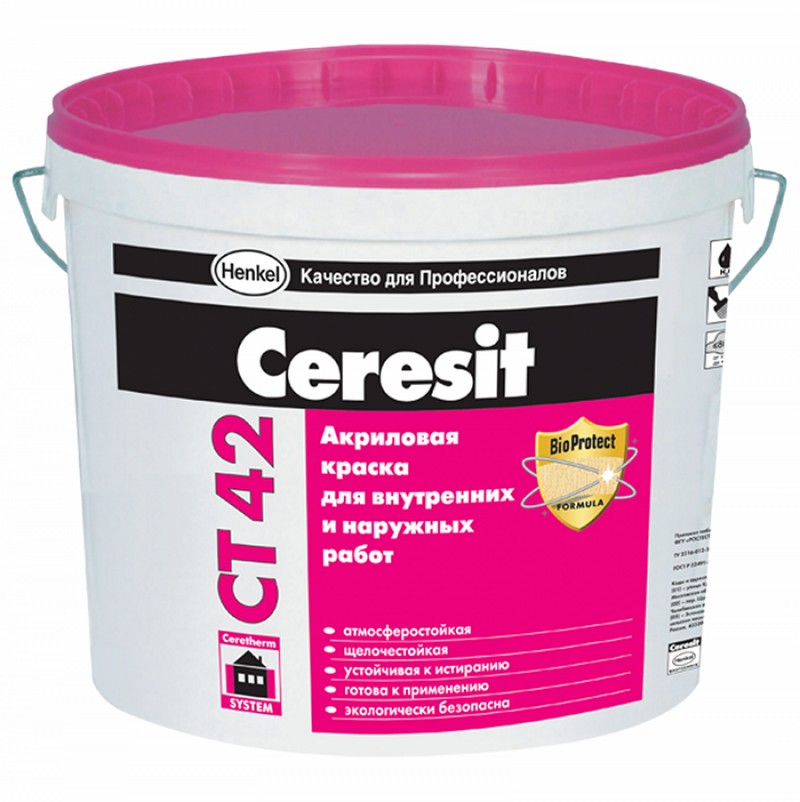
Paints, which are basically silicone, can even out the surface with small cracks (up to 2 mm) without pre-treatment. The ceiling treated with silicone paint is water resistant, so it can be used for the kitchen or bathroom.
Emulsions with acrylic resins are suitable for any surface. The ceiling will turn into a flat surface that is resistant to moisture, temperature changes. The composition of acrylic paints allows you to hide small cracks, and the surface itself is resistant to the influence of gentle detergents.
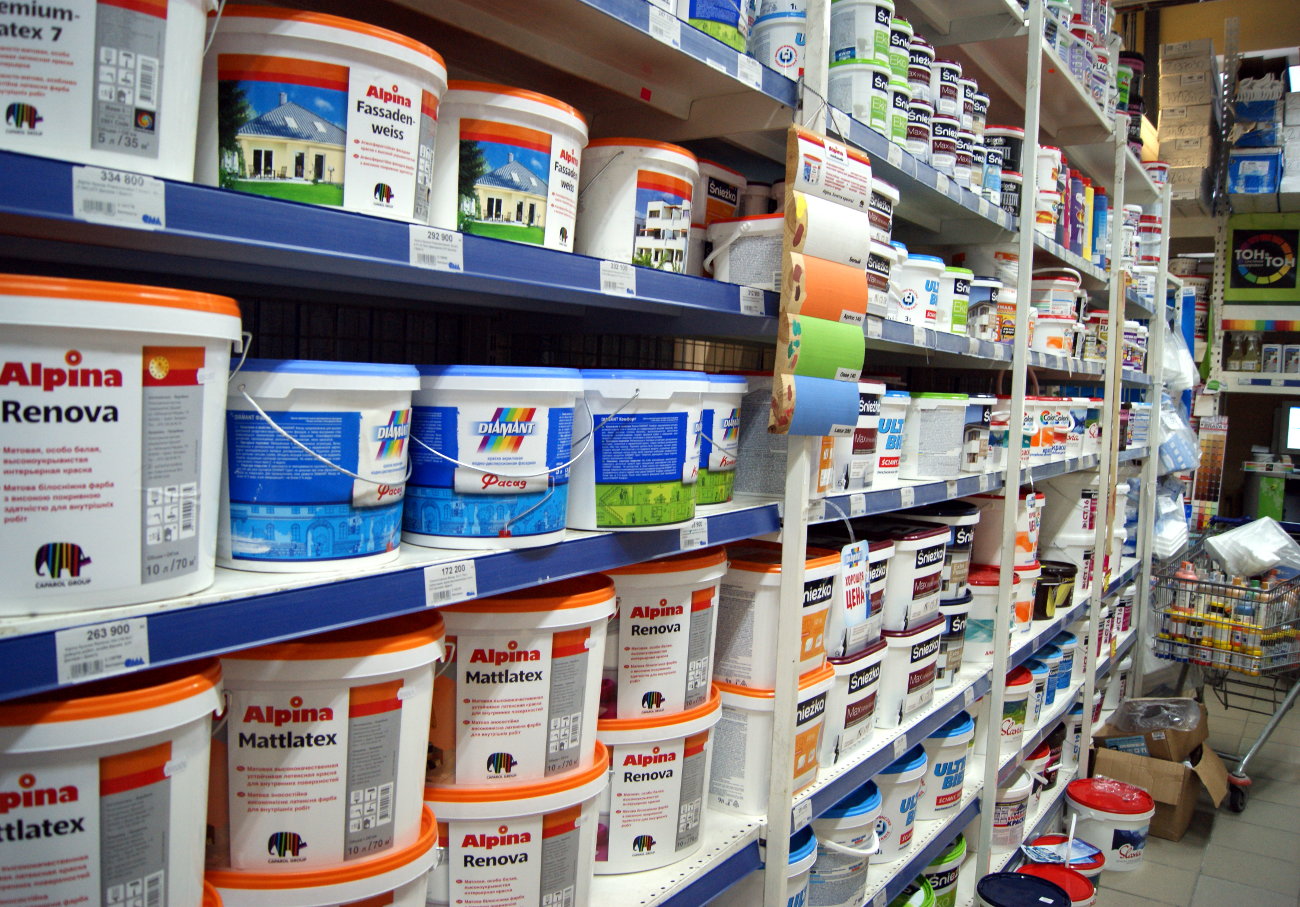
How to choose?
In order to choose the right paint, you need to pay attention to its characteristics, indicated by the manufacturer on the can with this composition.
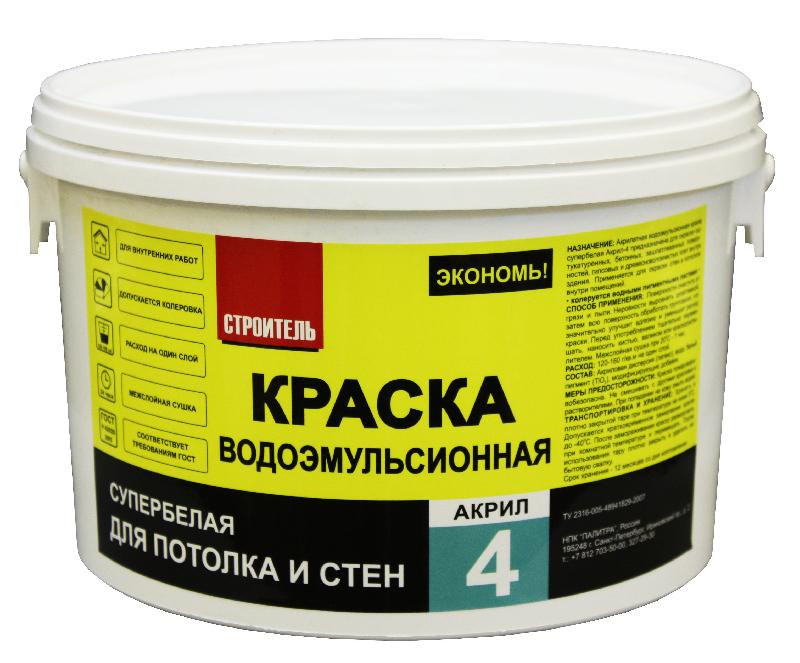
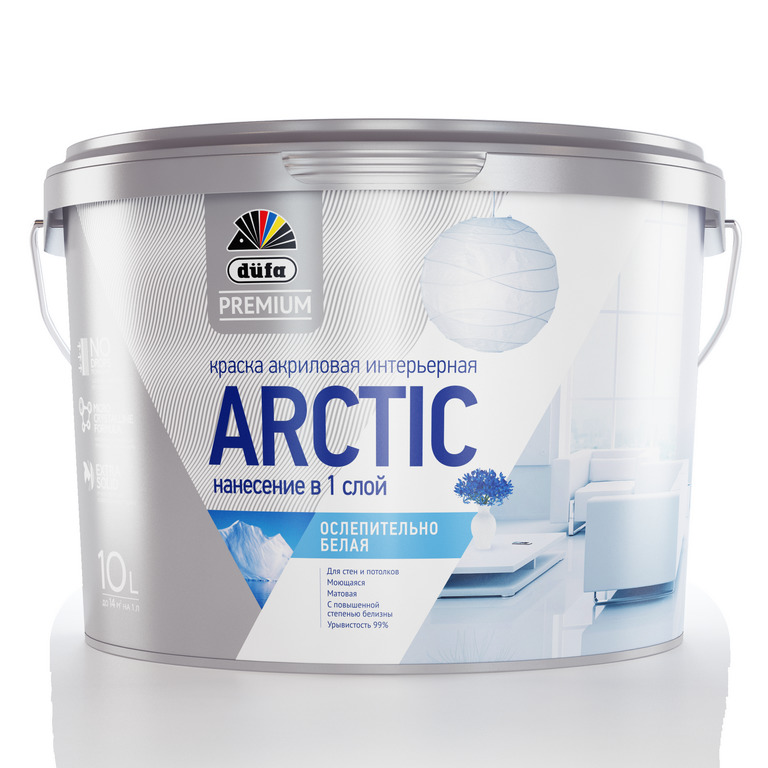
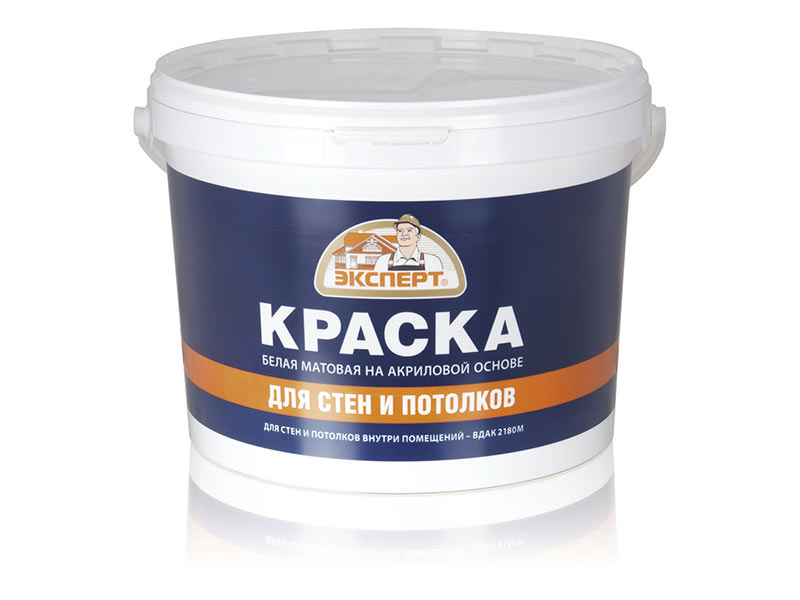
Manufacturers usually indicate paint composition and material type.for which it is intended. For surfaces of concrete, brick, stone, wood and drywall, there are different types of emulsions. The most versatile is acrylic paint.It is suitable for processing any surface, including for painting ceiling tiles. After all, it is not always possible and the desire to change the ceiling surface completely, sometimes it is enough just to update it, and the paint with acrylic resins perfectly cope with this task.
Manufacturers always indicate in the annotation for which premises the paint is suitable. Here, an important role is played by the level of humidity of the room and the degree of the required surface resistance to detergents. Antiseptic and antifungal components in the composition of the emulsion are of great importance if the ceiling is in a room with high humidity, which includes a bathroom. The presence of these components will protect the surface of the ceiling from mold and will extend the service life.
The choice of paint depends on how you can care for the ceiling surface after painting. Manufacturers produce three types of composition, which determine the way to care for the ceiling surface.


The composition forming the washable cover is not suitable for wet cleaning, therefore, the maintenance of such a ceiling can only be done with a dry cloth or vacuum cleaner.The remaining two types of indelible composition tolerate wet cleaning. One type of composition does not tolerate the effects of detergents, so the surface of the ceiling is cleaned with plain water. And the other composition is resistant to cleaning agents, so the ceiling can be washed using a suitable tool.
Equally important when choosing an emulsion is the degree of gloss of the ceiling surface.
Manufacturers produce a large variety of colors, giving the surface a matte, semi-matte, deep matte, glossy and semi-gloss tint.

The matt surface is a suitable option for rooms where it is necessary to visually increase the height of the ceiling.
She also helps to hide some of the small flaws of the ceiling. But it is worth remembering that the care of such a ceiling is somewhat more difficult than the glossy. The glossy surface has a more presentable appearance, it lasts longer, but any defect on it is noticeable. The golden mean is the choice of emulsion, giving a semi-gloss or semi-gloss surface to the ceiling.

Coverage (density) depends not only on the composition of the paint, but also on the material covered by the emulsion.The more uneven and loose the structure of the material, the more the mixture will need to cover the ceiling surface.
When buying paint more than one can, you should pay attention to the lot number: it affects the shade of the mixture. All purchased banks must be under the same number in order to exclude differences in shading on the ceiling surface.

Required tools
For painting and preparing the ceiling surface, you will need to purchase a number of tools that you cannot do without during all the work.
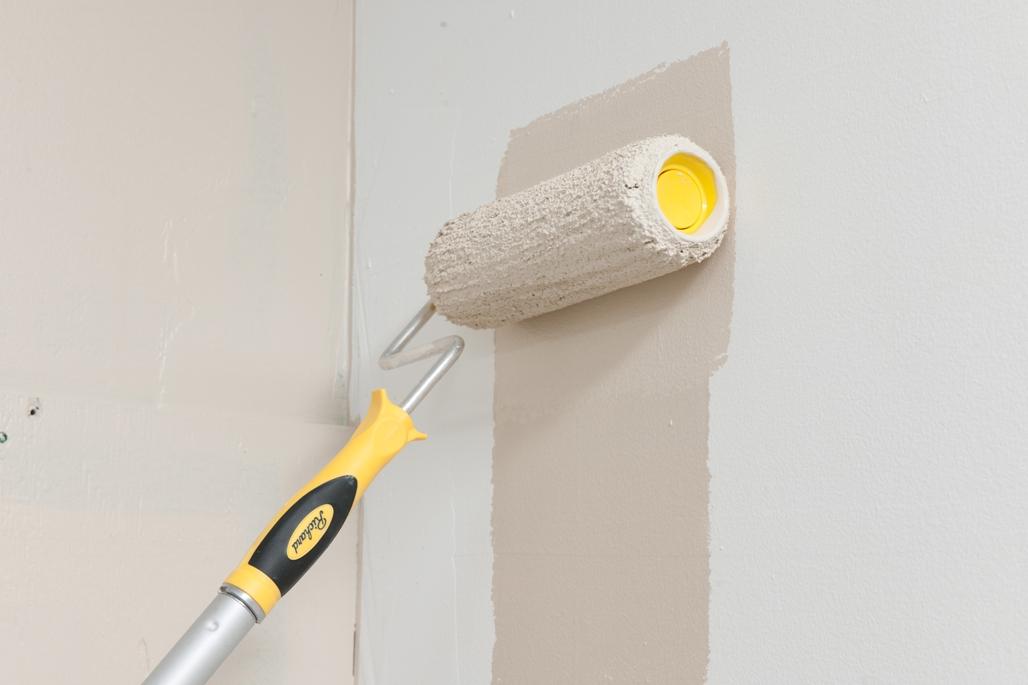
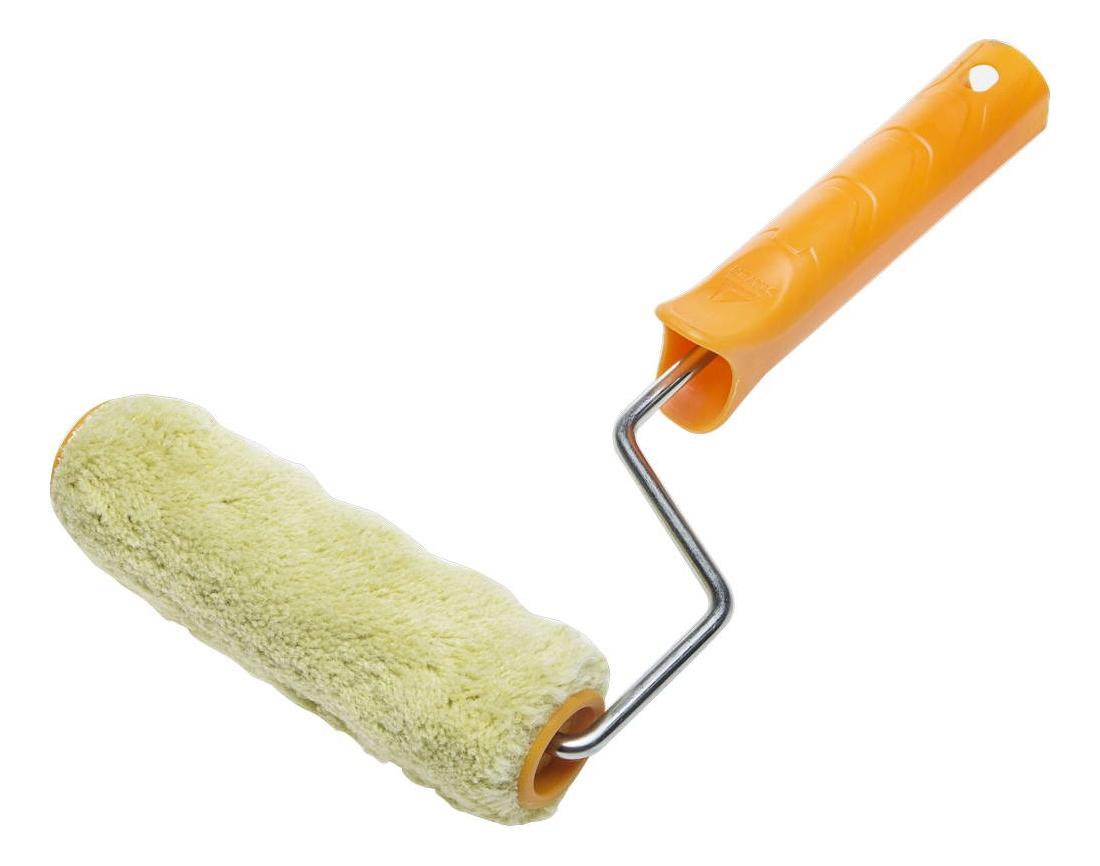
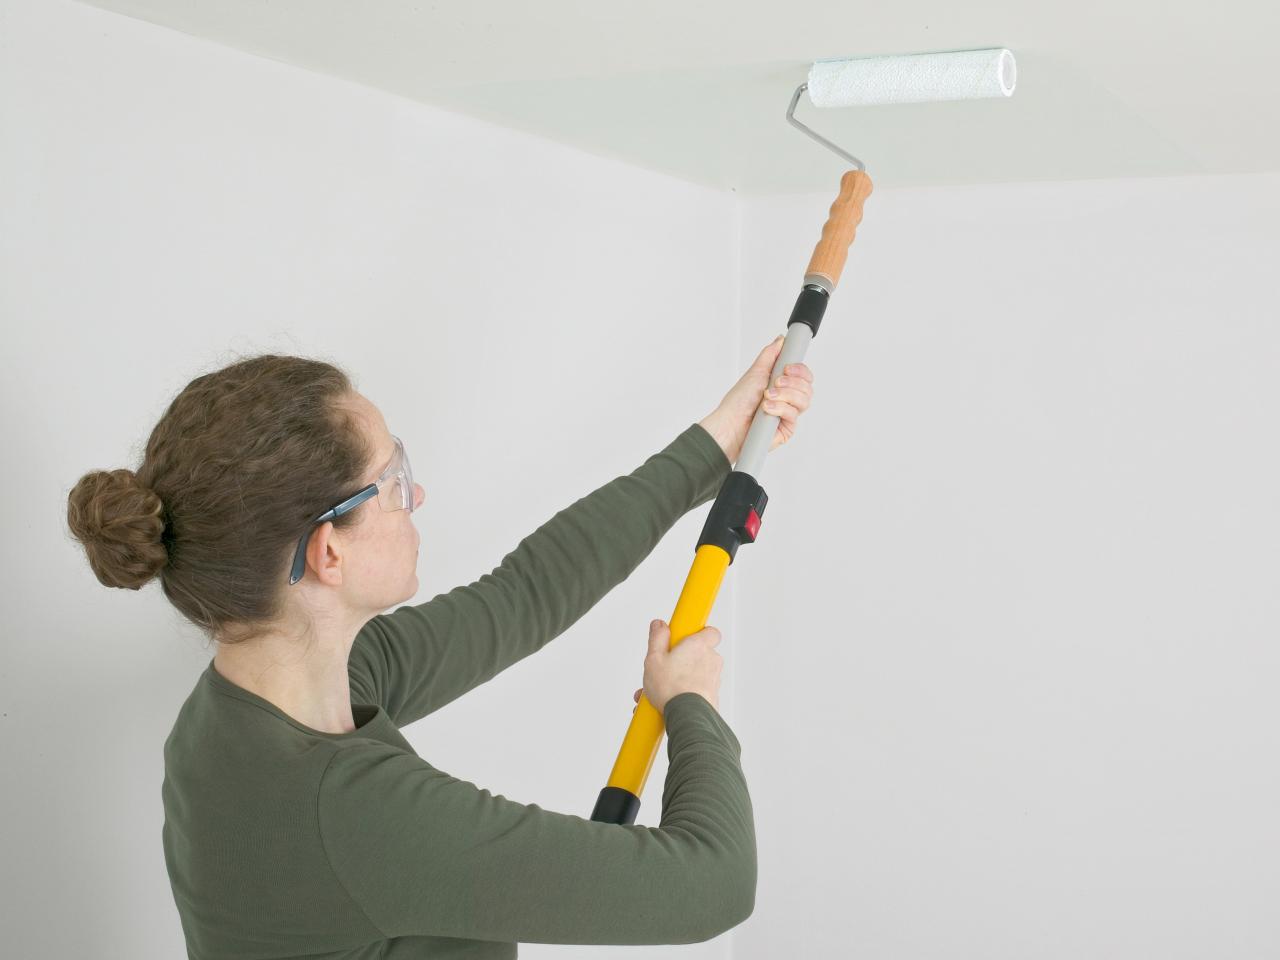
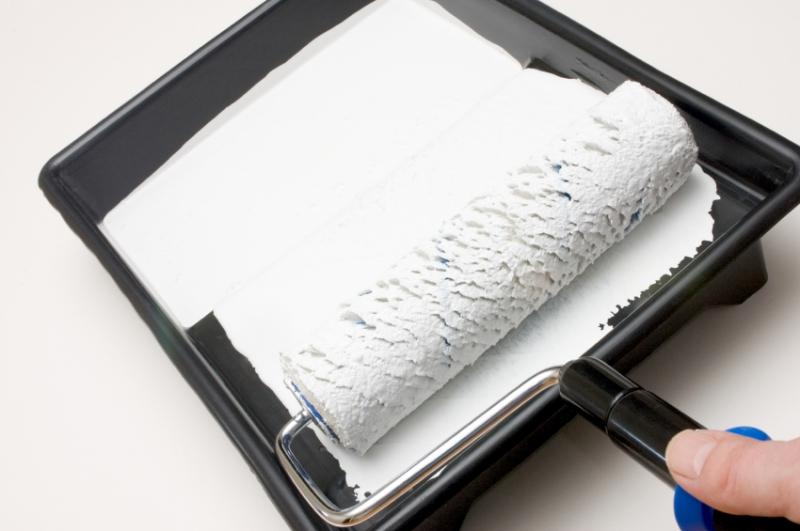
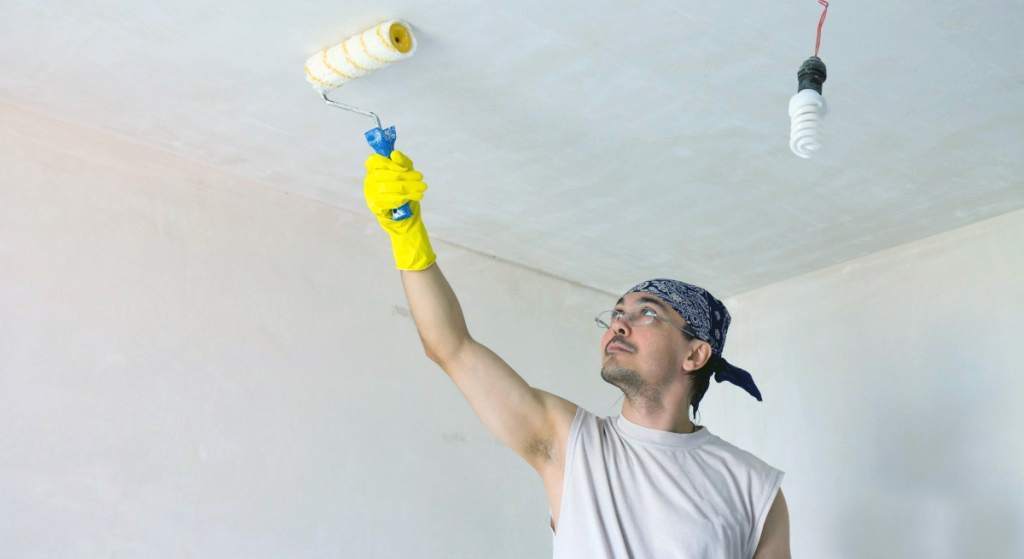
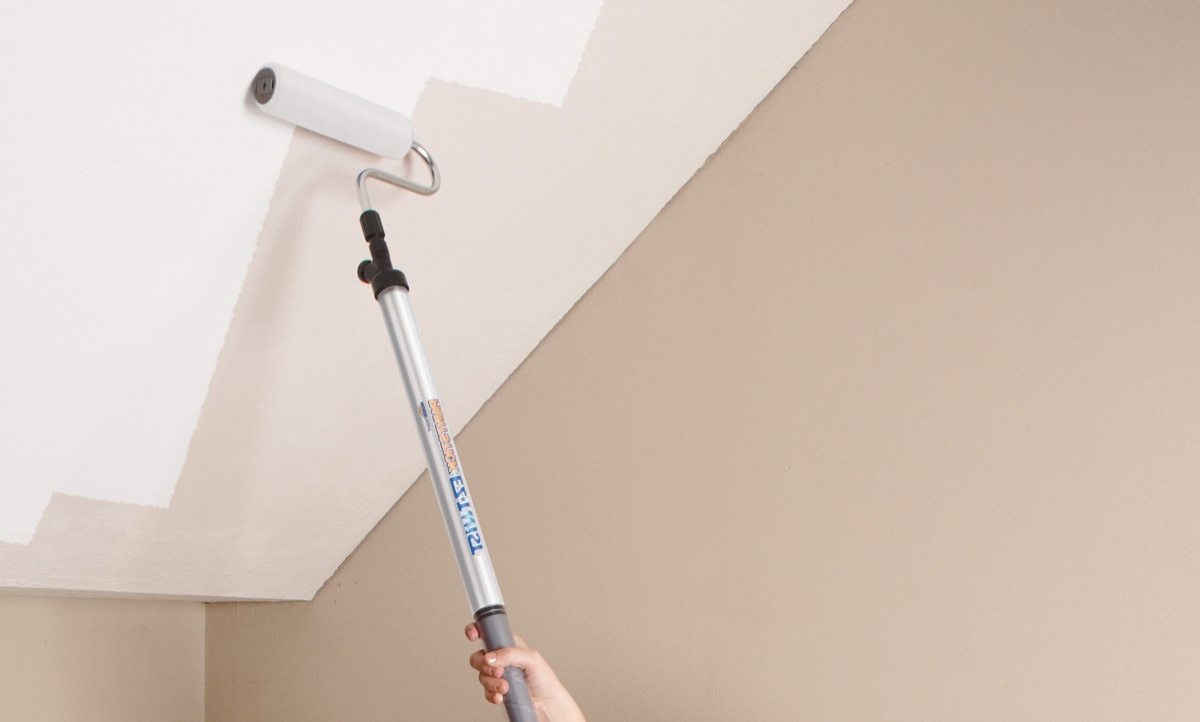
The main tool for coating is the paint roller. The quality of the coating depends on the right choice of this tool.
To date, there are many of the most diverse in size and material manufacturing rollers. Foam rollers are least suitable for applying paint, as bubbles can form on the ceiling surface due to the porosity of the material. The rotating base of the velor saves the mixture, but such rollers require perfect surface preparation.
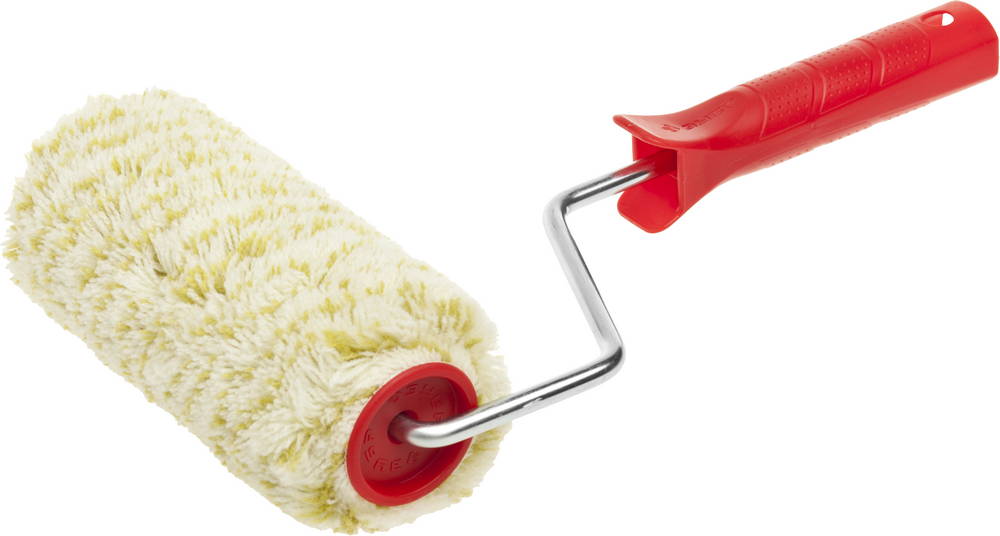
The best option is a roller with a fur basewhere the pile can be either medium or above average length.A roller with a short nap is not able to absorb the right amount of paint, so you have to dip it in paint more often. For long-hair rollers, the problem is different: they absorb too much emulsion. Because of this, surface leaks can form.
Rollers are used to paint a large surface area, and in order to paint over hard-to-reach places (corners, seams, joints), it is better to use brushes of a small width. As a rule, a 4 cm wide pile base is sufficient.


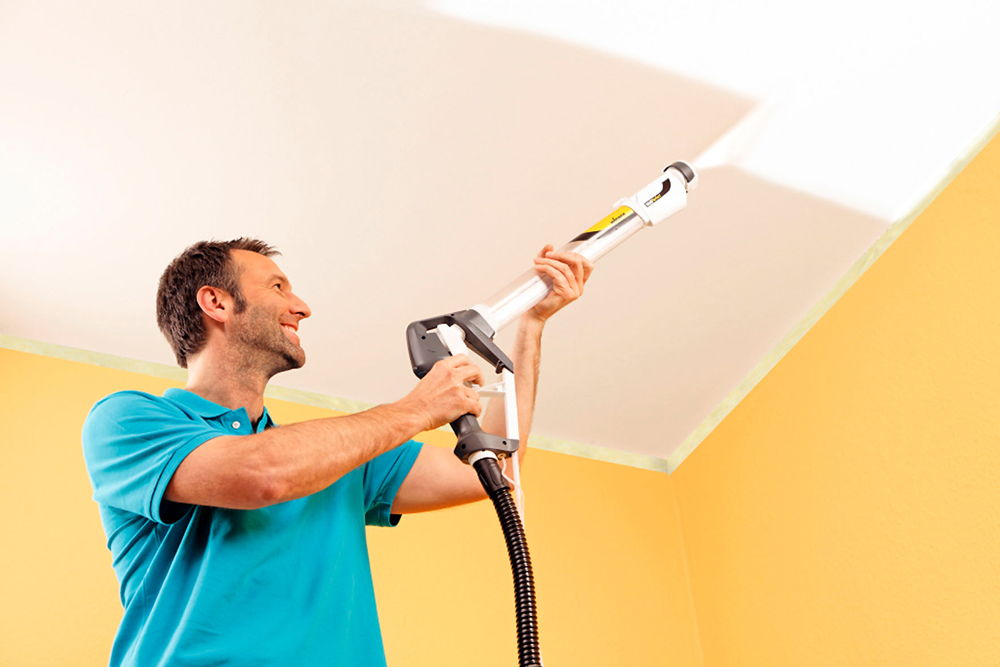
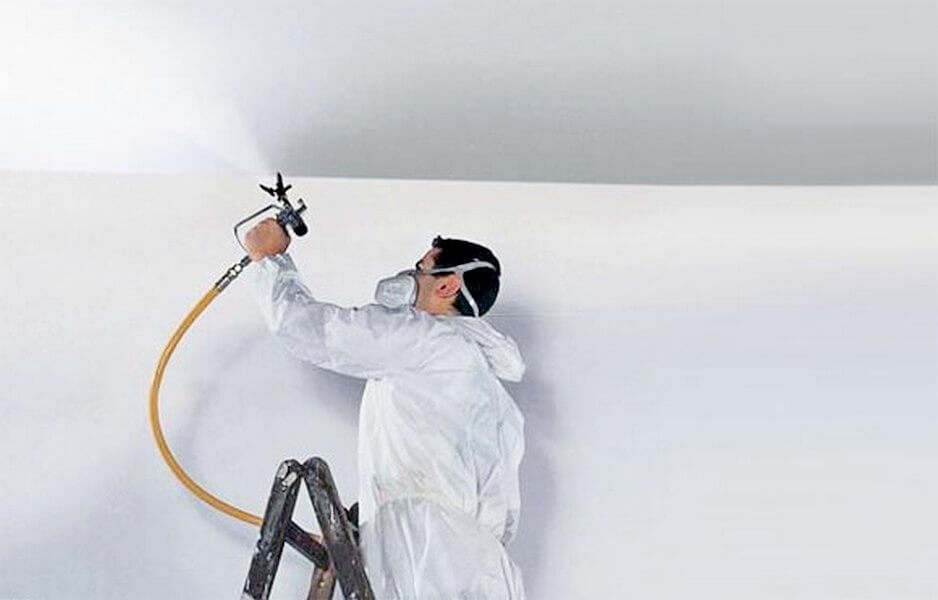
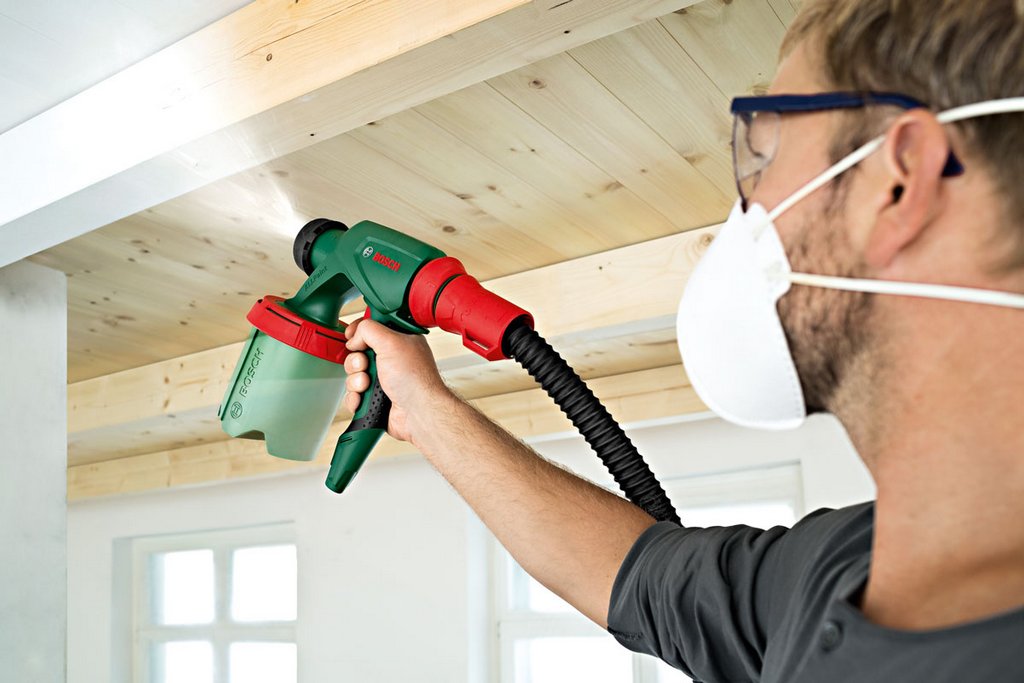
It is also possible to apply paint with a very convenient device - the spray gun. This tool is not only easy to use, but also allows you to apply a layer of paint quite smoothly and quickly.
But it is worth remembering that the spray gun is more expensive than the usual roller. If the painting of the ceiling is not the main activity, then it is better to limit yourself to buying cheaper tools.
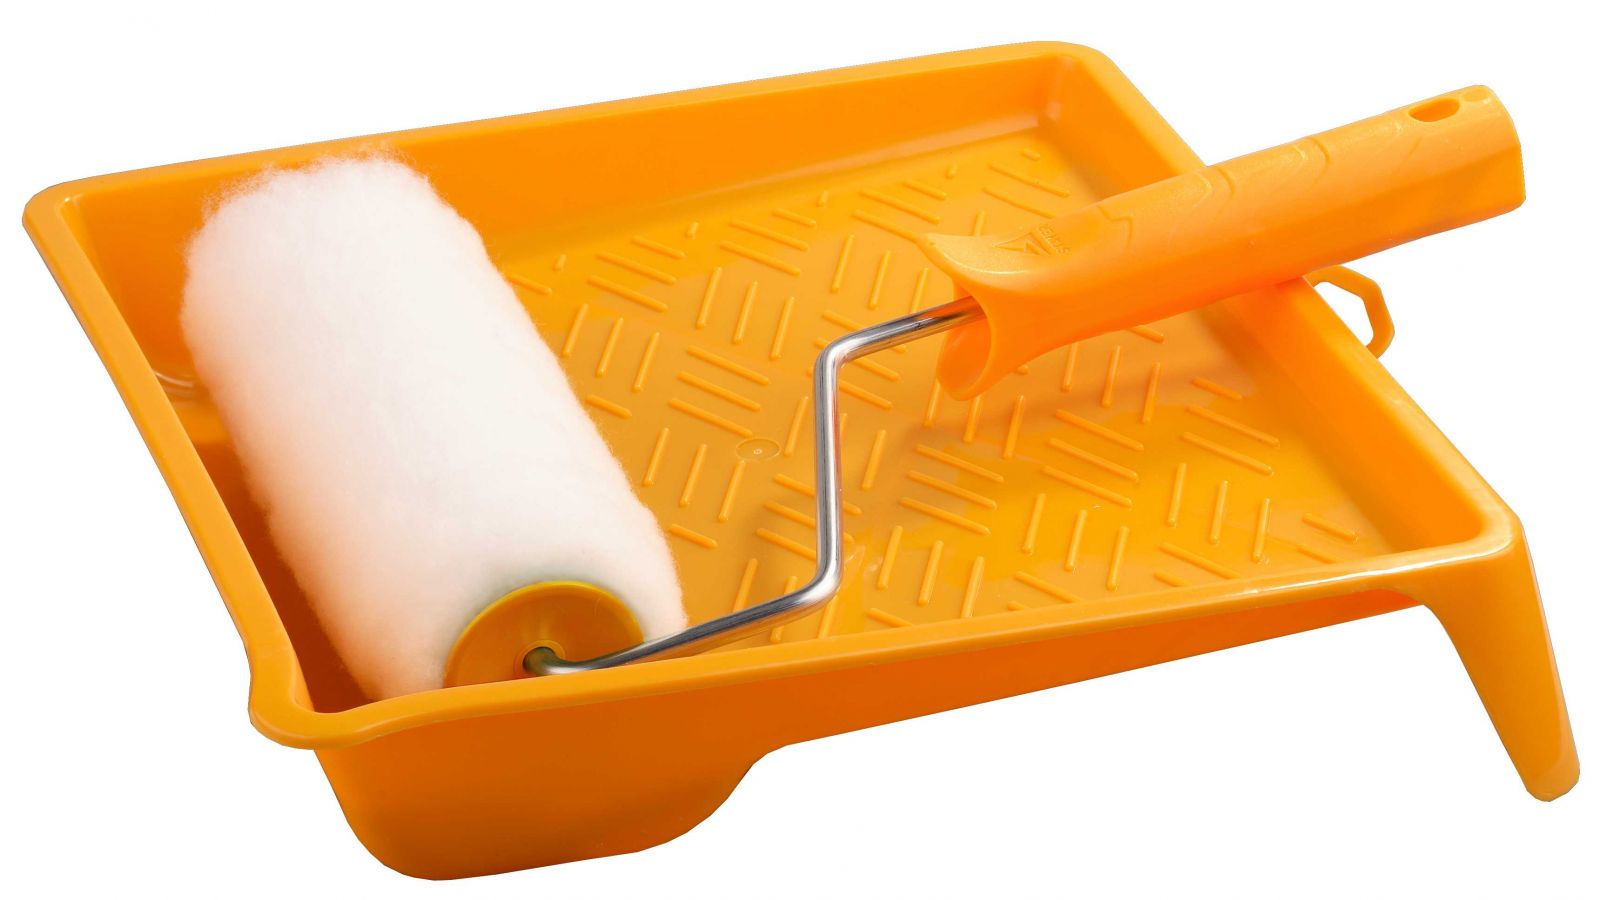
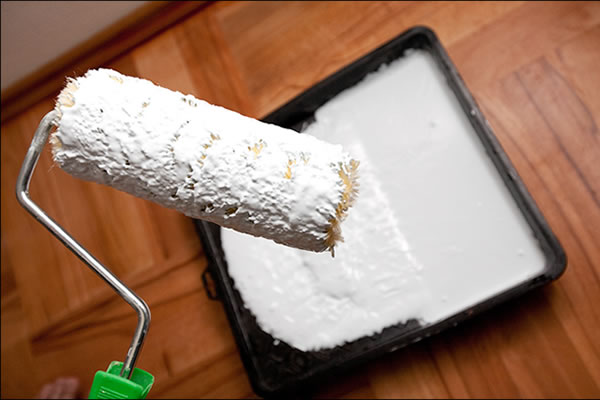
Using a brush or roller, it is impossible to do without a cuvette. It helps to save paint. This capacity consists of two compartments. In one paint is poured, and the other with a corrugated side allows it to distribute over the entire surface of the base of the roller.The paint lies flat on the ceiling surface without any smudges, the excess mixture remains in the cuvette.

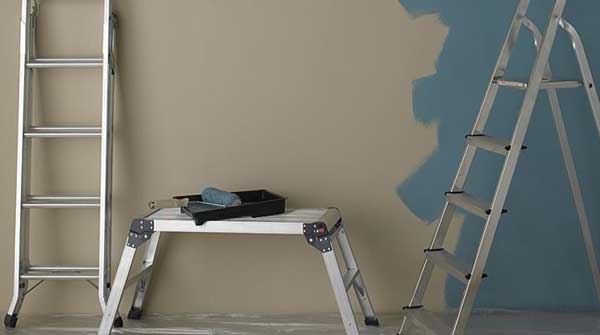
An important device for painting the ceiling is a ladder. The presence of a ladder allows you to get closer to the ceiling surface at the most convenient distance. But do not forget that the ladder will have to move from time to time. In order to facilitate the work, you can use a special roller with a telescopic handle.
A stepladder or a table paired with a stool will help not only in working with painting, but also in preparing the surface for it. Stable classic version of the table with four legs perfectly support the weight of a person.

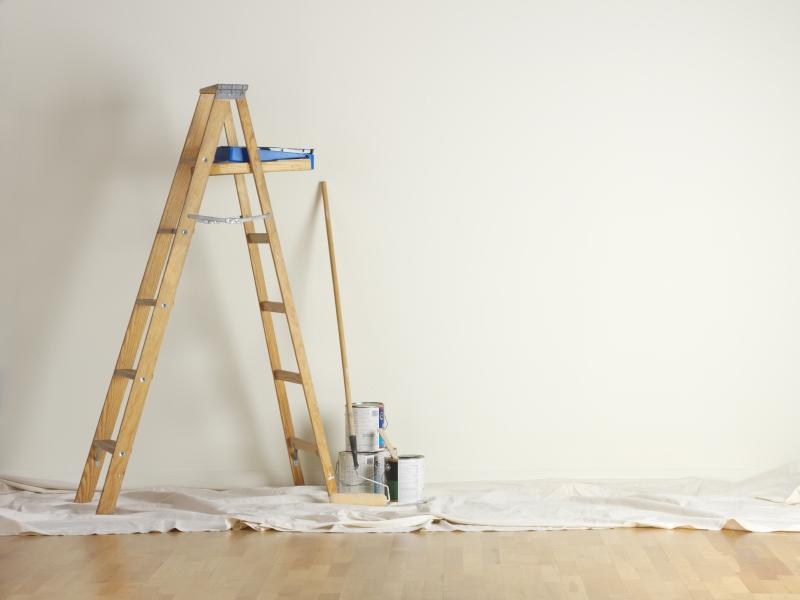
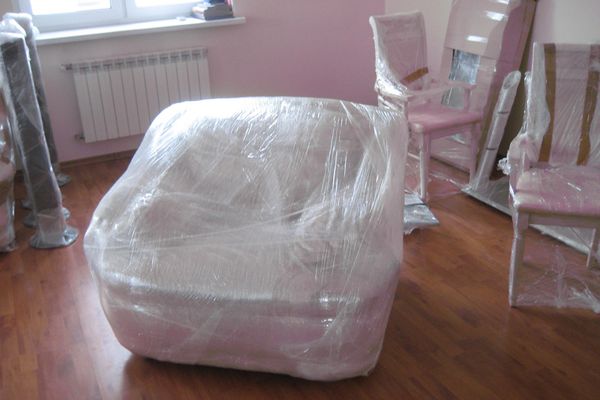
To prepare the ceiling surface will need a plastic film. Covering it with all surfaces and furniture that is not subject to removal, you can avoid splashes of paint.
Other tools may also be required for the preparatory work. Cleaning and further preparation is done with a spatula, sandpaper, a bucket and foam sponge.
Training
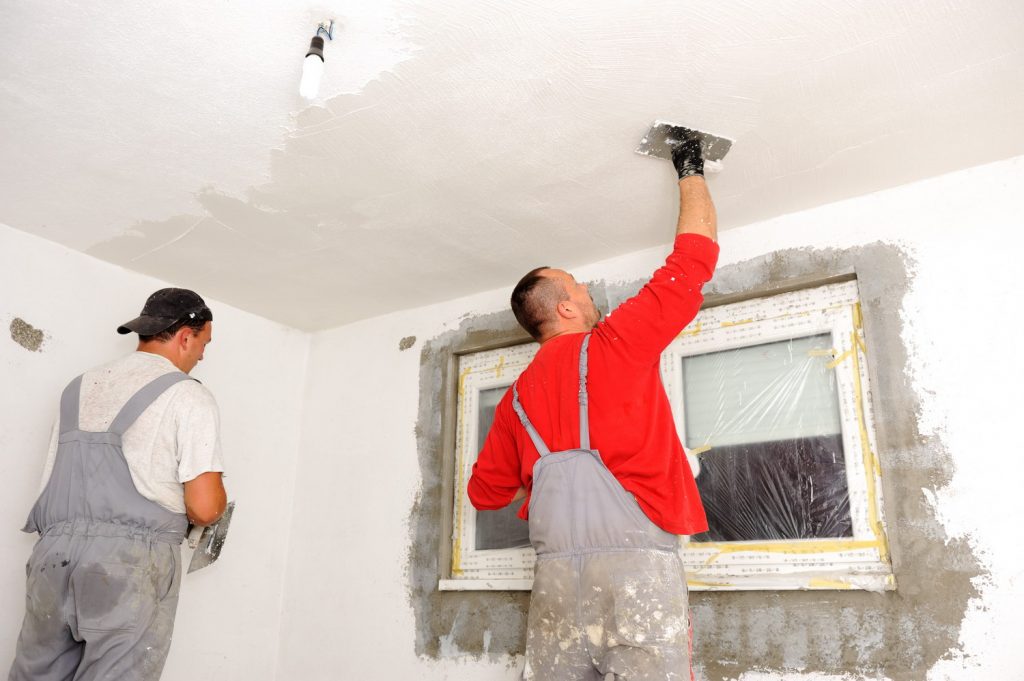
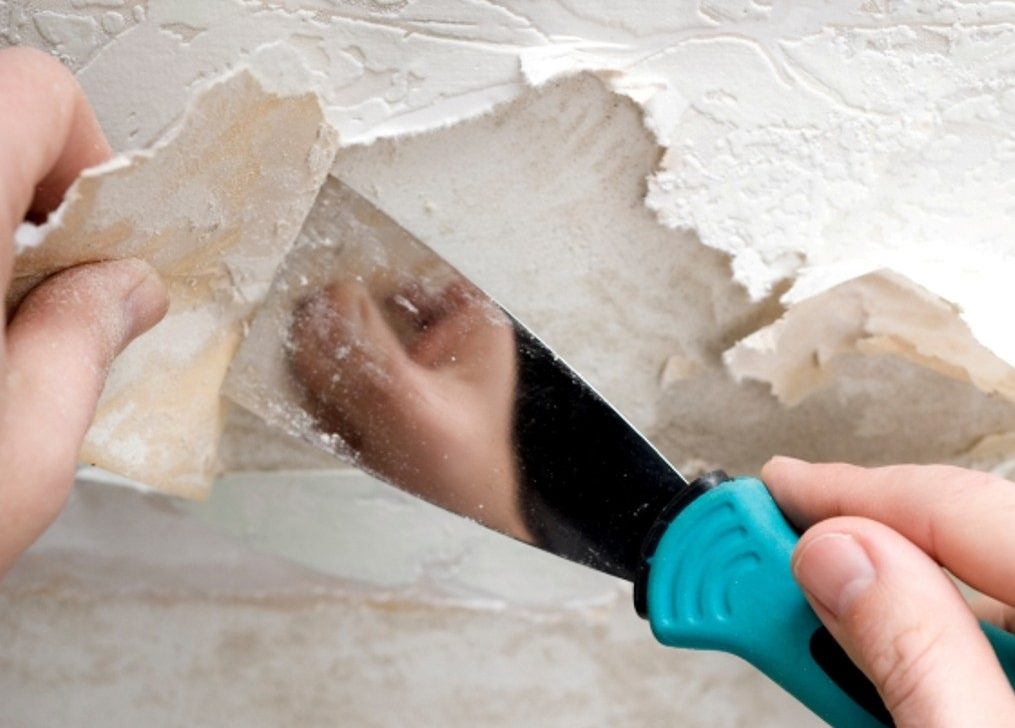
Before the preparatory work it is necessary to understand one rule: any old coating needs to be removed, since there is a high probability of detaching the old paint when applying a new coating.Regardless of whether the old layer is good or bad, and what was the paint on the ceiling.
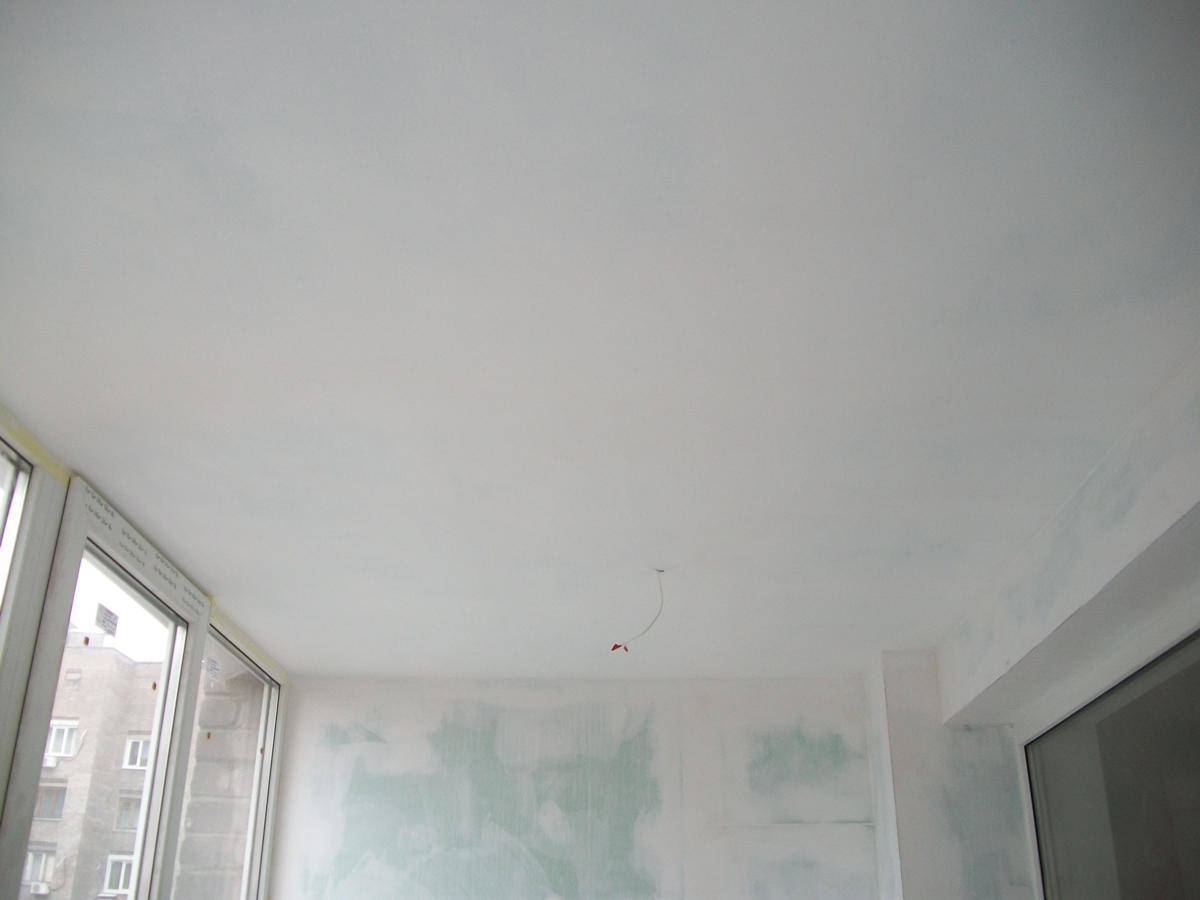
Properly prepared ceiling covering is the key to a flat, smooth and without any flaws in the surface. As preparatory measures, it is necessary to take out, if possible, the existing furniture in the room and cover the exposed surfaces with film or old newspapers. To fix the protective coatings, you can use masking tape. Now you should start preparing the ceiling, using suitable tools for these works.

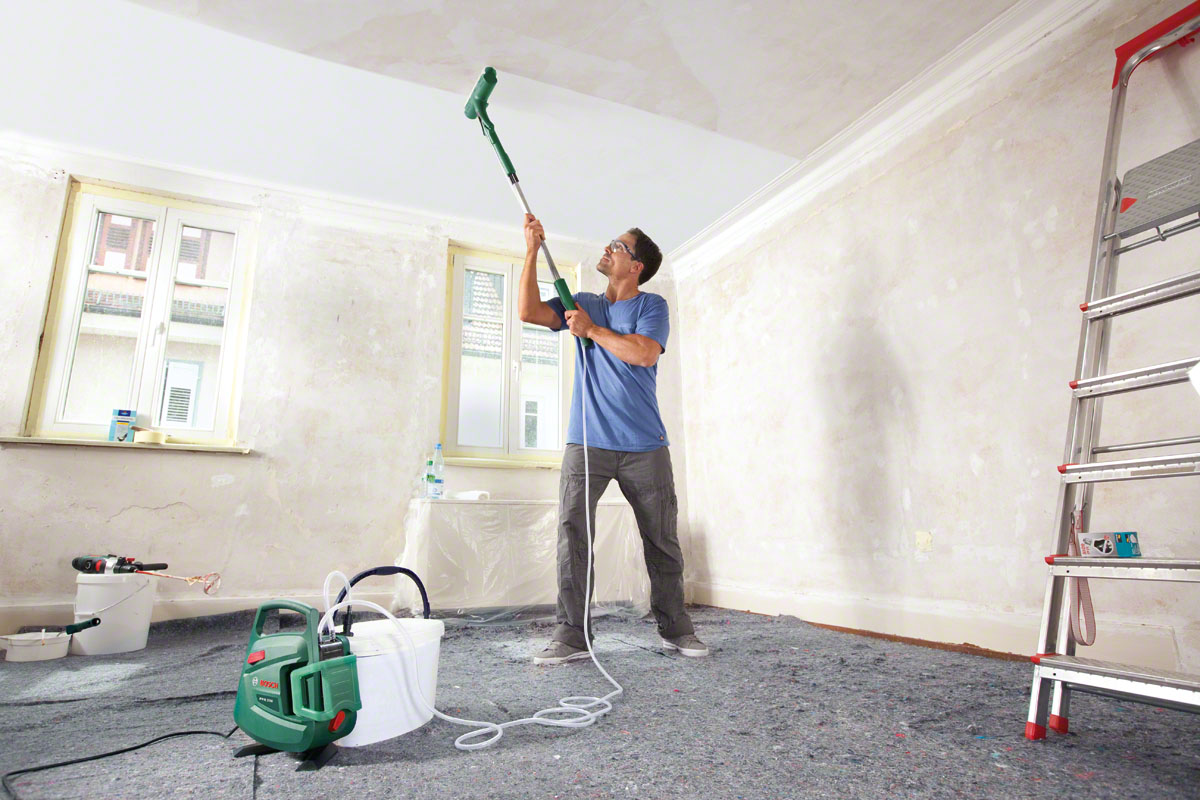
How to clean the surface?
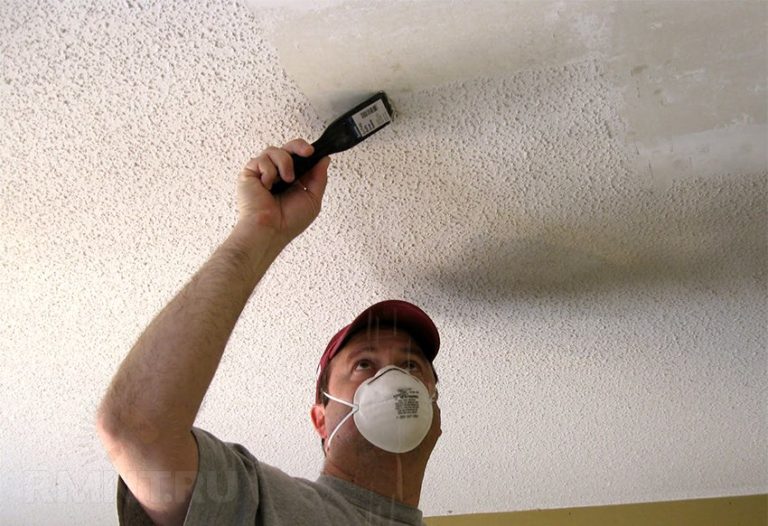
Cleaning the ceiling is always done depending on the type of paint. It is easiest to clean surfaces coated with water-based paints or coated with wallpaper. It is more difficult to clean the ceiling, covered with solvent-based paint, but you still have to remove this coating.
Any cleaning needs to begin with wetting the surface using a roller or hand sprayer.
In order to remove the easily lagging old layer, it is enough to keep the surface in a moist state for 20-30 minutes. For difficult lagging layers, it is better to increase the humidification time, and to facilitate the task, you can open windows and doors in the room by arranging a draft.
Swollen paint should be cleaned with a spatula. With paints on the basis of solvent to quickly clean the surface will not succeed, you have to tinker. For relief, you can use solvents or other means that help in the processing of this surface.
After you need to wash off the remnants of paint or wallpaper, using water and a sponge. The dried surface should be carefully examined for the presence of different stains. To remove them, you can use effective tools. These include a 3% solution of hydrochloric acid, a 5% solution of copper sulfate and a composition in which there is lime with denatured alcohol in an amount of 50 ml.

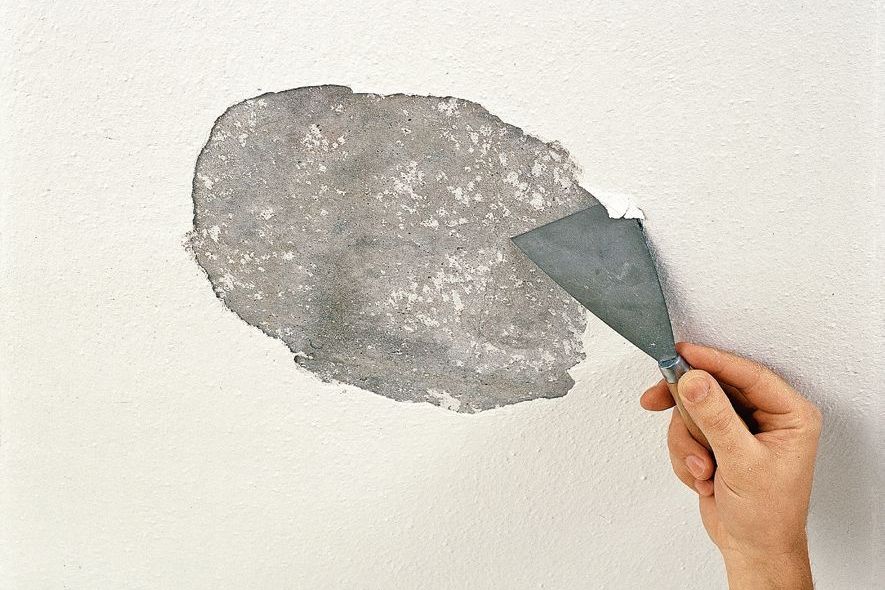
How to make the foundation smooth?
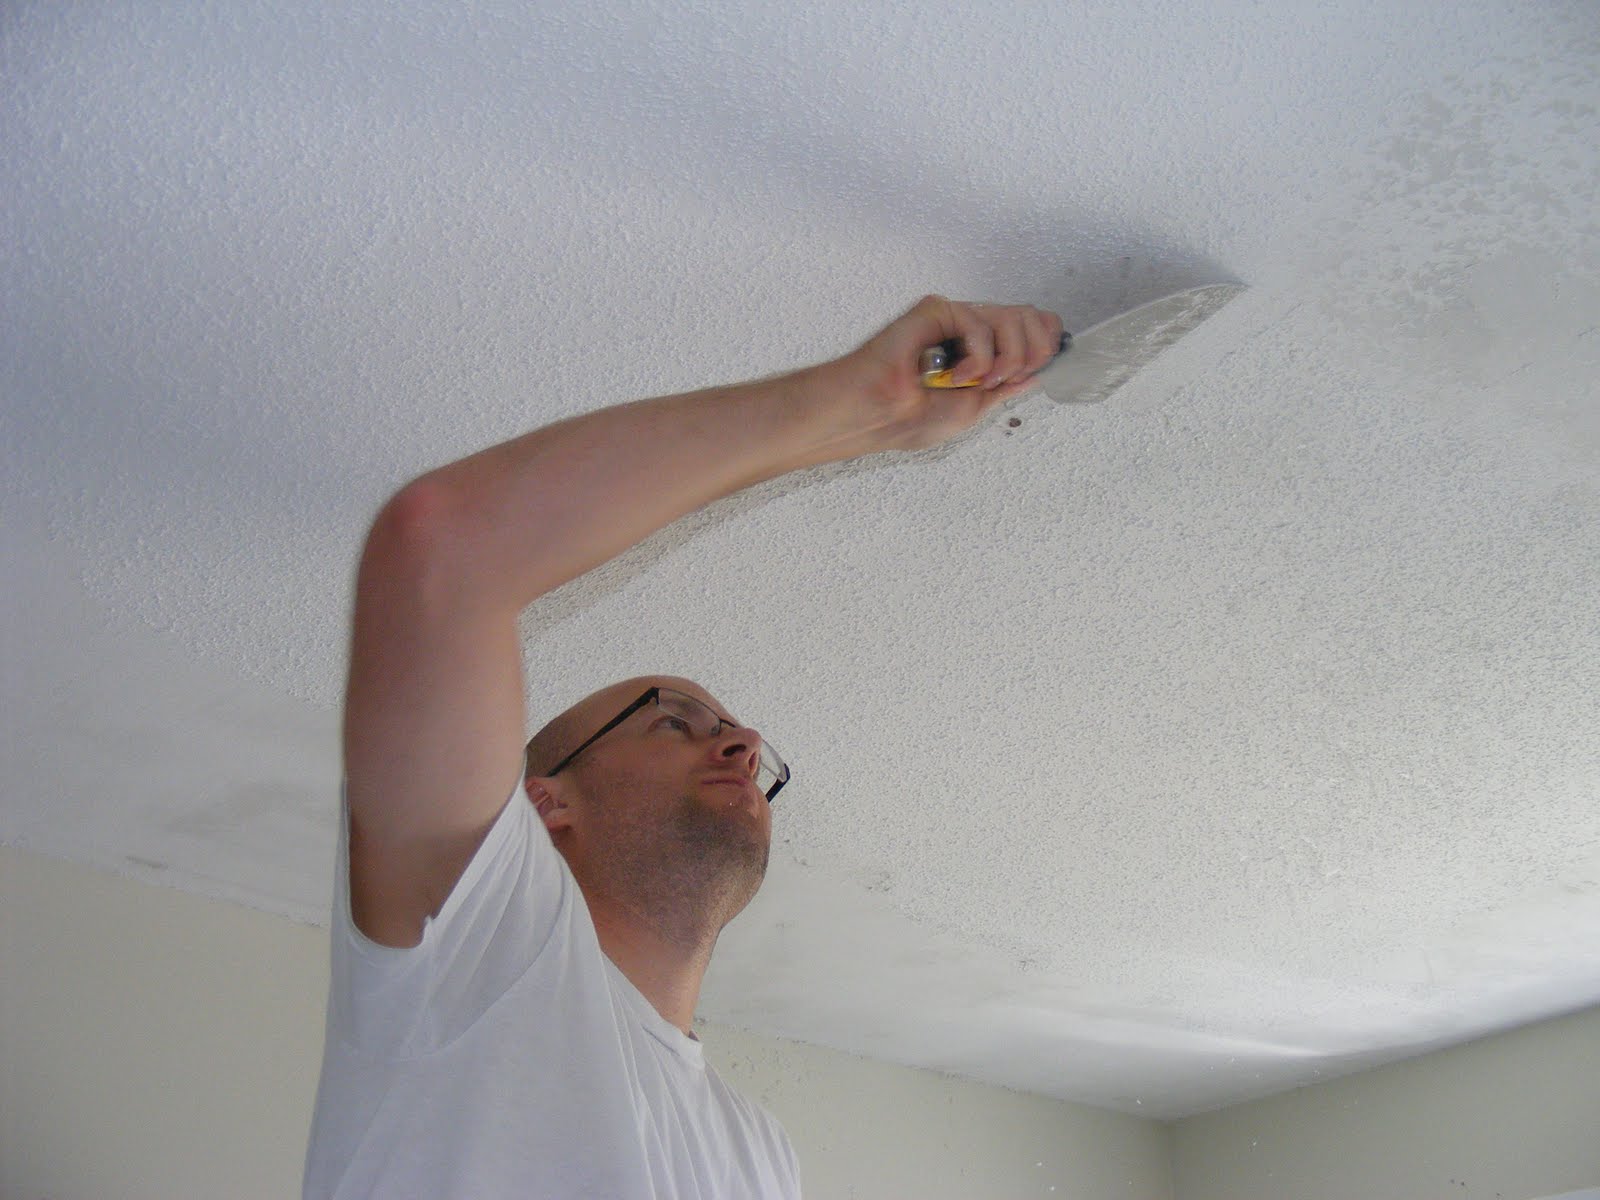
In order to level the ceiling surface and give it a smooth shape, it is necessary to use a fine-grained plaster putty. It is plastic and keeps well on all materials. First you need to treat the ceiling with a primer. In addition, existing cracks need to be puttied.
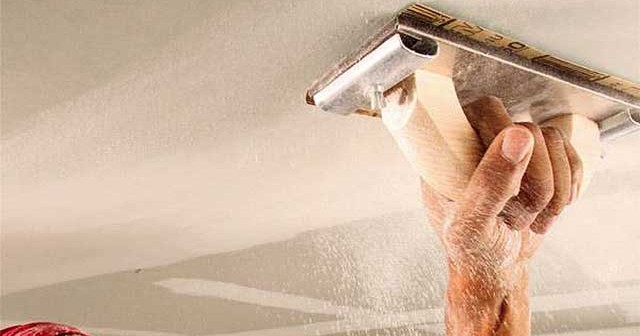
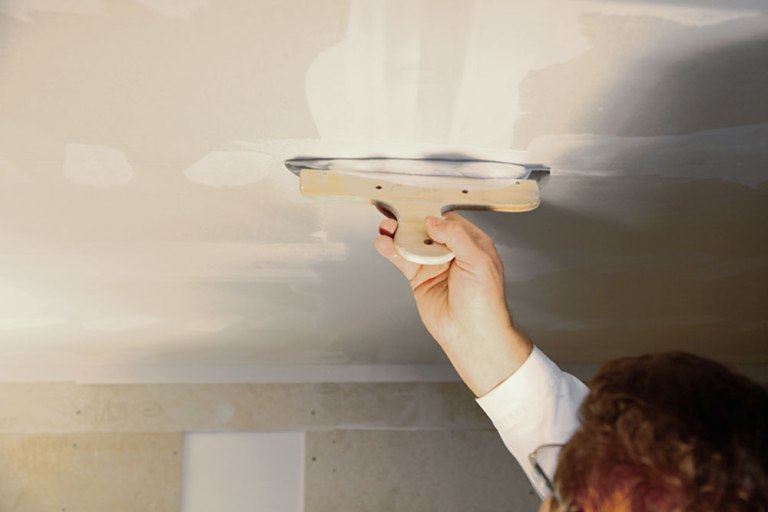
Then you can proceed to the continuous application of puttyusing a special wide trowel. A spatula is also used to collect the mixture from the tank, but its surface has a narrower base compared to the main tool.A product with a narrow basis mix gain, and then shift it on the main tool. Only then applied to the ceiling surface.

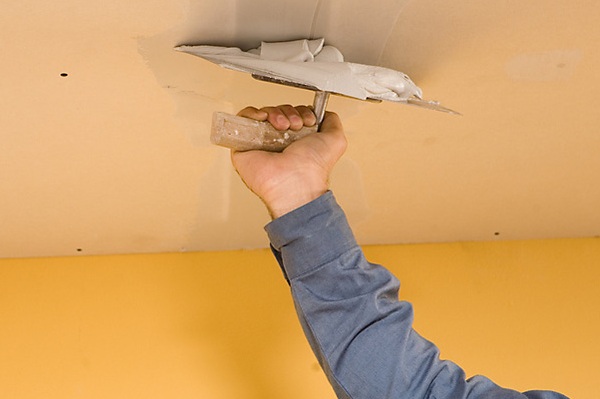
At the end of the alignment process, you need to wait for the surface to dry. After you can begin to polish the ceiling. For this work, use a special abrasive mesh with small cells. Due to such a cellular structure, the surface becomes smooth and very smooth.
Primer application
Processing the ceiling surface before directly applying the emulsion is a necessity. The emulsion adheres better to the surface of the ceiling. In addition, the probability of occurrence of such defects as cracks and swellings of the applied layer is excluded.
Each emulsion has its own type of primer. The main substances involved in the formation of a film on the surface should be identical to the substances contained in the primer. But you can prepare a solution for priming the surface and independently. To do this, simply dilute the prepared paint with water in equal proportions.
On 1 liter of paint 1 liter of water is taken, everything is thoroughly mixed.You can proceed to the primer, using a roller for a larger area and a brush for corners and joints.
Priming the surface is better several times. As a rule, two times is enough to prepare the ceiling for paint application. After each primer, you must wait until the layer is completely dry.
How to dilute the material?
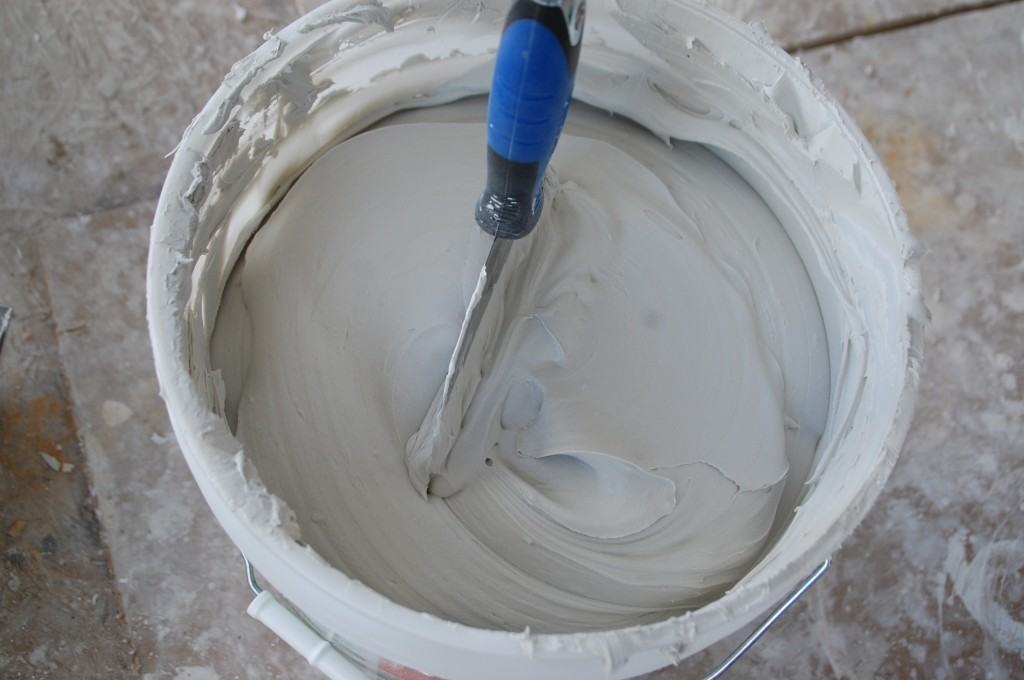
Before painting it is necessary to check the consistency of the mixture. Water emulsion paint is bottled by manufacturers in banks, which indicate how much water you need to add before use. As a rule, water should be added immediately before painting, after pre-mixing the contents of the can. The amount of water added to the tank should not exceed 10% of the total mass of the emulsion.
The degree of concentration also depends on the type of painting tools used. For the spray gun, it is necessary to dilute the paint in larger quantities than for a conventional roller or brush.

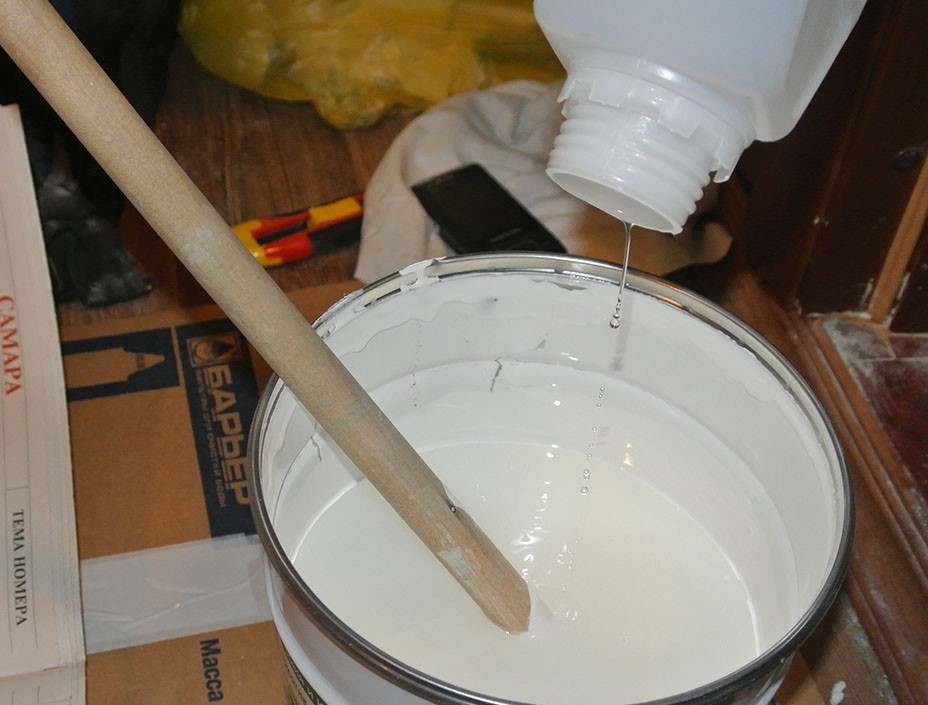
The process of mixing the mixture and dilution should occur slowly and gradually. Water is poured into the container in small portions, thoroughly stirred. In the mixture should not be clots and lumps.Before painting the main surface, it is desirable to check the consistency of the prepared emulsion in a small area. Only then can we start the main painting.
There is an indicator that affects the cost of work and the density of the layer. Different types of emulsions have their own consumption per 1 m2.
|
Types of emulsion |
Consumption for 1m² (in gr.) |
|
Acrylic |
250 |
|
Silicone |
300 |
|
Silicate |
400 |
|
Polyvinyl acetate |
550 |
|
Latex |
600 |

This table shows the consumption for the first layer applied to the ceiling surface. For the second layer, less paint is required, so all of the above indicators have smaller values:
|
Types of emulsion |
Consumption for 1m² (in gr.) |
|
Acrylic |
150 |
|
Silicone |
150 |
|
Silicate |
350 |
|
Polyvinyl acetate |
350 |
|
Latex |
400 |
Staining technology
Observing certain rules and following the step-by-step instructions, you can achieve high-quality coverage of the ceiling surface with your own hands.
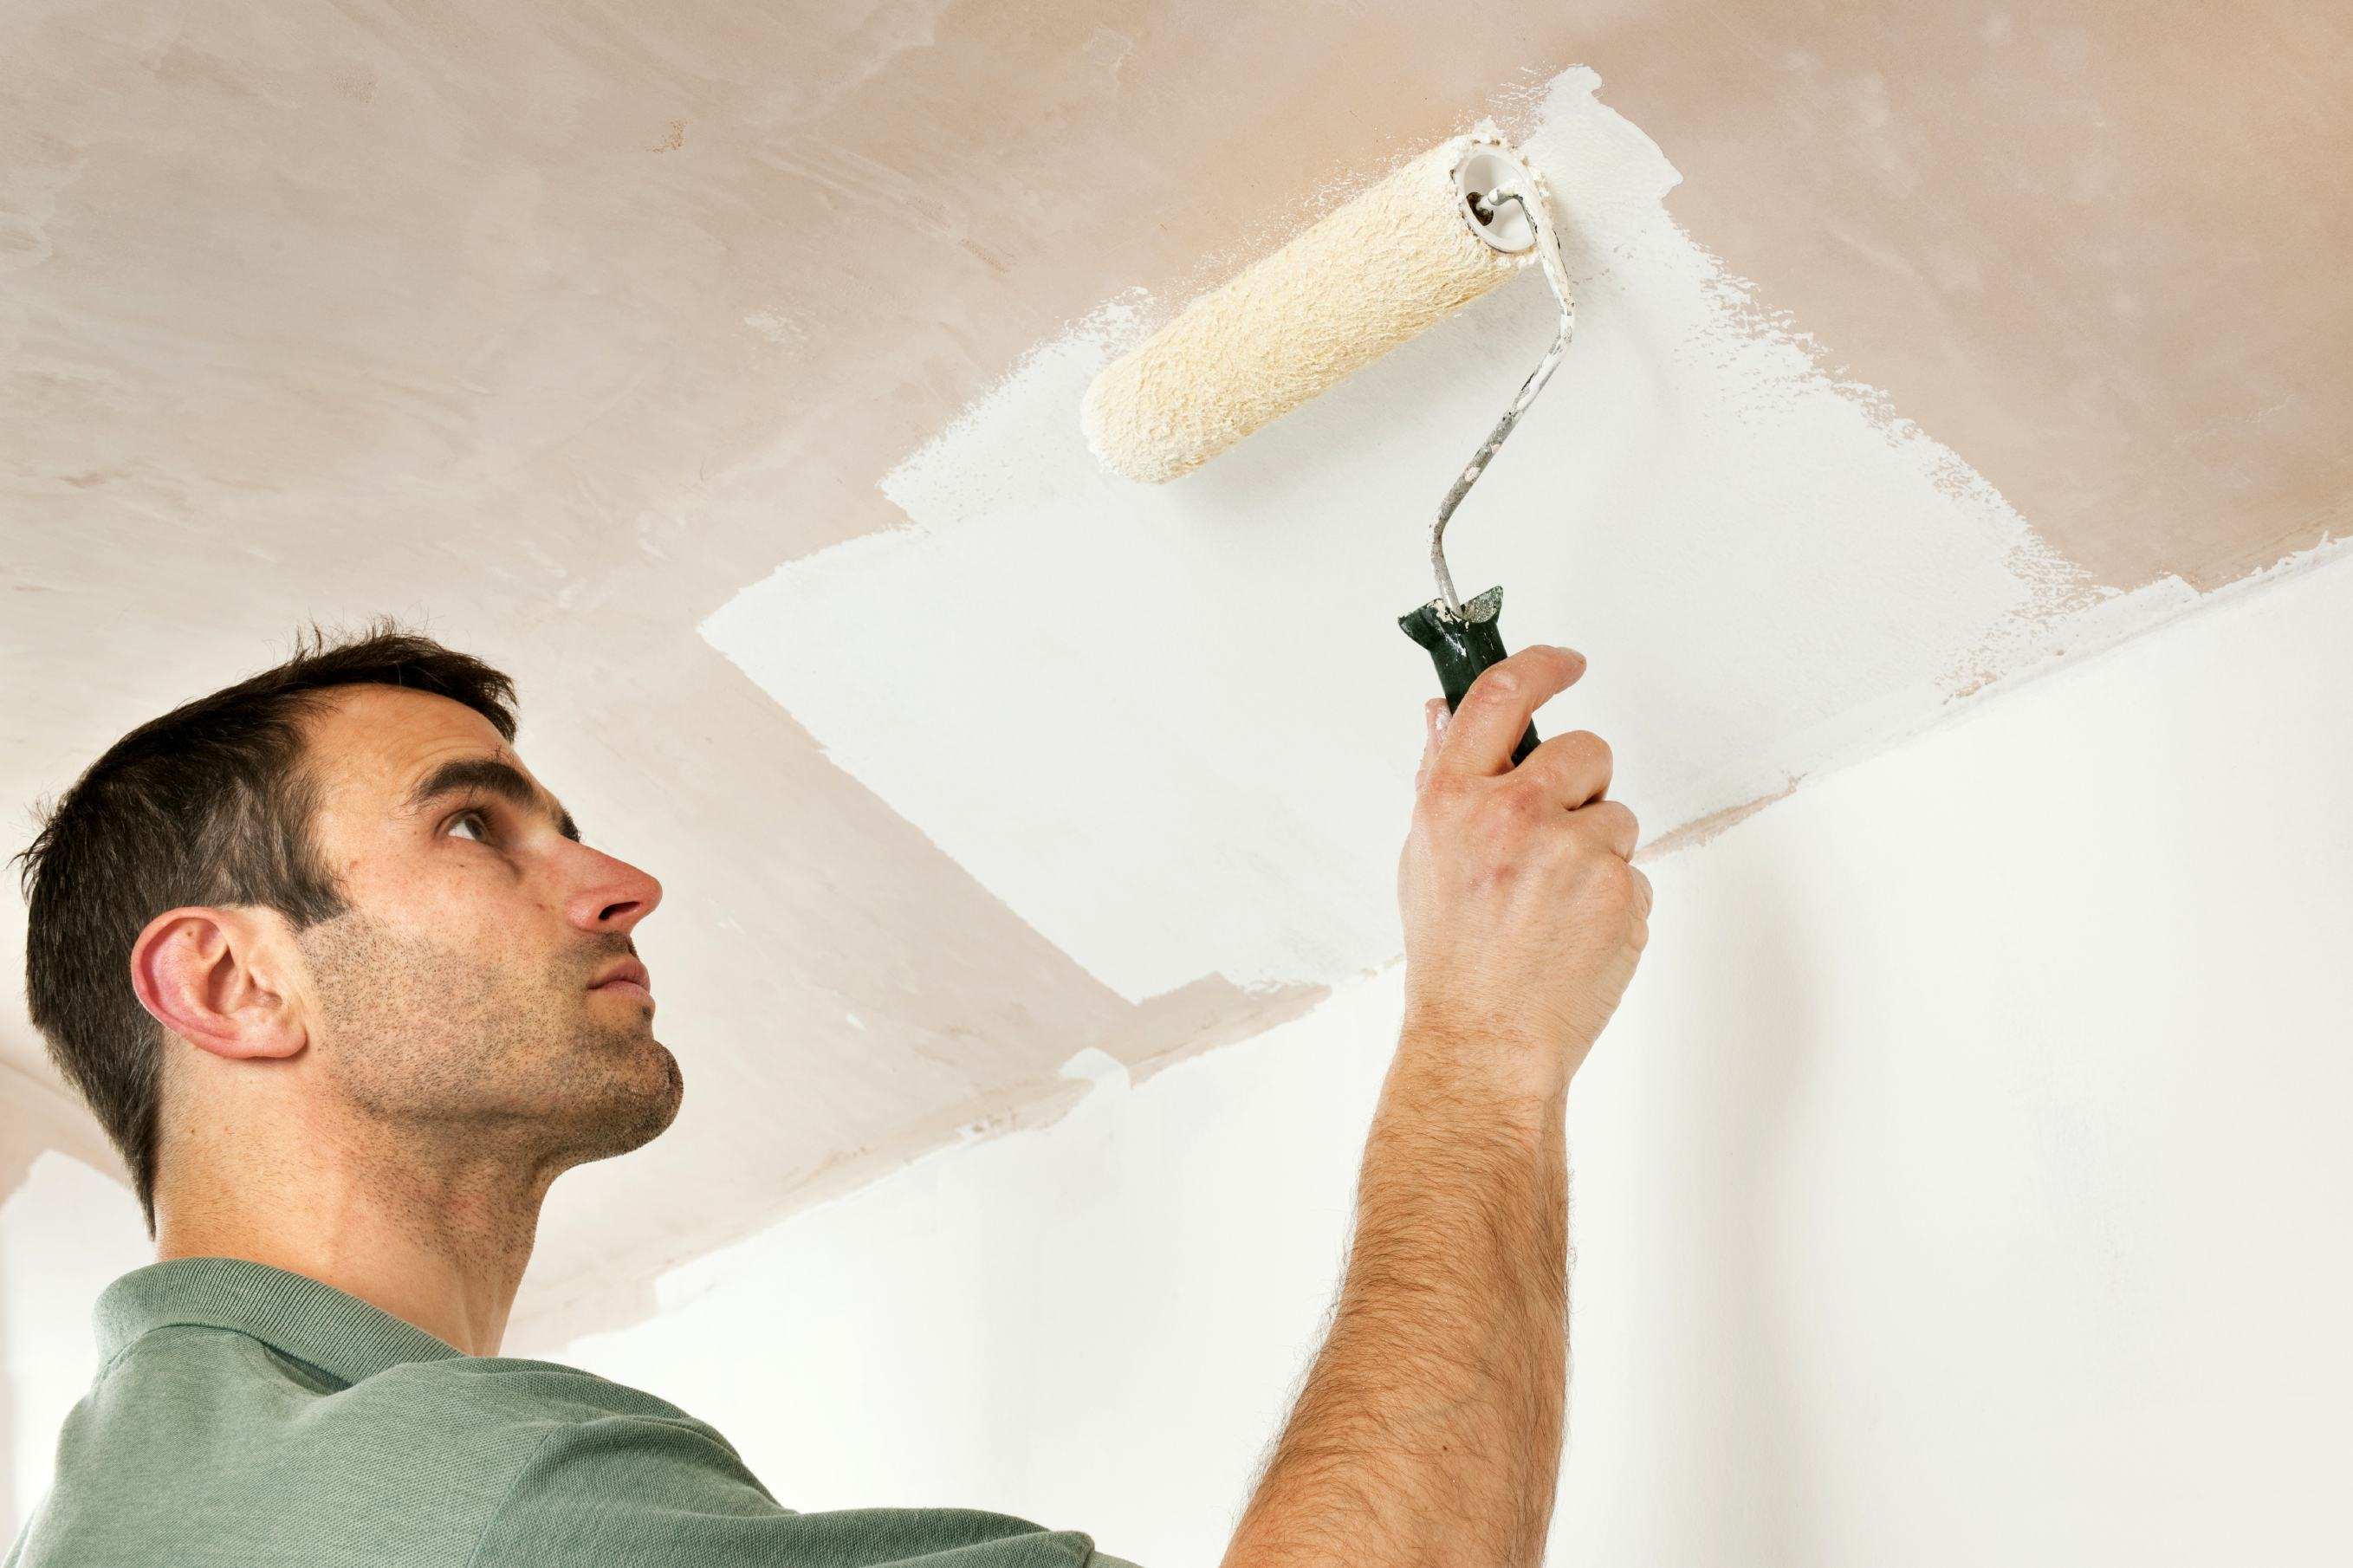
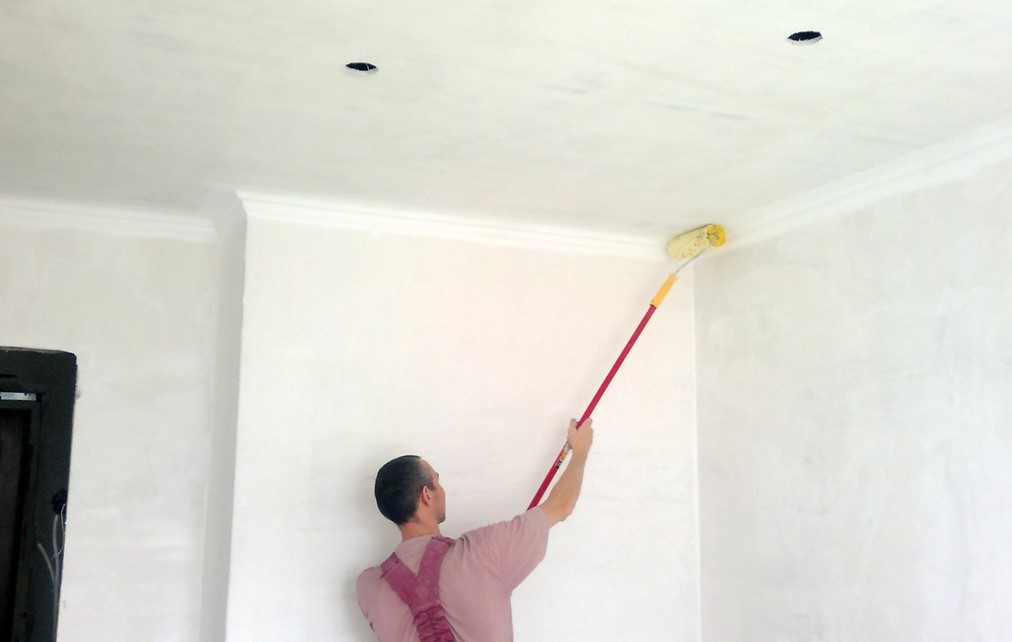
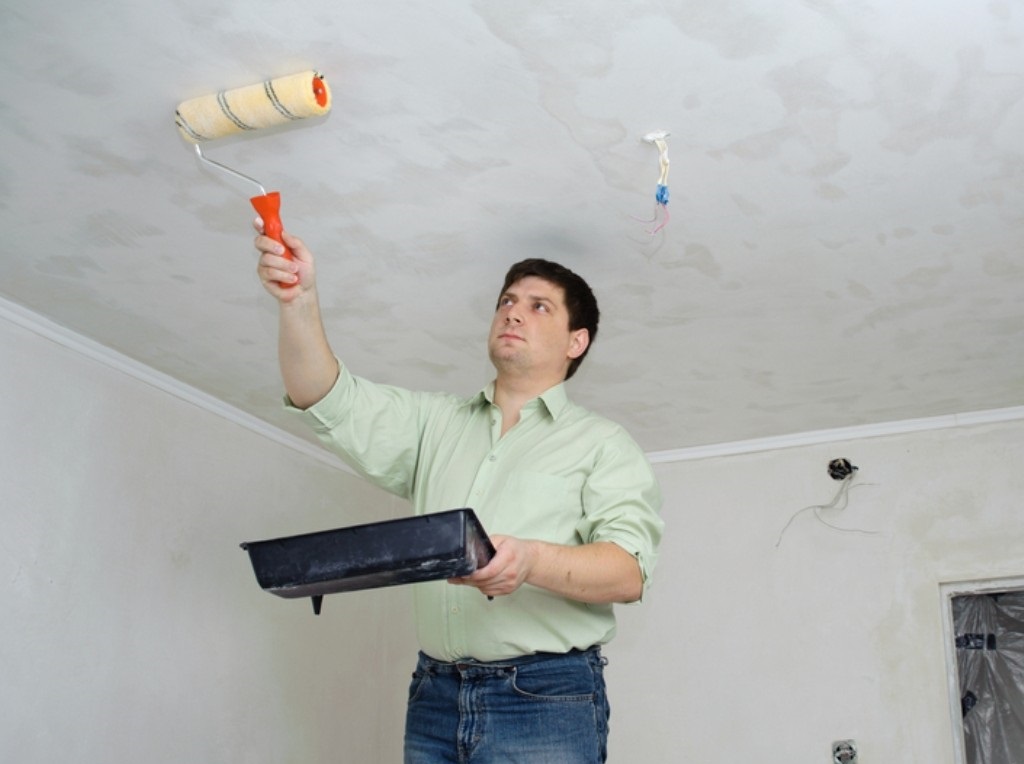
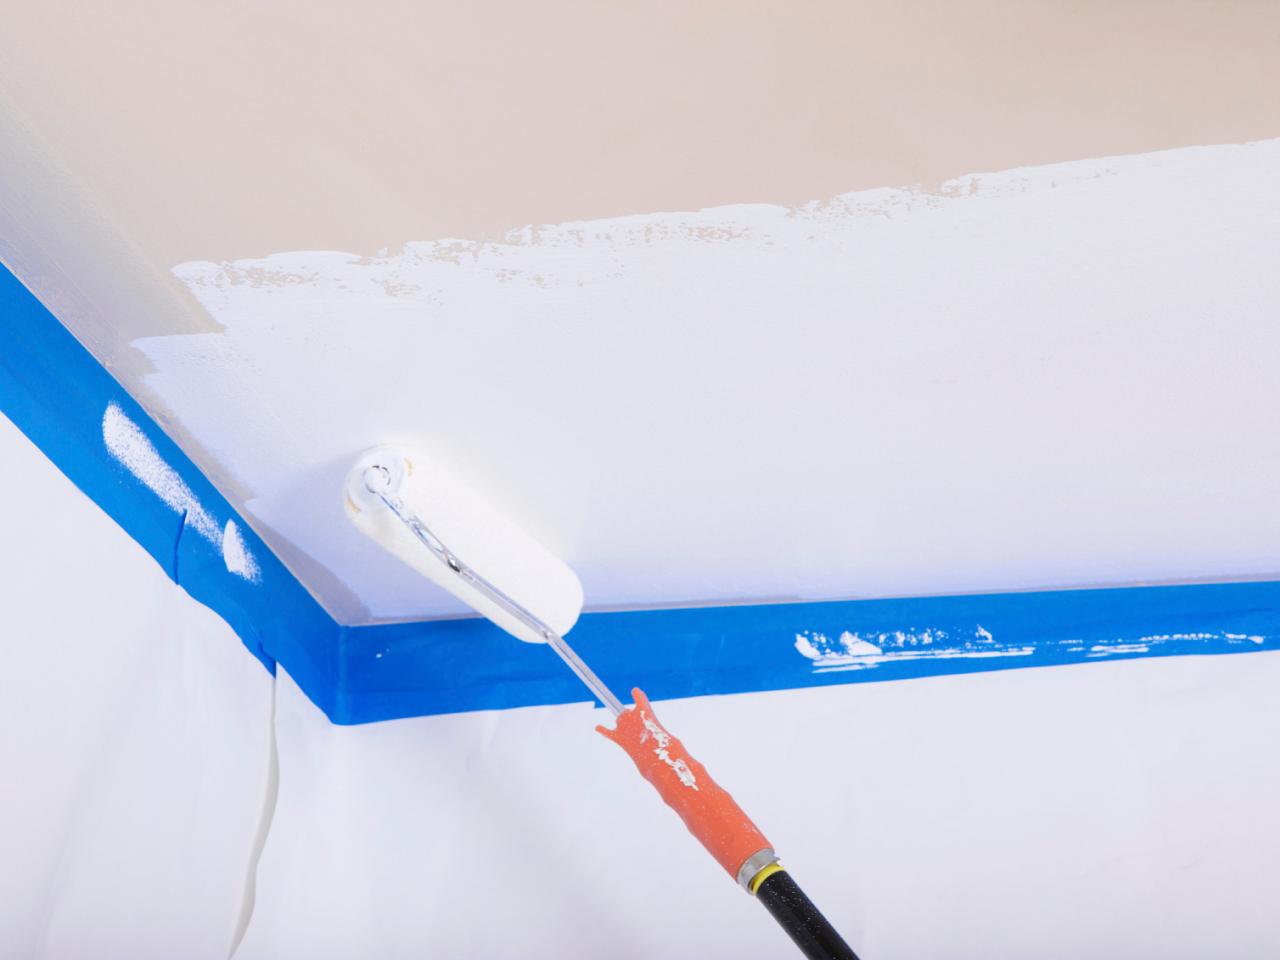
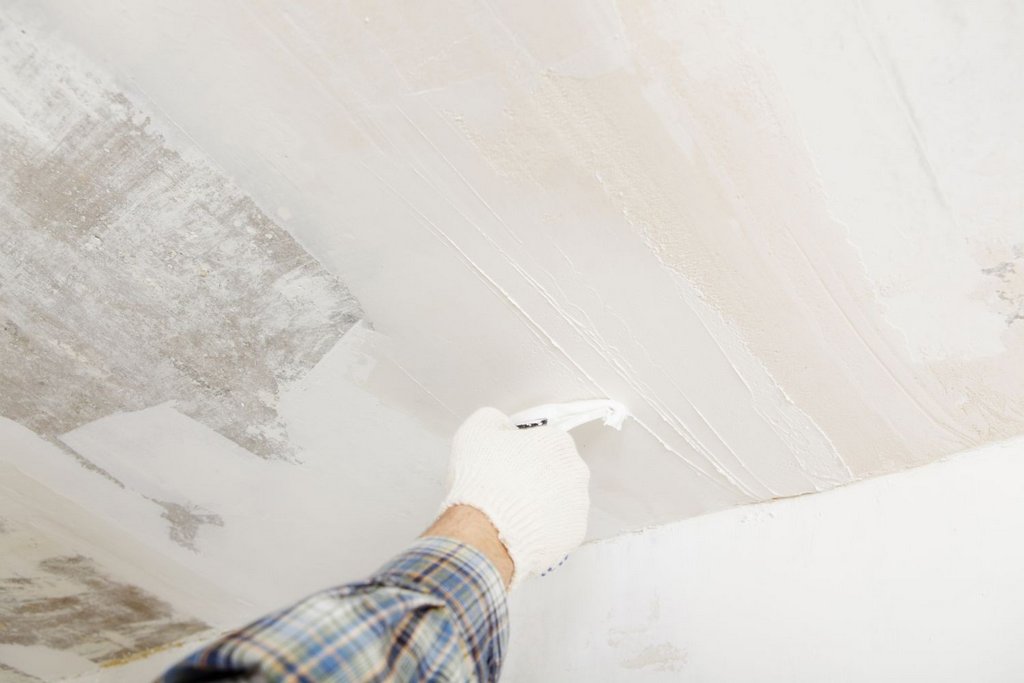
Any painting, as a rule, starts from a certain place. Ceiling surface is no exception. In this case, you need to start to paint the joints of the ceiling plate with the wall, starting from the far corner relative to the door. For this you need to brush with paint to walk around the perimeter of the surface. The width of the painted surface must be at least 5 cm.Such a reserve will help to protect problem areas from excess paint.
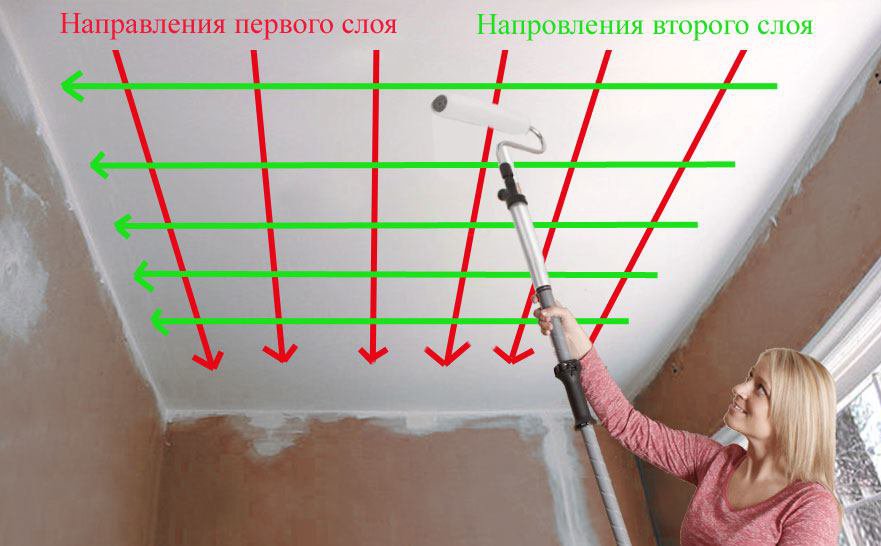
The main stage of the work is done in three steps. The appearance of the surface depends on the direction in which the layer will go.
The main application of the layer should begin perpendicular to the window opening. The starting point is at the window. In the next stage, paint should be applied in a different direction, namely parallel to the window. The final application of the layer must be carried out in the direction of the window, starting from the doorway.
After applying the first layer of the emulsion, it is necessary to withstand a certain time. As a rule, the ceiling surface dries at least 8-12 hours. Apply the second layer should not be previously defined period.
During the drying of the ceiling it is necessary to exclude the possibility of sun rays on the surface. In addition, during this period it is worthwhile to take care of the absence of drafts, otherwise stains may form on the surface and the ceiling will have to be repainted.
Do not forget that the use of additional heating devices to accelerate drying will lead to disastrous results. It is optimal to conduct drying in natural conditions.
Step by step the process of painting the ceiling is as follows:
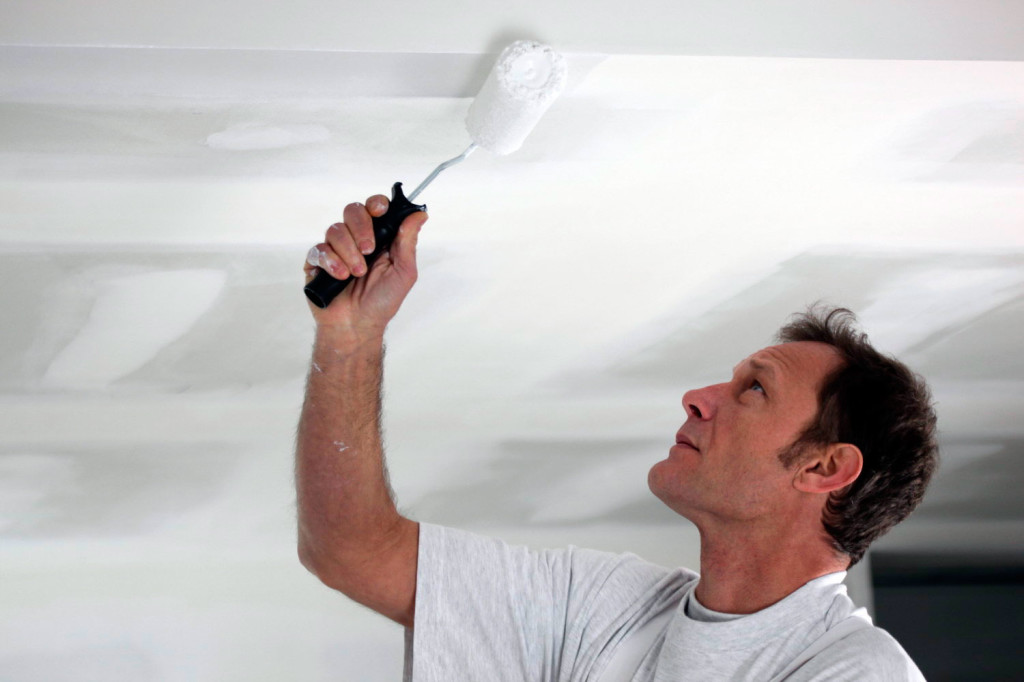
- A small amount of paint mixed up to a certain consistency from a can results in a cuvette. The prepared roller is moistened in the mixture and then, for uniform distribution of the composition, is carried out over the surface with corrugation.
- Overlay layer starts from the far corner, located on the left side relative to the window opening. Gently stain the ceiling. After the first call, we change the direction, at the same time monitoring the quality of the layer. A properly applied layer must be uniform, with no visible transitions.
- If there is excess paint on the surface, they can be removed by rolling the roller on the corrugated surface of the cuvette.
- Before the third time, you can change the rotating part of the roller to a new one. This will help improve the quality of the layer.
Is it possible to paint on whitewash?
Very often, people have a question: is it possible to paint the ceiling surface, if there is an old layer of whitewash on it, which keeps well? How will the new emulsion layer fall? Will he hold on for a long time?
It is better to clean the surface from the old layer,but if it has a small density and holds tightly enough, and the surface itself is free of defects, then the ceiling can be painted without removing the previous layer. This approach to painting the surface will even save not only money, but also the time required to apply the second layer of the emulsion.
But there are some nuances that must be considered before applying the paint. On the old layer for better adhesion should be applied primer.
It does not make sense to paint the ceiling on the old whitewash, if it has even small rust stains or ordinary smudges.
It is better to clean the thick layer of the old whitewash to prevent the new layer of paint from falling off or peeling off.
Useful recommendations
Painting the ceiling takes a lot of time, so every person wants the process itself to go through without spending any extra money and effort, and the result has pleased. But the excesses sometimes do happen. In order to prevent some mistakes, there are a number of recommendations, following which you can avoid many problems.
In order to paint the ceiling without stains and ugly strips, you need to keep track of time.It is better to allocate no more than 20 minutes for painting the surface.
After this time, the water contained in the emulsion begins to evaporate rapidly, and visible transitions may form at the junctions of the dried layer.
The presence of good lighting makes it possible to view the painted surface at any angle. It is necessary to turn on the lighting even in the daytime. So you can control the place of application of paint, without missing even a small area. It is worth remembering also about the heating system, it is better to cover the batteries.
But sometimes the paint is unevenly distributed over the surface, after which areas with shades different from the rest of the surface are formed. To exclude such an error, it is necessary to observe the orientation when painting.
It is not necessary to immediately correct such a mistake: it is necessary to wait for time, let the layer dry out. Only then can you paint the problem areas.
Repetitive painting is not always able to correct the situation, so sometimes you have to clean the problem areas with emery paper. Refresh the surface will help only a new layer of paint. If all efforts are in vain, you will have to repaint the ceiling again, and clean and wash the surface before painting.
To learn how to properly prepare and paint the ceiling with water-based paint, see the following video.


