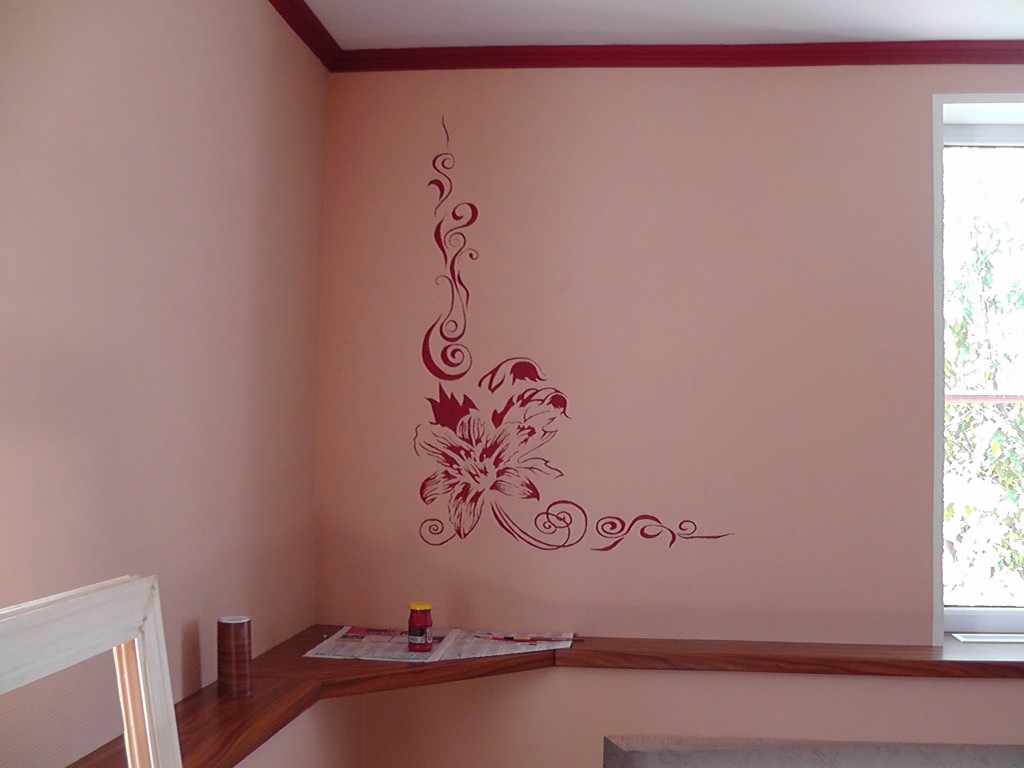
Subtleties of applying water emulsion on whitewashing

Whitewashing of ceilings and walls - the cheapest type of interior decoration. To him resort when they want to save on repairs. Whitewashing in modern apartments is rare, since such a finish has many drawbacks. The best alternative to lime or chalk solution is water-based paint. Having decided to update the design of the room, there may be a question as to whether it is allowed to apply water-based paint onto the whitewash.
Do I remove the old whitewash?
Whether to remove the old layer of lime or chalky composition before applying water-based paint will depend on the initial state of the finish.
In no case can the old layer be left if:
- The solution was applied in several layers.The application of the water emulsion will have a negative effect on the thick coating. No matter how well the layer holds, when exposed to moisture, it will swell up and begin to peel off gradually, along with a new finish.
- Cracks, swellings or other defects are visible on the surface of the wall. If you paint on such a finish, the repair will not be durable. After 1-2 months, the new coating will “fall off” with the old pieces.
To get a good result right away, don't take risks. It is better to spend time and energy on the removal of whitewash than to overpay for the purchase of new finishing materials for a new renovation in the apartment.
Surface preparation
So, when you visually inspect the wall, you determined that the old coating needs to be removed.
To carry out the preparatory work, proceed as follows:
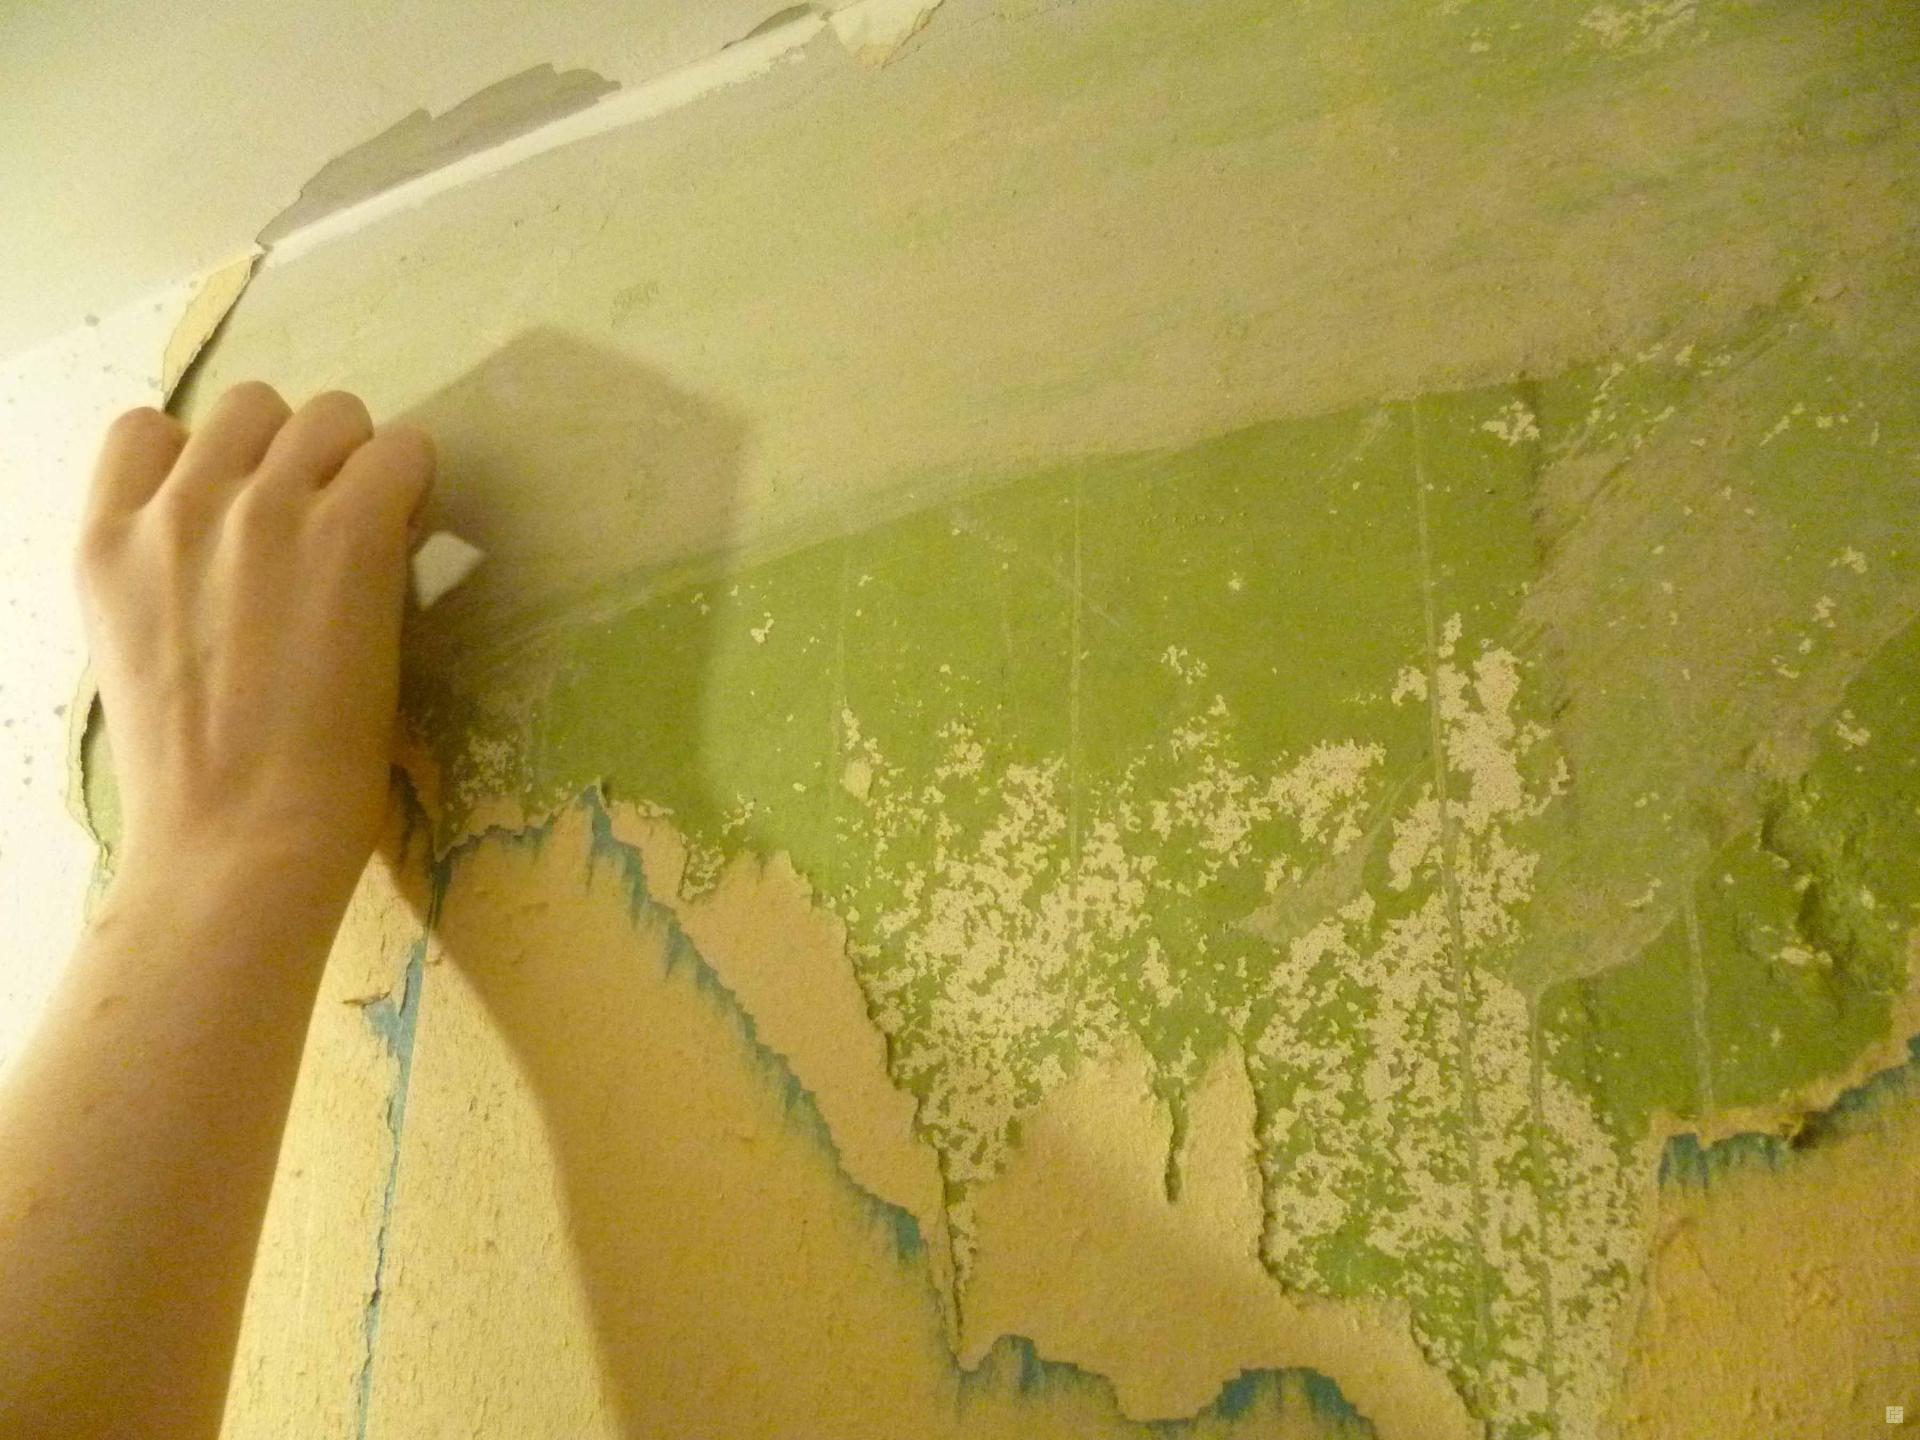
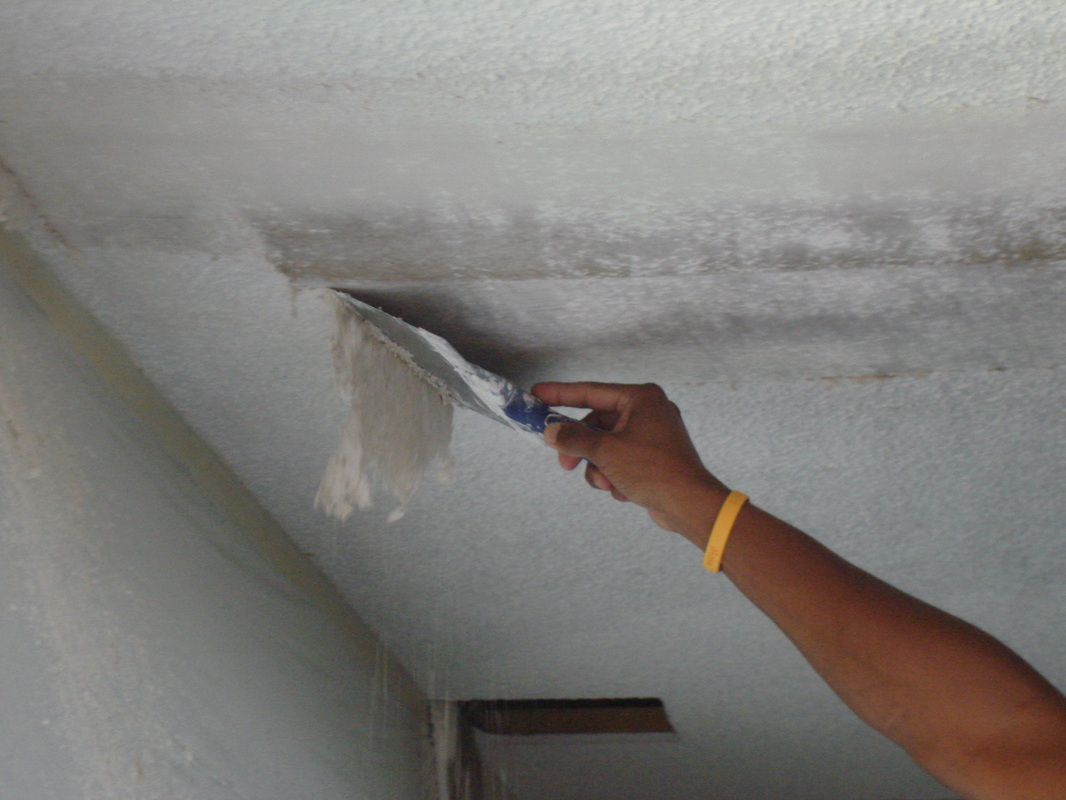
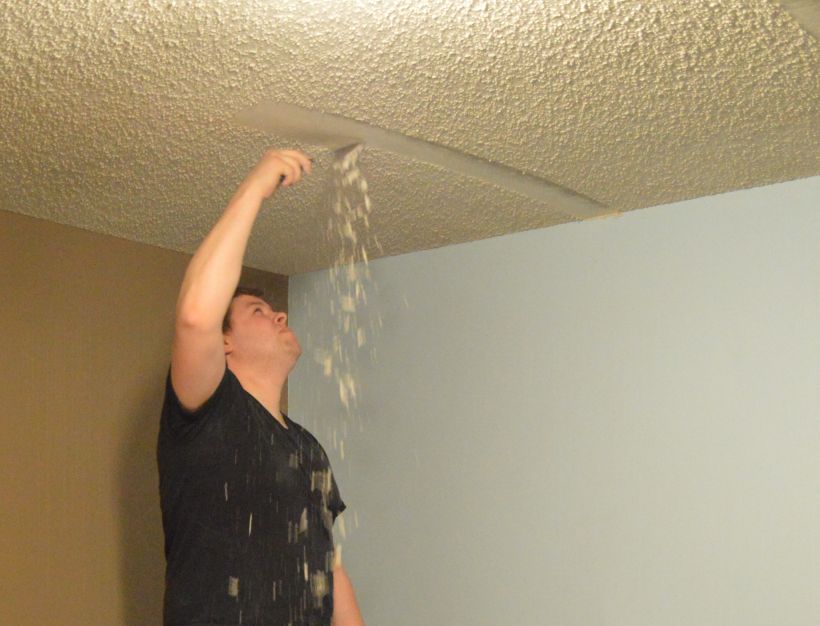
- Remove unreliable areas from the surface. Such work is convenient to produce with a construction spatula or scraper. Remove only those areas that are easily “behind” the wall. If the layer is thin, you can use a roller or brush to remove it.
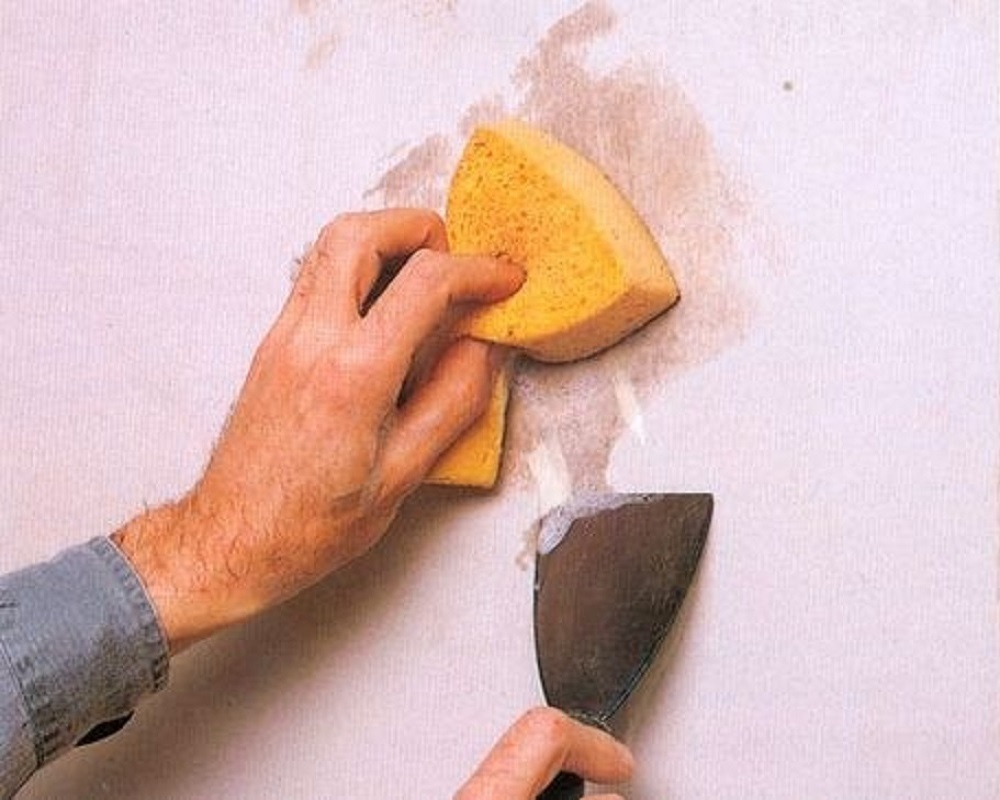
- Soak undisturbed lime layers with hot, soapy water.This is the most effective method of lightening whitewash. Dampen the wall with a soft, damp cloth to remove the cover. Treat the surface until the chalk or lime starts to “move away”.
- Remove residual layers with a spatula.
- After the wall is dry, seal the cracks with a putty and level the base.
- Coat the surface with a primer.
However, all these works (except the last stage) can be avoided if the layer was thin during visual inspection, and no cracks or bloated areas are visible on its surface.
If you decide to leave whitewashing, do not neglect the primer. This is one of the most important stages of the process, which should be taken responsibly. Experts recommend acquiring soil formulations with deep penetration on an acrylic basis. Using a primer, you strengthen the surface and reduce its absorbent properties. Applying quality compounds from proven manufacturers, it is possible to reduce paint consumption.

Tools and materials
To paint the walls or ceiling with water-based paint, you will need:
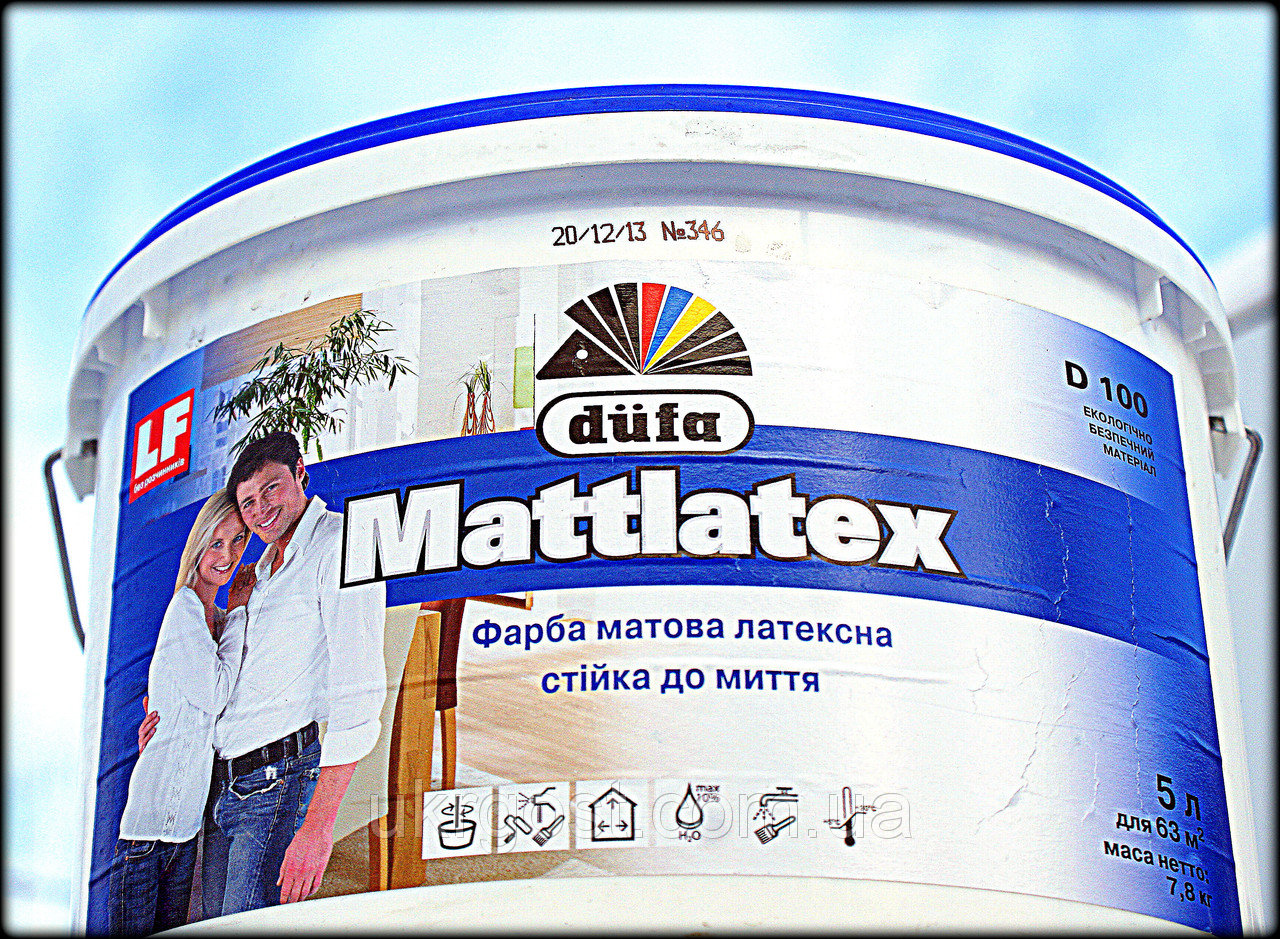
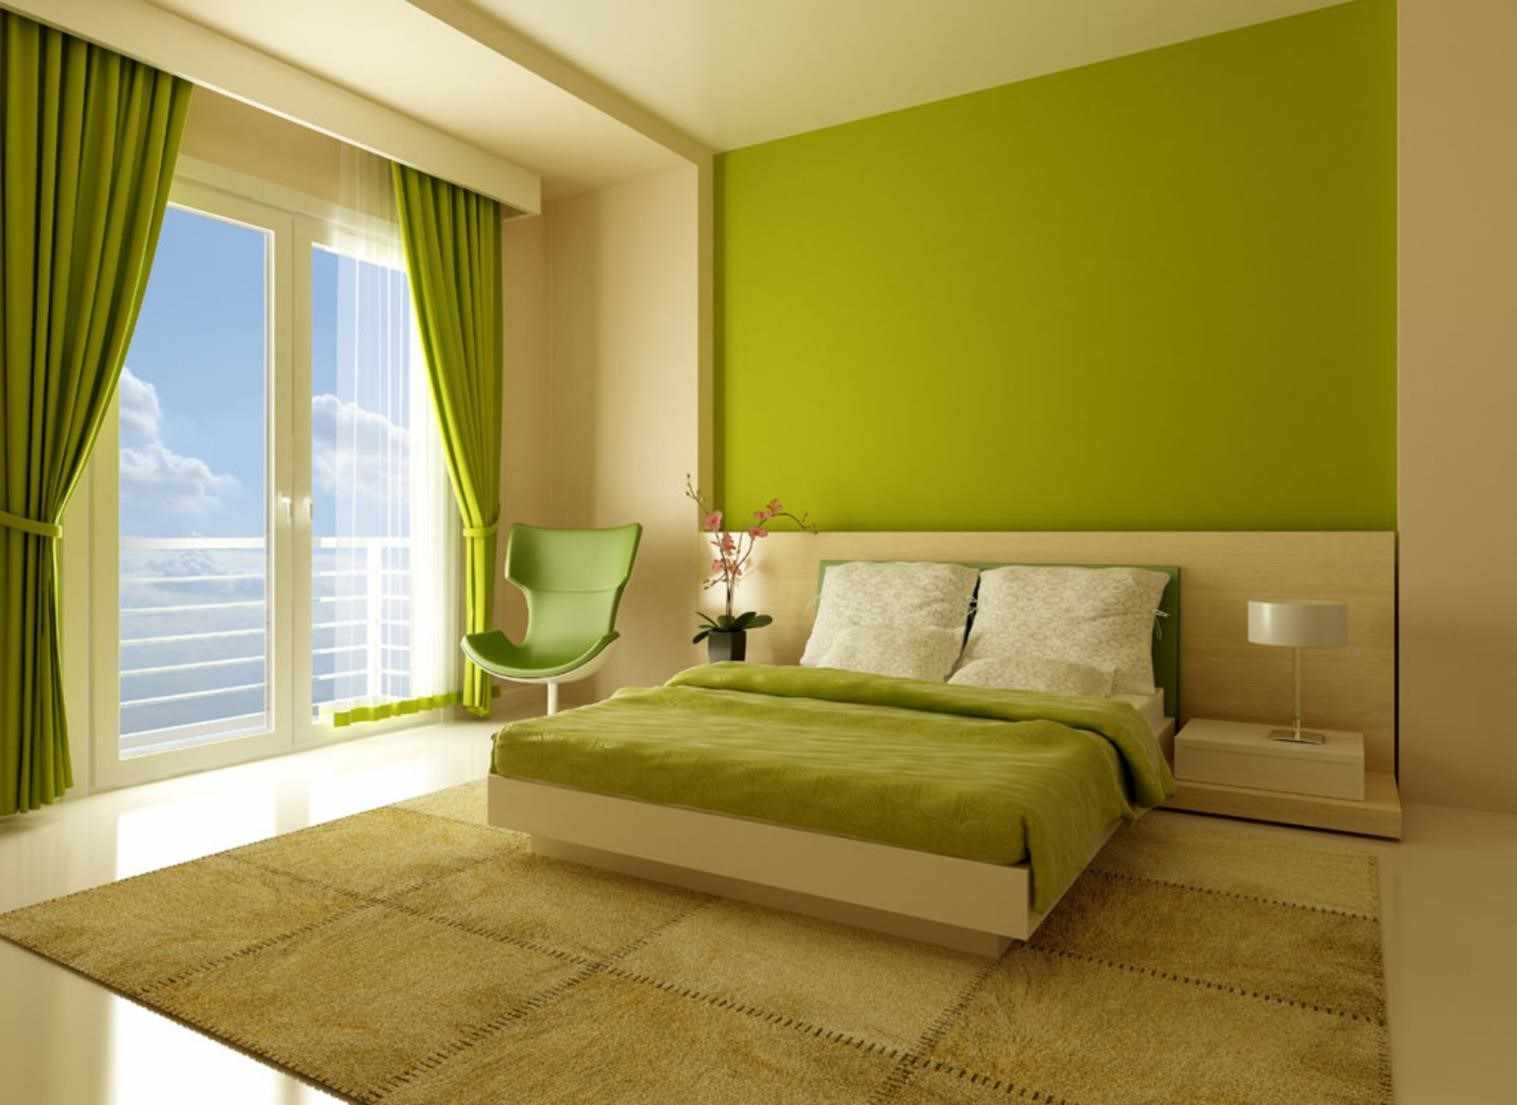
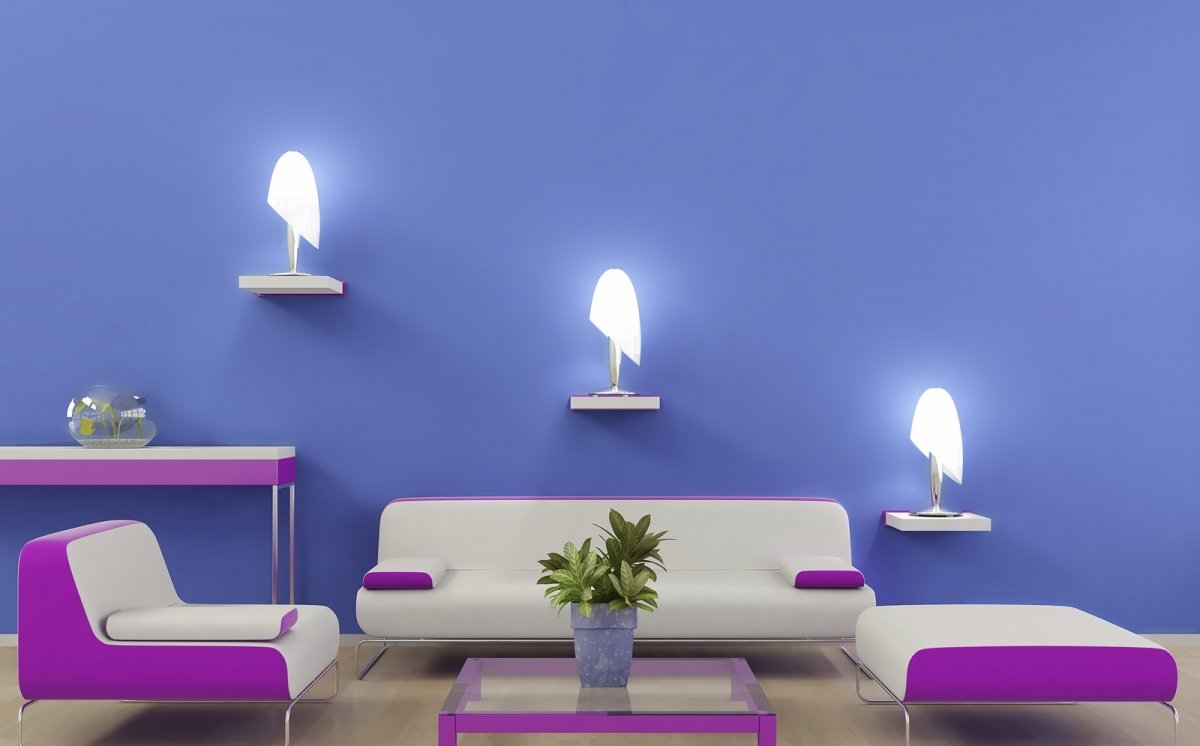
- Water emulsion. Any kind of composition will do: acrylic, silicate, mineral.The most important thing is to choose the composition in accordance with the type of room. For example, it is inappropriate to use paint with poor water resistance in bathrooms or toilets. For finishing of bedrooms or living rooms will suit any options.
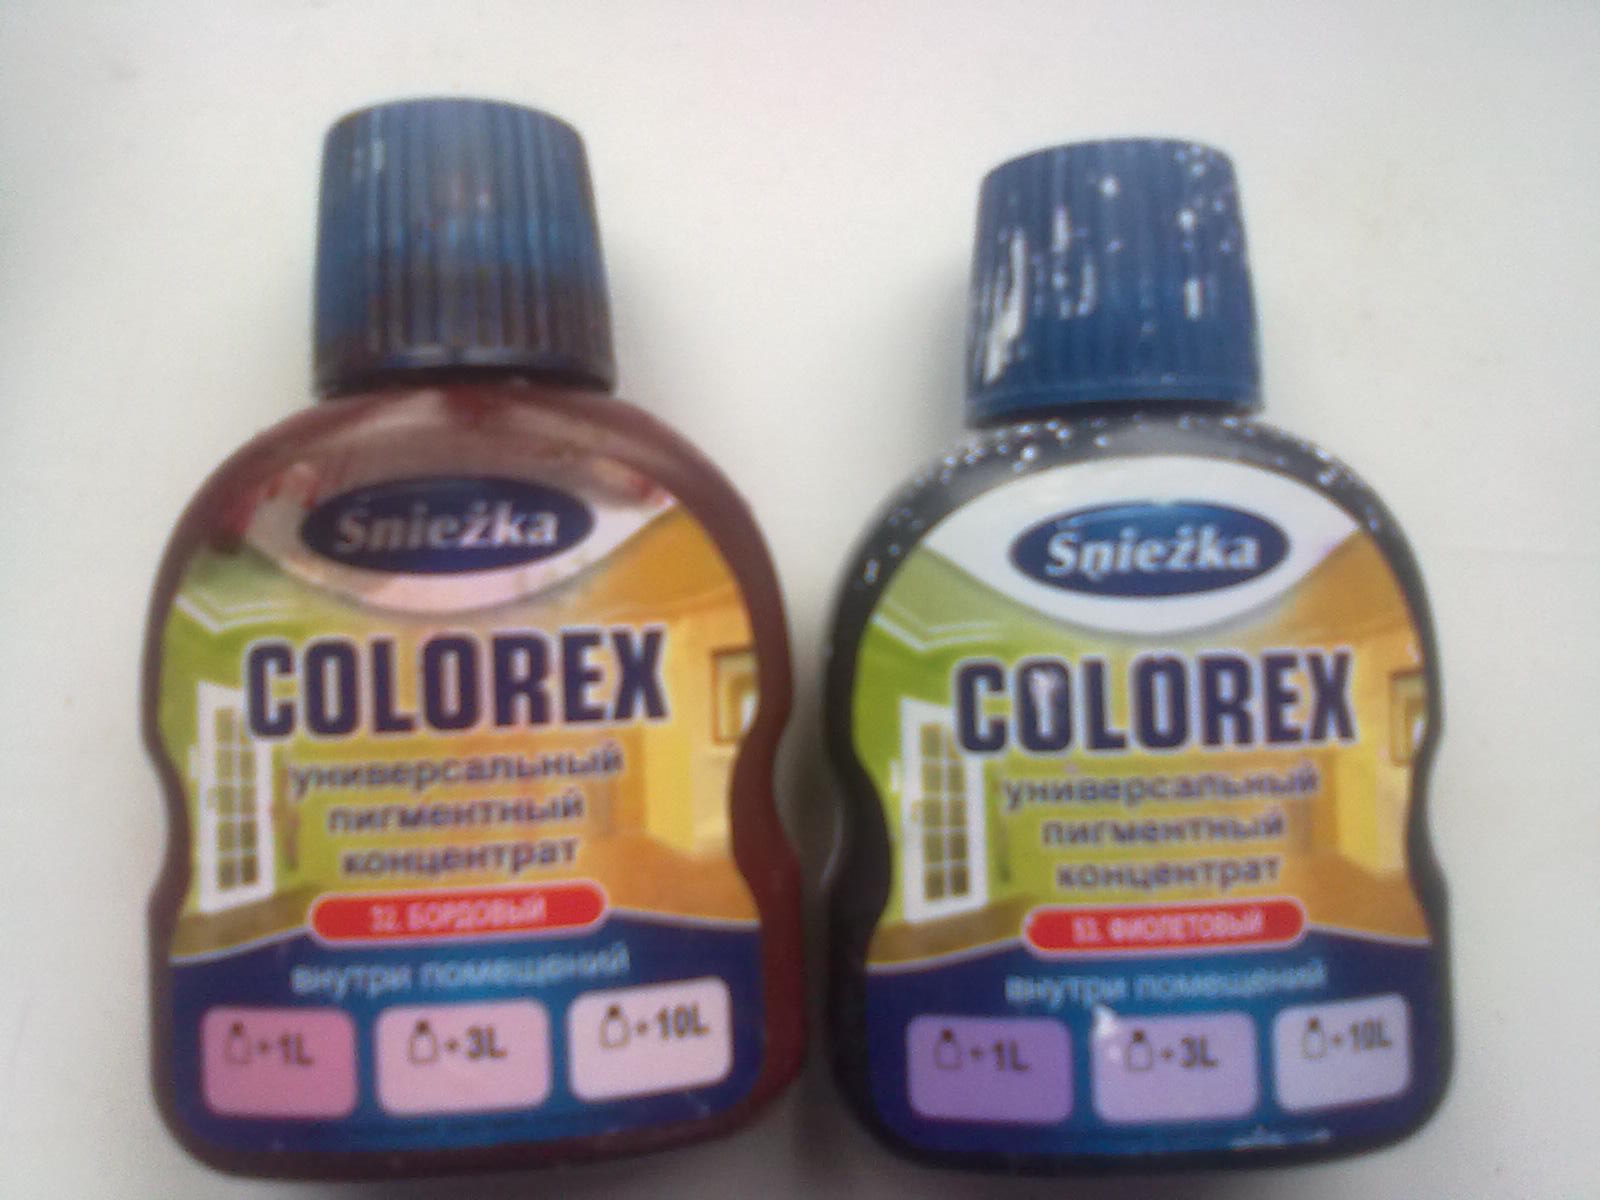
- Color. It is recommended to knead immediately as much paint as is required for surface finishing, since subsequent painting will make it difficult to get exactly the same shade.
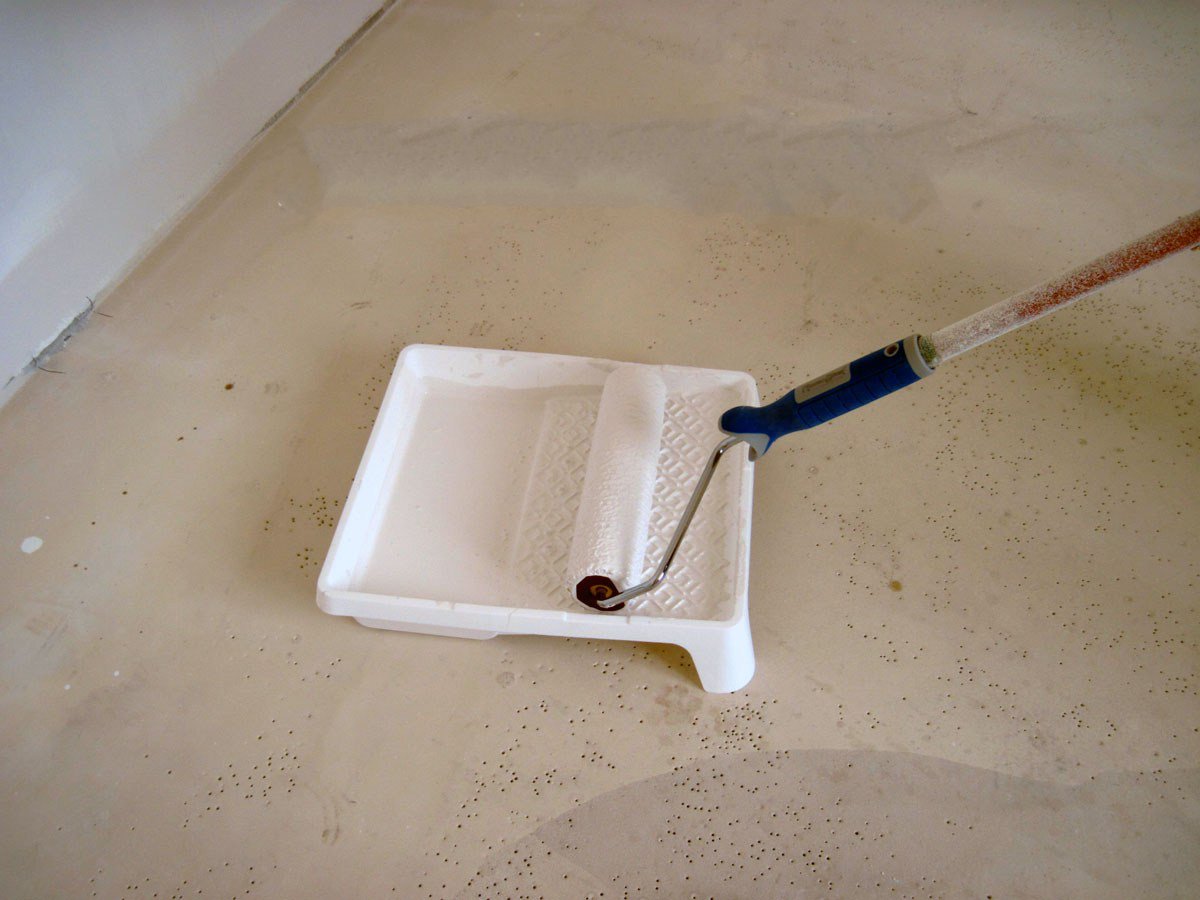
- Paint roller and brush for applying paint to the surface.
- Capacity (cuvette).
If you wish, you can use the spray gun (if you know how to use it).
If there is no experience in using the sprayer, it is better to work “in the old manner” with a brush and a roller.
Otherwise, there are great risks to produce uneven painting of the walls or ceiling.

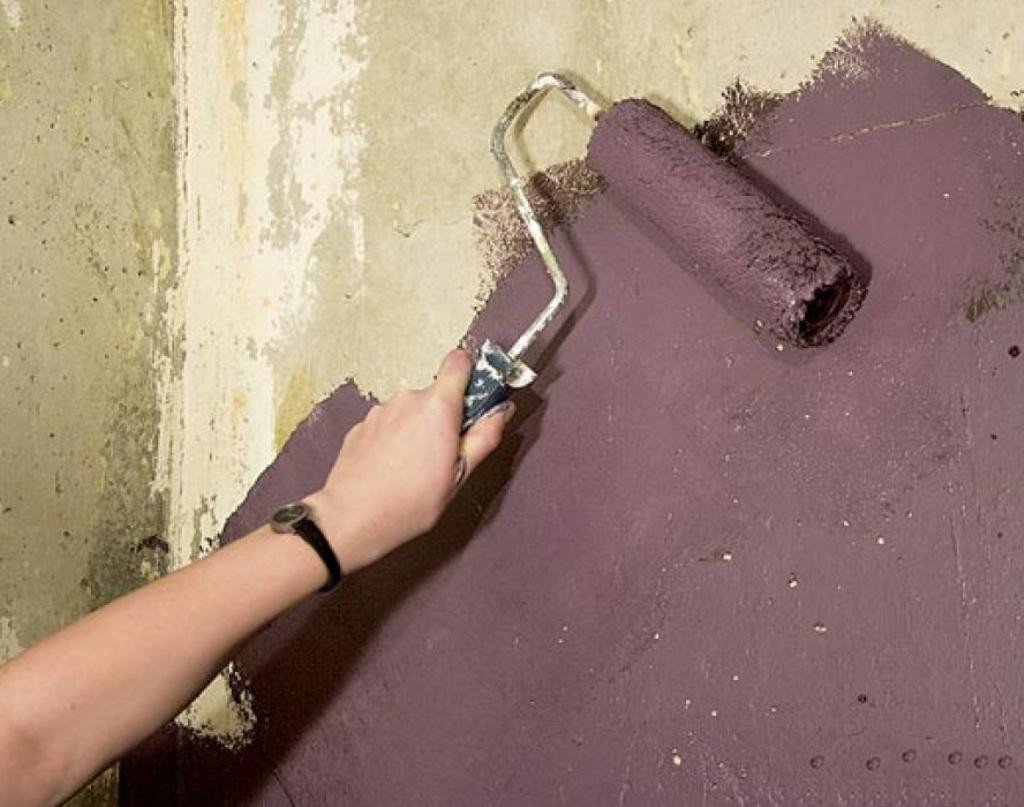
Painting technology
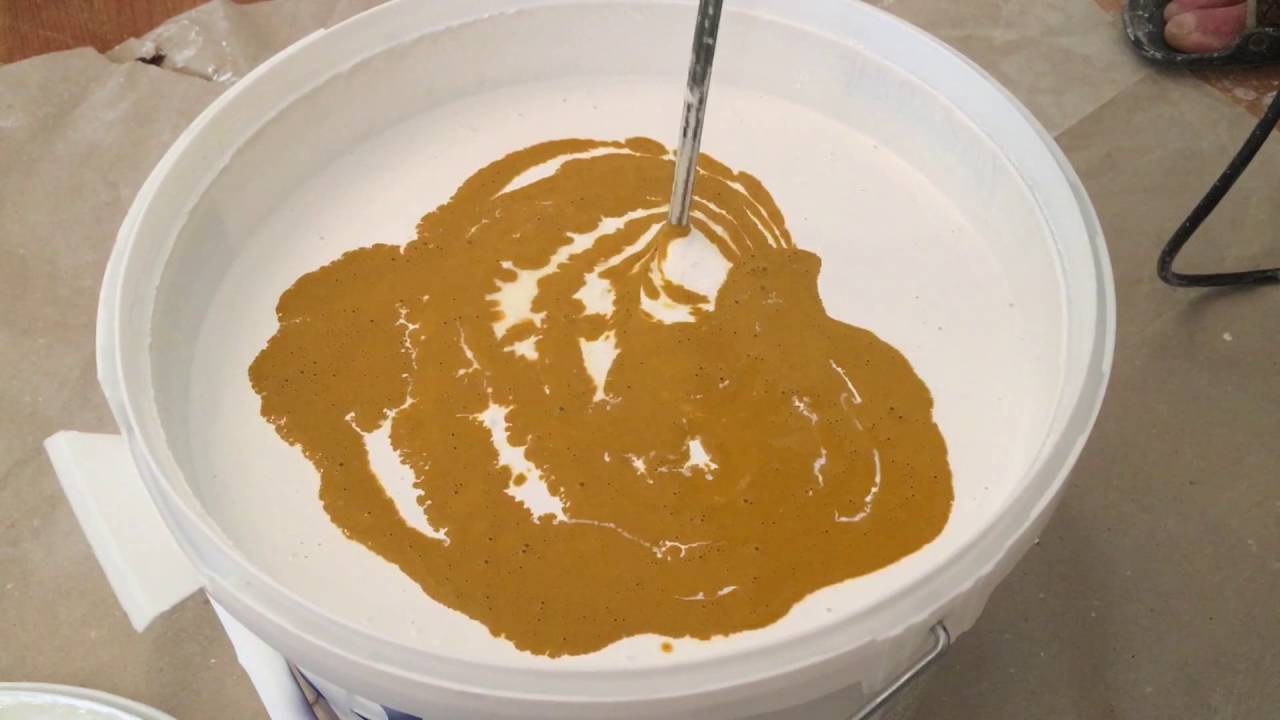
So, after preparing the wall for painting and its complete drying, you can get to work. Open the jar with the composition and mix it thoroughly. To do this, you can use a stick or a construction mixer with a specialized nozzle. If necessary, the paint can be painted with color or diluted with water to the desired consistency.
After preparing the paint, pour the solution into the cuvette and paint it:
- Dip the brush into the emulsion, and slightly squeeze out excess paint on the grooved part of the container.
- Trim corners, niches and other "hard-to-reach" areas.
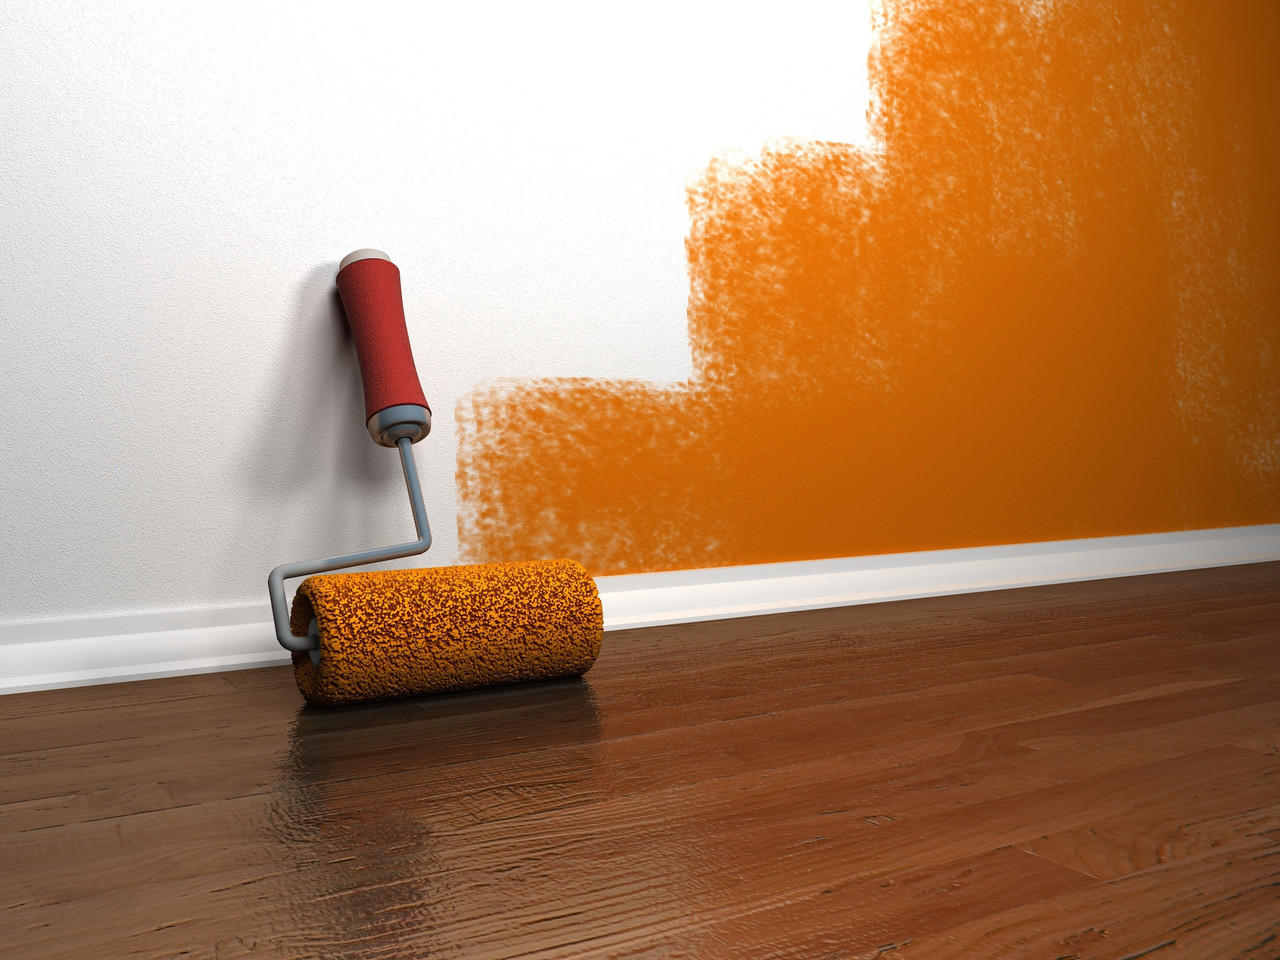
- Paint the surface with a roller or spray gun. It is important to ensure that the paint goes evenly. If you notice smudges, immediately get rid of them.
- Wait 6-8 hours for the paint to dry and apply the next layer by analogy with the previous one.
Some types of paints require application according to a special scheme. As a rule, information on the method of using the composition is given by the manufacturer on the packaging or on a separate instruction sheet. To avoid mistakes, before painting walls, read this information.
Common Homemade Mistakes
Painting the walls or ceilings with a water-based paint is a job, for which it is necessary to correctly carry out a set of rules. The result may be disappointing due to the wrong tools or the wrong time to apply the layers. To make a good redecoration, you should learn about the common mistakes of "home craftsmen" and avoid them when painting.
Frequent "misses" include:
- Painting unprepared walls. On the unwashed and unprotected lime base there is often dust, pile from the brush from the previous whitewash, fat stains and other defects. Under the layer of paint, all the flaws “will manifest themselves”, which is not the best effect on the aesthetics of the walls. We'll have to either put up with poor-quality finish, or get rid of paint and prepare the surface according to "all the rules."
- Errors in the selection of the tool. Wrong brush or roller may cause uneven staining of the surface. To the result was perfect, builders recommend using a roller with a long pile (6-7 mm) when applying the base layer. When re-staining, it is advisable to use a short-hair roller (1.5 mm). He "will help" to economically spend the composition and will not leave smudges.
- Drawing chaotic brush strokes. If you apply the composition in a vertical position, then in a horizontal position, do not expect a uniform staining of the surface. When drying, the risks of smear are high. To perform a high-quality cosmetic repair, choose one direction - this way the paint will fall evenly throughoutthe base.

- Painting the surface in 1 layer. Do not attempt to speed up repairs in this way and save on material consumption. For an even and intense shade, apply 2 or 3 coats. At the expense of the first, you can distribute the composition, thanks to the second you blend it well. The third layer will make the color even.
- Coloring the wet layers. Each of us wants to quickly finish the walls, put aside the roller and brush and enjoy the result of the work done. To speed up the process, some masters paint the wall that is not fully dried. The result is a peeling of the wet layer, sticking paint pieces to the instrument. To the outcome of the finish did not disappoint, you need to be patient. Wait until each of the layers dries out. Pay attention to the instructions. Often, manufacturers indicate how long it takes to completely dry the layer.
The last and most common mistake is the wrong timing for work. Do not apply paint in the summer at noon in the bright light of the sun. So the layers will dry before you apply the entire composition. The result - an uneven color. If you paint the walls in dim light,You can skip the errors.
It is best to engage in painting work in the daytime, when the direct rays of the sun do not fall into the window.
Useful tips
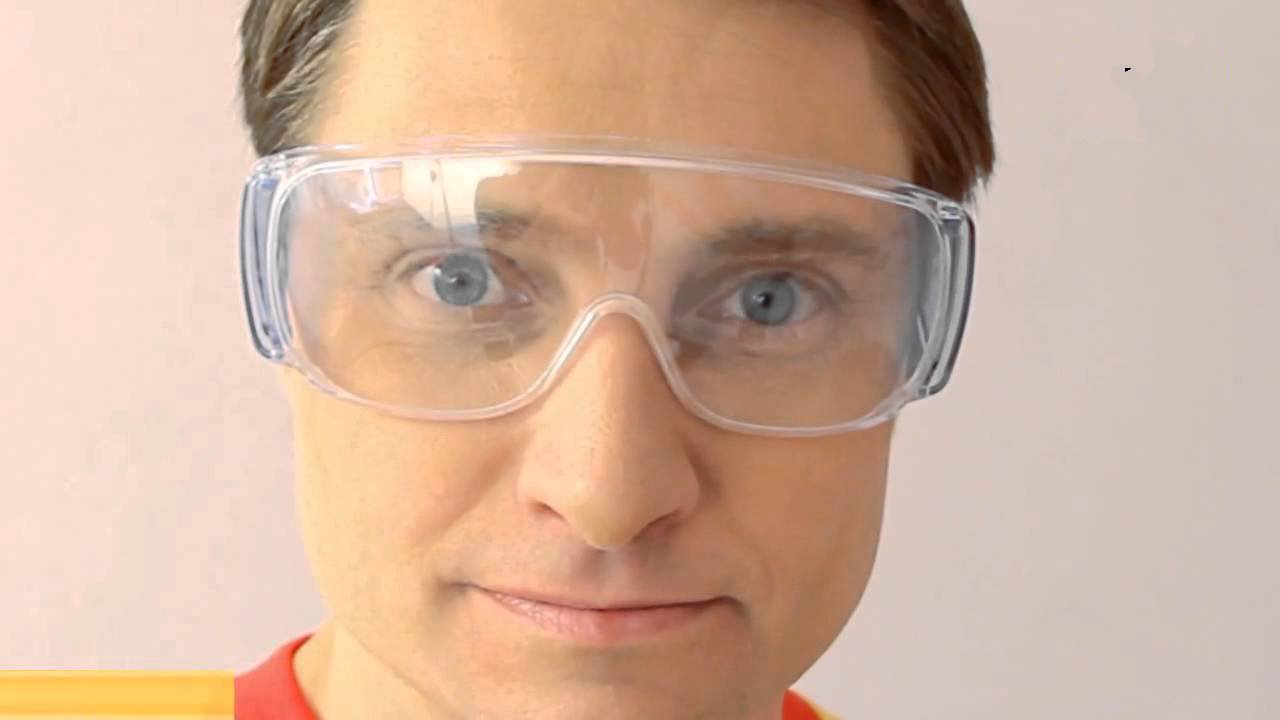
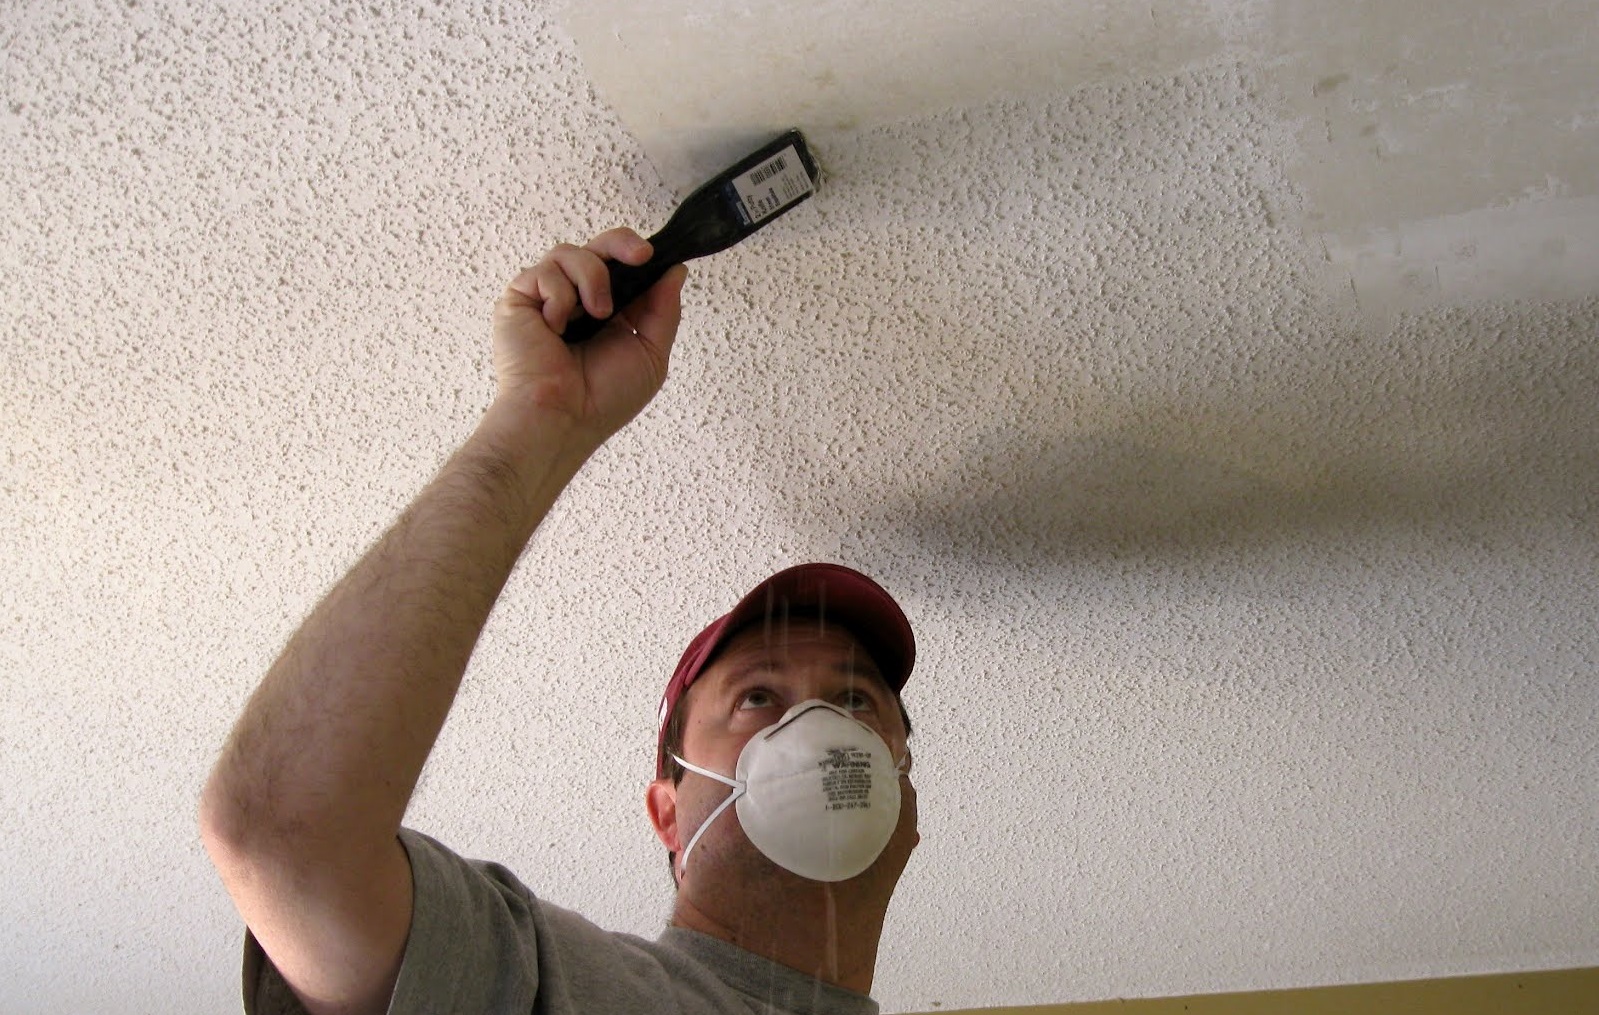
When removing the lime layer and using water-based paint, you must adhere to basic safety rules.
Do not forget to prepare:
- a specialized suit that prevents the composition from entering open skin areas;
- respirator that protects the respiratory system from lime or chalk dust and small particles of paint;
- Eye protection glasses.
Observing all the recommendations and safety rules, you can paint the walls for 2-3 days, taking into account the time required for complete drying of each layer.
If you want to make high-quality cosmetic repairs, get rid of the old layer of lime, no matter how good it is. When moisture gets wet, whitewashing is often deformed and leads to damage to the new material. Do not be lazy, and before painting try to completely get rid of the old finish, and pay special attention to the preparation of the walls. So you can achieve 100% of the result, and you do not have to think about buying new materials and upcoming repairs in the near future.works.


See the following video for tips on applying water emulsion on whitewashing.


