Laying laminate on wooden floor
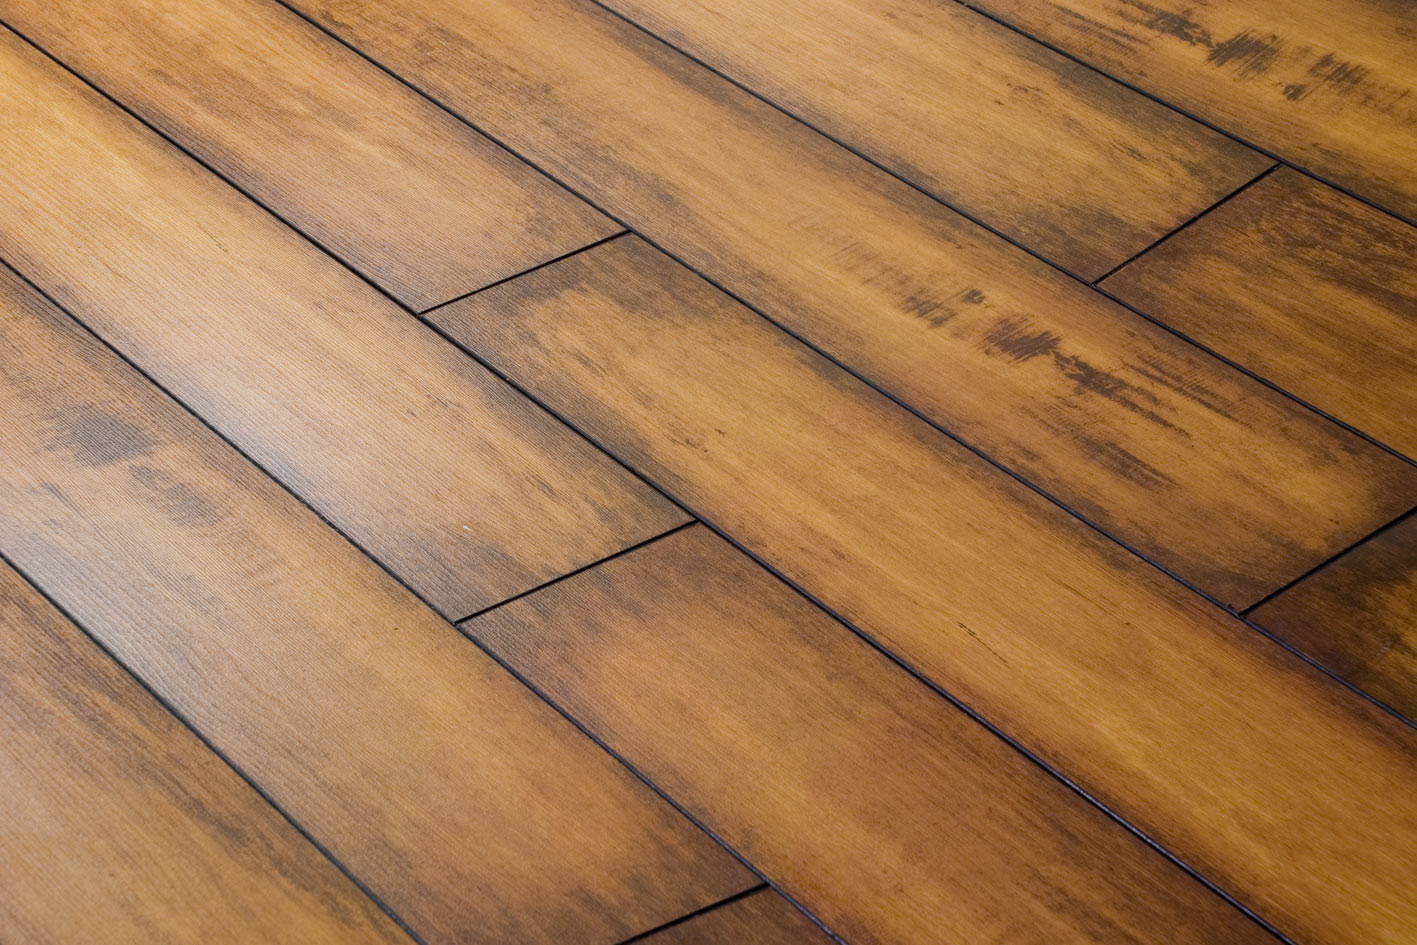
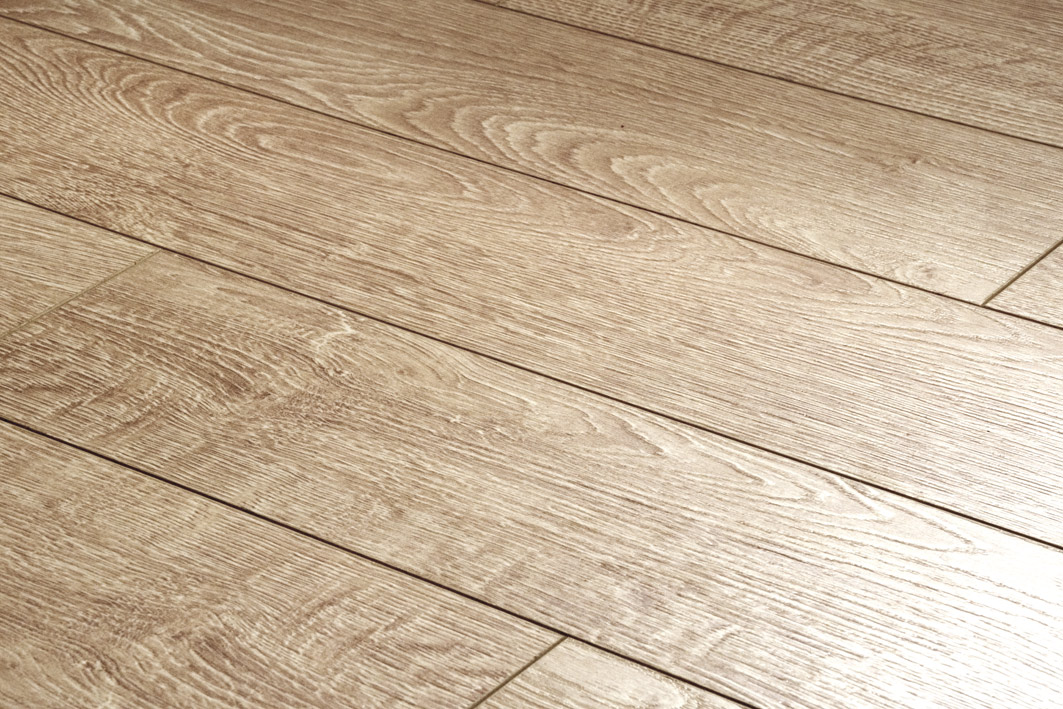
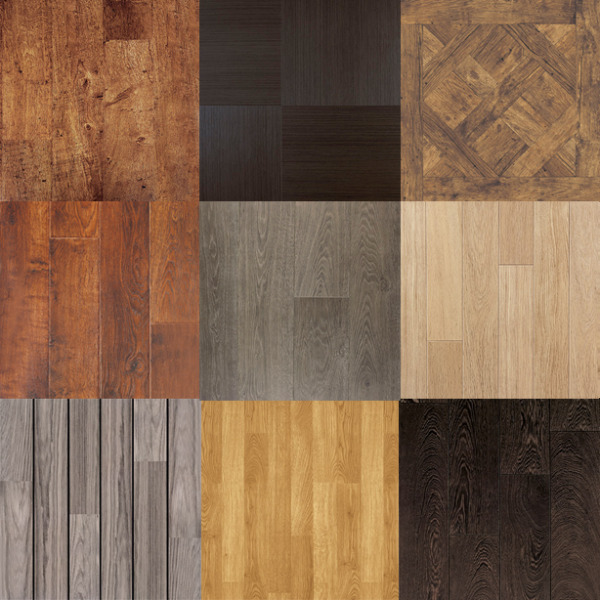
At the moment, most repairs can not do without laying laminate. The types of laminate in our time are not limited to the classic shades of wood. It is glossy, matte, laminate with imitation of rough wood, stone, tile and other species. Today we will talk about how to lay laminate on wooden floor.


Special features
In order to choose a coating, it is necessary to consider in which room it will be used. Depending on some properties, laminated products are divided into classes:
- 21-23 classes the lowest, have low wear and moisture resistance. They can be used in areas where there is low traffic. For a home, a laminate of this level is sufficient if you do not use it in the kitchen.
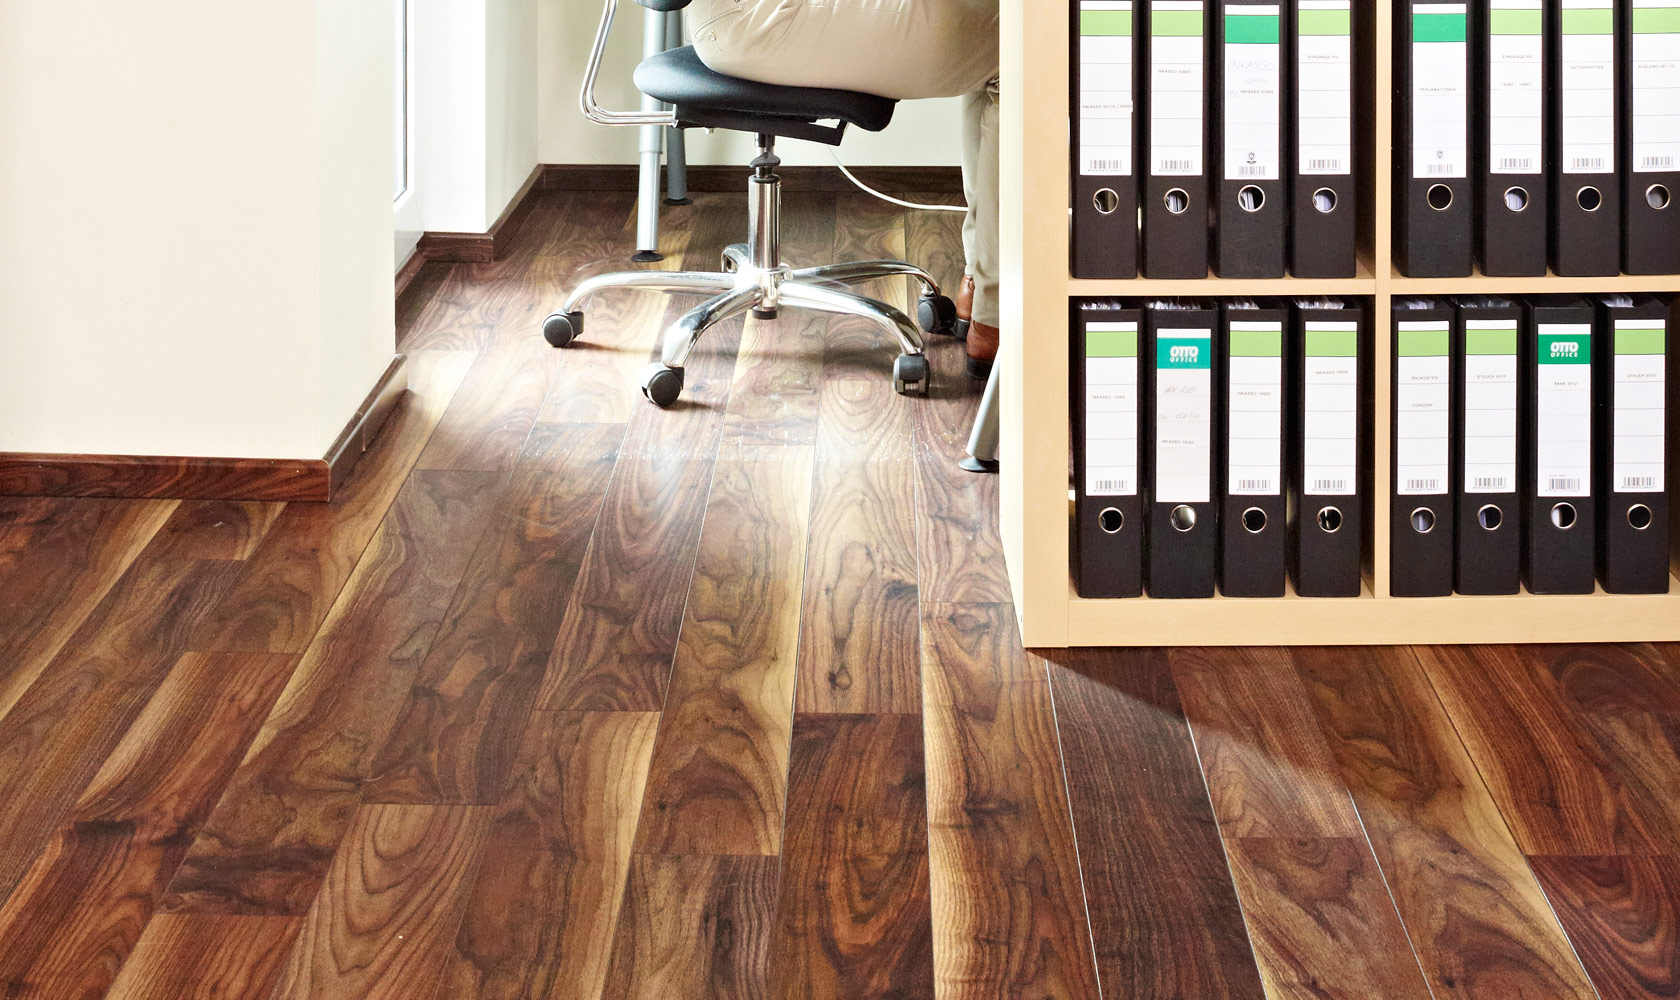
- 31st grade more durable and can be used in a small office.
- 32nd grade can serve from 5 years in the premises of the type of shop and more than 10 years in the apartment.
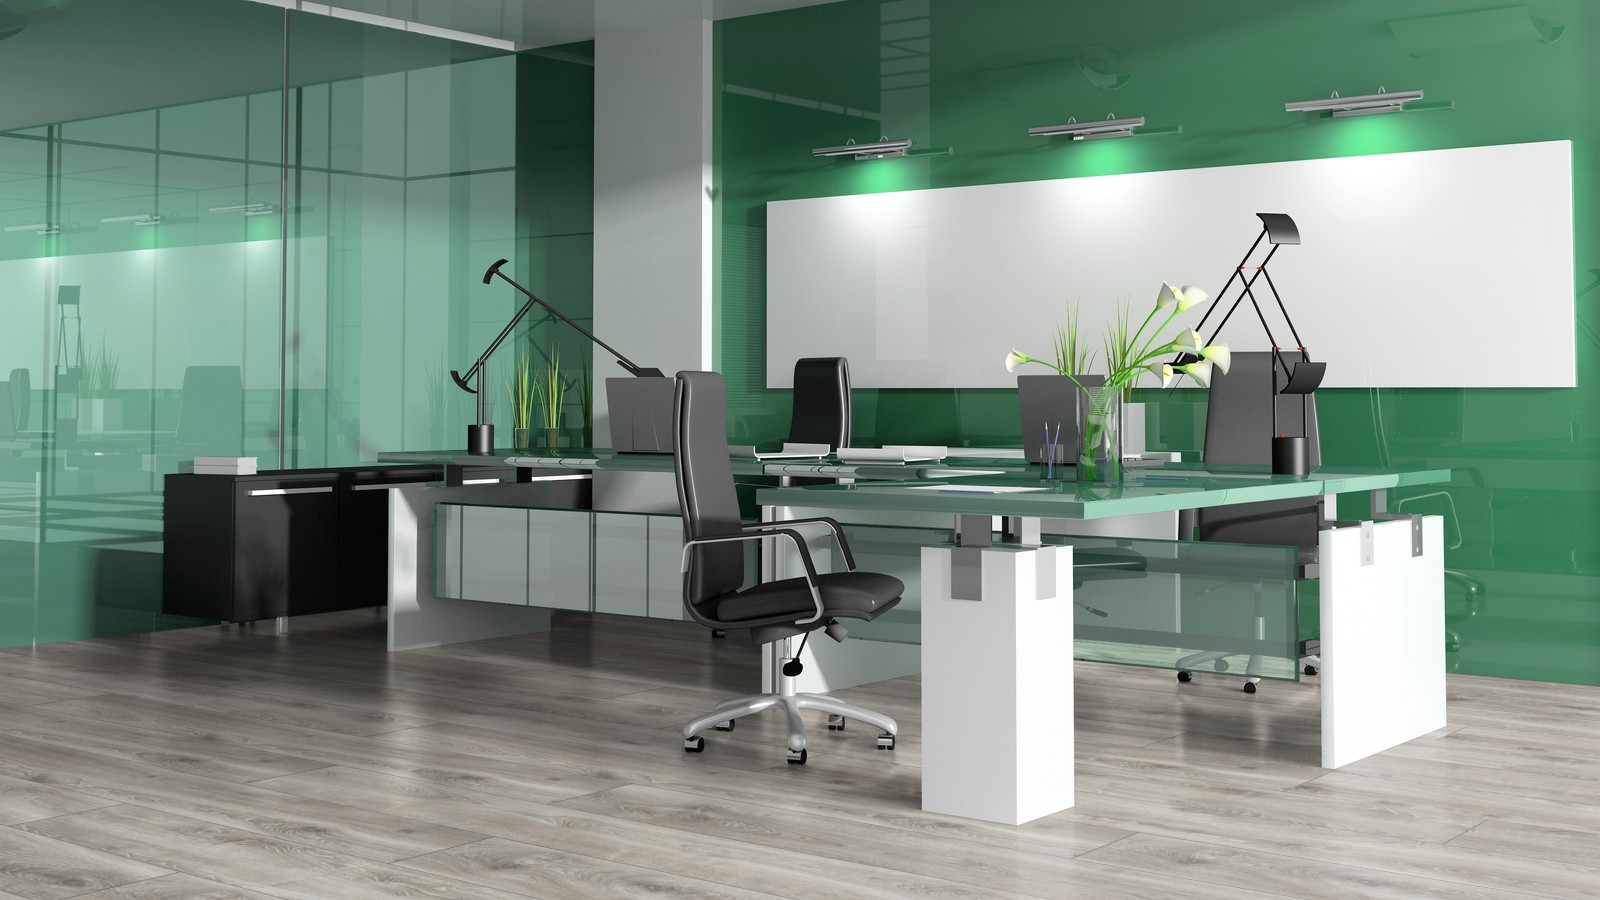
- 33rd grade the most durable and durable. It can be used in any halls, kitchens, restaurants.
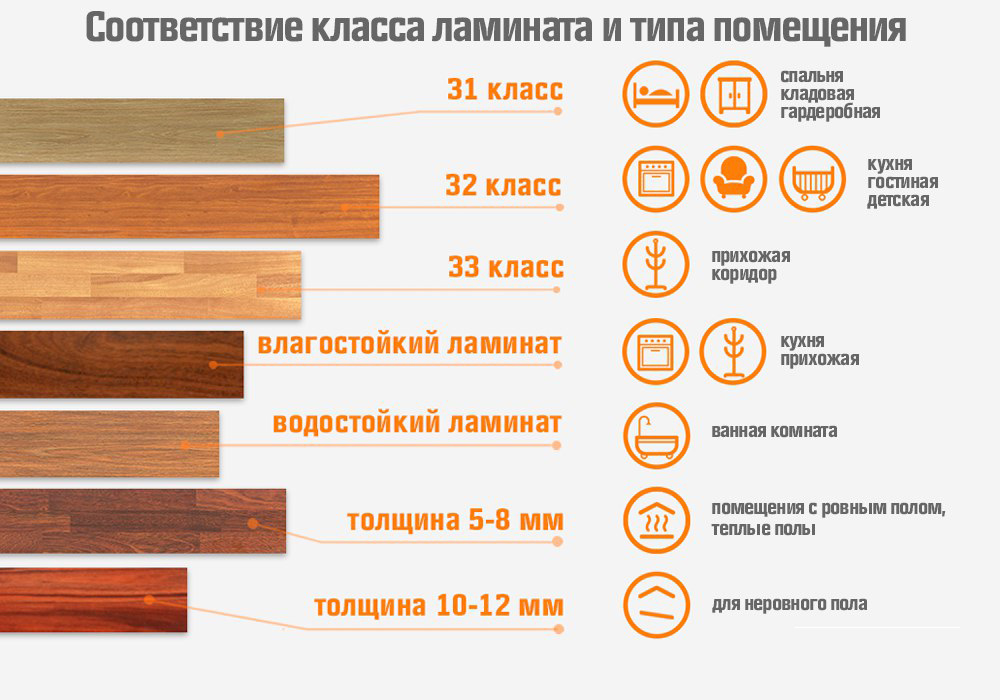
Experts advise using a laminated coating in rooms with low humidity and a concrete base, but it is also possible to use such a coating on a wooden floor.
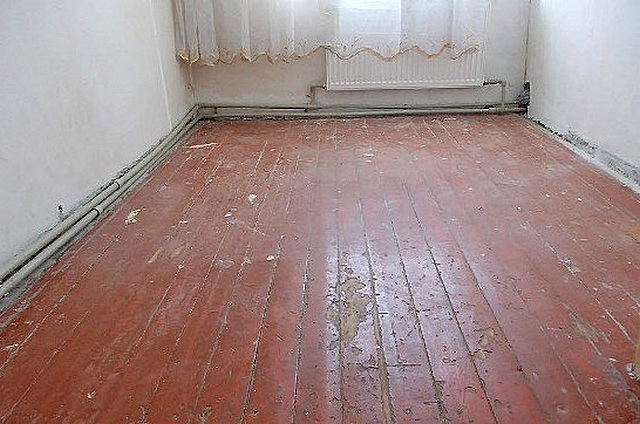
In order to properly mount the laminate and avoid further problems during operation, you should know some features of the wooden floor:
- Over time, it loses its original properties and is susceptible to moisture and other external factors.
- It is deformed and prone to movement. All this can lead to swelling, creases of the laminated surface and other unpleasant consequences. Therefore, it is necessary to carefully analyze and prepare the surface.
Base Requirements
By standards it is considered that the following conditions must be met for a laminated coating:
- flat floor, the height differences of which should not exceed 2 mm at a distance of 2 square meters. m;
- floorboards must be securely fastened so that when walking they do not miss a beat and make no sound;
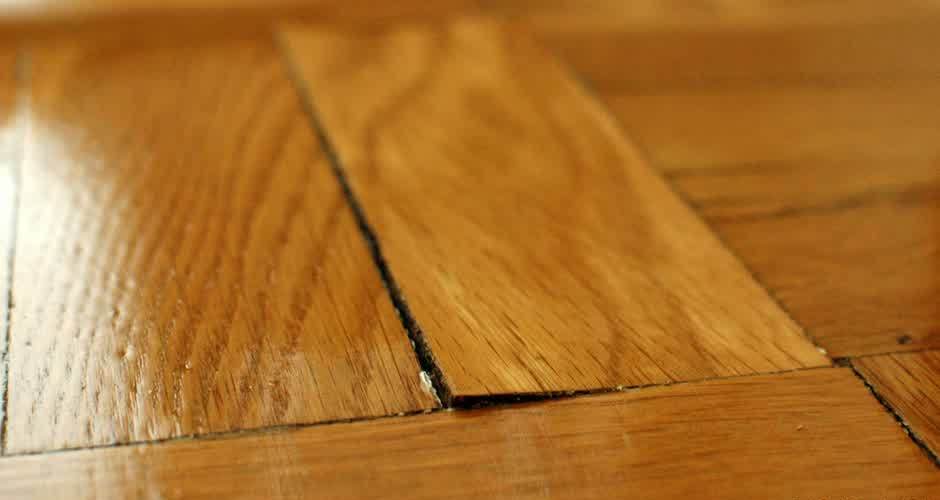
- there must be no distance between the boards;
- boards must not be damaged.
In case of defects, it is necessary to eliminate them.
Calculation of materials
After assessing the entire condition of the floor, it is necessary to determine how much and what materials you need. Let's start with the boards. If you decide to completely replace the existing wooden floor, measure the width and length of the room. Next, divide the width of the room by the width of the new boards and select the desired length of materials.
Now we consider how much lag and boards it turned out. For each board you will need 1 screw. Screw them every 50 cm to the lag. Plus you need to take 20% on the stock. For example, if there are 4 logs and 12 boards, then 48 screws + 20% will be required.

To calculate the amount of plywood, you need to know the size of the room and the sheet itself. For example, the area of 1 sheet is 2.17 m2. For a room of 8.7 m2 it turns out: 8.7 / 2.17 = 4.09 pcs. It may be enough, and 4 sheets, but it is better to take 5 pieces, taking into account trimming and possible marriage. Sheet thickness should not be less than 10 mm.
Plywood is fixed in increments of 15 cm.To calculate the number of screws for plywood, the length and width of the room is divided by 0.15 m. The two results obtained are multiplied together. For example, there is a room measuring 2.80 m by 3.10 m. 2.80 / 0.15 = 19 units; 3.10 / 0.15 = 21 pcs. Now 19 x 21 = 399 pcs. + 20% of the stock.
The calculation of the required amount of laminate produced with the purchase, as there are various parameters of laminated boards. Do not forget to measure the size of the room before the trip to the store. For example, our room has an area of 8.7 m2. On average, one pack of coverage is 2.6 m2. So, you need 4 packs (half of one pack will remain in stock).
With standard piling, the stock should be at least 5%, and with a diagonal at least 10%.

Please note that the batch and production date for all packages is the same to avoid differences in product hue.
Mounting technology
Preparation of the floor includes the following steps:
- To get started, inspect the floor and identify all its flaws.
- Begin by analyzing the state of the lag and the overlap. If you have a high basement, then you can see it from there. If there is no such possibility, it is necessary to disassemble the floor to the ground. Doubtful and damaged areas must be replaced with new ones. This will require thick bars.
- If everything is in order, determine if the boards are rotten and able to withstand the load. To do this, remove the top layer of wood. If the coating color is uniform and close to the natural color of the wood, the coating is in good condition.
You can use an awl and try to pierce dubious areas. If the awl is not included, then this instance is intact. Bad items need to be removed and put new ones.
- If the boards are in fairly good condition, you need to check them for deflection and creaking. In case of detection of those, it is necessary to fasten old boards to the logs with screws. Also the cause of squeak may be friction between adjacent instances. It is eliminated with foam or special solutions.
- Next, process the wood curing machine and cover with antiseptic.
- If the floor “got over” not so long ago, then these stages can be skipped.
- Further, it is necessary to level the floor if there are drops of more than 2 mm per 2 m2.
How to align?
This can be done in several ways.
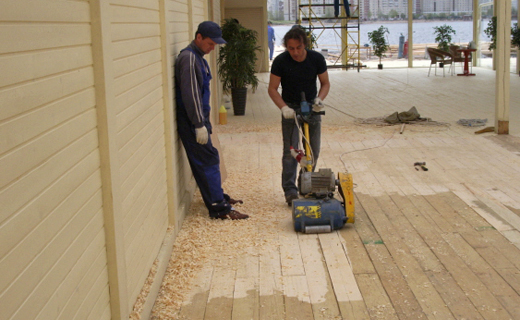
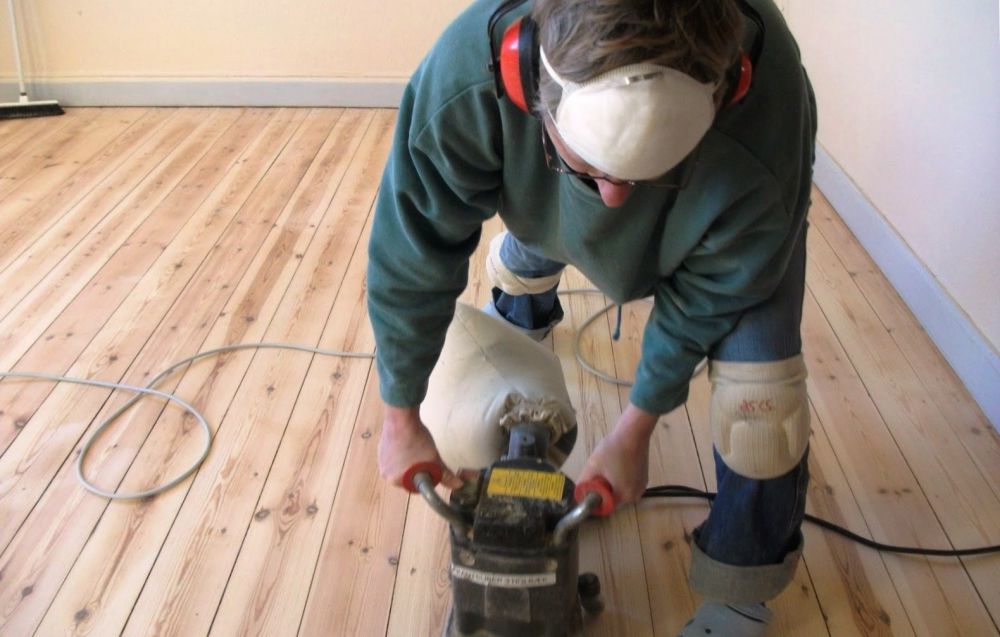
Scraping
This method is used if the drops are small. You will need a plane or a cycler. First you need to pierce all the nails.In the process of cycling, it is necessary to constantly check the correctness of the work carried out so as not to remove the excess.
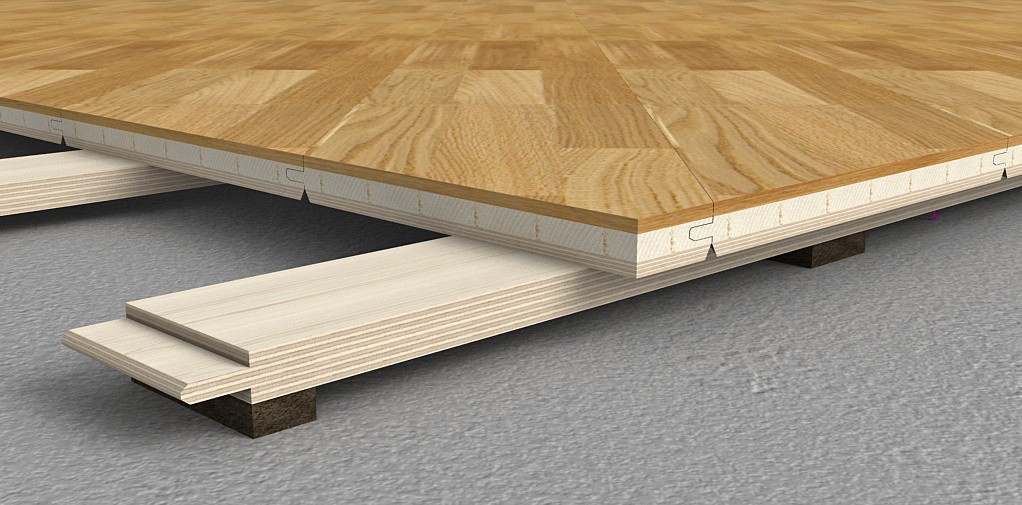
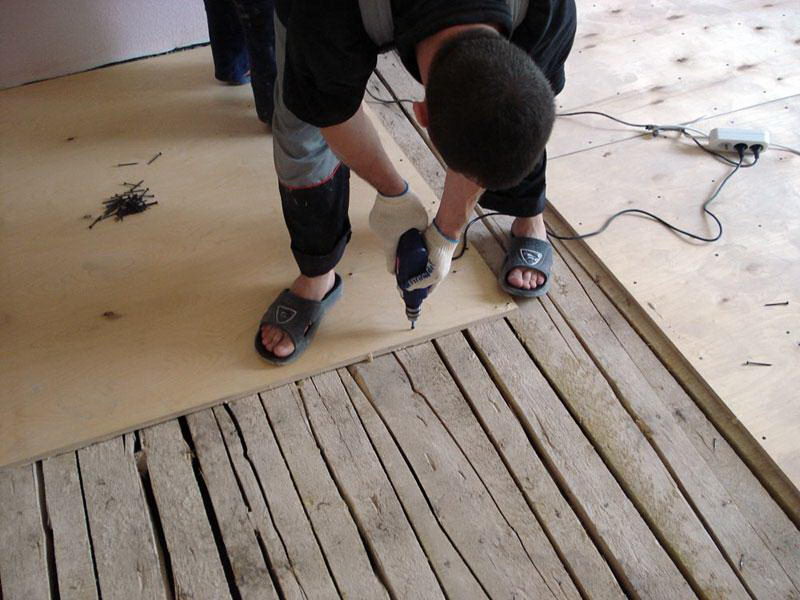
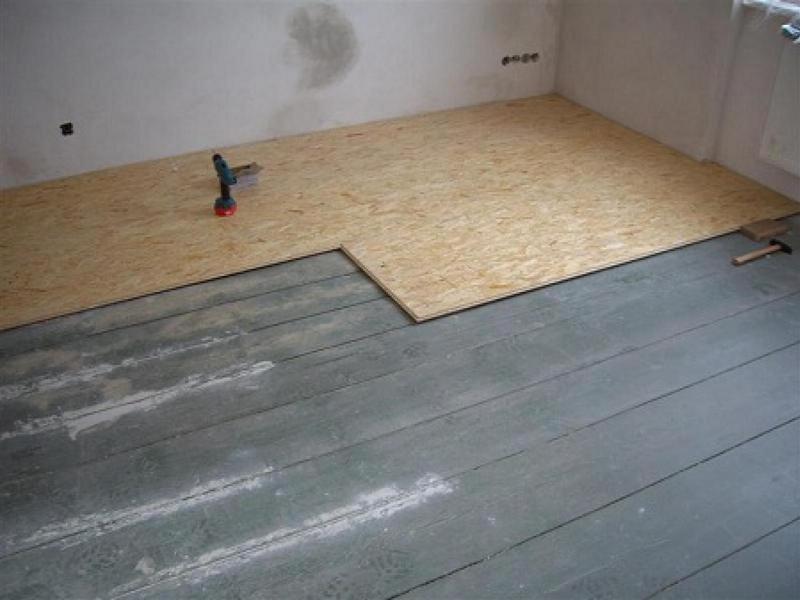
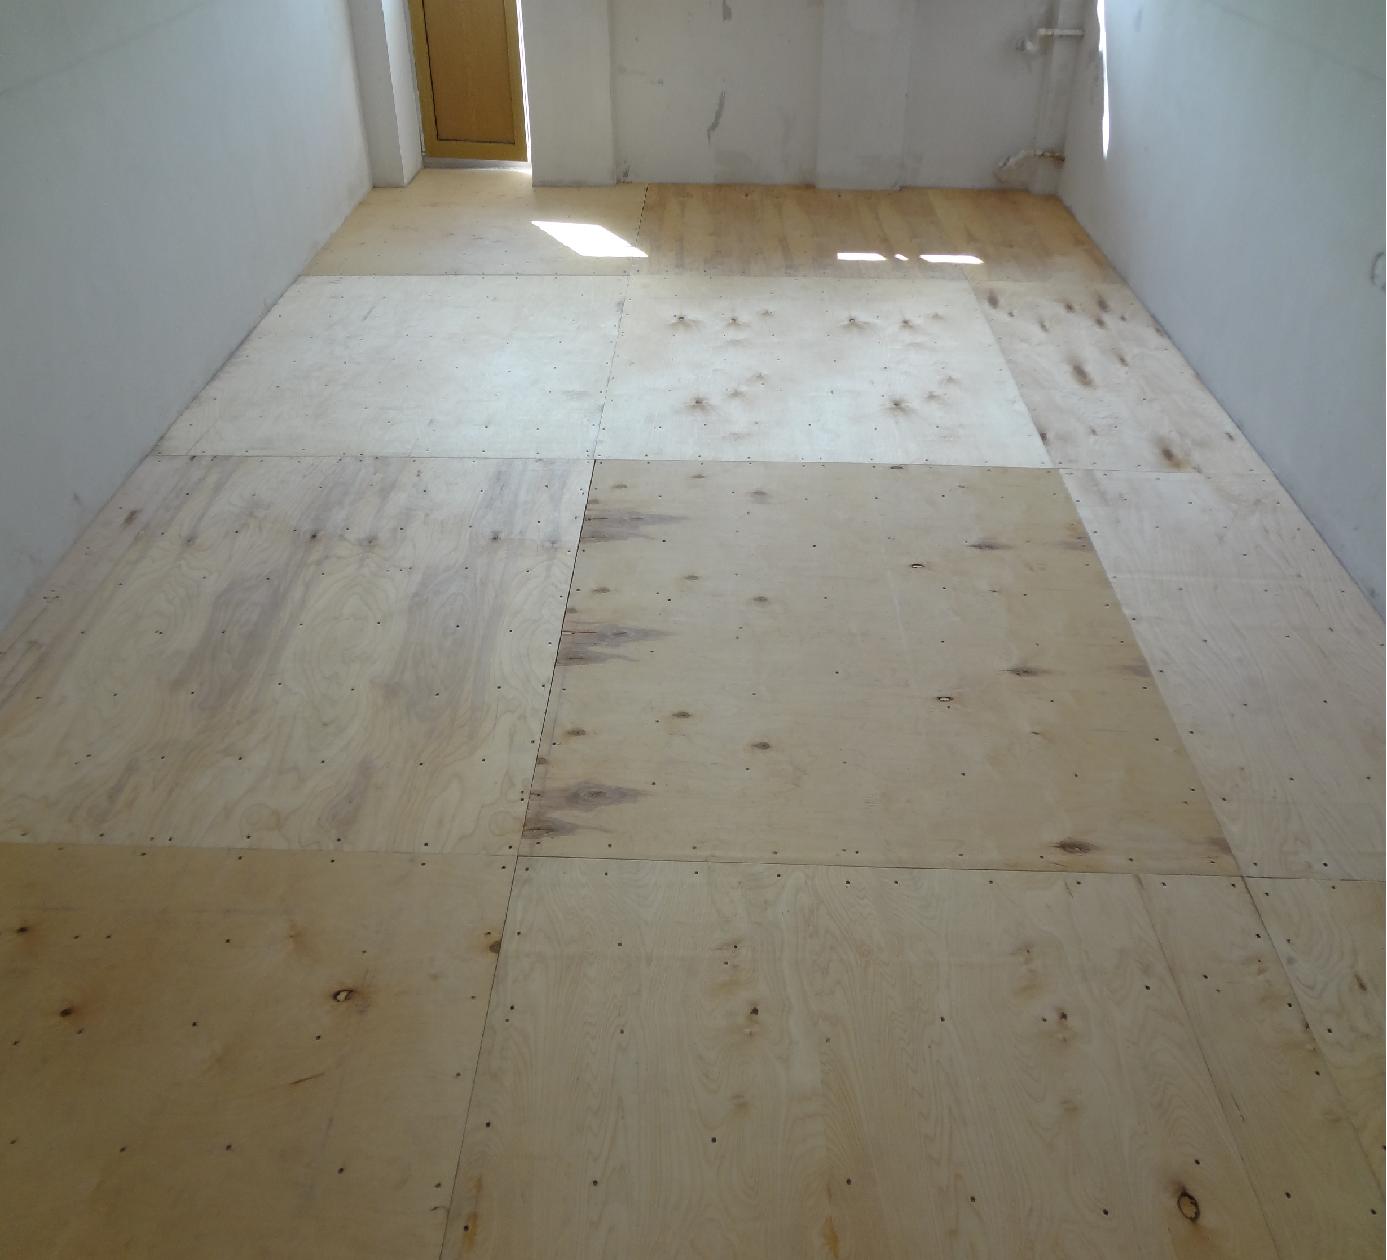
Laying on the rough floor of plywood, OSB or GVL
This method is low-cost, but at the same time effective. Of all the materials presented, the most frequently used plywood. It is eco-friendly, practical, but more expensive than the rest. The technology of mounting these types is almost the same.
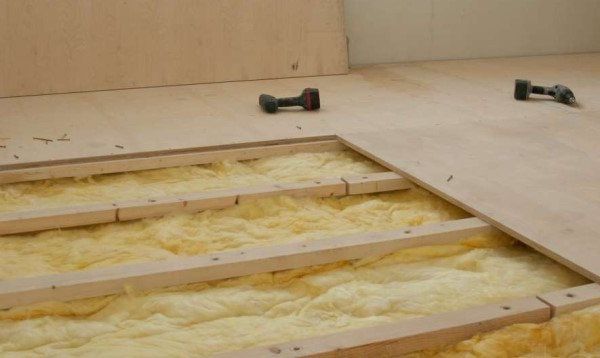
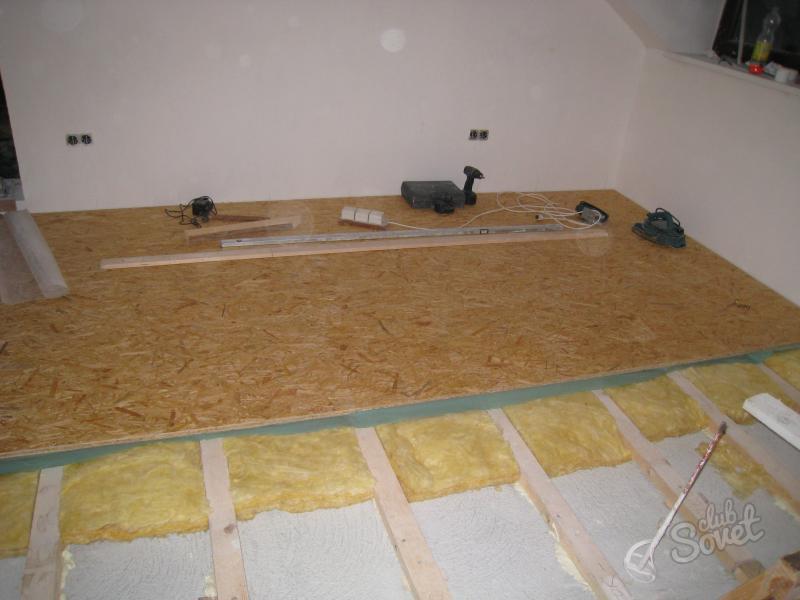
When aligning with plywood, two options are possible: laying on a subfloor, if the drops are less than 1 cm, and setting to additional logs, if the drops are large.
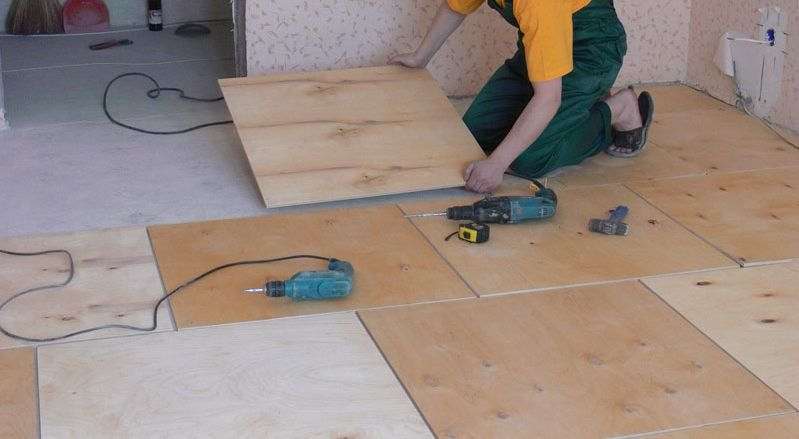
Laying plywood slabs on the subfloor with small drops can be done with glue and screws. First you need to clean the surface and primed. Next, apply glue and lay already prepared sheets. After the glue has completely dried, roll the sheets with self-tapping screws at a distance of 15 cm.
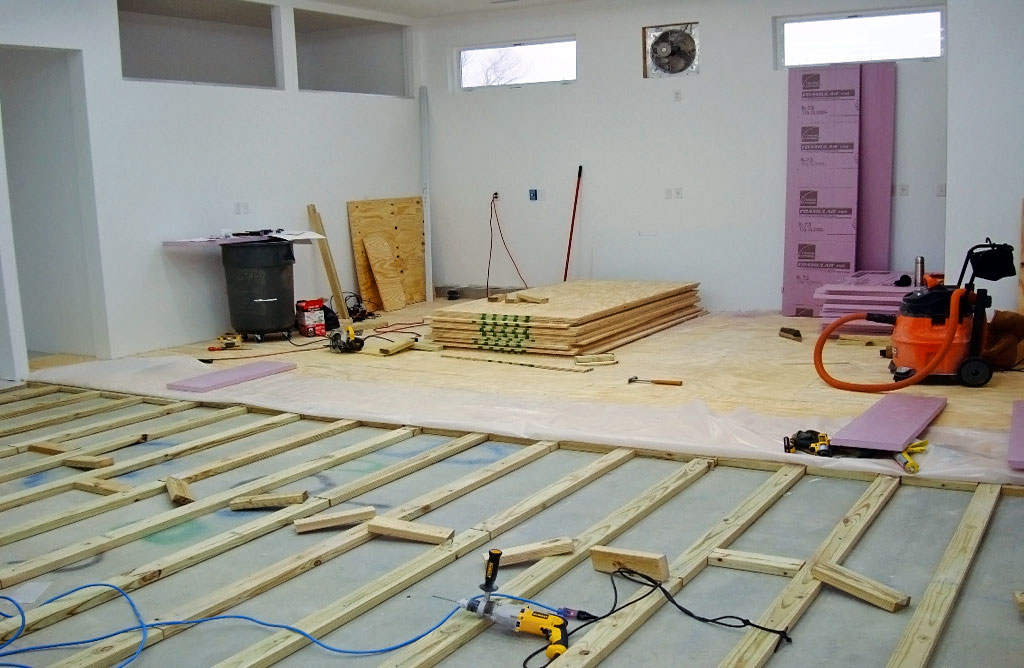
Putting plywood on an uneven curved floor with differences of more than 1 cm is possible using a batten, which will serve as alignment. First, we also clean the surface, install beacons, on which lags are fastened to the boardwalk. If voids form somewhere, it is necessary to enclose additional bars or cuts of plywood.
Next, cut the sheets into squares with a side of 60 cm, put them on the crate so that the joints fall on the logs and fasten them with a small offset so that no cross-shaped intersection of the seams is formed. We fasten the squares with self-tapping screws and pre-drill the holes so that the caps “drown” in the surface.
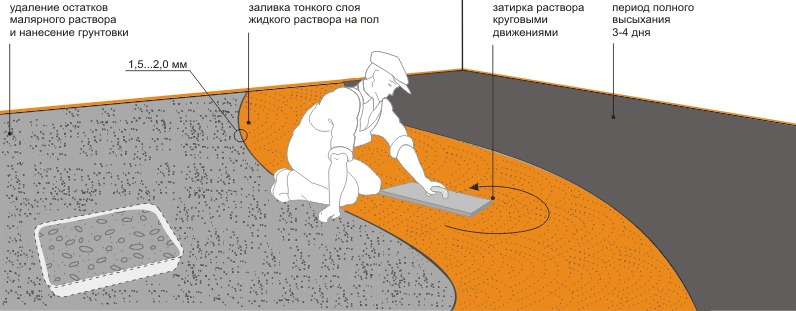
Base fill
This method is implemented using a self-leveling screed designed for wooden surfaces. It consists of fiberglass, which securely fixes the surface. To level with a coupler, we grind the base of the floor, fill in large voids with a putty, primer it, fix the waterproofing around the perimeter.
With the help of a stapler, we mount a reinforcing mesh with an overlap of 5-10 cm. Pour the prepared solution onto the surface and level the surface with a spatula.
We lay the substrate
The substrate serves as an additional sound insulation, it hides small irregularities and prevents the laminate from rubbing on the wooden base.
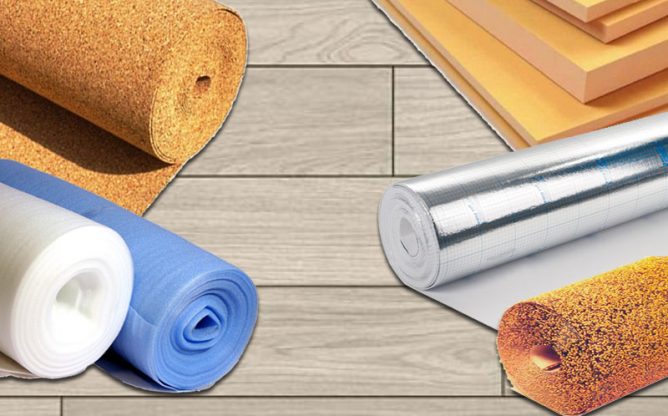
Currently, there is a large selection of substrates for laminate:
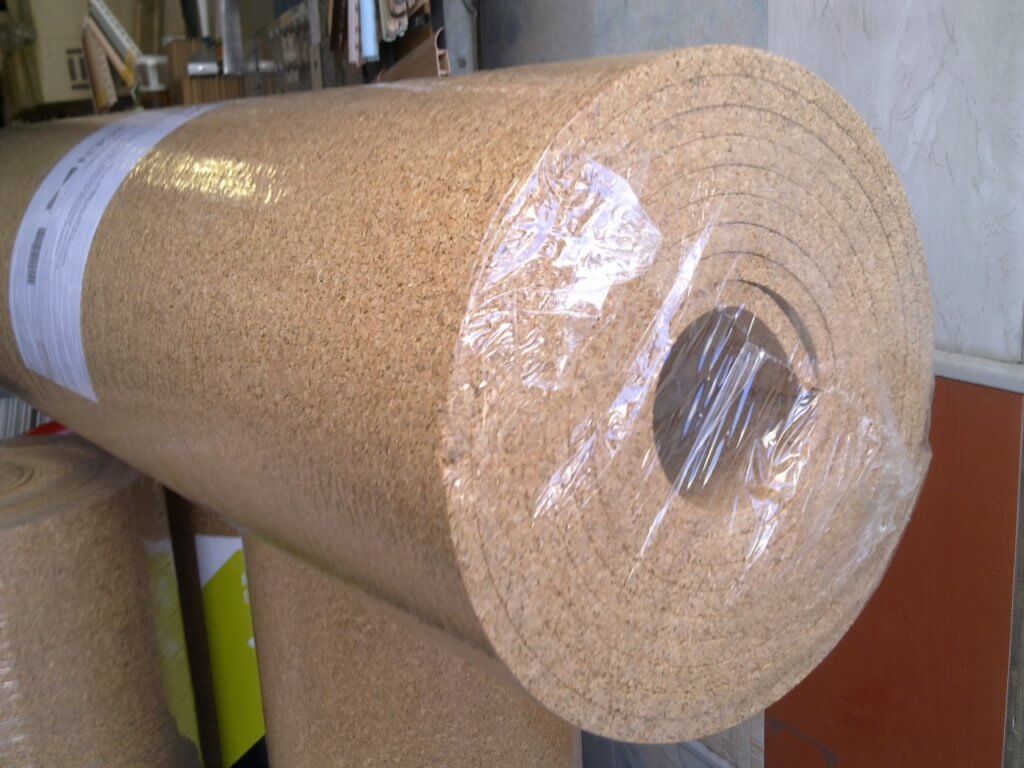
- The most environmentally friendly can be considered cork options. They hide irregularities well and are excellent thermal insulation.Of the minuses can be noted only the high price.
- Bituminous cork substrate is also considered a good option. The production technology is as follows: special paper is treated with bitumen and cork chips are applied. The disadvantages include harmful secretions, but they are negligible.
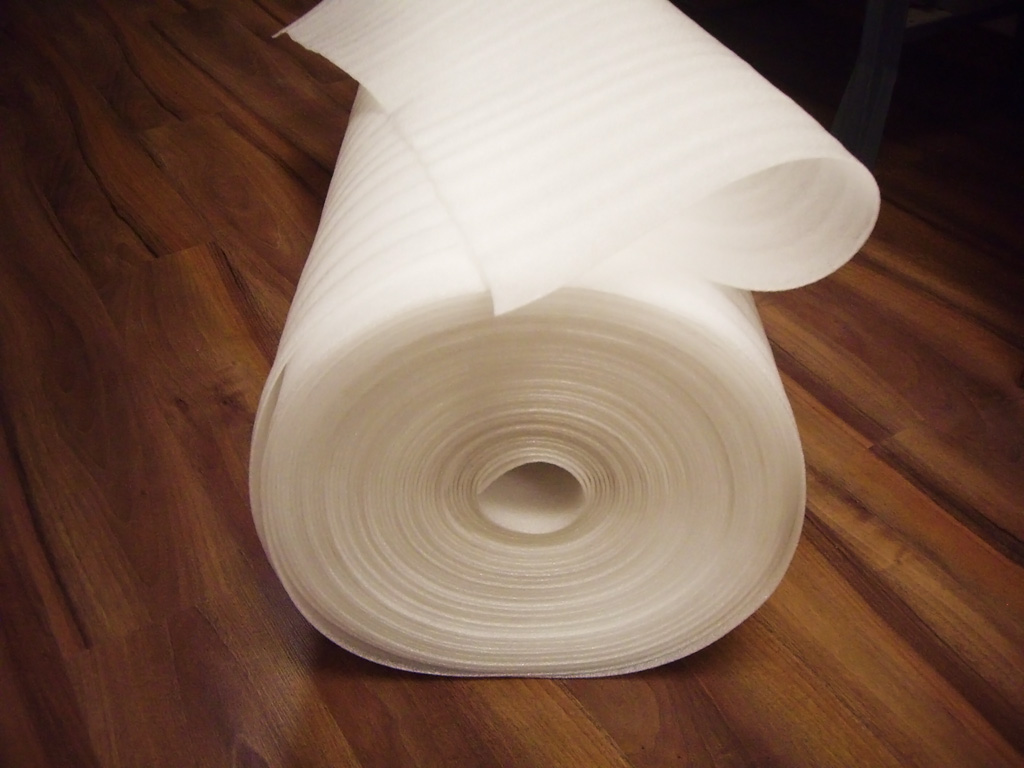
- Styrofoam It is a relatively cheap material that also absorbs noise well, hides bumps, but is not as durable as the previous species.
- Polyethylene foam Popular with consumers due to its low cost. It is convenient to mount it independently, it has moisture-proof properties. But this material quickly fails: sags and loses its shape. On the prepared and leveled floor it is enough to use a substrate with a thickness of 1-3 mm.
After selecting the substrate, it is necessary to lay it on the floor. First, fasten the damper tape along the edges of the room. It compensates for the expansion of the tree. Next, cut the substrate into strips of the required length, lay them on the surface and glue all the joints with construction tape.

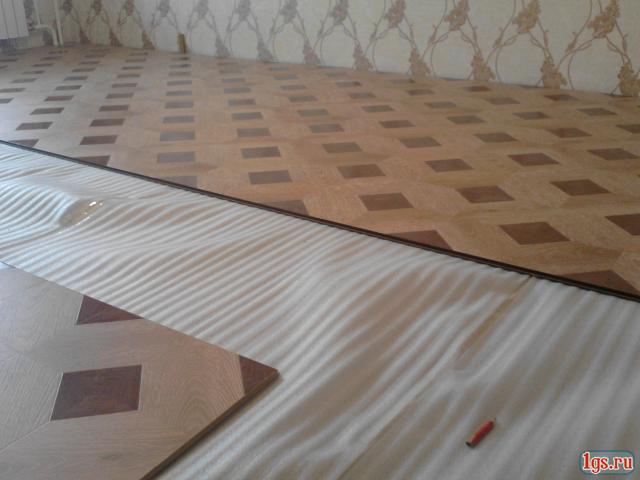
Laying laminated sheets
Laminate is brought into the room where it will be mounted, and wait 2 days to adapt it to the climatic conditions.At this time it is necessary to determine the direction of laying boards: parallel to the light, perpendicular or diagonal.
If indoors windows are on one side, experts recommend laying the material along the sunlight so that the seams of the laminate are more hidden.
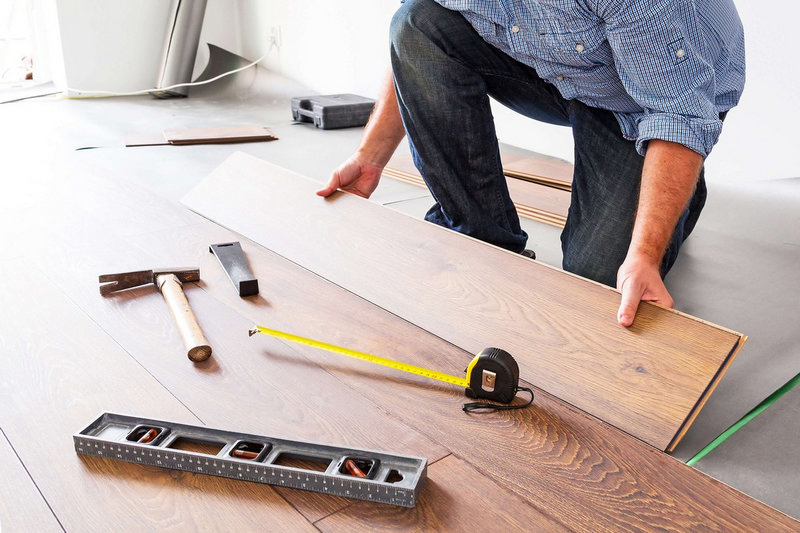
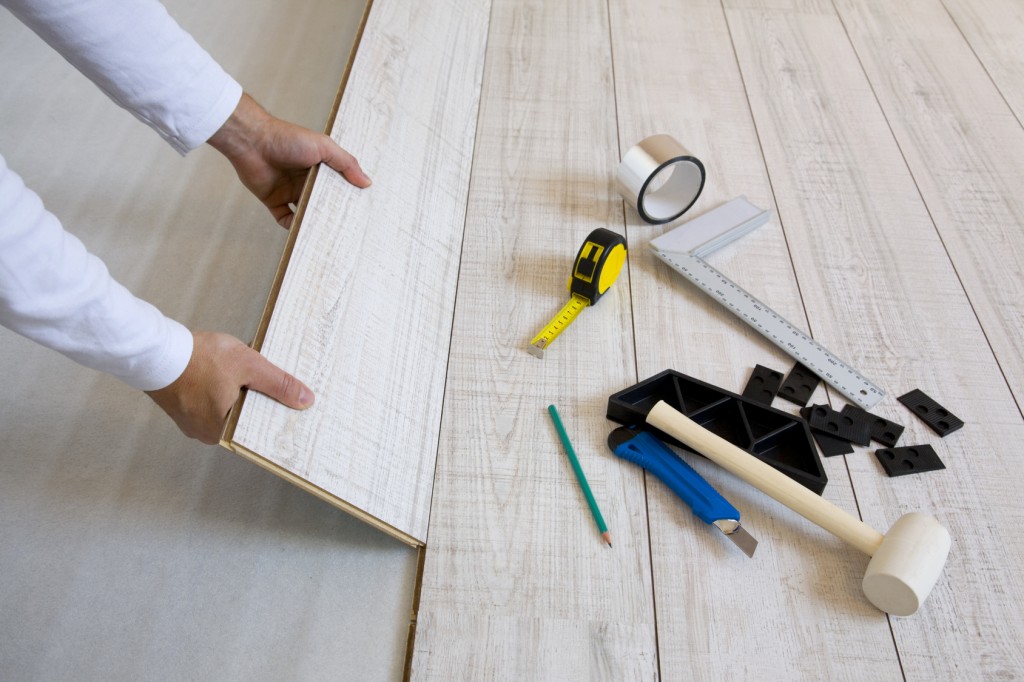
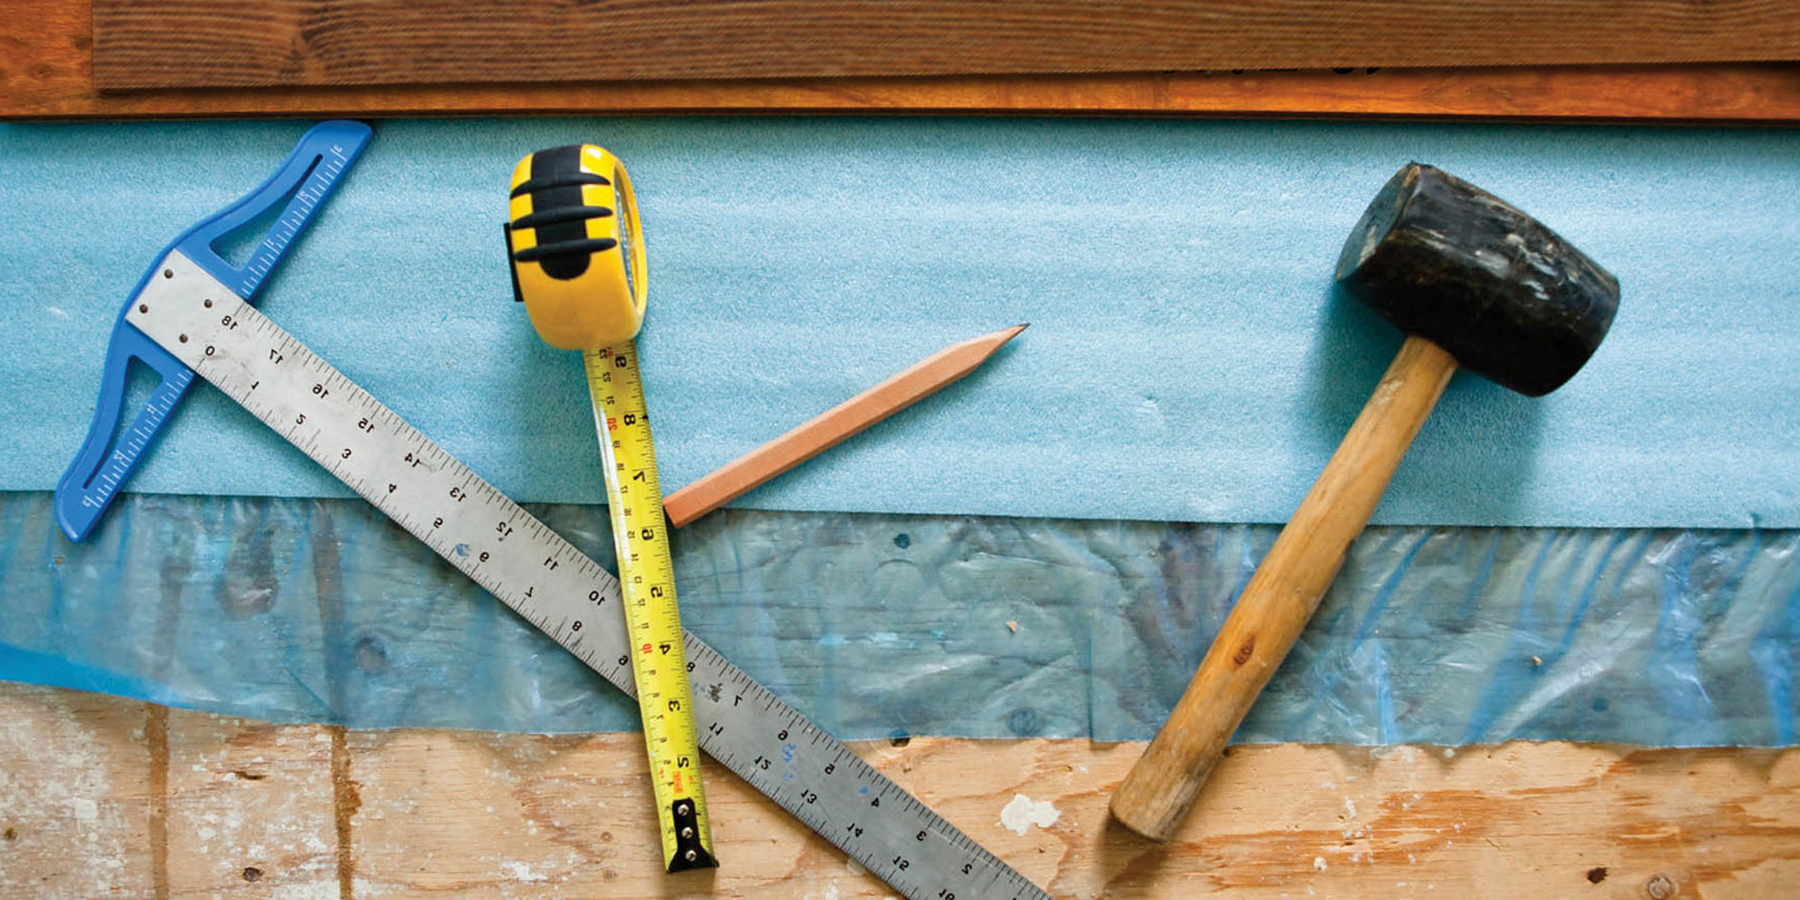
For self-assembly, you will need the following tool:
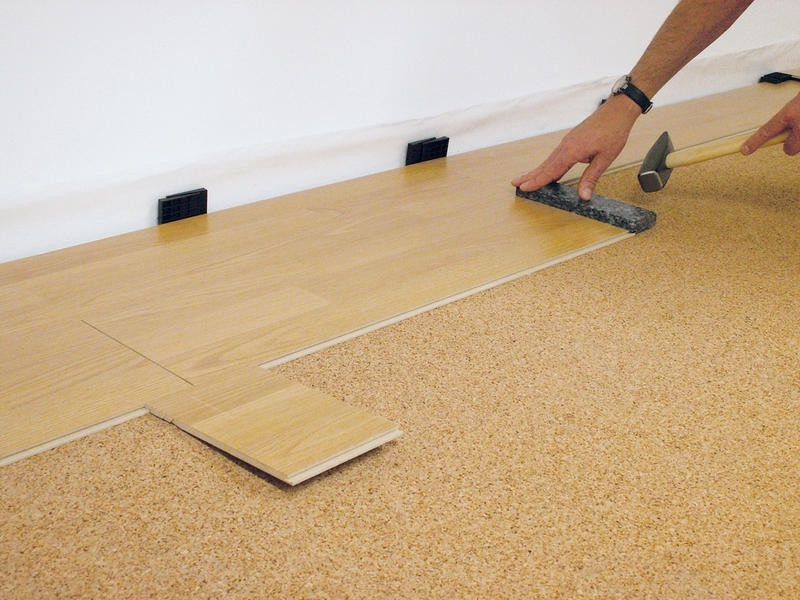
- Kiyanka to push the place of fastening the boards.
- The bar on which we will directly knock to fit the boards to each other. It is better if it is wooden. Remember that in no case can you knock directly on the laminate, as you can damage the surface or the locks themselves. In this case, the installation of the next level will not be possible.
- Wedges for setting the gap between the wall and the floor.
- Assembling is required to secure the last layer.
- Jigsaw for cutting laminate to the desired size. If this is not available, do not worry, you can use a regular saw. Problems can only arise with the last row when you need to cut the board along.
- Ruler, pencil, measuring tape.
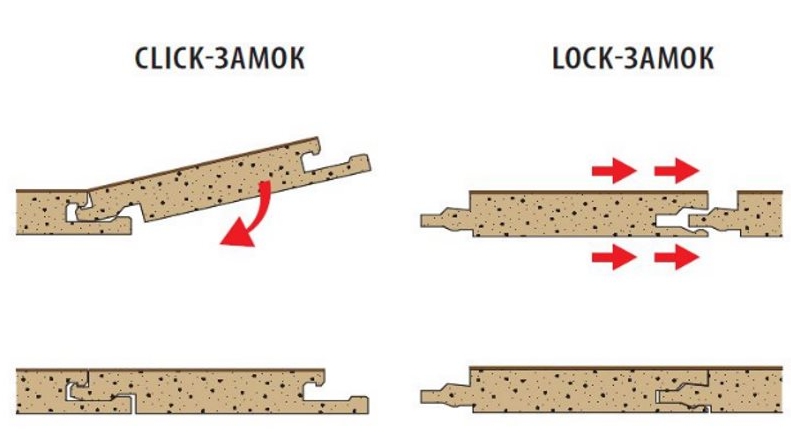
There are 2 ways of fixing the laminate: with a Click lock, with a Lock and adhesive bond.
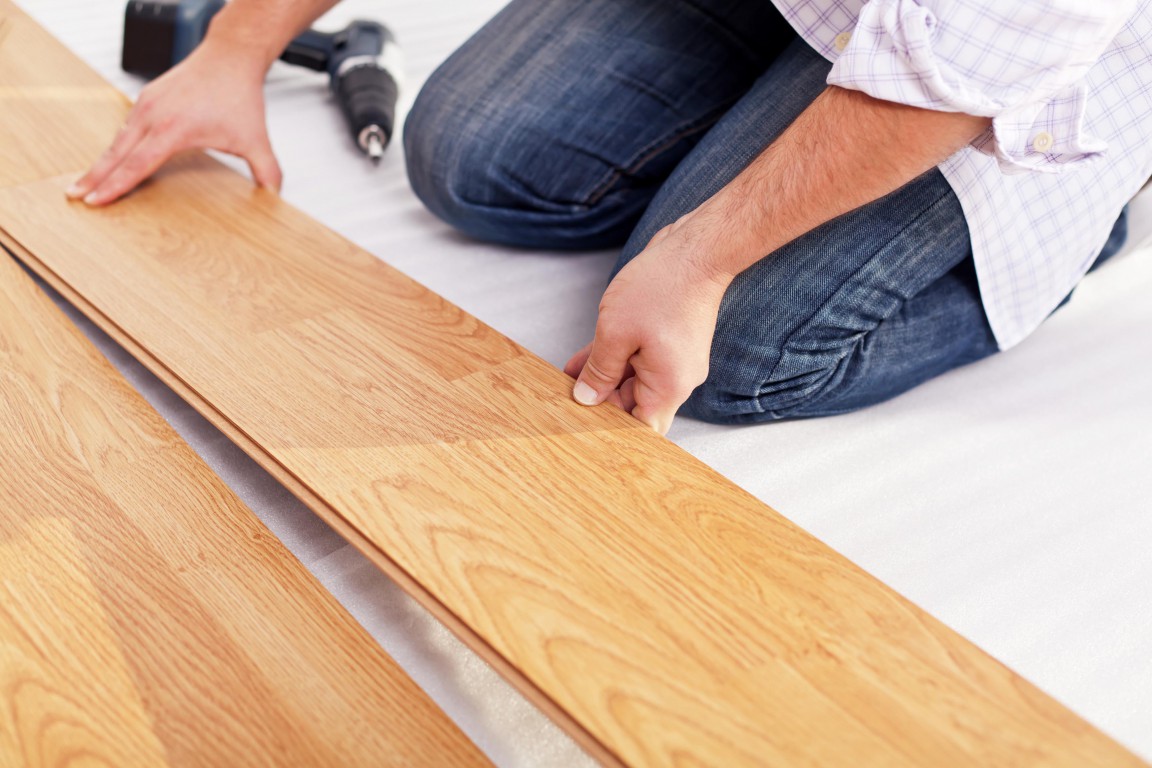
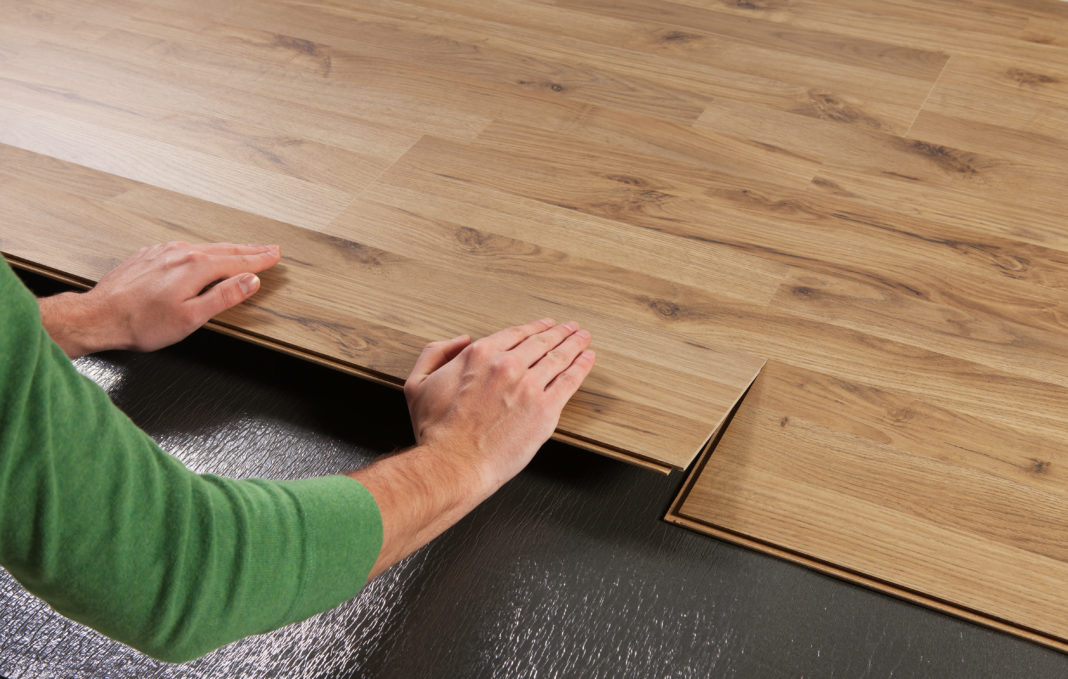
Installation with lock Click and Lock
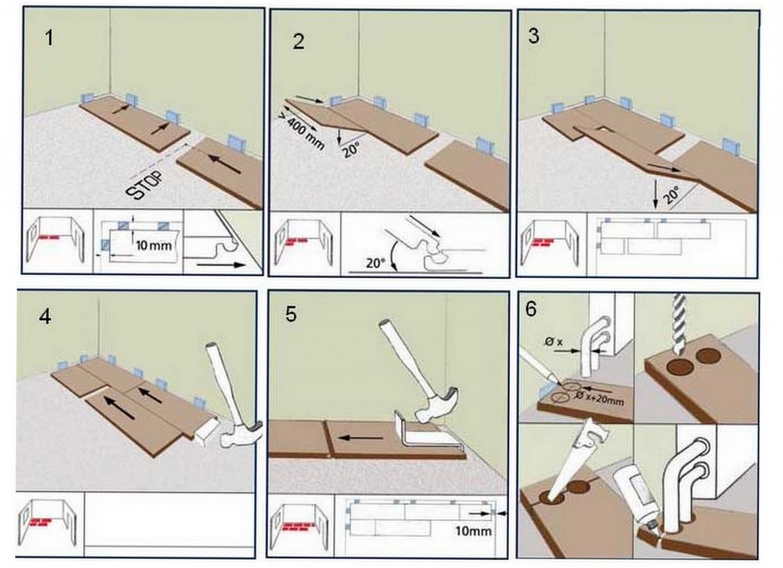
Always start the flooring from the left far corner. First we set the wedges for the gap between the future coating and the wall. They must be at least 10 mm for a room up to 10 m2. It should be borne in mind that when increasing the area it is necessary to increase the size of the gap. If not to leave such distance, then at increase in humidity or change of temperature the laminate can bend.
- Lock Click. Put the first plank in the left corner with a pre-sawed comb to the wall. To it at an angle of 30 degrees, insert the following and press to the floor to secure the lock. In this case, you will hear a characteristic click, which will serve as a signal of the correct bonding of the layers to each other. Laminated surfaces must be laid in a staggered manner so that the pressure is distributed, and the seams do not rub against each other.

If in the last row the panel was cut, then the rest of it should be put at the beginning of the next row. If the width of the room allowed the panels to be laid without residue, then at the beginning of the next row it is necessary to cut the board in half.
- Lock Lock. The difference of this type lies in the fact that the spike of the next element is inserted into the hole of the previous one.The elements are assembled on the floor, and then banged close to each other with the help of a mallet and a bar. This is done every two layers.
How to make glue?
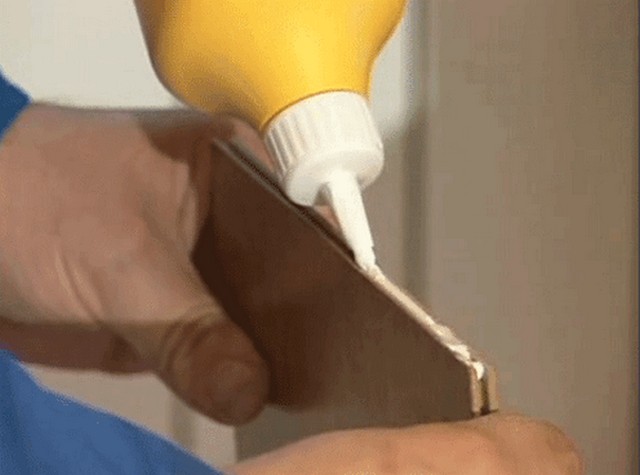
For this you need a special glue. The rest of the technology is like a lock installation. The difference is that glue is plentifully applied on the ends of the laminate. The first panel is laid in the left far corner of the groove to the wall. To fix the second panel, we apply a large amount of glue on the edge of the first one, insert it, and insert the tongue of this panel to the first one.
The wooden sheet must be assembled "in the run." To do this, before putting the second row, cut the first board in half, apply glue to the entire length of the groove of the first part of the second row and fasten it to the first row, sock it. For convenience, in the last row, you can use the montage.
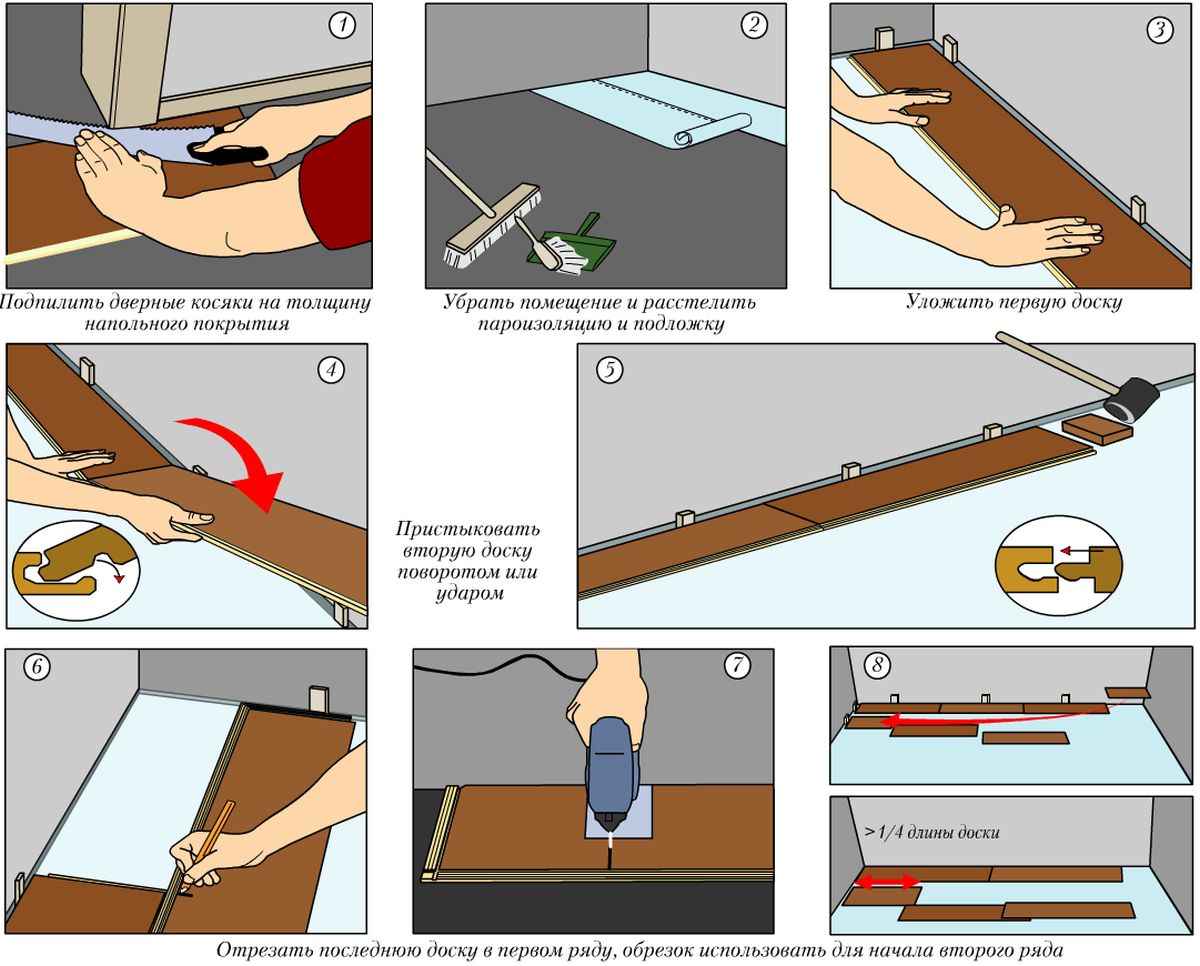
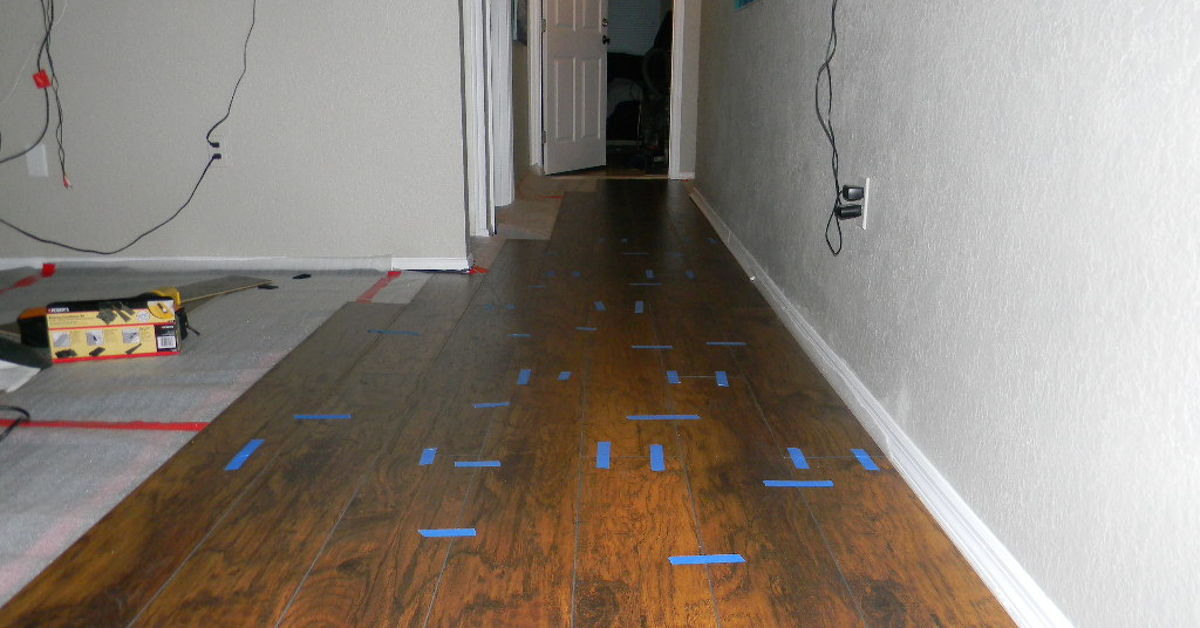
Upon completion, the boards are glued together with small pieces of special construction tape, which are removed after the adhesive has dried. When you begin to collect the surface in the doorway, you need to make holes in the box equal to the width of the laminate. Laminated boards are inserted into these holes so that there is no gap.
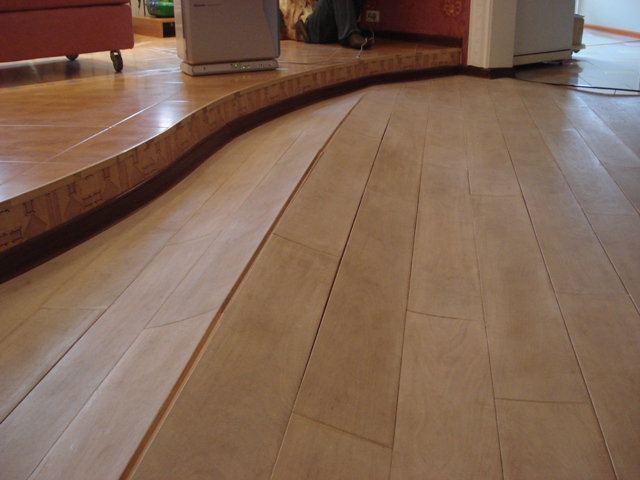
Small parts under the radiators, around the batteries and at the door can be fixed with glue. After full installation of the laminated elements, it is necessary to remove the wedges that were left between the wall and the floor, fix the baseboards. It is important to make the transition between rooms, joints with other surfaces.
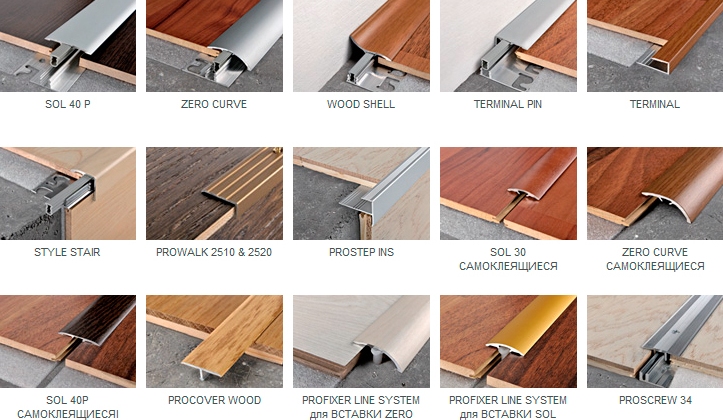
This can be done using thresholds. The most reliable of them - metal.
The following thresholds are available:
- single-level use, if between rooms the height of the floor is not different;
- multilevel is required at different heights of coatings;
- angular fix on the steps;
- one-sided need for docking with the door;
- curved apply at a wavy junction.
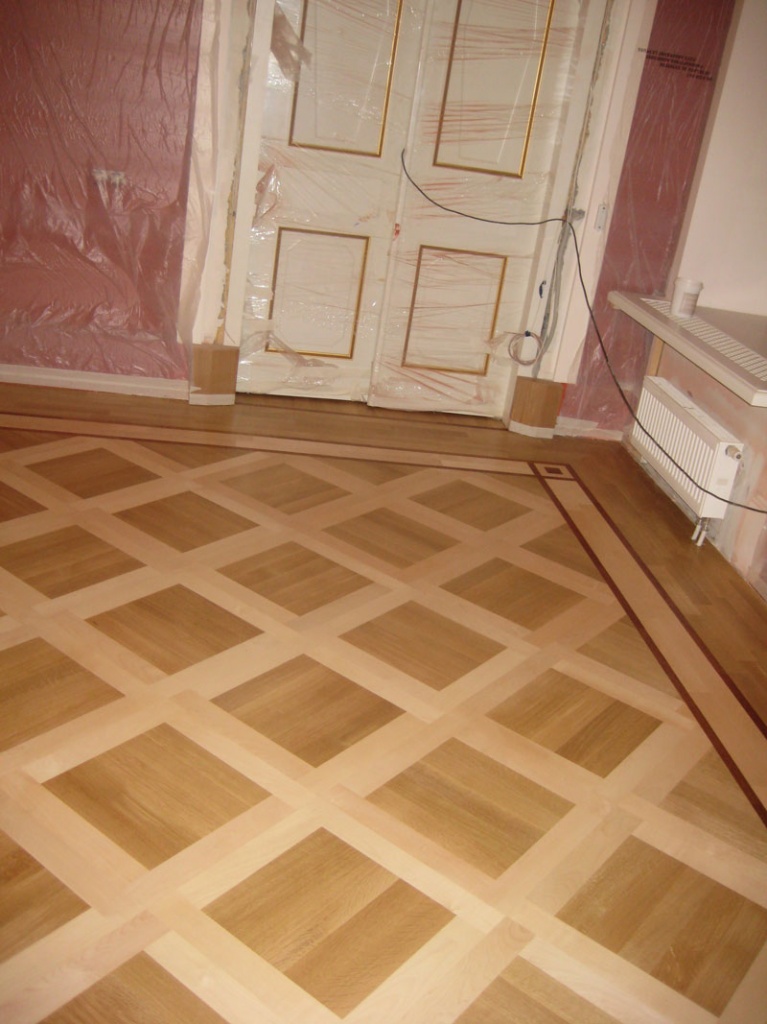
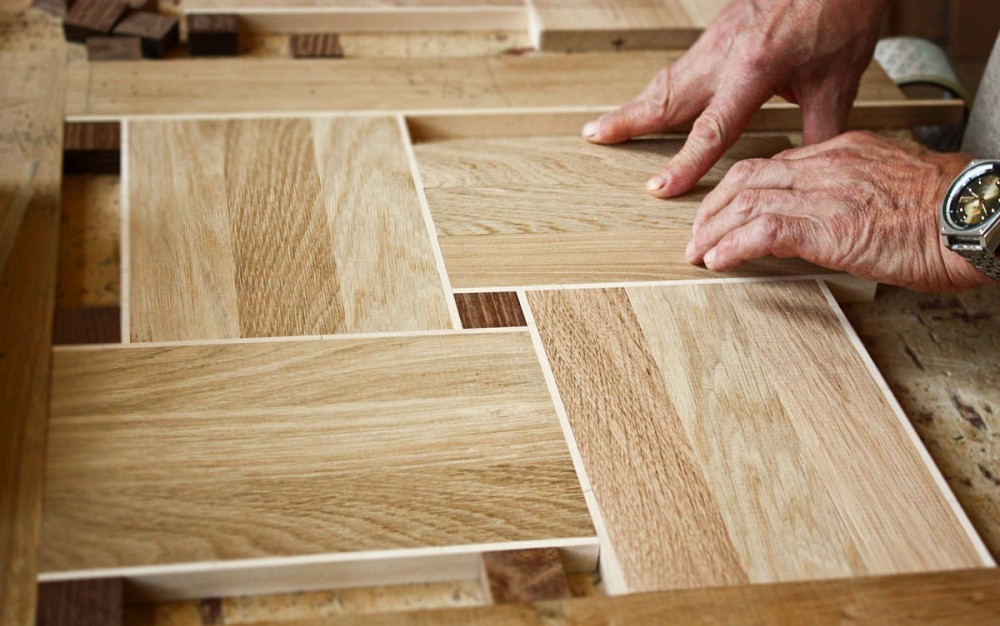
How to lay a square laminate?
The square look is gaining its popularity. Firstly, it can be used to create unusual interiors. Secondly, such a laminate can be imitated with various coatings, which makes it possible to put into practice any ideas. Thirdly, its installation is somewhat simpler than the installation of a rectangular laminate. This is true when you do the installation by hand.
When installing square plates, the same conditions are metas for rectangular ones: they are laid with brickwork, they install spacer wedges around the perimeter of the room, it also happens with the Click and Lock fasteners system. The size of such sheets is 60x60 cm.

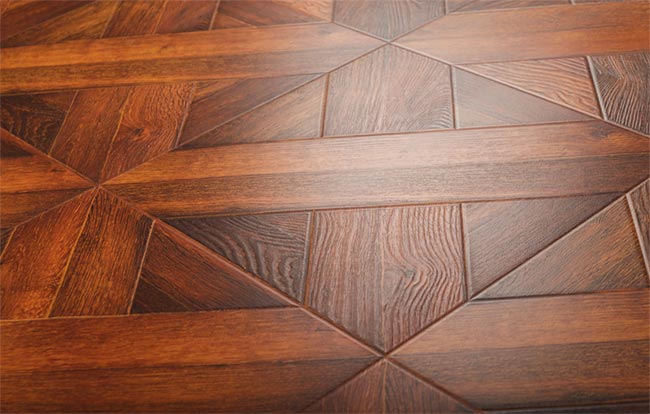
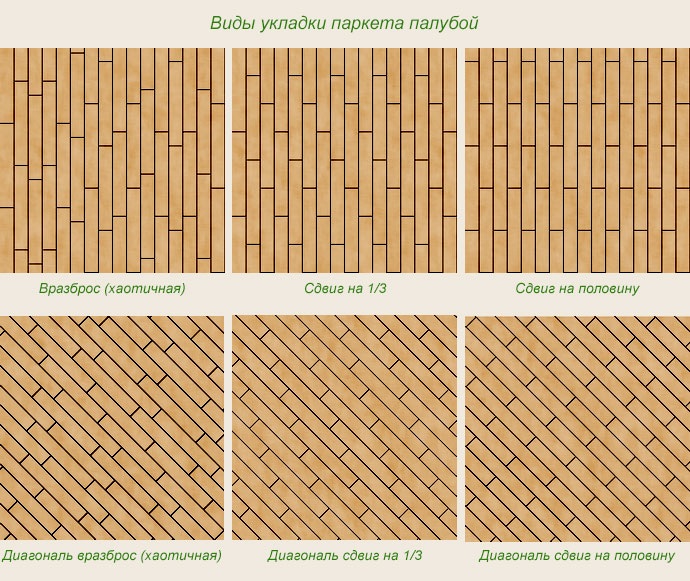
For small rooms, laminate flooring is first produced along the walls, but for large spaces it is necessary to assemble it diagonally. It is quite difficult to make a laminate diagonally. Usually for this attract experts.
Laying laminate diagonally justified in the premises of irregular or rounded shape. This method will allow you to visually expand the space of a small room, and the pattern will look more unusual. When you collect laminate is not parallel, you need to maintain an angle of 45 degrees relative to the wall. But it is not always possible to do this, as the walls rarely have an angle of 90 degrees. Then the indicator of the angle of inclination of the laminate can deviate up to 30 degrees.
Stacking elements can start from the corner or from the center. In the second method, tighten the cord between opposite corners. The first row of panels is laid along this cord, moving to the left.
Next, fully assemble the second row, securing only the end locks.After the second row is ready, push and fasten it with the first. This rule applies to all remaining rows.
With the diagonal method it is important to maintain a distance between the ends of at least 30 cm, so that the coating is reliable and durable.
Coverage Rules
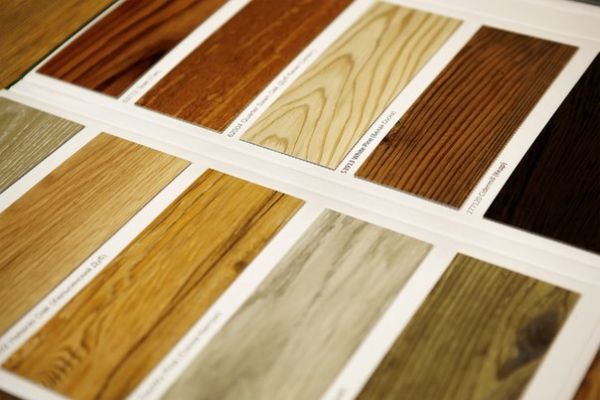
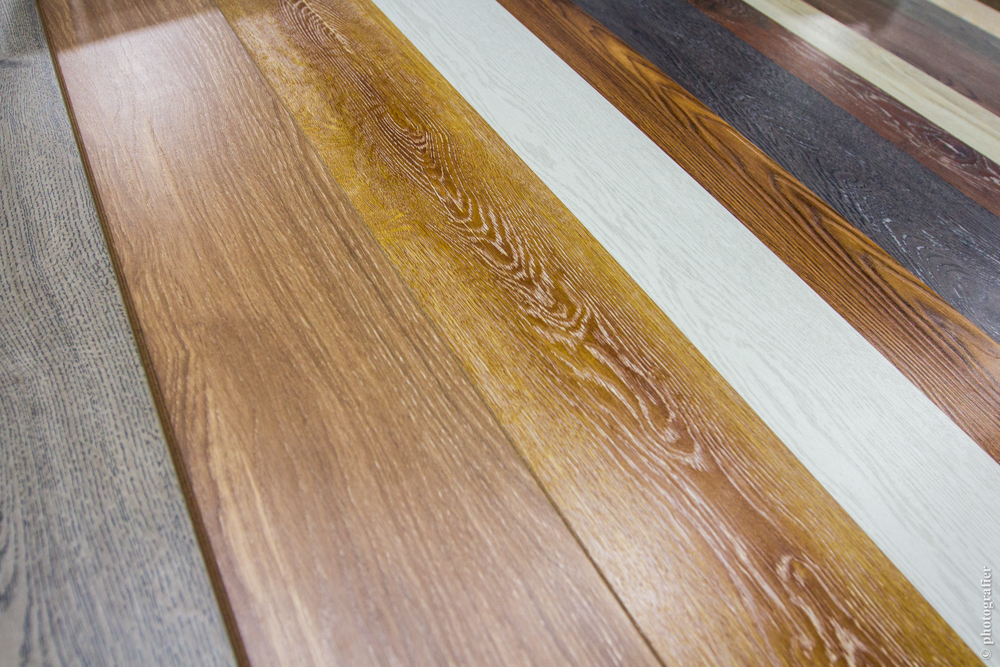
If you intend to lay laminate yourself, be sure to read the instructions from the manufacturer. Usually they indicate the method of attachment and briefly describe all the rules that must be considered to lay the cover. When buying, pay attention to the integrity of the package and the elements themselves (grooves, spikes, corners), the batch number and the date of manufacture. Sometimes in different batches the shade of the coating may differ, which will affect the appearance of the entire floor after installation.
If all the nuances are correctly taken into account, irregularities are corrected and high-quality coating is chosen, the laminated floor will please you for more than a dozen years with proper care and maintenance.

Manufacturers
Consider the most famous manufacturers of laminated elements:
- Quick step - the most common brand in Russia. Advantages include European quality, product strength (for example, 32 classes are higher than other companies of 33 classes),great design. Of the minuses note the high price and a relatively small selection of colors and textures in 33 class.
- Kaindl - appreciated by European consumers due to the environmental friendliness of their materials. Harmful to health formaldehyde is contained only in the protective layer, and in the plate itself its content is equal to the class E0. The company gives a guarantee on your product for more than 30 years.
- Tarkett - the advertised brand in our country. The disadvantage is the high price. Sometimes a higher quality European-made laminate can be purchased at a lower price than from this manufacturer.
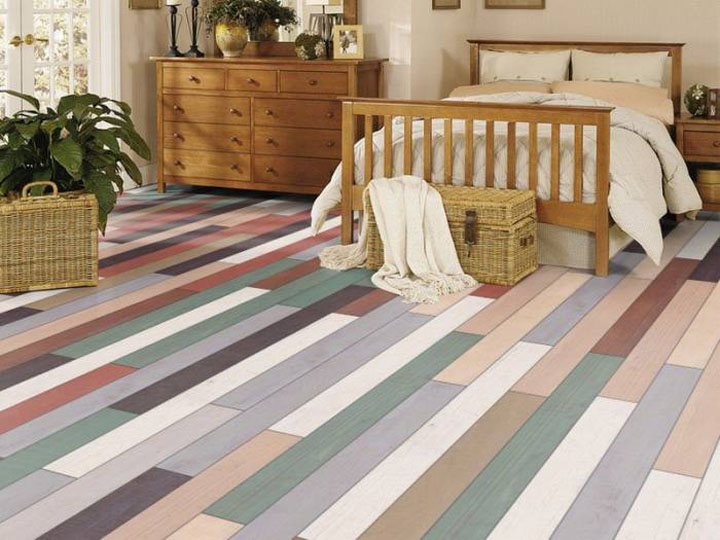
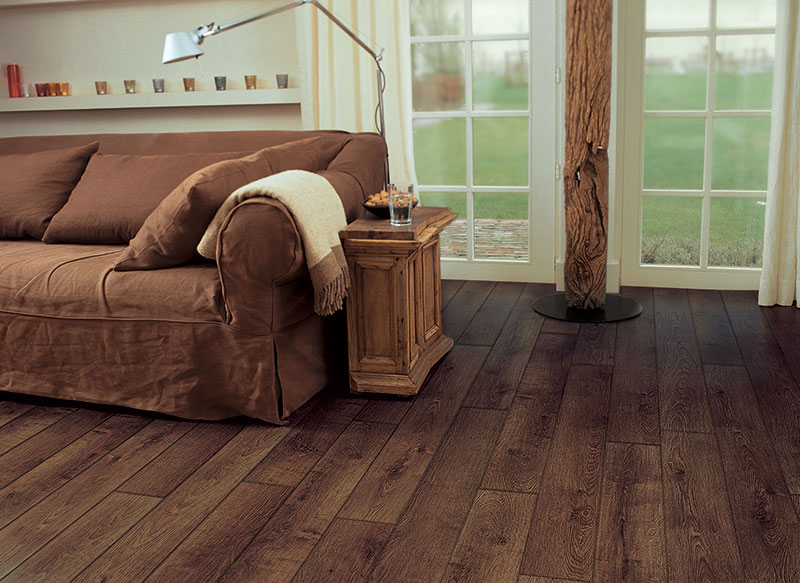
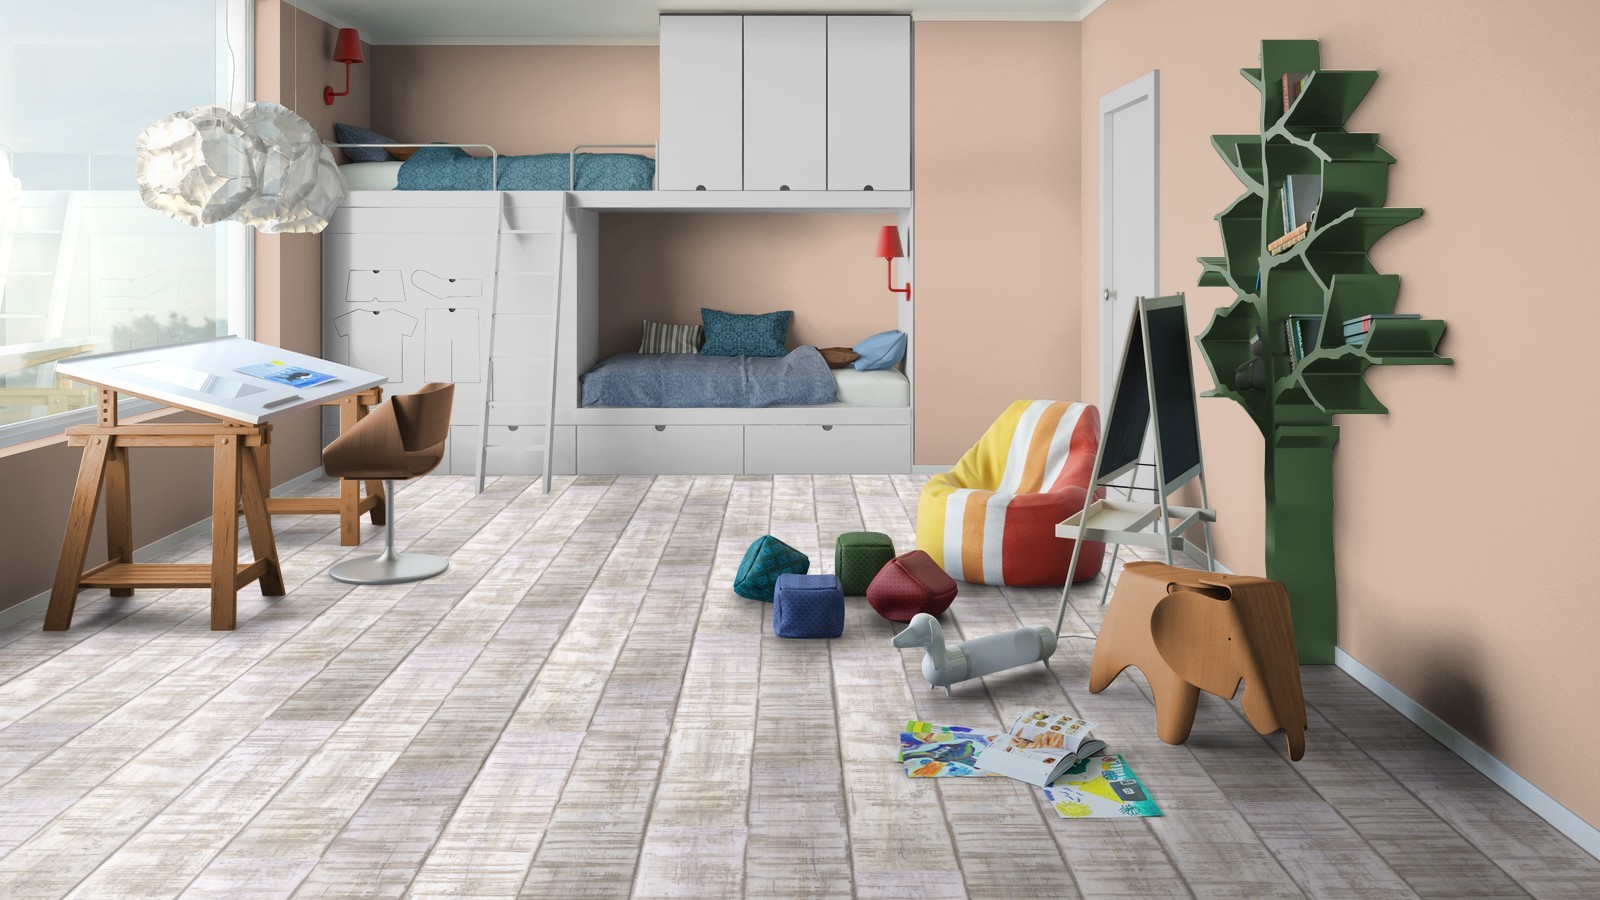
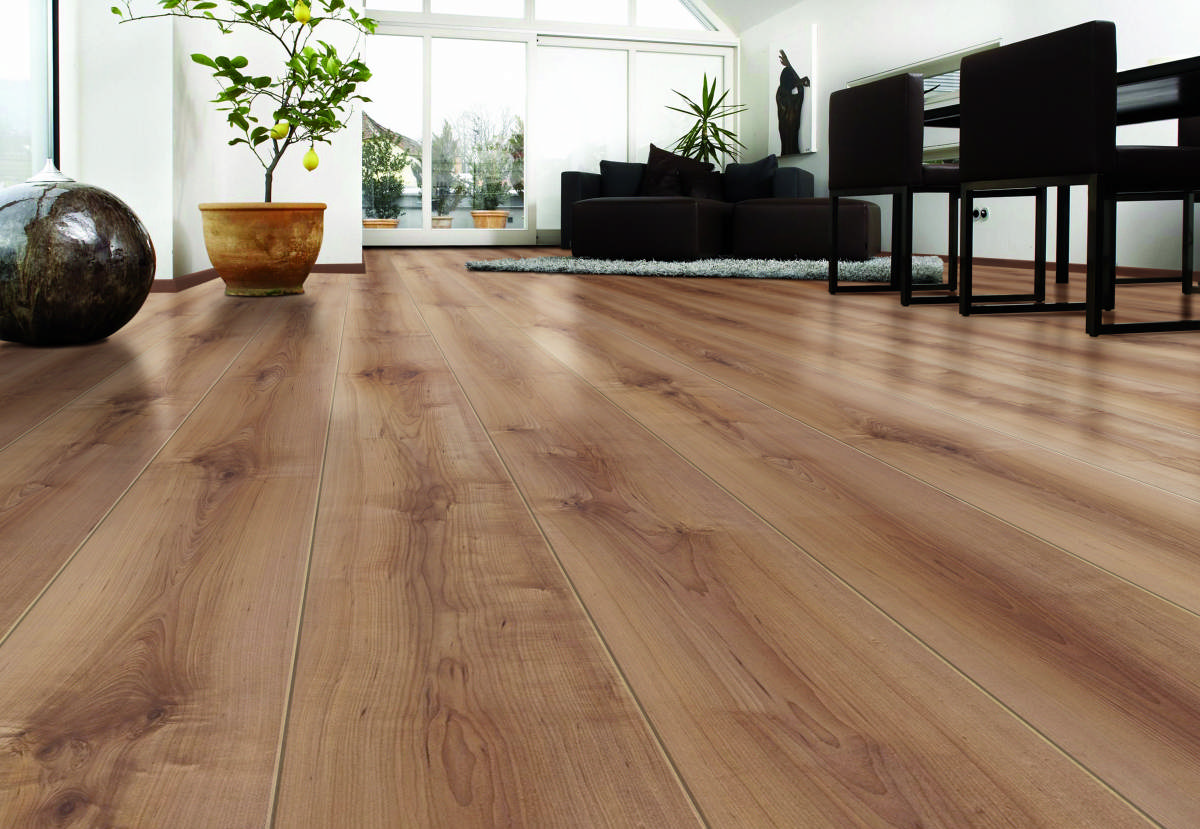
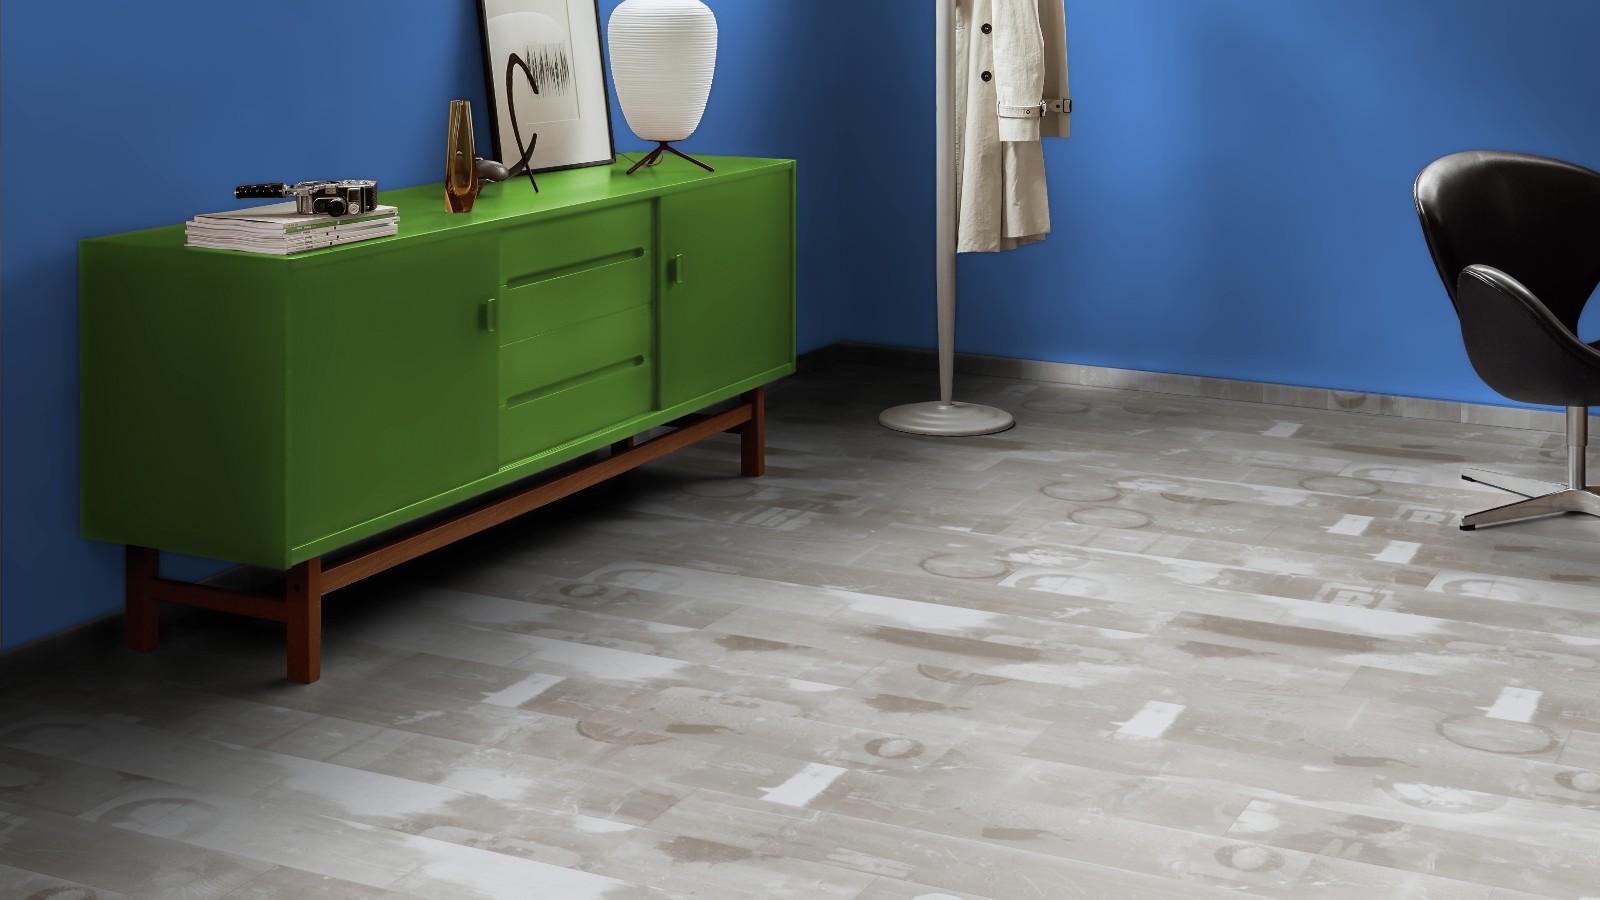
Beautiful interiors
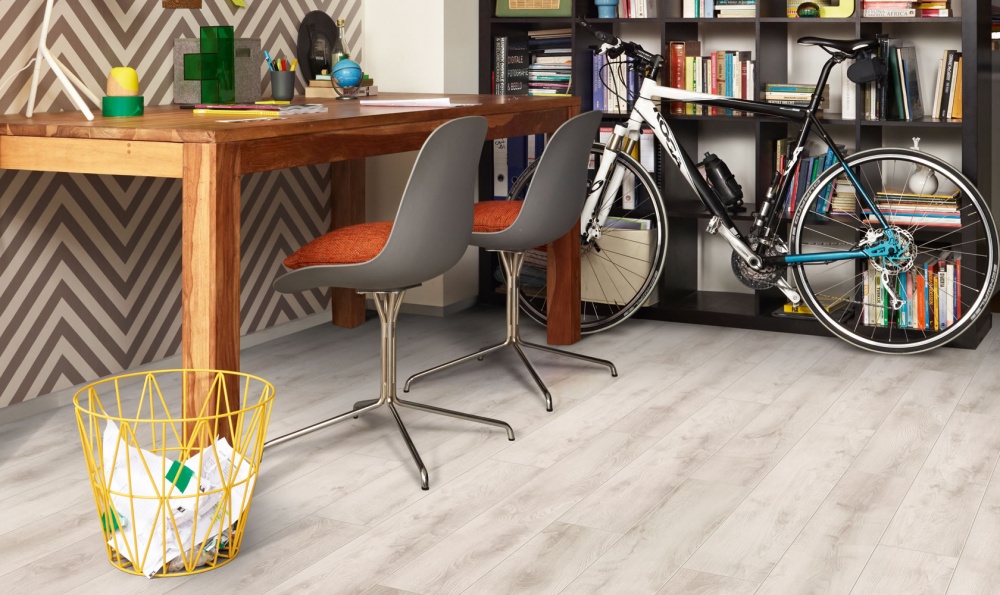
In a private house. Here are the various options for interior design monophonic and printed laminate of different shades.
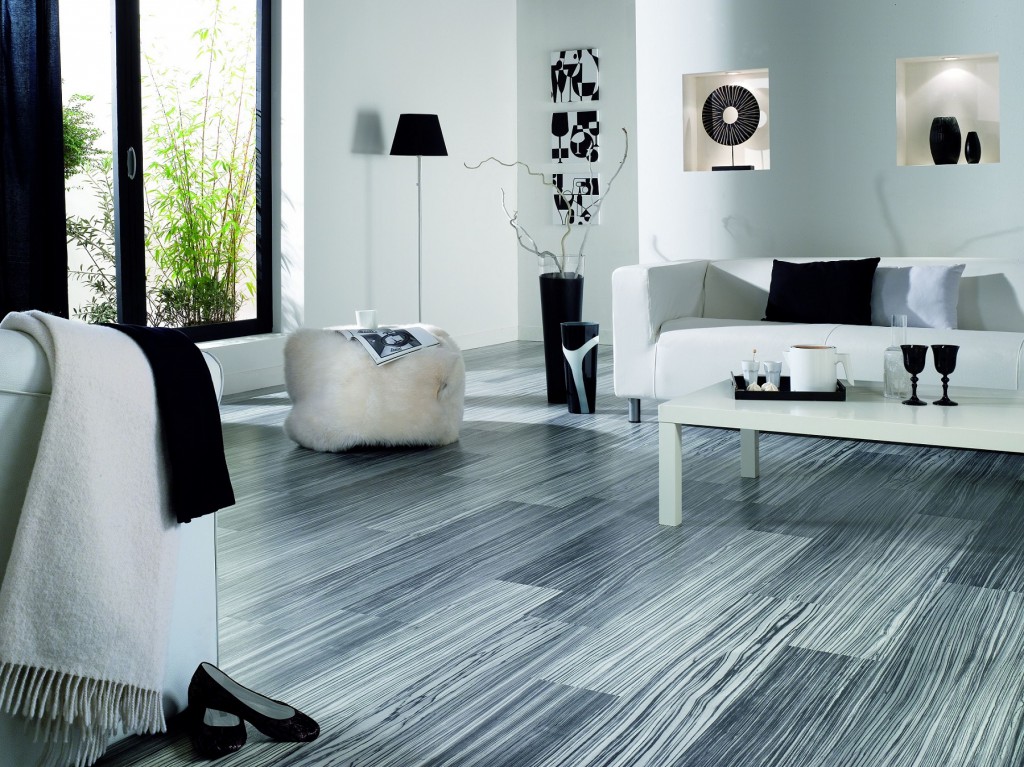
In a standard apartment and "Khrushchev". The optimal way of laying and the correctly chosen color range allow you to visually enlarge even a very small area of the room.
In the office and other public areas. Stylish and modern options for office interiors.
How to put laminate on wooden floor, see the following video.


