How to install plastic windows?

Currently, plastic windows are recognized as one of the most common and sought-after designs. They can be installed in the conditions of a city apartment, and a private house. To cope with the conduct of such work is possible not only with the involvement of specialists, but also independently.
Today we will analyze in detail how to properly install plastic windows, as well as consider what the features of these popular designs are.
Special features
It's no secret that standard wooden window frames have long ceased to be the most popular.Today they are much less common than before. The decrease in their demand is due not only to exacting care, but also to the fact that more practical designs made of high-quality plastic appeared on the market.
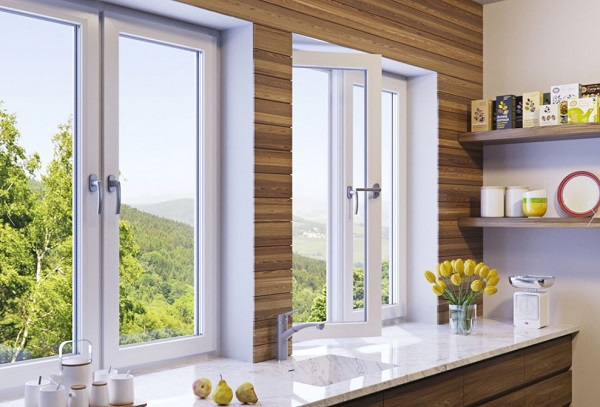
Plastic windows in our time are the most optimal and relevant elements of home improvement.
Such products have many positive qualities. Work on their installation is often carried out by the owners of the home, and not hired by craftsmen. Thus, you can significantly save money, because the services of specialists today are expensive.
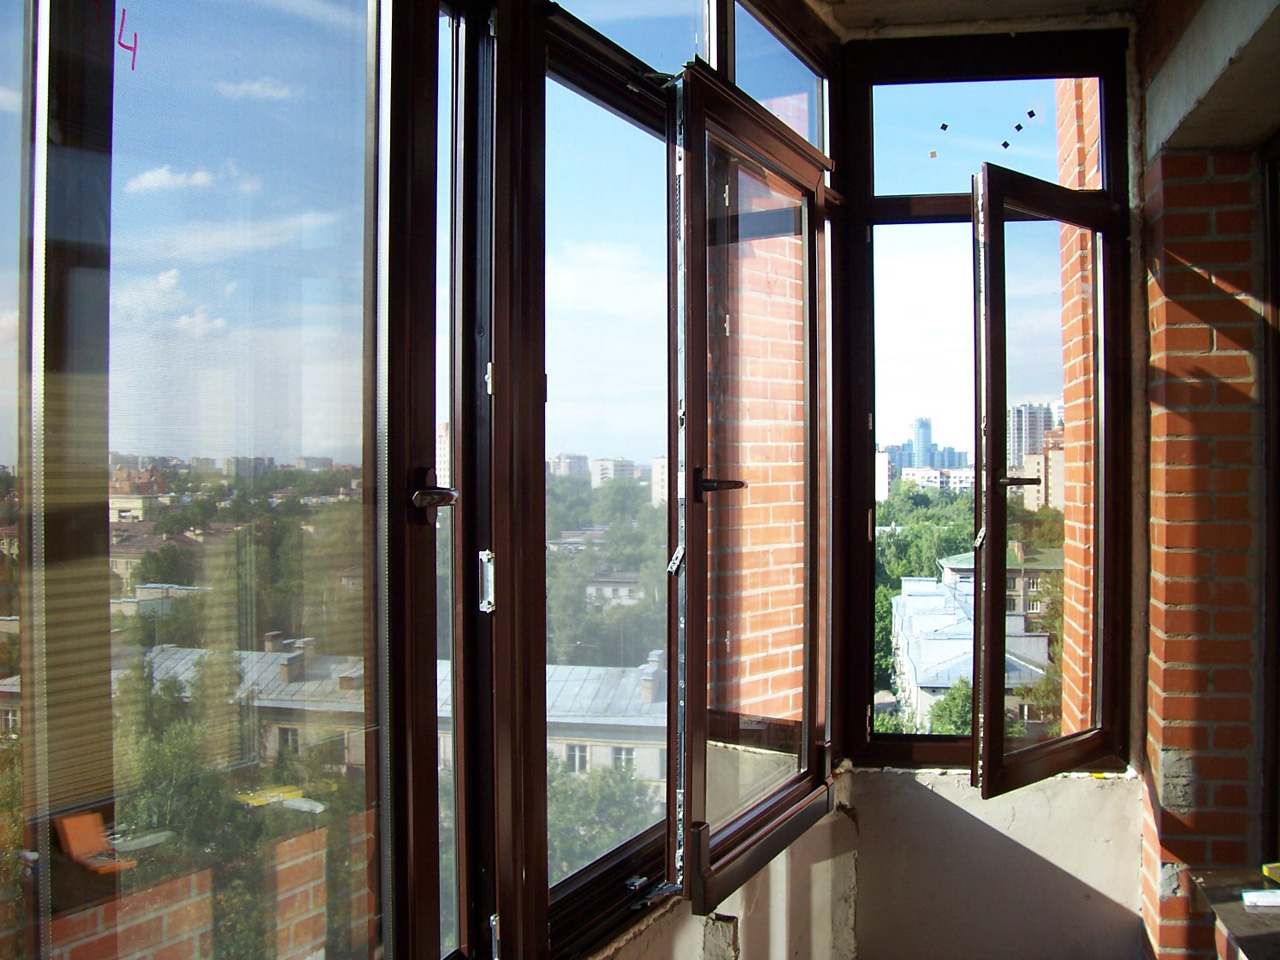
A distinctive feature in the conduct of such installation work is that they can be carried out not only in terms of the average city apartment.
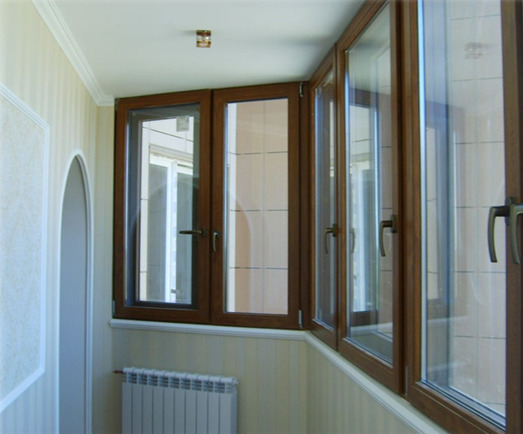
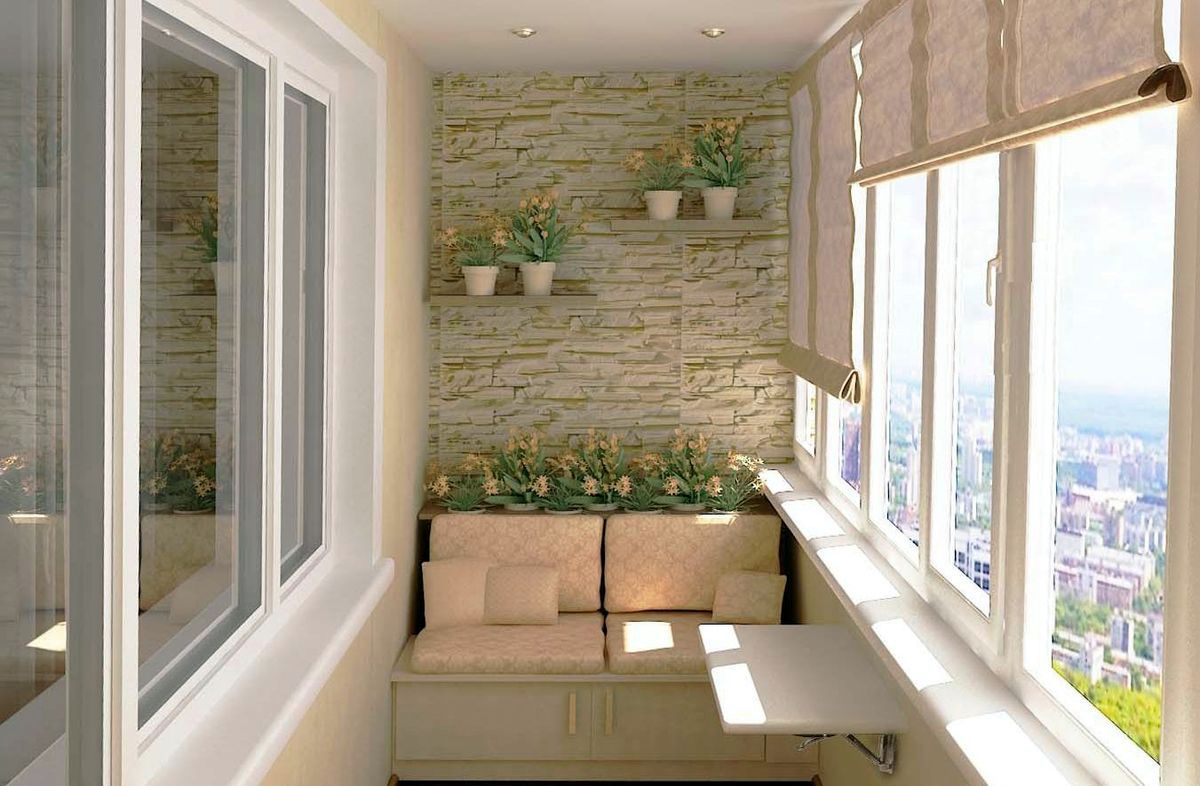
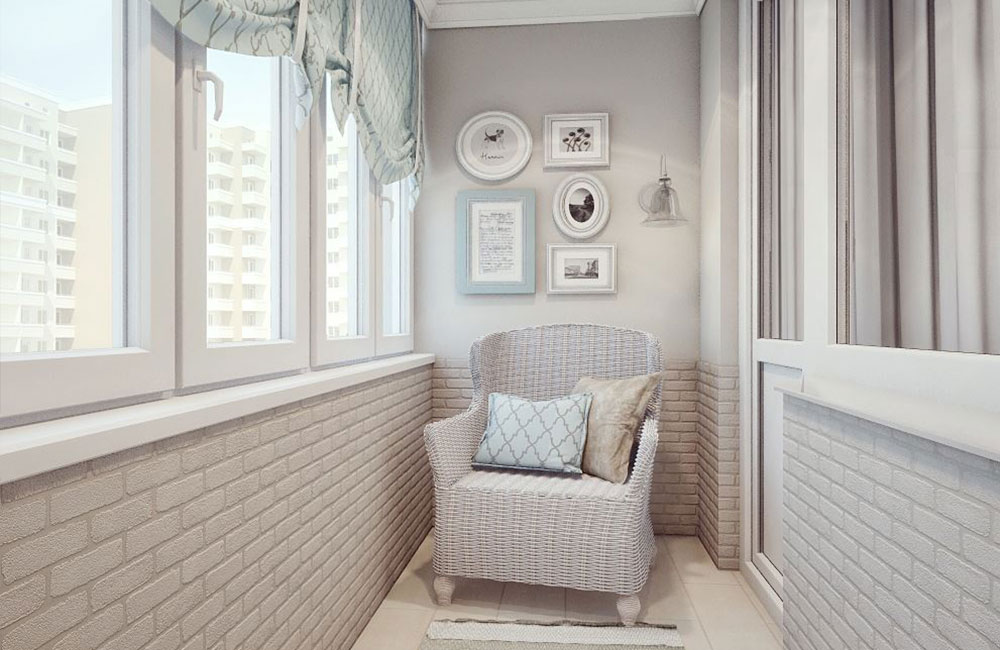
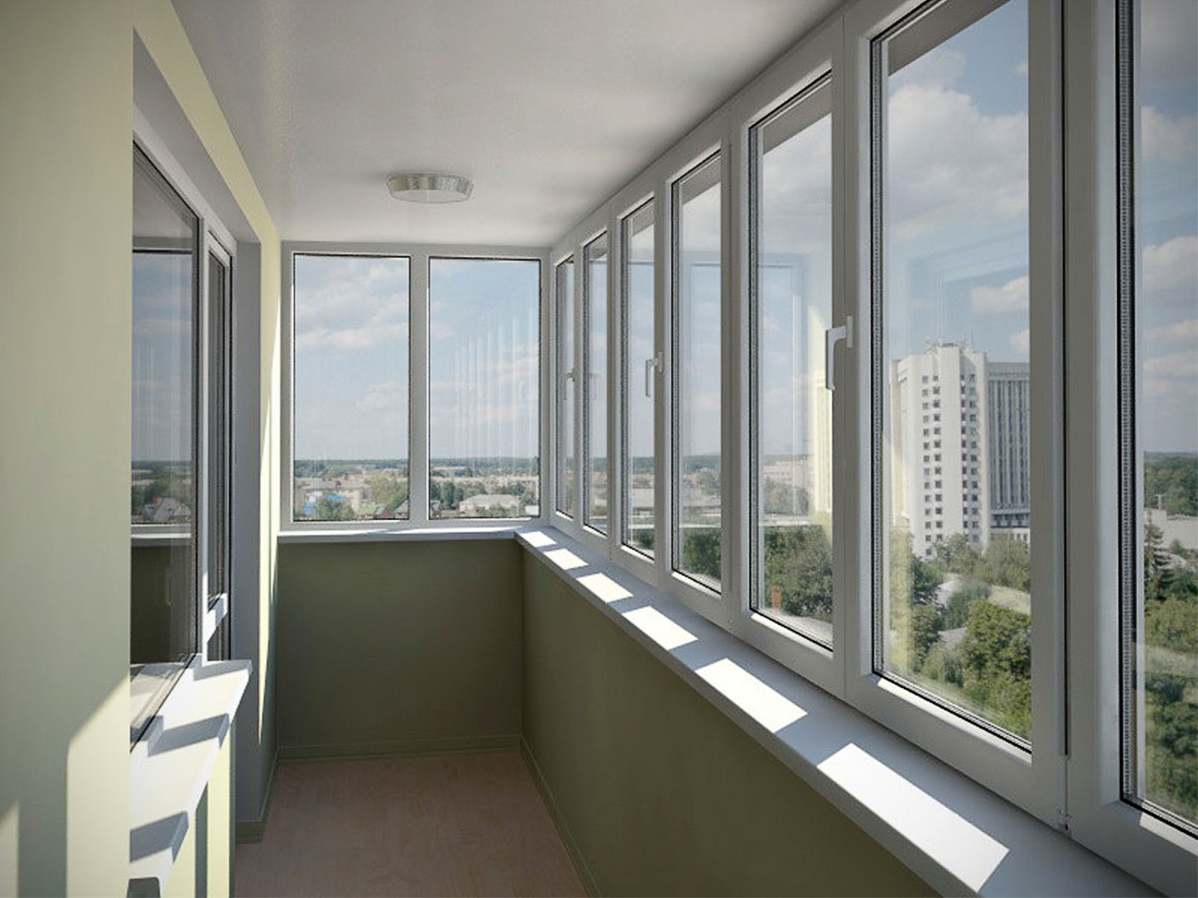
Owners of "Khrushchev" brick / wooden, panel houses and even luxury cottages can turn to installing plastic windows. This indicates the universality of such structures. Of course, in this case we are not talking about plastic glazing of balconies, since here the rules are slightly different - we will have to take into account the technical condition of the loggia / balcony to be sure of the reliability and durability of the equipped space.

The peculiarity of such installation work is that you first need to carefully prepare for them. In no case it is impossible to neglect this stage, otherwise the installed structures will not be sufficiently reliable and durable.
First of all, it will be necessary to prepare in good faith a window opening for future installation work. If it has an old window, it will need to be properly and carefully dismantled.


Plastic windows today are not uncommon. They are chosen by many consumers, and the matter is not only in the relative ease of installation of these structures. Let us consider in detail what are the advantages and disadvantages of such popular products.
First, let's look at the positive characteristics.
- Modern plastic windows are made from high-quality and environmentally friendly raw materials. As a result, constructions are obtained that do not cause any harm to health either during the installation works or after their completion.
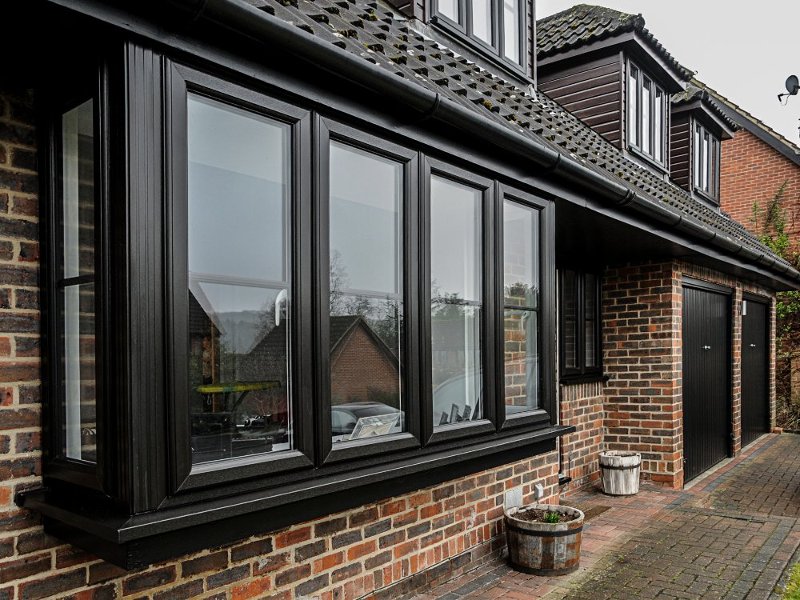
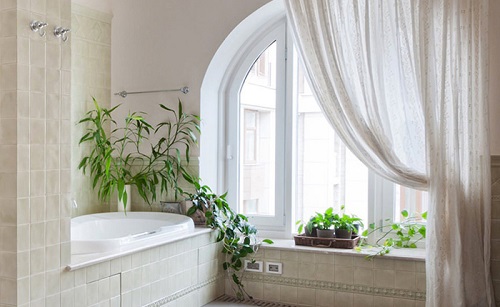
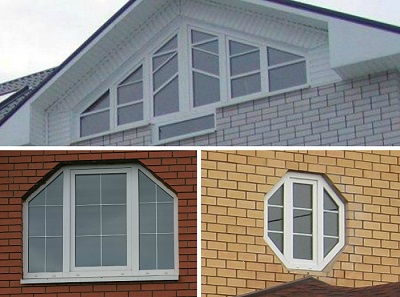
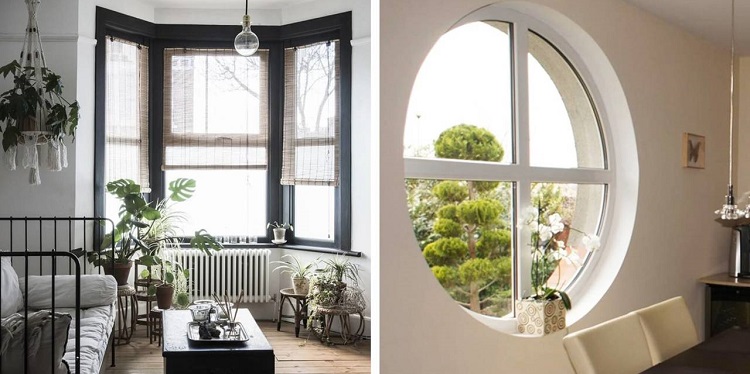
- Plastic windows can be chosen for absolutely any openings. They are produced with different shapes and sizes, which allows you to choose the best option for a variety of buildings / houses.
- In search of the most reliable and durable designs, many consumers stop on metal-plastic products. Such products are good because they can serve for many decades without any problems and will not require replacement / major repairs. Such structures are not affected by precipitation.
- Plastic windows are famous for the fact that they do not require complex and regular maintenance, such as wood products. Such models do not have to regularly paint / tint or warm for the winter season. All that is required of you is to clean the structure from accumulated dust from time to time.
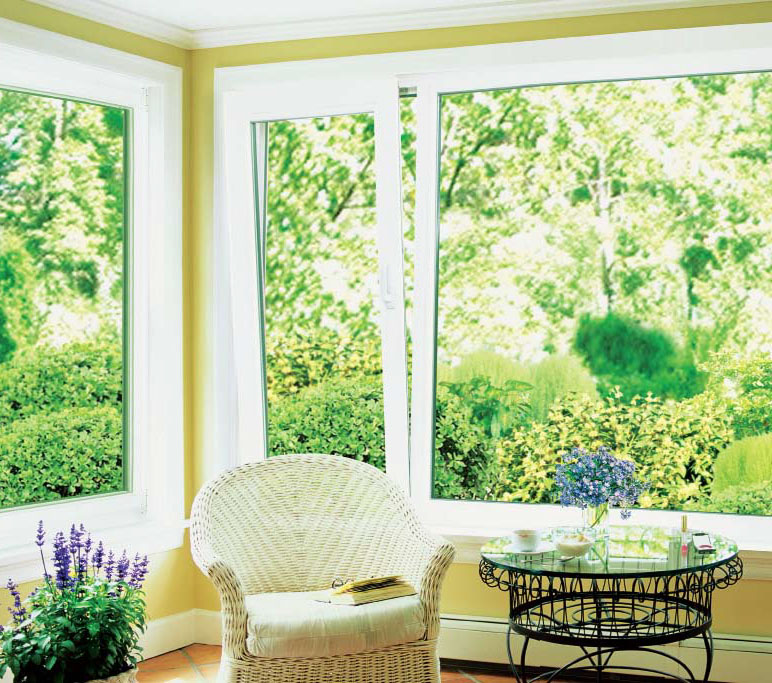
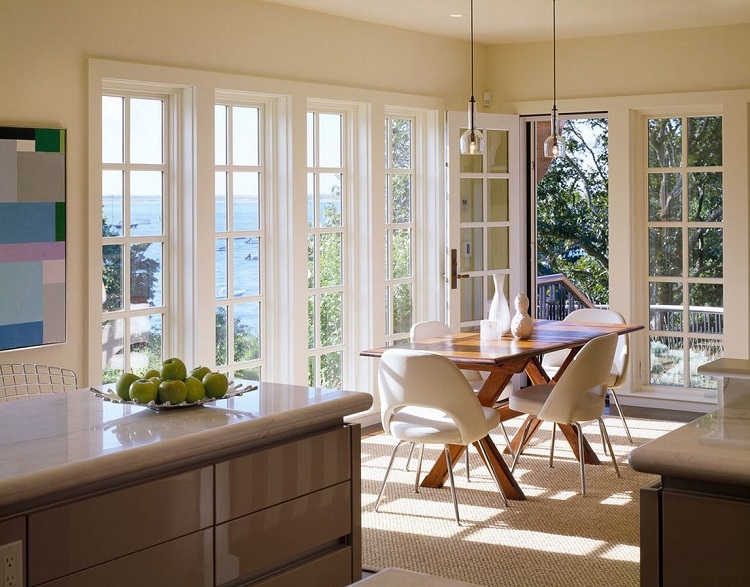
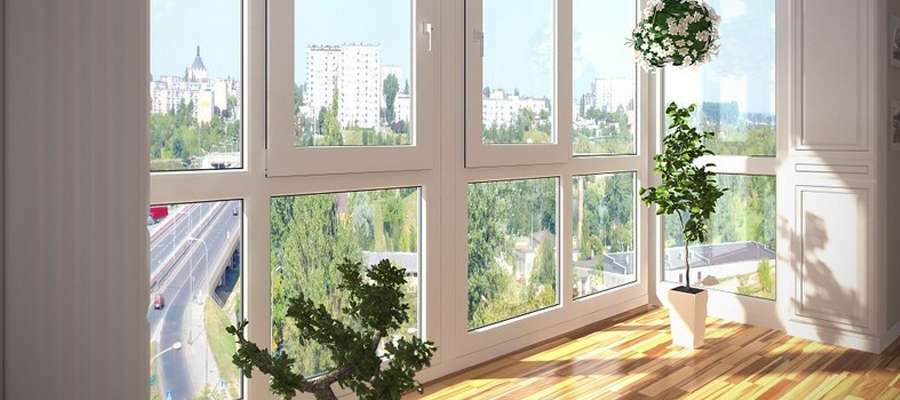
- One of the most significant advantages of plastic window designs is that they easily fit into many interior styles. In addition, it is permissible to combine them with various curtains, curtains, blinds and many other similar elements.
- The installation of these window structures is quite possible to do it yourself, which is what many apartment and house owners do.
But do not flatter yourself. If you want to install plastic windows in your home, then you Be sure to familiarize yourself with their shortcomings - perhaps this will affect your final choice.
- As mentioned earlier, the installation of windows may be done independently, but we must not forget that you will not have the right to make mistakes. If you do the work incorrectly, it may result in the window being poorly soundproofed and untight. In a dwelling with poorly installed plastic windows it will not be possible to maintain a comfortable microclimate - it will be cold and noisy.
- The disadvantages of such structures can be attributed, and excessively reinforced tightness. Despite the fact that modern versions of plastic windows are equipped with ventilation, it is not enough for residential premises. In any case, the tenants will have to additionally air the living space or buy an air conditioner (and this can cost a pretty penny).
- Note that after installing PVC windows, a dry climate may form. This will adversely affect many types of indoor plants.
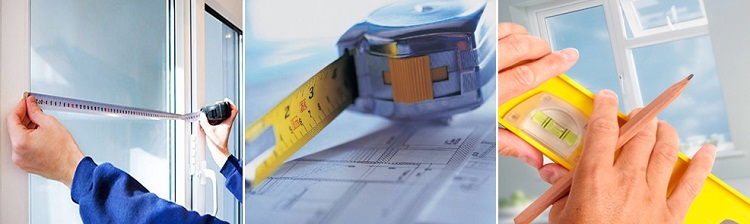
- Before proceeding to direct installation work, it is necessary to take measurements as accurately and correctly as possible, which seems to be quite difficult for many users.
- Plastic windows have one serious drawback - in terms of temperature fluctuations, they can expand, which affects their lifespan.
- If you decide to install such window structures in your home, then you need to take into account that their repair and restoration is not always possible.


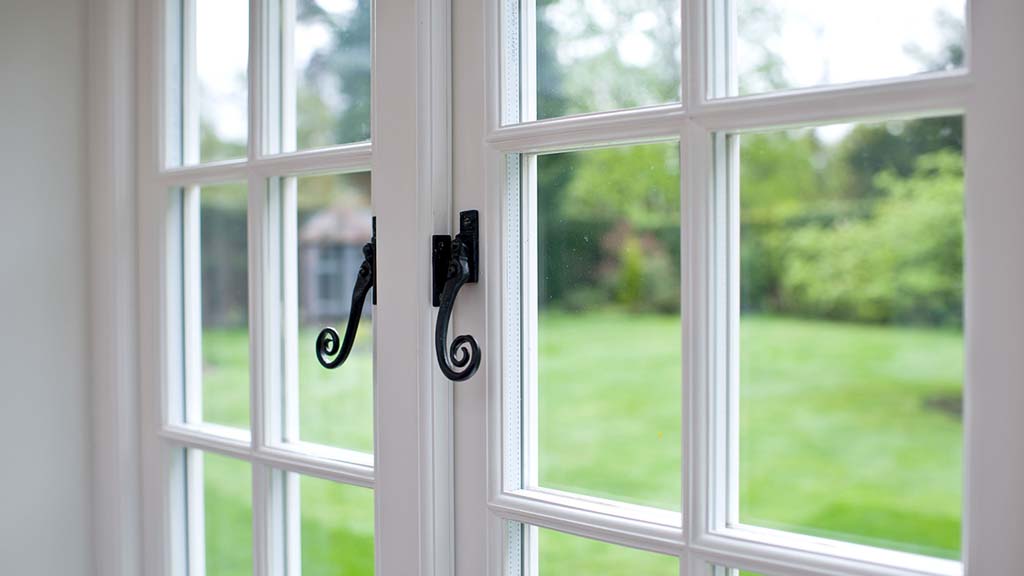
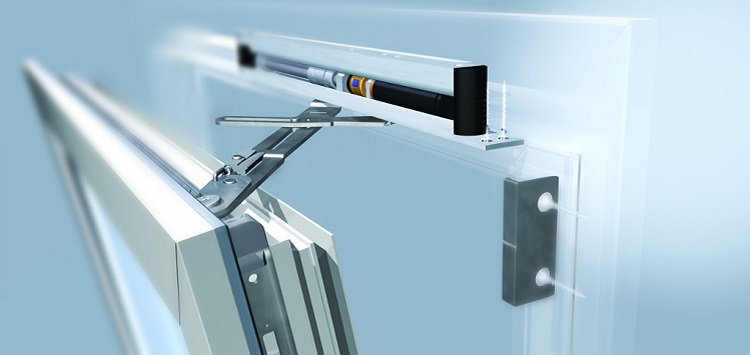
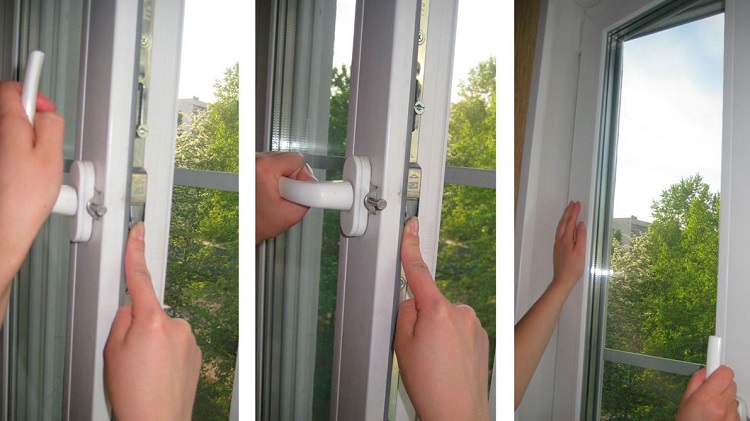
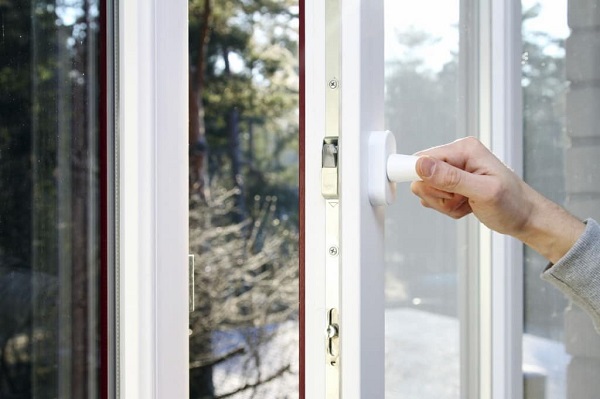
Micro-ventilation plays an important role in plastic window constructions. If the room does not have a comfortable and optimal microclimate, then this may lead to condensation on the windows. To avoid the problem of fogging of window constructions, you need to choose the options that provide microairing.. This system works on the principle of ventilation. It is actuated by the movement of the handle - it is set in a specific position.
If you plan to install PVC windows in the house / apartment with your own hands, then you will have to take into account many features and nuances. It is very important to adhere to the requirements of GOST 23116-99 and 30971092.
Violation of these simple rules can lead to the fact that the result of the work done will simply disappoint you and have to do "work on the mistakes."

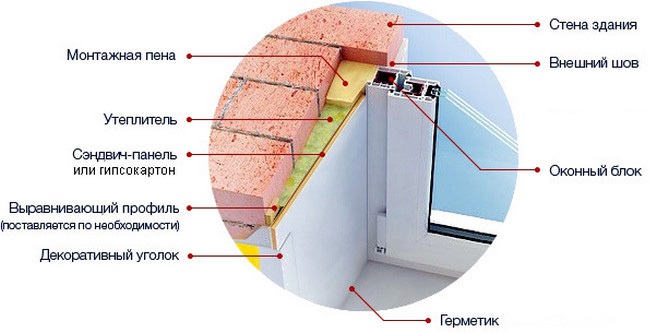
Design
Many experts argue that the direct installation of plastic windows should begin only after a detailed acquaintance with their structure / structure. Thus, it will be much easier for you to carry out such work.
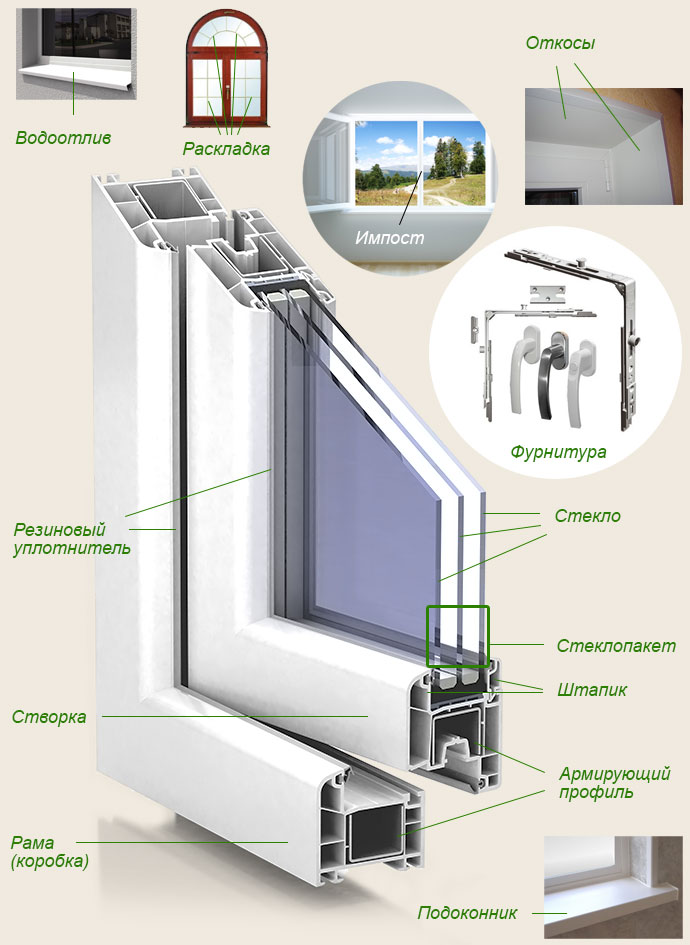
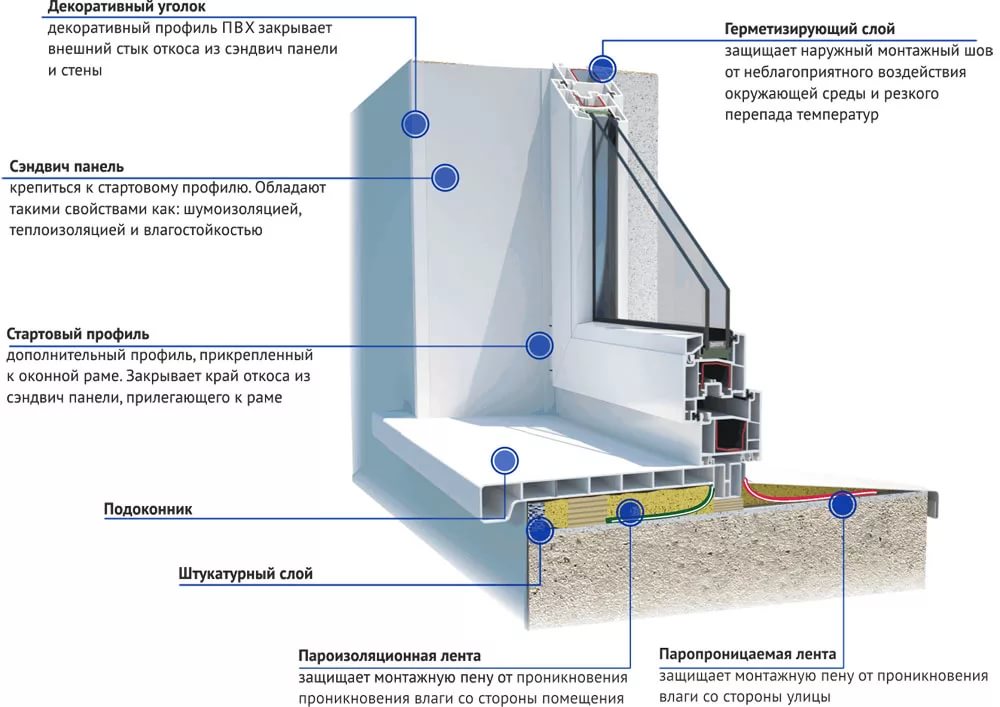
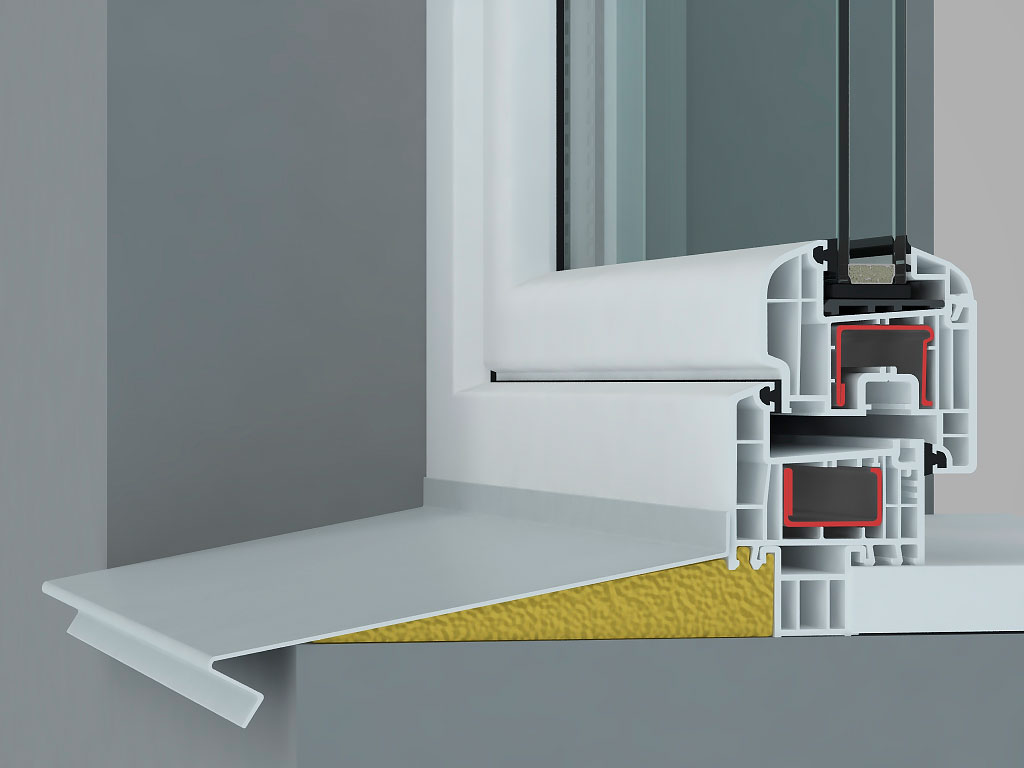
The plastic window is assembled from the following important elements.
- Frame. Everything is simple: the frame is the basis of the design.
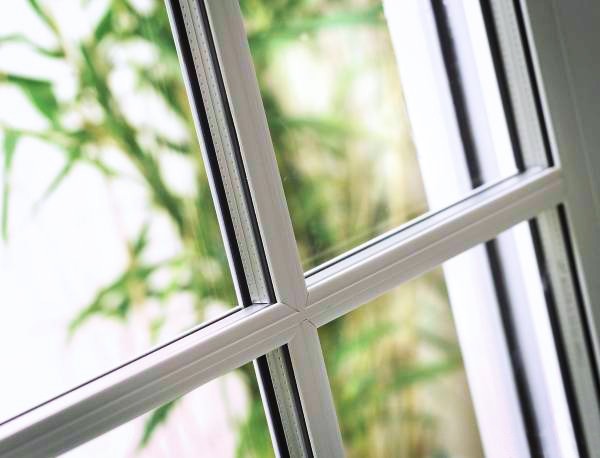
- If the window is assembled from a certain number of components, then the frame is divided using elements such as impost - This is a vertical part. If the window contains 2 parts, then there is only one impost in the construction, and if there are 3 parts, then there should be 2 imposts.
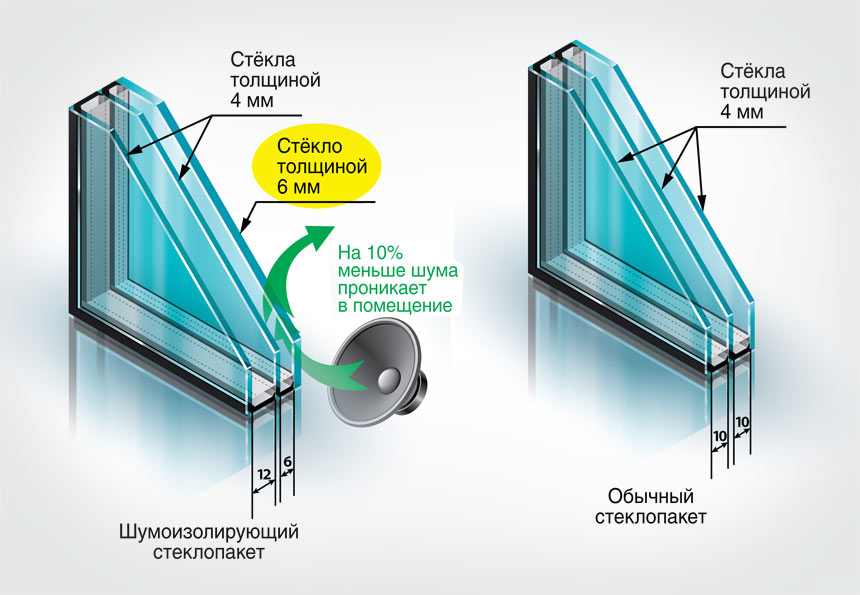
- The opening window element is called the sash.. The fixed part is the grouse. In these components are fixed windows. These elements are glasses fastened with each other (there may be 2, 3 or more). Between the glass in this design there is a foil tape, which is responsible for tightness. Double-glazed windows are special: with reinforcement, energy-efficient or tinted glass. There are also similar products in which an inert gas is injected between the glasses, reducing heat loss.
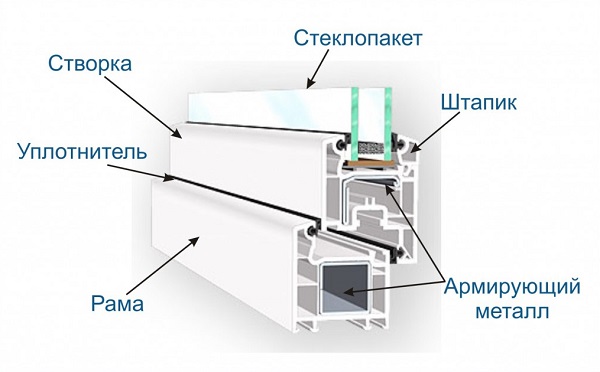

- Double-glazed windows are attached to the frame base. with special beadswhat are the straps made of plastic. As for the necessary tightness of the connections, there is no need to do without a reliable rubber seal (as a rule, it has a black color).
- Also fixed on the sash locking hardware, which is a set of special mechanisms responsible for opening and closing the valves. They are different because they carry different functional loads. These include: direct opening with ventilation, opening with ventilation and micro-ventilation.
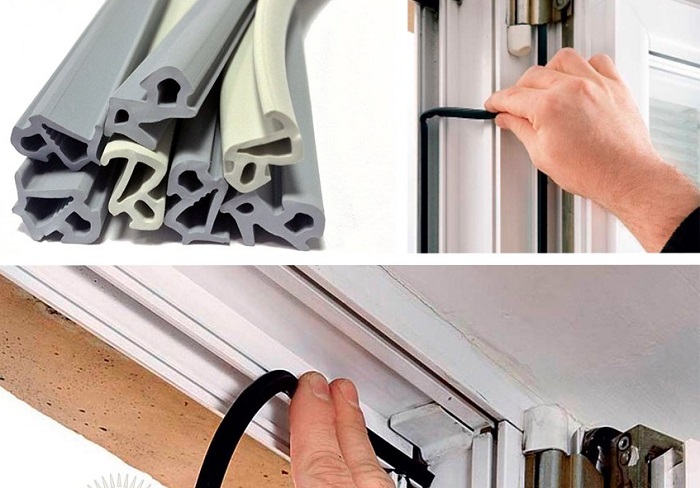
- To ensure that all elements of the design were properly sealed, rubber seals are used.
Bottom on the outside of the frame are drainage holes. They are usually closed with special caps. Through these components condensate penetrates into the street, which is formed in the inner part due to the difference in temperature inside and outside the room.
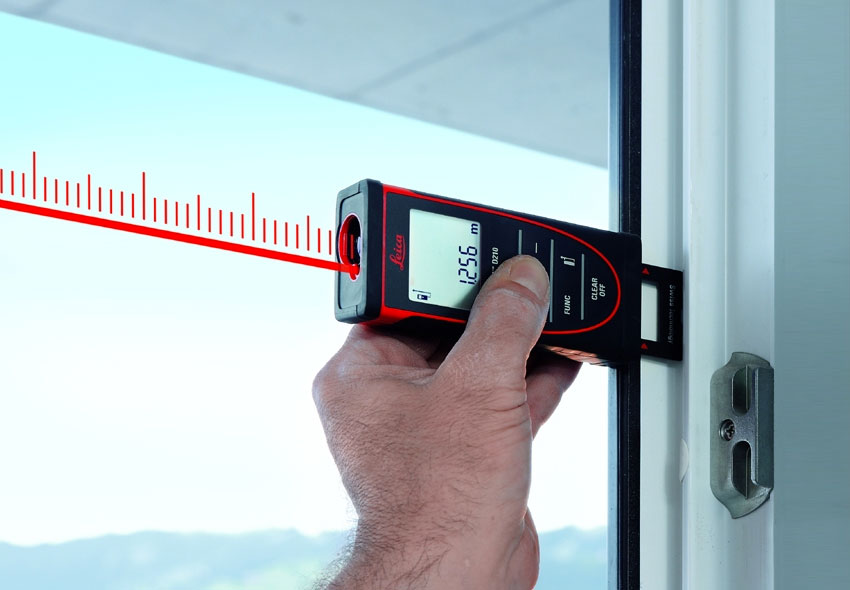
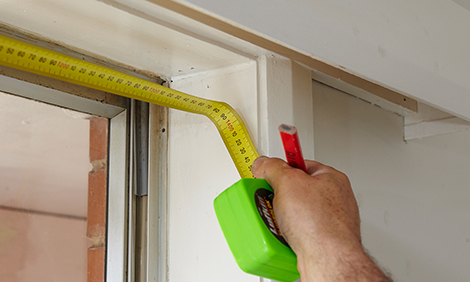
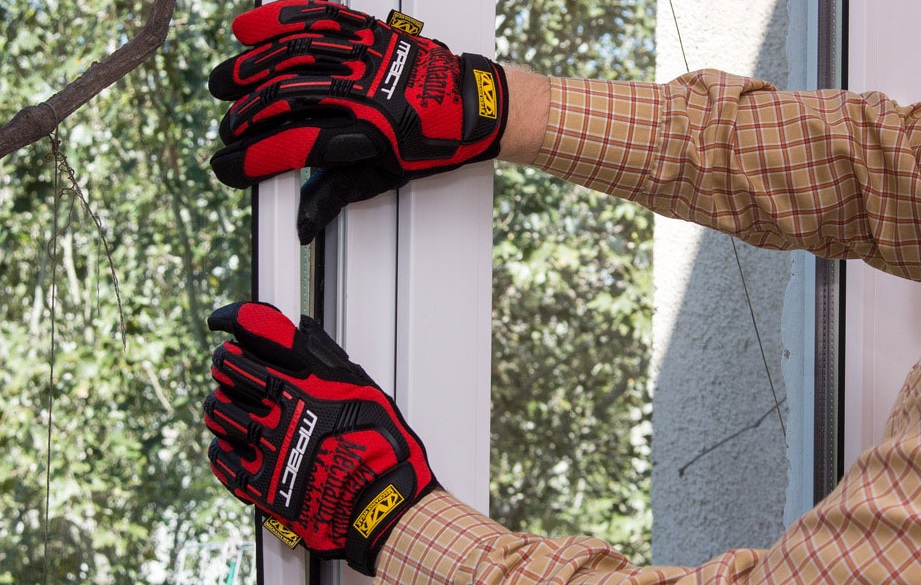
Measurements
Knowing what the window construction is made of plastic, you can proceed to its installation. The first step in carrying out such work will be measurements.
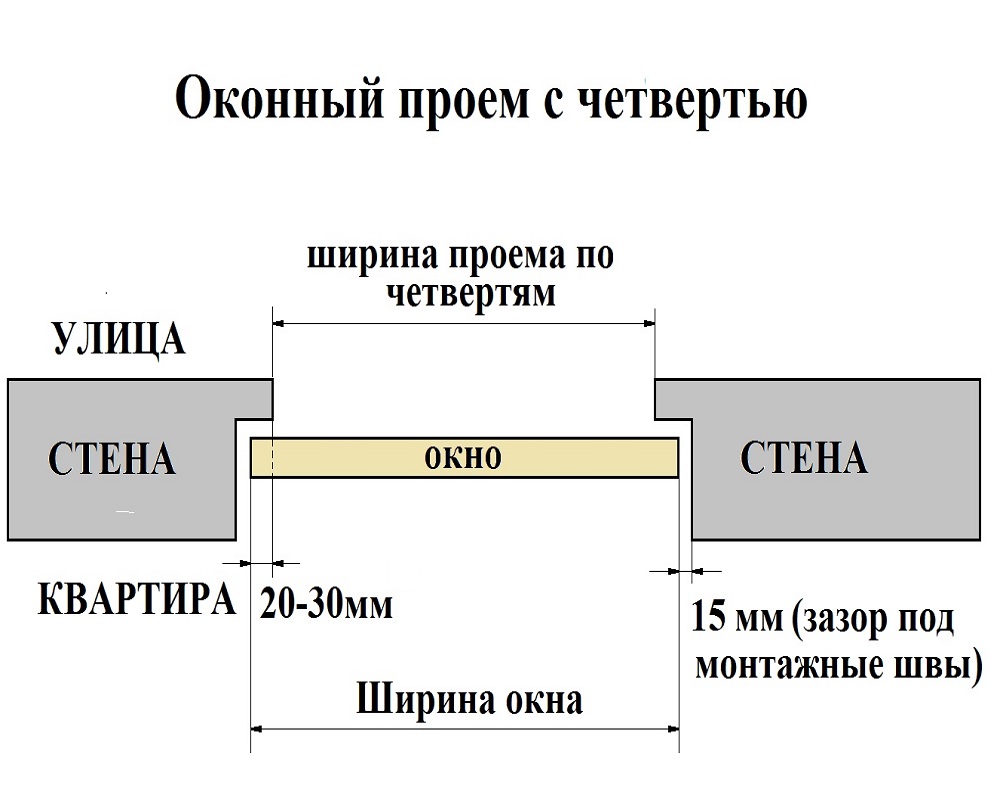
Before you go shopping for a plastic window, you should correctly measure the window opening in which you will install the structure. The scheme is simple. In this case, it is necessary to consider whether it is a quarter or not.
Grounds with a quarter, as a rule, are present in buildings made of a material such as foam block. Such components significantly reduce heat loss from the living space. In a quarter opening, windows with a length of less than 5 cm should be ordered than the same opening parameter. At the same time, it is necessary to subtract 3 cm from the width parameter. Gaps along the contour of 1.5 cm are useful for applying foam, and additional ones at 3.5 cm for setting the window sill. In accordance with State Standards, it is recommended to leave 2 cm around the perimeter.

To organize a window opening with a quarter, all measurements should be carried out to the narrowest section. Windows are usually ordered, plus a width of about 3 cm to the parameter. They do not adjust the length.
Most often, windows are not fixed in the center of the opening. They are placed, indenting from the outer part 1/3 deep. If you are going to put a PVC window on your own, you can make a shift in the direction you wish.This circumstance must be taken into account when ordering window sills and outside sills. The width parameters of both components, calculated in accordance with the direct location of the window, are usually added by 5 cm.
A parameter such as the position of the battery also influences the calculation of the window sill width indicator. Please note that window sill should “hide” the radiator no more than half. You also need to add about 2 cm for assignment under the base of the window. The most modest margin in the length parameter may be 8 cm, however Experts recommend not to skimp and add 15 cmto cut this part as neat and aesthetically as possible.
Making all the necessary measurements, it is recommended to consider the following nuances and features.
- It is better to make measurements on all similar openings in the apartment / house. The width of these components can vary considerably, but the height parameter of all openings should be similar (of all, the smallest size should be chosen).
- As mentioned earlier, the window is usually not installed directly in the middle of the opening. PVC structures are recommended to be fixed at 2/3 of the width of the wall from the inside.However, if you are going to sheathe the outer side of the building with insulating material, then it is permissible to put the window a little further. On the left gap there will be an assembly plane (the outer plane of the window).
- It is worthwhile to start the measurement of slopes only after the completion of the installation work, since it is quite problematic to calculate the width of these parts in advance. The length of the slopes in this case will be equal to the height of the opening. Consider a small stock on the layout.
When ordering a window, you will definitely need to specify in what quantity and what specific parts should be in the product. We should not forget about indicating the presence / absence of the capercaillie. You will also need to decide how the window will open and close. When ordering, you will need to specify the desired type of accessories / components.

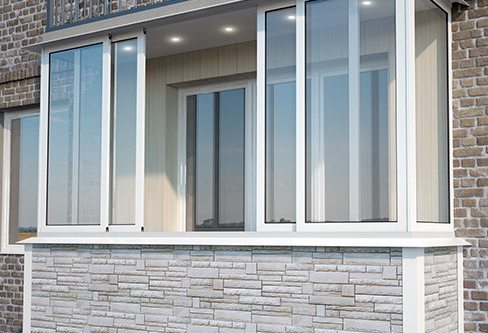
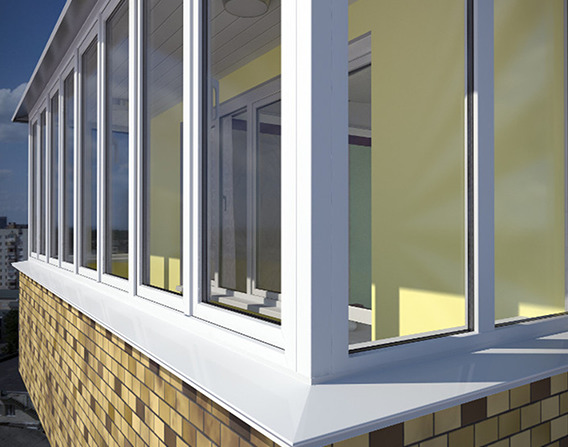
If you are going to purchase and install a PVC window for a balcony, then measurements will have to be done a little differently.
- Width windows should be calculated as the parameter of the length of the parapet, on which it will be based. Subtract 60-70 cm from all sides to fix the special angular profile element.Behind it will connect the elements of the front and sides.
- Height should be defined as a step from the parapet to the roof of the balcony structure with a deduction of 25-30 cm, required for gaps.
The windows located on the side, in the setting of the balcony, must be calculated in the same way, only in width in this case it is necessary to subtract 60-70 cm for the corner profile. For the joints between the window and the wall covering, it will take 25-30 cm.
If you are taking measurements in a private house or an old erection, then experts recommend knocking down pieces of slopes on each side in the areas of measurement.
This action is required because in many cases the dimensions of the window opening significantly exceed the size parameters of the window itself, and the remaining space is covered with cement or a heat-insulating layer, which often simply falls out when the previous structure is removed.
Training
As mentioned earlier, before starting the installation of plastic windows, it is very important to properly carry out the preparatory work. Do not forget that only those PVC structures, which were produced on special industrial equipment and fully comply with all measurements, are allowed to be installed.
In the course of work on the preparation it is necessary to take into account that the width (as well as the height) of the opening itself must be 2-5 cm larger than the window. This is necessary so that it is possible to form the required three-layer assembly seam.


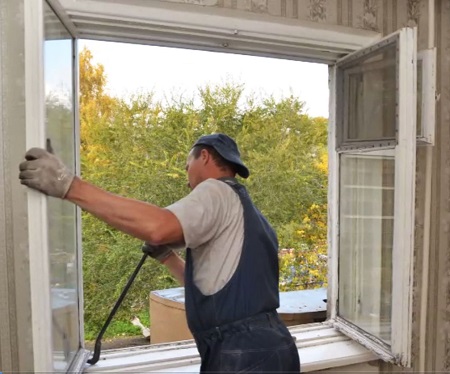
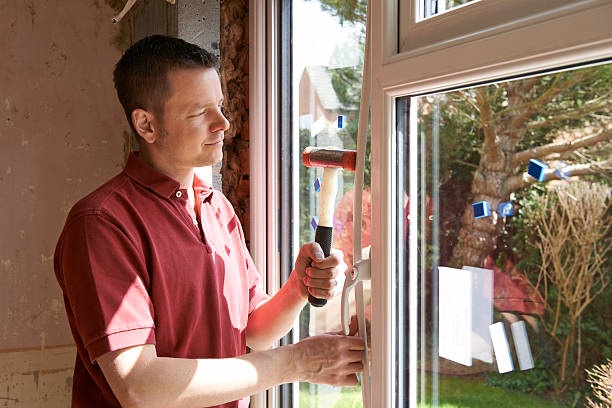
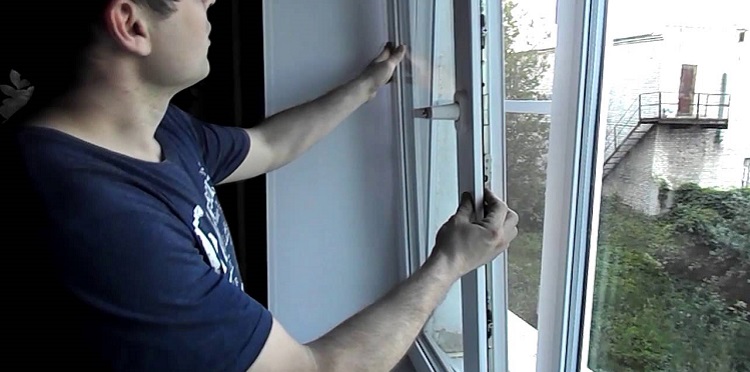
The easiest way is to install PVC windows in the conditions of new buildings, since there is no need to carry out the most complicated preparatory work - dismantle the old window structures. However, if the latter are in the home, then they must be removed.
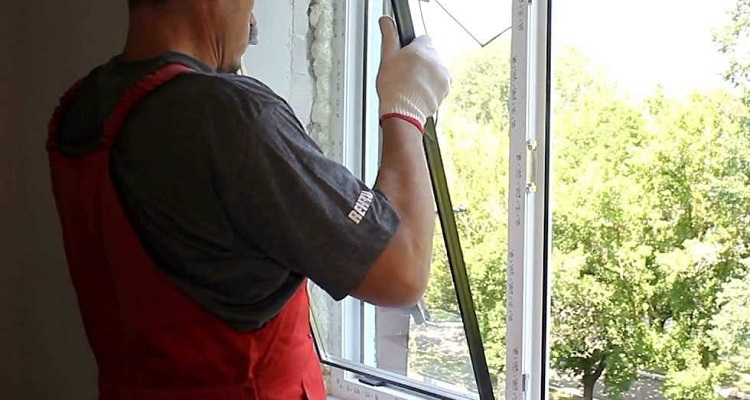
Old windows are usually removed, starting with the dismantling of the sashes. Usually at this stage masters do not have any problems (of course, if the frame is not completely rotted).
If there is a completely rotten frame, then for a start it is better to remove the glass, so that they do not accidentally fall out when the shutters are removed.
As for the framework itself, it is permissible to remove it by various methods. Many of them are very gentle, but require more time and effort. At the same time, the frames are not damaged in any way and remain intact (they can even be used in the future). As a rule, the old frame structure is cut using a circular saw, and then seamlessly removed in parts.It is also necessary to remove any old seals and warming materials.
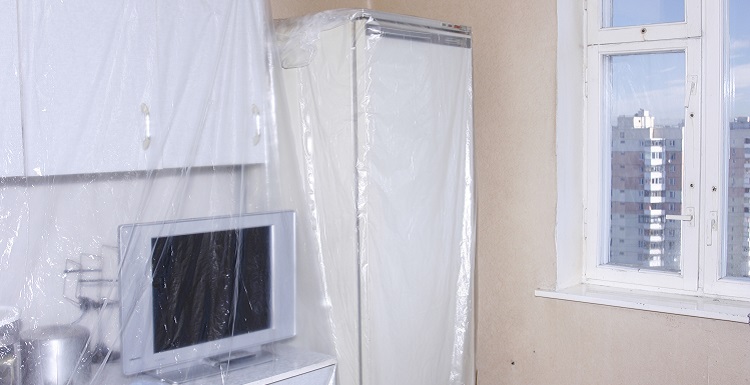
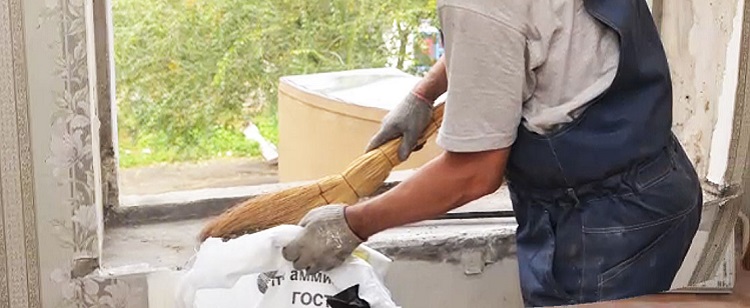
Before dismantling the old window, you should cover the furniture and equipment in the room with plastic wrap, since during such work there is always quite a lot of dust. If there is a carpet or carpet in the room, then it is better to move them to another room. In the same way, you can do with the furniture, but most owners prefer to just cover it.
It is very important to scrupulously clean the window opening from any debris and dust. You can not leave the old sealant. If there are notches or cracks on the walls of the opening, the diameter of which exceeds the mark of 2 mm, then in accordance with GOST they must be sealed with high-quality plaster or putty. Many home masters neglect this process, because it takes a lot of time, because on average it takes 5-8 days to dry the same plaster mixture. Throughout this time, the opening will remain open.
However, you can refer to special mixtures of quick drying (plaster or polymer). Such compositions will significantly reduce the waiting time for drying.If you use such solutions, then you have to wait for their fixing only a few hours, not days.
Dismantling the old structure
As mentioned above, to install a plastic window, it is necessary to make a high-quality window opening and one of the stages of work is to dismantle the old window.
Let us examine in more detail how to do it.
- The first step is to remove the hinges from the hinges of the old window. If the construction contains closed (deaf) elements, then you must first remove the beadings and only then remove the glass.
- The next step is to dismantle the window sill. It must be removed so that the bottom of the window opening is not damaged. The way to remove the window sill depends largely on the material from which it is made. For example, a concrete part should be dismantled using a hammer: break the middle, then cut the reinforcement and remove the remnants of the window sill from the sides of the opening. If these elements are made of wood, plastic, metal or marble, then they should be withdrawn entirely. These elements are removed using a hammer or perforator, as well as chisels.
- It is also necessary to remove the ebb.To do this, it is first important to understand how they were fixed and what they were bolted to - the profile of the window sill or the frame.

- Removing the window sill and ebb, you need to remove the window itself from the opening. The most convenient way to use such a tool as a mounting cutter. Many professional installers are turning to this device, since work with it is faster and easier. Of course, you can use a simple hacksaw or jigsaw.
- Having removed the frame from the window opening, it is necessary to dismantle the slopes. Parts that have been finished with a sand-cement mortar cannot be dismantled. As for the slopes of plasterboard or plastic - they can be removed using a screwdriver.
- Having carried out all these works, it remains only to remove the old insulation material from the mounting aperture.
As further in this opening you will install new plastic windows, All dismantling work must be carried out very carefully and carefully so as not to leave any damage to the base.

Remember - the opening must necessarily retain its original integrity. If you did damage this foundation,then it is necessary to immediately get rid of the resulting defects, otherwise in the future they may cause drafts penetrating into the living room, wear of the fittings and breach of the structure tightness.
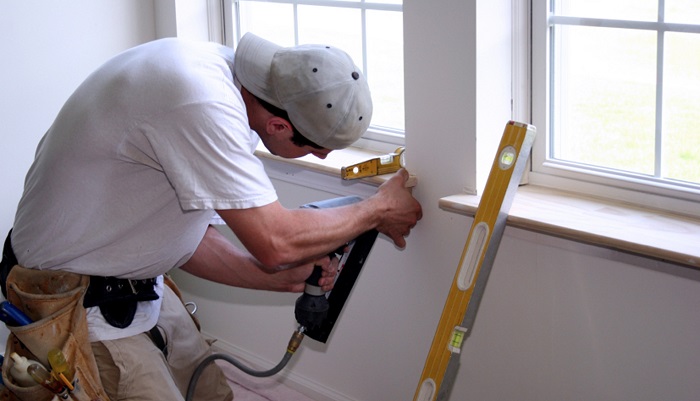
How to install yourself: a phased description
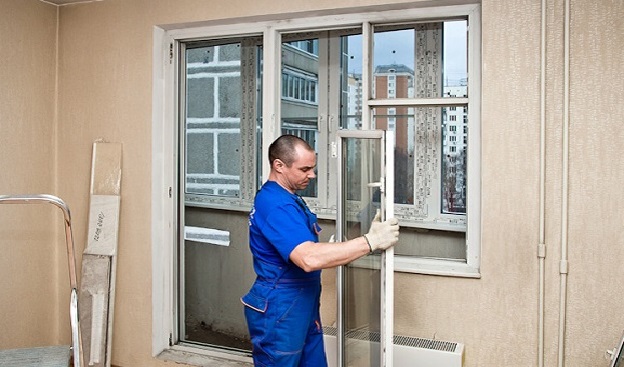
If you have prepared the frame for installing a new PVC window, correctly removing the old one, you can proceed directly to the installation of the acquired plastic construction. In this situation, you must strictly adhere to the instructions, as in the dismantling works.
Currently, there are two main methods of installing plastic windows:
- with window disassembly (unpacking);
- without disassembly.
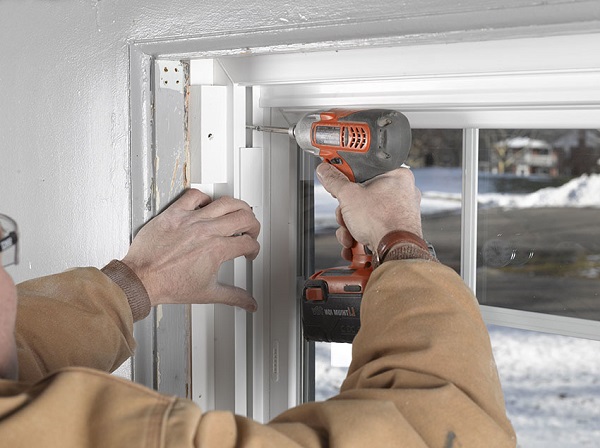
If you chose the option to unpack, then you need to drill holes in the frame through which anchors will be screwed into the walls. This method is quite complicated, but the fasteners in this case will be more reliable.
If you decide to install a plastic window without unpacking, then you need to attach metal plates to the frame from the outside. Then they will need to be attached to the walls. Of course, these actions will take much less time and effort, but this mount is not considered the most reliablebecause in the case of significant wind loads the frame can be seriously skewed. It can also sag. If you do not want to engage in disassembling the window, then you can turn to the fixation on the plate, but use it is not narrow and thin, but dense and wide elements that are very often used during the installation of truss systems.
Compact PVC windows placed on special mounting plates, in the absence of serious wind loads, will stand for many years and will not cause any trouble. But if you live in a region where there are powerful and gusting winds or your apartment is located on a high floor, it’s better to turn to the unpacked method. Should consider in more detail each of these methods of installing plastic windows.
To begin, consider how installation is performed with unpacking.

Unpacked
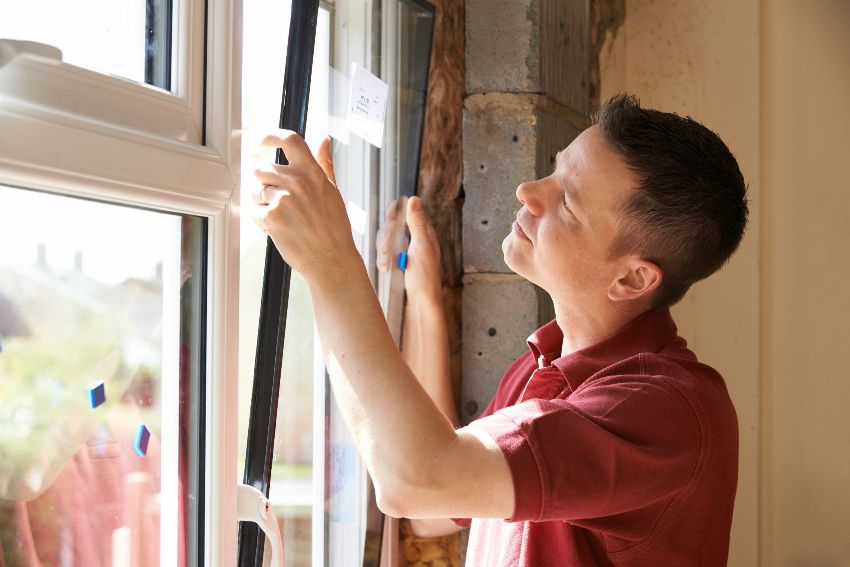
In this case, you must first take all the necessary measurements. Measure the window frame and opening. Be sure to make sure that these components fit together. Then you can proceed to installation work.
Consider the window disassembly process.
- First, remove the sash.To do this, close the window by turning the handle down. Then the plastic covers are removed, which are present on two hinges. They should be pushed with a screwdriver.
- On the loop above you can see the pin. He is responsible for the mobile connection. It is located in the center and slightly issued. It is necessary to press on it until it deepens (for this, many use a plate made of metal, which is rested against a pin, and then they knock on it slightly). The pin will pop out below. After that, it should be grabbed with side cutters or pliers. Pull down and remove these parts.
- Supporting the leaf at the top, open the lock. To do this, the handle must be placed horizontally. Having inclined top on itself, slightly raise a shutter, removing from a pin in the lower part.

So you remove the sash. Then you need to remove the glass on the grouse. The given elements keep thanks to shtapikam. They should be removed, after which the glass will be removed without any difficulty.
Beadings must be removed as follows.
- Something narrow and strong enough to be inserted into the gap between the bead and the frame. If you have no special tools in stock, it is recommended to take a small trowel for this. Disassembly should start from one of the long sides.
- The corner of the spatula should penetrate into the joint and gently move the bead away from the frame structure.
- Without taking the tool, you need to move slowly along, again moving the bead to the side.
- So you need to move along the entire length. As a result, the bead will be practically separated and easily taken out.
- As for the short sides, everything is simpler: you need to pry the free edge and, turning the spatula, remove it from its groove. It is necessary to take up the vacated edge and pull up.

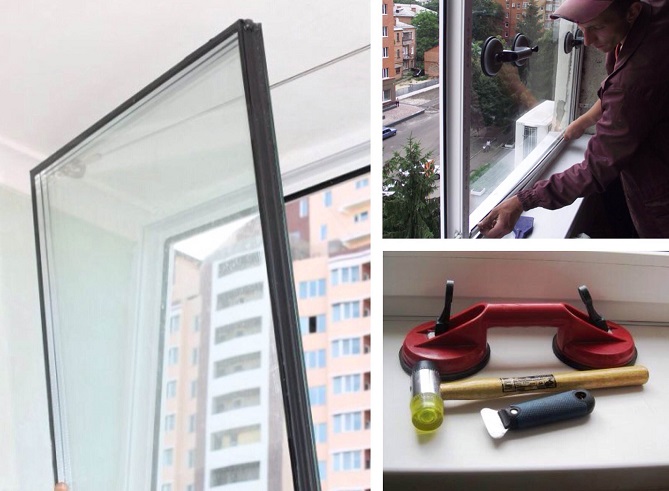
After that, you can proceed to the removal of glass. Be as careful as possible, since it has considerable weight. If you do not succeed, then one more bead should be removed. But it is important to ensure that the window is in an inclined position and the glass unit does not fall out. Further, if necessary, be able to replace the glass packet with their own hands.
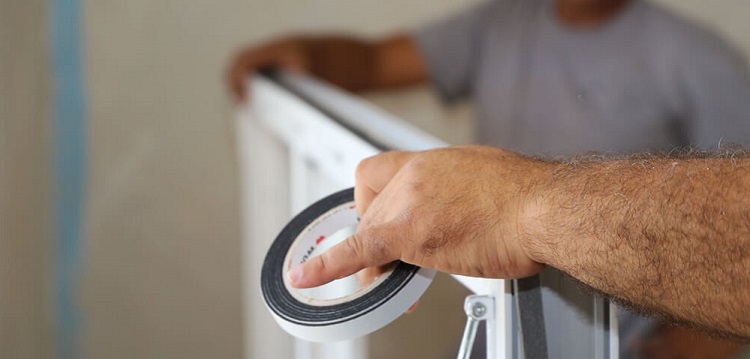
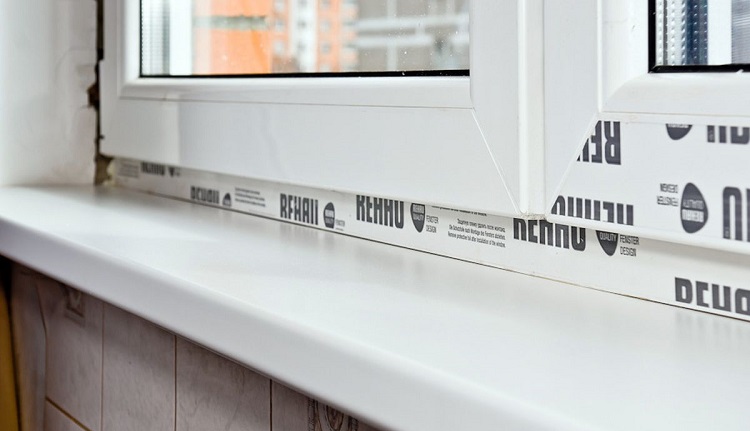
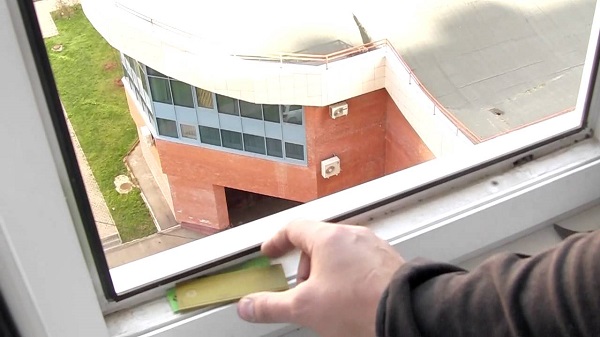
The cleaned frame on the outer perimeter needs to be pasted over with a self-adhesive tape. Its installation is recommended by GOST. With such a component, the window will not be very hard to stand out.
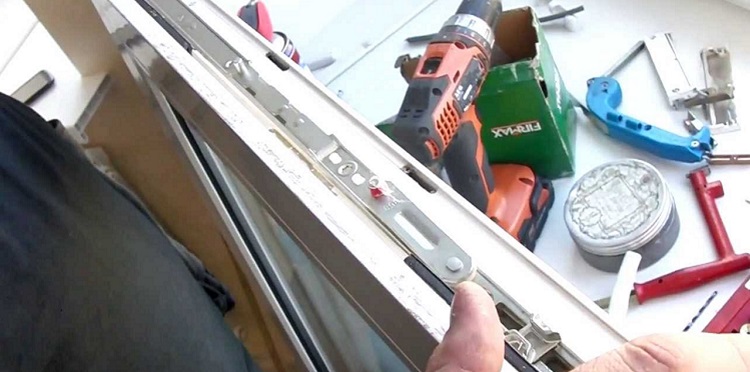
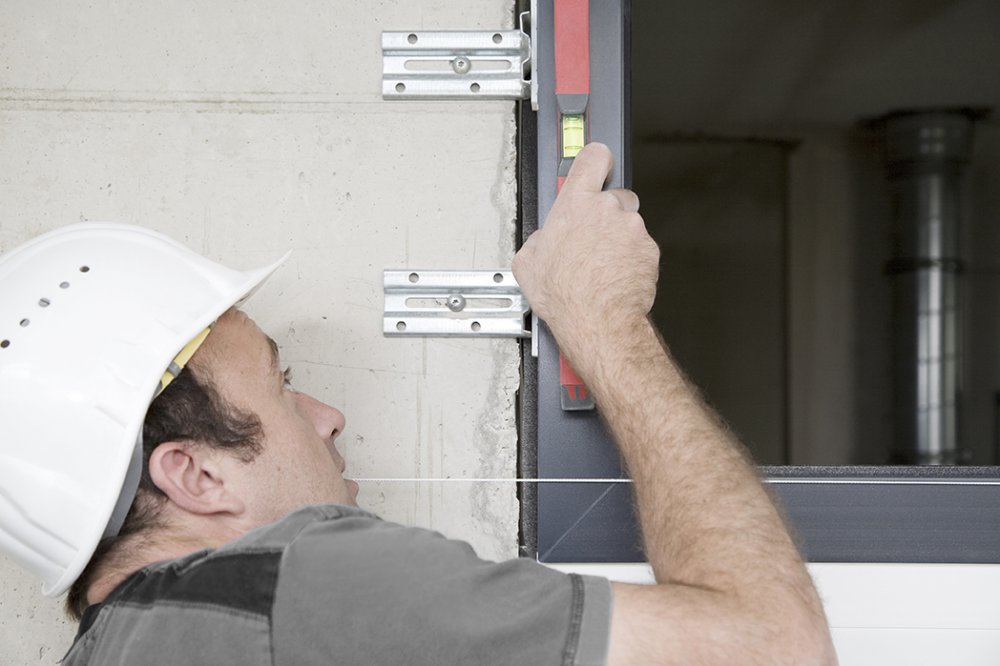
Remove the film from the design with the logo of the manufacturer. If it is not removed, it can melt under the action of aggressive sunlight and stick to the frame, and then it will be very difficult to remove. The frame must be inserted into the cleaned opening.To put it, you will need to refer to the special assembly wedges. They are always fixed in the corners and under the impost. Other elements put as needed. Putting the window, it is important to expose only in accordance with the level in 3 planes. First, fix the location of the window leaf. That is why the plates will be useful for installation.
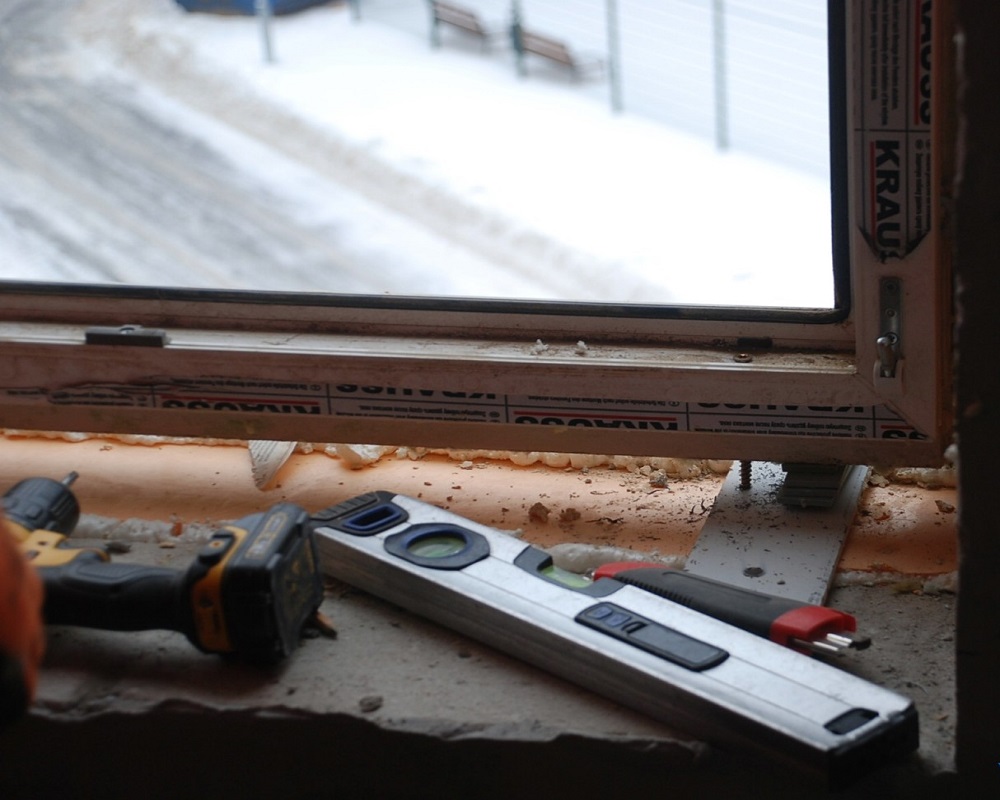
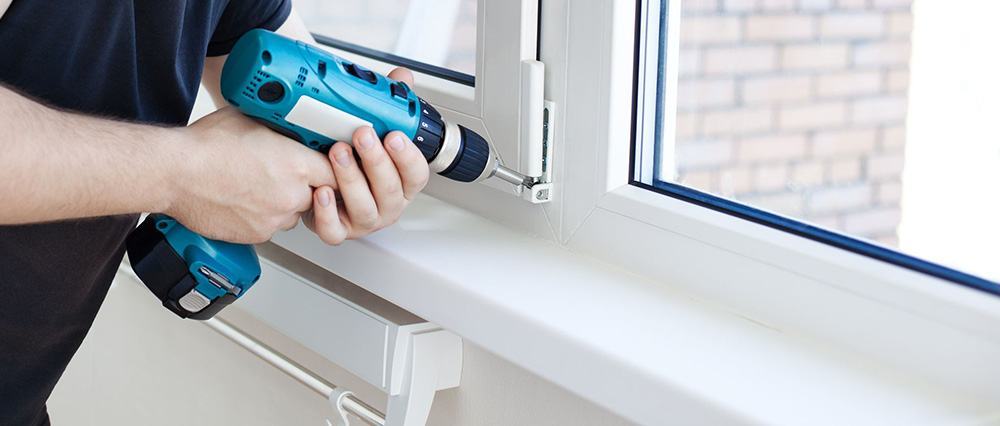
Next, take the drill and drill, coinciding in size with the diameter of the anchor fasteners. It is necessary to make holes under the fasteners. From the edge of the top you need to retreat about 150-180 mm. In this place will be the first hole. The lower hole should be located on a similar interval from the corner below. Between them in the usual window you need to fix another 1 anchor: the largest gap between two fasteners should not be more than 700 mm.
Having made a hole, you need to make sure that the frame has not moved from its place. For this you will need a level. Next, nail the anchor and carefully tighten it. But keep in mind that it is important not to overdo it: profile, in no case should not bend too much. This operation should be repeated as many times as necessary.
After that, proceed to the installation of ebb.

Without unpacking
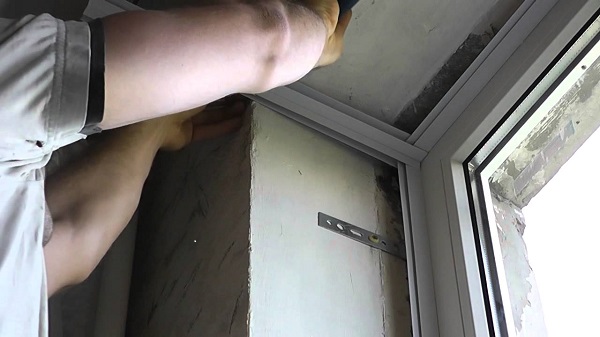
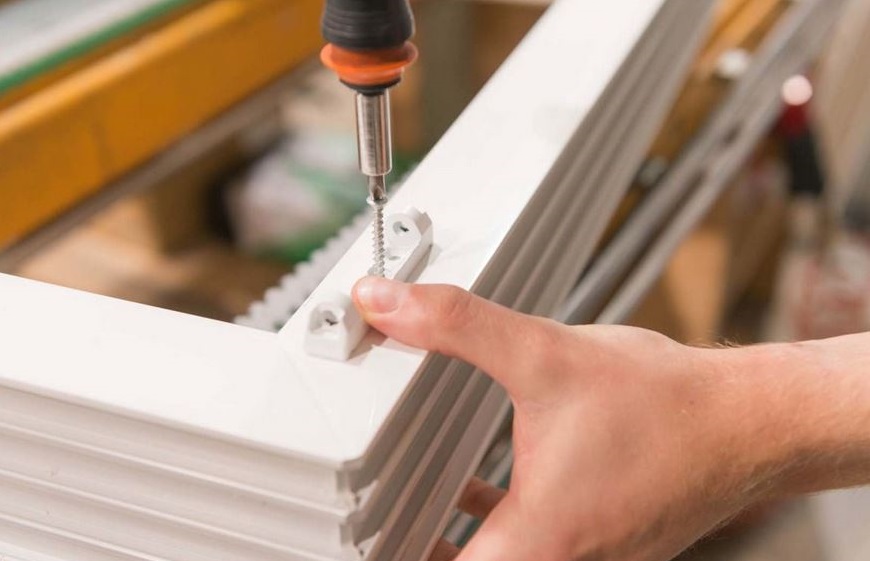
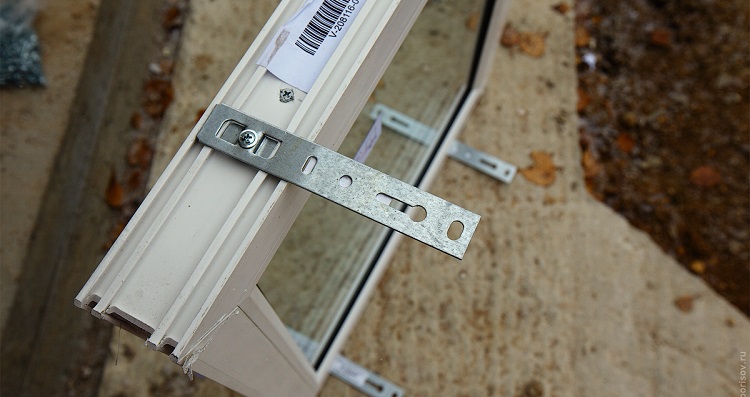
The main subtleties of the installation work described above. With this method, installation begins with fixing plates fasteners. They come in 2 varieties: P-like and linear. You need to choose the most reliable and dense options.. They should be fixed at the same distance as the anchor fasteners - 50-200 mm from the edge and no more than 700 mm between the parts in the middle. They must be screwed to the profile with screws.
In the future, work on the installation of windows with their own hands with the use of mounting plates is carried out in the same way as with the above method, starting from the stage of placing PVC windows in the opening using a level. But it is not necessary to attach the frame itself, but the plates and not with the help of anchors, but dowels-nails. It is necessary to drill a hole, bend the plate, fix the dowel, and then set the plate in place and screw in the dowel. Further actions are similar.
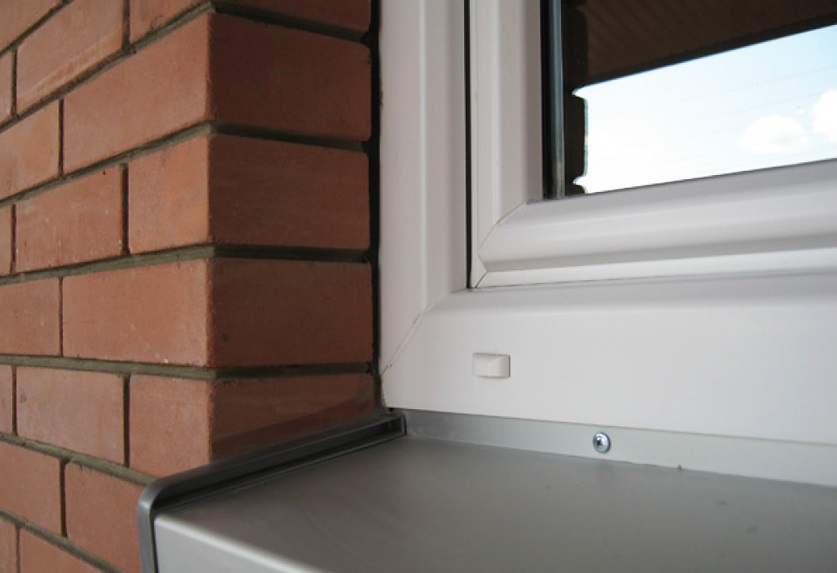
Dewatering
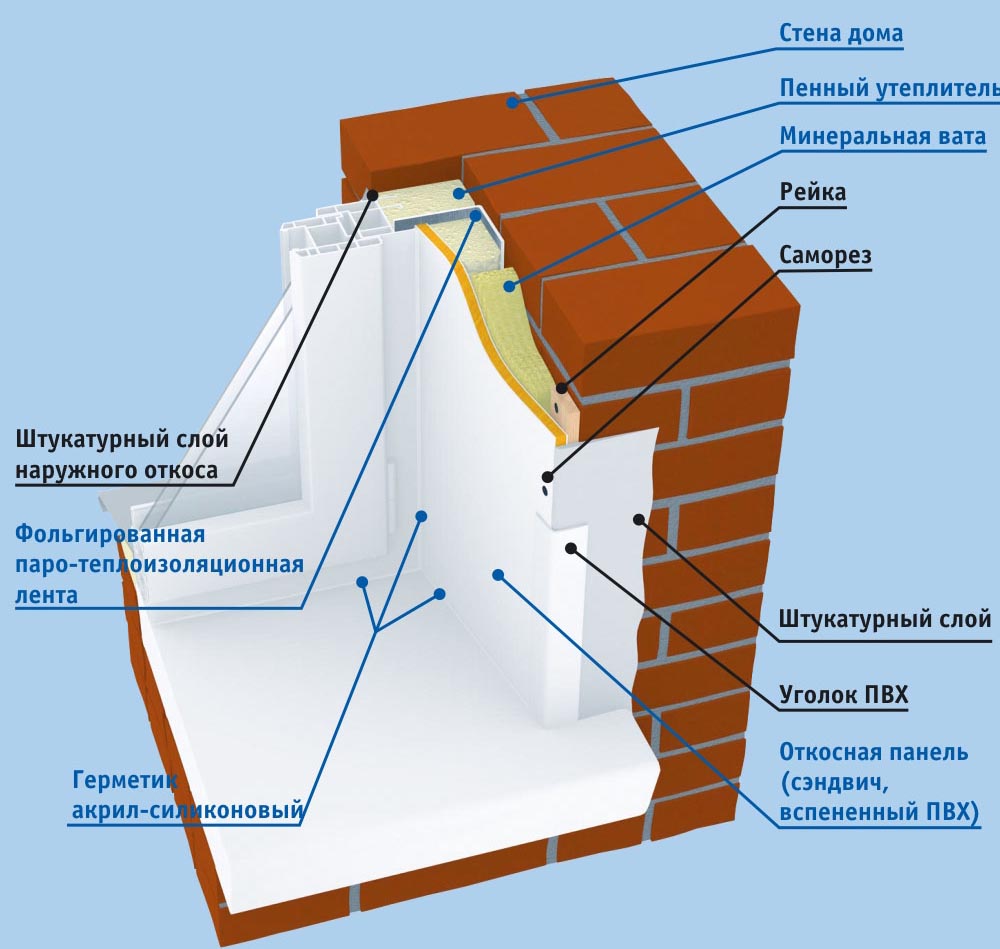
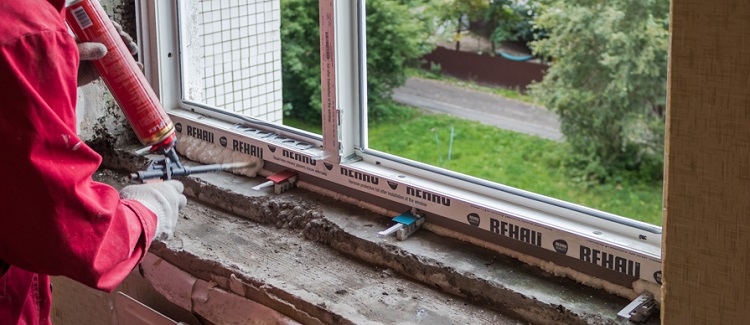
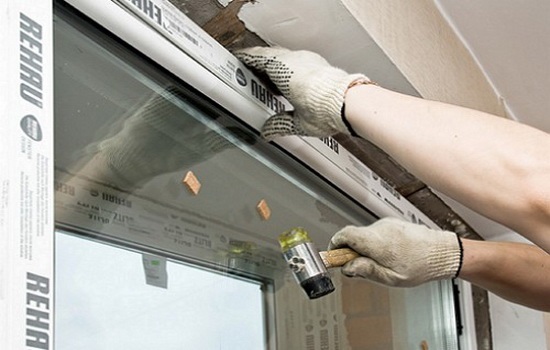
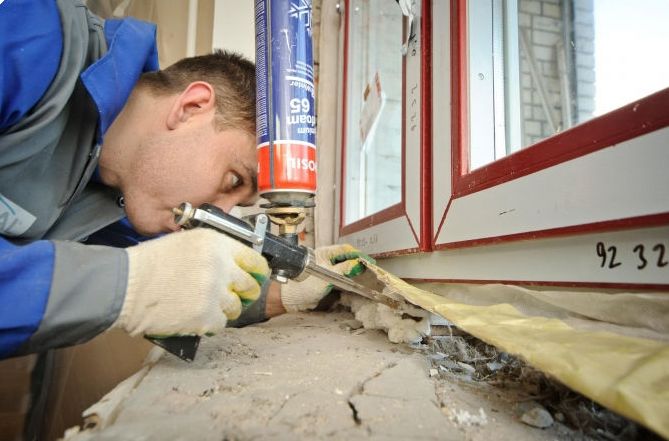
Another important component of the new plastic window is recognized ebb. It is required to be placed outside. To this end, according to the technology, first, high-quality vapor-permeable waterproofing is glued to the outer half of the frame (self-adhesive materials are preferable to use).On the lateral planes of the window opening, it is necessary to make small grooves into which the edges of the outflows are subsequently installed.
On the plane of the opening from the outside, where the ebb will rely on the wall, you need to apply a layer of foam. In some cases, when the height difference is too impressive, a special lining profile is fixed in this place. Subsequently, the ebb will be attached to it. Undercuts cut by the necessary parameters are brought under the projecting section of the frame, and then attached to it with self-tapping screws. Along the edge of the bottom outflow also need to fill with foam.
After that it is necessary to replace the window opening itself.
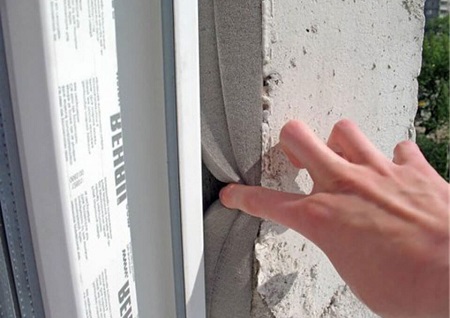
If you install PVC windows in the summer, the gap between the frame and the opening must be sprayed with water using a spray bottle. This step is required to improve the polymerization of the foam.
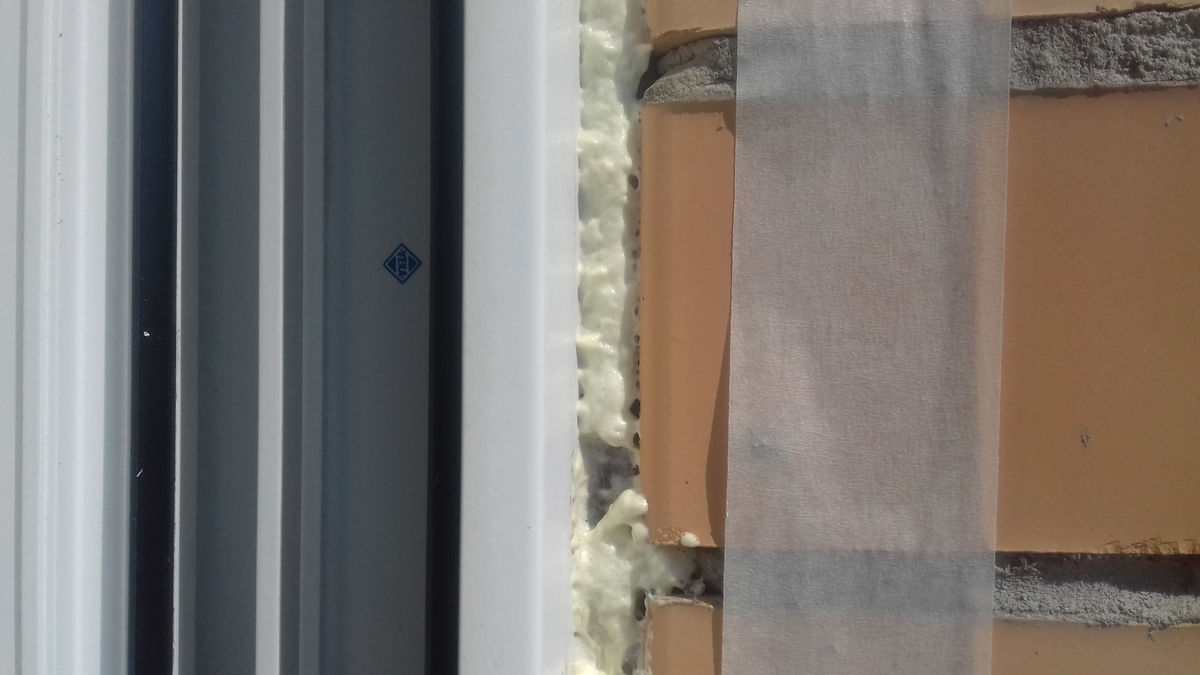
According to the contour of the frame structure, it is necessary to glue the vapor barrier waterproofing tape, which is also recommended by GOST. Next, you need to take a can of foam and fill the remaining intervals of 2/3 volume.
In the case when the gaps are too large (more than 2-3 cm), the foam should be laid in several stages. Between 2 layers you need to wait a little time - about 10-15 minutes.When the original layer is slightly fixed, it also needs to be sprayed with water, and then proceed to applying the second. Repeat these steps until the volume is 2/3 full.

Do not wait for absolute polymerization. Glue the free edge of the insulation strip to the window opening. But you need to pay attention to the fact that using a tape, you should install light plastic slopes. This is due to the fact that neither plaster nor any other solution will fall on this insulation.
After the work associated with the installation of low tide, it remains only to proceed to the assembly of the window and finishing the necessary elements.
Window assembly
If all the above work you have done, you can proceed to the immediate assembly of a new plastic window.
Start the work with cleaning the glass and rubber in the frame from dust and any other contaminants. If this is required, it is necessary to remove the traces of black sealant remaining on the glass using a standard blade.
It should be noted that on the frame in the part where the glass unit itself is fixed, on the inside of the profiles there are special inserts of folds.Straightening plates are placed on top of them, which play the role of original struts for the package. Inserts on the profile on the side and the impost need to be moved to the center..
At the bottom of the liners need to lay the plate with the same thickness. Note that they should be laid in such a way that they are located at an angle, and not along the tab. Simply put, one corner of the plate should rest against the rubber, and the diagonally positioned one covered the groove intended for the bead. This stage is required, because not in all cases the width of the straightening plates fits the density parameter of the glass unit. Often, it has more modest options.
If this plate is installed along the profile, one glass, located on the edge, will simply remain without support. In the process of fixing the bead, this glass will be pressed against the same plate by the side surface and will crack from the formed strong load. In order not to face such an unpleasant situation, the plates are placed at an angle relative to the frame structure.
Next on the plate you need to put the glass and press it to the external rubber bands. In this case, you need to raise the glass in the lower part (for this it is permissibleuse the spatula - it will be more convenient) and fix the plates: push the prominent corner sections under the bag, but not to a great depth, but so that they act as a support for all three glasses. These parts should not be strongly protruded to the outside and impede the fixation of beadings.
Next, be sure to check whether the glass unit is equally included in the side portions of the gum. If this is required, corrective work should be carried out using a spatula. This tool must move the package to the right or left. After adjusting the position of the glass pack, beadings are placed above and below.
If your toolkit does not have such a useful device as a mallet (plastic or rubber), then the bead can be hammered with a hammer handle. It is necessary to do this, starting from the ends and moving towards the middle.

Before proceeding to the installation of the beadings on the side, it is required to open the glass unit with plates on the side sections. To this end, we previously moved the side seam inserts on the frame and the impost closer to the center. It now remains only to put on them straightening plates, again using the spatula.
Please note: the plates must be placed in the same way as the lower parts. This is necessary to provide reliable support for all three glasses in the bag.
First, the side beadings should be inserted with the tips into the groove, starting from the final parts. After that, they are slaughtered, as in the past stages: starting from the ends, moving to the center.
The next step is to install the sash. Before this, it is recommended to install special caps on the hinges.. They are quite difficult to install if the sash is already present on the frame. In this situation, a special cap is meant, which is called a "snail." It is fixed on the corner loop on top of the sash, as well as on the frame loop below.

On the sash you need to fix the handle horizontally. To do this, you need to rotate the elevator lift vertically downwards. Otherwise, the handle will be locked.
Experts advise to check that the handle is installed correctly: horizontal fittings should be located in a central position (not at the top or bottom, but only in the middle - between 2 risks that are near). After that, you can proceed to install the sash directly on the frame structure.It is put on the loop from the bottom, and then the corner section of the sash is launched into the loop from above and fixed with a pin, pushing it upwards until the latch is triggered.
In order for the pin to fit into the loop hole as easily as possible and not to get stuck, the sash should be pressed (you can press it lightly) to the frame. In this arrangement, the longitudinal section of the pin will coincide with the protrusion inside the hole of the loop.
When assembling PVC windows you need to be very careful and cautious. Also, we should not forget about checking the correct course of a hinged casement structure. You should check the level of fixation of the structure. For example, in the opening position at 45 degrees and 90 degrees, the sash should not stagger or swing open by itself. When you carry out all the required checks, it will be possible to close the sash securely and proceed to a further step - sealing the gaps.
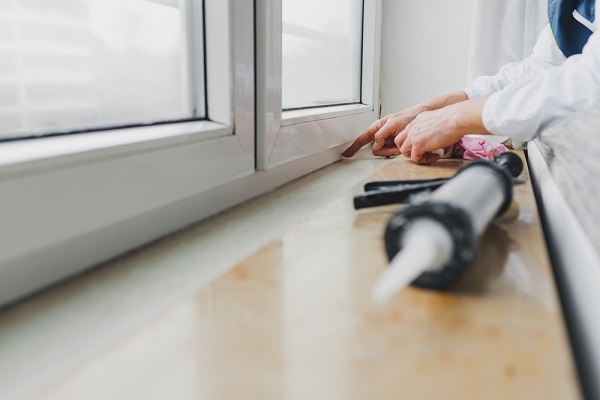
Sealing the gap
In order to close the remaining gap between the window and the wall overlap, high-quality polyurethane-based foam is most often used. This material is chosen by many consumers, as it is time-tested. Polyurethane sealing compound can provide excellent sealing and thermal insulation of the joint.However, not everyone knows that over time and during “encounters” with the external environment, the foam loses its positive properties, which is why it starts to break down.
To guarantee her protection, you need to take care of installing a high-quality hydro-barrier from 2 sides that surround the seam. This process is neglected by many unscrupulous installers. Moreover, very few people are engaged in fixing the slopes at the right time in order to somehow protect the foam. As a result, for many apartment owners and private buildings, windows may begin to freeze or mist over.

In order not to face such problems, a vapor barrier film is glued onto the window from the inside. It should be glued around the perimeter, but the lower part should be left intact..
Concerning on the outside, here along the perimeter you will need to glue the membrane moisture resistant strip. This material will be responsible for protecting the installation foam from precipitation, and will also contribute to the removal of moisture from the inside of the insulation.
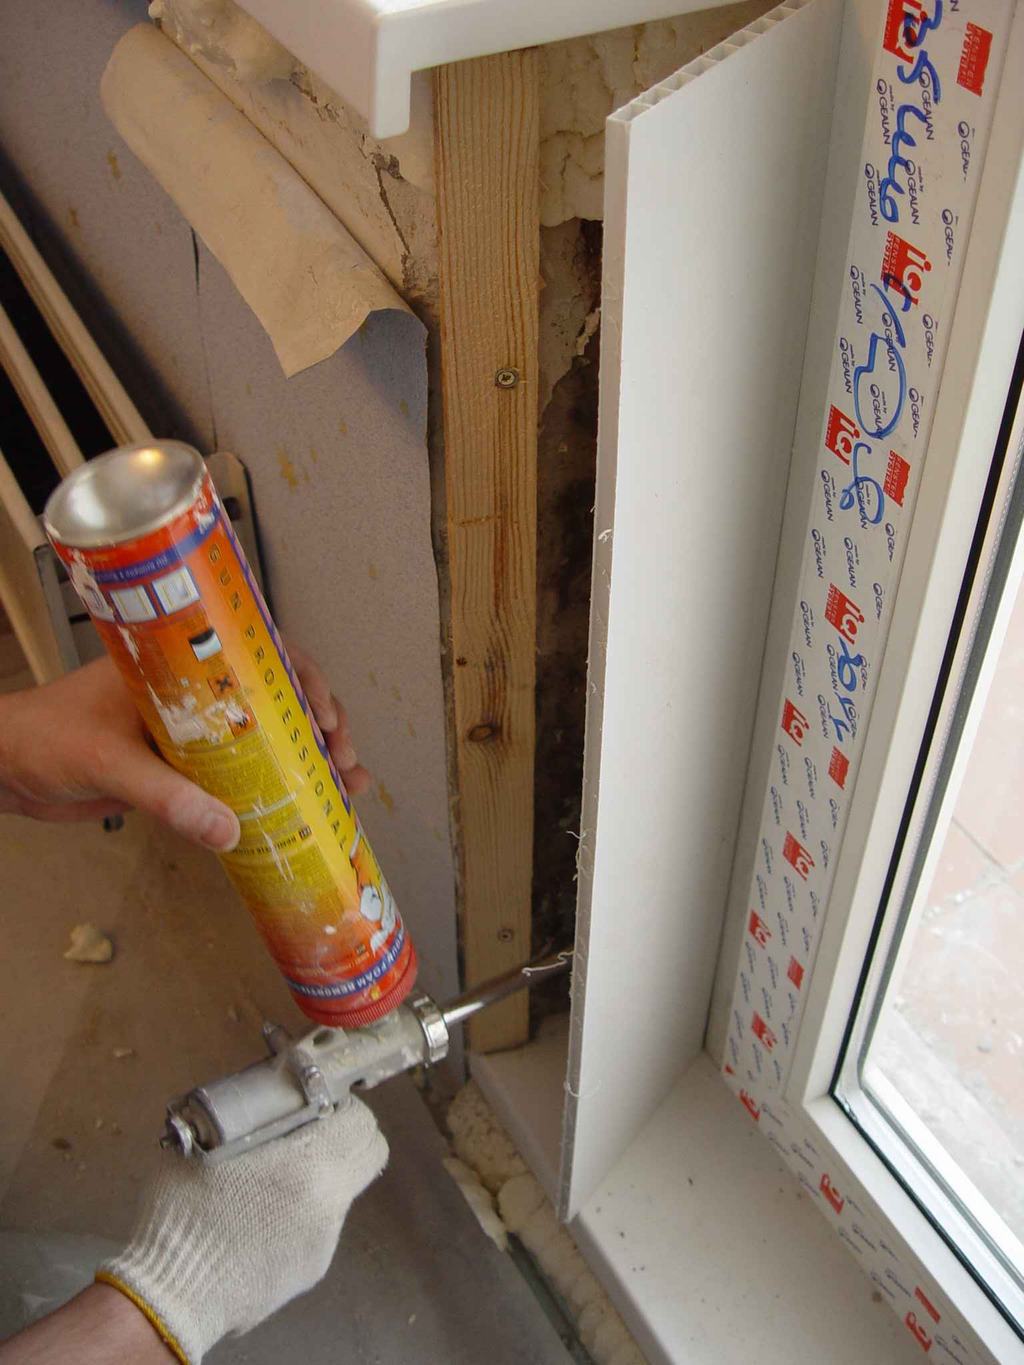
As for the bottom the inner edge of the window construction, here you need to glue a strip of waterproofing with foil surface. She will be hiding under the window sill.Fold the strips in the distance between the wall and the window, and then moisten all the basics with water. Next, fill the gap. It is recommended to give preference to special all-season foam. It will be convenient to apply it using a pistol designed for such compositions.
When you fill the gap, the foam will need to be moistened again with a sprayer. Next, glue the insulating tape to the wall around the perimeter of the window (both outside and inside).
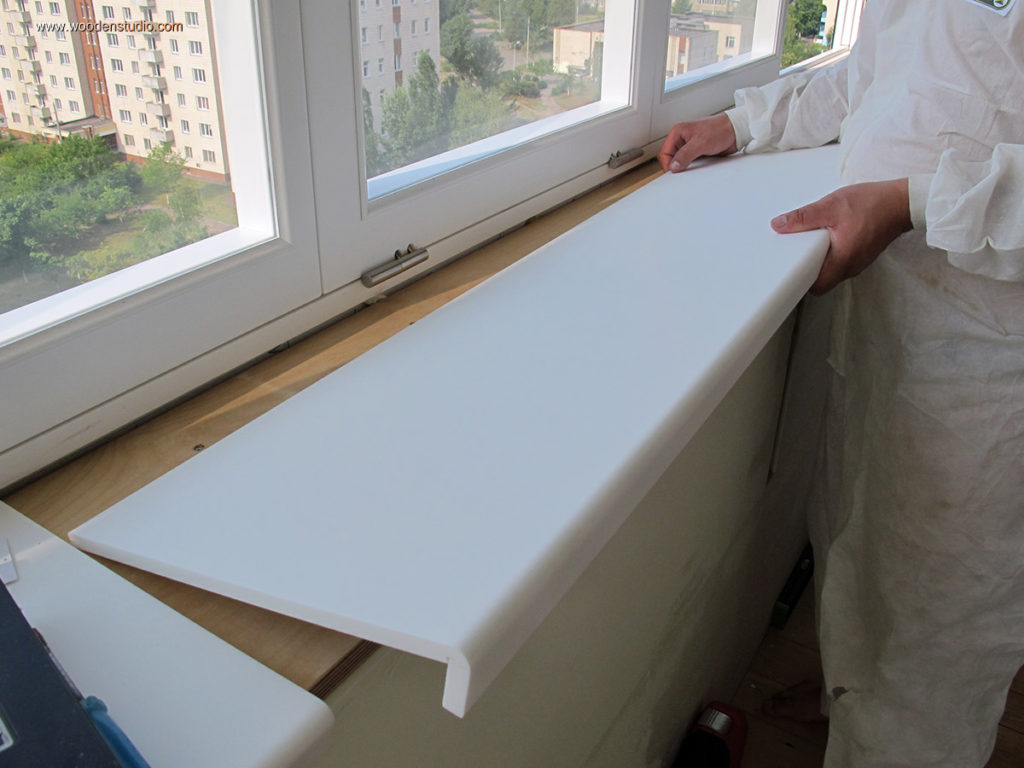
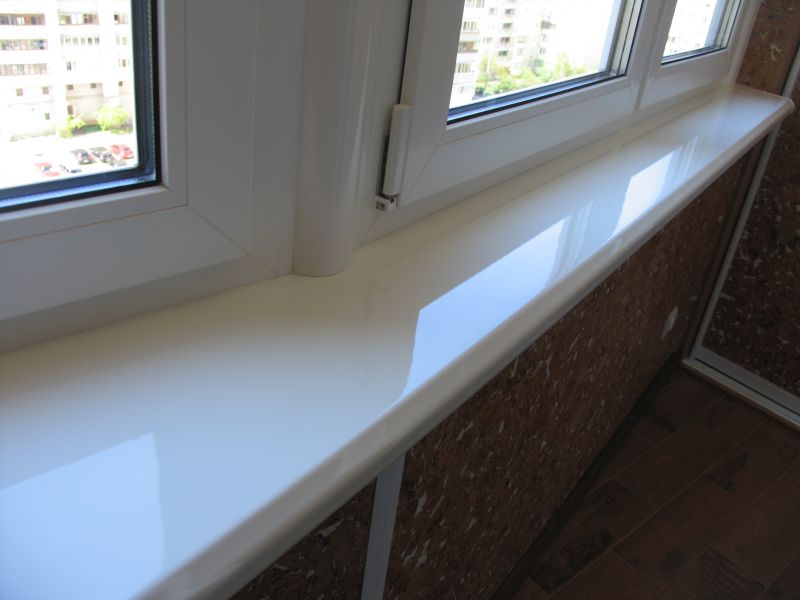
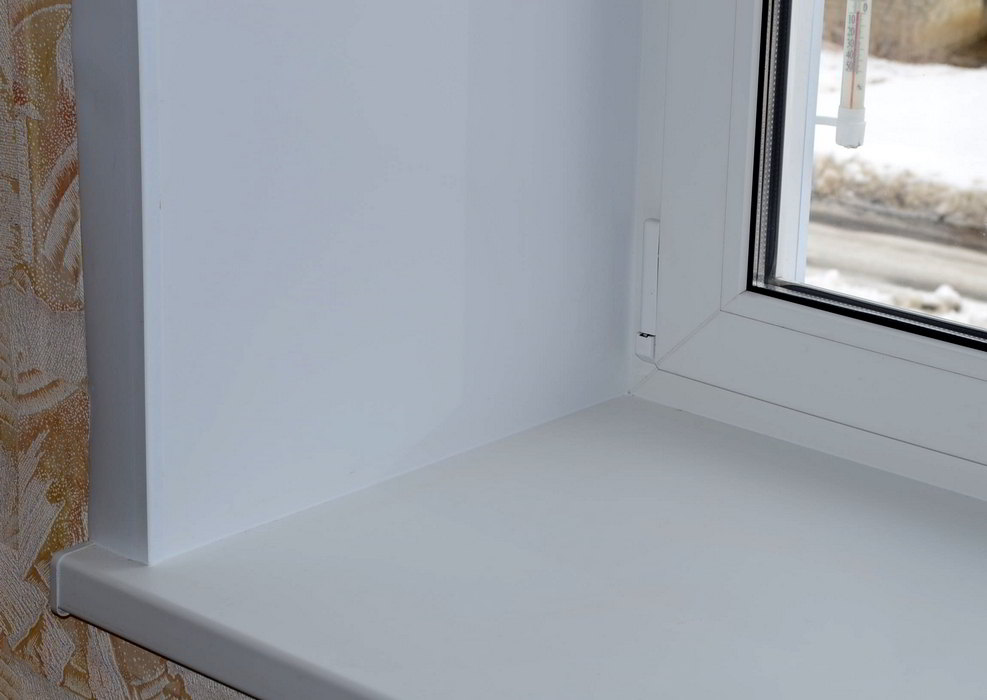
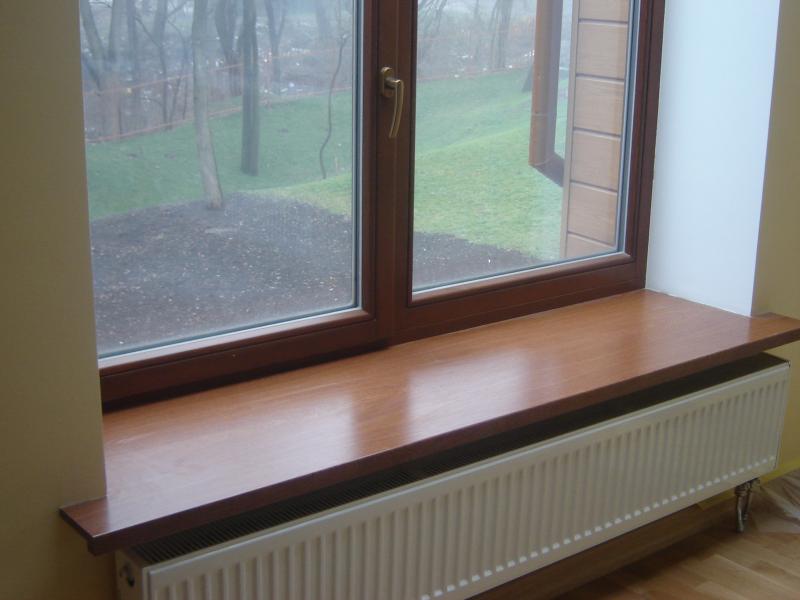
Installation of a windowsill
Installation of window units does not end with the installation of ebb and overlapping seams. Another important component of such structures is the window sill, the installation of which also should not be forgotten.
The window sill should be cut at the edges so that it ideally and clearly entered the opening, went under the frame and “stuck” in the profile of the lining. At the outermost portions of the opening, the sill should be located on the wall overlap (50-100 mm). Using pegs, you should set the mounting mark of the part with a small bevel inside the room. Further the space under the window sill must be sealed with foam or filled with mortar. With the use of screws 4x75 mm sill should be attached to the frame. Fasteners must be screwed from the inside at the extreme sites and in the center.
Useful tips
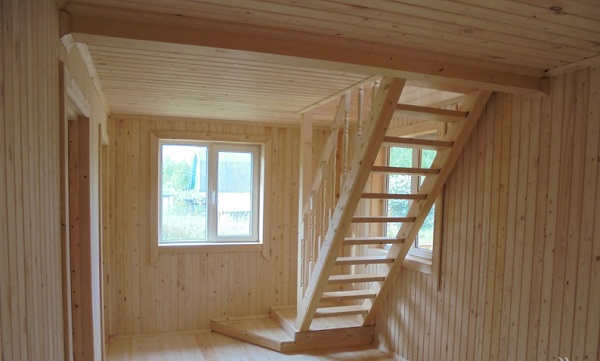
Many owners of wooden homes are wondering if they can put plastic windows. Yes, in such conditions, the installation of such structures is possible, however should take into account some of the nuances.
- It is permissible to proceed to these installation works only 1-2 years after the completion of construction. At this time there is a period of shrinkage of the building.
- Installation of plastic windows in these conditions is not carried out in the opening. Window constructions are allowed to be placed only in a wooden box, which is designed to protect them from deformation.
- It is important to ensure that the window block is not present and the slightest traces of rot or destruction. Before proceeding to the installation steps, it is required to treat the wood with antiseptic agents.
- Having completed the installation of a plastic window in a wooden dwelling, the gap is most often filled with a jute insulation layer, and then closed with a casing from 2 sides.
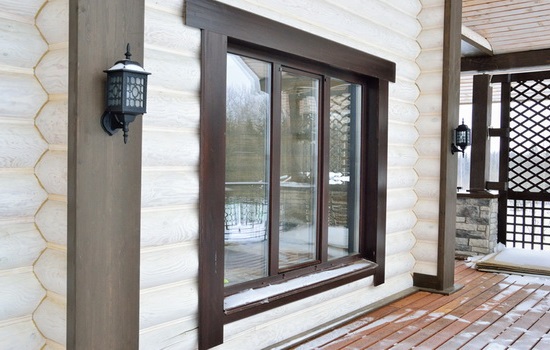
The siege (or okosyachka) is an important part when installing plastic windows in country houses.Most often, the casing is treated in the conditions of wooden and lumber constructions. These elements are a box, which is placed in window and door openings. They are responsible for the preservation of window structures from deformation and the appearance of cracks.
If you are constructing okosyachki, then you will need:
- first prepare the opening;
- make cuts thorn groove;
- surface treatment with antiseptic;
- install seals;
- put the side and top elements of the casing;
- lay insulation;
- at the end put and fix the window itself.
Do not rush to remove the branded film from the window structure immediately after purchase. It is advisable to do this at the completion of repair work. Leaving the film on the frames also should not be, because over time their removal can become a big problem.
If you take out the glass, you must be as careful as possible. This is due to the fact that inaccurate manipulations with beadings often end up with scratches and chips on the glass.
Repair of plastic windows can be made by hand. Most often, the owners are faced with the problem of adjusting the valves.In addition, you can change the window handle or sealing materials yourself. It is also possible to replace the glass unit on its own, however, it is permissible to proceed to it only if you are confident in your capabilities. Otherwise, you should contact the experts.

Usually complete with window sills and drips are special side plugs. Their installation should not be abandoned.
If you put anchor plates in the conditions of an aperture from concrete or a brick, then it is better for you to prepare small notches for them. They will be needed so that you do not have to lay an extra equalizing layer before fixing the slopes in the interior of the room.
In order to shift the dew point, it is recommended to do foaming at different levels of density.. The foam layer facing out should be made not too thick, especially if you compare it with the inner layer. Along the perimeter, it is permissible to lay the foam evenly, without leaving gaps or voids.

Note that the gaps between the wall ceiling and the window frame should be filled with foam, if they do not exceed 4 cm. If the gaps are too large, it is recommended to partially close them with cheap materials such as drywall, foam plastic or brick.
If you decide to put PVC windows in a frame structure, then you need to consider that you can proceed to these works after:
- frame construction;
- laying and warming walls;
- roofing;
- provide vapor barrier and windscreen.
Internal vapor barrier and external insulation must be installed with a small margin in the openings. If you are going to put PVC windows in a frame house without floors, then you can not do without the use of scaffolding. With these structures, installation work will be easier and faster.


Before you go for the purchase of high-quality plastic windows, you must consider that the profiles of these structures are divided into classes:
- economy - have very thin partitions, which soon begin to freeze, especially in cold autumn or winter;
- standard - it is considered the best profile for plastic windows, is optimal in the ratio price-quality;
- premium - the most expensive profile, which has various options, many of which are not particularly needed.
To make sure that the PVC profile is environmentally safe, you need to request a quality certificate for the purchased products.These documents usually contain all the necessary information. As part of the window structures should not be aggressive chemicals that can harm human health.


If you want to always be warm in your house, you should order energy-saving type glass windows. Of course, they cost more than simple options, but the money spent on them will pay off in a short time due to a general reduction in energy costs.
In the next video you will find instructions for installing plastic windows.


