Repair of wooden windows: the correct sequence of work
Modern people are trying to make housing as environmentally friendly as possible, so you can often see time-tested wooden windows rather than modern plastic. This is no accident, since such a natural material as wood is very much appreciated. Another major advantage of wooden windows is the ability to repair them. Of course, the repair and especially the restoration of wooden windows is not an easy task.However, if you take some modern materials, add skill, patience and a little effort to them, you get a completely new window.


When do you need repair work?
Repair and restoration of windows are similar to each other. In the course of one and the other procedures will have to clear, putty, paint, compact and insulate. The approach to repair and restoration work on windows depends largely on the degree of deterioration of frames, fittings and glass. Most often, windows repair is needed due to worn out fittings. However, such repairs are quite easy to make. It is only necessary to replace the already worn parts with new ones.
Restoration of wooden windows with glass pane has to be carried out if there are problems with the wood itself. This material, unfortunately, is easily influenced by various external influences. In order to avoid problems, it is best to soak the wood with special antiseptic agents, which in particular protect it from insects. How often windows will need repairs will be prompted by the type of wood used for them. For example, larch frames can last 35 years, and oak can last more than half a century.


Most often, repairs are needed because of the inaccurate appearance of wooden windows. And often this happens as a result of applying a large number of layers of paint. Repairs are also necessary if the insulating qualities of the window are disturbed due to the loose attachment of the frame and transoms. If on the window frame or transom there are rotted areas, then such a window clearly needs repair. Often among the faults there are distortions of window frames, closing the window with difficulties, small cracks. Repair may be needed because of such problem areas as the lower corners. After all, they often accumulate a large amount of moisture.
Of course, there are such damages that are no longer subject to any repair. For example, the wood has become so loose that if you press on it, then there will be dents. It is also better to replace the windows with new ones if the frames are loose in the window openings. Evidence that the wood has turned into dust and decomposes, indicate large dark spots under the paint. Do not expose the frame and repair in the event that they are severely deformed or damaged.For example, split frames are best replaced with new ones. It is worth noting that the repair of wooden windows is best on a warm, sunny and dry day.
If high humidity is observed, it is better to postpone the repair so that the wood does not change the geometry and better dry.


Dismantling and damage assessment
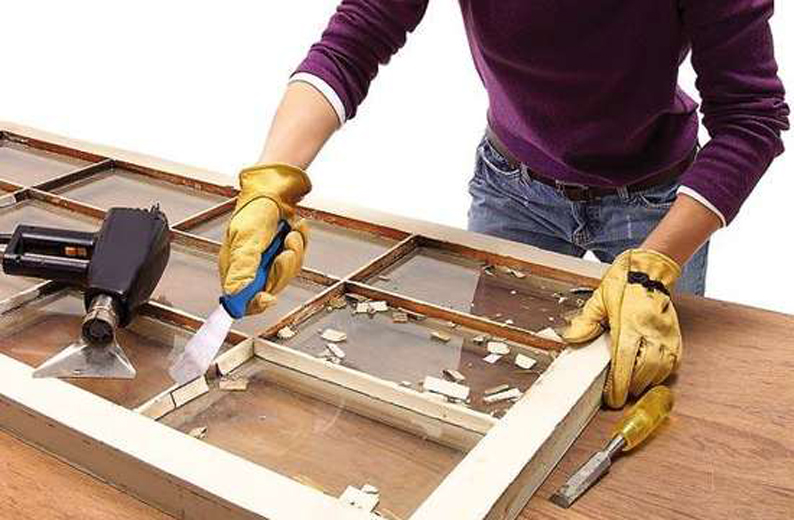
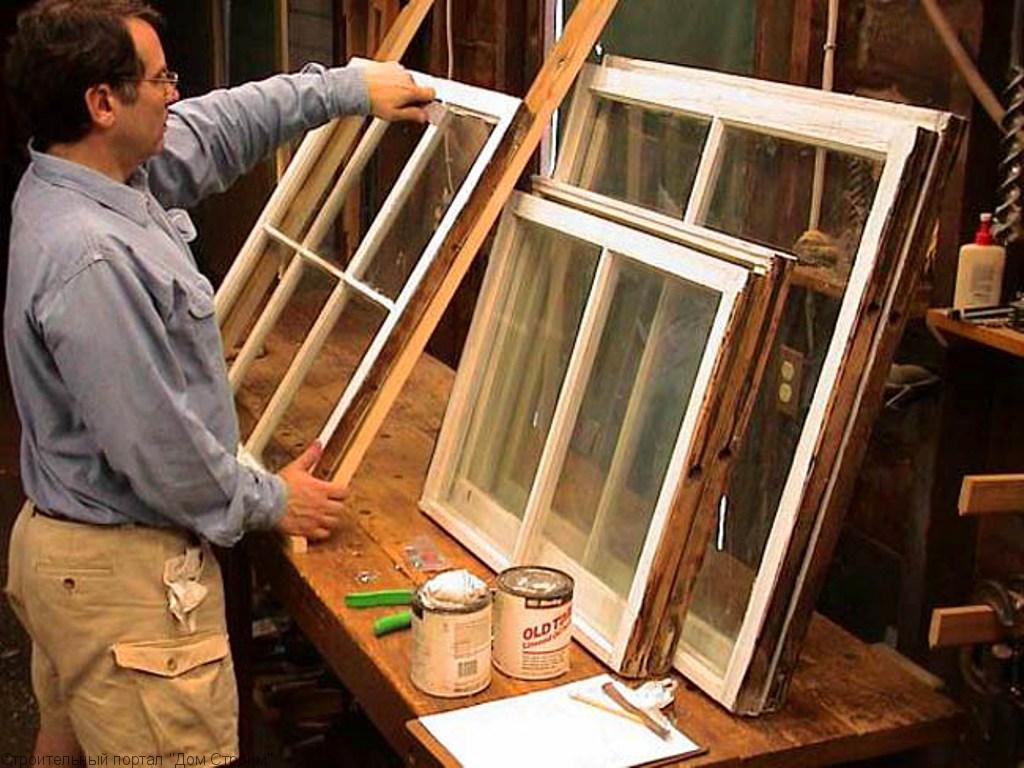
Cosmetic as well as the overhaul of wooden windows begin with a design inspection to determine its condition. After that, the final decision is made whether light repair or complete restoration of the window is needed. To do this, you should carefully examine the frame, transom and window sill. Further, it is necessary to determine how the glass will be fixed. Often they are holding putty or beadings. To remove putty, it is enough to clean it with a knife or a chisel, and the beadings (glass lath) - carefully remove it without damaging the glass.
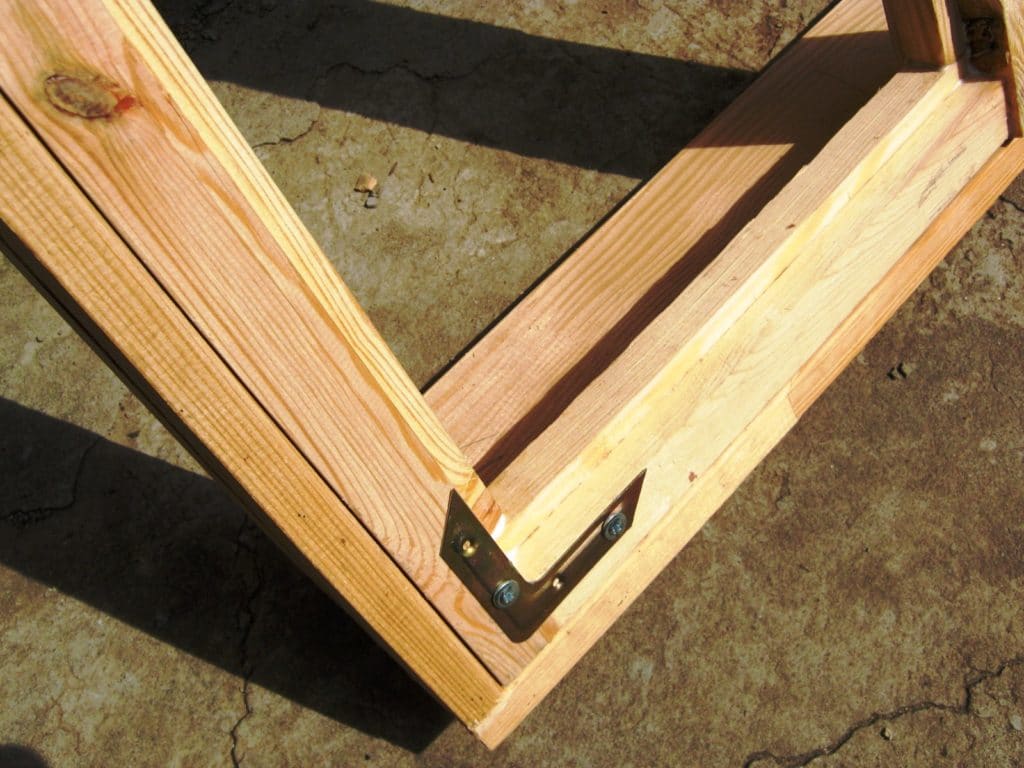
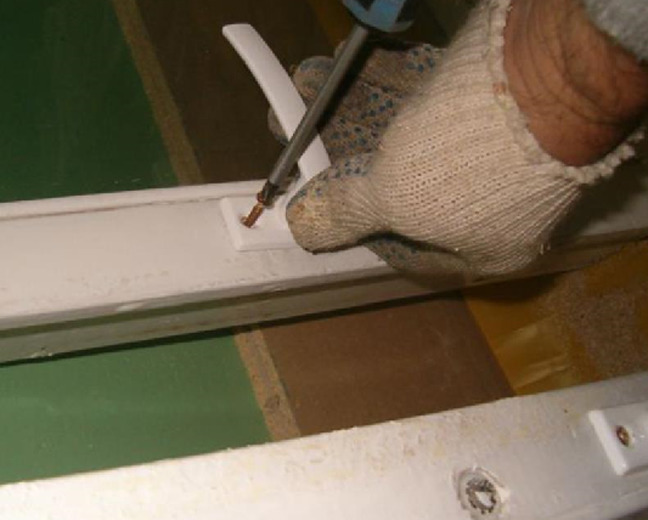
After that, the glass is removed and dismantled fittings. Wooden ebb carefully removed, removed all fasteners, as well as metal squares, nails, screws and so on. Then the frame without anything should be put on a flat surface and measure its diagonal. They should all be the same length.Otherwise, the skew may cause the formation of cracks, and this is unacceptable. The frame must be attached to any surface, for example, to a board of boards.


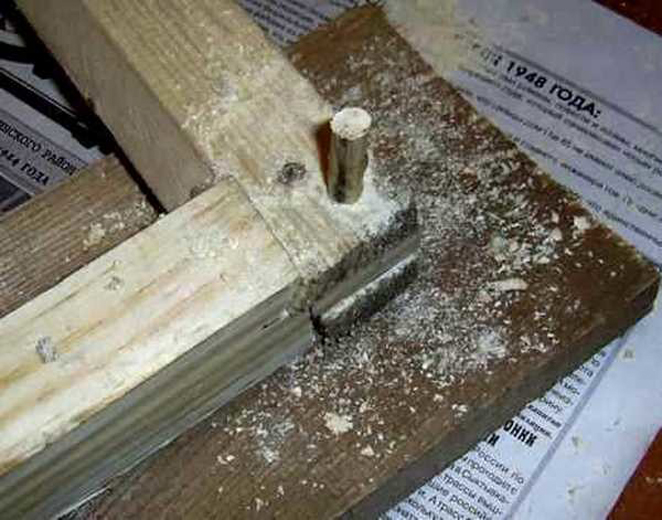
Further, it is necessary to check the condition of the window dowels. Often the corners of the frame are connected with pins of wood. Before painting and polishing, it is better to replace them with new ones. You can remove the pins by knocking with a hammer. Moreover, this should be done from the thin side, since the nog has a conical shape. Of course, this is only possible with an even, that is, symmetrical angle of their location.
If the frame has a deformation, then it is better to drill the dowel. A dangling nog can be fixed with superglue in a matter of minutes before drilling. Now that the window has been completely disassembled, you can start working on cleaning the wooden parts of the paint.
It is worth recalling that the window will be repaired correctly only after all the wood parts have been thoroughly dried.
Paint removal
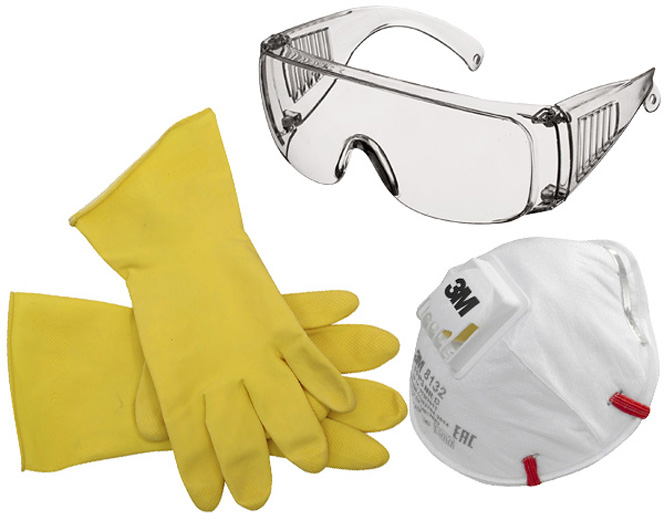
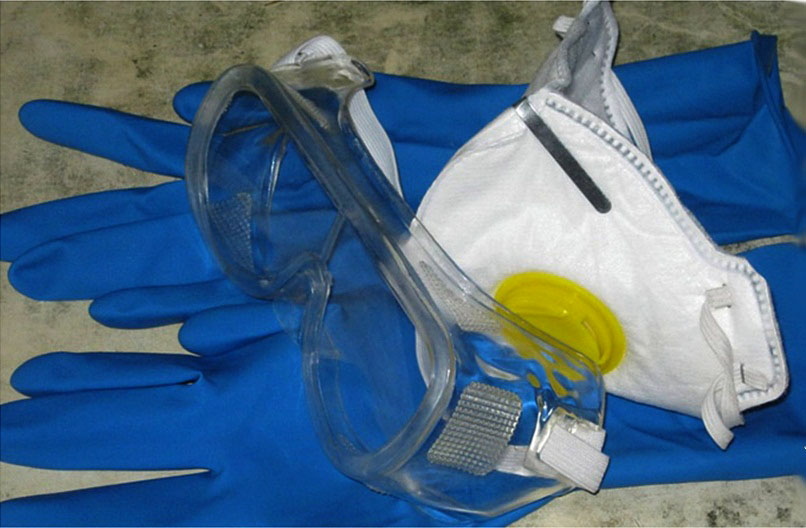
Any old wood window frame needs paint removal. However, this work requires caution. This is best done with gloves and protective glasses.Cleaning the frame from the paint can be done in two ways.
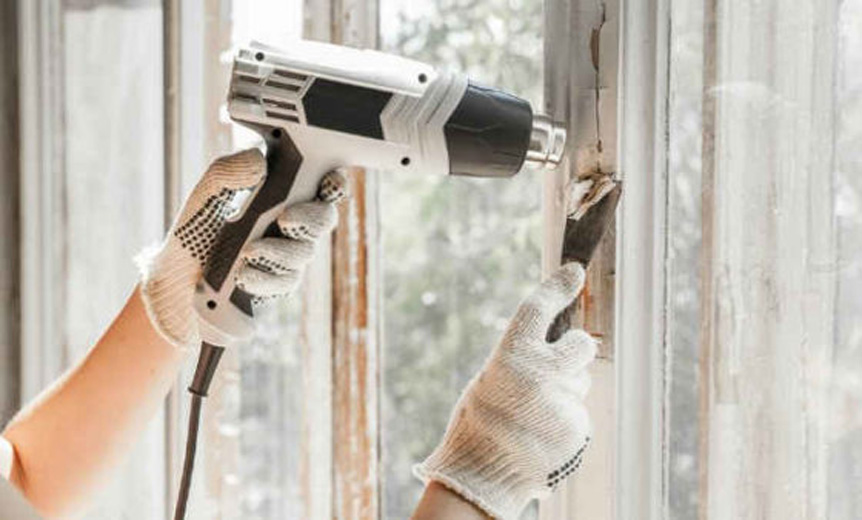
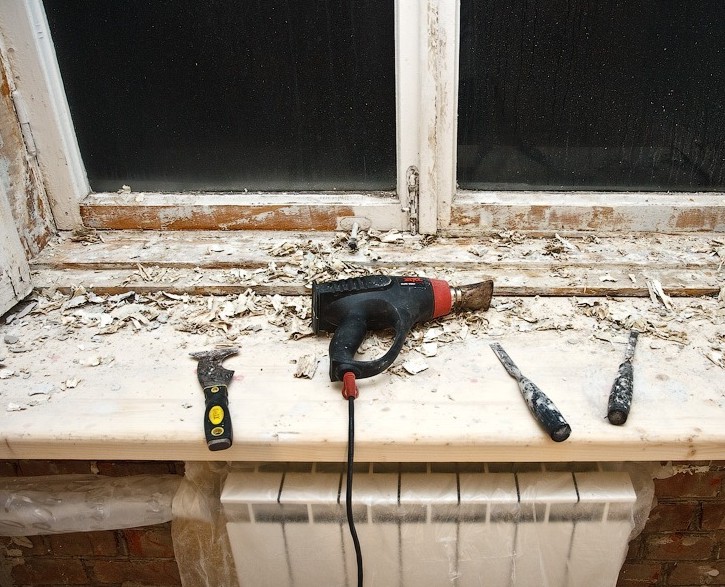
Building hairdryer
This method is considered the most effective for removing paint from wood. However, it requires the utmost attention. Work with a hairdryer should be very careful. It is necessary to remove the glass in advance so that they do not crack from the hot air. The temperature of the hair dryer at the same time it is best to set at +250 degrees.
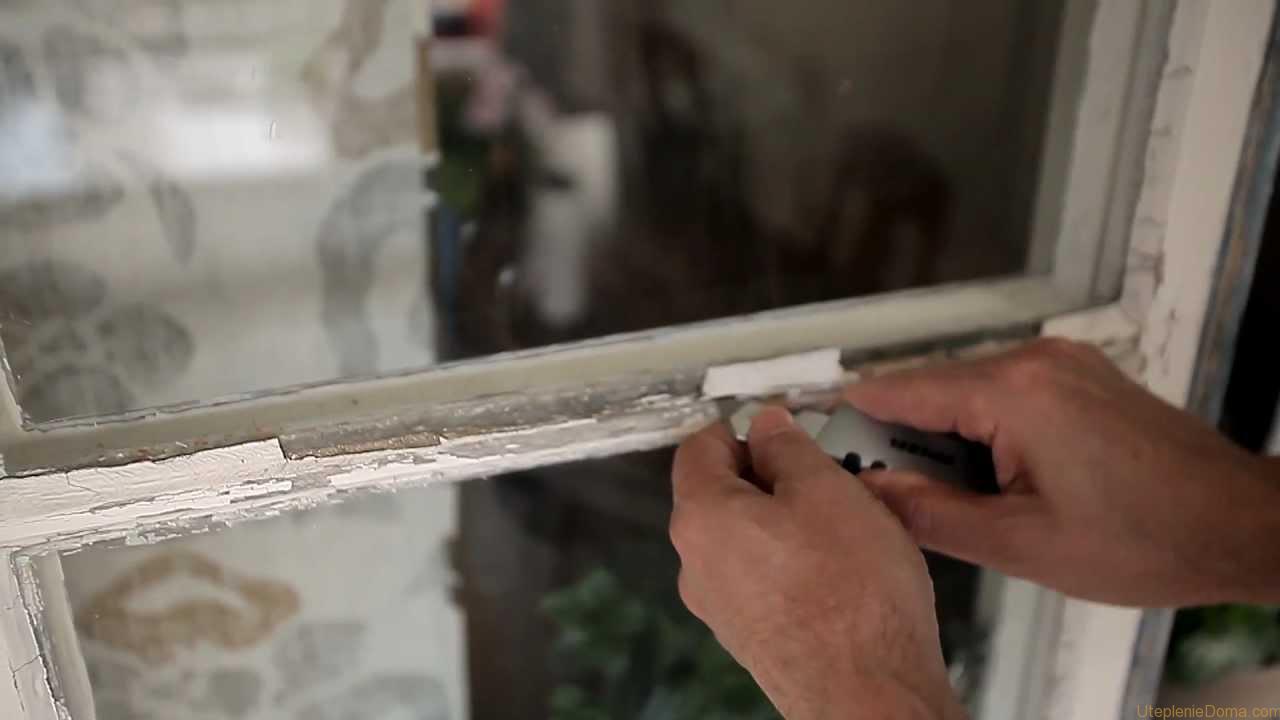
If the temperature is higher, the tree may lose its characteristics due to the charring process. In the process of glowing paint bubbles. Due to this, it is easy to remove with a special knife or palette knife (knife-trowel, which mix paint on the palette). The spatula is not suitable for removing paint, as it will either slip on the paint, or leave burrs due to cutting into the wood.
It should be borne in mind that this process is not fast, but a qualitative result is obtained.
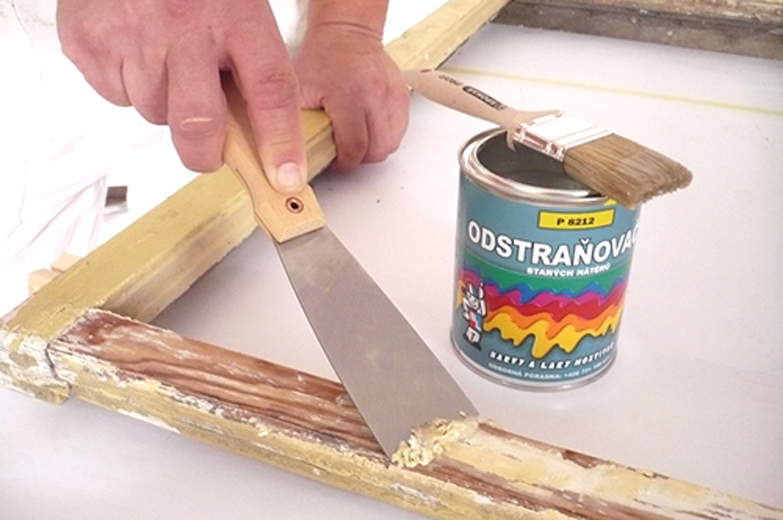
By chemical means
Special solutions can remove paint from an old wooden frame. And You can do this with the help of the “grandfather's method” in the form of kerosene and a plastic bag. Moreover, kerosene is suitable, since, unlike other solvents and solvents, it does not destroy the structure of wood.This method consists in wrapping the frame with a cloth and placing it in a plastic bag or bag. After that, the fabric is very well moistened with kerosene, a bag is tied, and so left for a day, or better for two. As a result, the paint softens and is easily removed even with a shoe knife.
It is better to remove the plastic strips gradually so that the kerosene does not evaporate and the paint does not dry out again and ceases to separate. Most often, the frame is not placed in a bag or bag entirely, and disassembled into parts. There is another option to wrap it in plastic wrap and tie it with a rope in layers for better sealing. The main disadvantage of this method is a strong smell and high fire risk. Therefore, it is best to clean the frame this way in the open air.
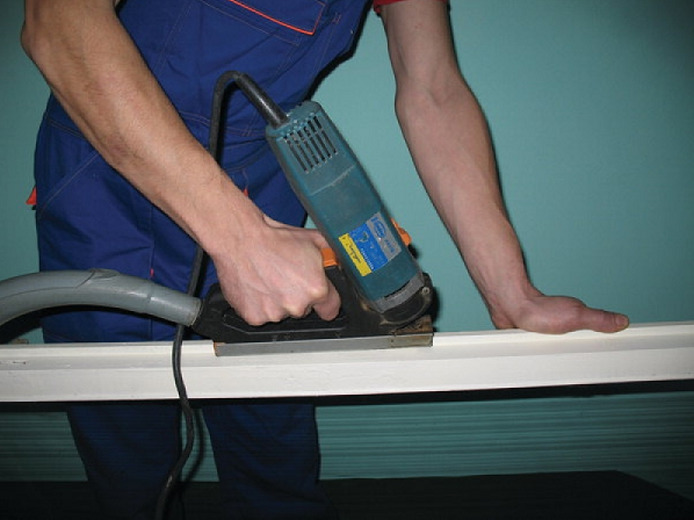
After this cleaning method, the frame is not yet fully ready for finishing work. The remaining paint must be removed with sandpaper or sander. After the frames have been removed from the coating, it is necessary to remove the paint from the inner slopes of the window and window sill.


As soon as the paint is removed, all the defects that were hidden are immediately visible.
Update rotten areas
If the wooden frames are in good condition and you don’t want to change them completely, but there are rotten areas, they can be restored. Make it completely easy.
Epoxy putty
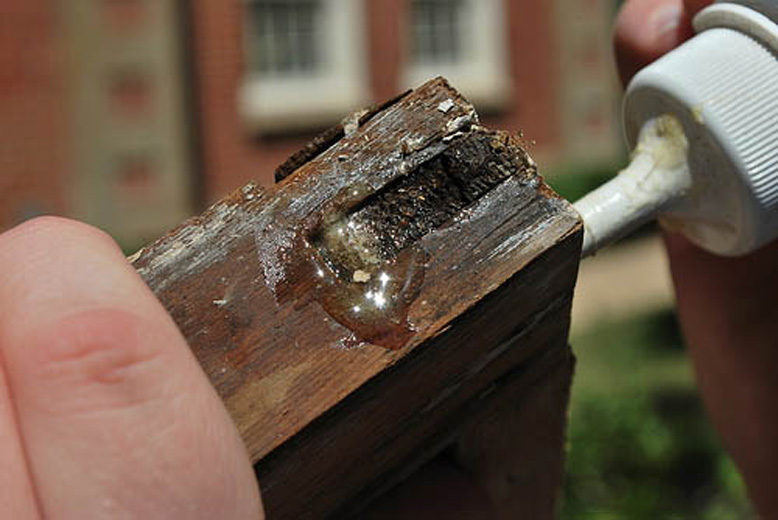
Epoxy putty allows you to remove small rotten parts of the frame in the shortest possible time. It is very good if it contains glass fiber that can increase the rigidity of the frame. Restoration begins with the fact that the damaged section of the frame is thoroughly cleaned from paint. Then all the dust is removed. After that, putty is kneaded and applied to the prepared place. It is necessary to apply it so that it fills all cracks and crevices.
In this case, the damaged area must be recreated so that it is more voluminous than the entire plane of the frame. This is necessary so that then you can still carry out grinding. Hard putty at room temperature for at least 24 hours. When the putty has dried, it must be sanded with sandpaper (it is better to attach it to a bar) or a grinder. After grinding, the entire surface of the frame should be flat.After such a restoration, the appearance of the window becomes as new, but there are no guarantees of sufficient density in places that are actively used.


This method is best suited for deaf windows or those that are rarely used.
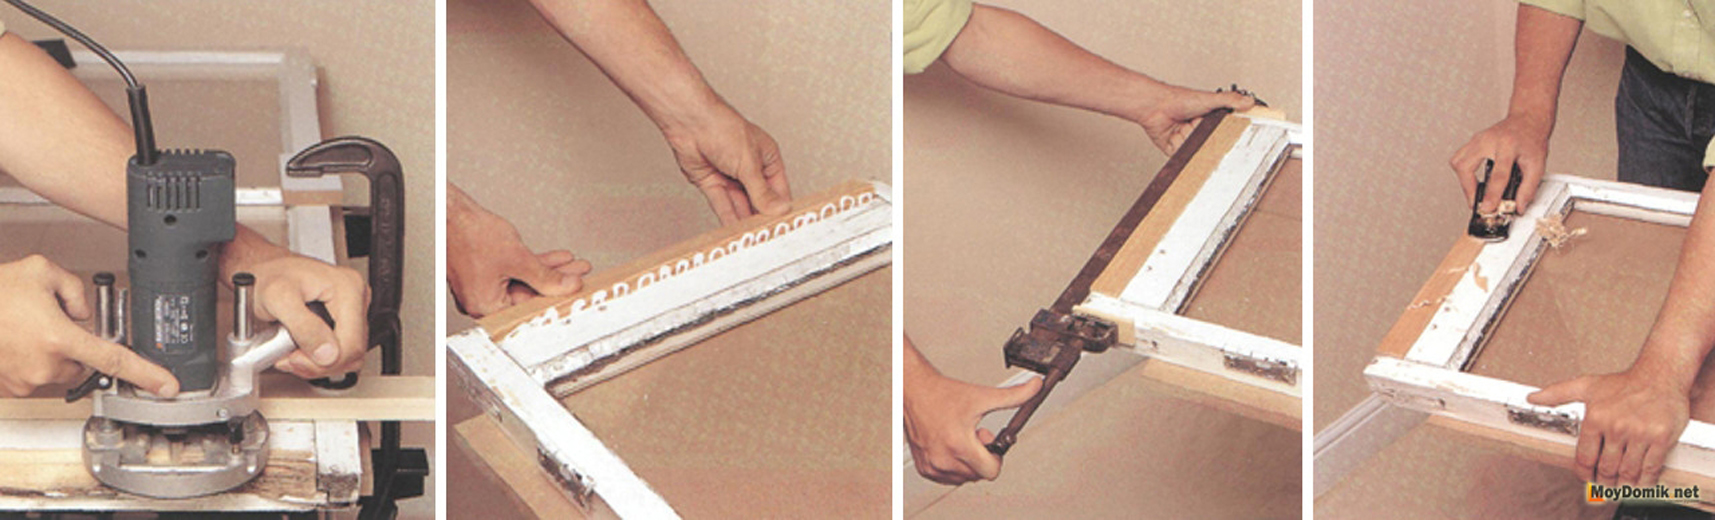
Replacing the frame part
Replacing part of the frame also allows you to remove rotten places. This method begins with the inspection of the frame for damage and their marks. After all of them are found, it is necessary to remove them with a mallet or chisel. In their place is preparing a replacement, and The new part of the frame must completely coincide in size and shape with the removed part.
When the necessary part of the frame is ready, it is set in place and fixed with glue and clamps. The frame is completely dry after 24 hours, then it will be possible to remove the clamps. After this, the junctions of the new part with the frame are carefully ground. This is necessary so that there are no differences in height.
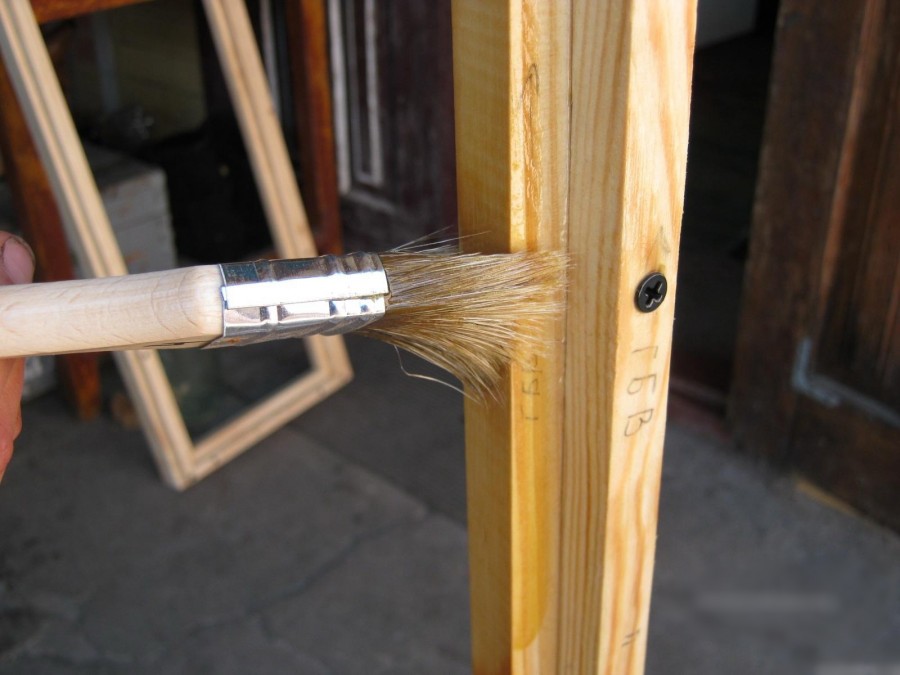
Antiseptic
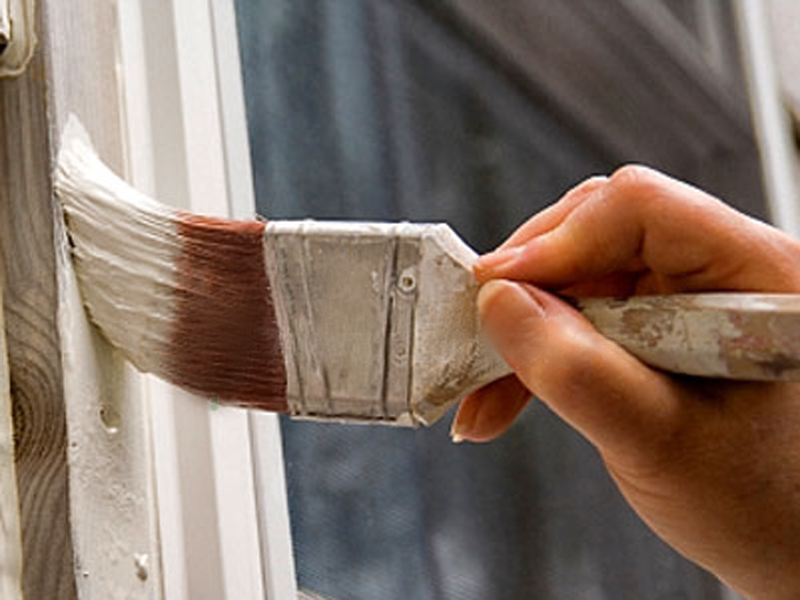
Another important point is the treatment of problem areas with an antiseptic composition. After applying the frame should be dried. For increase in service life of old wooden windows it is best to coat them with linseed. This will prevent the emergence of new rot and partially restore the structure of wood. The drying oil is applied in 3-4 layers with a brush, and each new layer is made only after the previous one is completely absorbed. Such impregnation protects for 2-3 years.
If you want to protect windows for decades, then you need to impregnate in another way.
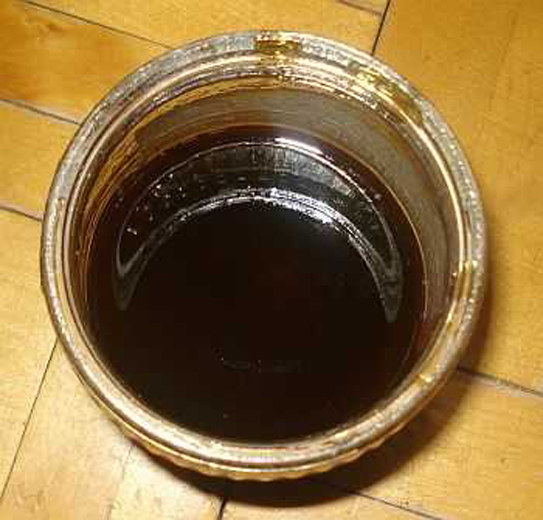
- To do this, take a metal pipe with a thickness of 10 centimeters, with one end sealed. It is set at an angle of 30 degrees, three quarters filled with linseed oil and heated from the bottom with a hair dryer or electric stove.
- Impregnation with linseed oil begins after the bubbles disappear on its surface.
- Next, you need an iron hook with a built-in end. The part is placed in the pipe and pressed down with a hook for 5 minutes. Then they hook on the bar with the tip of the hook, remove and dry.
- You cannot touch the details with your hands, as the temperature of the hot oil is more than +130 degrees. Moreover, the whole procedure should be carried out exclusively on the street and away from residential buildings. As a result of this treatment, the service life of wooden window frames can grow to 100 years.

If you want to do repainting as rarely as possible, then after the above procedure, they must be coated with an oil composition.
Sash assembly and insulation
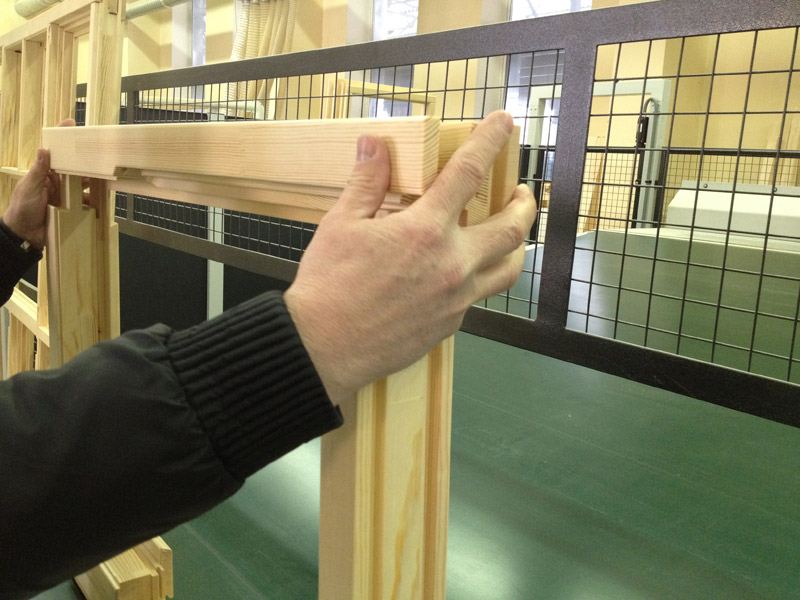
When the casements of the window are clean of paint, it is necessary to prepare them for assembly. To do this, they are placed on a shield, and then aligned in right angles. Particular attention should be paid to the pane details, as even a difference in diagonals of 1 millimeter can lead to a gap of 0.7 millimeters. As soon as the alignment of the site is made, it is immediately fixed with glue or nails, which are carefully driven into the shield directly near the sash. Be sure to review and get (if not removed yet) naked.
After all the corners are assembled, it turns out a very rigid structure, ready for installation in a frame. And the doors will sit more tightly if plywood strips of the appropriate sizes are glued to the frame. After installation, all parts are laid on the flattened sheet and pressed down with a load of about 100 kilograms. It will take 2–3 days to fully dry and level.

High-quality repair of wooden windows can not do without their insulation.In addition, warming the windows, you can also significantly reduce heat loss at home.
For window insulation there are the following ways:
- fabric strips;
- silicone sealants;
- special paper strips;
- tubular profiles;
- heat-saving film;
- seals, which are laid in the sash frames.
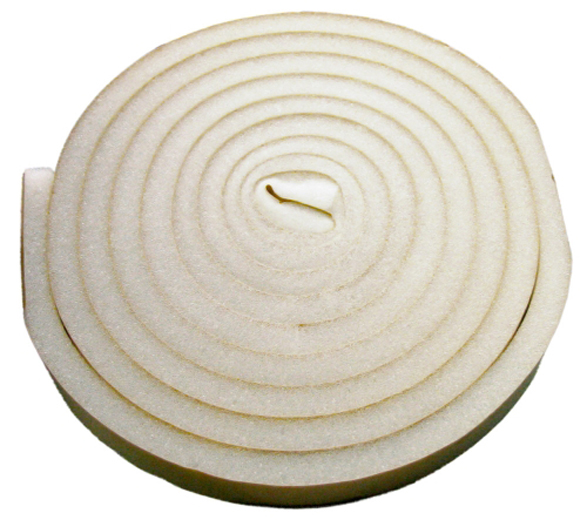
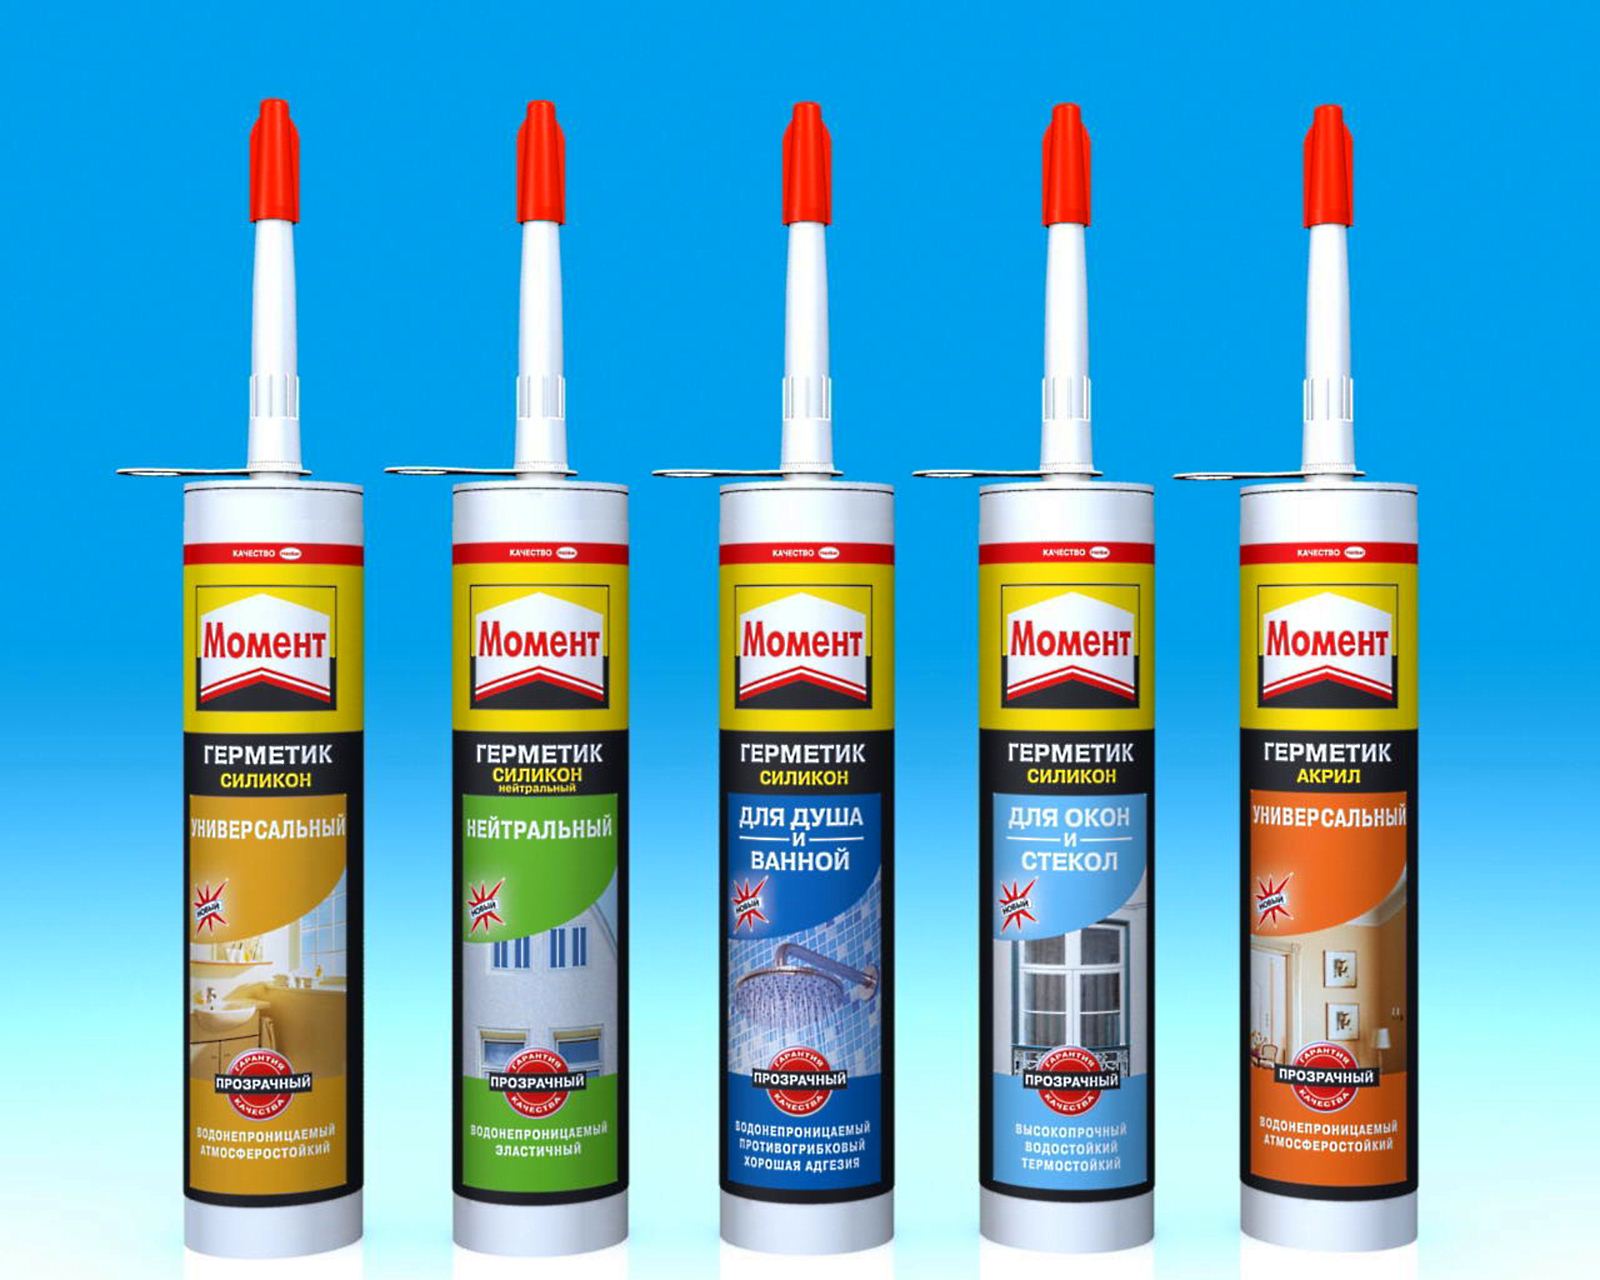


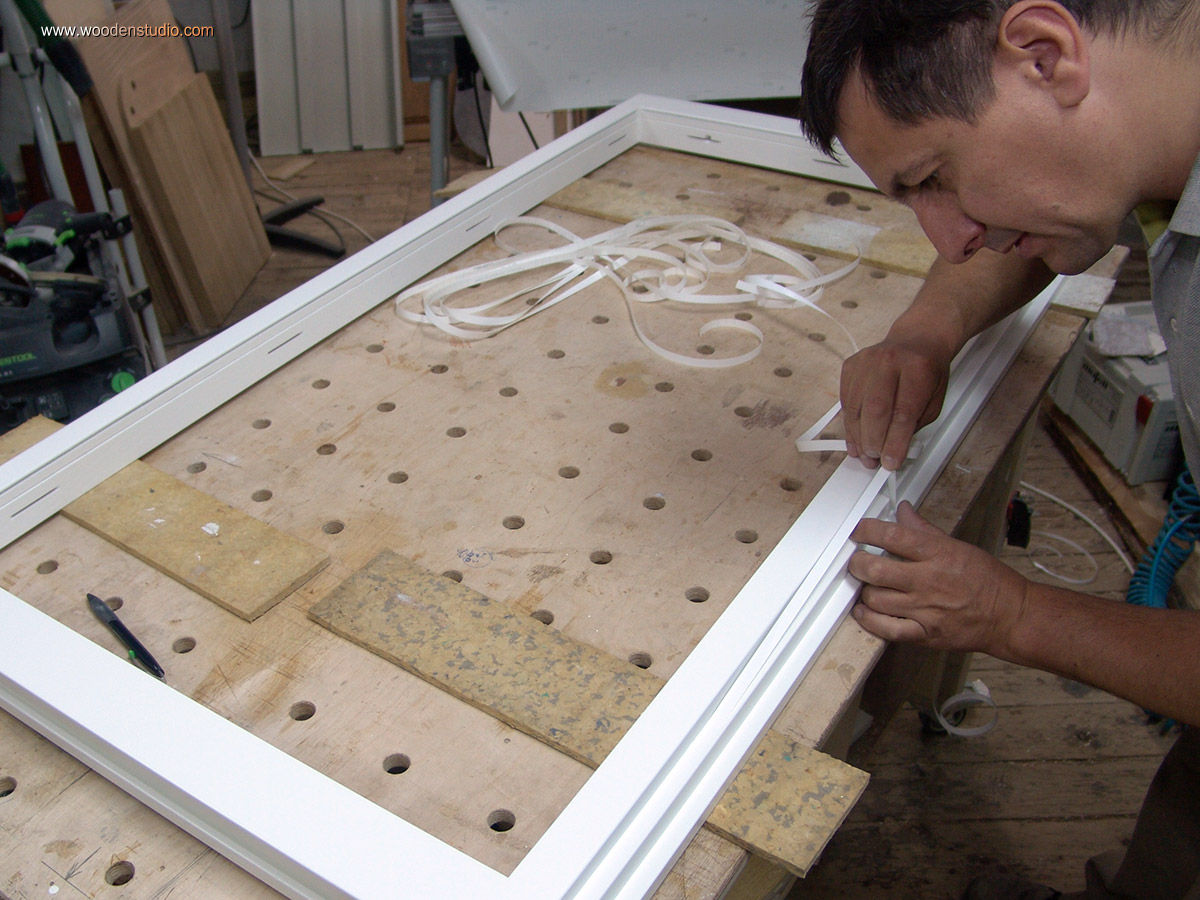
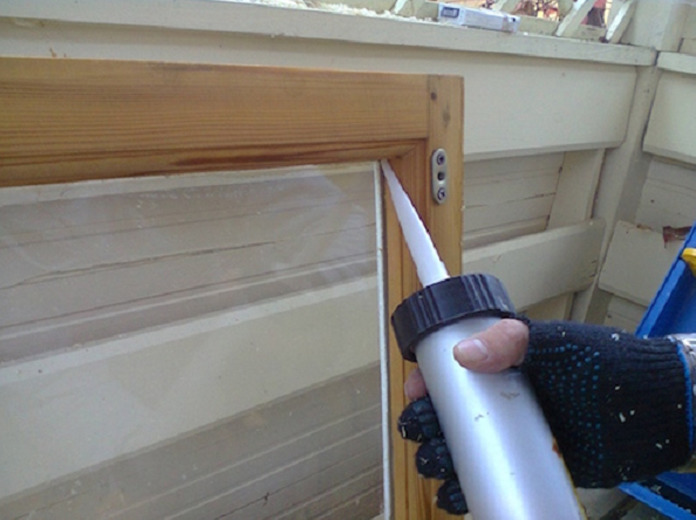
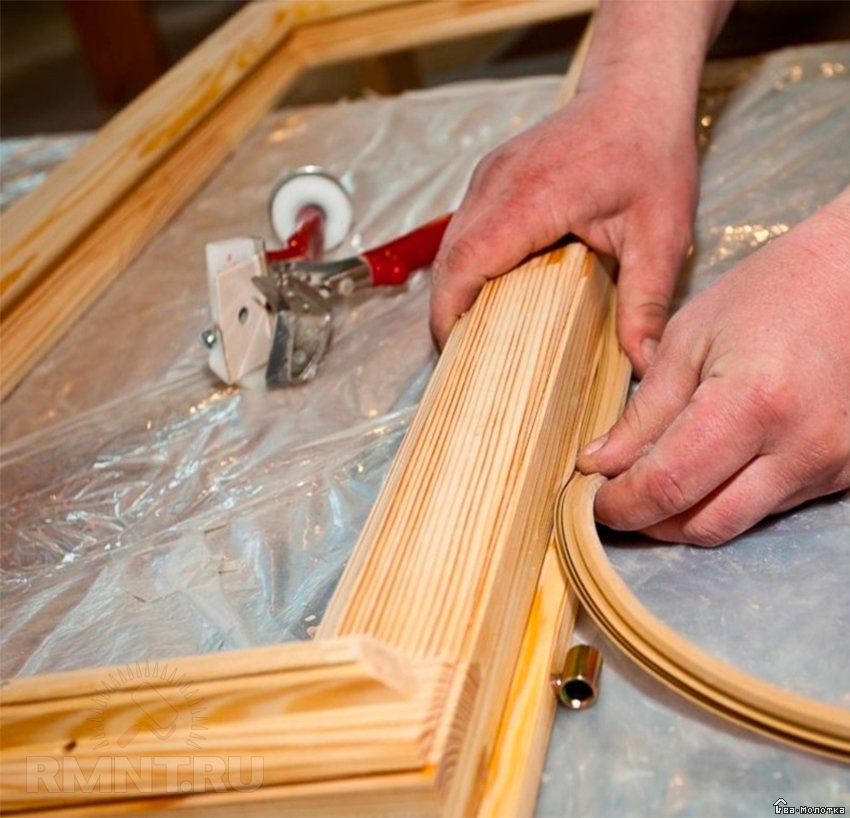
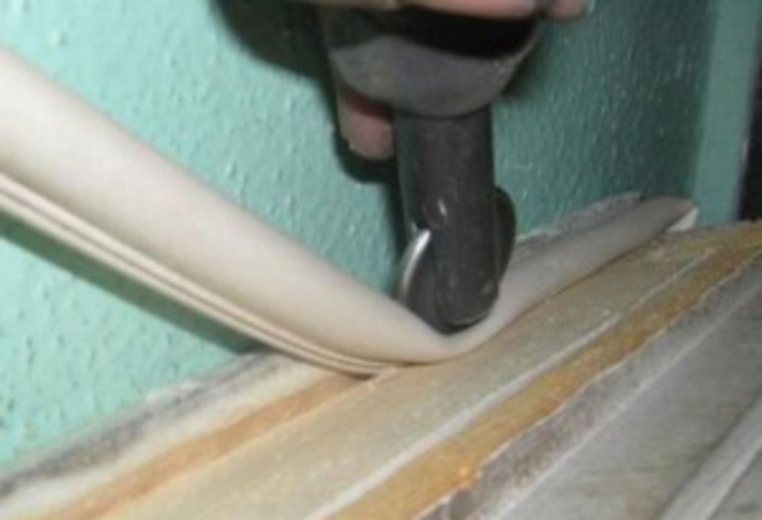
It is considered the best insulation with heat-saving film, as well as using the seal in the sash frames. First, a silicone sealant is applied to the places where the doors and glass are connected. After that, a milling cutter is taken and sawing is carried out around the perimeter of the recess of the recess of 5 millimeters. Moreover, it is necessary to saw off at an angle of 45 degrees. Next, you need to clean the surface from chips. Now you can press the PVC seal into the groove without stretching it. Thus, wooden windows turn out reliably warmed.
Painting and glazing
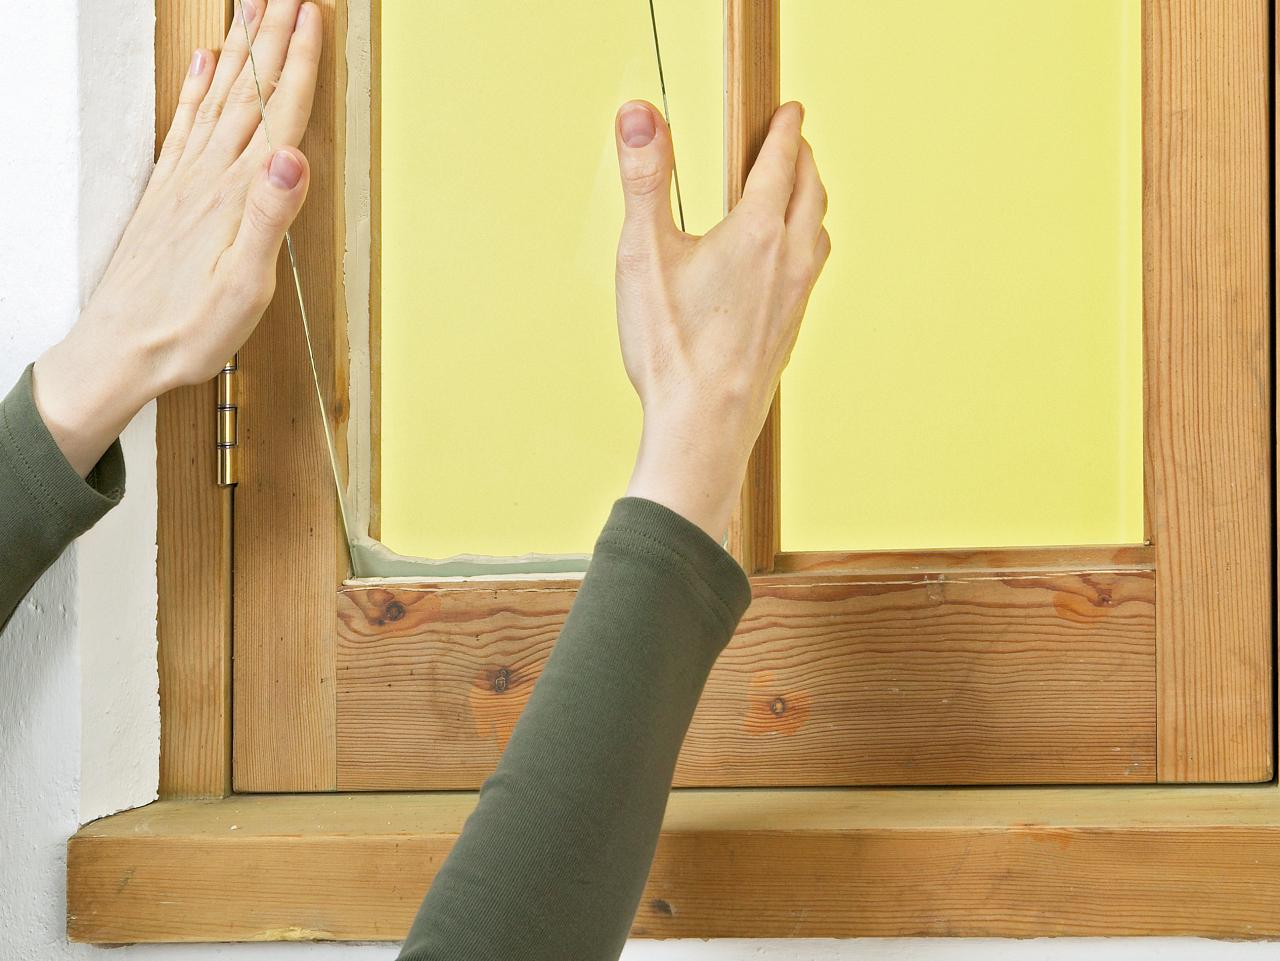
Proper glazing of windows with wooden frames is to hermetically install glass. This moment is very important, since between the glass and the frame micro-gaps can form, into which it will blow.
Putting glass on silicone glue is best, for example, sealant for aquariums. Glue is applied along the groove under the glass frame, then the glass is inserted and fixed with beads. If there are protruding drops of glue, then they must be wiped with a sponge, which is pre-moistened with vinegar. At the same time, it is not worth scrubbing nail heads from glue, as its layer will become an additional protection against rust. Windows should be left for about a day for complete drying.
Sometimes when repairing wooden windows, it is necessary to replace the glass, for example, if there are defects in the form of cracks, cloudiness, abrasions, and so on.
When ordering a new glass, it is necessary to make accurate measurements of the opening, but at the same time ordering glass is 2-3 millimeters smaller. This is due to the fact that under the influence of temperature the glass expands, and such a small gap will prevent the glass from splitting. The glass can be fixed in the frame also with the help of beadings and very small nails. At the same time, the glass beads need preliminary impregnation with linseed oil, painting or processing with stain. After that, you can make holes in them with a thin drill under the nails.Thus, when hammering nails, the bead will remain intact, just like glass.


Without glass bead installed on the putty. It can be purchased ready-made in a store or made independently of chalk and drying oil. Before painting it is best to prepare the window. For which it is sanded, the existing irregularities are treated with a putty. Then, the window is once again superficially sanded. The last point is the application of oil-adhesive putty and once again stripping with the help of a skin.
For the treatment of wooden windows there are various means. For example, if the window surface looks decent, then it is better to varnish it. To align or give wood a different tone, wood stain is used. It also allows you to make small defects invisible. If there is a large number of filled areas, it is better to paint the windows with paint. Acrylic or oil paint is best for painting wooden windows. The advantages of acrylic paint are fast drying, and oil - lasts longer.


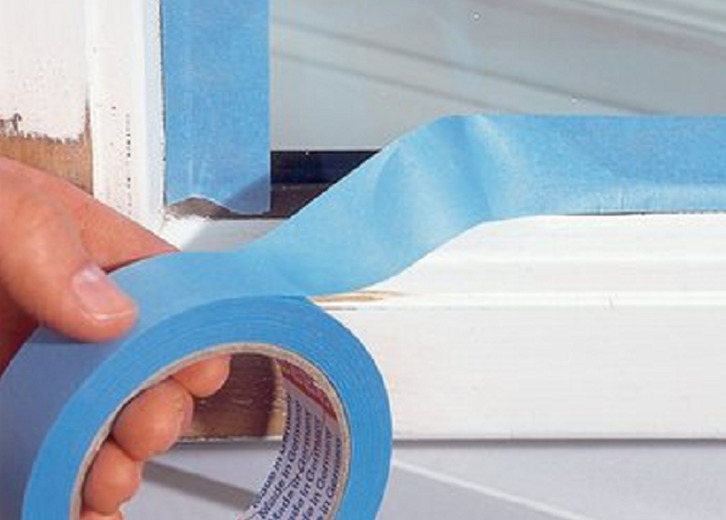
To paint the paint is pre-diluted. Thick paint does not allow to saturate the wood well, drips can form. To make the window look neater after painting, it is better to apply a thinner paint, but in several layers. Before painting, masking tape should be applied to the window glass. The first coat of paint is applied in order to saturate the wood. Only after it is completely dry can the second and subsequent layers be applied. Begin to paint from the glass with the inner surface.
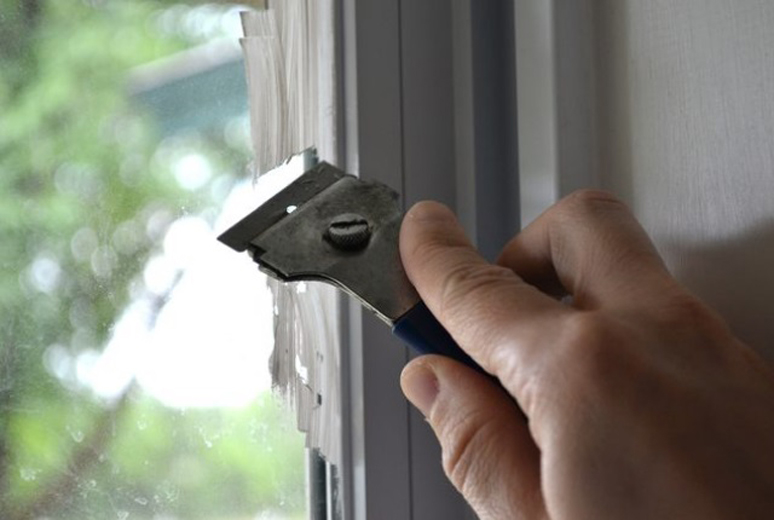
Masking tape is removed from the glass until the paint is completely dry.
If stained traces remain on the glass, they should be removed with a blade.
Sometimes windows are glued over with packing tape, which can be difficult to remove. To remove them, it is best to use ordinary vegetable oil, which is easily washed off with a detergent solution. Gasoline, alcohol and diesel fuel are not suitable for this, as they may cause damage to paintwork. Of course, the ideal solution for painting frames will be glass taken out.
This solution will allow to paint the frames more qualitatively and at the same time not to smear the glass itself.
Fitting of fittings
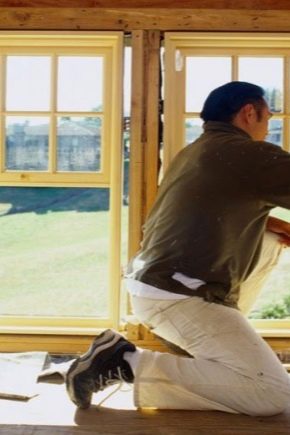
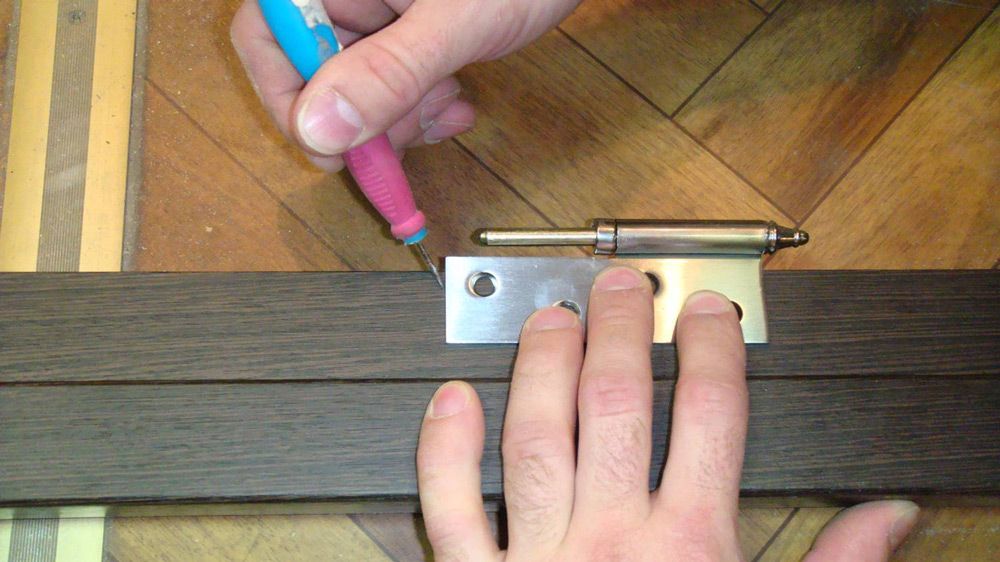
When repairing windows, the final touch is the installation of fittings, which is easy to do with your own hands. Only after that the window needs to be established into place.When repairing, not only handles and lugs sometimes wear out, but also window hinges. To replace the latter, first determine where the window is fastened. To do this correctly, it is necessary to insert the frame into the window opening and fix it using wedges. When the gap around the perimeter will be the same, it is necessary to mark the place for installation. For planting hinges need to prepare chisel groove and fasten sheds screws.
What is Swedish technology?
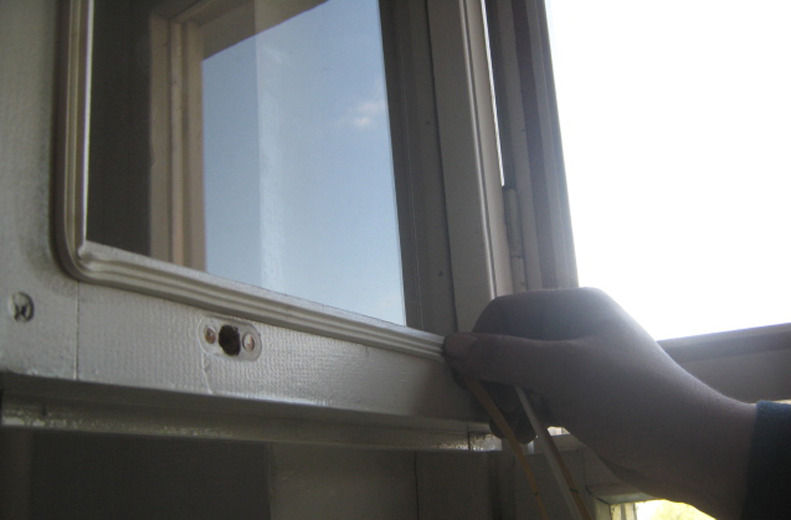
Restoration of wooden windows is often carried out according to Swedish technology. This technology is that a groove is made in the flap. Then, a silicone tubular seal is installed in it. Its main advantage is that it quietly withstands low and high temperatures, and is also environmentally friendly. In this case, such a seal has a warranty period of 20 years.
It is worth noting that in Europe this technology gained popularity 40 years ago. However, having come to Russia, she received some changes. In particular, they touched the sealing of structures along the perimeter and the fitting of locks and sashes.Judging by the reviews, this technology allows for a good saving compared to the purchase of new windows. It is better to repair this technology with the help of specialists, since its execution requires certain skills and professional tools. And also it should be borne in mind that the Swedish technology is primarily aimed at sealing windows. Thus, to improve their appearance will have to resort to traditional methods.

Repair windows using Swedish technology is carried out in the following order:
- sashes are removed from the loops;
- grooves are made in the frame into which sealing tapes will be installed later;
- Silicone sealant is applied to the glass, on which the sealant is applied;
- installation of a seal between frames;
- the sashes are put in place, adjustment is made and they are adjusted so that the window opens and closes perfectly;
- replaces old fittings with new ones;
- carried out adjustment locks and hinges.
See how to repair the wooden window with your own hands in the video below.


