The subtleties of the process of plaster ceiling
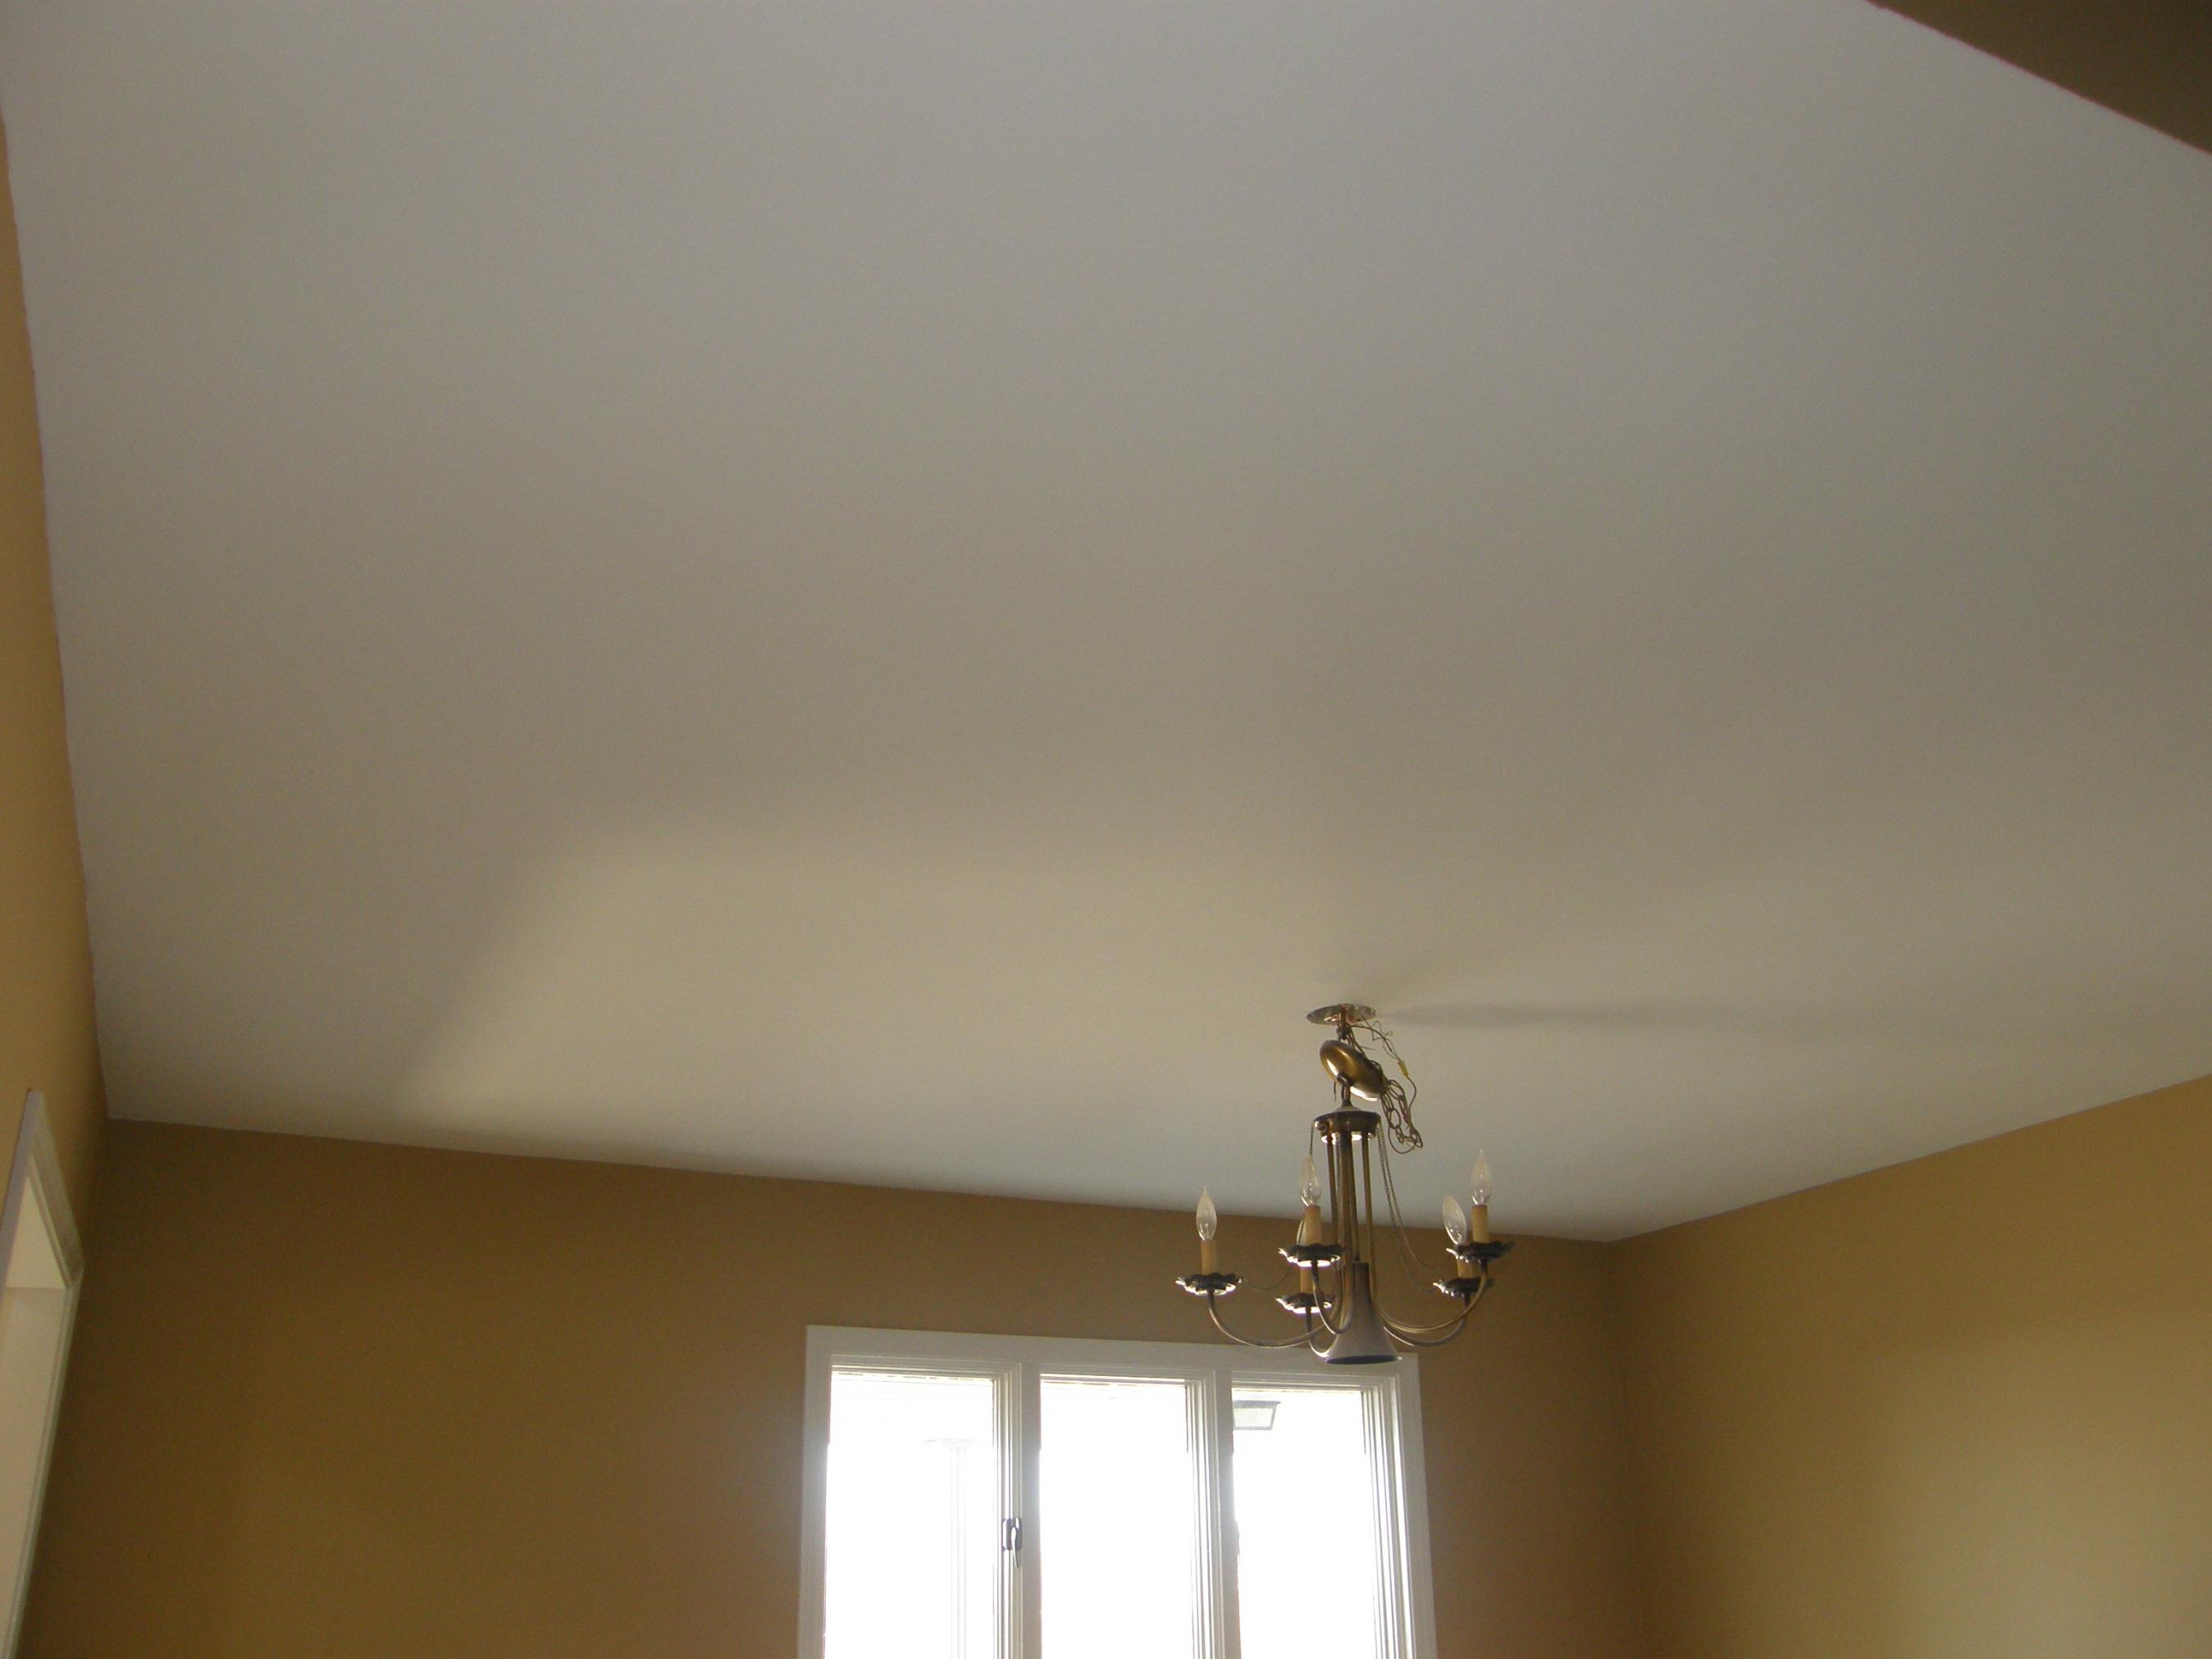
An important element of creating warmth and comfort of any home is the ceiling. The beautiful chandelier radiating soft light fastens on it. It is possible to make the ceiling surface of an apartment or house elegant, solemn, stylish, using various construction techniques and methods of decoration.

Special features
With the modern possibilities of choosing building materials repair of the ceiling surface can be done in different ways:
- it can be whitened;
- to paint;
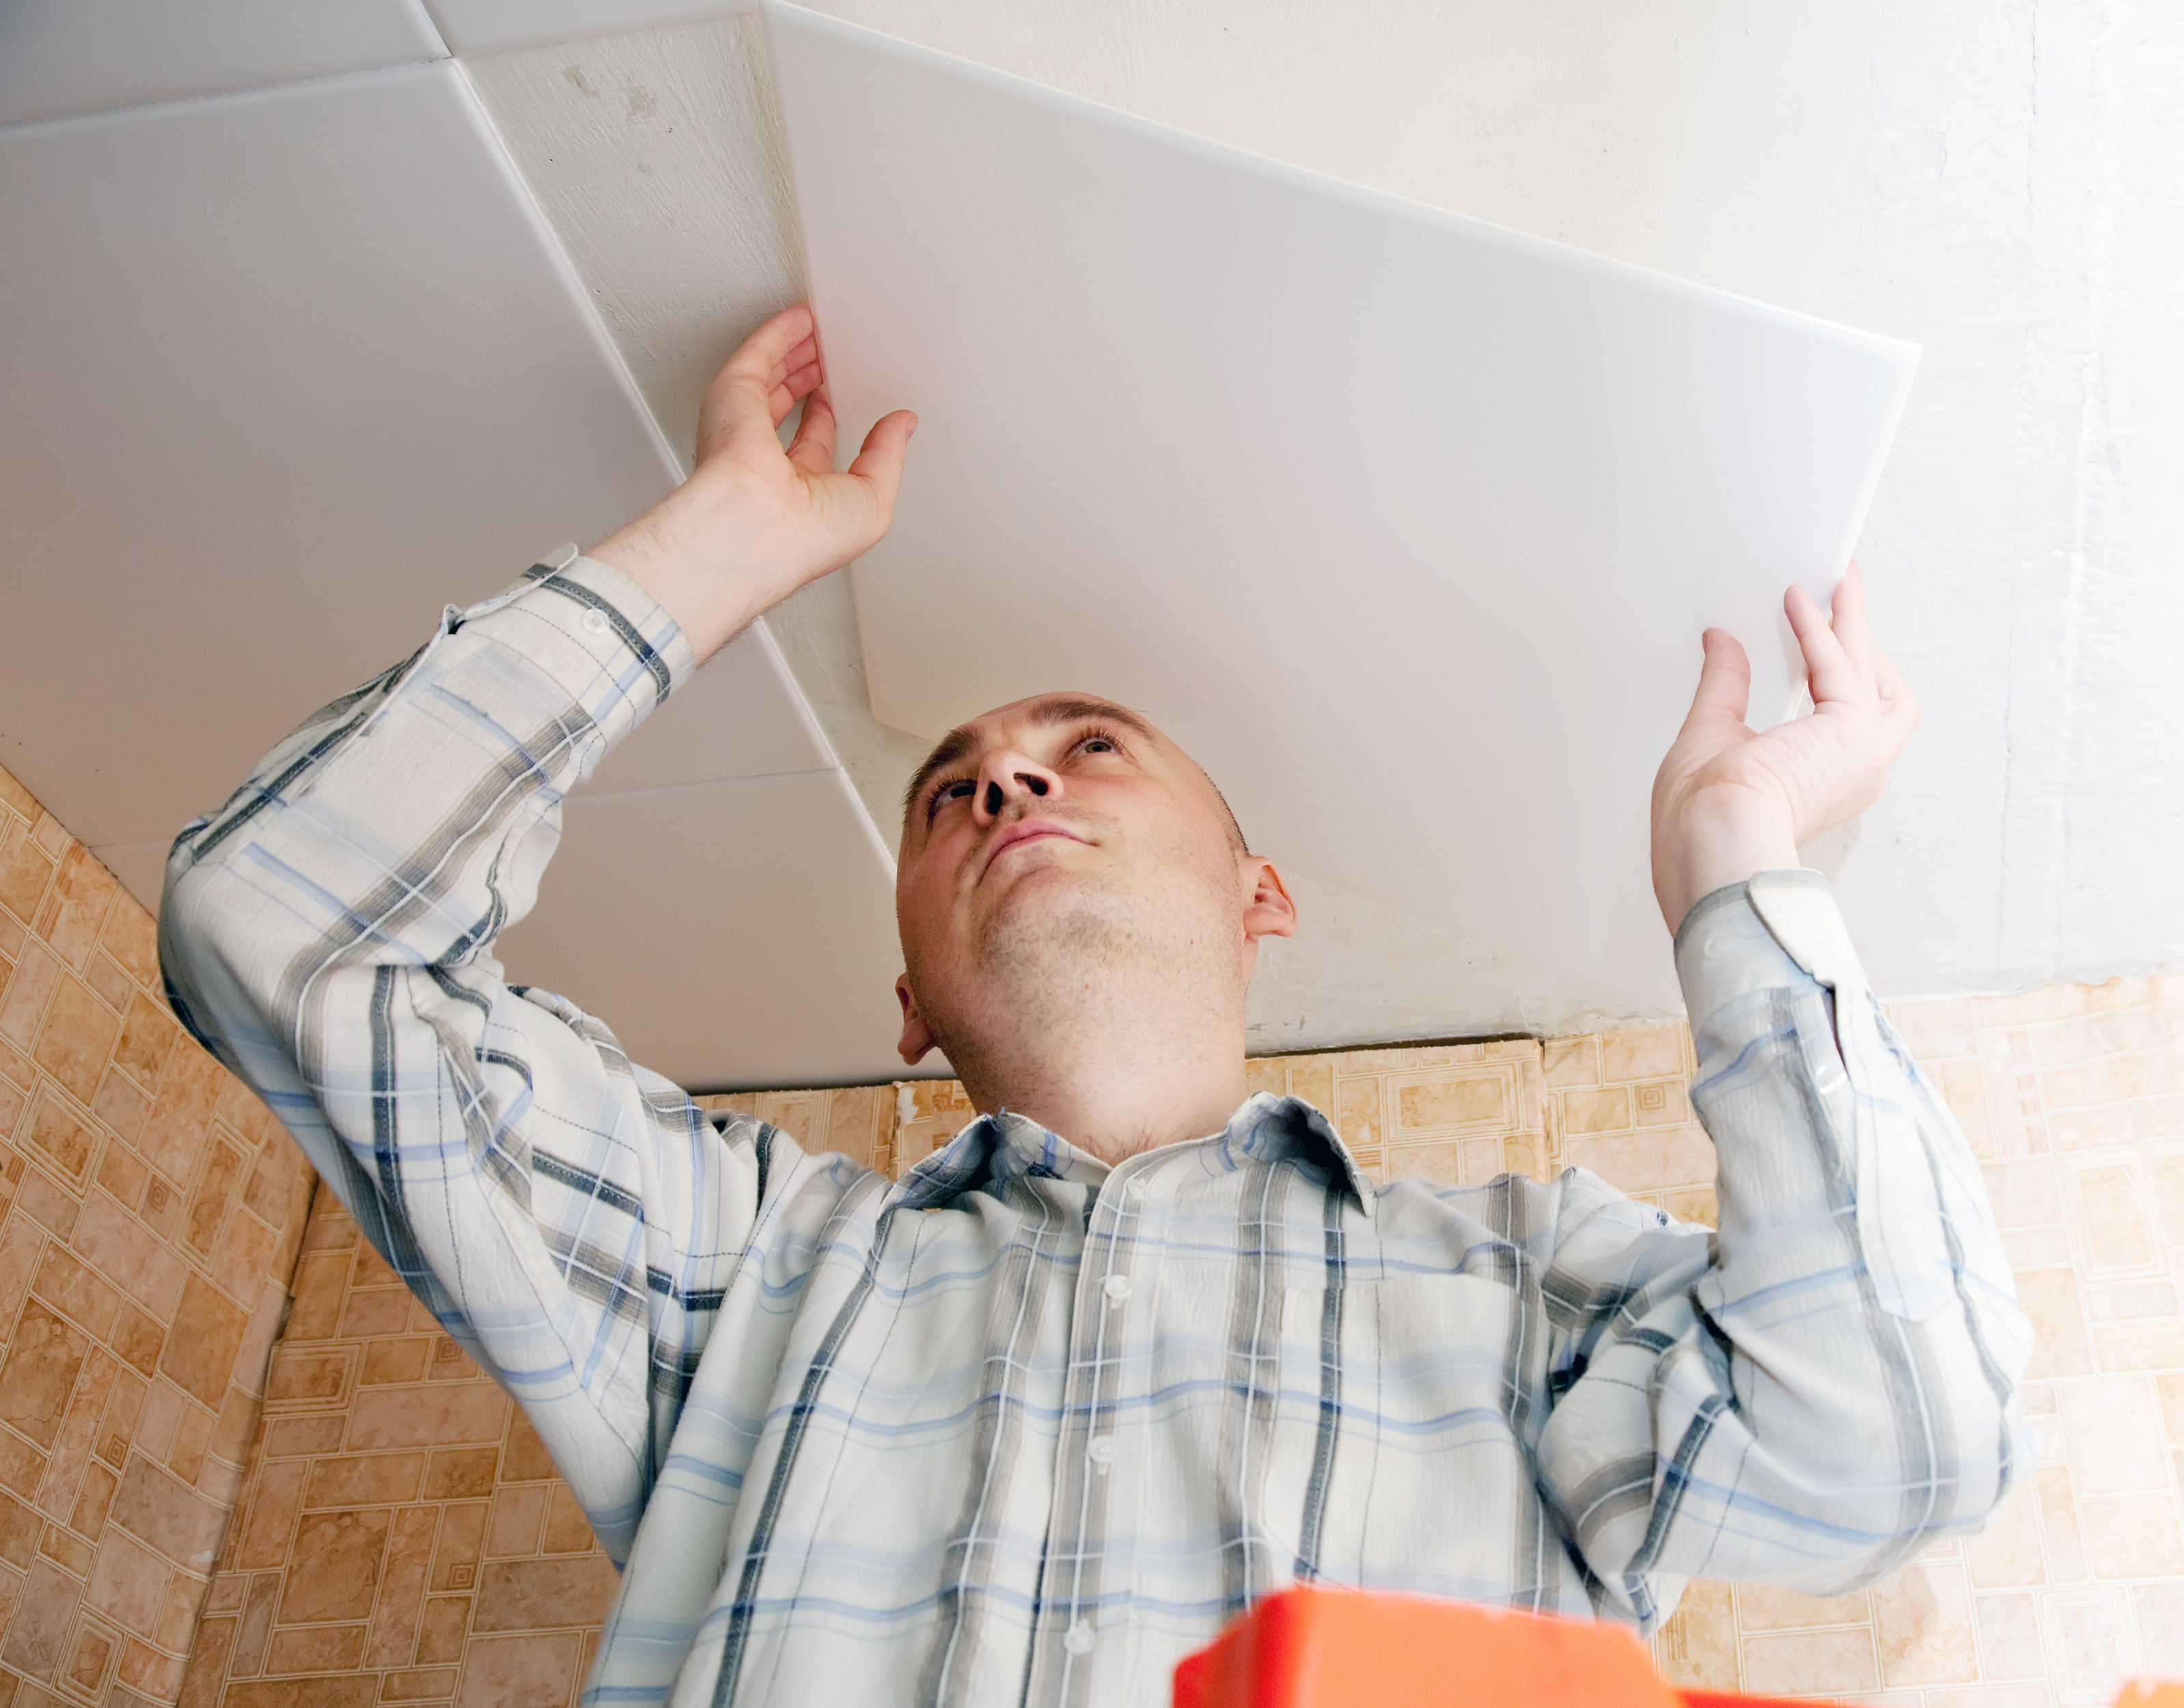
- make suspended;
- prepare for laying tiles;
- stick wallpaper.
Any of these finishing options, each of which has its pros and cons, is preceded by such processes as priming and plastering.
First, carry out the preparatory work
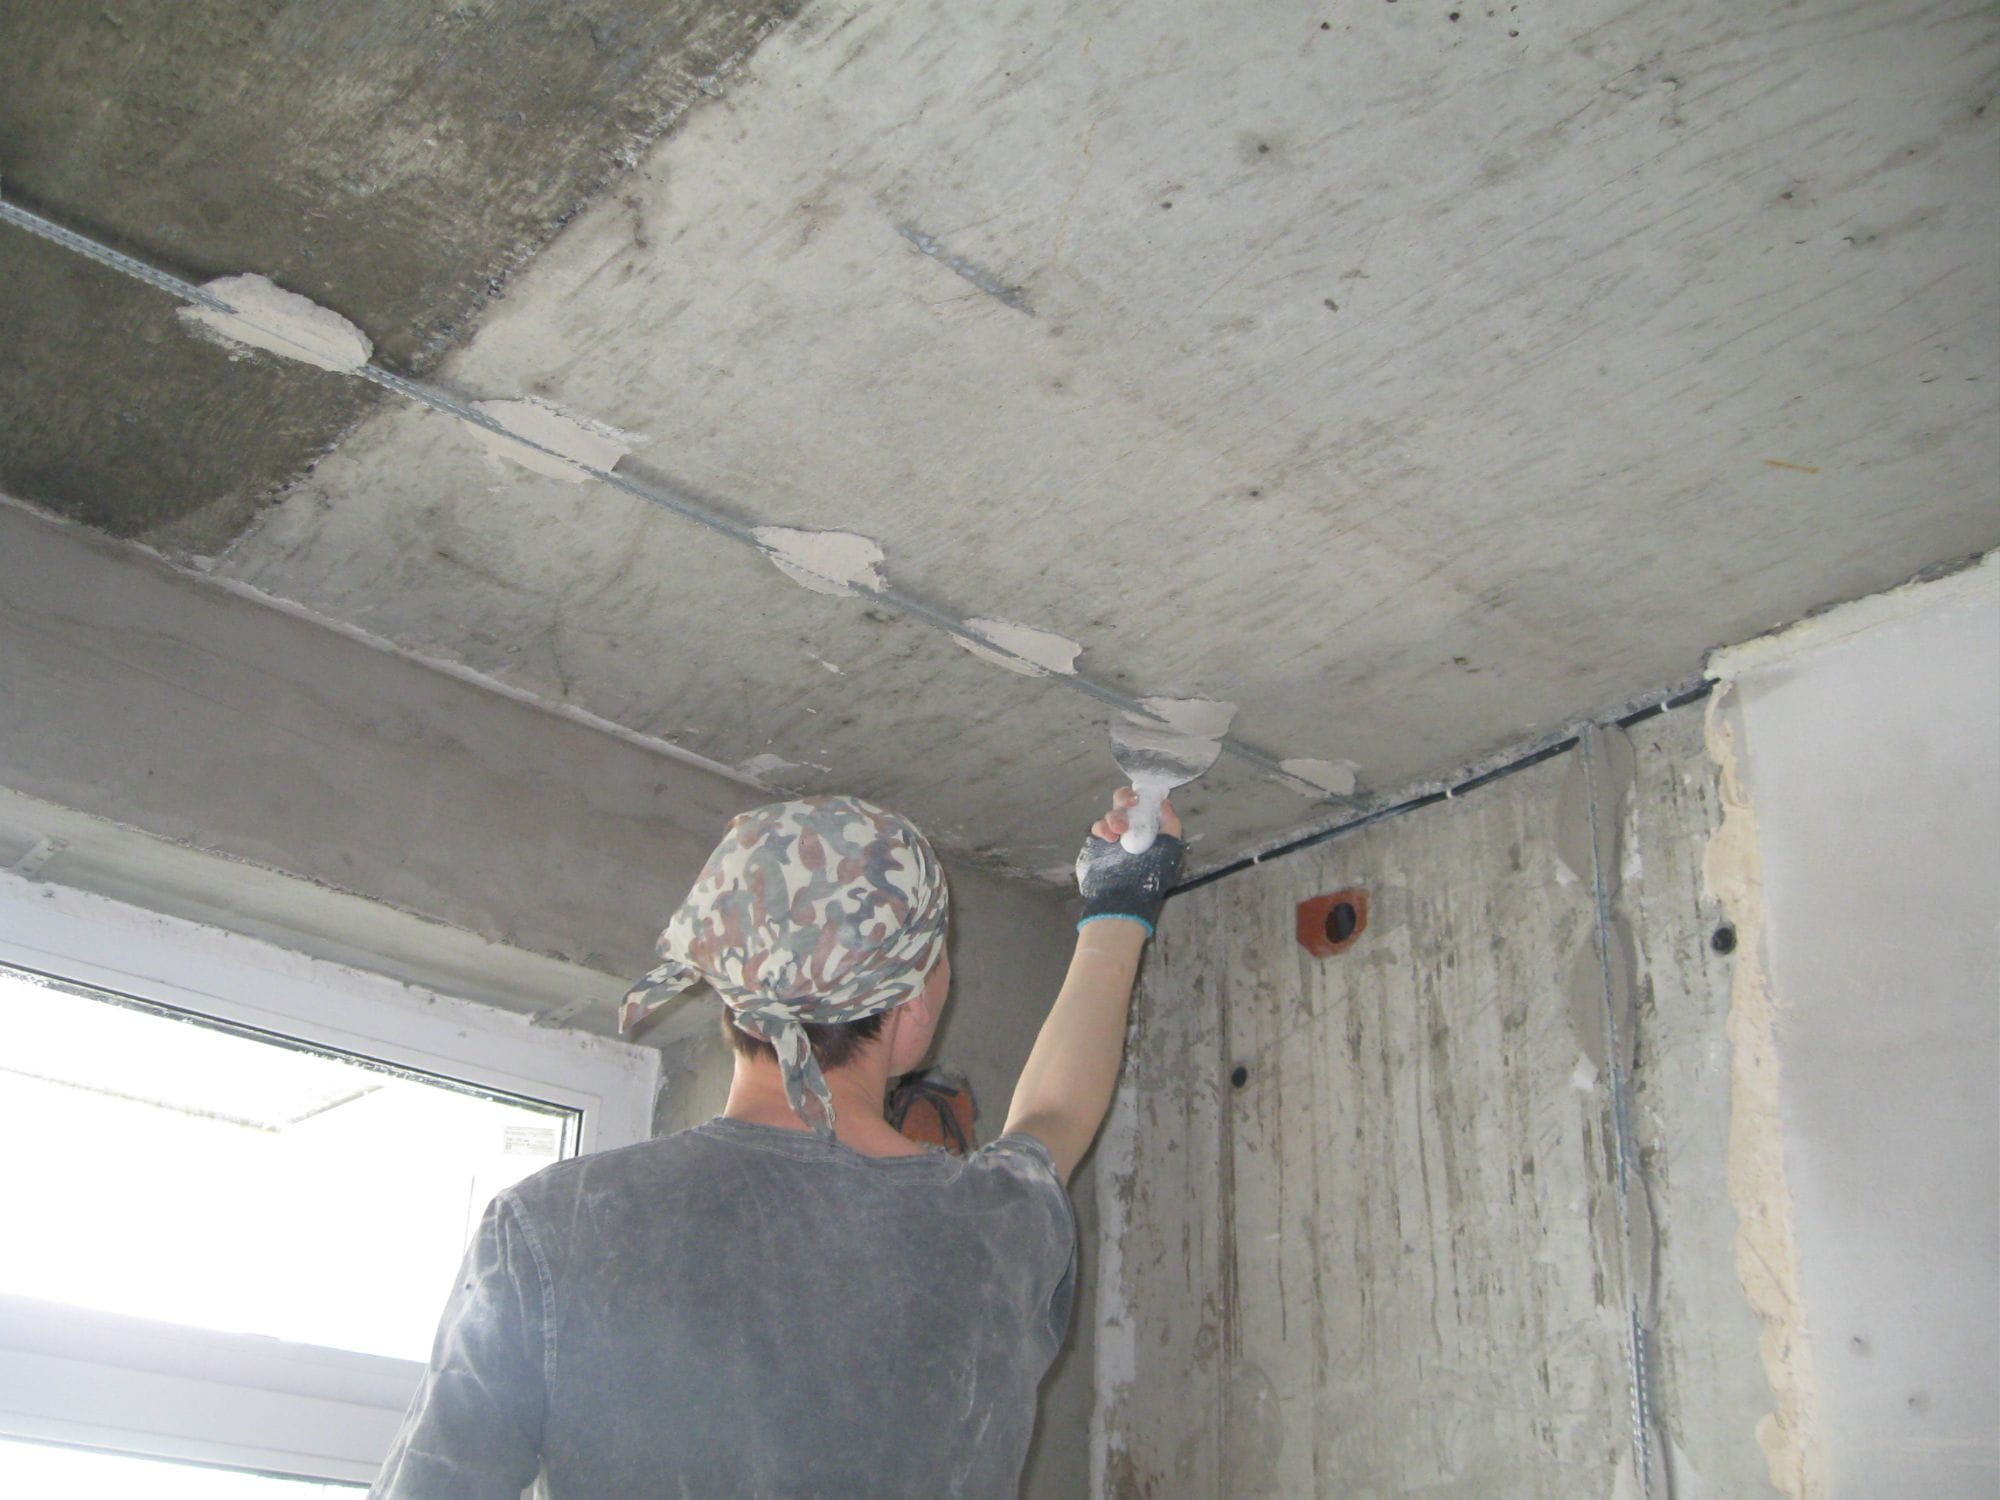
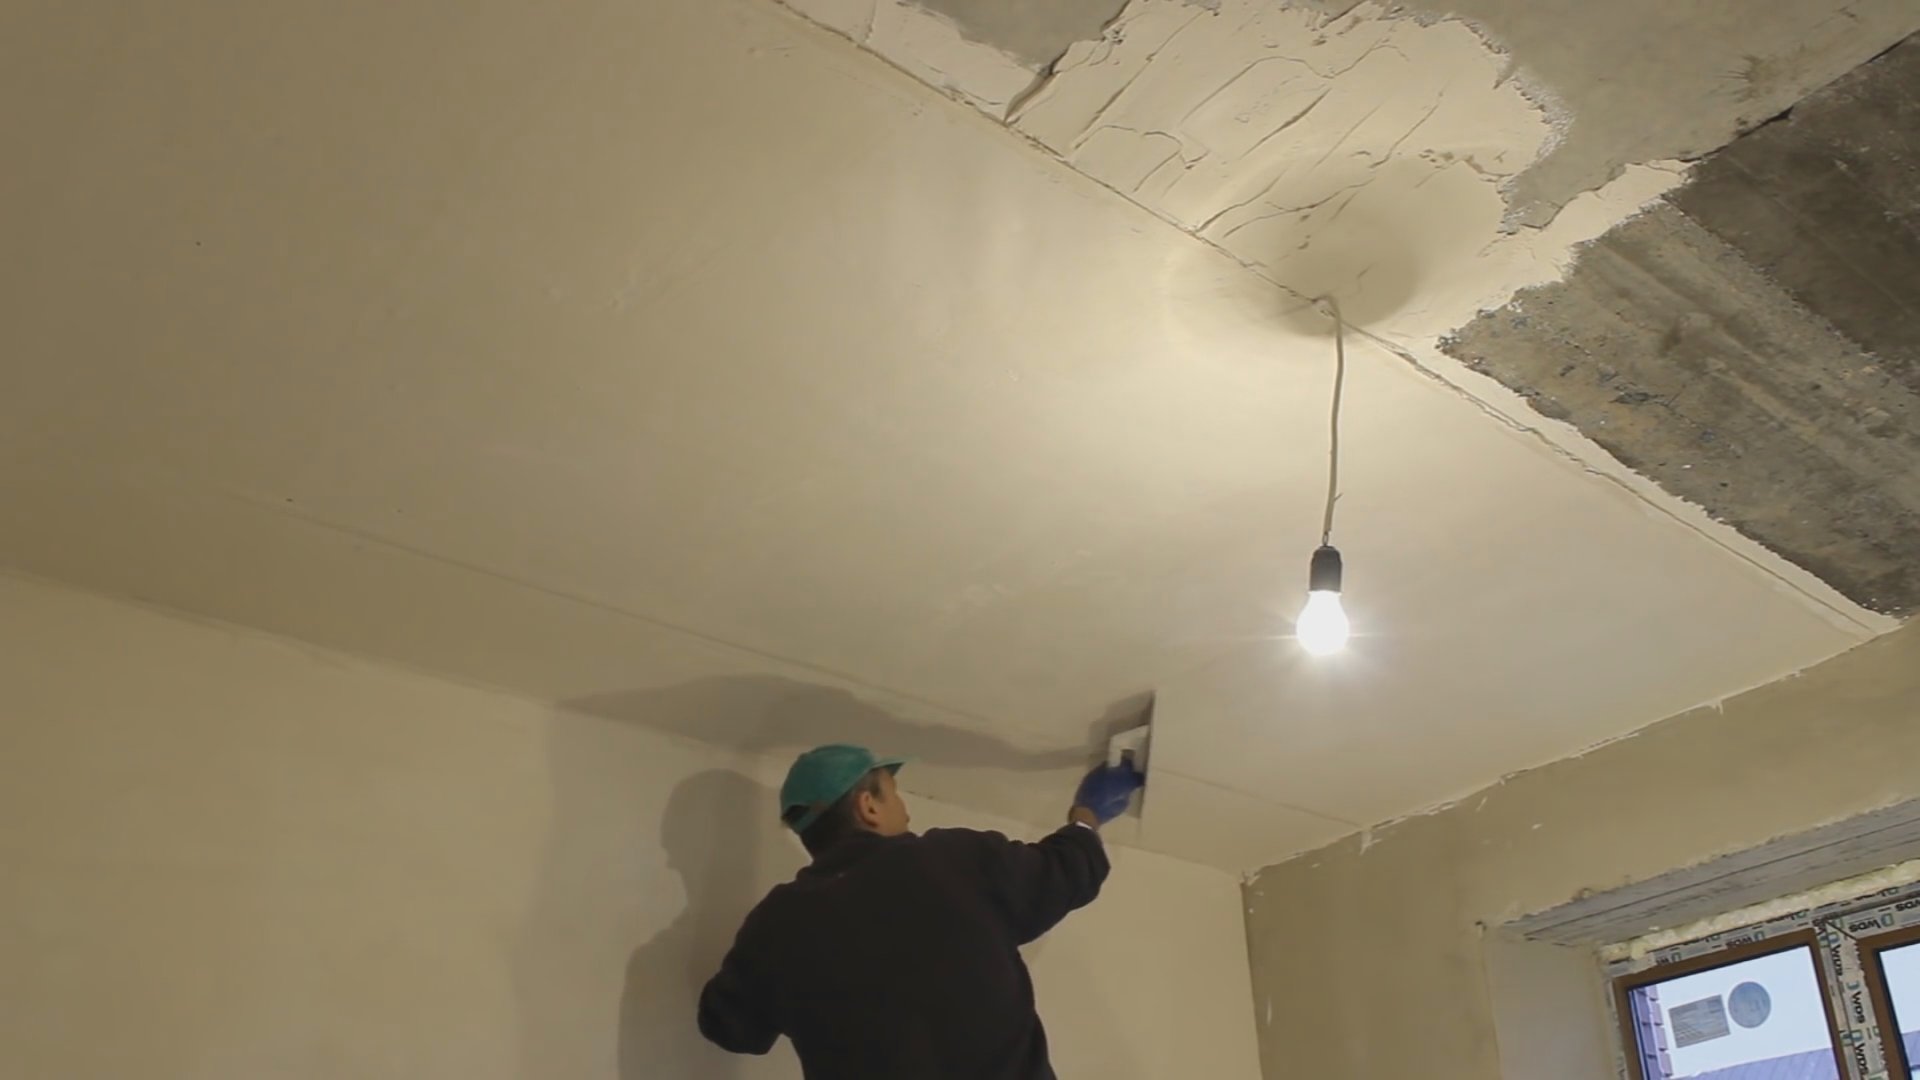
In a newly built house or apartment with concrete ceilings, plastering begins with the preparation of the bases. It is best to make the ceiling surface rough. To do this, carry out the application of notches around the perimeter with special tools or an improvised method (using an ax).
After exposure in this way on the surface of the ceiling are notcheswhich in the future will allow the plaster to fix better. After priming, you can proceed to surface treatment with cement mortar. They are sealed ceiling part of the floor slabs.
An important factor that must be considered is the humidity in the room (not more than 30%).
In case of non-observance of this parameter, as well as when applying cement plaster in another temperature mode, there will appear a probability of its poor fixation.
When it comes to an apartment or house in which they lived for a long period of time, then, having started plastering work, it is necessary to dismantle the old surface (remove layers of paint, wallpaper and other materials). This process takes more time and requires labor.
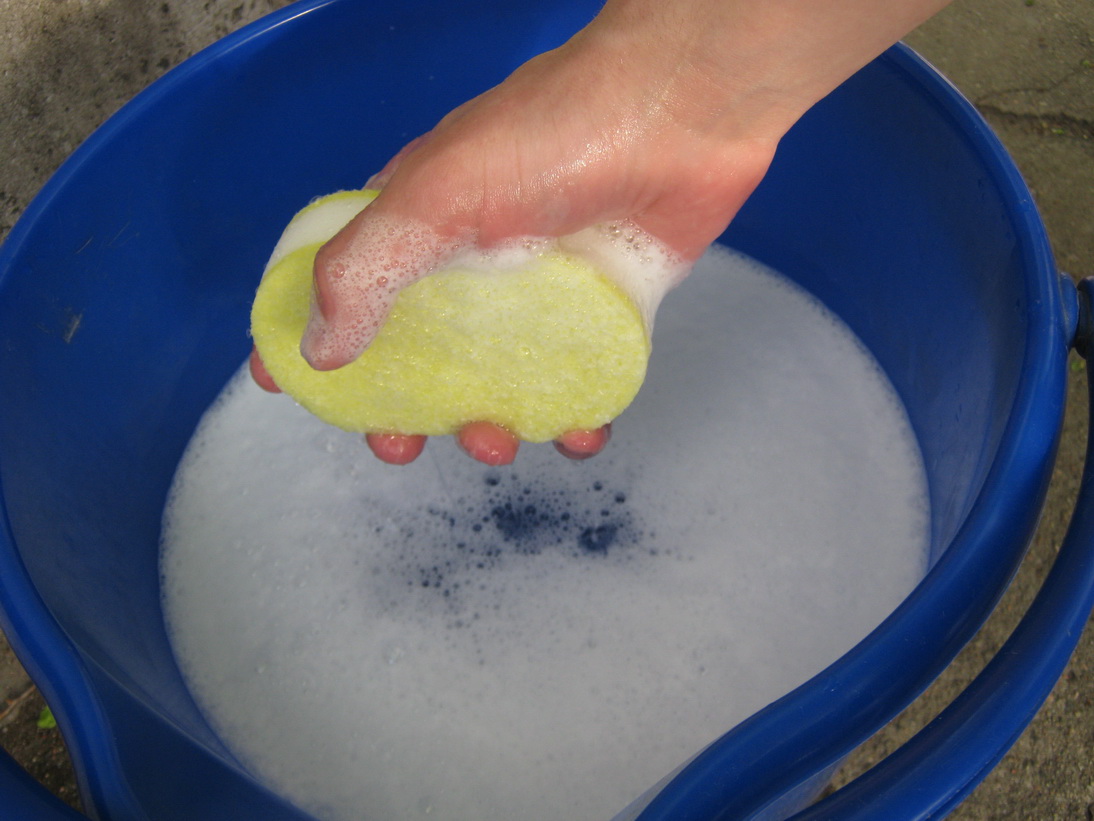
Lime can be wetted with water and then removed with a spatula. Old water-based paint, for example, is removed with a solution of iodine and water. On 1 bucket of water use a vial (bottle) of iodine composition. If there was a fungus on the ceiling, it can be removed by wetting the base with a mixture of copper sulphate and water (5 grams of the mixture is used for 1 liter of water).
Whitewashed ceilings covered with lime mortar soaked with water, then remove the old layers with a spatula. After dismantling the surface is thoroughly washed with water, and give time to dry.
In a building with a wooden ceiling, plastering of ceiling surfaces begins with pre-stuffing of metal nets or shreds (shingles) on it. These auxiliary materials will help in the further applied layer of plaster to adhere tightly to the ceiling.
The ceiling, hemmed with plasterboard plates, must be cleaned of dirt. The important point is the lack of need to install beacons.
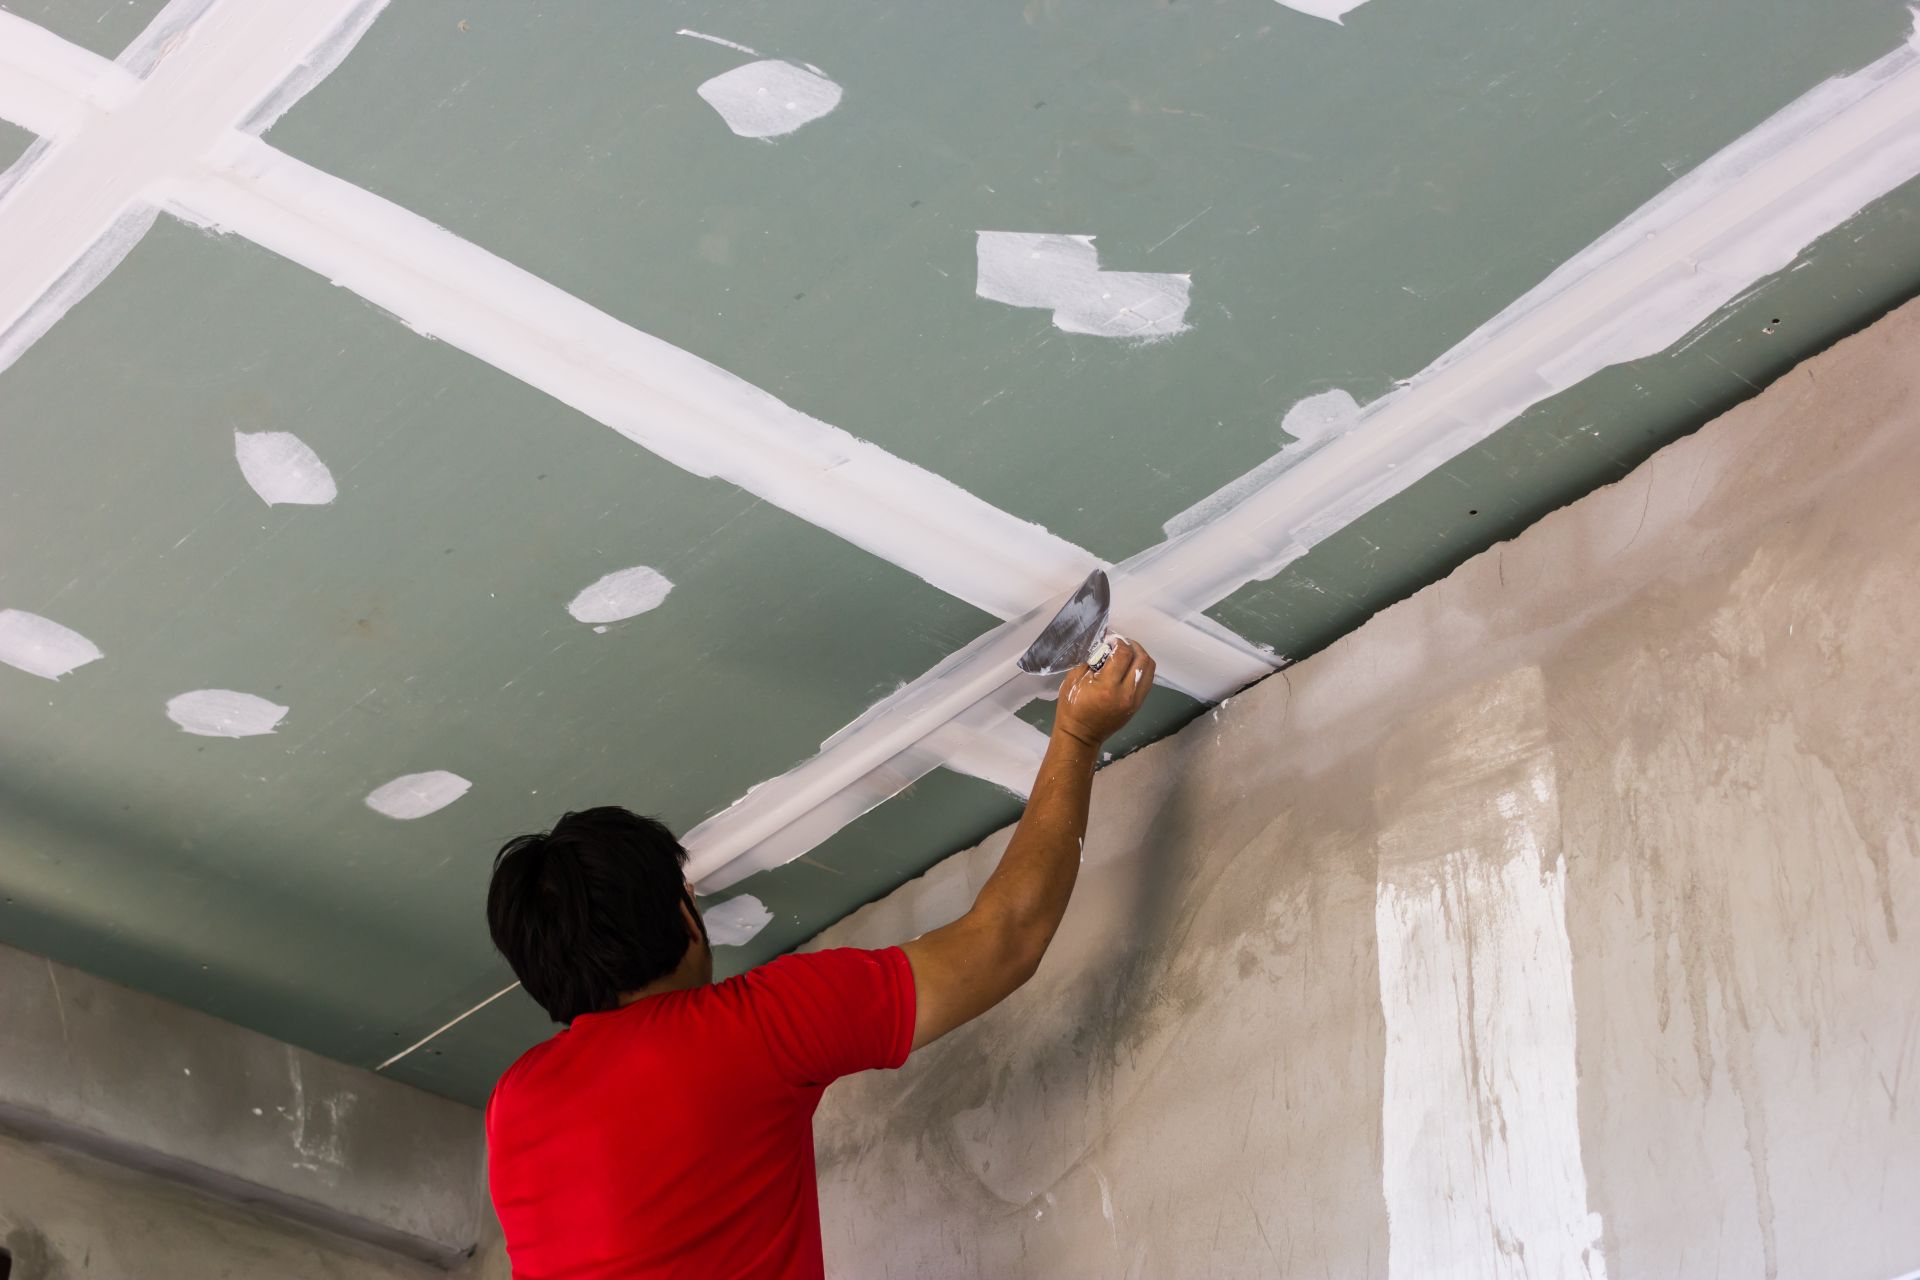
A primer is applied to the dried surface at the joints of the slabs (where the seams pass). Such points are processed most carefully.
The points where the sheets are interconnected (screws are screwed in, screws) tighten more tightly or use a special tape.She glued all the protruding parts, then in the process of putty leveling seams and irregularities.
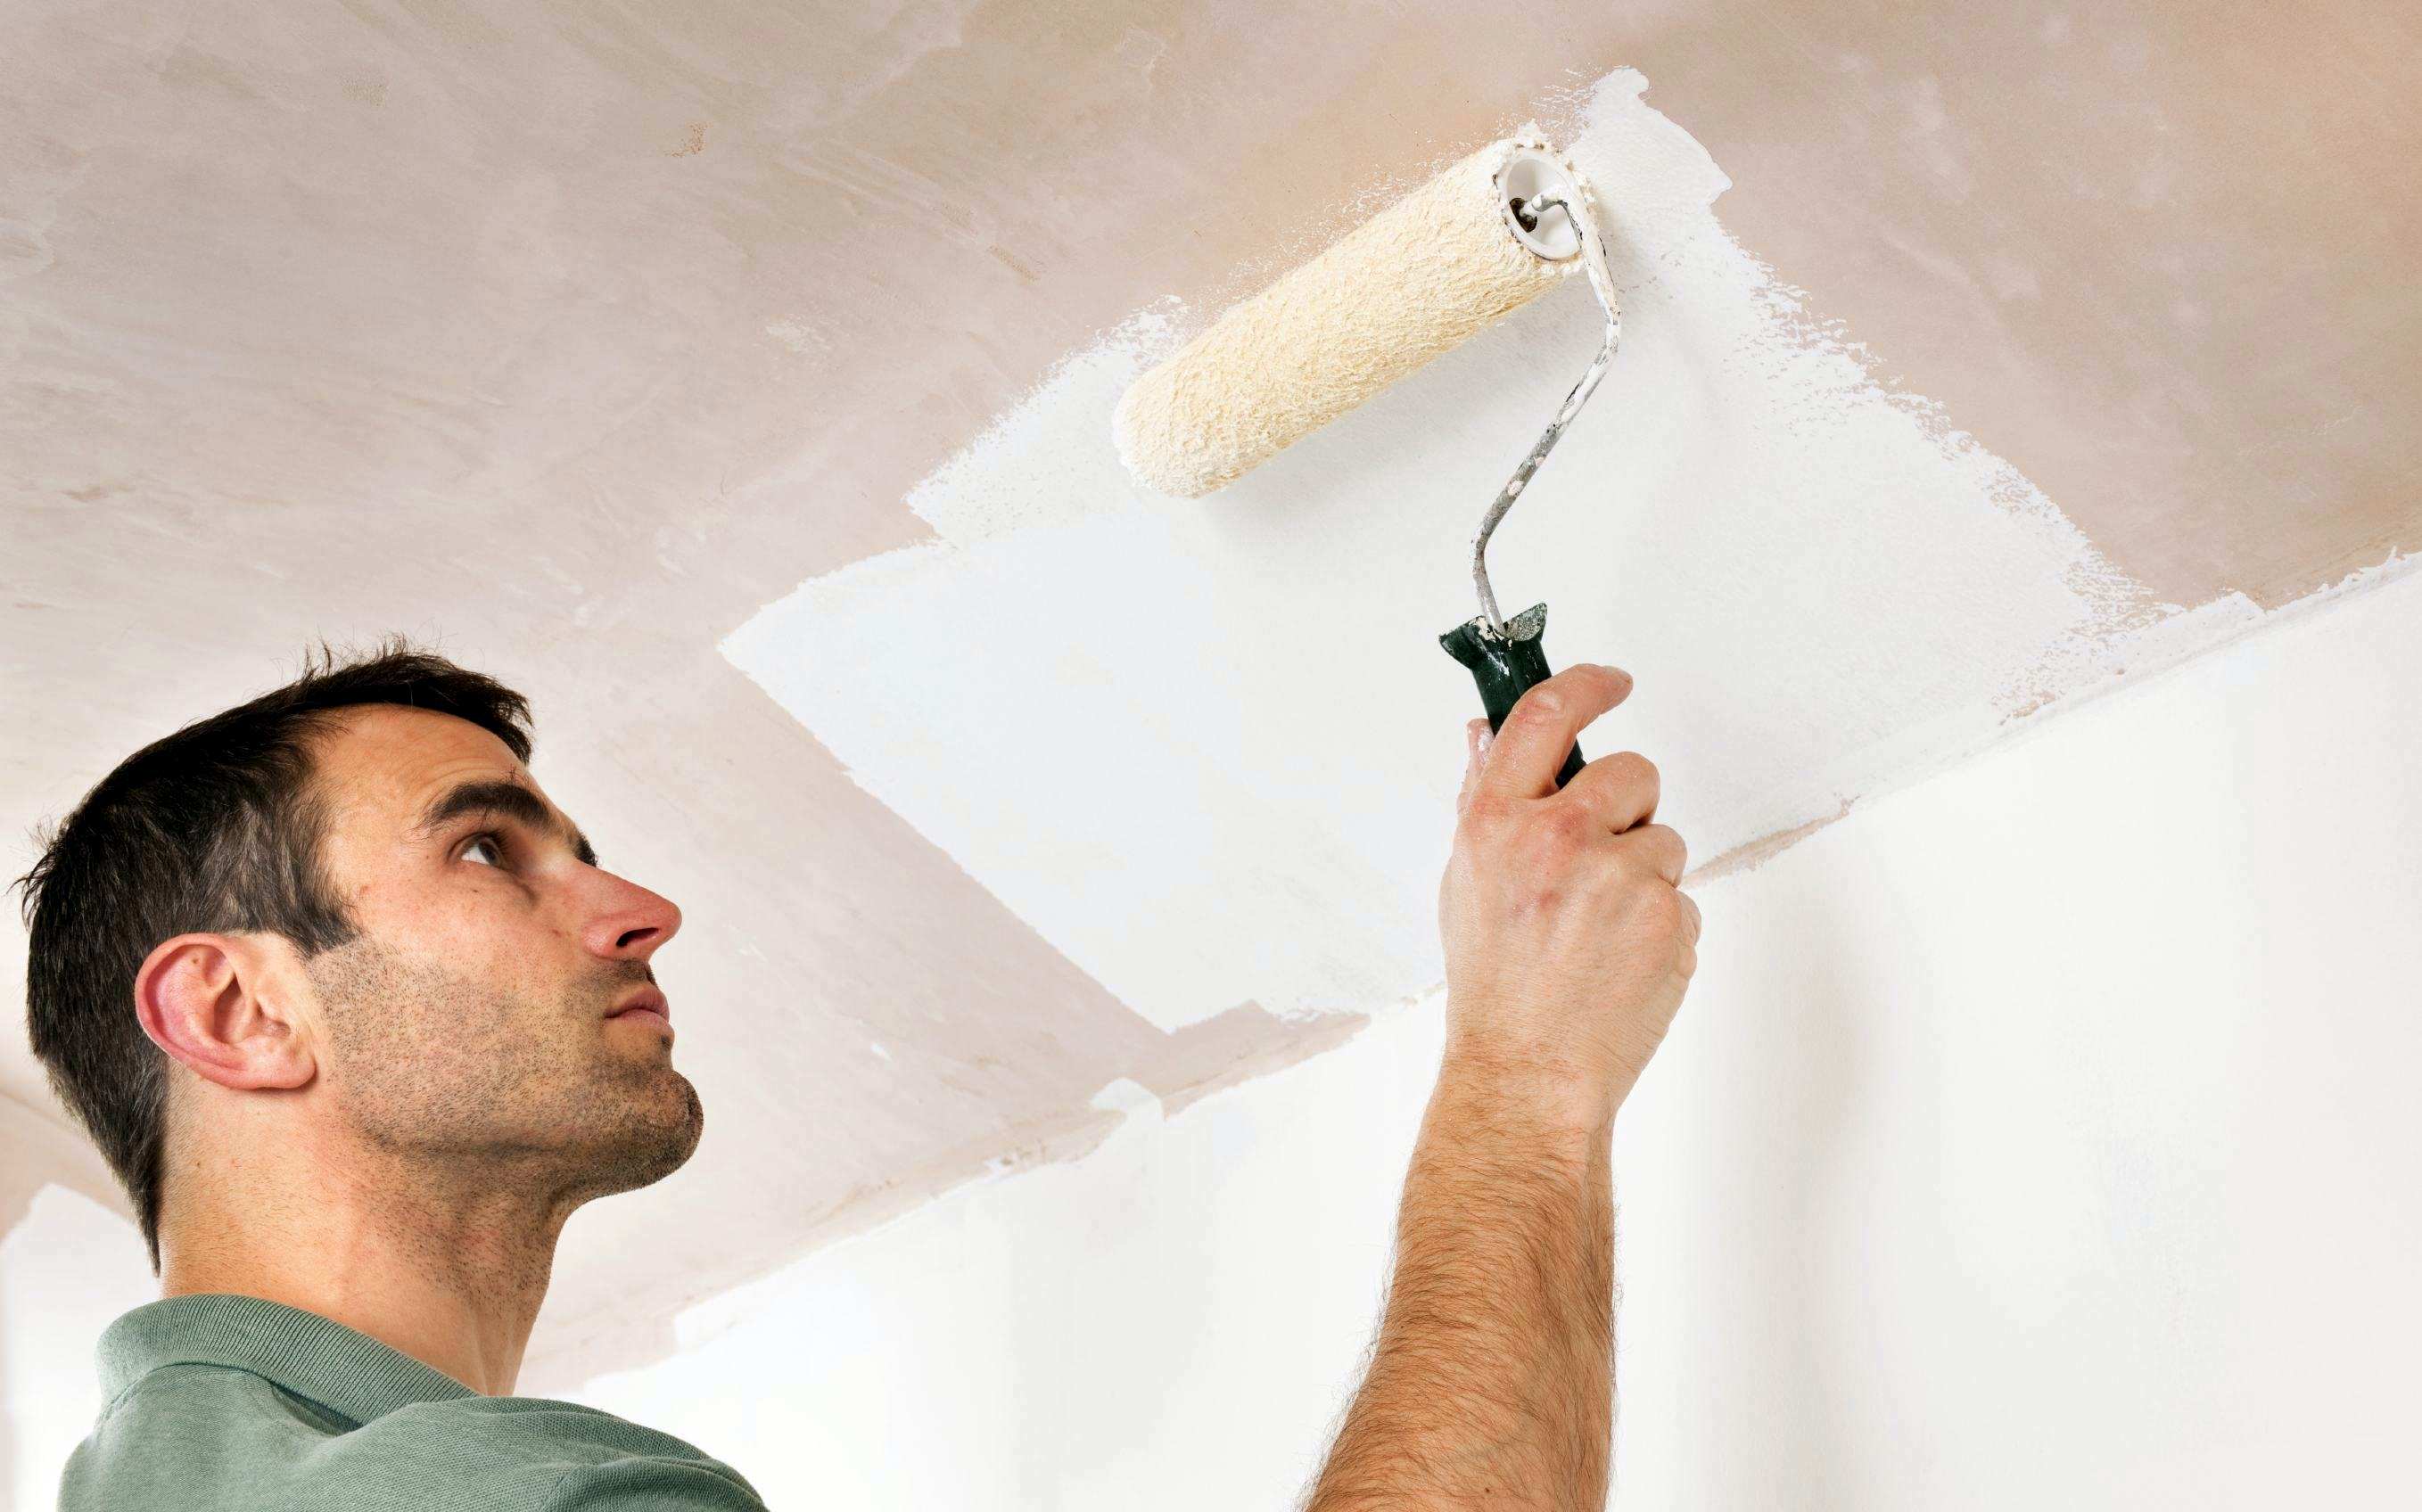
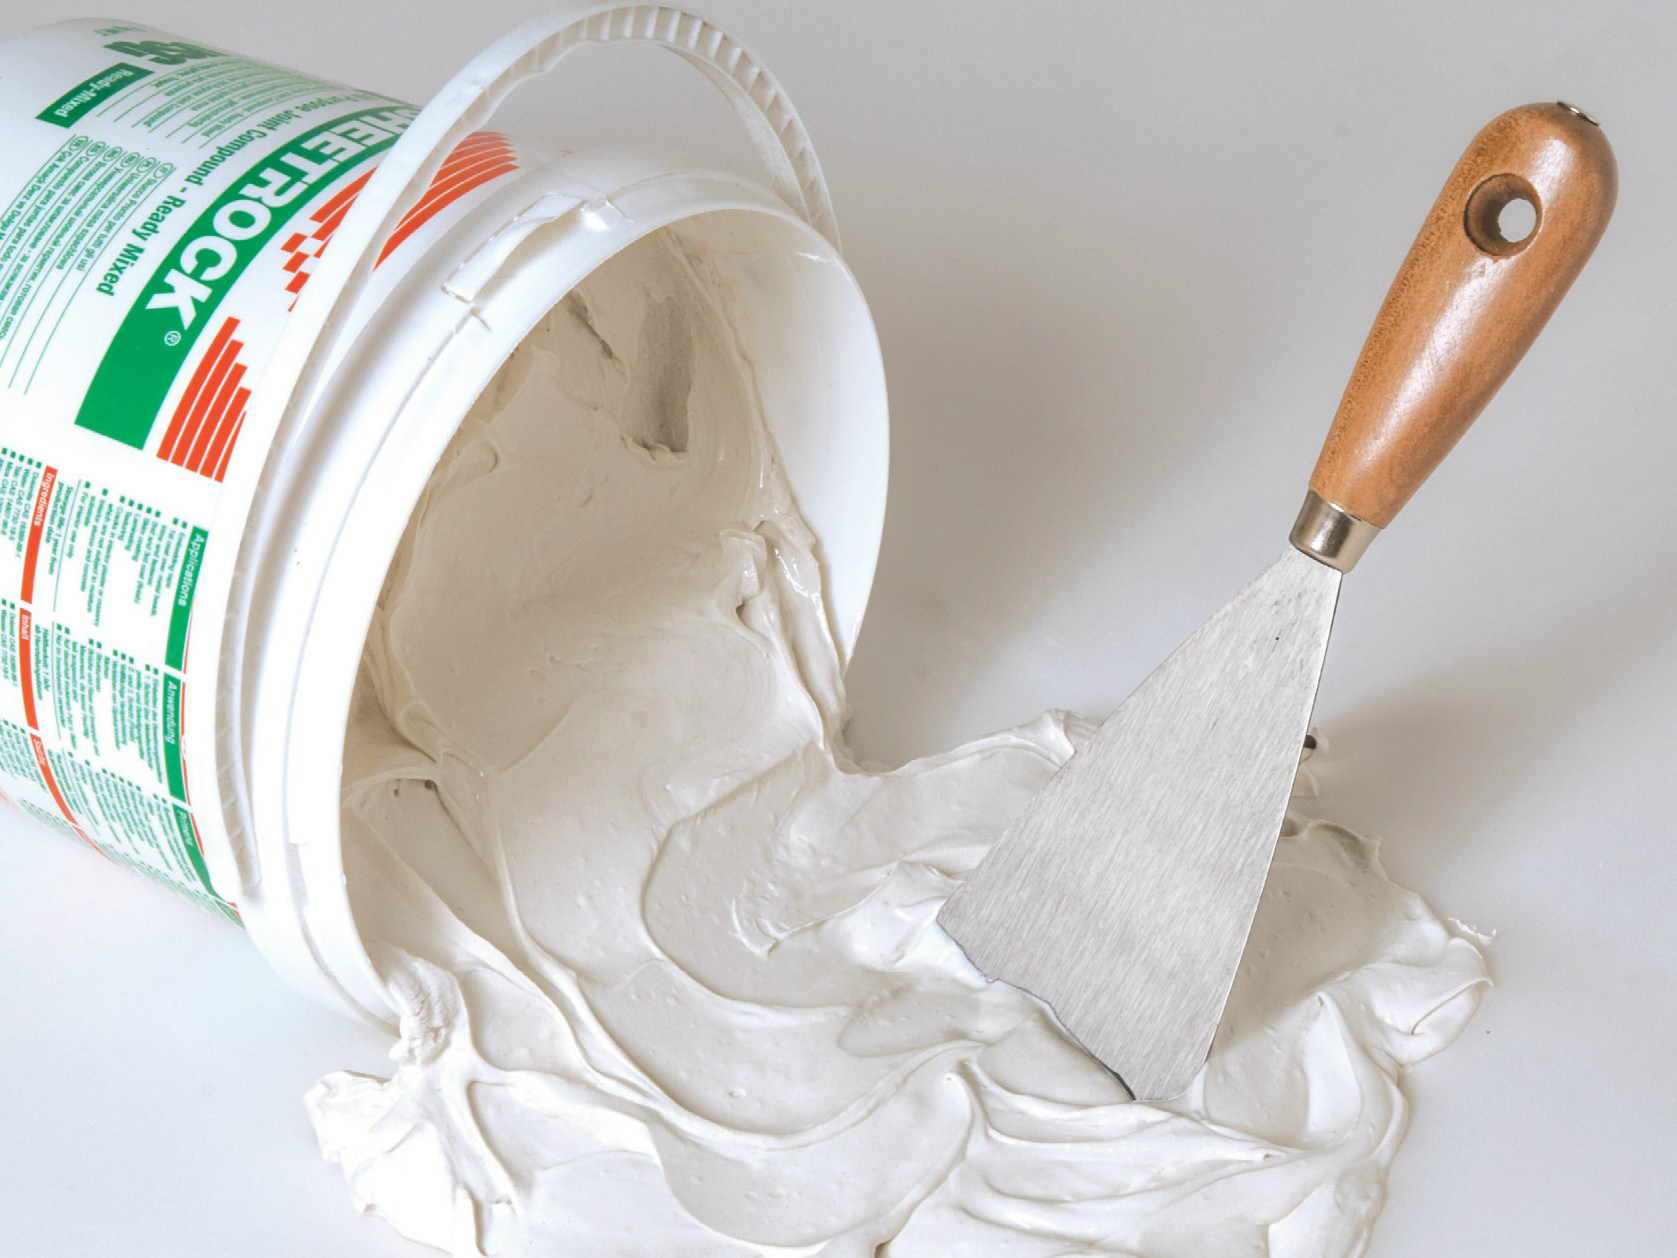
After the primer layer dries, they putty the ceiling, and thus prepare it for painting or wallpapering.


Plasterboard dry plasterboard should be if its surface is very moisture resistant.
When the sheets do not differ in such a qualitative characteristic, it is best not to conduct the process of plastering them.
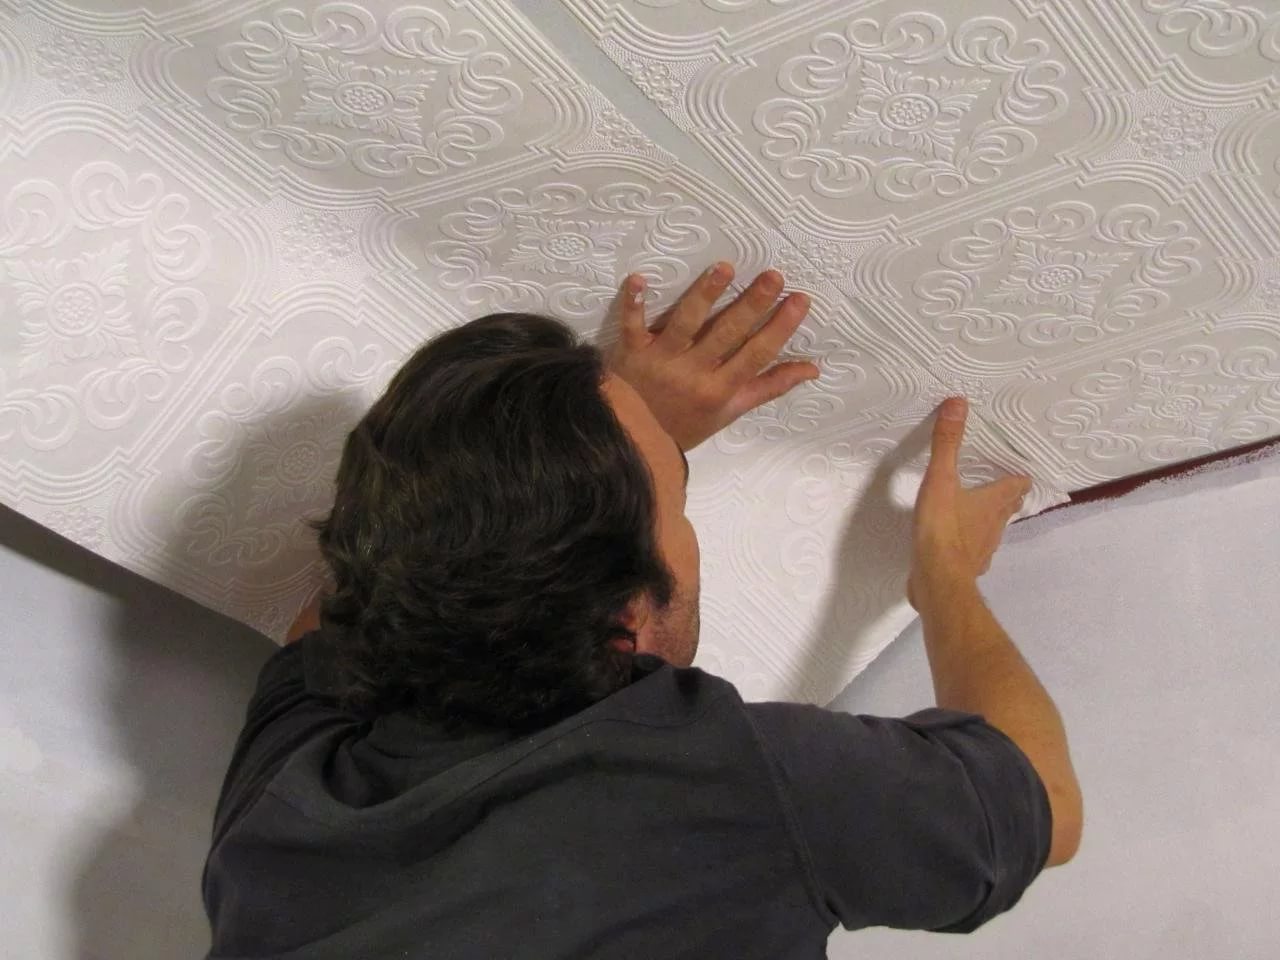
If necessary, pasting the plasterboard ceiling with thin wallpaper, it is possible to pre-plaster it. This is done so that through the wallpaper was not visible plaster plates.
What plastering?
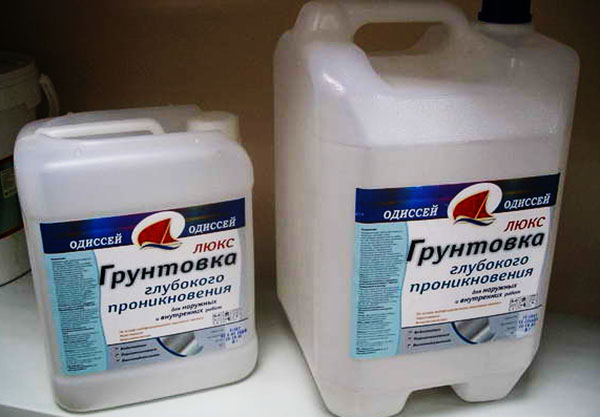
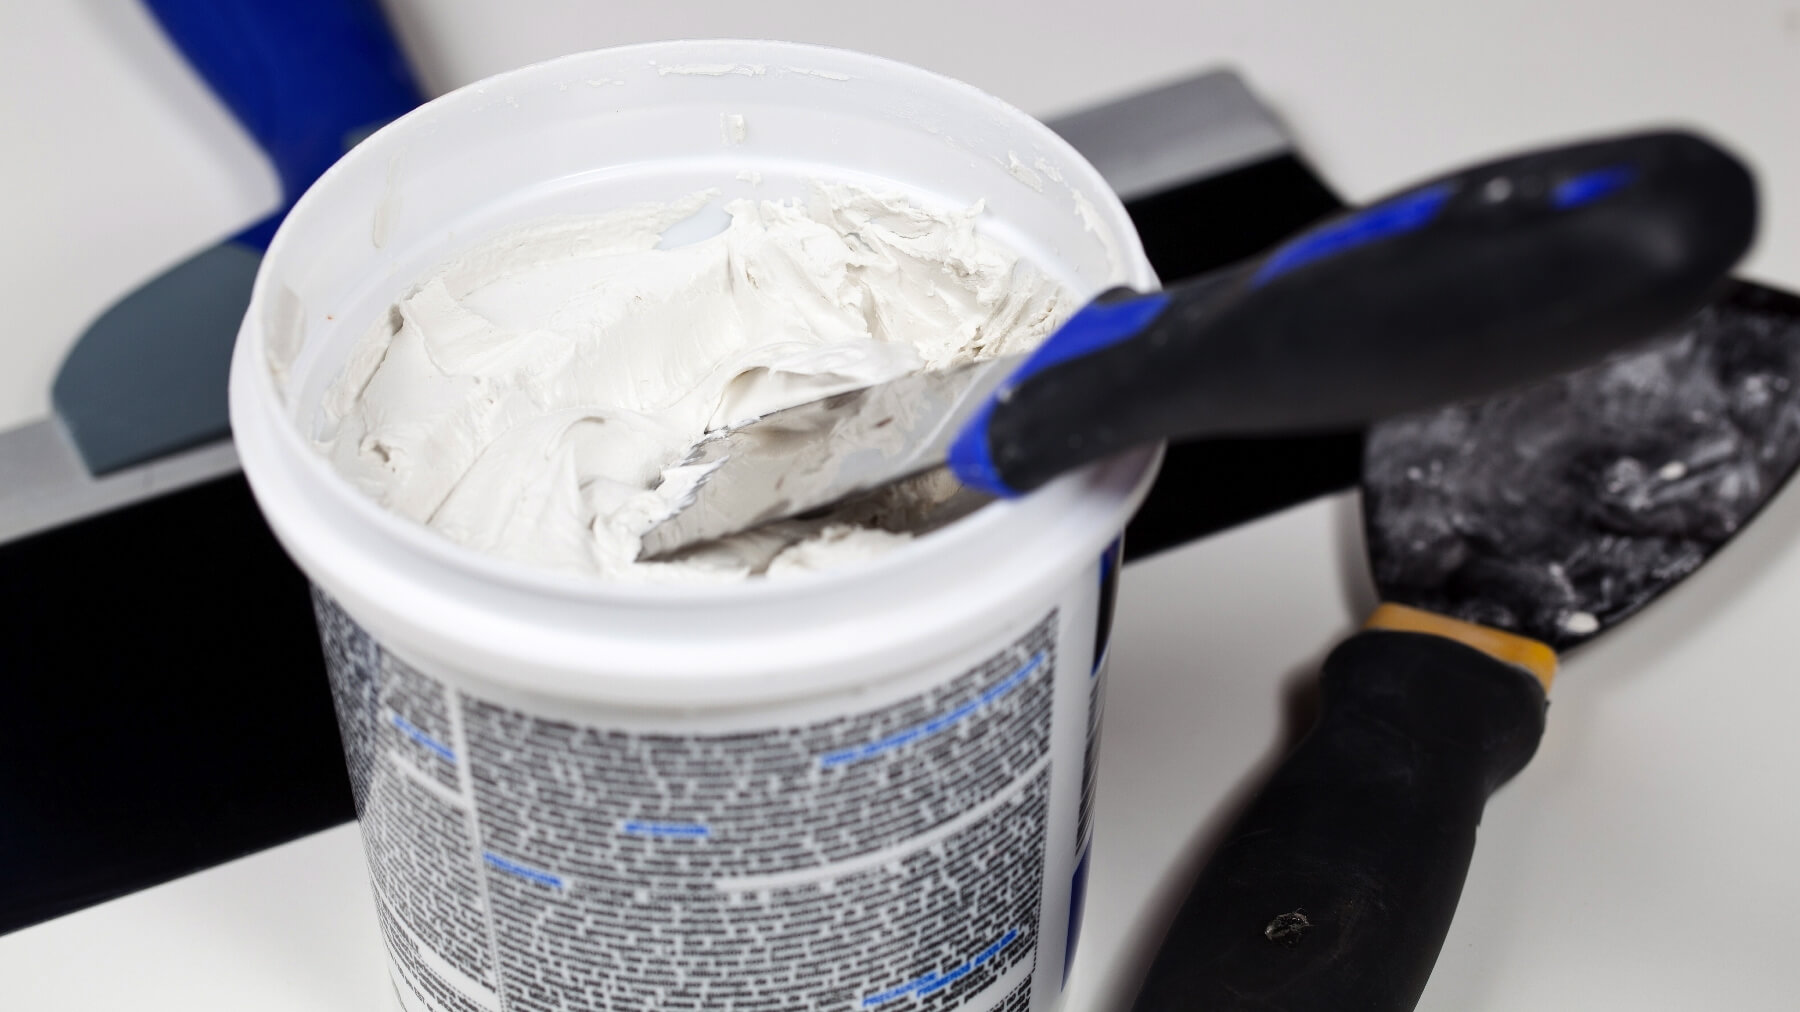
Before you start the process of plastering the ceiling surface with your own hands, you need to choose a primer and putty.
For different types of ceilings (concrete, wood, drywall) will require special mixtures and compositions of solutions for processing.
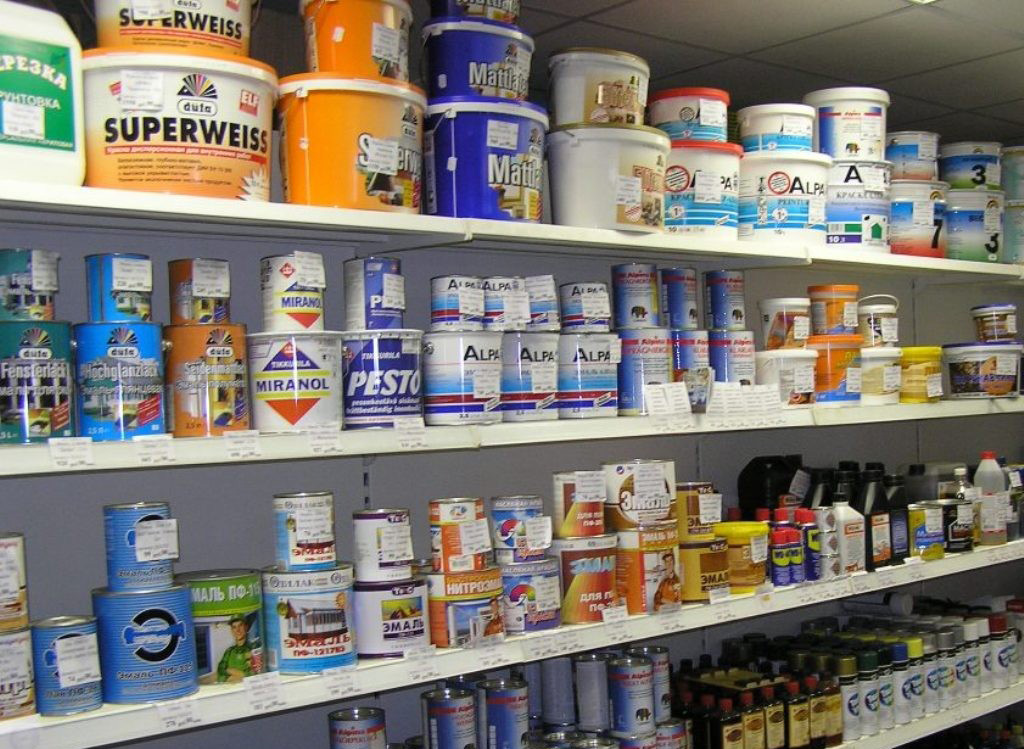
Mortars for plastering ceilings and walls use the following:
- gypsum;
- sand-cement composition;
- lime;
- silk plaster mortar;
- a mixture of foam chips;
- decorative plaster;
- polymer blend.

Mix selection
Modern construction industry offers a wide range of solutions and compositions for the finishing of ceilings.
Which one of them to choose for plastering in the best way, you can find out, having familiarized with its quality characteristics. Finishing plaster is applied with different solutions depending on the ceiling base.
Plaster composition can be done plastering work.

Its feature is the ability to tolerate mechanical damage. The ceiling after treatment with this mixture will not crack.
Polymeric acrylic plaster is considered a universal mixture. It is used for any reason. It is moisture resistant and durable.

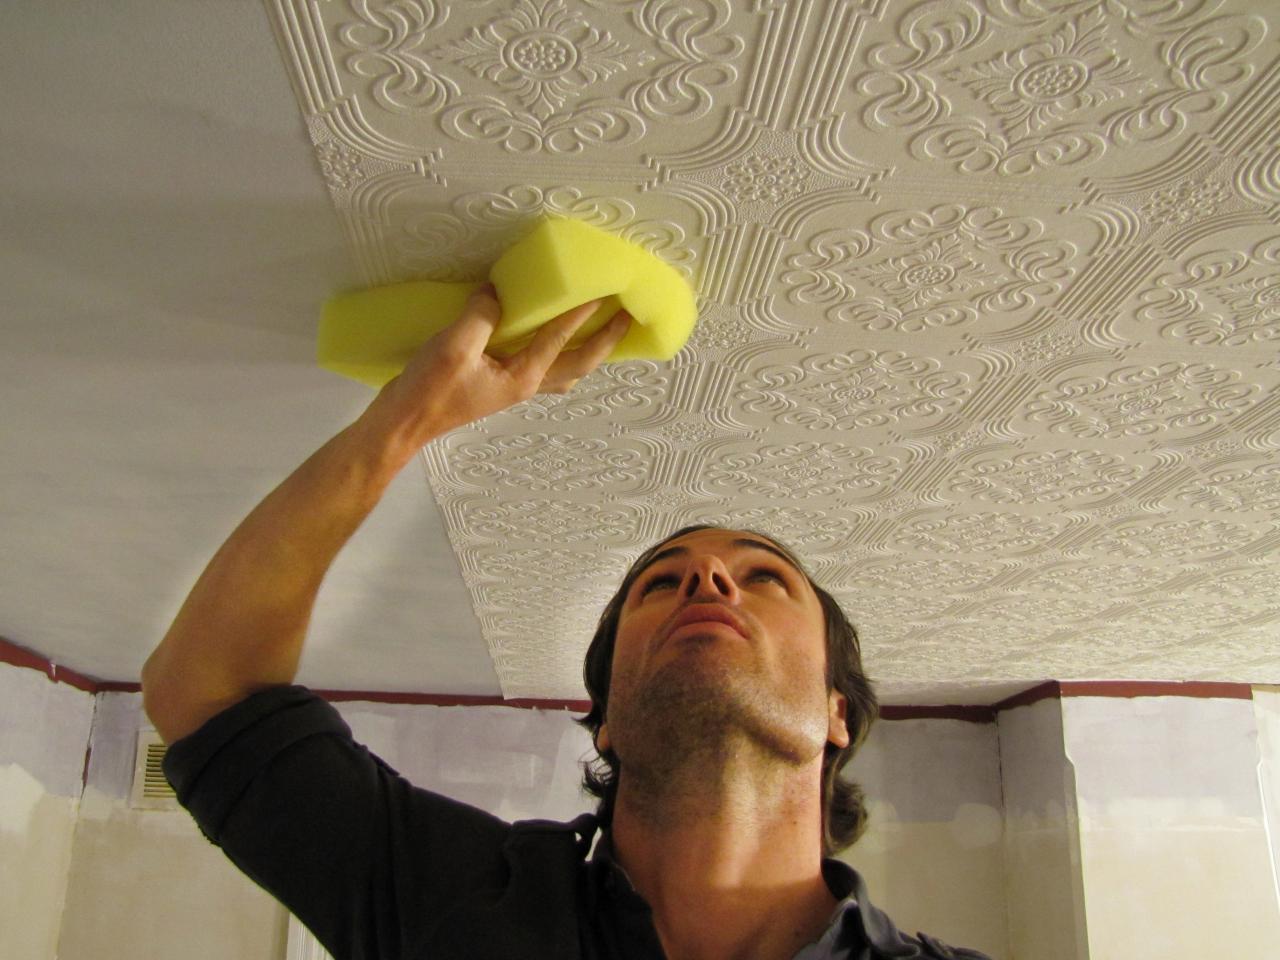
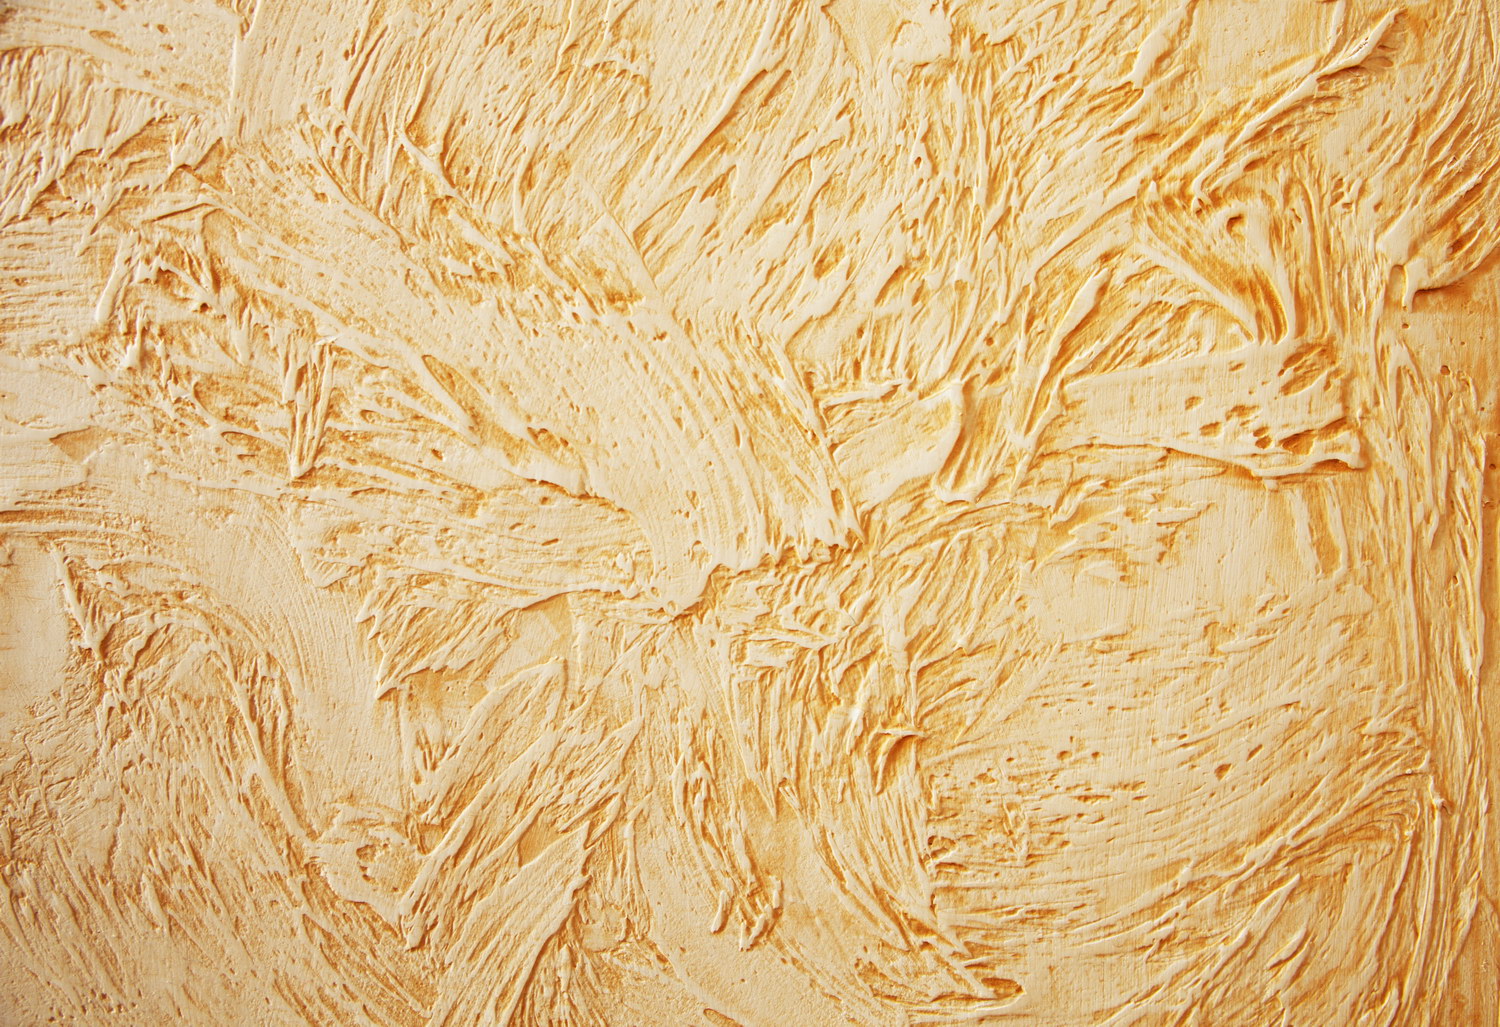
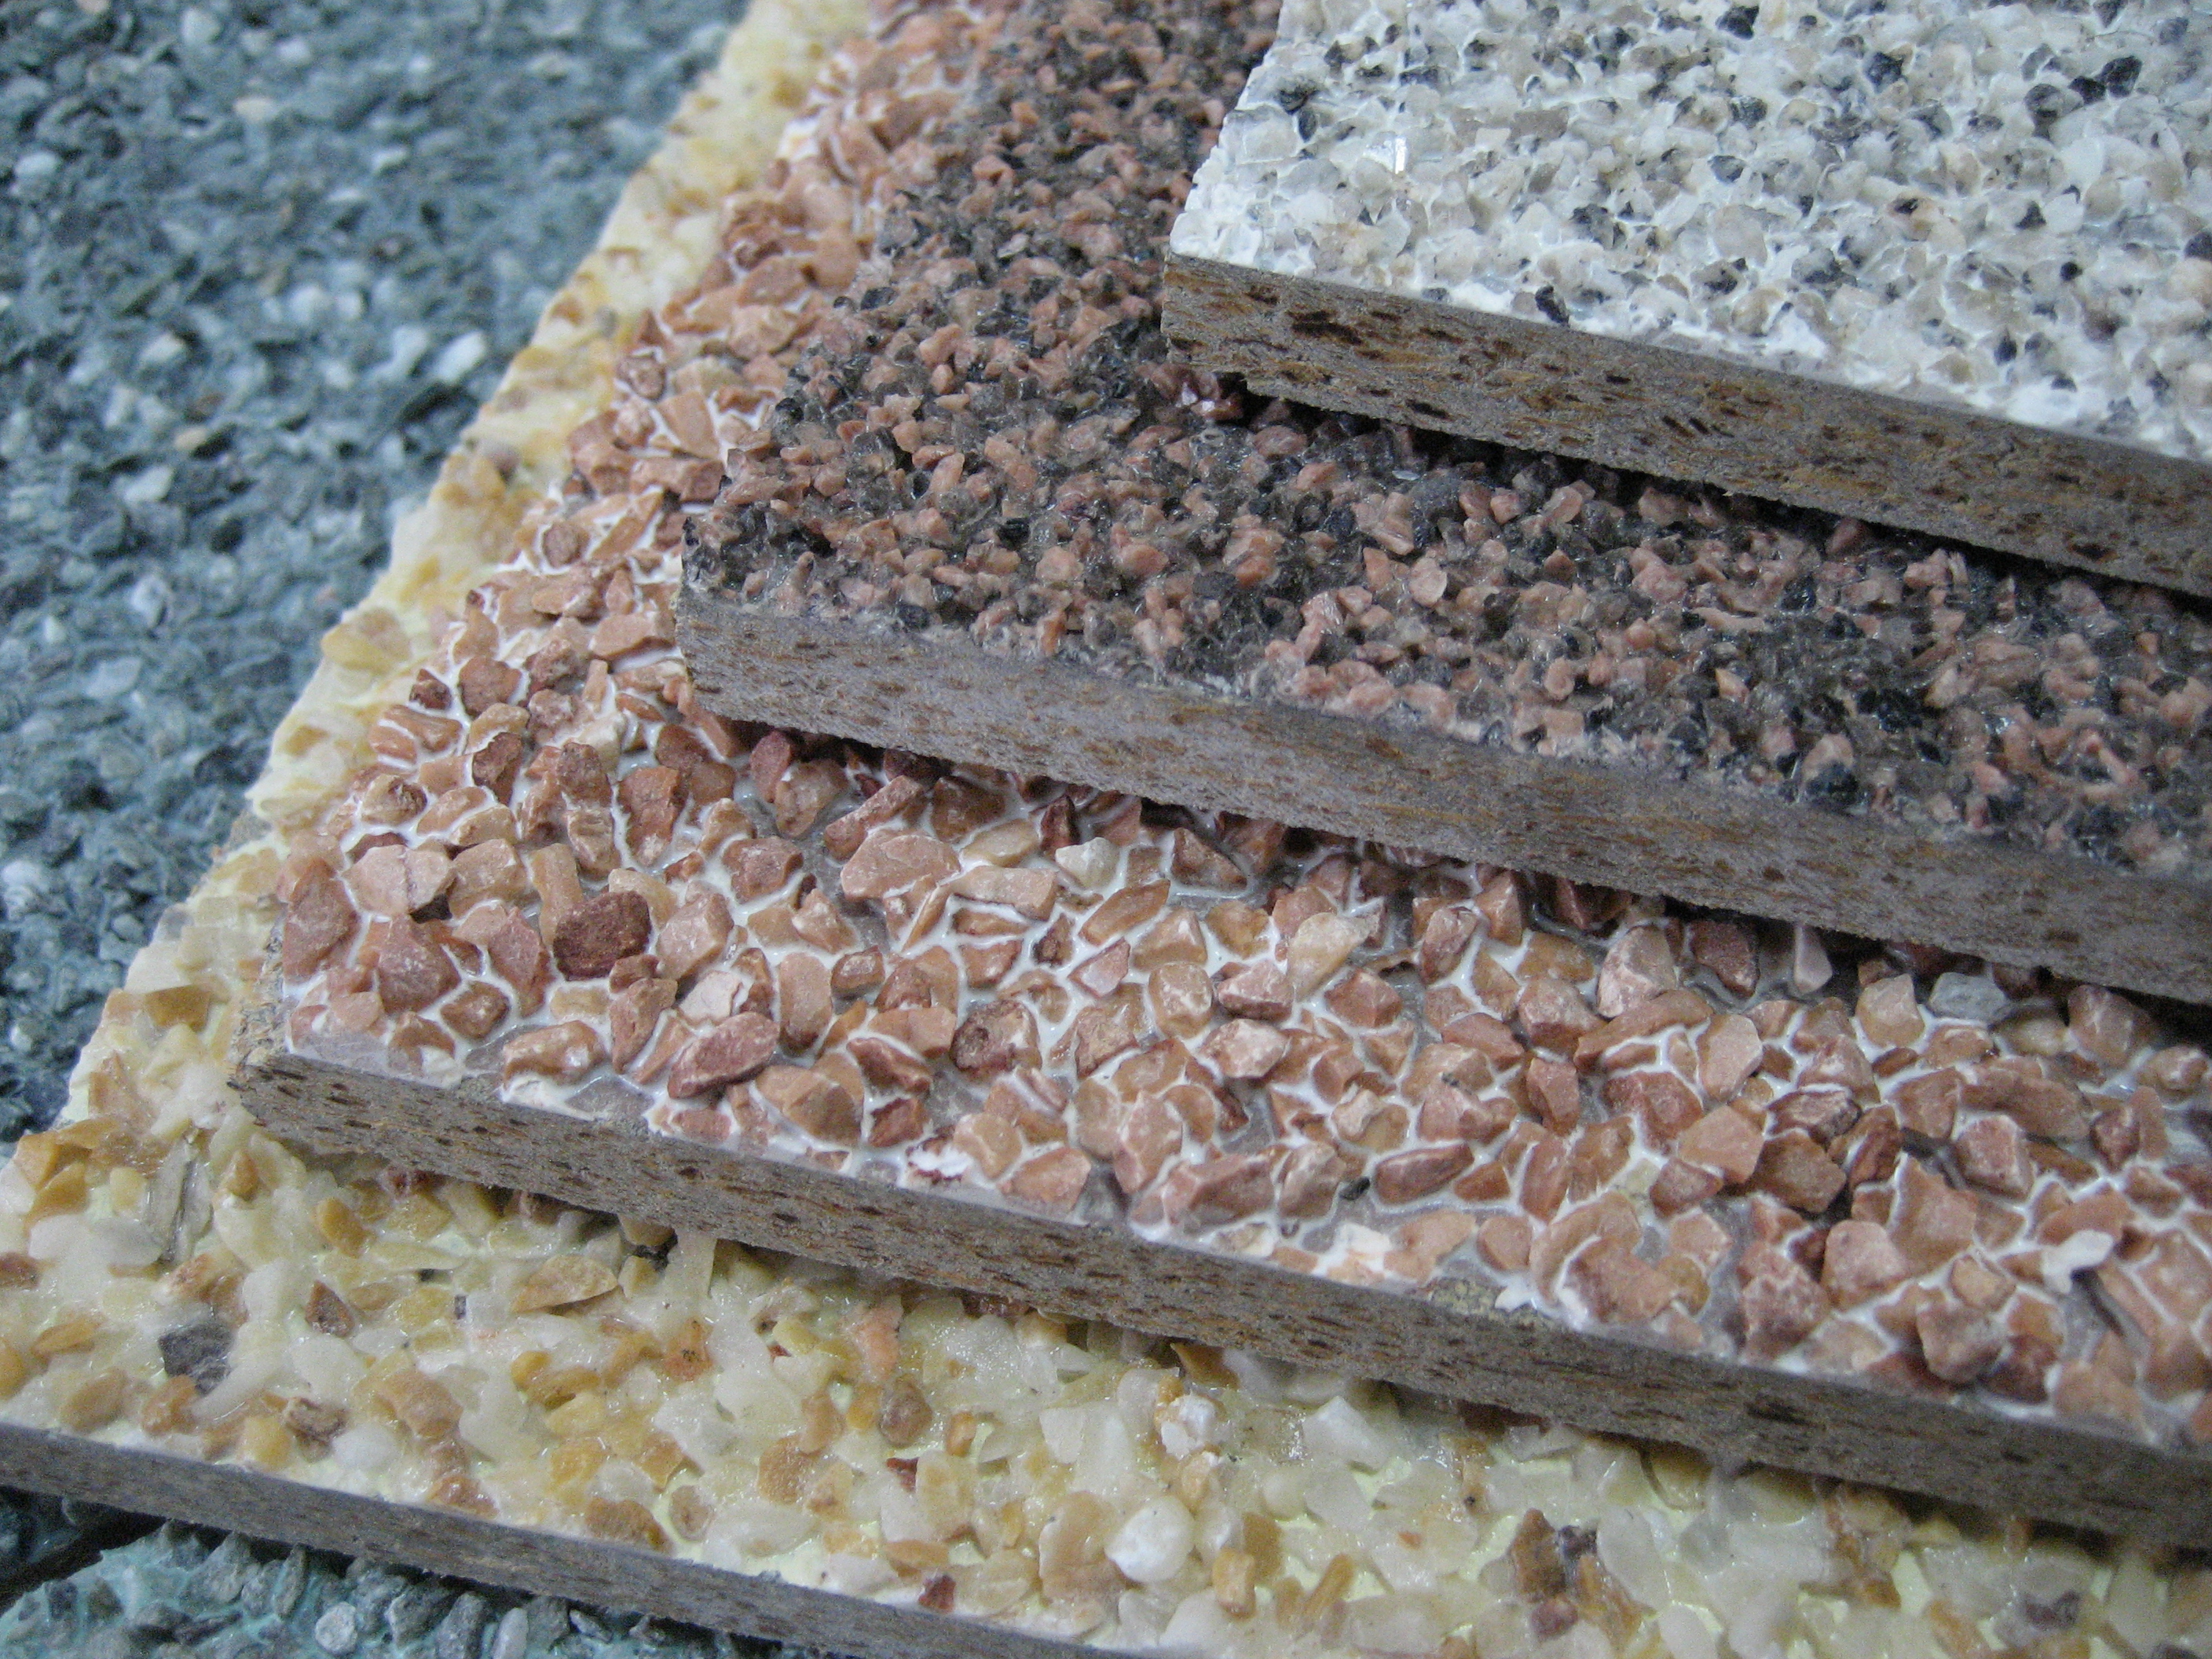
Decorative plaster is divided into textured, relief, flocks, terrazitovuyu, structural mixture.
All of them are compositions that create a volumetric appearance of ceiling surfaces:
- Structural plaster contains wood fibers.
- There are synthetic fibers and particles of marble dust in the embossed composition.
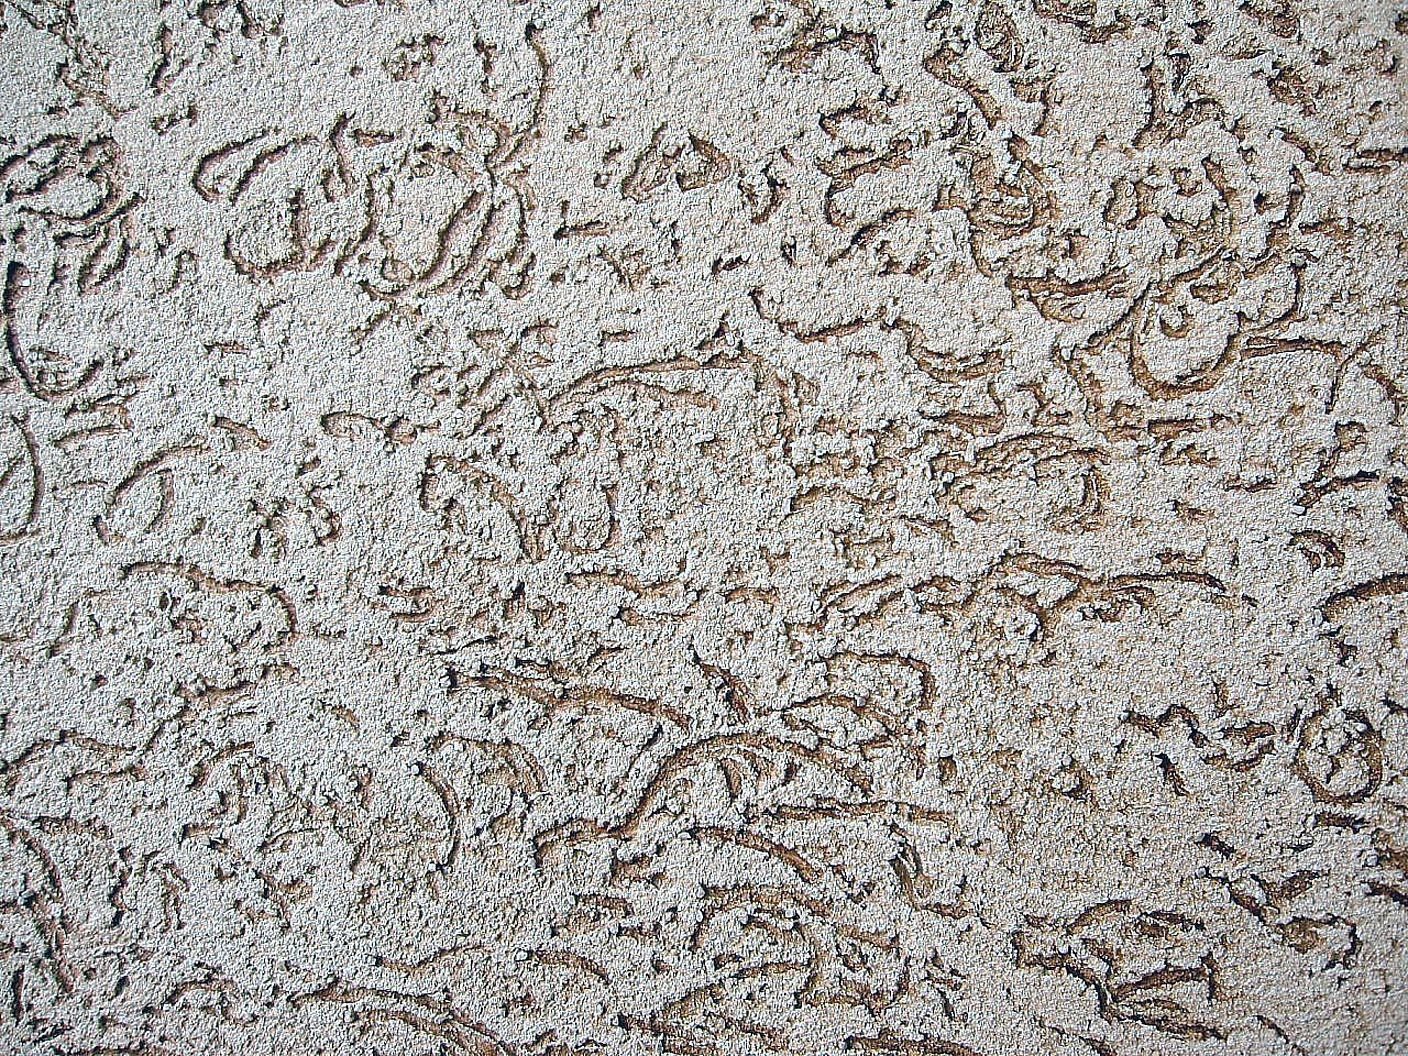
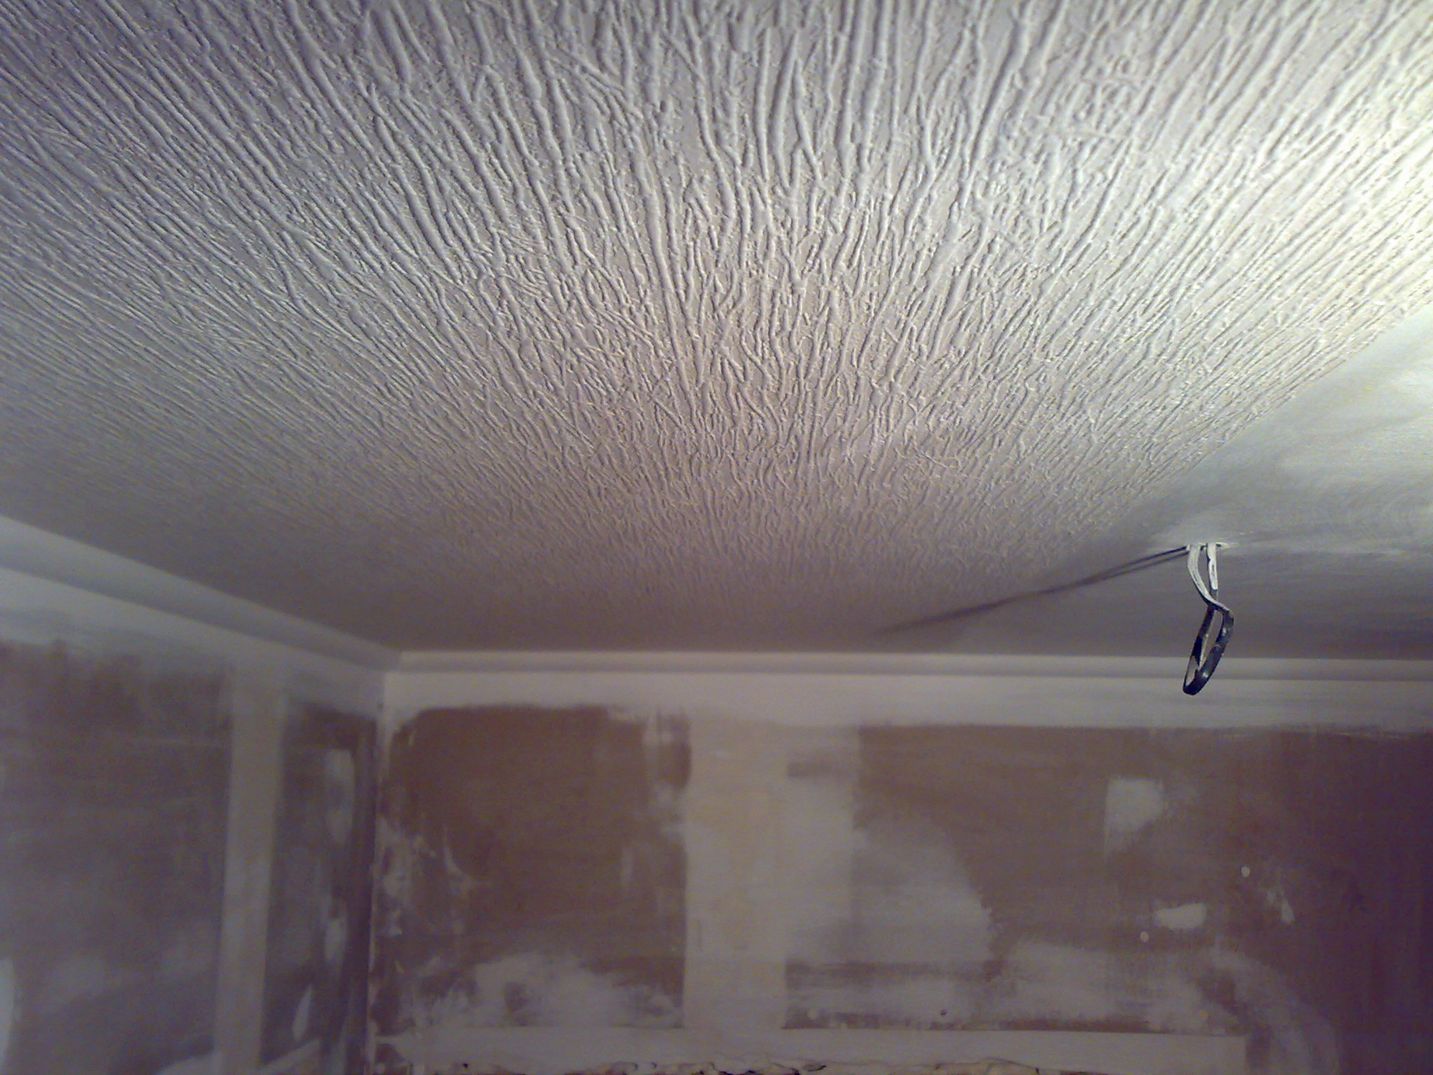
- Textured solution consists of various additives and may have different compositions.
- Terrazitovy mix is made on the basis of cement. The marble crumb, mica and glass is added to it.
- Flocks are acrylic flakes of different sizes and colors. In combination with each other, they represent an extraordinary color gamut. After applying this plaster is used as a finish lacquer finish.


Cement compositions include sand and lime additions. They are not considered to be particularly durable, because over time, damage from mechanical stress may occur. There are also cracks in the ceiling.
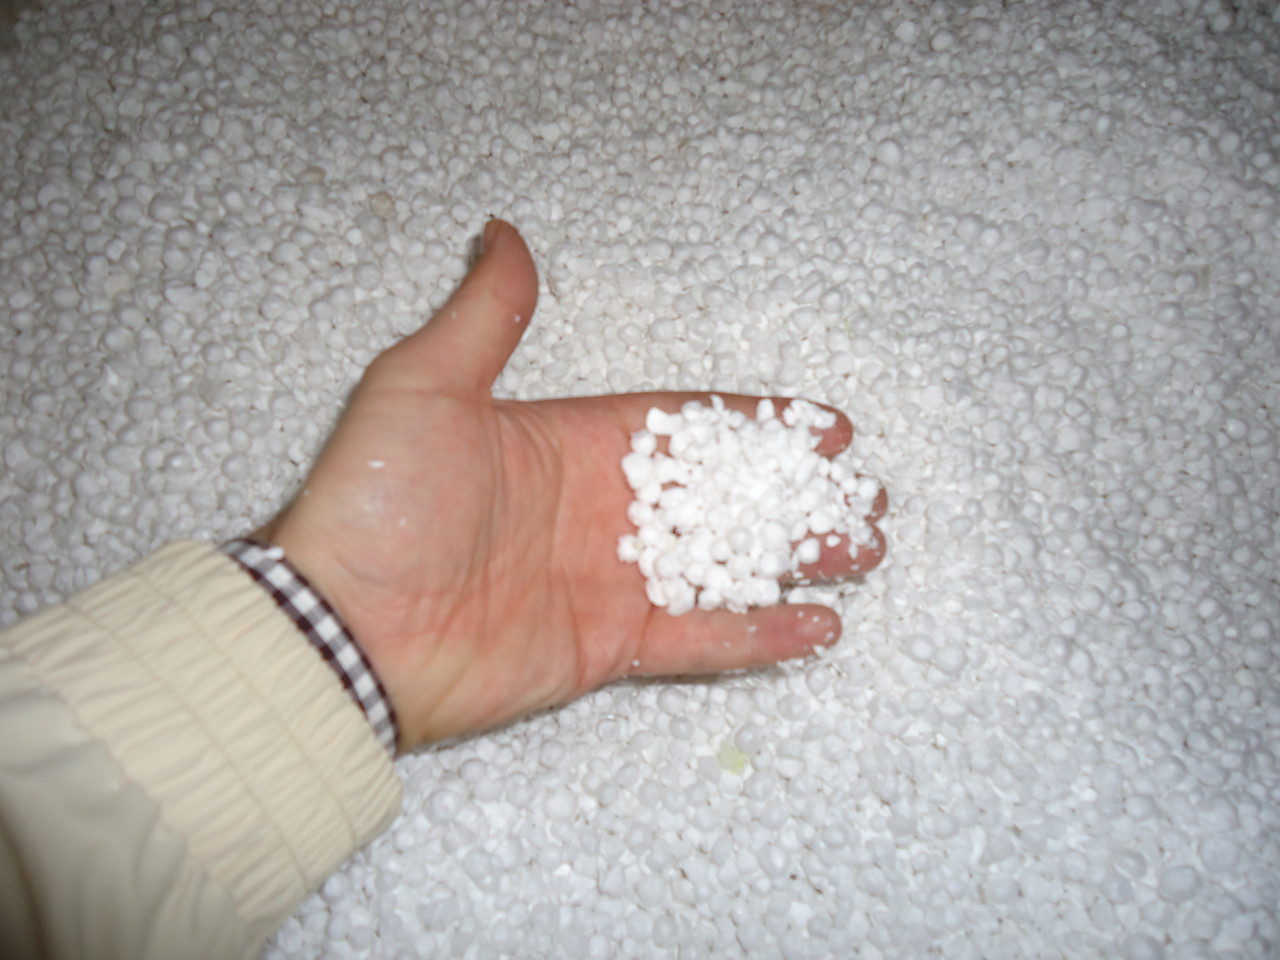
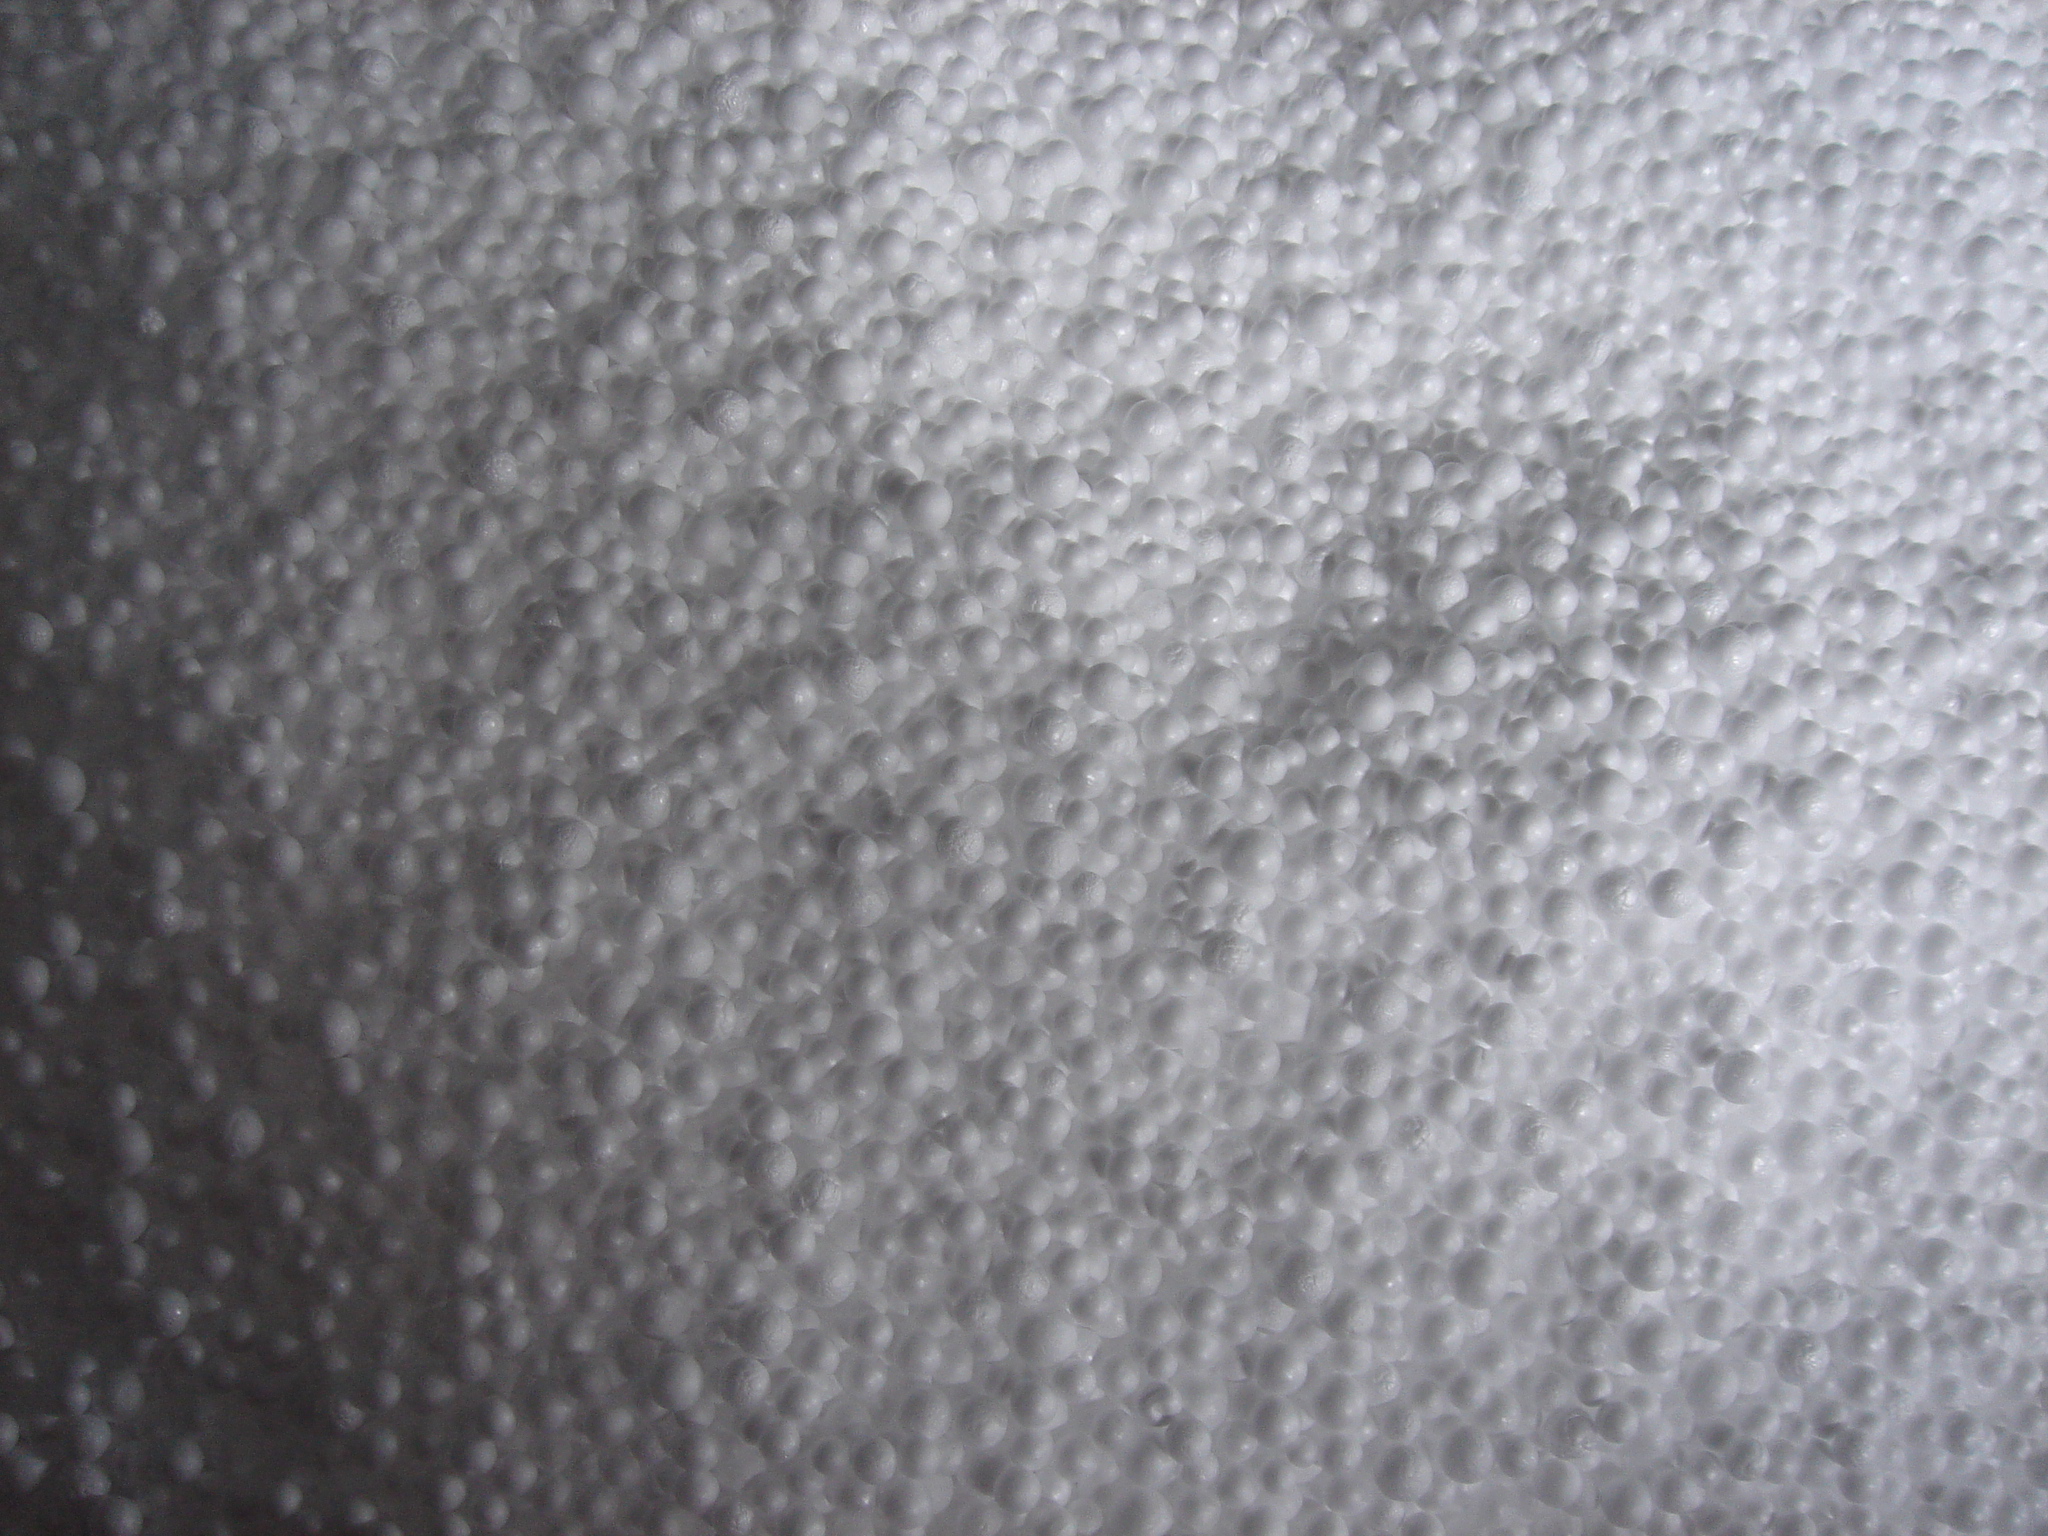
Among the new mixtures, often used recently, a special place is given to the new composition. Sand in the composition of the cement mortar is replaced by foam chips. Plastering solution is considered insulating mixture. It also includes such components as pumice powder, foam granules, perlite sand.
Foam crumb is non-toxic, well absorbs sounds and has a high thermal insulation. The material is refractory and withstands high negative and positive temperatures.
The ceiling is very well leveled with a solution filled with foam chips.
Silk plaster consists of silk fibers. It also includes cellulose, glue and a number of additives that make the composition durable.These components make the putty porous, increasing sound insulation. Its qualities help to retain heat, which can evaporate through the cold ceiling.
The mixture must be diluted with water, the result is a creamy composition. It is the appearance of its density when applied to the ceiling and walls that form a layer that allows you to reliably hide defects and cavities. The result justifies the expectations. The surface is solid, without seams and joints. It is good to cover such bases with such plaster, after drawing completely smooth and smooth ceilings are obtained.
Tools for work
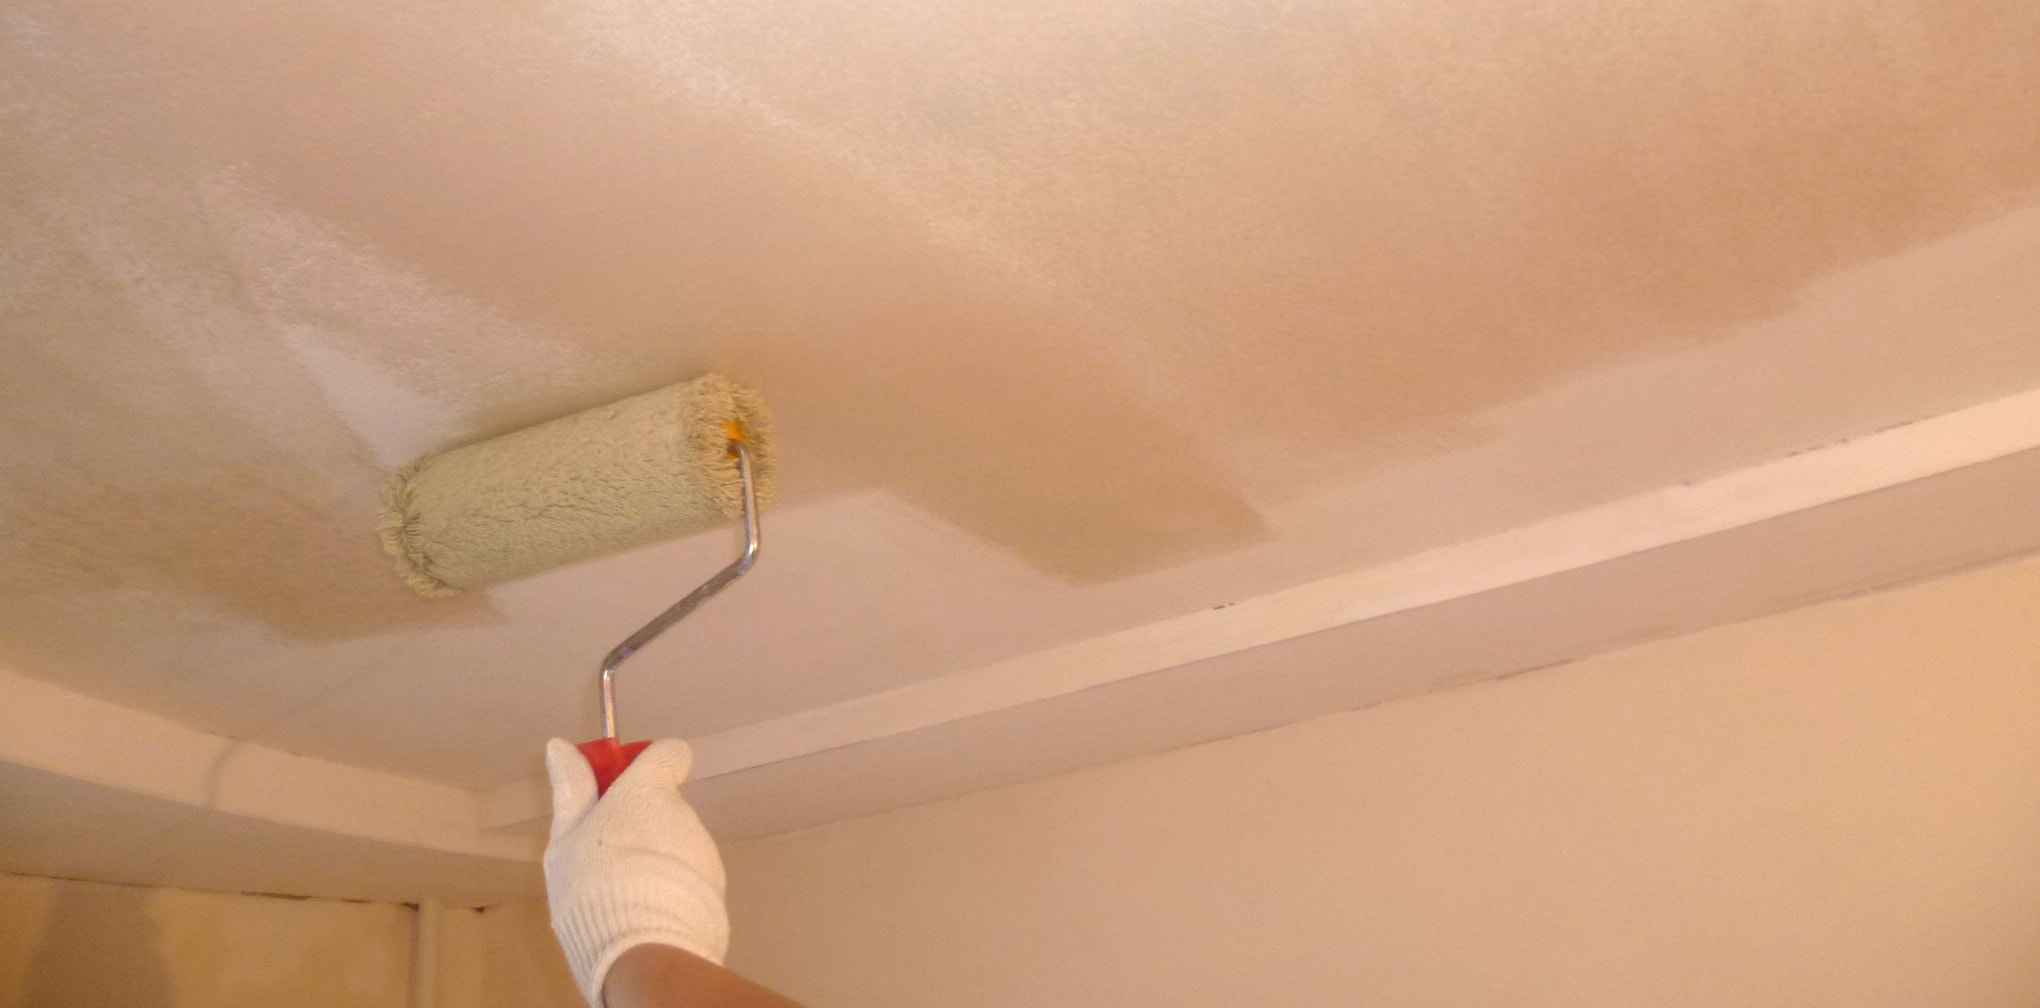
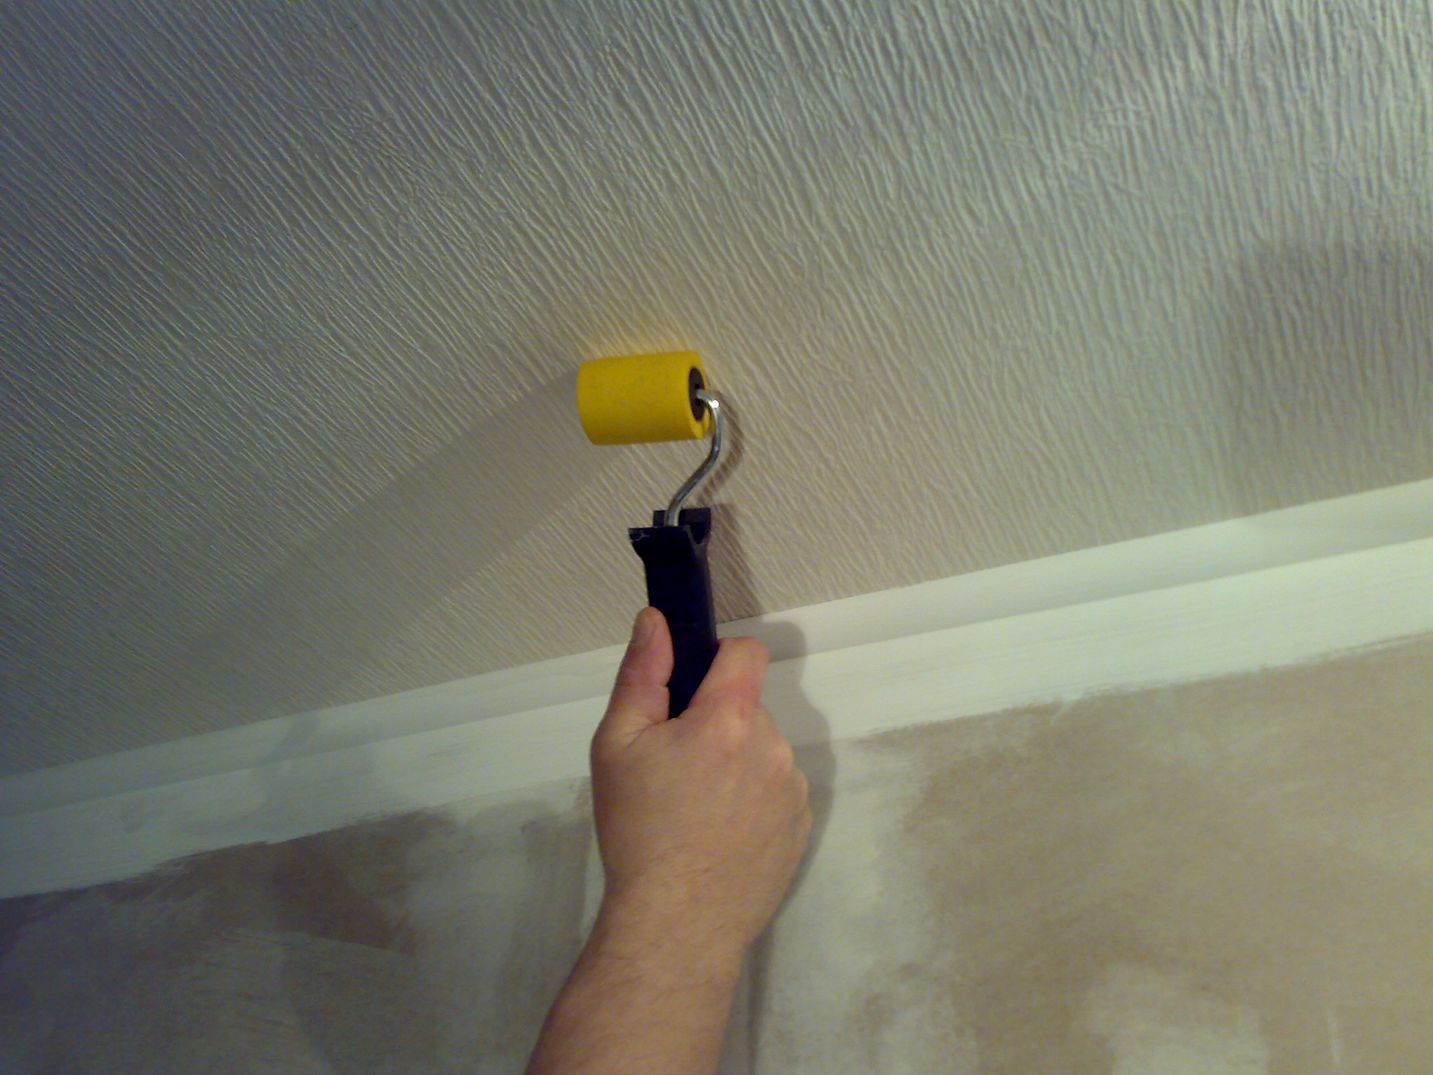
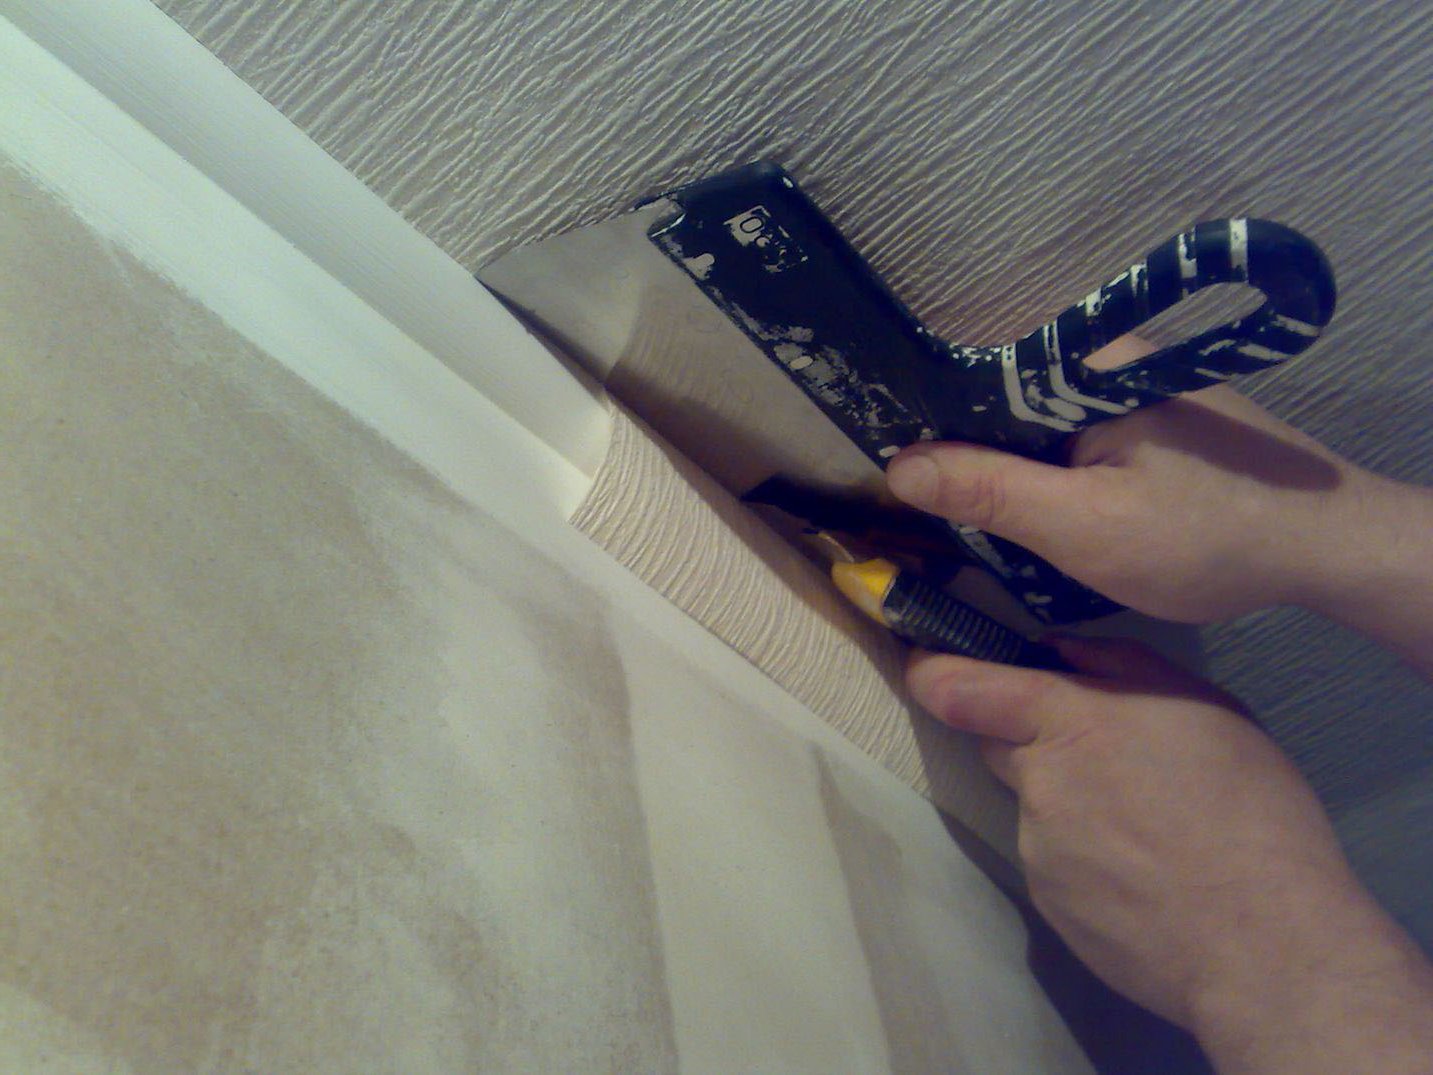
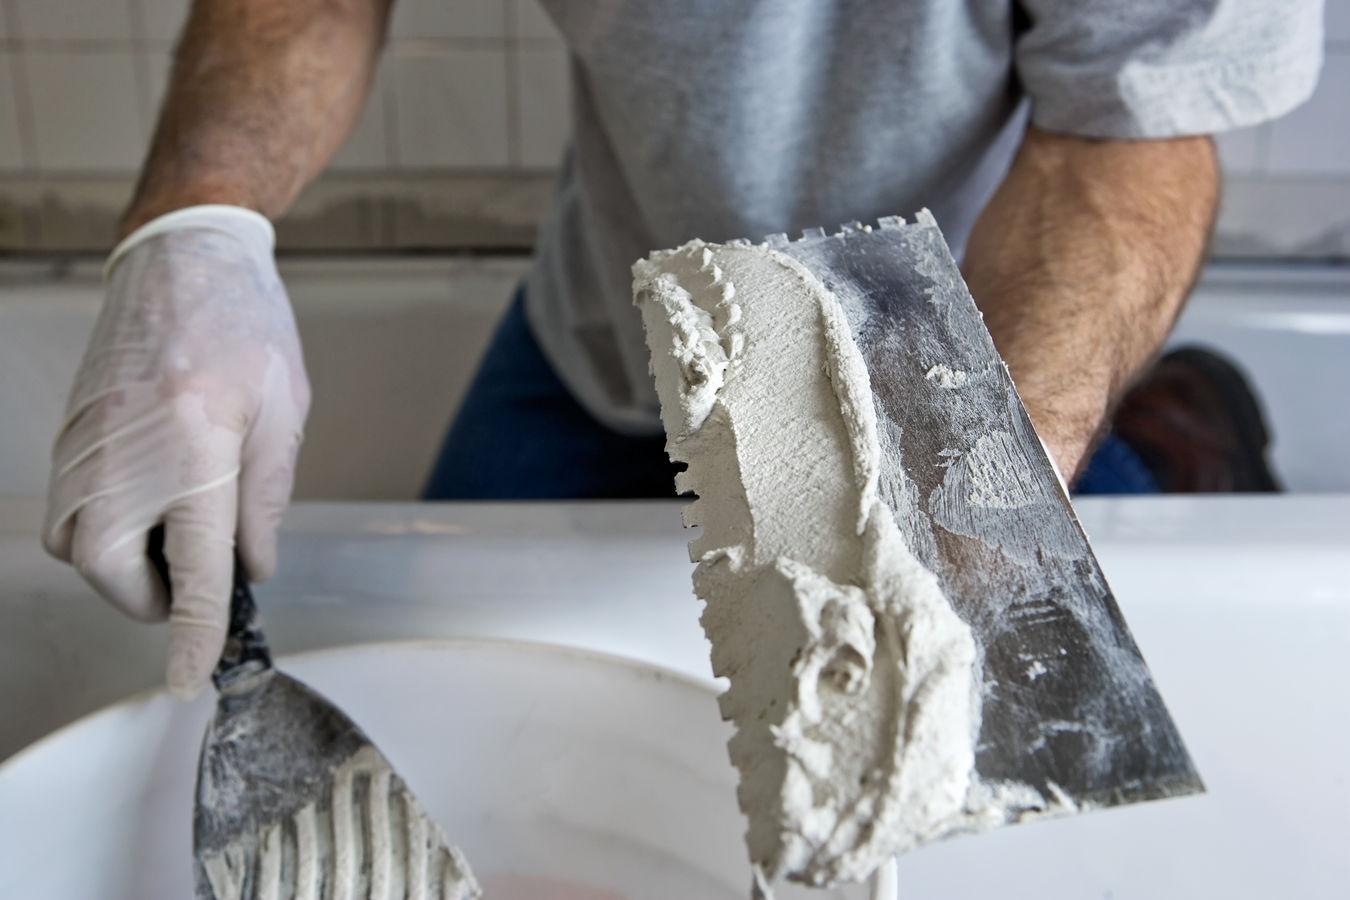
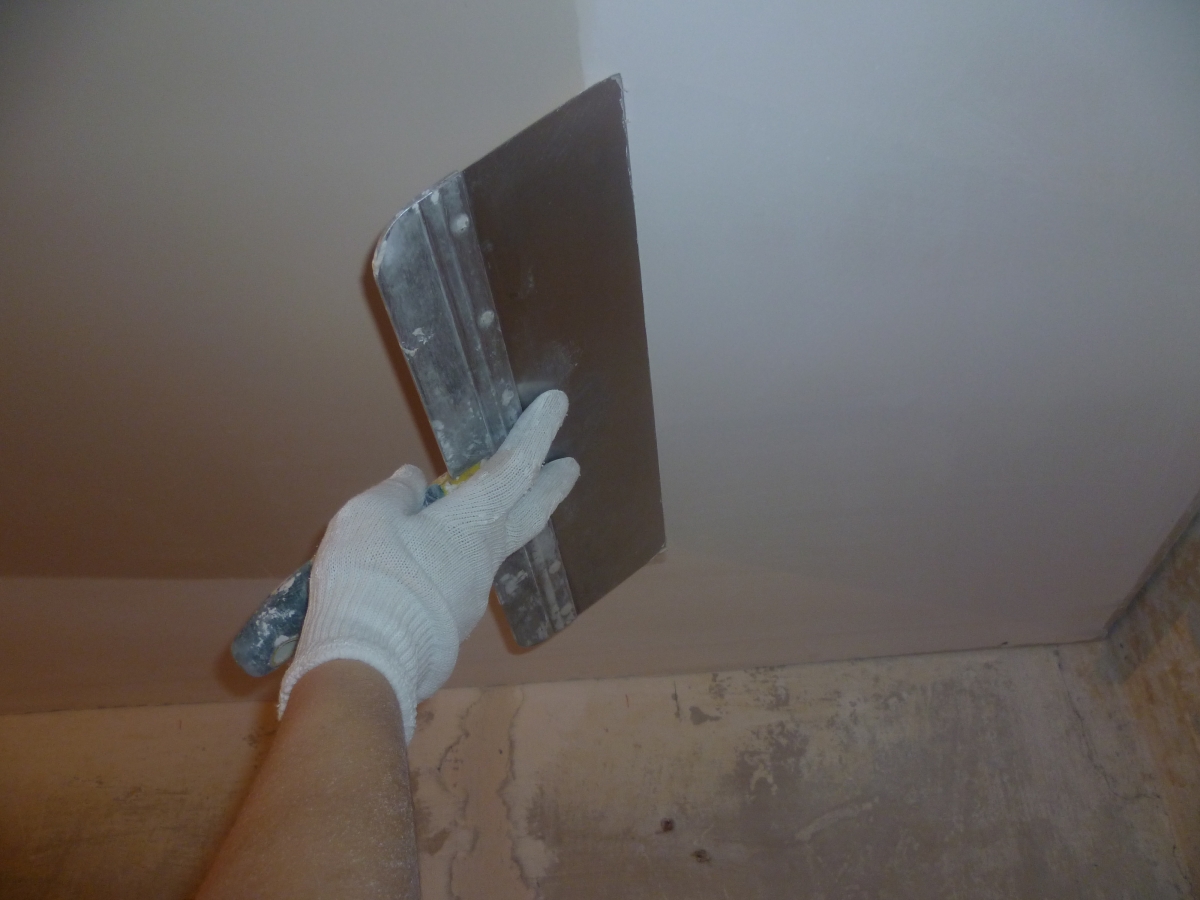
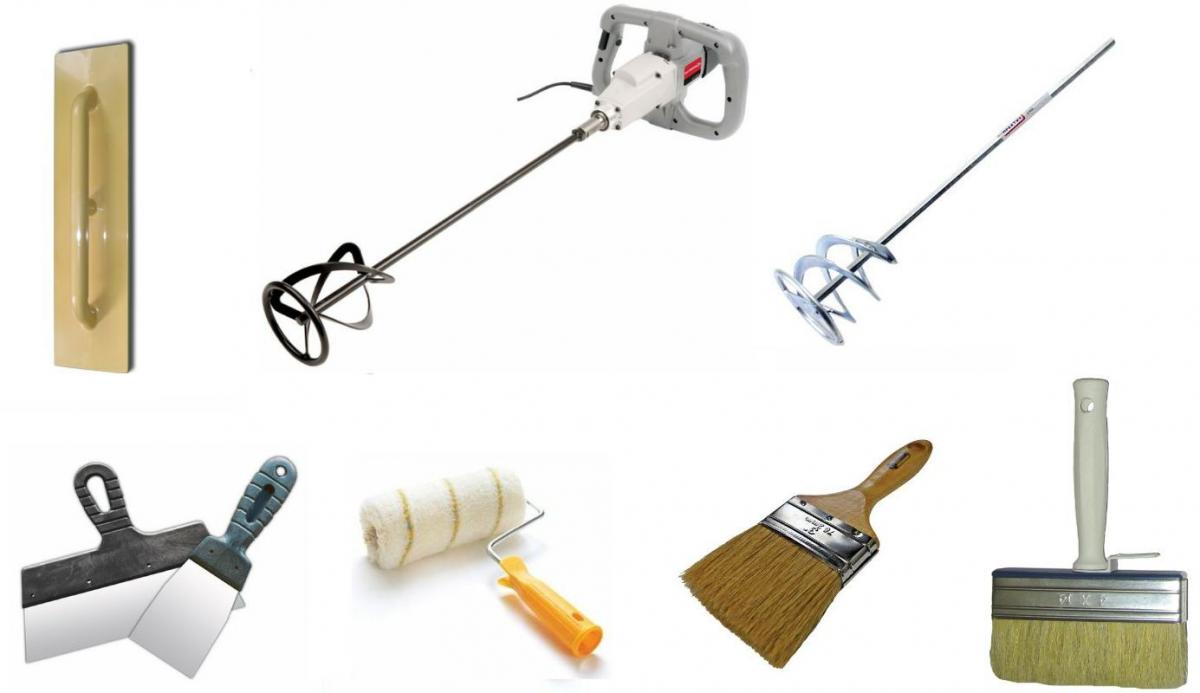
Speaking about the tools and devices for work, it should be noted that the putty is carried out using metal spatulas (different in width), brushes, roller.
You will need a plaster mix, a container with water, a trowel, a drill with a nozzle or a mixer, a grinding grater, and glue.
It is advisable to use a protective mask and goggles to eliminate the possibility of contact with the eyes and airways of layers of old materials to be dismantled. For drywall will need a primer and putty.
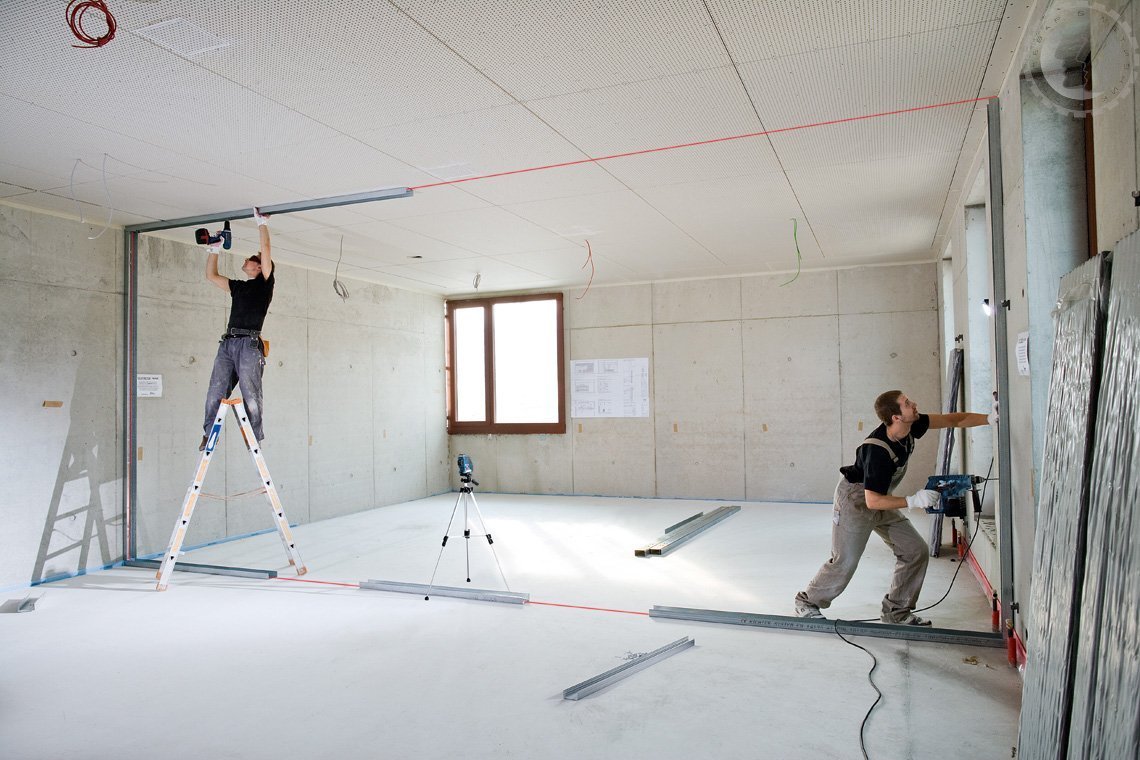
How to install beacons?
To properly make the surface of the ceiling perfectly smooth and beautiful after plastering, install supporting materials, called beacons (beacons). The process of working with ceiling foundations is time consuming. Each centimeter of thickness is applied with an additional layer of mortar. Using beacons, this process can be reduced to a minimum.
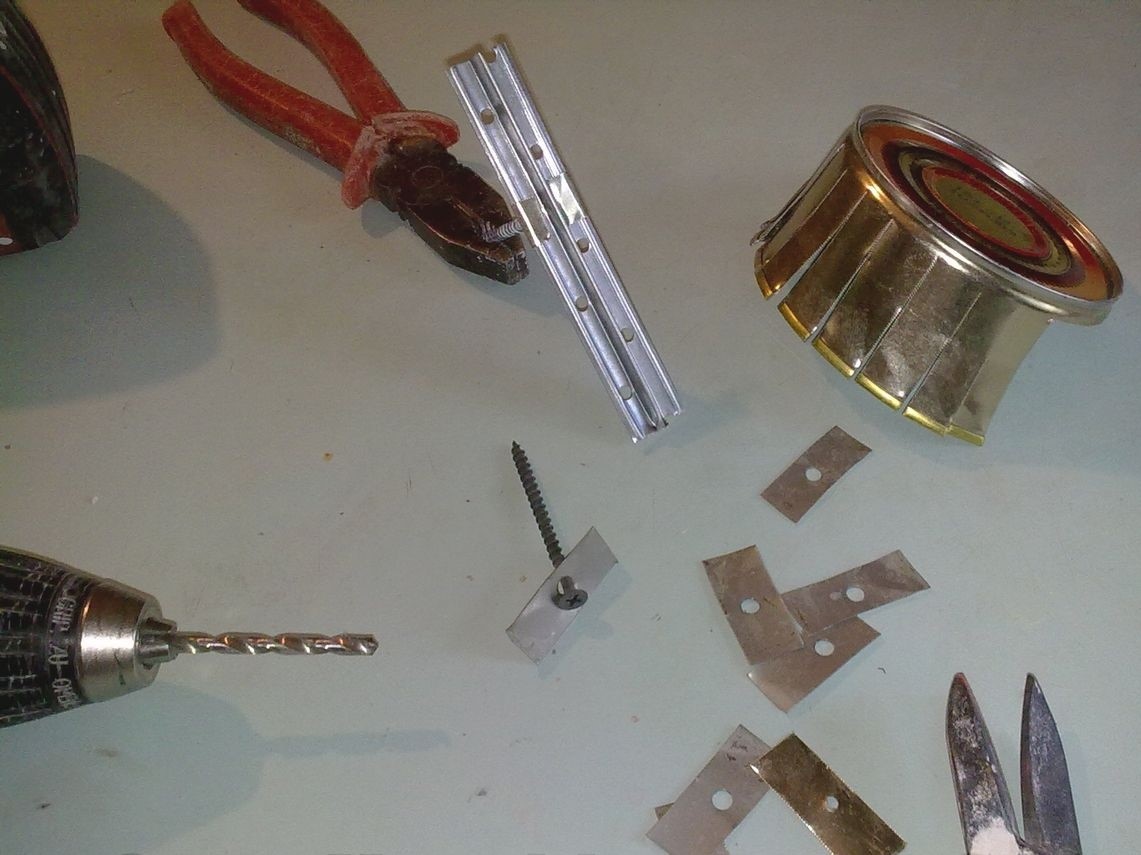
They are attached to the ceiling base in such a way that the tops of these materials form a common, very flat plane. Make beacons using different material. It can be wooden slats, metal profiles in the form of the letter “T”, strips of plaster.
The most laborious of the three methods is the creation of beacons of plaster.

Make a strip on the ceiling, acting as guides. The entire base of the ceiling is then aligned along them.
The production of strips takes a fairly long period of time, but the advantage of the work is that after the work is finished, such materials do not need to be removed from the ceiling and embedded in the places where they were fastened.
The advantage is the ability to make beacons of any height, since plaster is taken as the raw material for their manufacture.
T-shaped metal profiles are often used to apply plaster on the ceiling base up to 1 cm thick. If necessary, create a thicker layer under the beacons enclose the solution, allowing in this way to achieve the required height. It is easy to work with such profiles, however, when applying a thick layer on the ceiling, the process of placing beacons at one height takes a lot of time.

Wooden slats can also be leveled ceiling. But the tree absorbs moisture in large volumes, so before work it is best to hold the slats in the water so that after drying they do not change their size and thickness.
Convenient is their ease of attachment and use.
Any type of lighthouses chosen to be installed on the ceiling in a bathroom, kitchen or living room is preceded by a marking process. Ways to establish beacons for the ceiling and walls are similar to each other.

Step-by-step instructions for installing beacons
First you need to check the ceiling surface with a level or a chopping thread. Determine the lowest point on the ceiling and put a mark (using a paint cord). From this point begin the installation of lighthouses.
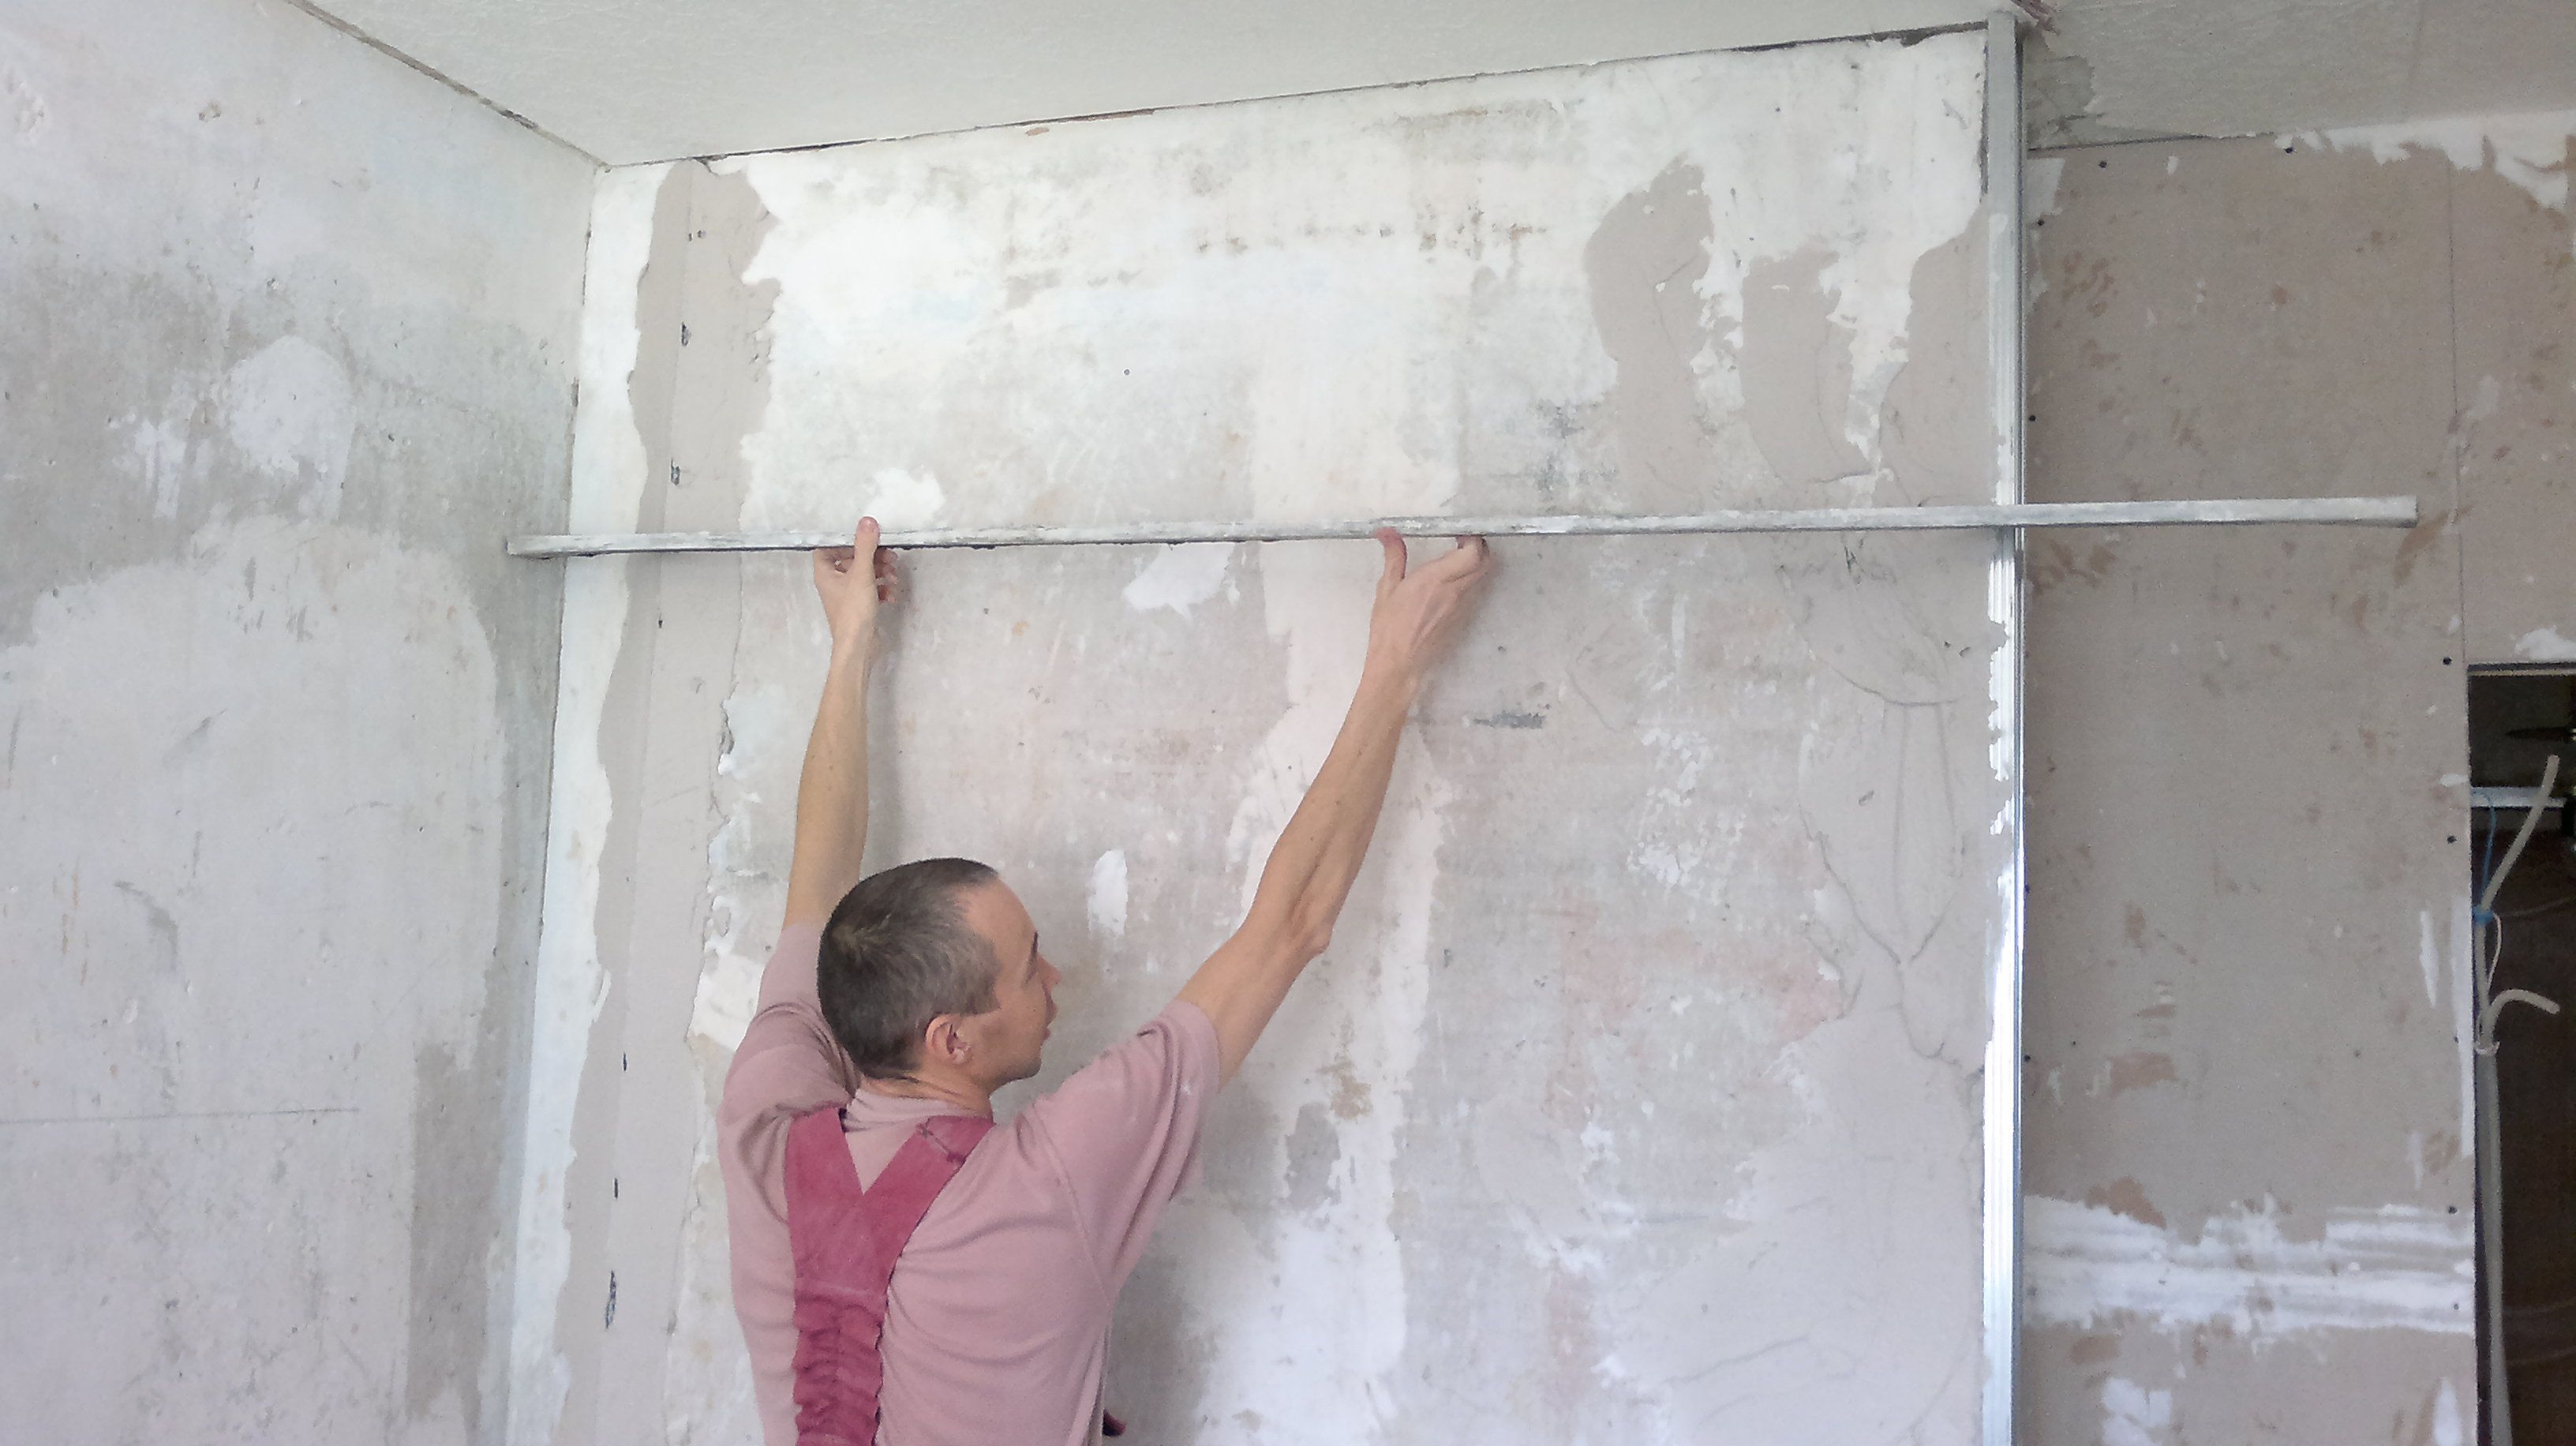
Using masking tape mark the ceiling on the line. Next level (including laser) check the angles between the lines so that they are strictly 90 degrees. After on the guide lines attach the slats (beacons) with screws.
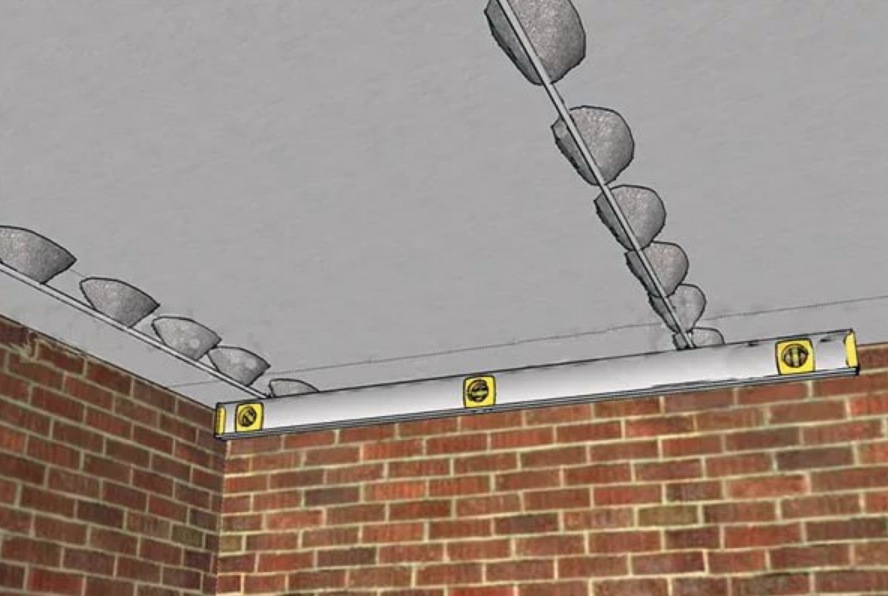

The distance between the rows of slats should be no more than 20 cm. Screws are set at a level so that after work the ceiling base can cover all defects and problem areas (projections, hollows). Where was the lowest point of the ceiling surface, the lighthouse is raised to the maximum height, thereby equalizing it with other lighthouses around the perimeter. The rail is usually better to use steel with a length of 60 cm to 1 m 40 cm. It will, when plastering, move around the beacons over the entire ceiling area.
Preparation for further work on this ends. Those interested can watch the video.
Plastering
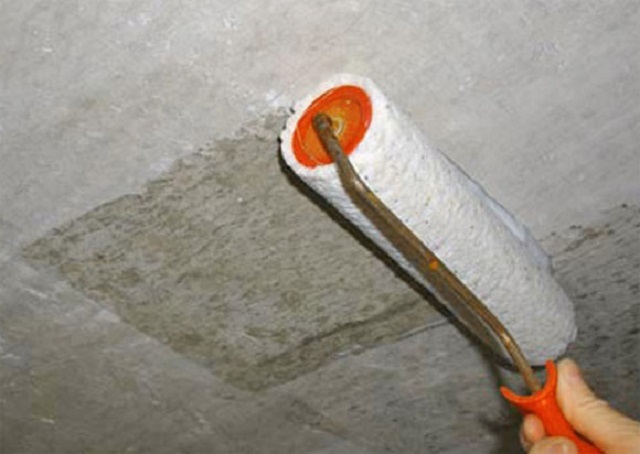
Before plastering different ceilings, any of them must be remembered to be primed.
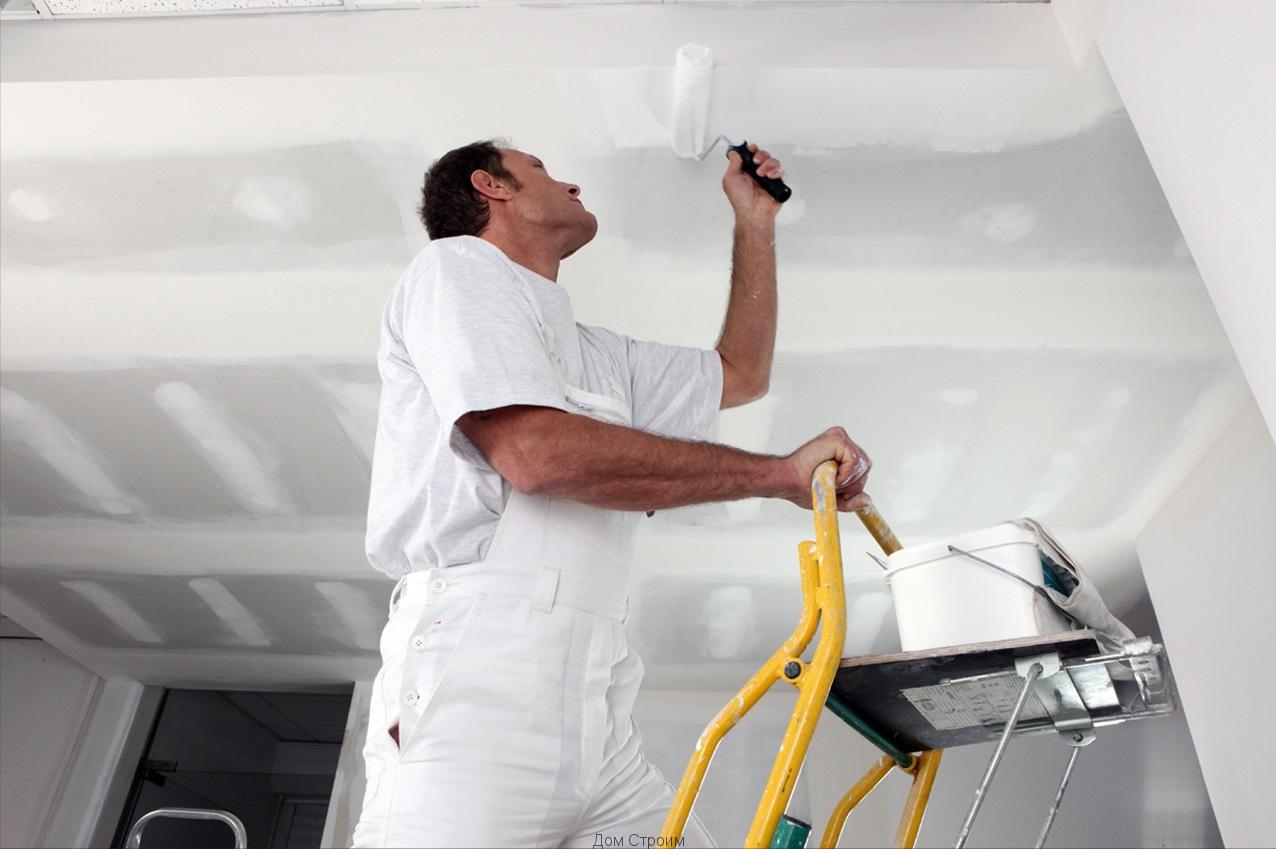
After the primer has dried, you can install the lighthouses and the plastering process. For different types of ceilings (wooden, plasterboard, concrete) used a special plaster mixture.
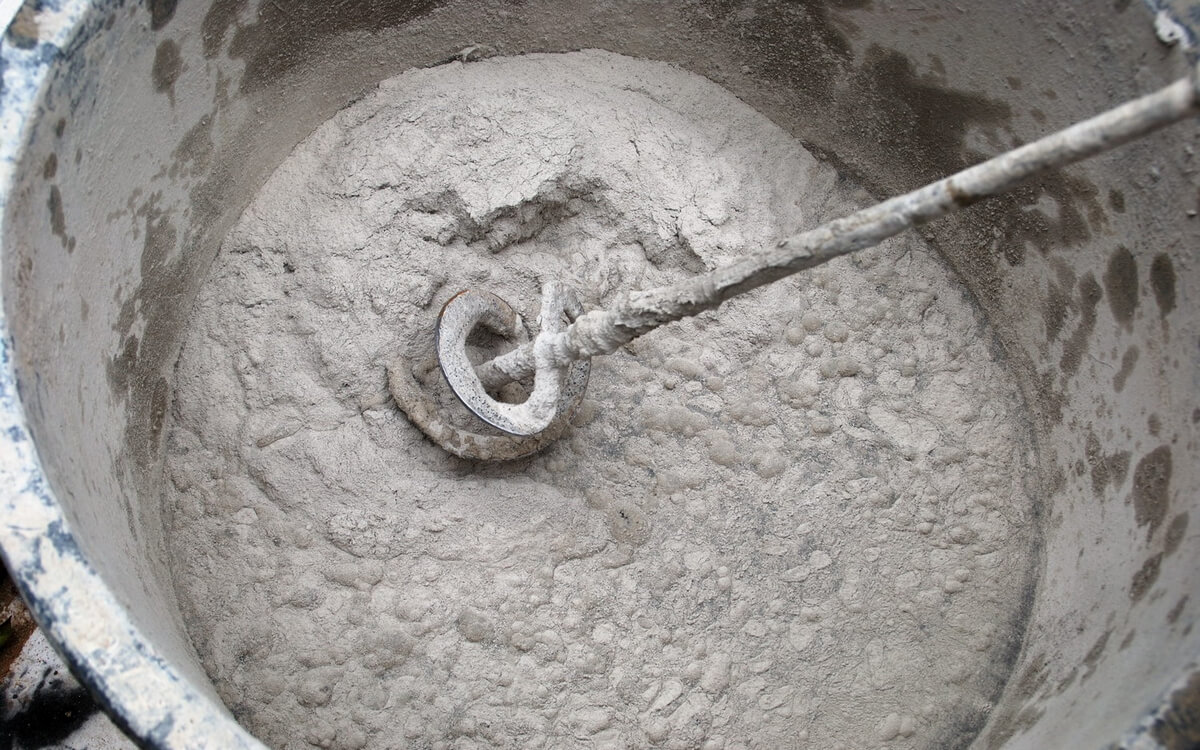
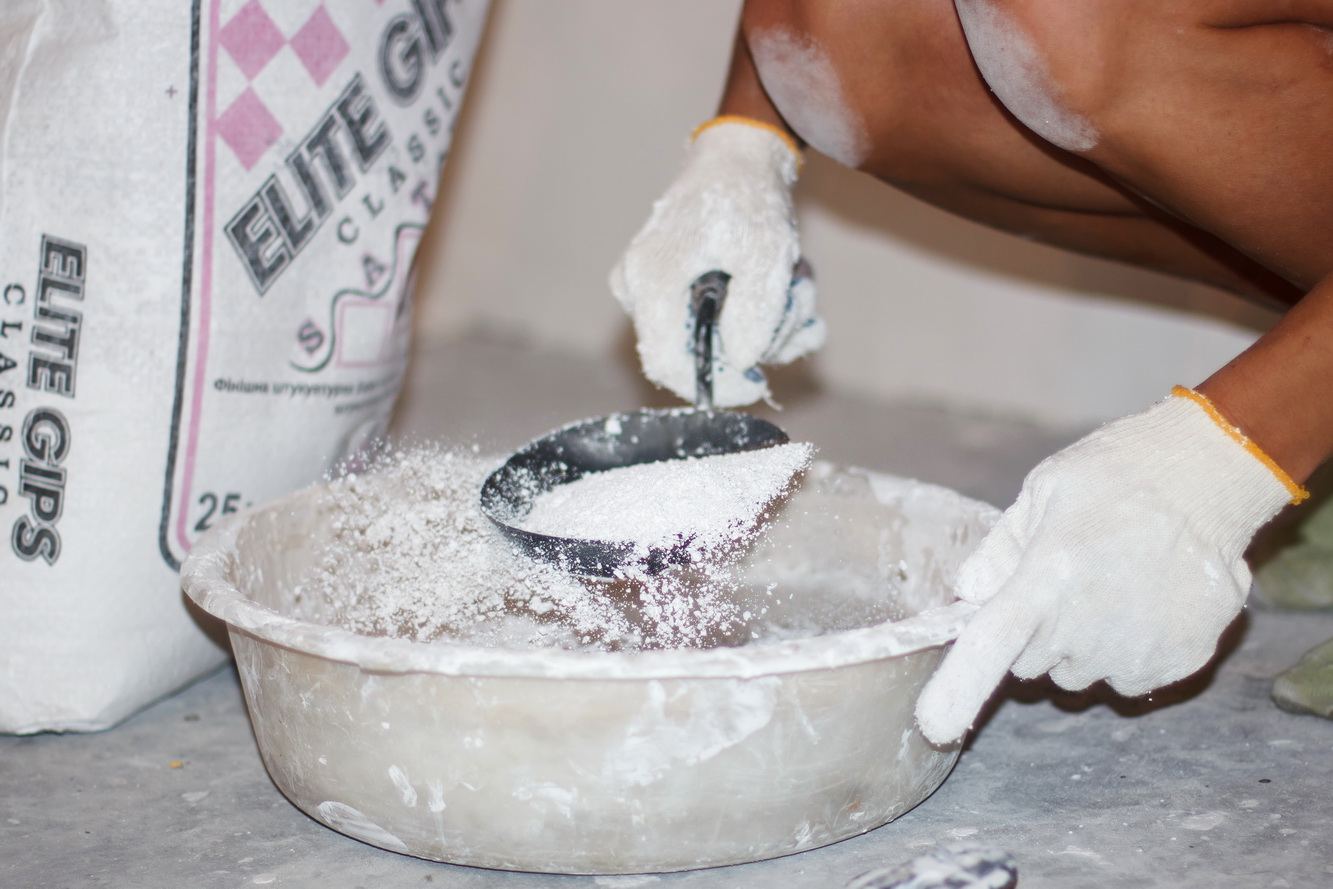
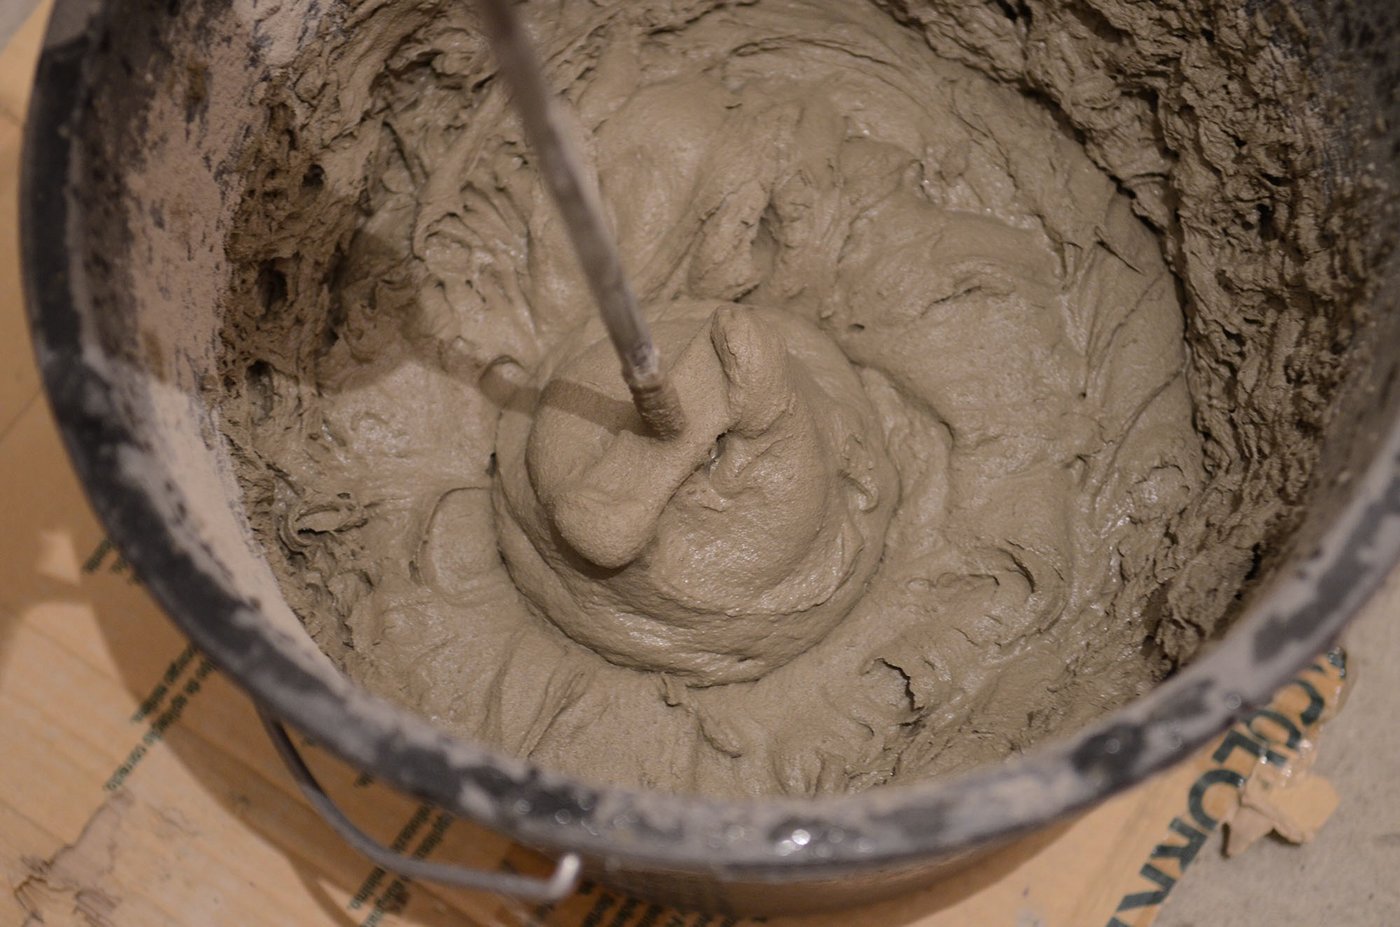
The technology of work is not particularly complex. Initially preparing a solution or putty.
To make the mixture very plastic, it is customary to add PVA glue into it. The application of such a solution on the ceiling will ensure quick setting and firm fixation on the surface. Whatever the thickness of the plaster layer, such a solution will not allow the ceiling to crack or crumble in the future.
A special mixer is used to make a mixture of water with PVA glue, gradually adding plaster to this liquid. All mixed until a homogeneous mass.

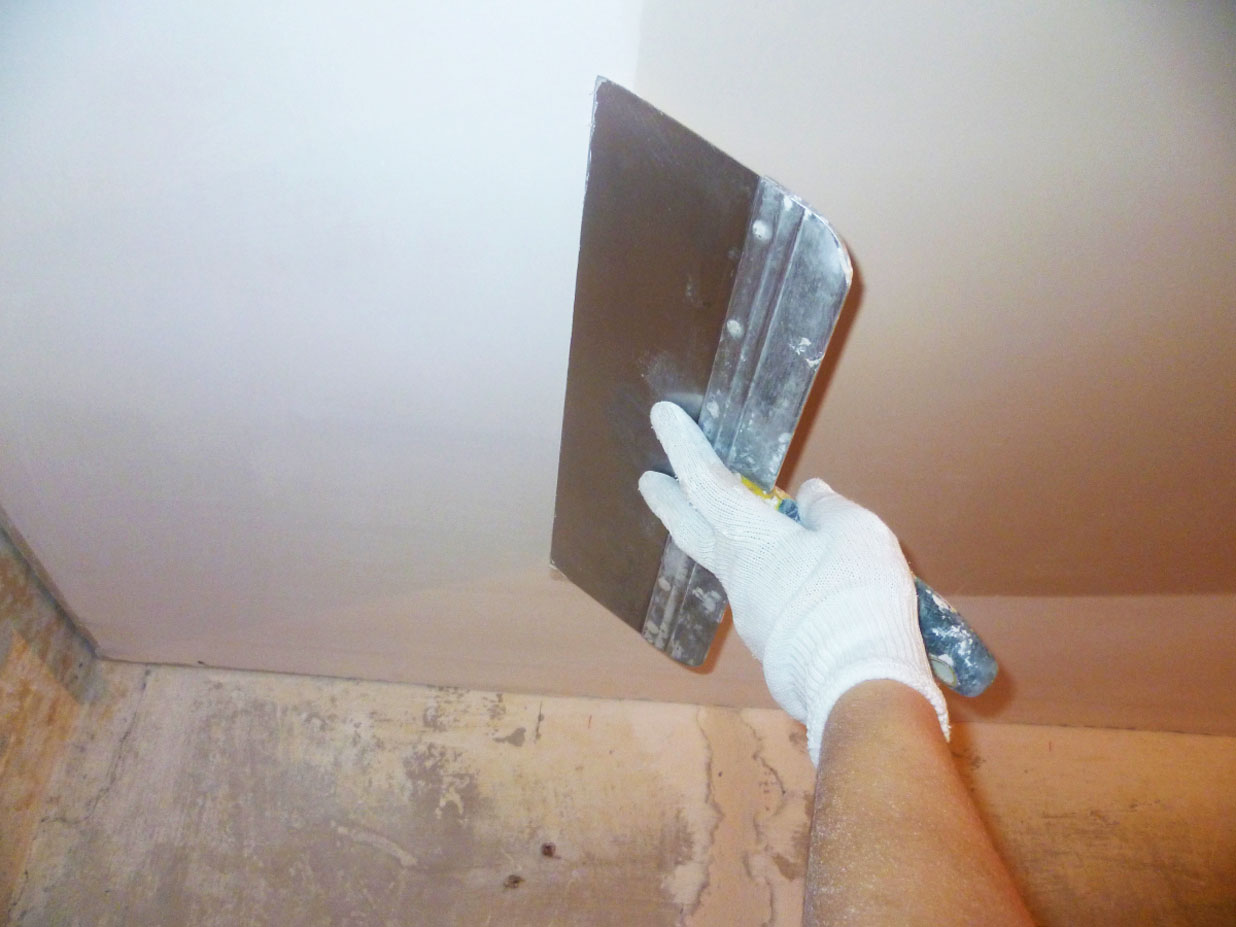
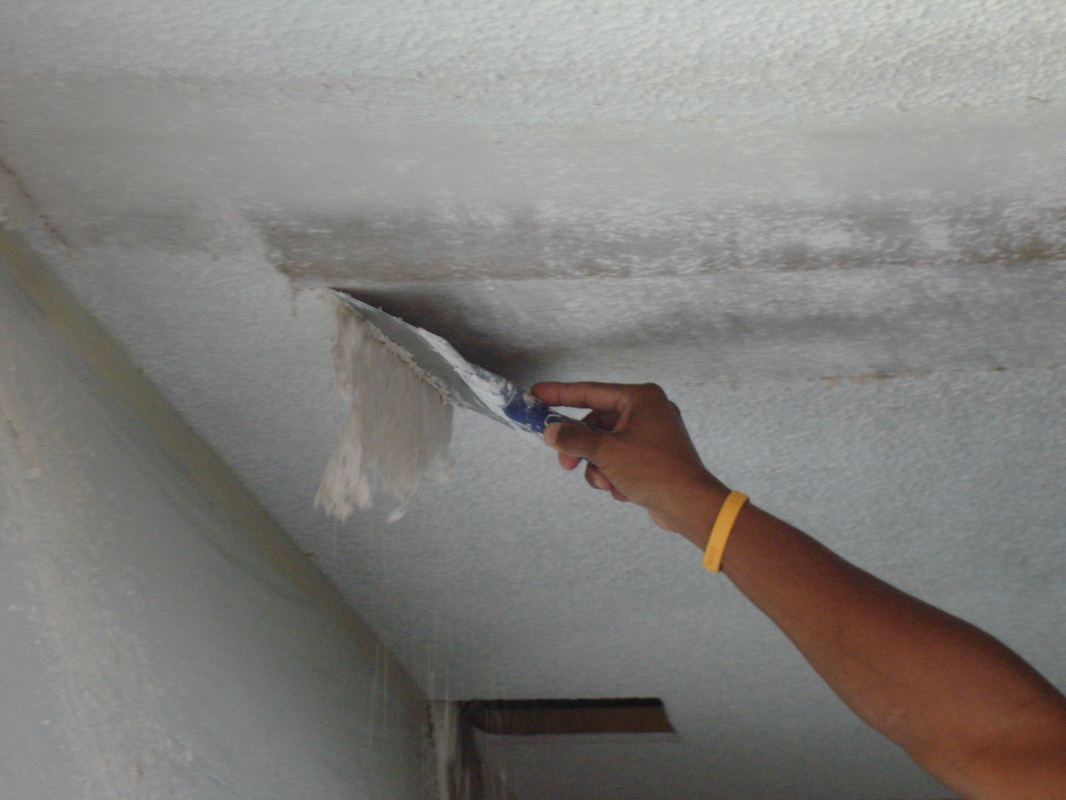
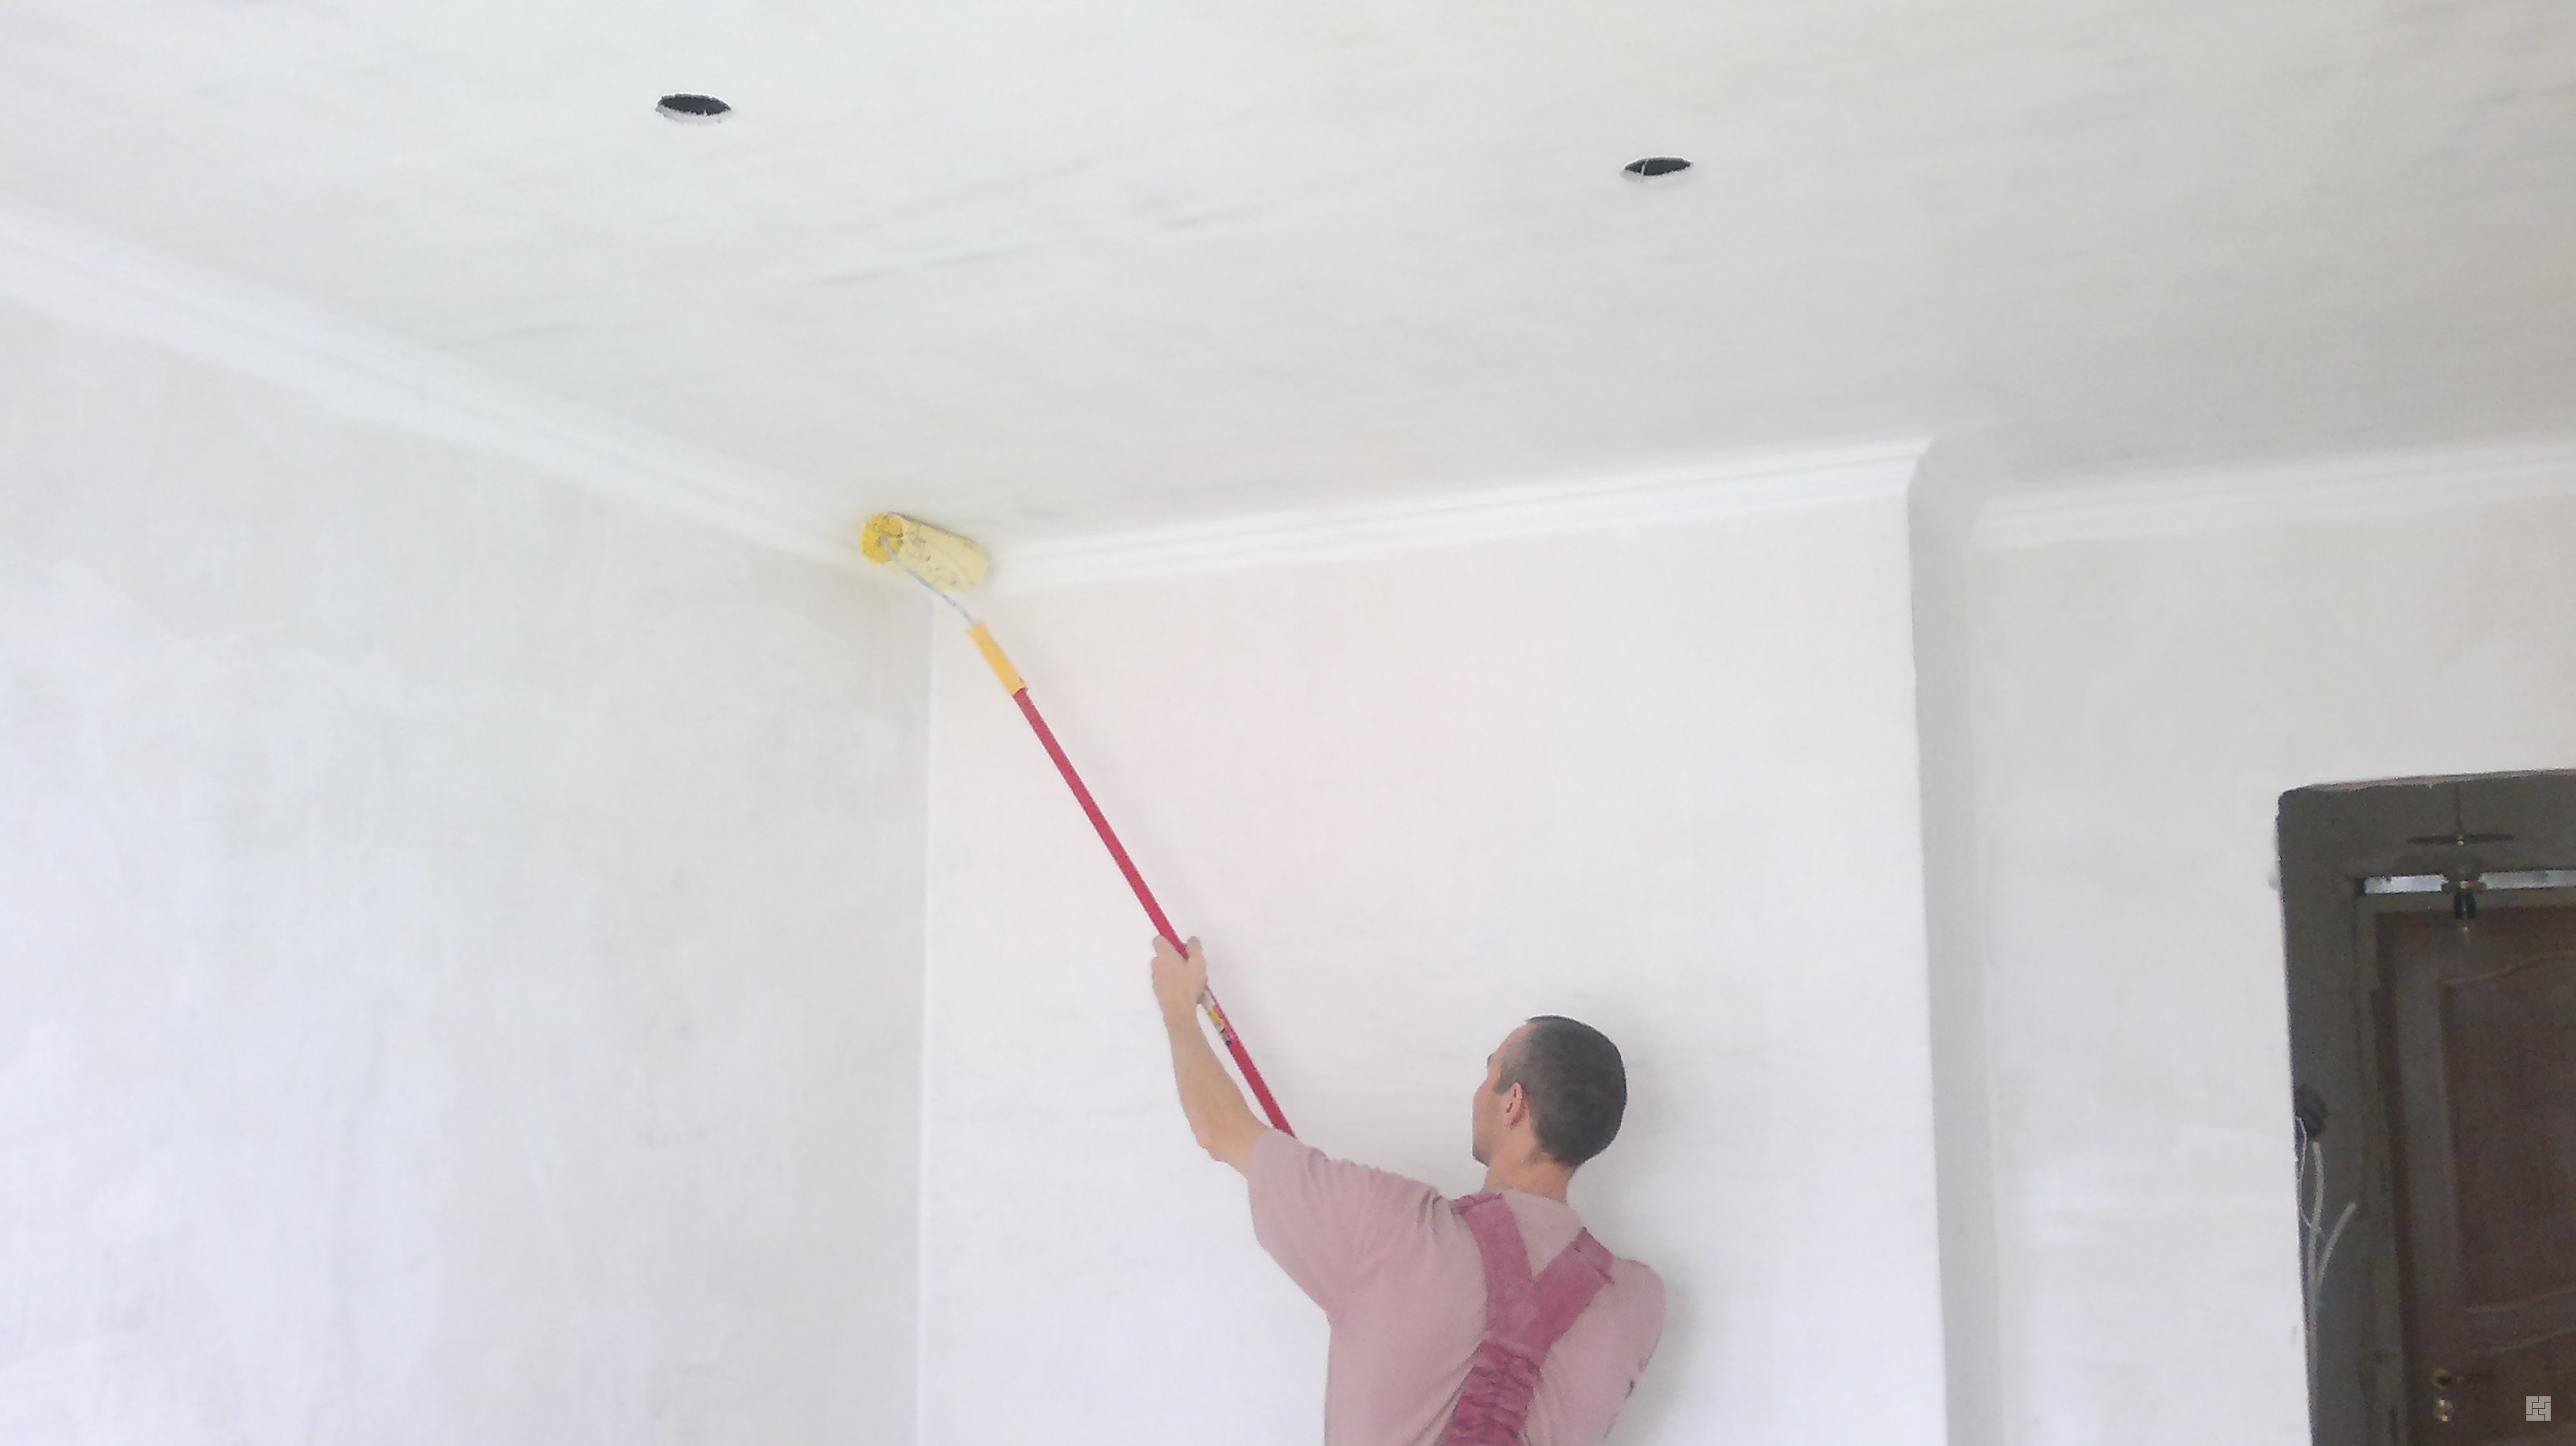
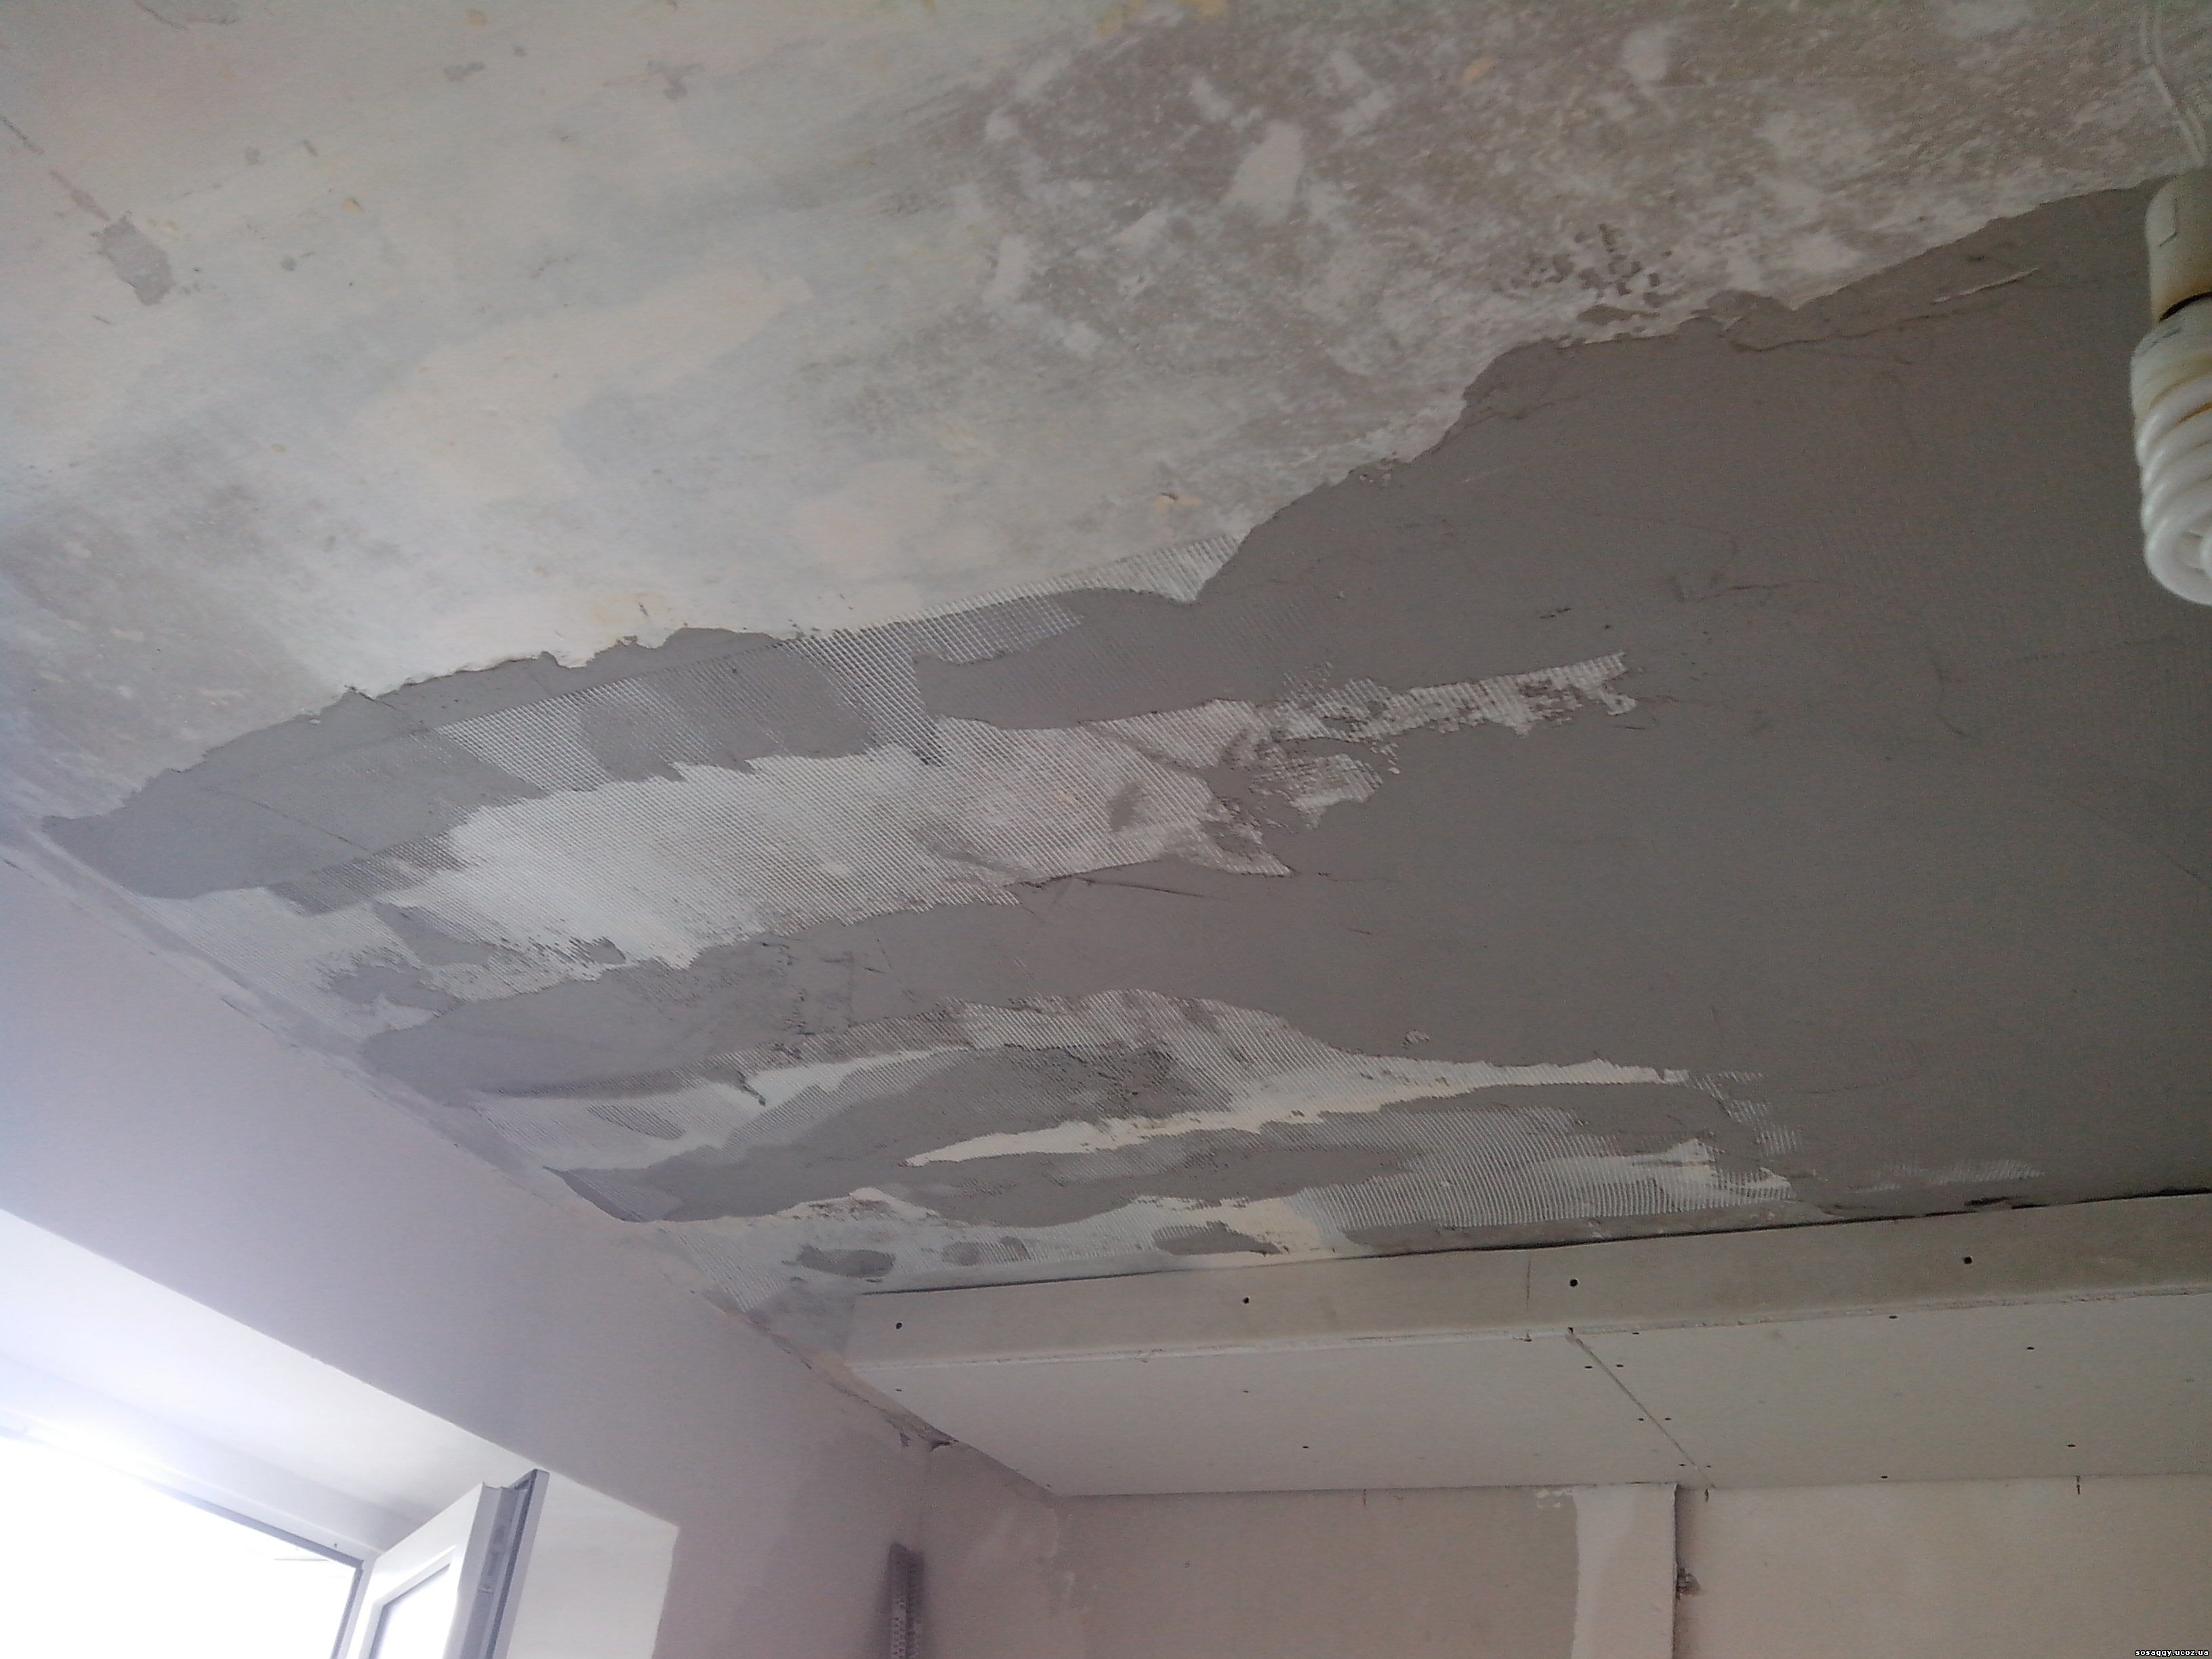
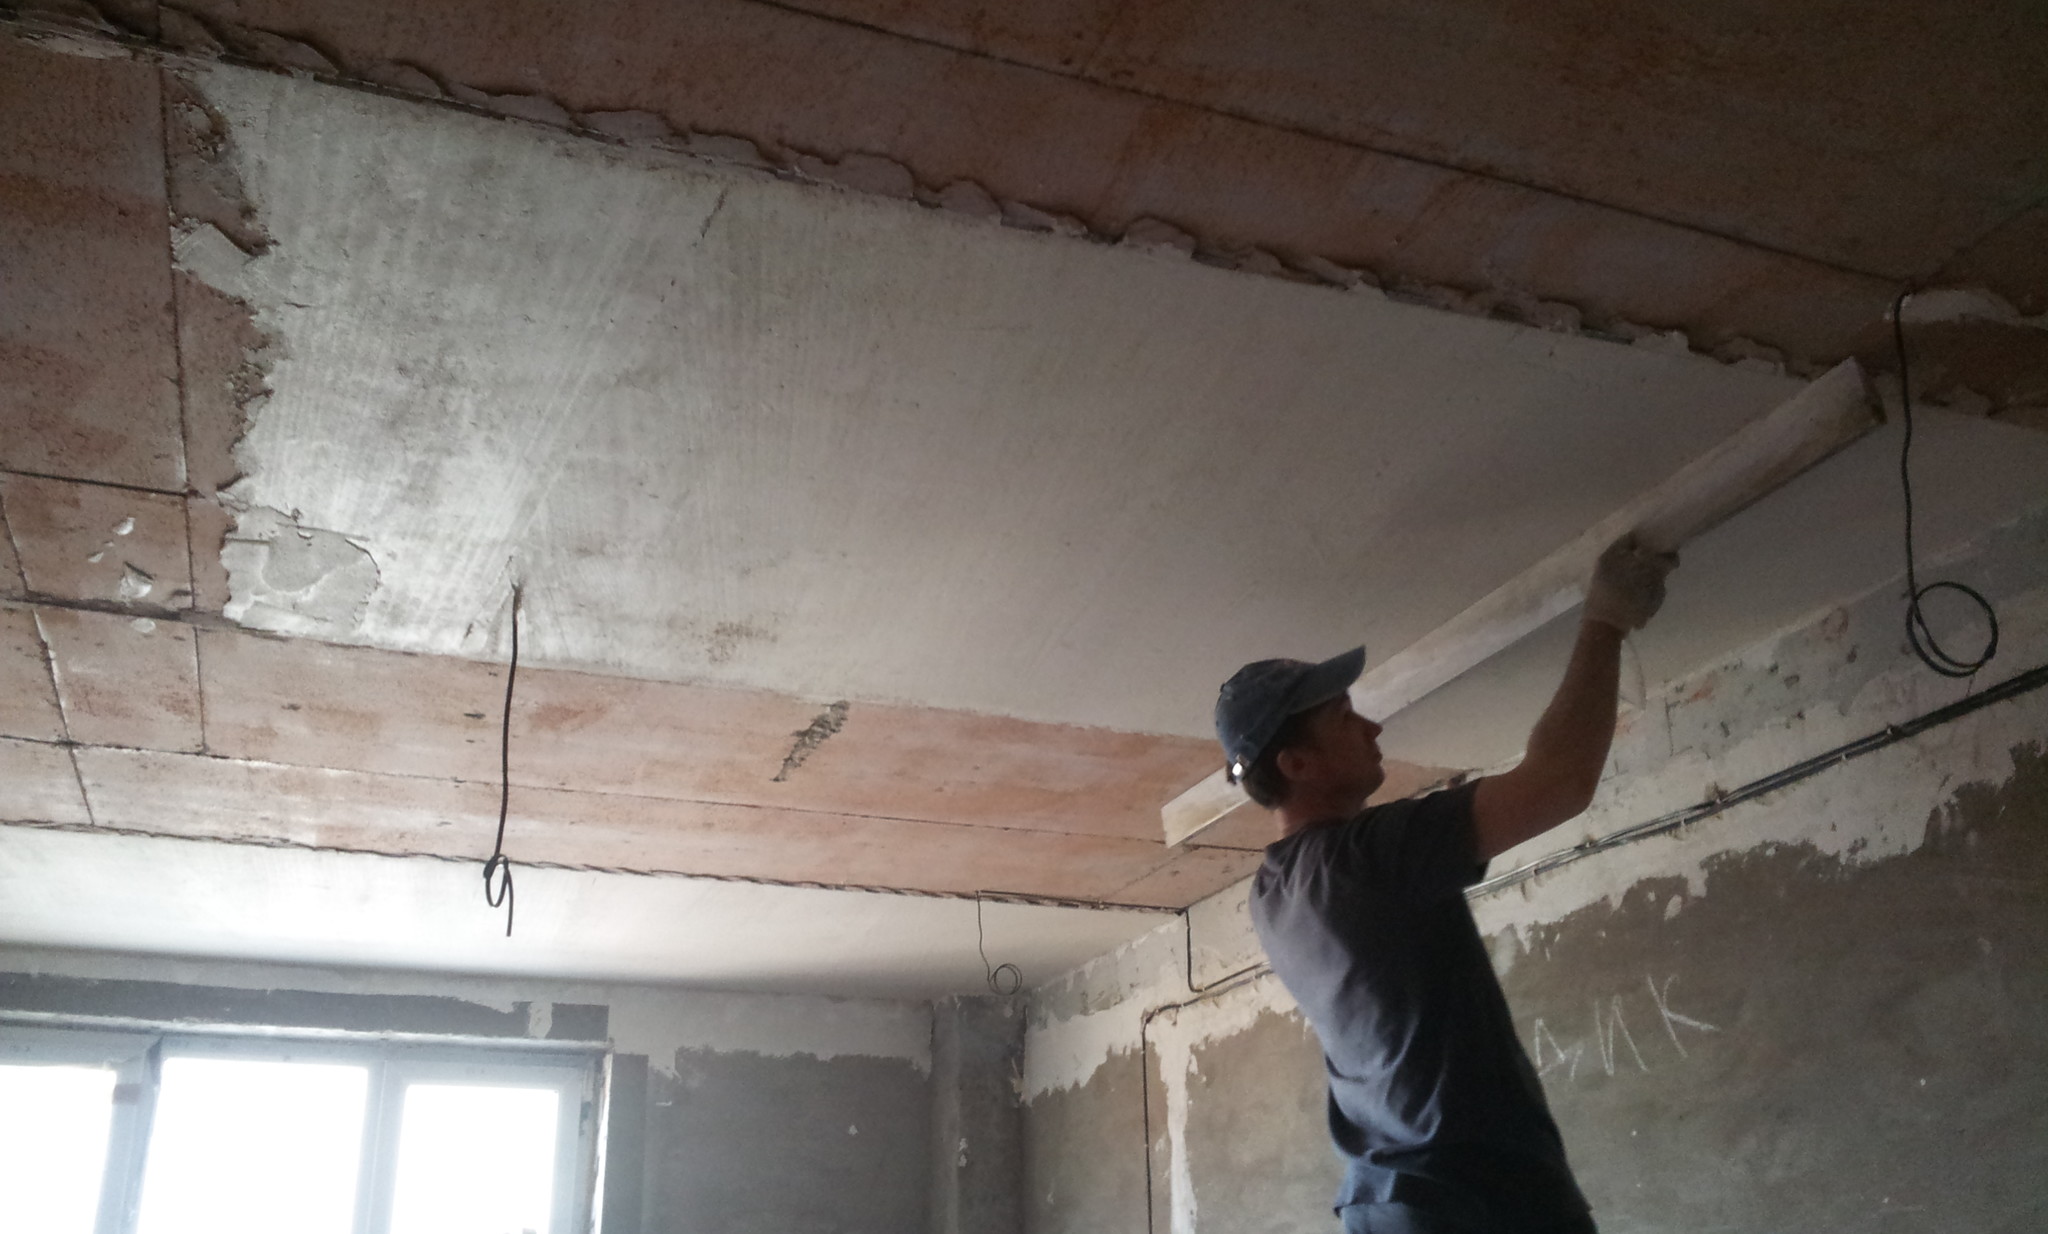
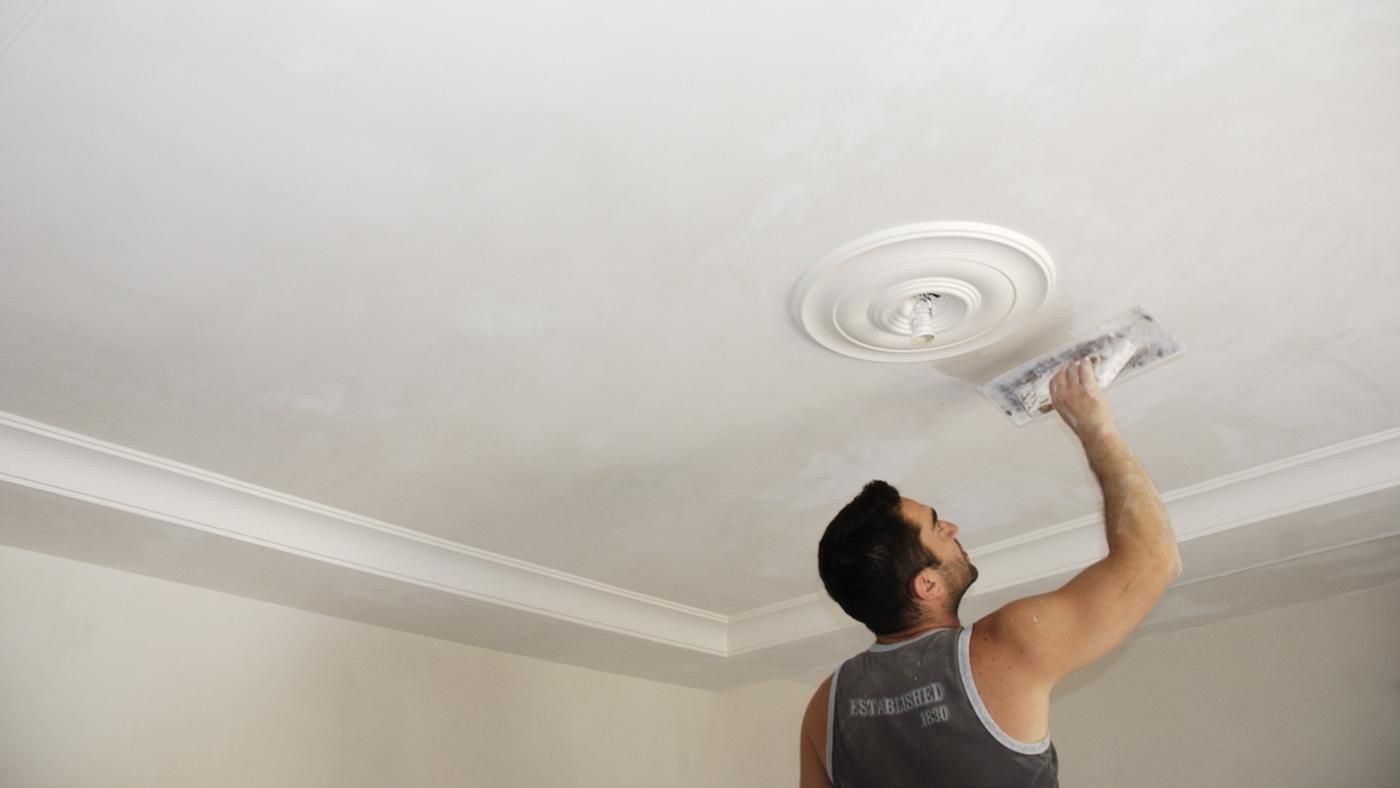
The resulting solution with a spatula begin to throw on the ceiling. Drawing is made by big blunders, it is necessary to watch that they were near with each other. Fill all the voids and excavations with a solution, and then take the rail-rule and carry it along the beacons, as if on rails.
The smooth cloth turns out. In places where the plaster is unnecessary, it is removed with a spatula.
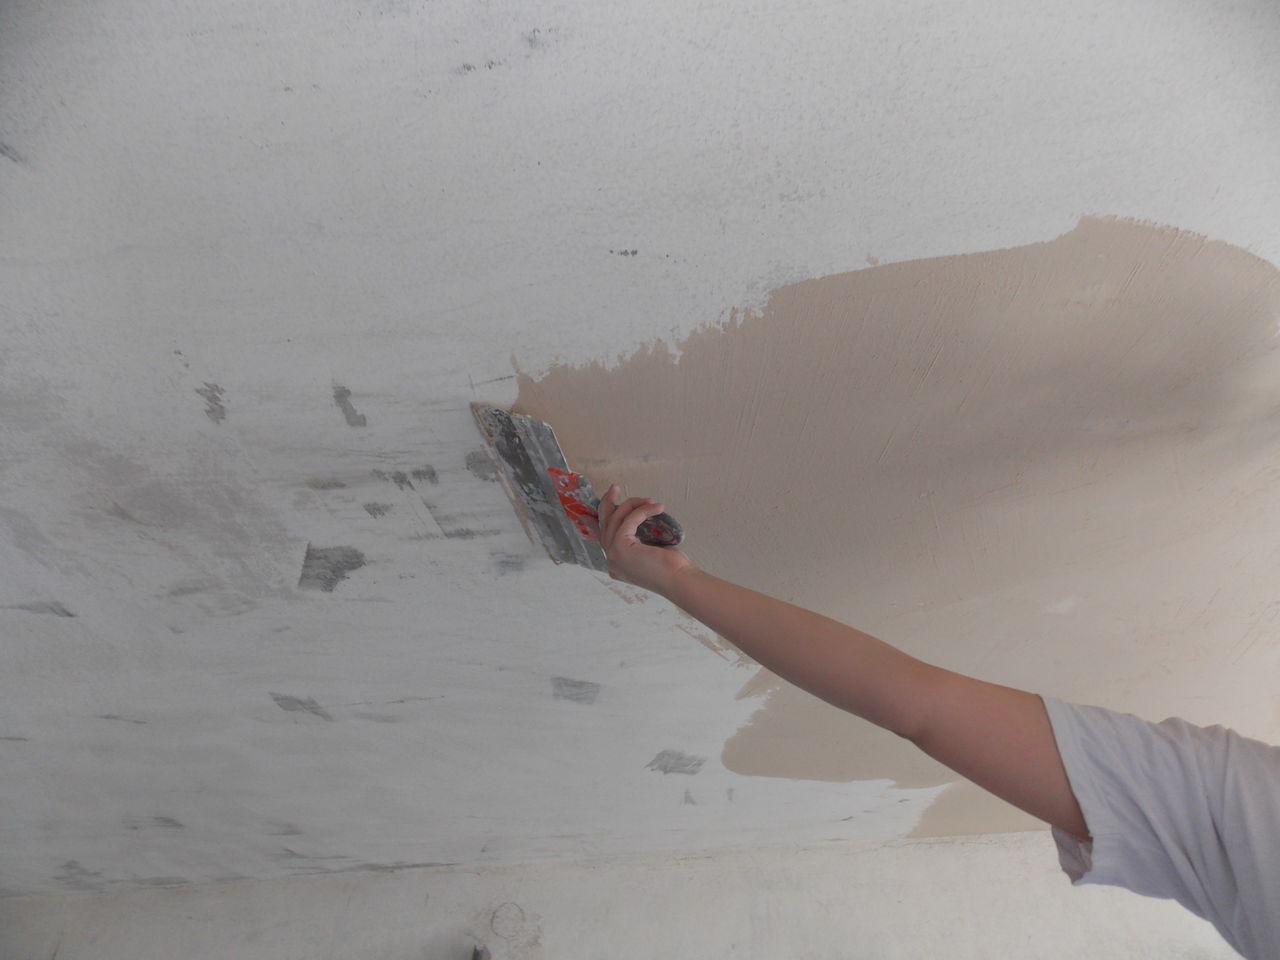
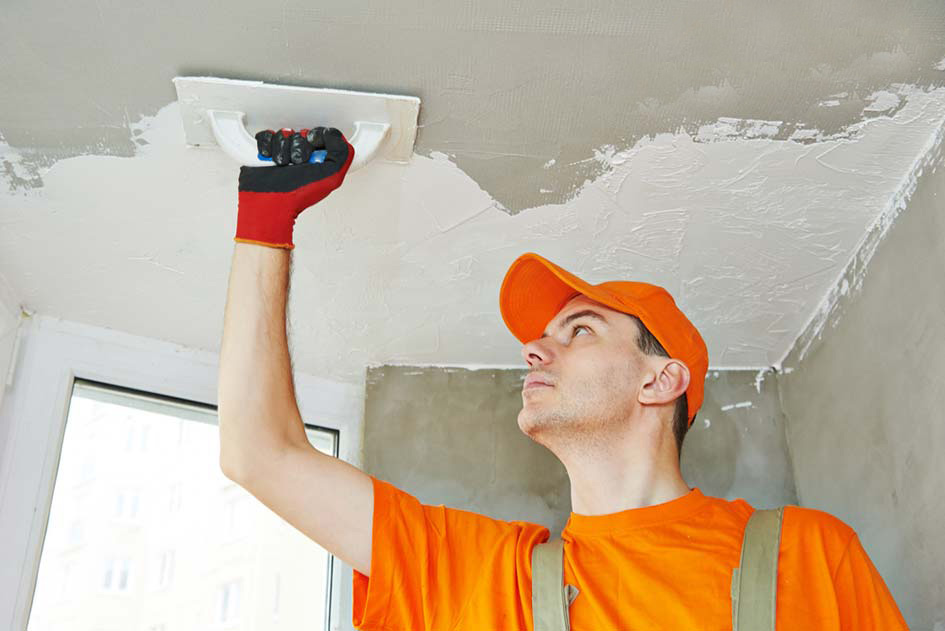
In this way, throw in the solution, and from above it is carried out with a lath as a ruler, leveling the ceiling surface. After the entire ceiling is covered, the solution is given time to grab for 30-40 minutes and after that they take the rail again - the rule and they cut off all the projections and irregularities throughout the whole area.At the same time they take out the lighthouses, and the places where they were attached, smoothly sealed with a solution. When this stage of work is completed, the solution is given time to completely dry out, and after that the plastered surface should be treated with water. After washing it is rubbed (smoothed) with a spatula. At this work on plastering ceiling surfaces finish.

In the case of drywall (when it is plastered for painting), it is necessary to seal all the irregularities and carry out the primer. The solution is also prepared using a mixer, carefully breaking up lumps of plaster, so that later they could not cause irregularities on the surface of the ceiling.
Application is made with a spatula.

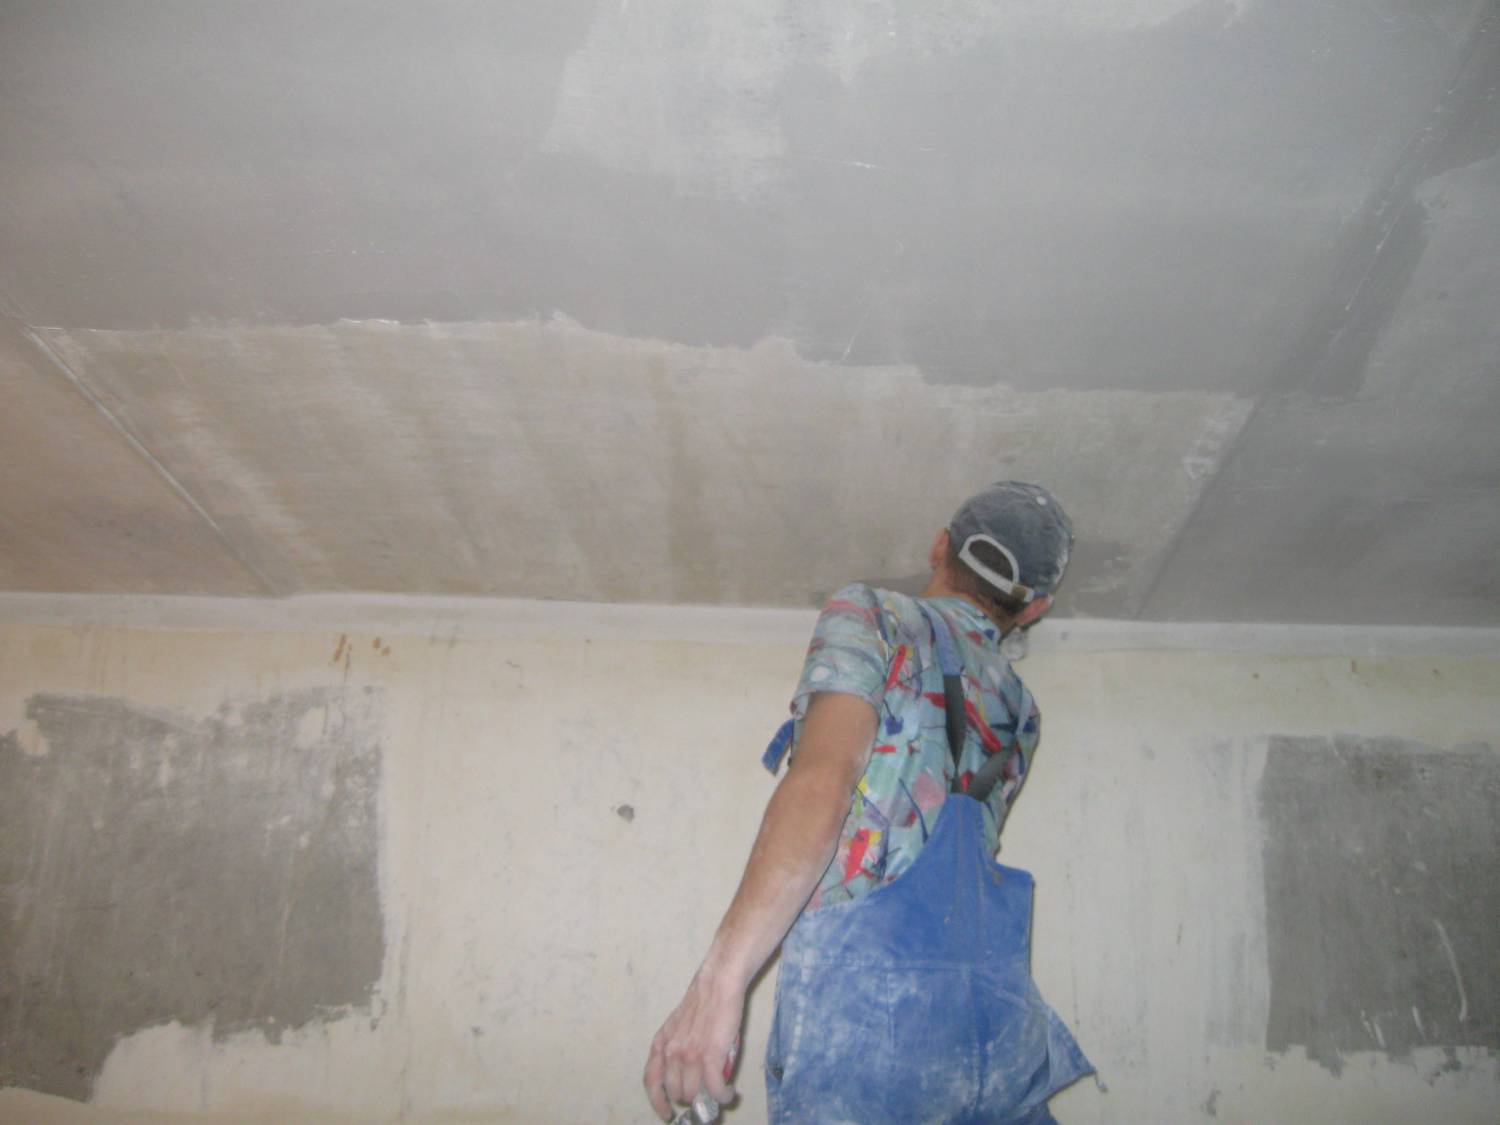
They put a solution on it, then throw it on the ceiling, spreading it evenly. The slurry layer must be thin. After the plaster on the ceiling is dry, drywall should be polished to achieve a smooth surface.
Gypsum plasterboards very well absorb decorative plaster. Plastering of the ceiling surface with stone materials has become a fashionable trend. They are granular in structure.
As a result of drawing beautiful convex surfaces turn out. Dry stone chips are applied using a spray bottle. It is best to work on plastering ceilings mechanized (machine) than manual.
Special machines for plastering works appeared on the market of construction tools and devices. With the manual method of work, the solution is prepared in small parts. As it freezes quickly, it is very difficult to keep ideally exact proportions when preparing it.
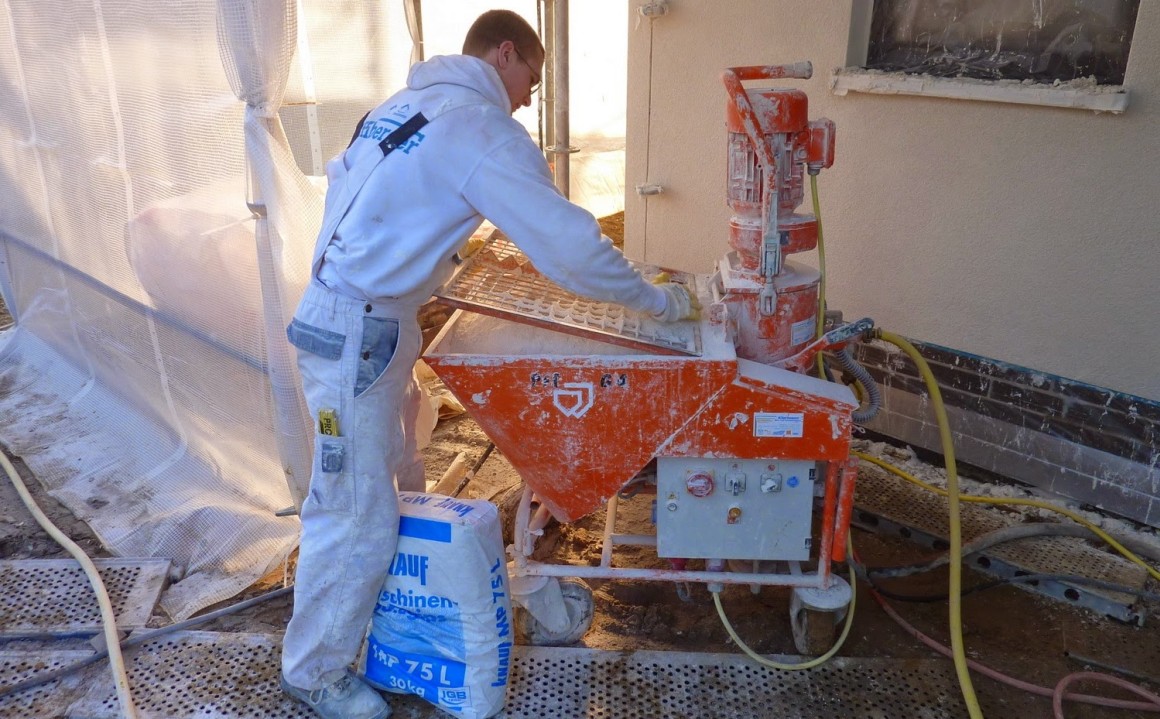
When mechanized plastering quality of work is much higher than when they are carried out manually. The mechanized process takes less time.
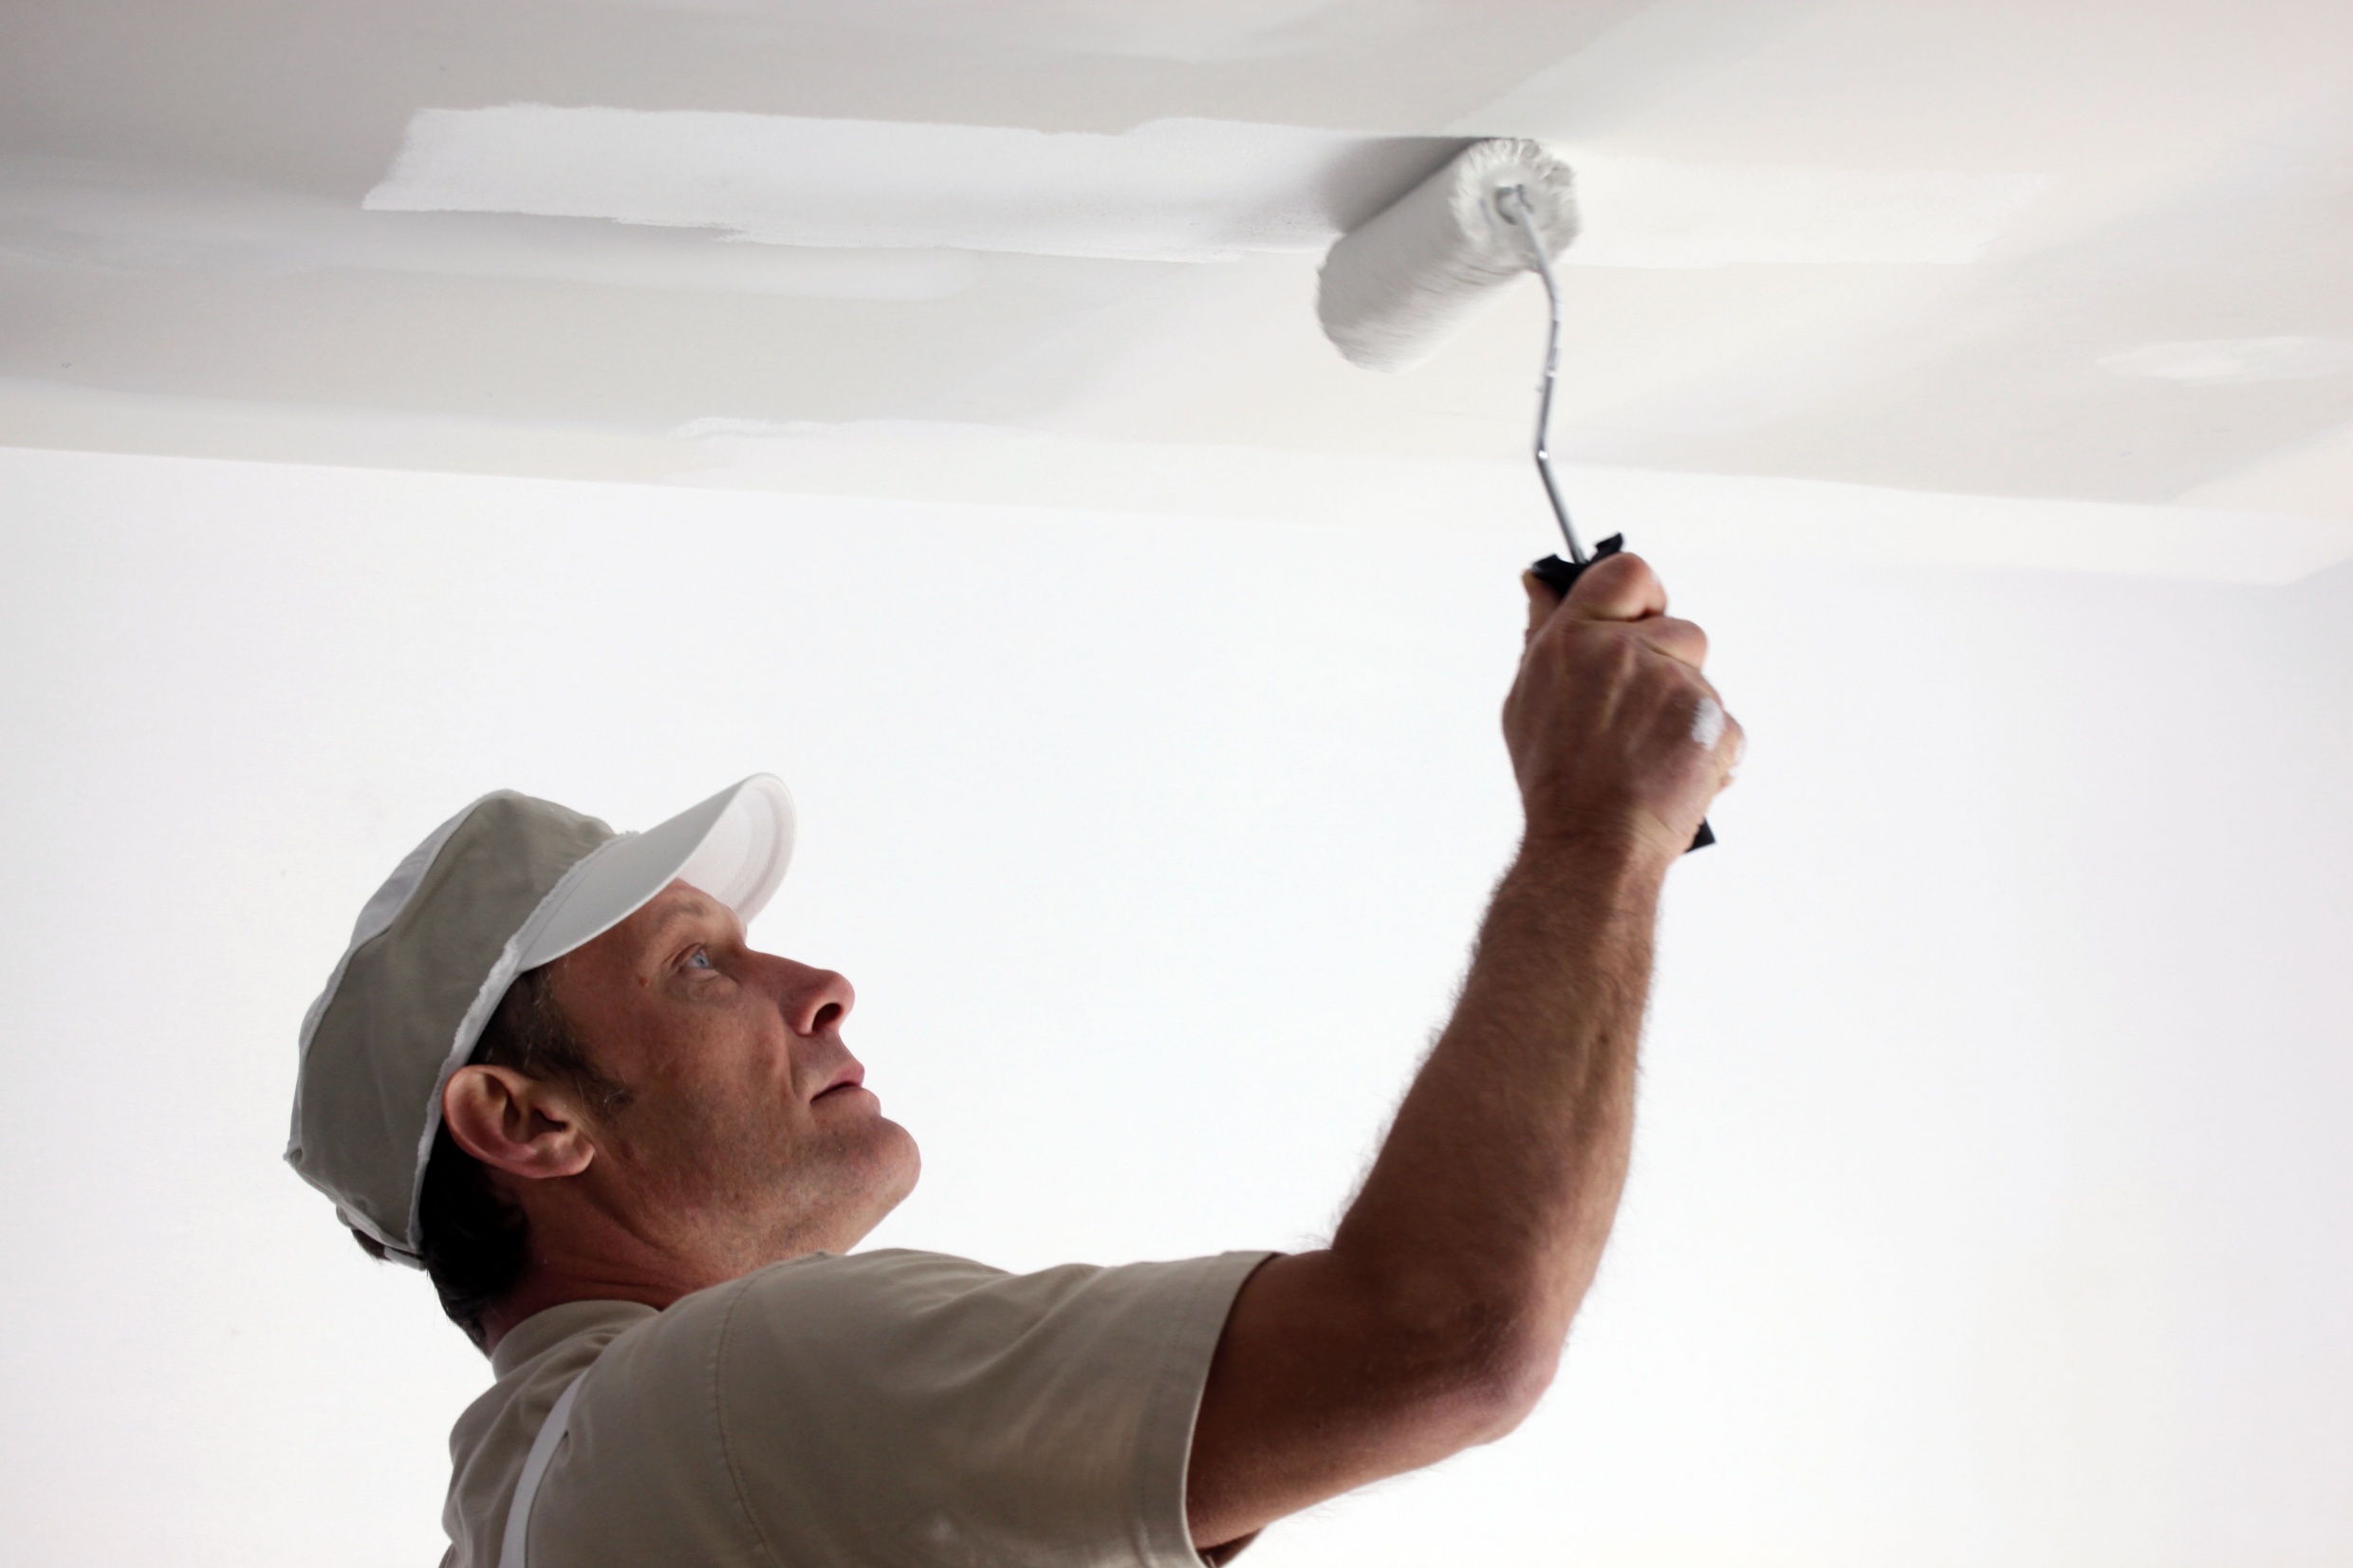
Whatever method of work is chosen, plaster will help to make the ceiling in the house or apartment smooth and beautiful, preparing it for further processing (pasting with wallpaper, painting).
Tips
Experts with extensive experience in the conduct of plastering, give these tips:
- Vaulted ceilings with their own hands to make a beginner is very difficult. It is much cheaper to seek the help of professionals. Set the lighthouses and use the rake-rule will not work.We need other technologies known to the masters.
- When preparing the solution, there is no need to do a lot of it.
- If we neglect the time indicated on the package (the time it takes to make a solution), then a part of the mixture may remain unused, since it will seize and harden in the container.
- Removing old layers from the ceiling, it is necessary to remove the layer from the top of the walls by 2.5-3 cm, so that when applying the plaster there is a good joint.
- In order to carry out plastering work successfully, it is necessary to buy decorative plaster, primer and putty of the same brand (one manufacturer).
To learn how to plaster the ceiling according to the beacons, see the following video.


