Subtleties of the process of plaster slopes
High-quality finishing of walls directly depends on how they will be plastered. Smooth surface - a pledge of quality repairs.
Special features
When installing new windows, interior doors and entrance doors in front of the owner of the room, it may be necessary to carry out additional repair work on plastering slopes. Plastering can be done both independently and by entrusting the process to professional repairmen. Today, there is a huge amount of not only different plaster, but also tools to facilitate self-repair.
Types of mixtures
It is important to choose the right mixture depending on the type of room in which the repair work is carried out.Currently, the market of building materials is represented by a huge number of different types of plaster mixes in various price categories. The quality of the coating, its durability and appearance directly depend on the selected material.
Below are the characteristics of the two most commonly used formulations:
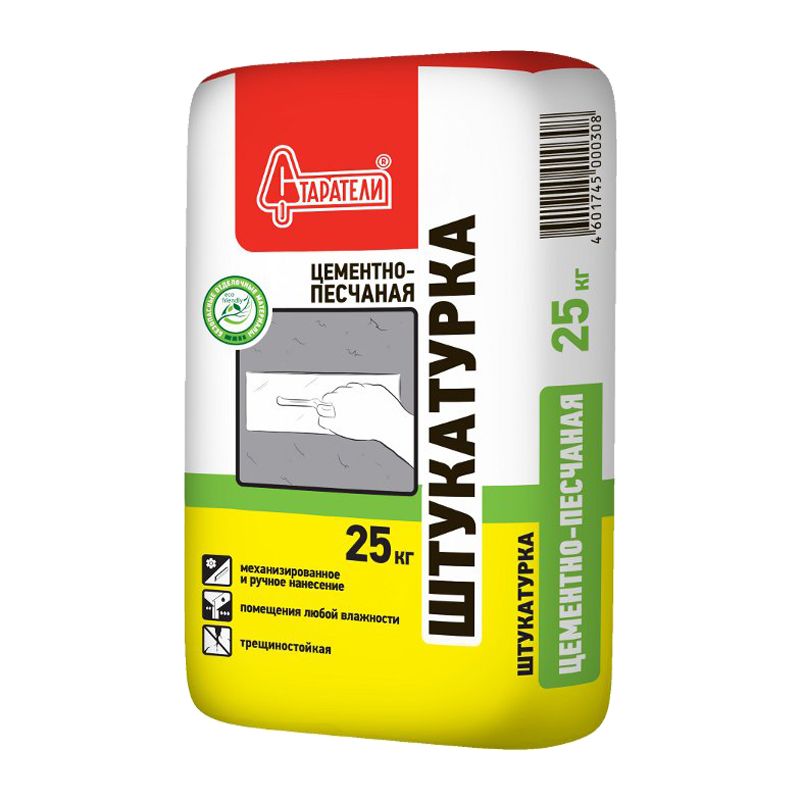
- Sand and cement mortar. Compositions based on cement are ideal for outdoor work and indoors with high humidity. Such mixtures are used when working on external slopes or slopes of the windows of the sauna or swimming pool. Distinctive features of the material are strength, durability, and high adhesion of the product. Such plaster is affordable for the price, but it does not keep well on painted, wooden and plastic surfaces.
Cement plaster is difficult to apply, dries for a long time and is not as decorative as its counterparts.
- Dry mix based on gypsum. Gypsum plaster does not shrink and is itself more plastic. Ideal for interior work. It dries much faster than cement, does not require additional filler and does not appear under a layer of paint, as it has a white color. At the same time, the plaster itself is easily painted.
Of the minuses of this mixture can be noted low moisture resistance and, as a consequence, the inability to use for outdoor work.

Instruments
Before embarking on the plastering process itself, it is necessary not only to purchase materials, but also to purchase the tools required for working with the mixture. Although putting plaster on window slopes differs from work with doorways, it is considered that the set of tools described below is suitable in both cases and is universal for any work with plaster not only on the slopes, but also on the coating of other surfaces.
- Level. You can use a hydro level, as well as a bubble or laser tool. It is important that it was not less than 0.5 m long, but not more than the width of the window or door opening. The optimal length is 1 m.
- Metal rule. Used in plastering slopes, square pillars, niches and other building structures. There are also wooden rules, but they are not used when working with wet plaster, as wood absorbs moisture and swells. It is important to carefully check the instrument for curvature and damage.so as not to have to redo the finished work.
- Roulette. Fits absolutely any available.


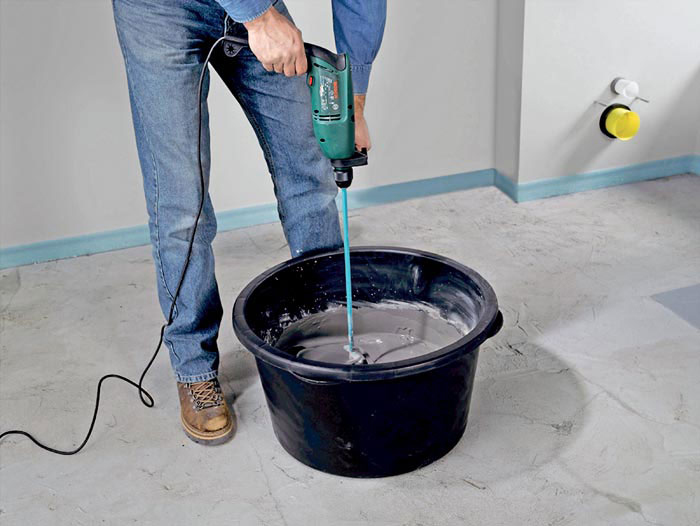
- Mixing container. You can take a bucket or basin in which the mixture is stirred according to the instructions on the package. You also need a separate bucket to measure the amount of water to precisely keep the proportions. All containers must be clean and dry.
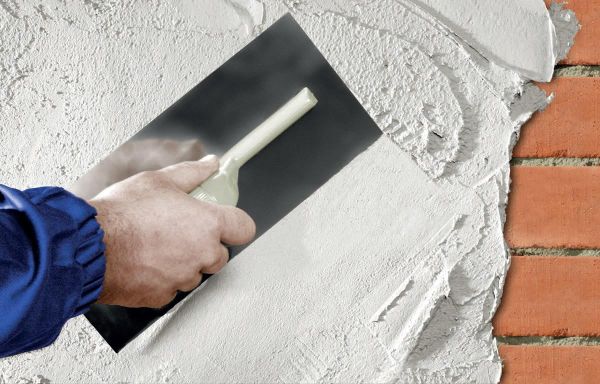
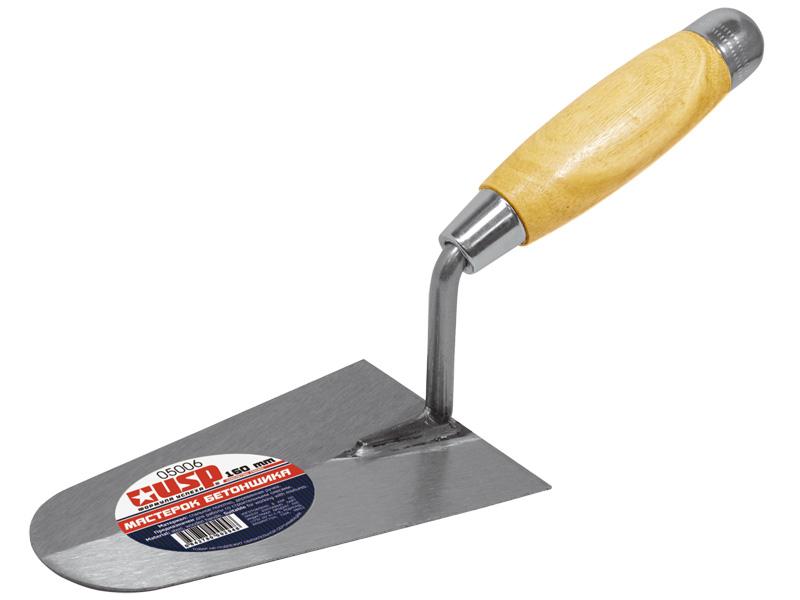
- Wide and medium spatulas, trowel. It is convenient to them to scoop the mixture, and align it on the surface of the slope. Trowel can throw the mixture on a larger spatula, as well as eliminate small defects formed during the work.
- Grater and sack to give a smooth finish. Selected based on the type of plaster. Designed for leveling, removing flaws and rubbing plaster clean. Unlike trowel, float can achieve a smoother surface slope.
- Gladilka - It is a tool with which the solution is also distributed, and the excess is removed. Used mainly for smoothing cement floor screed, but it can be applied when working on the slopes.

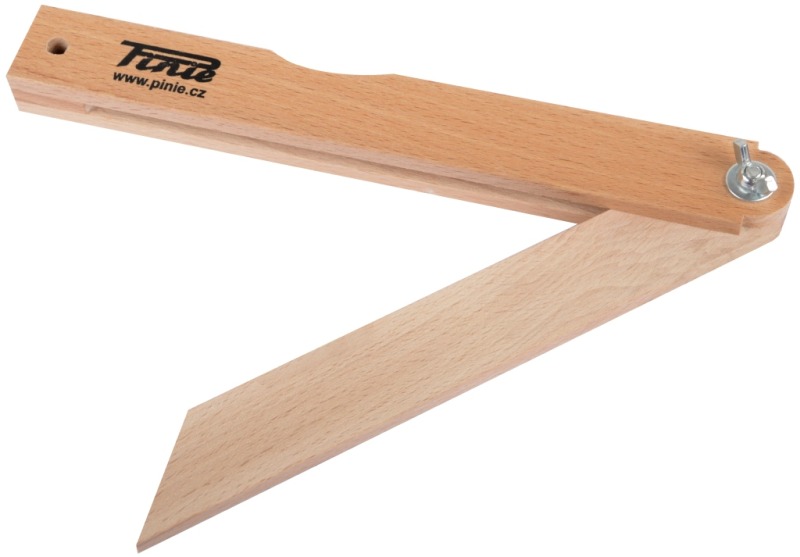
- Malka - a tool consisting of a wide slotted bar (pad) and a thin slat that fits inside (feather).Malka is designed to measure angles and transfer them to the workpiece. It is easily made independently in the presence of several wooden bars.
- Brush and roller for applying primer and finish painting. It is desirable to have brushes of different sizes to paint all the joints and corners.
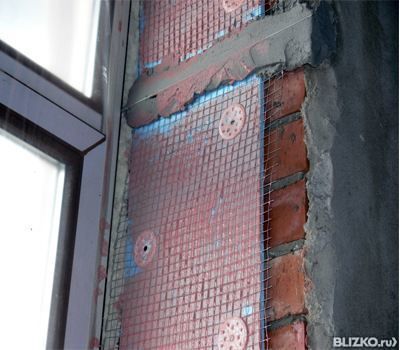
- Self-adhesive window profile - a universal building level, which performs protective, plastering and sealing functions simultaneously. The profile is equipped with a glass cloth mesh that reliably fixes plaster on the slopes and almost completely eliminates the appearance of cracks.

This set of tools is necessary for plastering slopes located indoors.
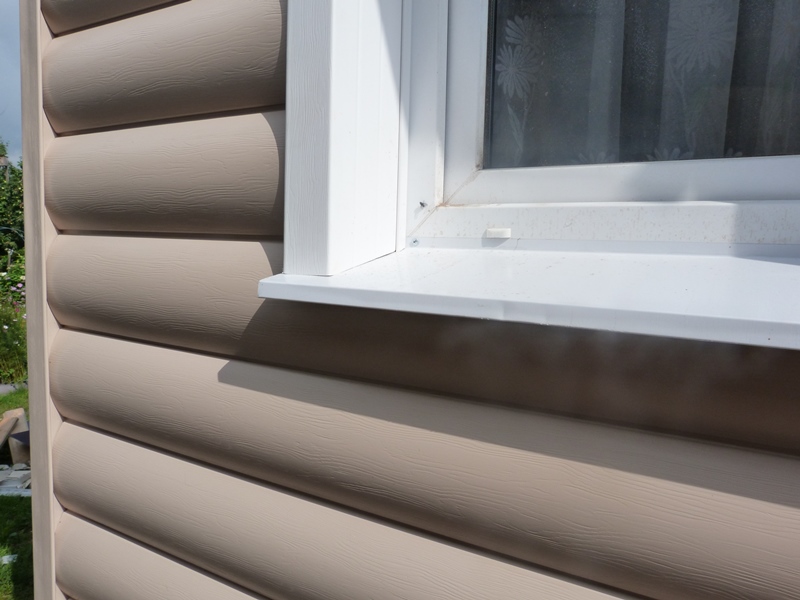
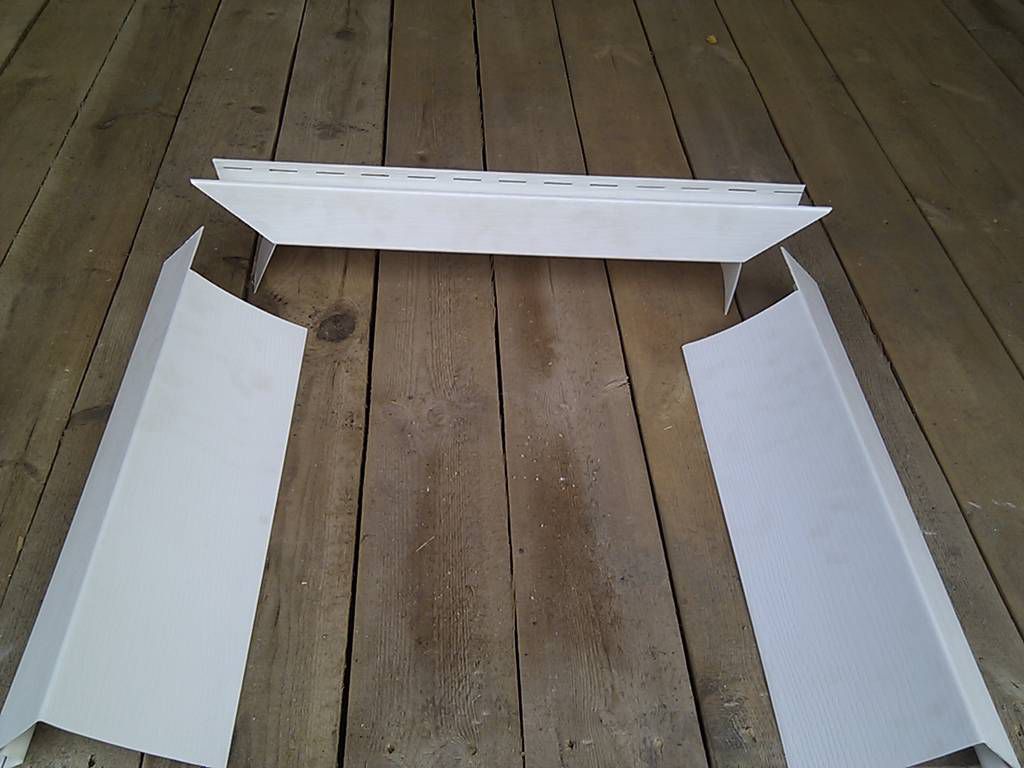
As for the exterior window surfaces, there is another way with the use of priokonnoy slats with or without siding. It is used for exterior decoration of slopes, most often in private homes and garden plots. This method is only suitable for surfaces of a certain size, so the window sill is not a universal method of decorative finishing of external slopes.
Preparatory work
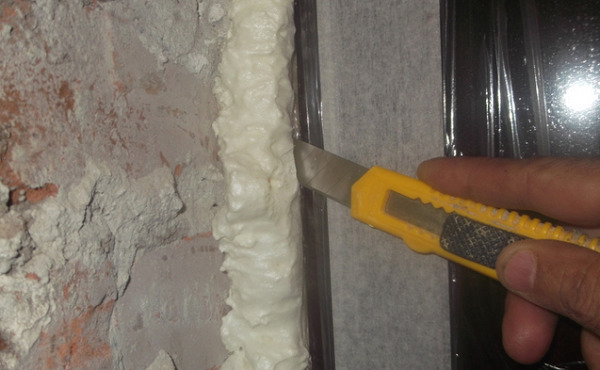
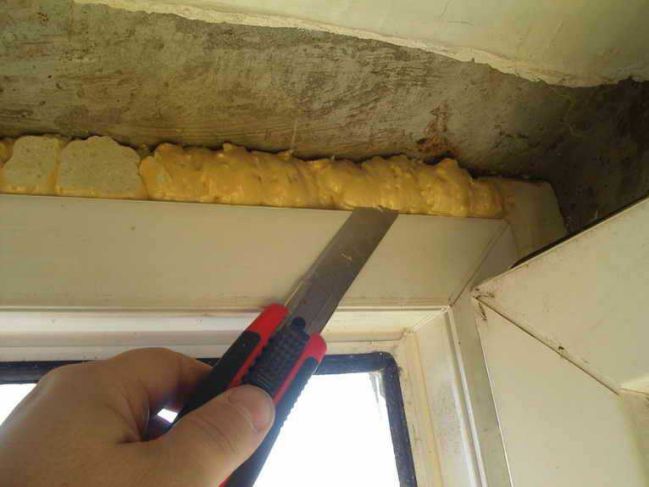
Before you proceed directly to the plastering, you can learn the master classes, as well as a number of preparatory work. First of all, the necessary type and amount of the mixture is selected. To find out the right amount, all slopes are measured, and the average consumption per 1 square meter is taken into account. m. The work surface is cleaned outside and around the window frame from debris and foam.
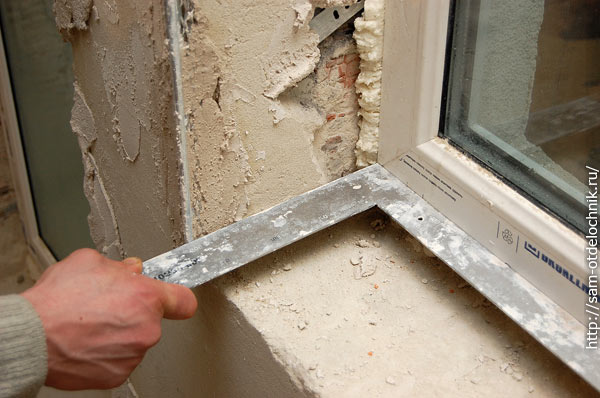
The foam is cut off exactly along the edge of the window frame. In case the window has not yet been fixed, it is necessary to do this and let it dry completely. It usually takes about two hours, but it is better to leave the foam intact for the whole day.
If the slope was previously plastered, then it is necessary to remove at least the top layer of the old plaster. However, it is better to completely clean the surface of the old composition. Thus, the possibility of cracks and voids is minimized.
Then it is necessary to remove all dust and dirt with a vacuum cleaner or a damp cloth and allow the surfaces to dry completely after cleaning, otherwise the plaster will not fall on the plane. After cleaning, you can apply the primer in two layers. The solution is chosen depending on the material of the wall - most often it is brick orconcrete.
Additionally, the film is fixed for vapor barrier with self-tapping screws, or a sealant is applied. This is done to move the dew point outward and prevents condensation from forming on the slopes themselves and on the surface of the window.

Technology works
The sequence of work is as follows:
- Completion of all the preparatory work: the allotted time must pass for the sealants to harden, for the foam and the surfaces to dry.
- If the mosquito net is installed on the window, it will be dismantled and retracted while working. The glass, window frame and window sill must be closed with plastic wrap so as not to damage and stain the window. It is not recommended to use ordinary adhesive tape, as it can leave traces of glue on the surface, which are then hard enough to scrub.
- When plastering slopes with your own hands for additional reinforcement, you can also use the previously acquired corners. They simplify the formation of a smooth edge of the slope and protect it from subsequent deformation. Corners are installed at this stage of work and covered with plaster, in contrast to the decorative corners, which are mounted on the finished work.
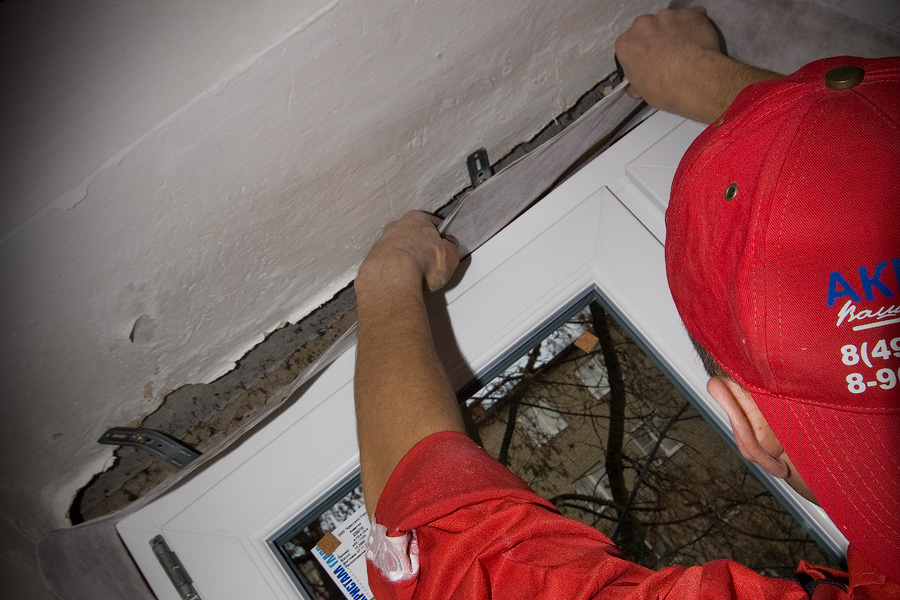
- The next item is the attachment of the plank, which defines the plane in which the composition will be applied.

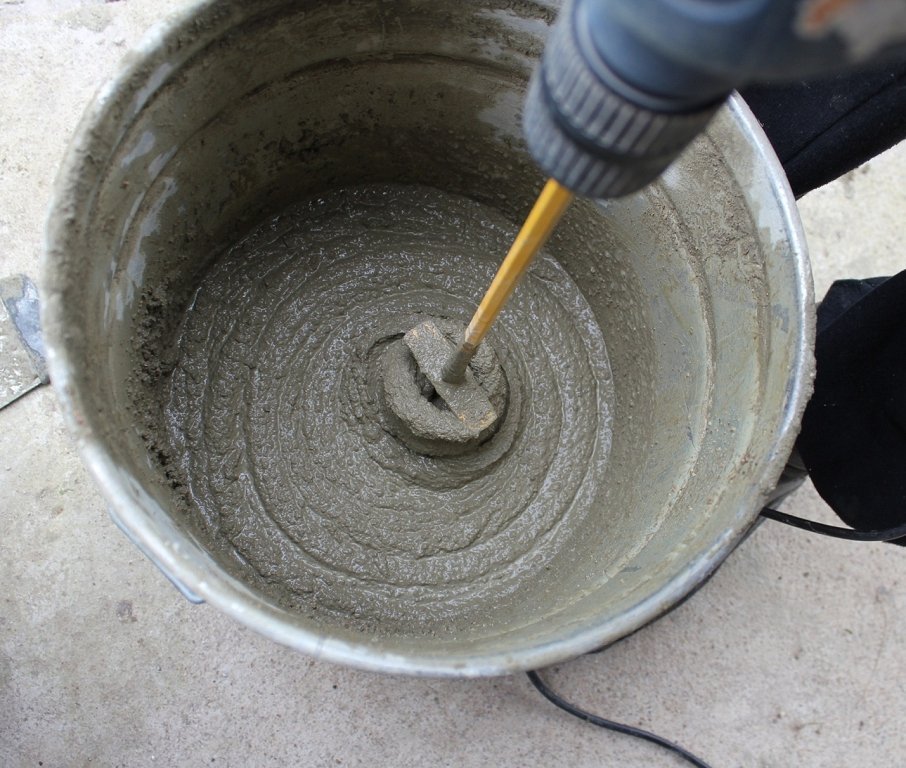
- After that, you need to knead the amount of mixture required for the work. For proper preparation, use the instructions from the manufacturer, placed on the packaging. The mixture should look like a paste, not contain obvious lumps, but not to drain from the spatula or trowel.
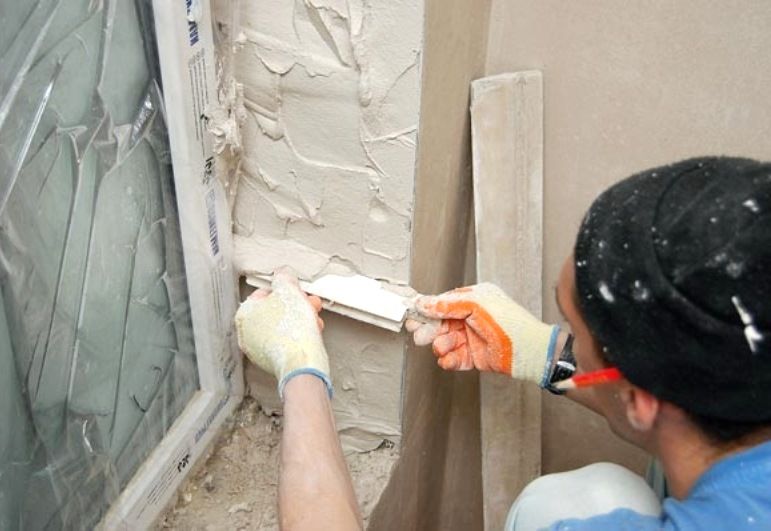
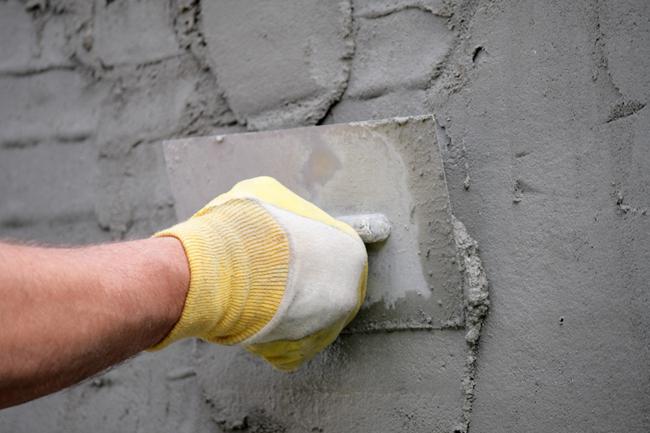
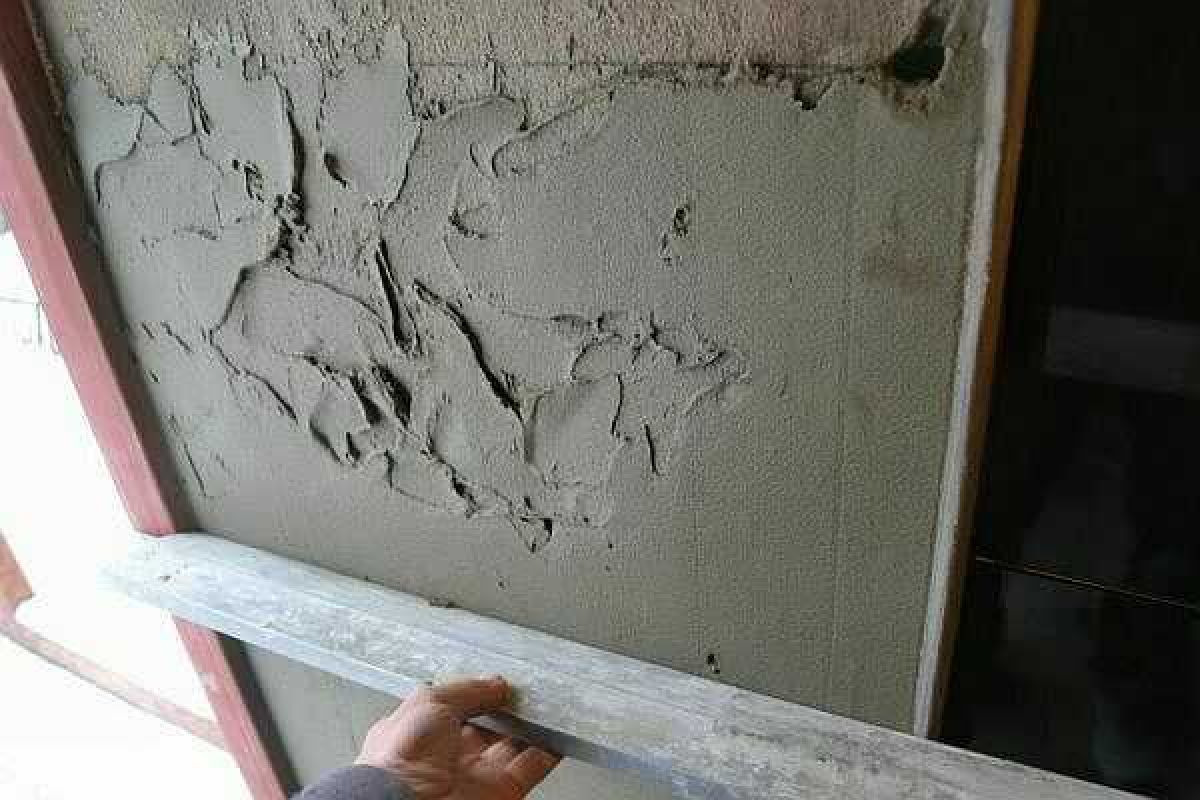
- Then it is necessary to apply the solution on the lower part of the slope with a covering motion. We must try to do it evenly, which will greatly simplify further work.
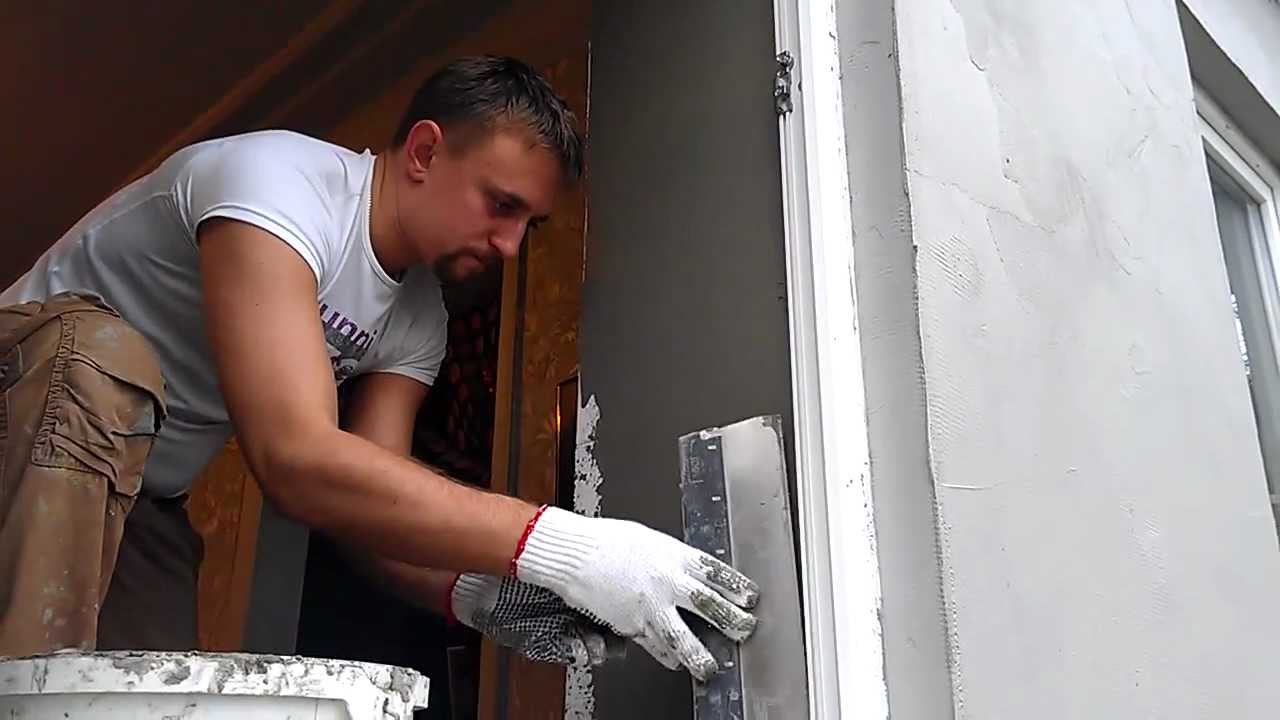
- A rule is applied to the very bottom of the applied solution and slowly rises along the slope, aligning the first layer.
- When the rule completes the movement, it is important to inspect the surface for defects and curvature. If necessary, another solution is added and leveled with pulp.
- After 2-3 minutes, the excess is removed with a trowel, the rule is leveled solution vertically.
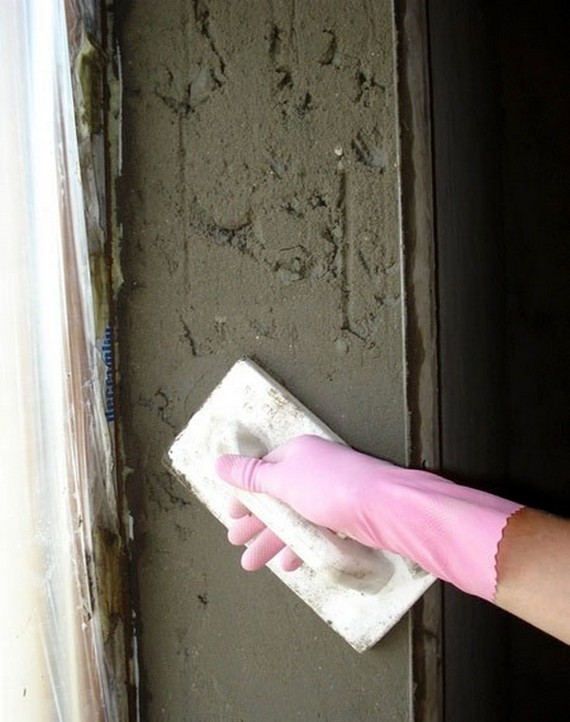
- Then, using a lightly moistened float, level the entire surface with circular movements. You do not need to push much on the fresh plaster, otherwise you can easily spoil all previous work.
- If necessary, repeat the entire algorithm from the application of the solution on the slope.
- Plastered slopes should be given time for complete drying, and only then you can proceed to the final coating.
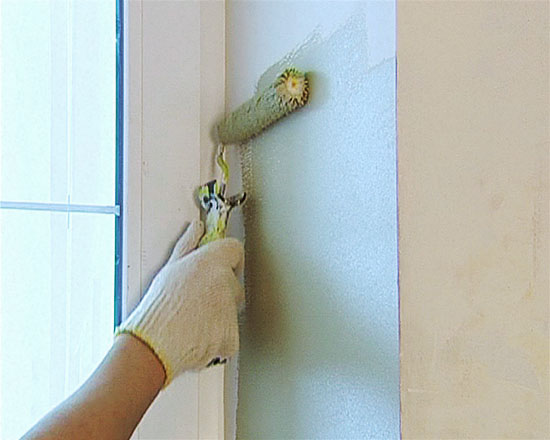
- The primer is applied in one layer on the dried surface of the slope. It can be applied both with a brush and roller, or with the help of more modern equipment, for example, a spray gun. It will significantly speed up and facilitate the application process.
- Putty is kneaded according to the instructions and is applied with a layer of 2-3 mm using a trowel of a convenient size.
- Putty is rubbed with a spatula moistened with water.
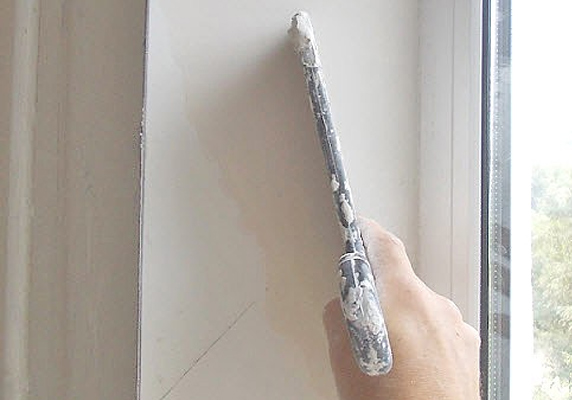
- Then you need to wipe all the corners and chamfer, if they were made.
- It remains to wait for complete drying, and then you can paint the finished slope or put tiles on it.
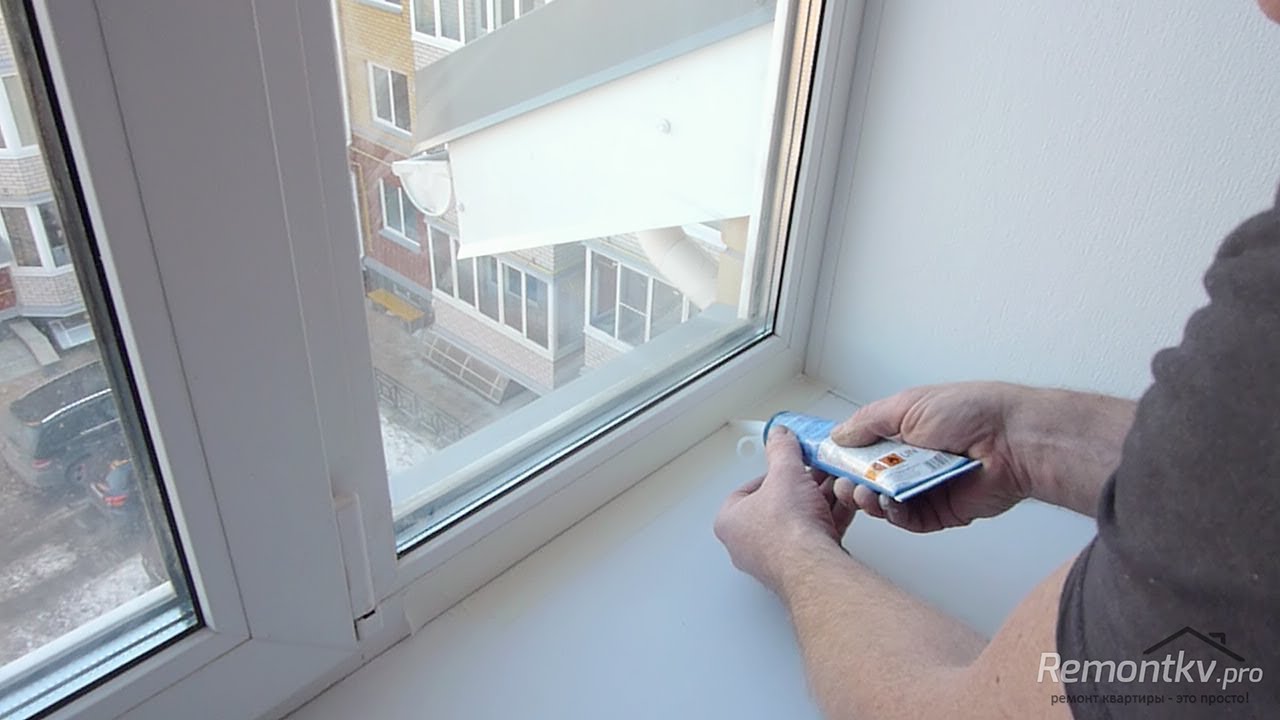
Working with plastic windows is carried out according to the instructions given above. until full plastering. Then, between the slope and the adjoining window frame, you need to make a vertical strip with a spatula angle and fill the resulting opening with sealant in order to avoid cracking the plaster in the future.

To improve the quality of work with door slopes, you must use not one, but two rules.It is important to completely remove the old layer of plaster next to the box, then the construction knife, put at a 45-degree angle to the upper corner, is held to the very bottom, pressing it in with an effort.
Before applying the plaster it is necessary to prime the entire treated area, and the surface must be filled with sealant. The site must be immediately cleaned. The rest of the work is carried out in the same way as for window slopes.
Tips and tricks
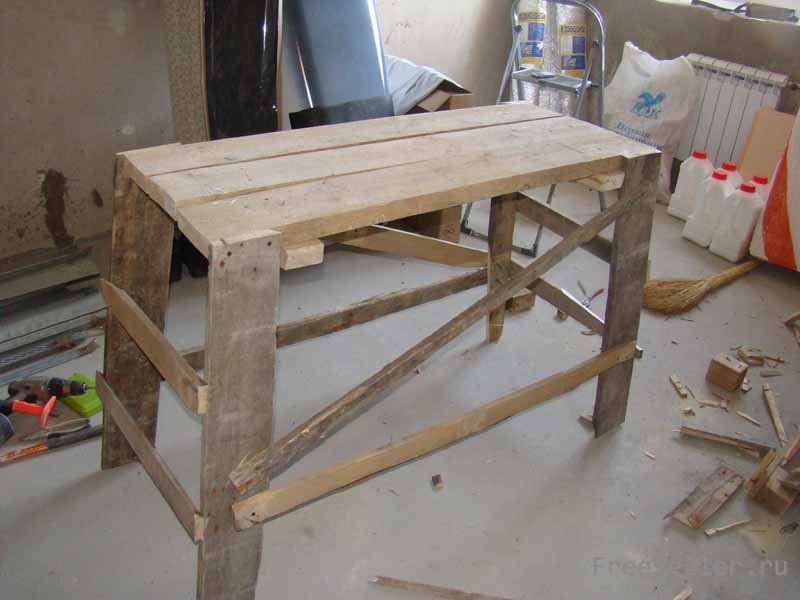
It is more convenient to carry out work at height from a design that resembles a goat. Compared with a stepladder, it is not only safer, but also allows covering a large area without moving from place to place.
There is a more modern plaster mix that contains acrylic. It is more versatile, but also more expensive.
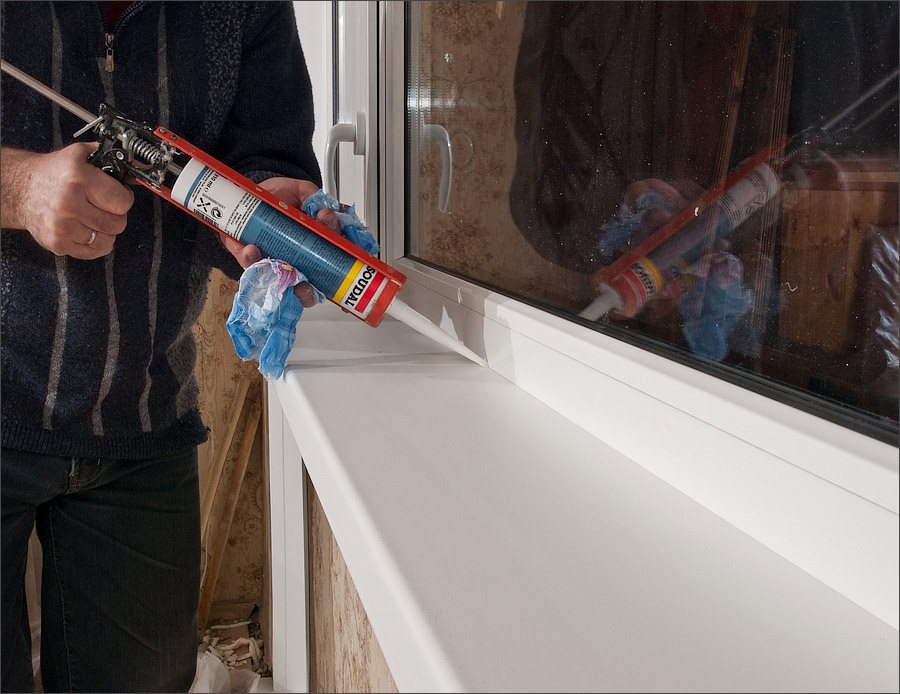
It is necessary to work with sealant very quickly, otherwise it may freeze. Frozen sealer is very difficult to scrape off the surface.
The temperature of the room for repairs should be not less than 5 degrees Celsius when using sand-cement plaster, and not less than 10 degrees when using gypsum mixtures.

It is also important to correctly calculate the time to work with the mixture.If plastering takes more than one hour, it is better not to knead the entire volume of plaster at once, but to divide the mixture into two or three times so that it does not dry out in a bucket.
If instead of the door slopes it is necessary to plaster arched, then you must first perform the work on the side, and then do the upper slopes. At the end of all the work on the corners, you can glue on the decorative corners - they will give a neater appearance to the ready slopes.
If you follow the recommendations exactly, the process will pass without unexpected difficulties.
The process of plaster slopes, see the video.


