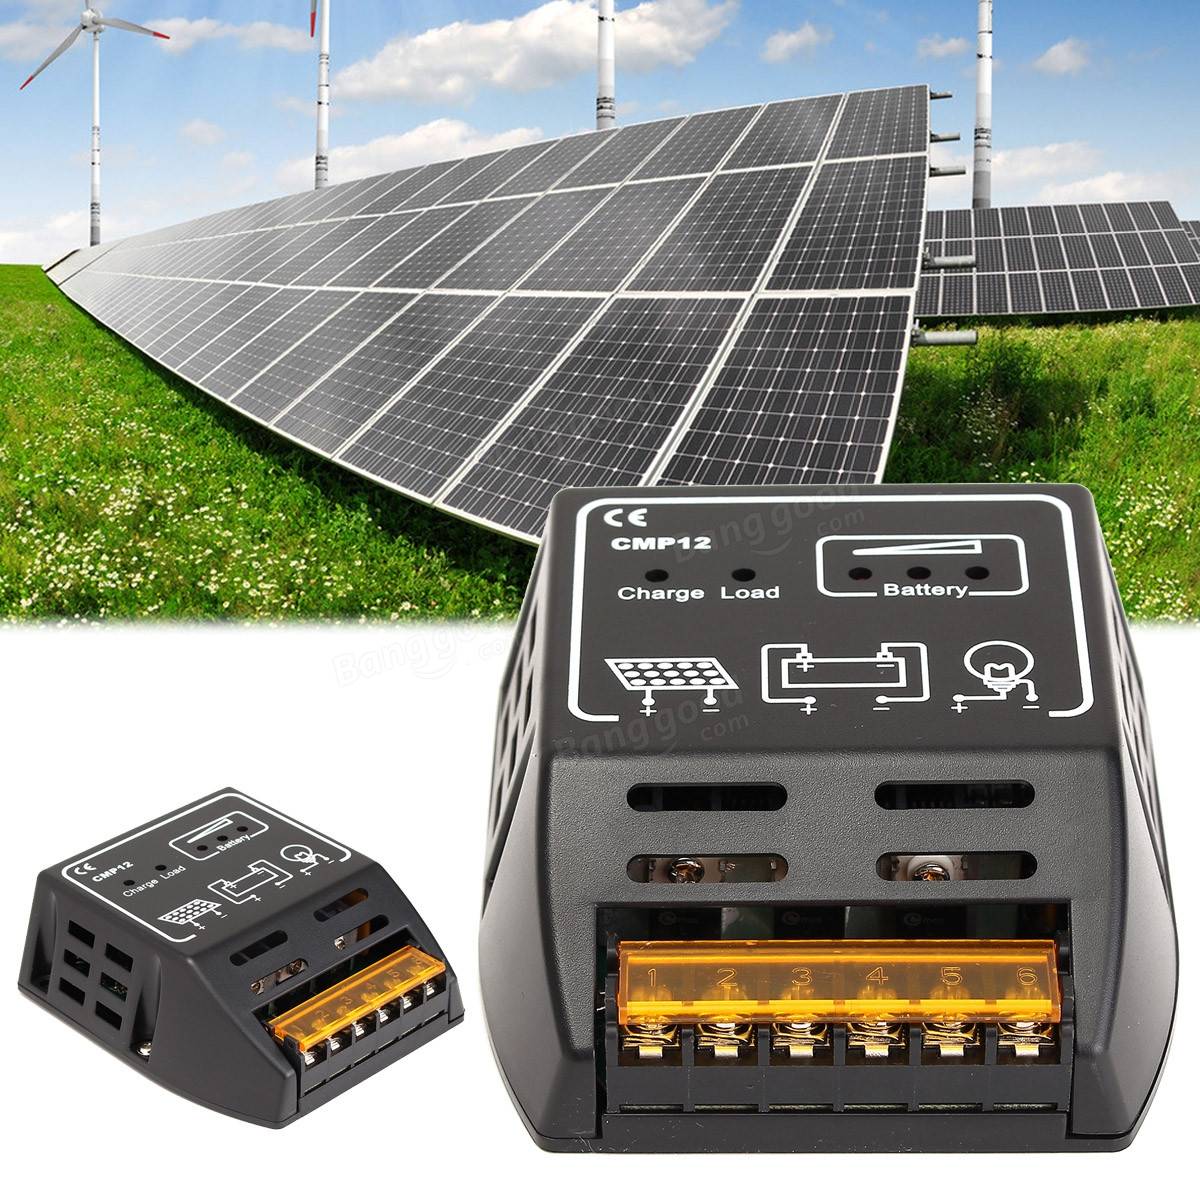
Controllers for charging the solar battery: the subtleties of selection and installation
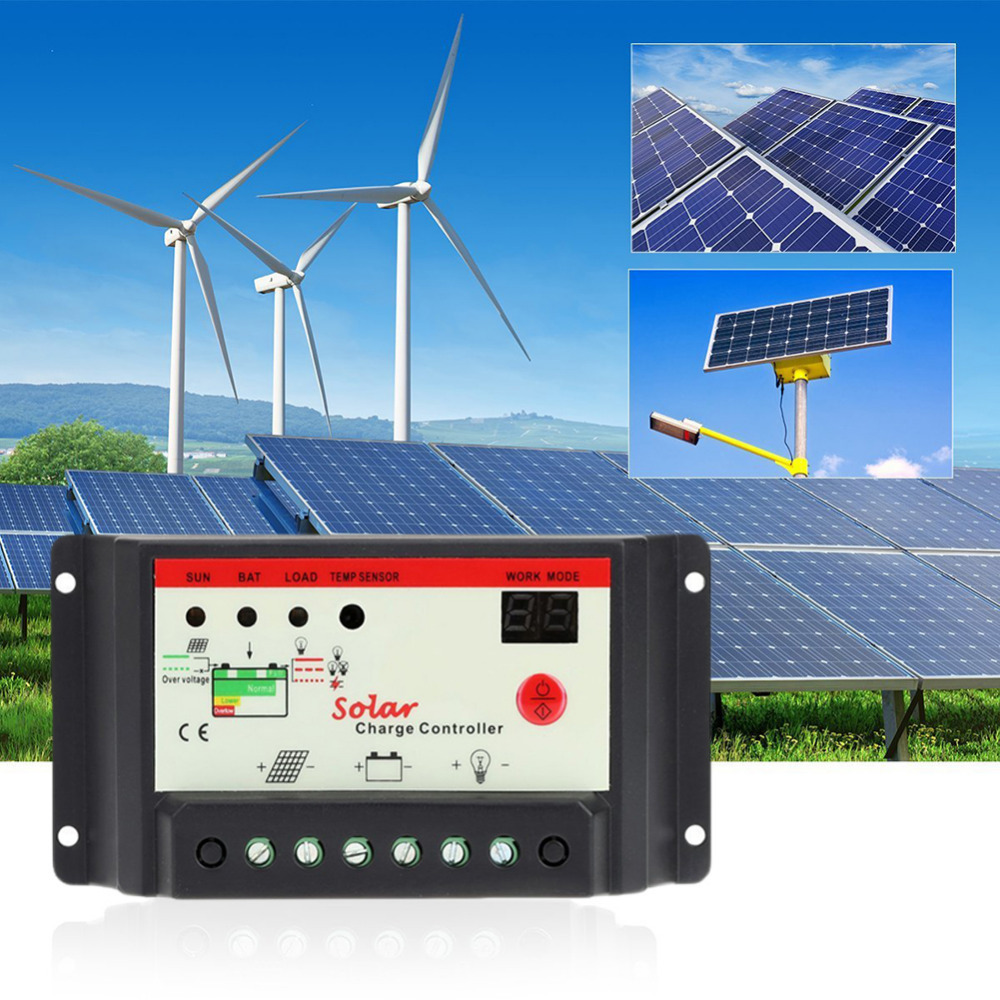
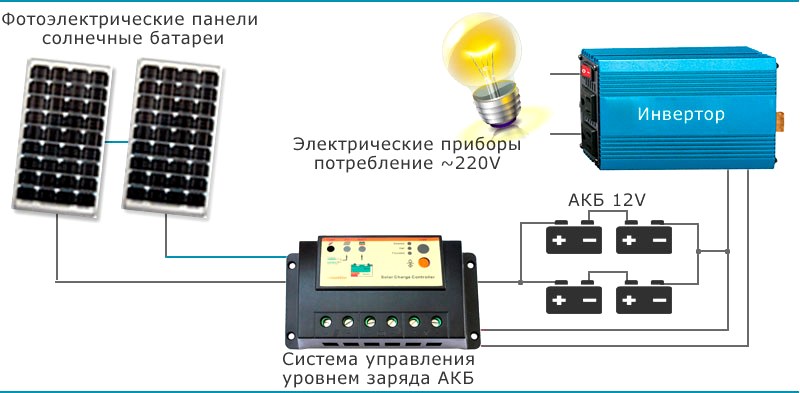
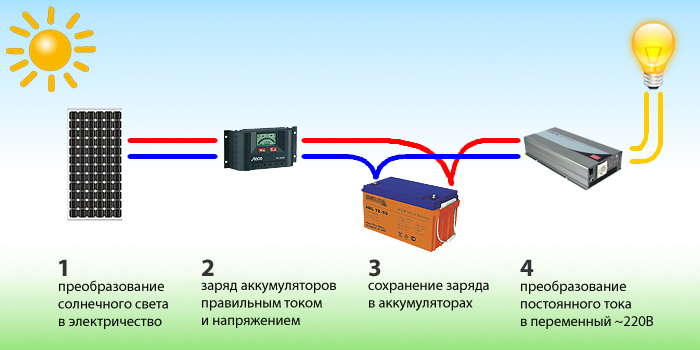
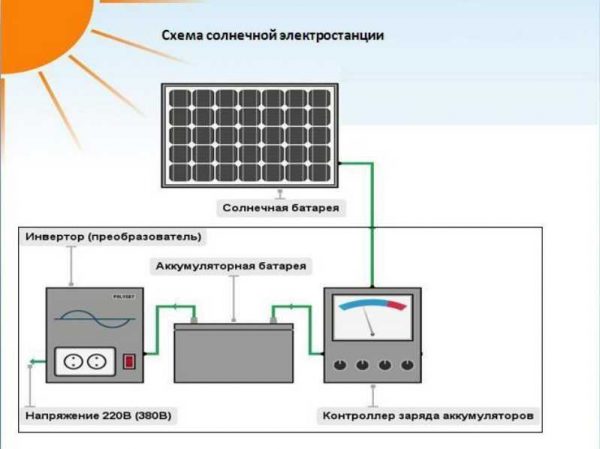
Of particular popularity recently acquired systems that operate autonomously, without connecting to the mains. Such devices are ideal for working in a closed mode. The designs of such systems are quite complex and consist of several elements, the most important of which is the controller.
Special features
Charge controllers have several important features. The most important are the protection functions that serve to increase the reliability of this device.
It should be noted the most common types of protection in such structures:
- devices are equipped with reliable protection against incorrect polarity connection;
- It is very important to prevent the likelihood of short circuits in the load and at the input, so manufacturers provide controllers with reliable protection against the occurrence of such situations;
- important is the protection of the device from lightning, as well as various overheating;
- The controllers are equipped with special protection against overvoltage and discharge of the battery at night.
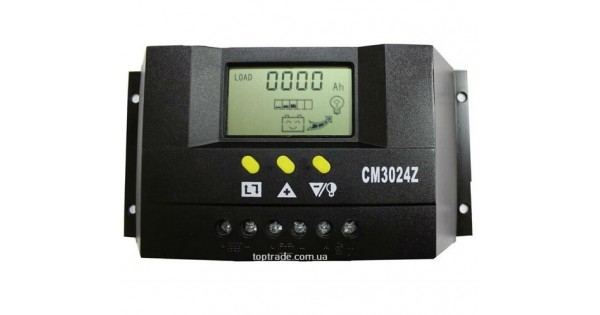
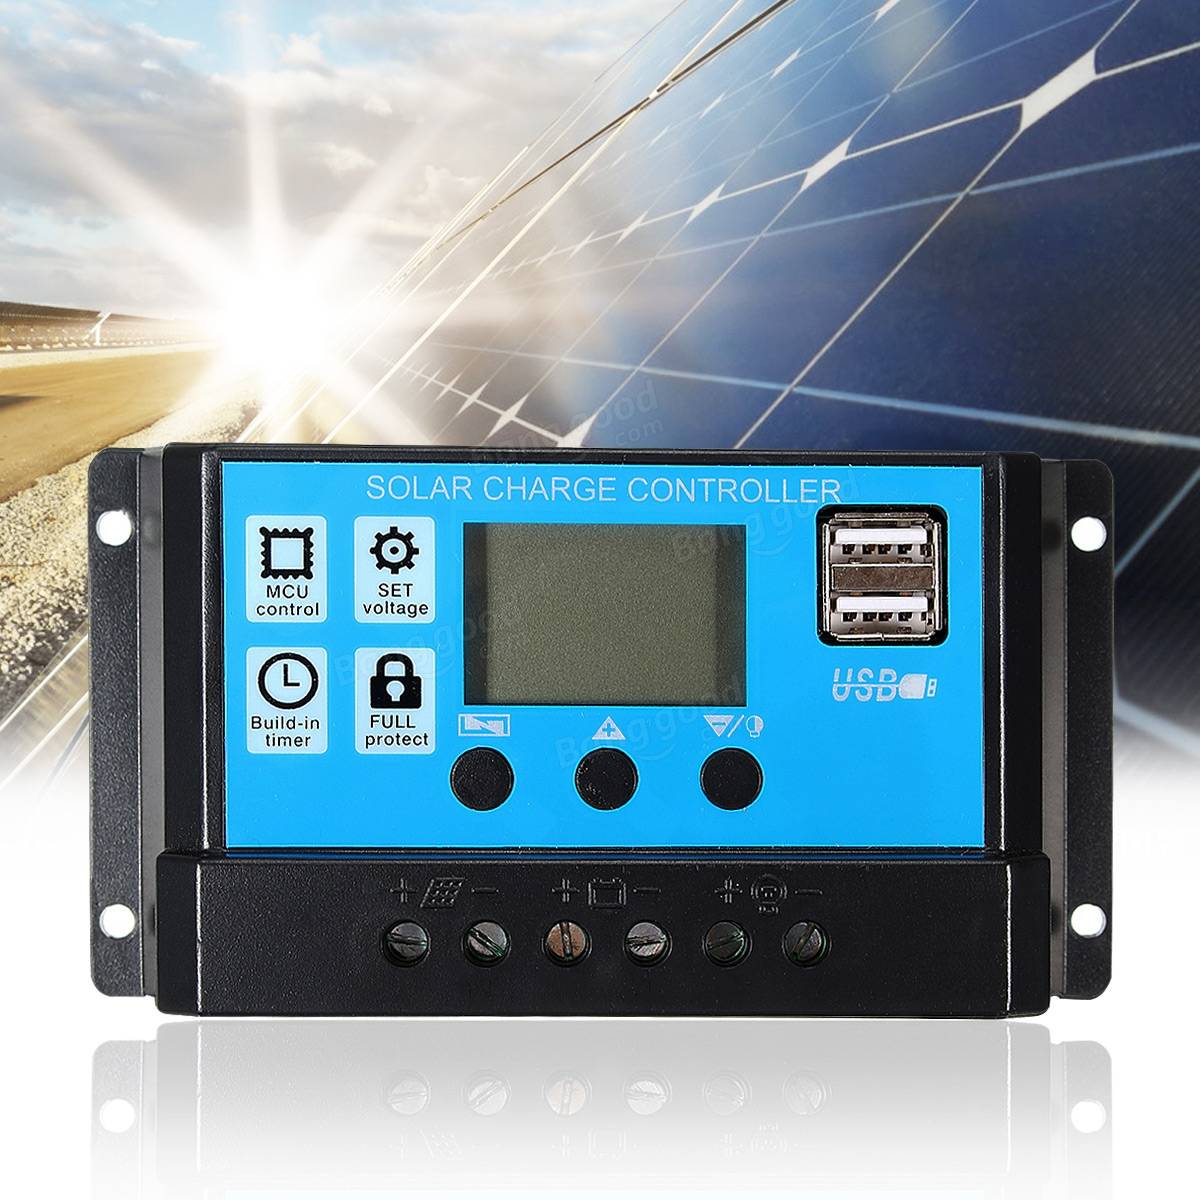
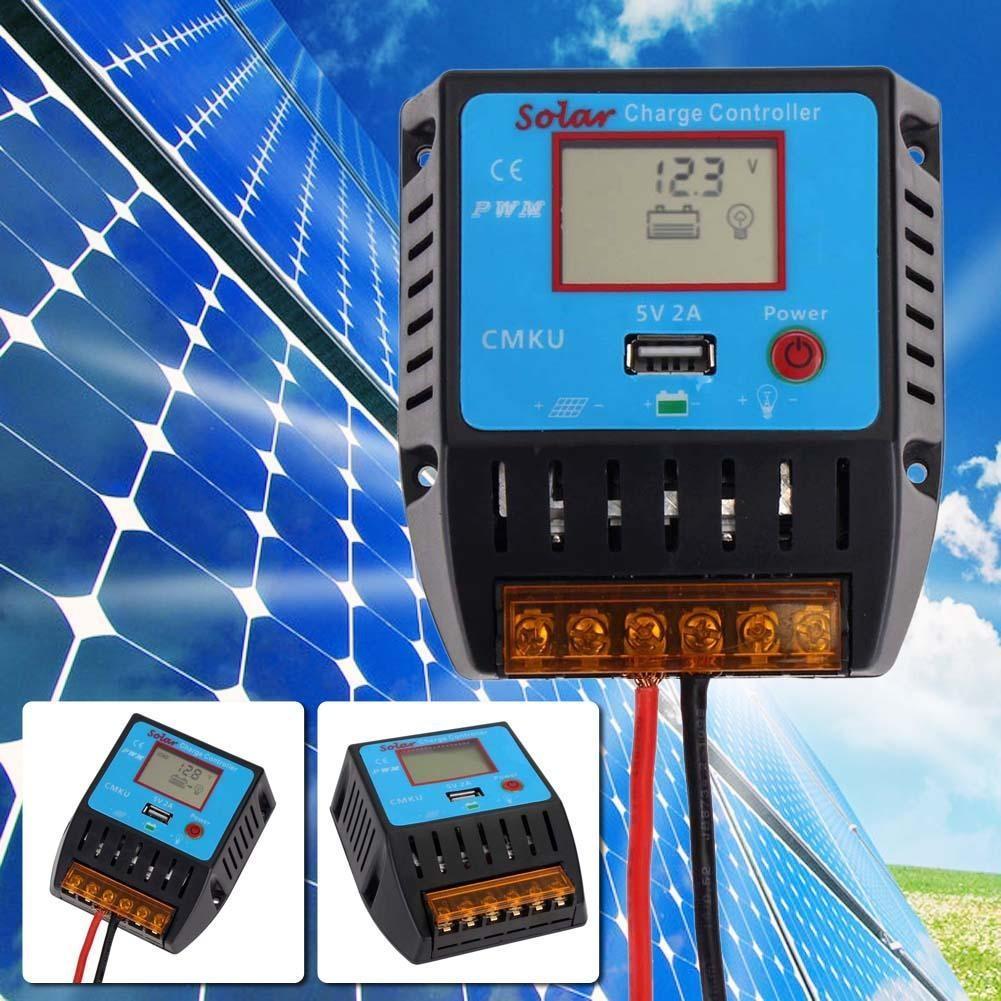
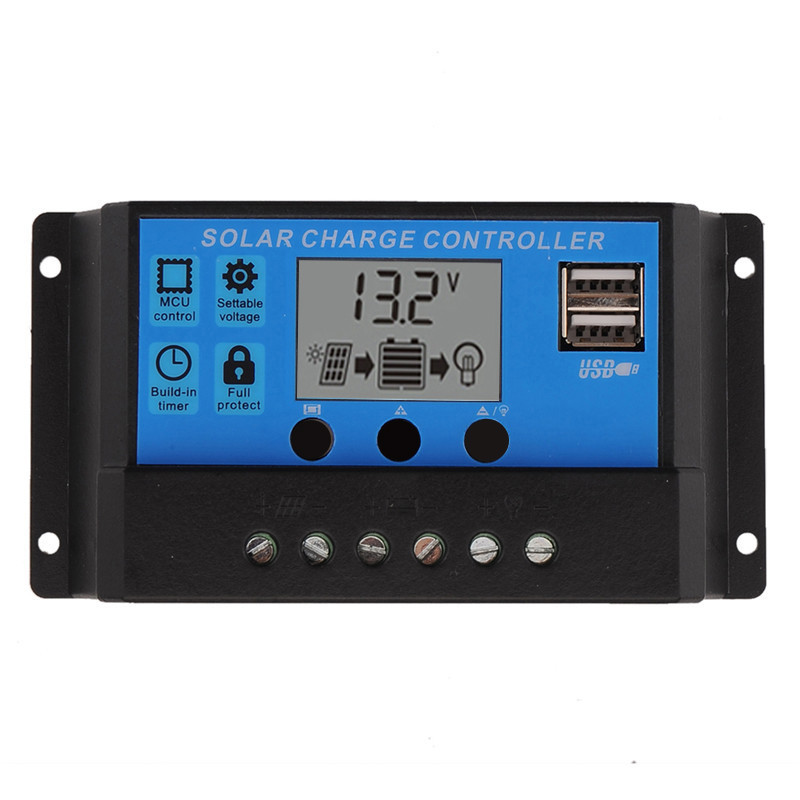
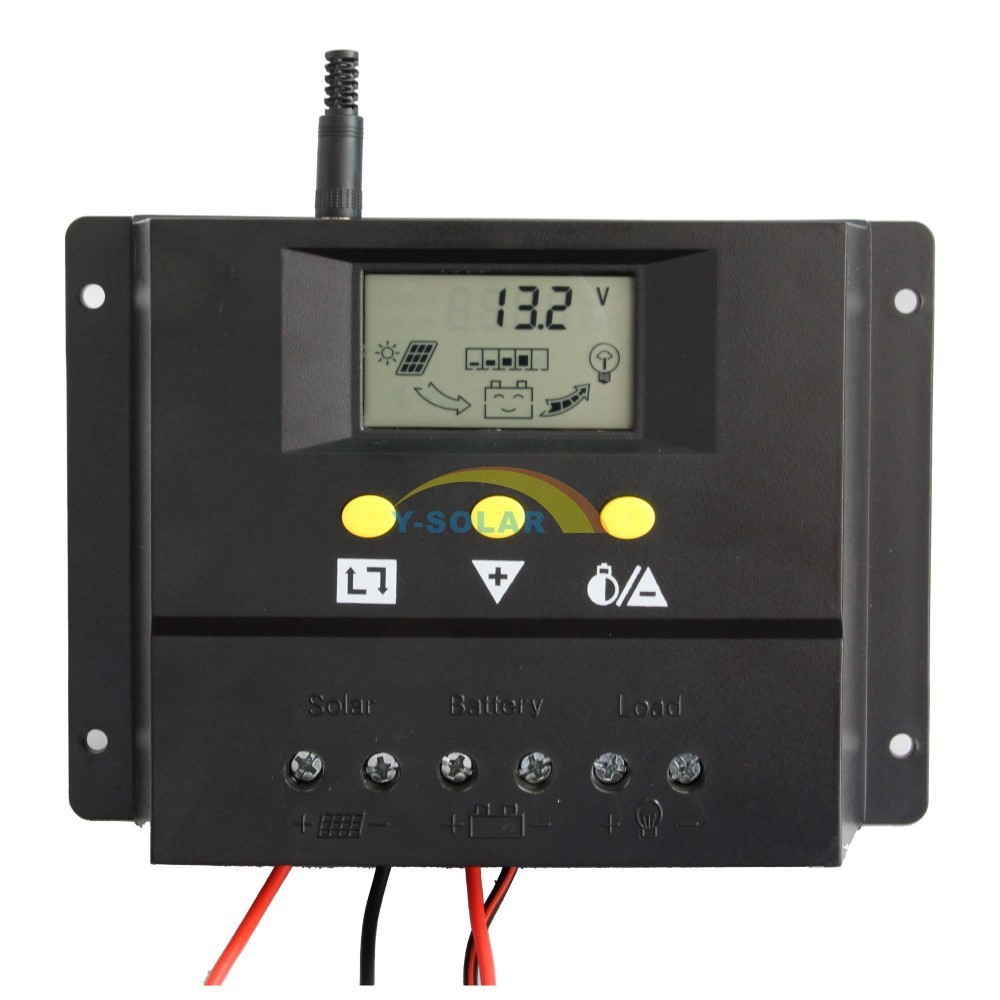
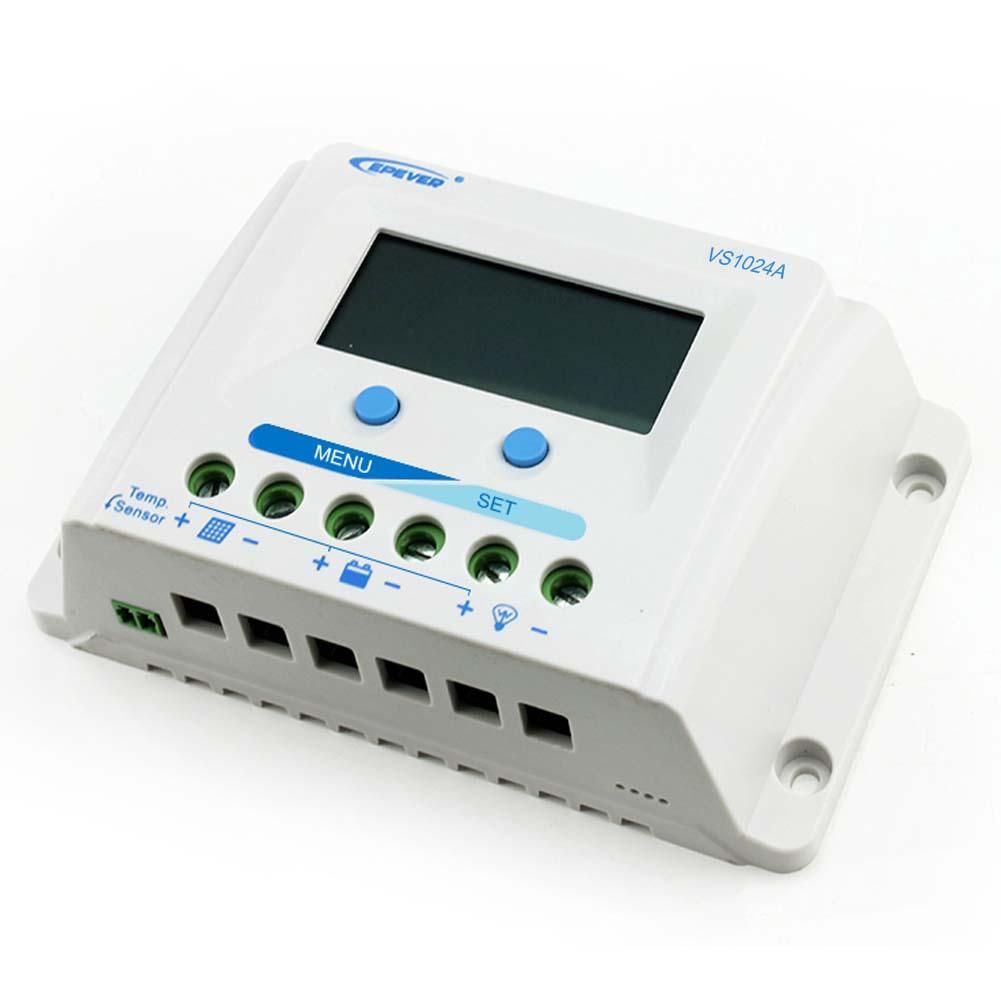
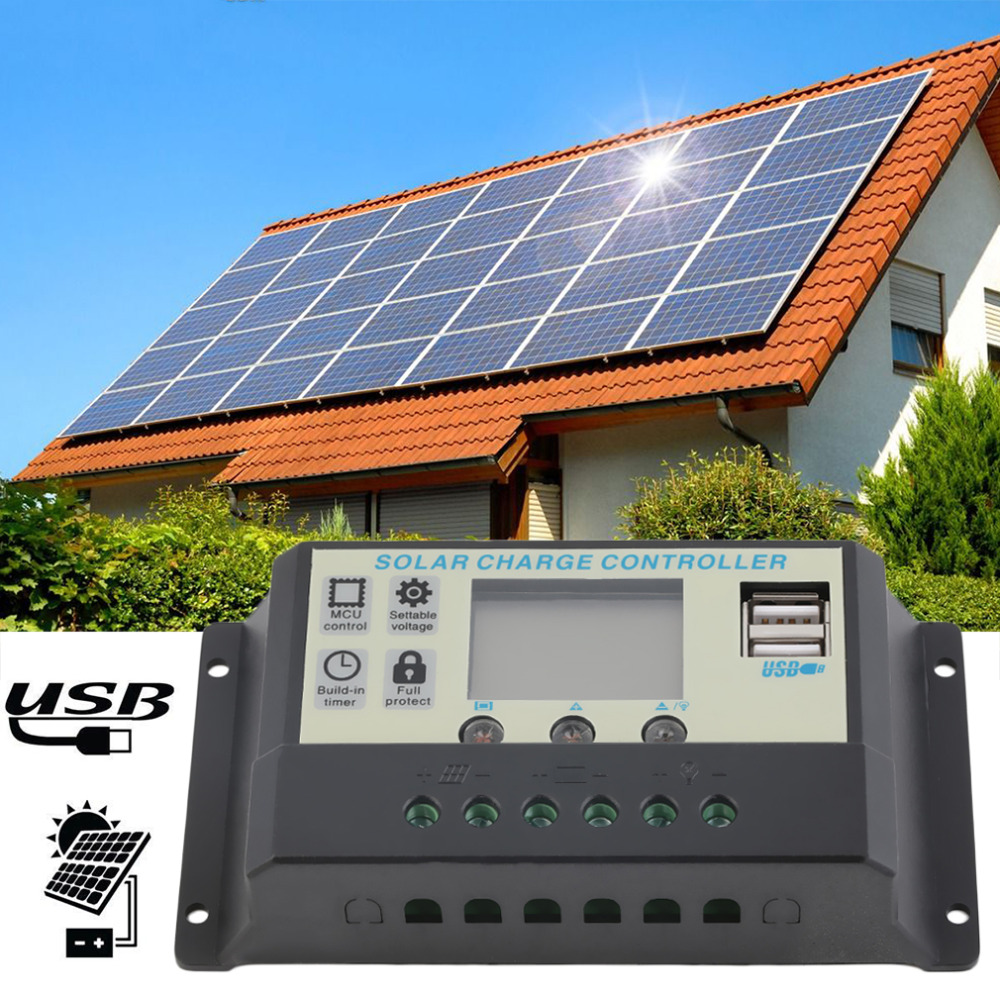
Additionally, the device is equipped with a variety of electronic fuses and special information displays. The monitor allows you to find out the necessary information about the state of the battery and the entire system.
In addition, the screen displays many other important information: battery voltage, charge level and much more.
The design of many models of controllers includes special timers, thanks to which the night mode of the device is activated.
In addition, there are more complex models of such devices that can simultaneously control the operation of two independent batteries. In the name of such devices there is a prefix Duo.
It should be noted the modern models of devices that are able to dump excess energy on the heating elements.
Kinds
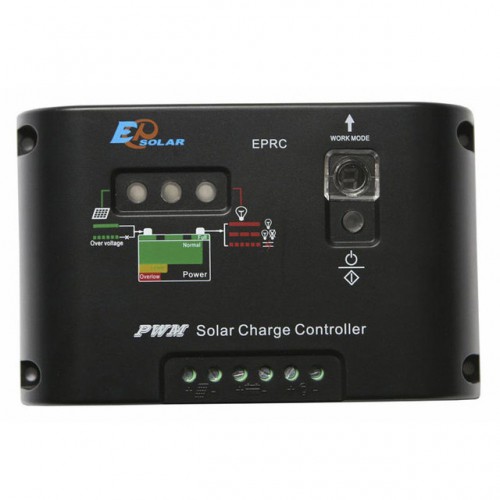
There are several types of controllers for charging solar cells. The most simple and affordable device is On / Off.
The main purpose and advantage of this type of device is the timely disconnection of the charge to the battery. This property of the device is important: during the achievement of optimal voltage, it helps to avoid overheating of the device. In this case, be sure to mention the lack of this type of device - quick disconnect. After the maximum current is reached, it is necessary to support the charging process for about two hours, however this device turns it off immediately. The battery charge in this case will be about 70 percent, which is significantly lower than the required value. This indicator has a negative impact on the battery.
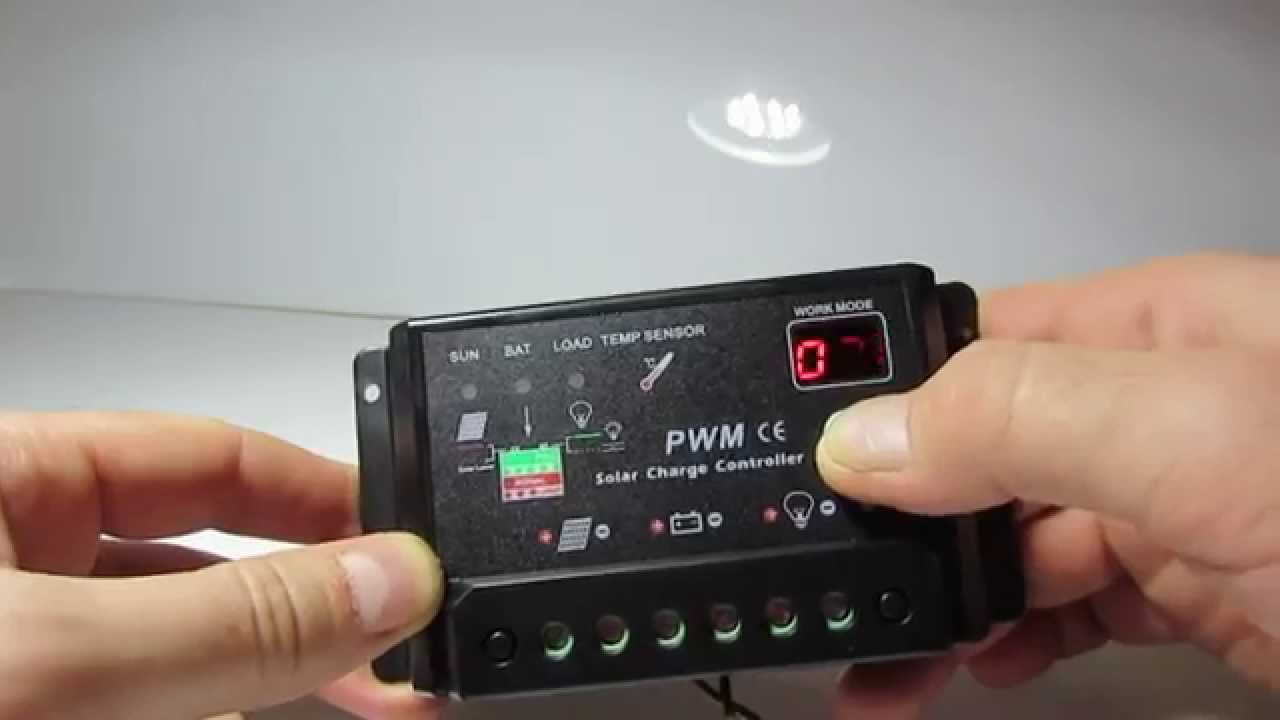
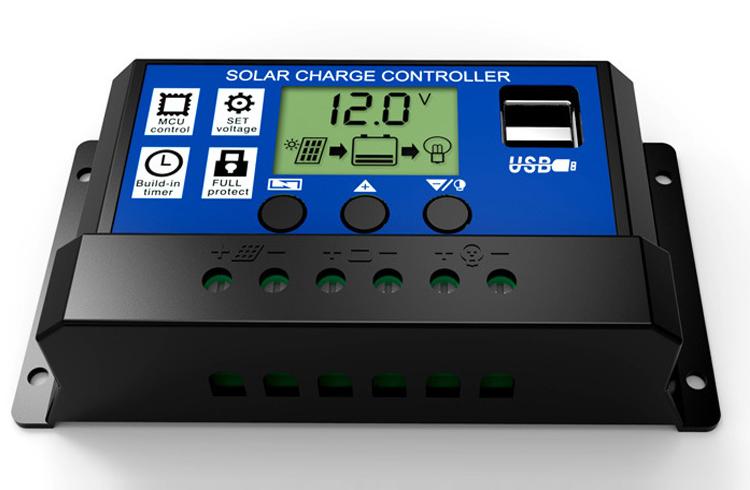
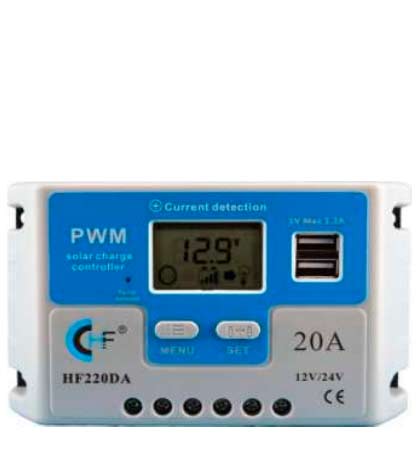
The second type of controller for charging the solar battery is an electronic PWM device. The release of this design was adjusted relatively long ago.The device is based on special pulse-width modulation algorithms. Despite this, these devices are quite effective. PWM devices are the best option for domestic use.
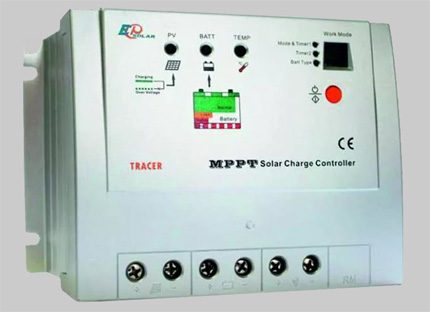
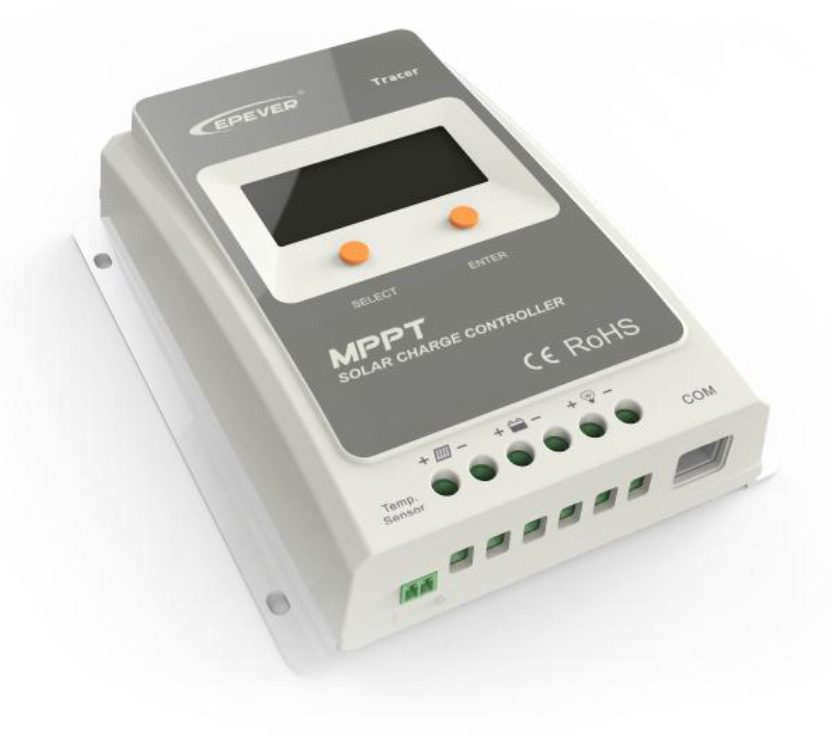
More modern electronic device - MRRT. The device is equipped with the latest technology aimed at tracking the maximum degree of power. This increases the efficiency and functionality of this device several times. However, despite this, it should be noted that when choosing a device for domestic use, you should choose a device from the PWM series. This is due to the high cost of devices from the MRRT series, as well as to complex configuration. Such devices are the best option for use in large-scale solar energy systems.
If you want to choose a hybrid version, then, first of all, you need to understand how the microcontroller works (the principle of operation and PWM).
How to choose
When choosing a suitable controller to charge the solar battery, you need to pay special attention to several very important criteria.
In the first place is the incoming voltage.The maximum value of this indicator must meet certain standards. In the construction of such devices are sometimes used several batteries. Therefore, the voltage on the circuit of the device comes simultaneously from all batteries connected in various ways. In order for the device to function properly, a certain voltage is needed, the performance of which should not exceed the norms prescribed by the manufacturer.
In order for the voltage indicators to meet the required standards, some nuances should be taken into account:
- overestimation of all indicators of the design for the charge of the solar battery - for advertising purposes;
- the instability of various processes occurring in the photocells of the device during strong light flashes, while energy indices that affect the voltage in the device during idle battery operation can be significantly exceeded.
The second important criterion is the rated current. The value of this indicator for each type of device is different. Therefore, when choosing a device, it is necessary to preliminarily clarify the necessary power standards — these indicators are very important for the effective operation of the controller. The device transmits these values to the battery.In the event that the device does not receive the necessary power, an unexpected situation may arise and the device will break down.
To calculate the value of power, the voltage is taken as a basis when the device’s batteries are discharged. At the same time it is necessary to multiply the indicators of the output current and the voltage that is produced by the solar battery. After that, you should add to the result of 20 percent of the reserve.
Another important criterion when choosing a controller is the type of load. Do not use the device to connect various household appliances. This will lead to the controller's failure, due to the use in the design of the device of various technologies that take into account the entire load inherent in the battery properties. To avoid such situations, it is necessary to use the device strictly for its intended purpose.

Installation diagram
You can make a homemade version with your own hands and customize it if you consider all our recommendations.
It should be noted that when connecting each type of such devices it is necessary to use the most appropriate type of solar panels.For example, when using a device designed for an input voltage of about 100 volts, you should use solar panels, which have a similar figure at the output corresponds to this value.
Before you start connecting the device, you should decide on the most appropriate place to install it. The best solution to this issue is a dry, well-ventilated room. It is strictly not recommended to place flammable materials near the apparatus. In addition, it is absolutely unacceptable location of the device is very close to various sources of vibration, humidity, as well as a variety of heaters and stoves. The place to place the device must be reliably protected from various atmospheric precipitation and direct sunlight.
PWM Device Connection Sequence
To achieve the maximum effect from the use of such a device, it is necessary to follow the instructions exactly, as well as to follow a certain sequence when connecting the device. The process of connecting PWM devices and various peripherals will not cause much difficulty -to cope with this task can anyone.
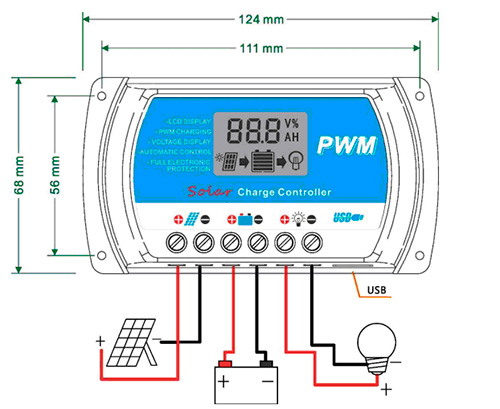
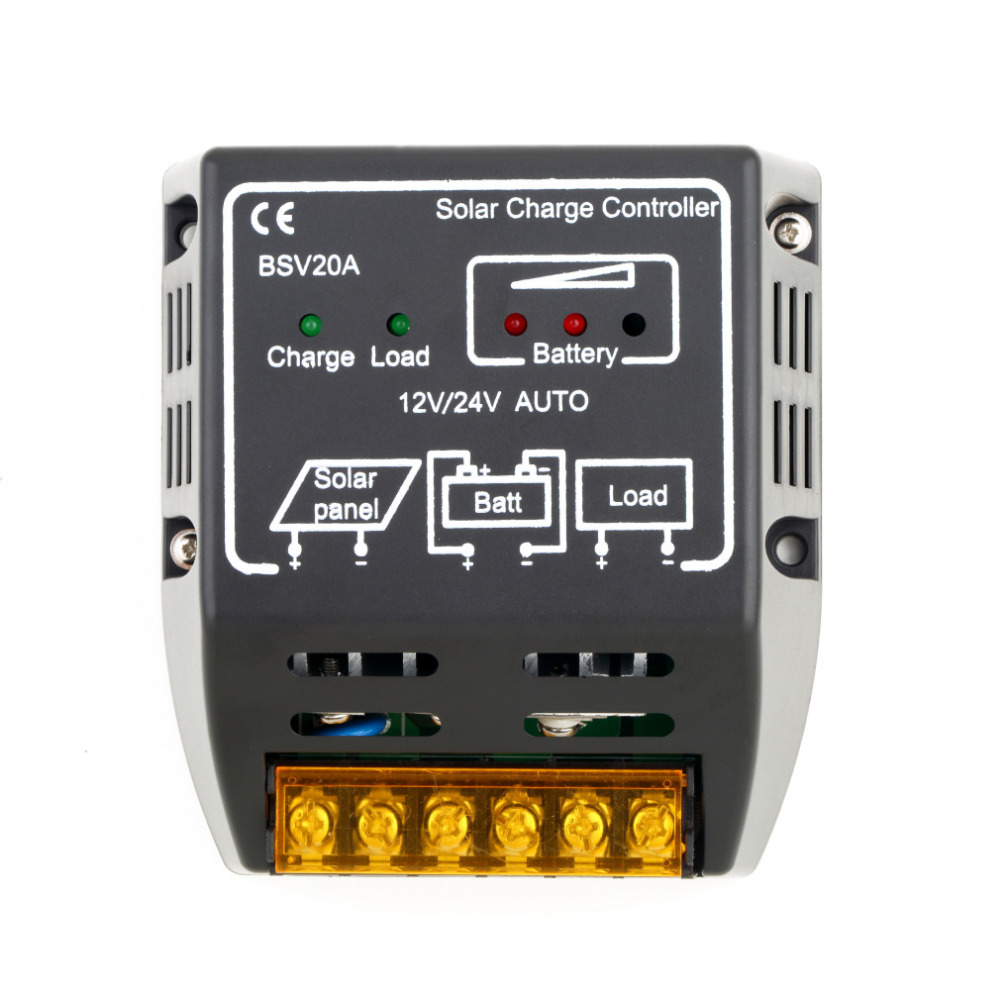
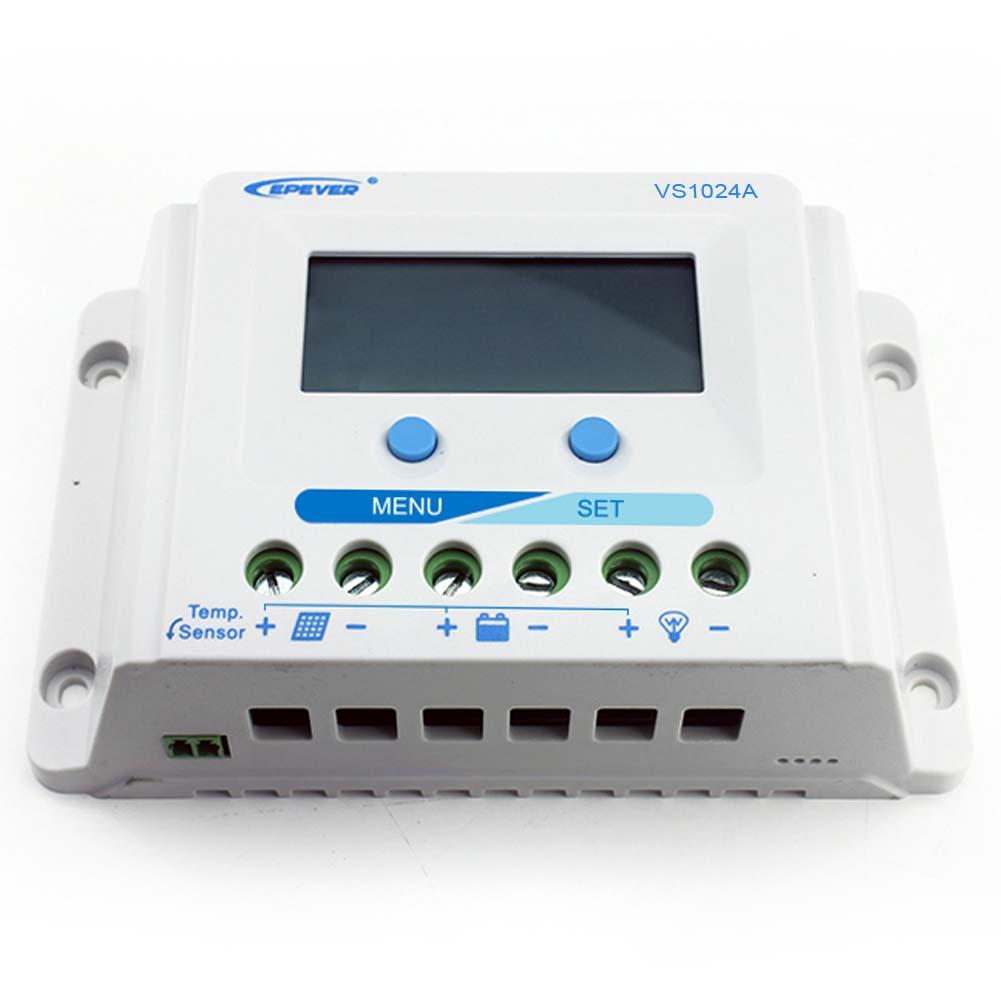
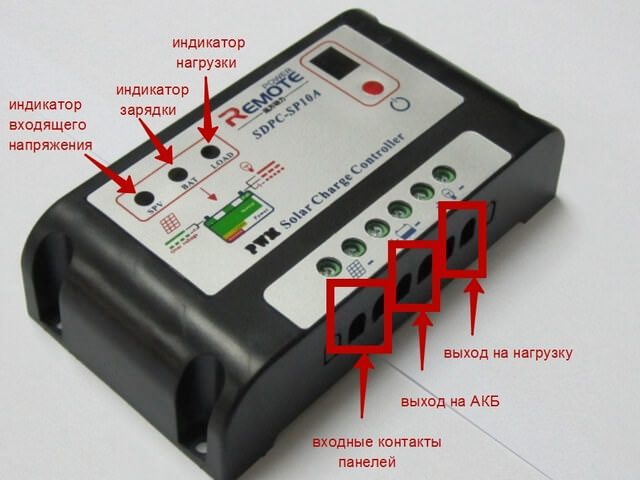
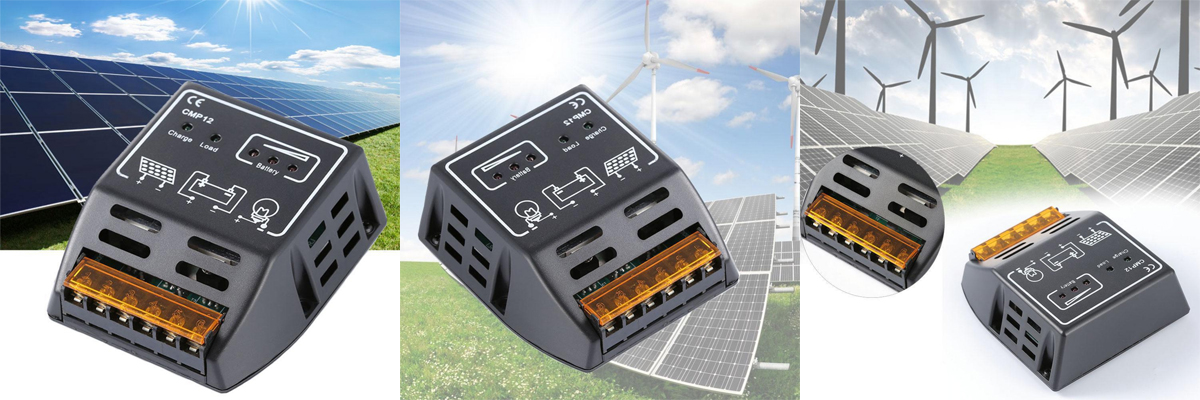
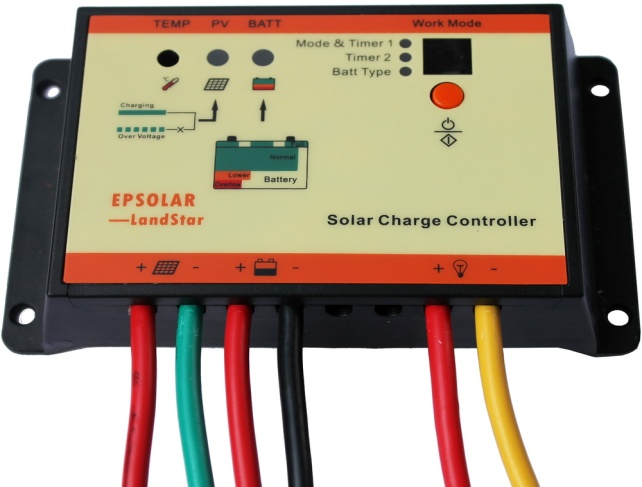
Each design is equipped with special labeled terminals.
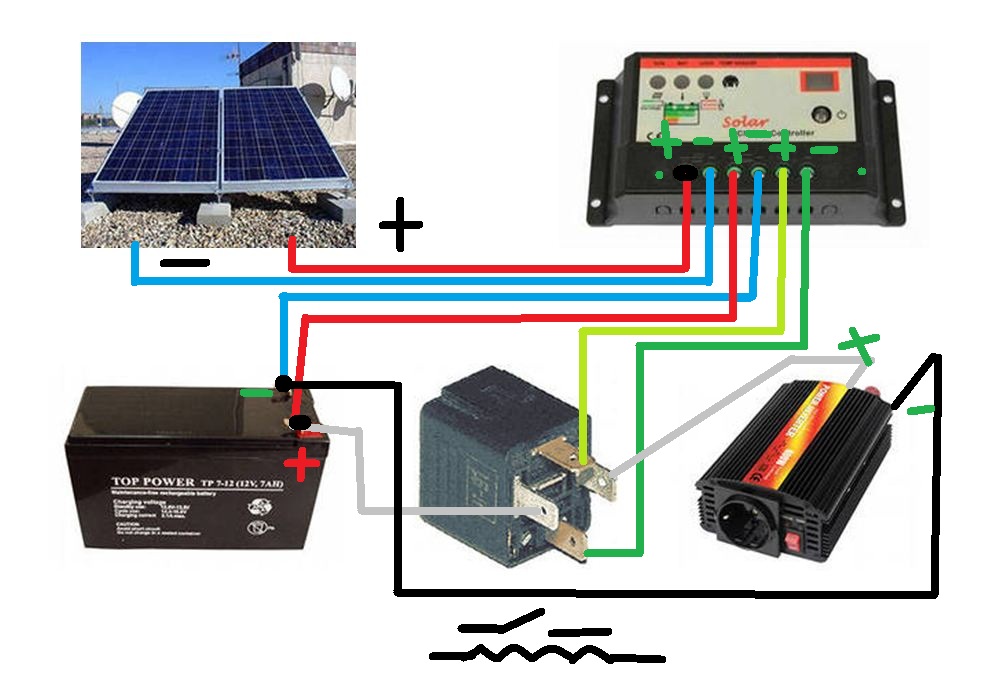
Connection of peripheral devices must be carried out in strict accordance with the symbols on the contact terminals:
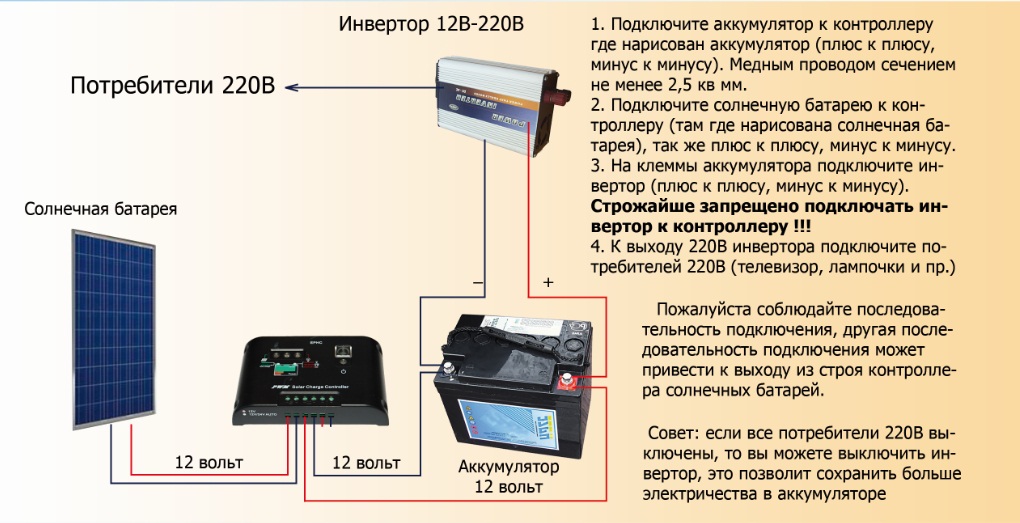
- it is necessary to connect the battery and the battery with the help of a special wire and terminal, carefully observing the polarity;
- A fuse must be connected to a specific positive wire to protect the instrument;
- at the appropriate contacts of the controller, you should fix the special conductors extending from the solar panel battery, and you must also carefully observe the polarity;
- A special lamp should be connected to the specific outputs of the device to control the corresponding voltage.
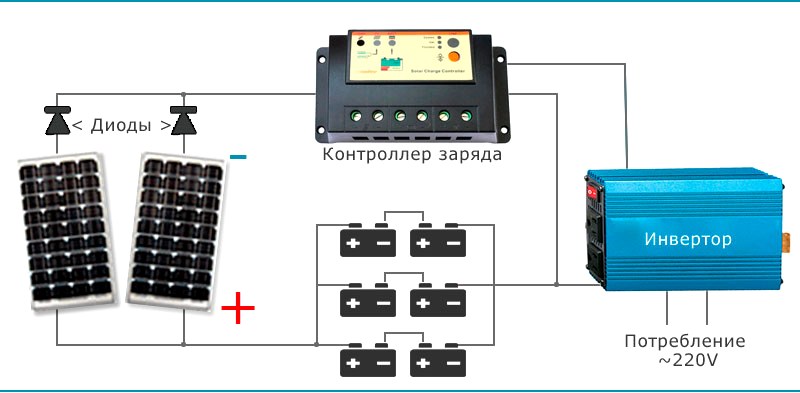
Do not violate the specified sequence. For example, it is absolutely not recommended to connect solar panels to the controller when the battery is disconnected - this can lead to a breakdown of the device. Inverter design must be connected to the battery with special terminals.
MPPT Connection Procedure
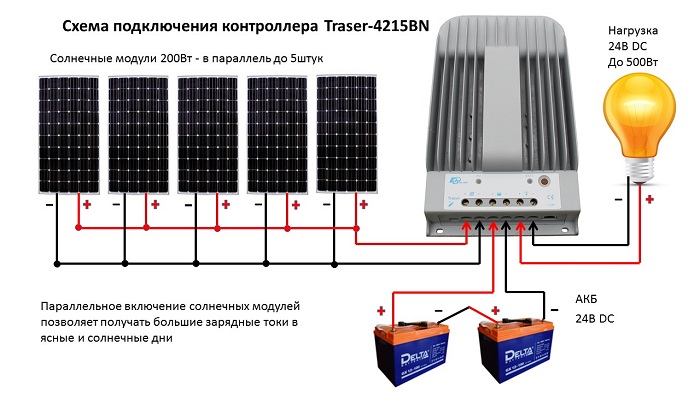
The general rules for connecting this type of apparatus are almost identical to the installation of other types of instruments. However, the installation technology is slightly different, as MPPT controllers are more powerful devices.
For structures designed for high power, it is necessary to use electrical cables with a large cross section for connecting power circuits.
Connecting electrical cables must be equipped with special tips, made of copper, which must be pre-compressed using a specific tool. Negative terminals of the solar panel and battery should be equipped with special adapters with fuses and switches. Due to such equipment of the device design it is possible to achieve a significant reduction in energy loss and guaranteed maximum safe operation of the structure.
Before connecting the device, be sure to make sure that the voltage at the terminals meets or has a value less than the permissible standard, which is necessary for supplying the controller to the input.
Connecting peripherals to an MTTP machine:
- First, turn off the device and the battery using special switches;
- it is necessary to dismantle special fuses on the solar panel and the battery;
- you need to connect with the help of electrical cable and terminals battery and controller;
- connect the solar panel with the device with the help of special wires and terminals (these elements are indicated by the corresponding signs);
- connect an earthing terminal to the “ground” bus using an electrical cable;
- install a special temperature sensor on the structure.

Only after all these steps have been completed can the battery fuse be put in place and the switch be turned on. A battery icon will appear on the monitor of the device.
After that, you need to wait a few minutes, install a solar panel fuse and turn on the device using a special switch located on the instrument panel. The monitor will display a specific icon indicating the voltage of the solar panel. This indicates a successful start of the device.
Tips
To achieve maximum impact, you must install the device in places well lit by the sun. At the same time it is important to locate the device as high as possible.
The design of the front side should be directed to the south. A slight deviation is allowed, which should not exceed 20 degrees.
The device is installed at a certain angle to the level of the horizon.
The design of the most advanced devices includes a special electric drive, which changes the angle depending on the position of the sun.
About what are the subtleties of selection and installation of the solar battery, see the following video.


