How to make a solar battery at home?
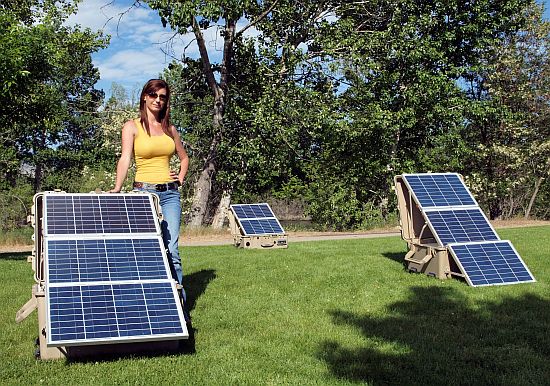
The use of solar energy is associated mostly with spacecraft. And now with different distant countries where "alternative energy" is rapidly developing. But try the same thing even with home-made devices that fit almost everyone.
Features and types of device
From an exotic device intended only for special needs, the solar battery has become a relatively massive source of energy.And the reason is not only in environmental considerations, but also in the uninterrupted rise in electricity prices from the main networks. Moreover, there are still quite a few places where such networks are not stretched at all and it is not known when they will appear. Independent care of pulling the line, the union for the efforts of a large number of people are hardly possible. Especially since even with success you have to plunge into the world of rapid inflation.
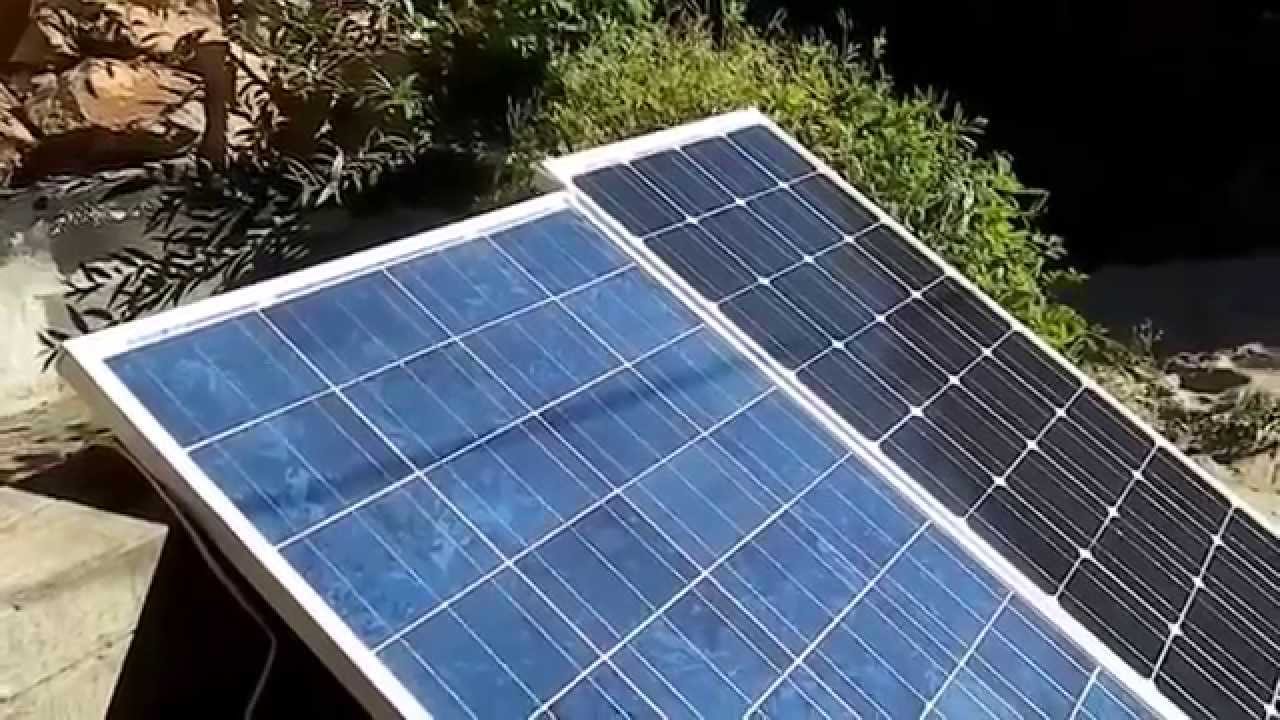
It is important to understand that panels that produce electricity can be quite different from each other.
And it's not even in the format - the appearance and geometry are just pretty close. But the chemical composition differs dramatically. The most mass products are made of silicon, which is available to almost everyone and is inexpensive. The performance of the battery is not worse than at least more expensive options.
There are three main options for silicon, such as:
- single crystals;
- polycrystals;
- amorphous substance.
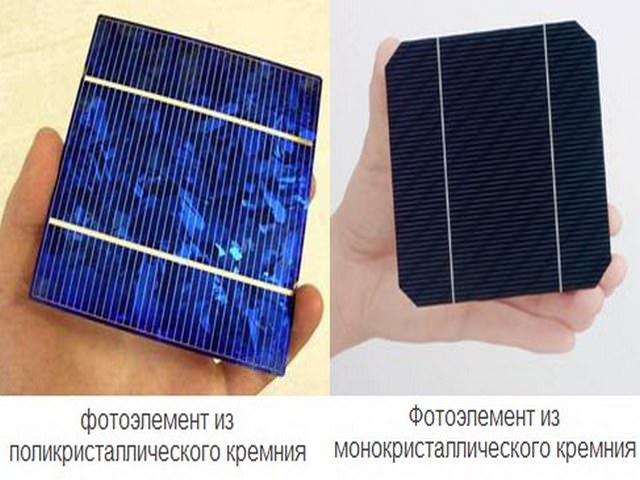
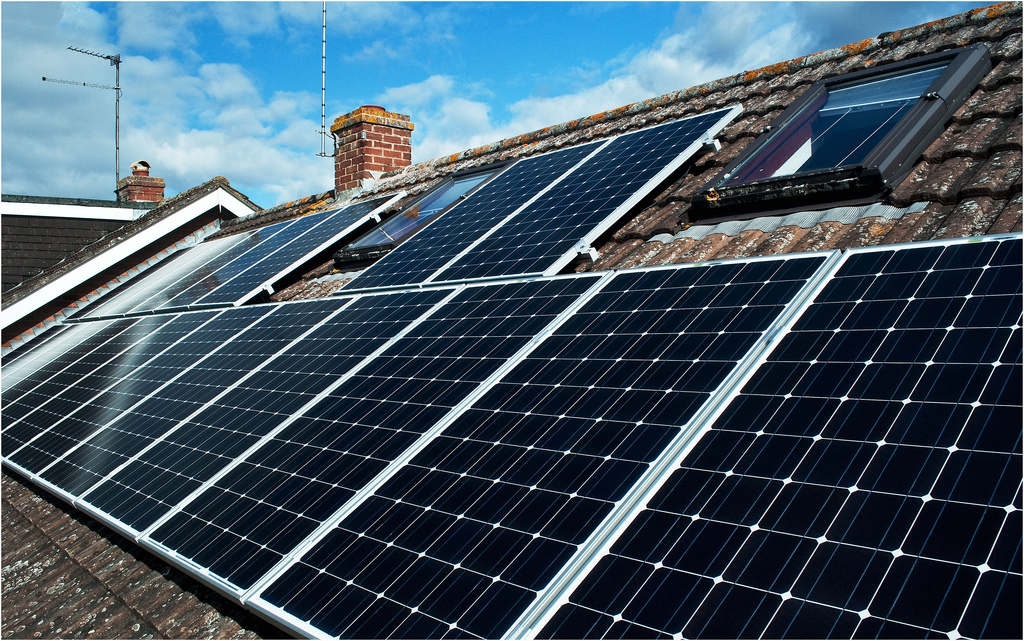
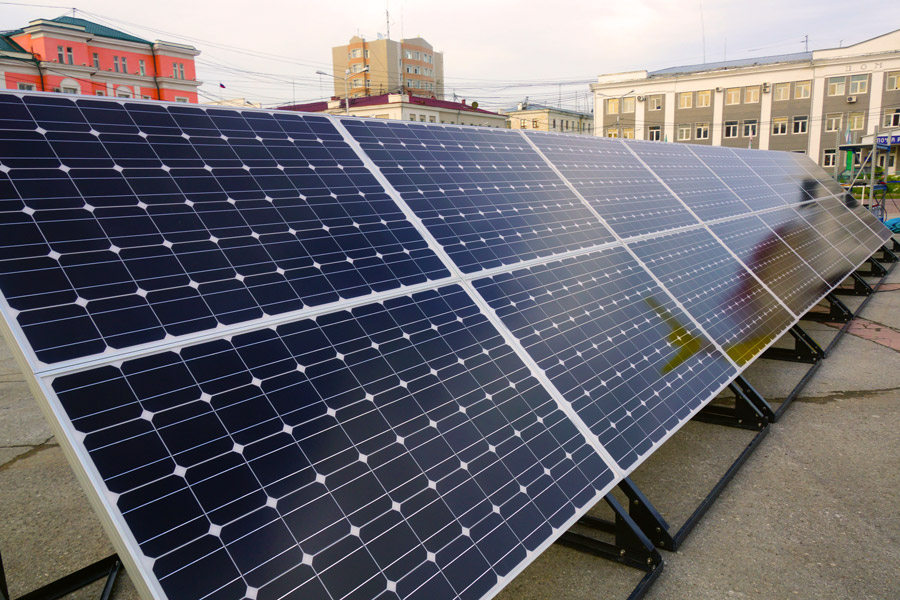
Single crystal, based on a compressed technical explanation, is the purest type of silicon. Externally, the panel looks like a kind of honeycomb. Thoroughly purified substance in solid form is divided into extremely thin plates, each of which has no more than 300 microns. To make them function, they use electrode grids.The repeated complication of technology compared to alternative solutions makes such energy sources the most expensive.
The undoubted advantage of monocrystalline silicon is very high efficiency. by the standards of solar energy, approximately 20%. A polycrystal is obtained differently; it is required to first melt the material and then slowly lower its temperature. The relative simplicity of the technique and the minimum energy consumption during production have a positive effect on the cost. The downside is reduced efficiency, even in the ideal case, it is no more than 18%. Indeed, inside the polycrystals themselves there are quite a few structures that lower the quality of work.
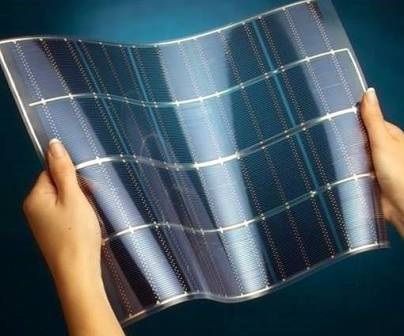
Amorphous panels almost do not lose to both the species just mentioned. There are no crystals here at all, instead there is a “silane” - it is a compound of silicon with hydrogen, placed on a substrate. The efficiency is about 5%, which is largely offset by a multiple increase in absorption.
It is also important that amorphous batteries are better than other options to cope with their task in diffused sunlight and in cloudy weather.The blocks are elastic.
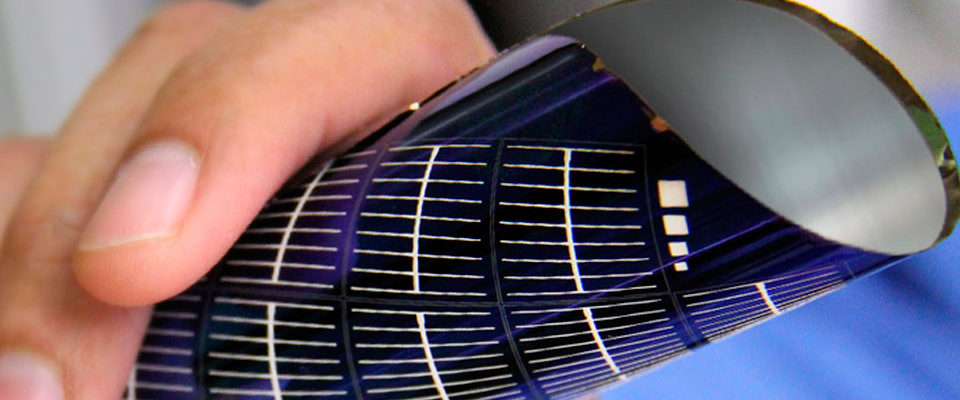
Sometimes you can find a combination of single-crystal or polycrystalline elements with an amorphous variant. This helps to combine the advantages of the used schemes and extinguish almost all their disadvantages. In order to reduce the cost of products, film technology is now increasingly being used, which provides for the generation of current based on cadmium telluride. By itself, this compound is toxic, but the release of poison into the environment is negligible. Copper and indium selenides, polymers can also be used.
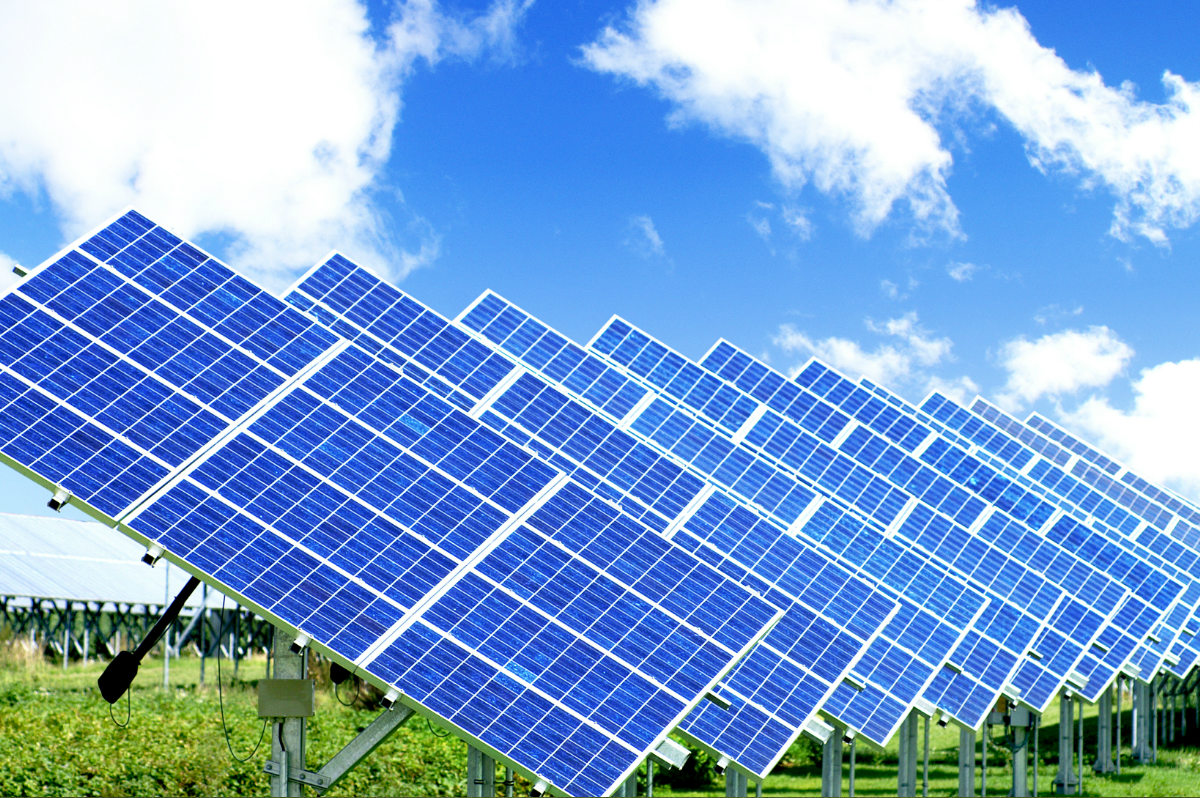
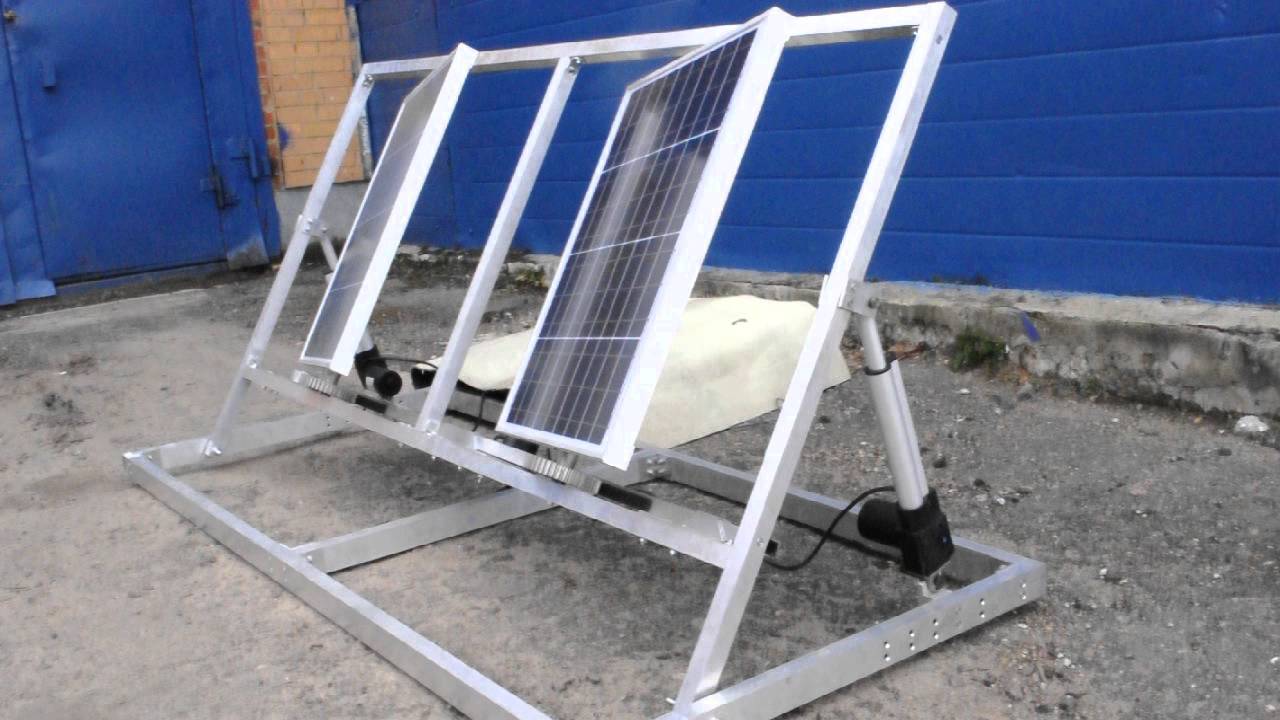
Concentrating products increase the efficiency of using the panel area. But this is achieved only with the use of mechanical systems that ensure the reversal of the lenses after the sun. The use of photosensitizing dyes potentially helps to improve the reception of solar energy, but for now this is more of a general concept and development of enthusiasts. If you do not want to experiment, it is better to choose a more stable and proven design. This applies to both the independent production and the purchase of the finished product.

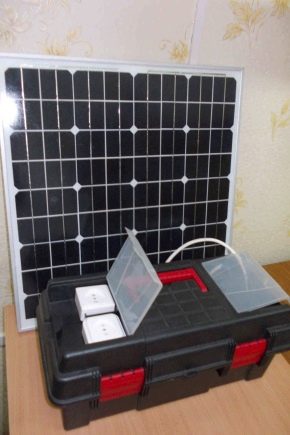
Independent production
What are they doing?
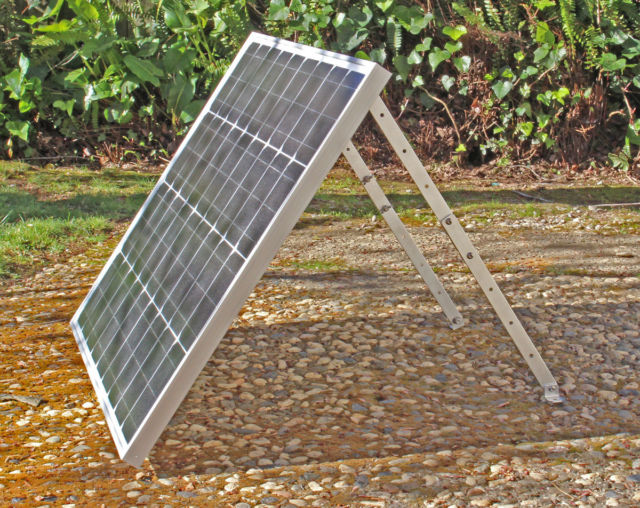
Making your own solar battery is not as difficult as it seems. The principle of the device is based on the use of a semiconductor junction, the illuminated device must create a current. Independently manufacture the receiver will not work, for this you need complex production manipulations and specialized equipment. But to perform the power part of the converter from improvised means and materials is not difficult. For energy in the true sense of the word, you need a plate of silicon, the surface of which is covered with a grid of diodes.
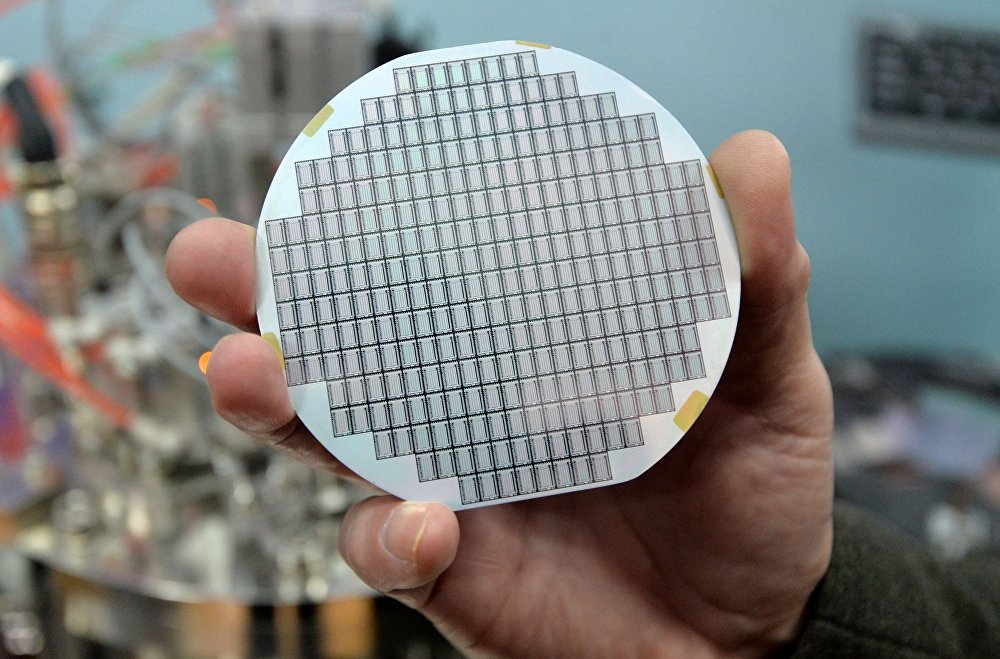
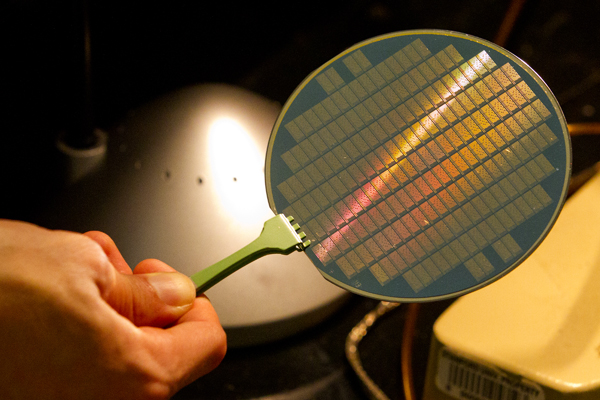
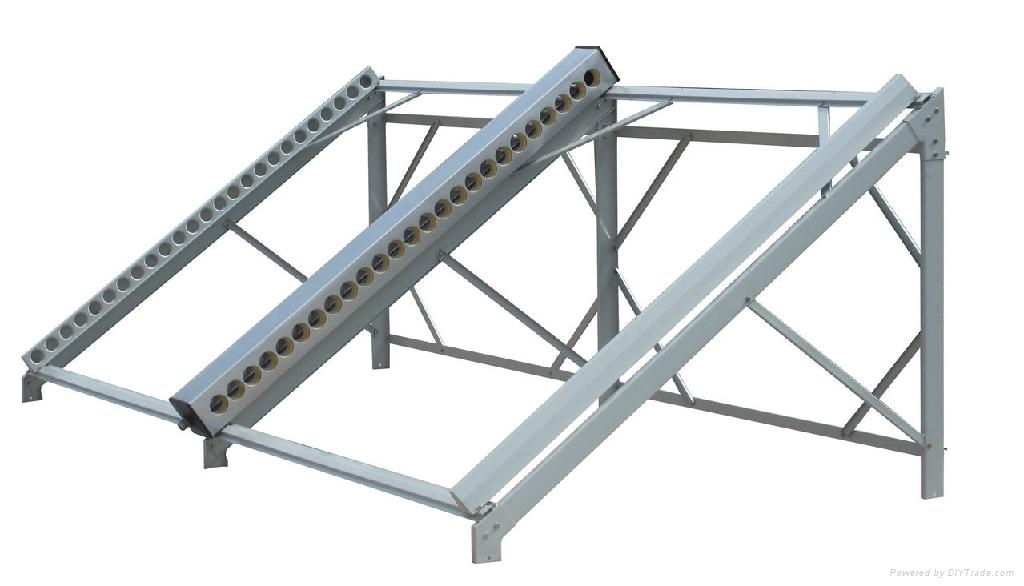
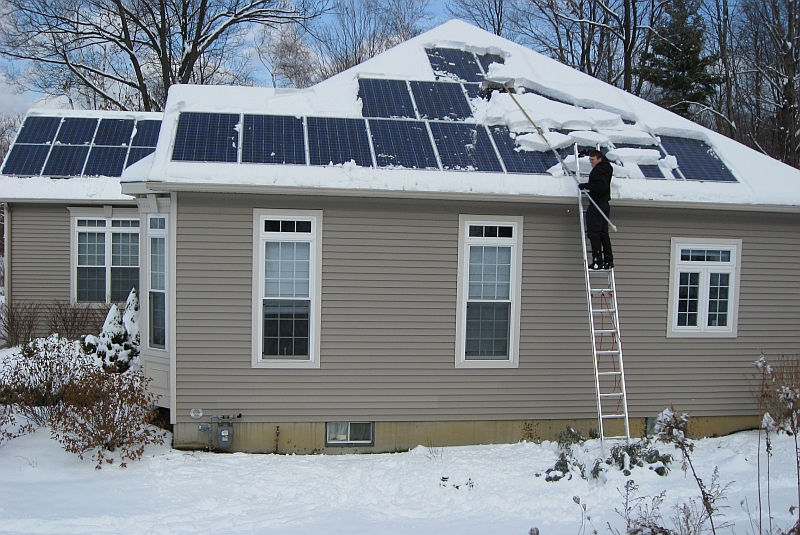
All plates should be considered as separate generating modules. It is important to understand that optimal efficiency is achieved when the direction to the sun is constant, and that energy will have to be taken care of. The fragile battery should be reliably protected from any pollution, from the ingress of snow. If this does happen, extraneous inclusions should be removed as quickly as possible. The first step in working becomes the preparation of the frame.
It is mainly made of duralumin, which has the following features:
- does not corrode;
- not damaged by excessive moisture;
- serves as long as possible.
But it is not necessary to make such a choice. If coloring and special processing is carried out, quite good results are achieved with use of steel or wood. It is not recommended to put very large panels, which is inconvenient and increases windage. To charge an acid battery of 12 V, you need to create a working voltage of 15 V. Accordingly, modules of 0.5 V will require 30 pieces.
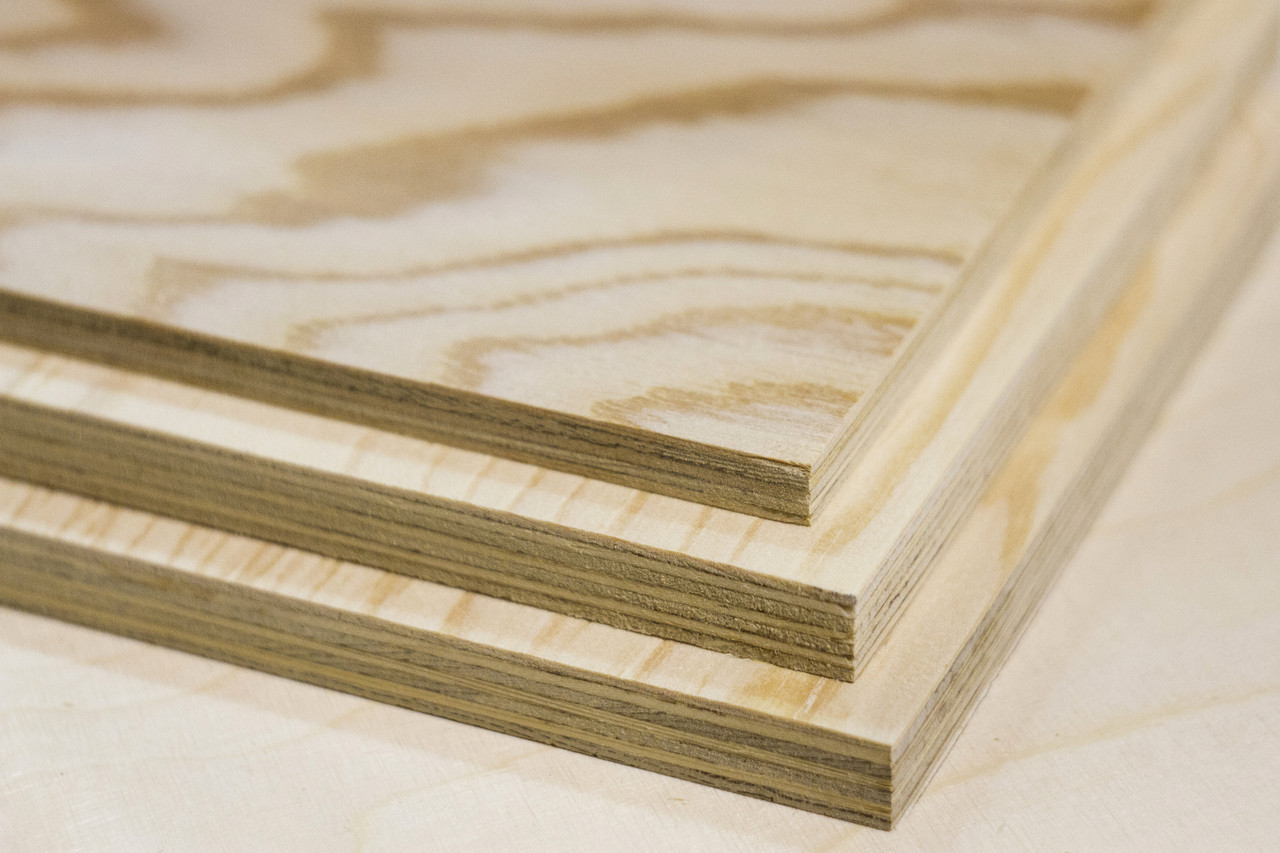
You can create a design of beer cans. The cases are made of 1.5 cm plywood, and the front panel is formed from organic glass or polycarbonate. It is allowed to use standard glass with a thickness of 0.3 cm. A solar collector is formed by dyeing with black pigment. Paint should be resistant to significant heat. Covers are designed to provide increased heat exchange efficiency.
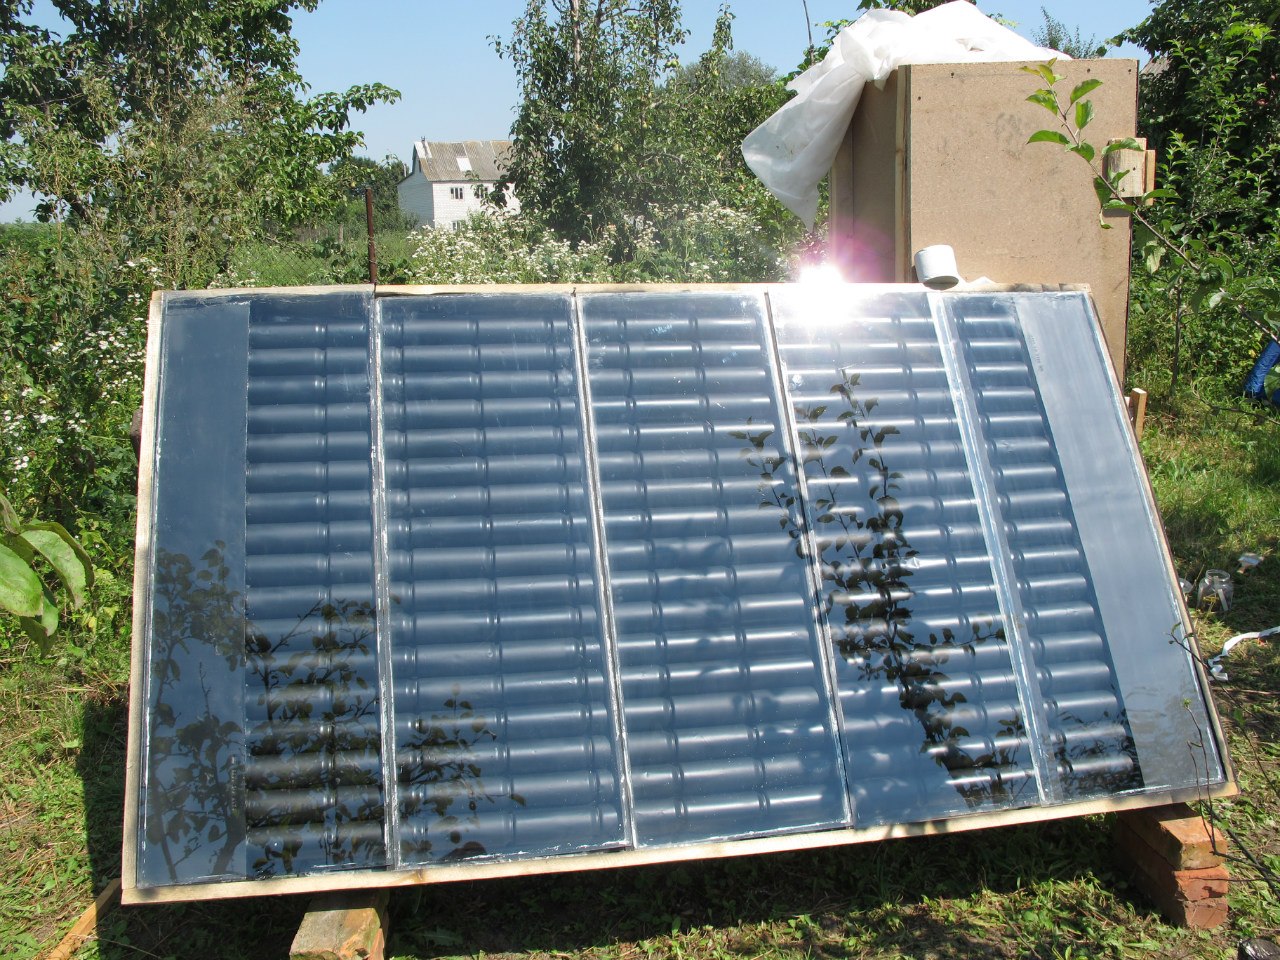
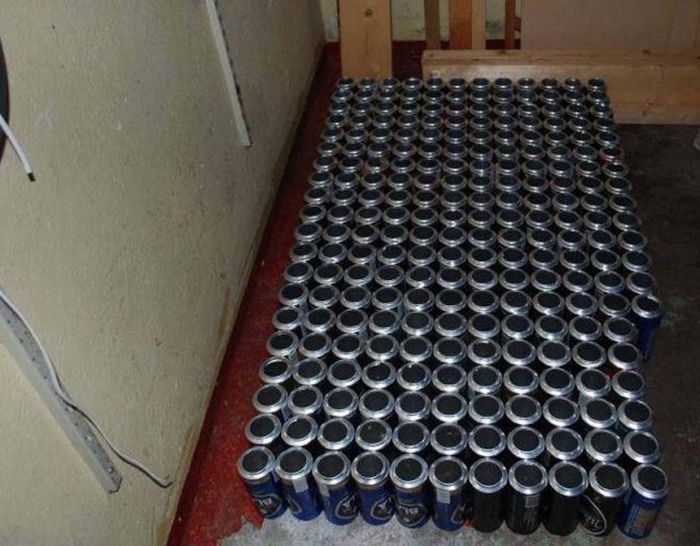
Inside the cans, the air warms up much faster than in the open. Important: it is required to wash the containers as soon as a decision is made to use them.
It should take only aluminum cans, steel will not fit.Verification is done in the simplest way - using a magnet. Donets punch, enter the piercer or a nail (although you can drill).

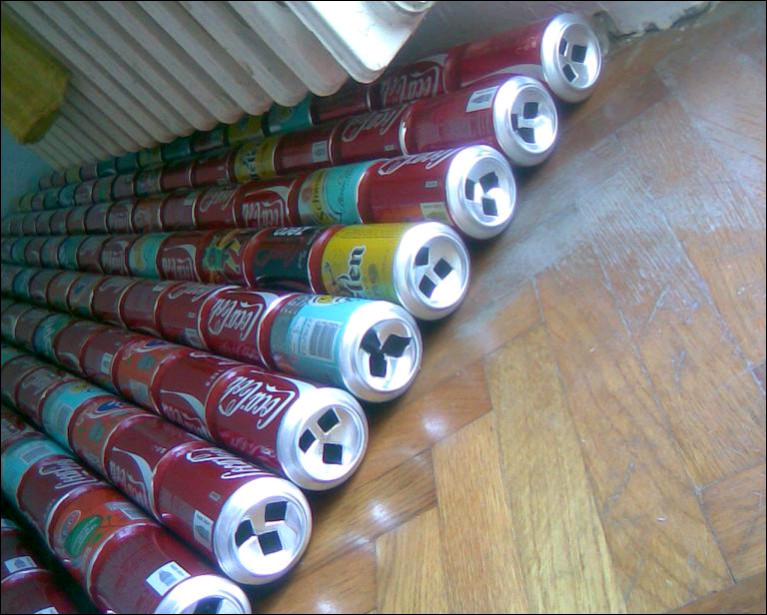
The caliper is inserted and distorted according to the pattern. The top of the can is cut to make something like a fin. It helps the air flow to remove maximum heat from the heated wall. Then the jar is degreased with any detergent and glued previously cut parts to each other. To eliminate misses, you can use a template of several boards, nailed with nails at a right angle.
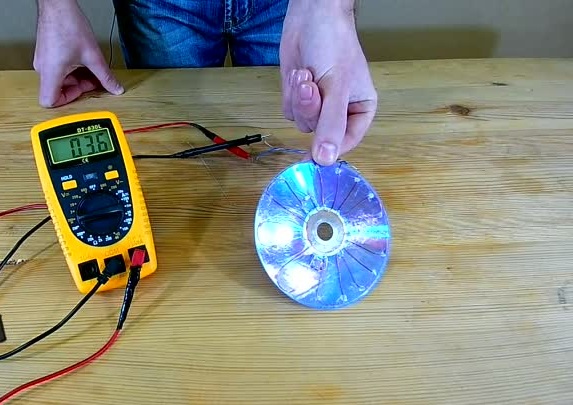
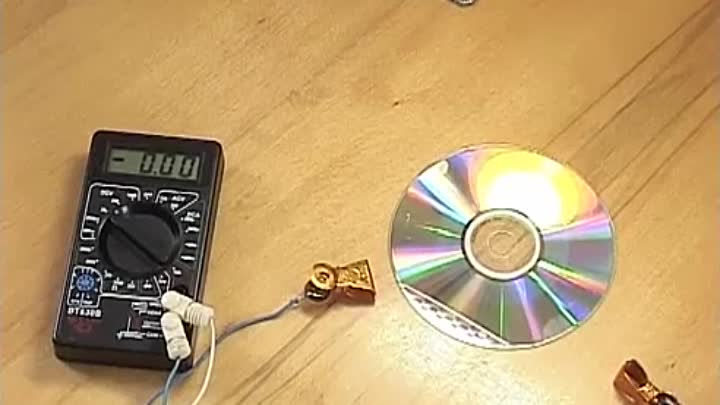
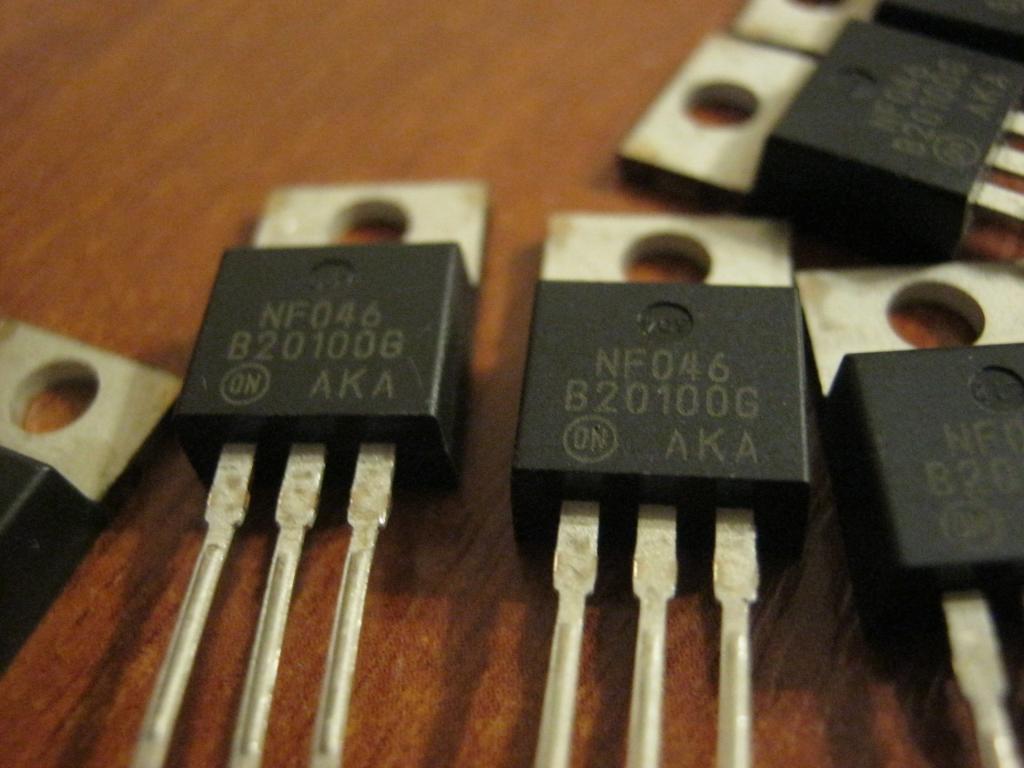
Often use designs from the discs. They are good photovoltaic cells. As an option, put plates of copper. The electrical circuit, as already mentioned, works on the same principle as most transistors. Foil is designed to prevent overheating. As an alternative, in the summer months they simply use the surface, trimmed in light colors.
What tools are needed?
To make yourself all the work on the installation of a solar battery at 220 volts, you will need the following tools:
- 40W electric soldering iron;
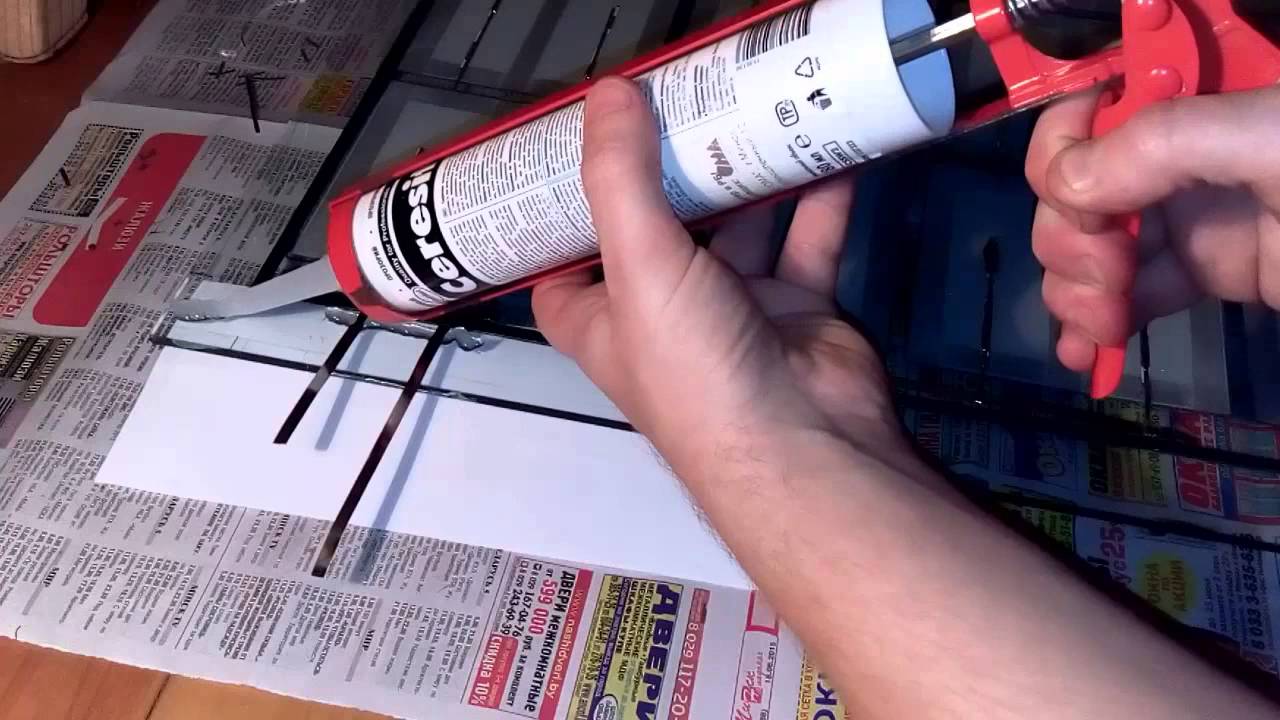
- silicone based sealants;
- adhesive tape, glued on both sides;
- rosin;
- solder;
- wire through which current will go;
- flux;
- copper tire;
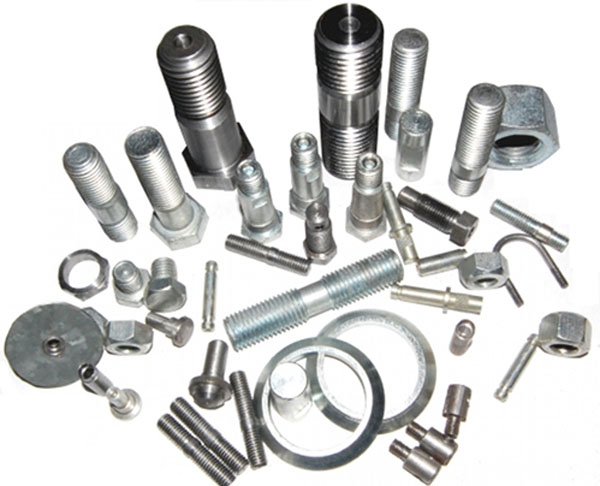
- fasteners;
- drill;
- transparent sheet material;
- plywood, organic glass or textolite;
- Schottky design diodes.
How to make?
The step-by-step instruction provides for outputs from the panels to the batteries by means of a protective diode, which helps to eliminate self-discharge. Therefore, a current of 14.3 V is applied to the output. The standard charging current is 3.6 A. Its output is achieved using 90 cells. Connection of parts of the panel is made in a parallel-serial way.
You cannot use a different number of elements in chains.
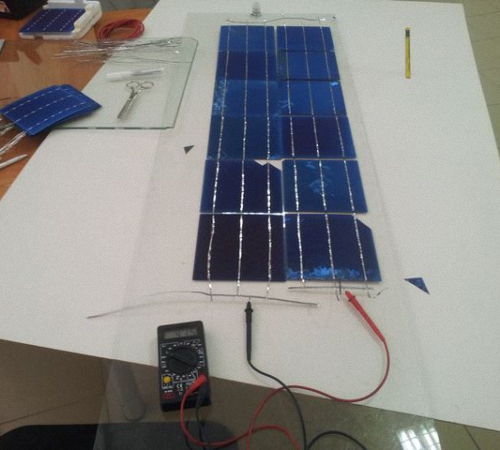
With correction factors for 12 hours of solar lighting, it is possible to obtain 0.28 kW / h. The elements are arranged in 6 lanes, for a fairly free installation, a frame of 90x50 cm is required. For information - when there are prepared frames with different sizes, it is better to recalculate the need for elements. If this is not possible, then use parts of a different size, they are placed by varying the length and width of the series.
It is desirable to work on a completely flat place, where it is convenient to approach from any side.It is recommended to put the prepared plates a little aside, where they will be insured against falls and impacts. Even to take the panel is not easy, they take only one at a time and very carefully. It is extremely important when installing in-house electric solar panels for the home or for summer houses to put a reliable UZO. Such units make using the system safer, reducing the risk of injury from electric current and fire.
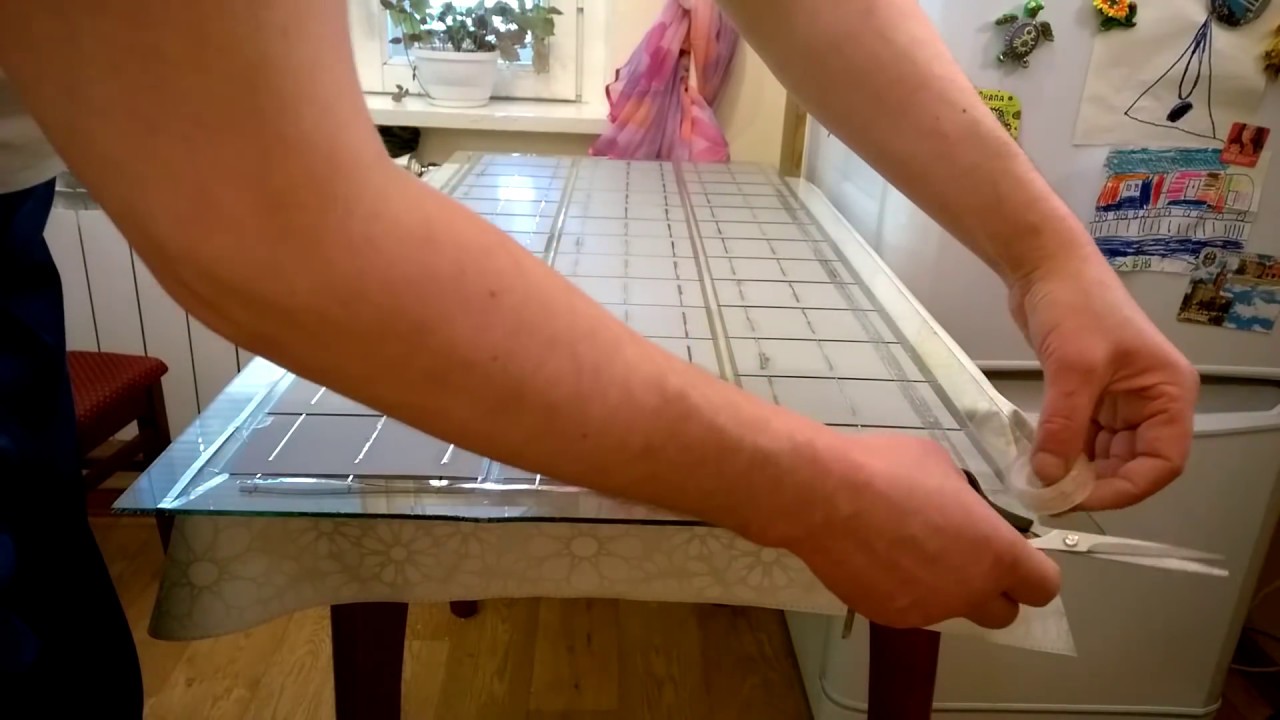
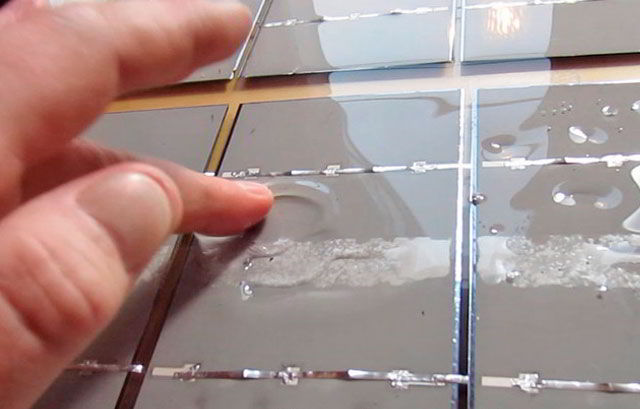
Most experts recommend sticking the decoupled elements in a single chain. The substrate must be flat, as this ensures reliability. Alternatively, you can insert into the frame and thoroughly strengthen a sheet of glass or plexiglass. This product requires mandatory sealing. Lay out the elements on the substrate in a predetermined order and glue them with double-sided tape.
The working side must be turned to a transparent material, and the solder terminals are wrapped in the other direction. It is most convenient to unsolder the pins if the frame is lined with a working plane on the table.
When the plates are glued, put a softening lining, for it use the following materials:
- rubber sheets;
- fibreboards;
- cartons.
Now you can insert the reverse wall into the frame and seal it. Replacing the feed wall with a compound, including an epoxy resin, is quite possible. But such a step needs to be made only under the condition that the panel does not have to be disassembled and repaired. The standard segment provides approximately 50 watts of current under favorable conditions. And this is already enough to feed the LED lamps in small homes.
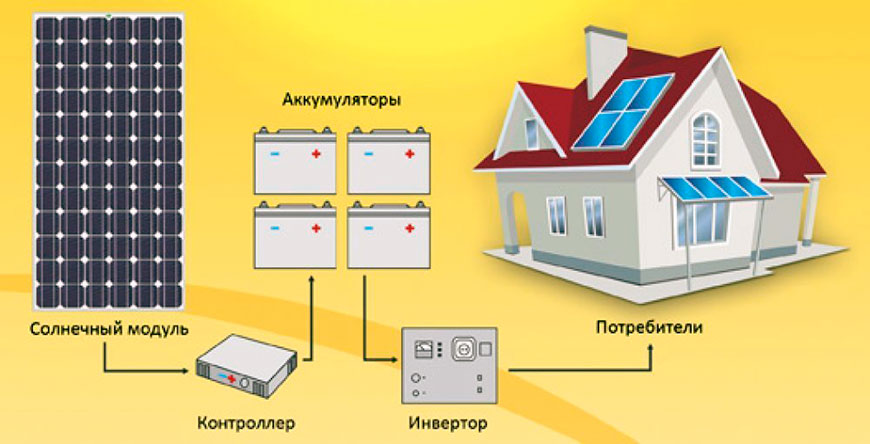
To ensure a comfortable life, you have to spend from 4 kW / h of electricity per day. For the livelihood of a family of three, you will need to supply 12 kW / h already. Considering the inevitable additions (when, for example, a standard set of equipment and a perforator work at the same time), this figure needs to be increased by another 2–3 kW. These parameters can be taken as a basis for calculating the required parameters. In order for work to proceed normally, it is necessary to add a charge controlling device to the circuit.
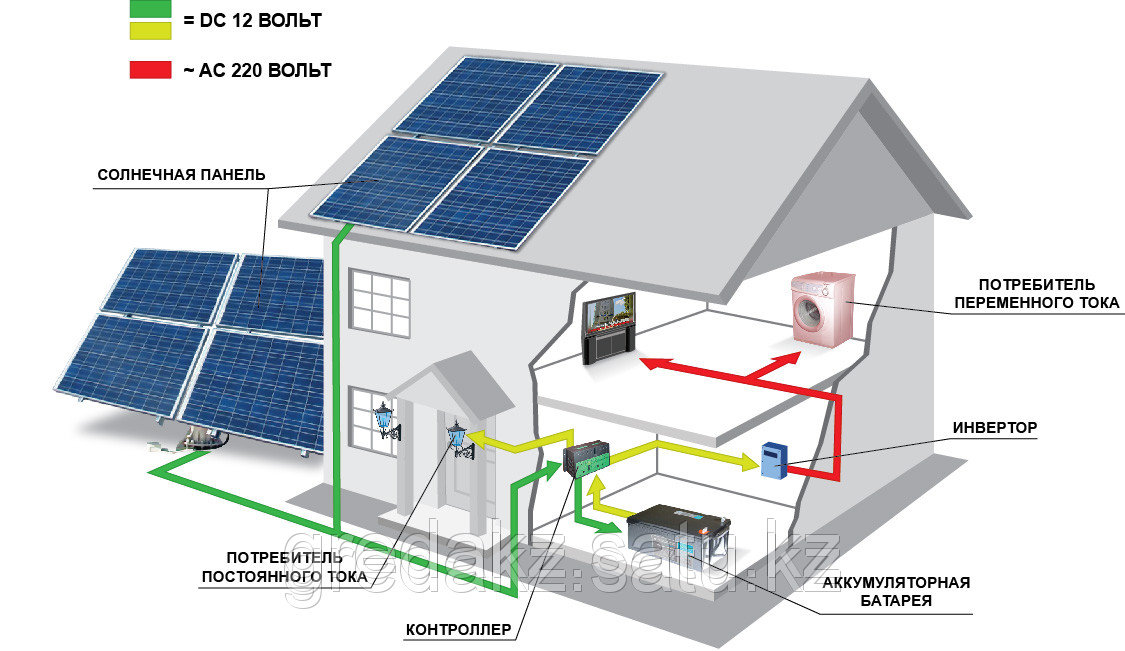
12 V DC, because it is this power that produces a typical and self-made battery, the inverter is capable of remaking with 220 V AC. If you do not want to buy it, you will have to complete the house with electrical equipment designed for 12 or 24 V.Since the low-voltage mains are saturated with a strong current, you will have to choose wires of a significant cross section and not skimp on insulation. To accumulate the generated electricity, lead batteries containing acid are mainly used. Despite all the technological improvements, the best option has not yet been proposed. To increase the voltage produced, put 2 or 4 batteries.
The greatest expenses will be incurred by the acquisition of the panels themselves that catch the sun rays. You can save money if you order Chinese goods in electronic stores. In general, such proposals are of high quality, but it is necessary to carefully read the reputation of the sellers, with feedback received about their activities. You can choose a workable system with minor defects. Manufacturers reject them and put up for sale in order not to spend money on expensive recycling.
Important: do not install elements that are different in size or generated current in one assembly. The largest generation in this case will still be limited to the “bottleneck”.
Self-assembly of the inverter is justified only in the case of limited current consumption.But the charge controllers are worth a tiny amount, so their production is not justified by their own hands. When designing a battery, it should be remembered that its elements should be separated by a gap of 0.3–0.5 cm.
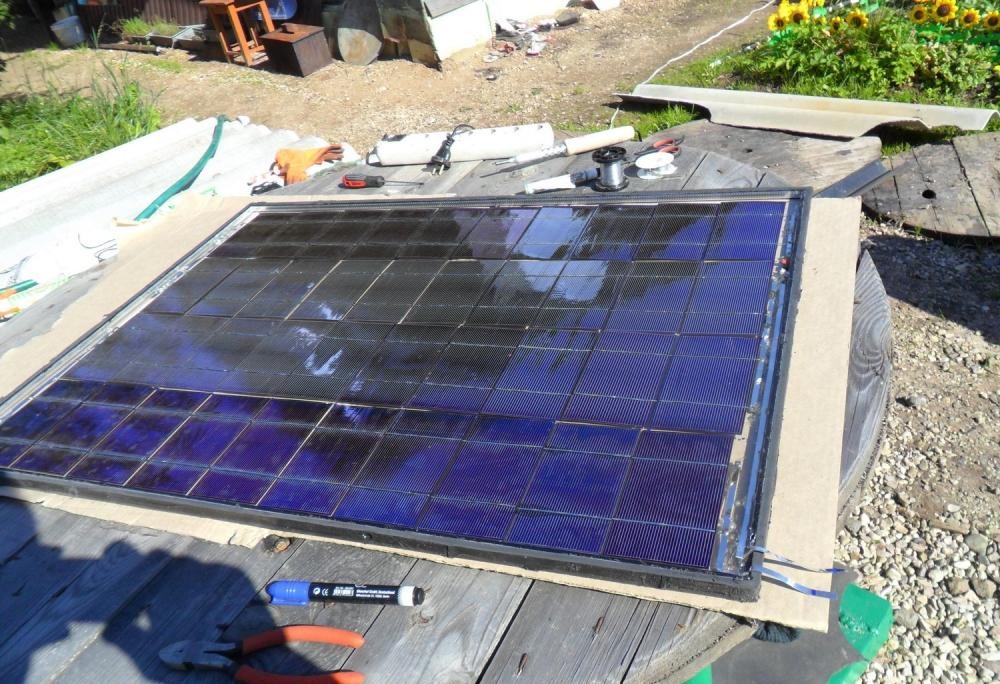
Often choose structures from aluminum profiles and organic glass. Then cooked on the basis of a metal angle frame of rectangular shape. The corners of the frame are drilled, so that later it is easier to fasten the structure. Inside, the perimeter is smeared with silicone reagent. Now you can put a sheet of transparent material, which as tightly as possible pressed to the frame.
The corners of the box are pierced with screws holding special corners. These corners will not allow Plexiglas to arbitrarily change its location inside the product. Immediately after that, leave the workpiece alone and wait until the sealant dries. At this preliminary stage is completed. Before the introduction of solar catchers into the hull, it is thoroughly wiped, so that there will not be the slightest sign of contamination. The plates themselves are also cleaned, but they do it with extreme caution.
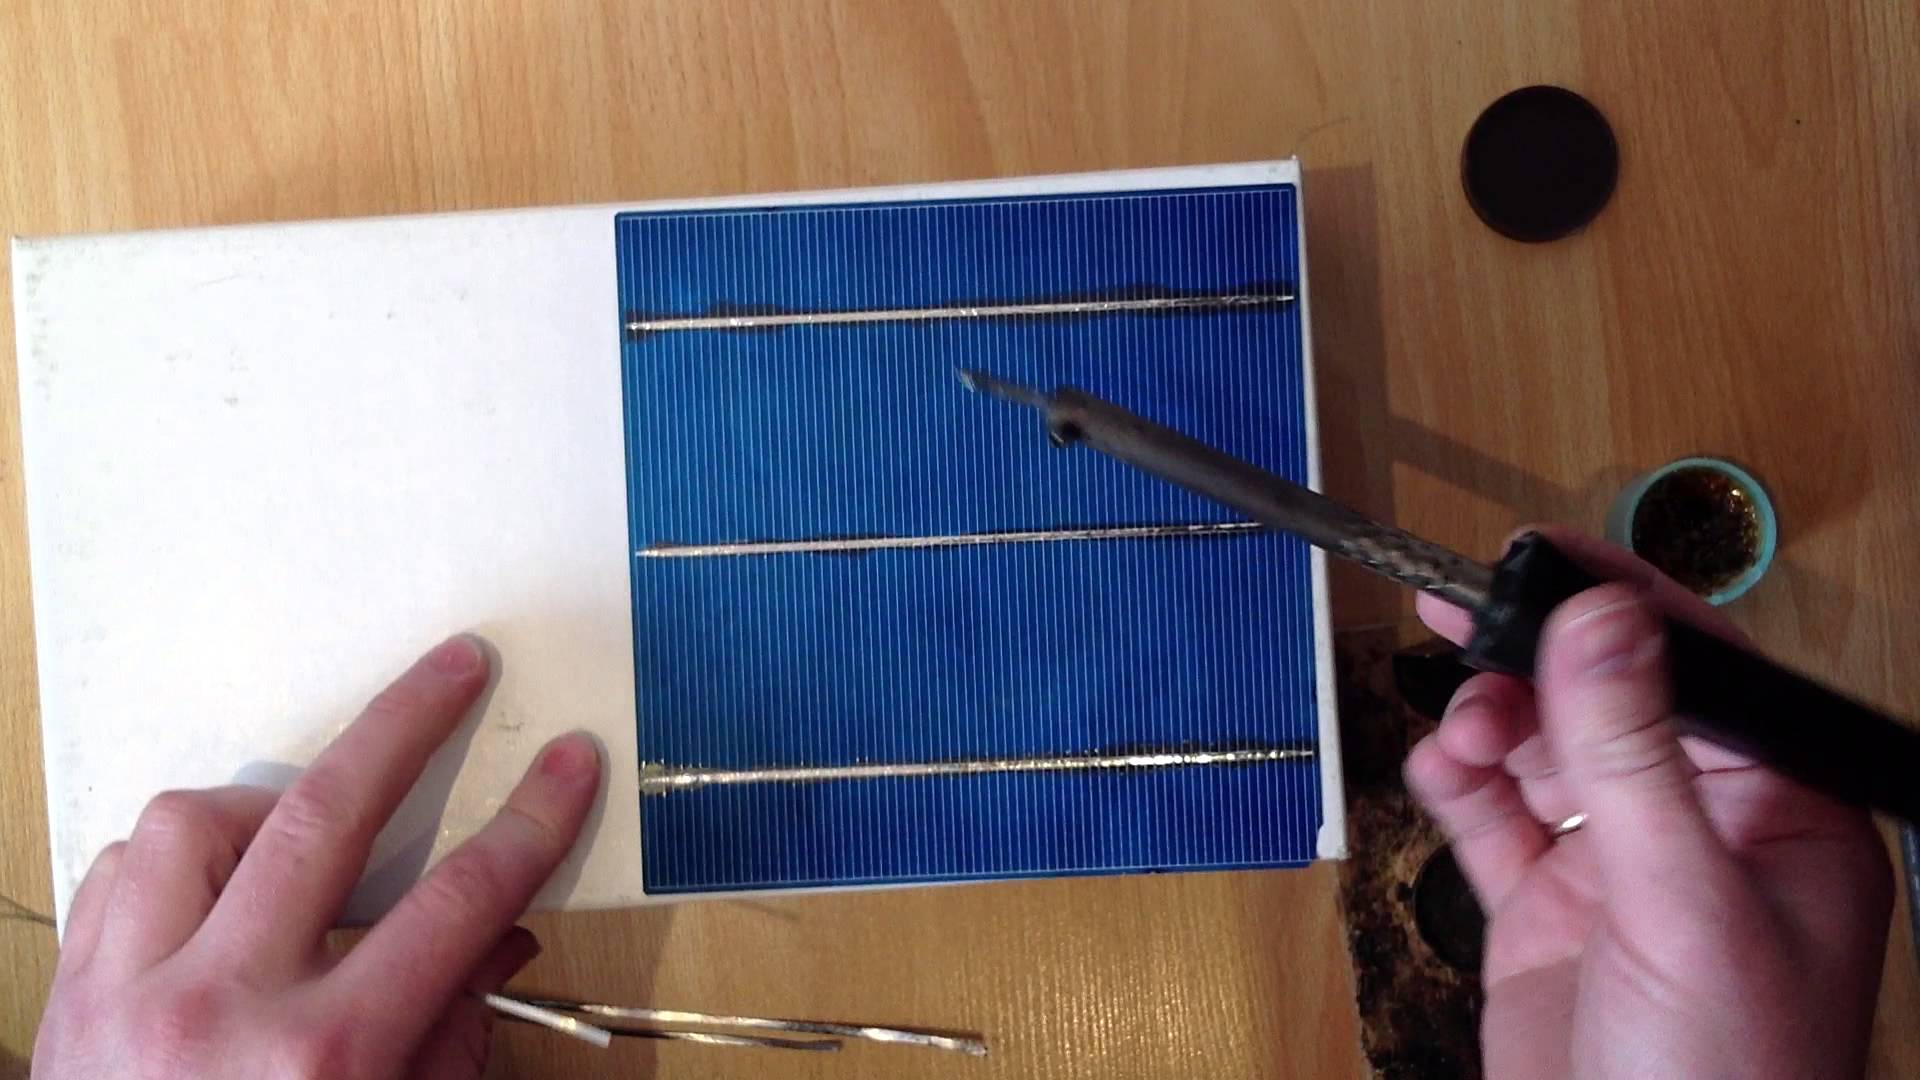
Prior to assembling structures with conductors soldered at the factory, it is desirable to assess the quality of the connections and eliminate all detected deformations.When the tires are not connected yet, they are initially soldered to the contacts on the plates, and only after that they are interconnected.
The sequence of the connection is as follows:
- measuring the required tire area;
- cutting strips according to the measurement result;
- grease the processed contact with the flux all over from the right side;
- Apply the tire neatly and accurately, with a heated soldering iron lead over the entire surface to be connected;
- turn the plate over and repeat all the same manipulations from the beginning.
Important: excessive pressure during soldering is unacceptable, which can destroy fragile elements. It is necessary to exclude and warming up with a soldering iron those parts that are not connected.

When finished, carefully examine the entire surface of the battery and each connection. It is impossible that there were even the slightest defects. The remaining grooves and hollows are eliminated by another passage of the soldering iron, which is already as gentle as possible and with even less pressing. The soldering iron itself should not be powerful, rather, on the contrary - strong warming is contraindicated. In the absence of experience of such fine work, it is desirable to prepare a marked plywood sheet. He will avoid many serious mistakes.During the soldering of contacts, their polarity cannot be overlooked, otherwise the system will not work.
The bonded parts are also connected in the most gentle mode. Excess glue is undesirable; it is required to place the smallest drops that can be formed in the central parts of the plates.
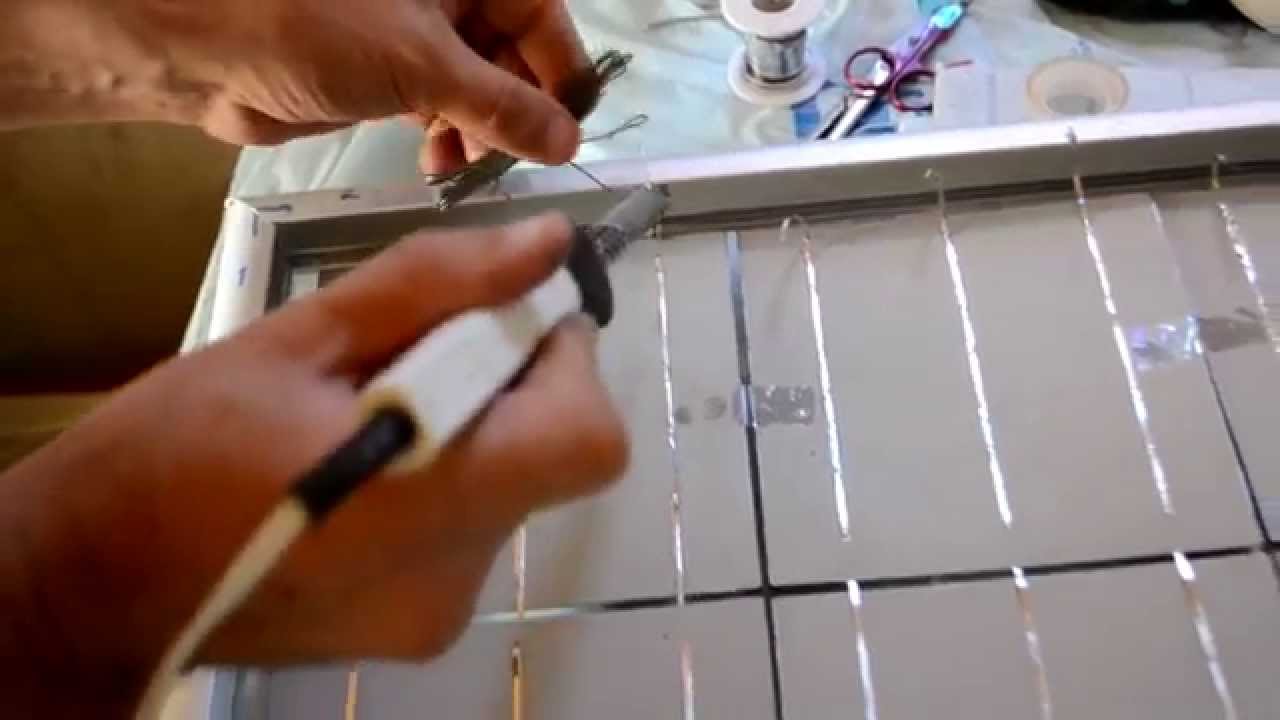
Putting the plates in the body is desirable to do together, because alone it is not too convenient. Next, connect each wire from the edge of the plate to the common highways for the current. Bringing the prepared panel to the area lit by the sun, the voltage in common tires is measured, which should be within the design values.
There is another way to seal the solar panel. Small amounts of silicone sealants are applied in the gaps of the plates and on the inner edges of the housing. Then, with their hands, the outer sides of the photocells are pressed against the Plexiglas, while achieving ideal density. Impose a slight load on each edge, waiting for the sealant to dry. After that, lubricate each joint of the plate and the inside of the frame.
In this case, the sealant may touch the edges of the plates, but not any other part of them.The side of the case will serve to install the connecting connector, which is connected to the Schottky diodes. The outer side is closed by a screen made from transparent materials. The created design is thought out so that even a small amount of moisture does not fall inside. The front face of organic glass is varnished.
Recommendations for use
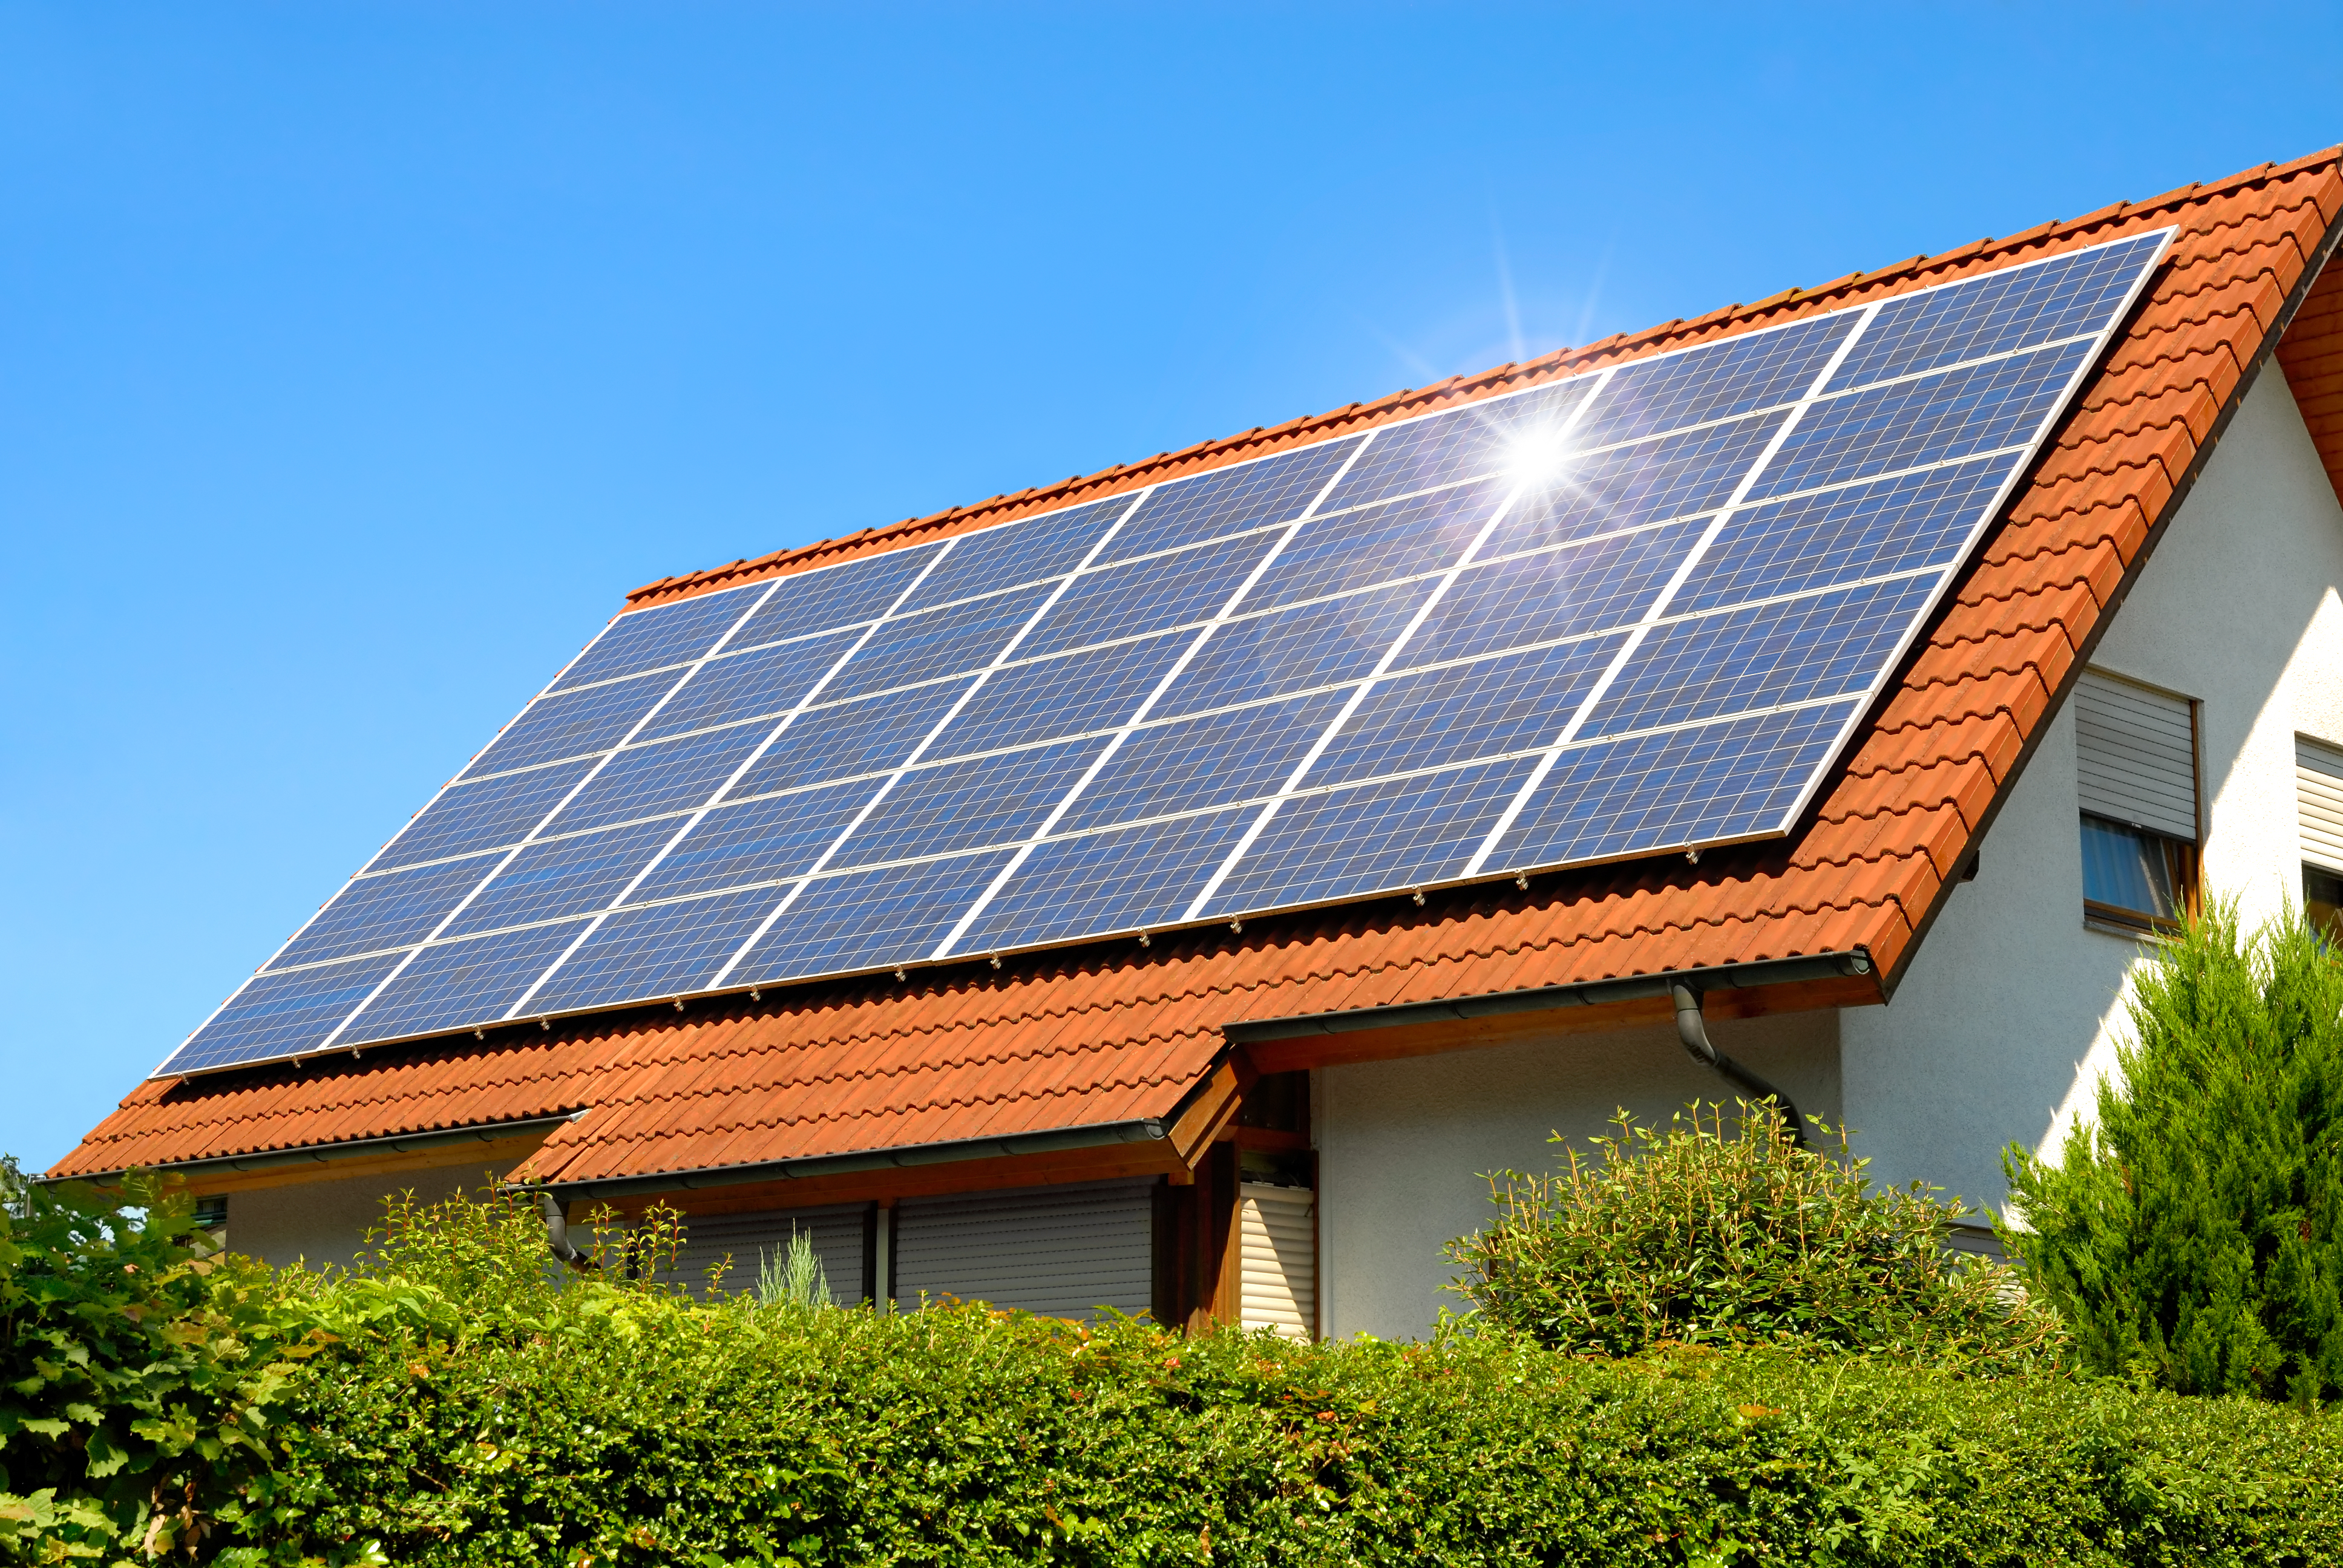
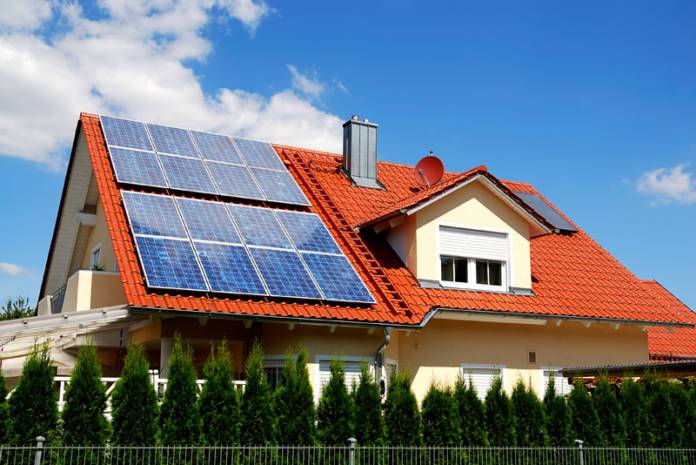
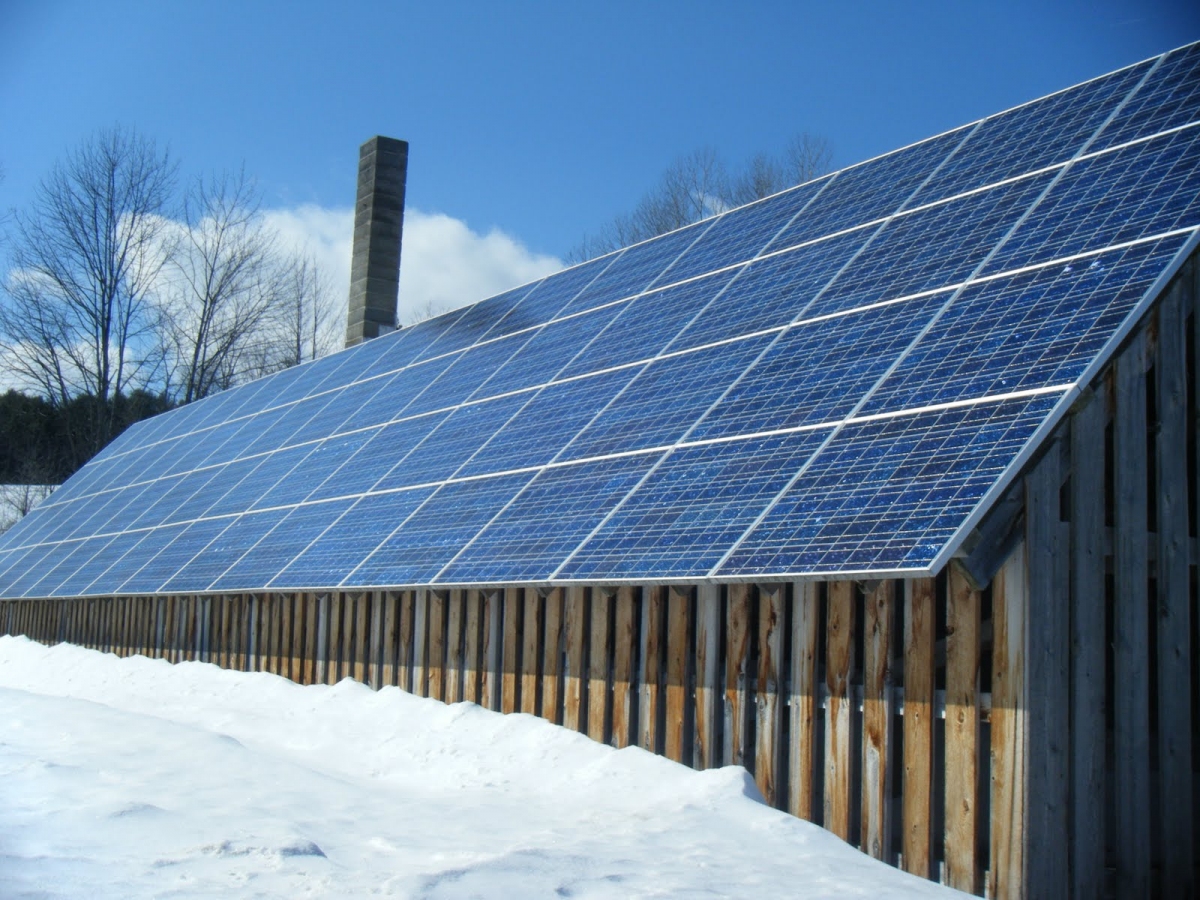
A solar battery can last for a very long time and stably, supplying current to home wiring. But much depends not only on the quality of its assembly and subsequent connection. It is very important to operate such a gentle generator as it should be. It is advisable to direct the batteries, if they are not equipped with a system adapting to the sun, clearly to the south, which will help to catch the maximum energy and reduce unproductive losses. To eliminate the error, it is enough to set the generator at that angle to the horizon, which is equal to the number of degrees of latitude in a particular place. But since the solar disk changes its location in the sky during the year, it is recommended to lower the angle during the spring months and increase it when the autumn comes.
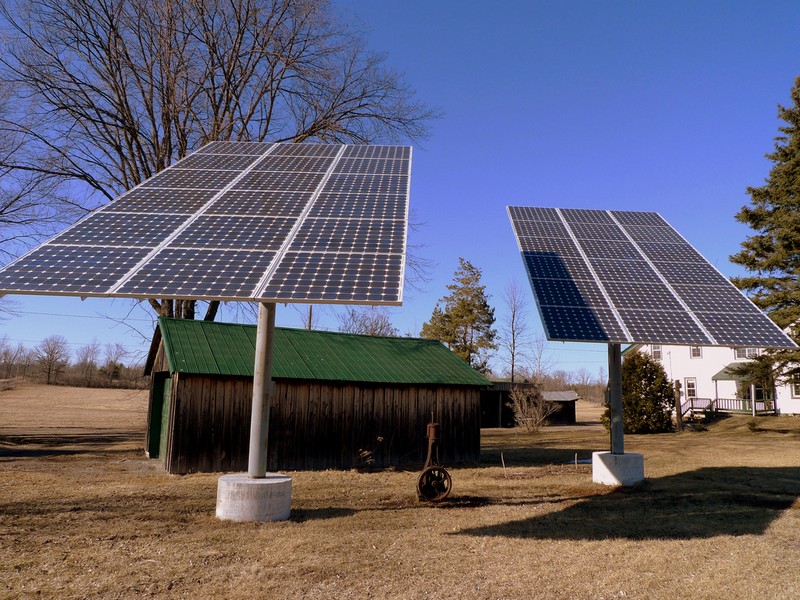
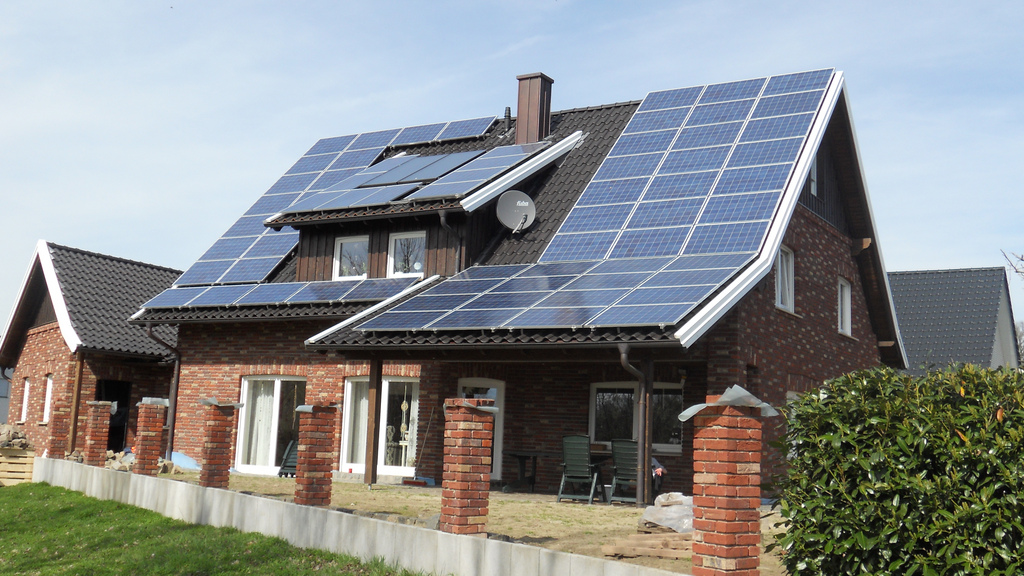
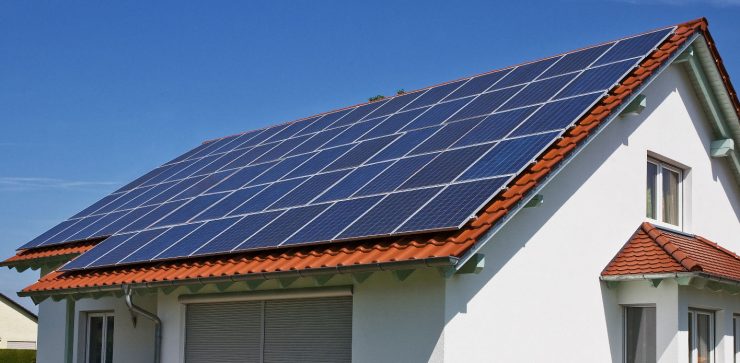
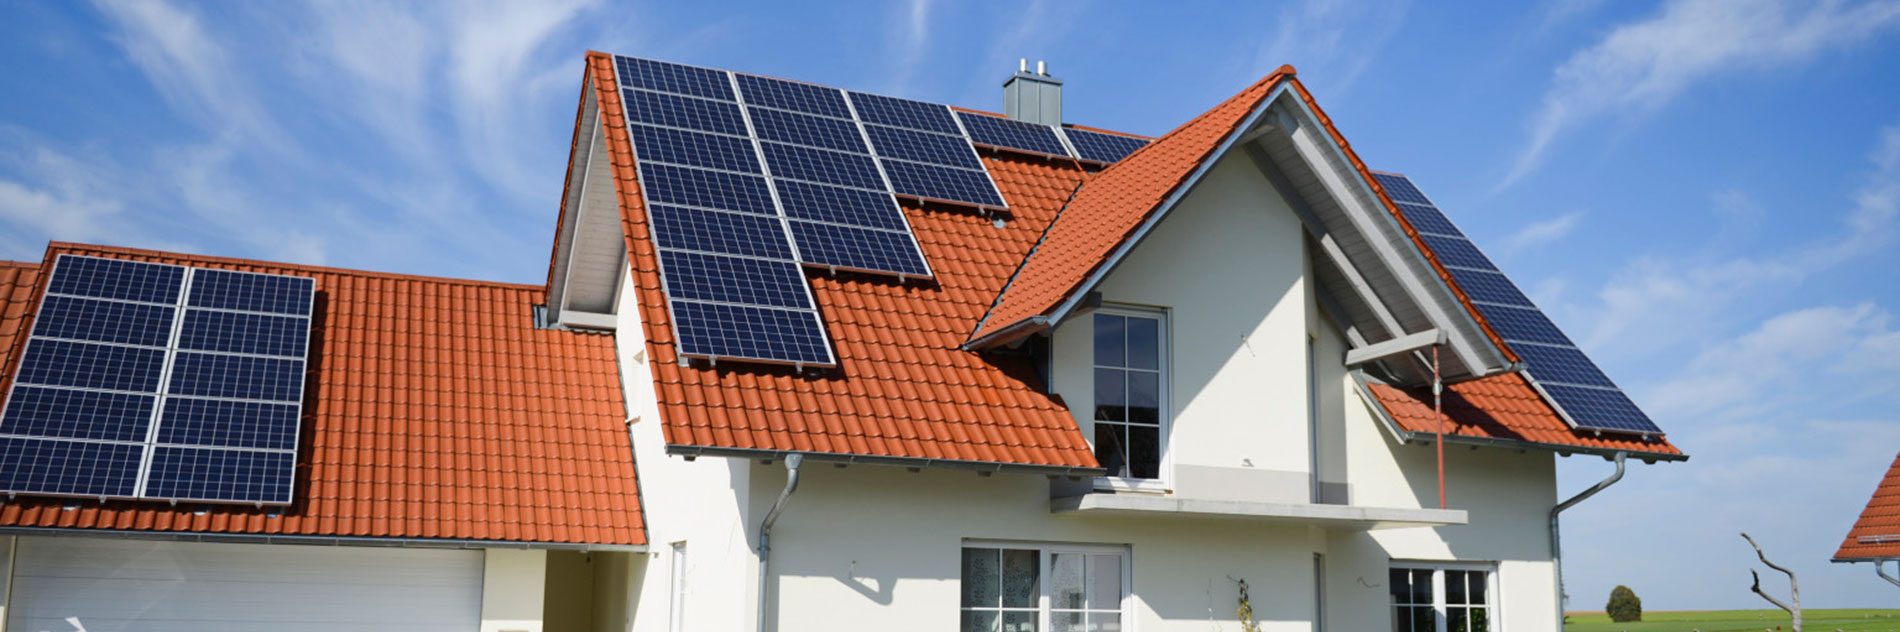
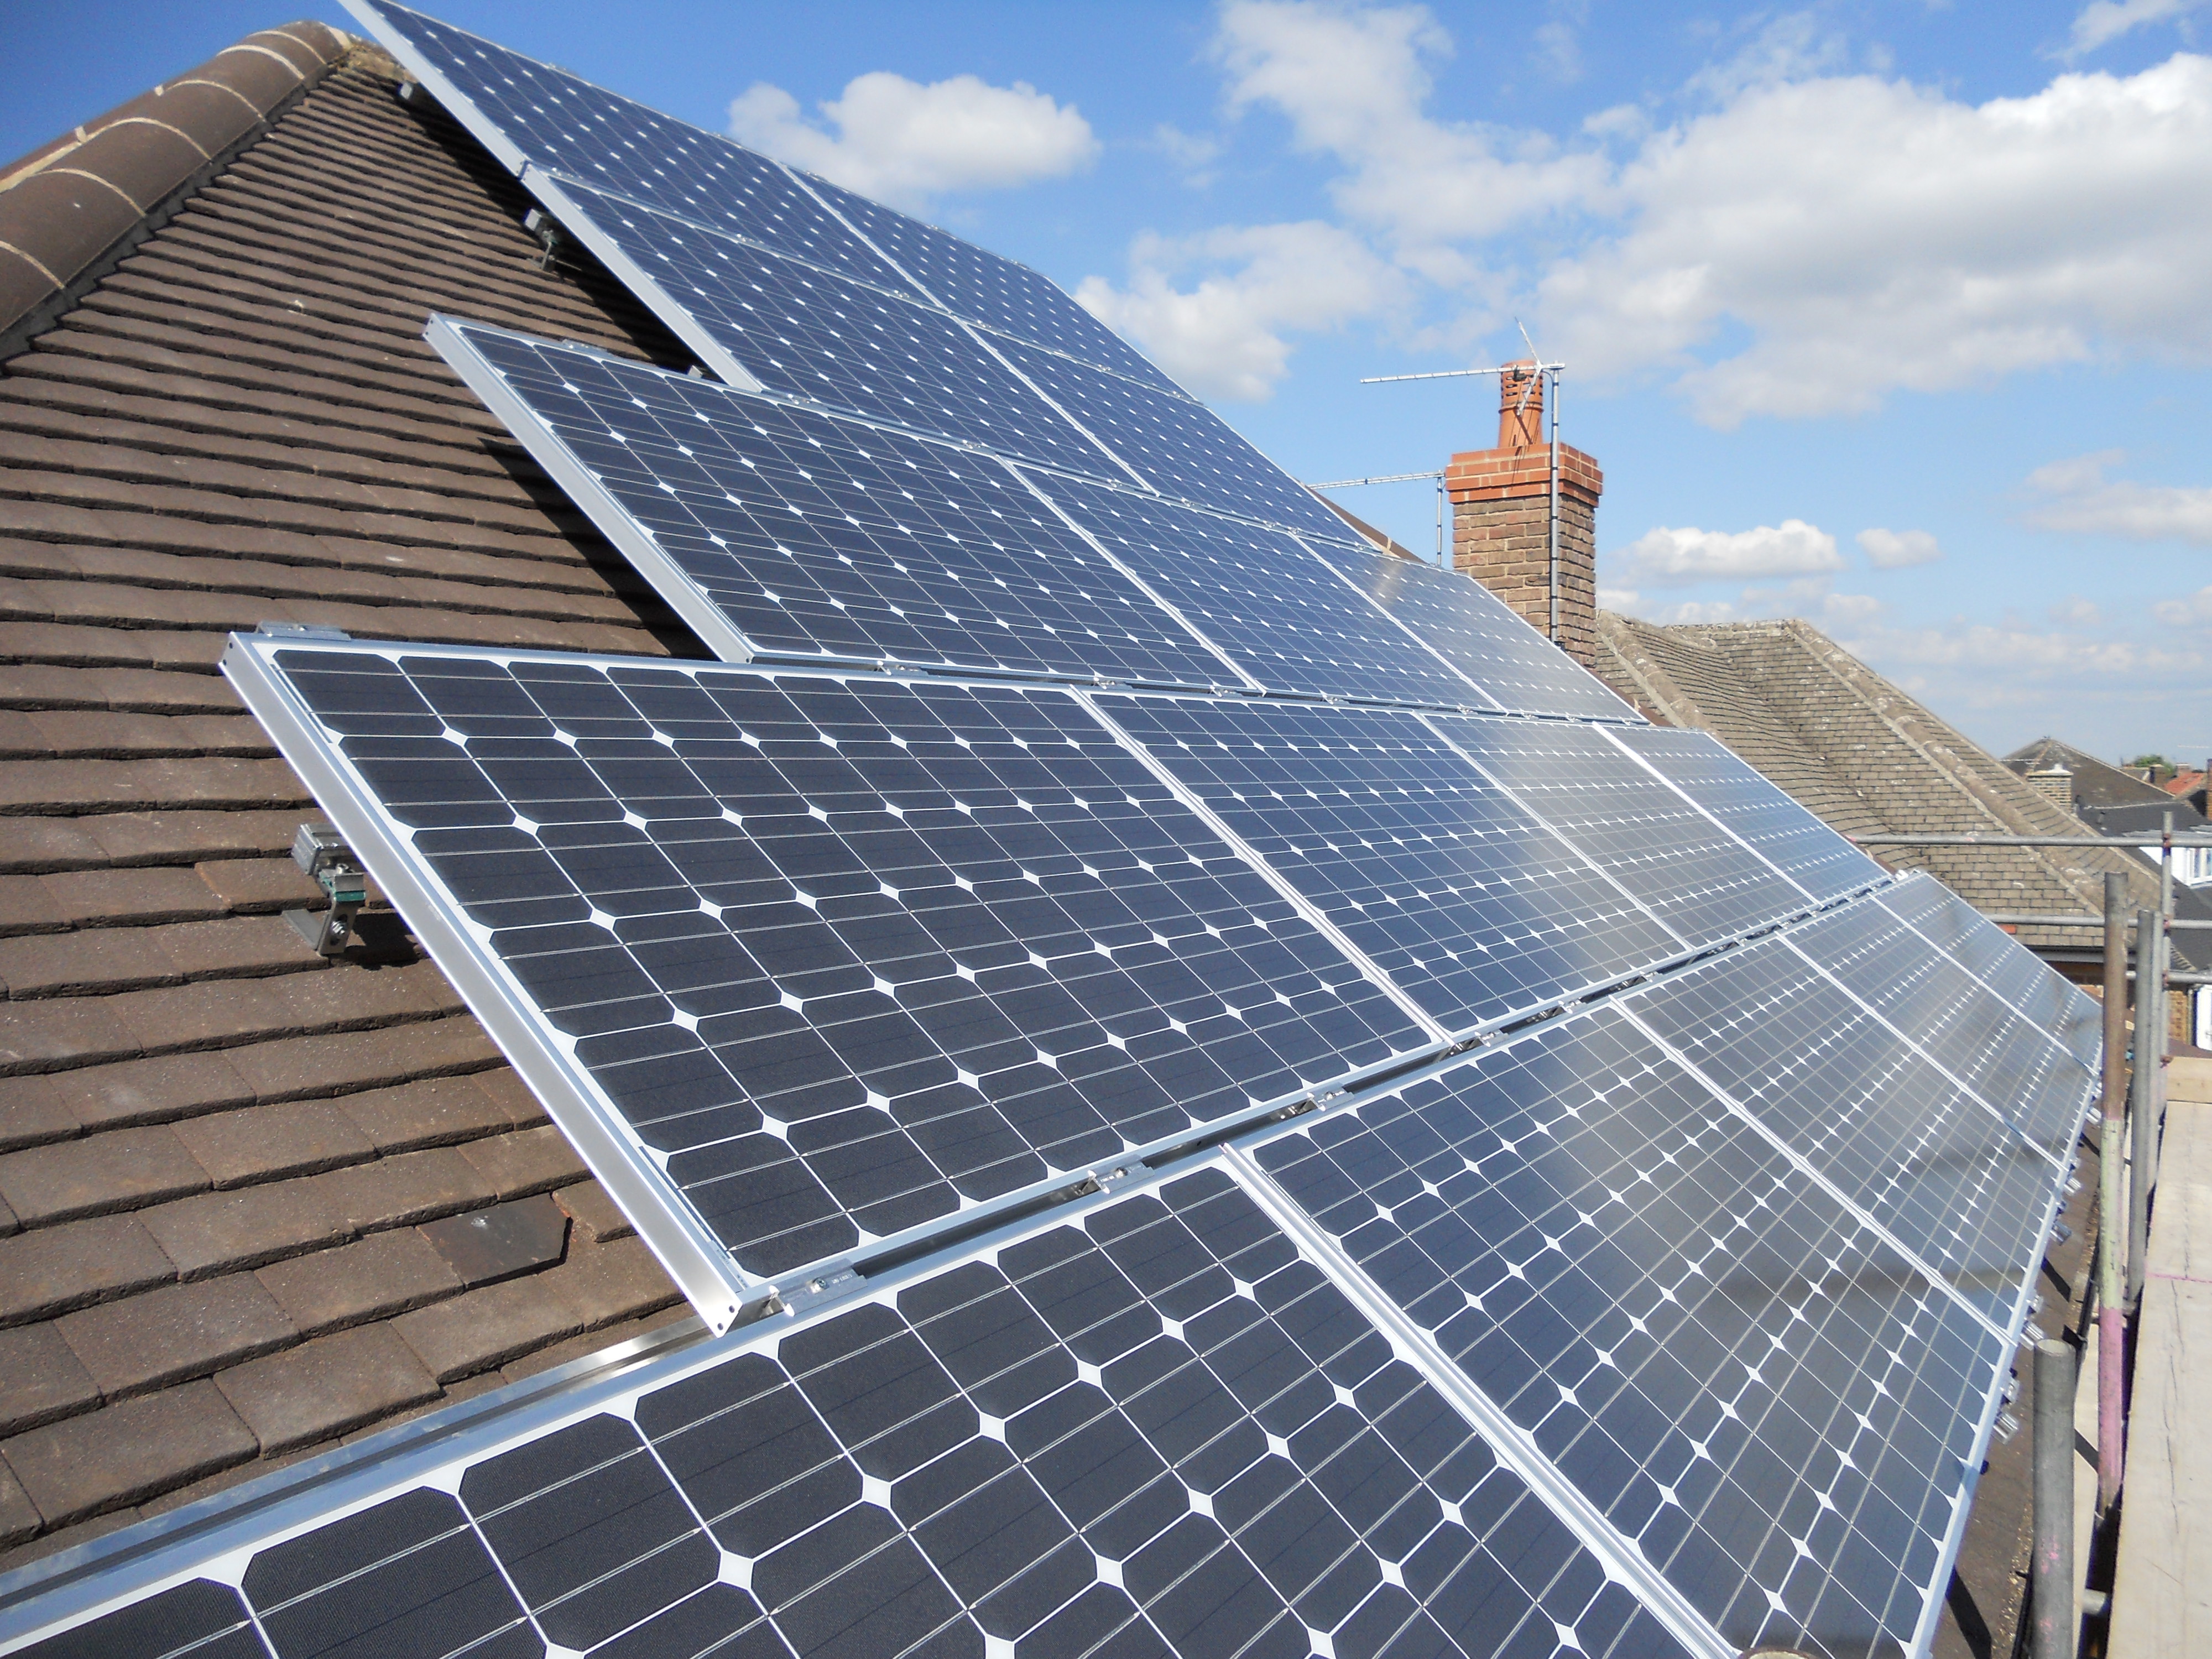
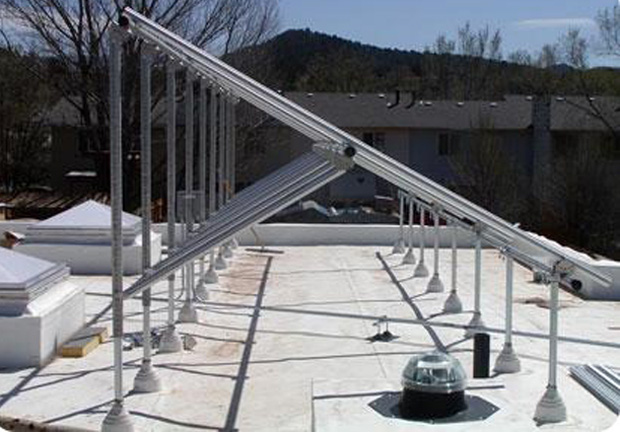
Addition of a follow-up system in living conditions is not advisable. It justifies investments exclusively at the industrial level. It is much more profitable to put at once several batteries oriented to the most probable angles of illumination. Putting solar generators on top of a flat roof, for example, made of roofing material or sheet metal, it is worth raising them above the plane. Then airflow from the bottom will improve performance. It is not necessary to do this on wavy roofs, although there will be no harm from lifting.
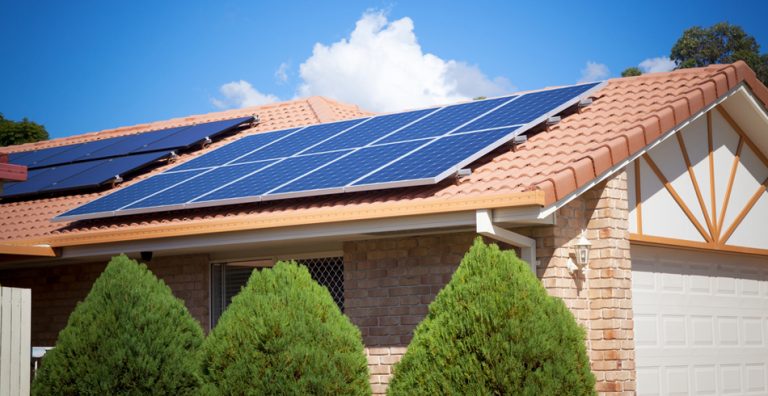
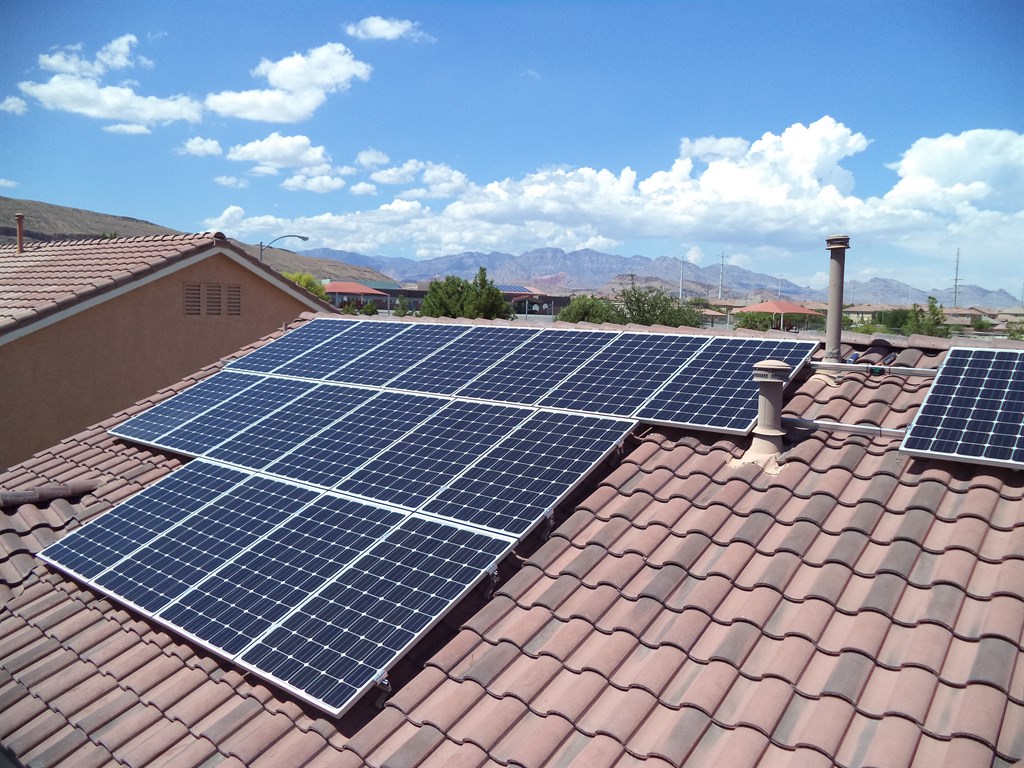
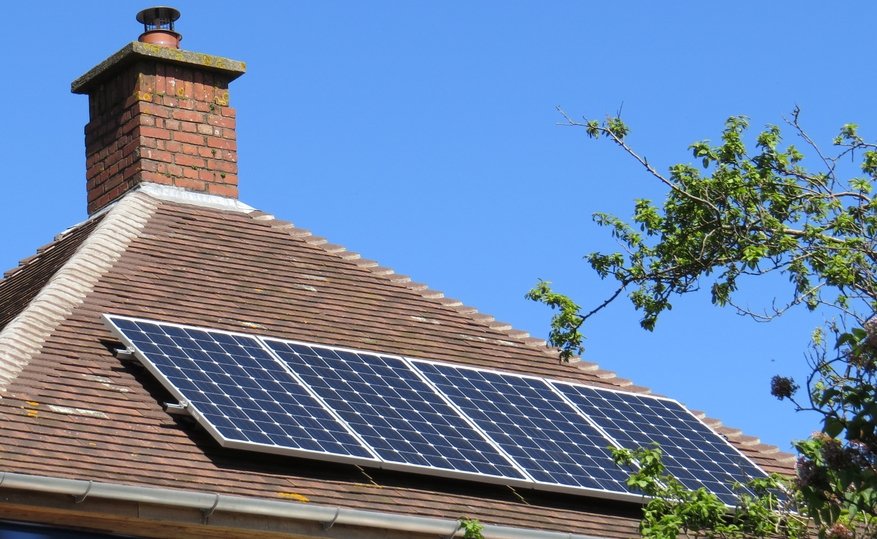
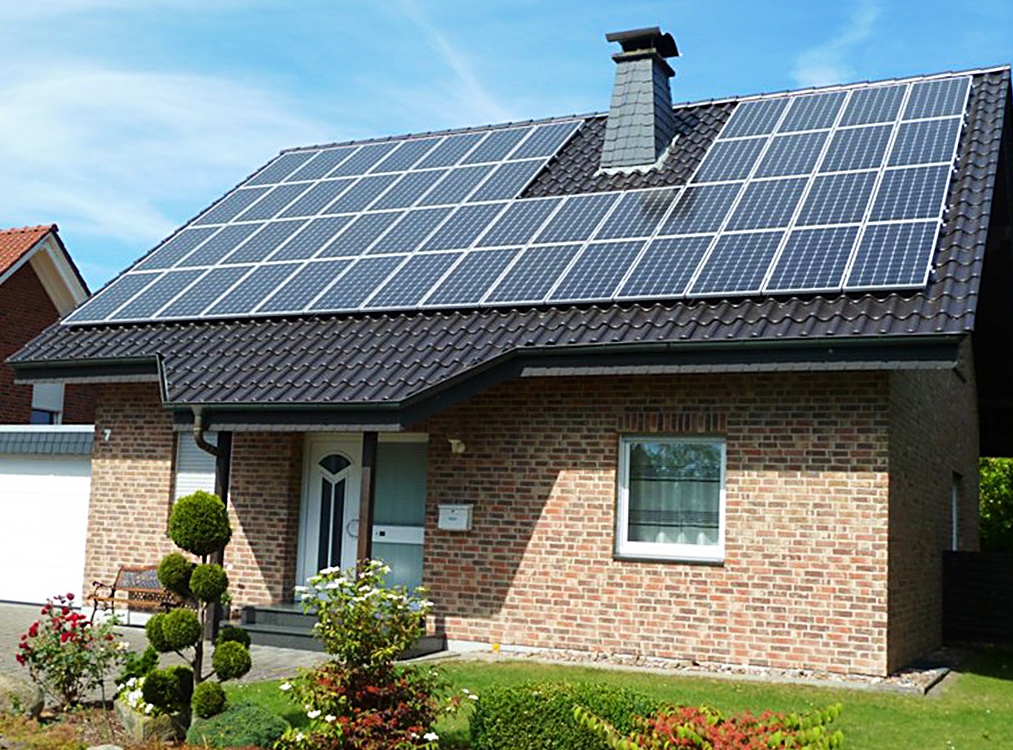
The best roofs are those that are oriented to the south and are designed in the form of flat ramps. In such a situation, the ramp serves to attach several angles, the size of which coincides with the magnitude of the module. The exit above the ridge is approximately 0.7 m, and the module is fixed to the corners with a gap of 150–200 mm. Alternatively, you can hang the battery with the same angle below the roof slope. On a wavy surface, the corners are often replaced by pipes of a carefully selected diameter.
Installation of generators on the gable is best combined with painting this element and overhangs in light colors.
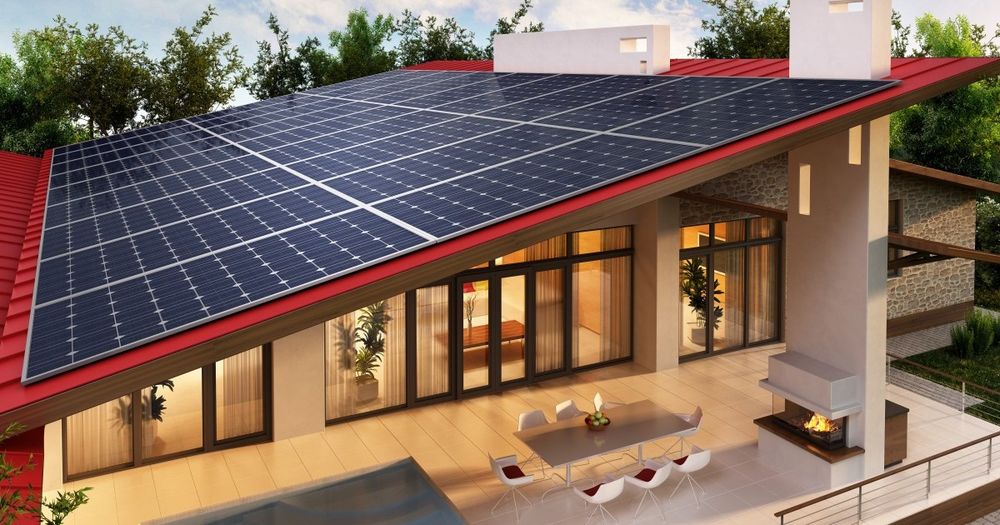
Solar blocks should be placed horizontally, which will reduce the temperature spread between their lower and upper parts by 50% when compared with vertical installation.This means that not only will the actual resource increase, but it will also be possible to increase the effectiveness of the system.
The mounting location must have the following features:
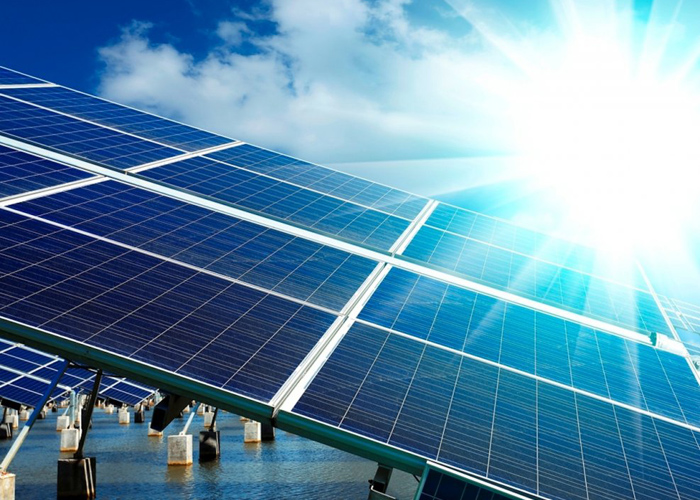
- as lit up as possible;
- having a minimal shadow;
- well blown by the winds.
Useful tips
A self-made solar panel can even be used to heat a private house. Such equipment can be mounted without requiring permission from government agencies. But even with active use, it is not possible to evaluate the effectiveness earlier than after 36 months. In addition, this option is very expensive. Since almost everywhere in Russia the temperature is regularly negative, it will be necessary to add thermal insulation to the solar system.
Stable operation of batteries is provided in the temperature range from -40 to +90 degrees. Good work is guaranteed on average for 20 years, and after that, the efficiency is sharply reduced. When choosing a controller, you need to consider the difference between powerful and weak electrical systems. If there is no controller or it has failed, it will be necessary to continuously monitor the charges of the batteries. Inattention can shorten the lifetime of the charge drive.
How to make a solar battery with your own hands, see the next video.


