We build a plasterboard pipe box in the toilet
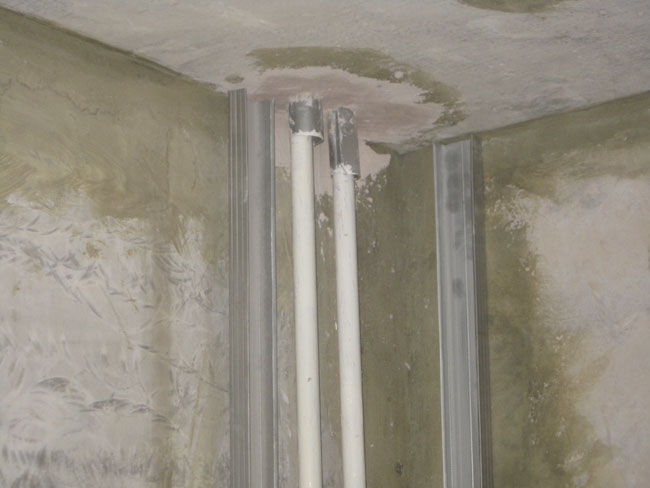
In the toilet of the apartment of a multi-storey building there are standpipes of sewage and water supply. Their appearance usually spoils the interior, so it is important to hide them successfully. Next will be considered how to build a duct for pipes made of plasterboard, and what effective methods for mounting the frame and exterior trim exist.
Benefits
The pipes of the riser usually pass through all the floors, from them to each apartment in the bathroom there are drainage and plumbing. They look not very aesthetically pleasing, besides, they are a source of additional noise when draining, and condensate can also accumulate on them.In any case, they try to close them all the owners of apartments, caring for the interior. In new houses, upon delivery, there is often already some kind of partition, but its quality usually leaves much to be desired, therefore the most successful option is to make a strong and beautiful box in the toilet with your own hands.
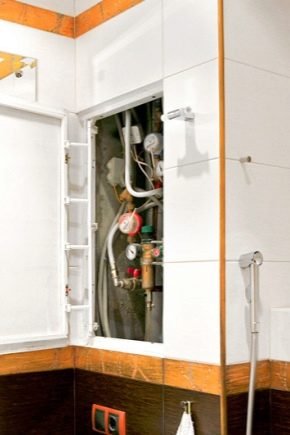
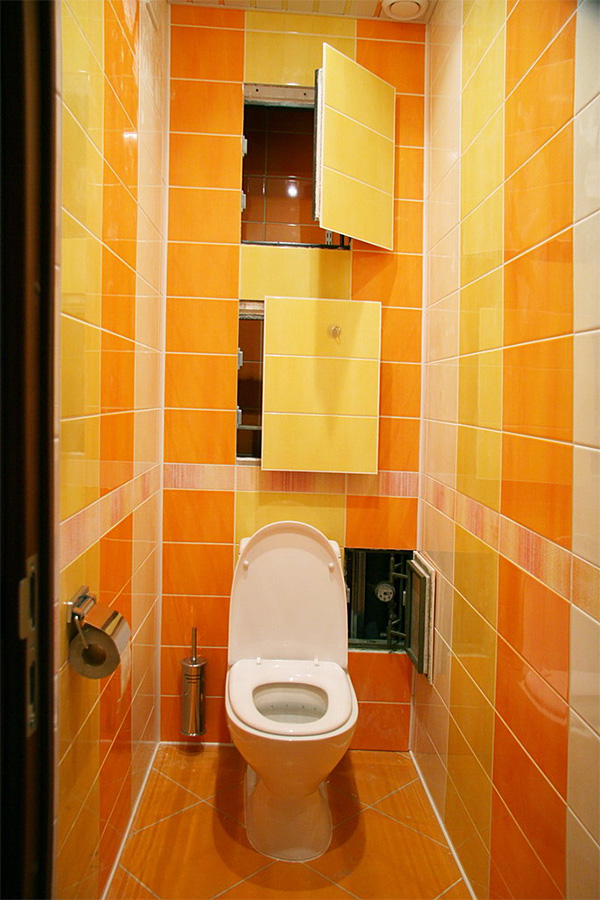
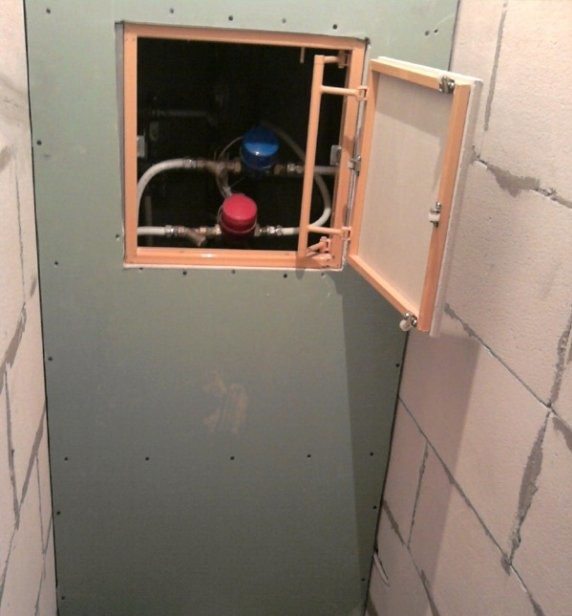
The box for pipes in a combined or separate bathroom should not be completely closed, since water meters are usually located in this place, and you should always have access to the riser in case of leaks. Therefore, homemade versions can be removable or with a neat built-in door.

Making a drywall pipe box is very efficient, because it is lightweight, relatively cheap and easy to process. It is mounted on a frame of metal profiles on the screws or screws for metal. For such a wet room as a bathroom, it is worth taking moisture-proof plasterboard grades. The advantage of this material lies in the fact that after installation it can be decoratively lined with any means: putty, moisture resistant paint, ceramic tiles, PVC panels. Often they try to finish the plasterboard box in the same style with the walls, this is how the most successful interior of the toilet is obtained.
A professionally assembled durable box for plasterboard pipes in the toilet will have the following advantages:
- it improves the look of the room, it looks aesthetic;
- protects against noise of the flowing water, serves as additional protection against moisture and heat insulation;
- convenient tidy door in the box gives effective access to the riser and water metering devices;
- a flat surface of drywall will help to hide the irregularities, leaks and other defects of the walls;
- It is durable, durable and moisture-proof material.
A competent owner can make a metal frame and plasterboard partitions almost in one day. This will require a minimum of materials and a small set of tools.
Options
Depending on the location of the riser pipes in the bathroom, this box may be:
- solid partition;
- separate closet in the corner;
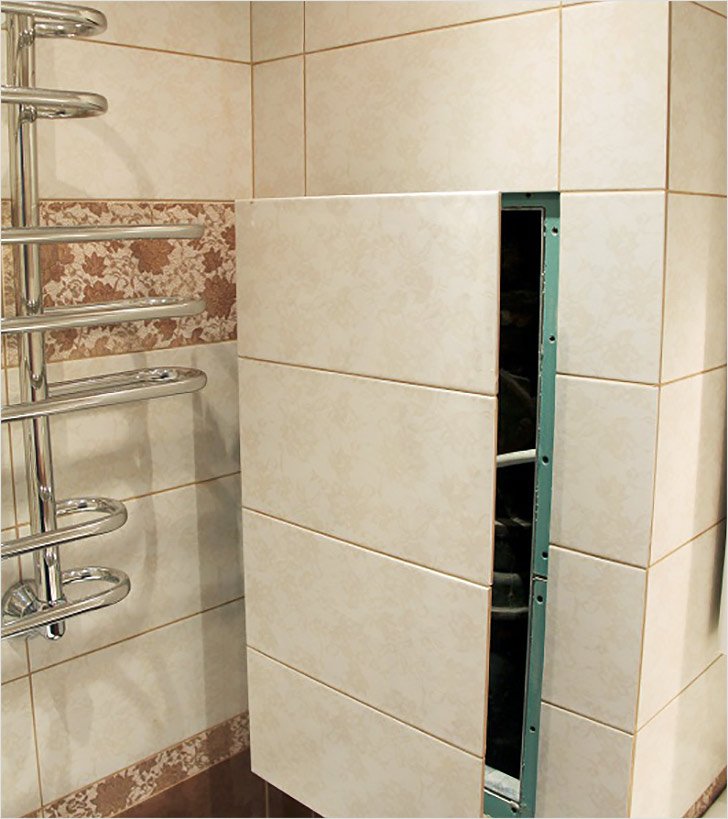
- protruding from the wall.
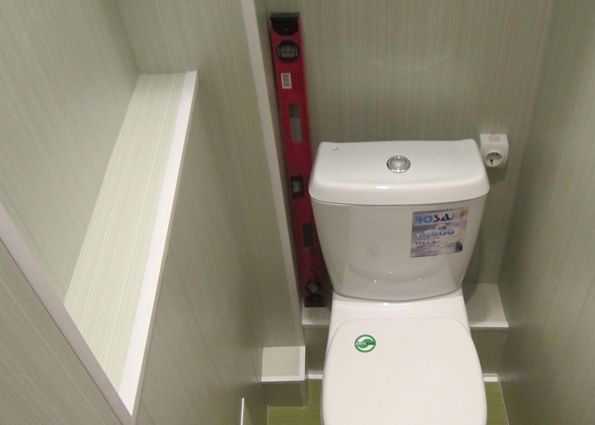
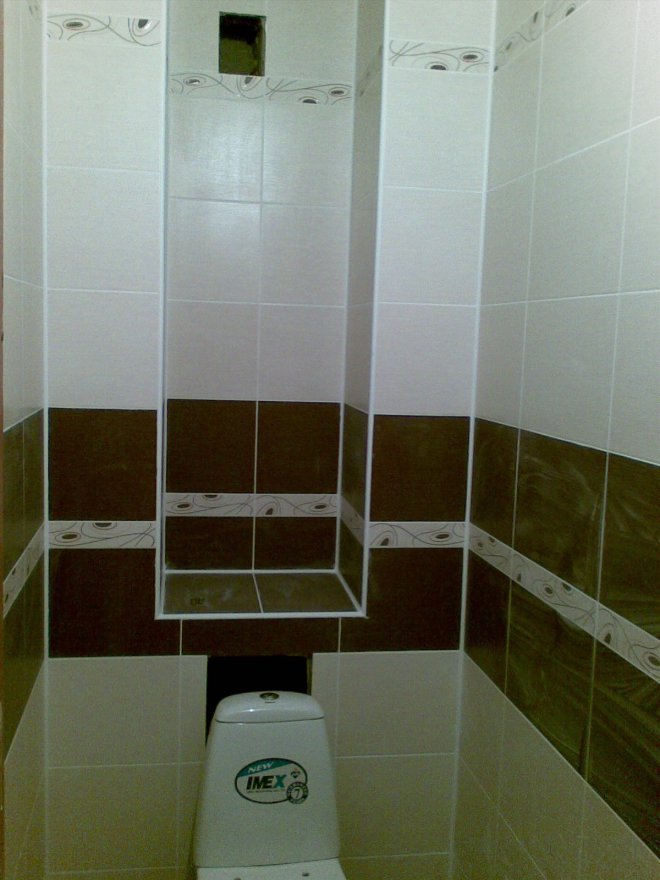
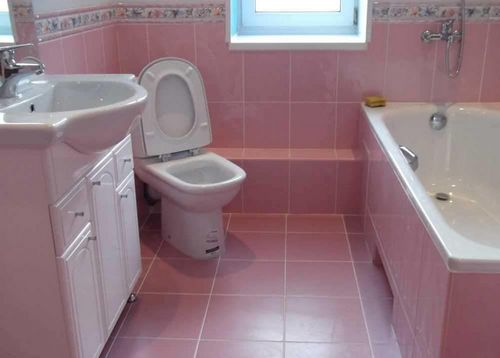
The first option is relevant when all communications in the toilet are located behind the toilet at the back of the bearing wall. It is very simple to make it, since it requires only the installation of a skeleton from a profile and the fixing of one continuous sheet of drywall. But in this case more material may be needed, and this method takes a lot of space from the already-small toilet room.
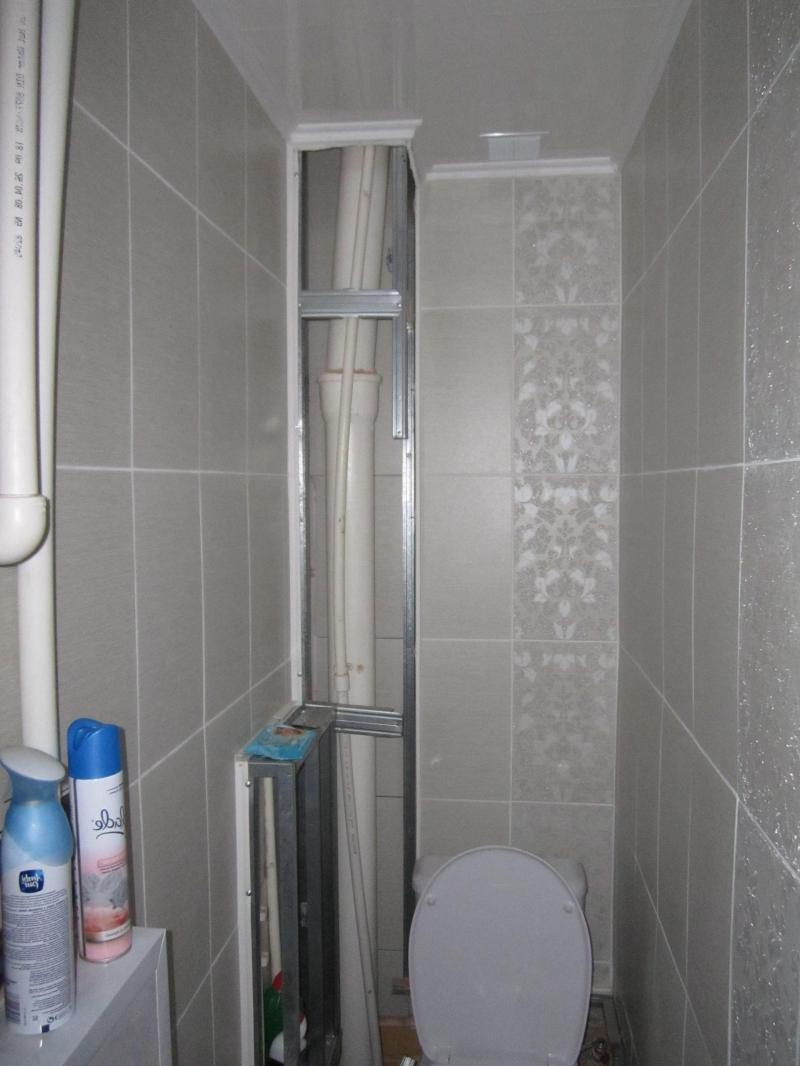
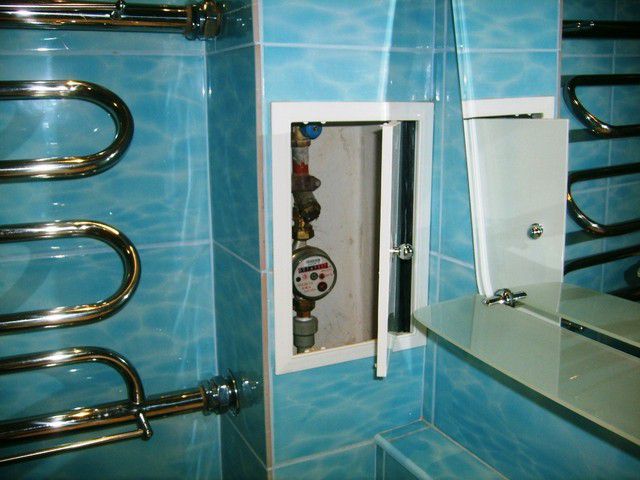
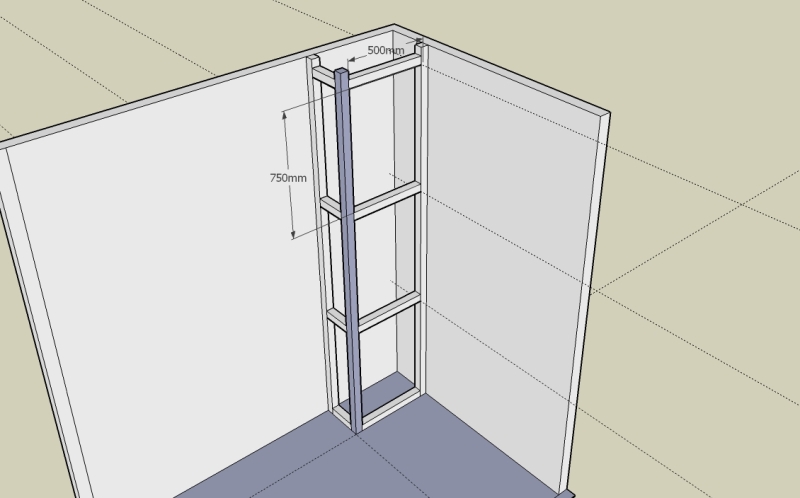
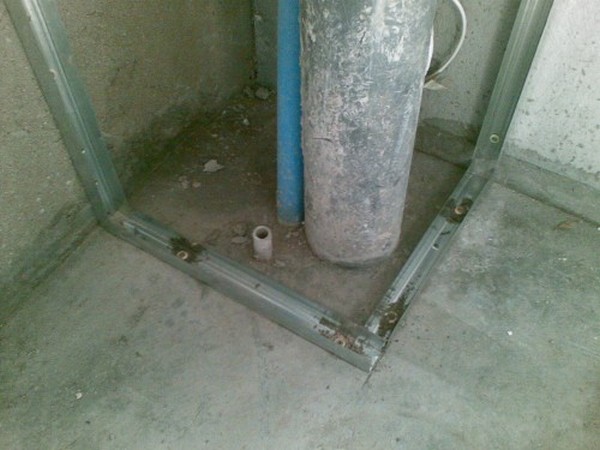
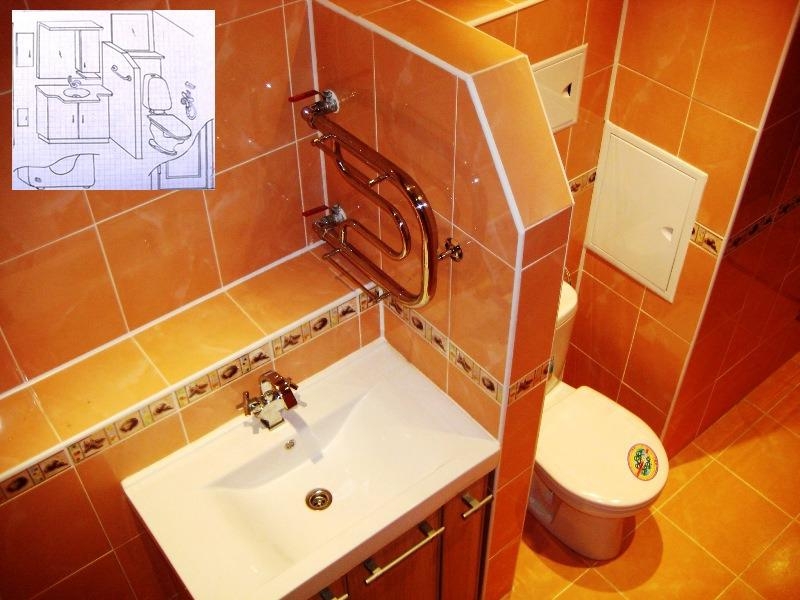
In case the sewage and water supply pipes are located in the corner of the toilet, a neat corner box is made. The guide profiles extend from the floor to the ceiling, stiffening ribs are fastened between them, the whole frame is sheathed with plasterboard and then proceed to its decorative finishing. The box will be in the shape of a letter G. Before covering it is necessary to take care of the door, which provides convenient access to the riser. It is rather easy to make such a box shape due to the fact that it will be covered by load-bearing walls on the back side, its advantage is that it occupies a minimum of space in the bathroom.

If the sewer pipes are not located in the corner of the room, but space is required, a U-shaped box can be made. Mounting the frame for it will be more time consuming, you will need to make more undercuts of the metal profile, but after carefully carried out work such a locker will look very elegant.
The issue of access to pipes and water metering devices during the construction of such partitions is very relevant. The box can be made removable, then, if necessary, the entire structure is removed entirely. The advantages of this method arethat at any time convenient access to the entire floor-to-ceiling riser can be made, but this design will be very cumbersome, and removing the box from metal profiles and drywall is quite difficult. Therefore, usually removable boxes in the bathroom are made of plastic, PVC and other lighter materials.
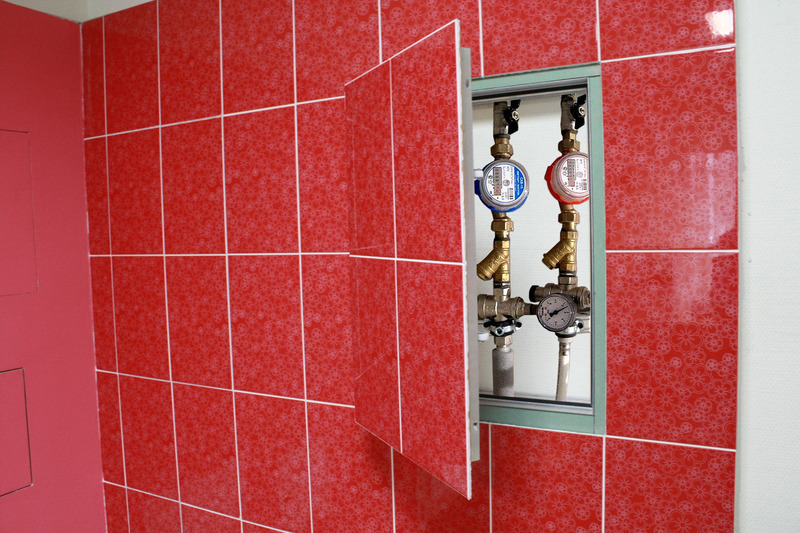
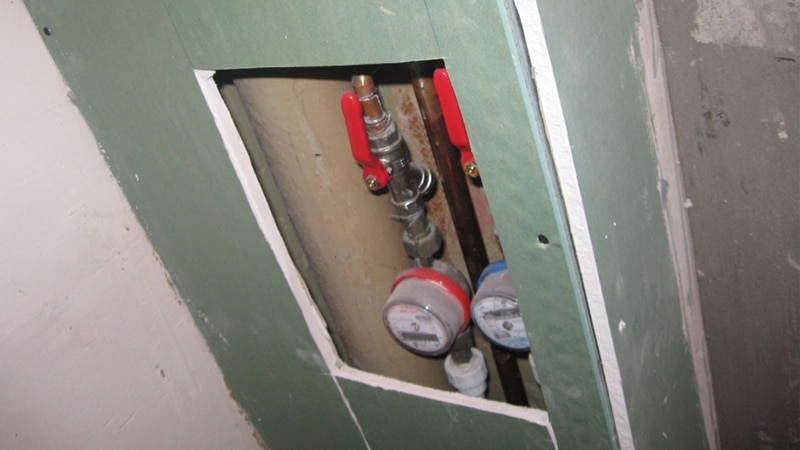
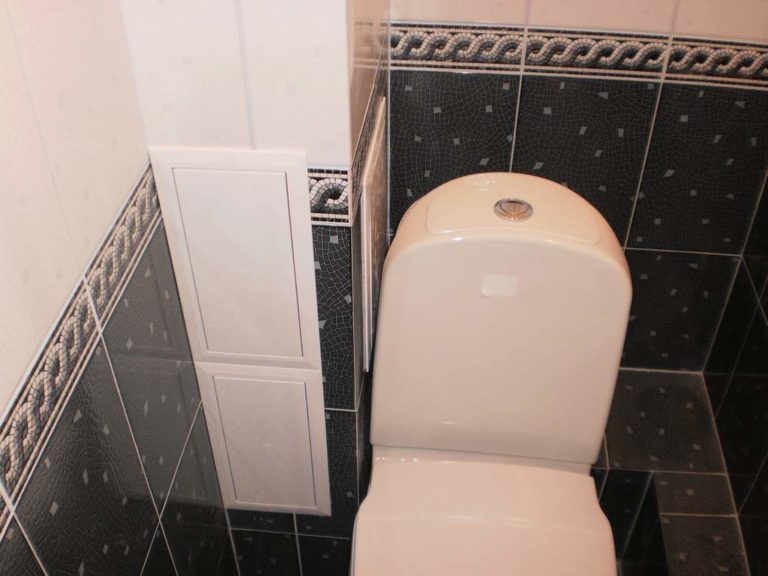
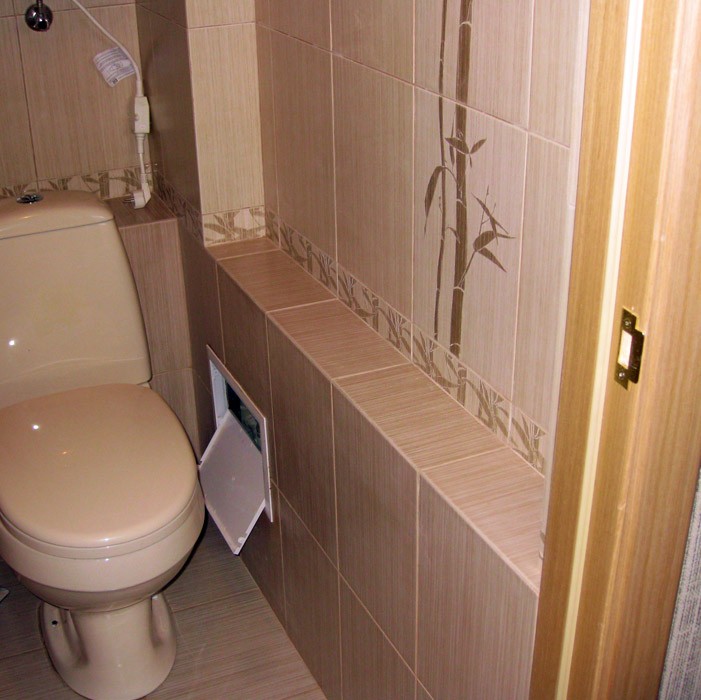
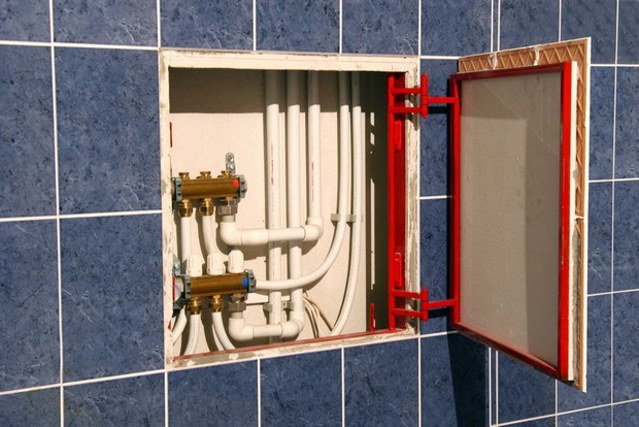
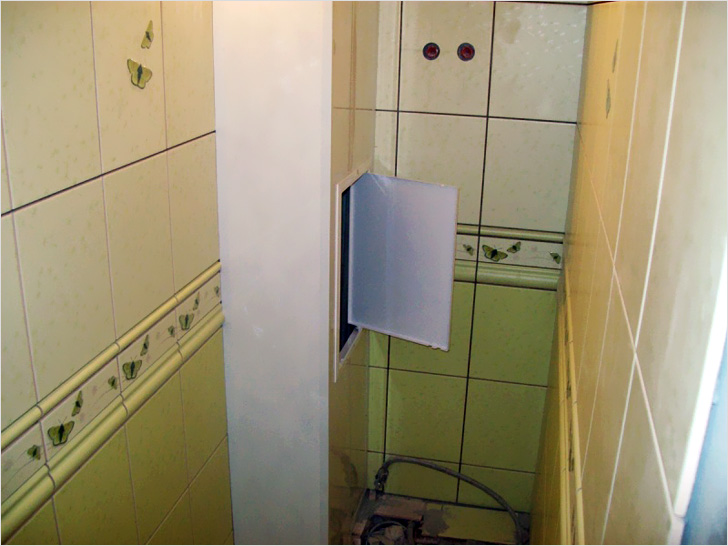
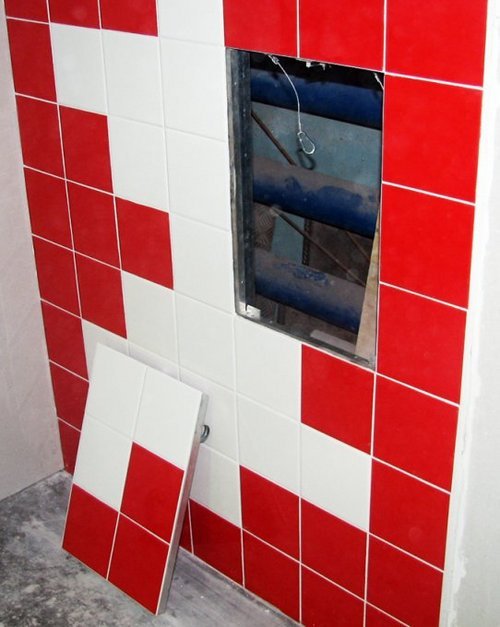
A much more common method of access to the riser in the box is the installation of the door. In the frame of the profile is made of a rectangular frame - it will serve as a hole to easily get inside.
Doors can be made from the same drywall, plastic, PVC, plywood or other available materials. They can be single or double, removable or hinged. For easy closure, they can be made with locks, latch, on magnets. Competently mounted doors that match the finish with the box and the walls of the toilet, look very nice.
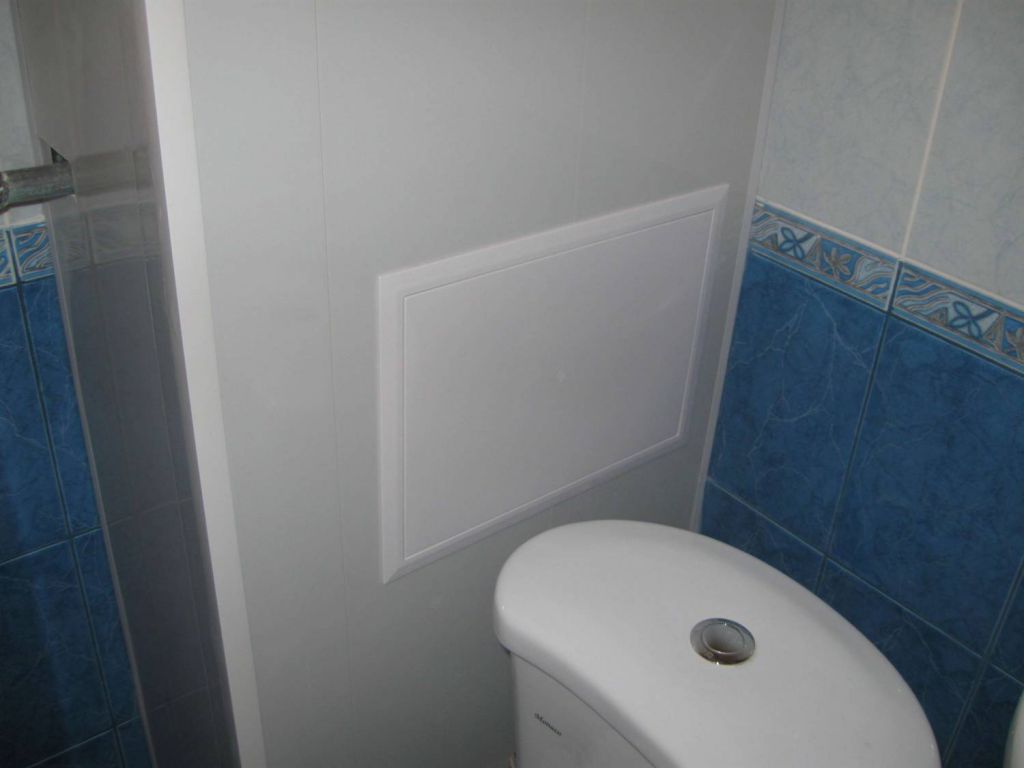
There is a lot of options of decorative finishing of riser boxes for pipes. The most common option is to veneer them with PVC panels. They look great, protected from moisture, very easy to install. With this method, if the box is angular or U-shaped, it is necessary to purchase decorative plastic corners in order for the design to look more aesthetically pleasing.
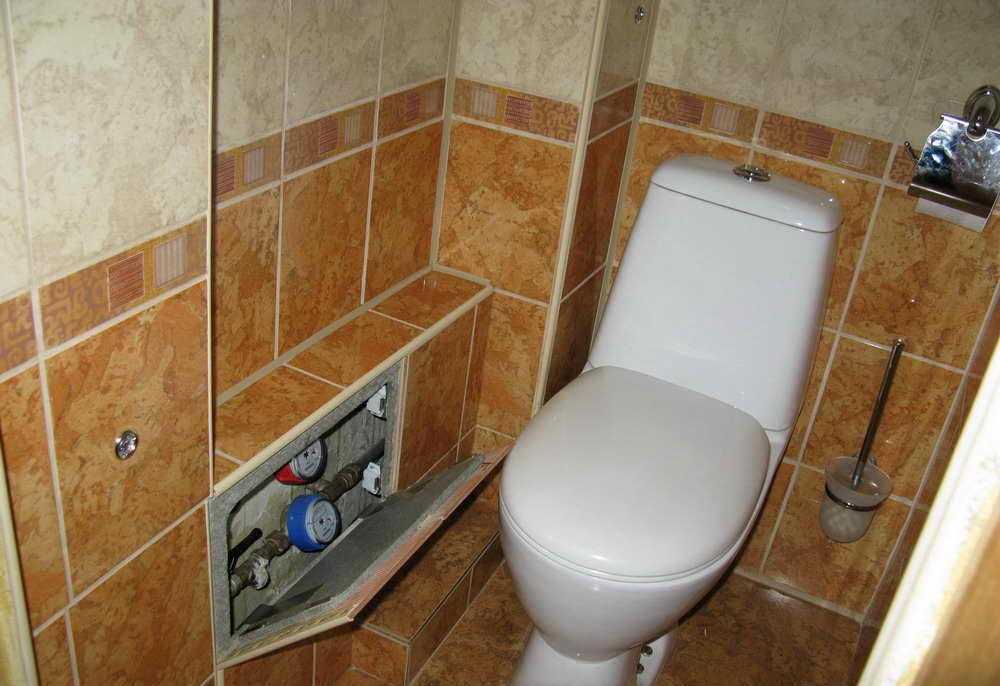
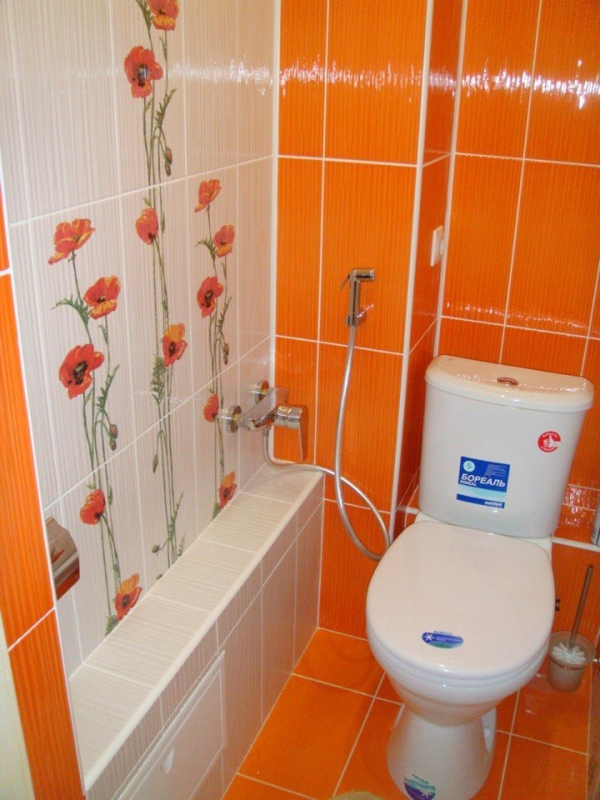
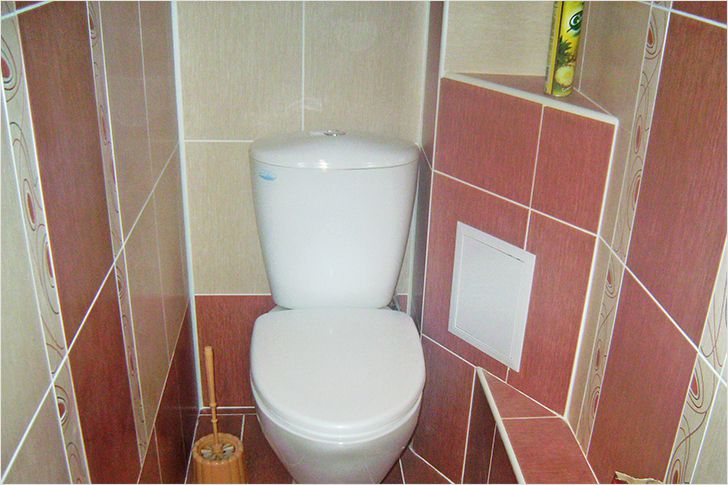
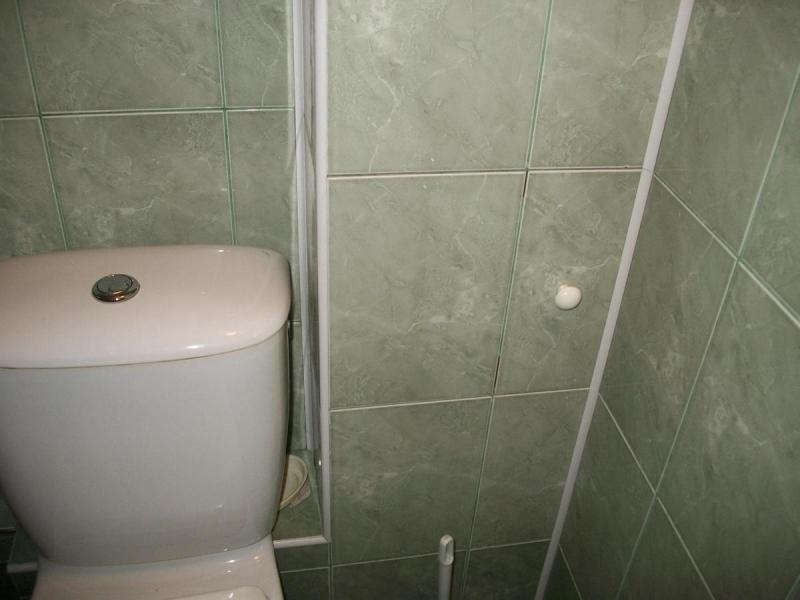
Often, plasterboard boxes are faced with ceramic tiles and porcelain stoneware. This is a good option, especially if the walls have the same finish - then the box will successfully fit into the interior. In addition, additional protection against moisture and noise will be created.
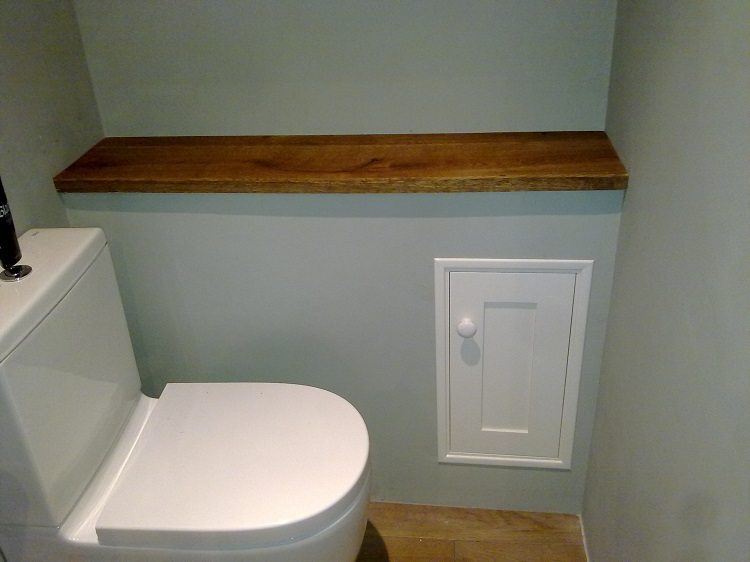
When decorating the box for plasterboard pipes, it can be provided with additional functions. There are designs with shelves for toiletries, niches for a brush or plunger, hooks for towels and other useful items. You can use the walls of the box as efficiently as possible, you just have to show your designer imagination.
Blueprints
Before installing the toilet box, the right decision will be to make the frame drawings. They should indicate the dimensions of the main guide profiles, openings for the door, the vertical and horizontal distances between the stiffeners, air vents and other elements. Such drawings will help not only to correctly navigate when installing the box, but also to pre-calculate the consumption of sheets of drywall, metal profiles and fasteners.
Calculation of materials and components
Calculate the consumption of drywall for toilet boxes is very simple.It is enough to know the height from floor to ceiling and the width of the partitions - from these values you can calculate the total surface area. The number of metal profiles can be calculated based on the distance between stiffeners and each other., usually this distance is 30–40 cm. Here you should also take into account the frame for the door, recess, ventilation holes, and other details. The number of fasteners - screws and corners - is calculated from the number of joints of the profiles, to which we can add an amendment of 15%.

Recommendations for construction
To build a plasterboard box in the toilet, you will need the following materials and tools:
- GCR sheets of moisture resistant 0.65–0.9 mm;
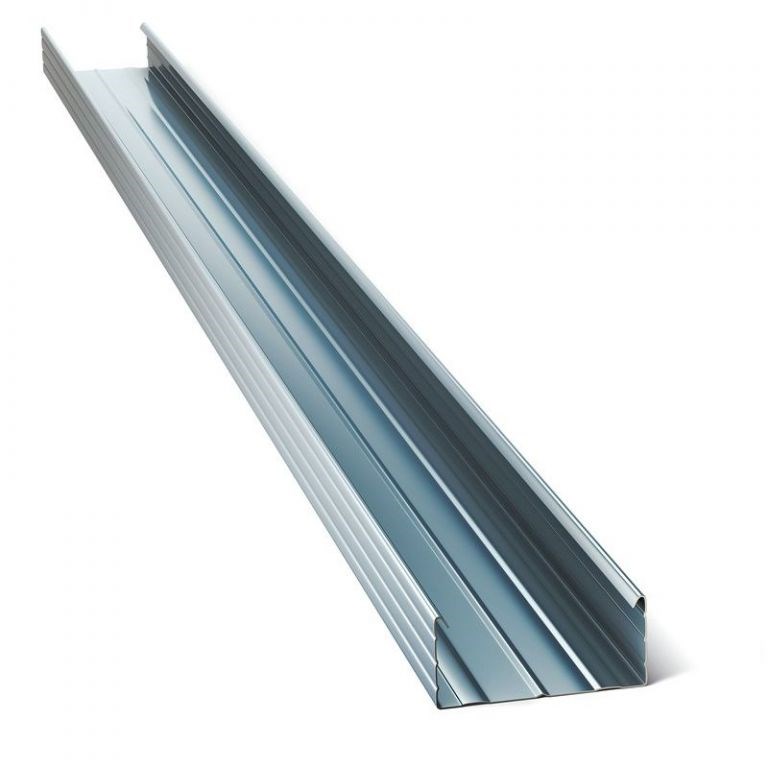
- metal profiles 40x40 mm;
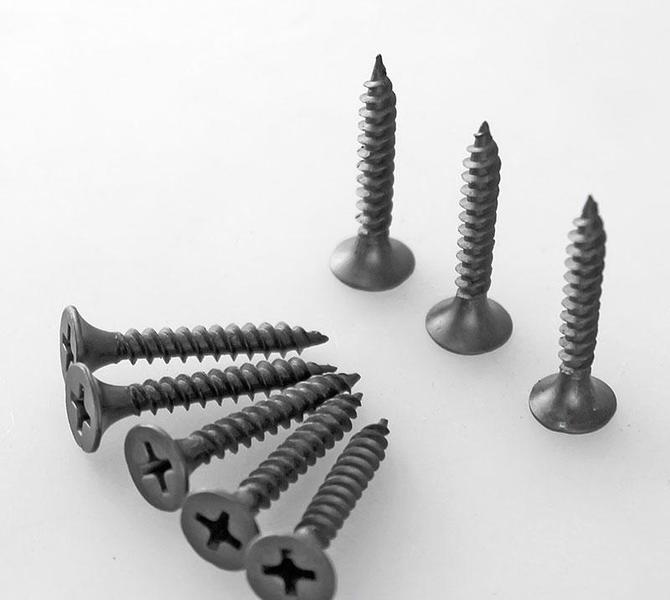
- metal screws;
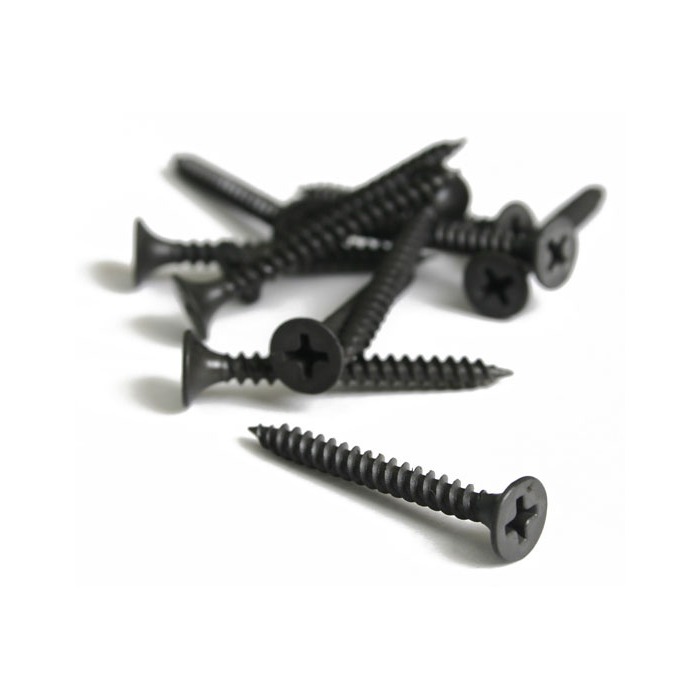
- drywall screws;
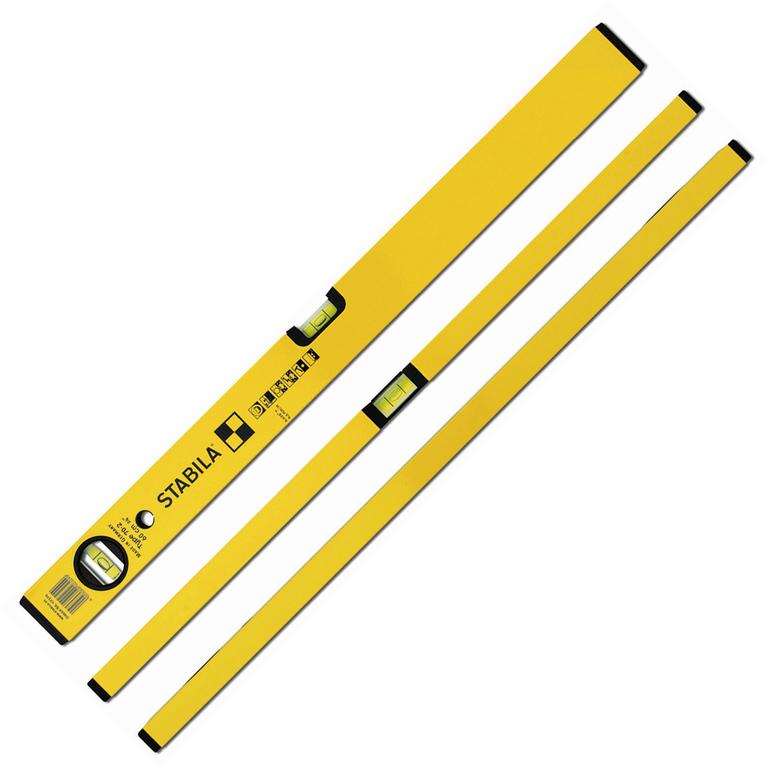
- building level;
- pencil, ruler and tape measure;

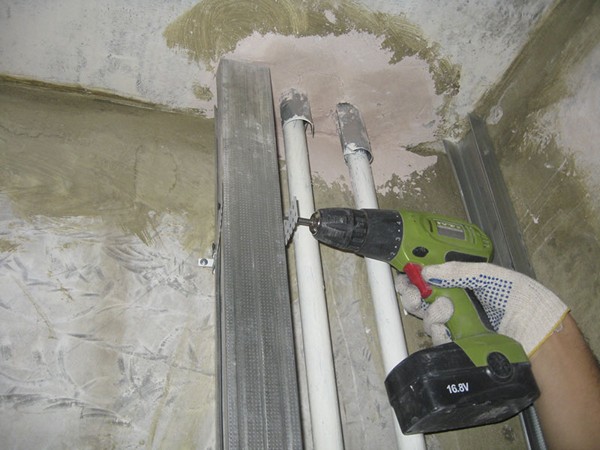
- perforator with a 6 mm drill bit on concrete;
- screwdriver or Phillips screwdriver;
- scissors for metal or Bulgarian;
- assembly knife.

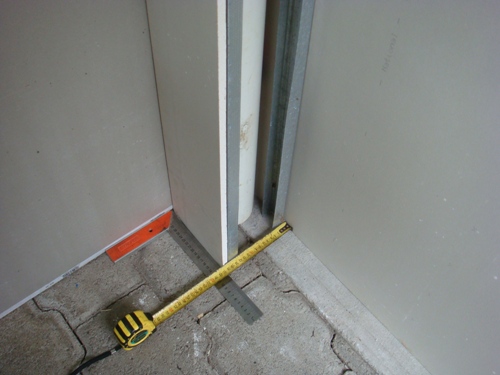
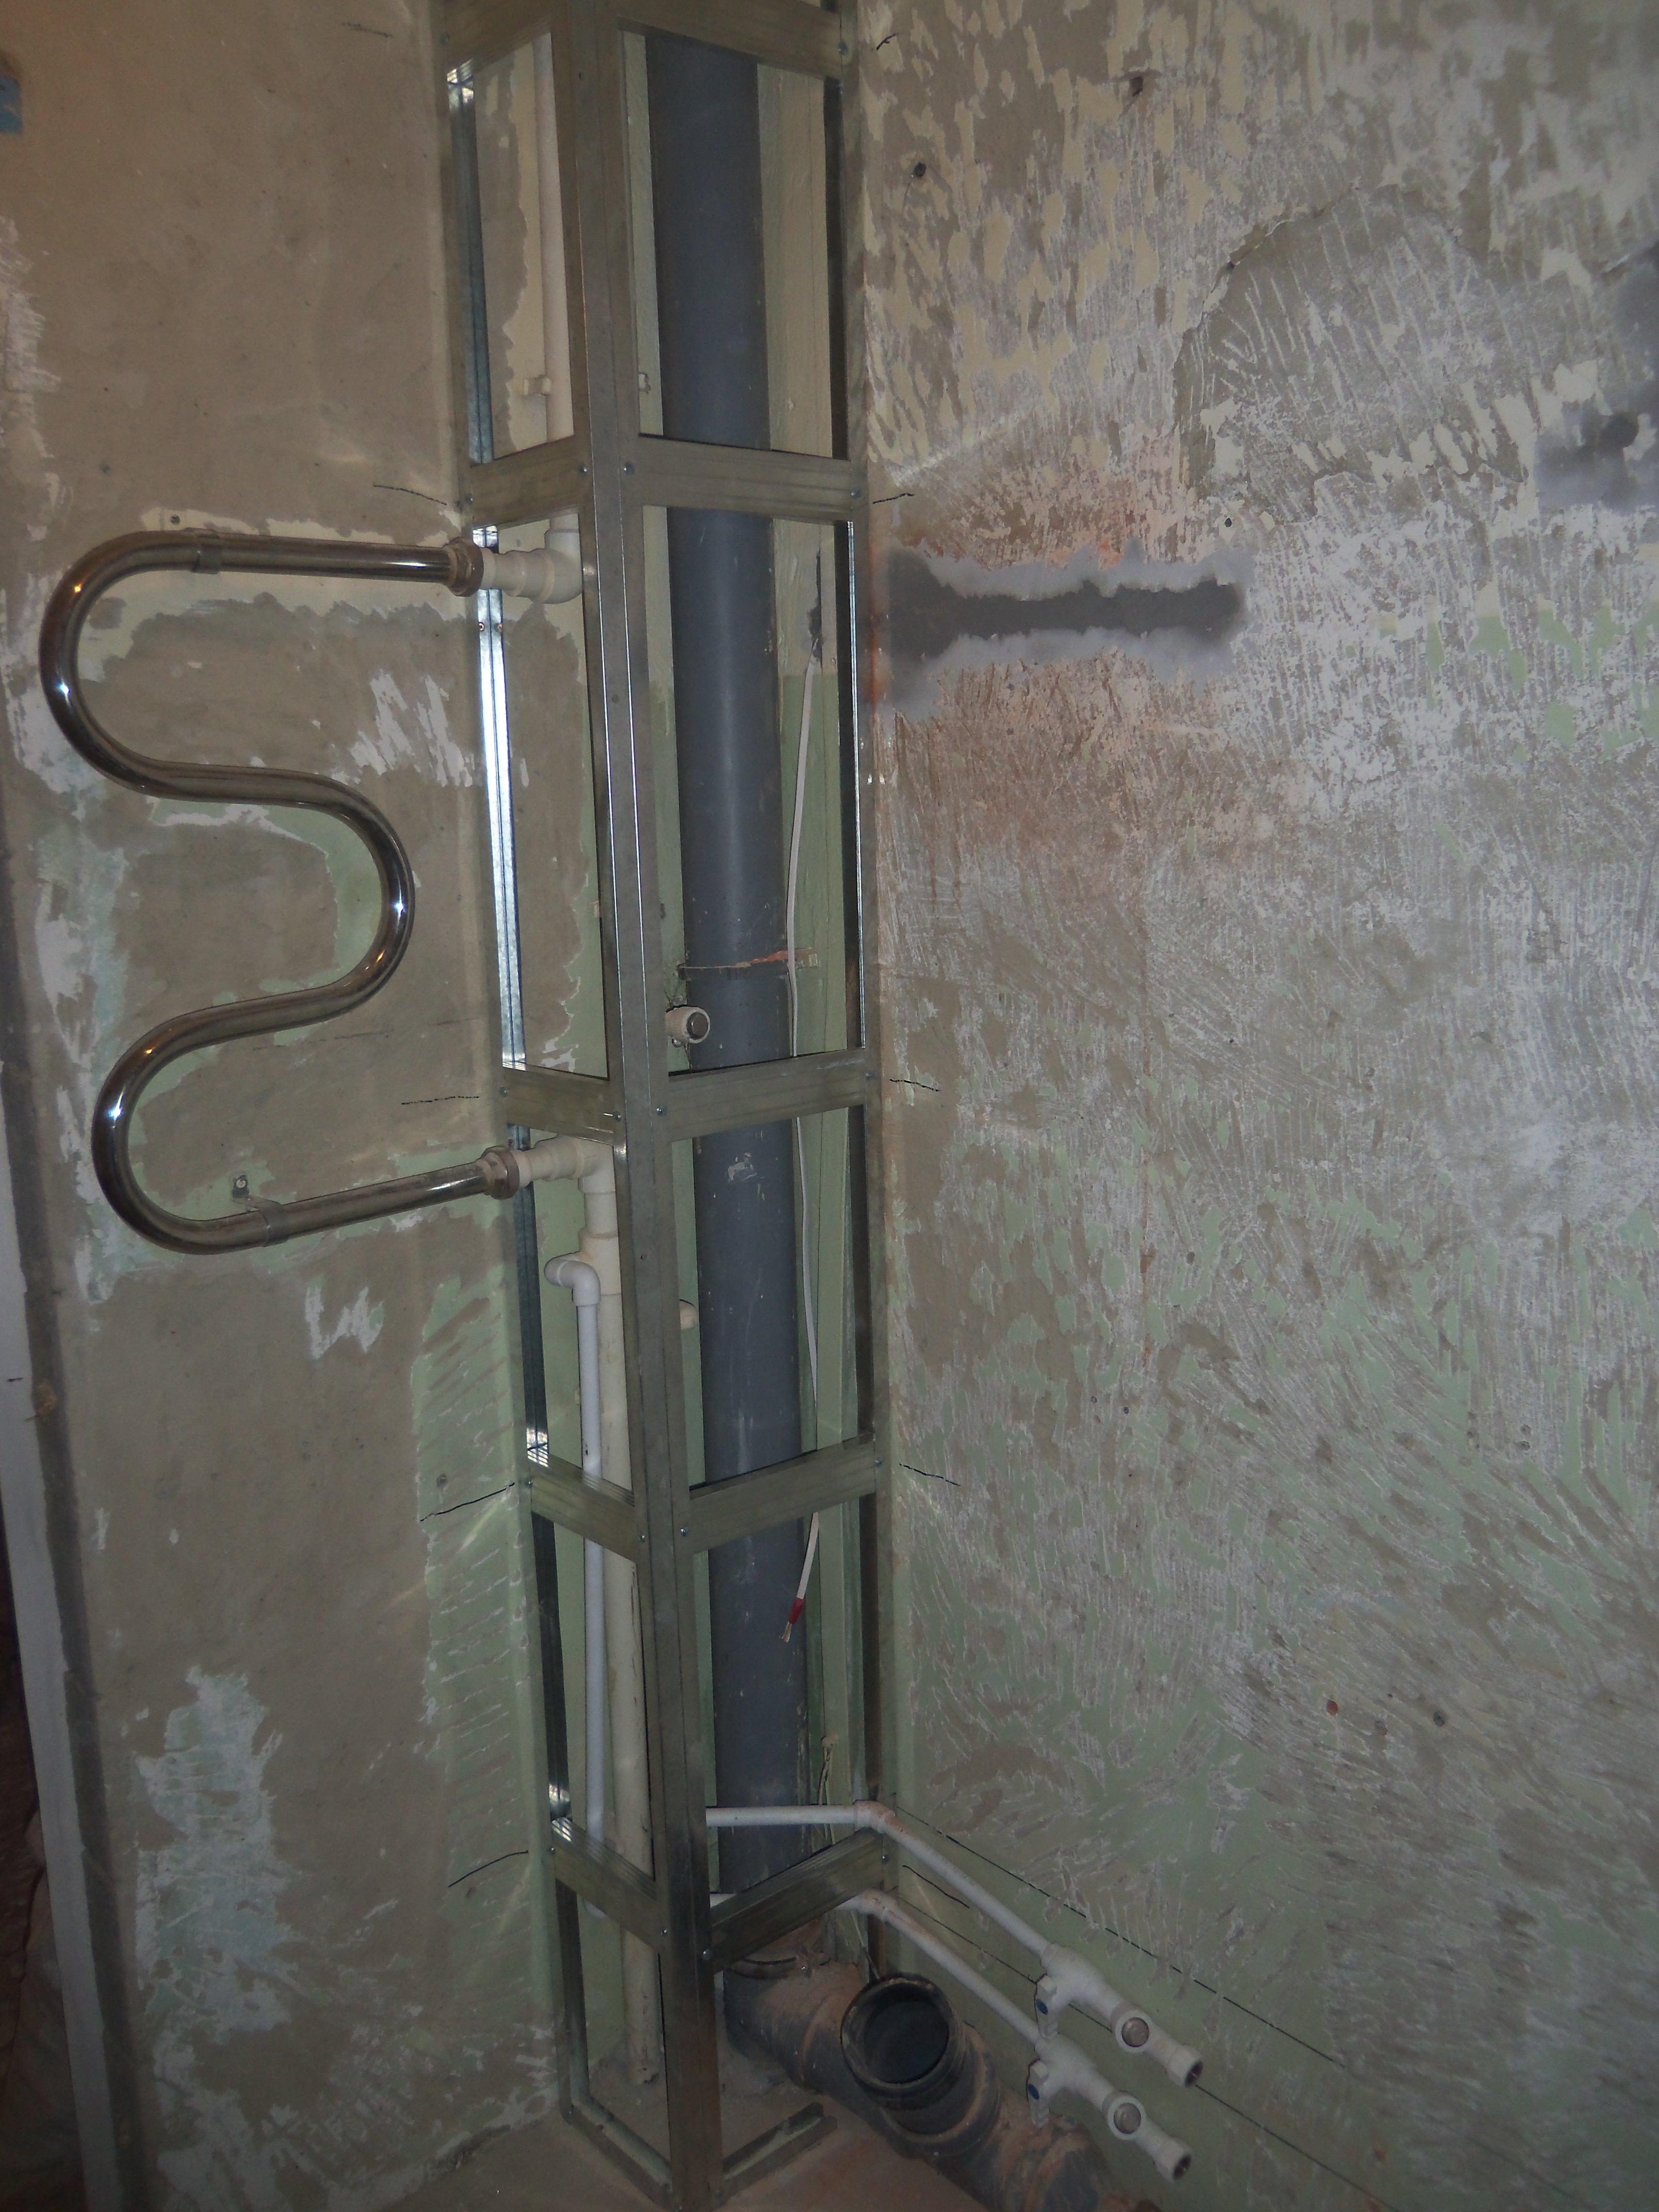
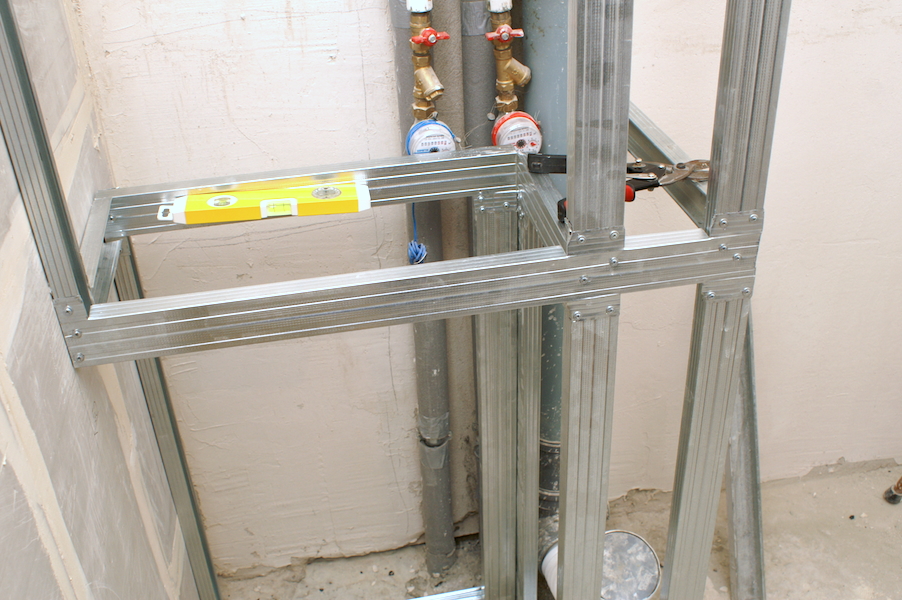
Installation of the box begins with the manufacture of a drawing and marking the location of the profiles of the future frame on the walls and on the floor. To make an even and strong box, it is necessary to use the construction level. First of all, guides attached to the bearing walls are fastened.U-shaped profiles are selected for them, preferably 40x40 mm, they are attached to the concrete with a perforator, screwdriver and dowel-screw with a diameter of 6 mm. After that, it is necessary to assemble the framework grid with stiffening ribs, partitions and a frame for the future access door.
For the strength of the frame to correctly make the distance between adjacent pieces of profiles of at least 40 cm.
Profiles are fastened together on metal screws with a screwdriver. After each item is installed, the level is checked. To cut fragments of profiles should be grinder with a cutting wheel on the metal or special scissors.
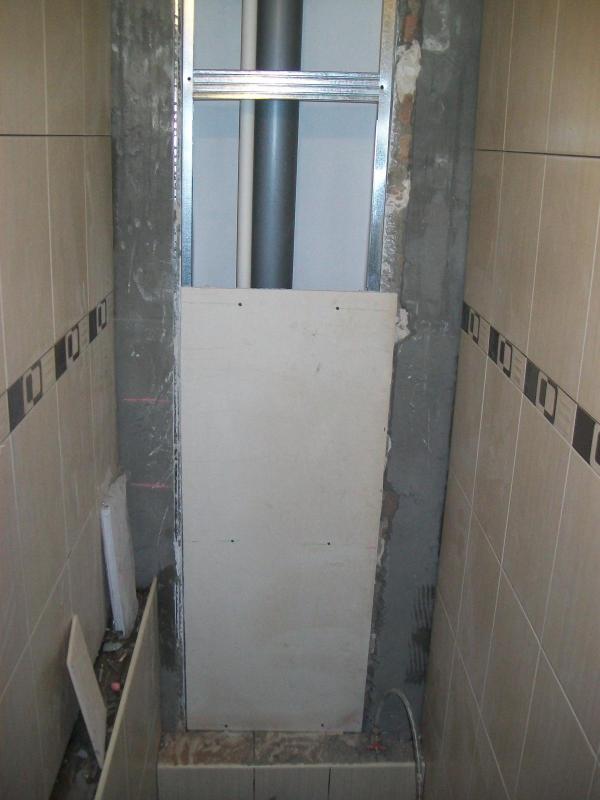
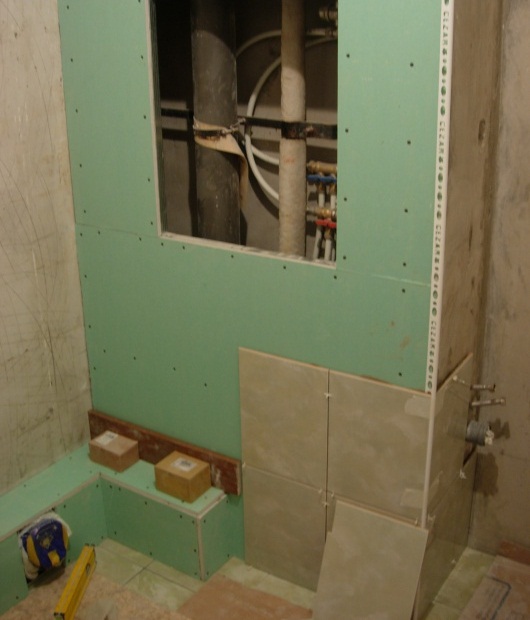
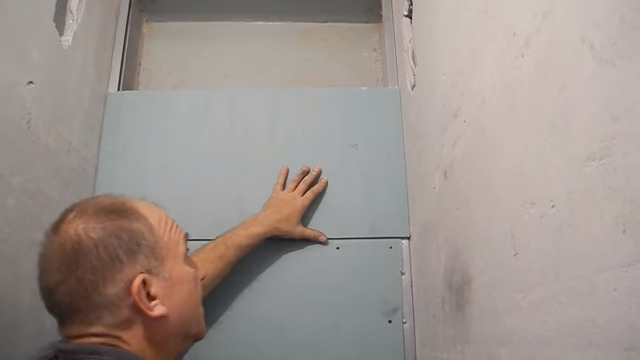
Once the frame is ready, the installation of sheets of drywall. For them, there are special screws. Sheets are neatly cut to size with a painting knife and attached to the frame. The smaller the cut drywall fragments, the better, as the number of joints is reduced, which then must be processed to a uniform surface. This should be taken into account during installation and cut as efficiently as possible.
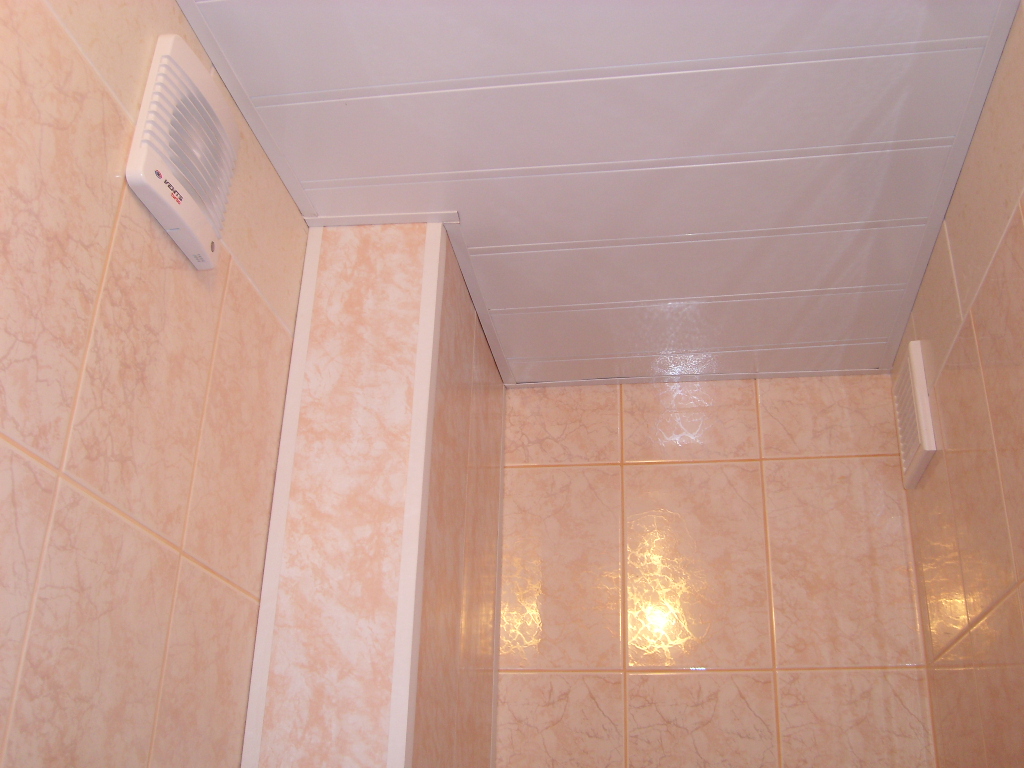
After mounting the main part of the box with partitions, proceed to the installation of the door, air vents, and decorative finishing.
Pro tips
- For the longevity of such a box in the toilet or bathroom, professionals always recommend the use of moisture resistant plasterboard (its sheets are green). Screw the material to the metal should be carefully, do not embed the screw head too deep, otherwise the mount will not be effective.
- If the box is faced with light PVC panels or painted, the design will not have to withstand heavy loads. It is enough for her to pick up the thinnest sheets of plasterboard of 0.65 mm. For subsequent tiling, it is better to take thicker grades of 0.9 mm.
- Since the bathroom is very humid, it is best to treat the internal surfaces of the pipe box with an antifungal agent.
- Marking for guiding profiles on the bearing walls must be made from the floor.
Beautiful examples in the interior
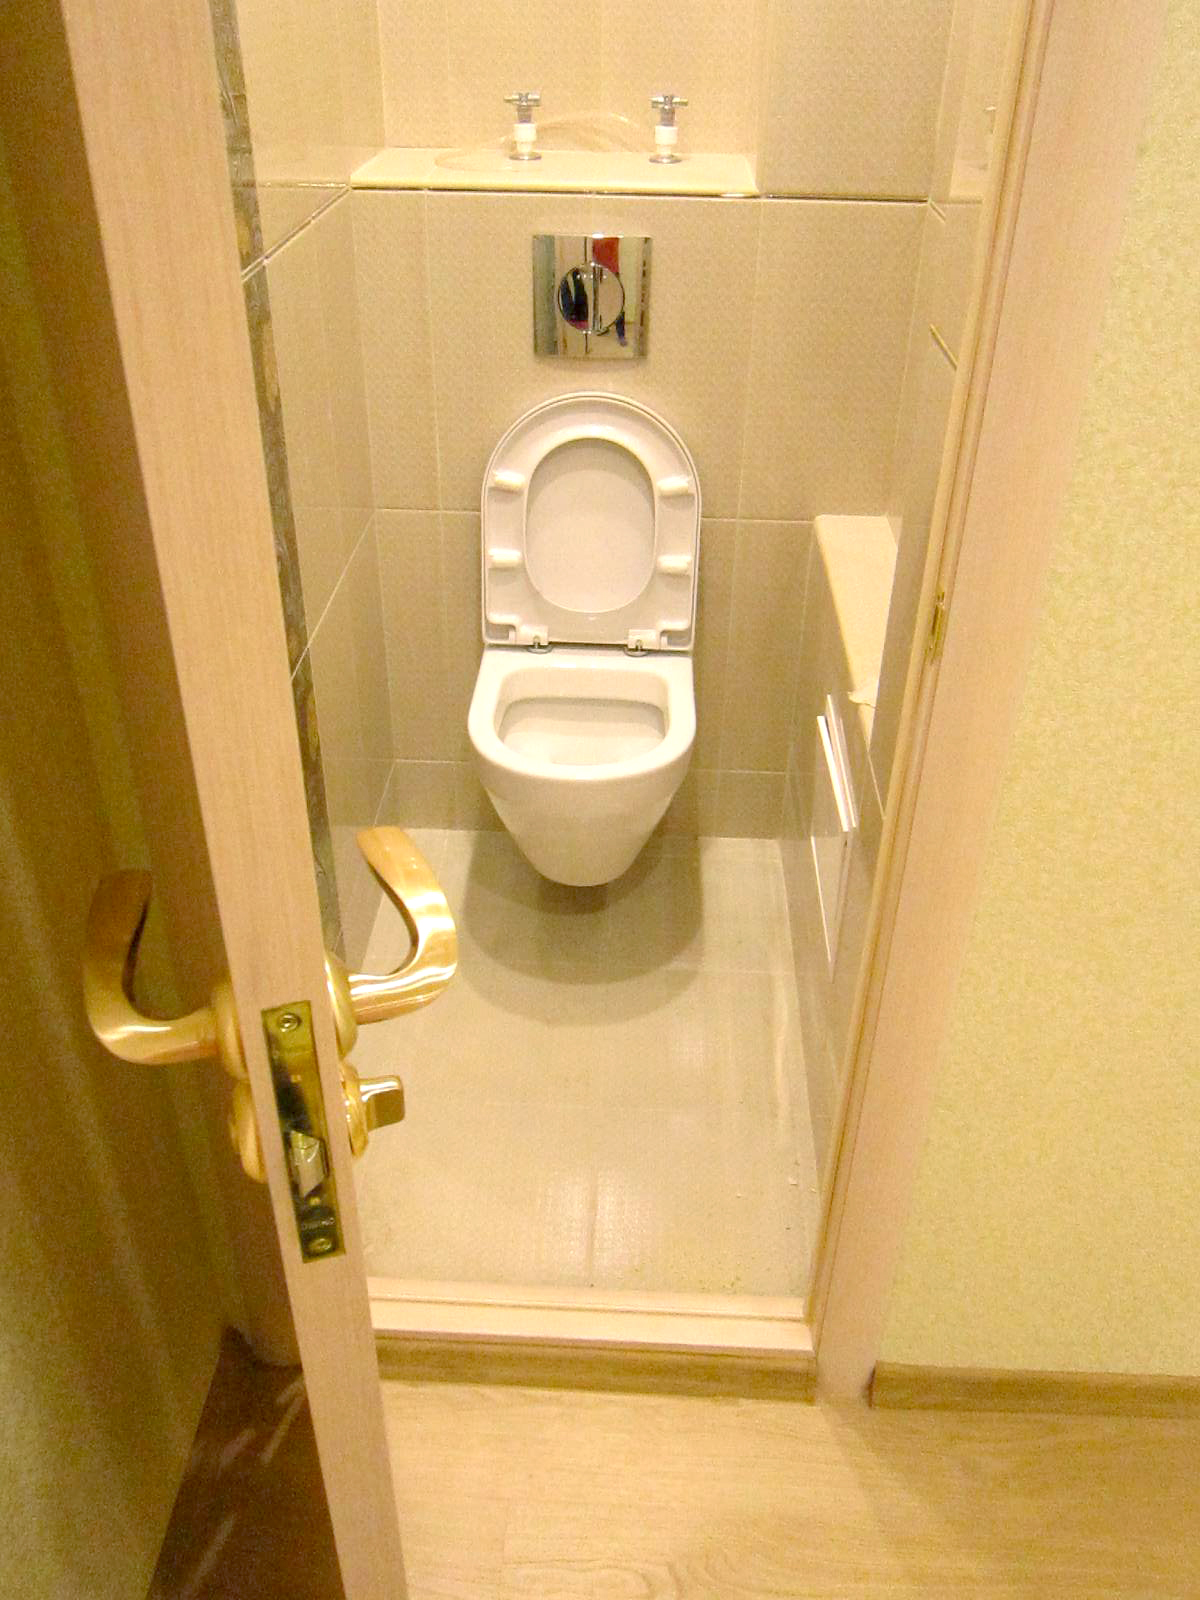
- A good option for the overall interior of the toilet with a hidden door.
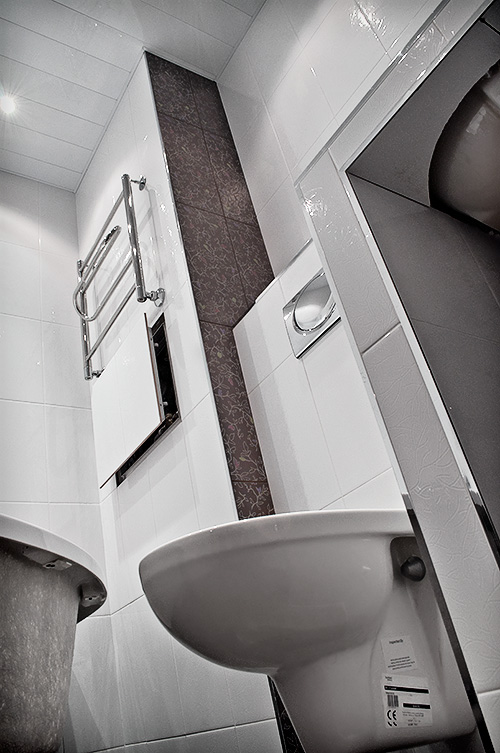
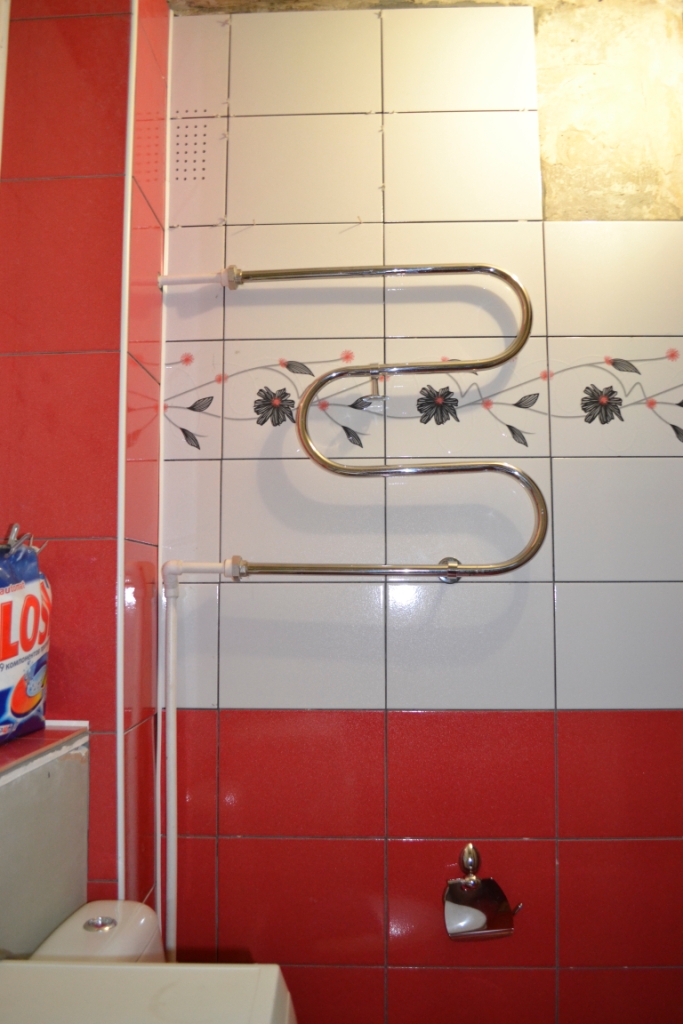
- Examples of boxes lined with tiles and PVC with a supplied heating battery.
- A box with a tile and a masked removable door.
How to close the pipes in the toilet, see the following video.


