Features of the installation and repair of Grohe suspended installation
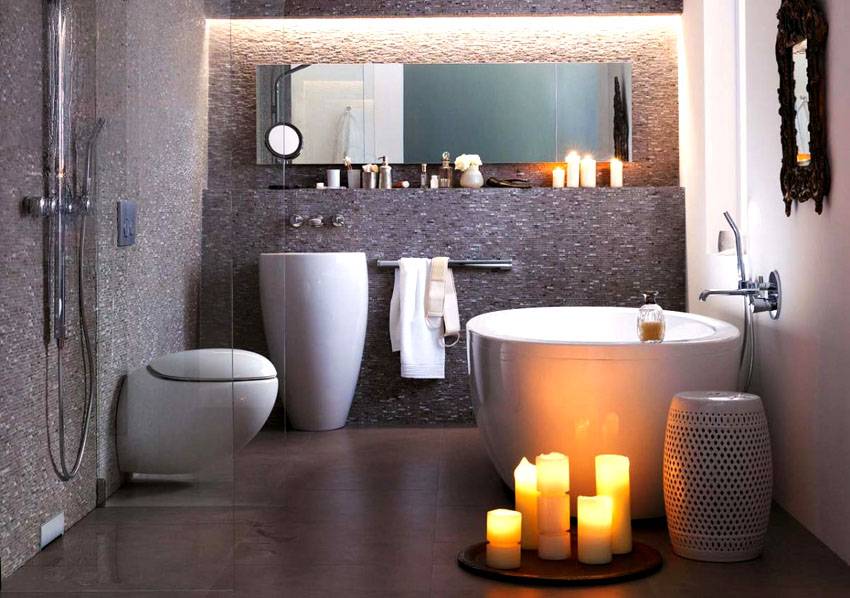
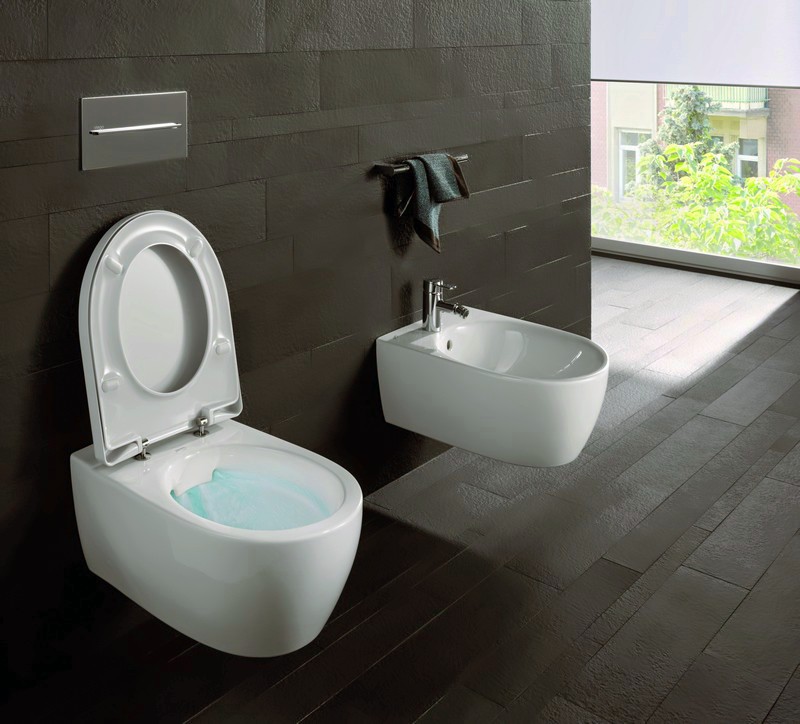
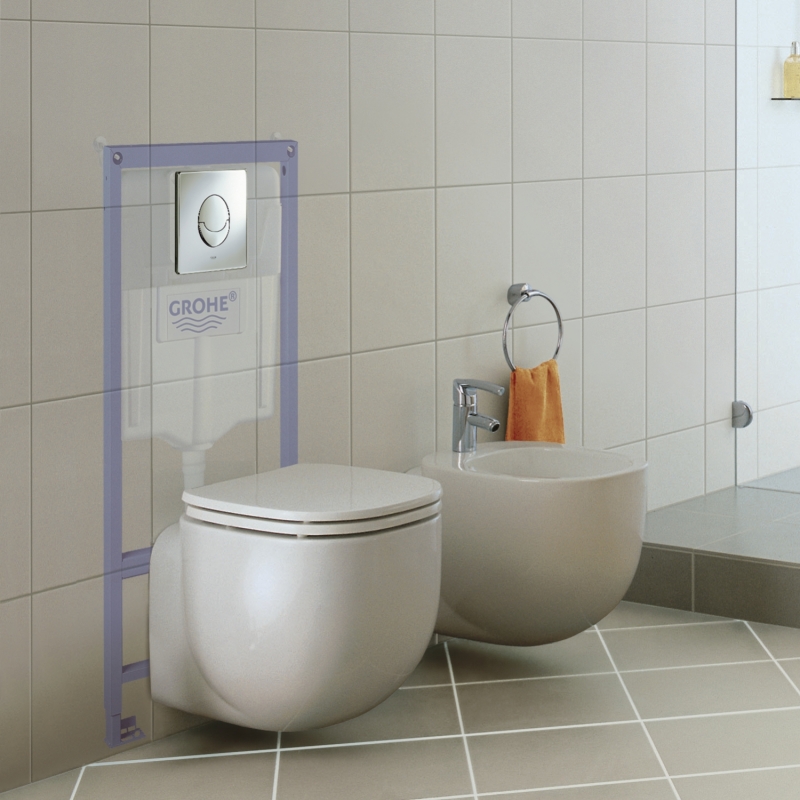
Modern design of bathrooms requires complete insulation of toilet tanks and sewer pipes. Plumbing without an underwater system protrudes directly from the walls and hovers above the floor. To hold the plumbing fixtures and hide all engineering aspects help installation - it is a metal frame with mounting hardware. They can be closed with glass panels, sewn up with drywall, laid with ceramics, giving the interior a flawless look. One of the largest suppliers of installations on the markets recognized by the German company Grohe.
Kinds
Types of installations Grohe only two: block and frame. Frame designs are more expensive and complex.
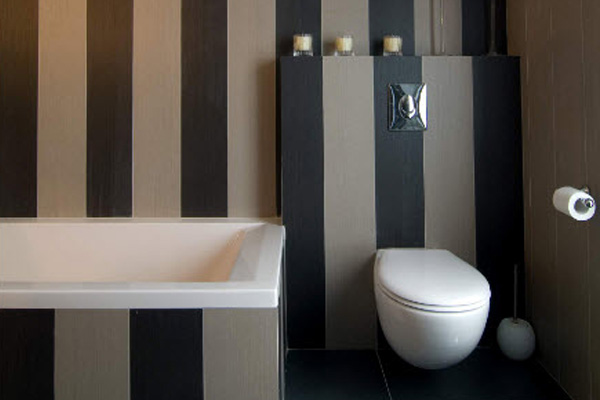
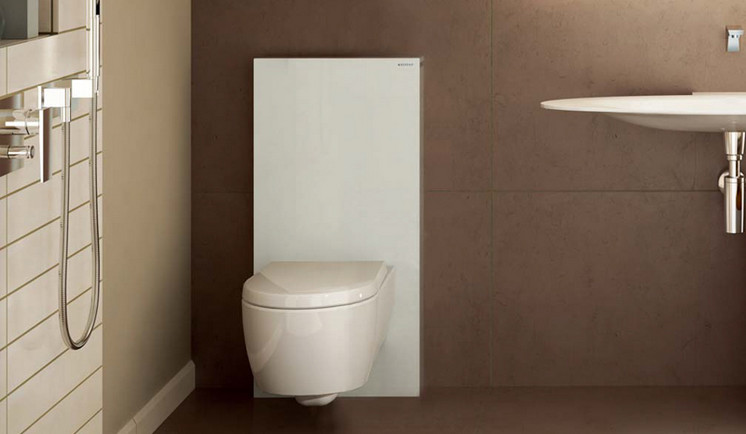
For the installation of block construction is necessary capital wall. Previously it creates a niche into which the installation is being installed. The block kit is quite simple: a tank made of durable plastic is mounted on the reinforcement with the help of special fasteners. The block construction has a meter height, a width of 60 cm, it enters a wall to a depth of 10–15 cm. Then the module is insulated and covered with finishing material. The toilet itself, mounted on a block structure, protrudes from the wall and hangs above the floor.
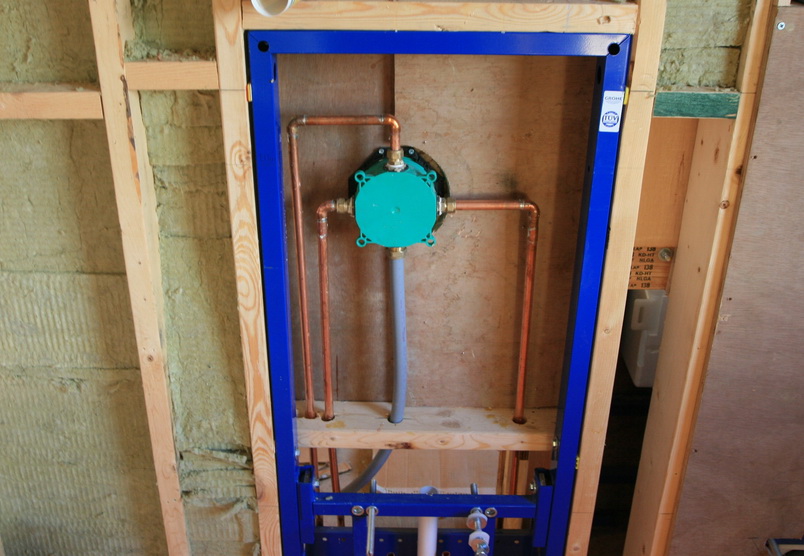
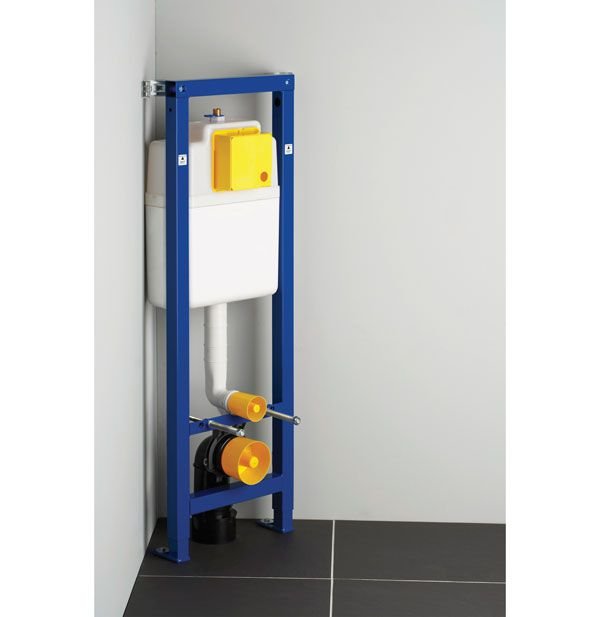
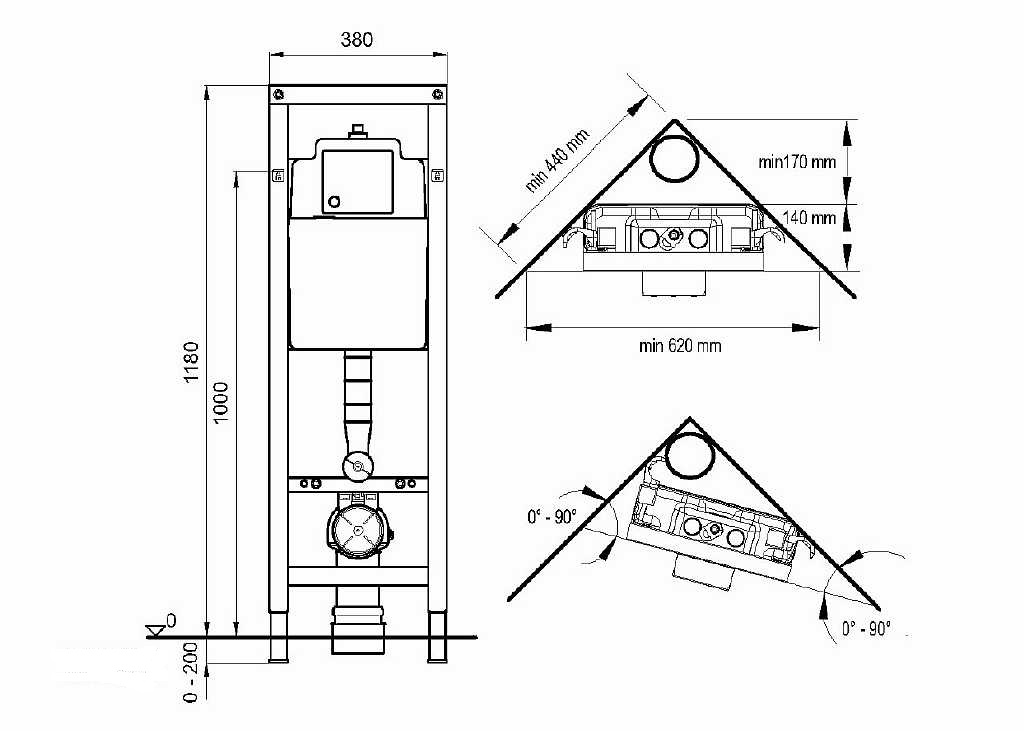
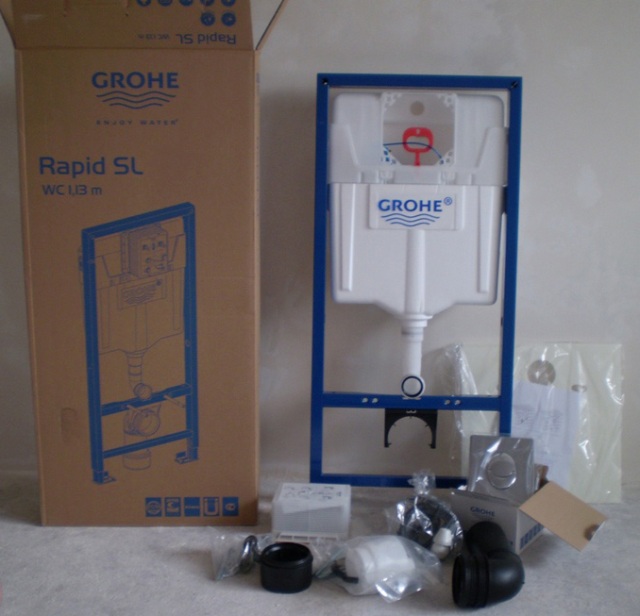
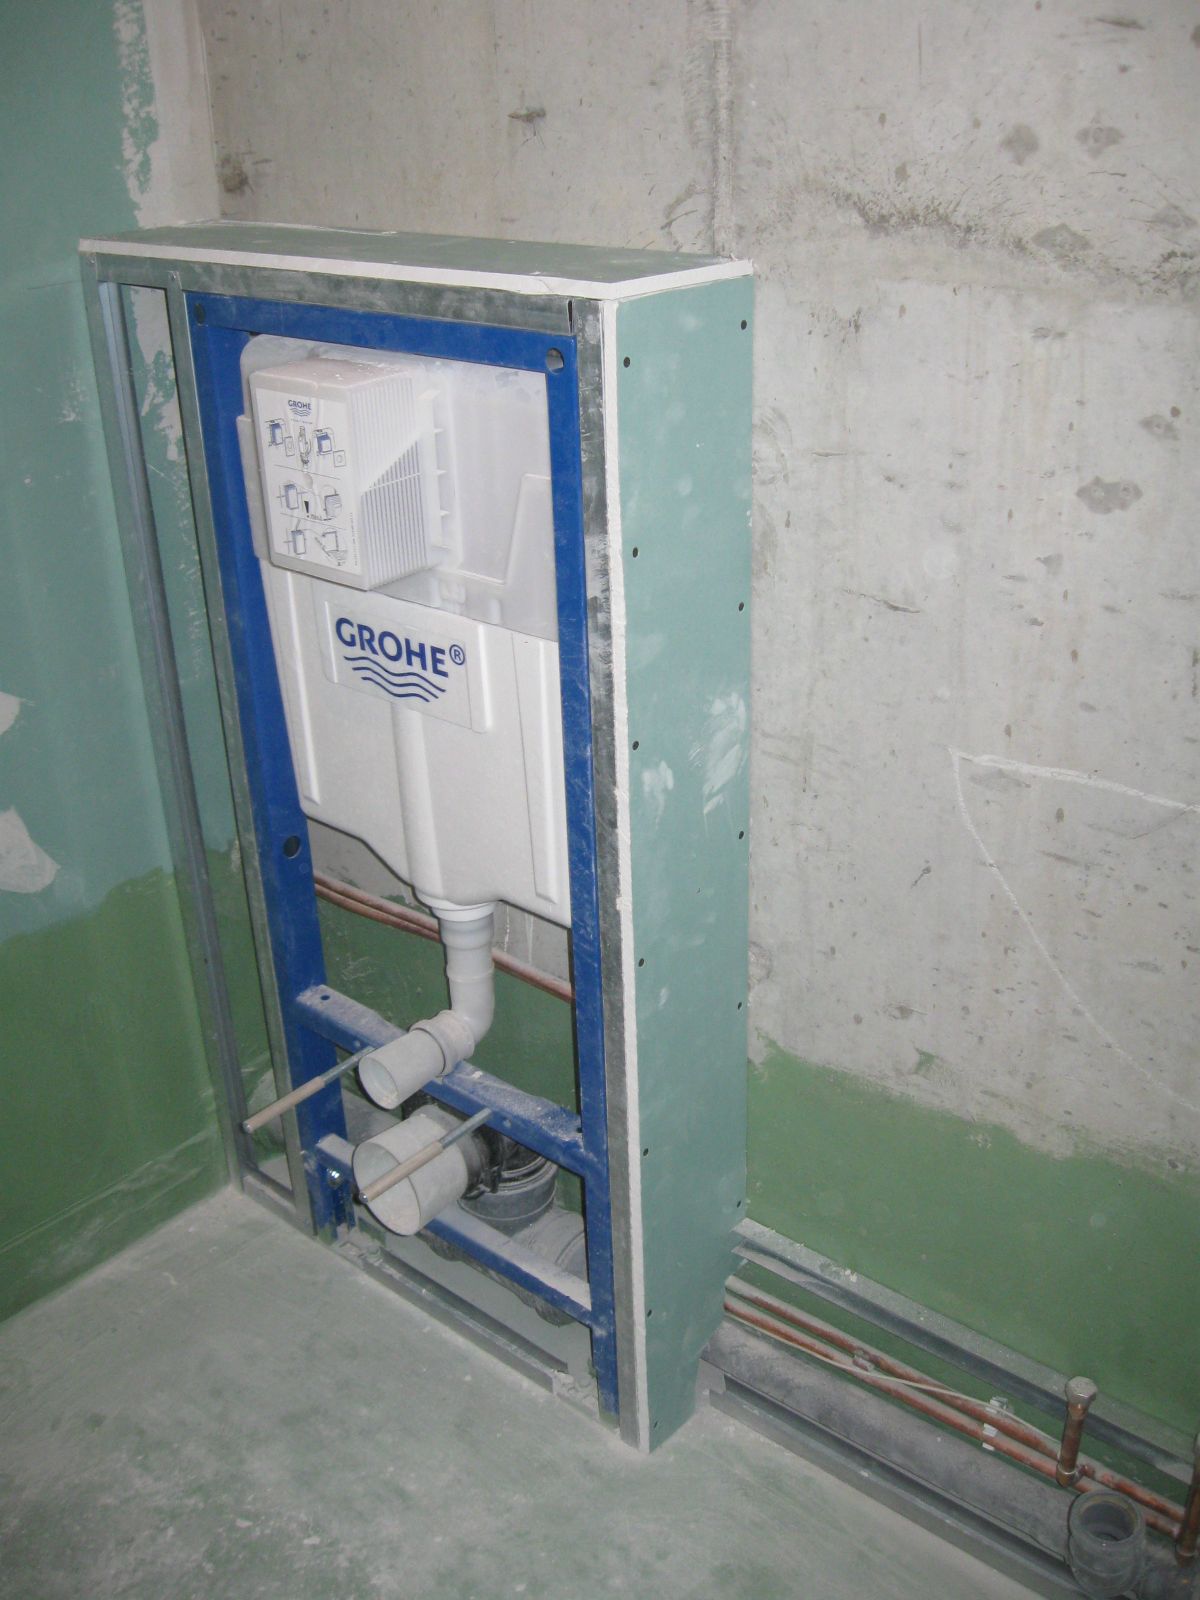
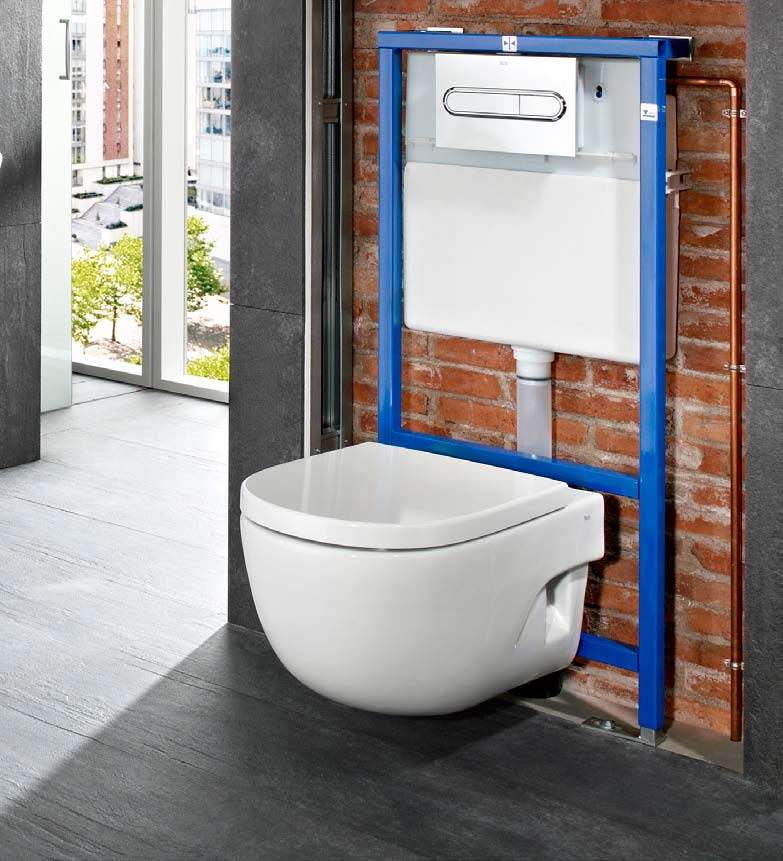
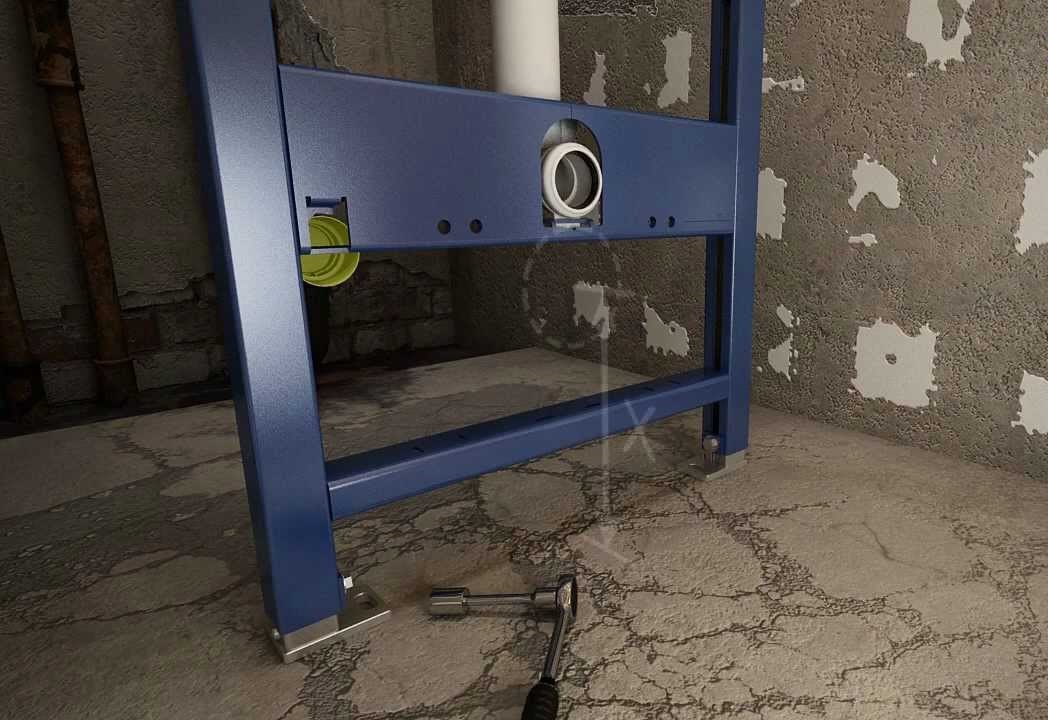
The Rapid SL frame systems are more complex, have their own varieties. Some of them are mounted on the main walls, others are installed in plasterboard partitions. The framework installation is a sturdy construction on which a toilet, bidet or sink is mounted. She hides the tank, sewer and water supply lines. Installation height of the installation is 112 cm, width - 50 cm, the volume of the flush tank - 9 liters, withstand a load of 400 kg. Frame structures are able to adjust the height in the run-up to 20 cm, thanks to which the plumbing equipment can be fixed at the required level.
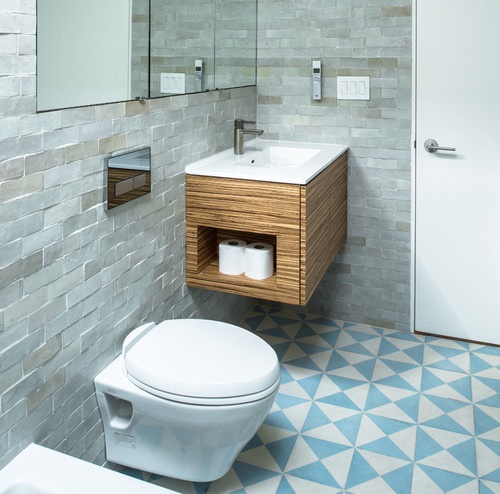
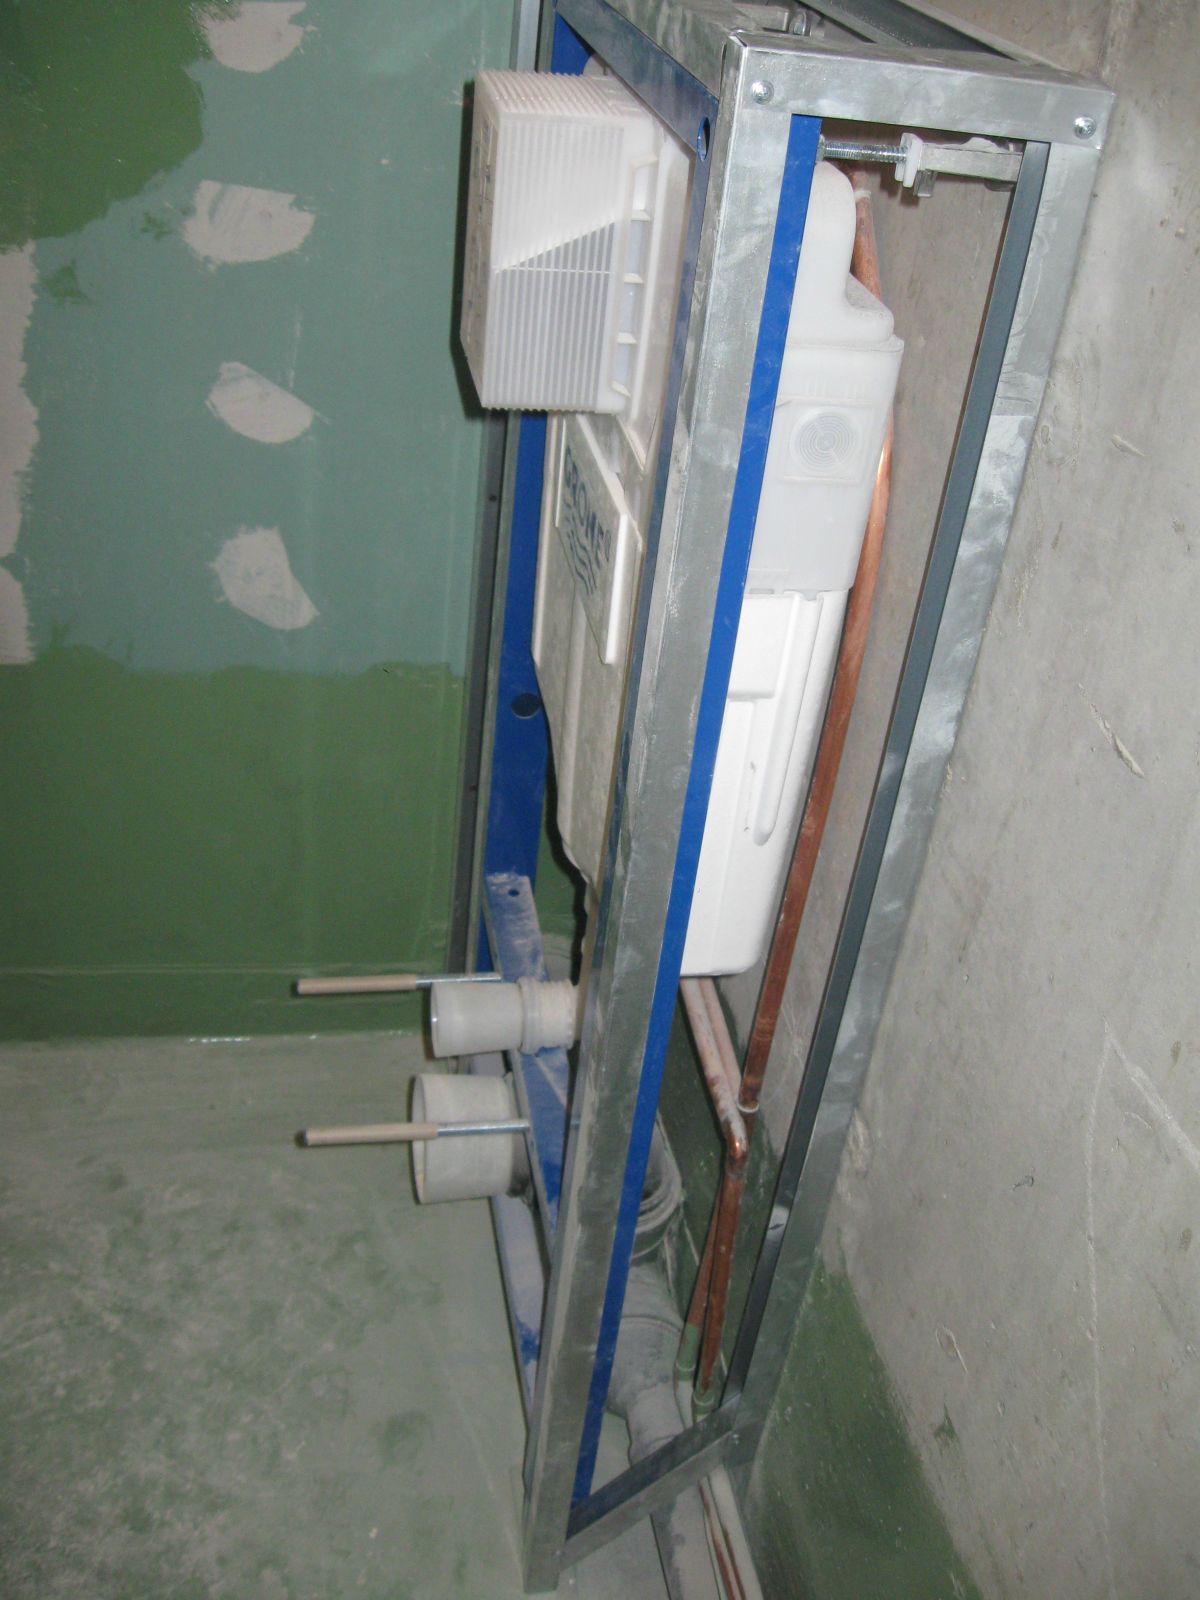
The Grohe module can be mounted on a main wall using four mounts. The upper part is mounted to the wall, and the legs - to the floor.For lightweight plasterboard partitions produce models with a massive lower part, due to which keeps the whole structure. Creating a similar false-wall, use a steel profile. An installation is installed in it, covered with plasterboard and finished with ceramic tiles. On such a wall plumbing can be mounted from different sides.
To install plumbing in the corner of the room, produce corner installations. Special mounts mount the structure at an angle of 45 degrees. From the presented modules it is necessary to choose the right design for the planned plumbing. It is impossible to mount an installation intended for a load-bearing wall onto a plasterboard partition.
Selection rules
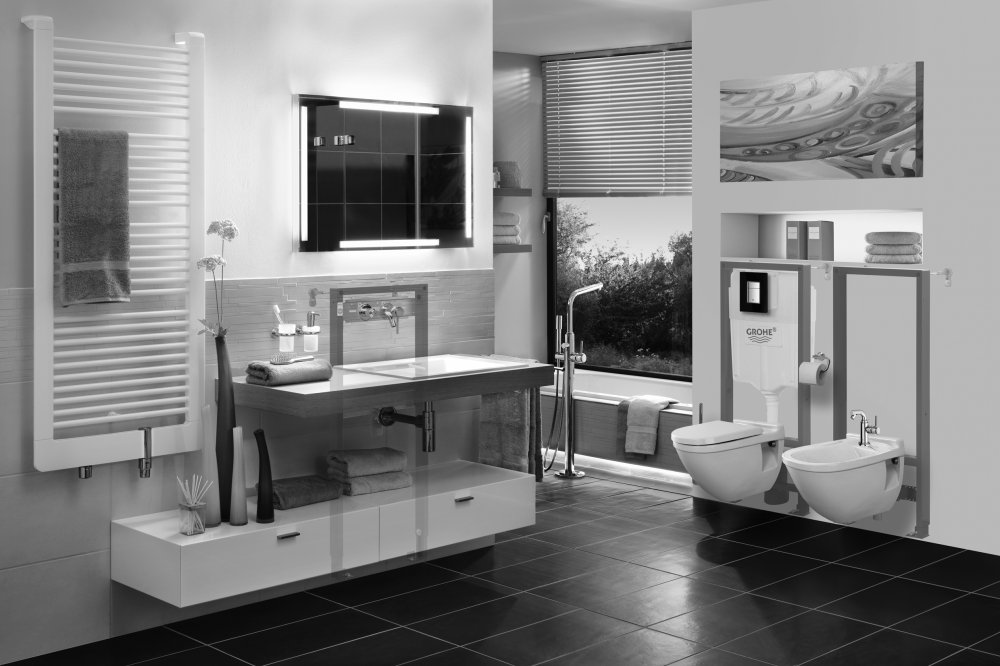
The Russian plumbing market is represented by a large selection of European and American products. The most popular companies include Grohe, TESE, Viega (Germany), Ideal Standard (USA) and Geberit (Switzerland). The advantages of their products lies in the strength, longevity of the models, ease of installation and virtually no damage. It is worth staying at the German company Grohe, which is the leader in sales of sanitary equipment.
Having decided on a brand, the choice of installation is just beginning. It is influenced by many factors, so as not to be mistaken, it is necessary to gradually deal with each of them.
Location selection
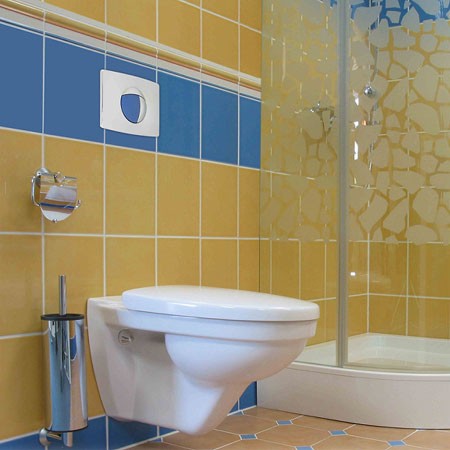
If you plan to mount the installation on the main wall, you can choose a standard block type of construction. For durability and reliability, the module is not inferior to the frame form, but it is cheaper. If the toilet needs to be installed near a thin partition or completely without a wall, this can be done using a standard frame installation, which is mounted to the floor.
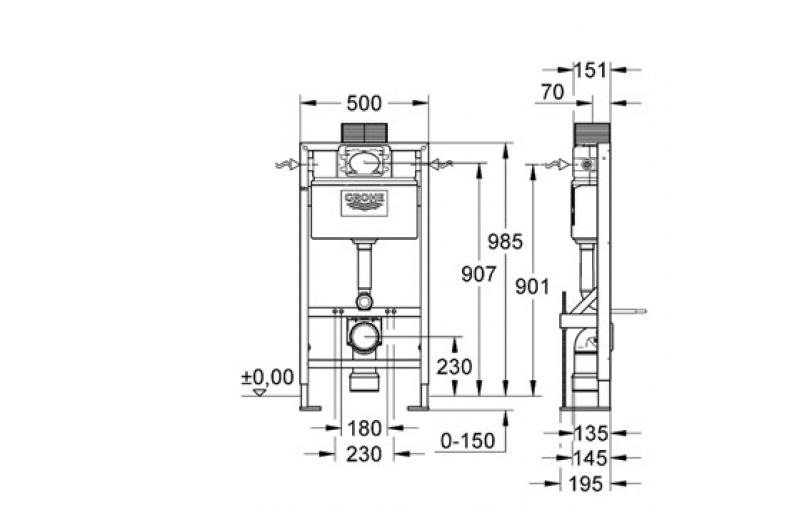
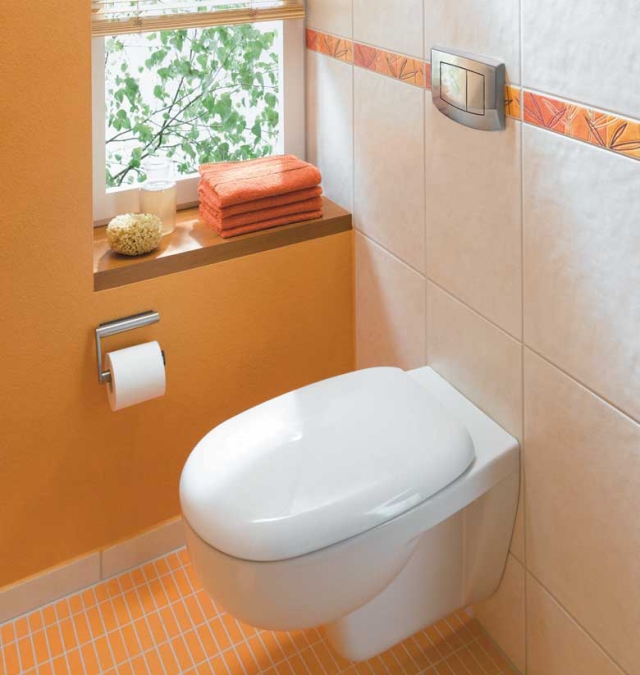
There are for special cases non-standard models. In the corner reserved for the toilet, mounted angular module. There is also a shortened block, if you plan to install the installation under the window sill or hanging furniture. Its height does not exceed 82 cm. A bilateral installation system is necessary for installing plumbing on both sides of the wall.
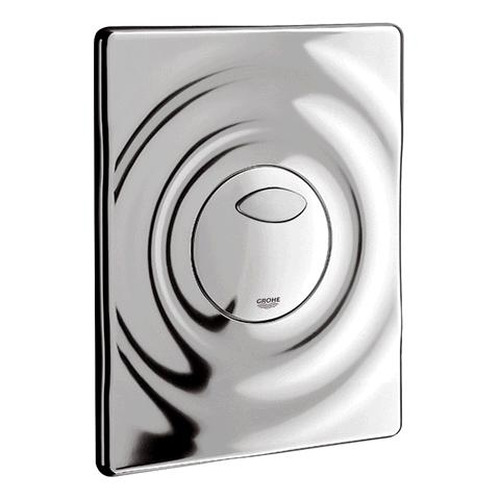
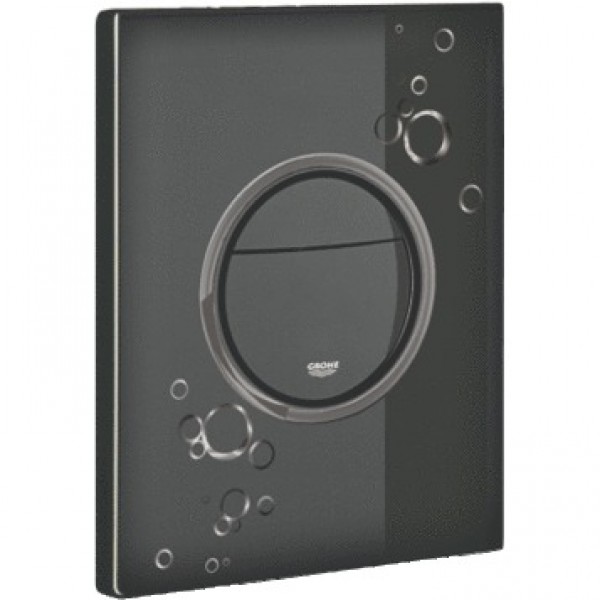
Flush button
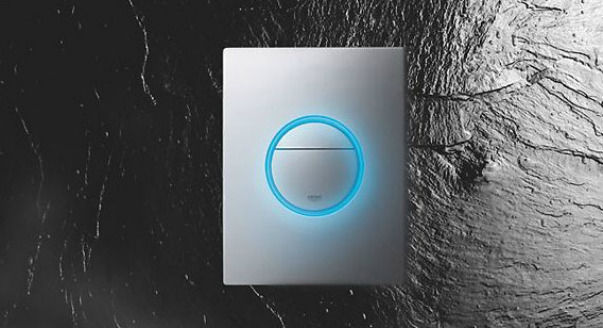
This element of plumbing has several varieties, knowing the functional characteristics of each, you can make a choice according to taste. Simple and easier to maintain are the dual-mode buttons, as well as the option "wash-stop."They do not require electricity, they are too simple to break. A contactless button with a sensor responds to the presence of a person, and the flush occurs without it. Such a flush system is more expensive, it is more difficult to assemble and repair is more sensitive, but in its service are laid comfort and hygiene.
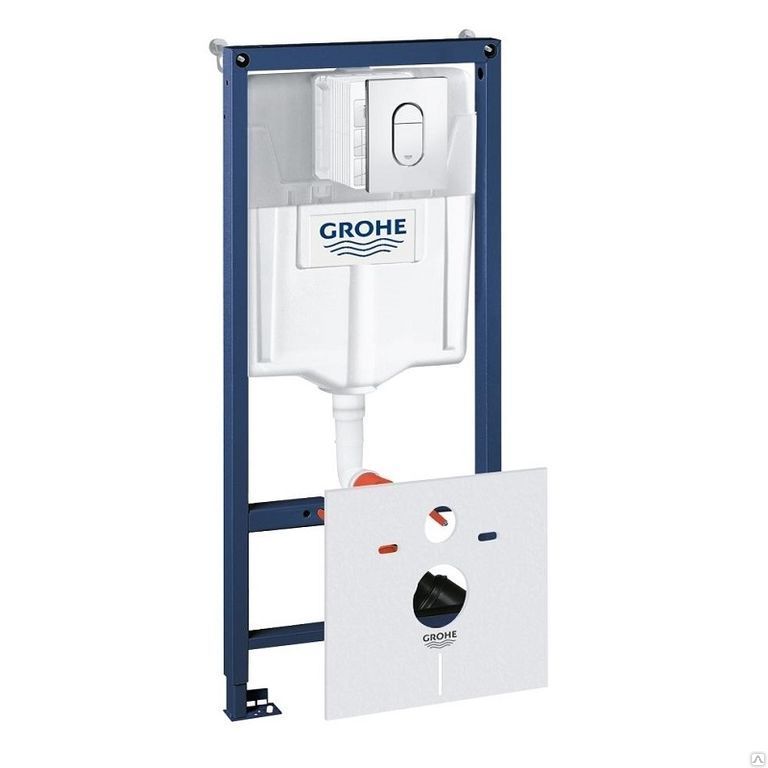
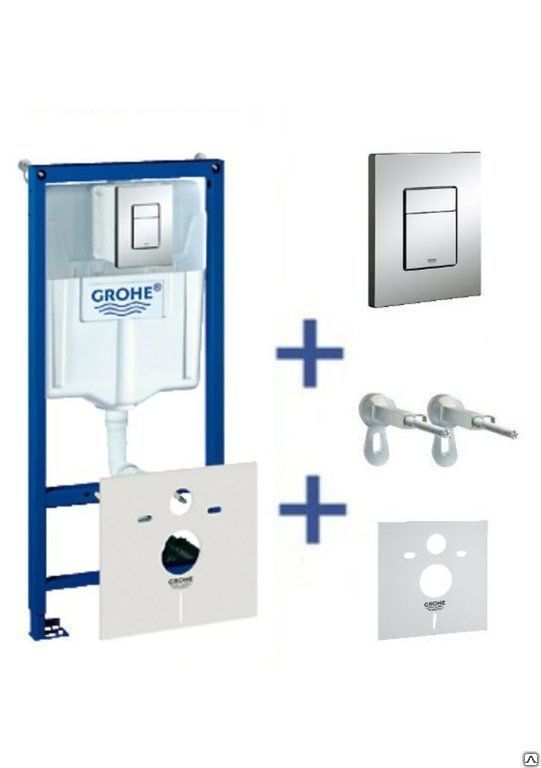
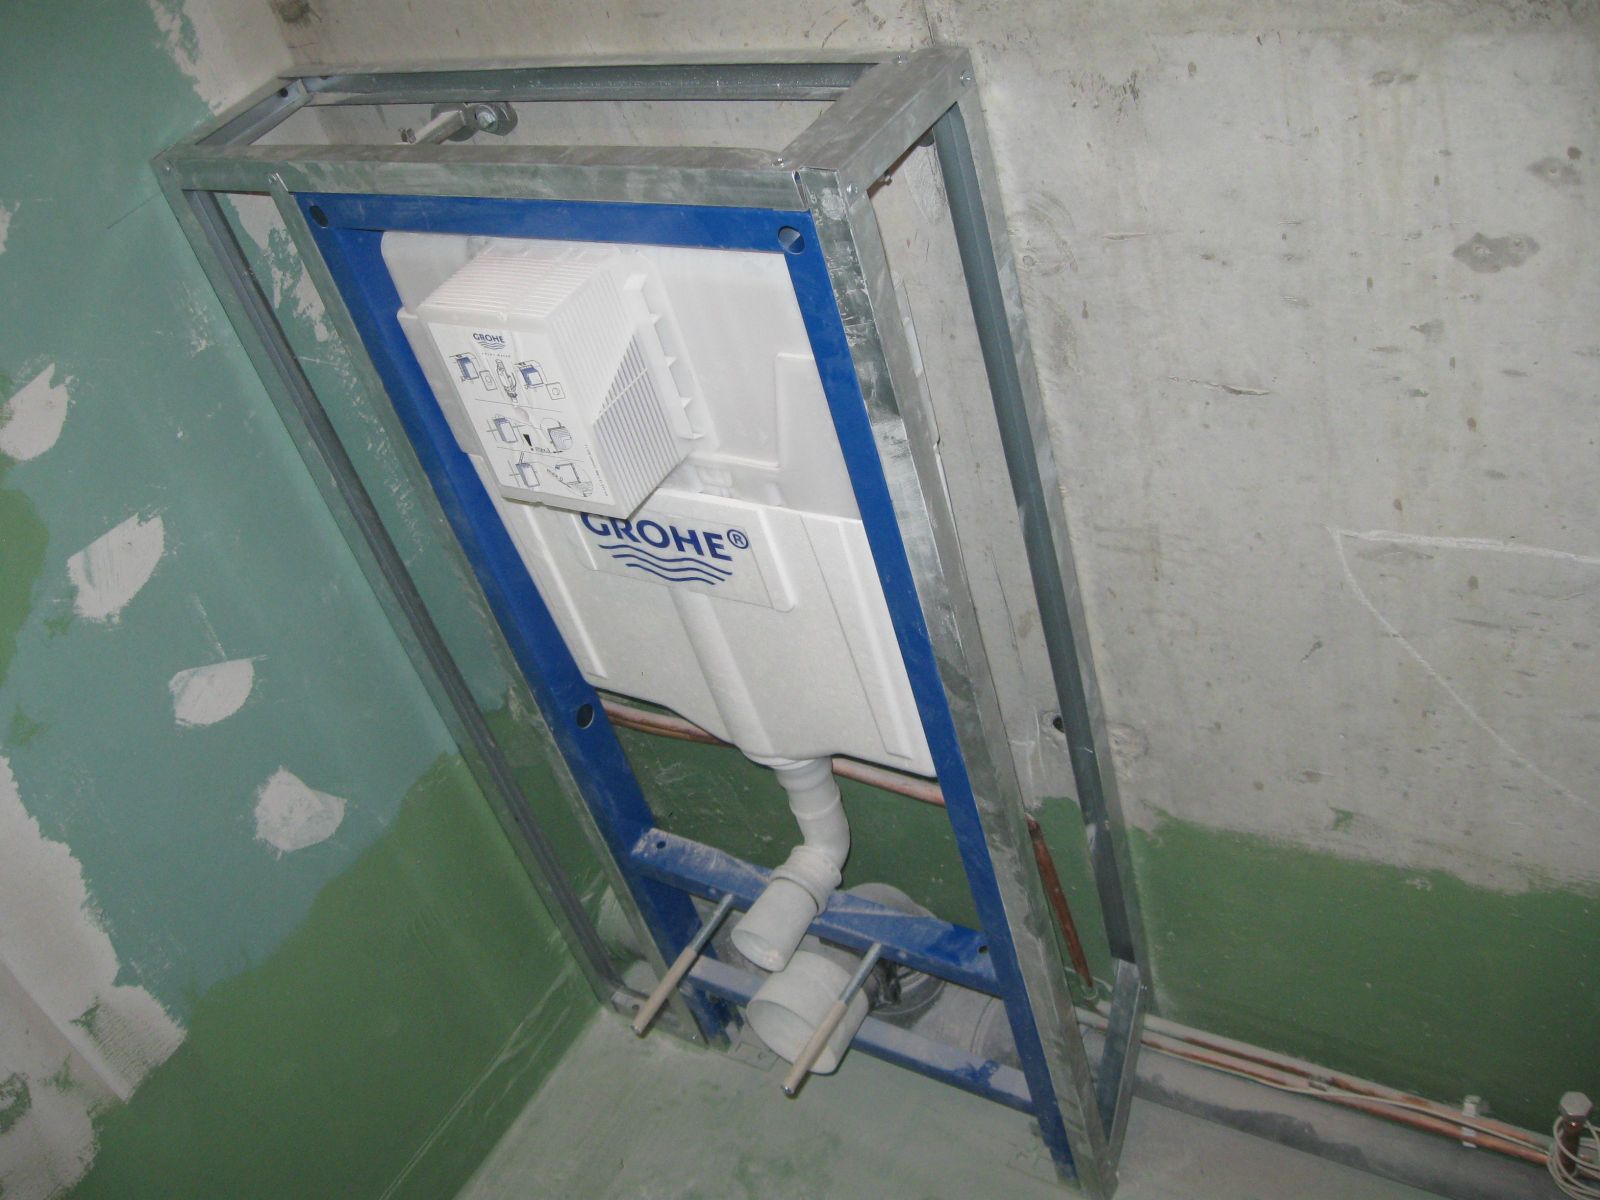
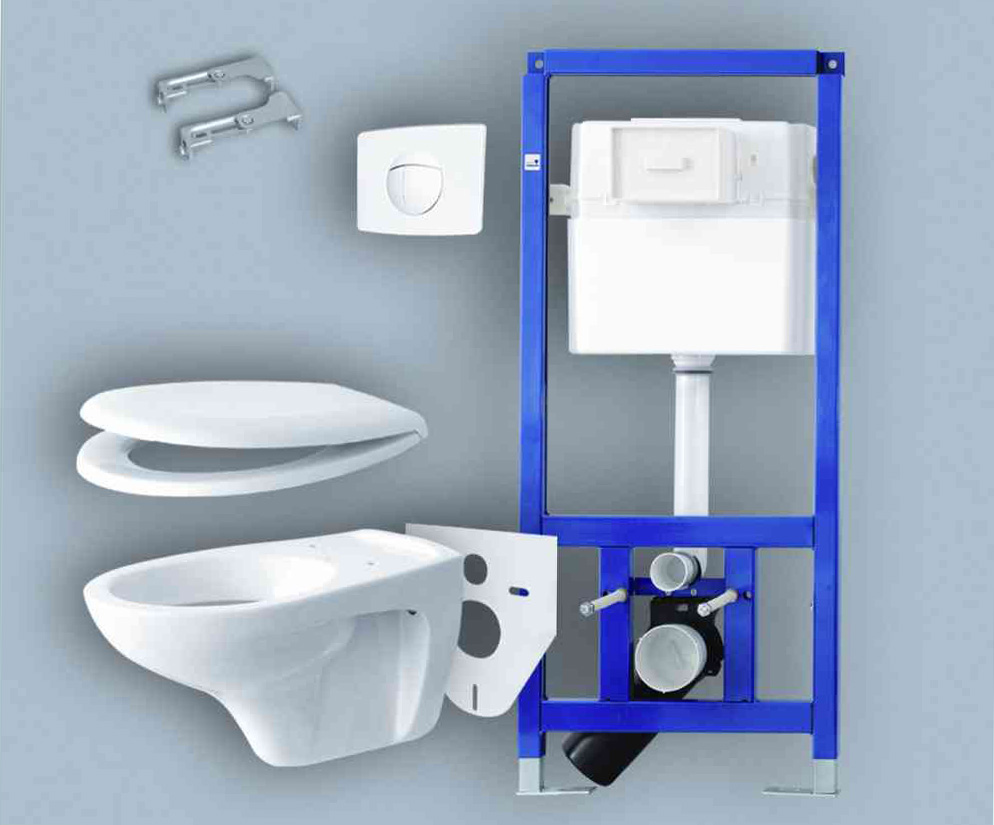
After making a choice, you should carefully check the components. The installation consists of a supporting frame, cistern, fasteners, noise insulation.
Suspended toilet device
Today, many prefer the mounted toilet, and decide to install them yourself. Having studied the scheme and the description, it is possible to understand how the module is arranged.
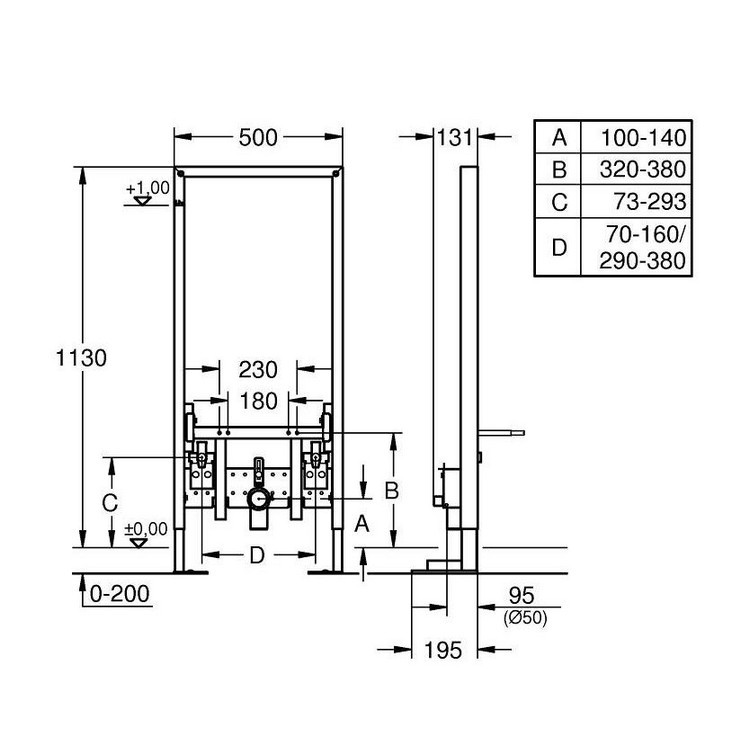
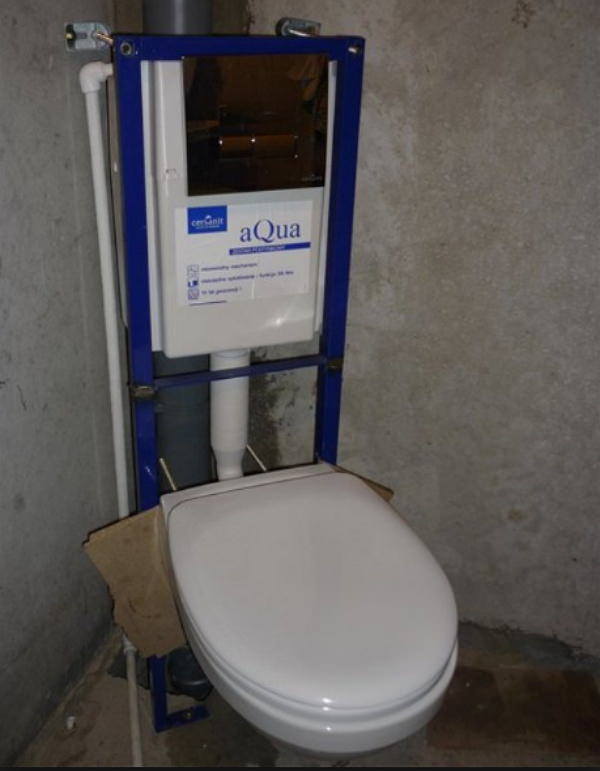
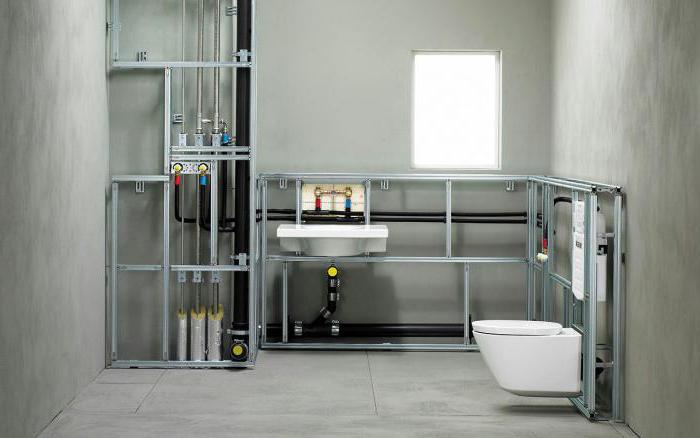
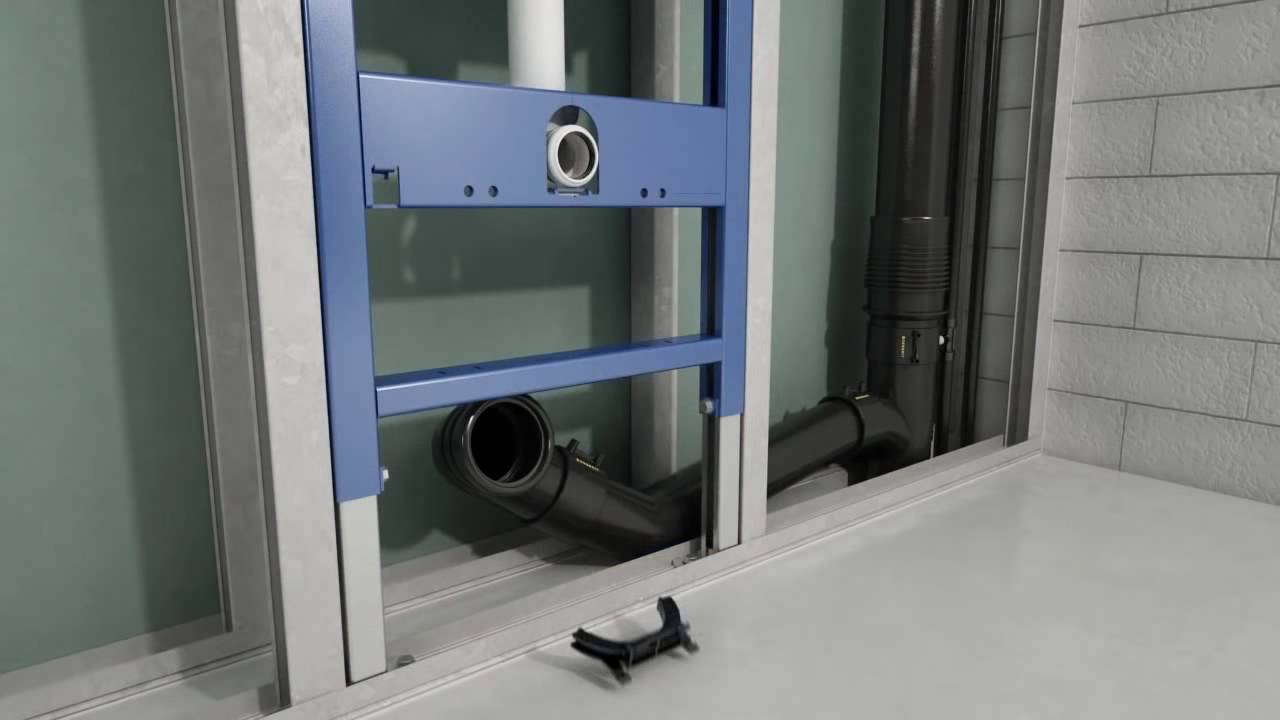
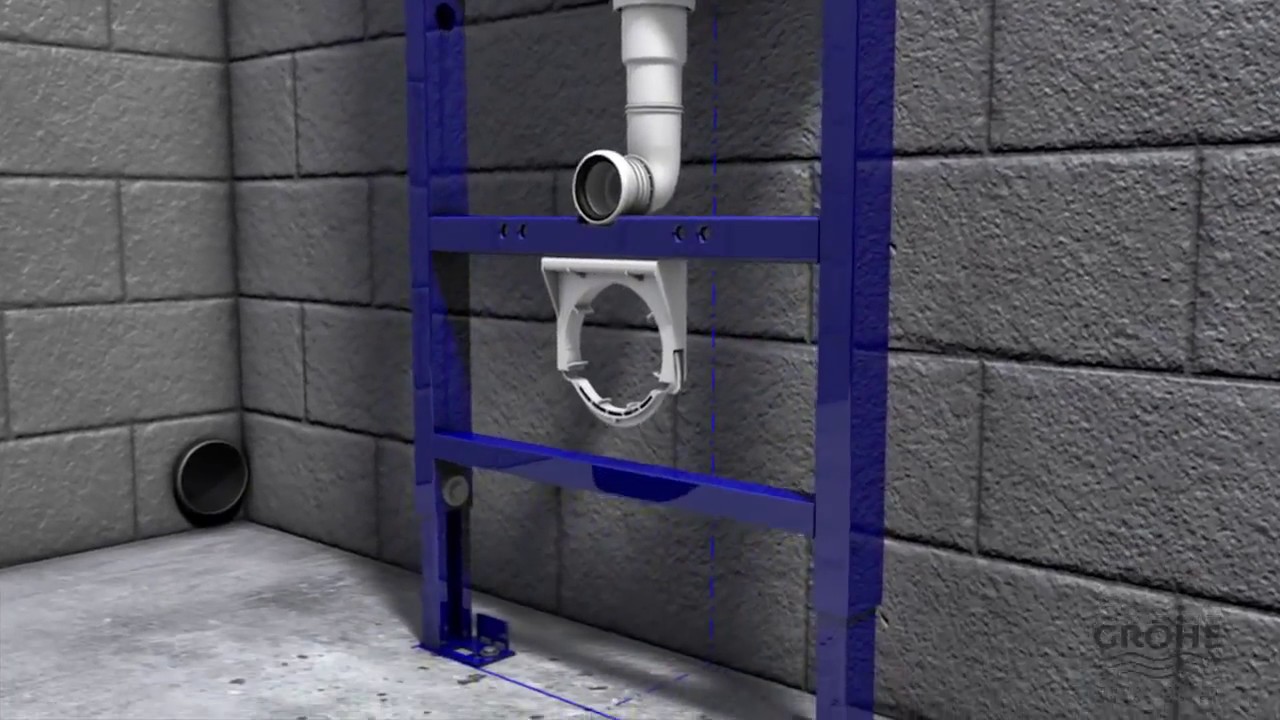
Example of a suspended installation scheme
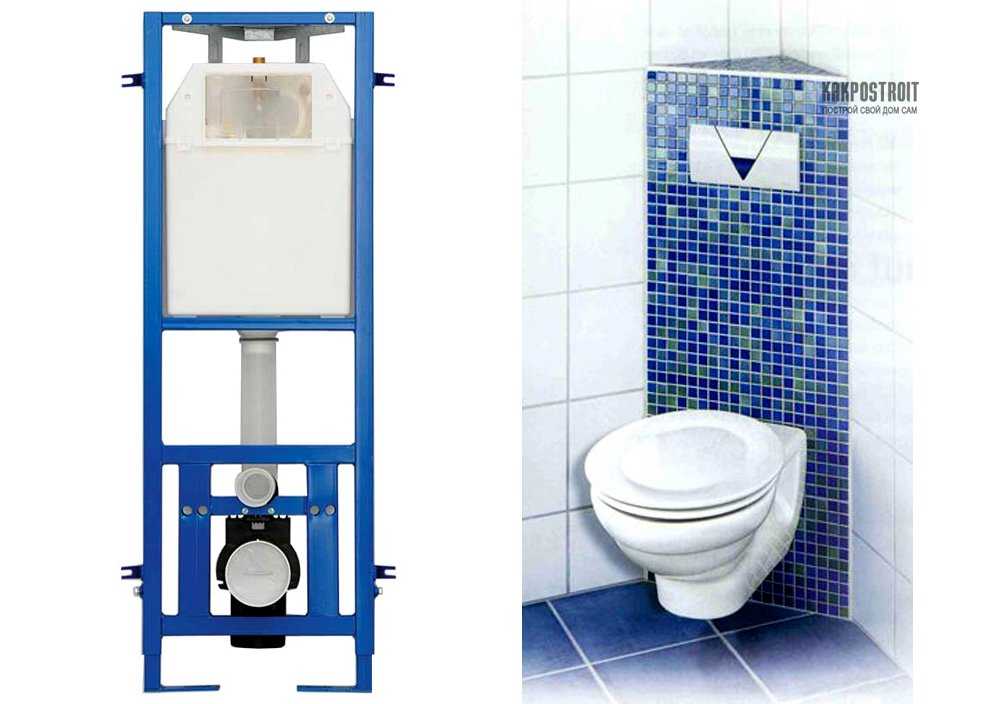
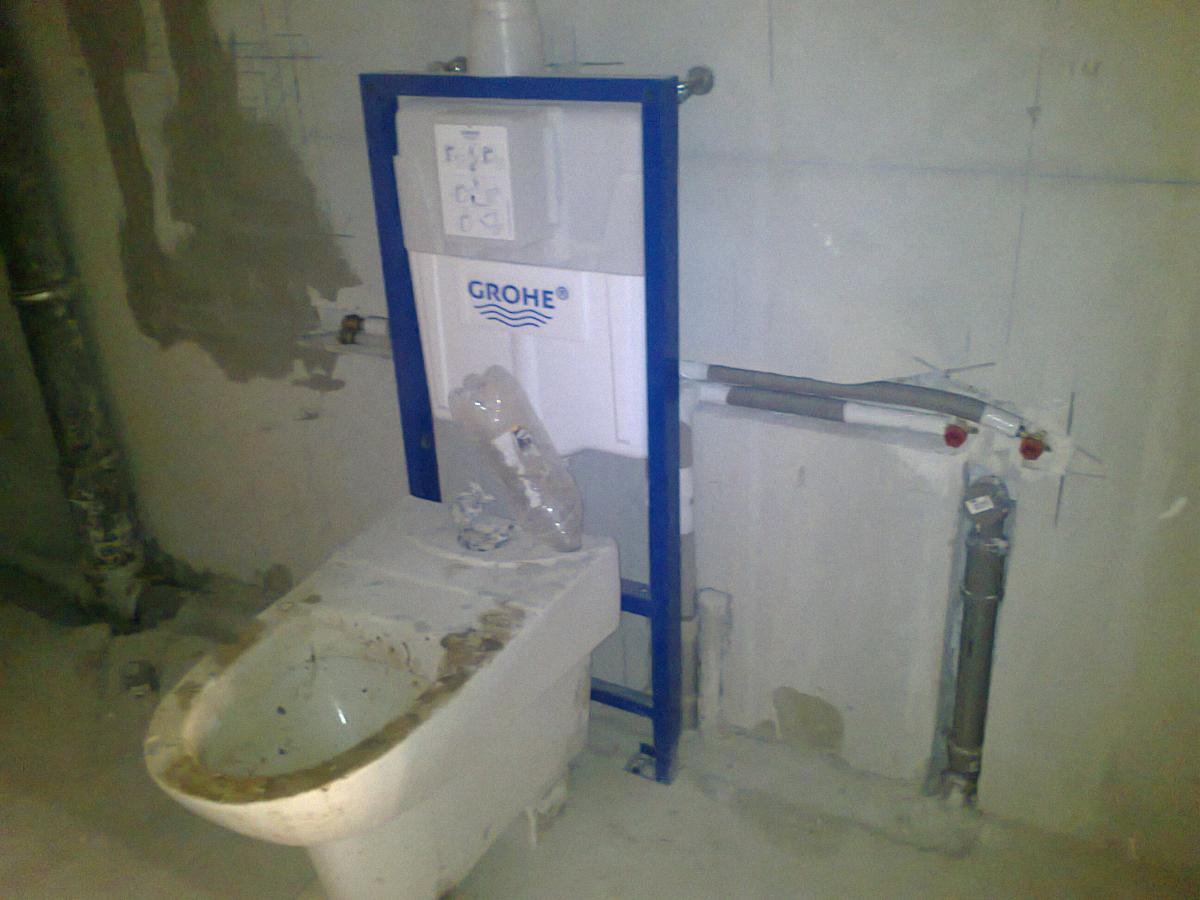
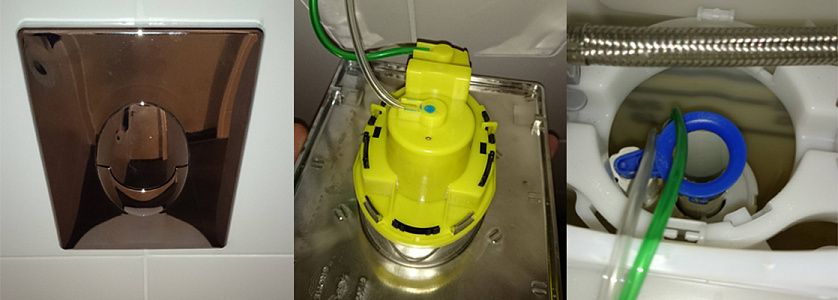
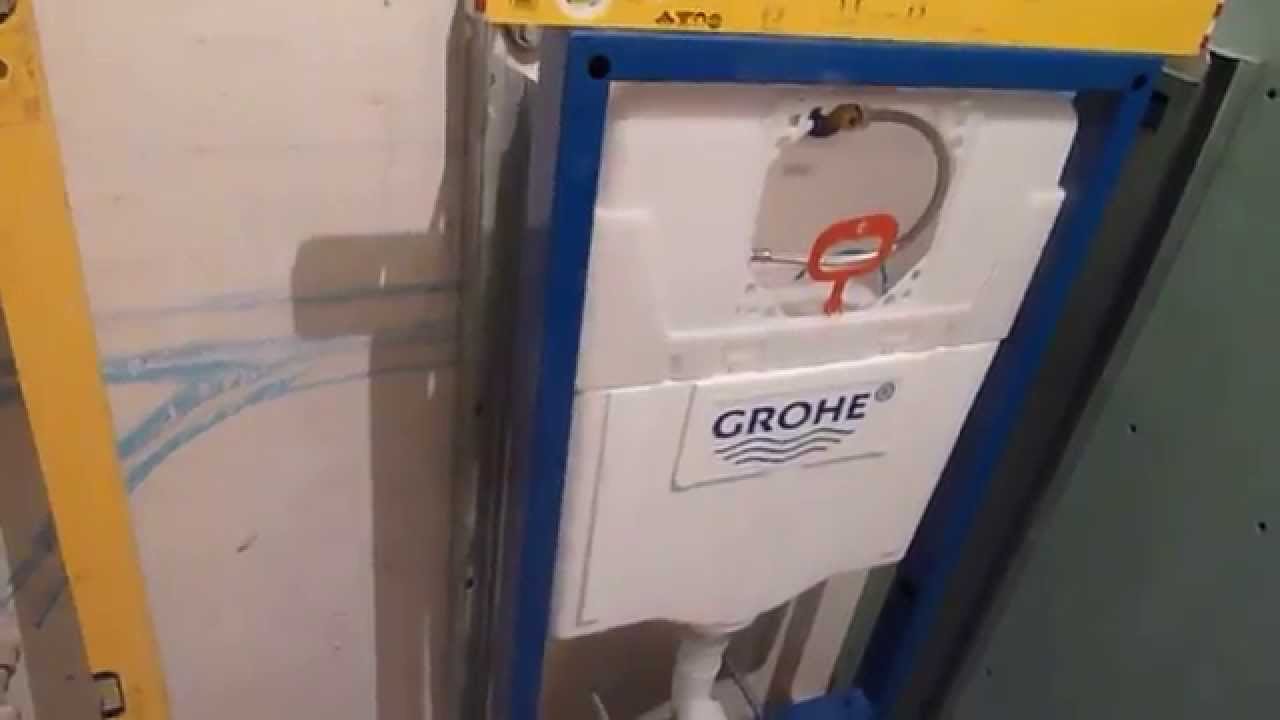
The basis of the design is a sturdy steel frame with height adjustment. It is mounted on the wall or floor, contains all the engineering elements, communications supplies, it is mounted suspended plumbing. On top of the metal frame, there is a flat plastic drain cistern insulated with a special material against condensate - styrofoam. The push-button device is attached through a special cutout on the front of the tank.Subsequently, with the help of this hole it will be possible to carry out equipment repairs.
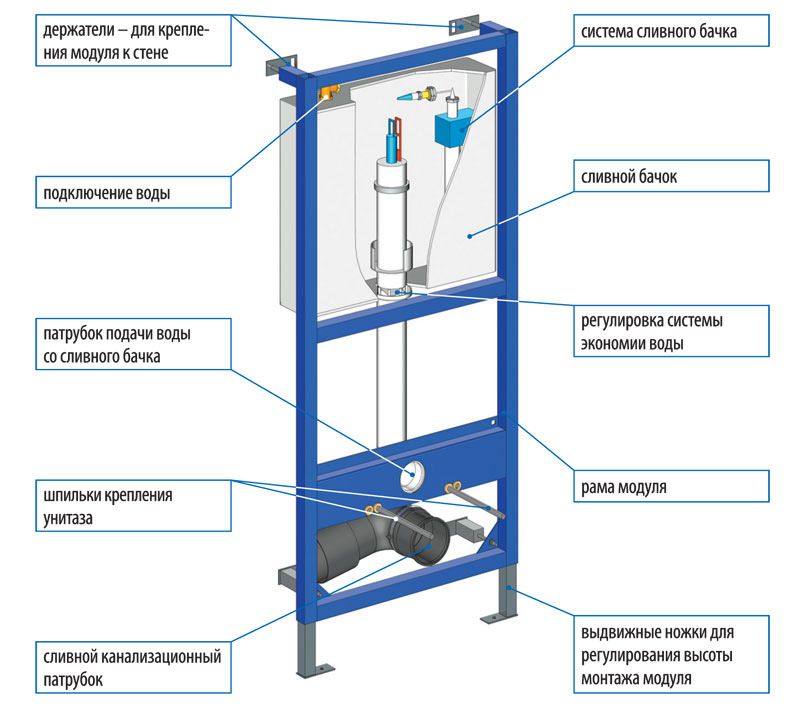
The flushing system is designed so that water enters the toilet in the amount of three or six liters, depending on the desire of the consumer. This makes it possible to save water resources. Technological innovation Whisper makes plumbing noiseless using the method of separating support pipes, which helps prevent the vibration of the entire structure. The valve on the tank to serve to block access to water. The drain is connected through a hole in the side of the tank. The design has a dosage system that protects against water overflow. The installation will be hidden in the wall, only sanitary plumbing fixtures will be visible.
Installation
Assembling, installing the installation yourself and connecting to the water supply is not so difficult if you follow the instructions and make the installation step by step.
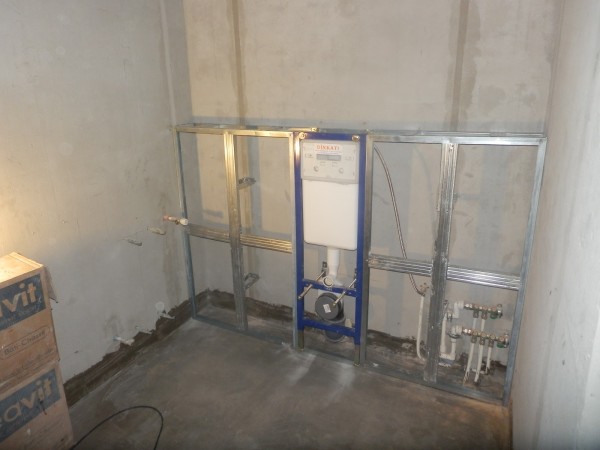
It is necessary to begin installation of the module with a choice of a place. If the design project for the toilet does not have a special territory, the ideal place for installation of the installation will be a traditional niche with ready supplies of sewage and plumbing systems. The niche itself must be expanded to the size of the embedded module,replace metal pipes with plastic.
Installation of block installation includes several stages.
- The installation starts with the calculation and layout of the designated area. If there is enough space in the room, the module is installed above the sewer supply. In a small room, the calculation is made on the minimum loss of space, using plastic pipes to connect utility supplies with the installation.
- Further, the marking of the frame in height is corrected, the points of entry of the dowels are marked. Dimensions must be checked with the instructions. Dowels have an equal distance from the center of the structure.
- The next step is to install a drain tank. The coincidence of the drain with the sewer pipe is checked, the presence of all gaskets and only then the tank is connected to the water supply.
- Then the pins for the toilet bowl are mounted, and the drain hose is installed.
Installation of a frame installation includes several steps.
- At the first stage, a metal frame is assembled onto which the tank is mounted for draining. Arms and screws set the position of the frame. With proper assembly, the construction dimensions in height will be 130–140 cm, and the width will correspond to the toilet model.
- When installing the cistern, it should be noted that the drain button should be one meter away from the floor, the toilet bowl should be 40–45 cm, the sewer supply should be 20–25 cm.
- The frame is fixed to the wall and floor using four fasteners. By means of a plumb and level the geometry of the exposed structure is checked.
- In the next stage, the drain tank on the side or top is connected to the water supply system, for this purpose plastic pipes are used.
- Next, you need to connect the toilet to the riser. If this can not be done directly, apply the corrugation. Carefully check the tightness of the connections.
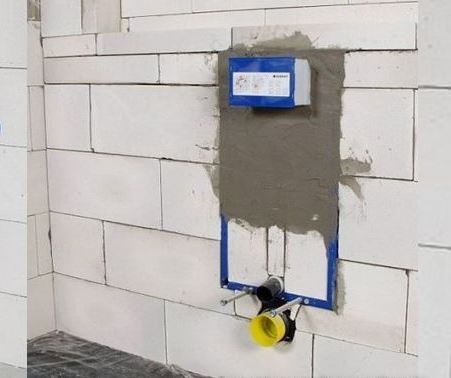
- To create a false wall, you need the shifta that hold the toilet. They need to be screwed to the frame, and put plugs on all the holes to prevent debris from entering them.
- Then a partition is created with the help of a metal profile and moisture resistant plasterboard. The hole is cut into the structure for maintenance. The finished wall is finished according to the design of the room. If this tile, the wall is left to dry for 10 days, and then you can mount the toilet.
Cause of failure
Problems with the toilet must be solved quickly, most often the system can be configured independently.To do this, you must have a basic idea of the device. The installation consists of a frame, a cistern, a sewer connection and suspended sanitary fittings. Breakage may concern any of these elements.
When buying installation and toilet should not save, further excessive thrift can affect the need for repair. A good frame is made of stainless steel, withstands a load of 700–800 kg, and a quality toilet bowl is up to 400 kg. Frames of weak materials can bend under the weight of 80 kg, and cheap toilet bowls hold a weight of no more than 100 kg.
The plastic capacity of the tank can be broken if improperly mounted: a small chip or misalignment will subsequently cause a crack. Sealant does not help, you should change the tank. Worn plastic, silicone or rubber parts and gaskets inside the tank can be easily replaced. The cause of breakage can steel leakage in places of sewage connections or clogging of the filter, which stands at the water supply. The toilet itself can fail, the usual cleavage will lead to leakage. Violations may be in the drainage system in the sewer system or flush adjustment.
Installation and Repair
Breakdowns are different: the water flows continuously into the tank or the drain button sticks. Sometimes it is enough to adjust the head and make an easy adjustment of the push-button elements. Most often, the damage can be eliminated through the revision window. In more serious cases, it is necessary to dismantle the system. To do this, turn off the water supply, remove the tank cover, remove the partition and carefully check the operation of all functions. If a malfunction is detected, there will be a complex repair, all mechanisms and valves are adjusted, which allows you to quickly fill the tank with water and eliminates overflow. After repair installation of the structure occurs in the reverse order.
Useful tips
Installing the installation yourself, you should consider some of the nuances.
Experts advise:
- if the toilet is planned to be installed far from the main wall, only a frame installation is suitable for installation;
- under the button of the drain mechanism, you must leave a hole for possible repairs;
- the location of the drain button can be placed between the tiles;
- you should be aware that the control panel of the flush of one brand is suitable only for models of this company, for installations of other brands will not work;
- for the stability of the toilet bowl, you should be careful not to break the thin thread, tighten the bolts;
- it is better to put the module with a saving system that can reduce the water level. Such a device provides for the presence of two buttons: for full and limited drainage;
- so that the water does not stagnate in the toilet, the drain is carried out at a 45 degree angle.
See the following video for the installation of the Grohe installation for wall-mounted toilet.


