How to install the toilet?
Installing the toilet - a responsible process that is best left to professionals. However, this is not always possible, so knowing how to install this important object in the toilet room on your own will not be superfluous. At first glance, the procedure is optimally simple. You just need to connect the toilet to the pipes with water, sewer and securely fasten. And how this whole procedure actually looks will be discussed below.

Process features
In fact, the correct installation of the toilet, of course, is difficult. However, if you look into its technology, you can install a toilet bowl with high quality and save on plumbing services. At the same time it will turn out to grow in their own eyes. Recently, the number of models of toilet bowls has increased significantly, if you wish, you can find one that does not seem difficult to install.
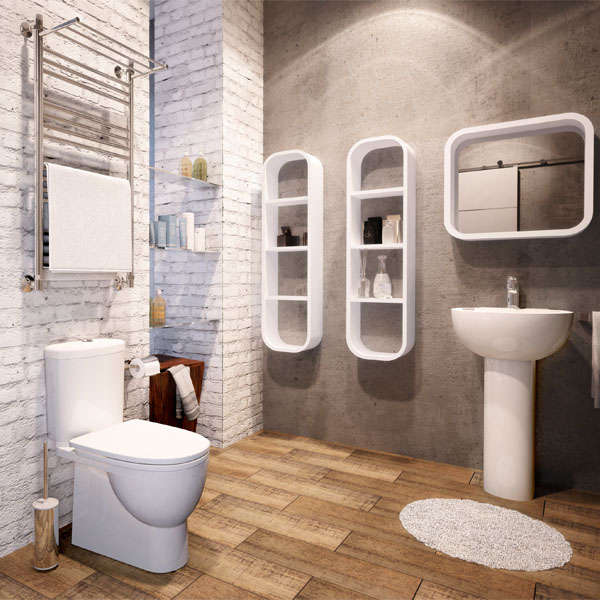
Along with them, in addition to the traditional method of installation, other methods of fastening appeared. For example, now the method has become very popular when the tank is hidden in the wall. Wall toilets that are attached directly to the wall, completely freeing the floor, have also become widespread. Such models look very interesting, fixing them is not more difficult than models with floor fasteners.
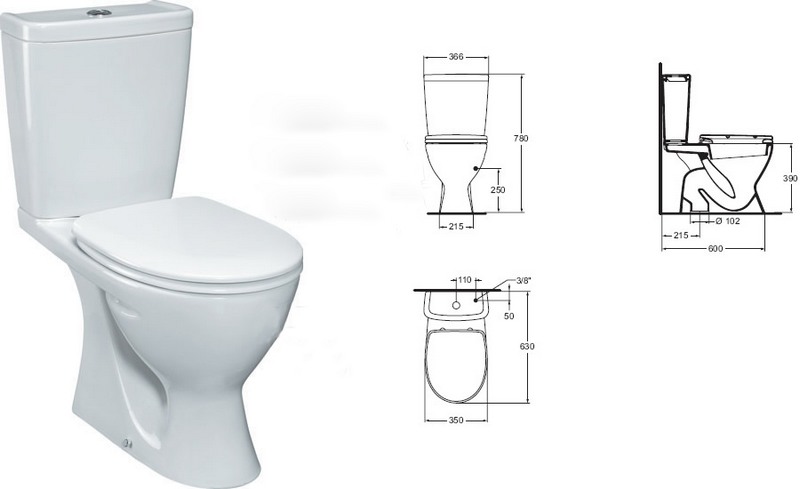
Also, the installation of a toilet bowl is influenced by the type of fastening, flushing, supply of a sewer pipe, its dimensions. Particular attention is paid to the evenness of the surface on which it is planned to install plumbing. That is why it is better to think in advance about the model of the toilet and the type of room in which you have to mount it yourself. This is especially true of toilet and bathrooms in new buildings. It is necessary to take into account the size of the room so that the installation is easy and correct.
When installing toilets in apartments or houses where there is already a toilet, you should also consider dismantling the old product, as well as repairs. Another point that should be thought out in advance is the presence of all the necessary tools, including a perforator, screwdrivers, dowels. When purchasing a new toilet, you should carefully inspect the bowl and cistern before packing it. The product should not be chipped and cracked.They can cause leakage of a new product.
Special attention should be paid to the internal cavities, as well as the release of the toilet bowl. It will not be superfluous to clarify what the complete set consists of. For example, when buying in a store, you should ask the seller if it has a seat, fasteners to the floor or wall. If something is not, it is better to immediately acquire all the missing items. This will allow installation without any problems.
Types of designs
Types of toilet bowls are now a huge variety, as well as the parameters according to which they are divided. Often this becomes the cause of the confusion of the buyer. From all this variety, you must choose one toilet. In this case, it is desirable that it is ideally suited to the toilet room.
The size of toilet bowls is divided into:
- universal, the most common models;
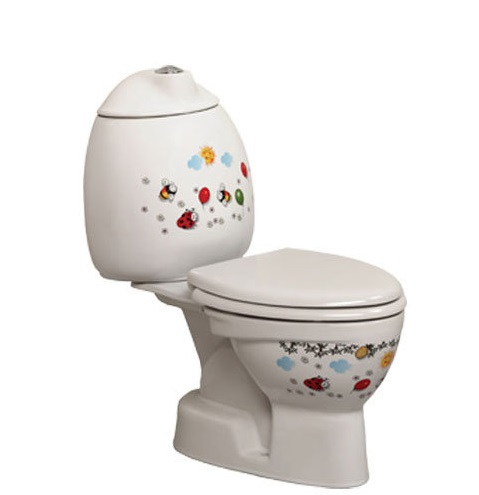
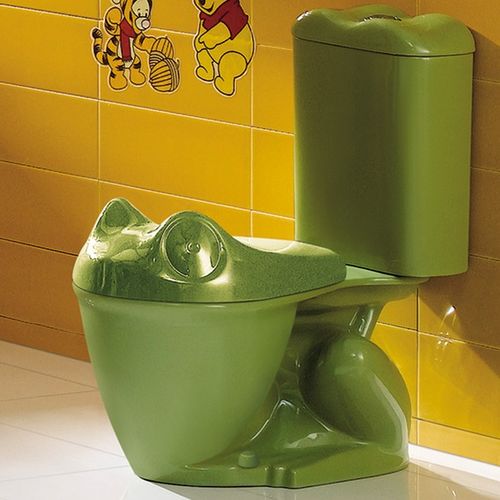
- children, which by their small size are very convenient for children;
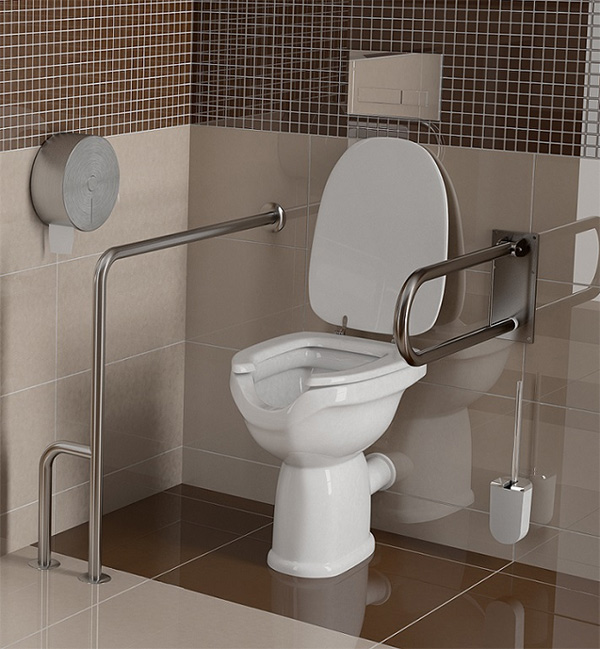
- for people with disabilities, differ in various designs.
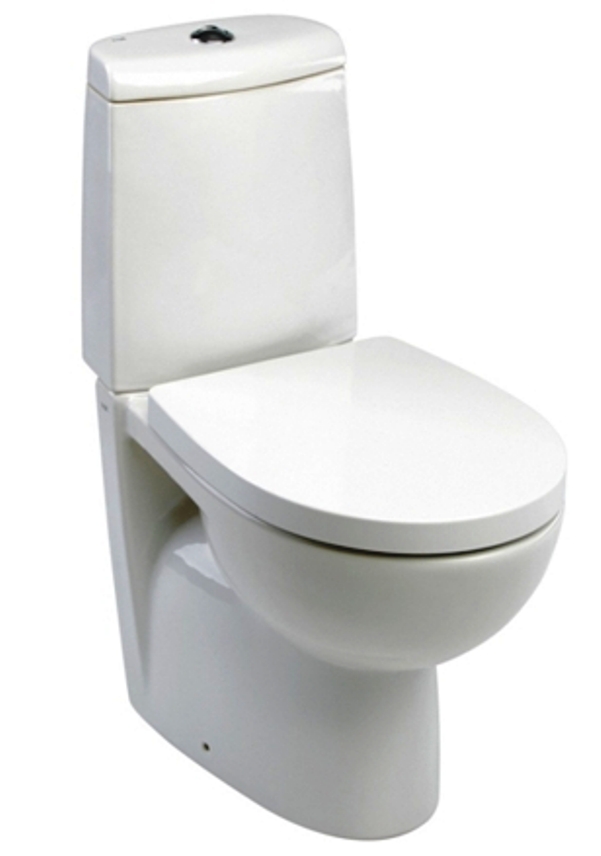
According to the type of installation, there are two types of toilet bowls.
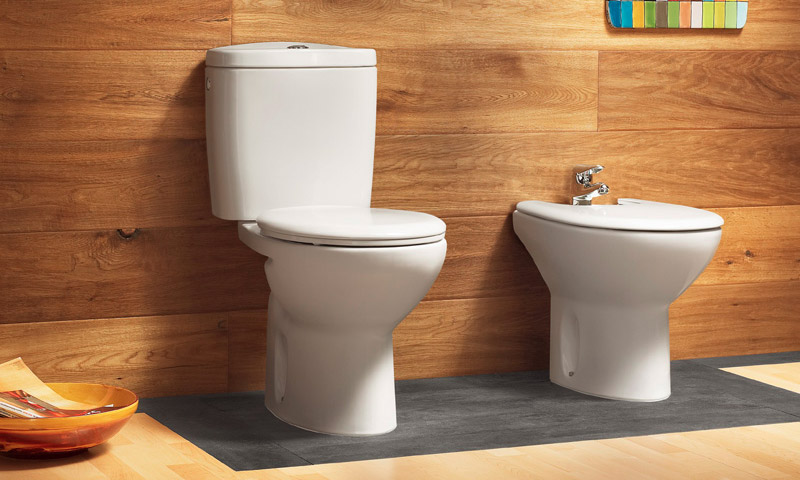
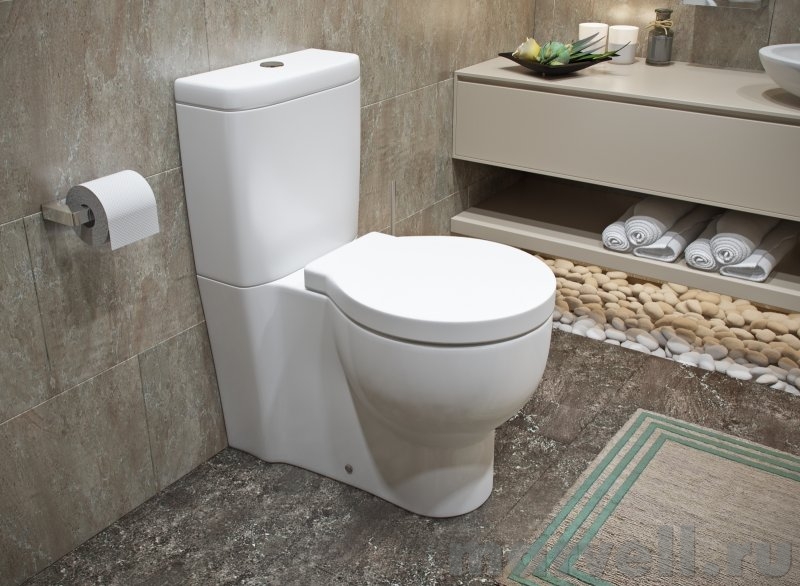
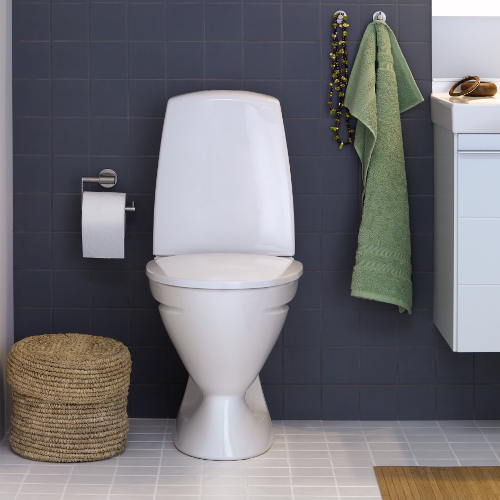
- Floor-standing, which is fixed to the floor. This type is divided into angular and wall.
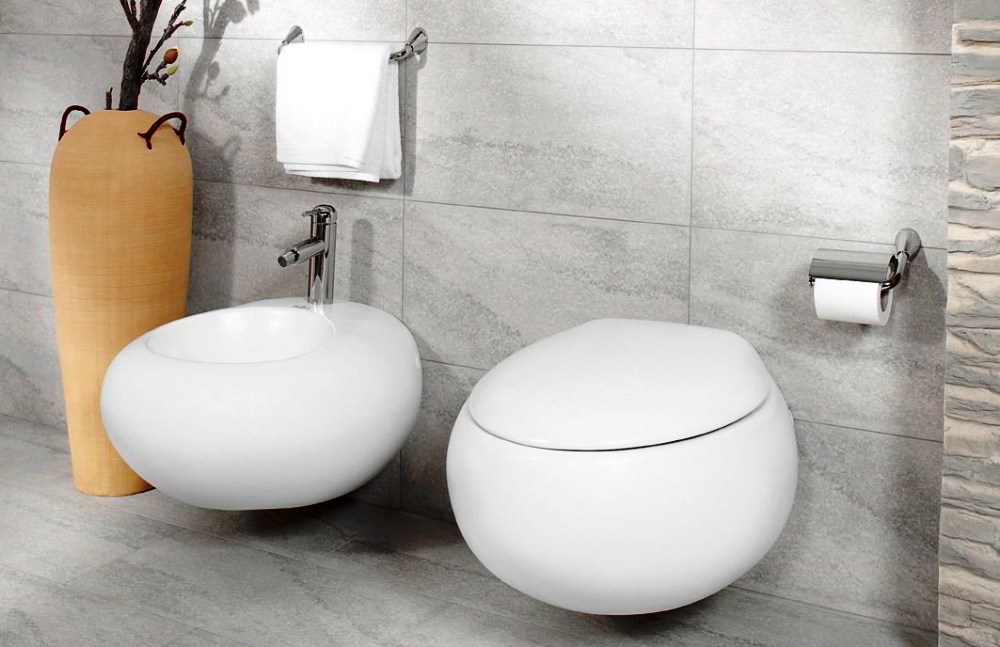
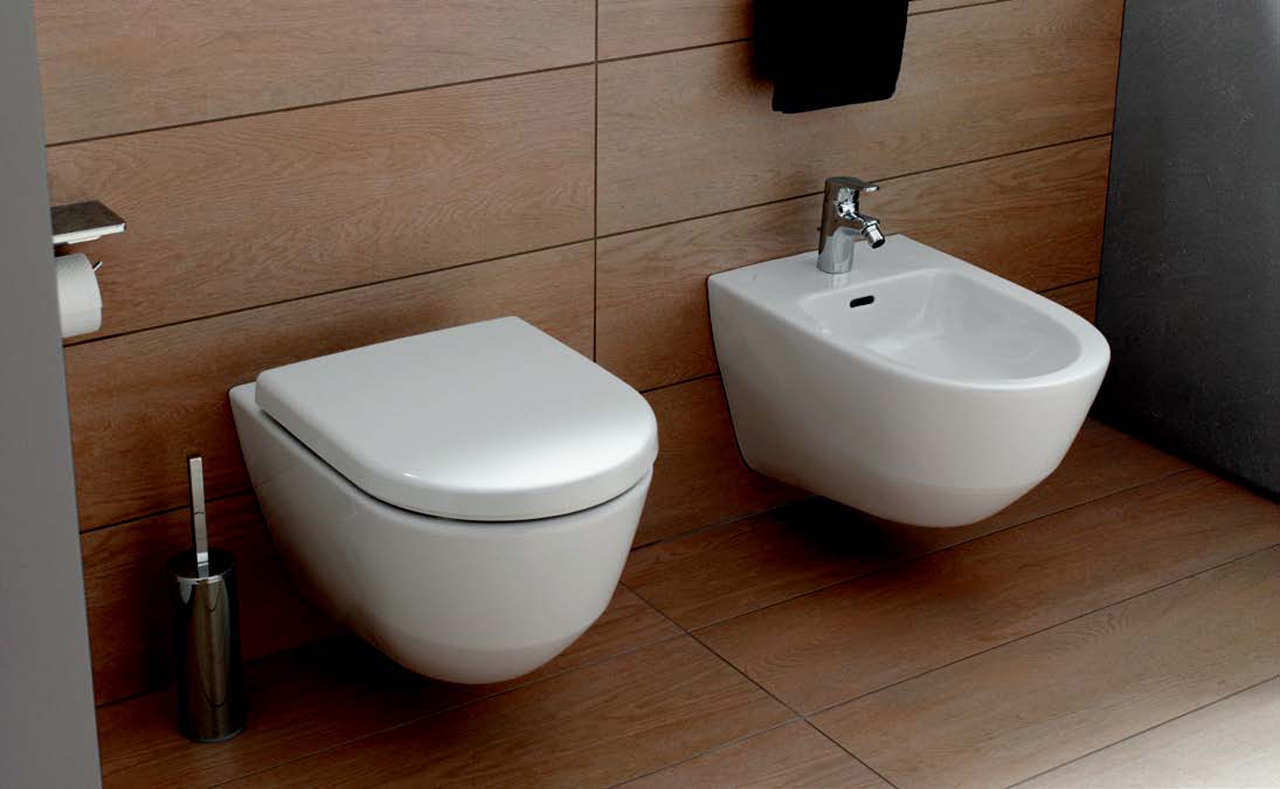
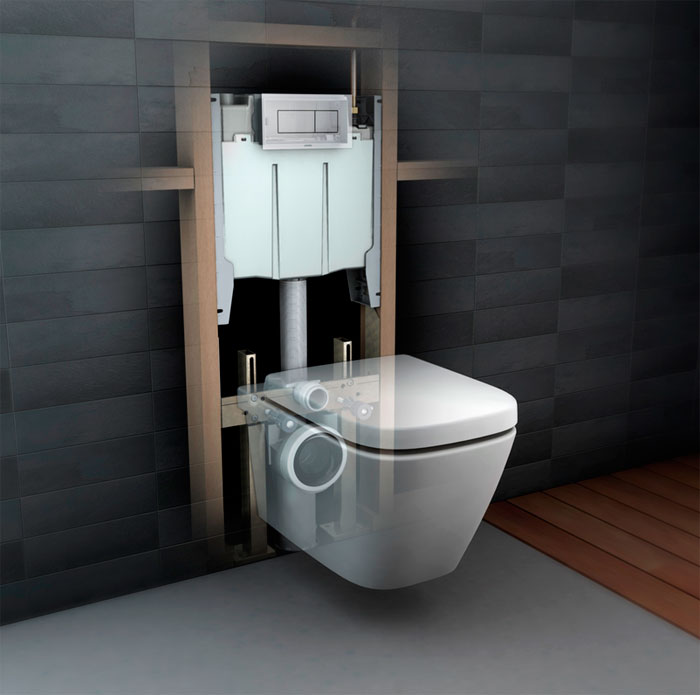
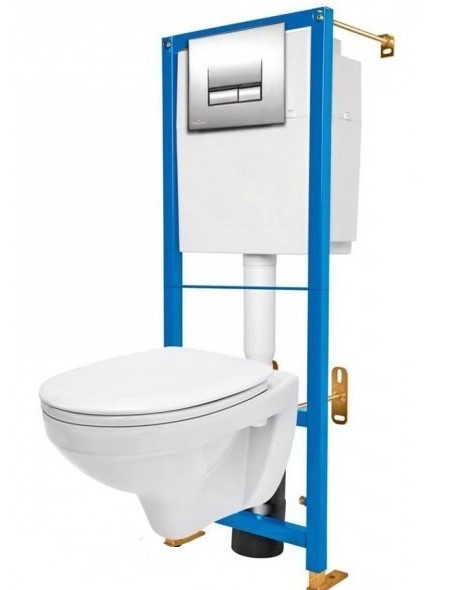
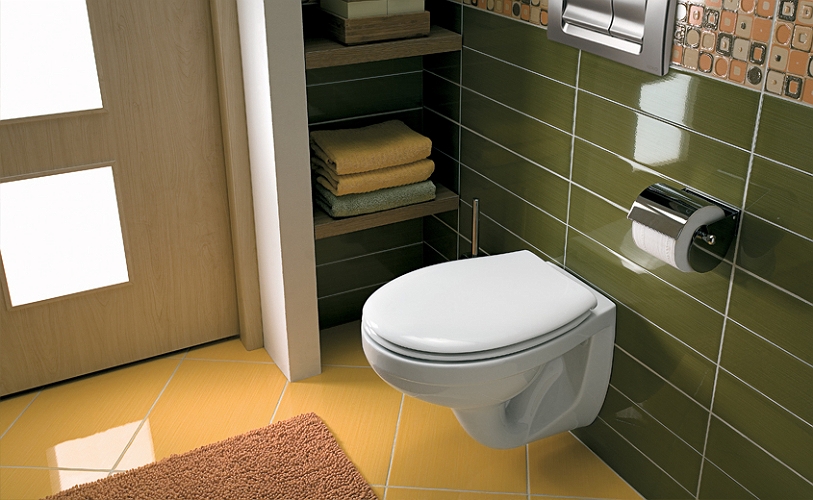
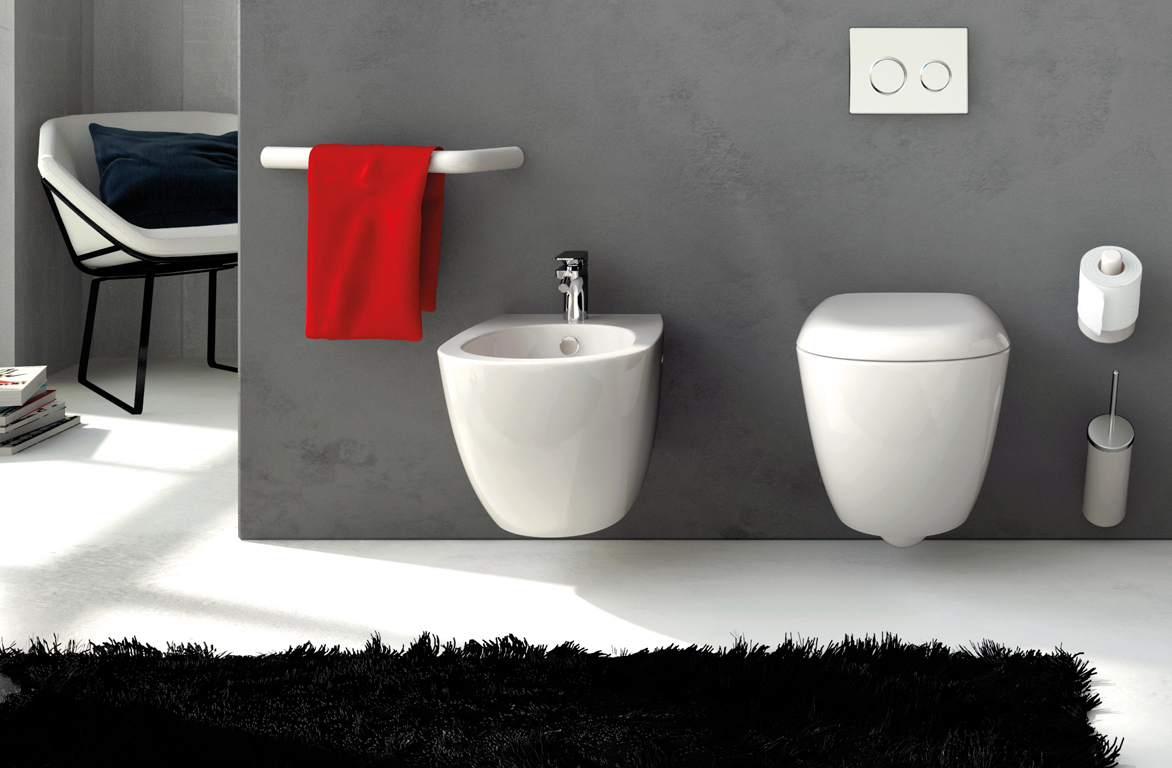
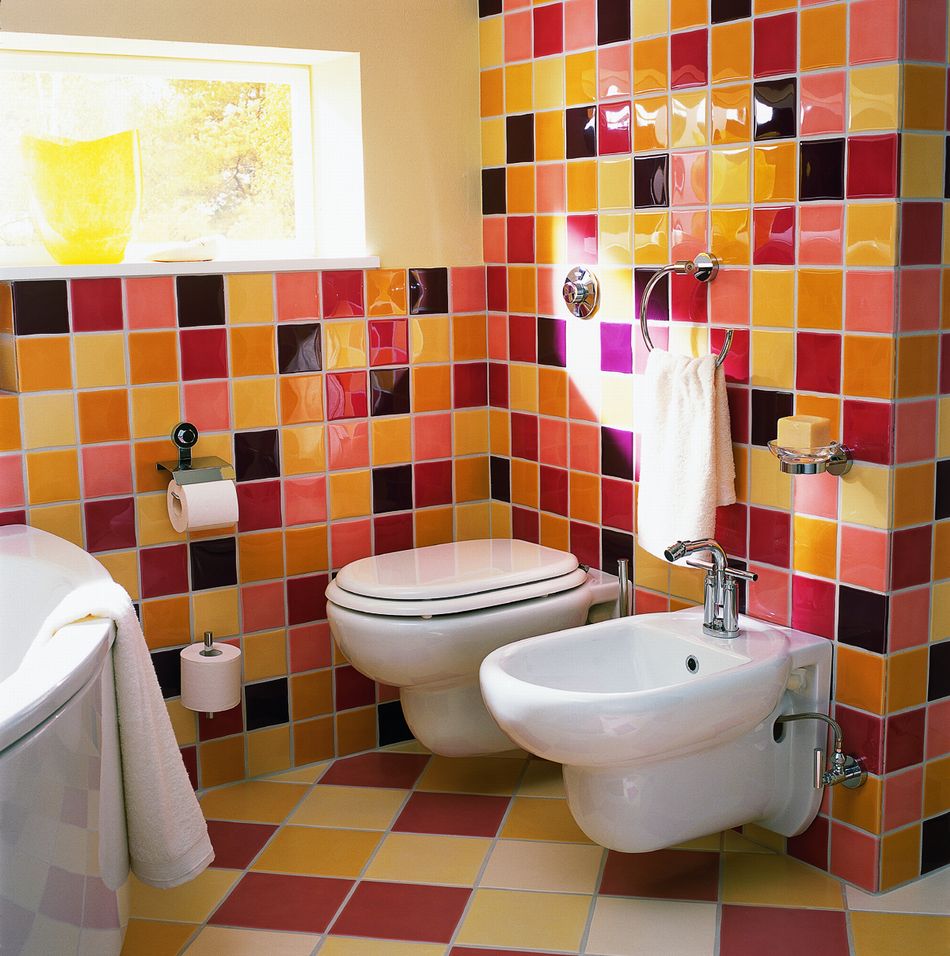
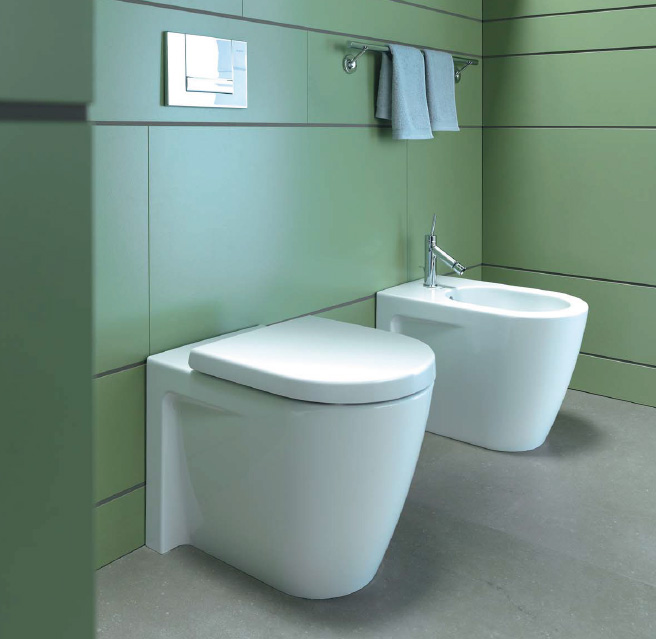
- Suspended.Such models are fixed to the wall with the help of special fixings (installations). They are called wall or embedded.
The important point is the compatibility of the wall-mounted toilet with the installation. The size of the installation should be selected based on its location. In addition, the installation allows you to install not only the toilet, but also a bidet.
Installations are:
- block, which is mounted only on the bearing wall;
- frame that can be mounted anywhere.
On the accession of the toilet to the sewer also distinguish several separate species.
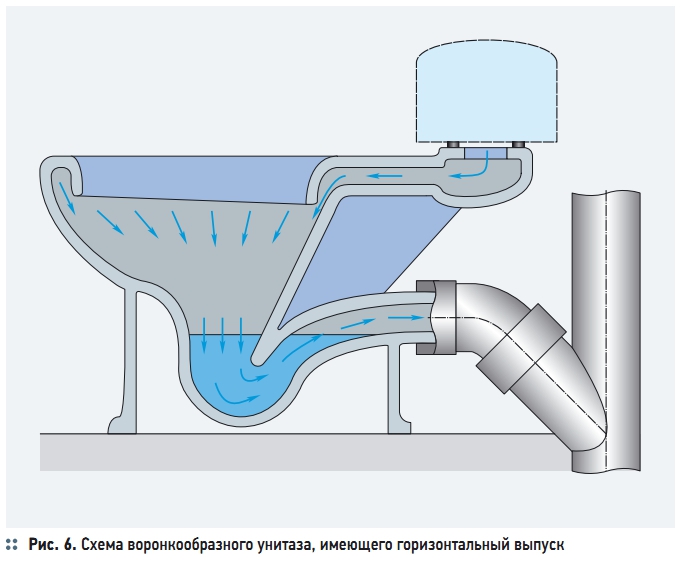
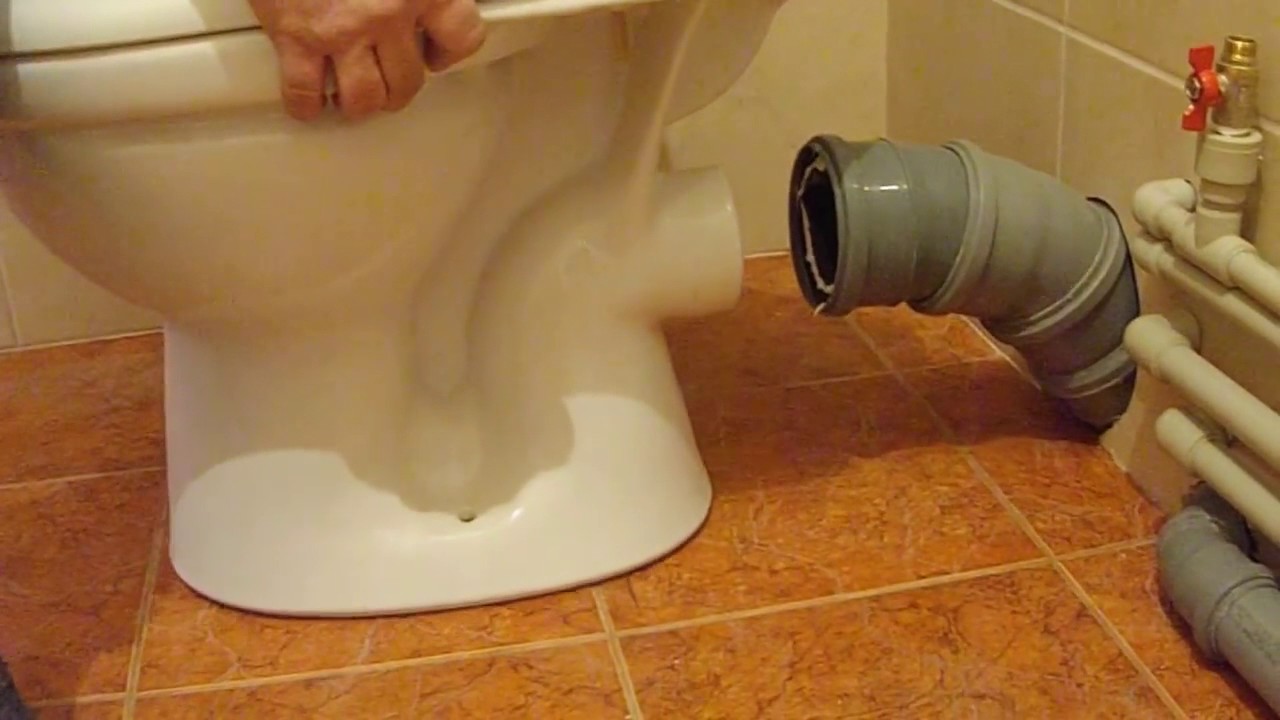
Horizontal release
Such toilets are connected to the sewer exclusively at an angle of 95 degrees. Such models are especially convenient when the sewage pipe passes in the wall. However, using a corrugated pipe, the toilet can be equally easily attached to the floor. This species initially received its distribution in Europe, and not so long ago with us.
With vertical
These designs are the most common, behind this name are the most common toilet bowls, which are connected to the sewer socket in the floor. Most often such models are found in stalinka, built in the middle of the twentieth century.
Oblique
Such toilet bowls will be attached to a sewer pipe at an angle of 45 degrees. These structures can be seen in all houses that were built at the end of the last century.
Drainage of water in the toilet - one of the highlights.
By the way the drain tank is installed, toilet bowl designs are divided into three types.
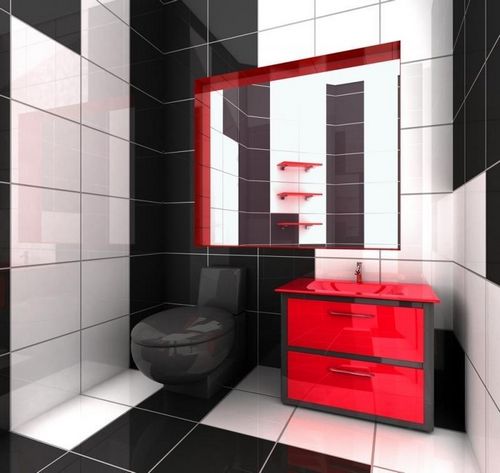
- Suspended, which is mounted on the wall.
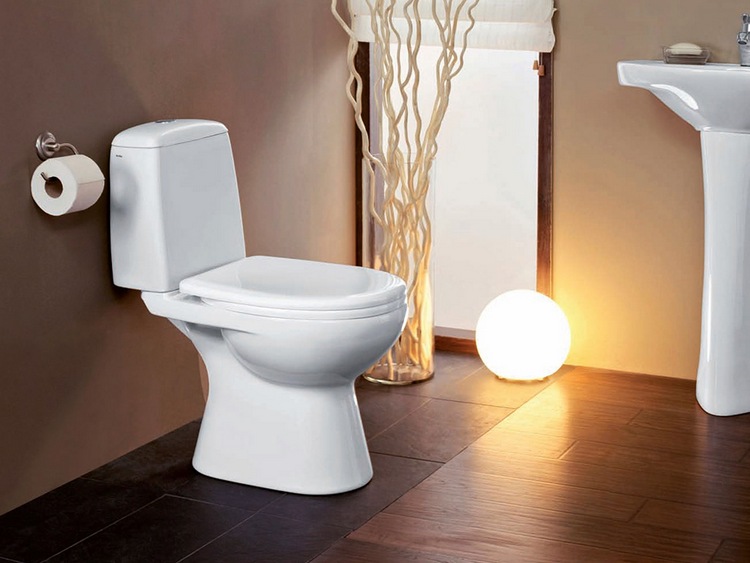
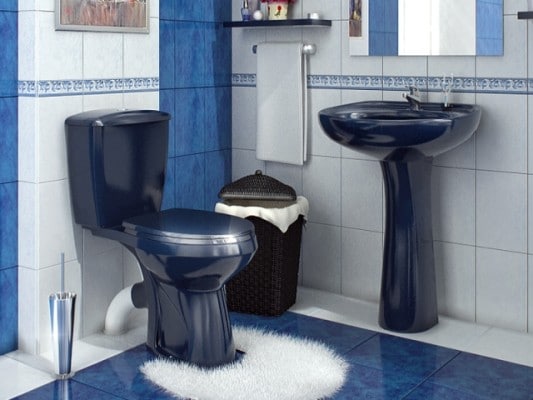
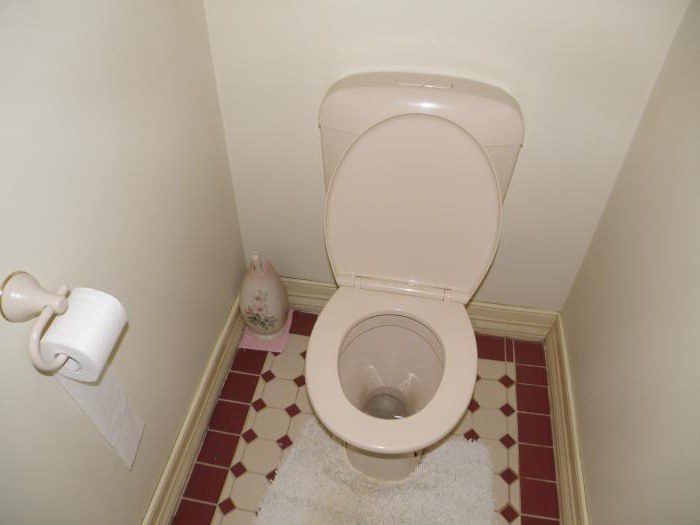
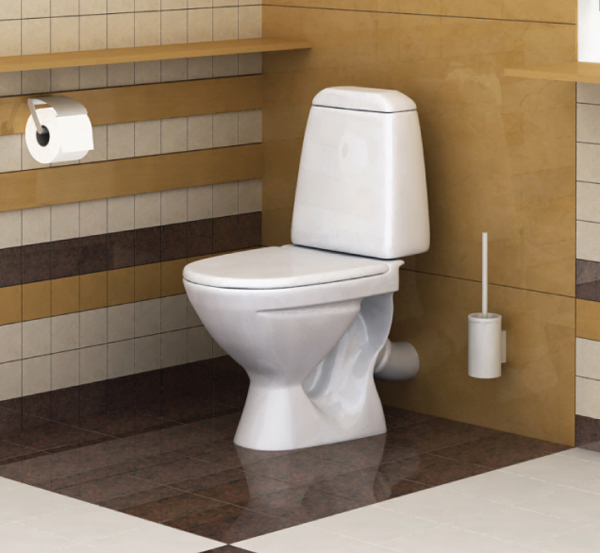
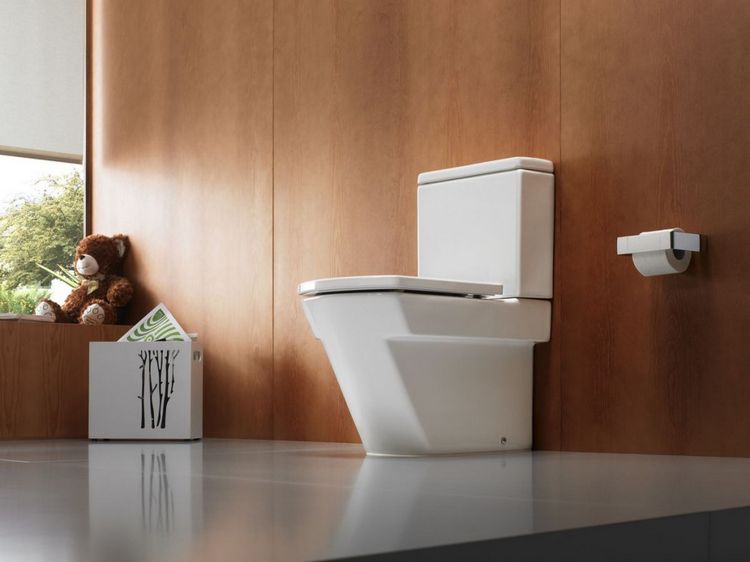
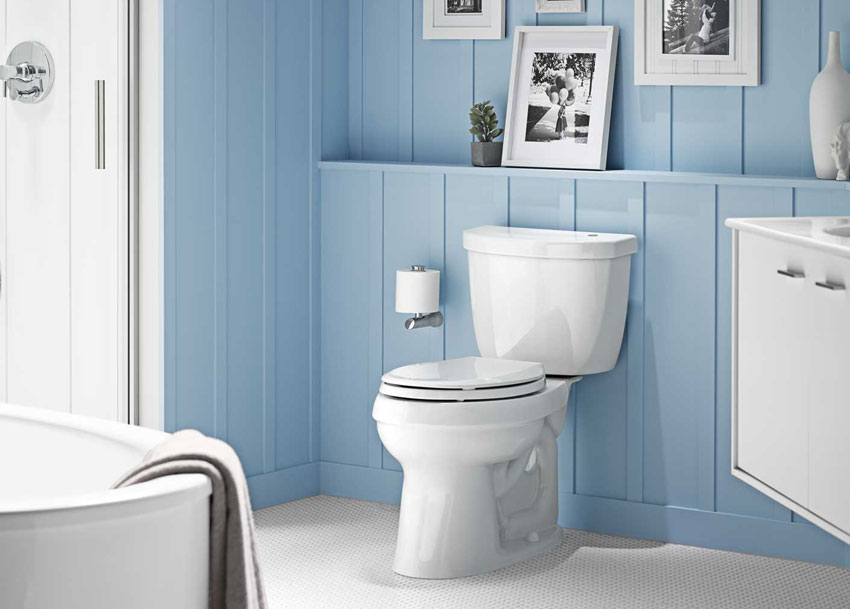
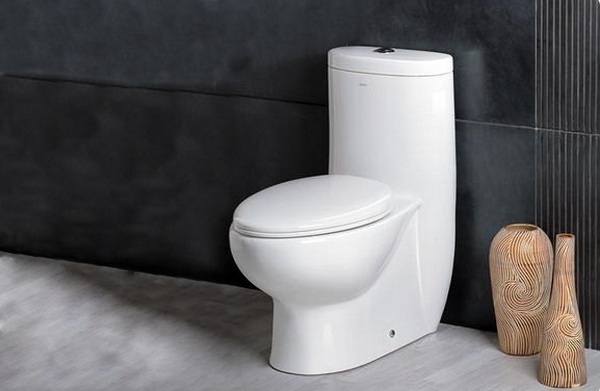
- Tank installed on the toilet. This model can be called traditional and immediately recognizable. It is easy to install on top.
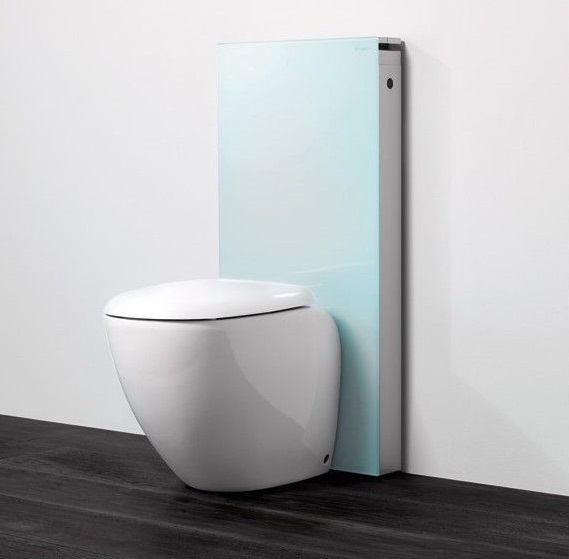
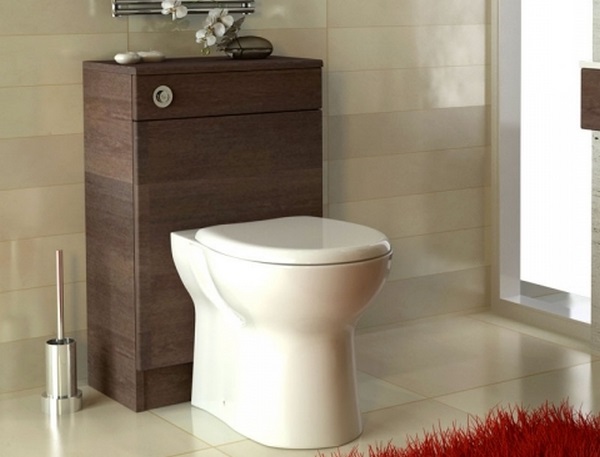
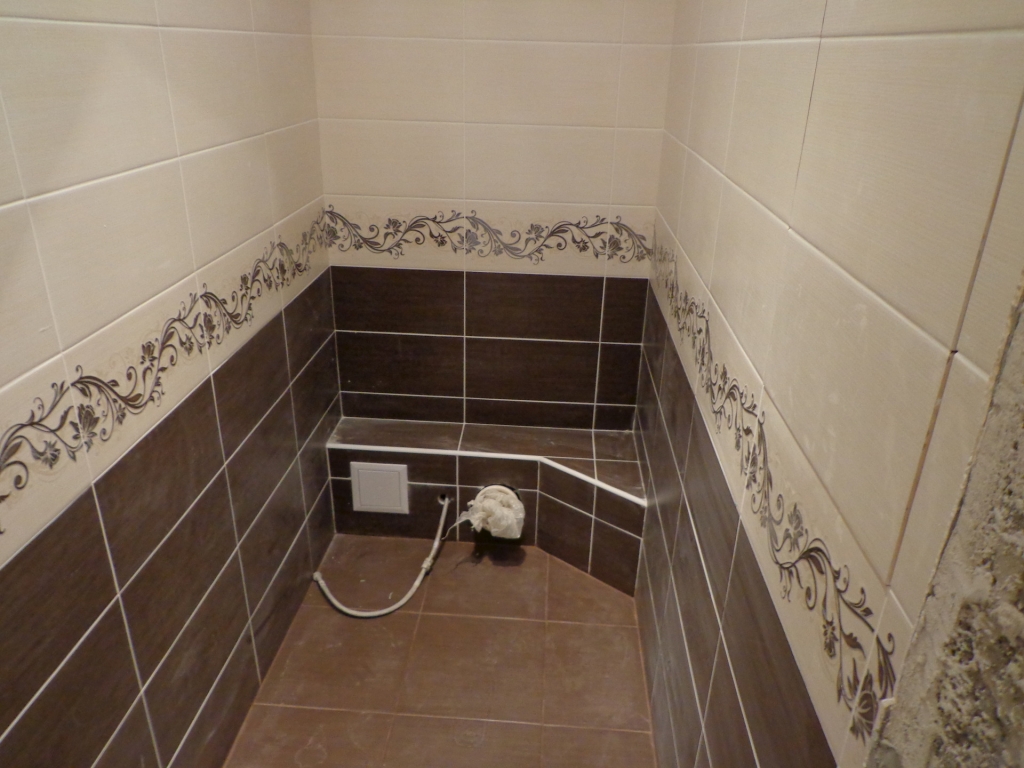
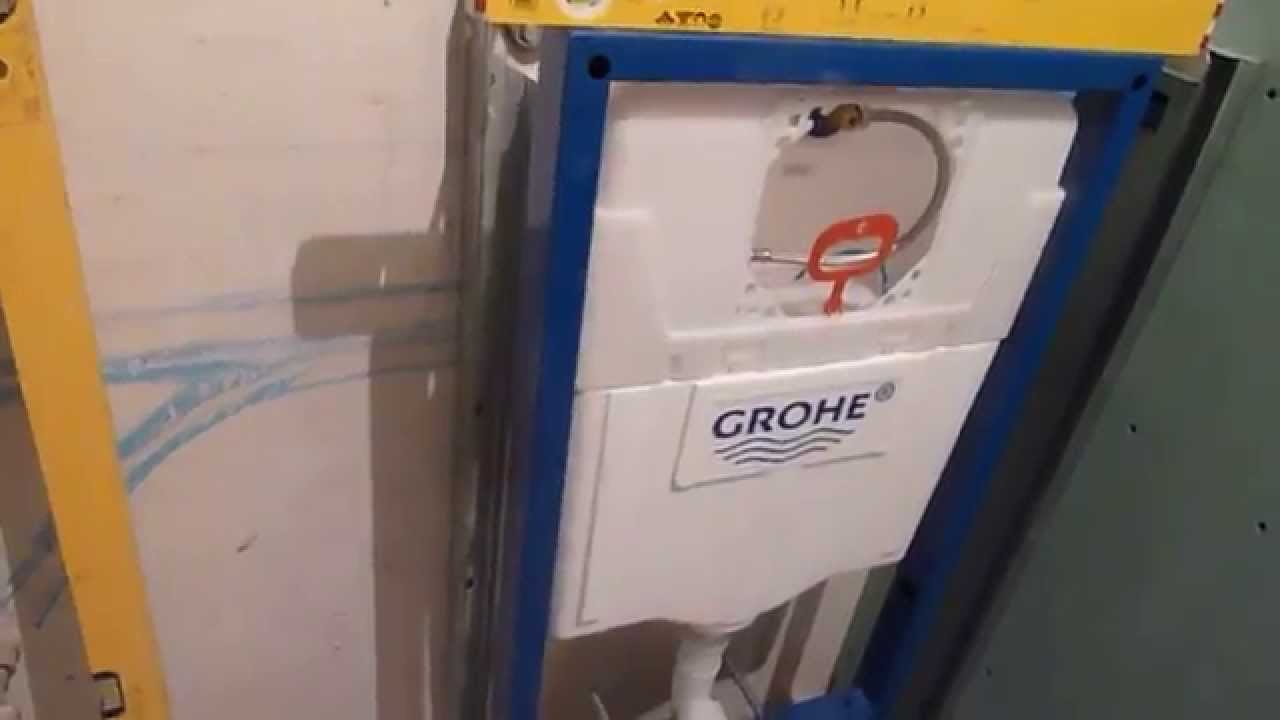
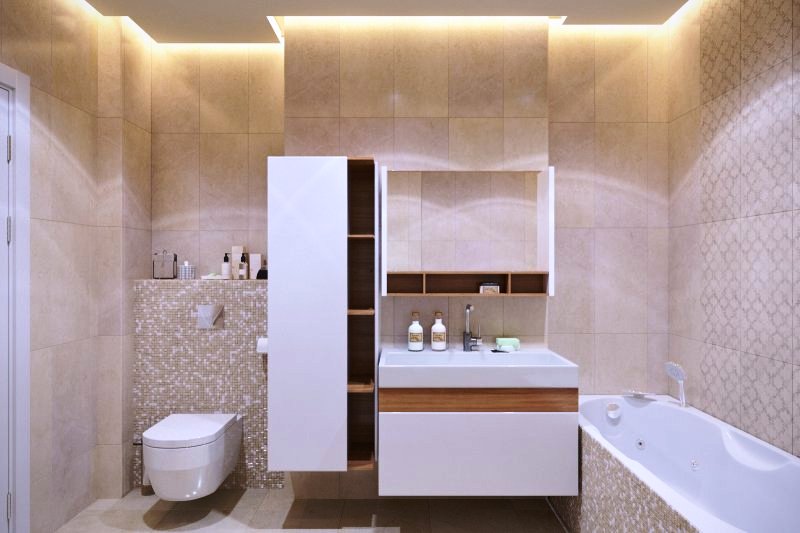
- The hidden cistern is built into the wall, thereby freeing the room and making it even more attractive.
The location of the drain hole plumbing products are divided into two types.
With rear discharge
In such models, water from the tank flows down the back wall of the bowl. The advantages of such a drain are that the water flow is stronger, which means it cleans the bowl better. It is worth considering that the rear wall will always be more dirty, and on the front there will be more splashes. It is necessary to clean the bowls of such toilet bowls exclusively using household chemicals.
With circular
Water enters the toilet bowl through several openings, so the entire surface is washed more evenly.Of course, in these models, cleaning the back wall is worse, but in general, the spray is less.
Supply of water to the tank is in different ways and also has an impact on the installation of the toilet. It is lower, side and rear.
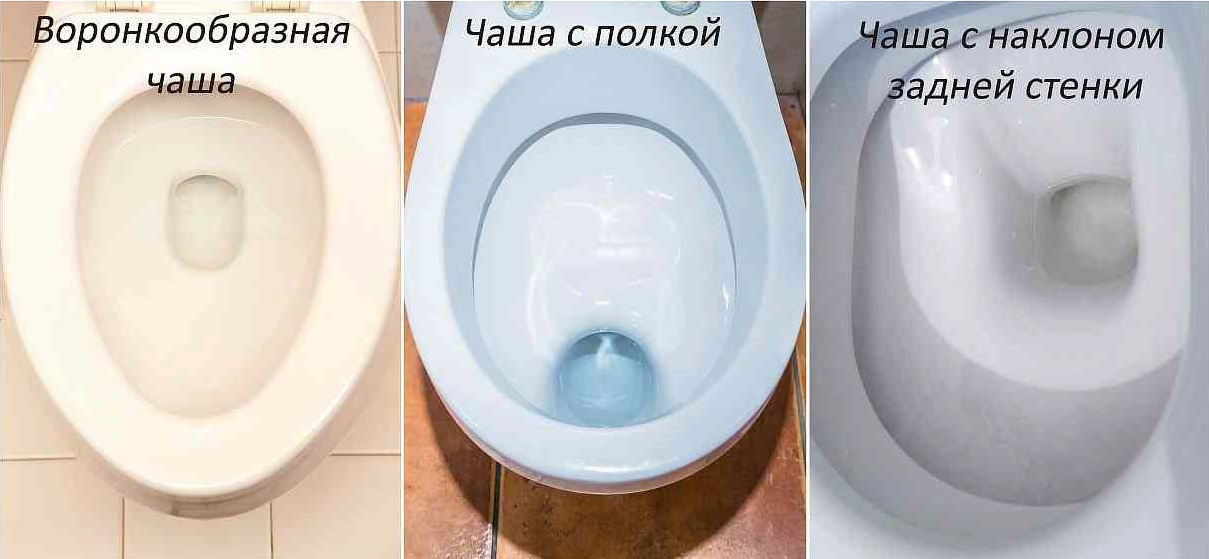
By the way the water mirror is located, three types can be distinguished at once.
- Funnel-shaped when the mirror of water is located exactly in the middle of the bowl. In this model there is 1 significant drawback in the form of splashing water during its use.
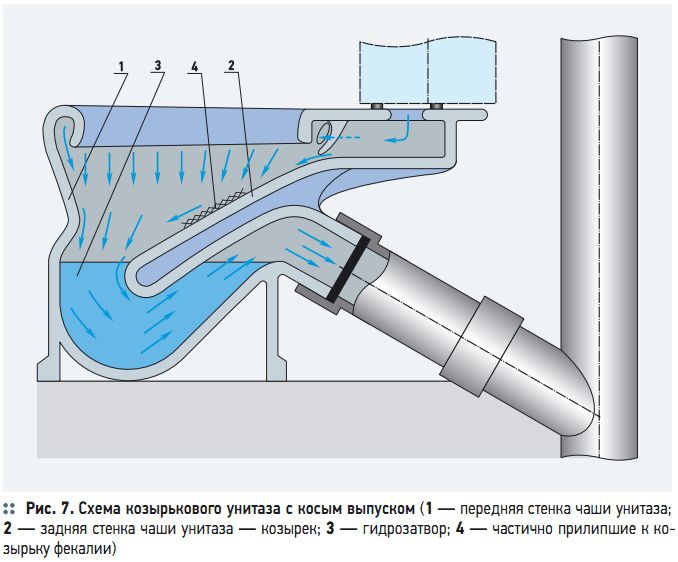
- With a shelf, characterized by the presence of a visor in front of a mirror of water. This design leads to the spread of unpleasant odors.
- With the slope of the rear wall, the water mirror is pushed to the fore, which minimizes the amount of sprays and unpleasant odors. Experts recommend to stop the choice on this model.
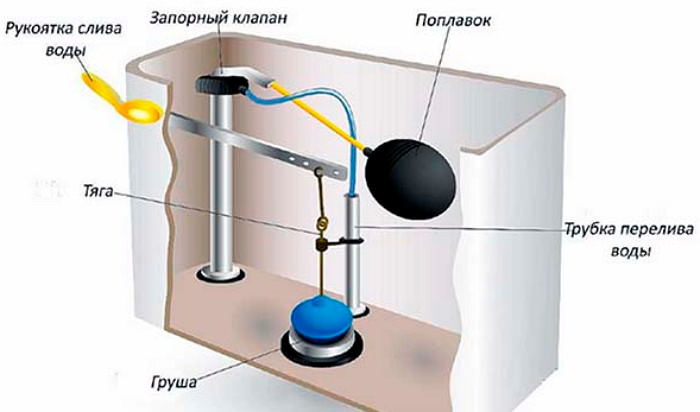
By plum in the tops of the upper cisterns can be divided into three main types.
Bell
The bell is a cast-iron tank, which is attached to the toilet using a steel pipe. Inside it is made of a lever, a chain, a bell (a pig-iron cork with a gasket from below). Rising, the bell flows into the drain pipe. As soon as the chain is released, the cork is lowered.One of the disadvantages of this model is the need to replace the gasket every few years. Another unpleasant moment - the accumulation of rust and deposits that worsen the drain.
Corrugated
Corrugation works when pulled over a rope attached to the lever. Corrugation bends, water is sucked. While the rope is released, the flare of the corrugations is inclined to the complete discharge of all the water in the tank. Of the problems with this design, it is worth noting the flow at the base of the corrugations, which is formed after several years of use.
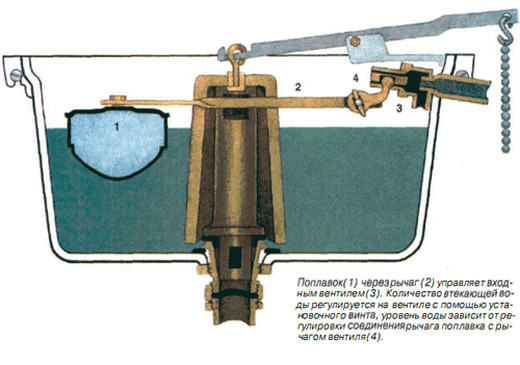
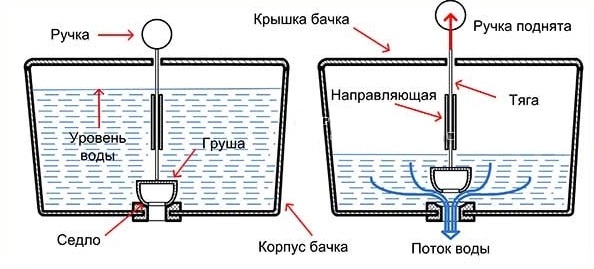
Pear
The pear is characteristic of all modern drain systems. The principle of operation of the design is based on the fact that the lever or button is pressed, the rod rises up, the pear leaves the saddle, water flows. Despite the variety of forms of the saddle and pear, the shortcomings of this design are common. The most basic problem is to reduce the elasticity of the rubber, which leads to a leak. Another disadvantage is associated with sediment contamination of the saddle, which also causes leaks.
Toilets can be classified by seat material (plastic), body material (san faience, san porcelain, metal, natural stone), design and even color.Some models are equipped with lifter. This is one of the convenient features.
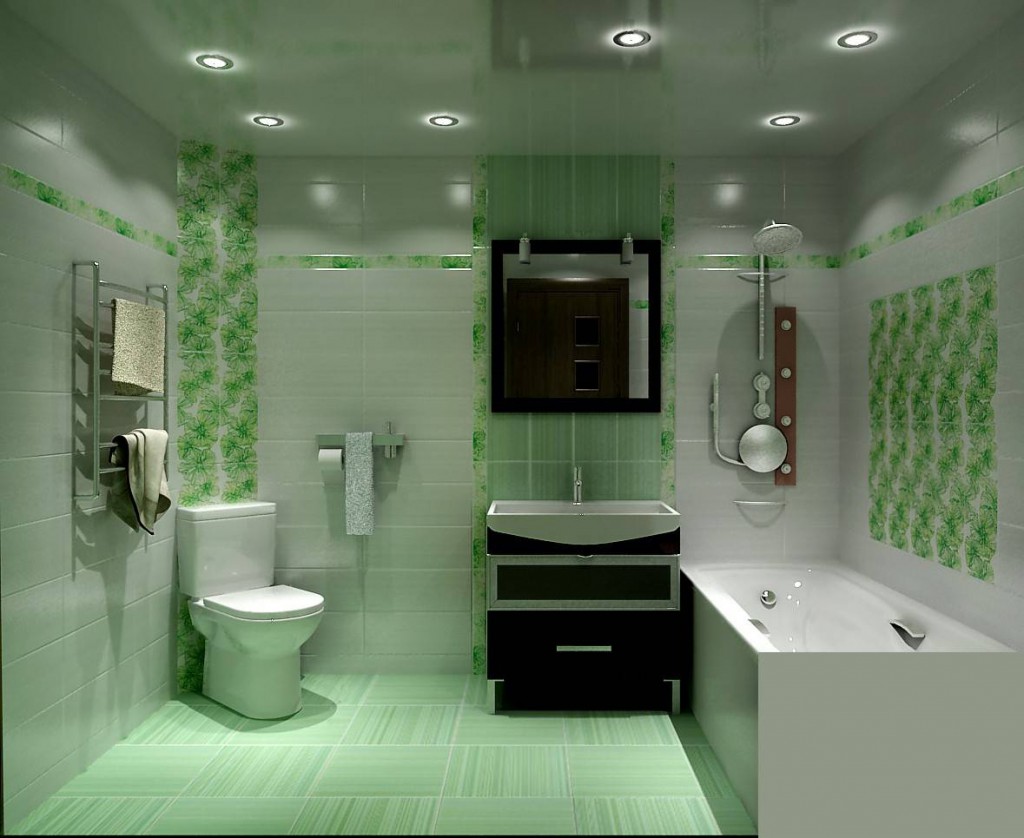
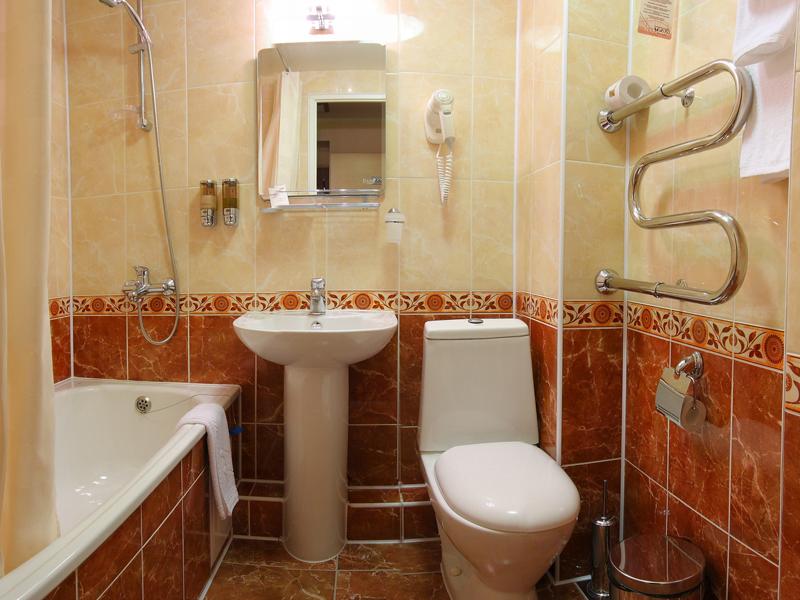
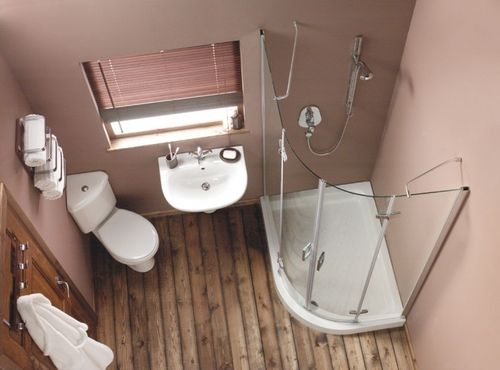
Location selection
The layout of the toilet room should begin with the choice of the toilet. It is necessary to consider all its features. Only then should proceed to further action. Of course, if there is an old toilet, it must be dismantled. Most likely, you will have to overhaul the room. And it includes the renewal of the sewer communications lines, floor screed, lining.
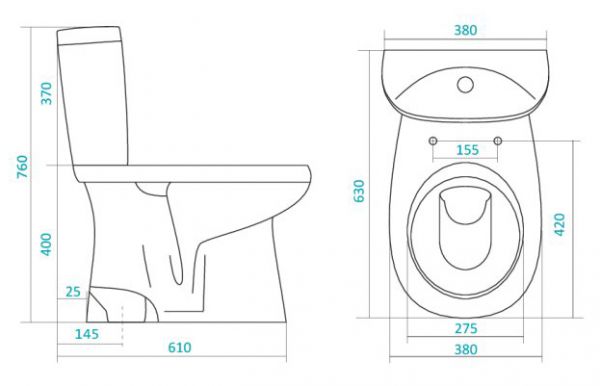
Before installation, you need to estimate the size of the new plumbing device. This will allow you to understand how best to place it: in the center of the room or closer to the wall. It may be better to mount it on the wall or move it close to the bathroom. It is necessary to determine the height at which it is better to install the toilet. Today, modern models are able to satisfy every whim in this regard.
The unconventional location of the sewer pipe can be a difficult task. Therefore it is worthwhile to foresee the best options in advance. It may be worth deploying or extending the pipe itself, or it may be better to choose a non-standard plumbing model.Of course, ideal if the toilet can be connected vertically at a 90 degree angle. It is worth remembering that it is better if the intermediate parts between the toilet and sewage system will be as small as possible.
You can draw a layout of the toilet and other items in the toilet. So it will become more clear whether angular placement of the structure is necessary or it is possible to dispense with the generally accepted standard. In modern new buildings, everything is simple. After all, installation of the toilet bowl from scratch takes place here, all communications are summed up taking into account various models. In the old Khrushchev obviously all the more difficult.
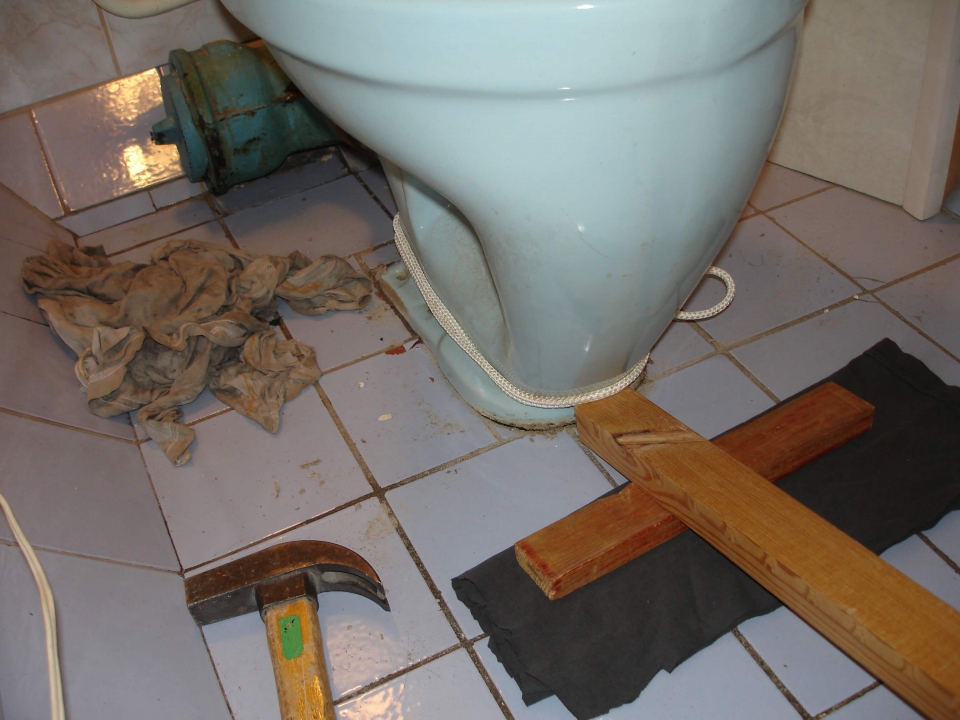
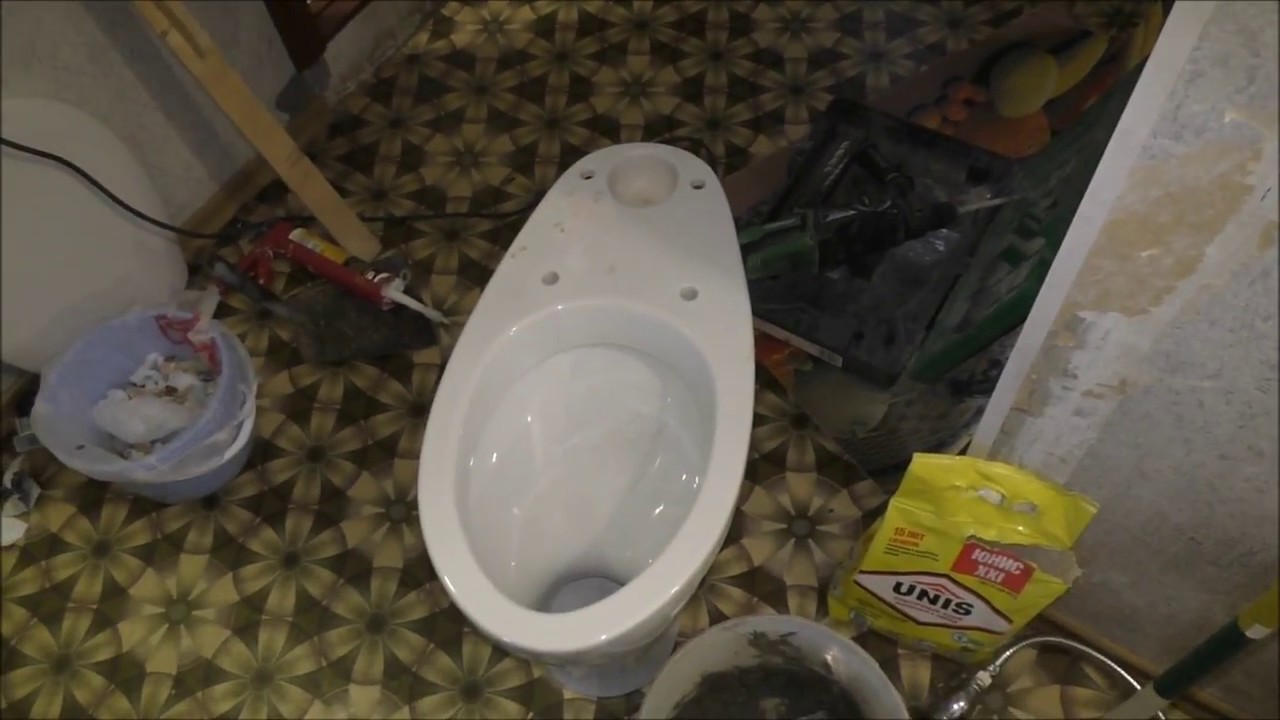
Dismantling old
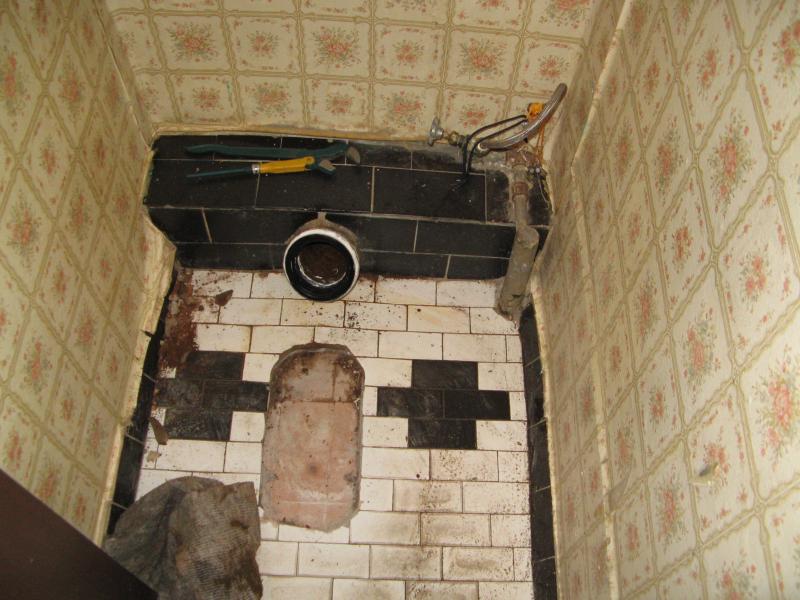
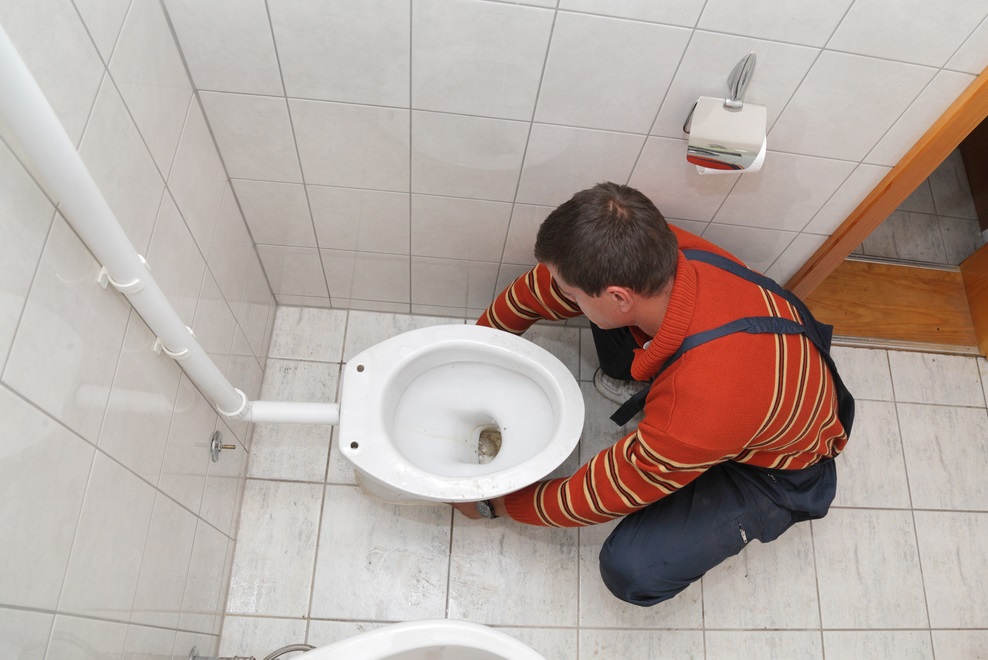
When the new toilet is already selected, the location is known, as well as its main characteristics, it is worth proceeding to the next stage in the form of dismantling the old toilet. Most often, you have to clean floor toilets that are attached to the floor. With this task you can easily and quickly cope. No need to contact the master.
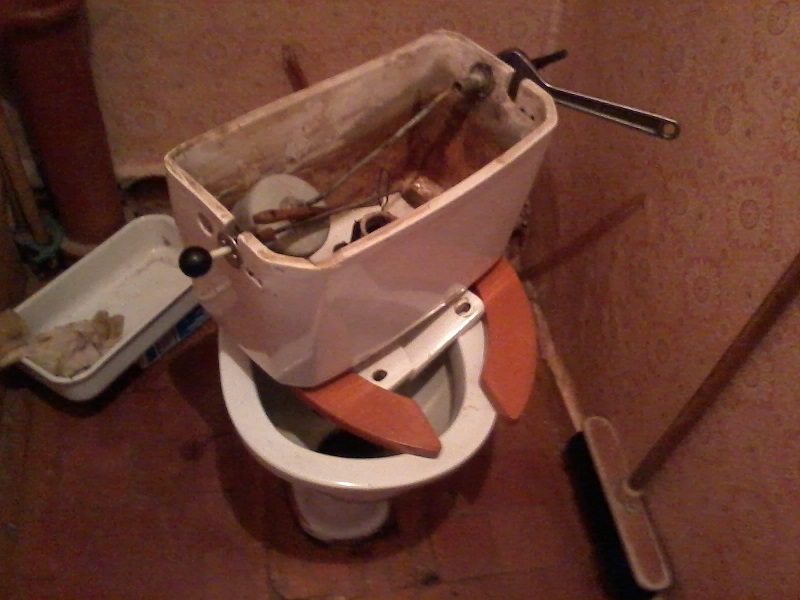
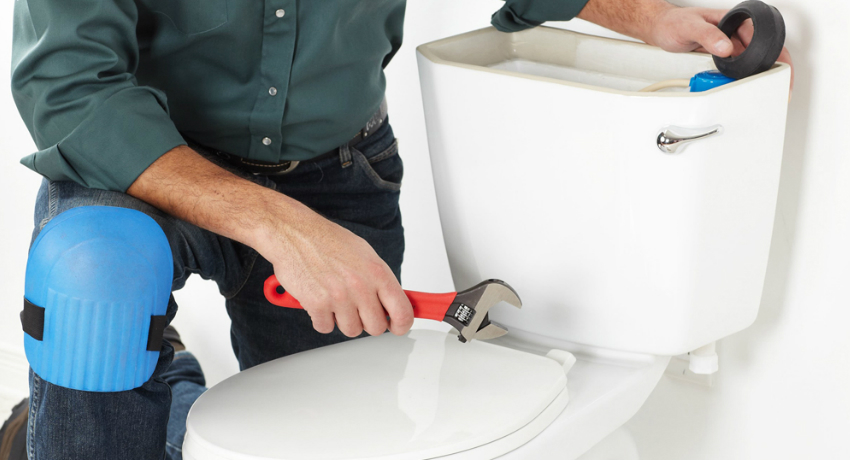
It is worth starting with turning off the water and draining it from the tank into the toilet bowl. Then you need to unscrew the hose, which is suitable from the drain to the tank. Next, spin the fasteners tank. If they do not give in, it is worth using special means.They are applied to the mount (about 6 minutes), completely dissolving lime or rust during this time.
Of course, you can do without such tools. For example, using a wrench or a screwdriver to break the fastening bolts easier. If the old toilet is planned to be thrown away, then the problem of poor detachment of the tank can be solved with a hammer. After the tank fasteners are unscrewed, proceed to the toilet fasteners. Often they have the form of a nut, swirled on the anchor. To facilitate the process of unscrewing, you can use the methods described above.
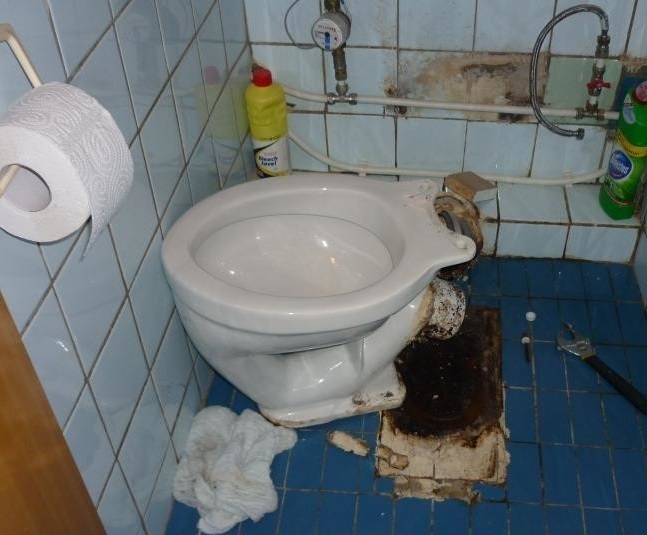
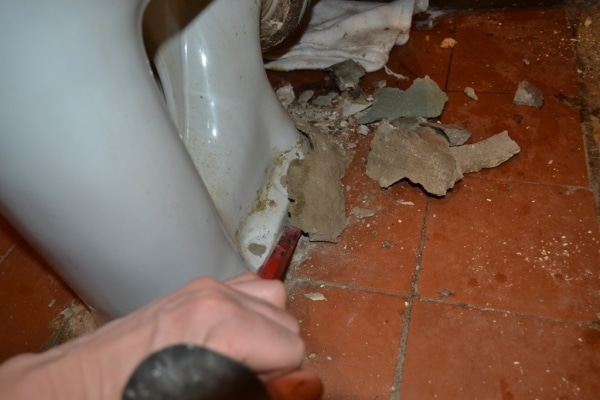
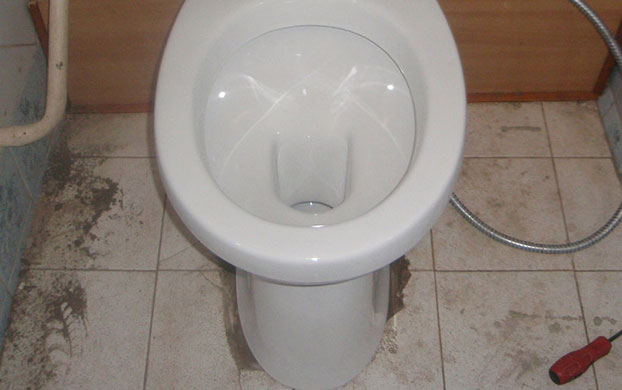
When all fasteners are unscrewed, it is necessary to disconnect the toilet bowl drain from the sewer. In old toilets, as a rule, the place where the drain is attached to the sewer pipe was coated with cement. If so, you will have to remove the cement with a screwdriver and a hammer. And you need to start with a plaster running across the seam.
Then you need to shake the drain, but leave it at the same time on the spot. The toilet needs to be moved in different directions in order to completely drain the remaining water in the knee. It is necessary to disconnect the neck from the sewer pipe. This is not always easy: sometimes the toilet can be glued to the floor with cement mortar. In this case, with the help of a chisel and a hammer, a pedestal is chipped off with parts.
Now the toilet should be easily unhooked, it can be attributed to the trash. If desired, you can break it with a sledgehammer to make it easier to endure. Another important point - it is necessary to plug the sewer hole with a plastic or wooden plug. This will allow you to work without unpleasant odors.
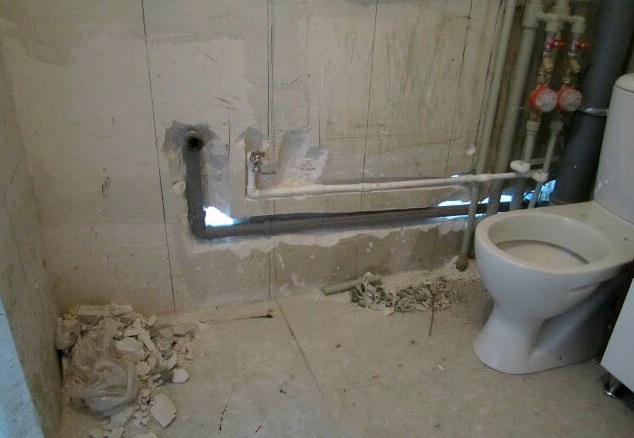
After the old toilet is dismantled, it is necessary to assess the condition of the pipes. For example, before installing a new design, experts recommend replacing a cast-iron pipe with a new plastic one. Modern pipes can significantly facilitate the installation of the toilet. It is possible that it is better to replace the uneven pipe with a direct analogue in order to make it easier to mount the toilet bowl to the sewer drain.
How to install: walkthrough
Installing the toilet yourself is not at all difficult if you follow the small step-by-step guide. Moreover, to install the toilet on the floor and wall, the most important thing is a flat and prepared surface for mounting. For installation it is worth preparing in advance a number of tools.
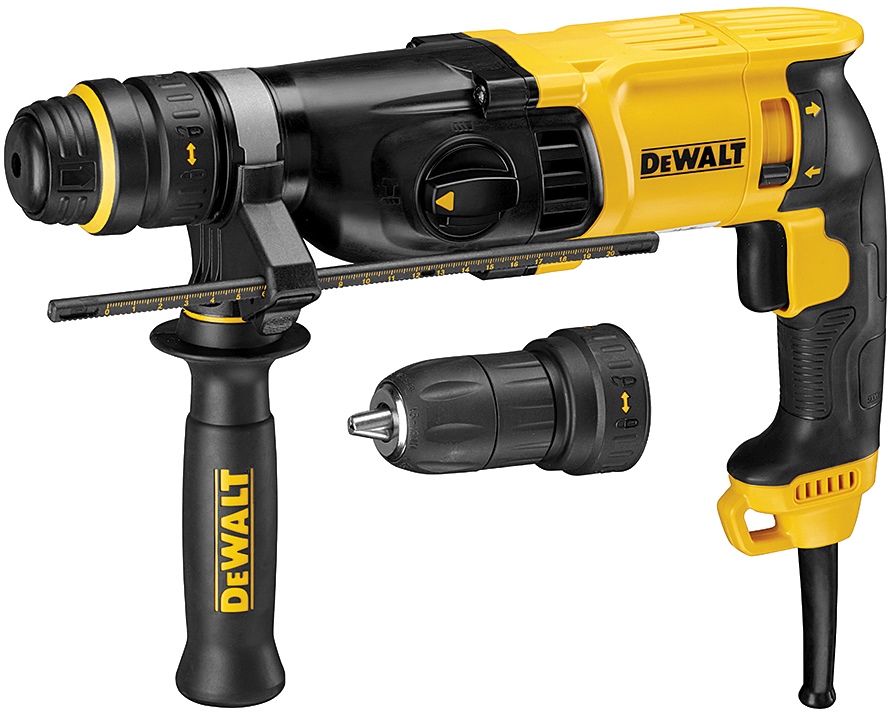
The main list includes:
- perforator;
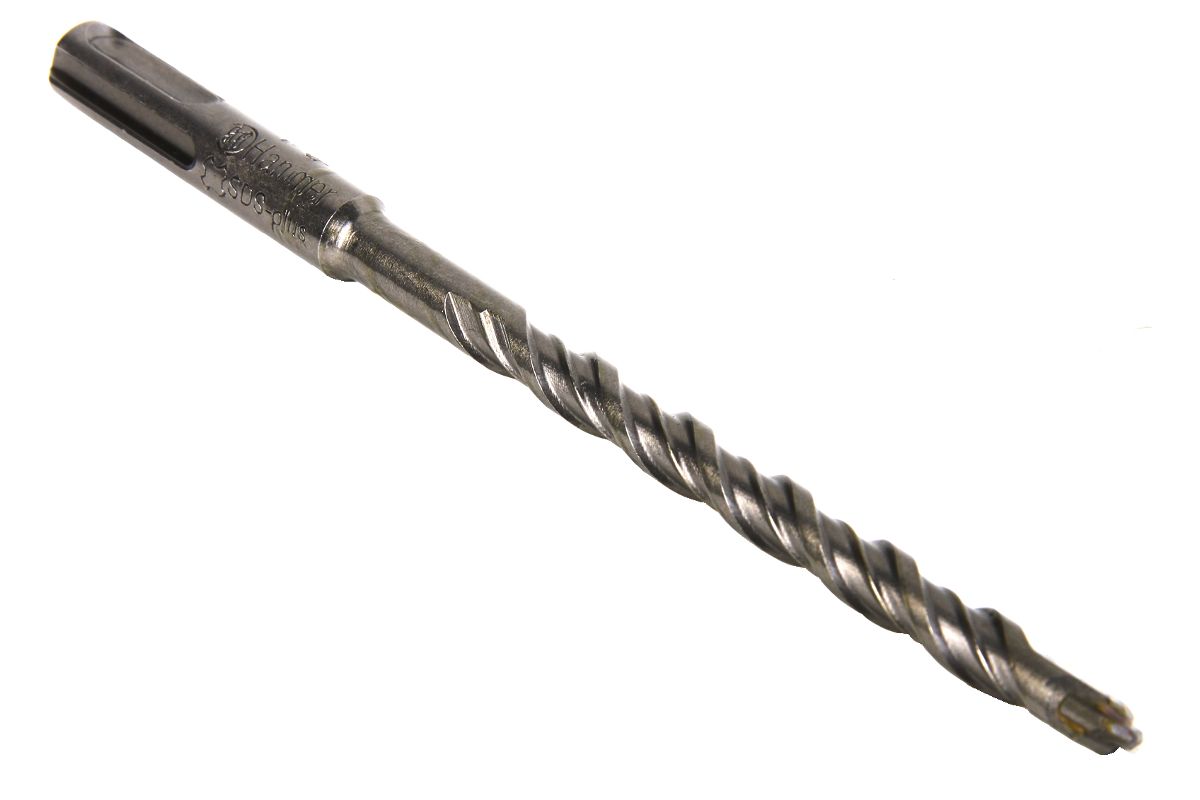
- Boer;
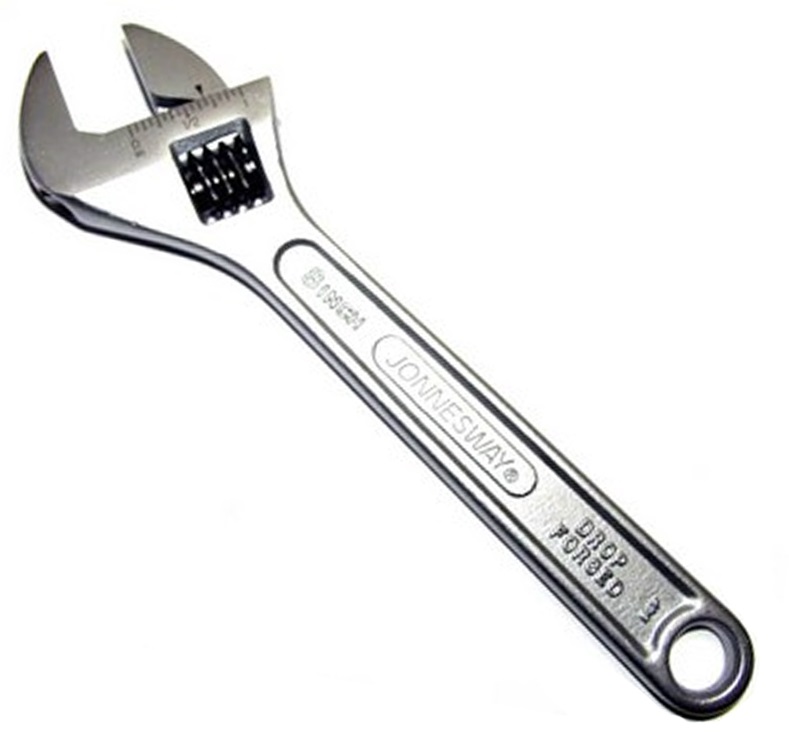
- adjustable wrench;
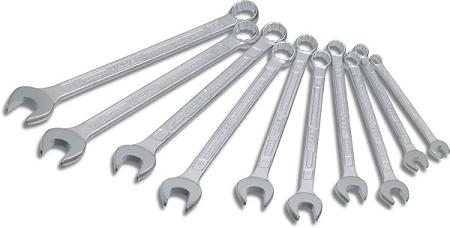
- spanners;
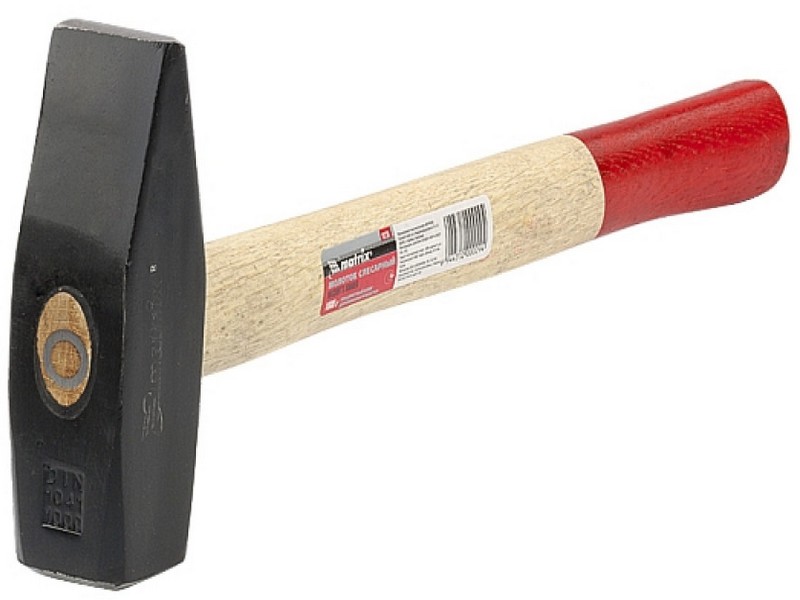
- hammer;
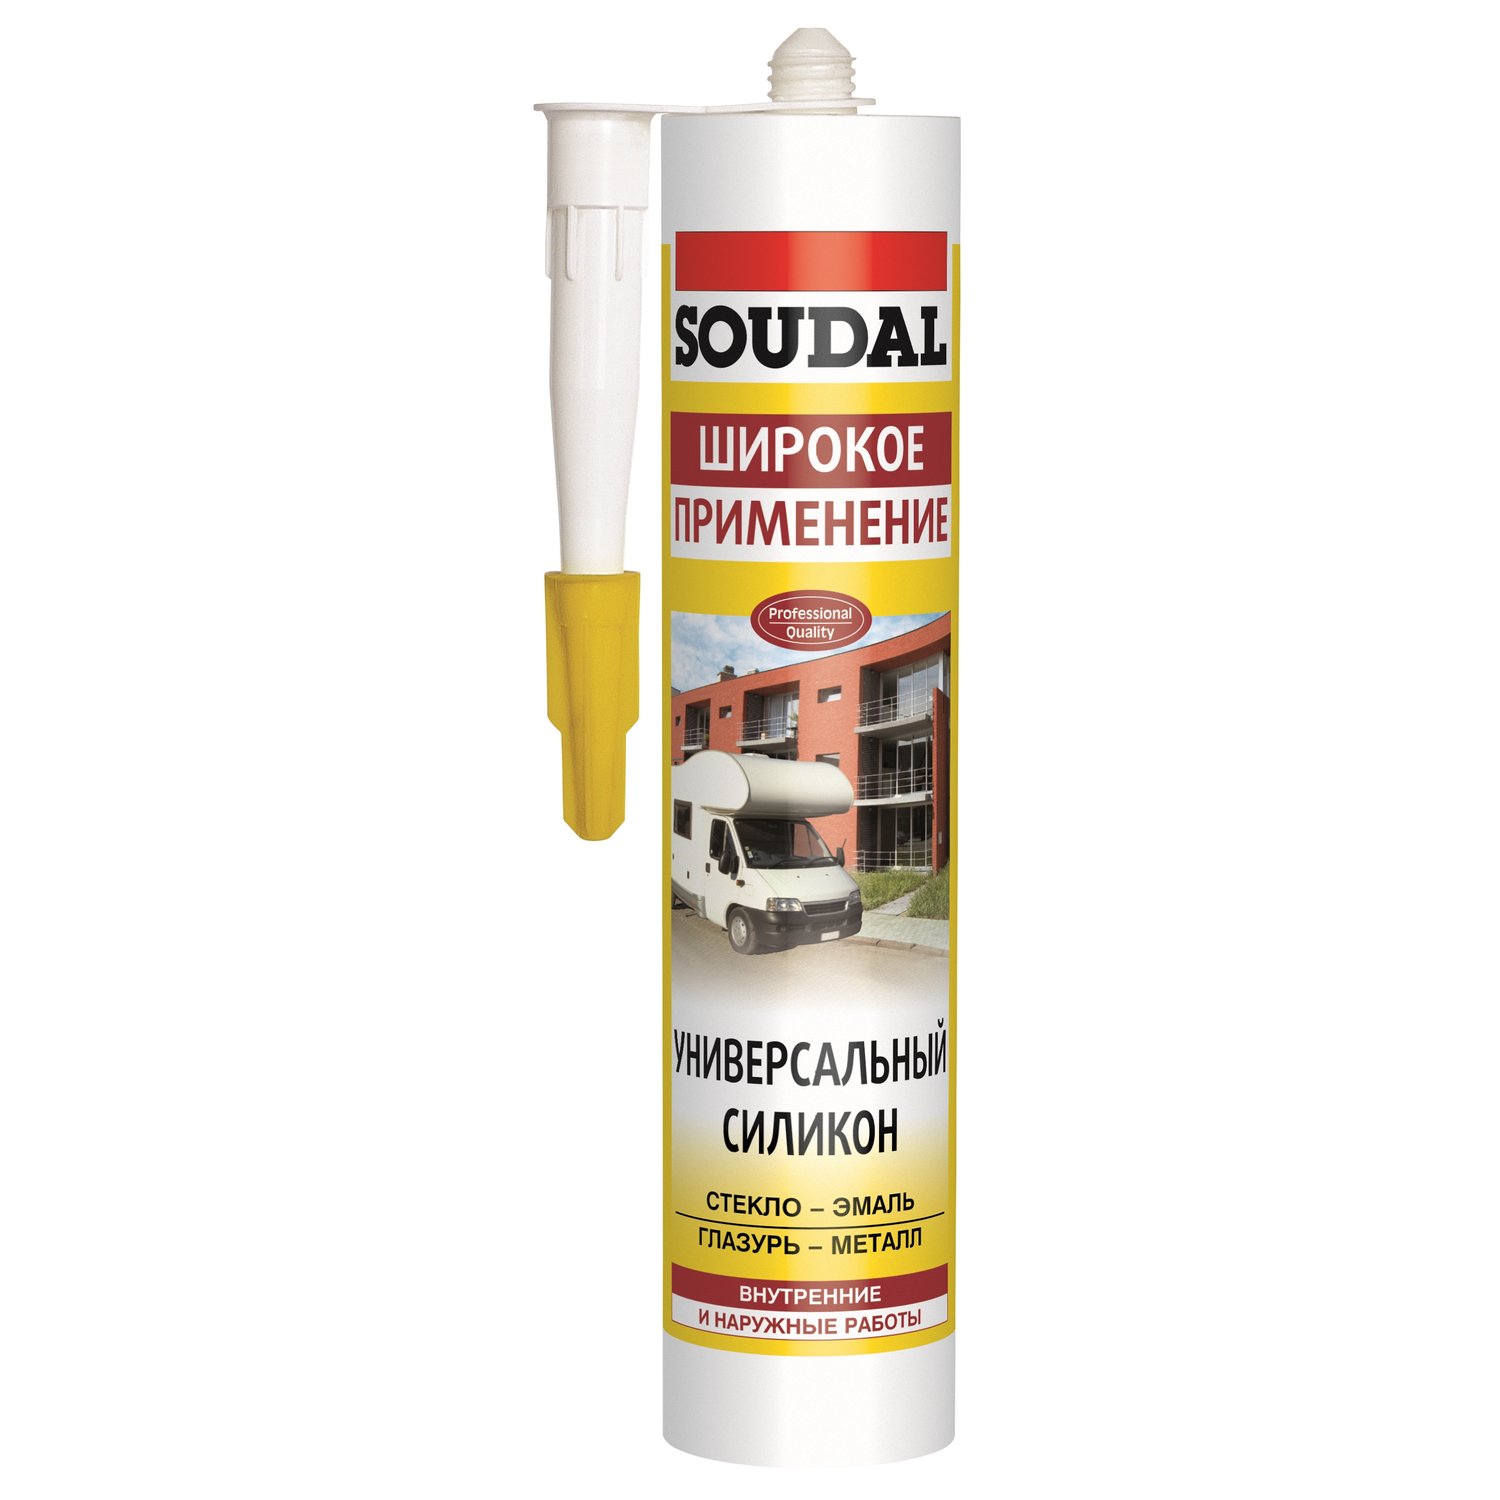
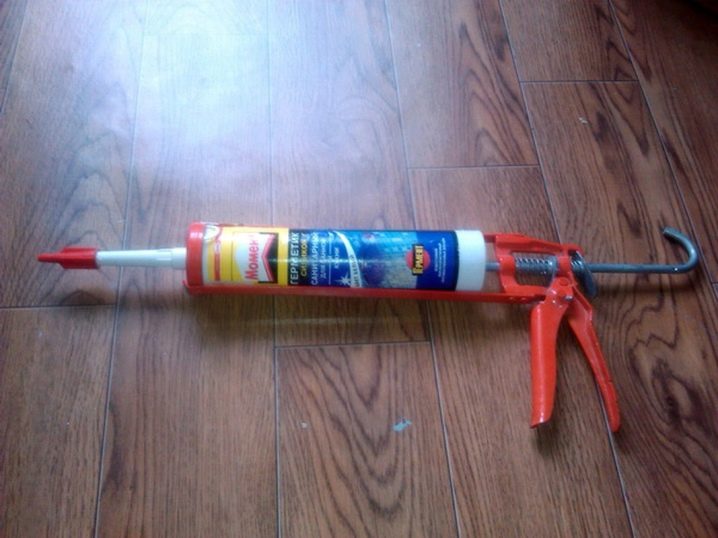
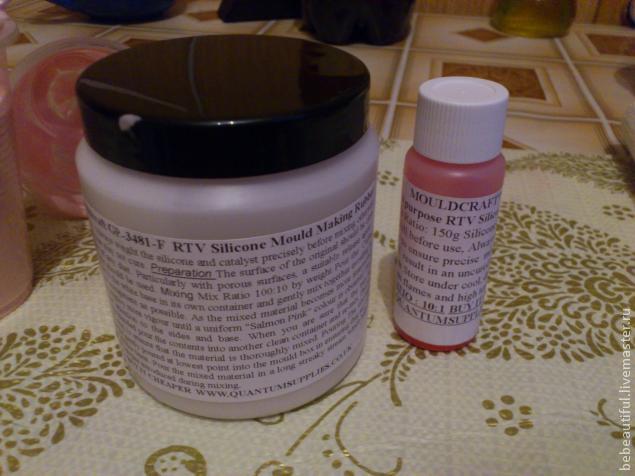
- sealant;
- screwdrivers;
- roulette;
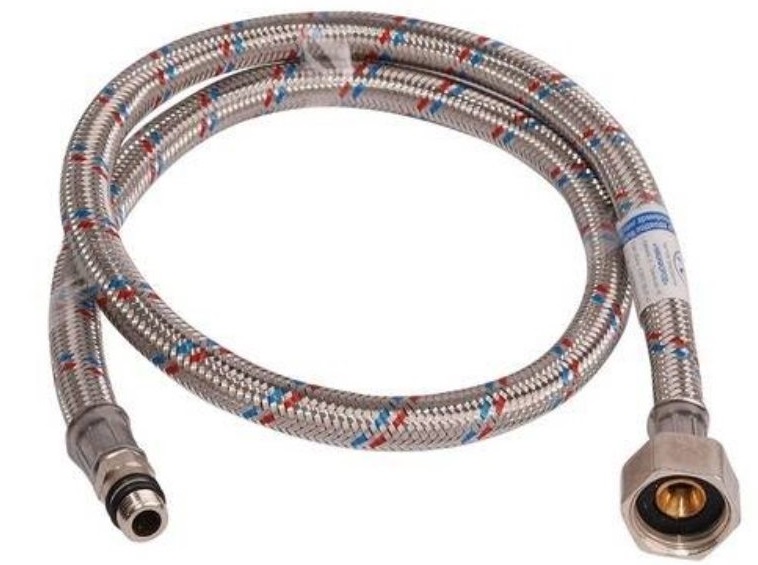
- flexible hose.

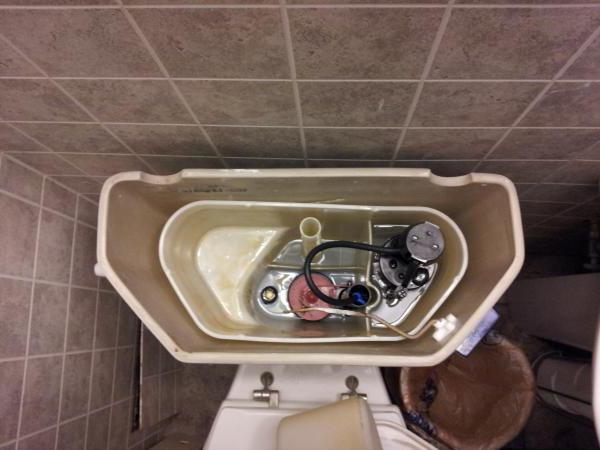
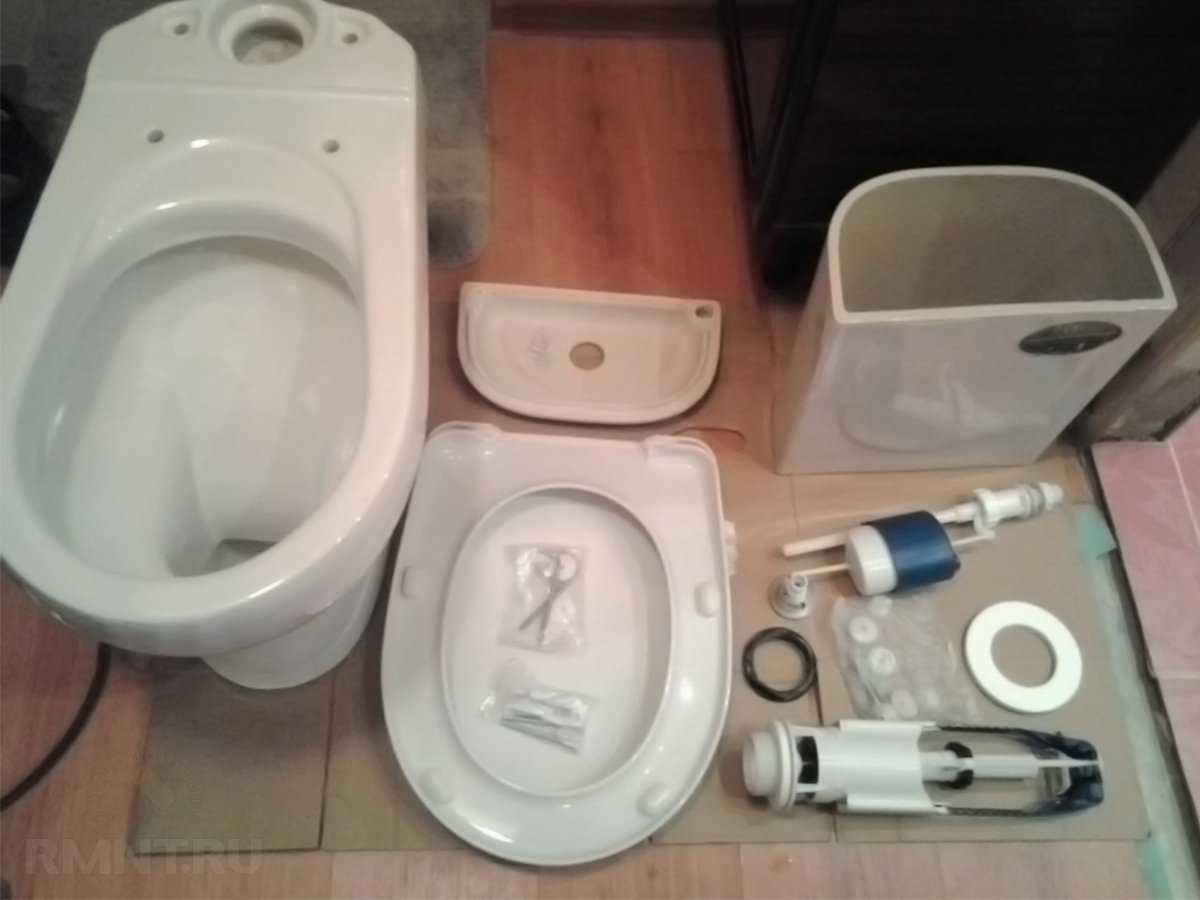
The toilet bowl comes complete with a fully assembled or disassembled. In the second case, you will need to assemble it before installation. It’s best to start the installation by decomposing all the parts to make sure they are available. Following the instructions from the manufacturer of the toilet, you need to collect the insides of the tank. Actions may vary depending on the type of drainage system. It is necessary to double-check the reliability of fixing parts, but without undue effort, especially when tightening the screws and bolts.
On the floor
Floor toilets install a little easier than the wall. Yes, and while they are still more popular. Determine the floor and flatness of the floor in the toilet room. Installing the toilet on the floor is different, based on the floor covering. For example, on a tiled floor there is no need for additional leveling.
If a tile is laid on the base, but it is not completely flat, it is better to install it using choopyk and screws. In case the toilet is installed in a new building, where there is no decoration, it is better to fill the screed and then lay the tile. If there was a wooden stand under the old toilet, it should be removed.The resulting empty space should be filled with cement (preferably one that hardens quickly). In that case, if the floor can not be leveled completely, you can increase the tightness when installing with the help of sealant.
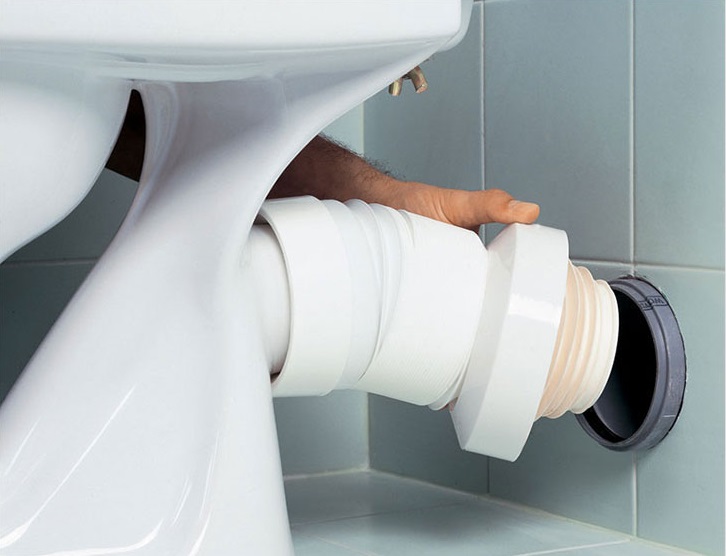
They clean the sewer pipe from debris and sediment, install a faucet on the water pipe (if it is not there) in order to block the water on the tank. Connect the drain of the toilet bowl with sewer pipe. This can be done in one of several ways.
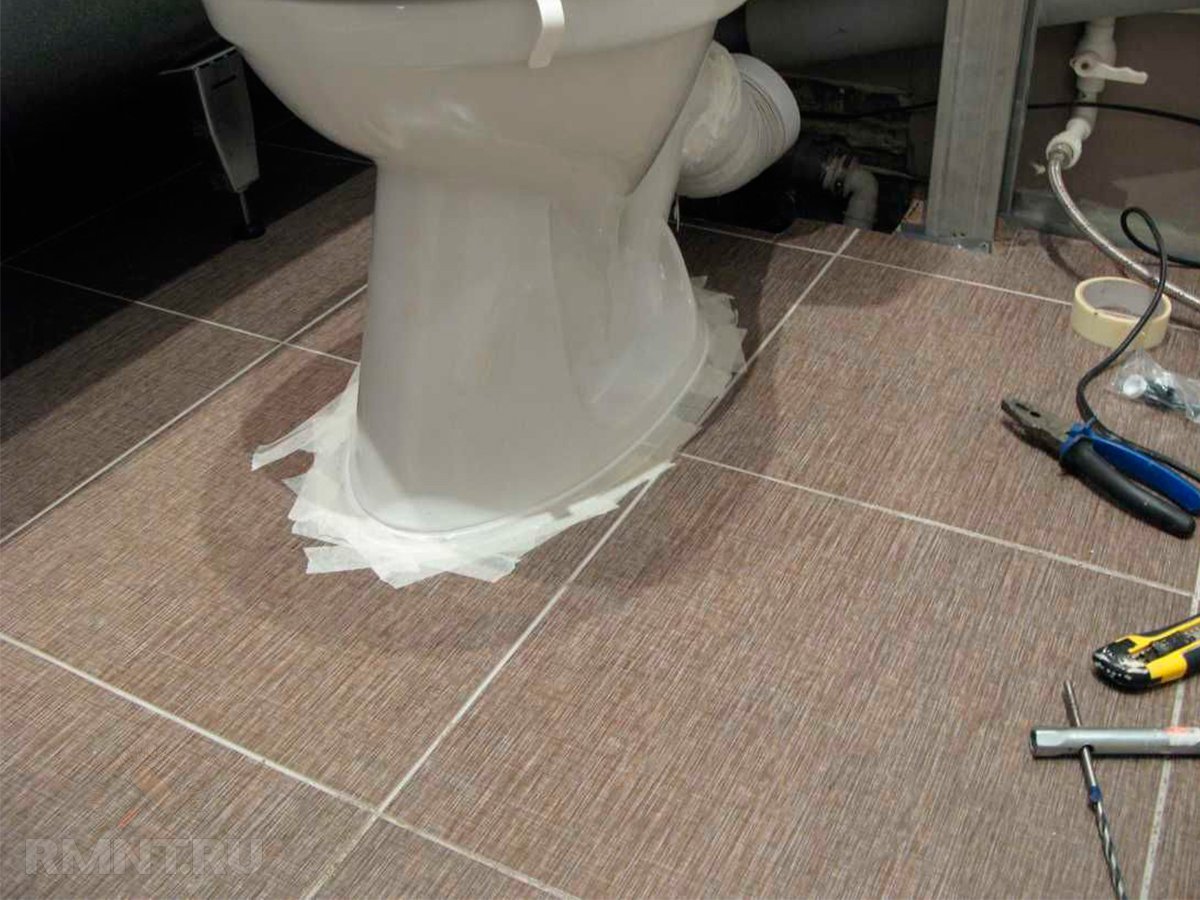
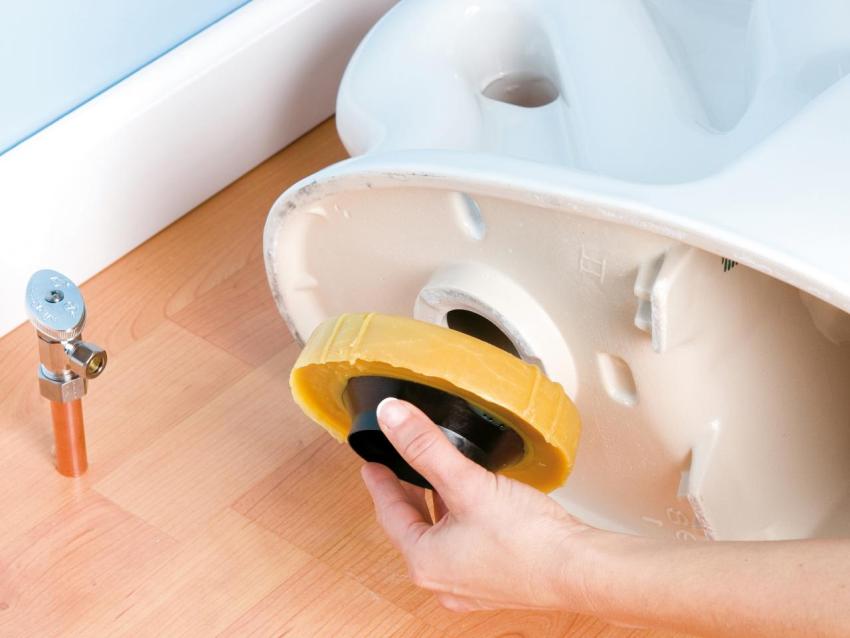
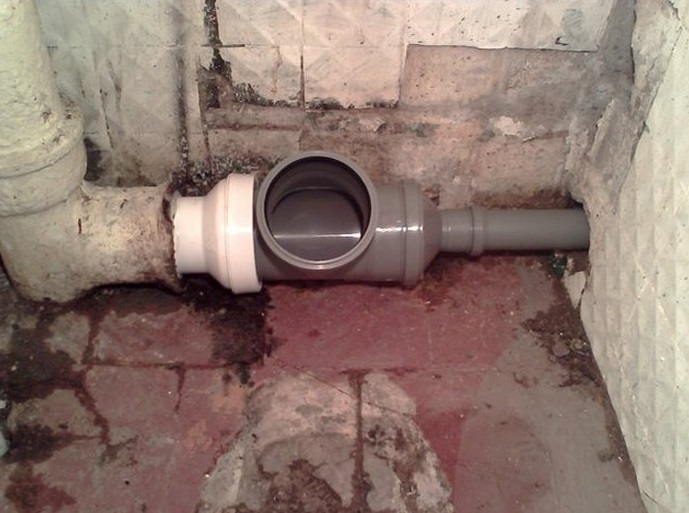
It is better to seal the seat of the toilet bowl with the sewage system with silicone sealant. This will provide protection against water entering under the toilet when washing the floor. If the toilet bowl is connected to a cast iron pipe, it is best to use a 110 mm diameter adapter sleeve. Before use, a sealant is applied abundantly on it, then it is inserted into a cast iron pipe. It is worth emphasizing that before this it is necessary to clean the pipe from contamination.
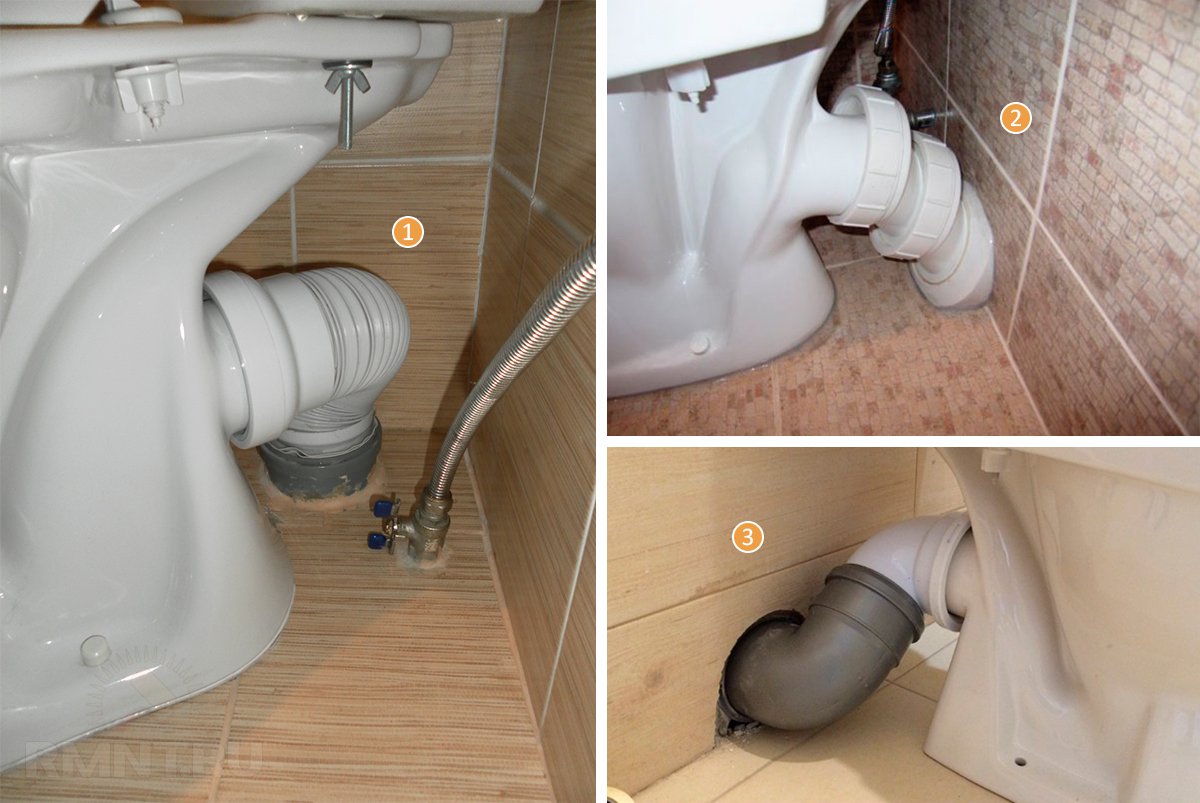
You can do this with a corrugated cuff. The main advantage of this method - cost. However, the toilet can not be closely attached to the socket. This method is better not to choose for small rooms.With the help of a straight cuff, you can ensure a firm and tight connection between the bowl and the sewage system. With the help of an eccentric cuff is possible, if the connection centers of the toilet bowl and sewage are shifted. Follow the predetermined method of installation of the toilet.
On dowel
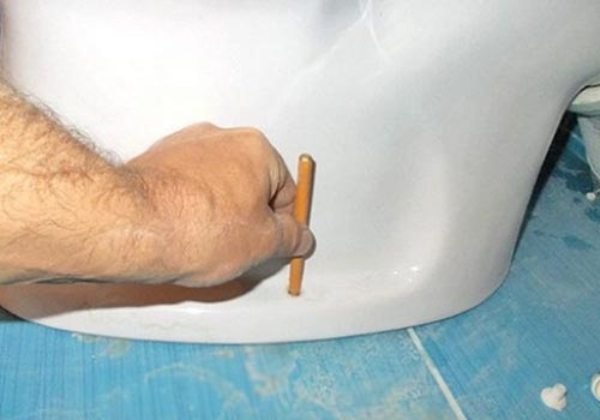
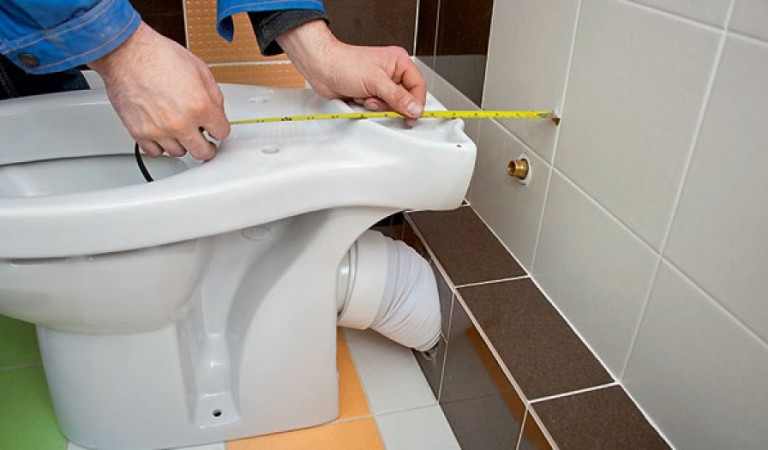
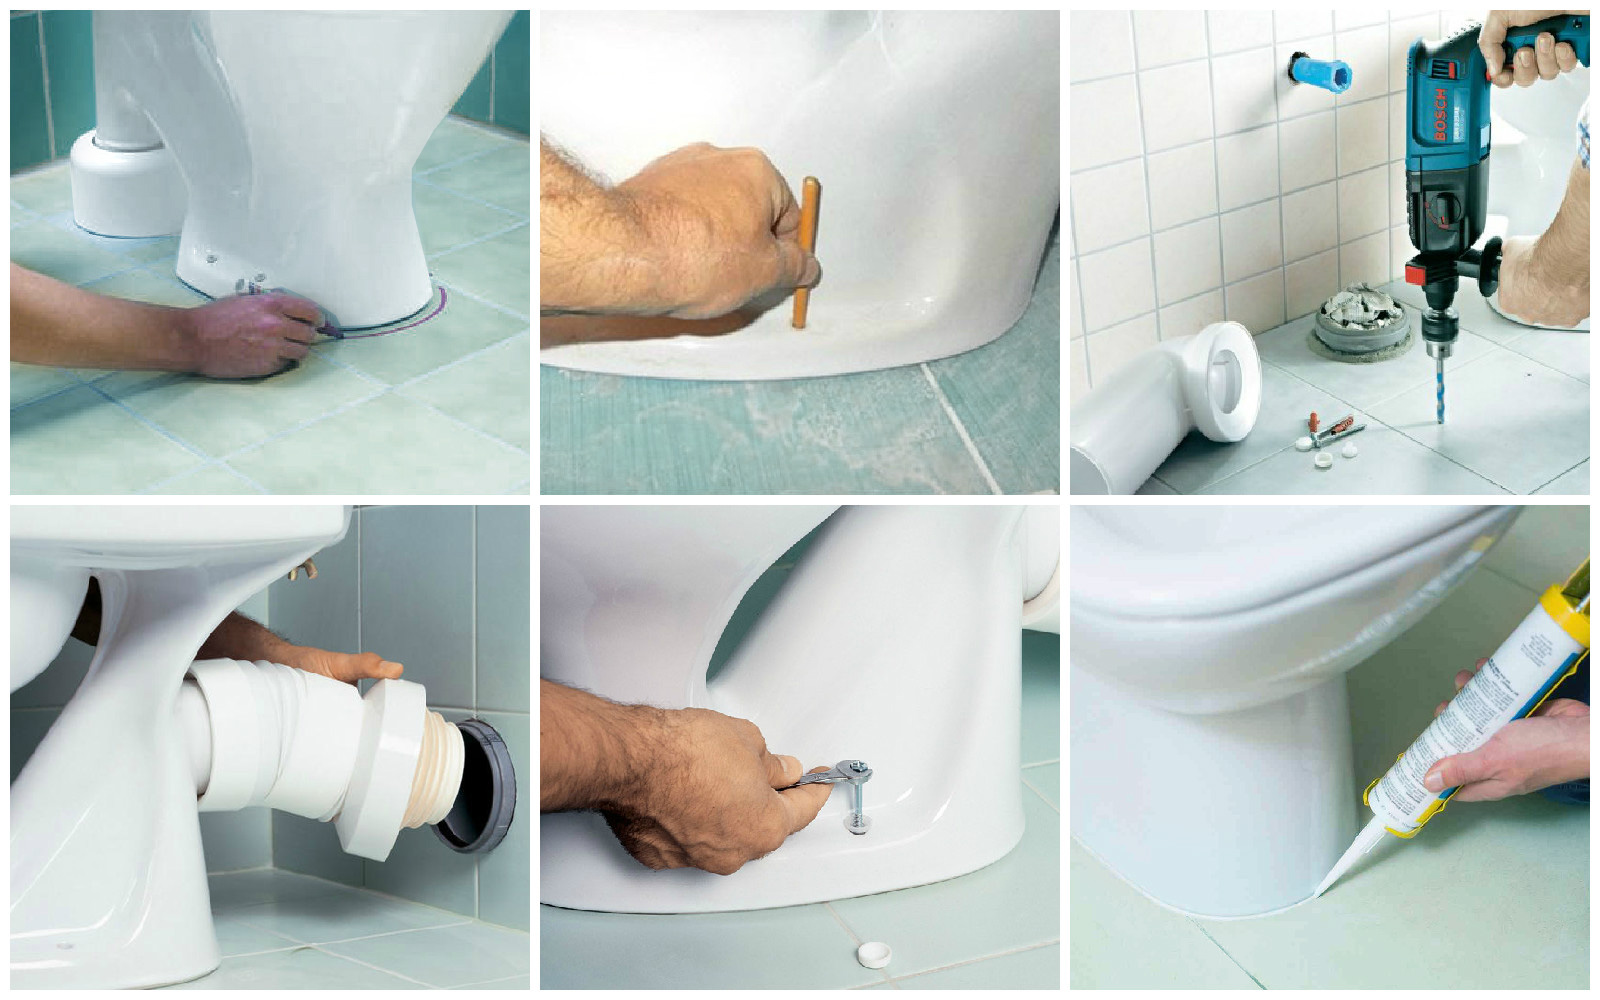
Once again try on the product. Particular attention should be paid to the angle of inclination, as well as how the height of the sewer coincides with the neck. If any discrepancies are found, they should be eliminated. Pencil or marker enclose a seat.
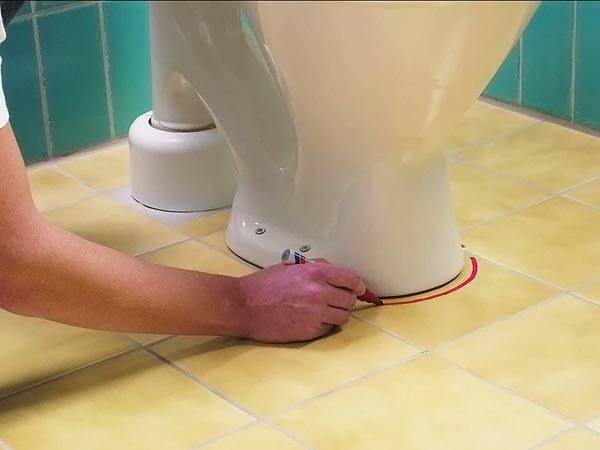
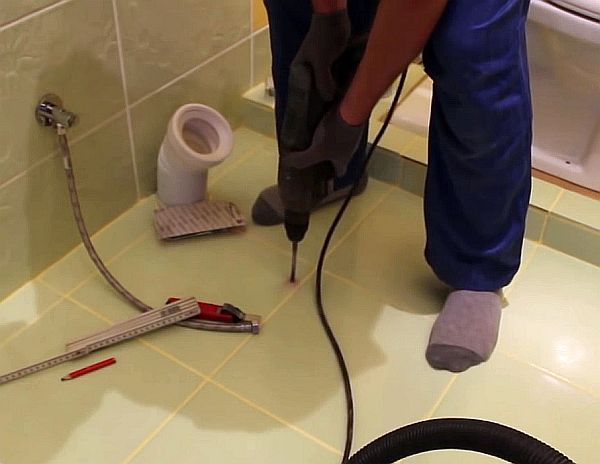
Make markup. To do this, determine the central axis of the toilet. It is best if it coincides with the center of the room. With a reference to the axis, it is necessary to install the bowl at a distance of about 15 cm from the sewer socket. Make a label for the holes with a marker, which is strictly vertically inserted into the holes under the fasteners.
Prepare mounting holes. To do this, you need to remove the toilet in the side, with a perforator on the labels to make holes. Then you need to clean the holes from debris and pour silicone into them, which in this case is a waterproofing device. After that, you need to insert dowels.
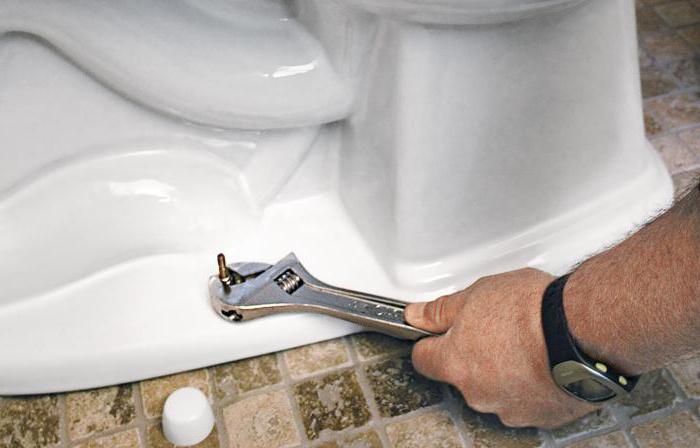
Set the bowl.A special rubber gasket or a layer of silicone is placed on the outlined place for fit. Then put the toilet in place and pressed to the floor. The sleeves are inserted into the fastener holes, the screws are tightened effortlessly, fixing all the plugs. Excess silicone is removed with a rubber spatula or a damp cloth.
On adhesive
You can use silicone glue, liquid sealant, epoxy resin. This method is only suitable for smooth floors. Make a markup. To do this, set the bowl in the right place and encircle the contour with a pencil.
Conduct the preparation of the base. It is necessary to begin with cleaning the floor and the base of the bowl from various impurities. In order for the glue to be the best, it is necessary to make the surface rough. To do this, clean it with sandpaper. It is also necessary to degrease the base of the toilet and the floor with acetone or solvent.
Prepare the adhesive composition to work, according to the manufacturer's instructions. Apply glue to the bottom of the toilet bowl and the inside of the contour on the floor. It should be applied not too large a layer. Set the bowl in place. Be sure to press her hard to the floor.
Waiting for complete drying of the glue. This usually takes at least 12 hours. During this time, the toilet is better not to touch or sit down. This will avoid location shifts. The mount will be more durable.
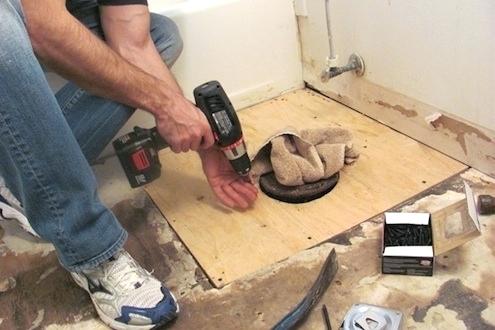
On taffeta
Taffeta - gasket, which is made of solid wood. On it fix sanitary design. This method is ideal when installing the toilet on a wooden floor. However, it can also be used for floors with a different coating. In addition to wood, taffeta sometimes uses a rubber backing 5–15 mm thick. For example, you can use an old rubber mat.
Prepare taffeta. To do this, take a board, the thickness of which is 2.8 - 3.2 cm, cut from it the workpiece. Next, it is treated with linseed oil or a solution that can prevent rot. For reliable fastening an anchor is attached to the workpiece. You can also drive nails in a staggered manner so that they stick out 2 to 3 cm from it.
Make a notch in the floor to install the toilet. The size and configuration of the notch should fully comply with the size and shape of the taffeta. Pour the excavation with cement. Take a taffeta and turn it with anchors or nails down. Then put it in the cement on the floor.If done correctly, the board will be level with the floor.
They are waiting for the cement to harden completely. Install the toilet. To do this, put the bowl on the taffeta and fix it with screws, which are pre-lubricated with grease or graphite. Rubber washers should be laid under the screw heads to keep the ceramics intact.
After the toilet is fixed, follow the simple instructions.
- Install the tank directly on the bowl of the toilet and produce fastening with plastic screws that come in the kit. It is important not to forget to install a ring-shaped gasket between the cistern and the toilet.
- Connect flexible eyeliner. It is advisable for this to choose a long hose. Particular attention should be paid to the diameter of the inlets so that the mount is strong. When tightening the flare nuts, do not use excessive force.
- Establish a cover with a seat mate and the button of descent. Recommendations for their installation are in the instructions. The technology of work is extremely simple and understandable to everyone.
- Make a test run of water. If there is a leak anywhere, tighten the connections.
- Adjust the locking mechanism, according to the instructions.
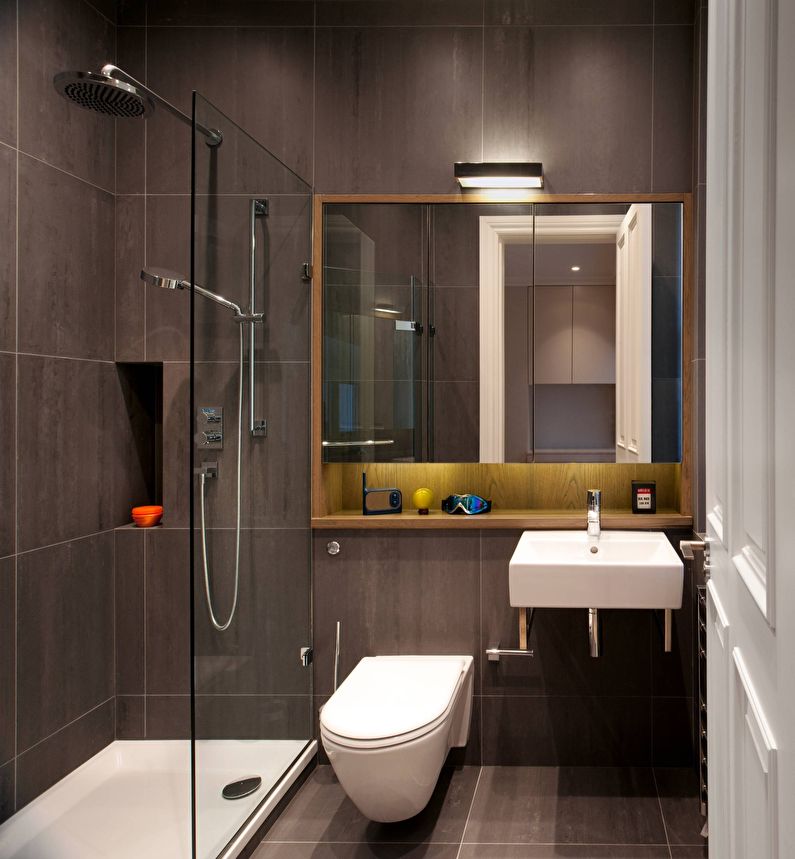
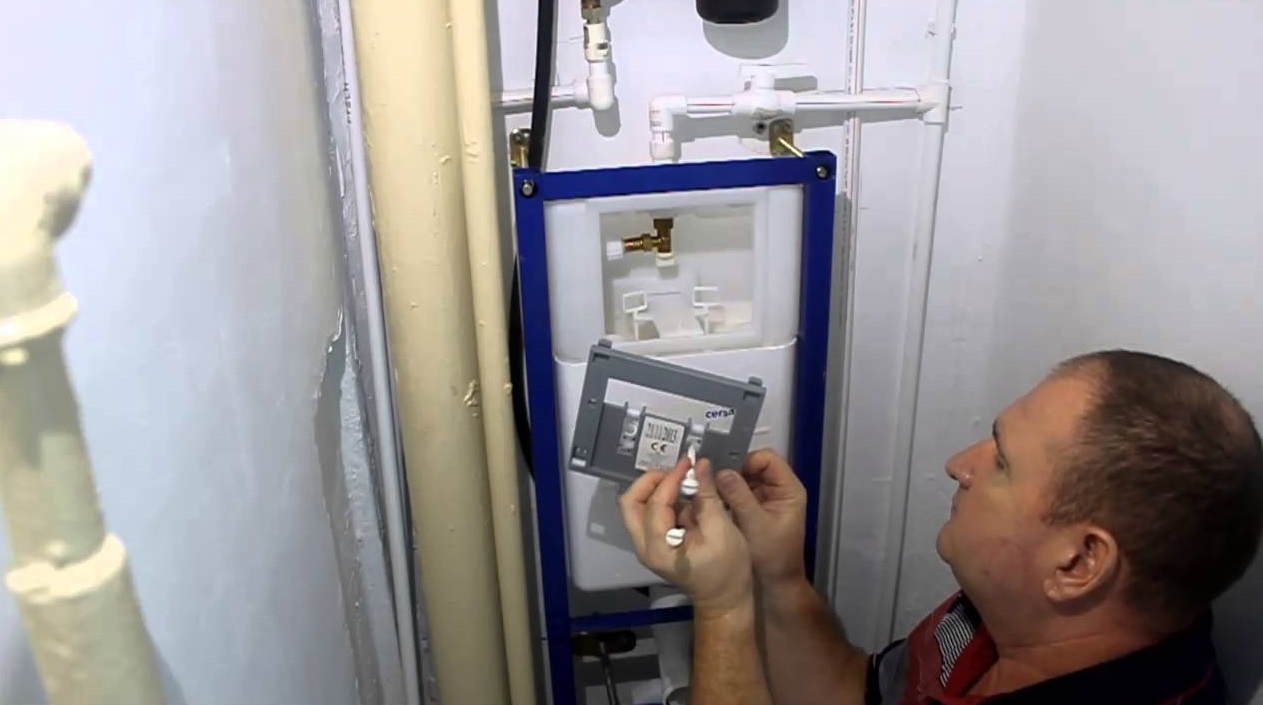
On the wall
It is possible to install toilet bowls on a wall in the private house and the apartment. Connecting modern models to the sewer is quite simple.
It is worth noting that such structures can be used even with a vertical outlet sewer.
- Assemble the installation frame itself, according to the instructions.
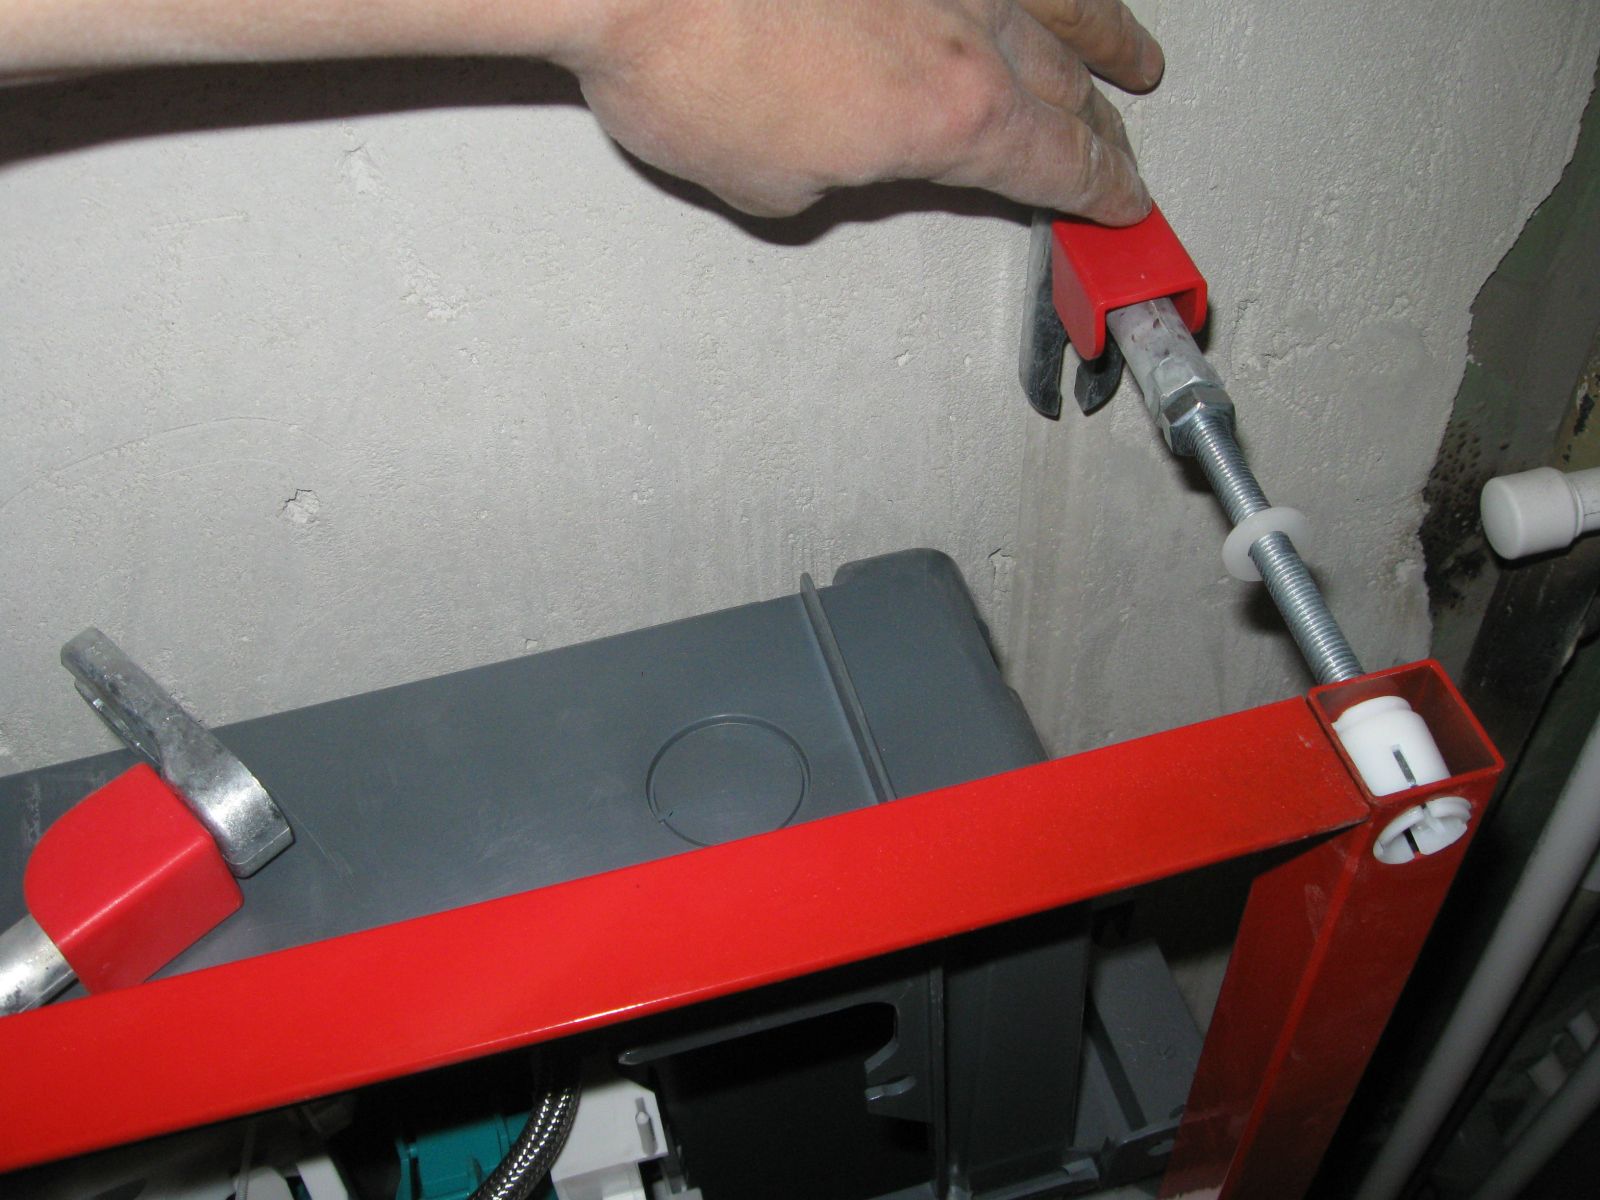
- Install the upper stops, which resemble rods. Their adjustment is made using a screwdriver and socket wrench.
- Install the bottom stops, similar to the plate. Adjust them with an allen key.
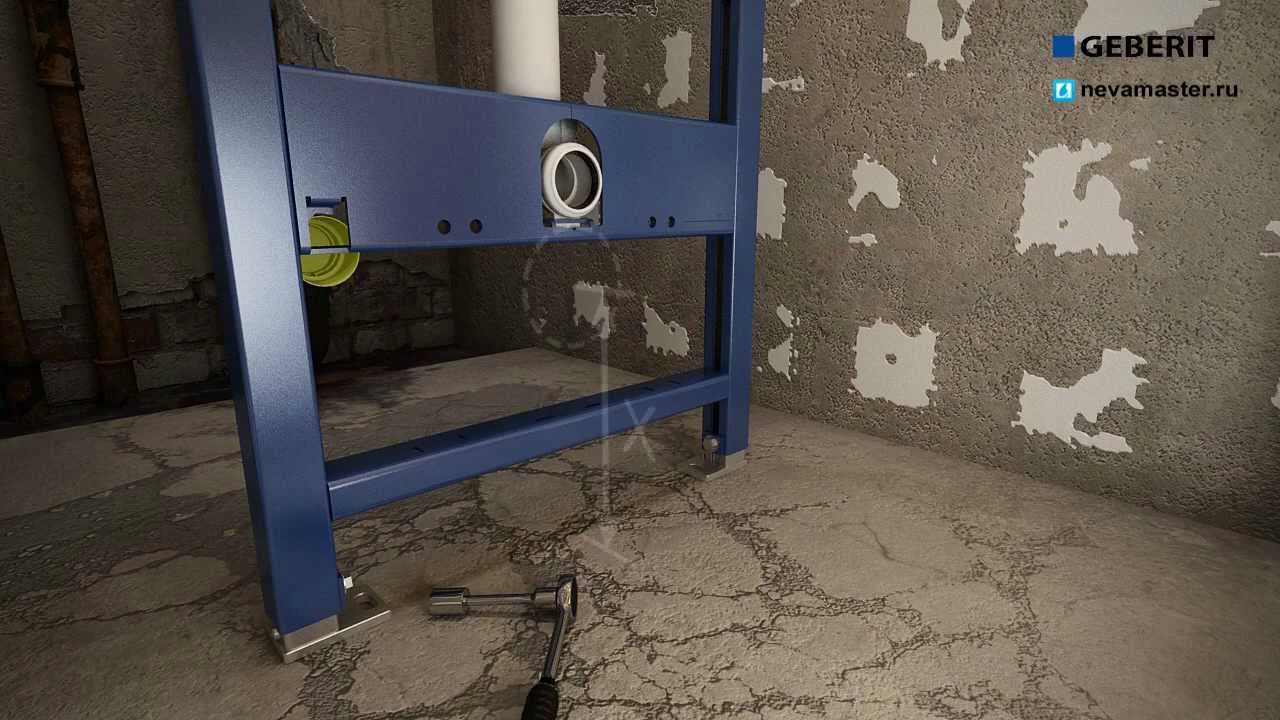
- Adjust the height, for which the already assembled frame is pushed to the wall. The center of the frame must be set exactly above the center of the sewer pipe.
- Carried out using the bubble level installation installation height. On the frame there is a label that should be lowered or raised to the required height. Most often it is 1 m.
- Adjust the height of the stops, as well as set the distance from the wall specified in the documents.
- Fix the exposed frame armature to the wall. To do this, in the necessary places with a pencil or marker put a mark. After this, it is necessary to drill holes and install dowel bodies in them.Then install the fastener itself, pre-planting it on the sealant.
- Install the nozzles, as well as the couplings in the fixed installation. They are fastened to their seats.
- Install metal rods. On them the bowl of a toilet bowl will fasten. They are screwed into special sockets, then they put silicone seals on top.
- Pull out the sewer pipe to the required distance and fix the bracket. It must be inserted into the groove until it clicks.
- Connect the water supply to the tank. To do this, open the lid of the tank and remove the cap on the side surface. A corrugated tube is introduced into the hole. It connects to the insides with a nut. It is necessary to tighten it very carefully, as most of the nut is made of plastic.
- A tee is installed inside the tank, to which a pipe is fed using an American and an adapter. Also connect to the tee flexible hose from the tank. It is attached with a cap nut.
- Close the installation for the toilet false wall, for example, plasterboard, resistant to moisture. As a rule, drywall is attached to the frame and profiles.
- Trim the wall and hang the toilet bowl.Install a decorative panel for the drain device.
- Put the toilet on the pins, the release of the bowl tightly goes into the sewer bell made of plastic.
Useful recommendations
Before installing and before purchasing a toilet bowl, you should familiarize yourself with the recommendations of experienced plumbers.
By following some rules, many problems can be avoided.
- The first thing that experts advise to pay attention - the type of drain. This is especially important if the supply of sewage will not change. With the help of adapters, it is especially difficult to make a high-quality connection of the toilet bowl with an inappropriate type of sewer drainage.
- You should not postpone the purchase of plumbing for the last moment, as well as to purchase it after the repair. It is better if the place in the toilet room will be prepared for a certain model of the toilet in advance. This will simplify the installation of plumbing.
- You should refuse to save on bolts and anchors. It is better to choose nickel-plated mounts. They do not rust. This will further protect the product from ugly drips, as well as sticking to the bolts.
- An eccentric cuff, which is called a corrugation, will help compensate for the difference in floor height before and after repair.To supply water to the tank is better to use a flexible hose.
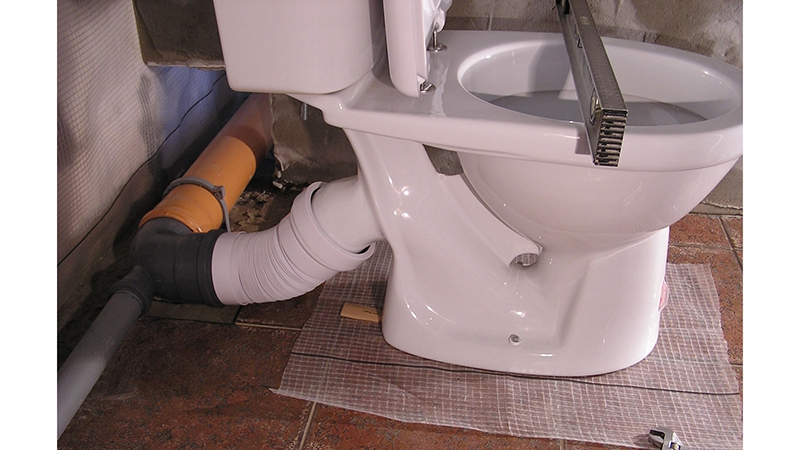
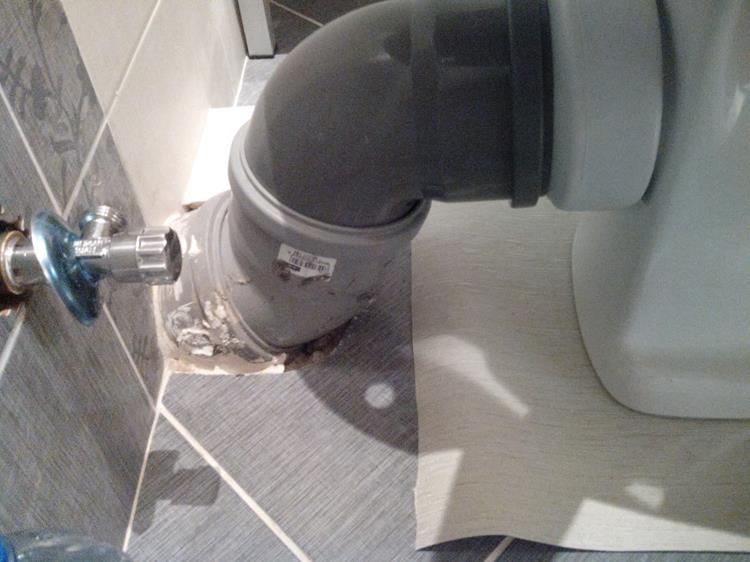
- In the case when the sewer pipe goes through the floor, you should use a rectangular bend or a flexible corrugated cuff.
- Ideal for installation, when the toilet sink will connect to the sewage system without any cuffs and other additional elements. For sealing, you can use a ring with rubberized border.
In case of uneven floor in the toilet room, the installation of the toilet bowl should be done using silicone sealant.
Plumbers recommend the use of small wedges made of wood or plastic. However, it is also necessary to use sealant with them to evenly distribute the weight of the toilet bowl. At installation of a toilet bowl on old cast iron it is better to use sealant.
If the water supply is old, you should definitely replace it. When choosing an eyeliner, you need to know the distance from the joints on the water pipe to the fastening with the toilet bowl. Then you need to replace the old flexible water liner. And it should also be added 15 - 20 cm. Adapters to the thread at the joints or FUM tape should be purchased in advance.
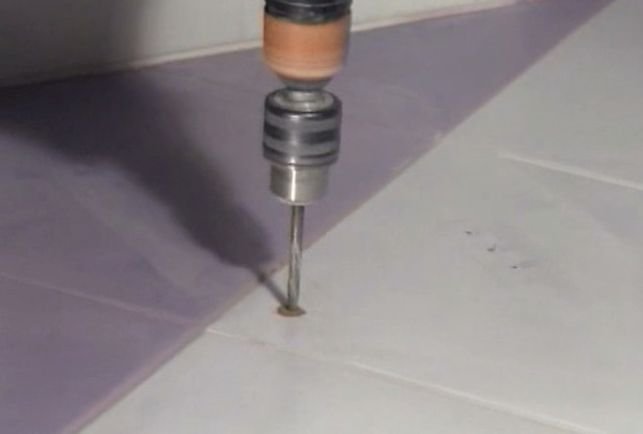
When installing the toilet on the tile in order to avoid cracks, the surface must be pinched.
To do this, make a mark in the right places. They put a screw on them and hit it with a hammer several times. After that, you can drill a tile using a perforator or a drill, but only without a percussion mode.
If the sewer riser is made of cast iron, it must be cleaned to the metal, then thoroughly washed and dried. After that, a sealant is applied on a dry and clean metal surface. And down it is necessary to impose a little more. After that, it must be connected to the corrugation.
You can also apply sealant to the outer part of the compound.
- To easily and without damage to remove the corrugation connecting the toilet and sewer, its output and release of the toilet greased with wet soap. And only after this procedure the sewer socket is put on.
- Before you make a marker with a marker through the holes in the sole of the bowl, you need to sit on it and check how comfortable it is. If necessary, you need to immediately adjust the situation.
- Do not use plastic dowels, going in conjunction with toilets. They quickly break, so it is better to give preference to other fasteners.

An additional insert in the old sewage cast-iron pipe can be removed using a perforator or burned out. In no case can not use a hammer. It is possible to burn out if the cavity was filled with gray or clogged with a cab. Before burning it is necessary to take care of adequate ventilation of the room, remove all flammable products and materials.
Too strong inserts are best cut using a grinder or electric welding.
When installing the toilet bowl on glue, you can make it yourself. To do this, take 100 parts of ED-6 epoxy. Then it should be heated to 50 degrees and add 20 parts of a plasticizer or solvent, mix well. In the resulting solution, you need to pour in 35 parts of the hardener and mix again. It remains to add 200 parts of cement there and stir until a plastic homogeneous mixture is obtained.
How to install the toilet, see the following video.


