Acrylic Bath Repair Kits: Selection Criteria and Tips for Using
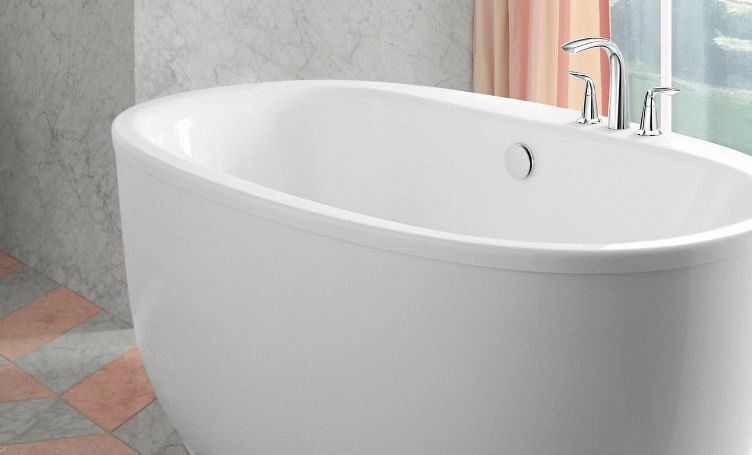
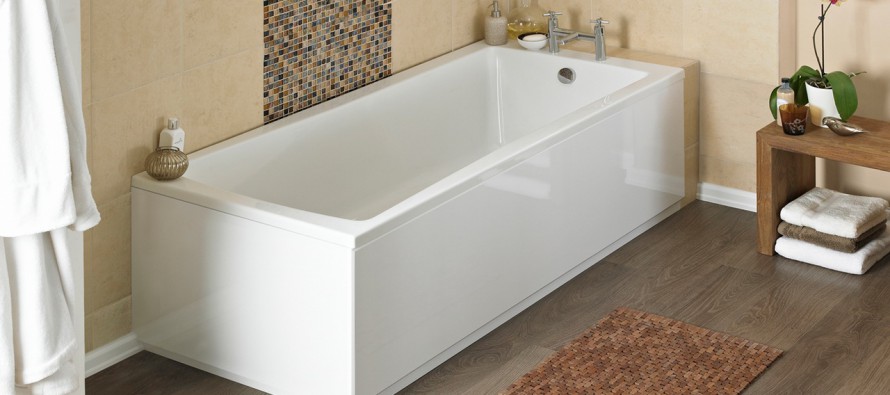
Acrylic bath always looks perfect in any interior. Many people choose exactly this type of plumbing for the reason that it is easier to clean and, of course, for its aesthetic appearance.
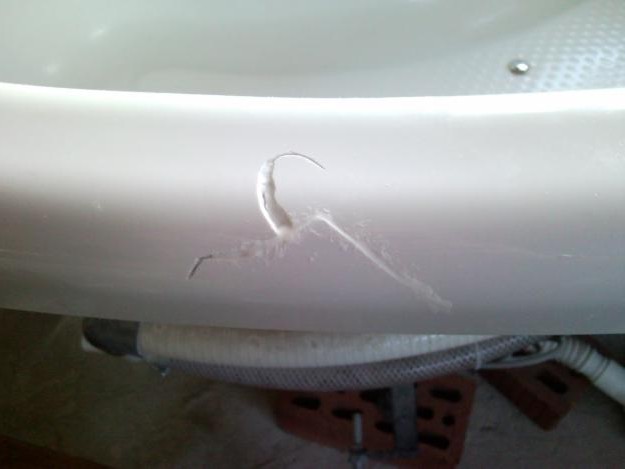
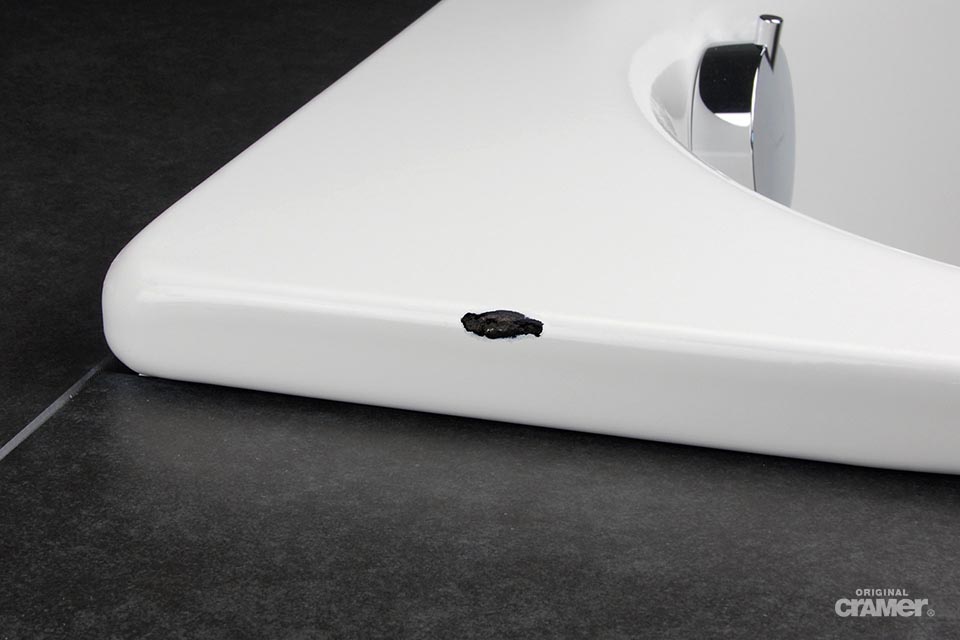
But over time, due to improper operation, the immaculate appearance of the bath spoils chipped or even cracked. But do not rush to change the bath, because after making a small repair of your bath, you can significantly extend its service life. How to do it yourself, learn from our material.
Criteria for selecting a repair kit
To date, in the building stores you can find a wide variety of sets. For example, sets of "DIY", which are designed specifically for the repair of acrylic baths.
Before you choose one or another set, you need to determine the scope of work and deal with the types of damage. As a rule, these are small chips and cracks. But sometimes the bath is badly damaged, and holes are formed in it. Even for such severe damage, you can choose a repair kit for acrylic baths, with which you can bring your favorite bath back to life.
However, we immediately want to mention that after repair the bath will not be as new as any thing after repair can restore all its functions by only 80%. Nevertheless, it will significantly prolong its service life.
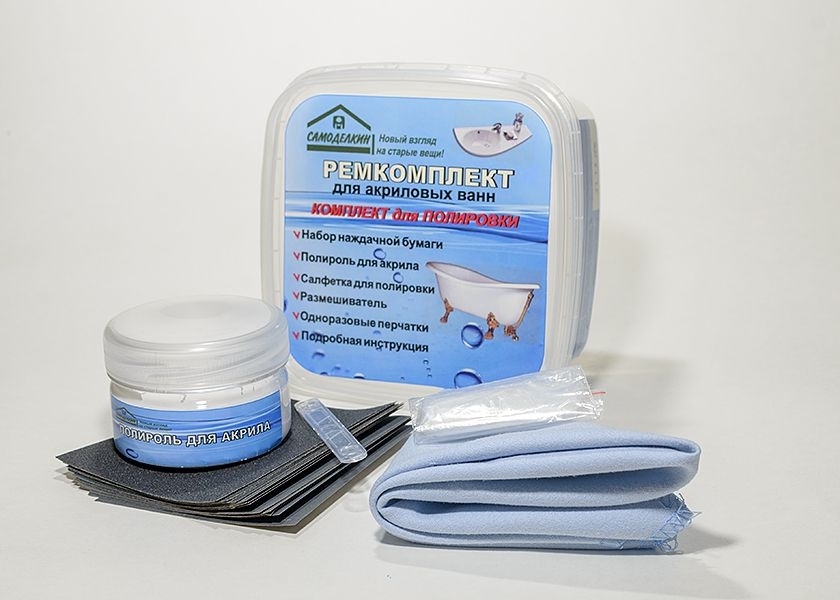
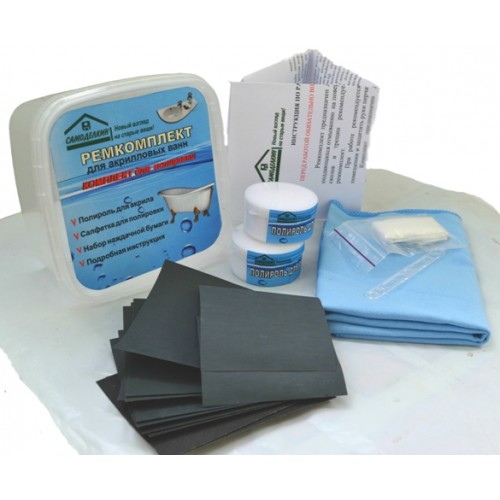
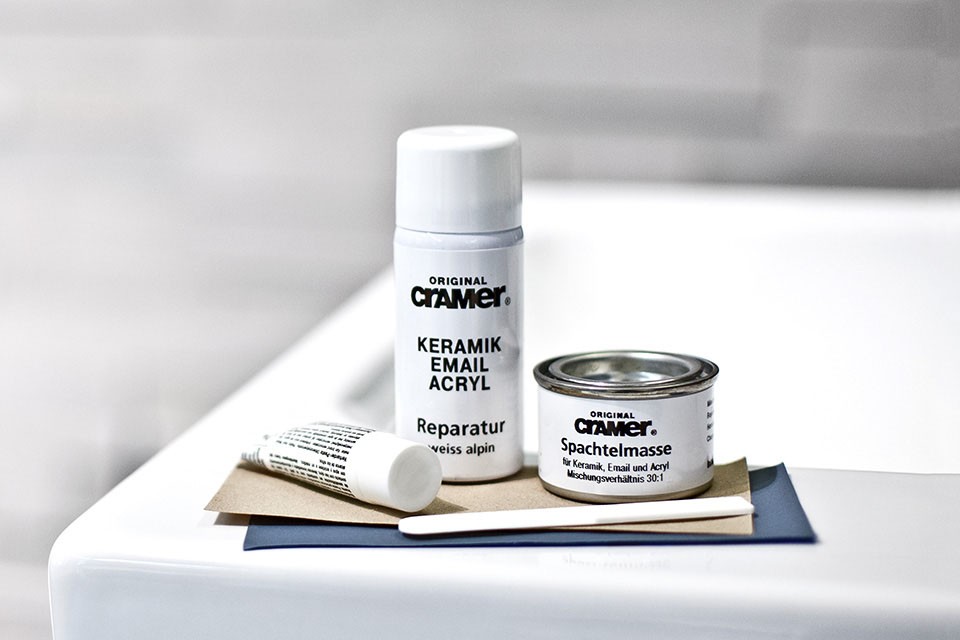
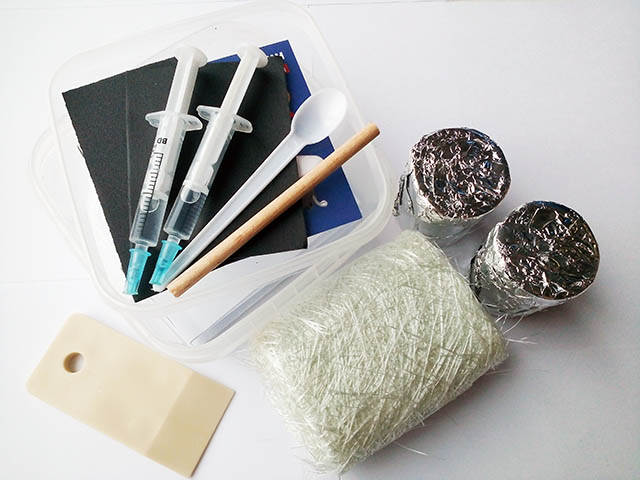
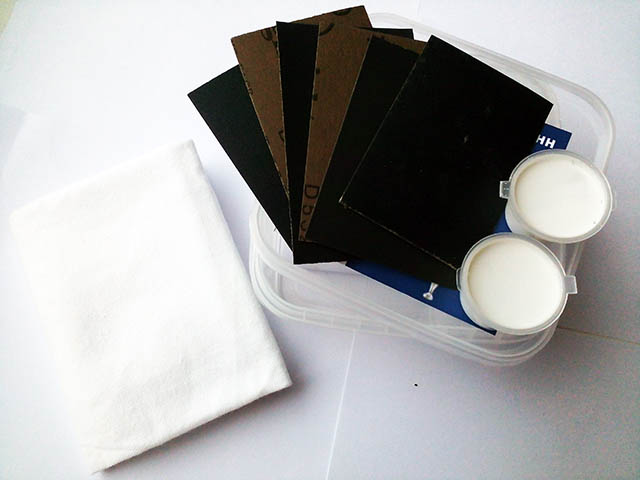
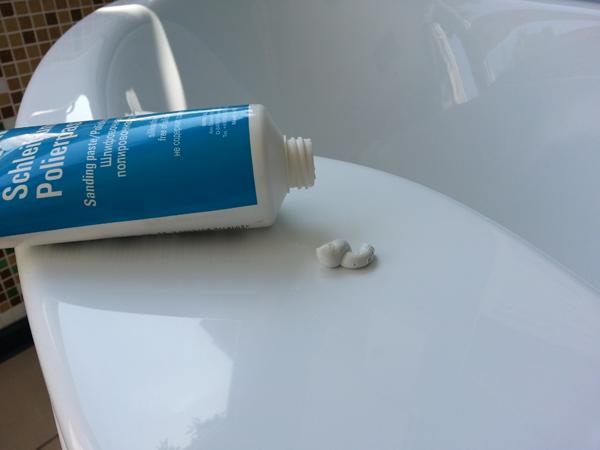
Elimination of chips and cracks is the most common problem faced by owners of plumbing from acrylic. There are a lot of repair kits for such cases. As a rule, it is a reducing agent bank that is designed specifically for acrylic products and polishing paste. Also in the kit must be a detailed instruction and a set of sandpaper for polishing the surface.

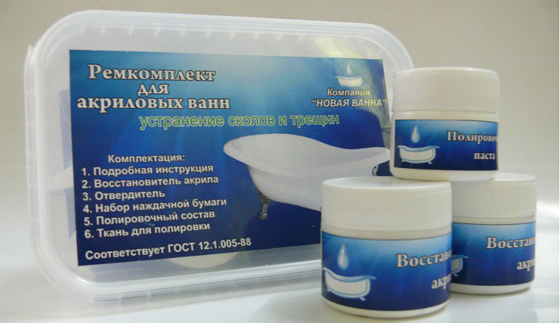
To repair holes and deep cracks need a different set - reinforcing. Accordingly, this repair kit includes slightly different materials.These are special resins, glass mat, special glue and tape, which is intended for the repair of acrylic baths. Also included should be a set of sandpaper and polish.
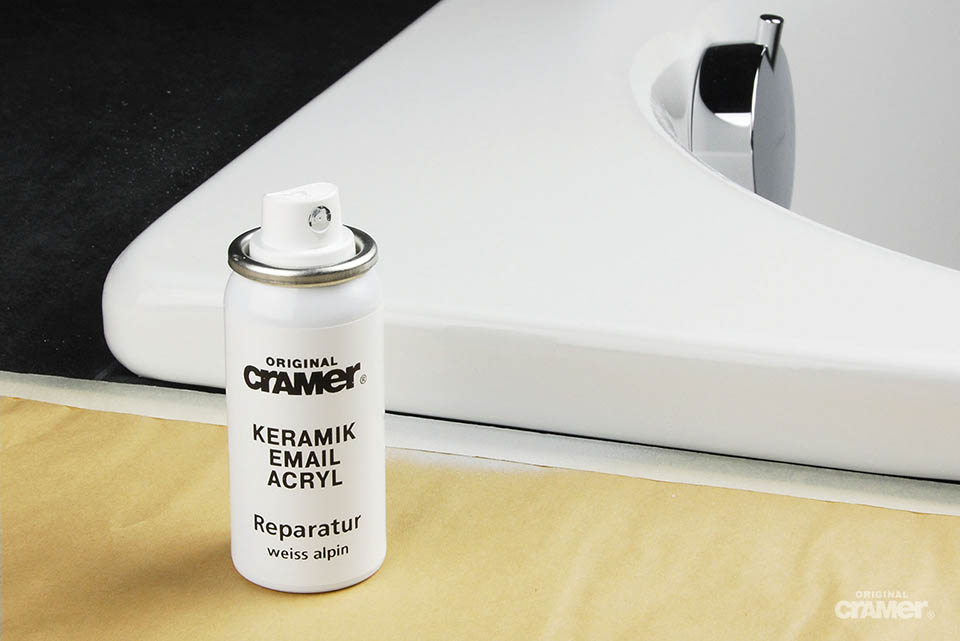
If small scratches appeared on the surface of the bath, and the surface itself became a little rough (not as perfectly smooth as before), then there is a special tool for this case. In this set should be sandpaper and a jar of acrylic with hardener.
If earlier the color of the bath was really white, but now it has become a little faded and yellow spots began to appear, that is, a solution to this problem. We recommend buying a special polishing kit. With this kit, you can easily return the white appearance of plumbing from acrylic, as well as eliminate the roughness of the bath itself. This repair kit includes a set of sandpaper, polish and detailed instructions.
Before you choose one or another set and opt for a particular manufacturer, be sure to listen to feedback from those who have already encountered a similar problem.
We do not recommend to choose repair kits,which are considered to be universal. The reason is simple - such a kit will help to cope with cracks, but will not be suitable for repairing serious holes. Therefore, for each problem, select your set and check the presence of all the components that we talked about above.
We repair the bath yourself
Before proceeding with self-repair, be sure to read the instructions that are in each repair kit.
We have prepared recommendations for you that will help you use the set correctly and return the old look of the bathroom:
- to eliminate chipping, you first need to process the surface around it with coarse sandpaper;
- as soon as you are done with the treatment, we recommend wiping the surface with soapy water and leaving everything until completely dry;
- then the surface should be degreased - it is easy to do this using the most common alcohol;
- After that, following the clear instructions of the instructions, you can start repairing the acrylic bath.
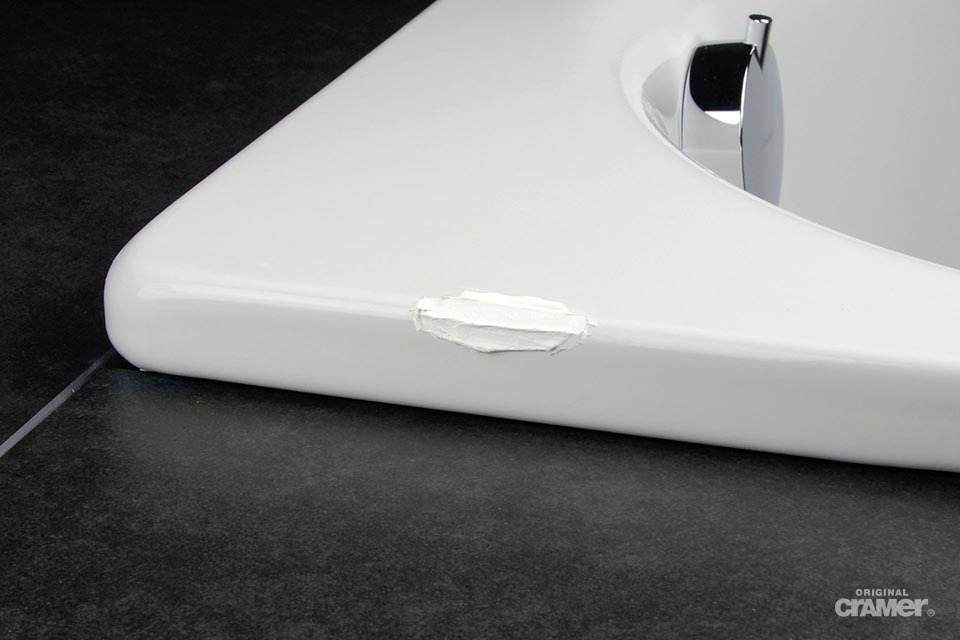
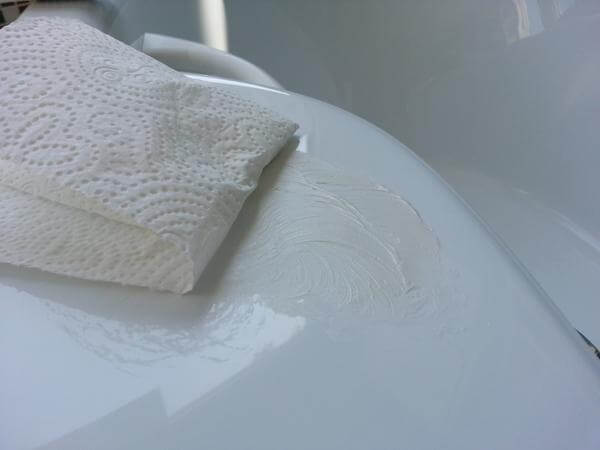
We recommend sealing with liquid acrylic with a rubber trowel, which is more flexible and will not cause additional scratches during the work. The acrylic layer must be flush with the surface of the bath.
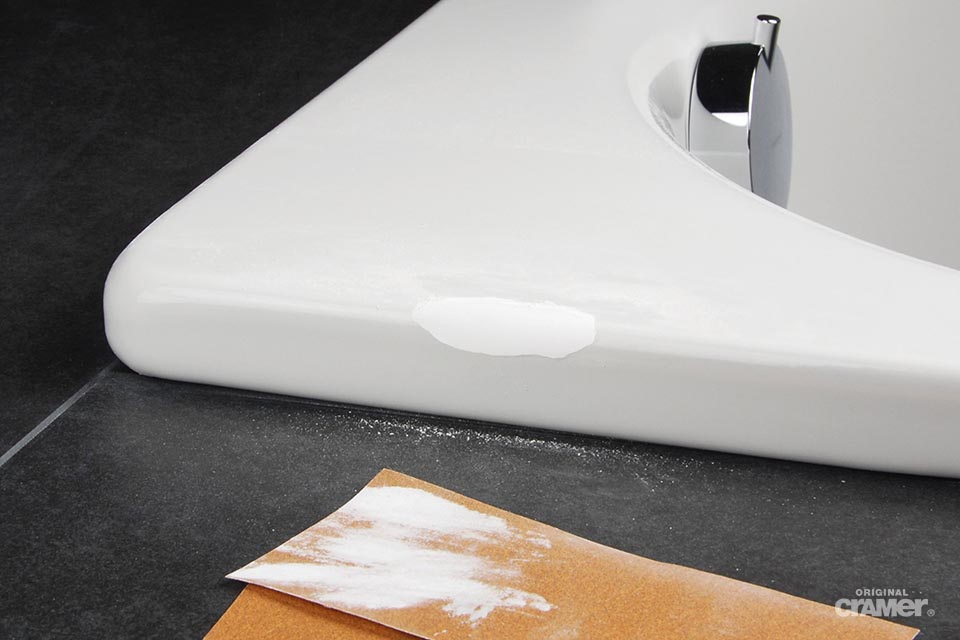
As soon as the chip is patched, it is recommended to leave it to dry overnight. Ten to twelve hours is the perfect time. After - you can proceed directly to the polishing surface.
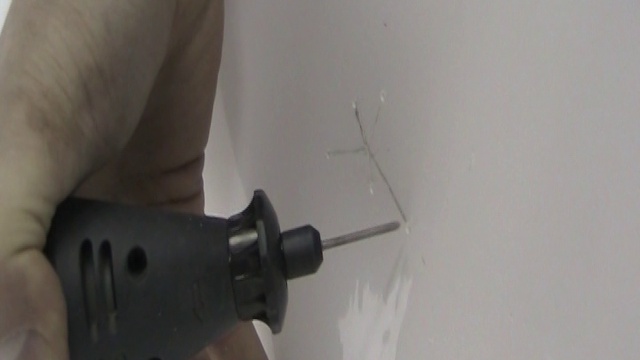
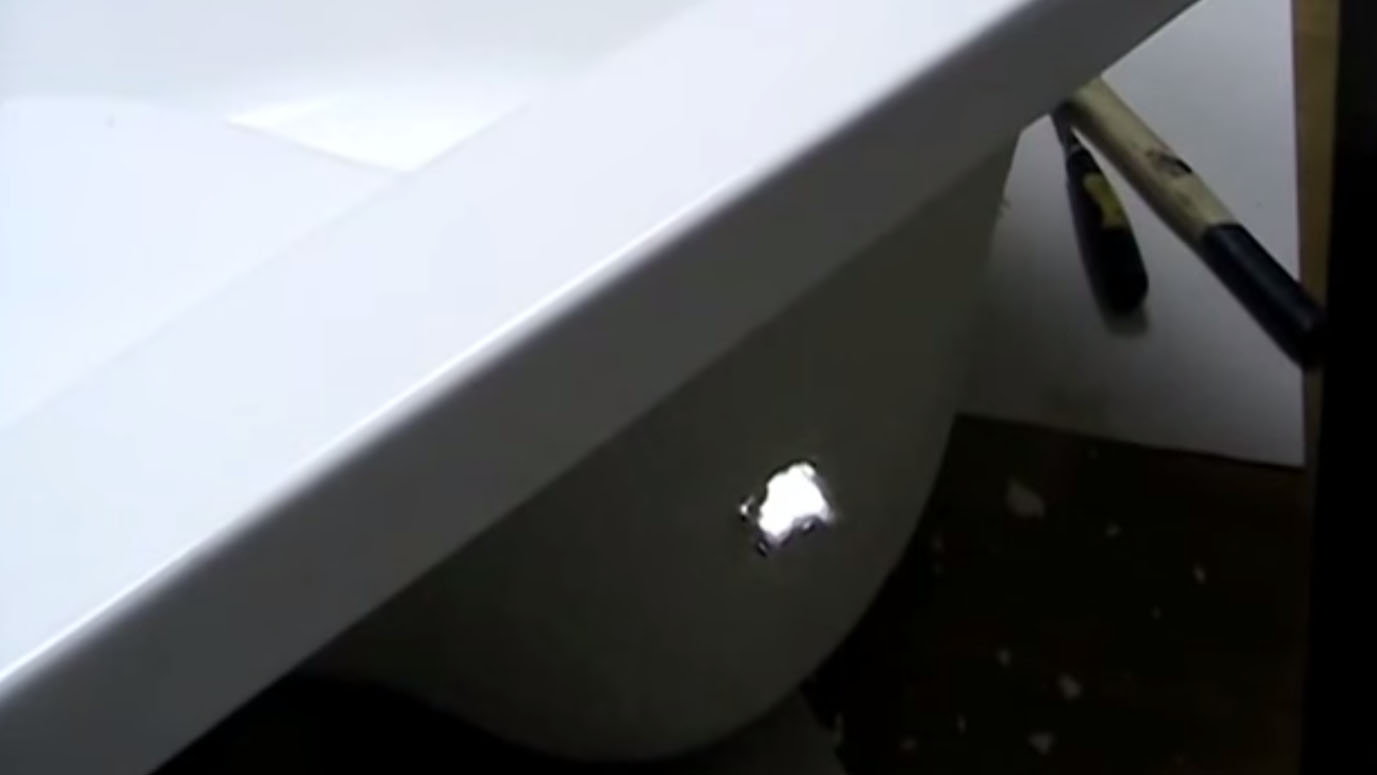
Because of the strong impact, if a heavy object falls into the bath, a crack is formed. In order to eliminate it, you need a special kit, a drill and a rubber trowel.
Before you begin sanding the surface with sandpaper, you need to make two small holes at both ends of the crack using a drill. The hole should be no more than half a centimeter, and it is necessary to prevent the crack from “crawling” further.
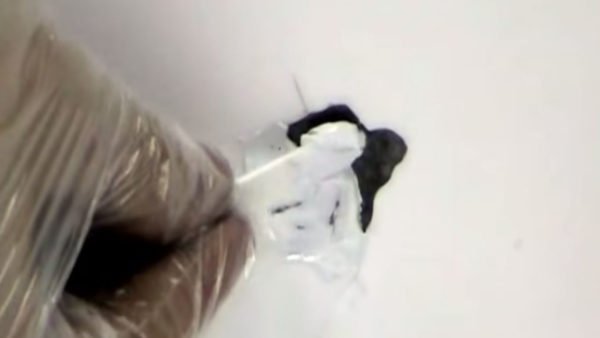
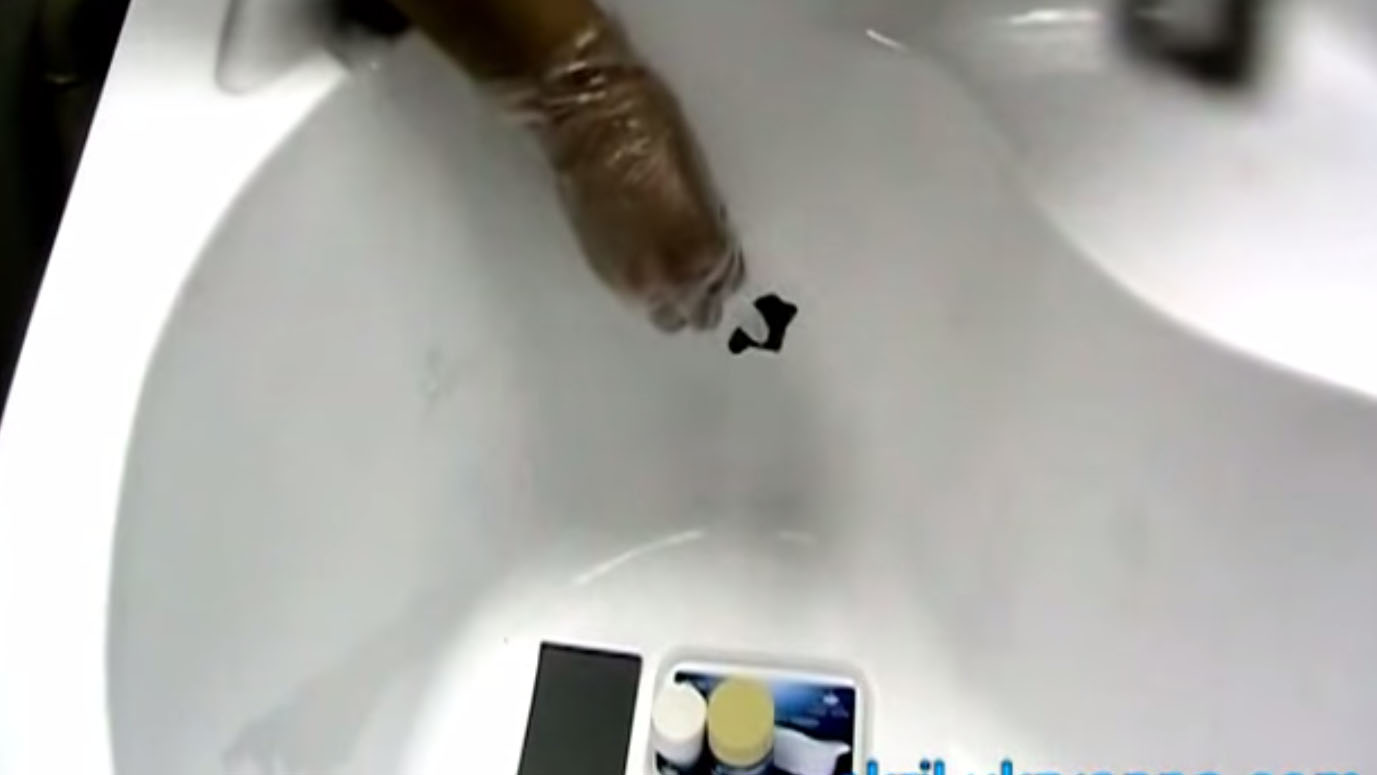
After (as described above) - the surface around the crack should be treated with emery paper. We also recommend treating the surface with soapy water and then degreasing with alcohol. Next, you need to strictly follow the instructions to dilute and prepare all the components in the right proportions. The prepared mixture is sealed with a spatula and left to dry for ten to twelve hours. The final stage will be polished.
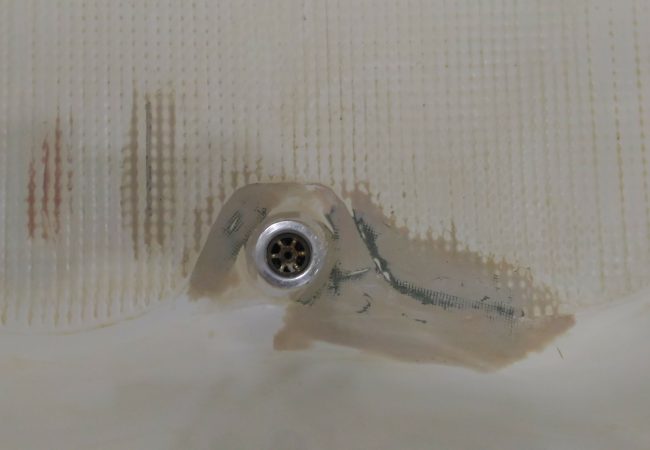
If a real hole or a deep crack has formed in the bathroom, then you cannot do without a special repair tape.Remember that the tape should be just to repair the bath of acrylic - the other is not suitable here.
The repair process begins with the fact that you will need to seal the hole with this tape. It is important to remember that the tape is applied exclusively on the outside of the bath. Next you need to reinforce this damaged area. This is done using a special tool that is in the set - glass mat.
If the surface is severely damaged, we recommend making several layers of glass mat. As a rule, three will suffice. It is important to remember that each new layer should overlap the previous one by at least one or two centimeters.

Using a kit designed for polishing is quite simple. To begin with, we recommend wetting the entire surface with water, then treating it with coarse-grained emery paper and rinsing off all residues and dust from the surface. After - the polish is applied, according to the instructions.
All of the above methods of repair can be clearly seen in the next video.
Tips and tricks
We also recommend reading a few tips that will come in handy when repairing a bath.
- Remember that special glue,Acrylic and hardener must be in every repair kit. Check their availability, so that later you don’t have to buy these components separately.
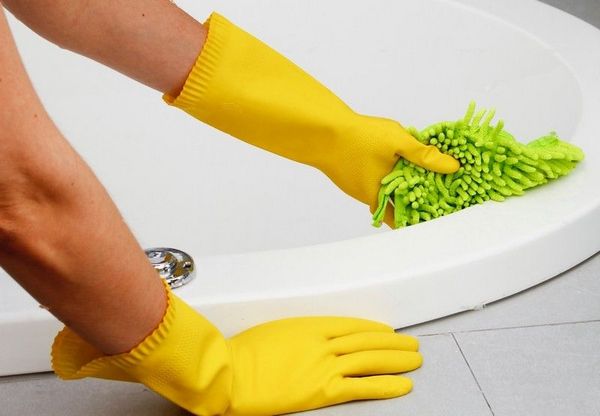
- In order that over time the plumber did not lose its appearance, try to use cleaning products designed specifically for acrylic. We do not recommend cleaning the surface with abrasives - they leave scratches.
- In the bathroom, where there is an acrylic plumbing product, it is not recommended to use any heating devices. This applies not only to the heater, but also to various hair styling devices.
Increased temperature in the room itself can spoil the quality of the product.