Installing an acrylic bath: the details of the process
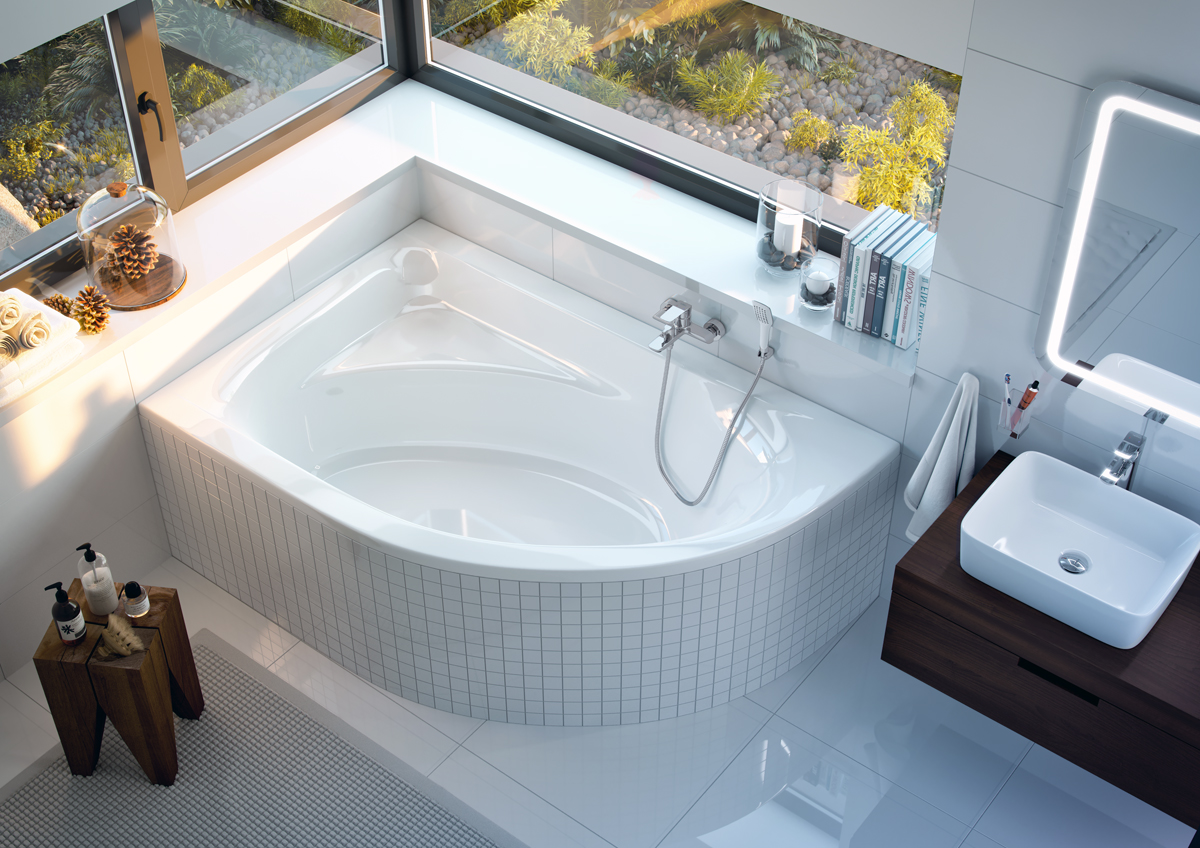
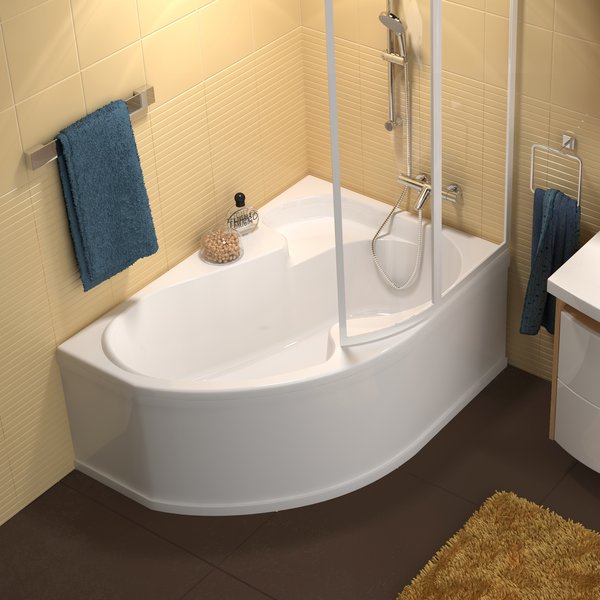
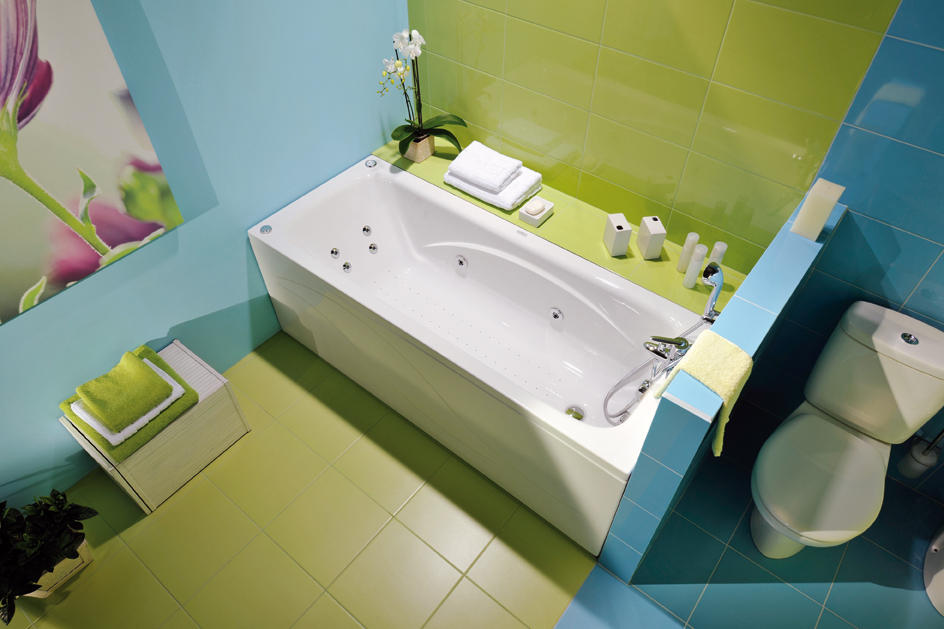
A place under the bathroom should be equipped in every house and apartment, a good plumber in the bathroom and a toilet will help to achieve the convenience of using these rooms. If you have to repair the shower and replace the entire contents, then you should take care of the correct selection of new equipment and its proper installation. If you need to choose a bath, then the most popular, relatively inexpensive and easy to install will be the option of an acrylic product, which will become a functional decoration of any shower room.
Special features
Repair of any room is important, and the bathroom is all the more, because here everything is put not for a year or two, but for at least five or ten years. The most important element of the arrangement will not work with the surfaces of the walls,and the choice of bath and its correct installation. There are many variants of modern fonts: these are cast-iron, steel, stone and acrylic varieties. Each type has its own advantages and disadvantages, but the most popular is now considered an acrylic product.
For an acrylic bath, it is important to create the right care conditions so that the surface is dry., clean and not exposed to abrasives or aggressive chemical compounds. Only in this case it will be possible to count on long-term use and preservation of the proper appearance. The advantage of acrylic is that it is very light, but at the same time it is easy to break if the impact force is above the norm. Due to the nature of such a product, an important step will be the process of its installation.
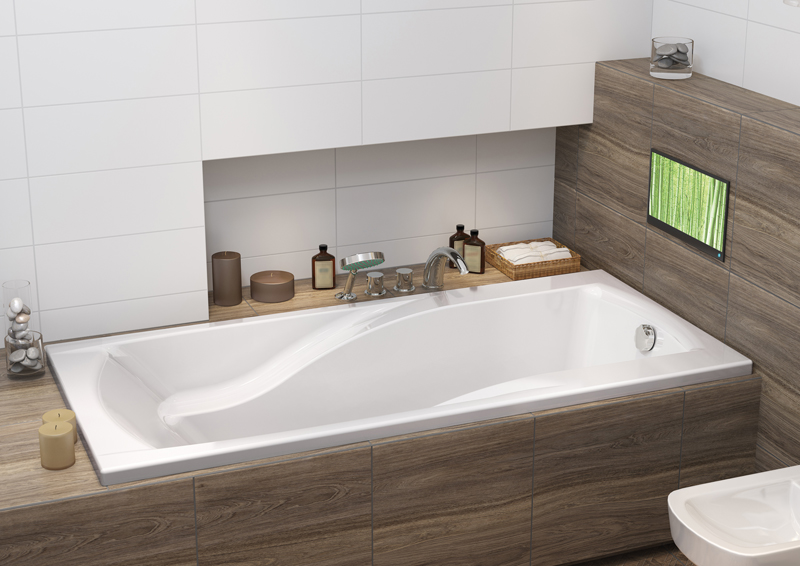
Installing an acrylic bathroom in the shower is quite simple, because it is light enough to comfortably perform the installation work on the drain and any other manipulations. Due to the fragility of the product, the need was to save the bath, for which the best solution is the construction of the frame. Installing the font in a similar design minimizes the risk of cracks and any other disturbances of the outer layer.In this case, the space under the bathroom is completely foamed or clogged with mineral wool so as not to create a hollow space.
This is just one of several options for how to install an acrylic product.
Placing a place for swimming is considered to be not less popular, but simpler and cheaper. on the floor through the use of legs, which can be bundled or purchased individually based on the size and weight of the equipment. If this method does not cause adequate confidence, then an alternative may be fixing the bath on a metal frame, which can be ordered for a specific product or cooked by yourself.
Whichever option is chosen, the most important thing for comfortable use of the shower is a quality product and proper care for it. If you are careful and do not drop heavy objects in the acrylic font, then there will be nothing to worry about, the bathing area will always be attractive, and the process itself will be as convenient as possible.
Preparation of tools and materials
The process of installing an acrylic bath with your own hands requires the preparation of the place where the future object will be located, the necessary materials and tools.It is important to create a full-fledged working environment so that nothing interferes in the room, then the procedure will take place at an optimum pace and the quality of the repair will be at its best.
To complete the installation of an acrylic bath, you must have:
- the product itself to be installed;
- materials for a specific type of attachment: legs, frame, bricks;
- hammer;
- Bulgarian;
- perforator;
- silicone sealant;
- level;
- adjustable wrench;
- electrical tape or mounting tape;
- corrugated pipe;
- brackets with which the bath will be mounted on the floor or to the wall.

For the repair process to go correctly, it is important to do everything in a certain order:
- water supply shut off;
- dismantling the old bath;
- replacing the old drain;
- sewer cleaning;
- installation of new corrugations in the sewer bell;
- greasing the junction of the corrugations with sewers;
- the process of leveling the floor under the new equipment.
As soon as all the work is done, you can proceed to the installation of a new acrylic product.
It is best to decide in advance what kind of installation will be used to carry with you everything you need.
Mounting methods
The installation of the installation of the bath has always been a complex process, which can not do without professionals. Due to the large size and heavy weight, only those who know what to do and how to do can handle metal tanks. New materials made it possible to create a lighter variation of the same plumbing product, which made it possible to work independently.
The installation of an acrylic bath can be done in several ways, depending on what the necessary construction and materials are chosen for it.
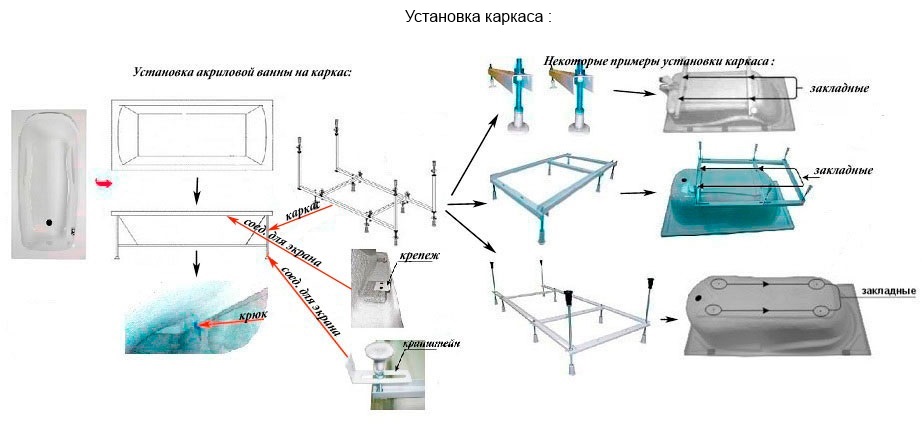
There are four main options, how exactly you can make the installation, it is:
- use of legs;
- installation on a metal frame that must be pre-assembled;
- the manufacture of brick supports, on which the font is placed;
- the manufacture of a brick podium, where the product falls.
In addition to these options, there are also combinations that have their own characteristics. Choosing the right type of installation, it is important to take into account the dimensions of the bath: if the dimensions are 170x70 cm, then all possible ways are appropriate, for more compact it will be convenient to leave the legs, because the weight is significantly reduced,and for more bulky it is better to make a podium.
If there is no experience in installing a bath, then it is better to use the services of professionals., because the material of the product is very fragile, and any negligence will lead to a crack or hole. In addition, it is necessary to proceed to repair work as soon as possible after purchase, because the shape of the bowl may become different from storing in the wrong position and inappropriate conditions.
The installation process itself for each option is different, and before starting work, you need to study the features of each one in order to choose the most suitable one for the specific conditions.
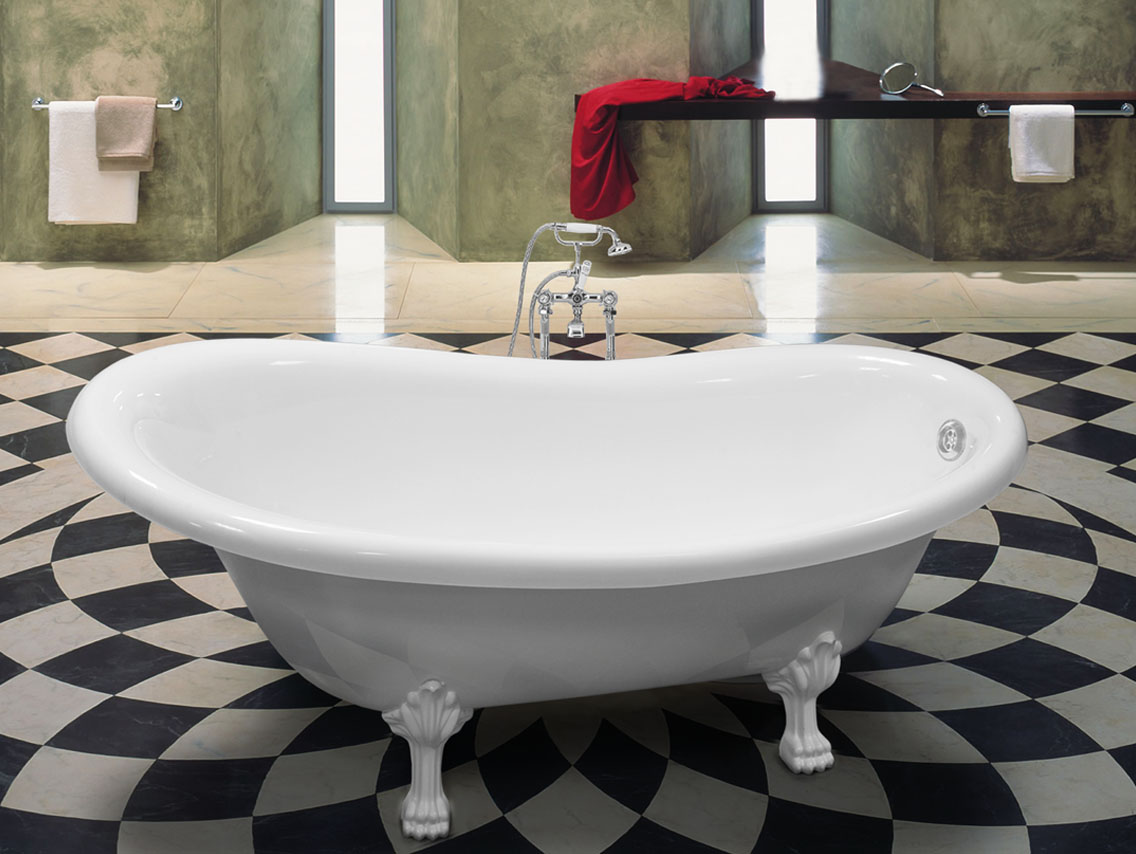
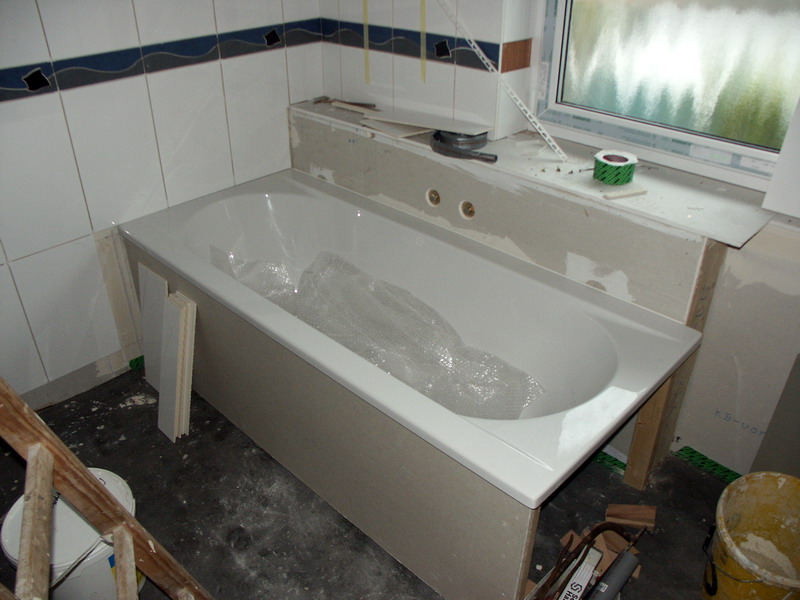
On legs
The easiest way to install a bath is to install it on the support legs. Often they are already included and selected for the product. In order to fix the supports, usually a large number of tools are not required, but sometimes it is necessary to make holes for fasteners. If the situation compels such actions, then the drill is taken for woodwork, and the hole is made at low revolutions of the tool.
The process of installing the legs is reduced to ensure that they securely and put in the right place, which will give the necessary height for the installation of pipes and siphon.
In fact, the work consists of two stages.
- The process of fixing the legs, which are installed on special places provided by the manufacturer. Usually they are marked with a special sticker or some kind of symbol so that you can easily identify the place of landing supports. In some cases, the hole for the fasteners has already been drilled, and in some not. It is important to use the designated places and to make holes where it is required, otherwise the weight of a person’s body during bathing will be unevenly distributed in the bath and it will be damaged.
- The process of regulating the support legs. Practically all modern constructions, which assume installation on supports, can be regulated relative to the height from the floor. This makes it possible to adjust the plumbing for the needs of residents. Tall people will be comfortable location font more than 15 cm from the floor, and people with medium height and below it, you will need to lower the bottom a little less than the standard height.
The first thing you need to install a bath against the wall, and then proceed to screwing the legs. The next stage is the alignment of the product on a horizontal line, for which the construction level is useful, which is placed on the side of the bath.The process of adjusting the supports in the finished form is carried out with a wrench.
When the height of the bowl is at the optimum level, the legs are fixed and the work moves to the wall, to which the product must also be attached. For this process, it is necessary to pre-install hooks made of plastic or metal, and later screw the bath to the wall with their help. As soon as the work is completed, the final step will be the sealing of the joints, which is carried out using silicone sealant.
They are processed all the joints of the bath with the walls.
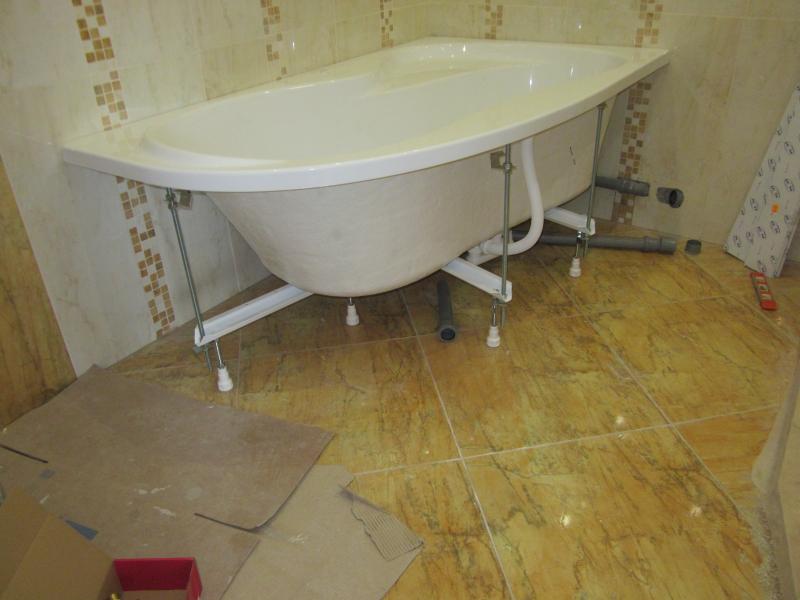
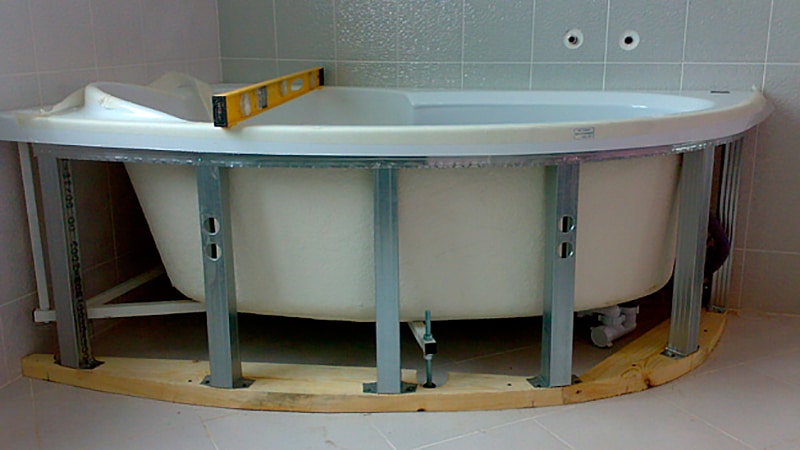
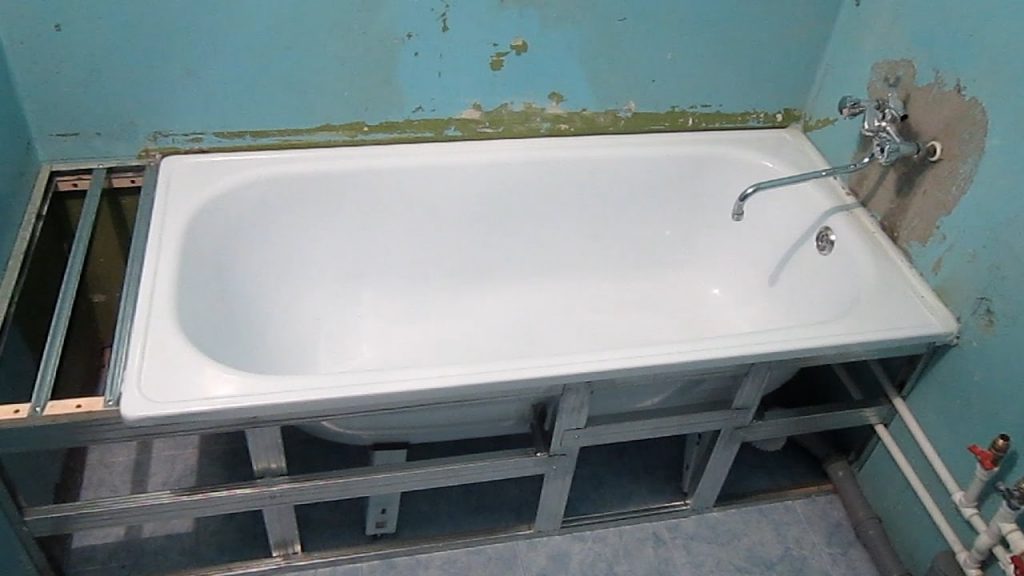
On the frame
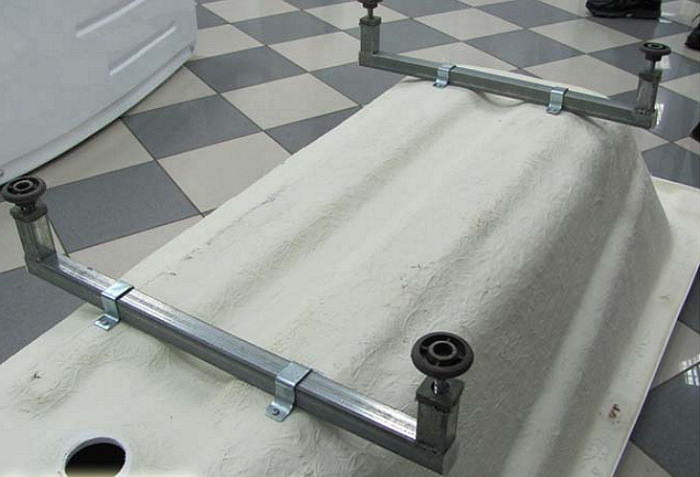
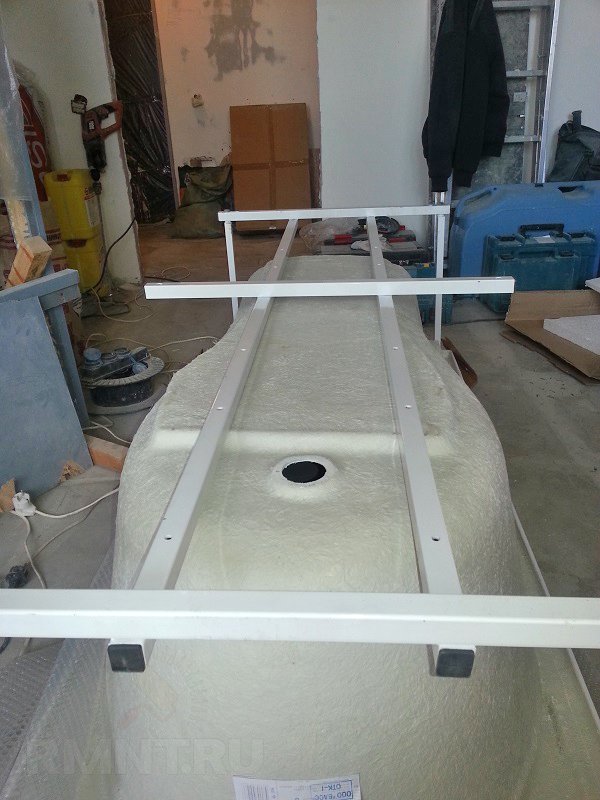
If there is a desire to make a reliable mount for an acrylic bath, then the most appropriate would be its installation using a frame. This process is not too complicated, but it requires knowledge of the case and a clear following instructions.
Consider the procedure.
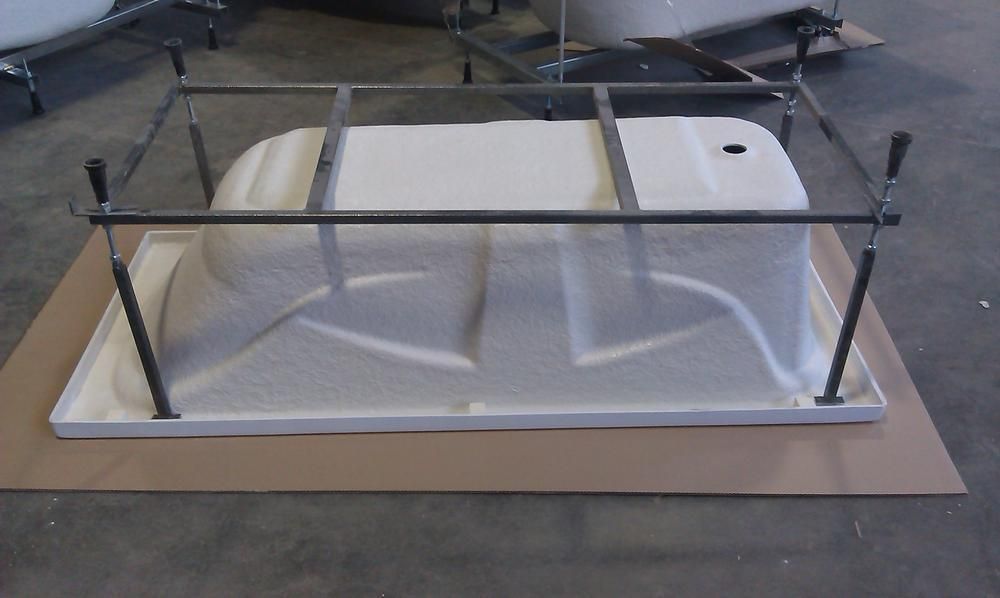
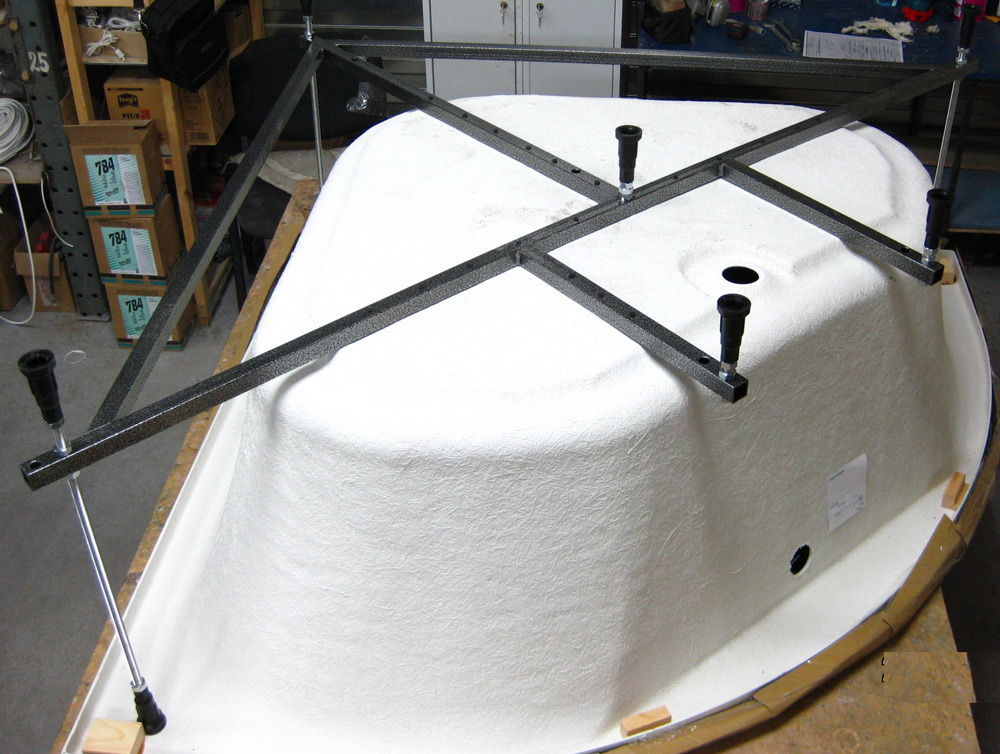
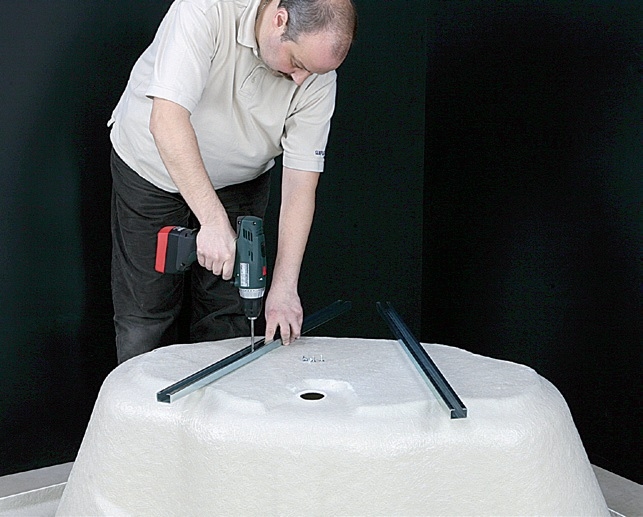
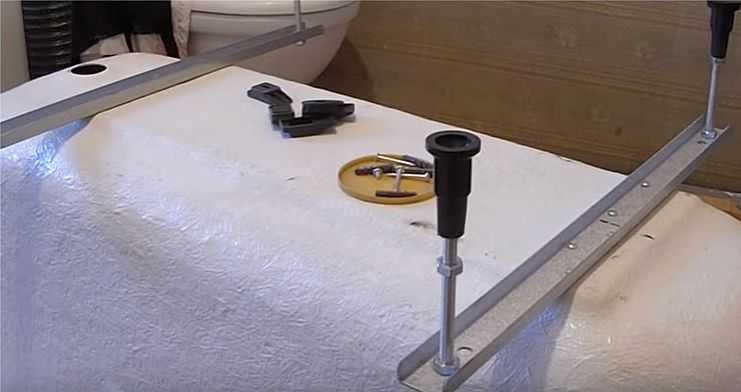
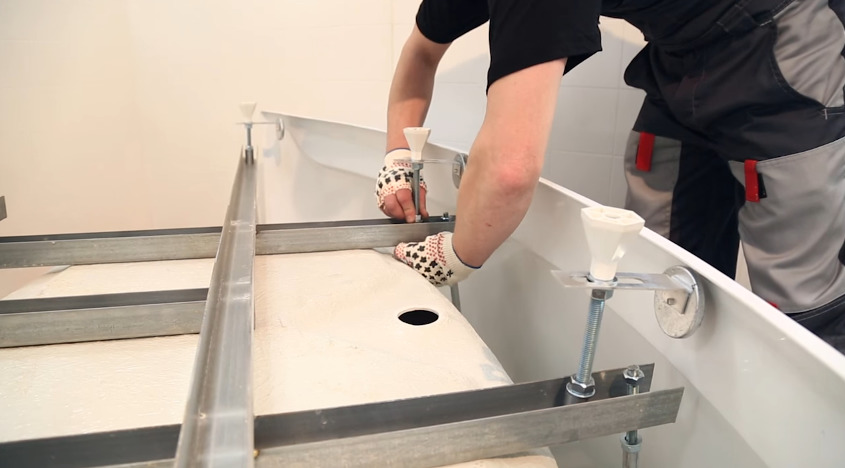
- Build the frame. This design is bought in advance, the instruction to it is studied. With the help of screws, which are provided in the kit, part by part is twisted.
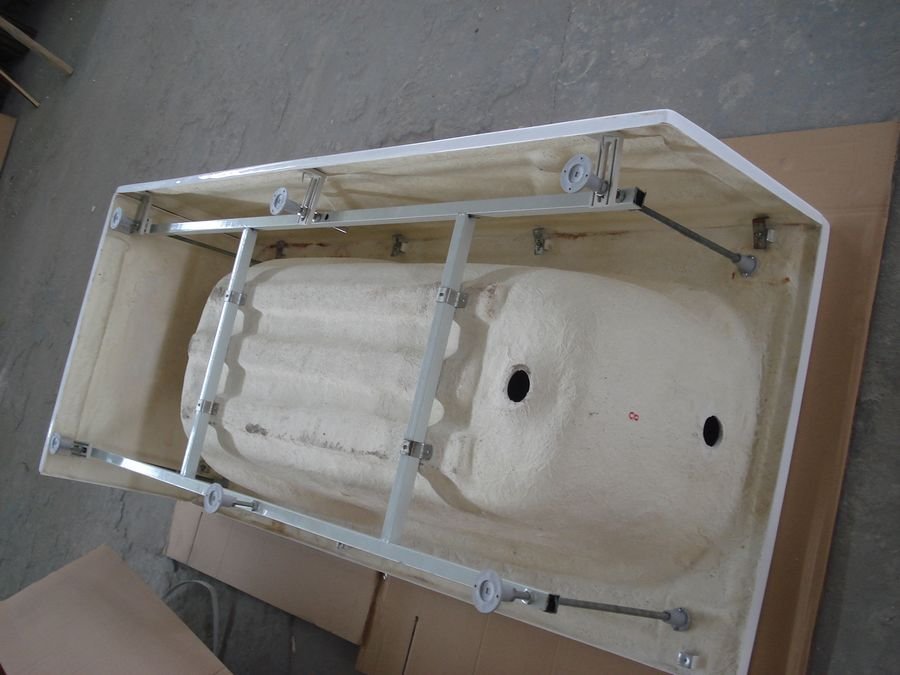
- Installing the finished structure on the bath. For this process, it is necessary to turn it over, and then put on the frame. Fixation is made using racks and spiers, which are screwed to the bath.They need to be located from the center, first - those near the wall, there should be two, and then - two from the front panel, they need three.
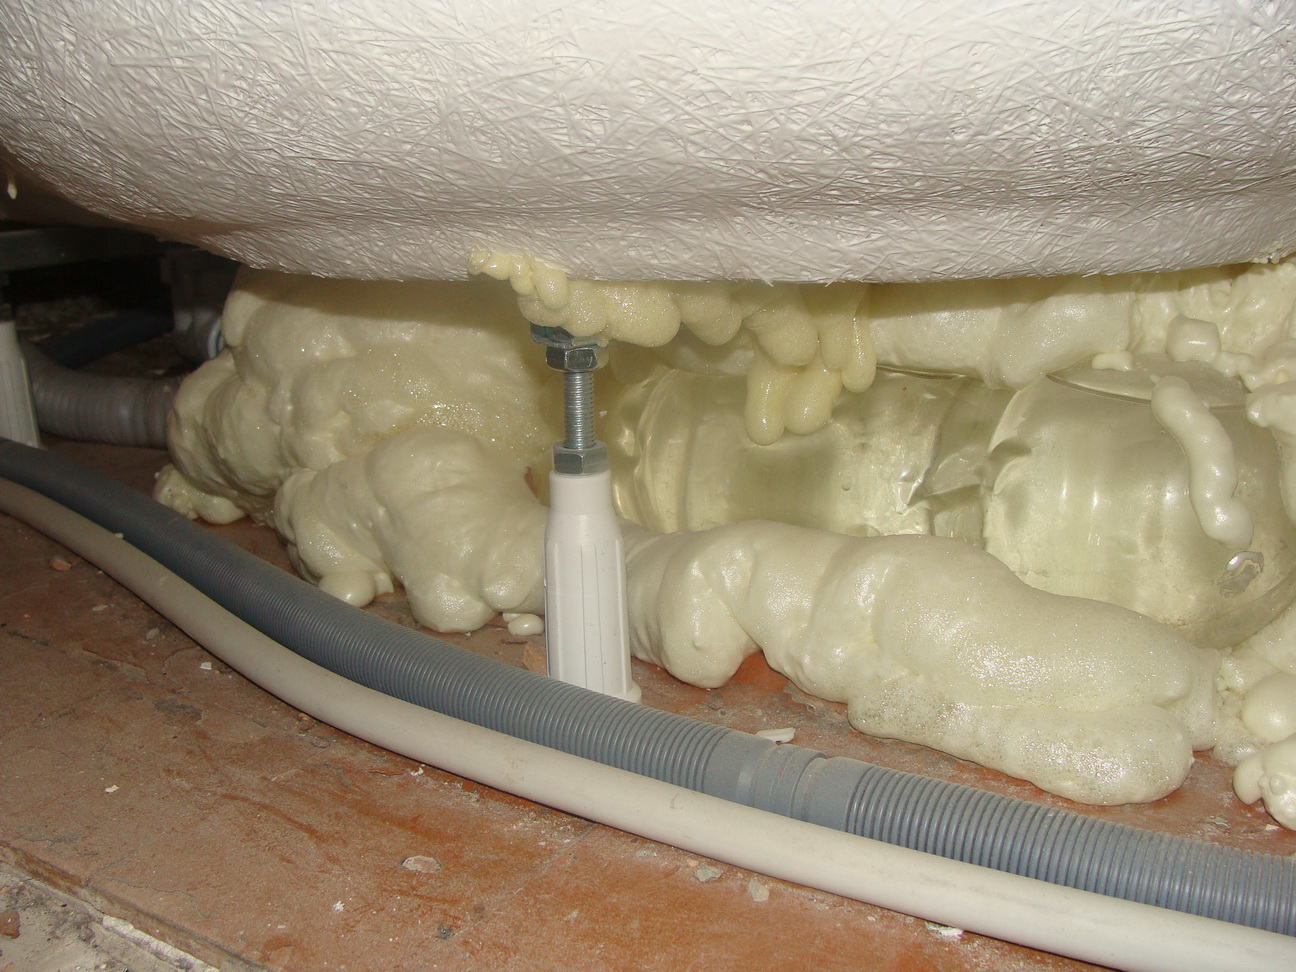
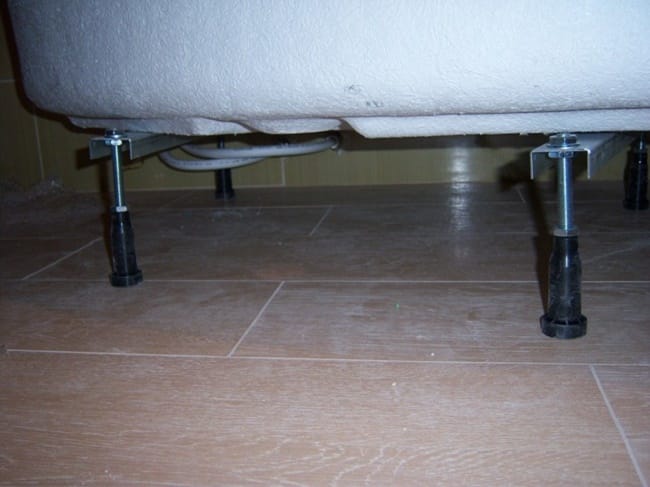
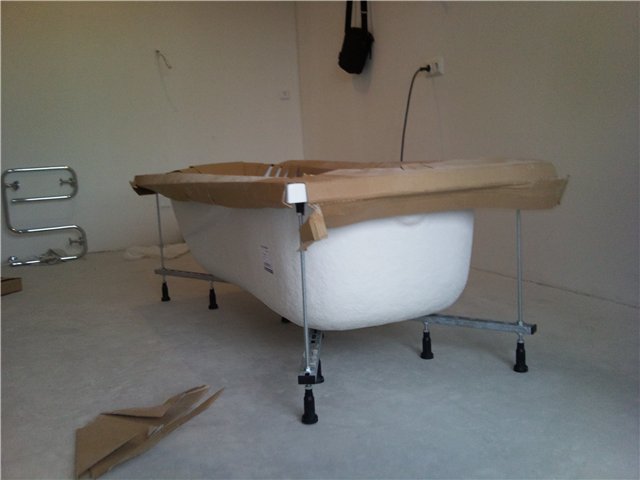
- When it was possible to secure the frame, the legs of plastic with thrust bearings, which regulate the height of the entire product, which should not be above 65 cm, are screwed to the finished structure.
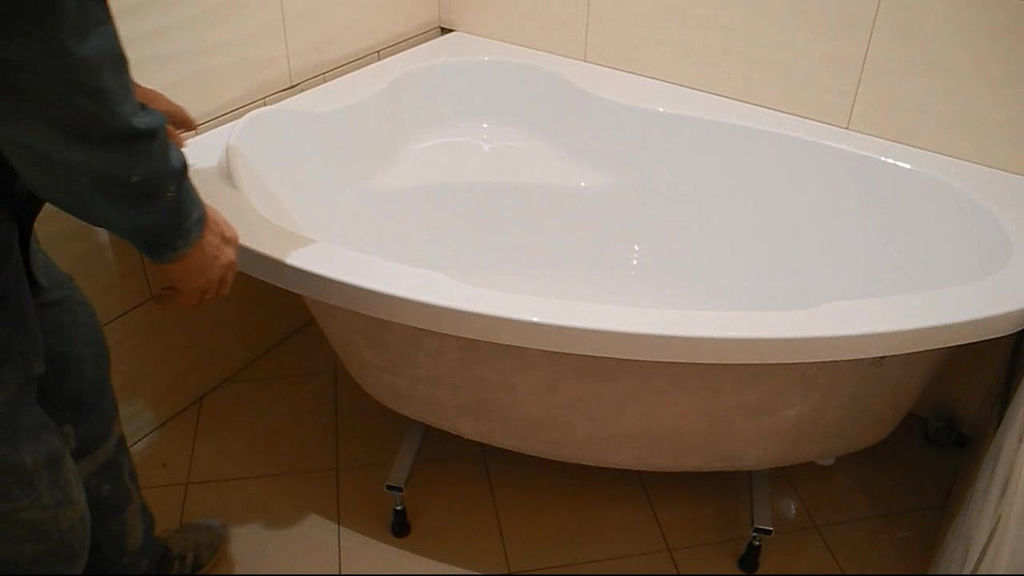
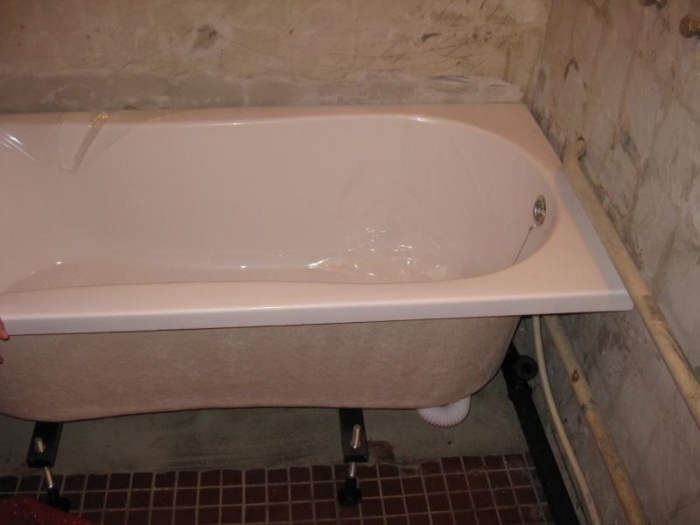
- Only after that can the bath be turned over and check whether all the elements are installed correctly and whether the font is exactly the same.
- If necessary, the bathing container can be additionally attached to the wall, for this purpose a metal hook or corner is used.
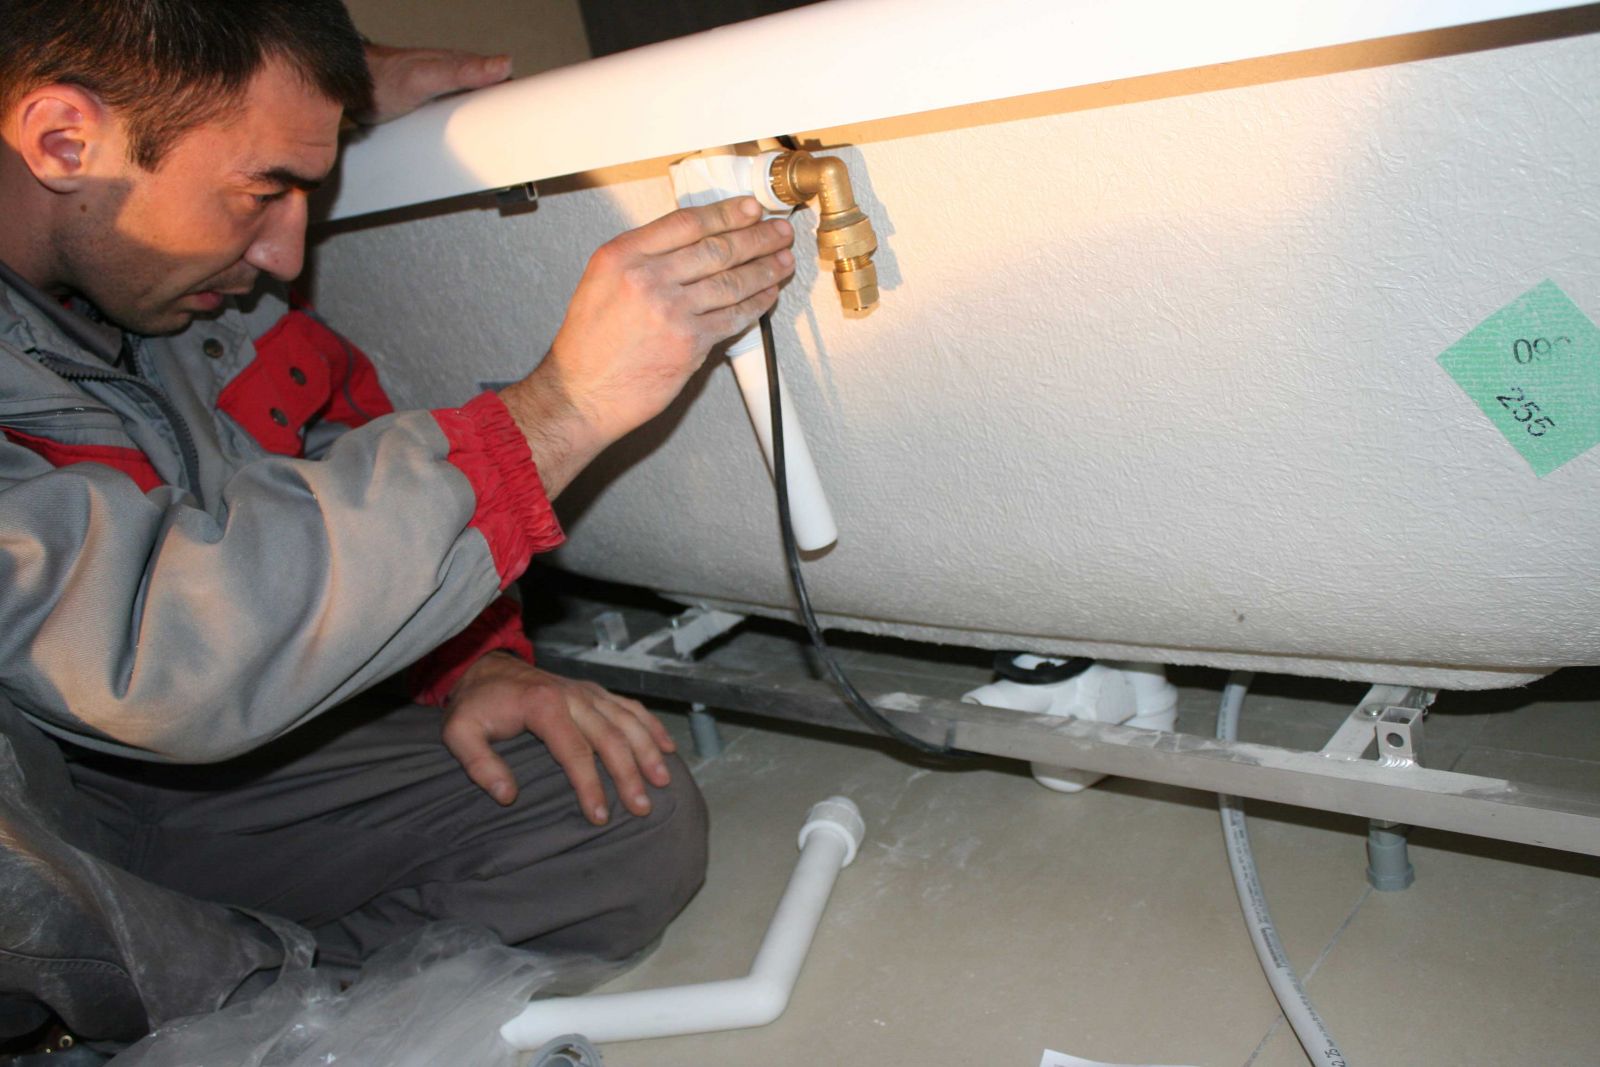
- The next step is to connect the siphon and overflow.
- Having received a practically finished construction, you can begin to install the mixer, which should be selected correctly based on the functions that it will perform in the room.
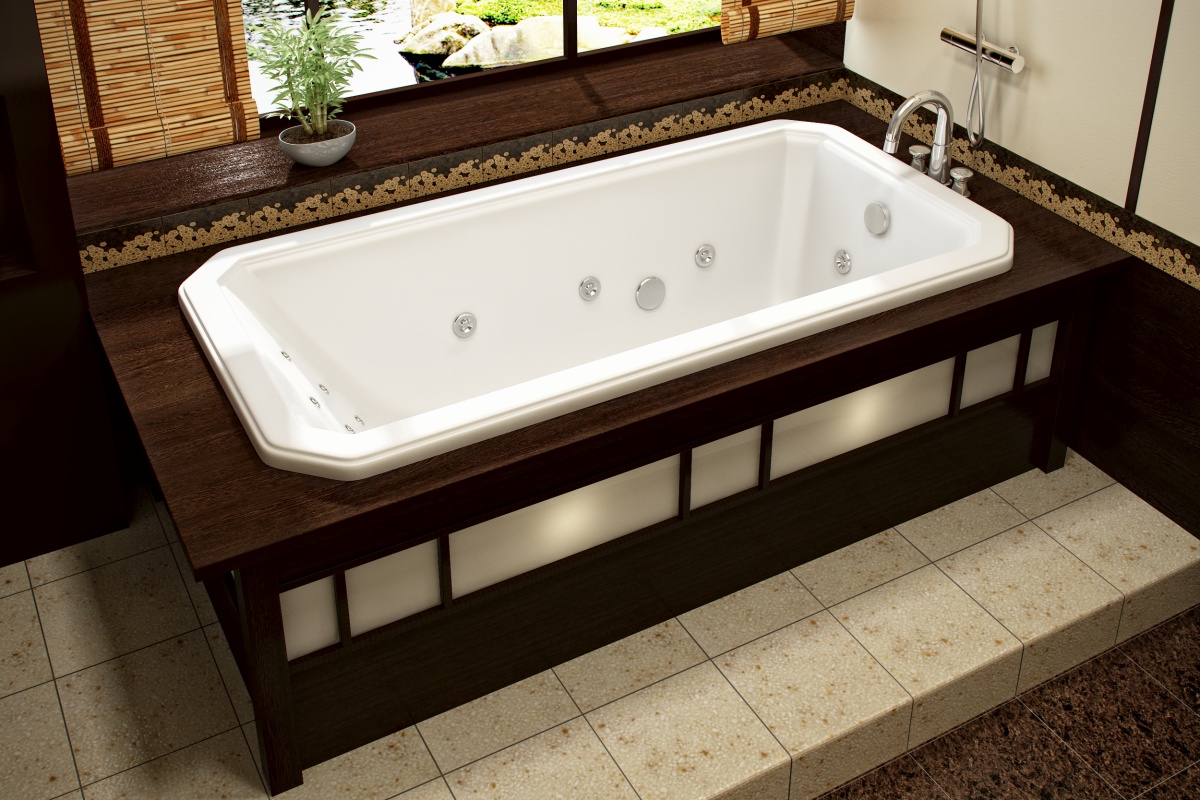
- To hide from outsiders the type of installation and the type of metal construction, it is better to install a decorative screen. It can be plastic, wooden, decorated with decorative tiles, it all depends on the preferences and capabilities.
The use of the frame will allow you to securely fix the bath and prevent it from moving.In addition, it is better to distribute the mass of the one who bathes, and the bowl does not deform exactly.
To avoid the noise of water on the surface, you can fill the space under the bathroom, which will give the effect of sound insulation.

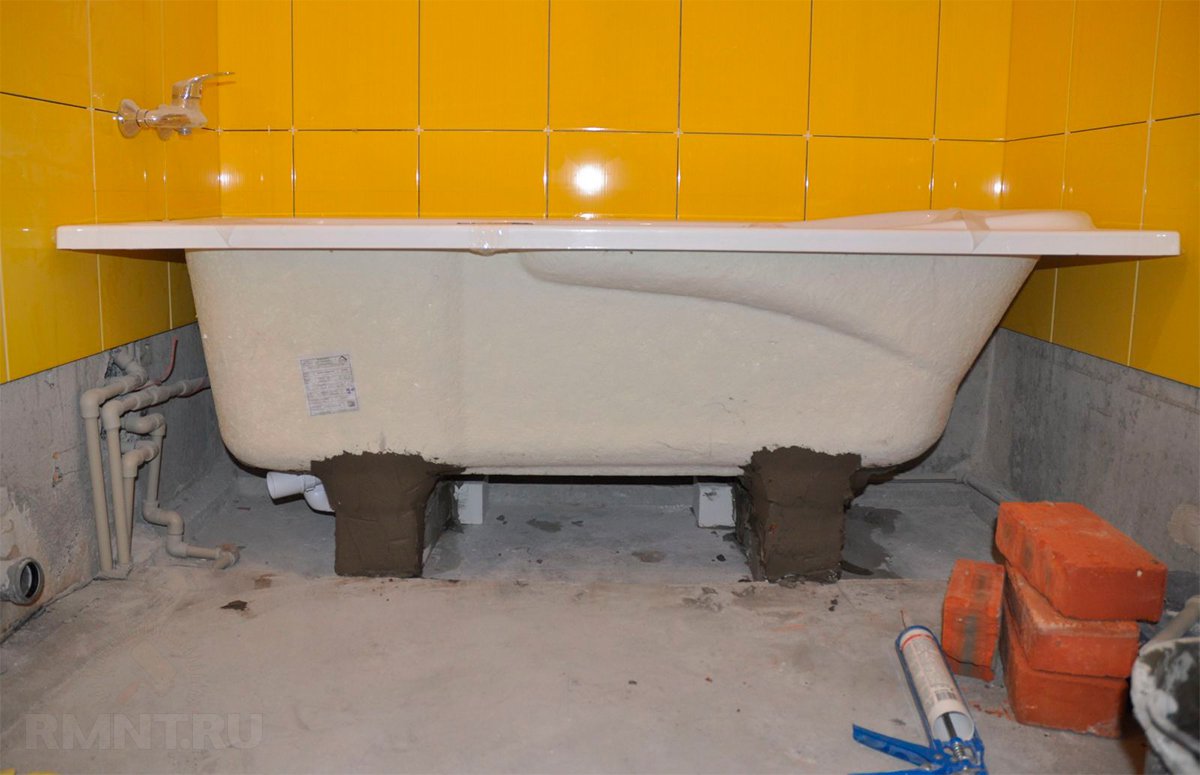
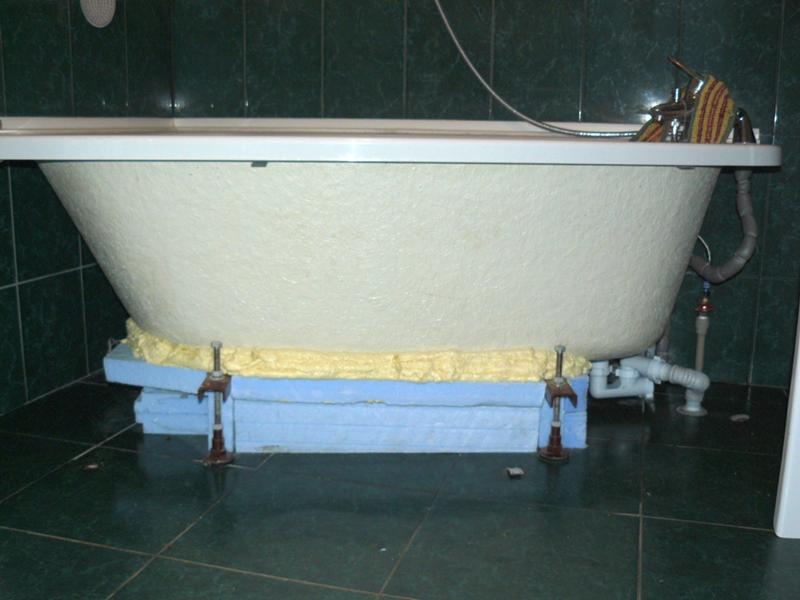
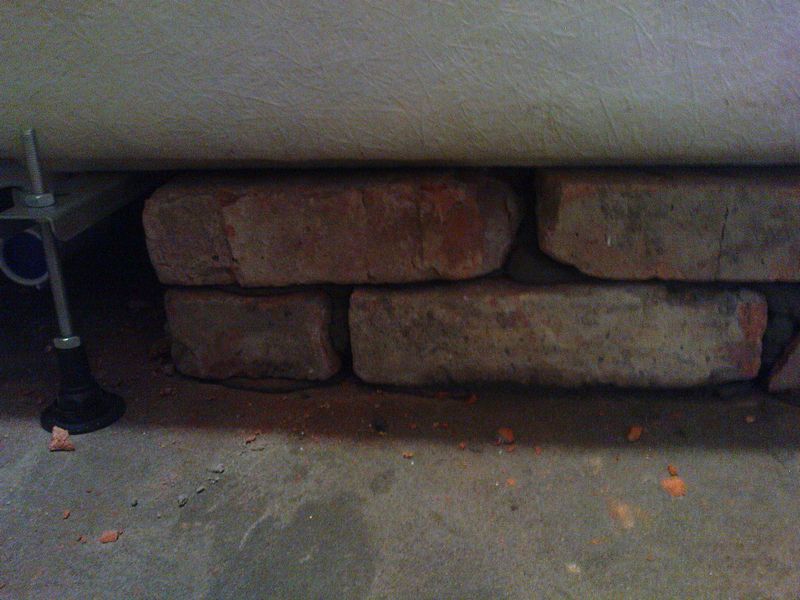
On supports
You can mount an acrylic bath not only on the legs and frame, but also on the supports. The most convenient option for them will be a simple brick. With a total of twelve pieces, you can build four pillars on which to set the tank for swimming. Unlike the podium, which also requires the presence of a brick, in this case the construction is light and there is no excessive pressure on the shower floor.
To put the bath on the support, you must adhere to a specific sequence of actions.
- After dismantling all the excess in the room, you need to bring a new plumbing, it is better not unpacking, so as not to damage, and then make a mark for future supports.
- It is necessary to rationally distribute the supports in relation to the length of the bath. If it is large, then it is worth placing three columns in length; if it is small, two will suffice. It is important to place one under the bath at the bottom and two - along the edges of the product.
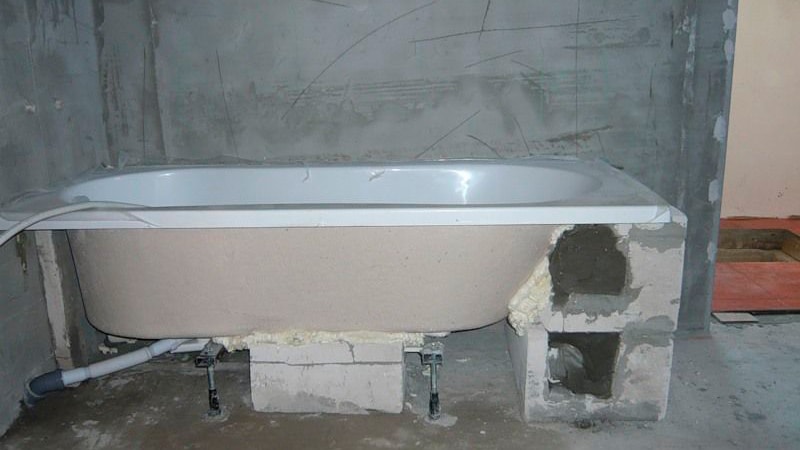
- After marking remove the font and proceed to laying out the columns. Their height should be no more than 20 cm, so that the bath is not higher than 65 cm above the floor level.
- The brick is placed on the mortar, which should dry for at least 12 hours, but it is better to wait 24 for full confidence in the strength of the structure.
- When the supports are ready, the bath is installed. Its joint with a brick is important to fill with silicone sealant.
- For reliability, it is necessary to install metal corners or hooks on which the font is placed.
If there are concerns about the thermal conductivity or strength of the acrylic material, you can cover the bottom of the bath with foam before installation, which will help to avoid these problems.
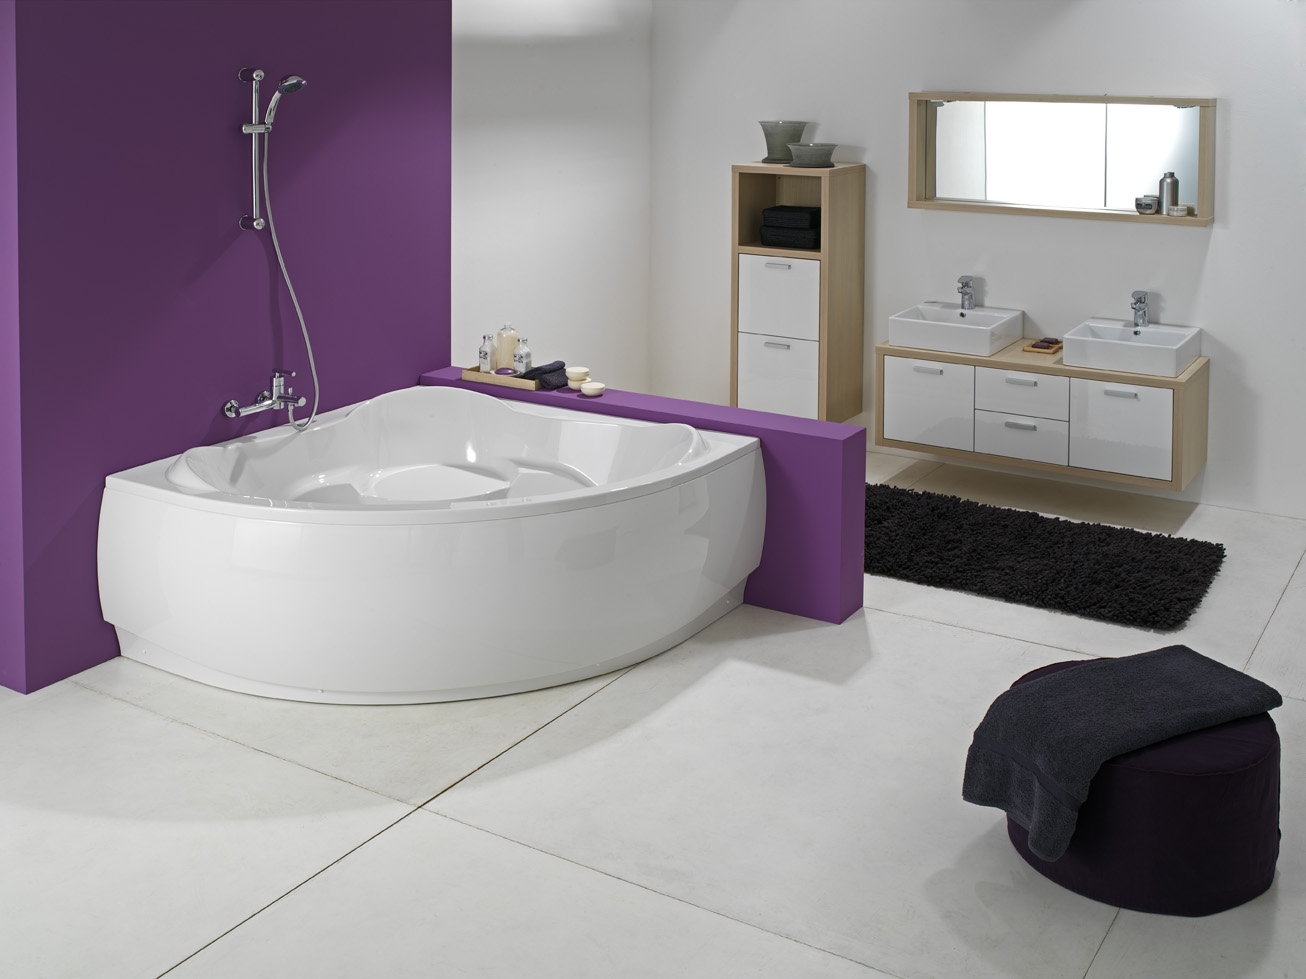
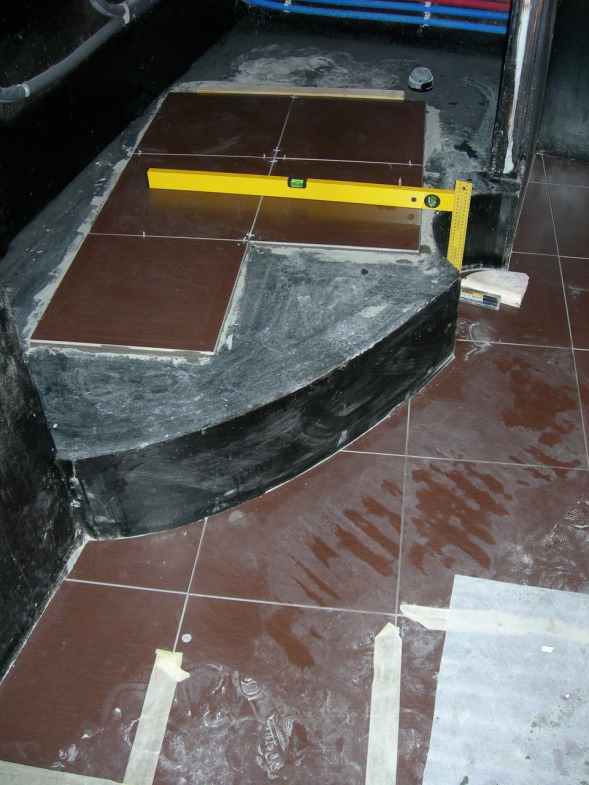
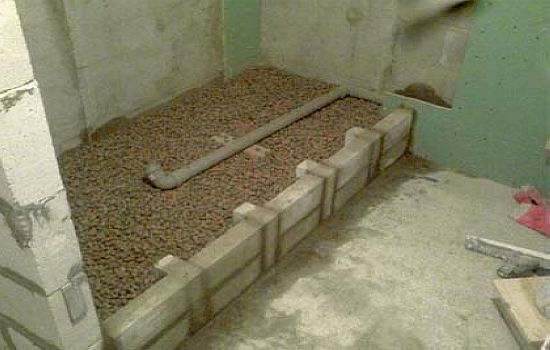
On the podium
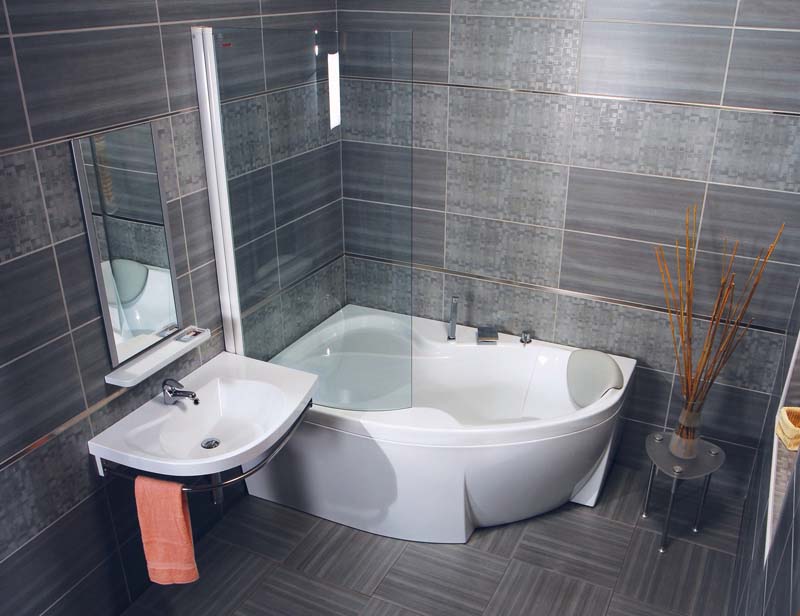
In that case, if there is a desire to make a beautiful, and, most importantly, reliable construction under an acrylic bath, then the best way would be to build a podium, especially if this is the corner option for plumbing. To do this, you need a sufficiently large number of bricks and a number of tools. Properly completing all the steps, you can get a decent result.
Installation work consists of several stages.
- Dismantling of all outsider and unnecessary in the new shower room.Bringing new plumbing into the film and installing it at the intended location. In this case, in addition to the benchmark for the construction of the frame, you need to note a place to drain.
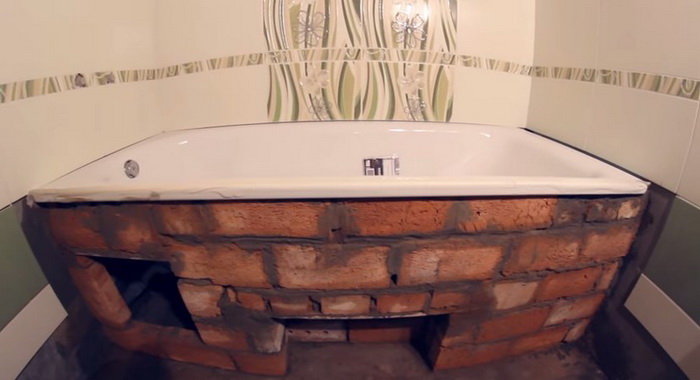
- The construction of a brick podium with a special solution is done until the height of the finished structure is 60 cm.
- When the brickwork is ready, using plywood, which is resistant to moisture, a frame is cut out, which is slightly higher than the podium in height, in order to close the foam between the masonry and the bathroom.
- Brick podium must be covered with one layer of foam and apply plywood to it.
- Installing the bath on the finished podium and checking the evenness of the construction level.
- To properly cure the foam, you need to take water in the bath, about half and wait about a day.
- Connection of bathing tank to the sink with overflow and installation on the finished podium with the help of corners or hooks.
Installing plumbing of this type, you should not make any bias to the sink, because it is already provided for in the design of the product.
To give the podium a finished look, you can veneer it with decorative tiles directly on the bricks.
Combined options
In order not to overload the ceiling of the apartment by installing the podium, you can make a strong and reliable support for the acrylic bath with the help of legs and bricks at the same time. It is important to correctly calculate the height of the brick structure and raise the font to the same height using the legs. It is not easy to cope with such work, but it is possible if you wish and try.
To facilitate the task, you must initially put the bathing cup on the legs and choose the optimal height for this plumbing, then determined the distance between the floor and the bottom of the bath. This makes it possible to understand the width and height of the brickwork. The construction of brick should not be located close to the bottom of the bath, between them you need to leave a gap of one centimeter, which is later filled with foam.
You can use another option, when a flat base is erected from bricks, which serves as a support for the bottom, and the legs are already fixing the entire structure so that it does not falter and stand securely.
In this case, you also should not allow contact of the brick with the bottom, leaving a gap for the foam.
Useful recommendations
- If the shower is supposed to install an acrylic bath,which will replace the cast-iron one, it is important to know the specifics of working with a new material and decide on the installation method that is most appropriate in specific conditions. After dismantling, in the first place, you need to put in order the wall, level it and putty it.
- Independently install acrylic plumbing is quite simple, because it has a small weight, but it is better to have an assistant who will assist with any transfers of the product, which will protect the fragile surface of the new bath from damage.
- When installing the font, the first thing to take care of is alignment with the floor level, so that the construction is secure and check the height of the legs so that the bath does not loose. When installing the product on a brick base, it is important to monitor the level of supports after each new layer, so that there will be no plumbing distortion later.
If you can not solve this problem, you should think about changing the method of installation of the product. If there is a desire to make the bathing tank not swing at all, then the best option would be to build a podium. This option is perfect for residents of the first floor or a private house, and in the old high-rise buildings it is better to refrain from such a significant weighting of the ceiling of the house.
- If it is not possible to build something bulky, the strengthening of the acrylic bath can be done using a metal frame or a combined version using legs and brickwork. The choice of option depends on the skills, working conditions and dimensions of the font. After completion of the installation work, it is necessary to close the junction of the bath with the wall. This can be done with a sealant. But it is better to use a plastic corner, which at the base is cut at 45 degrees so that you can stick it to the surface exactly.


- The installation of the bath should be comprehensive, take into account the parameters of the height of the bottom of the bath from the floor so that you can easily mount the drain and siphon and ensure optimum comfort of use. The average height of the bowl in the shower should be from 50 to 60 cm for people with average height and 70 cm - for tall ones. The frame, legs, supports or the podium should be erected only after the optimum height is measured for the members of a particular family, taking into account all its features, the presence of children or people with disabilities.
You will learn more about installing an acrylic bath in the following video.


