How to build a summer shower with a heated dacha?

Today, almost every city dweller has a summer cottage. This is a great place to relax from working days, where you can have a great vacation and weekend with family and friends. In order to ensure comfortable living in the country, it is necessary not only to beautifully decorate the landscape design of the site, but also to equip it with such an important structure as a shower. The most popular with summer residents is a heated system. Unlike other types of structures, it is easy to install and allows you to cool off at any time of the year.
Special features
The dacha shower is a unique structure with a combined type of heating, in which in warm weather the water is heated from the sun, and when it is cold outside, a special ten is put into operation.You can build such a shower on the land plot yourself, since the installation requires a minimum number of components. In addition, if the building is originally decorated, then it will harmoniously complement the design of the villa.
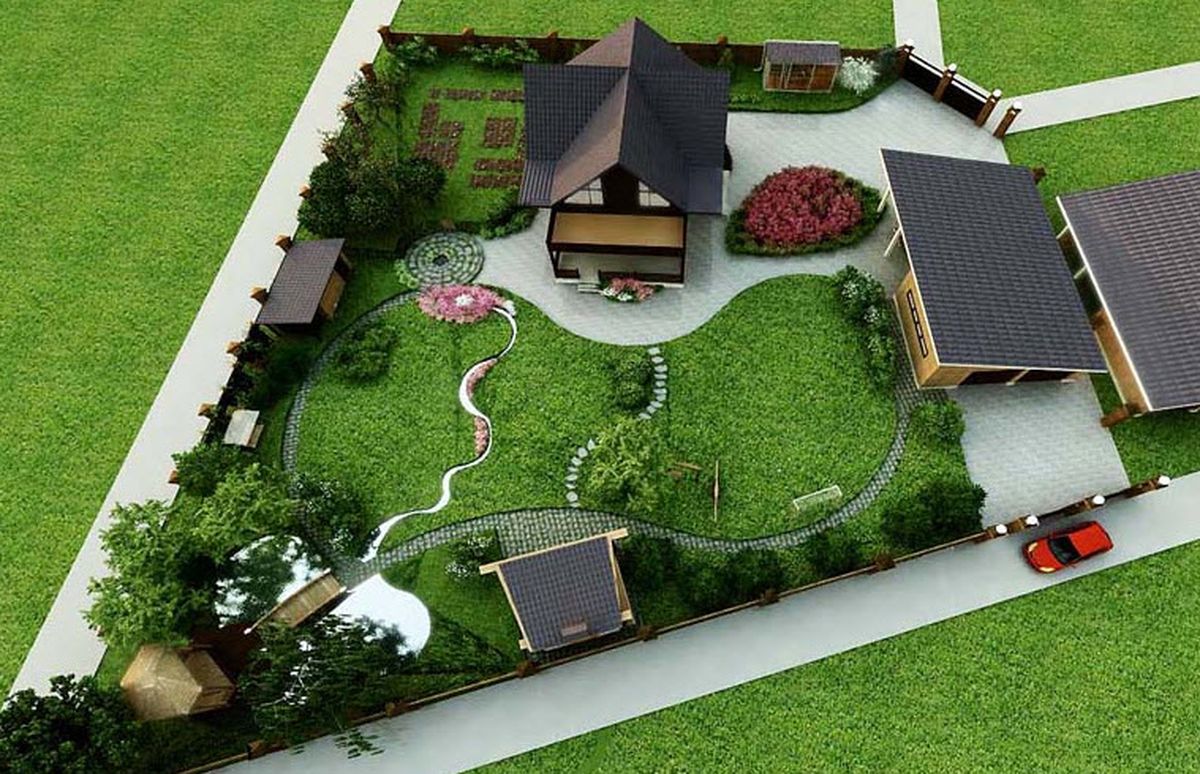
Before you start installing the structure, you should choose the right place for it. Since in summer the water should warm up independently under the influence of the sun's rays, it is not advisable to place the shower in the shade. The best solution would be to build it in an open area in the garden, but it should also provide access to the electricity that will be needed for the operation of the heating elements.
The complete set of summer showers should include:
- racks;
- tank;
- crane;
- mat;
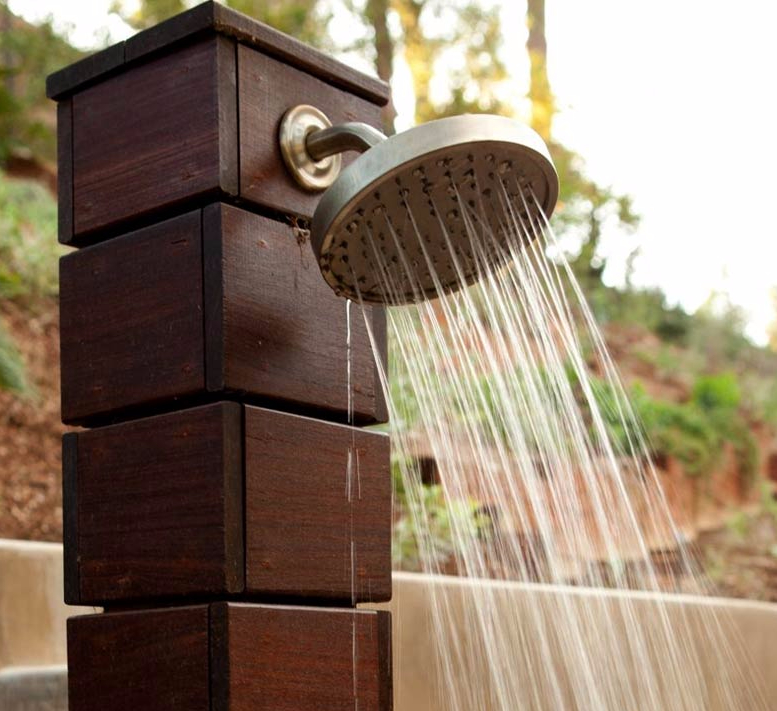
- watering can.
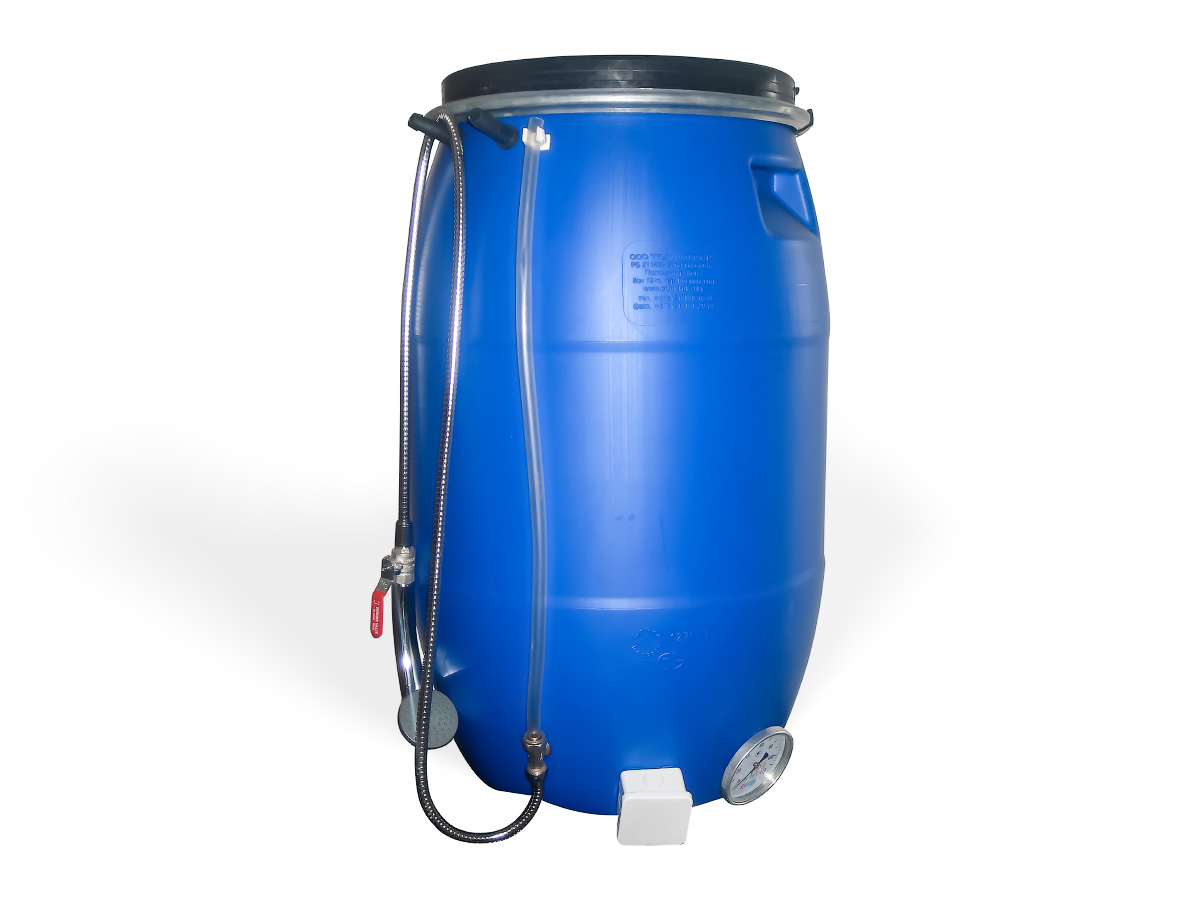
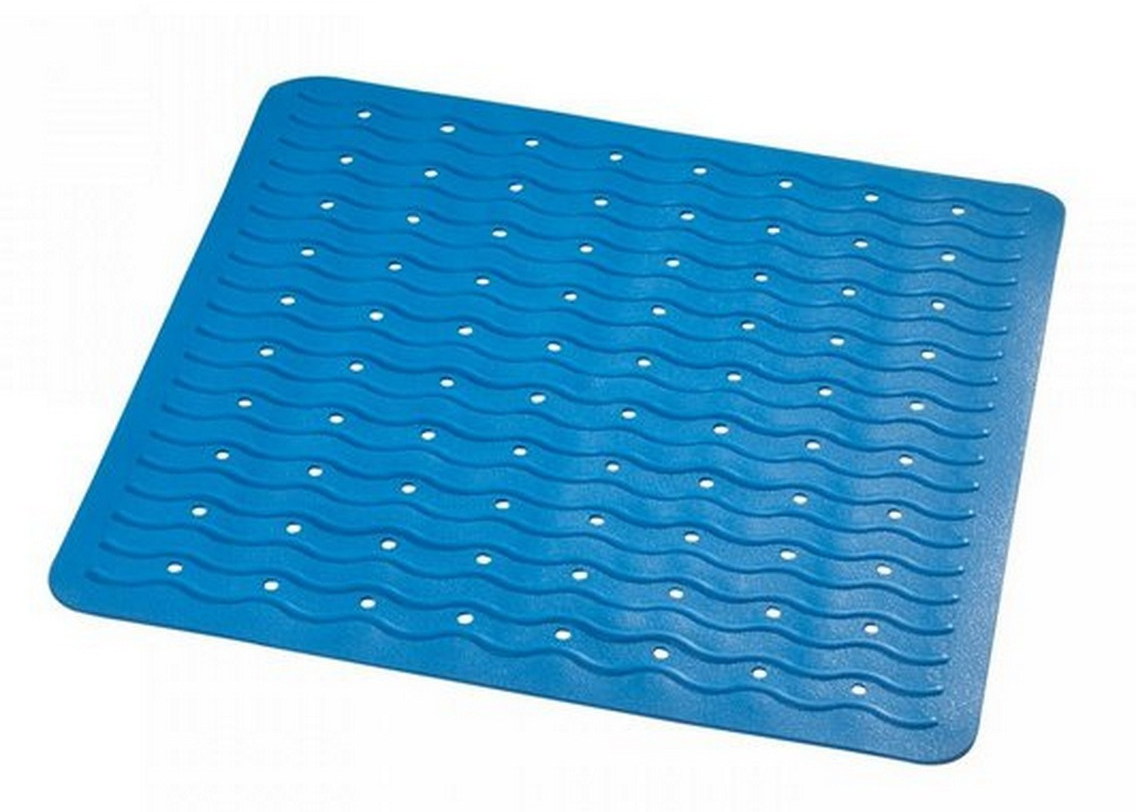
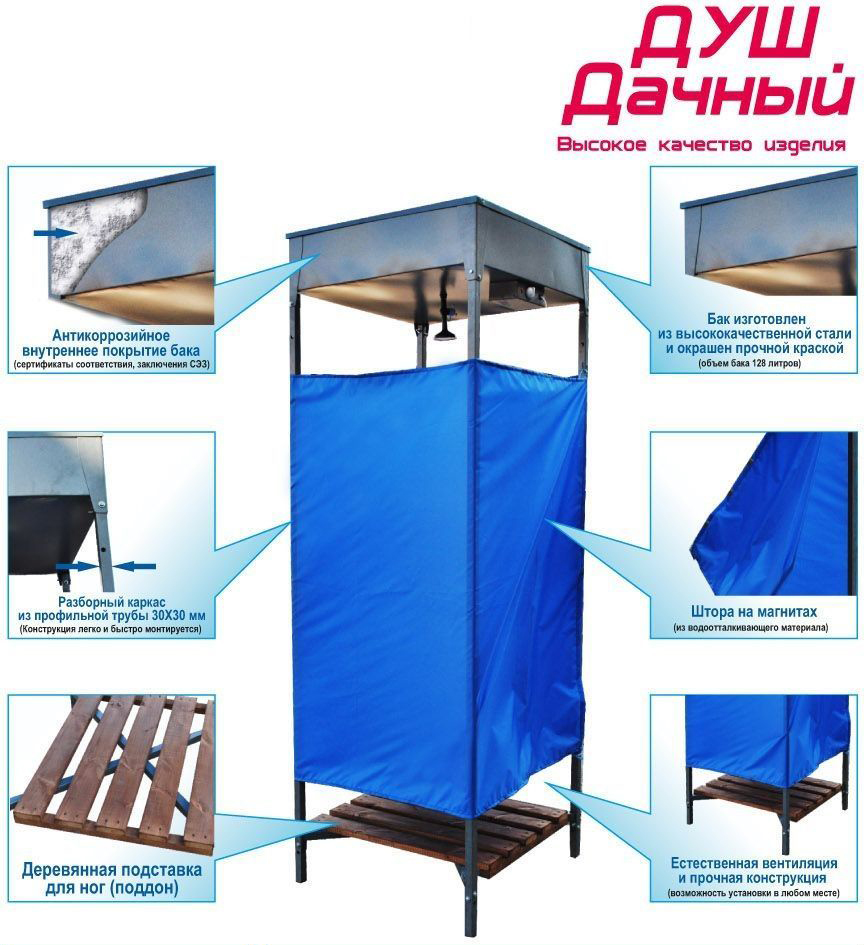
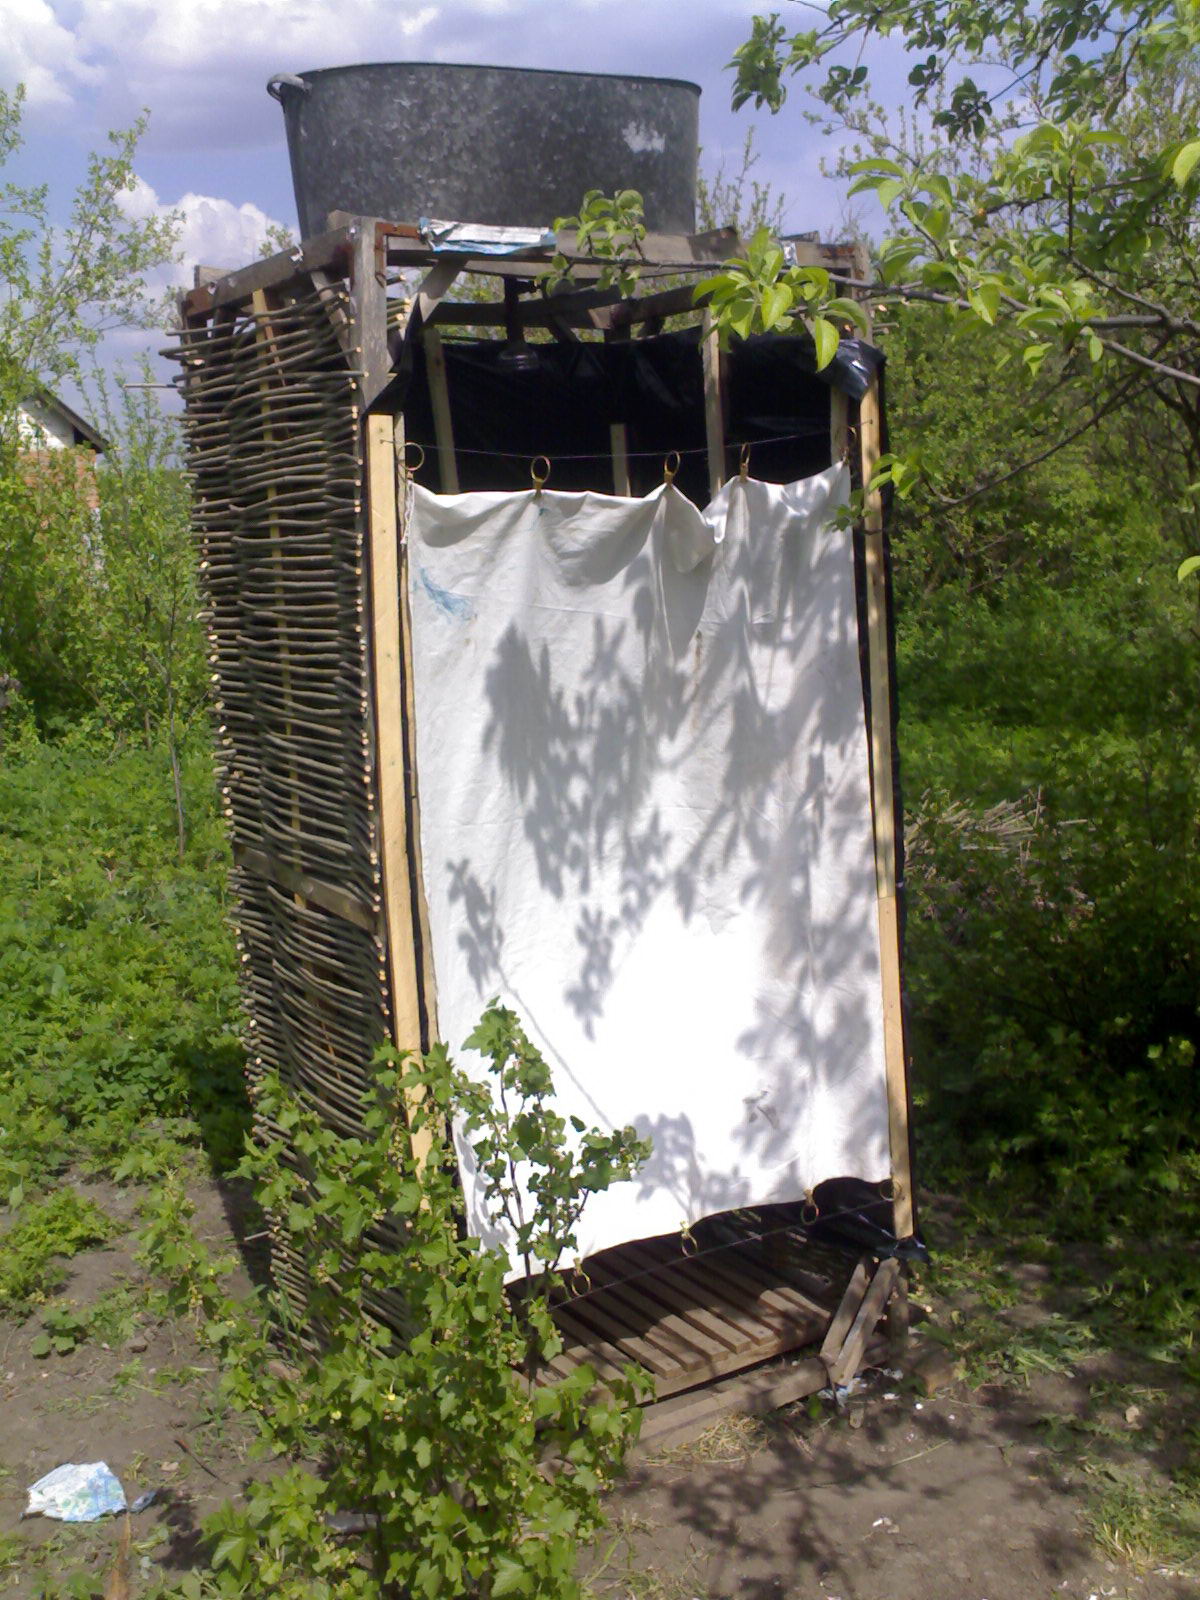
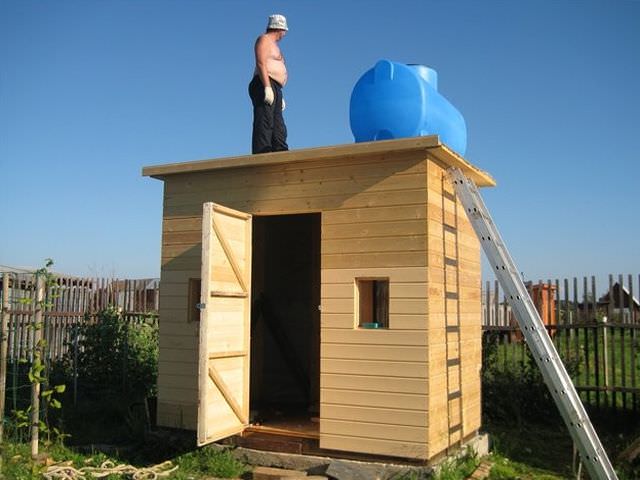
To make the structure strong, its pillars must be well strengthened. In addition, it is advisable to install a dark-colored tank, since it is he who will “pull” heat in a warm time and heat the water. Inside the building, it is necessary to lay a rubber mat, thanks to which bathing will be as convenient as possible, and the stands can be covered with moisture-resistant material in the form of curtains or film.
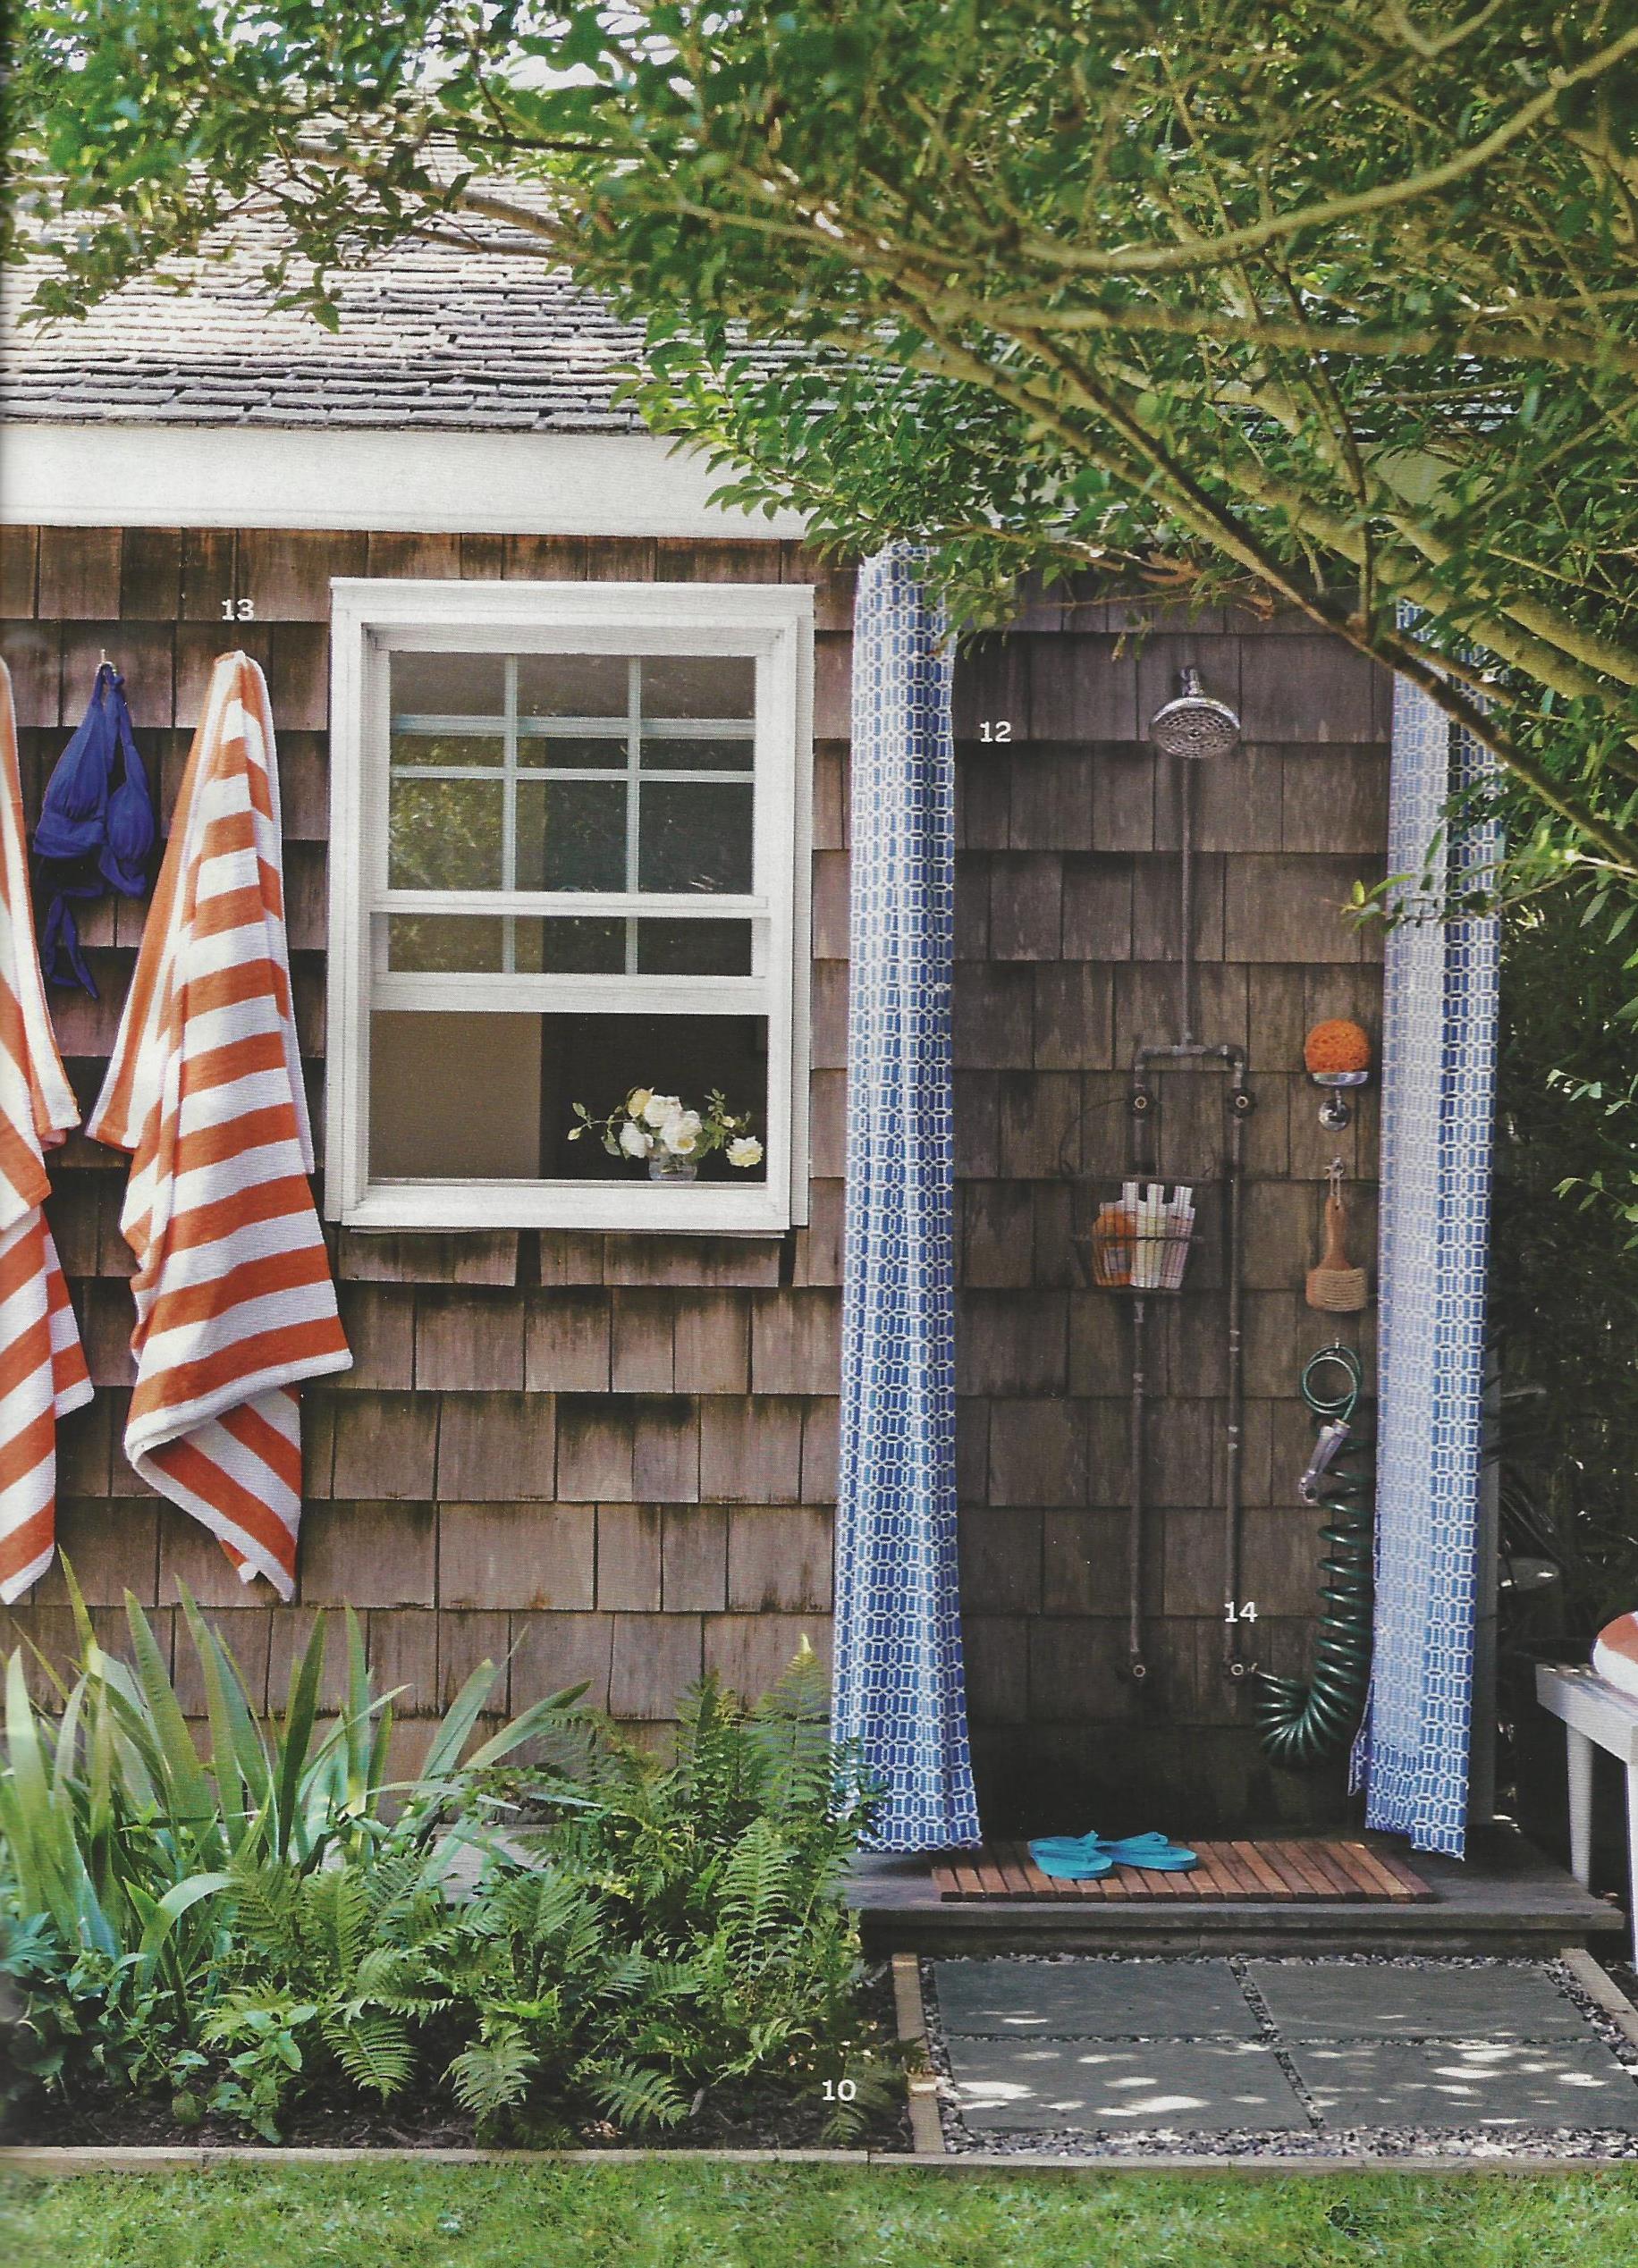
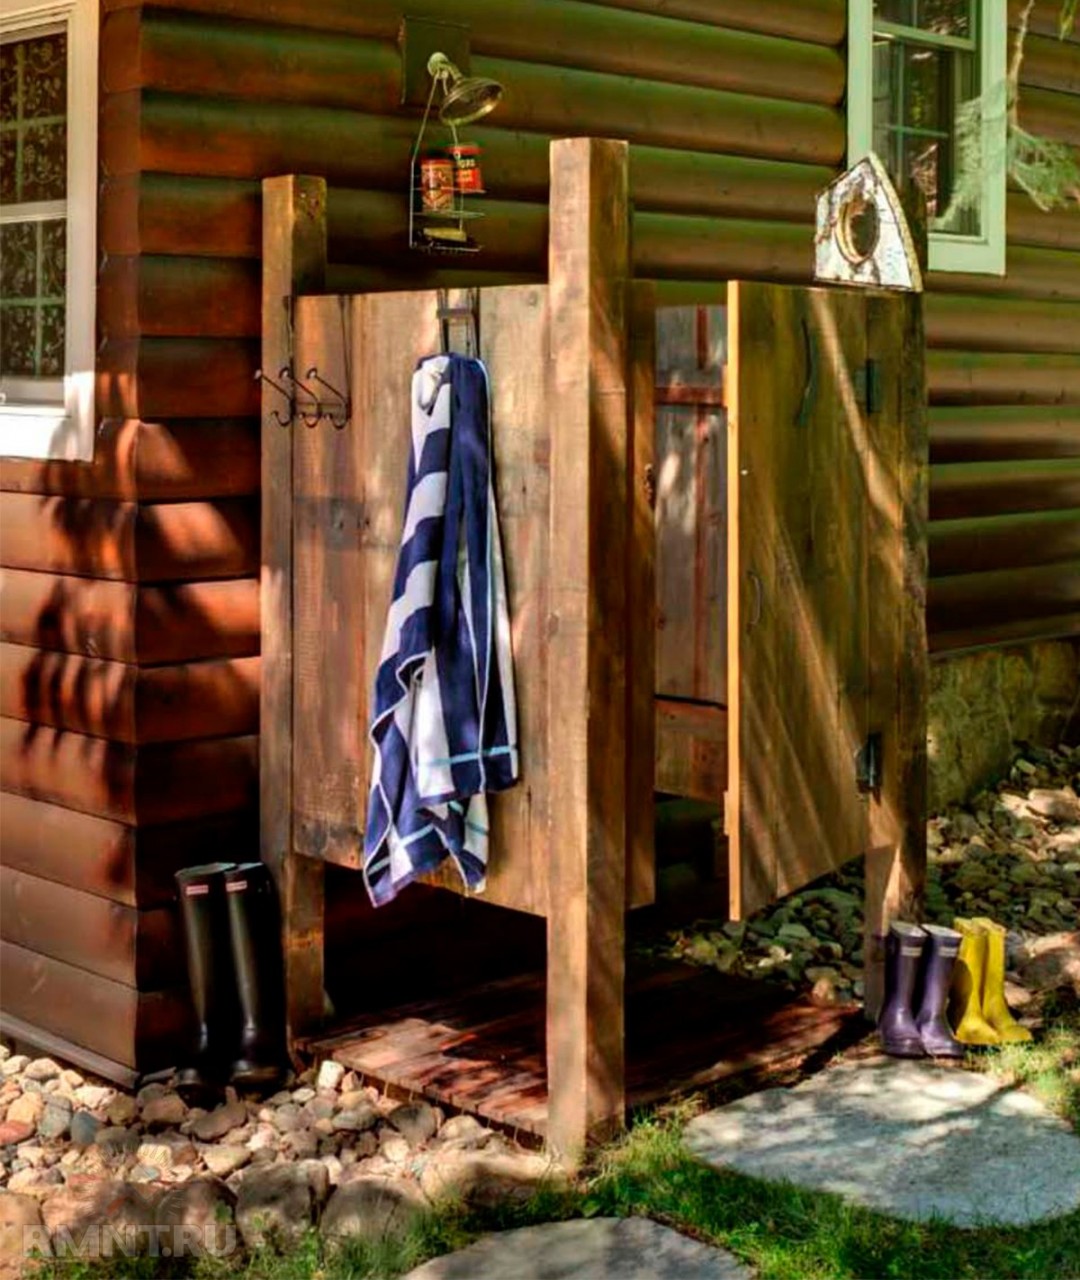
Many also place the shower next to the house, in this case it acts as an extension to one of the walls of a residential building. But with such an installation, it is important to pay attention to the fact that the sun's rays directly hit the tank. In addition, you will need to protect the wall from the negative effects of moisture and build insulation, as well as to perform tiling. Of course, such an arrangement looks beautiful in landscape design, but the water in the tank will not heat up properly due to the shade created by the house.
Structural projects
It is not difficult to build a summer heated shower, the most important thing is to first think over its planning and competently draw up a project. Thanks to the drawings and diagrams, it will be possible to quickly calculate the material consumption and the volume of construction work. It is worth noting that for the installation of such a structure it is not necessary to use the most expensive materials, you can do with a practical and affordable finish. For the design of a large summer shower you will need a flood foundation, and simple buildings, as a rule, are installed on piles.
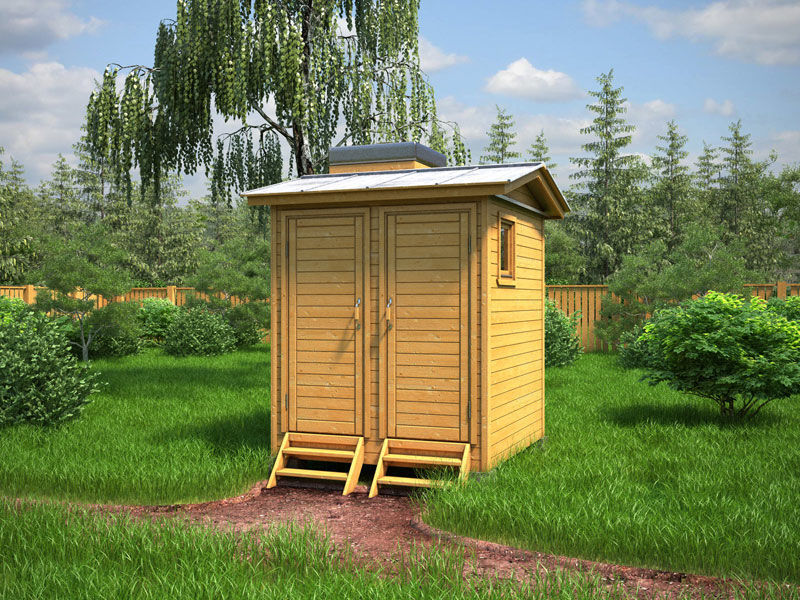
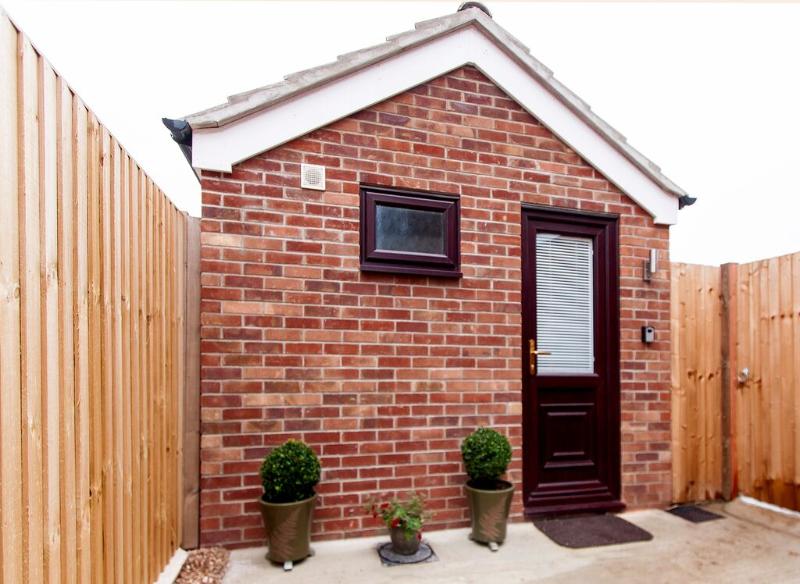
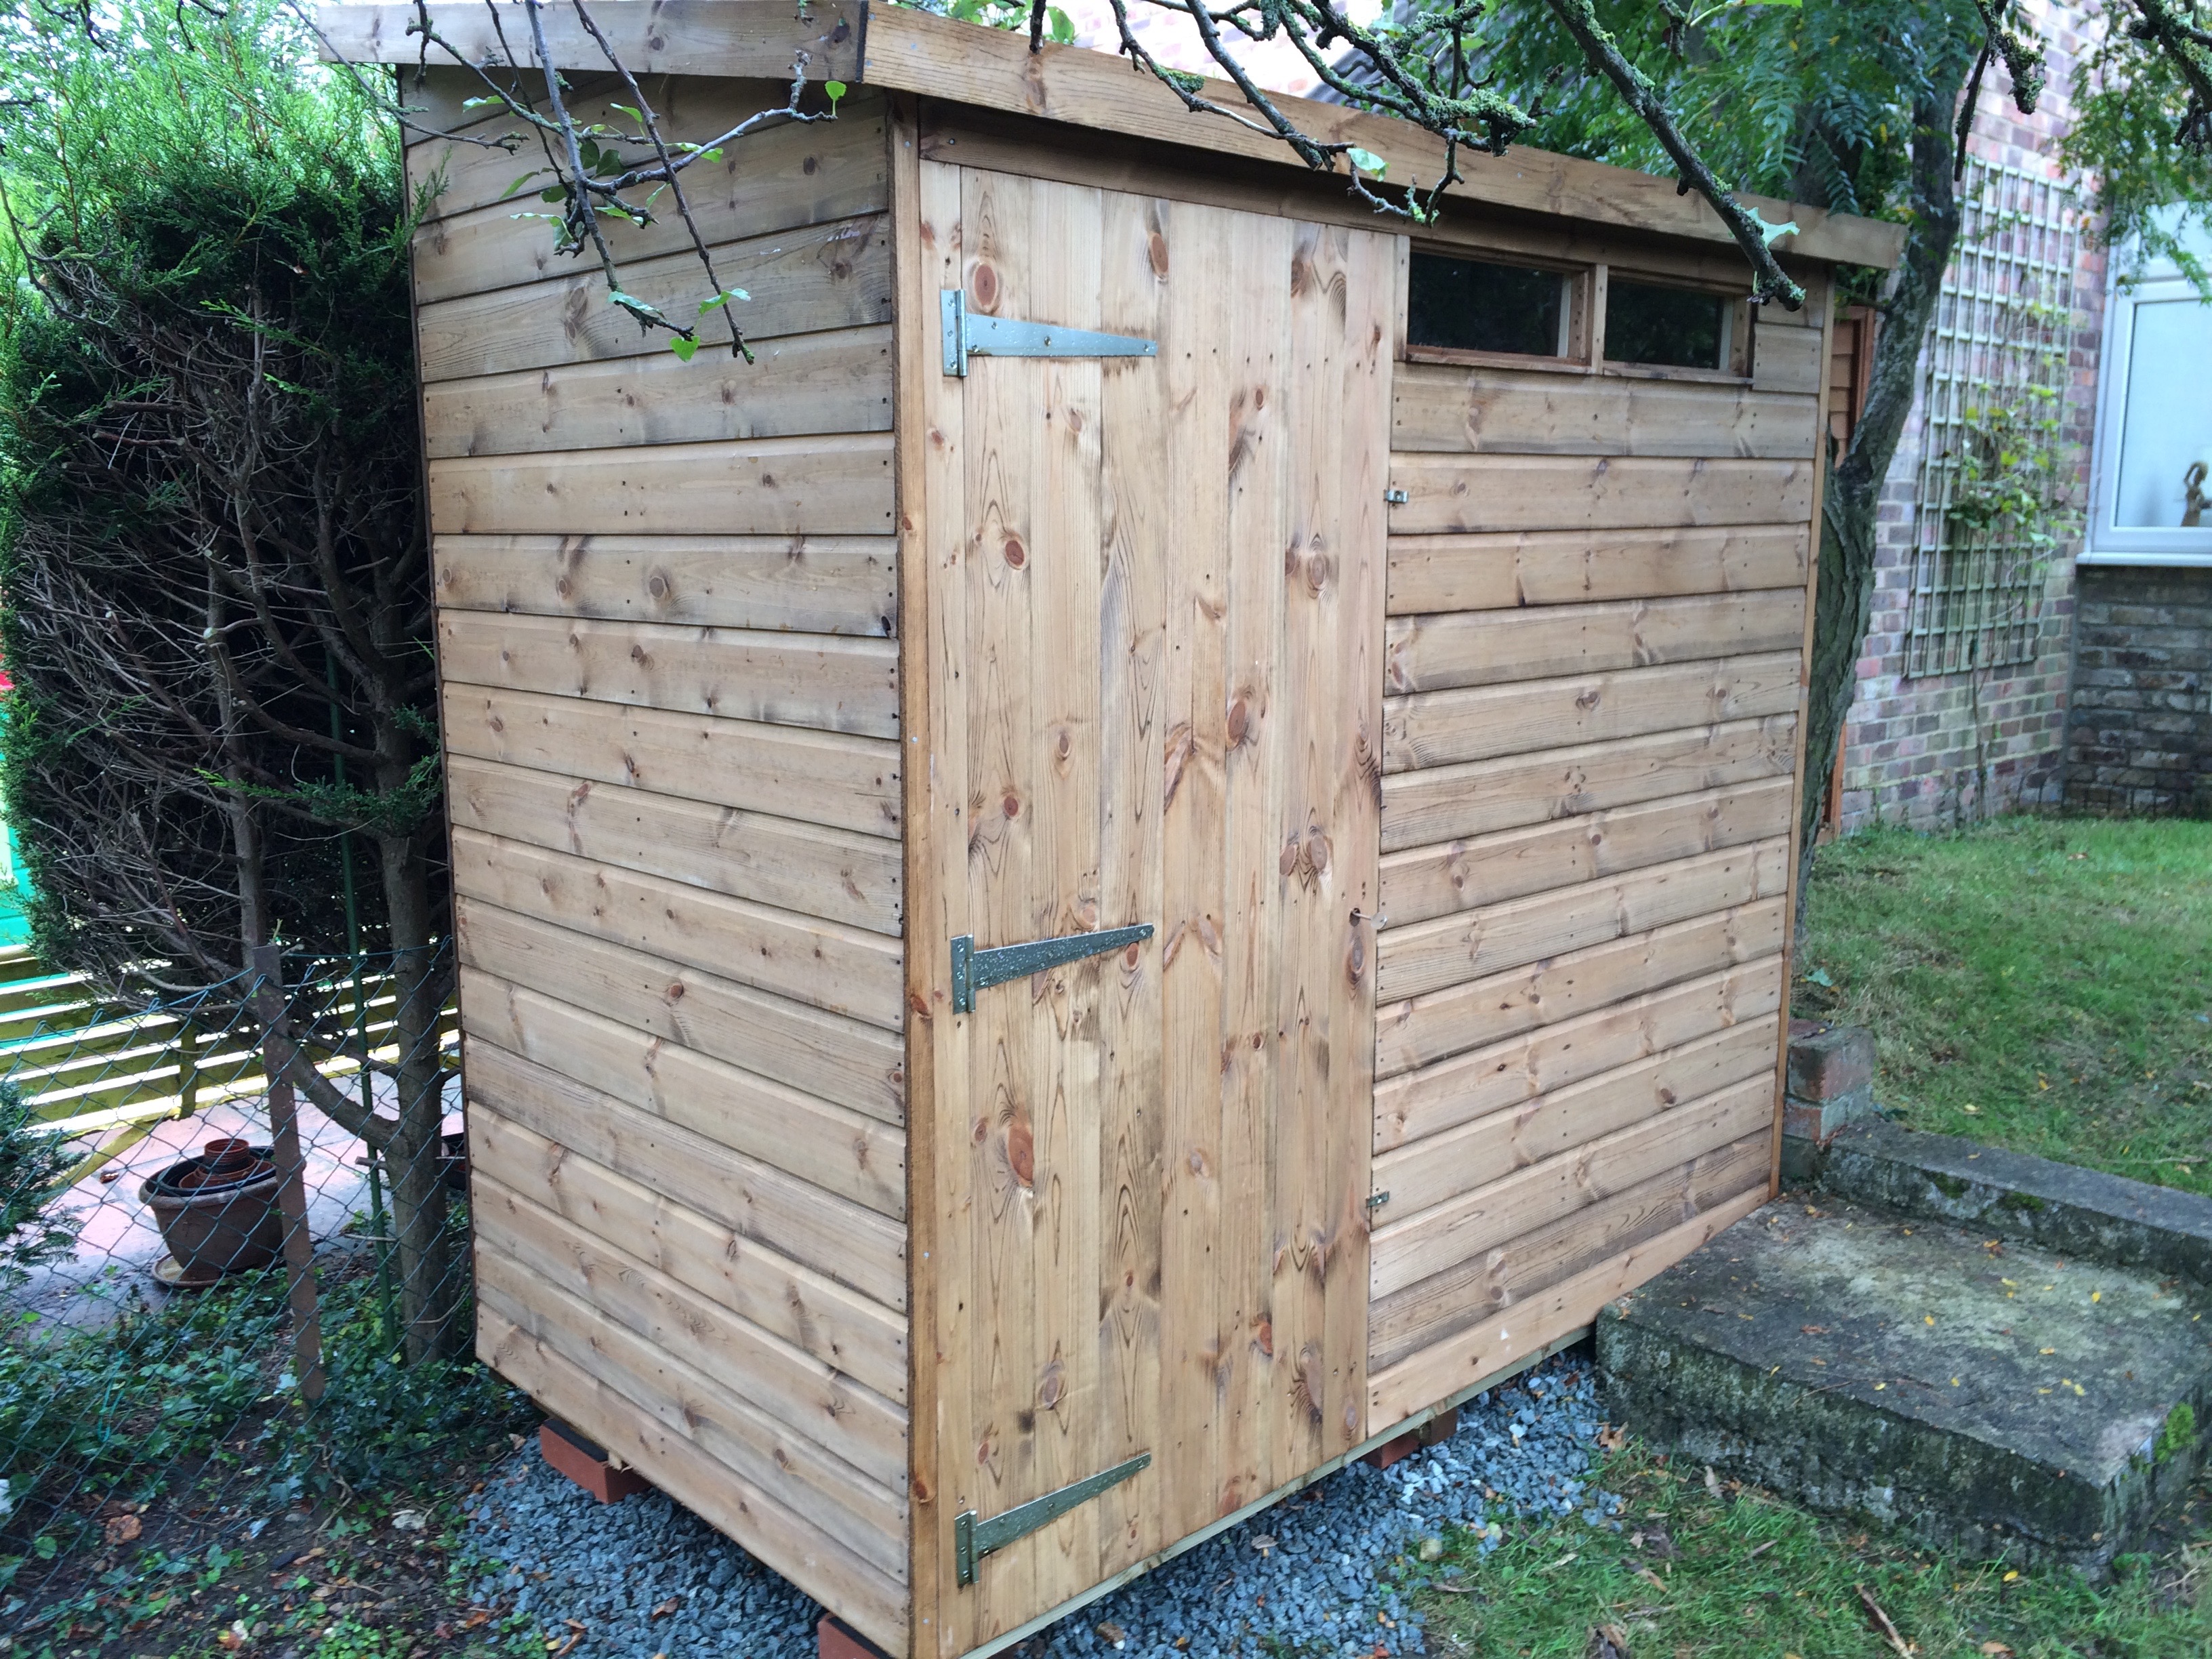
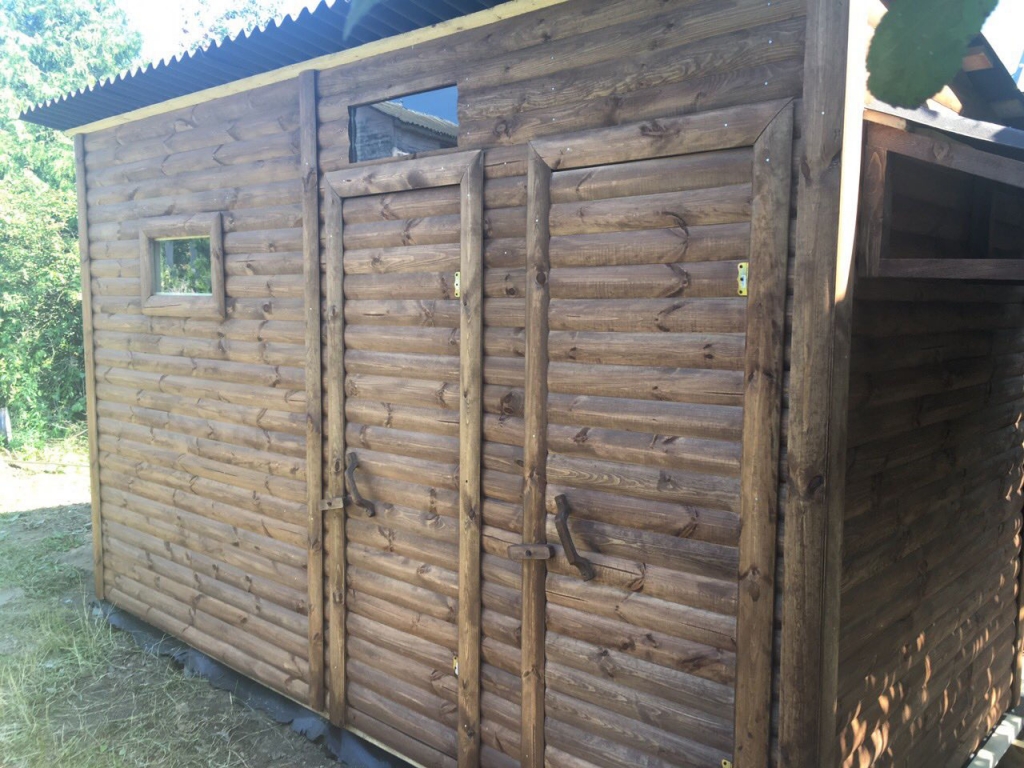
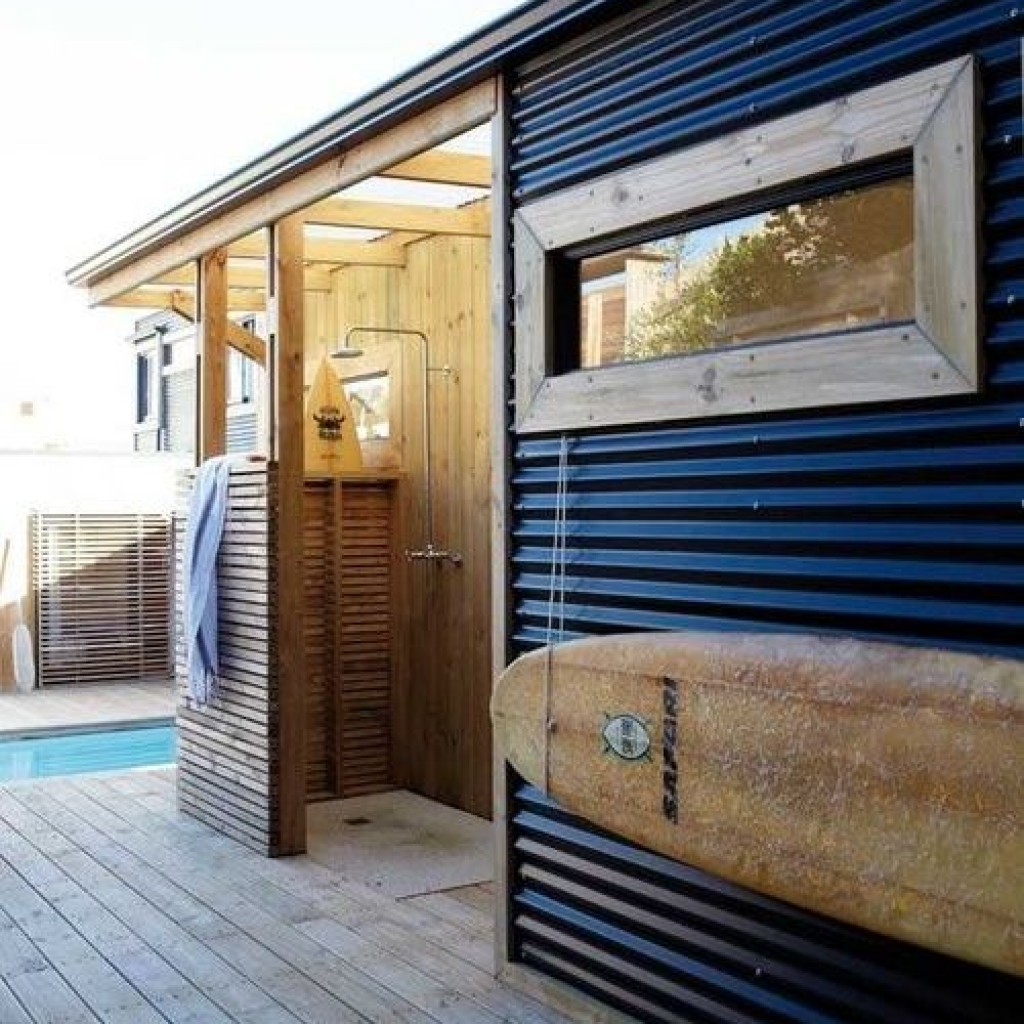
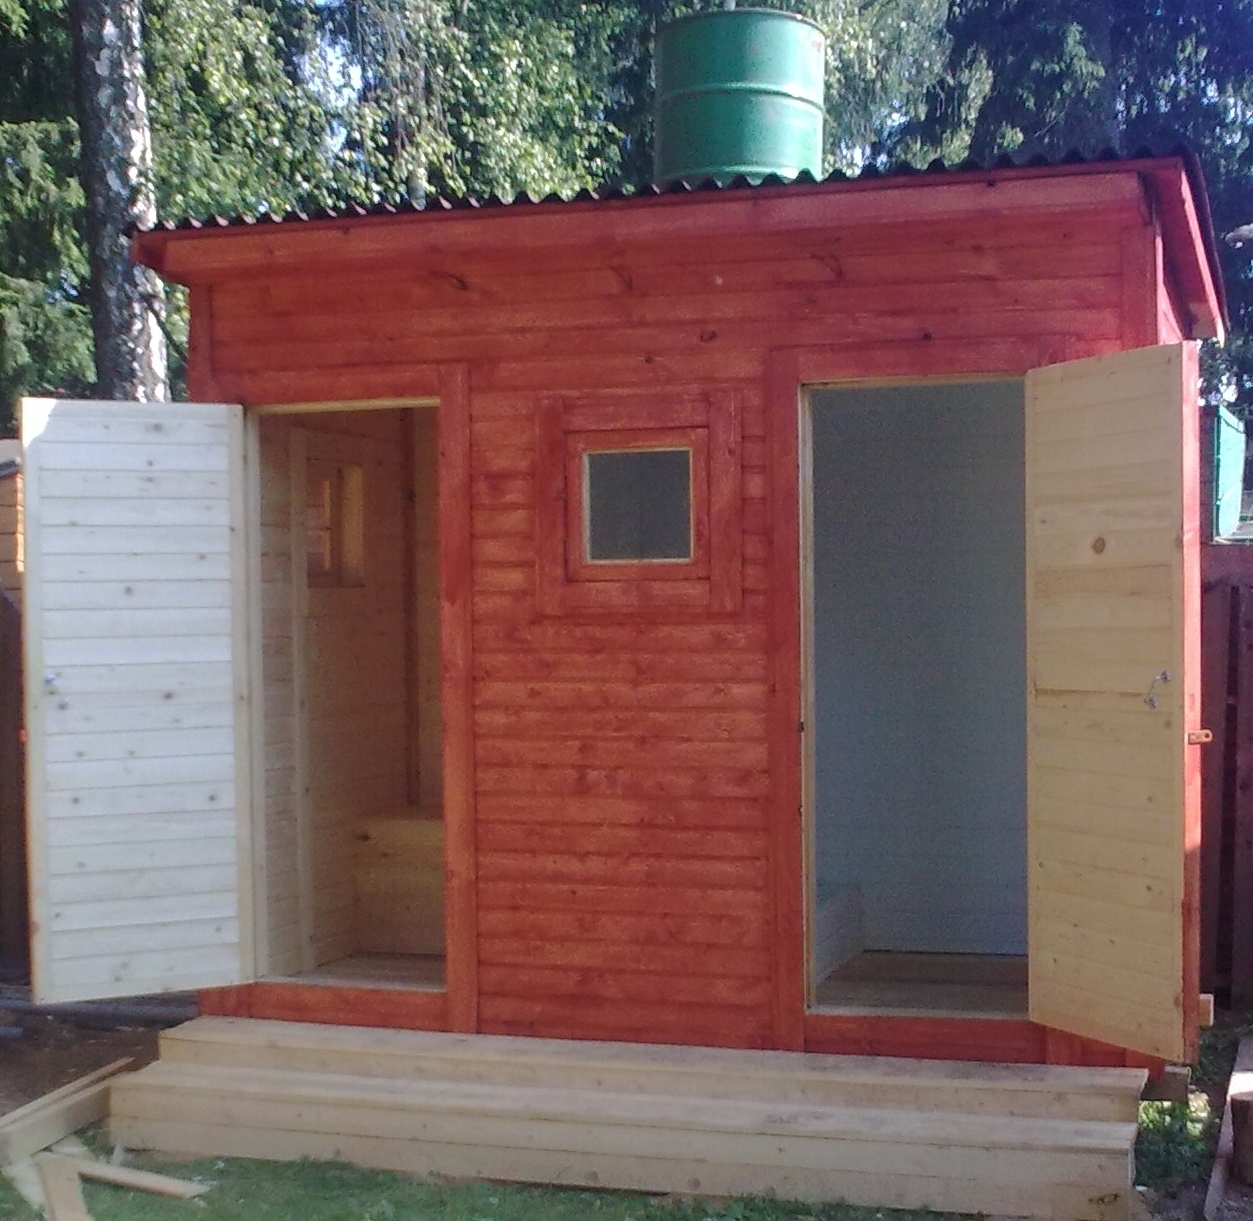
An important point when choosing a design project is the material from which the installation will be performed. In recent years, many owners of cottages choose buildings from bricks. They fit perfectly into the design of the site, but their construction is expensive. You can also install a wooden shower with a dressing room and heated.
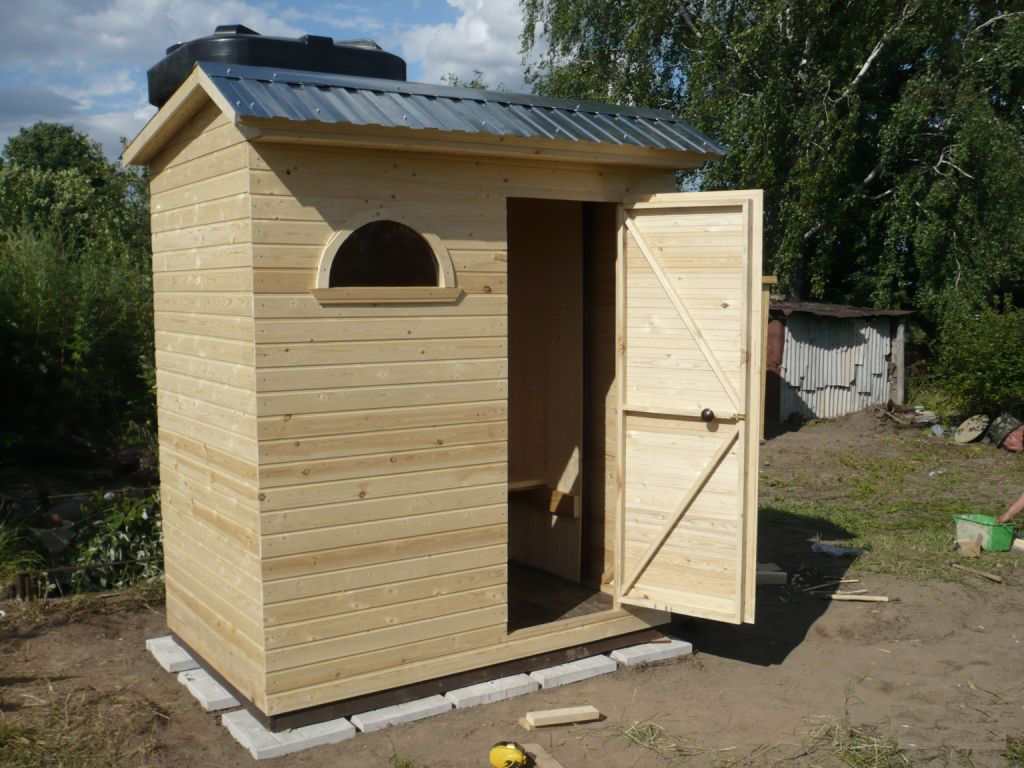
Unlike brickwork, wood paneling is characterized by high aesthetics, but in order to prolong its service life, you will need to additionally carry out good ventilation and process the boards to protect against fire and humidity with a fire retardant.

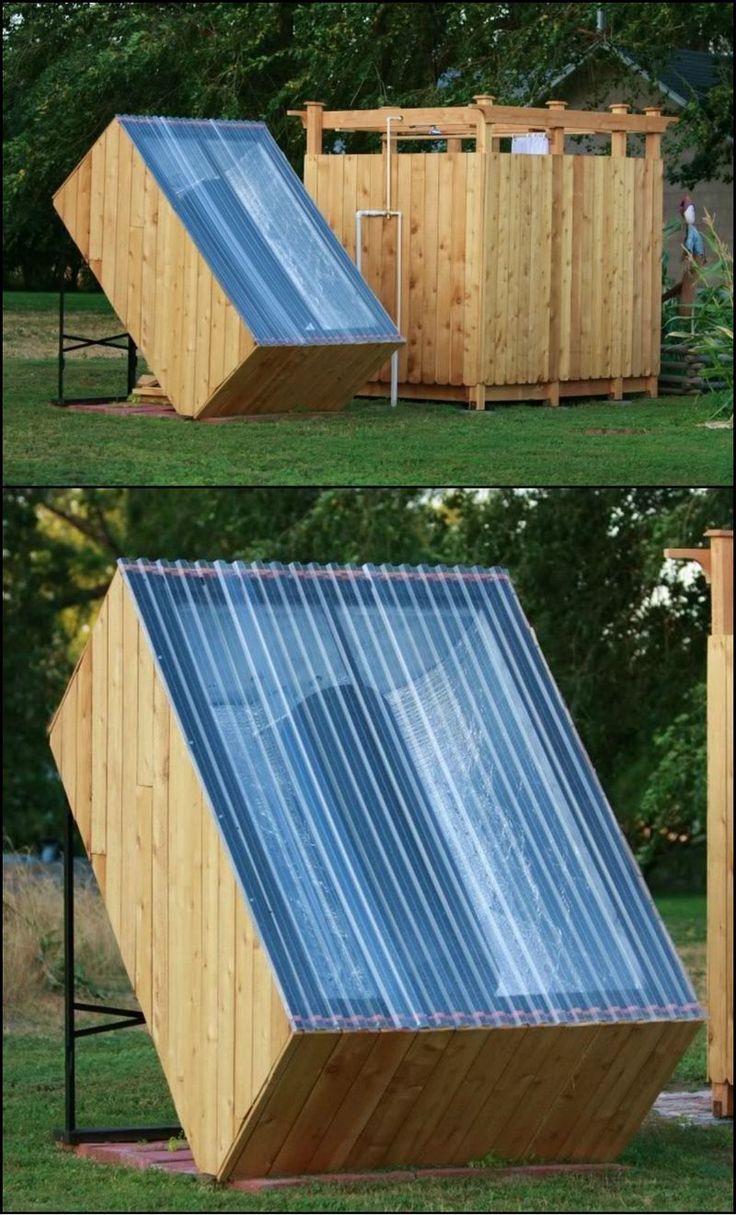
Projects of a garden shower with heating from polycarbonate also use huge popularity. Finishing material is characterized by low weight and durability, is resistant to external factors and is easy to install. To build such a structure with their own hands, they prepare drawings for the booths and changing rooms. Typically, the height of the stall is from 2 to 2.5 m, and its width should not be less than 1 m. It is also important in the project to indicate the depth of the shower stall, for comfortable bathing its indicators are 1.2 m.
In addition, the sketching material of the frame is prescribed on the sketches.which can be made both from profiles, metal pipes, and wooden bars.The project also needs to display the arrangement of the upper part of the building, it is usually covered with flooring and place a flat tank. A barrel can also be used as a water tank. In the schemes should be prescribed installation of electrical wiring and drainage system. As for the locker room, then its size is selected individually.

Heating circuits
During the construction of the dacha shower, you need to decide on a water heating system. To comfortably cool off on hot days after working in the country, the water should be warm, otherwise you can catch a cold. To date, there are several types of installation of structures, each of which establishes a specific heating scheme.
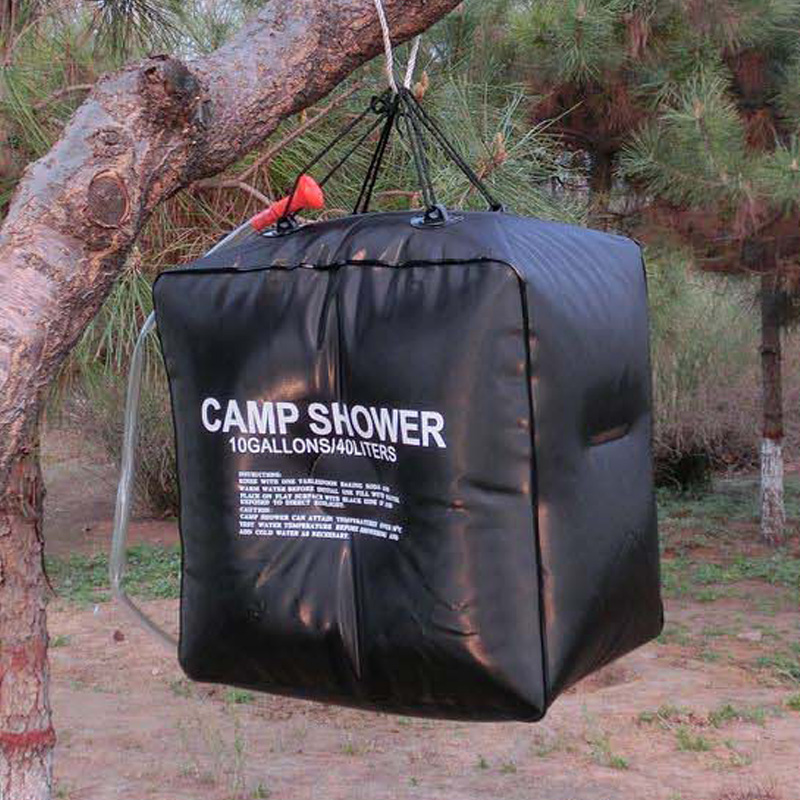
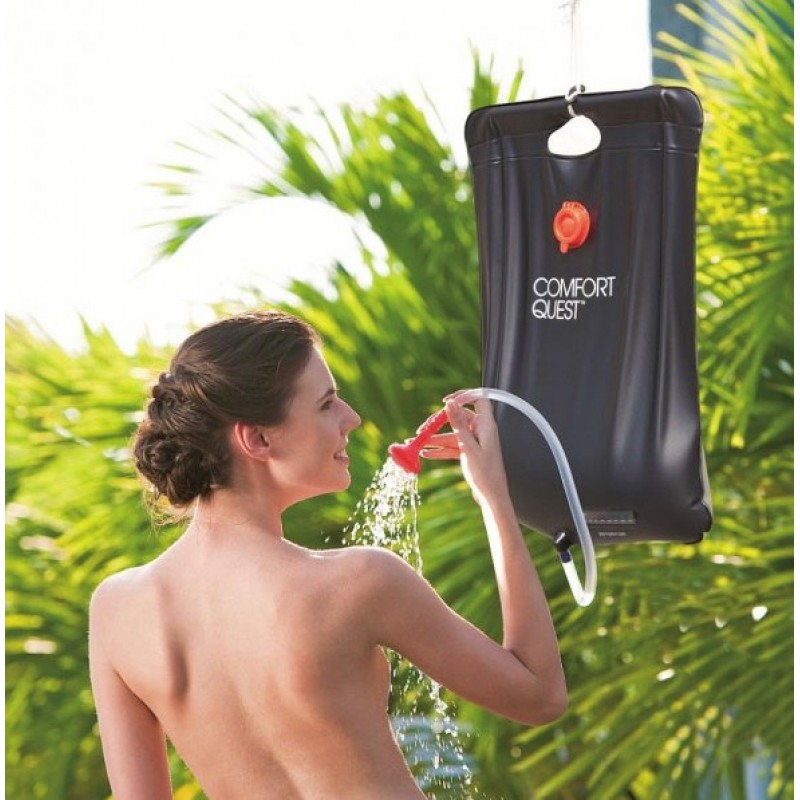
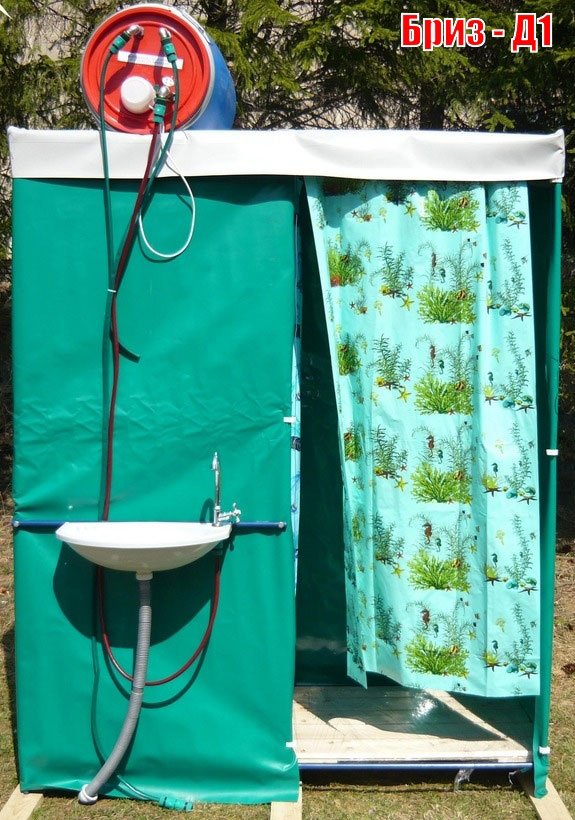
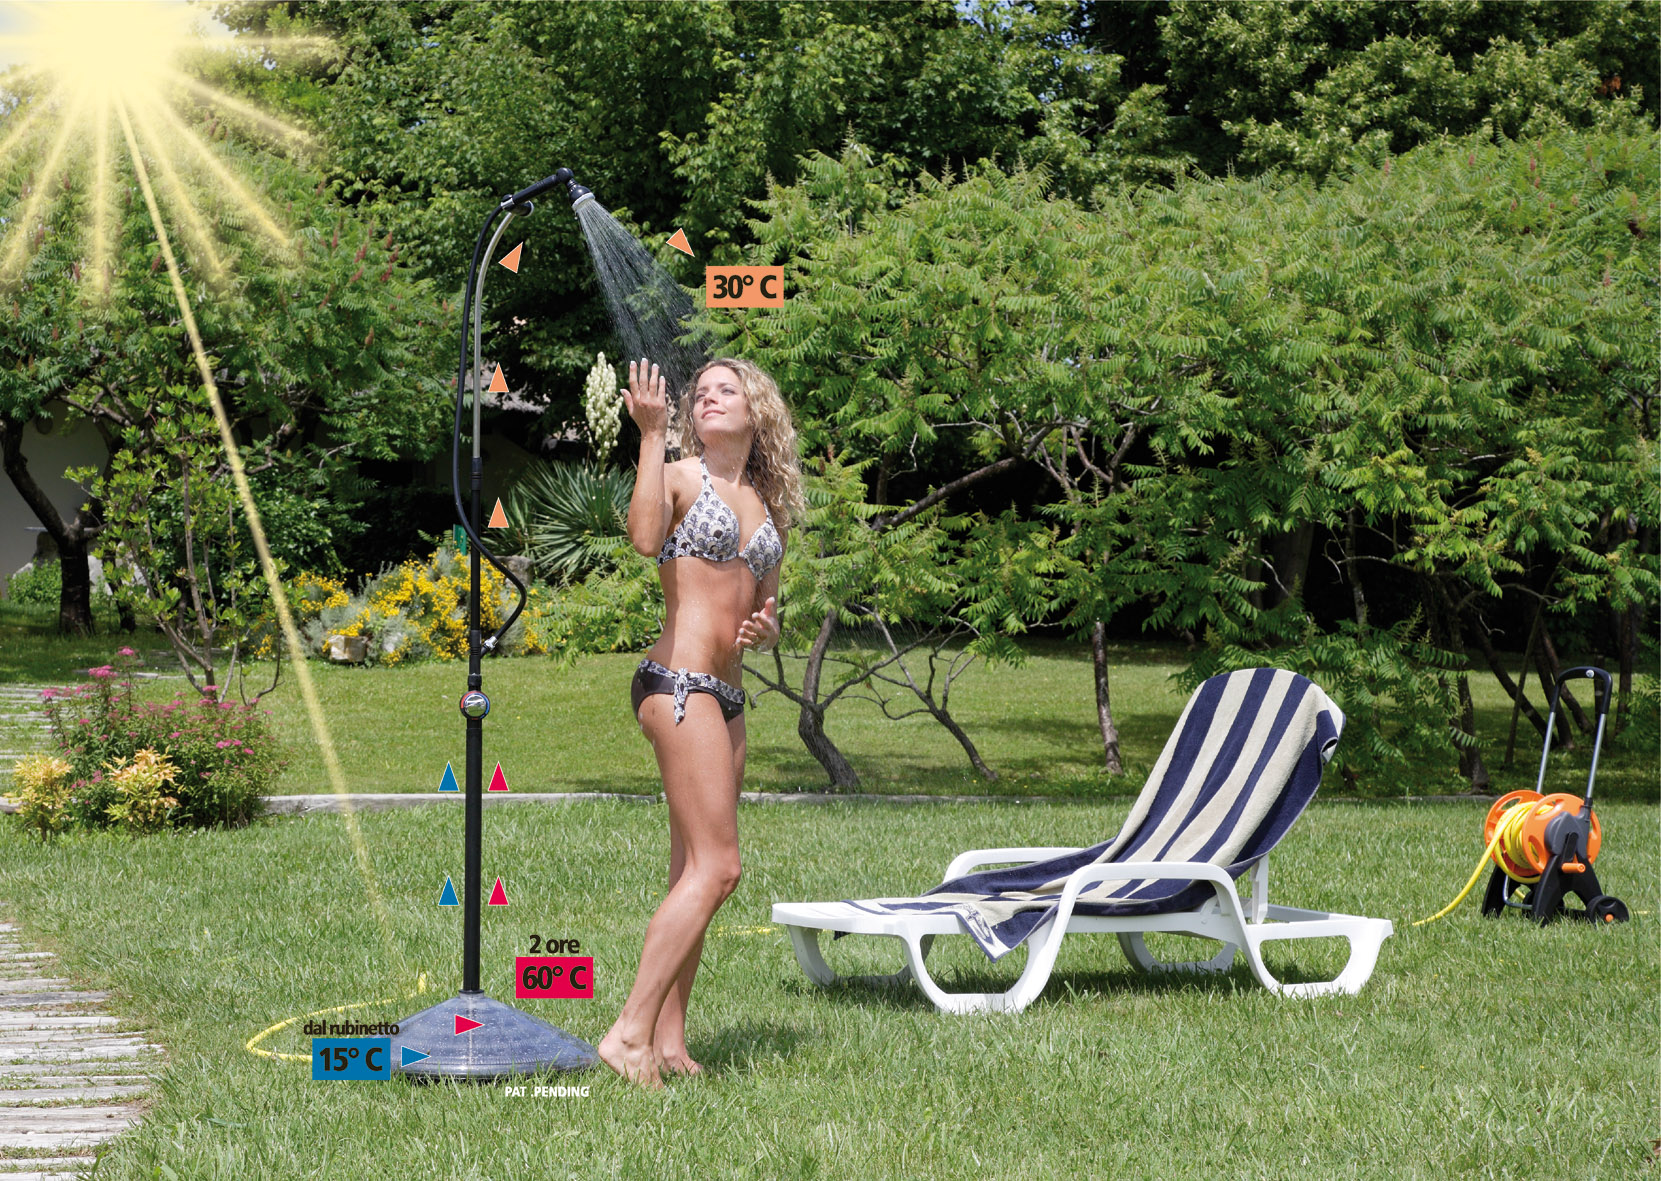
- Portable shower. It is a simple construction option in which water is poured into a special bag equipped with a watering can. The bag is hung on a rack and filled with pre-heated water. You can also set the container and wait until its contents are self-heated in the sun. The main advantage of this system is efficiency, it does not require additional equipment, the water heats up without the cost of electricity, but the volume of the bag, which is 20 liters, will not allow the whole family to fully bathe.

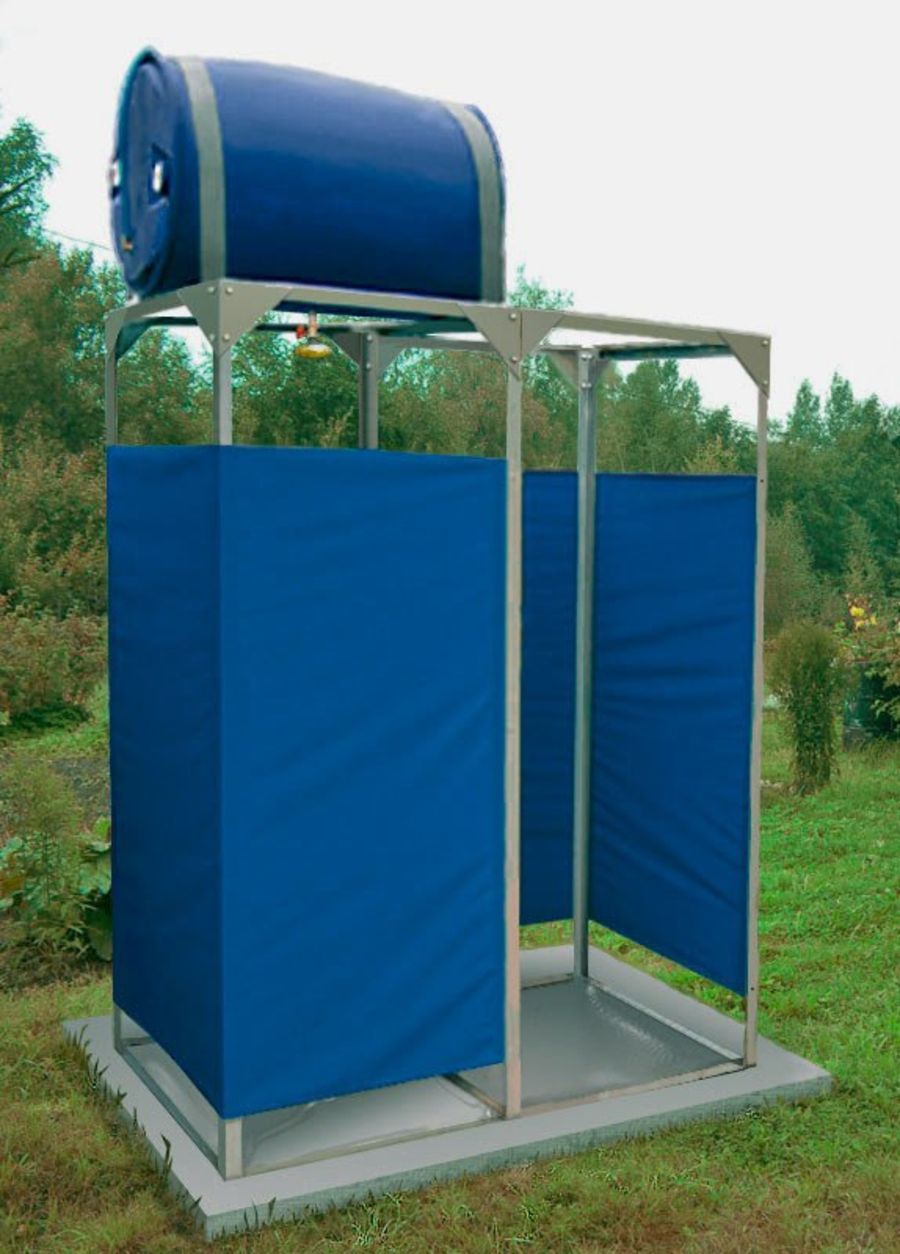
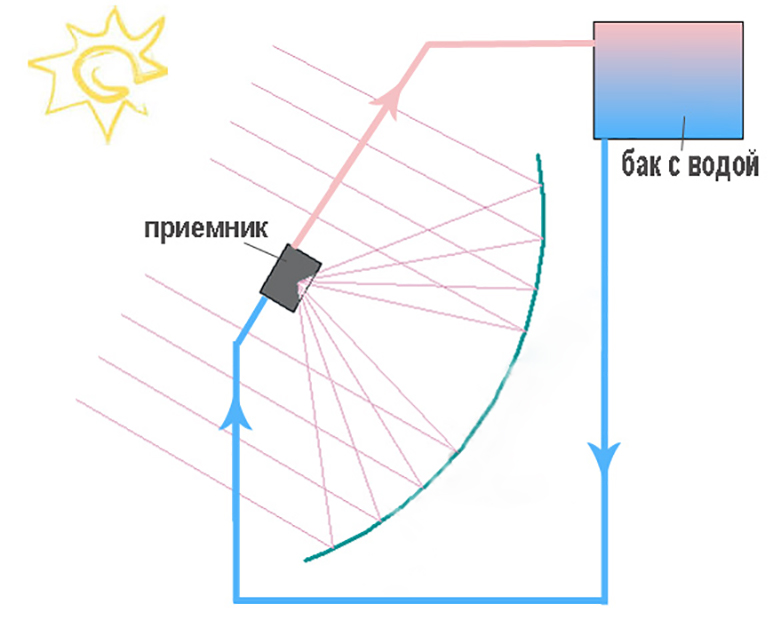
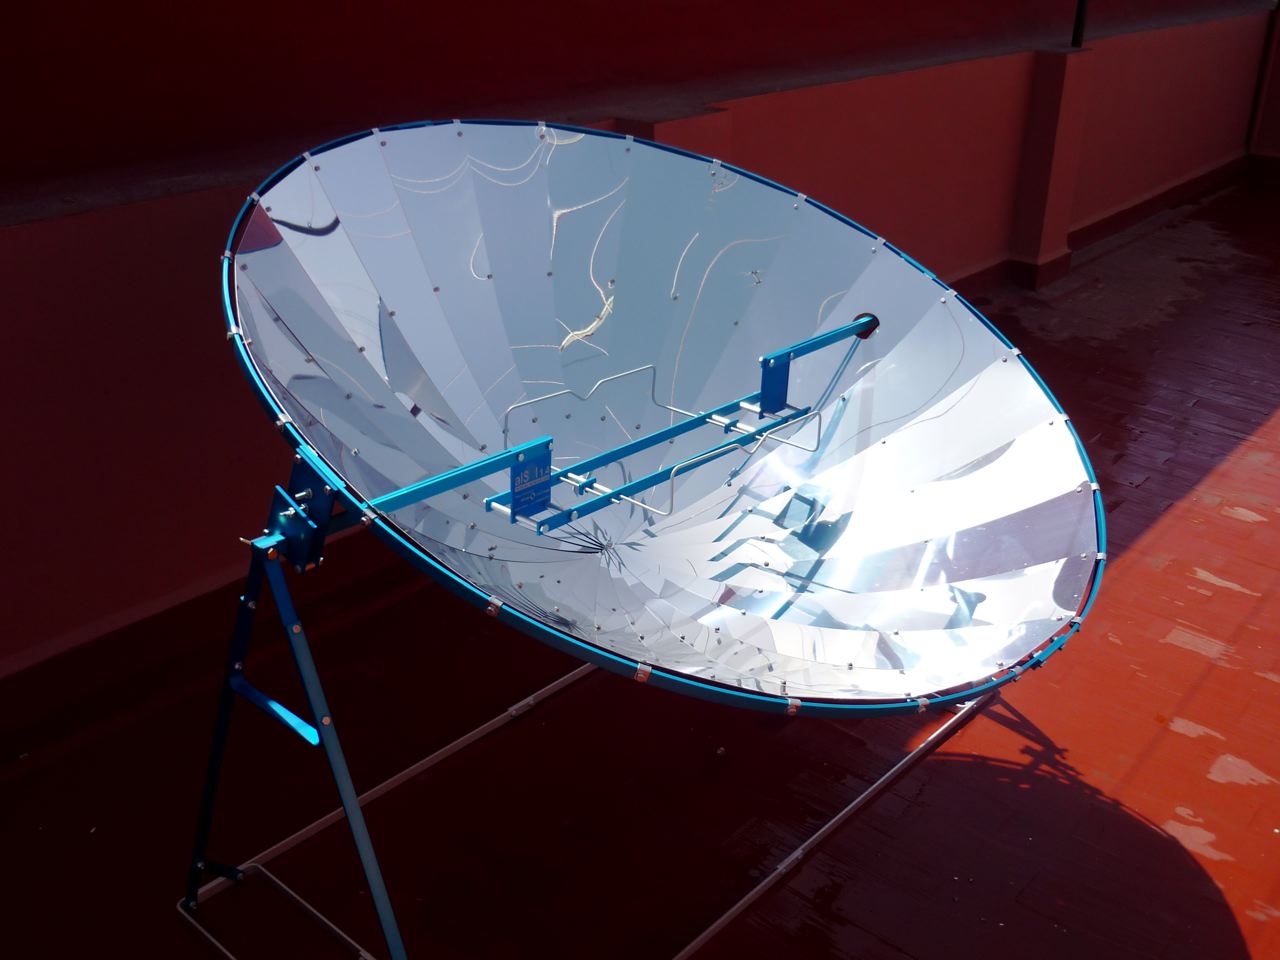
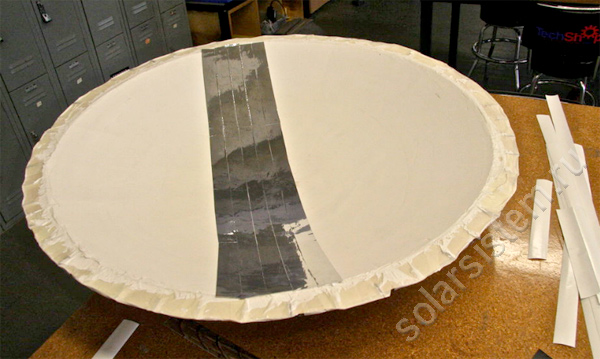
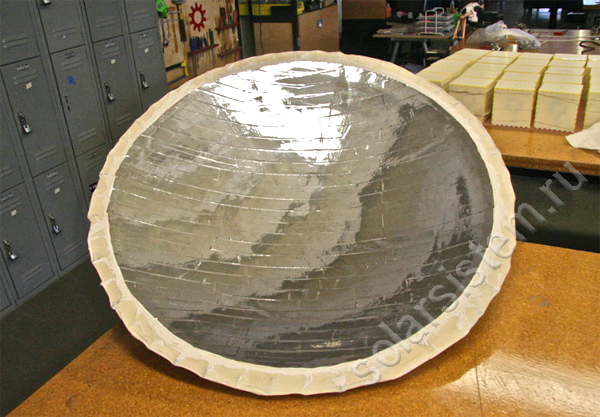
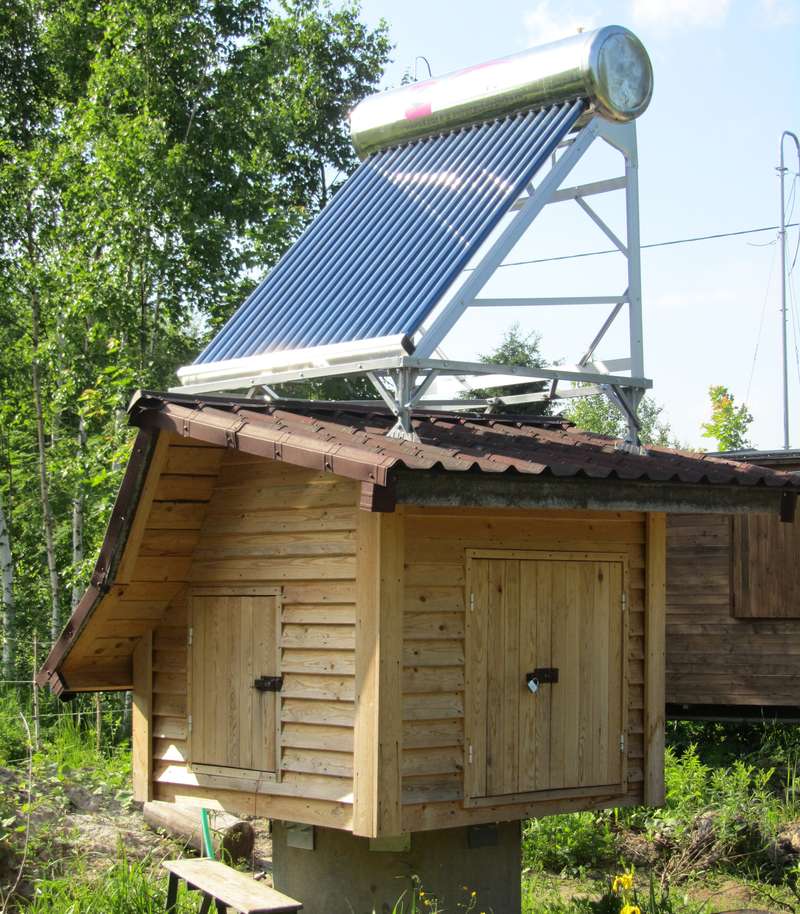
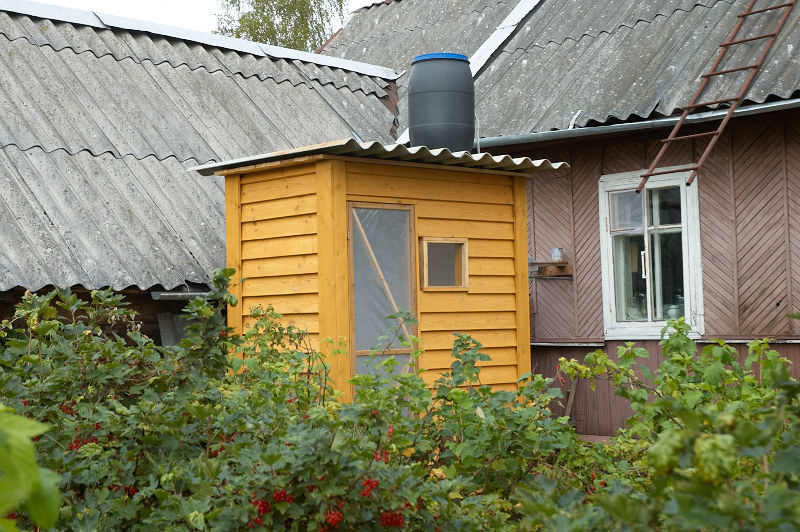
- Solar shower. Thanks to special equipment, it is possible to use solar energy profitably, which will release heat and make bathing almost free. To do this, at the summer cottage, you can install a structure made of any building material and place a tank under its roof, after painting it black or covering it with a dark film. In addition, it is recommended to additionally arrange the reflectors in the form of sheet or rolled foil materials with the tank; old mirrors may also be suitable for this purpose. As a result of this installation, the tank will be heated under the influence of both direct and reflected rays of the sun, the only drawback of this system is considered to be uneven heating of water, since warm water will be at the top of the tank. But in order to eliminate this problem, it is enough to attach a float inside the tank, as a result of which heated water will flow into the discharge hose.

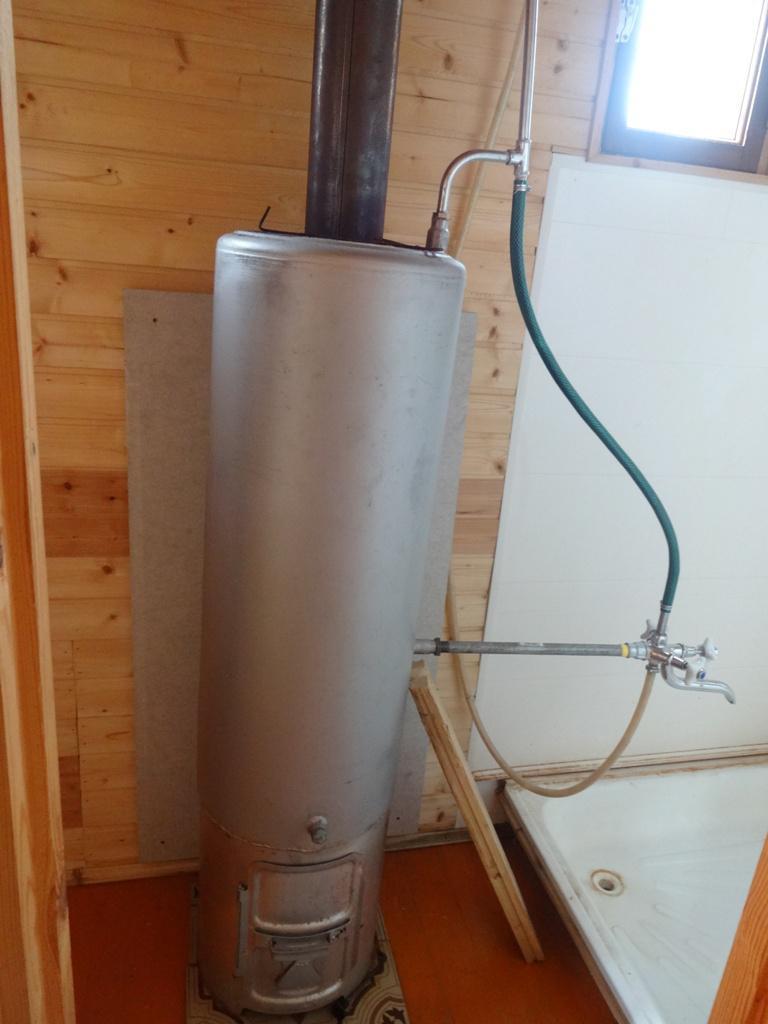
- Titanium. In the event that it is necessary to warm the water forcibly, without using solar energy, they build country souls with a system of coal or wood titanium. In such designs, the water will always be warm, regardless of weather conditions.To improve the efficiency of heating, an expander is additionally installed in the tank or barrel, it evenly distributes the flows of cold and hot liquid, therefore warm water flows directly into the tank, and cold water goes down into the heat exchanger. But you should pay attention to the fact that such equipment is classified as fire hazardous, as it is equipped with open fire. Therefore, if there is no experience in the installation of titanium, then it is better to entrust the construction of the soul to specialists.
In addition, it is necessary to purchase a high-quality boiler from well-known manufacturers, which would meet all standards and safety regulations. Additionally, in the summer shower you will need to finish the walls, ceiling and flooring with thermal insulation and asbestos. This will protect the structure from possible fire. If the titanium is planned to be placed externally, then one should take care about the enclosure of its space, especially with regard to areas where children can play.
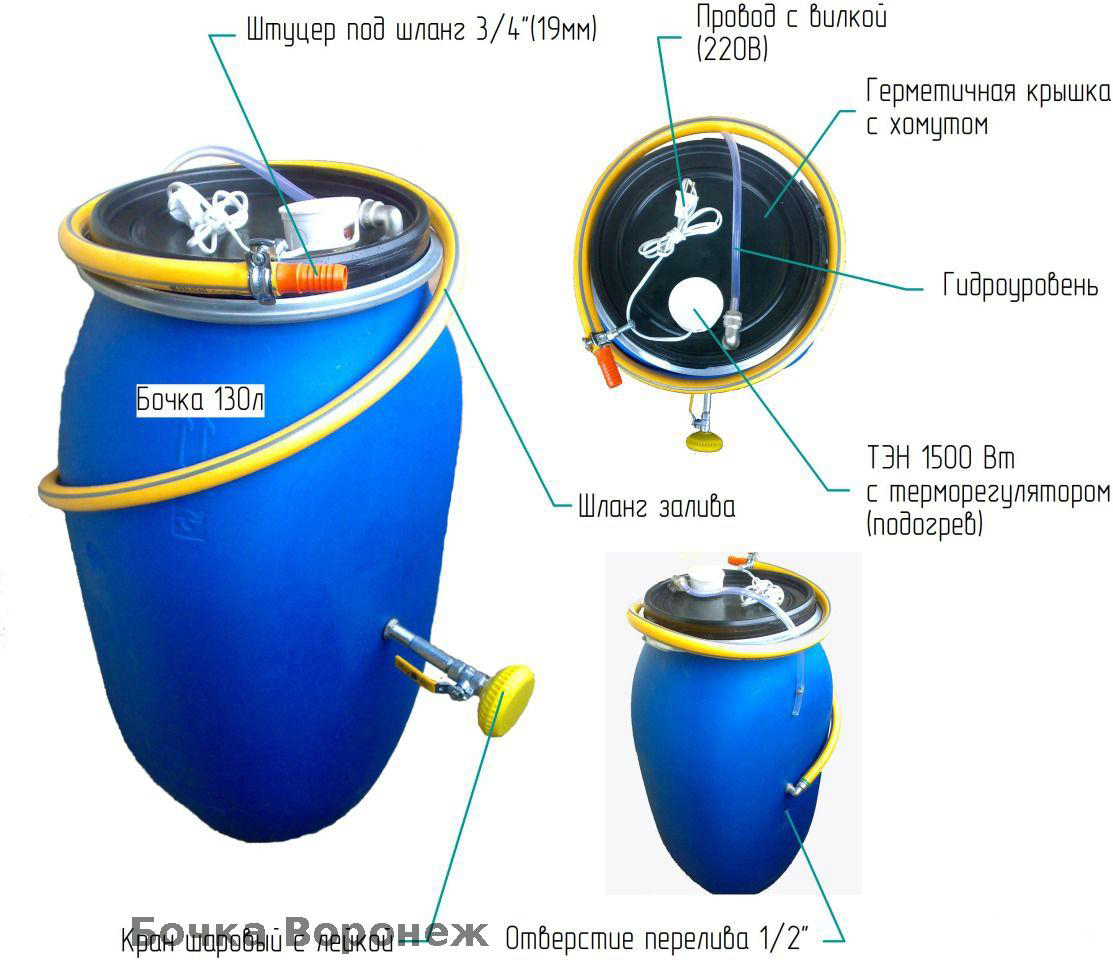
- Electric shower. It is considered the most popular and convenient option of a design in which water is heated with the help of electric ten.The only drawback of such a system is considered a high power consumption and the load on the network. Therefore, for this type of heating, you must first consider the optimization of the power grid and install powerful wiring that would meet all the requirements of safe operation. In addition, all switches, sockets and cable will have to be grounded and protected from moisture.
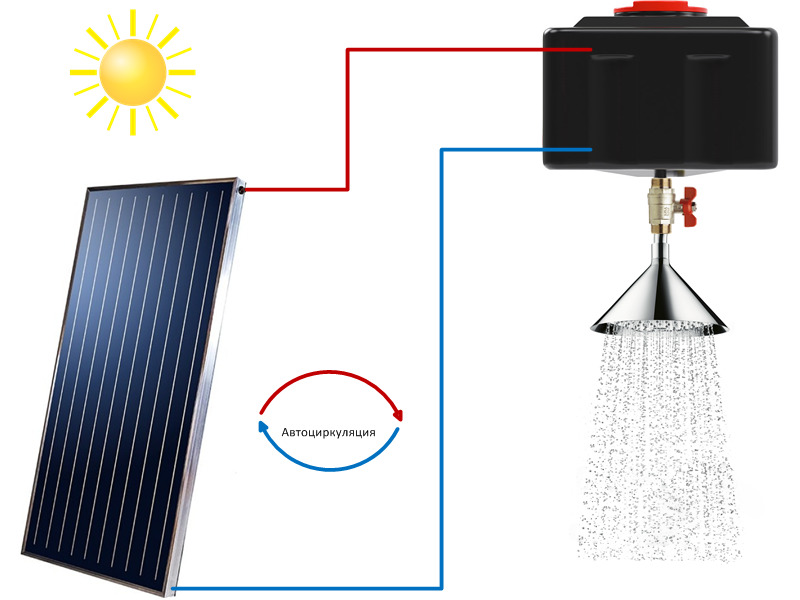
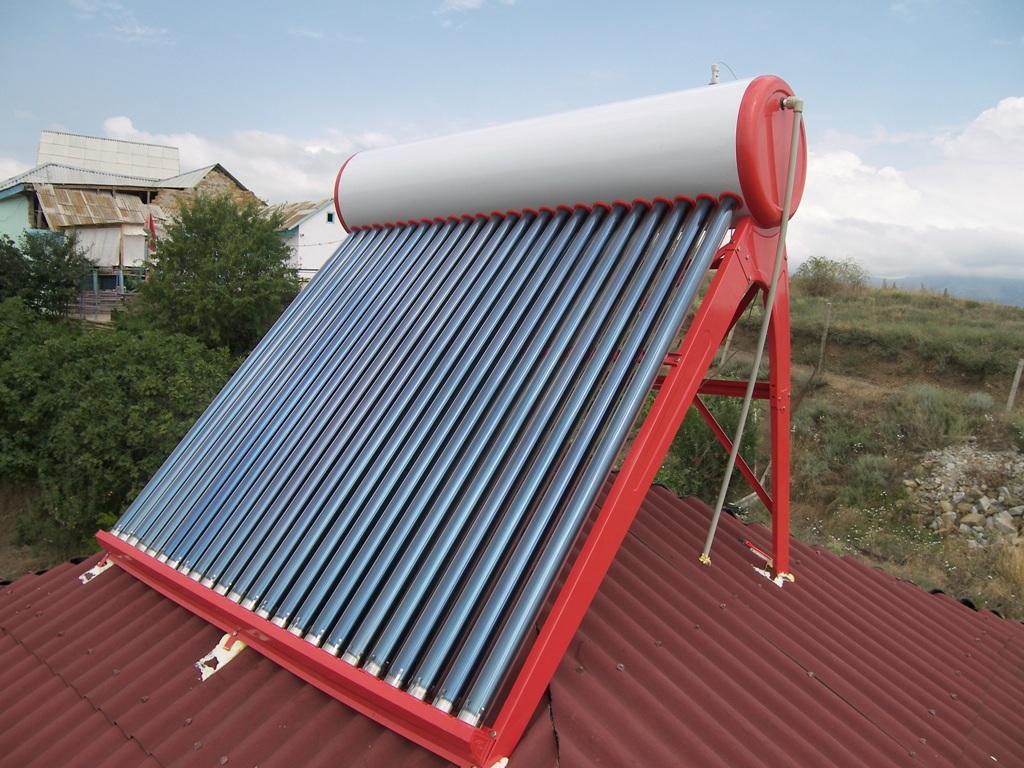
- Solar panels. The most modern type of water heating in the dacha shower is the system, which is arranged by vacuum collectors, which are powered by solar energy. Of course, such an installation is considered expensive, but its effectiveness, practicality and safety will pay off over time. To mount such a system, panels that are made up of vacuum tubes are attached to the roof of the structure, they accumulate energy and heat water. At the same time, the panels do not require additional power sources; they work from the sun, converting ultraviolet radiation into thermal energy.
You can install such a system yourself, without having special skills and experience for this, the most important thing is to properly place the panels and calculate their production load.
How to build your own hands
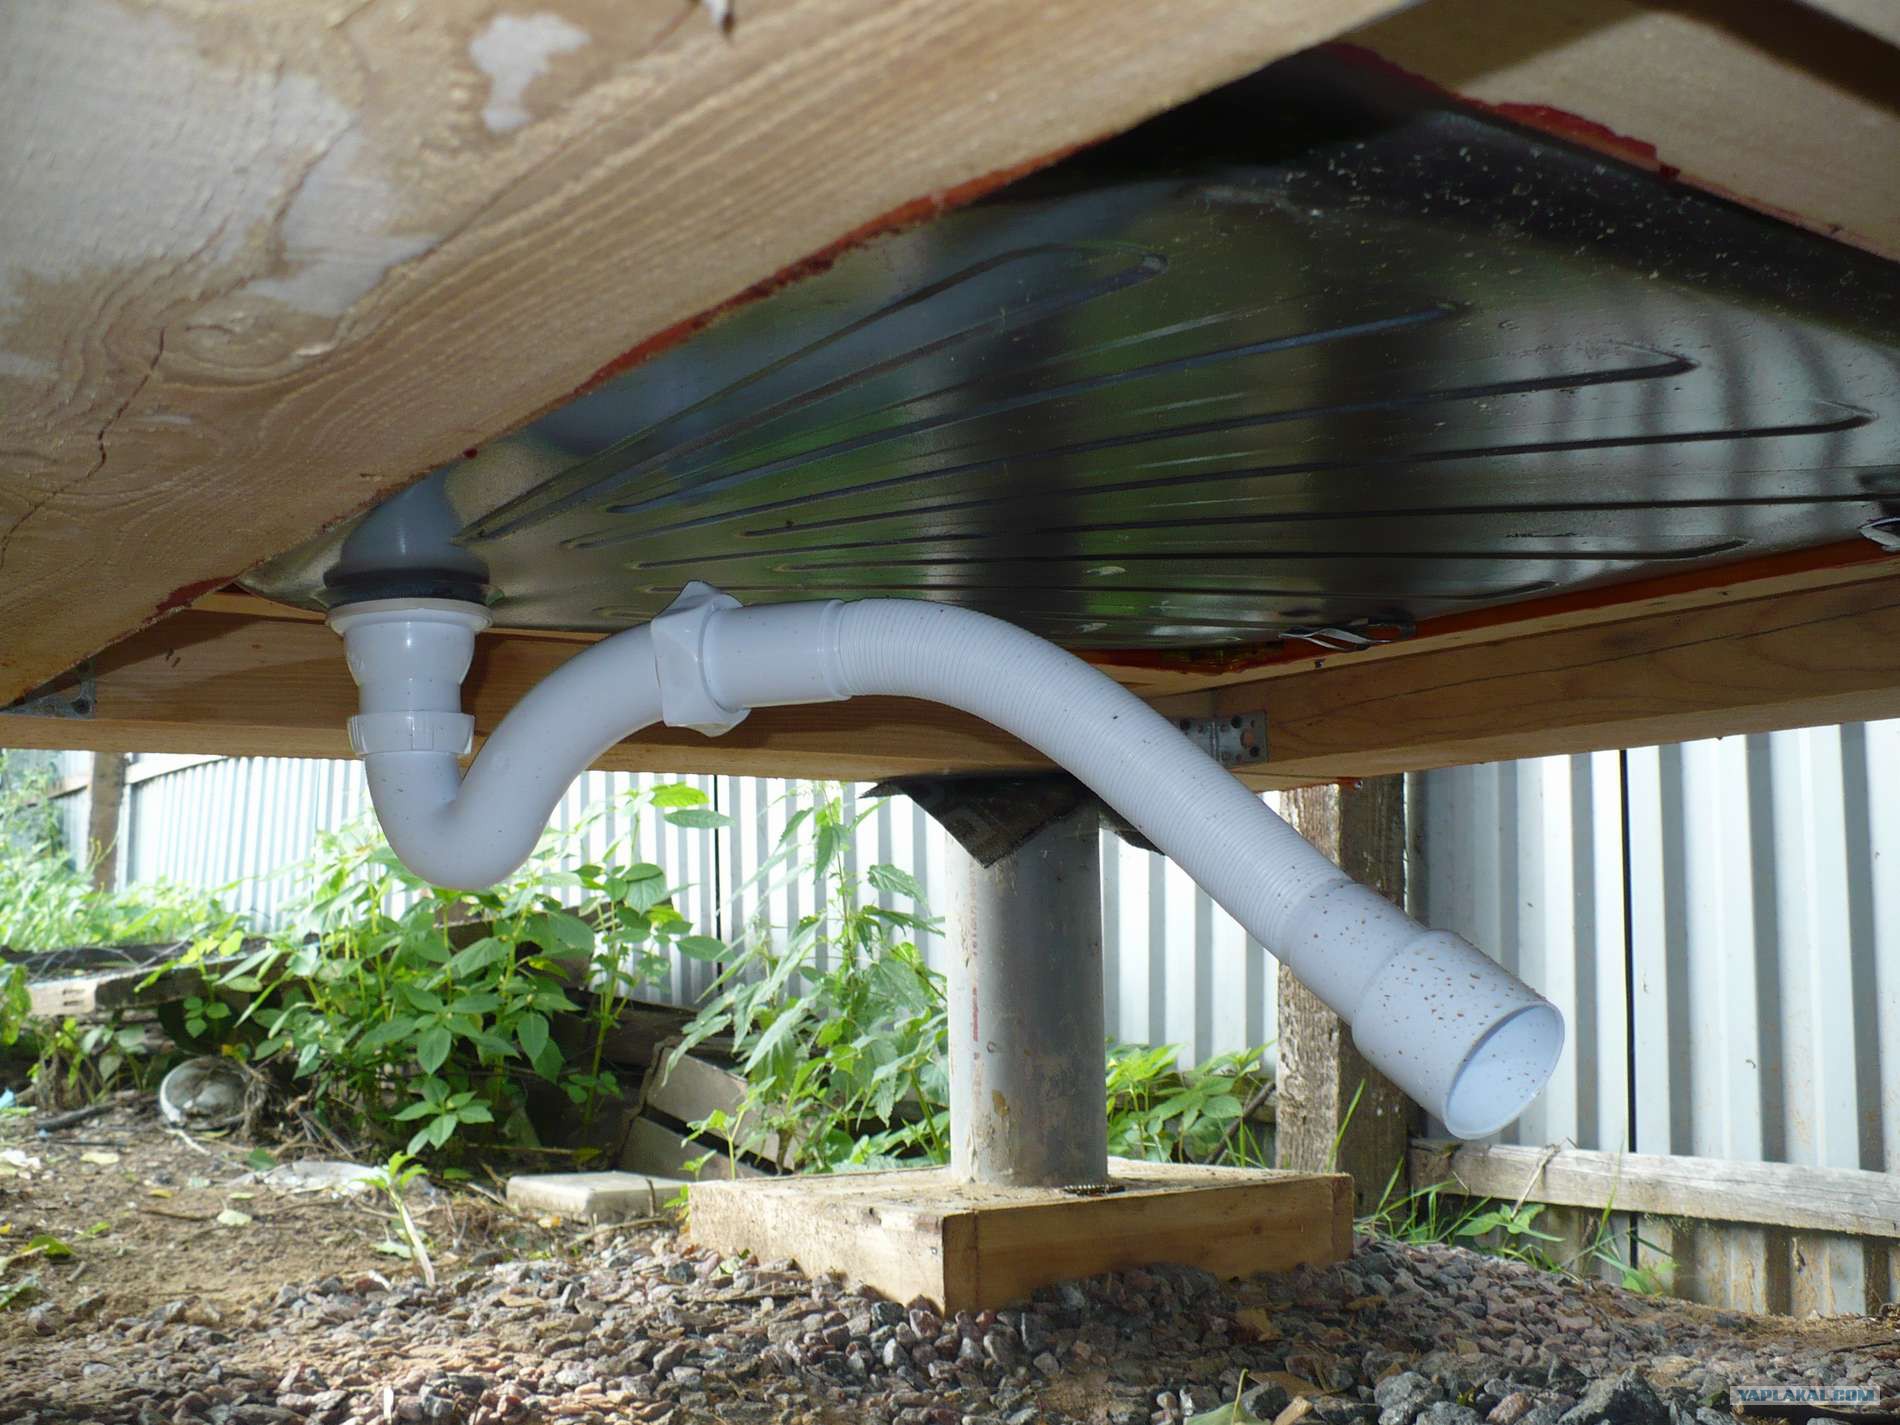
The construction of the dacha shower begins with the choice of the method of drainage, since it will depend on it the convenience and duration of operation of the structure. If at this stage of the installation to make inaccuracies, then fix them in the future will be difficult. Most often for the dacha shower a drainage system is used, which is created on the basis of tires and a drainage pit. To do this, the upper layer of the soil is opened, the ditch is dug, the drainage falls and the pipeline is laid.
This is the easiest way in which water flows from the pallet into the drain hole and is discharged into the sewer system. It is important when laying the flooring to provide a small angle of inclination to ensure good flow. Drain pit as it needs to be cleaned.


After the issue with the drain is resolved, you can perform the following stages of work.
- Create a sketch of the future design and mark the area for construction. The project should include the frame drawings, as well as the scheme for the installation of the foundation and additional communication systems. In that case, if the foundation will be a filler, then you will need to dig a small trench, and for a pile foundation it is enough to level the soil and make holes.
- Prepare a place for mounting a summer shower.The site is carefully leveled and cleaned of debris, in the place where the flow is planned, the layout is made of moisture-resistant material. For this, a waterproofing film, concrete, or sheets of roofing felt may be suitable; in addition, the angle of inclination is determined, since the water flows down with a gradient. In order to avoid the appearance of an unpleasant odor from sewage in the future, it is important to install a good ventilation system, lay a protective grid over the pit and cover it with boards.


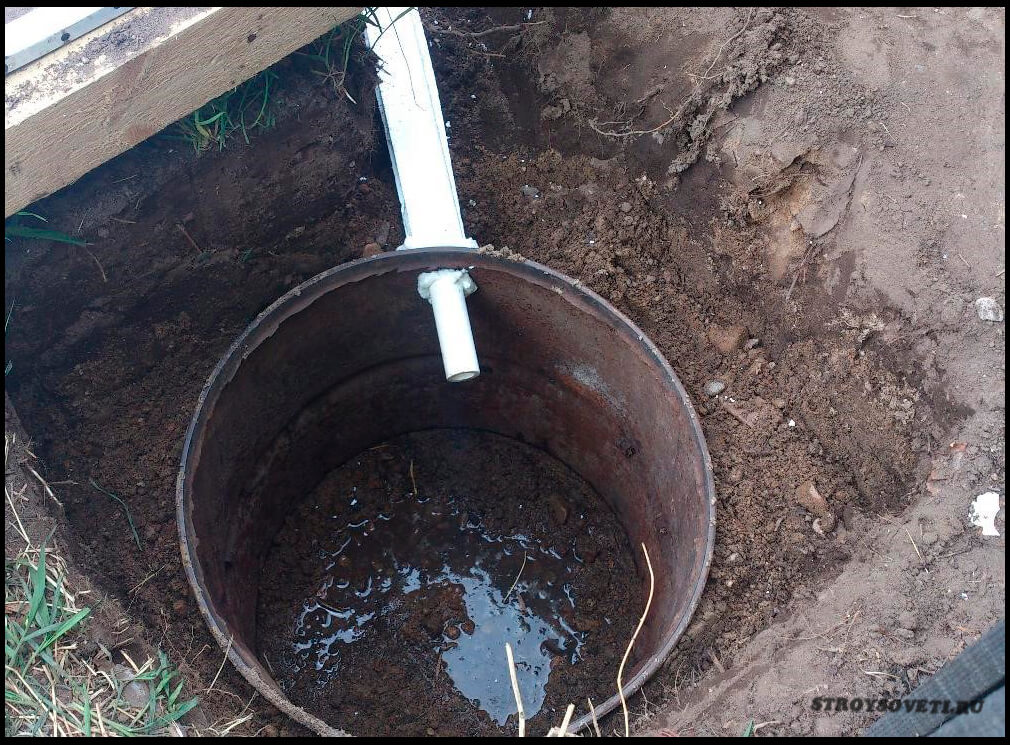
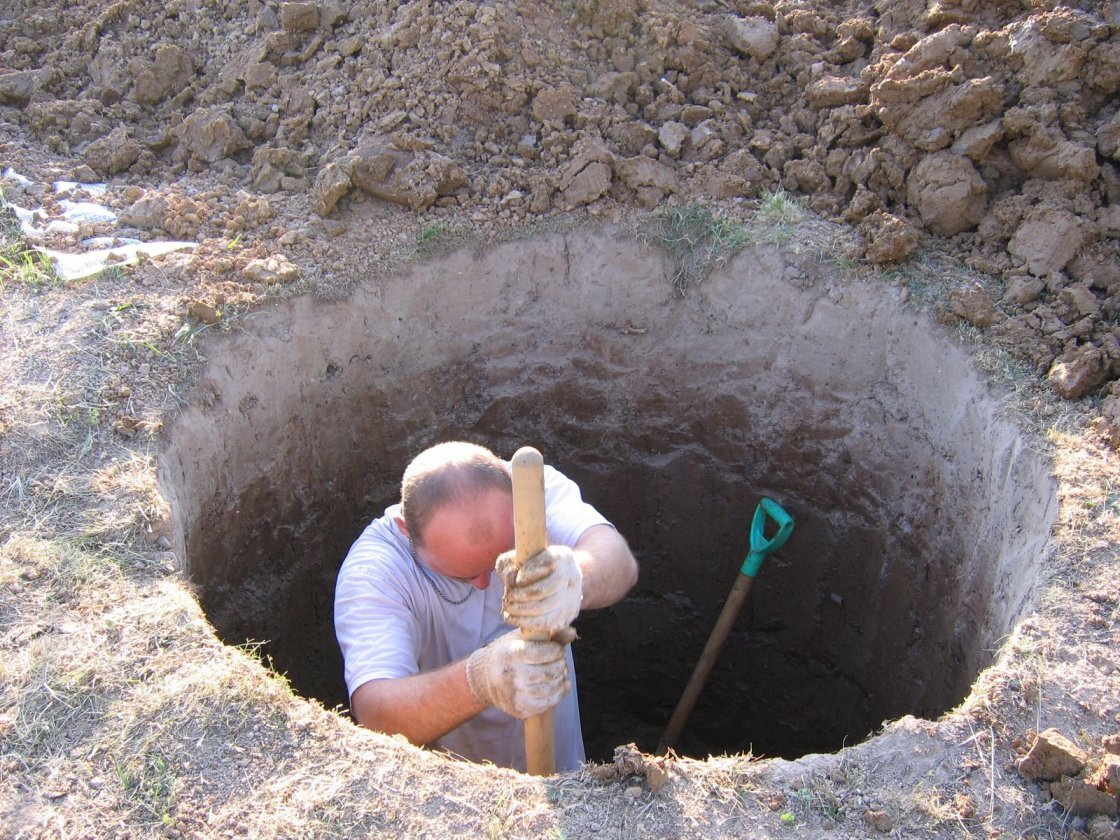
- If the shower stall will be used by more than three people, then it is advisable to make a drain hole with a depth of 2 to 3 meters, placing it from the structure at a distance of 3 meters. At the bottom of the sewage pit, it is necessary to fill up rubble or sand, and its walls can be laid out of old tires or a special sewer can be installed. It is worth paying attention to the fact that the drain hole must always be closed, otherwise children or animals may fall into it.
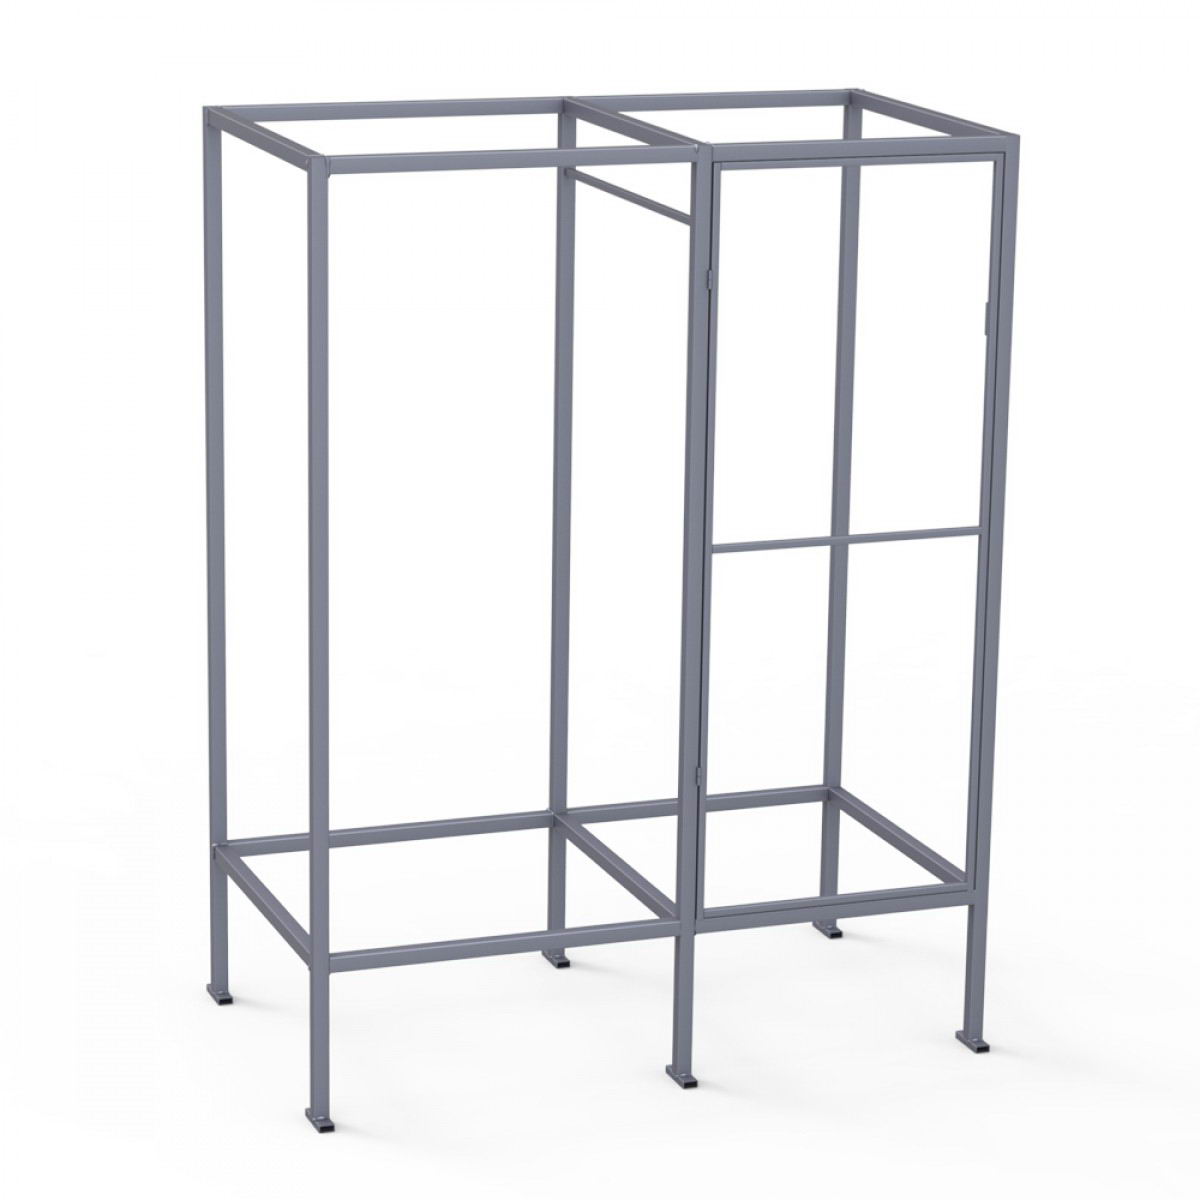
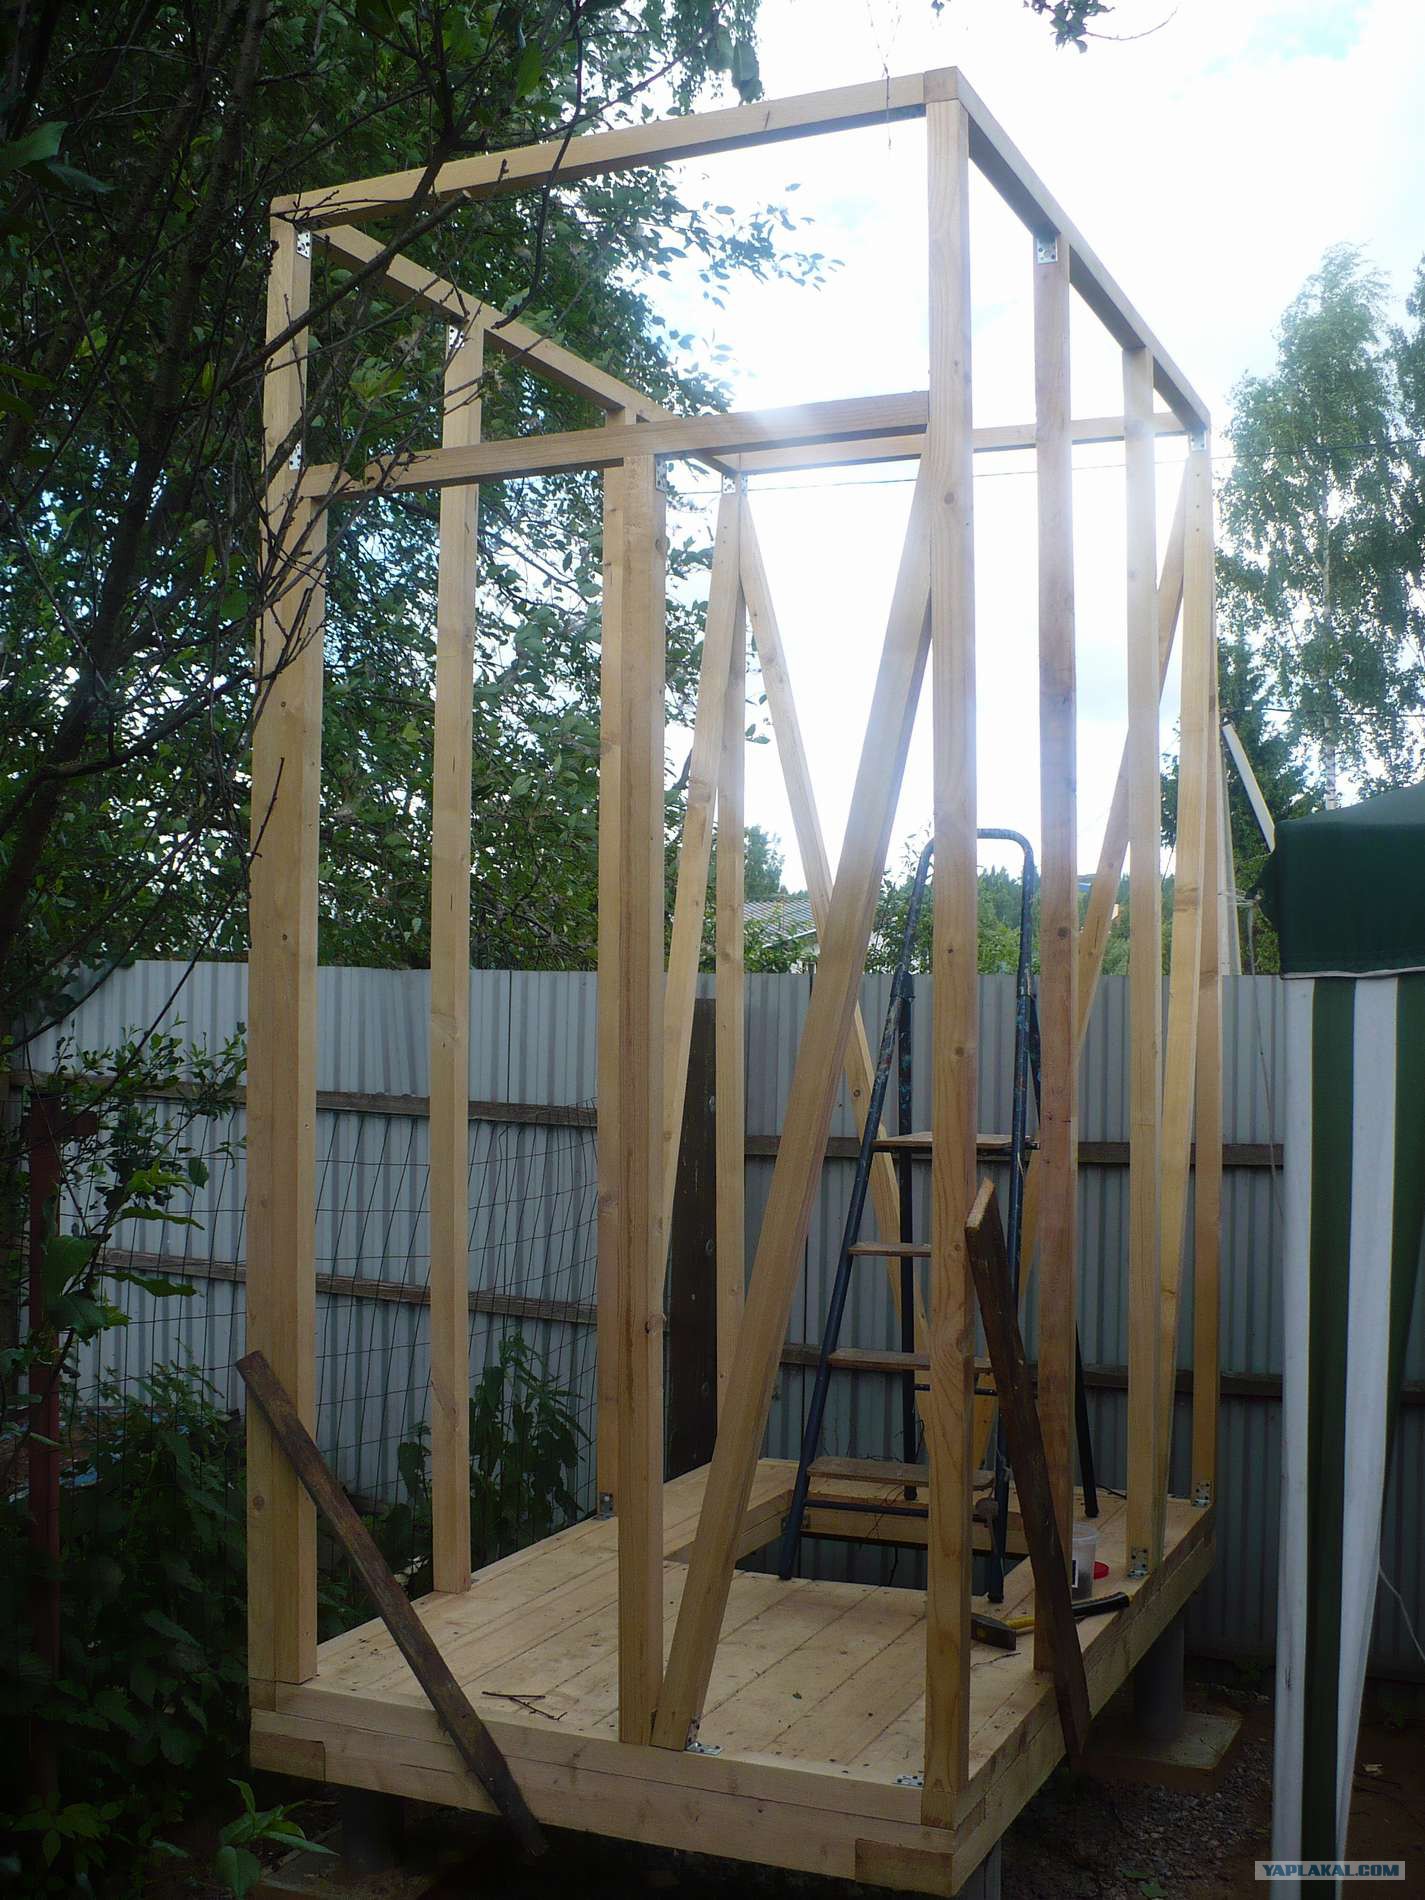
- Carry out frame installation. At the end of all the preparatory work, you can proceed to the construction of the frame. As a rule, aluminum profiles are used for its installation, they are simple to fasten and easily acquire the desired shape.The horizontal and vertical supports for the upper overlap and the placement of the tank are also fixed.

- Run trim. For the exterior and interior of the structure, you can use a different building material, while experts most often choose sheets of polycarbonate with a thickness of 8 to 16 mm.
- Install a water tank. Depending on the selected type of water heating, you can place both an autonomous water heater and an ordinary barrel. If necessary, conduct insulation between the roof and the tank, mounted additional equipment, protective film and reflectors.
- Attach the door and install hooks, hangers and shelves inside the shower. The door is usually knocked out of the boards with a thickness of 20 mm, after which they are sheathed with the material used to decorate the walls. It is attached to the construction with the help of hinges, which are screwed onto the stands of the doorway.
Tips
Recently, the majority of owners of summer cottages prefer to install a summer shower on their own, since such a process is not particularly difficult. But in order for the construction to be solid and comfortable, you need to know how to make the installation correctly.
The following recommendations can help beginners in this.
- Before the construction of the shower, you must choose a place to install the structure. It should fit harmoniously into the overall design and be placed where there are no drafts.
- Drain pit should be made on the basis of the volume of the tank, it should be 2.5 times the size of it.
- Septic materials and drainage should not be installed directly under the cabin, this should be done next to it, otherwise it will not be possible to avoid the penetration of an unpleasant smell.
- Covering runoff is best done from waterproofing materials.
- It is not recommended to use clay during the construction of the structure, as it will quickly become wet and be washed away, as a result, the drainage system may be clogged.
- Improve the water flow can be due to the installation of a shower on an elevated position.
- The design should be comfortable for swimming and have free space, so its height should not be less than 3 meters. In addition, 1 square meter. m must be allocated under the locker room. The optimal width for a shower stall is 190 cm.
- The base and frame of the structure must be made durable and reliable; they must withstand heavy loads, since a water tank will be installed on top.
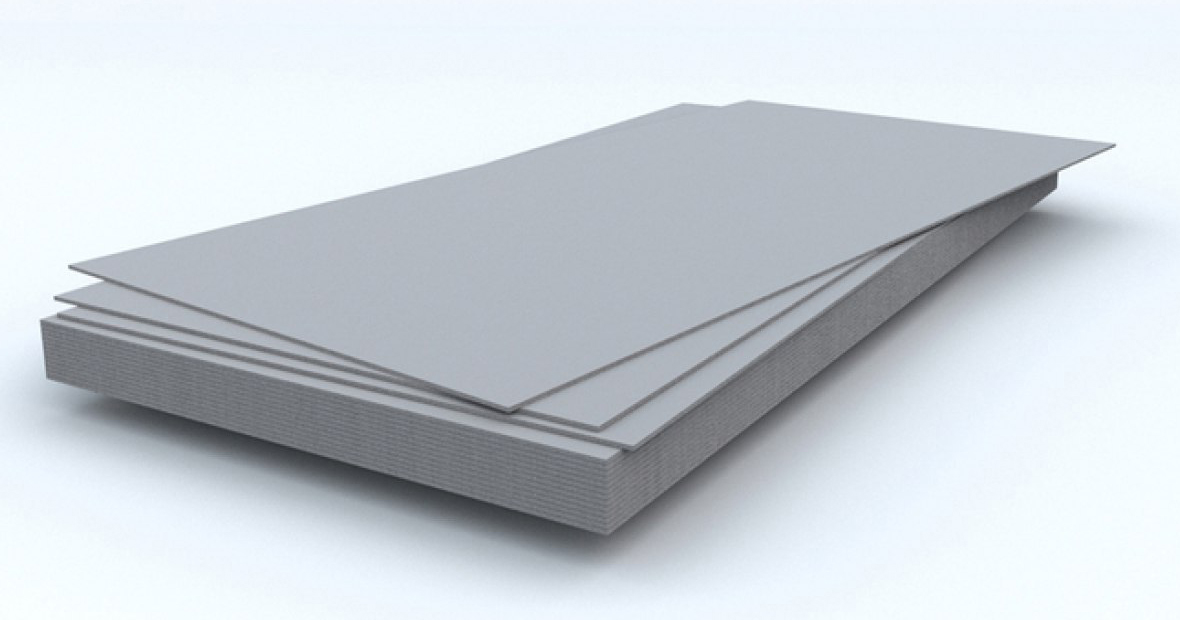
- The outer skin of a summer shower can be made with various building materials, but it is best to give preference to slate sheets, fiberboard, polycarbonate, moisture-resistant plywood or wall paneling. At the same time, the finishing material should be not only reliable in operation, but harmoniously fit into the landscape design of the site. Therefore, if necessary, it can be painted or decorated with original drawings and patterns.
- Care should be taken to ensure that the doors of the structure are tightly closed and do not allow cold air flows. Additionally, it is possible to install heat insulation on the door and fix sealing elements along its contour. This will help keep the heat inside the structure and protect the doors from the negative effects of moisture.
- Summer shower can also be used in winter, but in this case its construction should be well insulated. To do this, on the walls and ceiling of the booth impose polystyrene foam, foam or mineral wool. Thermal insulation is fixed with a stapler and sheathed with decorative material.

How to make a summer shower with your own hands, see the next video.


