How to replace the mixer yourself?
There are cases when it is urgently necessary to replace the faucet in the bathroom or in the kitchen, but there is no familiar specialist nearby. In addition, the night in the yard, and call the plumber in the house and in the afternoon, it does not always work. There is only one option left for the owner - to replace the faulty mixer independently.
Special features
If there is a new or serviceable faucet in stock, then replacing defective valves will not be difficult for those who have ever done a similar job. But for people who do not distinguish the carob keys from the end keys, it will be difficult to explain how this can be done by oneself. But you have to try, since there is such a need.
Before removing the faulty mixer, you must perform the following mandatory steps to protect your and other people's property from flooding:
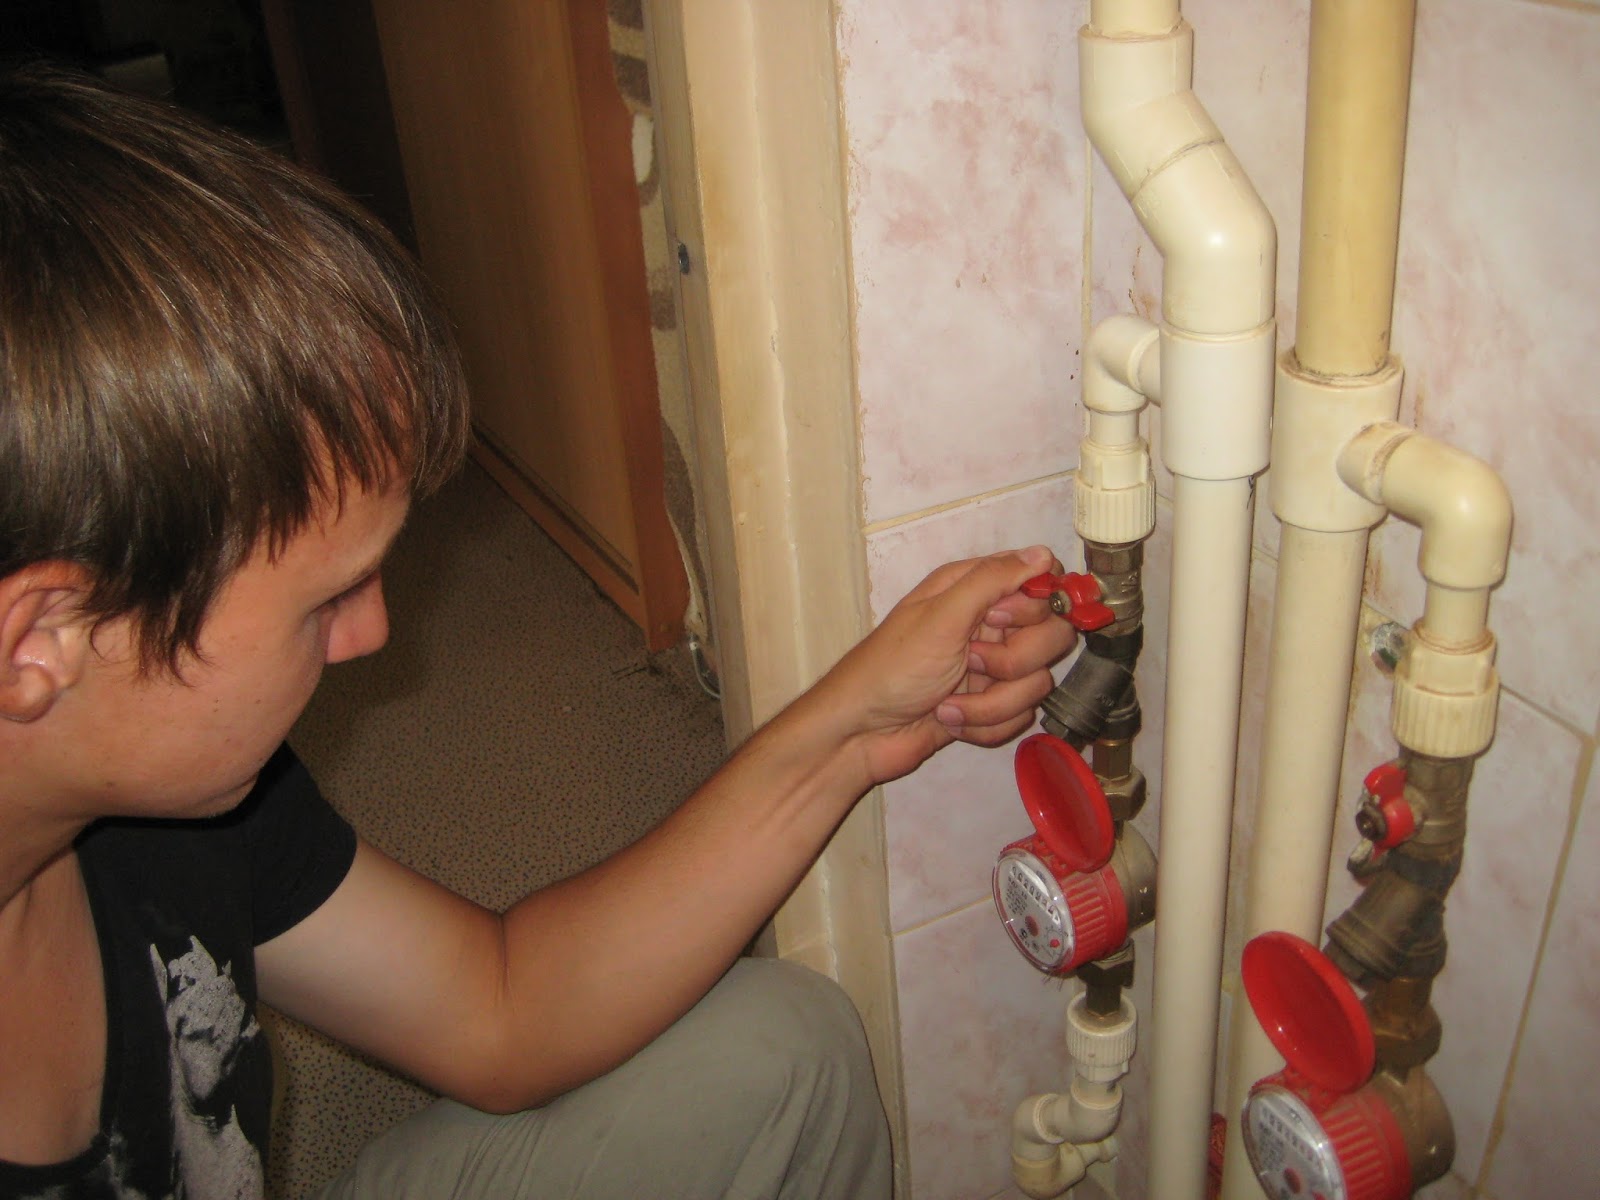
- Shut off the primary valves for supplying hot and cold water to an apartment or house from common risers. In old houses, it was often not possible to turn off the water to a specific apartment, since the wiring of pipelines involved the installation of only a common gate valve for the entire staircase. Separate fittings on the branches to each apartment was not available. The modern residential building has eliminated this inconvenience - now each apartment has its own disconnecting devices on the hot and cold water pipelines.
- If the primary valve in the apartment of a modern building has failed, then the work is added. It is necessary to notify the neighbors in the entrance that the hot and cold water will be absent for some time due to an accident in the apartment, and then turn off the riser in the basement.
- If the primary valve for the whole staircase in the house of the old building does not hold (also a frequent incident), then immediately such a question will be problematic. We'll have to call an emergency housing service. Not all houses have a through passage in the basement, and the common gate to the house may not be in the basement of the house, but somewhere in the well in front of the building.
- Overlapping, finally, everything you need and making sure that there is no water in the taps, you can begin to replace the mixer.
All the actions described should be carried out first of all if inaction threatens to flood one’s own and lower-lying apartments. It does not matter if there are other mixers or spare parts available. Even if there is nothing in stock, one day or night you can suffer.
When the threat of flooding is eliminated, it is necessary to thoroughly understand the problem that has arisen. Consider the mixer, find out the cause of its failure and the possibility of repair.

What to replace?
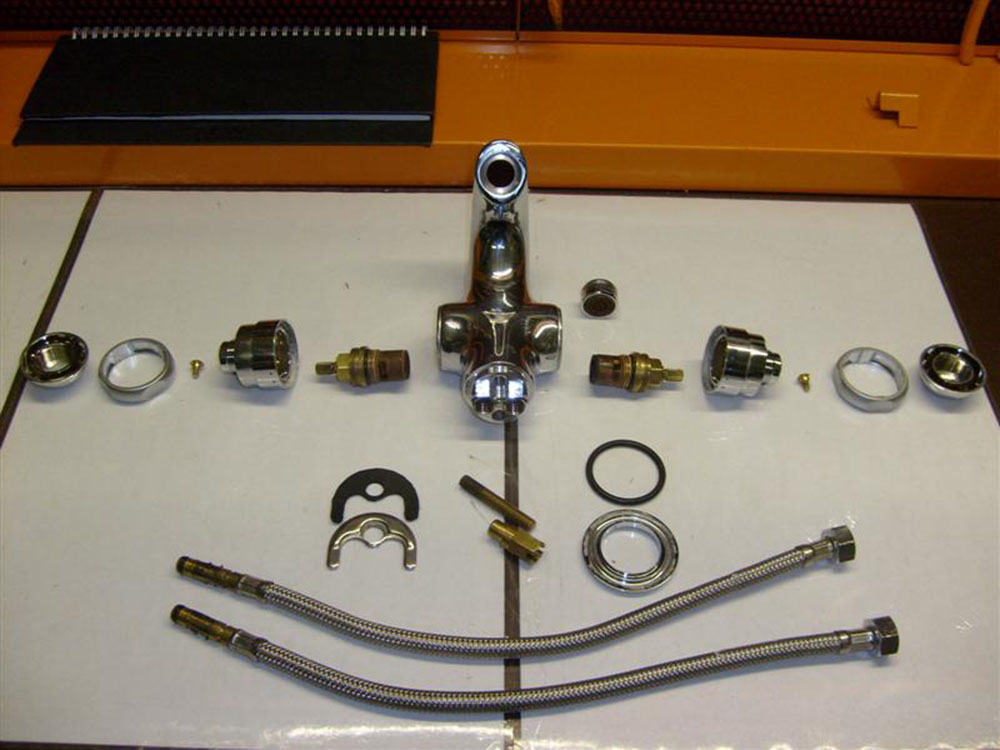
Sometimes in emergency cases it is not necessary to have a new or serviceable used mixer to temporarily eliminate a difficult situation. The thrifty owner has separate serviceable parts of the mixer: "hussies" with elements of connection to the mixer, gaskets, valve axle boxes assembled or disassembled. All this can be useful depending on the fault with the existing valves, which has become unusable. With the help of spare parts you can repair the mixer, even for the first time.
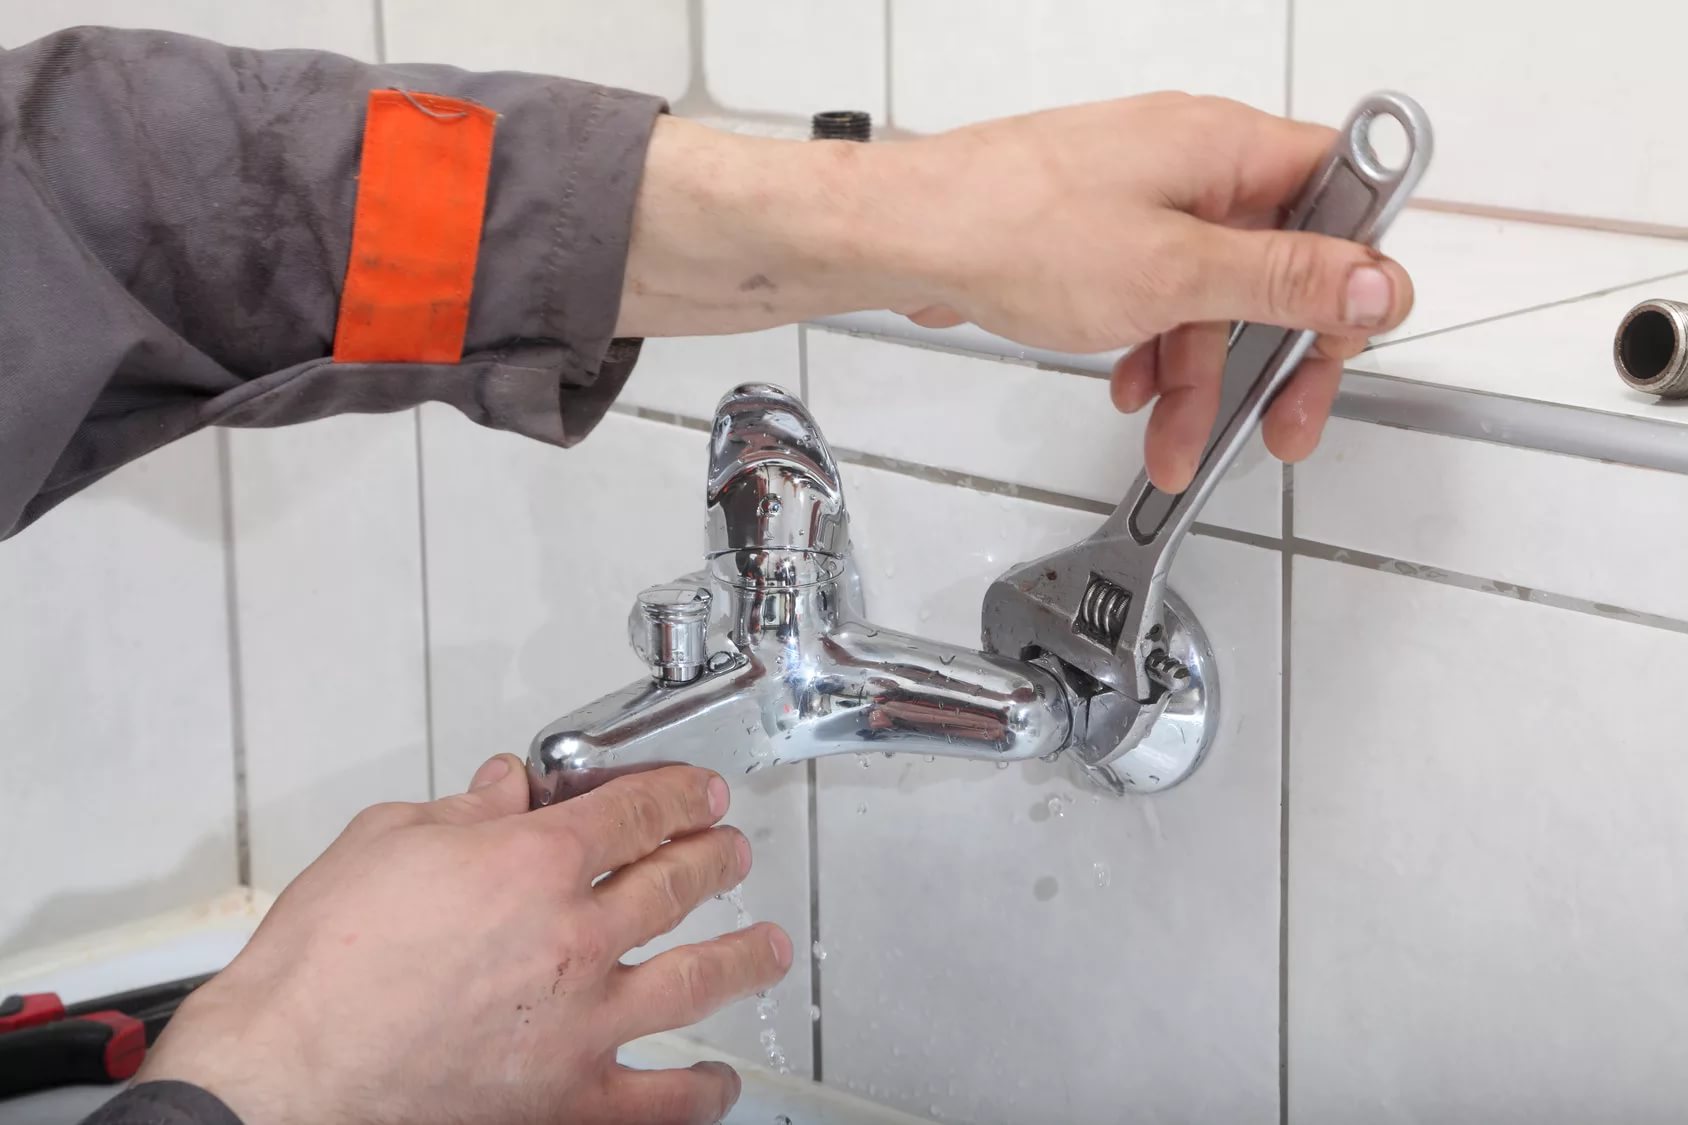
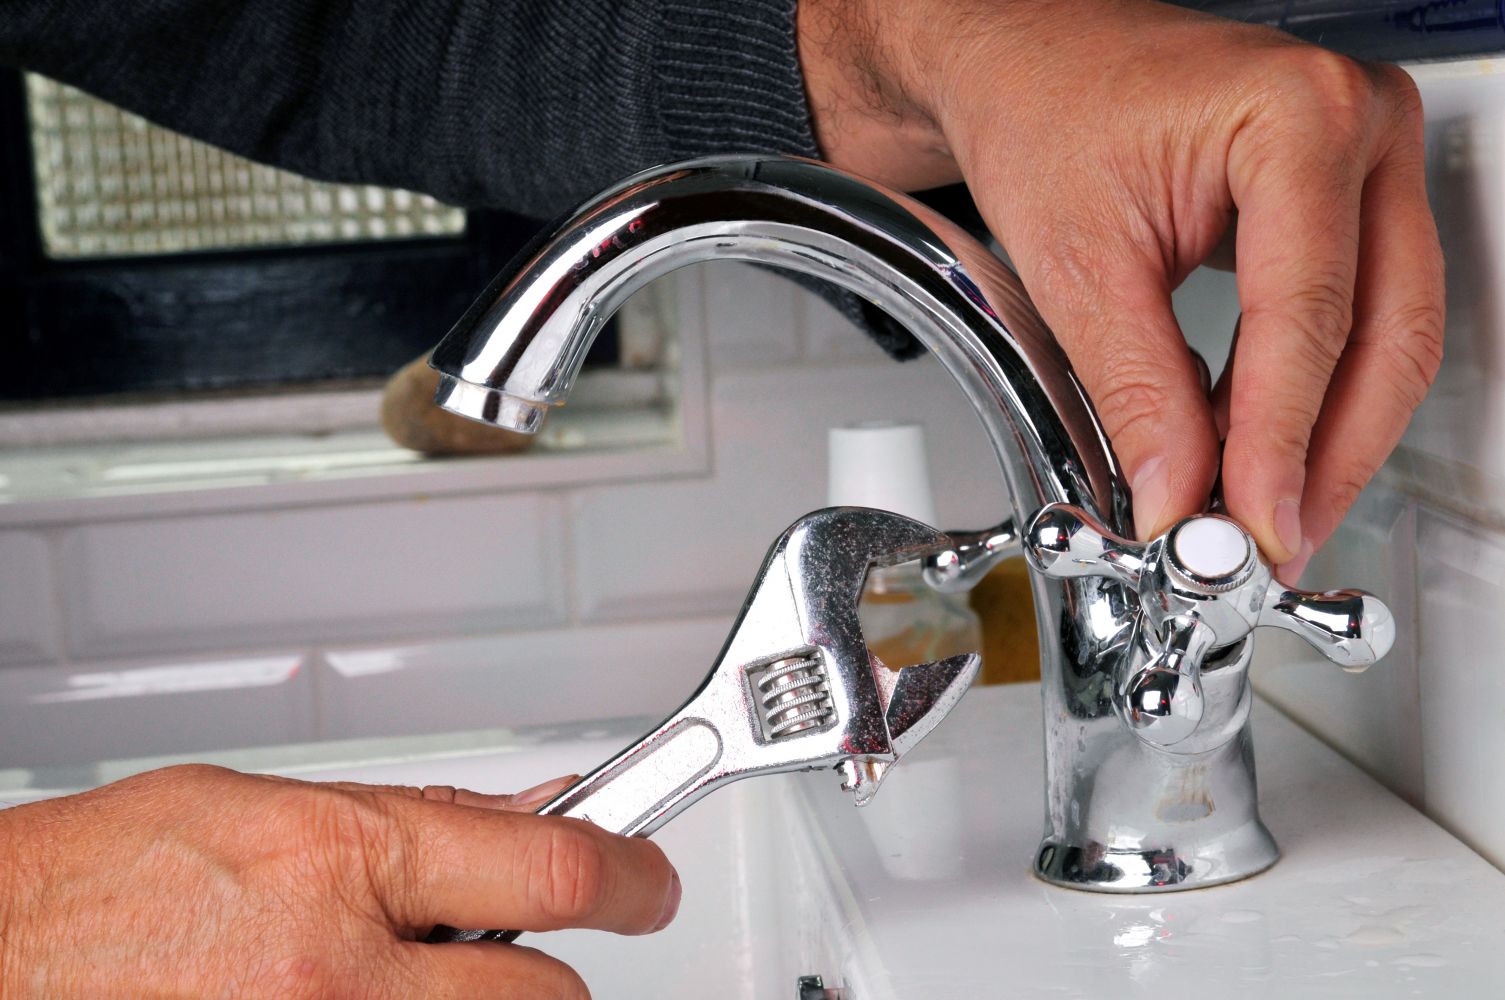
And to replace the mixer, and for its repair will require a running set of tools, which is available in the presence of any more or less understanding in human life. This set includes various horn keys from number 8 to number 32 for possible daily worries with plumbing and bathroom fixtures in the apartment. It is useful to have on hand a wrench for unexpected sizes of nuts in plumbing and furniture assembly. Often in demand in the economy gas key, which is needed not only for work on the pipeline, but also for the same plumbing work.
Wrench is always useful for plumbing and fittings.
In addition to tools, always in the house need a range of spare parts and various consumables for the repair of plumbing and plumbing. The most in demand for the repair of faucets and mixers are the following elements:
- rubber or plastic gaskets;
- valves;
- valve stem;
- valve flywheels;
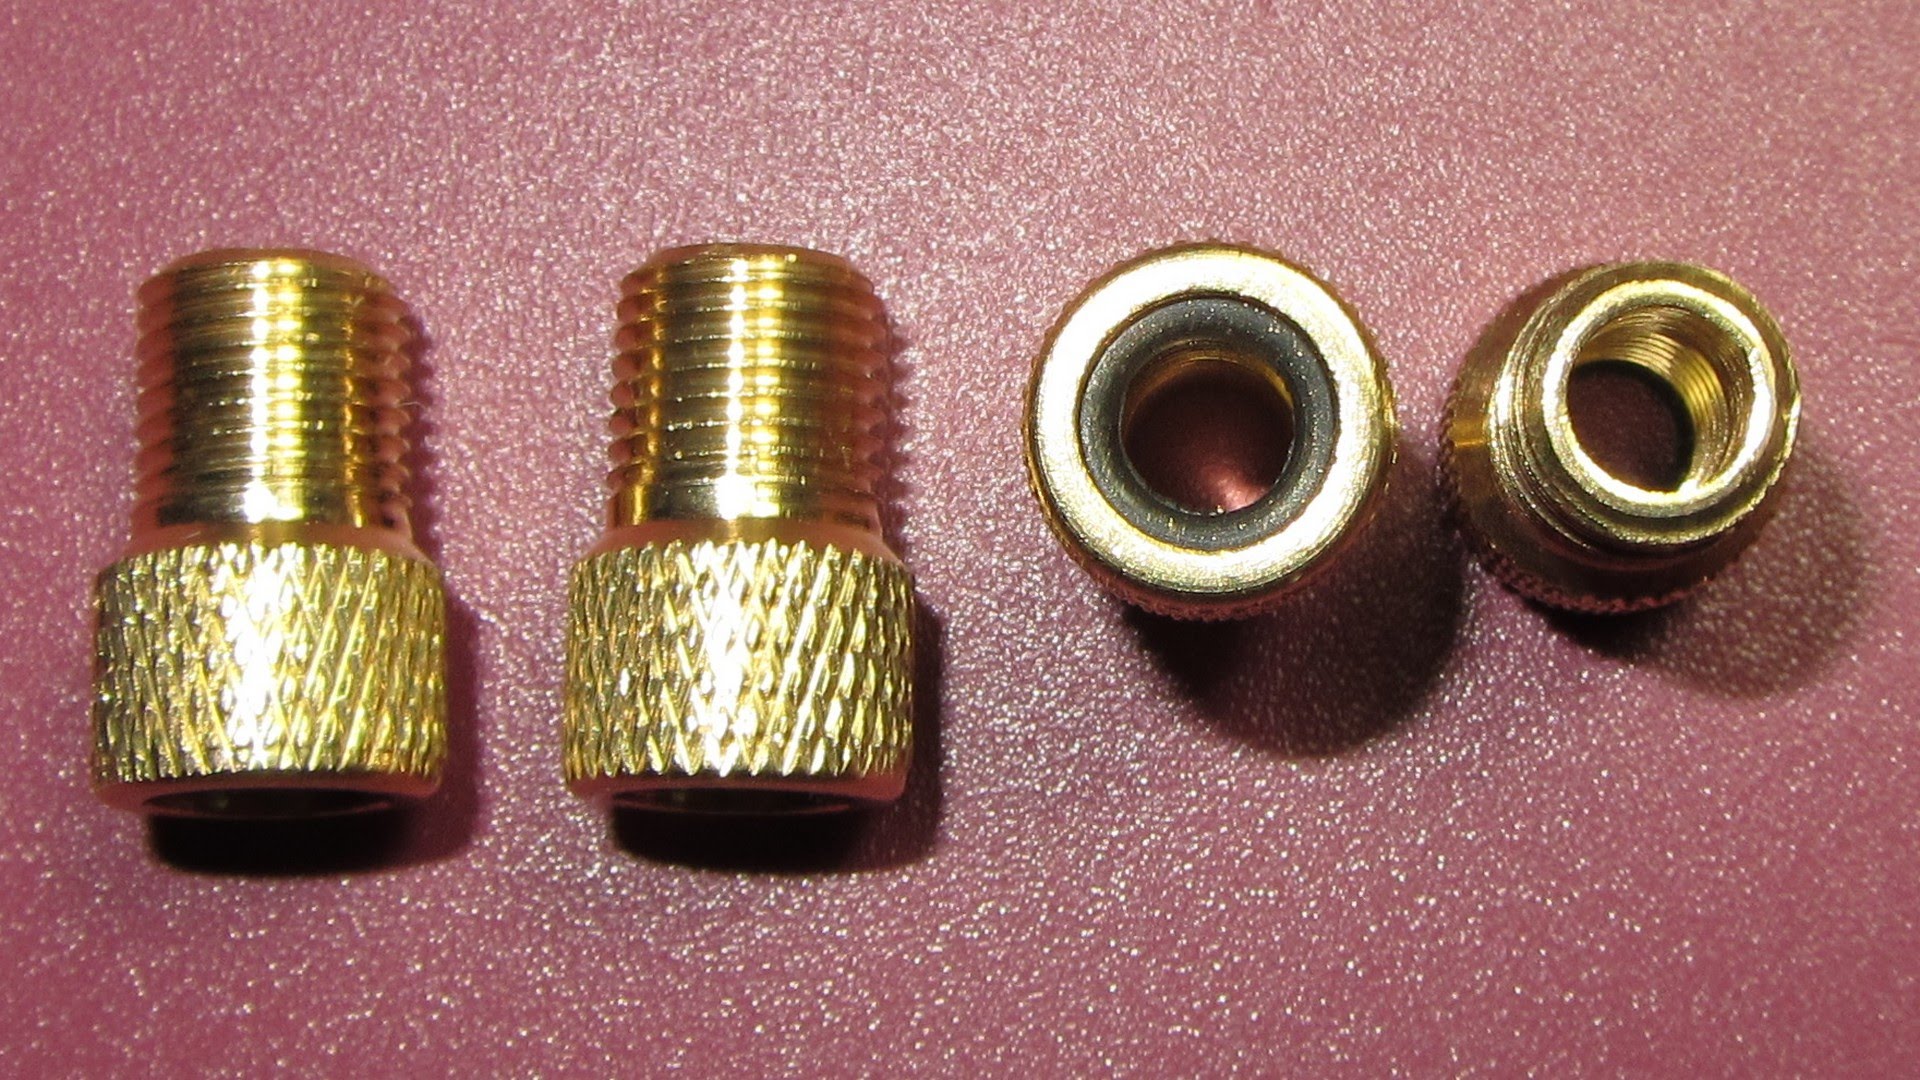
- connecting and transitional parts with the pipeline, among which nipples (kegs), couplings, nuts;
- compound sealing material.
A nipple (also known as a barrel) is a connecting part of a pipe that has an external thread on both sides of the same or different diameter and pitch.It can be used for joining two pipelines, a pipeline and a crane, as well as in other cases of installation or repair of a water supply system.
When the malfunction of the mixer is easy to eliminate by replacing the gaskets, and a leakage at the points of connection to the pipelines is a minor tightening, then such an “accident” can be considered a slight misunderstanding. But if everything is more serious, and the replacement of the mixer cannot be avoided, then, having rolled up the sleeves, you have to drag the tool and spare parts to the place of work.
How to replace your own hands?
In the bathroom of modern apartments can be two options for the installation of mixing taps.
- One tap, acting both for a set of water in a bathroom, and for a washbasin.
- Two separate taps: one for the shower and water in the bath, the other for washing in the sink.
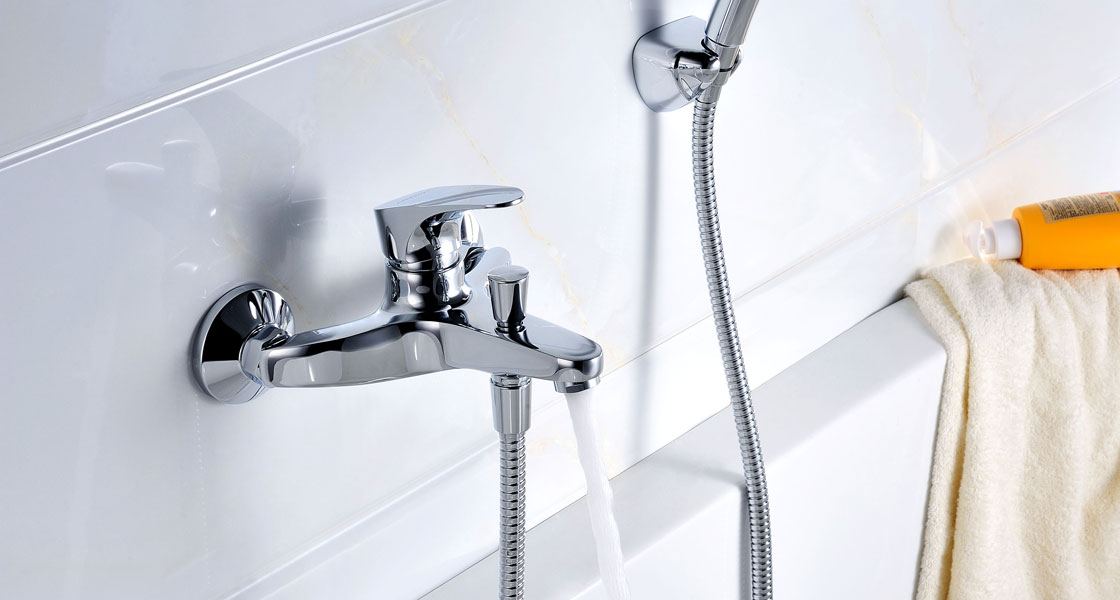
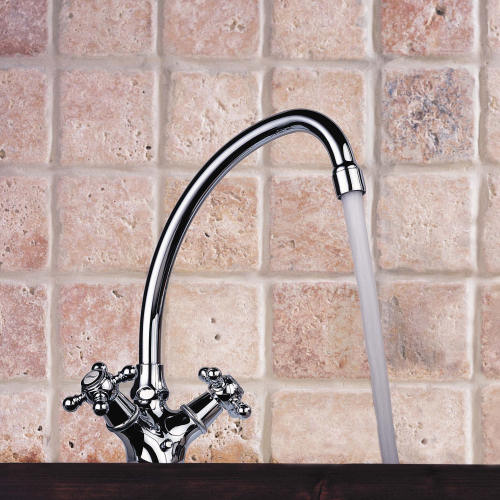
These two separate mixing valves are completely different designs. For the sink, a one-way faucet is usually used (or a regular two-valve), and for a bath, a two-valve with a shower switch. It would be better to first consider the example of replacing a valve faucet for a set of water in the bath and shower.
There are models of single-lever (single-lever) bath taps, but this does not matter in the matter of replacing them: the supply of hot and cold water is the same everywhere.
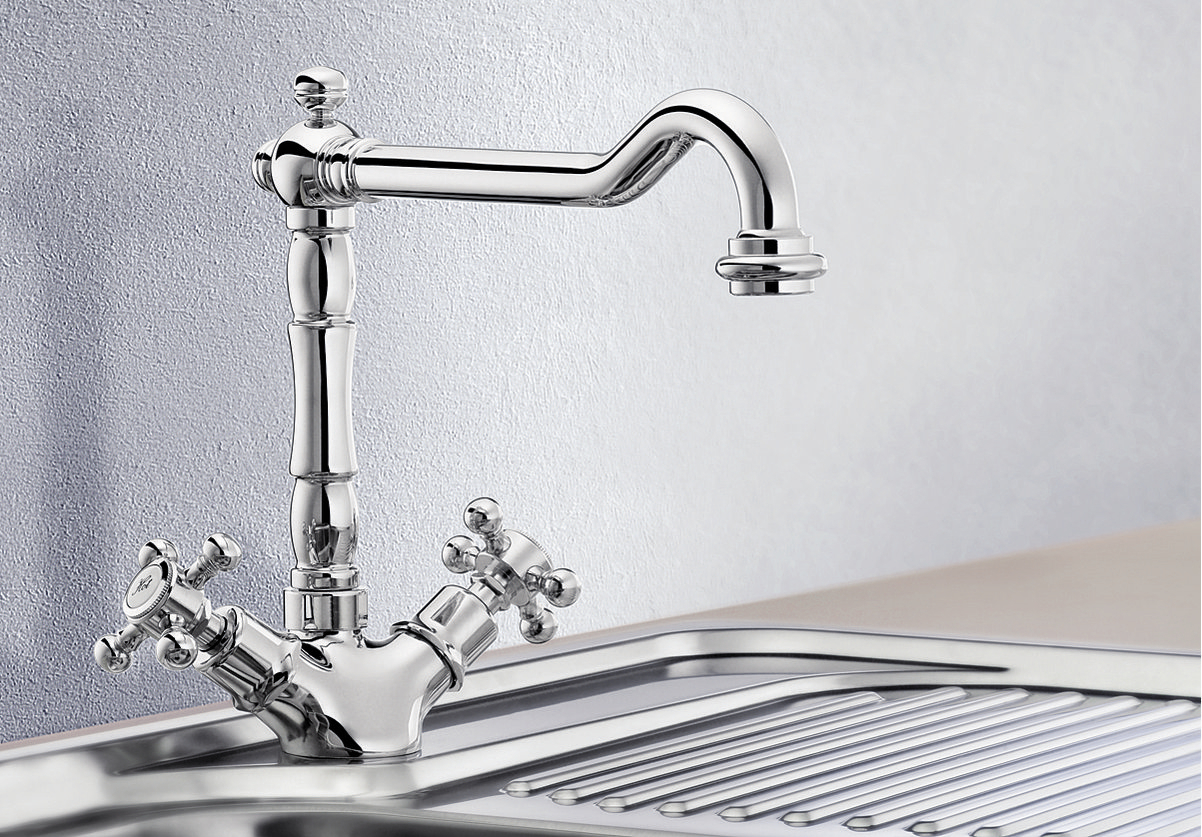
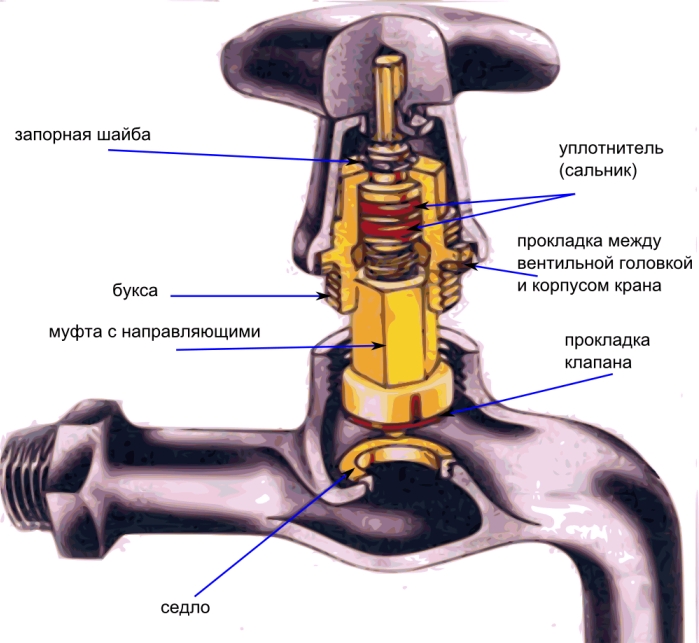
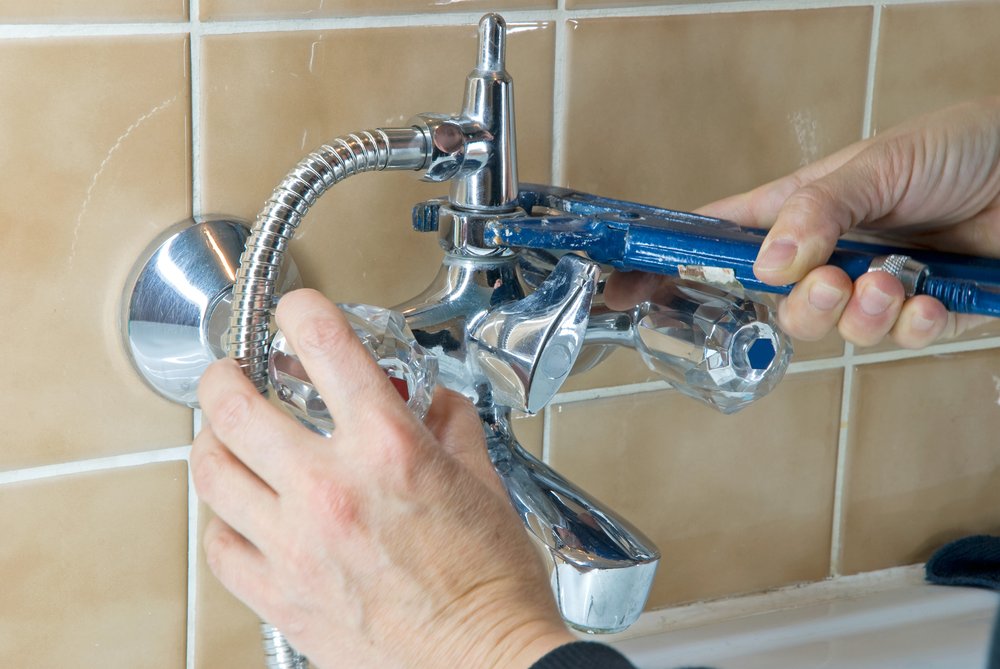
Valve mixer
Before you start dismantling the mixer and begin to unwind the places of its connection with the pipelines of cold and hot water, you should pay attention to the material of pipelines. If the supply pipes are steel and do not have any more connections, then you can safely loosen the nuts. In the case of pipes made of metal-plastic or polypropylene, this should be done very carefully, just holding the supply pipe with a suitable tool and at the same time unscrewing the fixing nuts of the mixer. Twisting plastic pipes should not be allowed, otherwise problems will be even more serious.
It is better not to clamp the plastic pipe itself, but the metal eccentric adapter, which is usually placed by the installation organizations when arranging water mains and wiring to the apartments. This adapter is also a type of nipple, having two threads at its ends. One of them is screwed or soldered after adjusting the distance between the pipes to the standard mixers, and the other is intended to attach the crane.
Step-by-step instructions for removing the mixer in the bathroom or kitchen with a standard type of supply pipes consists of several points:
- Shut off hot and cold water with primary valve. Options for their location in the apartment of new construction: cold water - in the toilet, hot water - in the bathroom. There are apartments in which each valve has its own shutoff valves. In the old houses the valves are in the basement. But still, you should first carefully examine the pipelines in the apartment.
- Opening the valves on the mixer to change, drain the water from the pipeline and the device itself. It is advisable to open all the remaining taps in the apartment in order not to leave the system even under atmospheric pressure of the remaining water in the pipes.
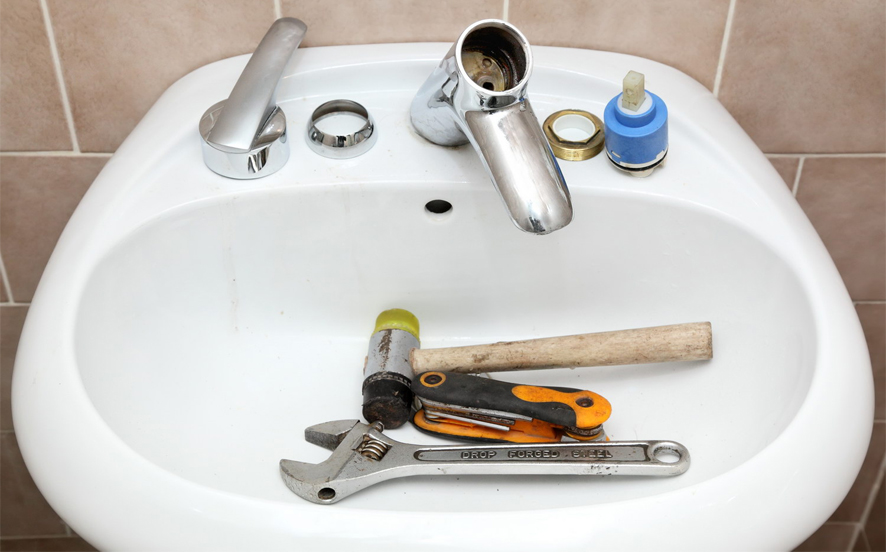
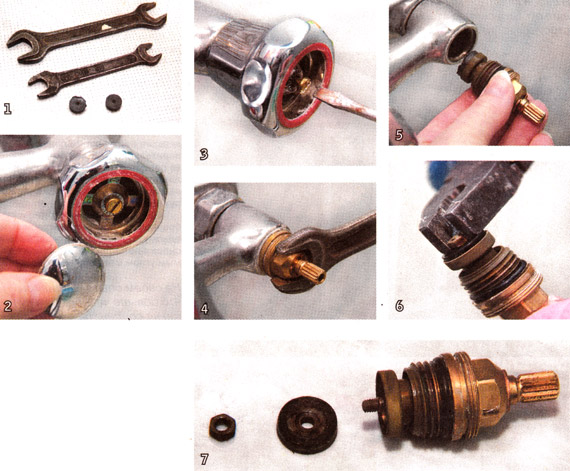
- Prepare tools, parts, consumables. Just in case, take care of a rag and a bucket so that there is where to drain the water and how to wipe the puddles. From tools and consumables you will need: two adjustable wrenches (or one adjustable wrench and a set of open-end wrenches), pliers, a special teflon tape or thread for sealing threaded connections, painting or insulating tape, a liquid for softening scale and rust. If something is not available, then the work will have to be postponed for a while.Last in the list may not be necessary if the connections are in good condition.
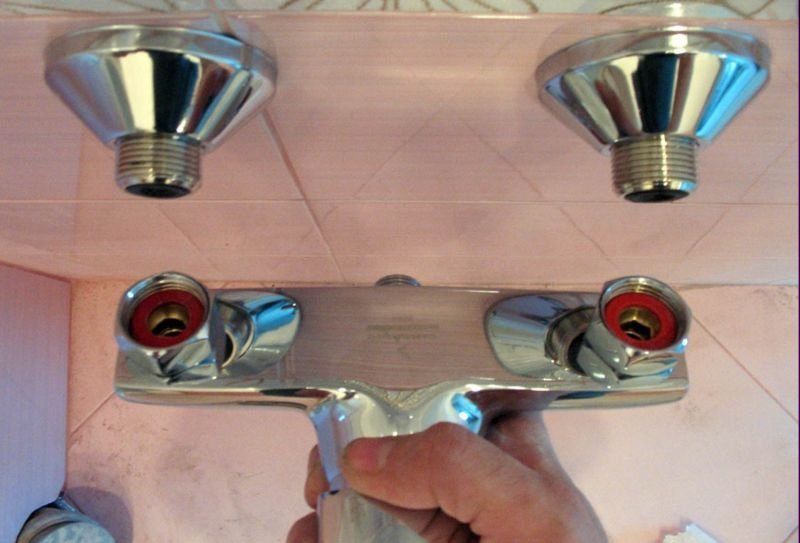
- Simultaneously loosen the nuts securing the mixer on both eccentric adapters. It is possible that not all of the water is from the mixer or the glass pipes, so before unscrewing the mount it is better to lay a dry rag under the eccentrics or to expose the dishes to keep the workplace clean.
- It can be expected that the stuck thread on the joints will not give in the first time. You should not tempt fate and make superpowerful efforts to achieve the goal. Plumbing and plumbing in the household are the most unpredictable systems of comfortable human life. At every opportunity, they try to recoup, and turn heavenly life into hell. And with synthetic newfangled pipelines, no effort should be made.
- If you stick with the joints, try to unwind, and if there is a liquid for this, then apply it for its intended purpose, having missed it or put a cloth dampened with liquid on the problem area. Give time to soften or rust, and then try to unscrew the nuts. You can also use vinegar, heated oil, kerosene instead of special liquid.Nothing is impossible, so in the end, the nuts will turn away.
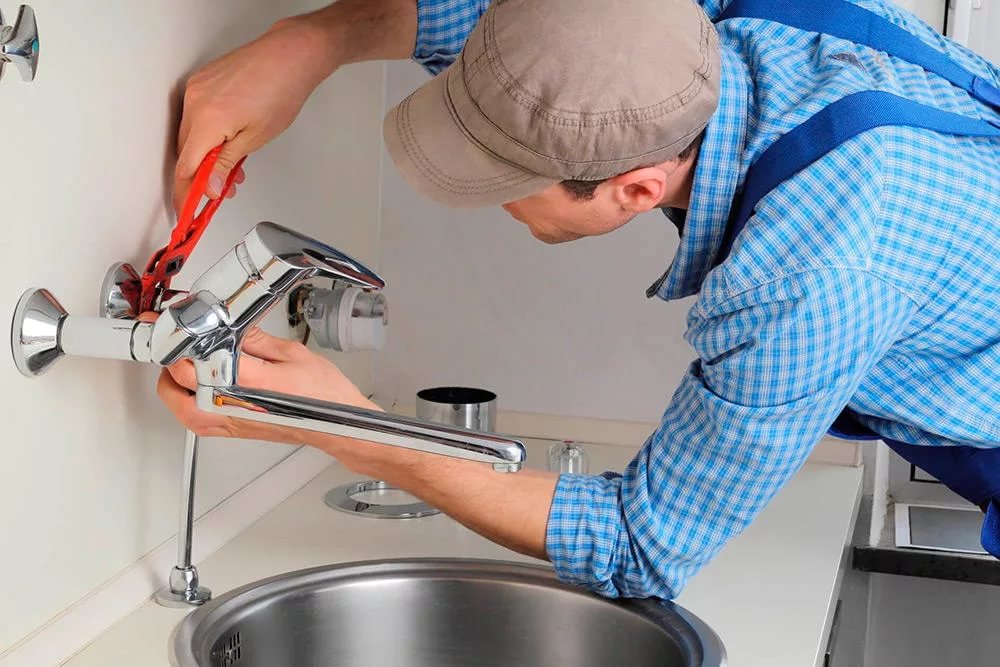
- Remove the mixer nuts from the adapters, remove the faulty mixer. Prepare and assemble a new crane if it has been disassembled.
- Usually new mixers have in their kit eccentric adapters. If it is possible to remove old eccentrics, then it is better to do this without thinking. For example, in the case of plastic supply pipes, this operation is unlikely to succeed, and there will be no problems with steel water pipes. Remember the position and unscrew the old eccentrics from the supply pipes, and remove the place of connection from dirt. Wrap the thread on the new adapters with 3-4 layers of Teflon tape and screw them in with the compression into the water pipes in the same position as the old adapters.
- Now wrap with Teflon tape the second end of the adapter to which the mixer will be attached. It is enough 3-4 times to wrap the tape with the entire threaded part of the eccentric.
- To gain fastening nuts of the mixer on the eccentrics of both pipelines, being careful not to twist and spoil the threads on either the nuts or eccentrics. Simultaneously tighten the two connections to the tight fit of the nuts.
- Wrap with paint or insulating tape to protect the chrome-plated surfaces of the fastening nuts, tighten them with a key or pliers.
- Remove the masking tape. Adjust the density of all other fasteners on the mixer ("gander", shower hose).
- Check the tightness and proper operation of the taps by supplying water alternately from each pipeline.
There is nothing difficult in replacing the valve mixer. Such work can be done independently in an hour in the presence of primary water fittings, tools and necessary materials.
And the quality of work depends on the attentiveness and reasonable approach to the business of the owner.
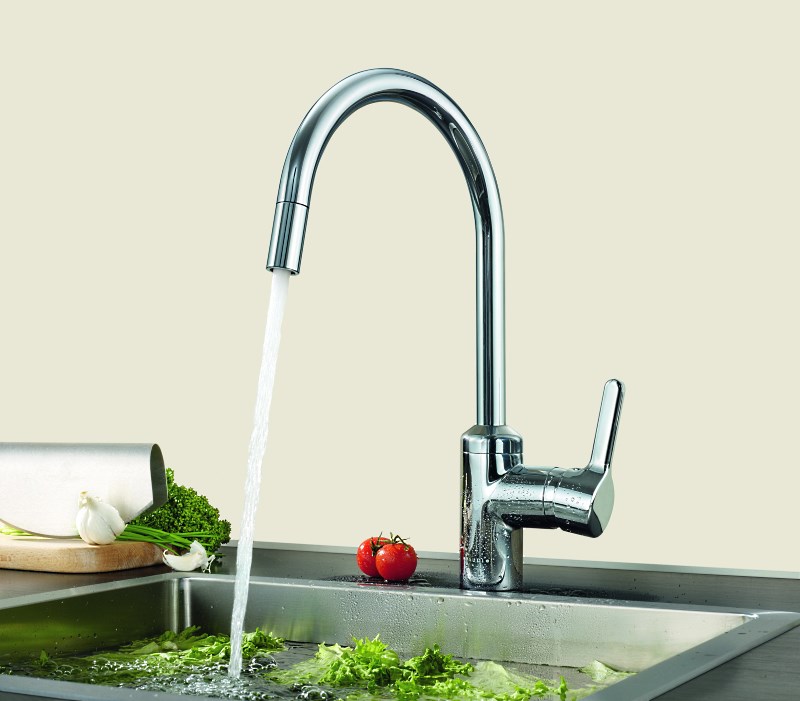
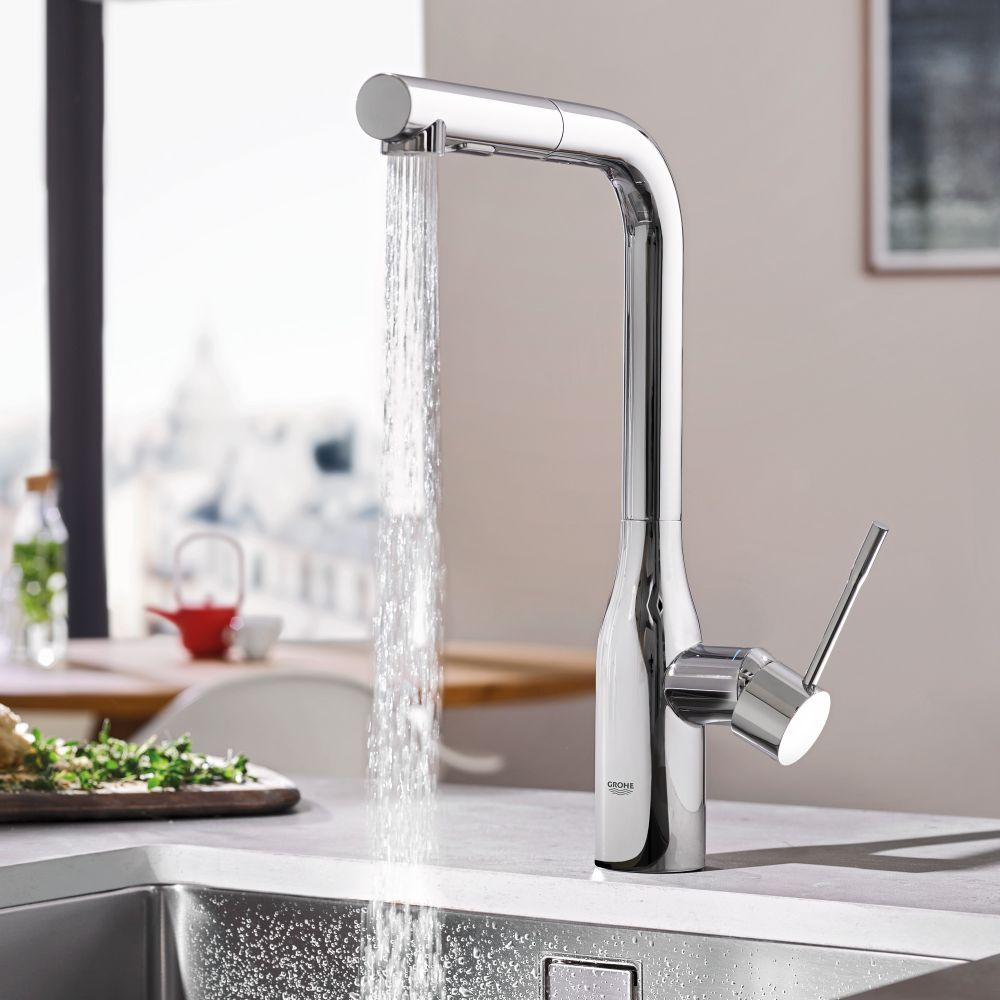
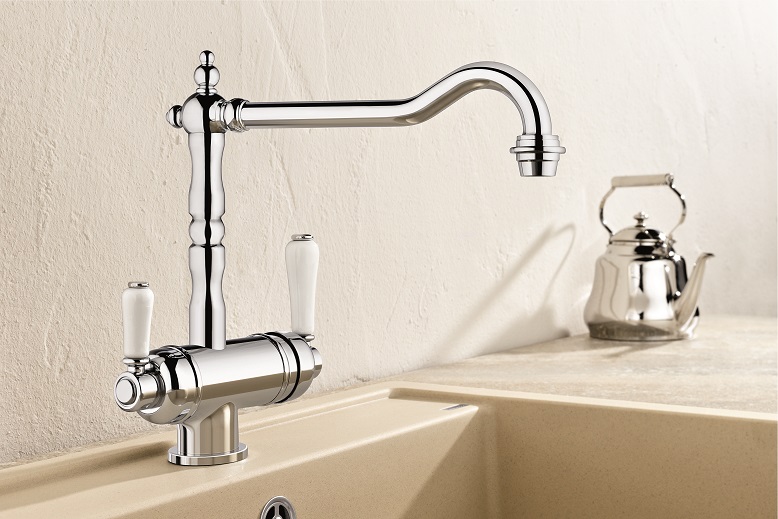
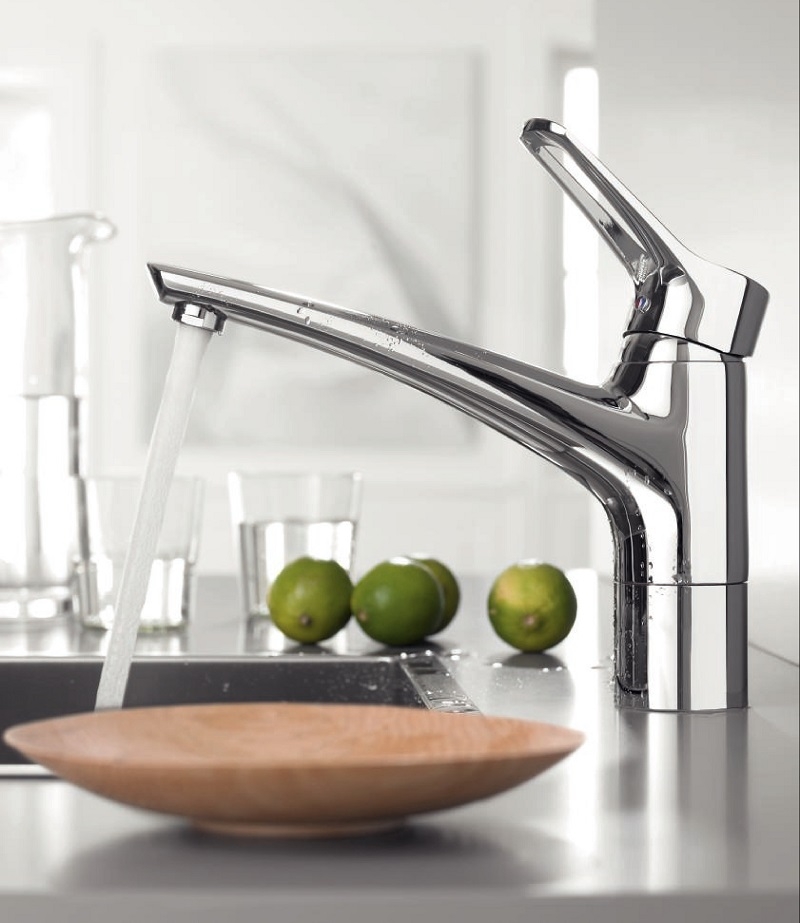
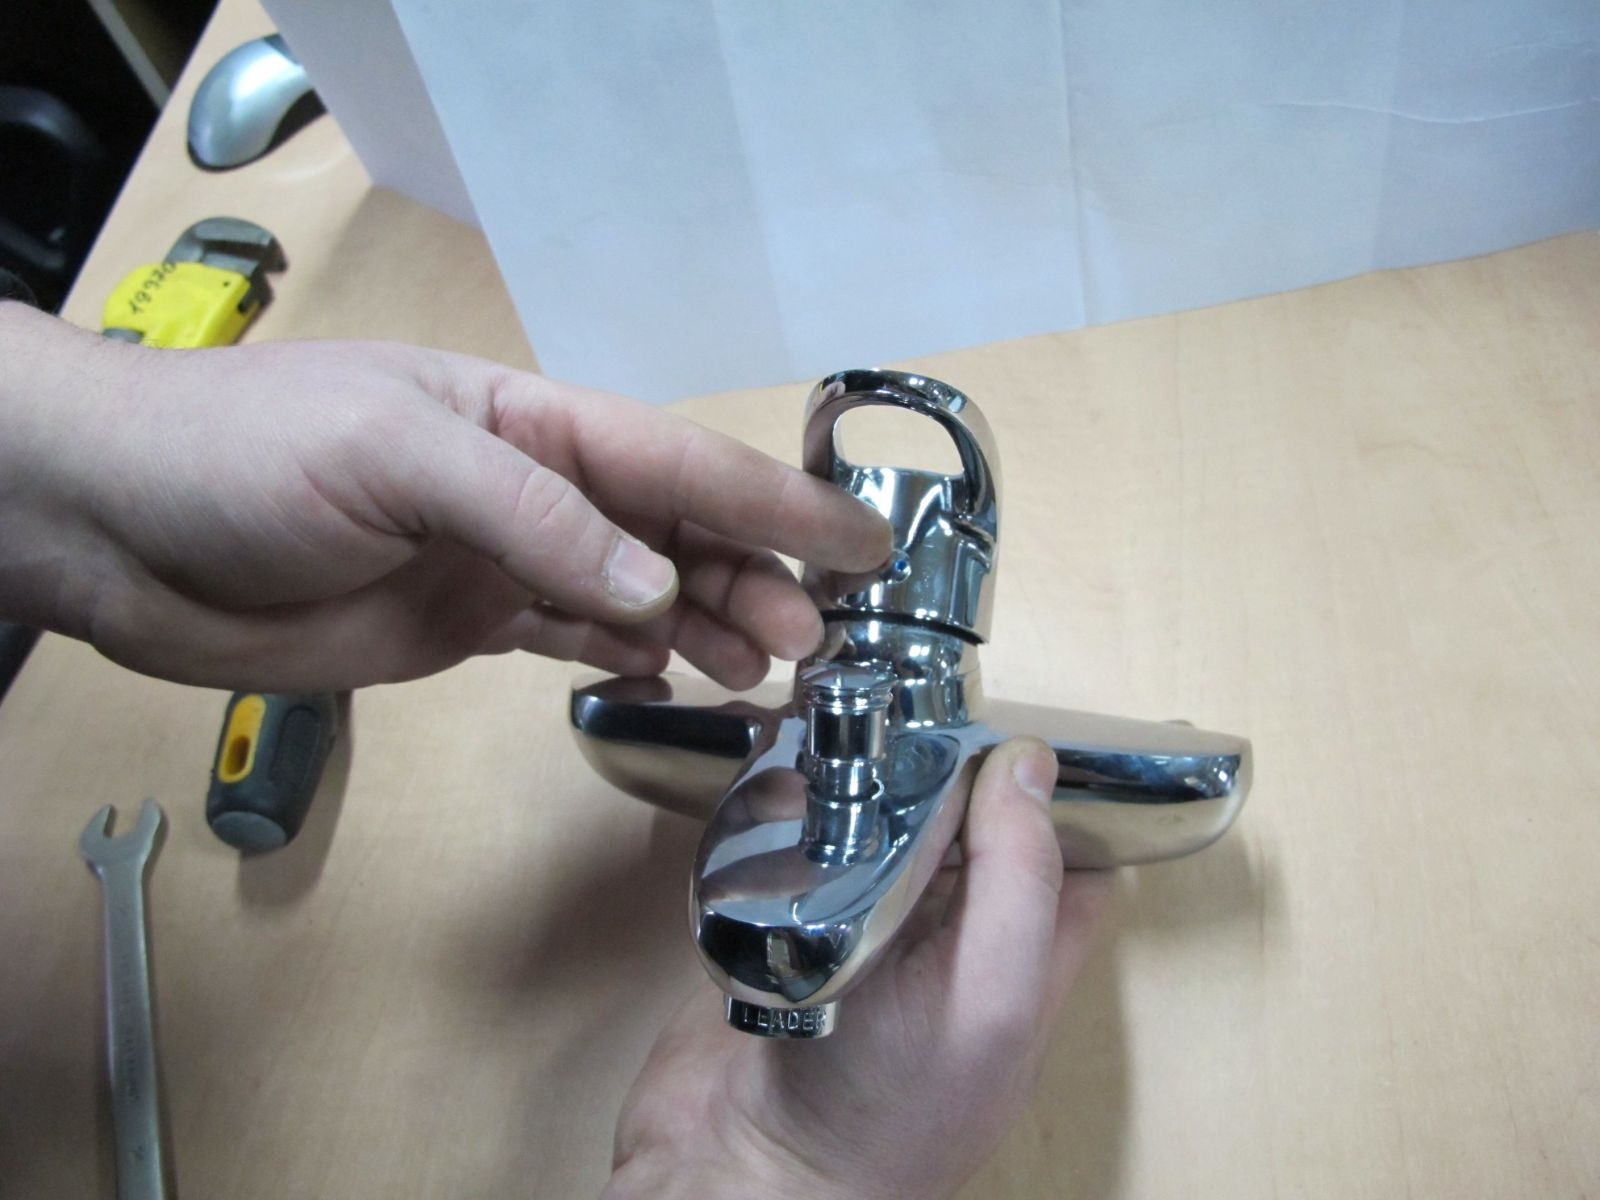
Single lever crane
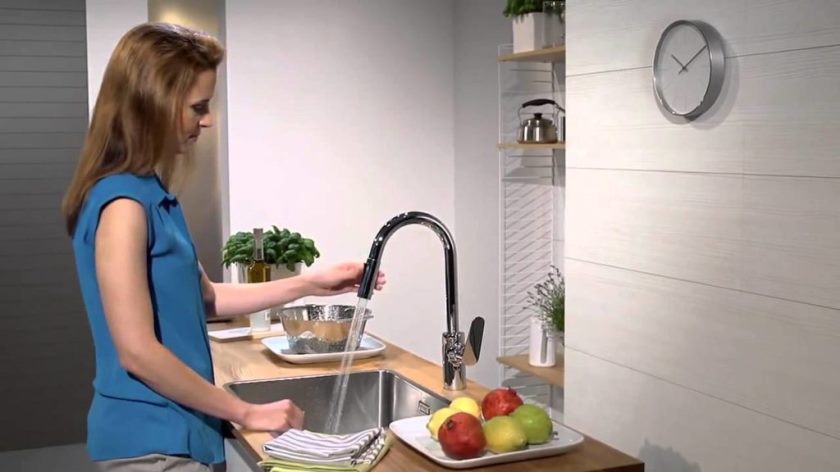
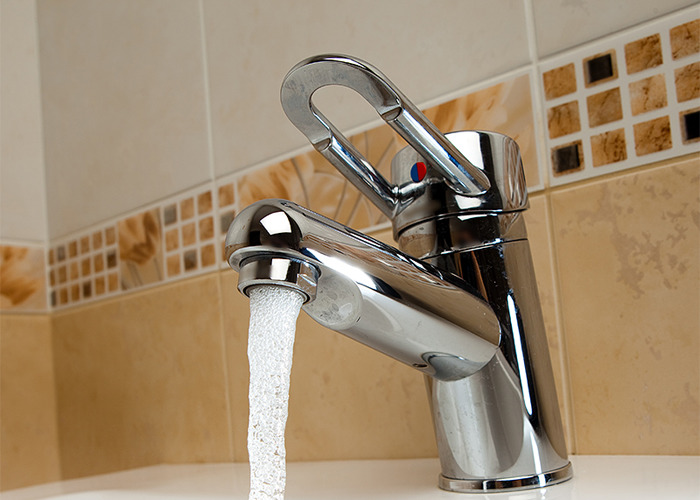
Single-lever (single-lever) faucets for the kitchen and bath are more convenient compared to their predecessors - valve taps:
- Can only be operated with one hand. Valve taps to adjust the water supply to the desired temperature can be controlled by holding and twisting each lamb simultaneously or alternately with both hands.
- Setting the temperature with a single lever is almost instantaneous and it is kept stable, which is not the case with two-valve cranes.
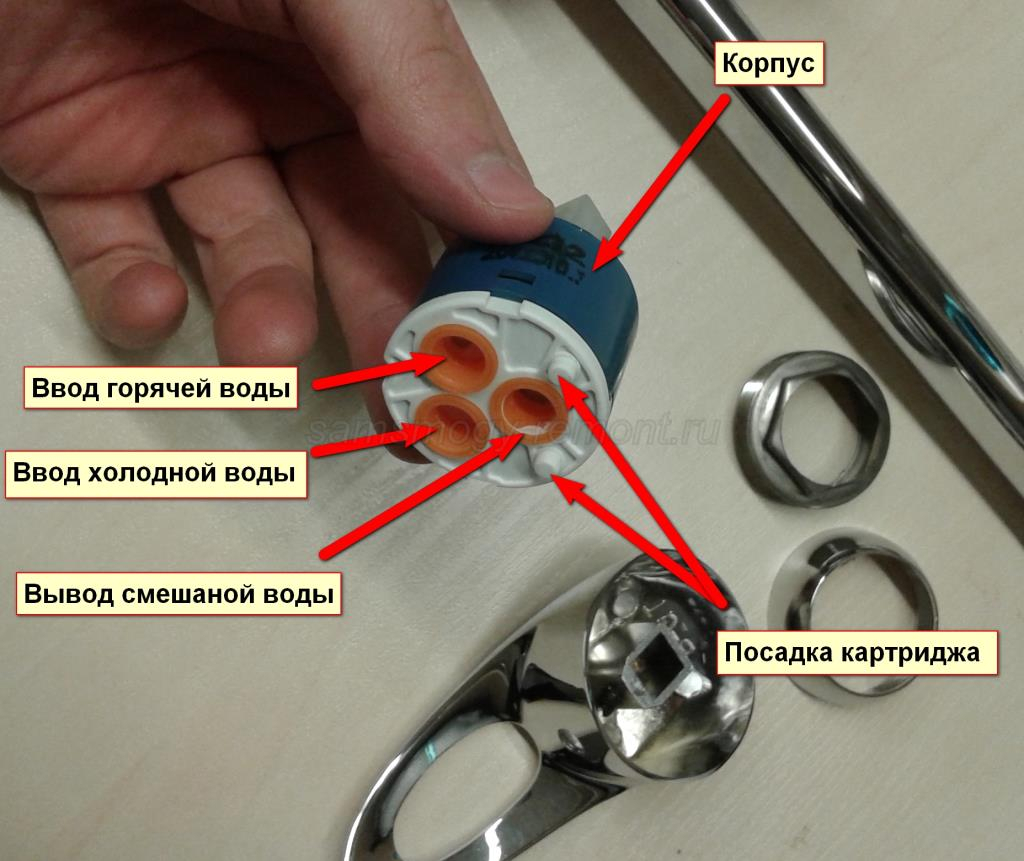
- Such faucets are usually now either with a ball mechanism or with a cartridge consisting of a cartridge with ceramic discs inside. These working elements of the mixer can easily be replaced independently, without calling plumbers. The parts themselves are not subject to repair at home.
Among the shortcomings of the described cranes, their high demands on the quality of tap water are especially noted. Being hammered by mechanical impurities contained in water, they eventually start to work unsatisfactorily: they leak, wedge in the hinges, the jet power and consumption decrease, the taps become leaky and do not hold water when closed. To increase the service life of cranes, the best solution is to install filters on the supply lines. The cost of one filter is cheap, and the effect of their installation is amazing: the taps will last many times longer than without filters.
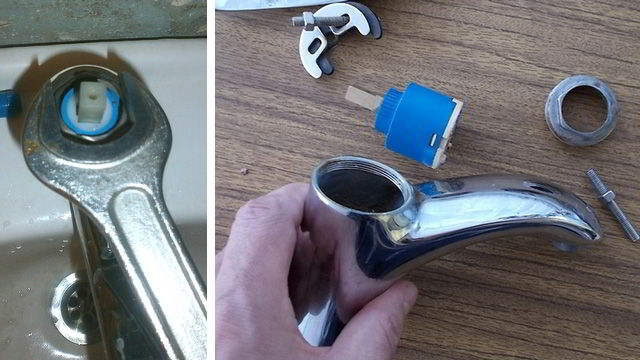
The failure of a single-lever valve with a cartridge is explained by the failure of the following parts:
- ceramic cartridge;
- body cracks;
- breakage of metal sealing elements (or their corrosion);
- wear rubber seals.
All these elements, except the case, are subject to replacement.In case of cracks in the housing, the entire device must be replaced with a new one. Cracks can be formed when careless installation or application of low-quality materials by the manufacturer.
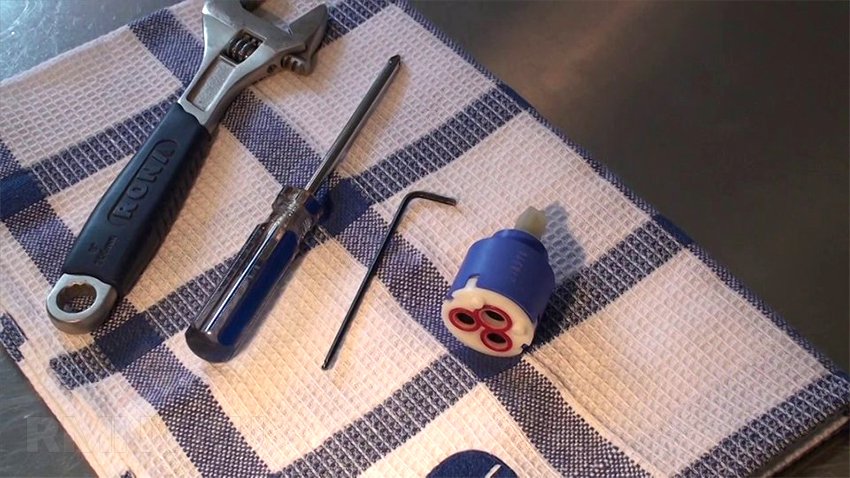
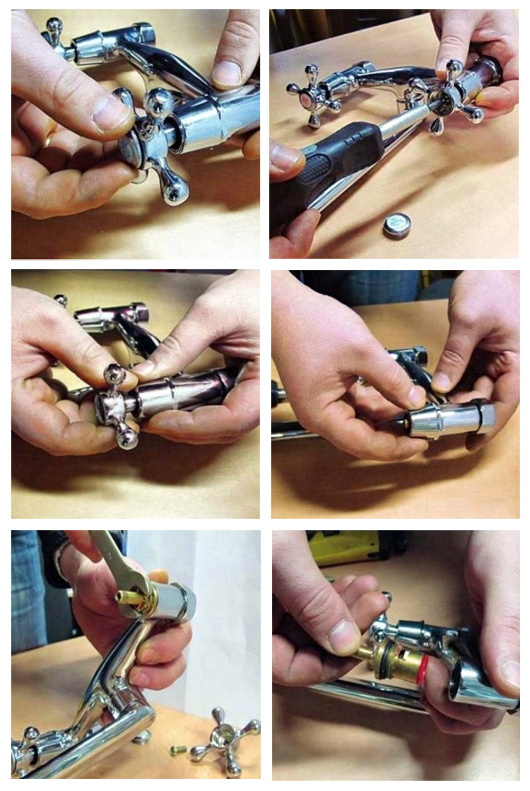
Replacing the cartridge consists of the following successive steps:
- The water supply is switched off by the primary valves on the hot and cold water pipelines to the apartment.
- The pressure in the pipelines is relieved by opening the taps, including the ones being repaired.
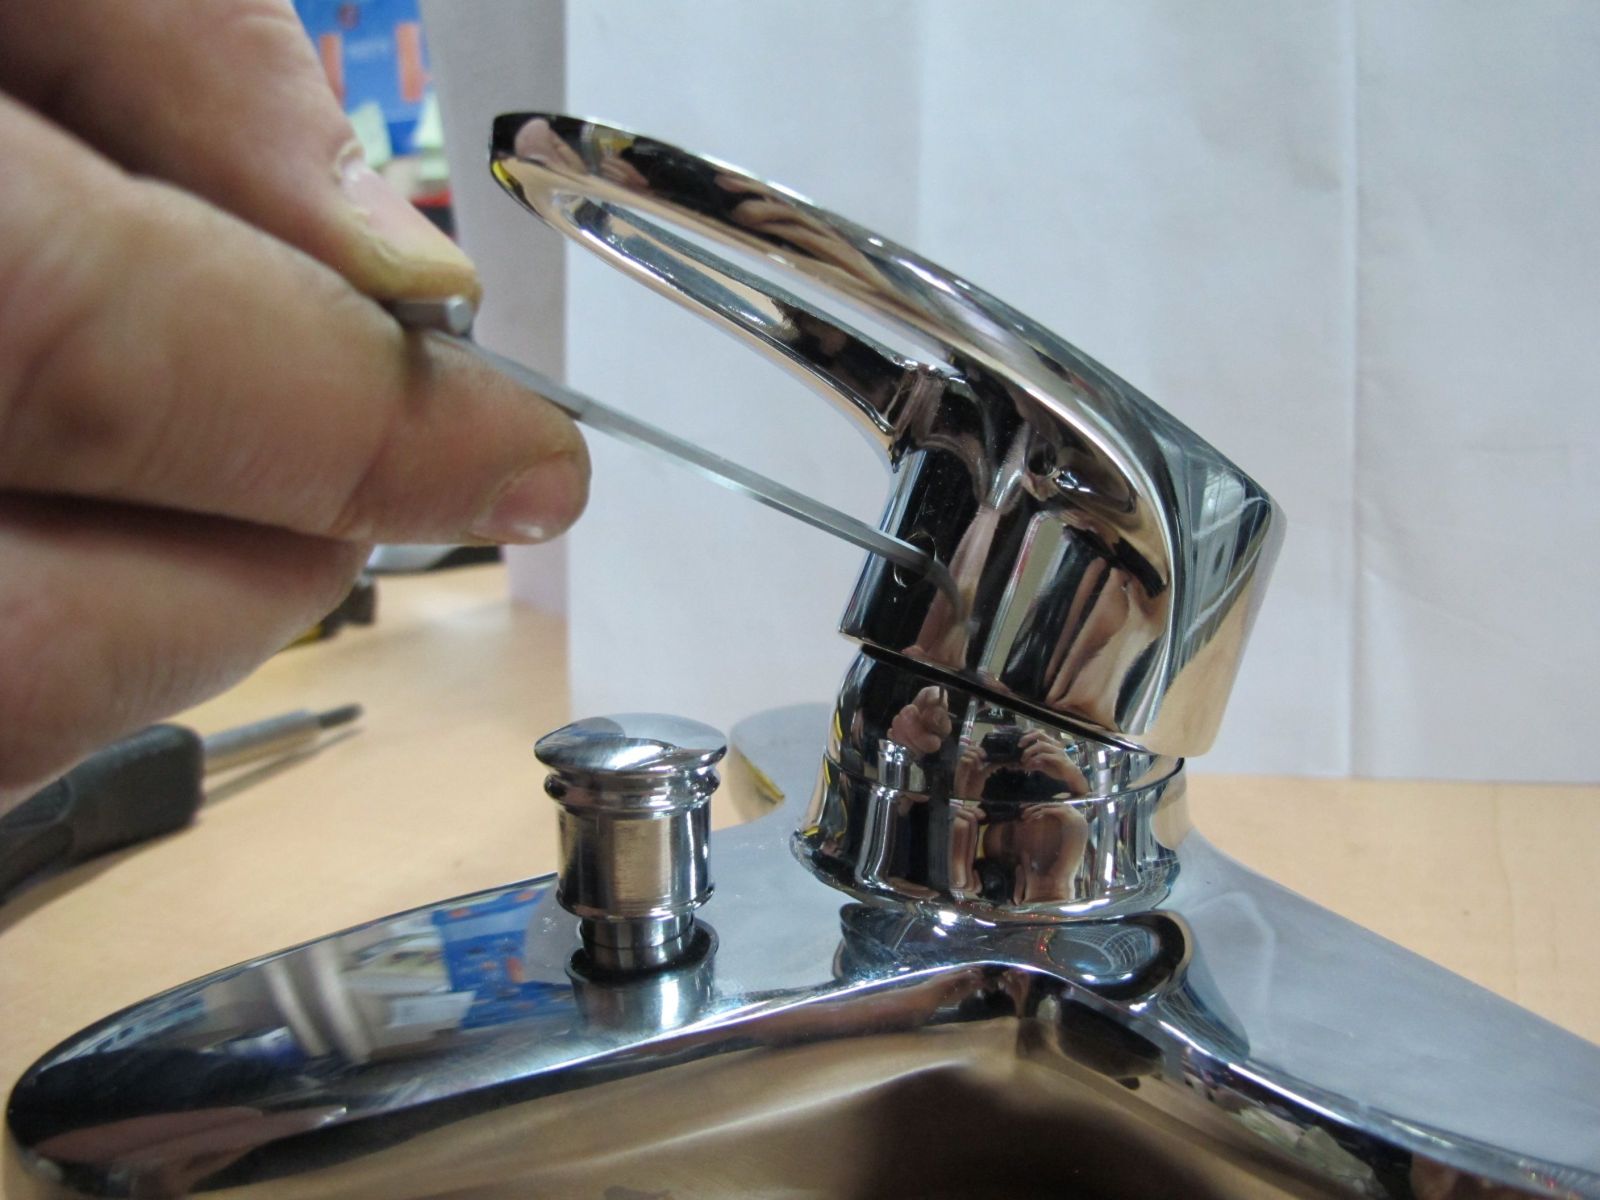
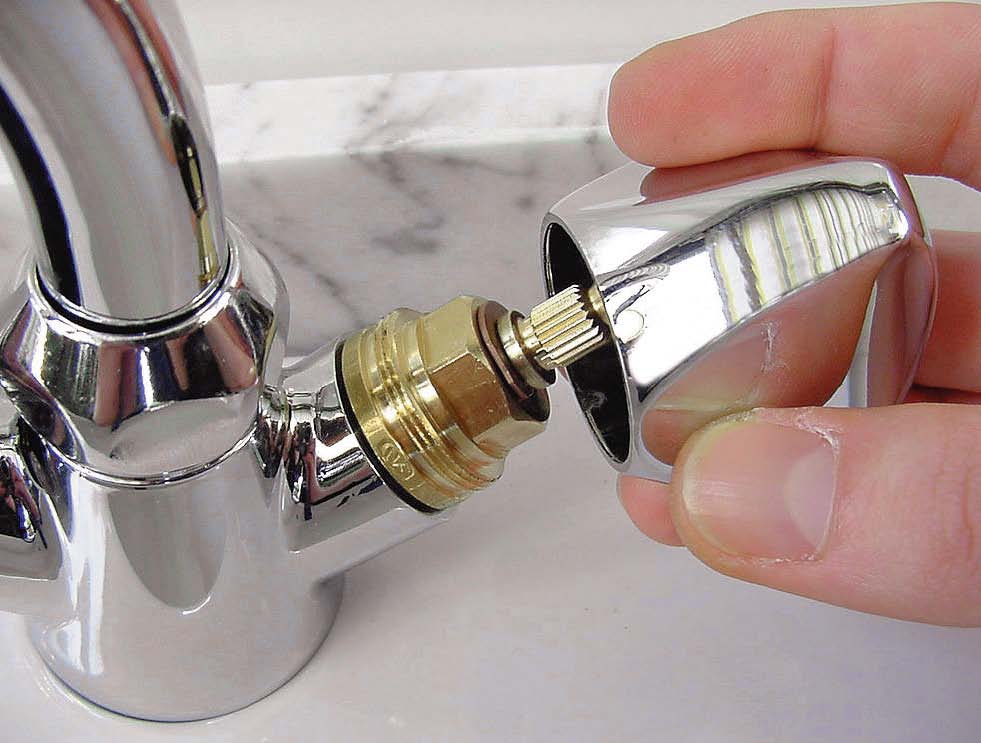
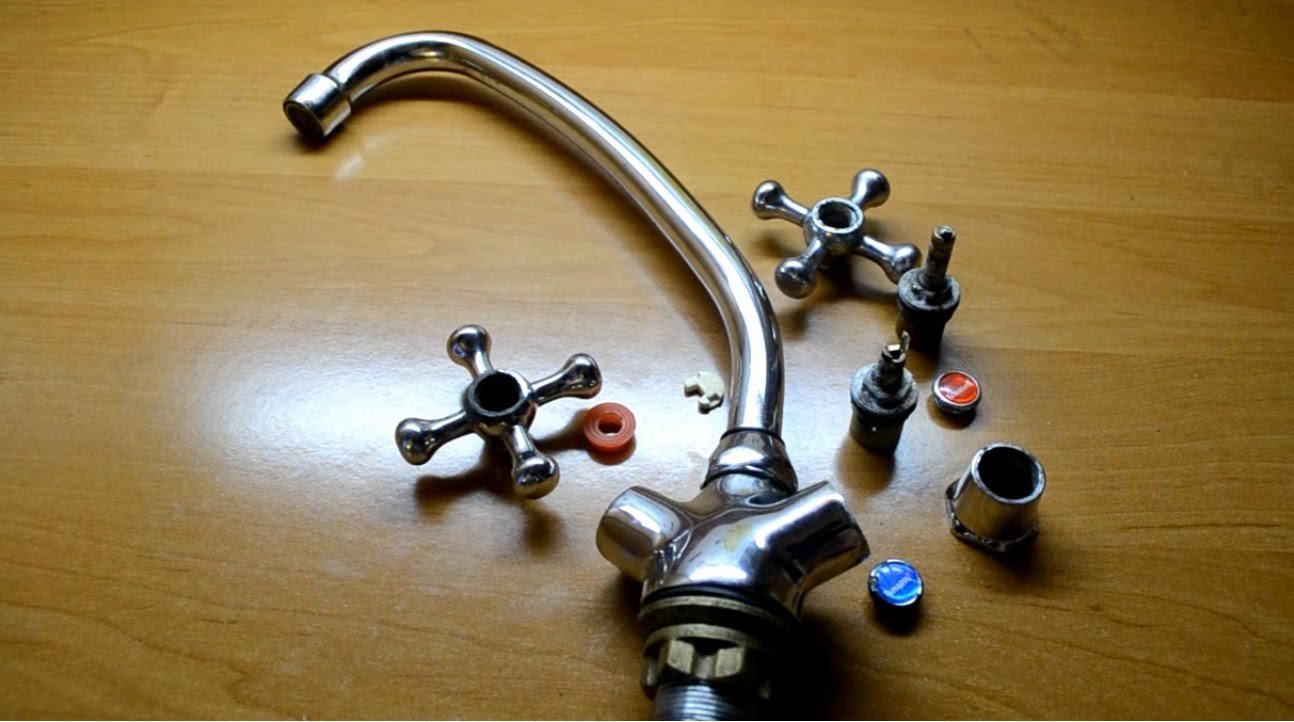
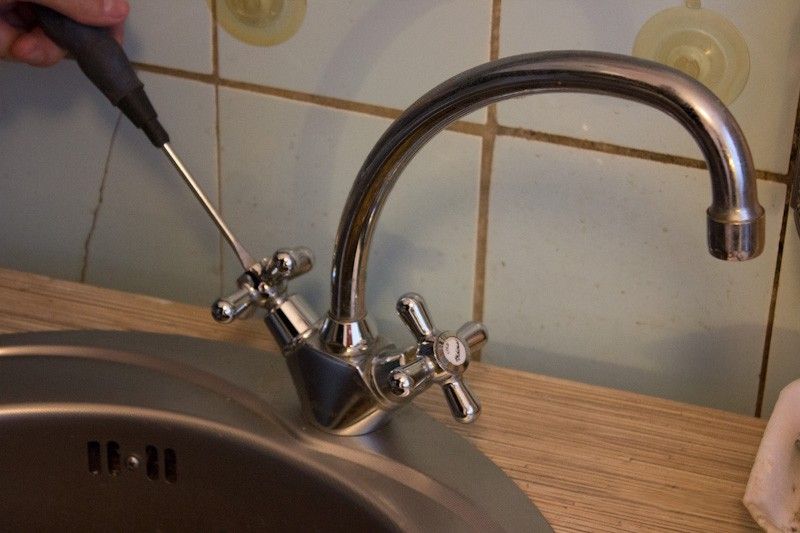
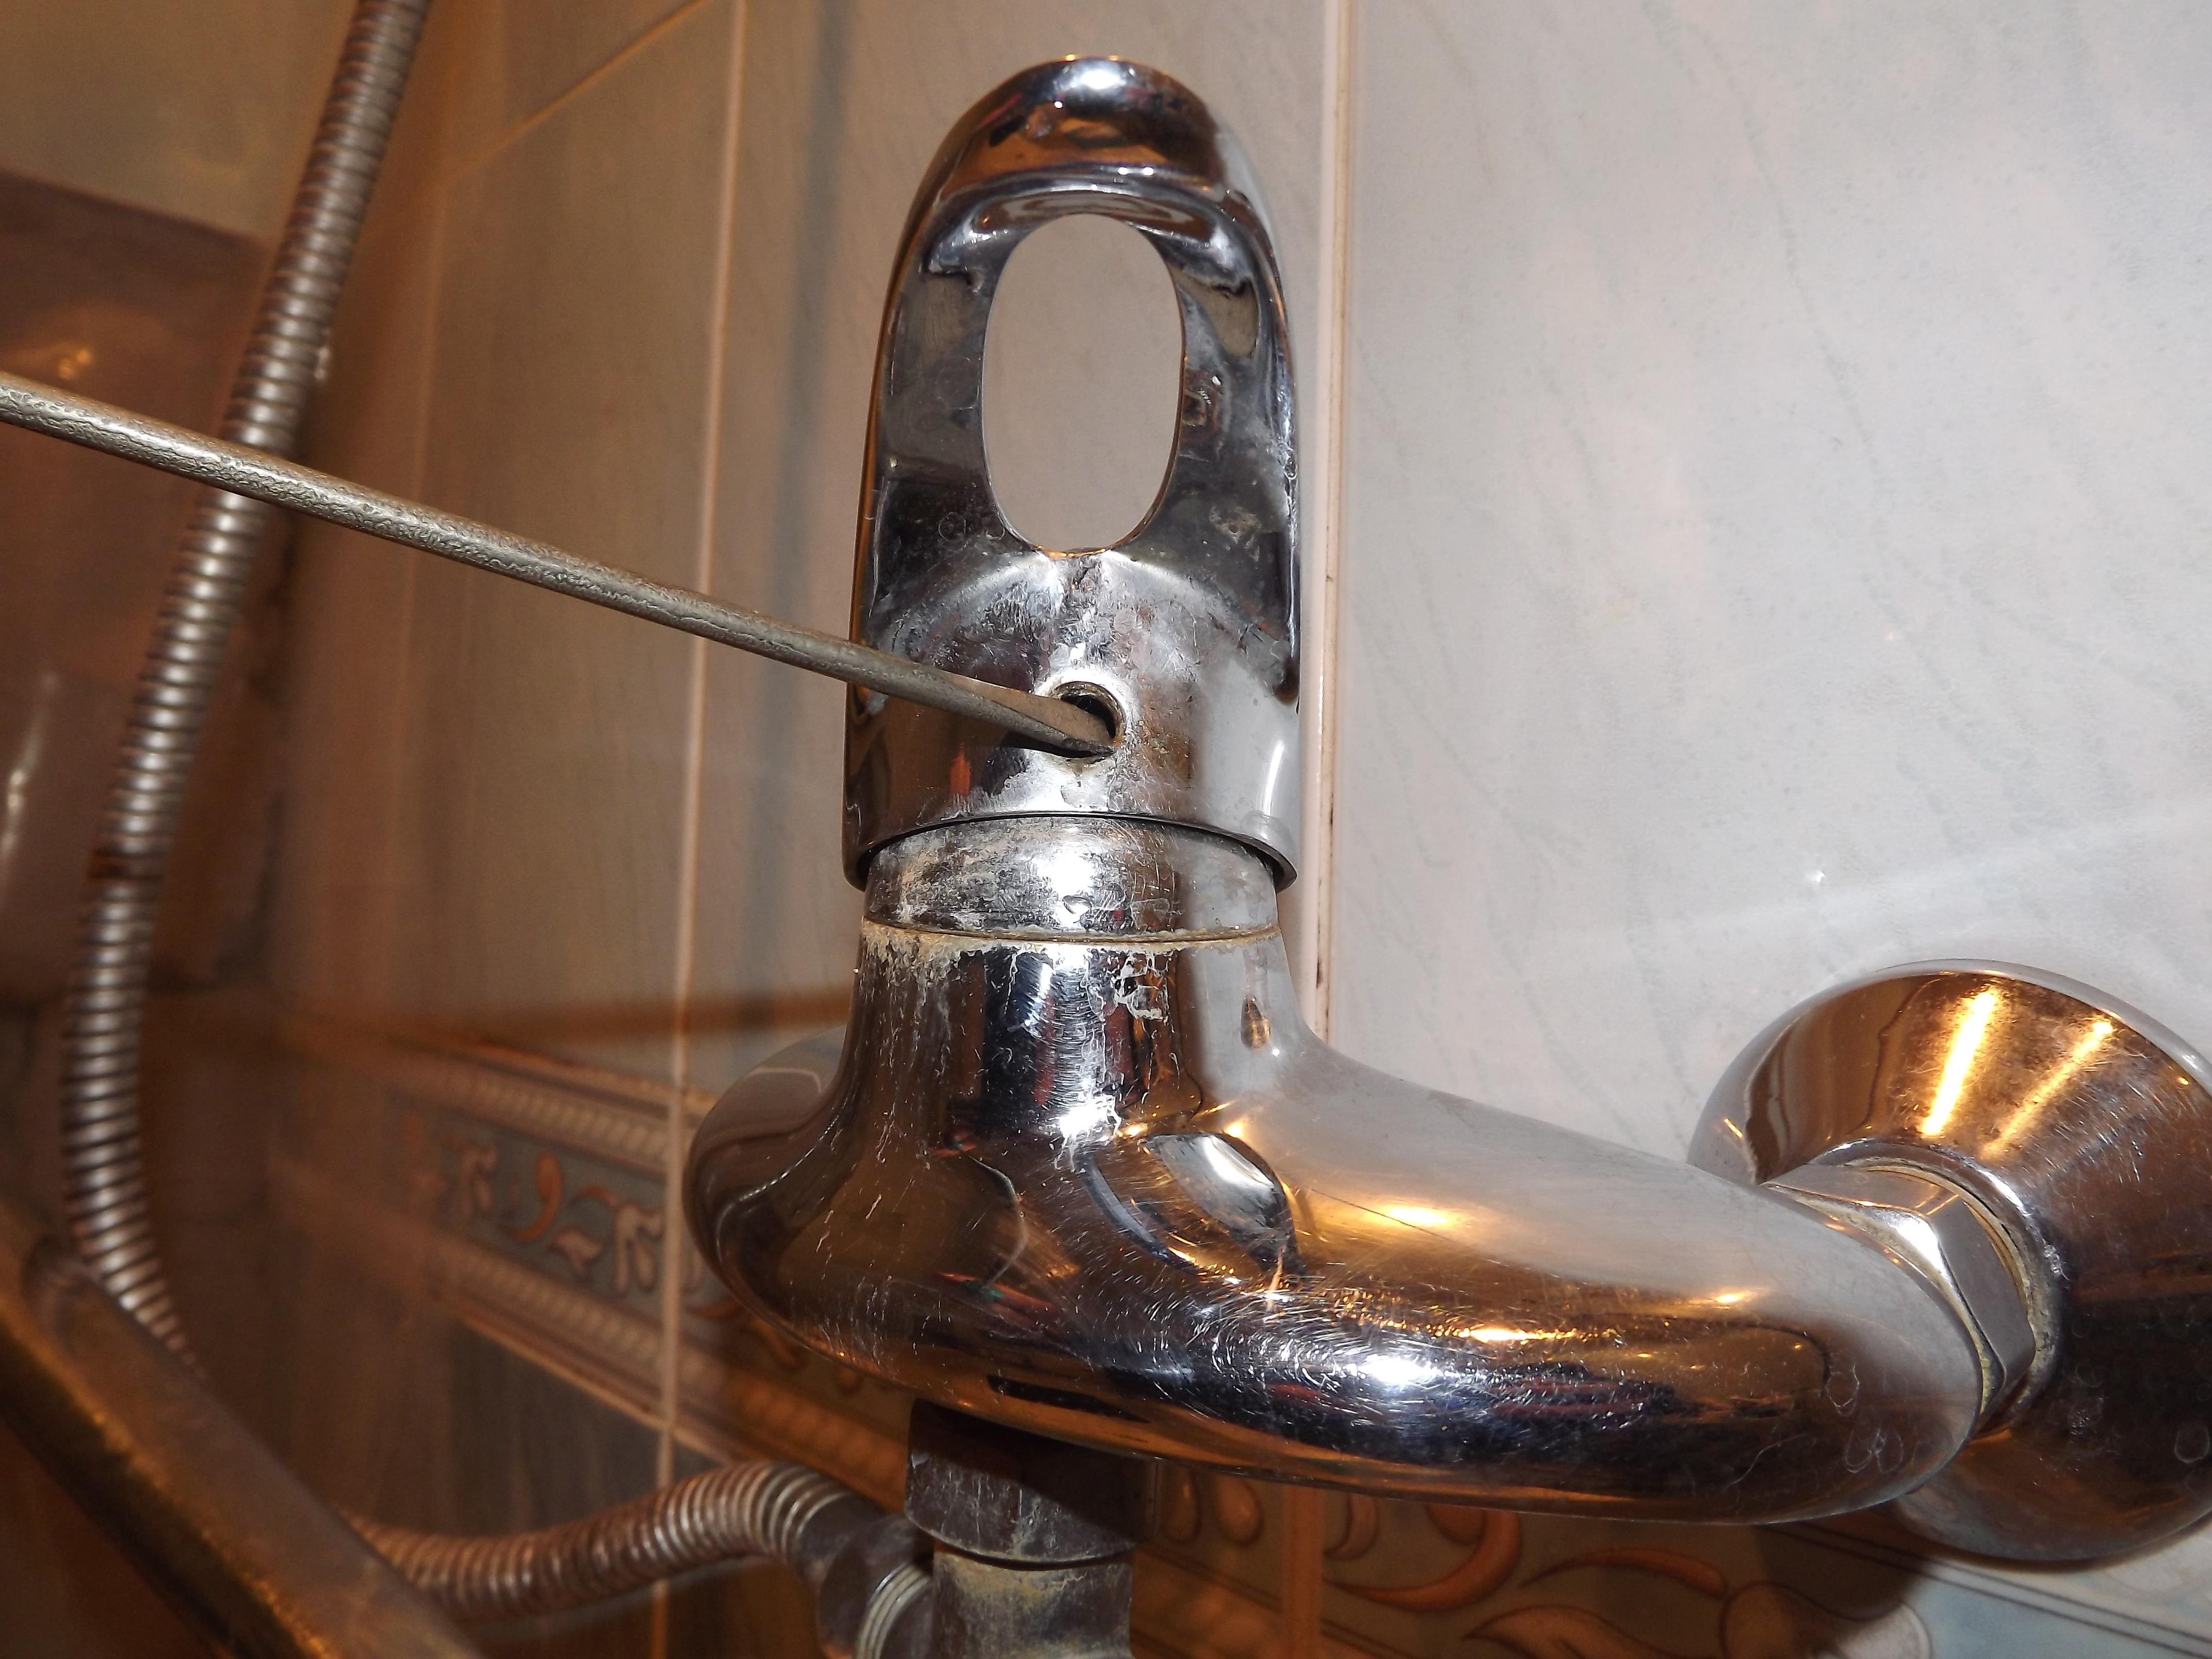
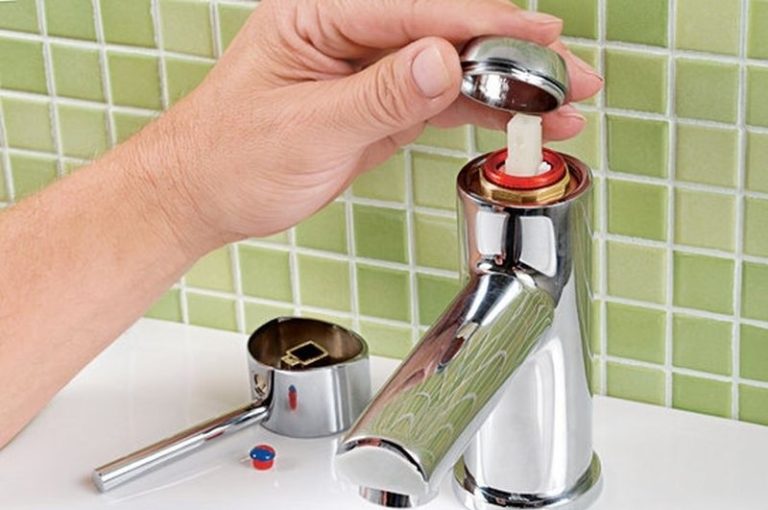
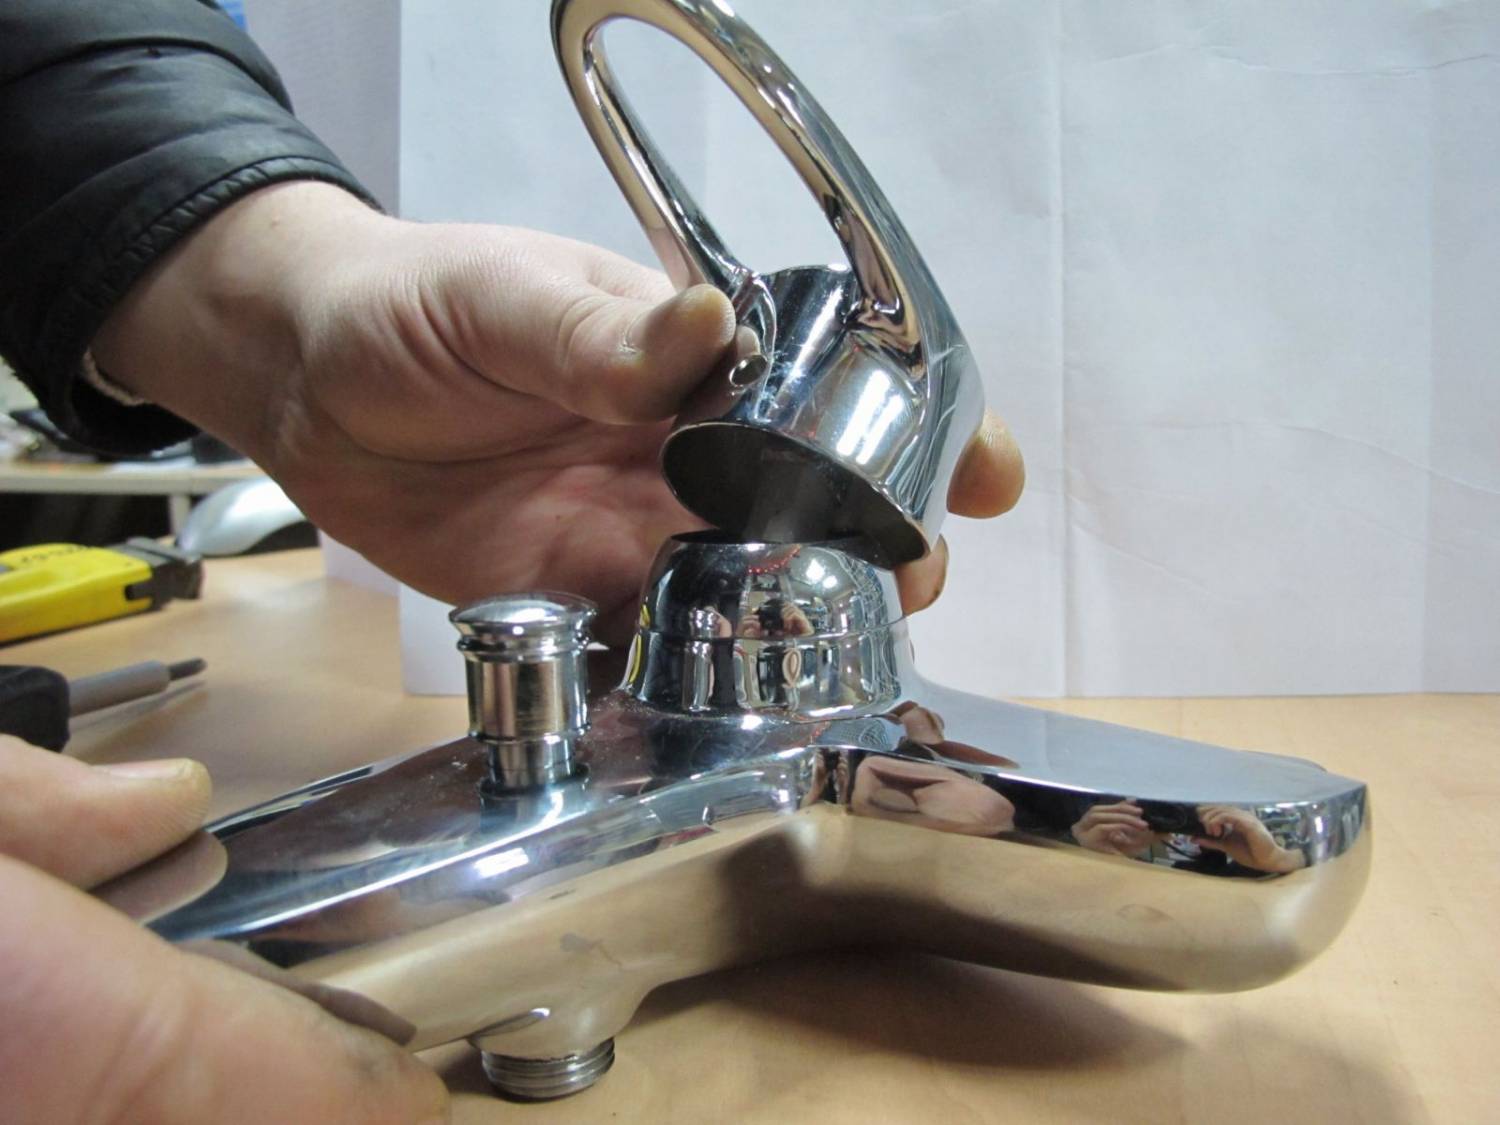
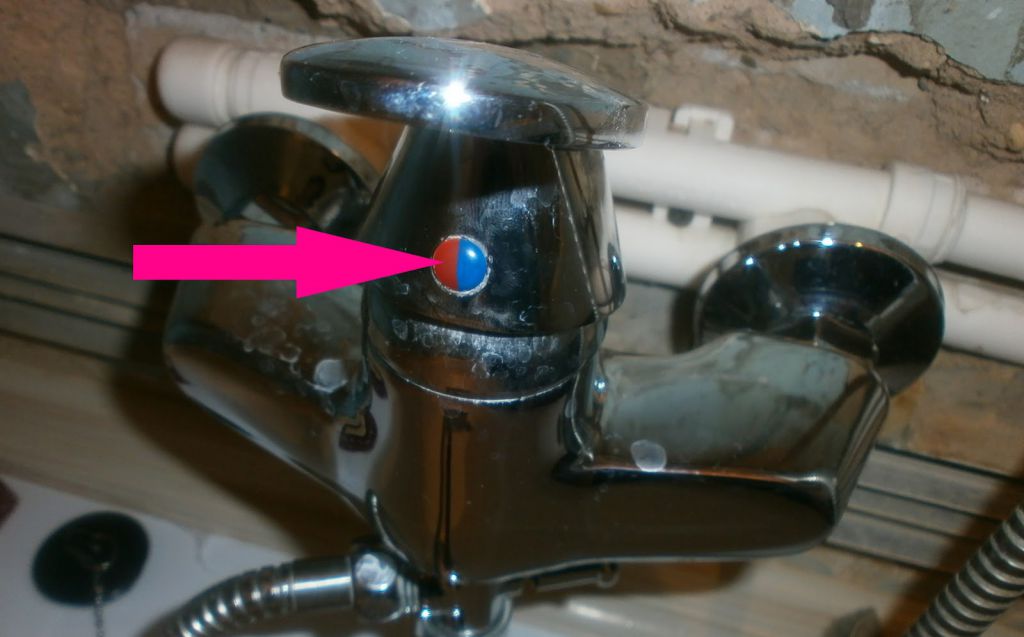
- The decorative cork is pulled out of the hole under the crane lever, in which there is a screw securing this lever. For this you can use a flat screwdriver.
- 1-2 turns unscrew the locking screw and remove the handle. Need to unscrew the screw or screwdriver, or a special hex key.
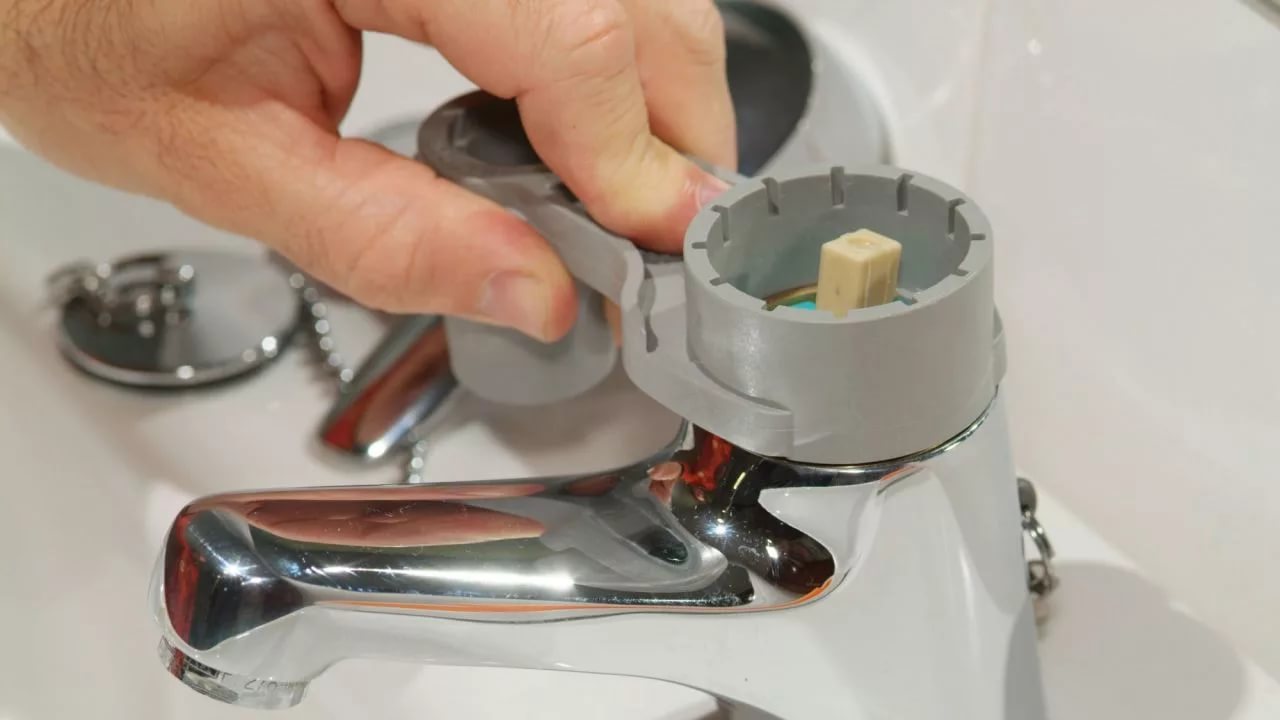
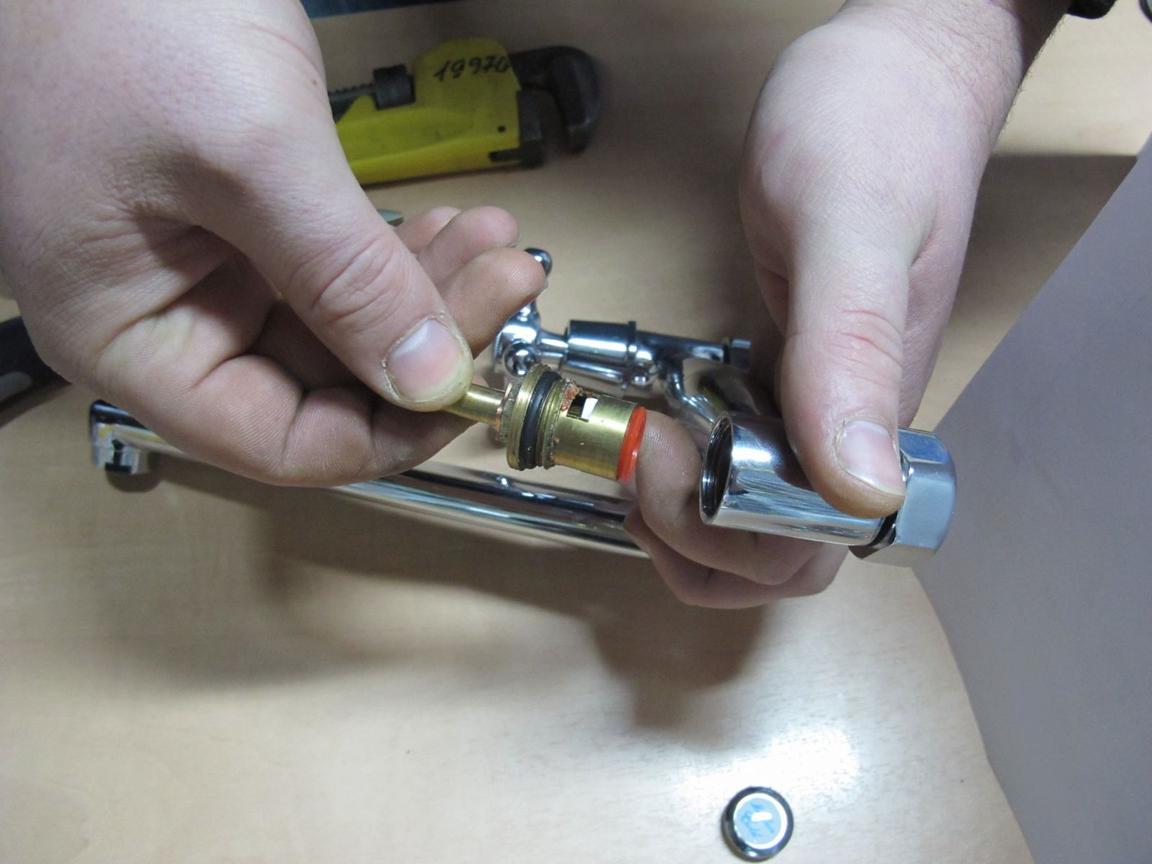
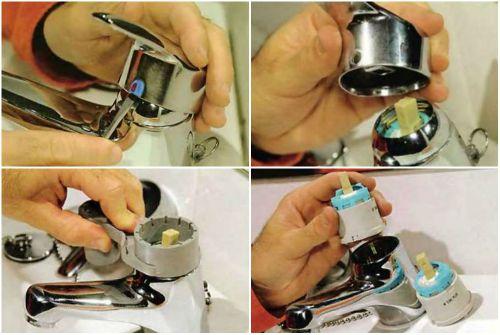
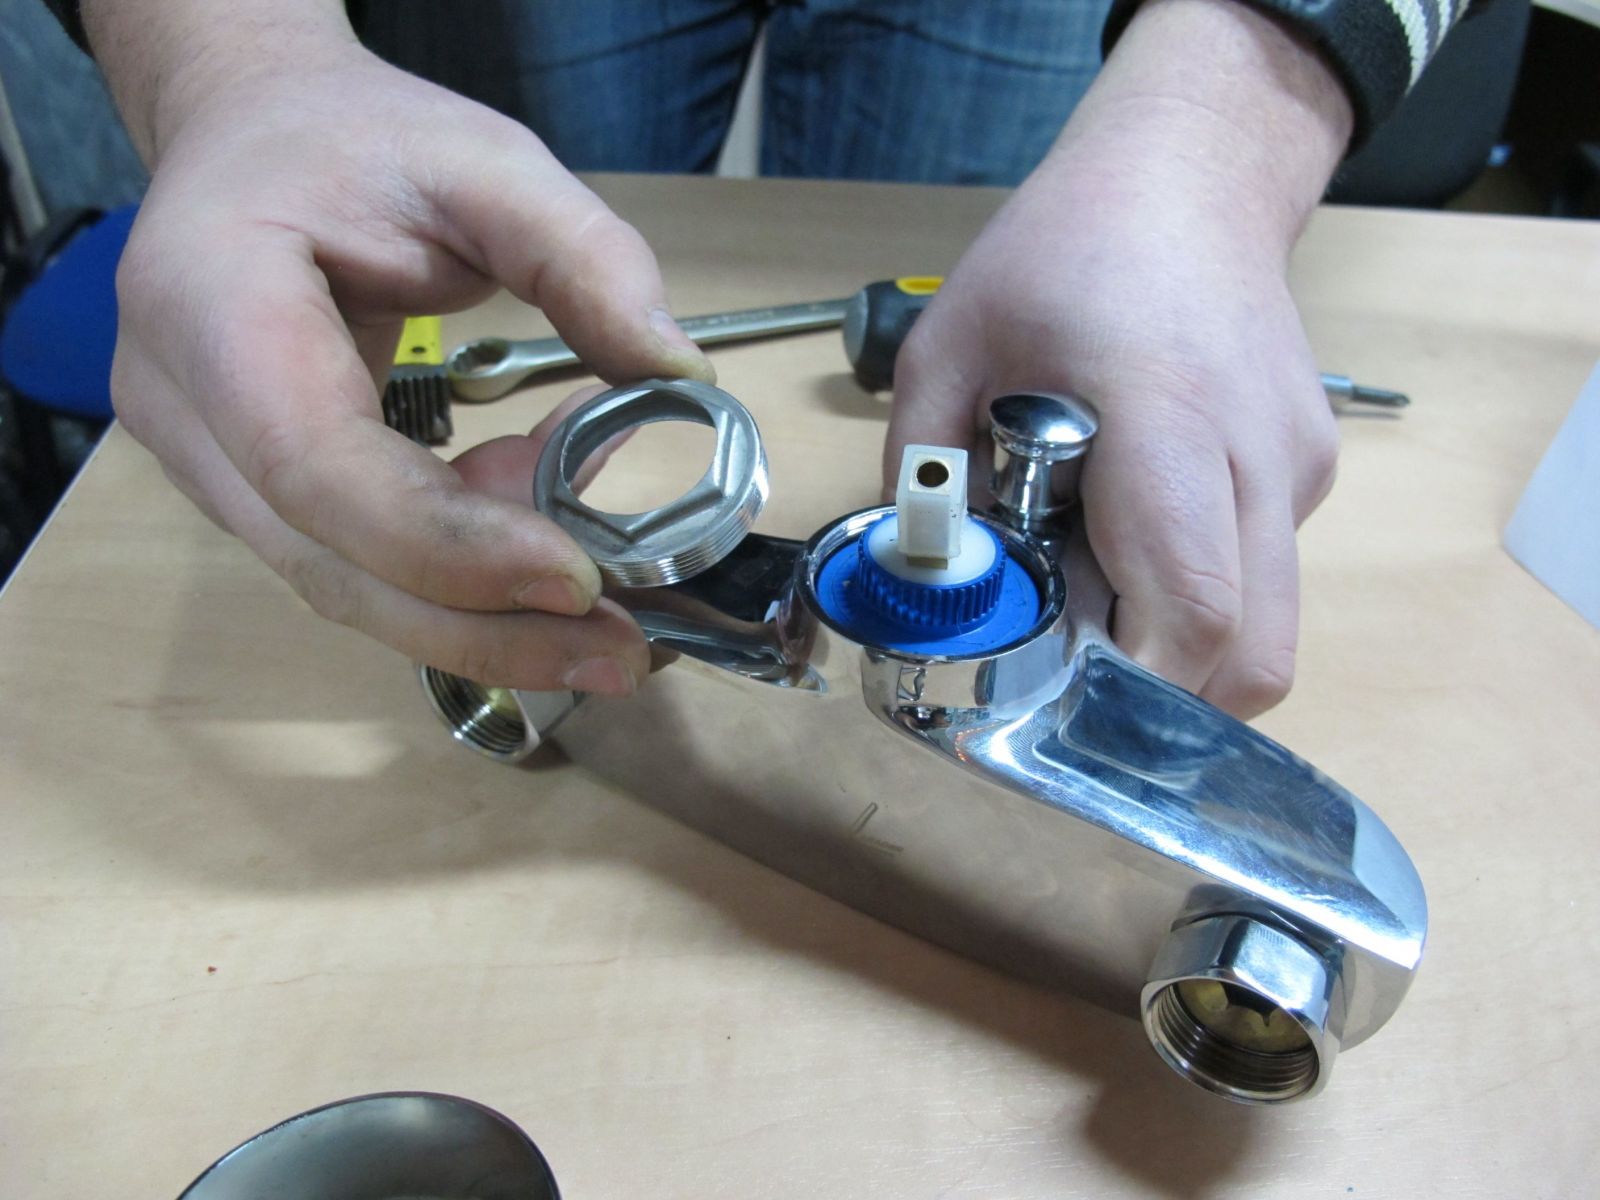
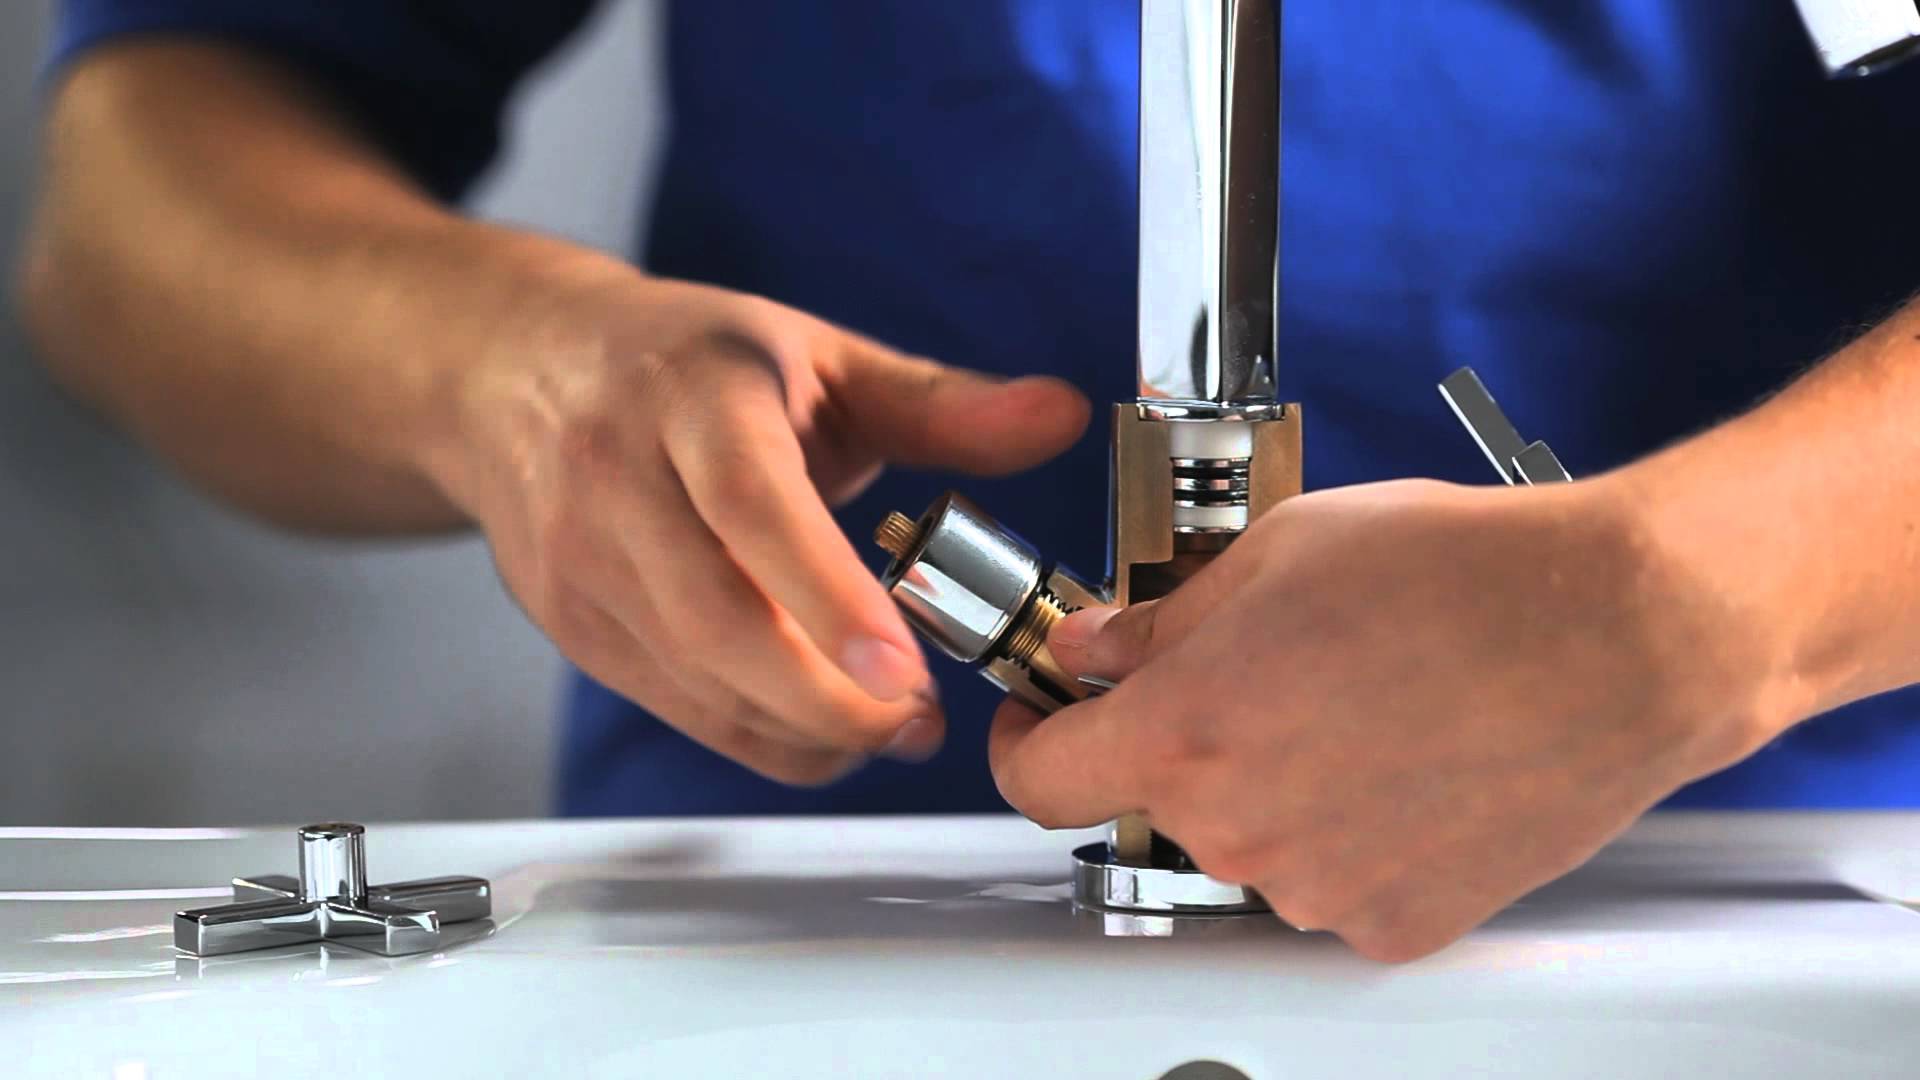
- Remove or unscrew the decorative half ring from the body of the crane by hand. A clamping nut, which fixes the position of the cartridge in the body of the crane, and the valve stem become available.
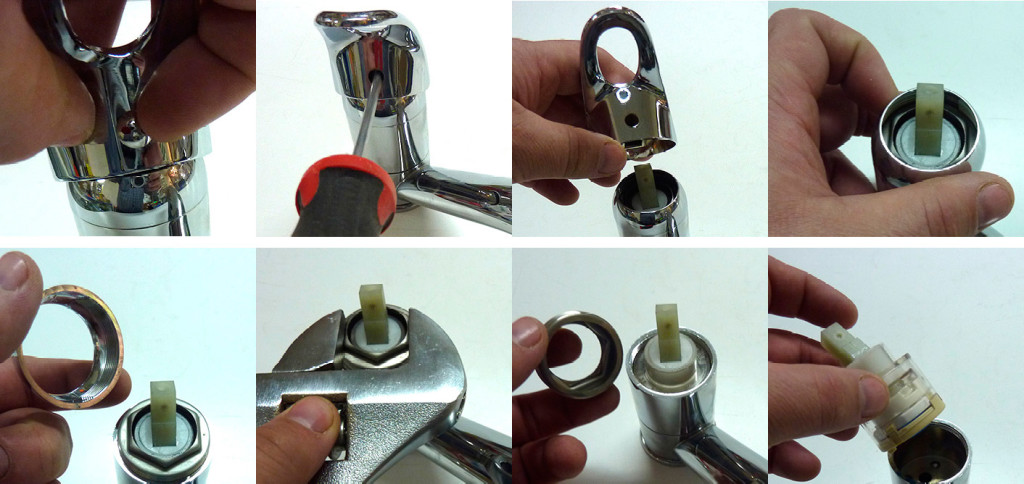
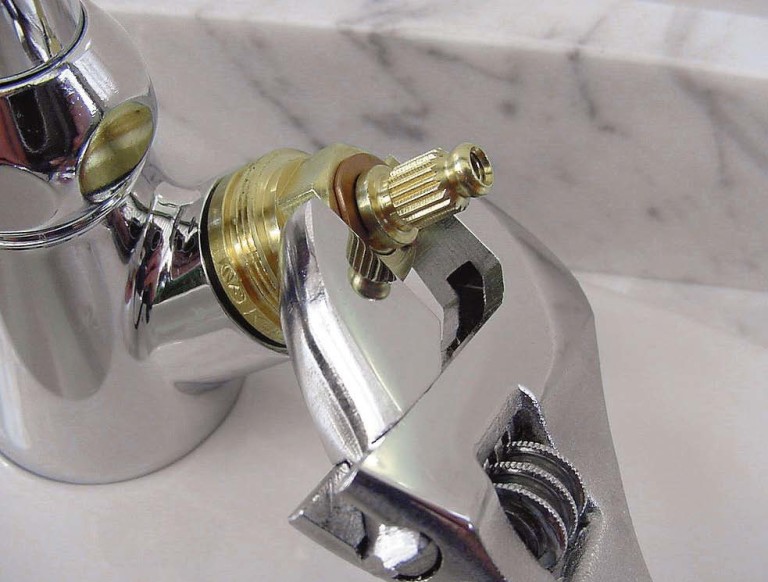
- Unscrew the clamping nut carefully using a suitable size or adjustable spanner.
- Remember the position of the cartridge in the saddle and then pull it out of the body upwards.Replace the old element exactly the same: with the appropriate diameter (30 or 40 mm) and the device of the cassette holes.
- Before replacing the cartridge, clean the seat of possible scale, rust and other debris. Also inspect the O-rings and replace them if they are worn or deformed.
- Set a new item, keeping the position of the old one. In another way to put the device does not work, for this there are special grooves and beards, but careless installation can lead to product breakage.
- Screw in the clamping nut, fixing the device securely in the body and the seat.
- Set in place the prop ring.
- Secure the crane lever with a screw.
- Check the work results by supplying water.
It should be noted that for the valve mixers, the presented algorithm is quite suitable when there is a need to change or repair the crown (crane) of one of the taps.
Almost the same operations.
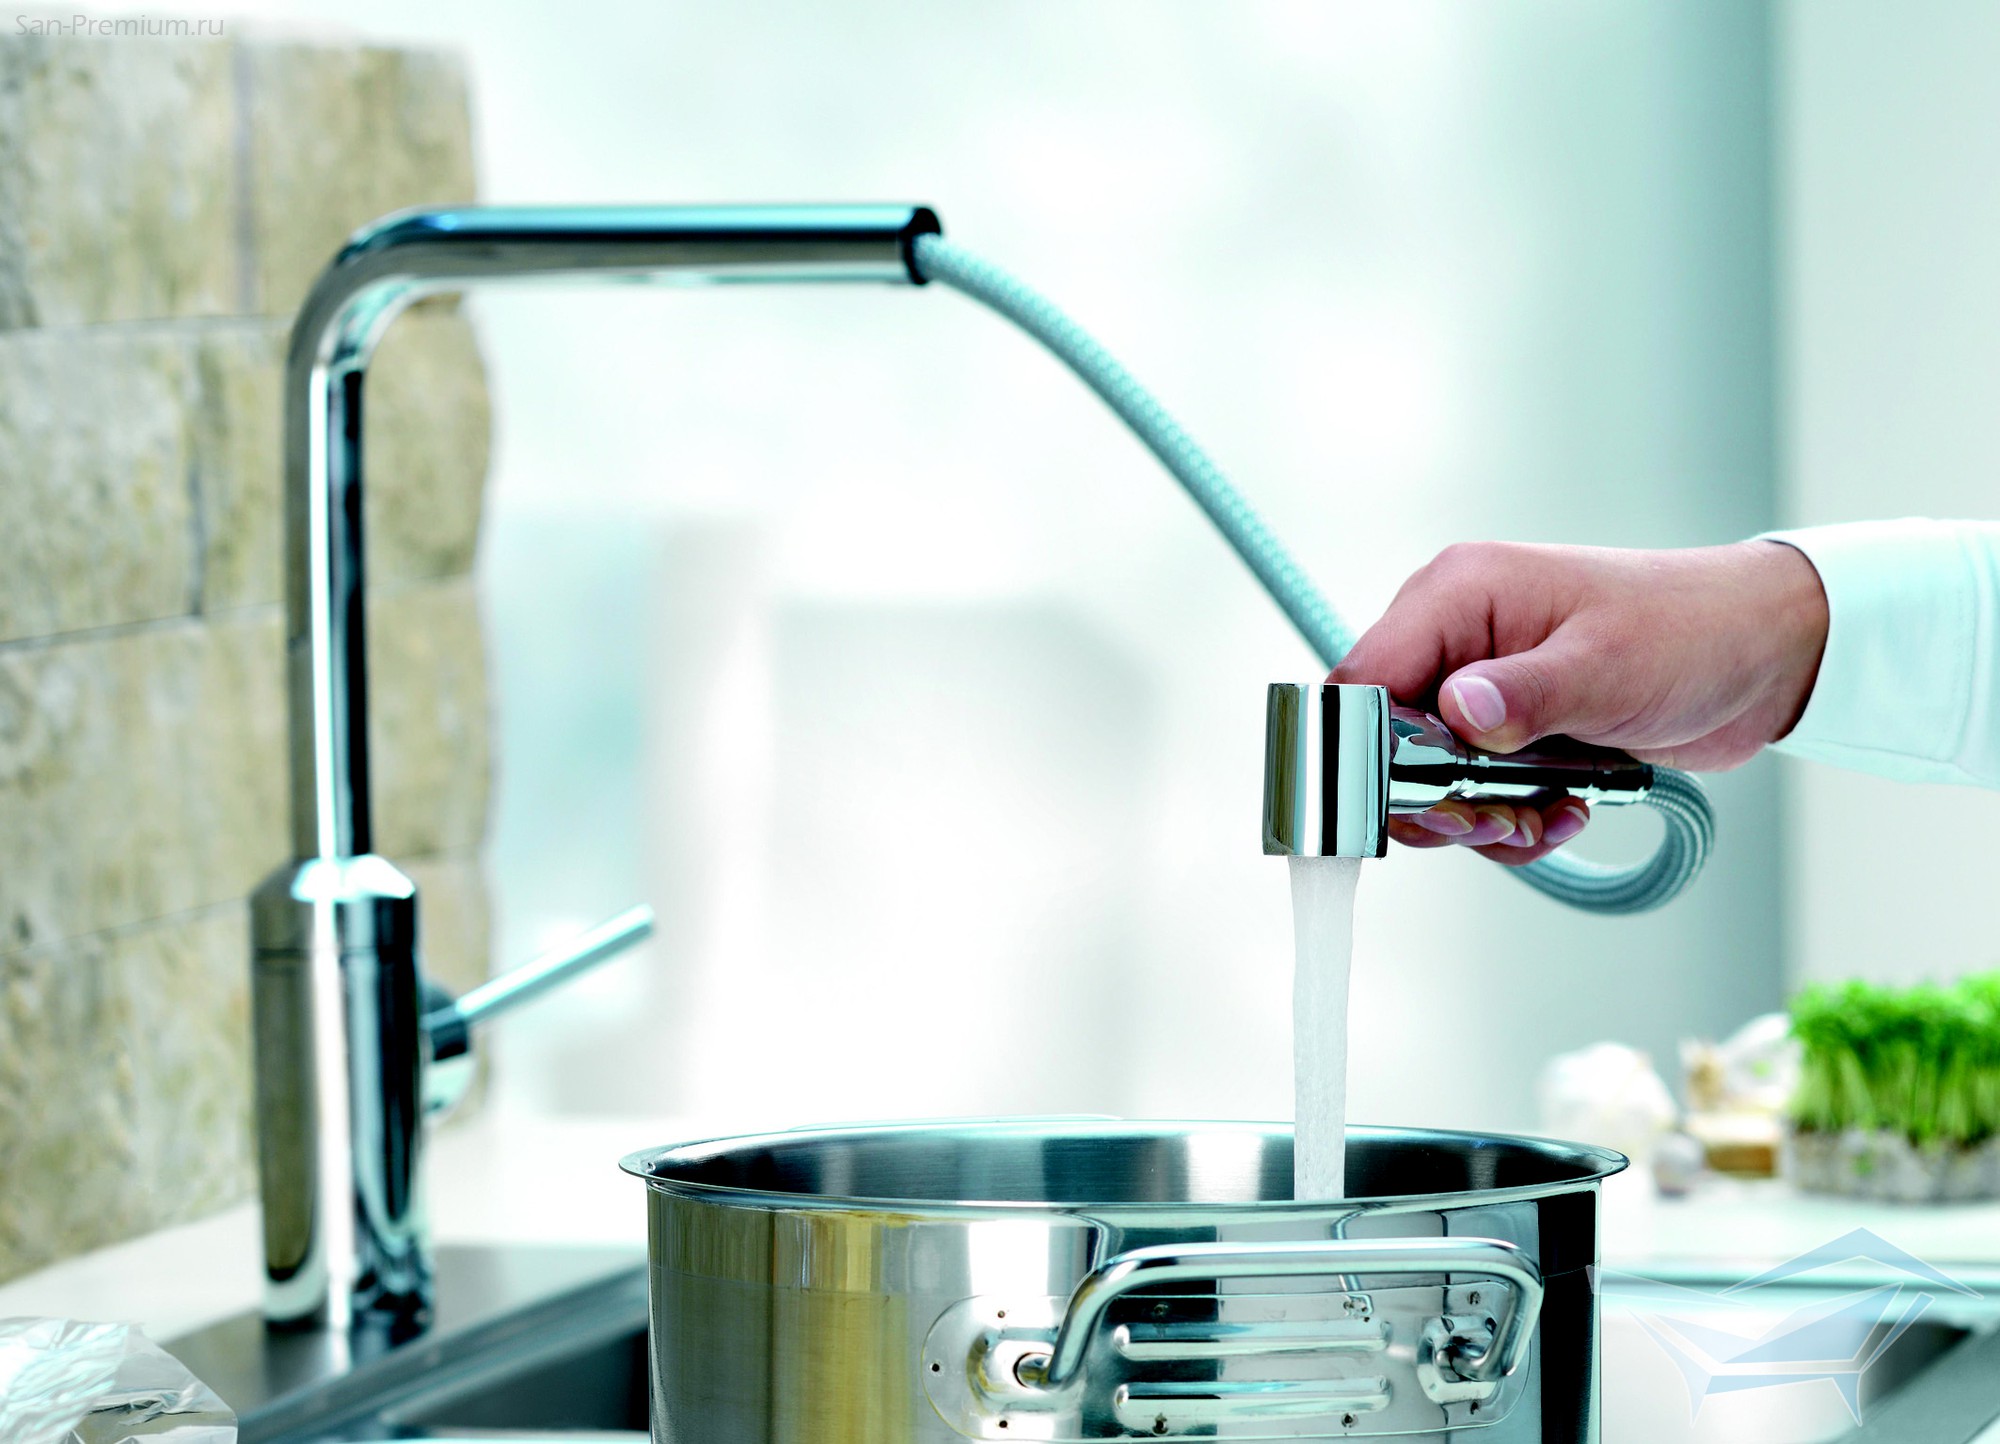
Ball mixers differ in longevity compared to cassette mixers, they react less to water quality, but they cannot be repaired. Any breakage leads to a complete replacement of the crane.The only case where disassembly of the faucet is required is associated with a decrease in the flow of water through it due to clogging of the strainer on the drain. The faucet is disassembled and the filter is cleaned as follows:
- disconnect the "gander" from the mixer body;
- unscrew the filter nut from the drain chamber;
- clean the filter screen by blowing and rinsing in the opposite direction from the working flow;
- clean the gander itself and its fastener from deposits;
- assemble the structure in the reverse order of disassembly.
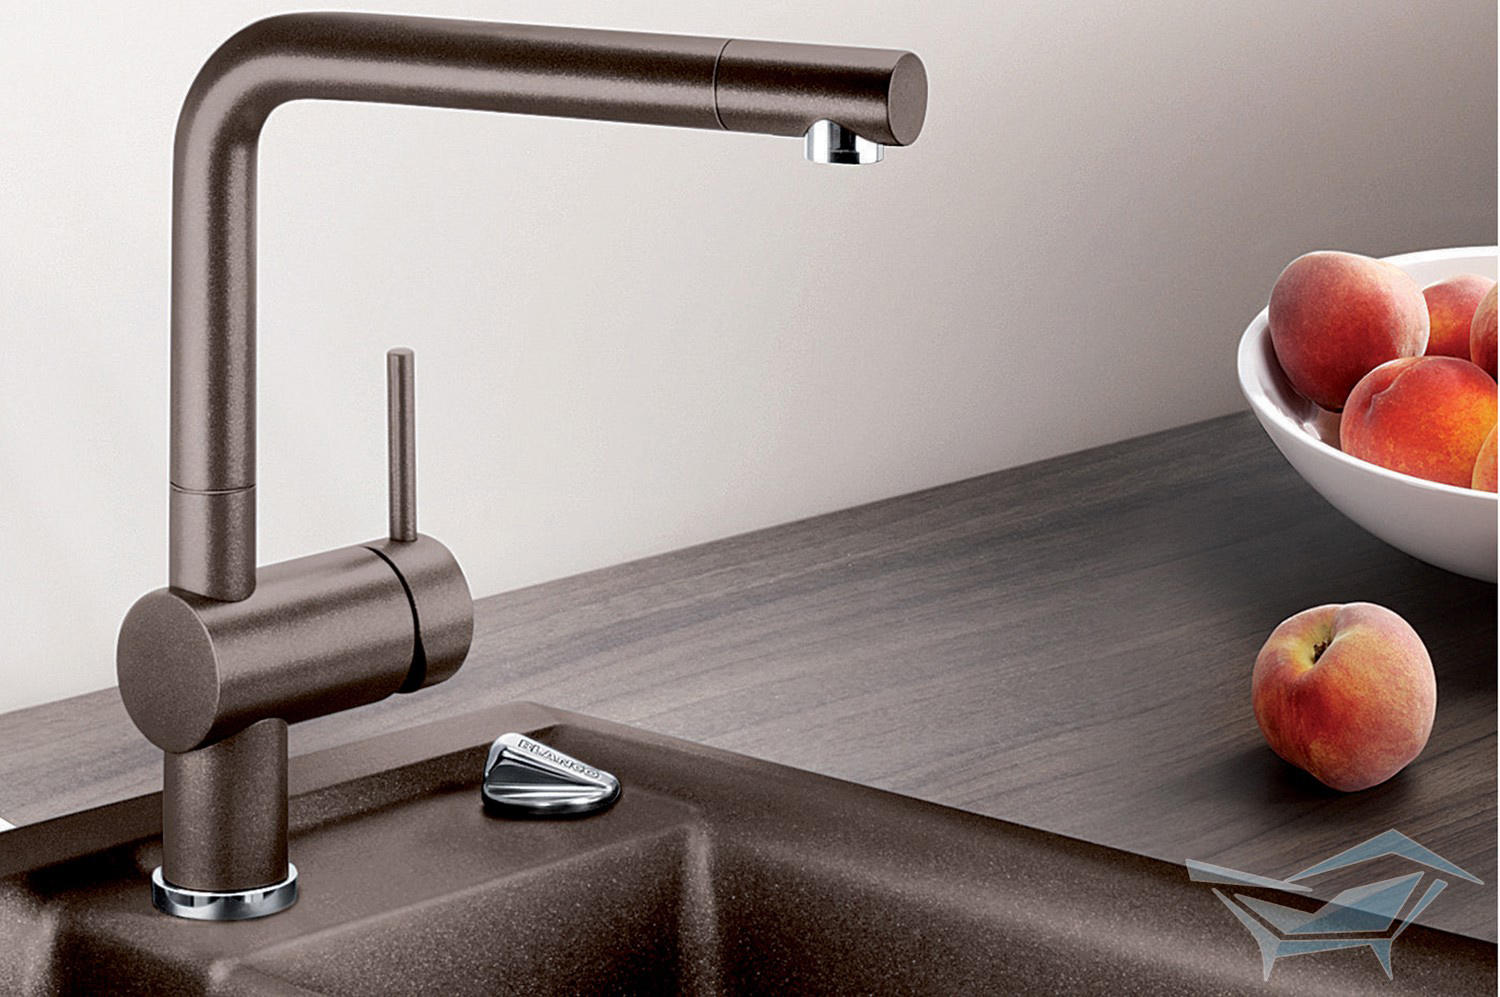
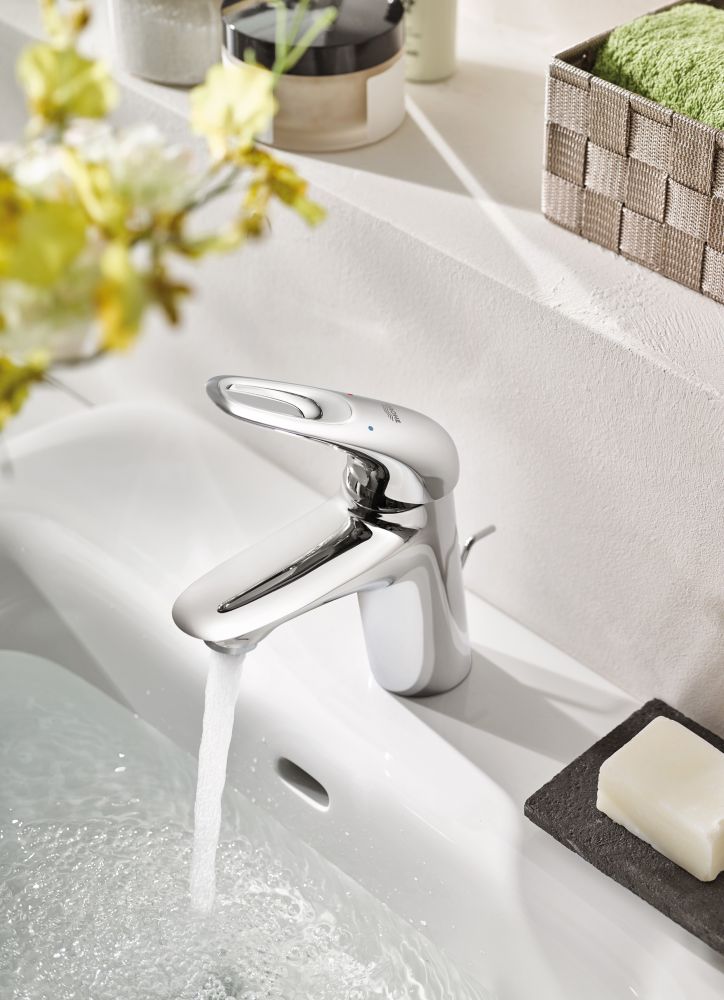
Single lever taps are installed in both the bathroom and the kitchen. They can be of different designs, with or without shower switches. In the bathroom they are often installed in a separate sink - "tulip". They are installed in ordinary sinks for washing.
The algorithm for the complete replacement of cranes of any of these designs:
- Turn off the water and relieve pressure by opening the taps.
- Free the workplace from unnecessary objects and sewage pipelines, which can interfere with free access to the fixing nuts of the mixer.
- If the sink type "tulip", then you need to remove the pedestal for ease of operation.In other cases, when the fixture of the sink is not too reliable (for example, there is no bolt, the dowels are loose), you will have to remove the shell. At the same time you can do her mount. But first disconnect the flexible hoses from the pipes to the mixer. They must be disconnected from the pipes, not from the mixer.
- Unscrew the fastener device under the sink. There is a metal plate with a gasket, which is held by two fastening pins with nuts for 10 (they are for 8). These nuts must be unscrewed using a suitable socket wrench for the special kit, made from a long tube. Fit and spanner keys.
- Having unscrewed the fastener nuts, partially pull the valve out and unscrew the flexible connections. Fully remove the tap from the hole of the sink does not work, the mounting plate interferes. After unscrewing the hoses, the crane, plate and hoses become spare parts.
- Prepare a new device with accessories (hoses, mounting plate with nuts and gaskets).
- The unit must be fully assembled with the top O-ring and gasket.
- Clean the hole under the device in the sink from the bottom and top of the dirt.
- Thread the rubber seal first onto the flexible wiring and then the mounting plate from the connection side to the mixer and push them into the hole from the bottom.
- Screw the wiring in the bottom of the crane and securely tighten.
- Attach the gasket and the plate with the nuts on the mounting pins.
- Set the shell-tulip in place, if it was removed, and strengthen.
- Connect the hoses to the pipelines.
- Fasten the mixer with the fastening nuts from the bottom, correctly placing the upper seal around the hole.
- Check the result with water pressure.
Having done this work even once, you can get a good experience for many years.

Tips
Some useful tips for novice home craftsmen:
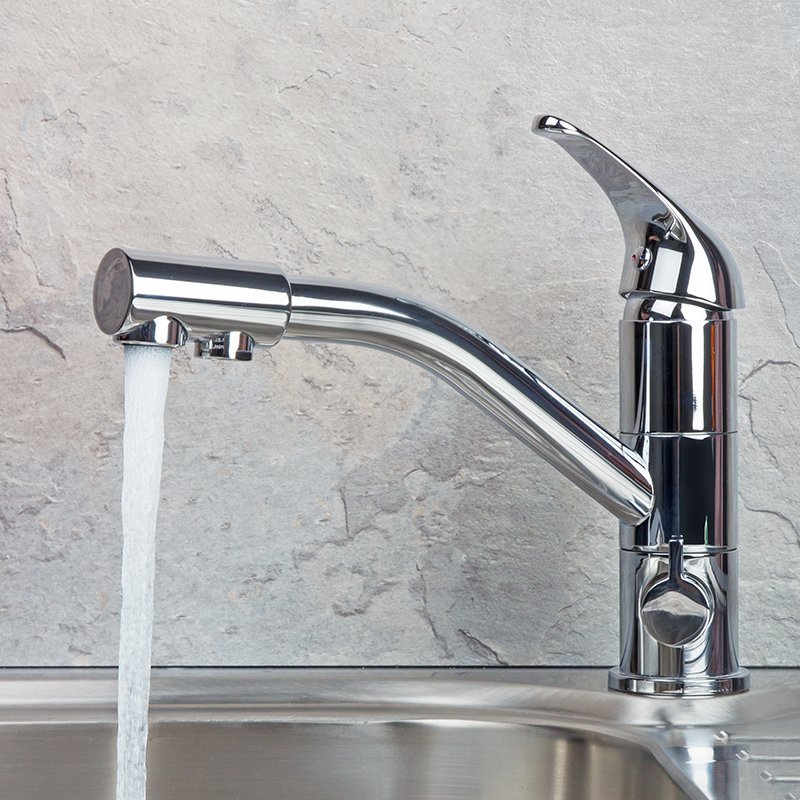
- If the water from the tap began to spray - you need to clean the strainer on the "gander".
- Weak jet from the mixer - the holes on the water inlet valves in the mixing chamber were blocked or the filter on the spout of the single-lever tap was blocked.
- Poor water pressure - first of all clean the filter on the supply pipe. It is possible to hit a stone in it.
- Install check valves after meters and filters.

Periodic preventive work will prolong the operation of devices.It is necessary to change gaskets, clean taps from scale and mechanical impurities, change flexible wiring every 2 years, regularly inspect the joints of pipelines, hoses and seals for leaks.
You will learn more about how to replace the mixer by yourself in the following video.


