Features laying laminate with a bevel

Laminate flooring today is one of the most popular flooring. Manufacturers produce many varieties of these products, among which there are lamellae with a bevel. Technically, this is a small cut of the upper end of the board, allowing to form a depression after installation. To obtain a high-quality surface, the laying of this product must be carried out according to certain rules.
Benefits
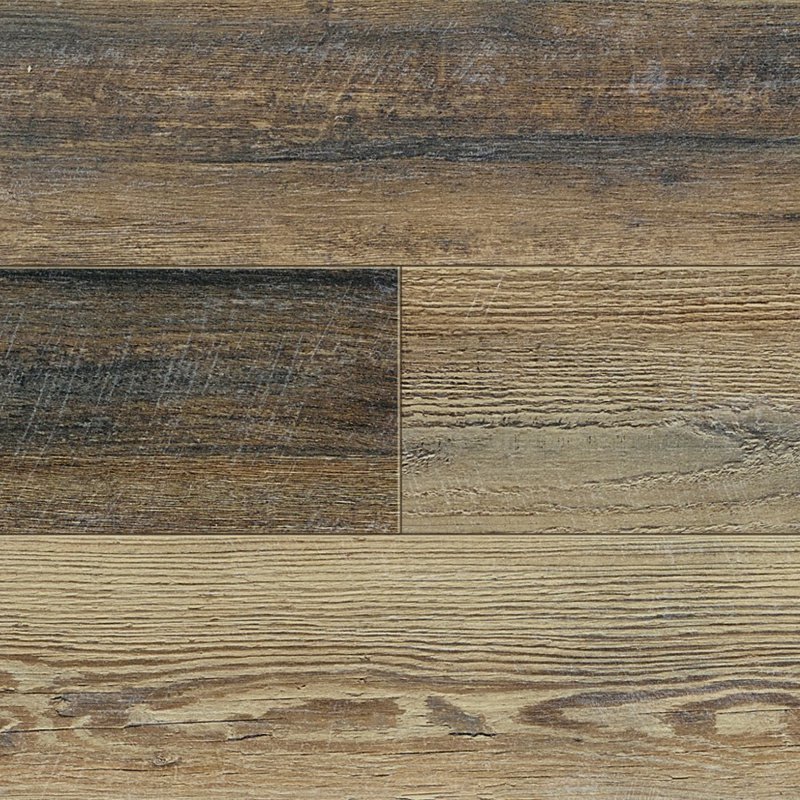
Laminate with a chamfer is a relatively new design direction, allowing on the surface to more accurately simulate a natural board. Many experts consider this product much better than classic lamellae.
This is evidenced by several significant features and advantages of products:
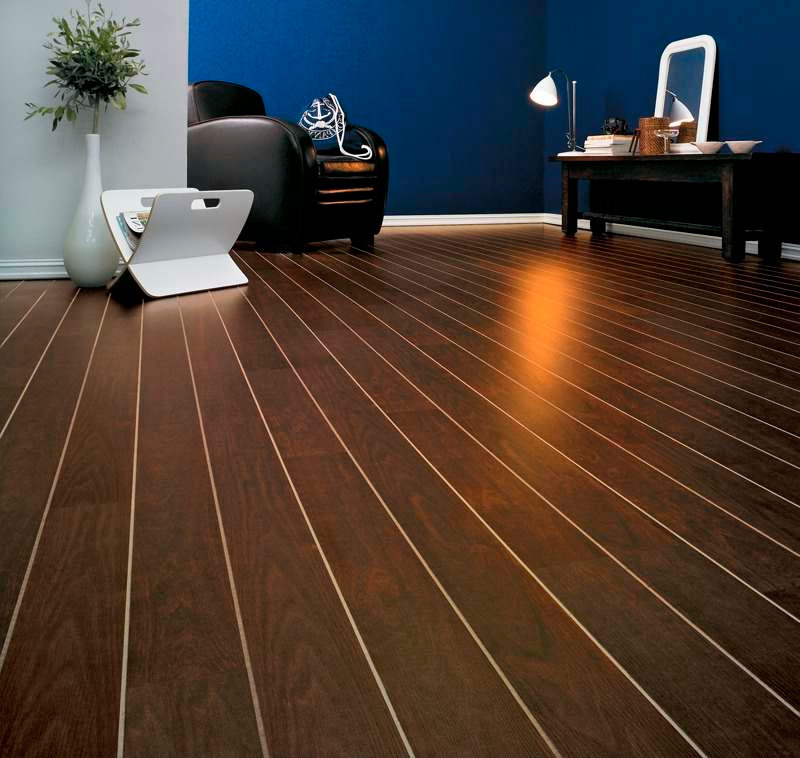
- Chamfer perfectly hides the cracks that can occur with constant temperature changes. This feature designers and copied the boards from the natural array.
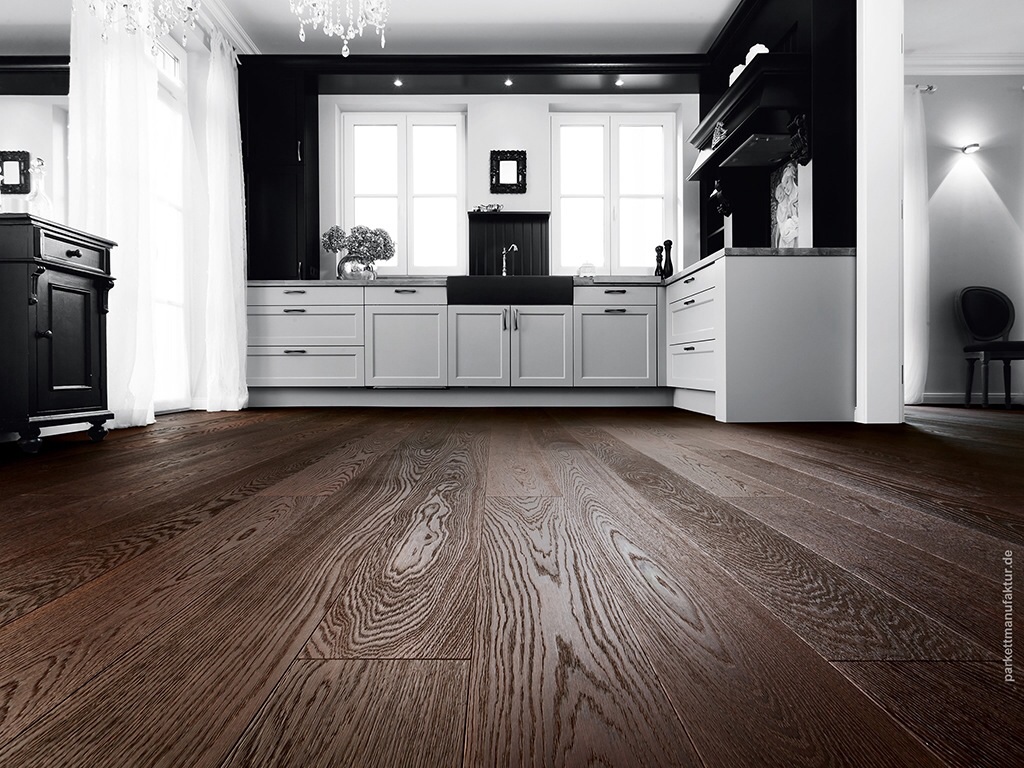
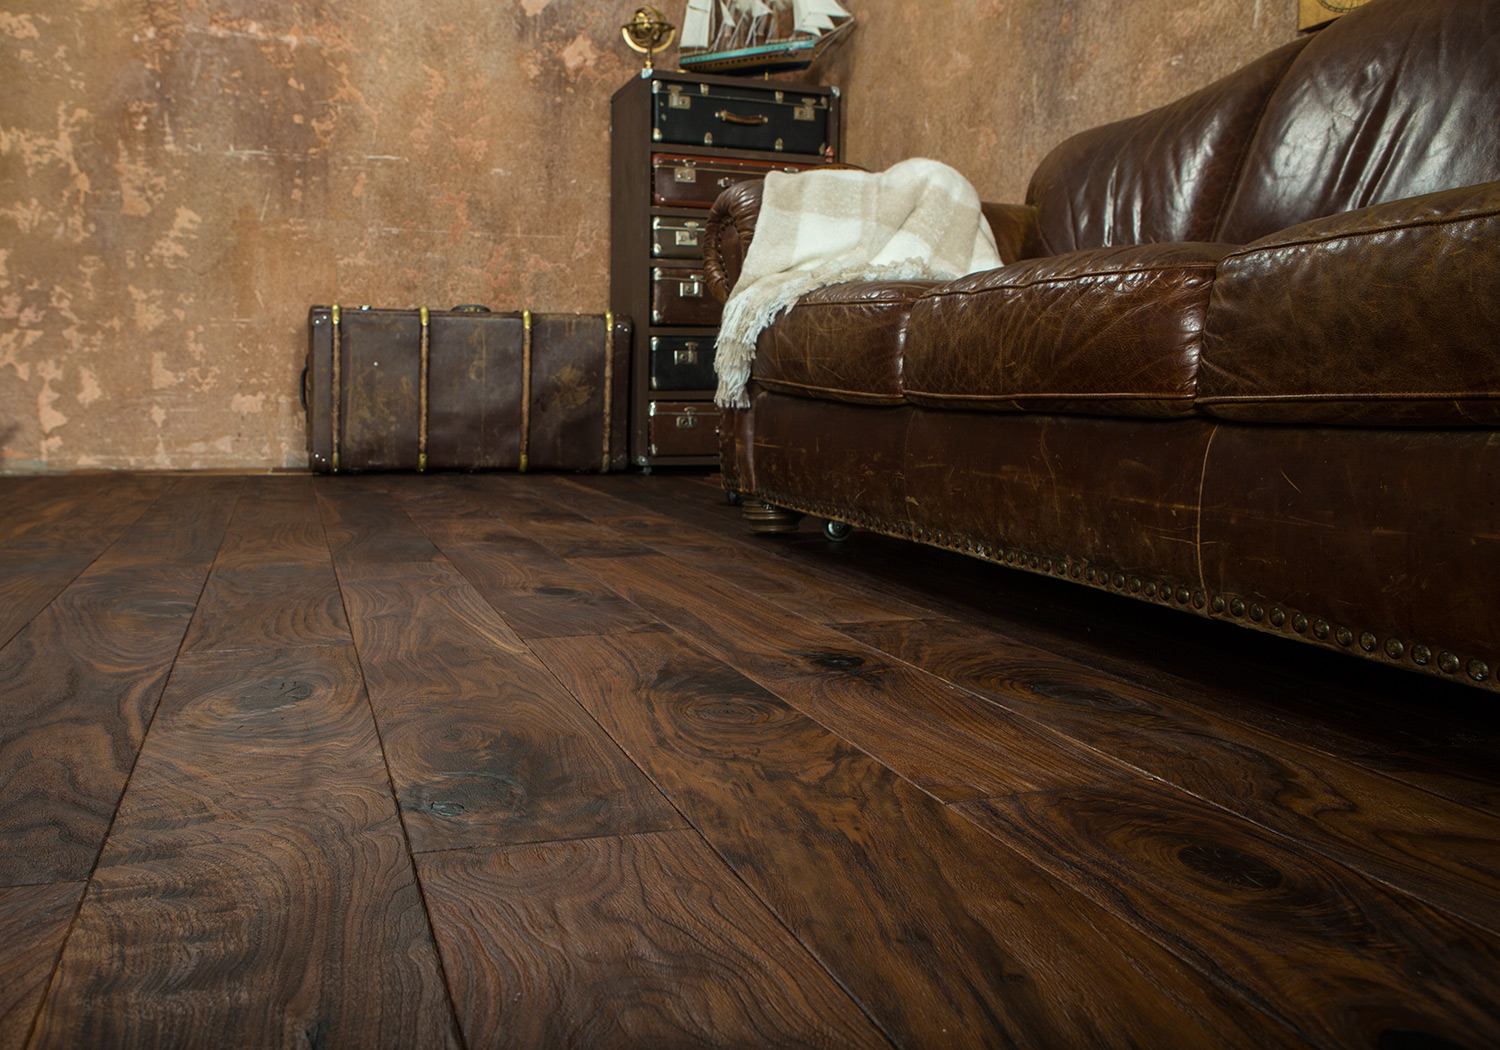
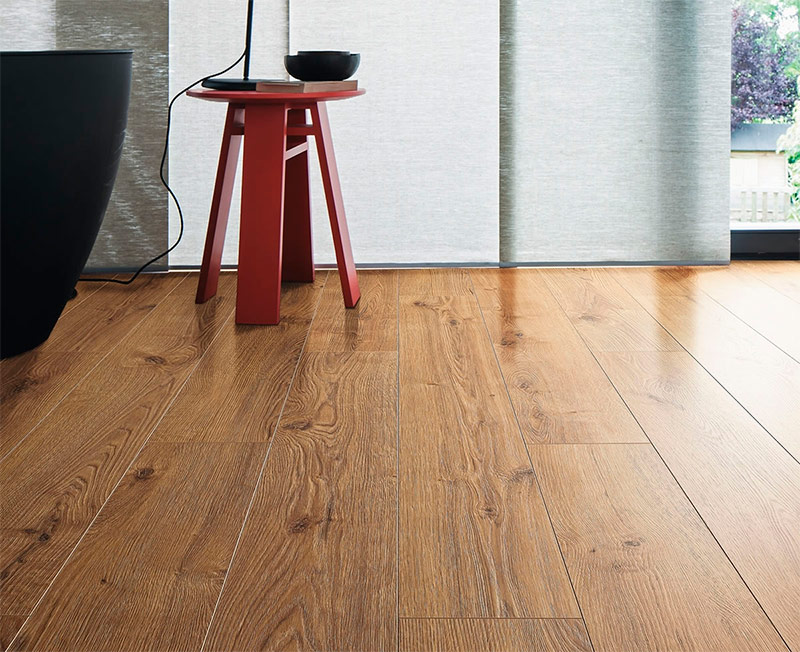
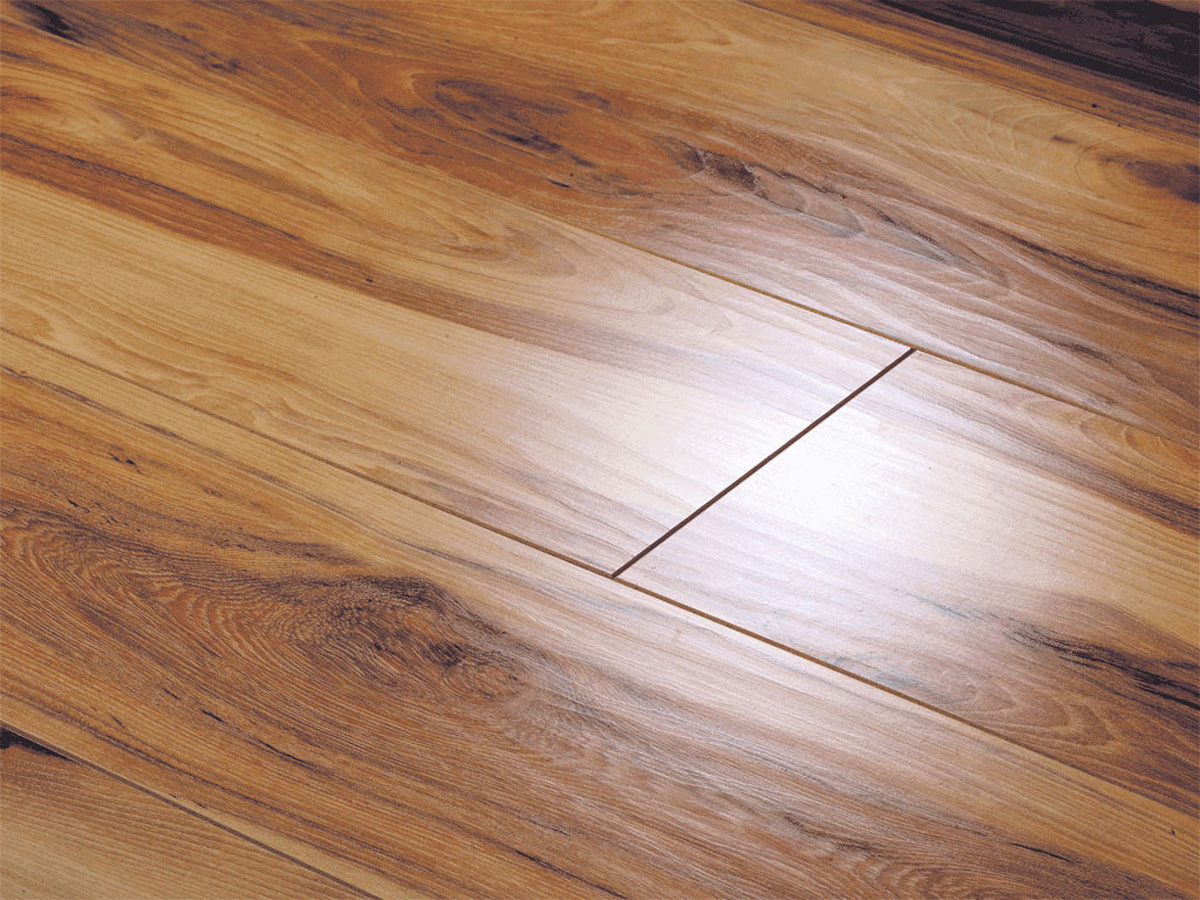
- Superior design. Externally, the laminate can mimic the structure of almost any tree species. The addition of chamfers to the slats makes it even more realistic. Patterns on some samples imitate deck boards, which allows them to be adapted to the classic style of the room.
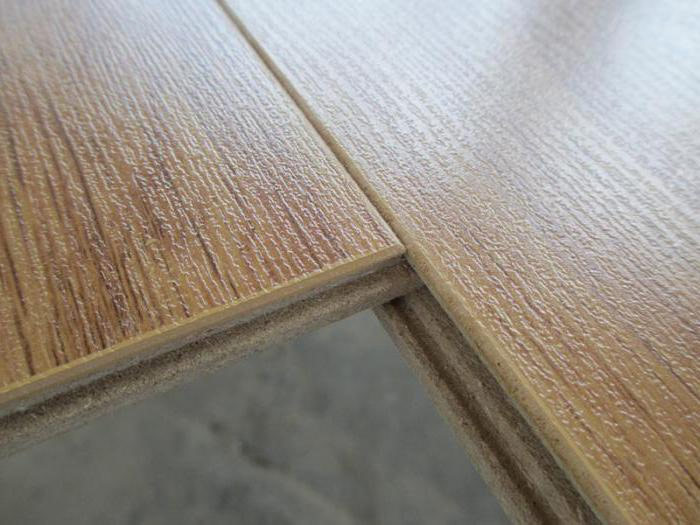
- The presence of chamfer allows you to visually hide the presence of small irregularities. But at the same time, the quality of the connection still depends on the quality of the base, as in the case of the classical laminate.
- Increased strength. This is achieved due to the fact that the top layer of the lamella has a slightly greater thickness, which is necessary for the formation of chamfer.

- Security of joints. Famous manufacturers cover sections with special lubricants that repel moisture. This prevents water from getting inside, which prolongs the life of the board.
Classification
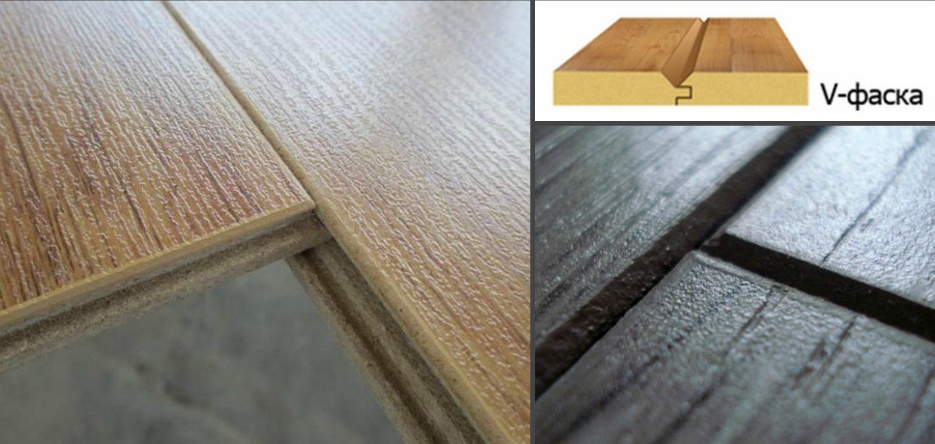
Technically, a chamfer on the laminate is a common cut, which when joined with the adjacent lamella forms a small notch. Similar products are classified according to several criteria:
- The location of the slice. Here one can distinguish two- and four-sided types of laminate, since the chamfer can be formed at different ends of products. The last version of the lamellae is a more popular option, as it is practical and versatile.
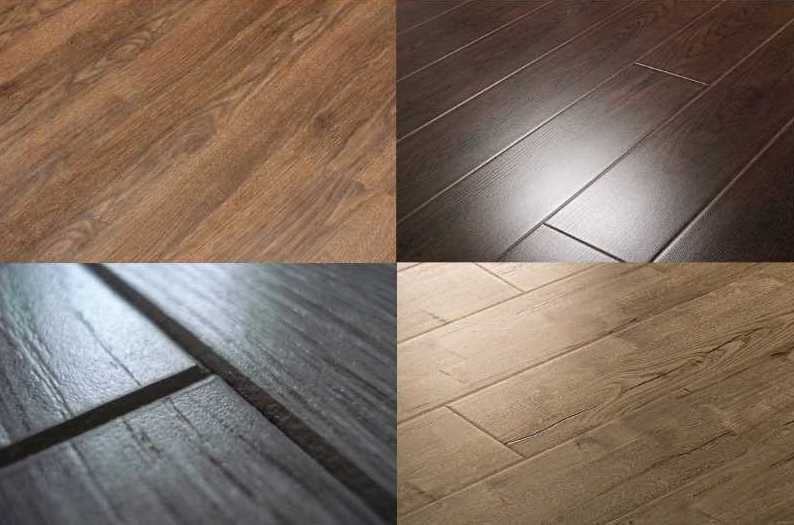
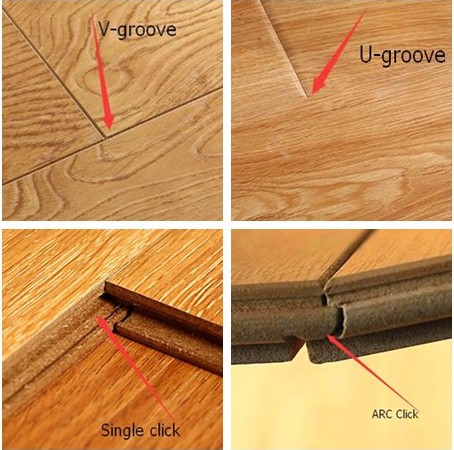
- Type of cut. Here it is conditionally possible to distinguish V and U like chamfers. The first type has a straight end, which is cut at a certain angle. The second type of cut involves the formation of a rounded surface.
- Surface treatment. Cheap laminate is equipped with a facet, which is simply painted under the style of the surface. Well-known manufacturers laminate the cut, which allows to better protect the internal structure of the board from water.
- Production methods. The simplest option is to mill the butt with special knives. This allows the chamfer to give a different shape, as well as better control the cut angle. But the surface formed in this way is not protected, so it must be laminated or painted. Rolling is another way to chamfer. To do this, each lamella is passed through special rollers that press in the end,giving it the desired shape. This approach is more versatile, so almost all manufacturers use it.
Styling options
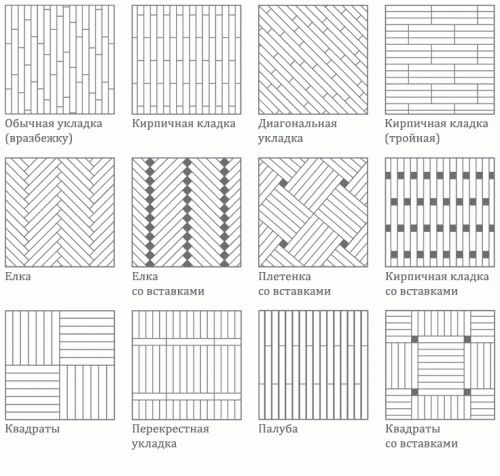
Laminate with a chamfer allows you to simulate wood board. To give the room an original design, you should correctly lay the slats against the walls. Today there are only 2 ways to position the board.
Along the walls
In this case, all the slats are parallel to one of the sides. Experts recommend laying the slats in such a way that the light from the window falls on them. If you want to visually expand the room, then the lamella should be put parallel to the short wall.
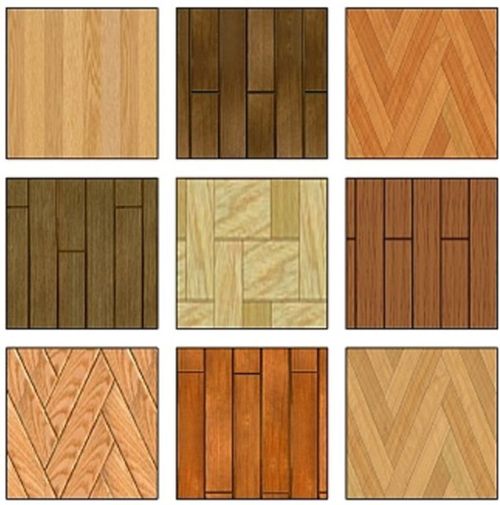
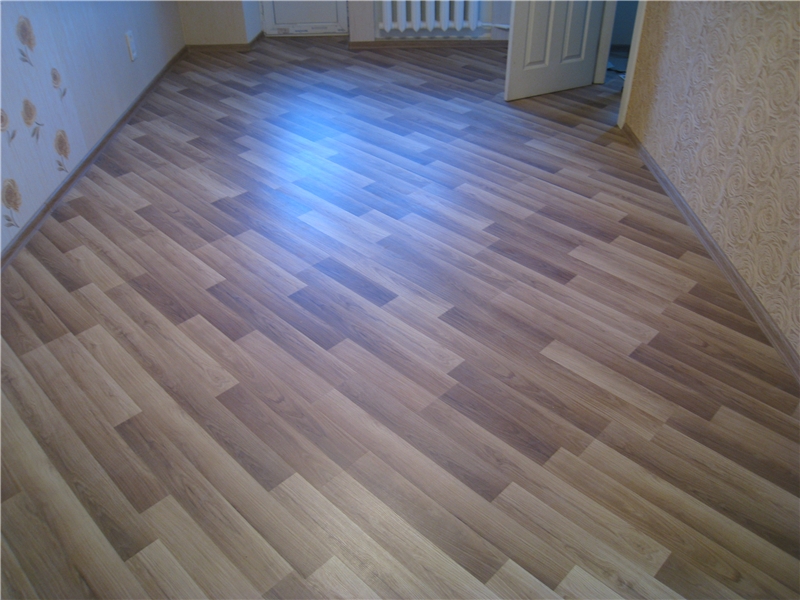
Diagonally
The board is located at an angle to the walls. This value may be different, which depends only on the personal desires of the host. Any chamfer arrangement is perfect for this method. The disadvantage of the diagonal arrangement of the boards is that during installation a significant amount of waste is generated. But the drawing is more original and more beautiful.
Please note that the laminate with 4-sided bevel can be put in almost any direction.
In turn, boards with only 2 chamfers are perfect for a classic flat layout.
Professional Tips
The technology of installation of laminate is standard and does not depend on whether it is equipped with a facet or not.
To put the board beautifully and efficiently with your own hands, you should follow a few simple rules:
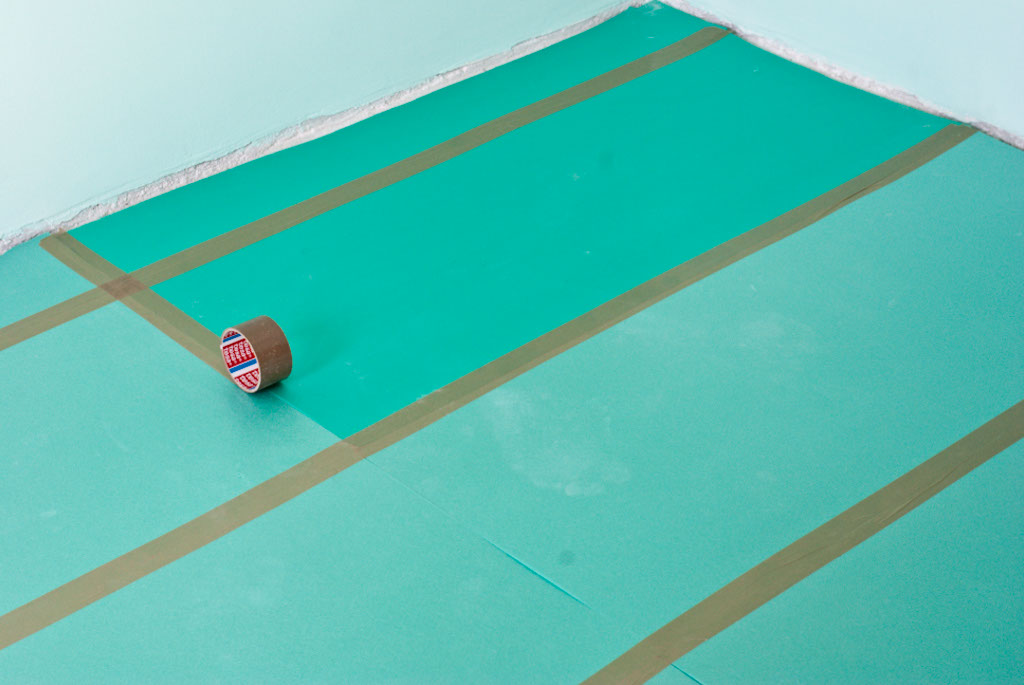
- Lay laminate need only ideally smooth surface. Some manufacturers allow ground drops up to 3 mm. The floor must be dry and clean, which will allow the lamellas to be positioned strictly horizontally.
- Laminate is better to have on a special soft substrate. It can smooth out minor irregularities and provide an optimal level of thermal insulation.

- Installation of boards on a diagonal, it is desirable to begin with a corner, it is easier to calculate all the other elements.
- Doors are installed only after finishing work.
- Between themselves, the boards are shifted not less than 40 cm. If the length of the lamella is significant, then the shift by one third of this dimension is optimal.
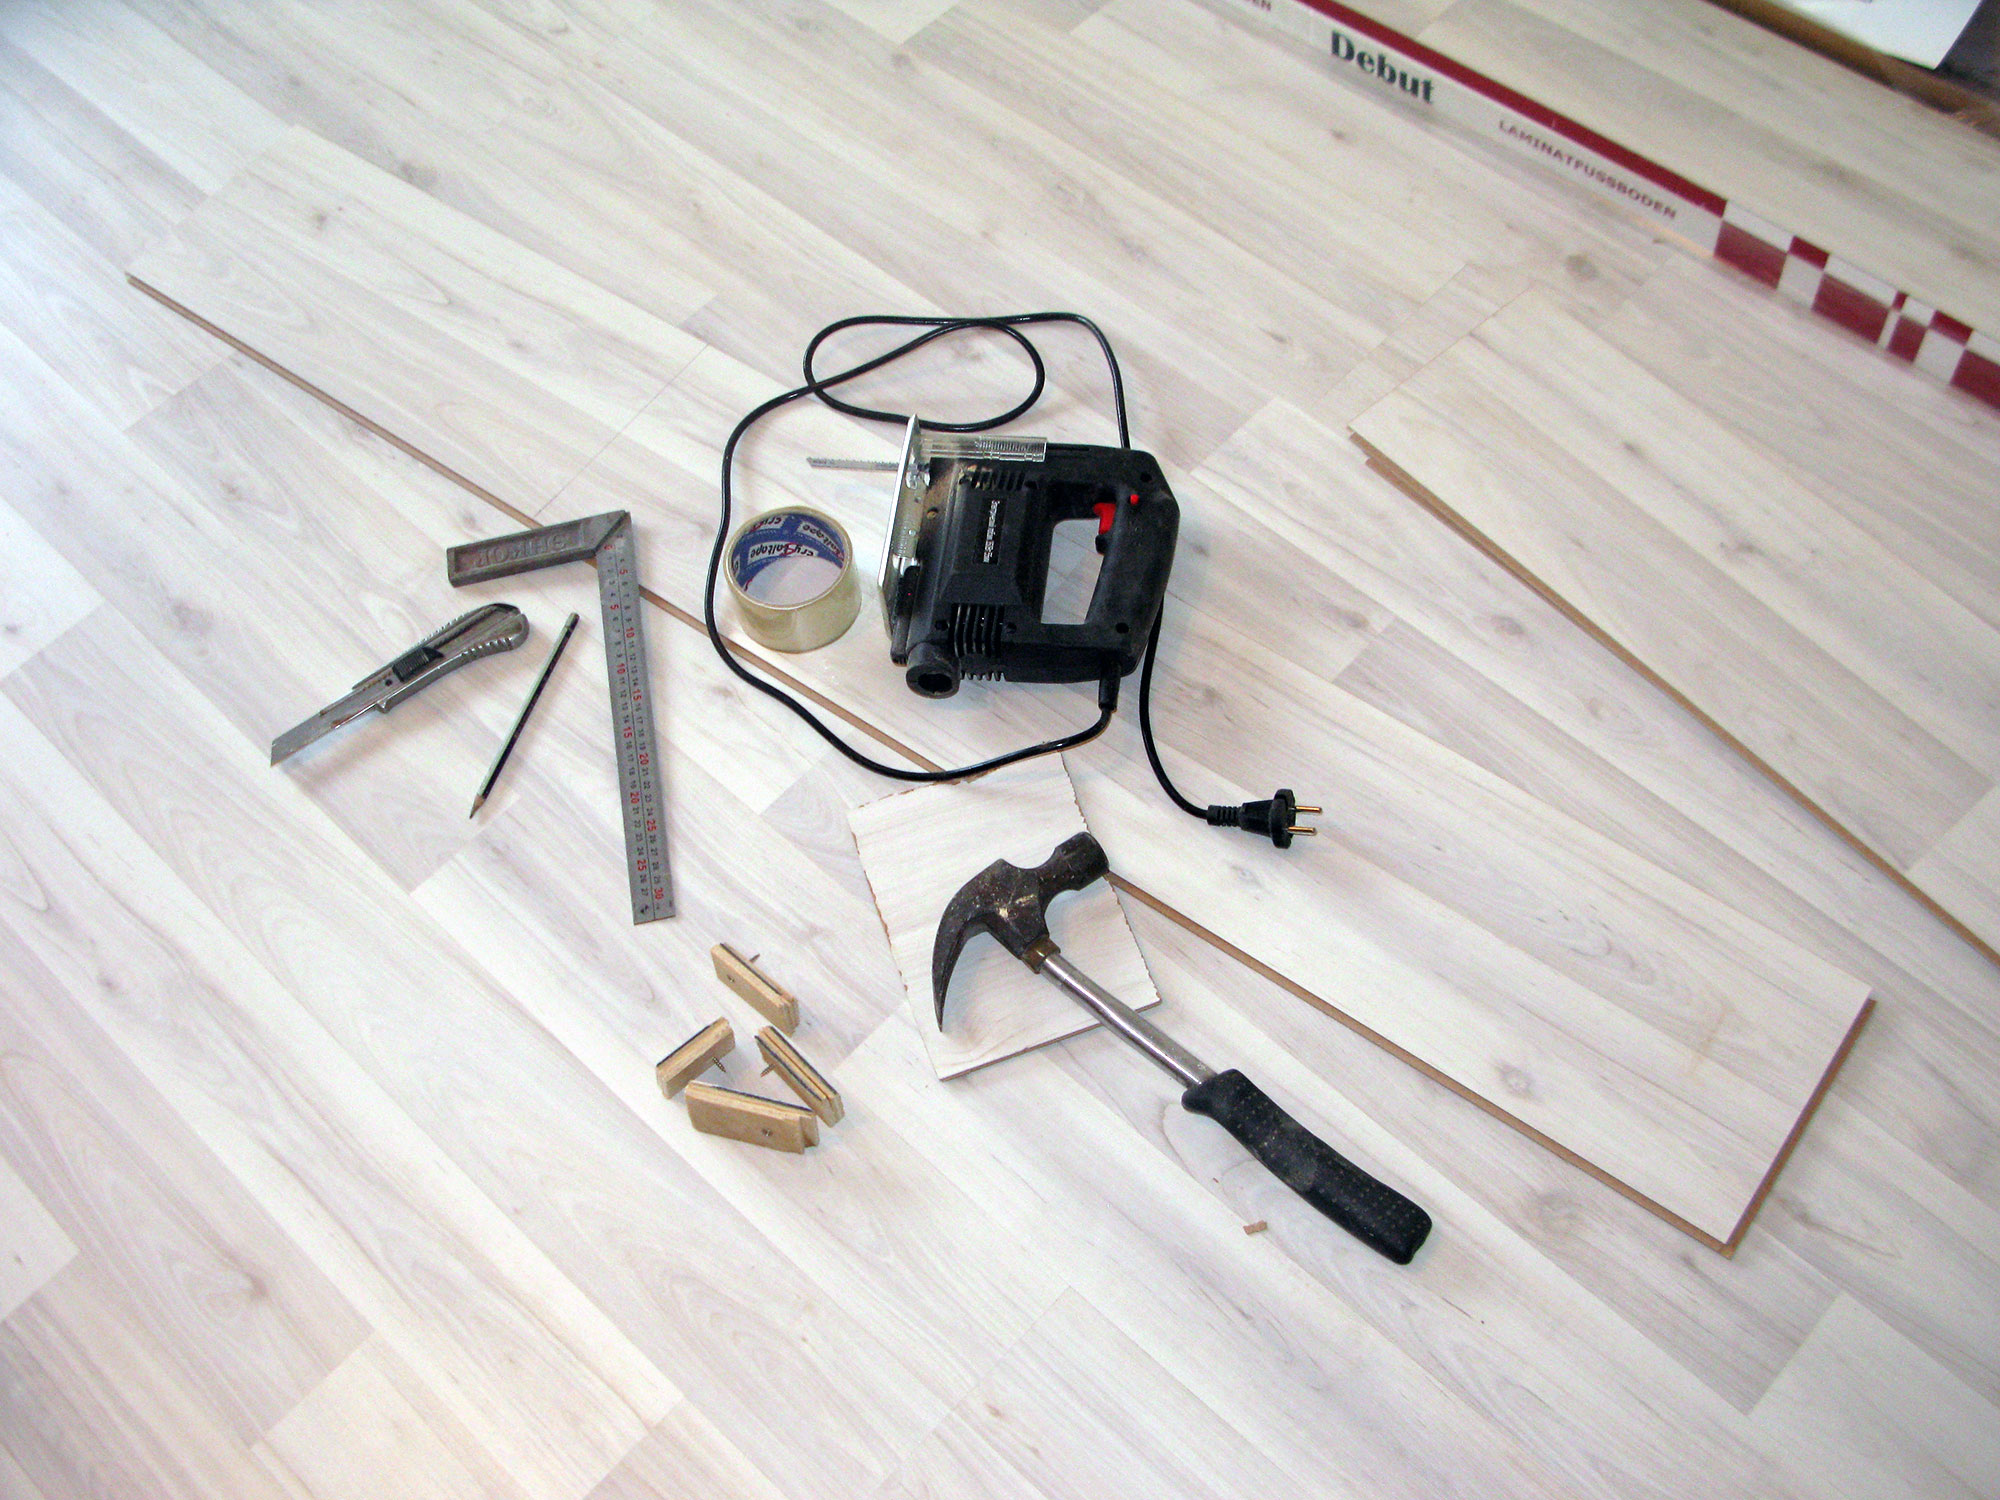
Mounting algorithm
The process of laying laminate with a chamfer can be divided into several successive steps:
Foundation preparation
There may be several approaches depending on the material of the floor.Wooden surfaces are leveled with thick moisture-resistant plywood, which is screwed to the boards. It is important to check the condition of the wood and, in the presence of rot, replace the damaged element. Concrete floors are slightly easier to level. To do this, they are cleared of debris and dust, and then poured screed. To get a perfectly flat surface, special beacons are used in the formation of the upper layer.
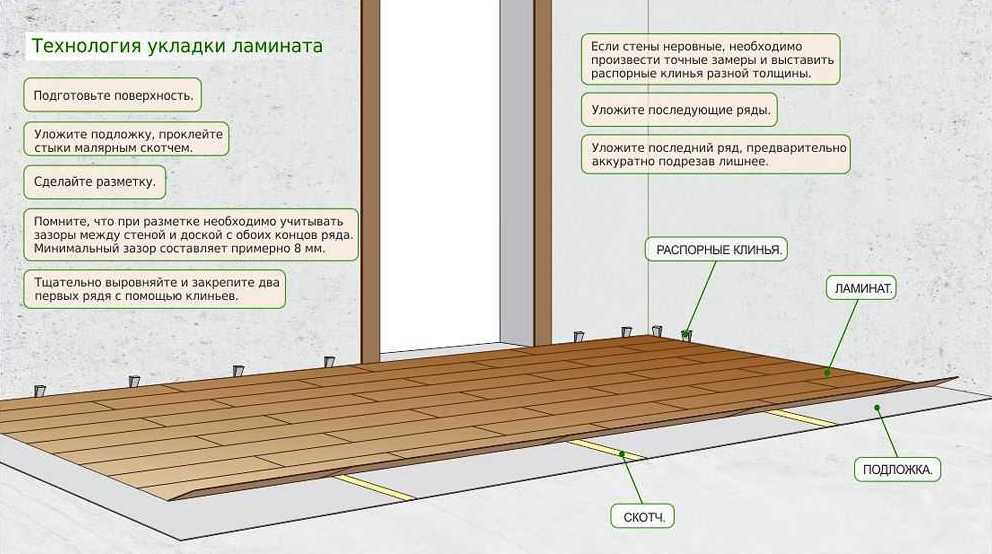
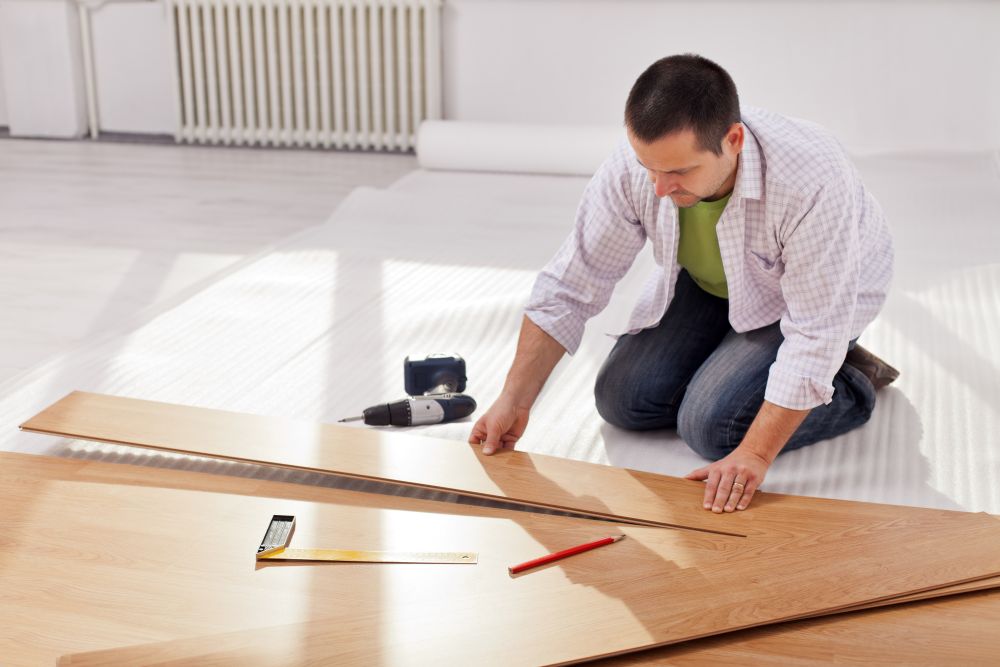
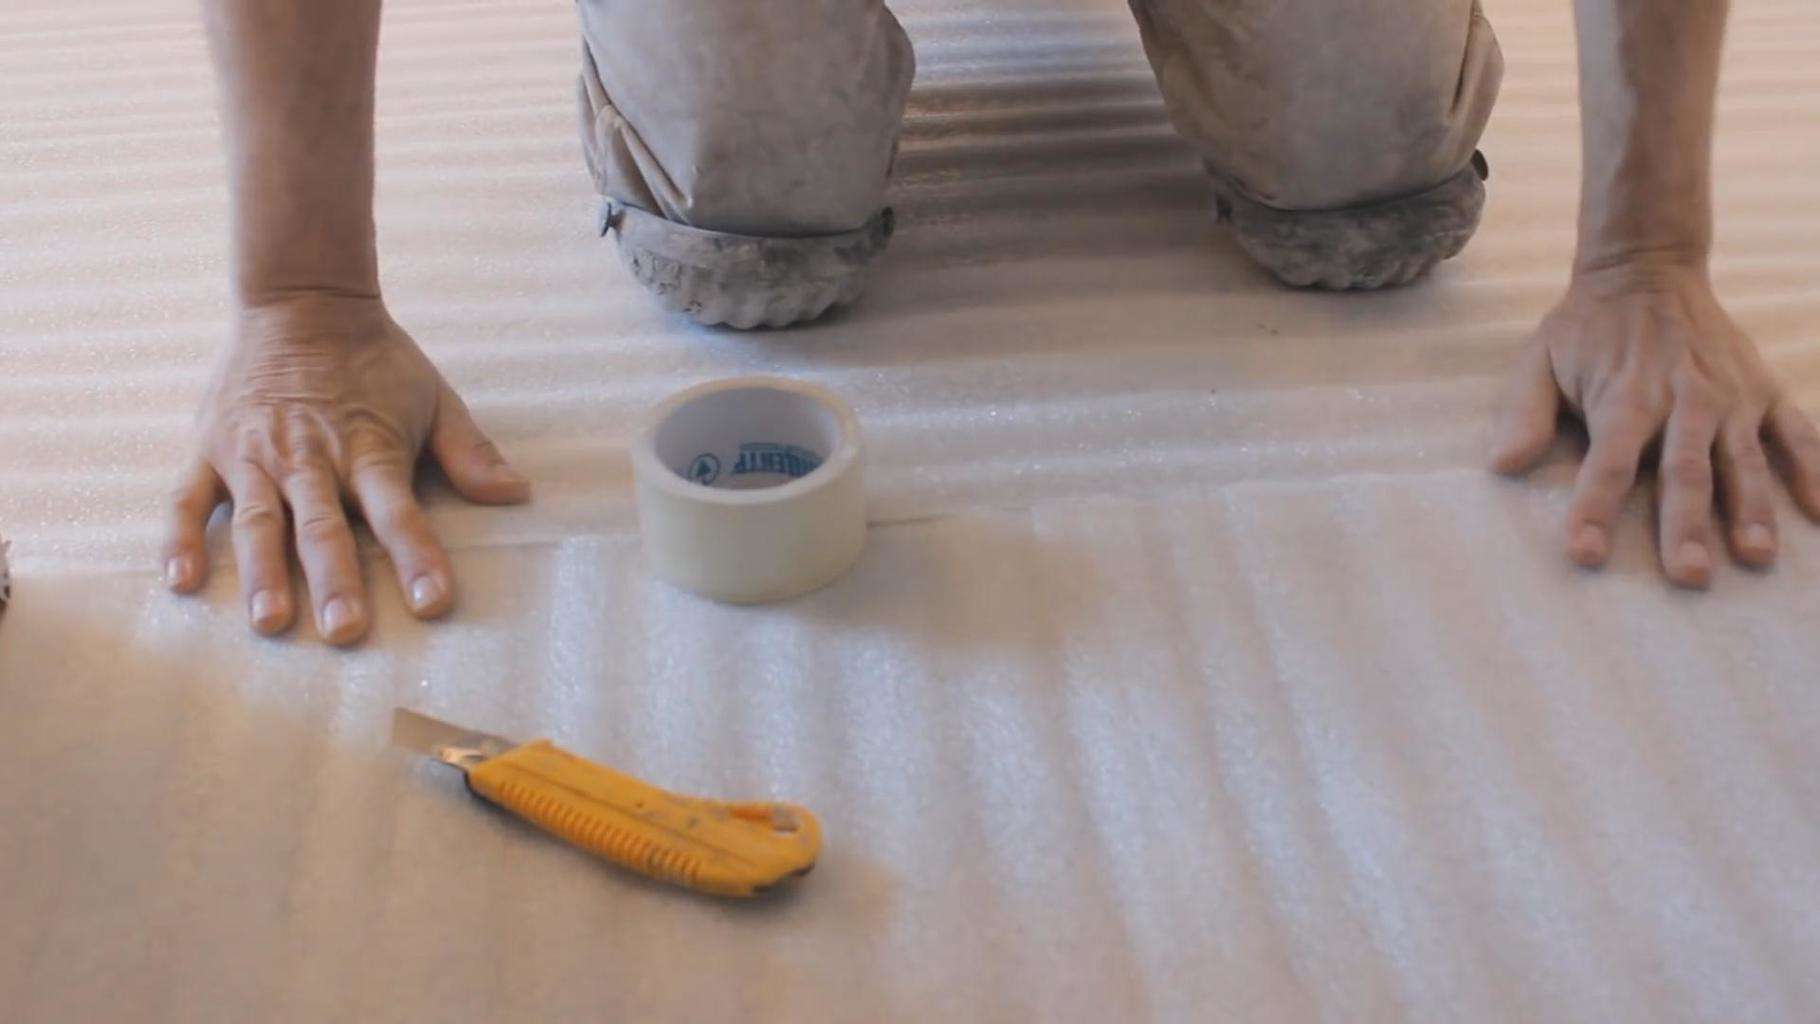
Laying the substrate
As an interlayer, several types of materials are used, among which polyurethane foam, cork wood and other sheets can be noted. If the floor is made of concrete, then a layer of plastic film acting as a waterproofing layer should be spread under the substrate. On top of it lay sheets of substrate, which is interconnected end to end.
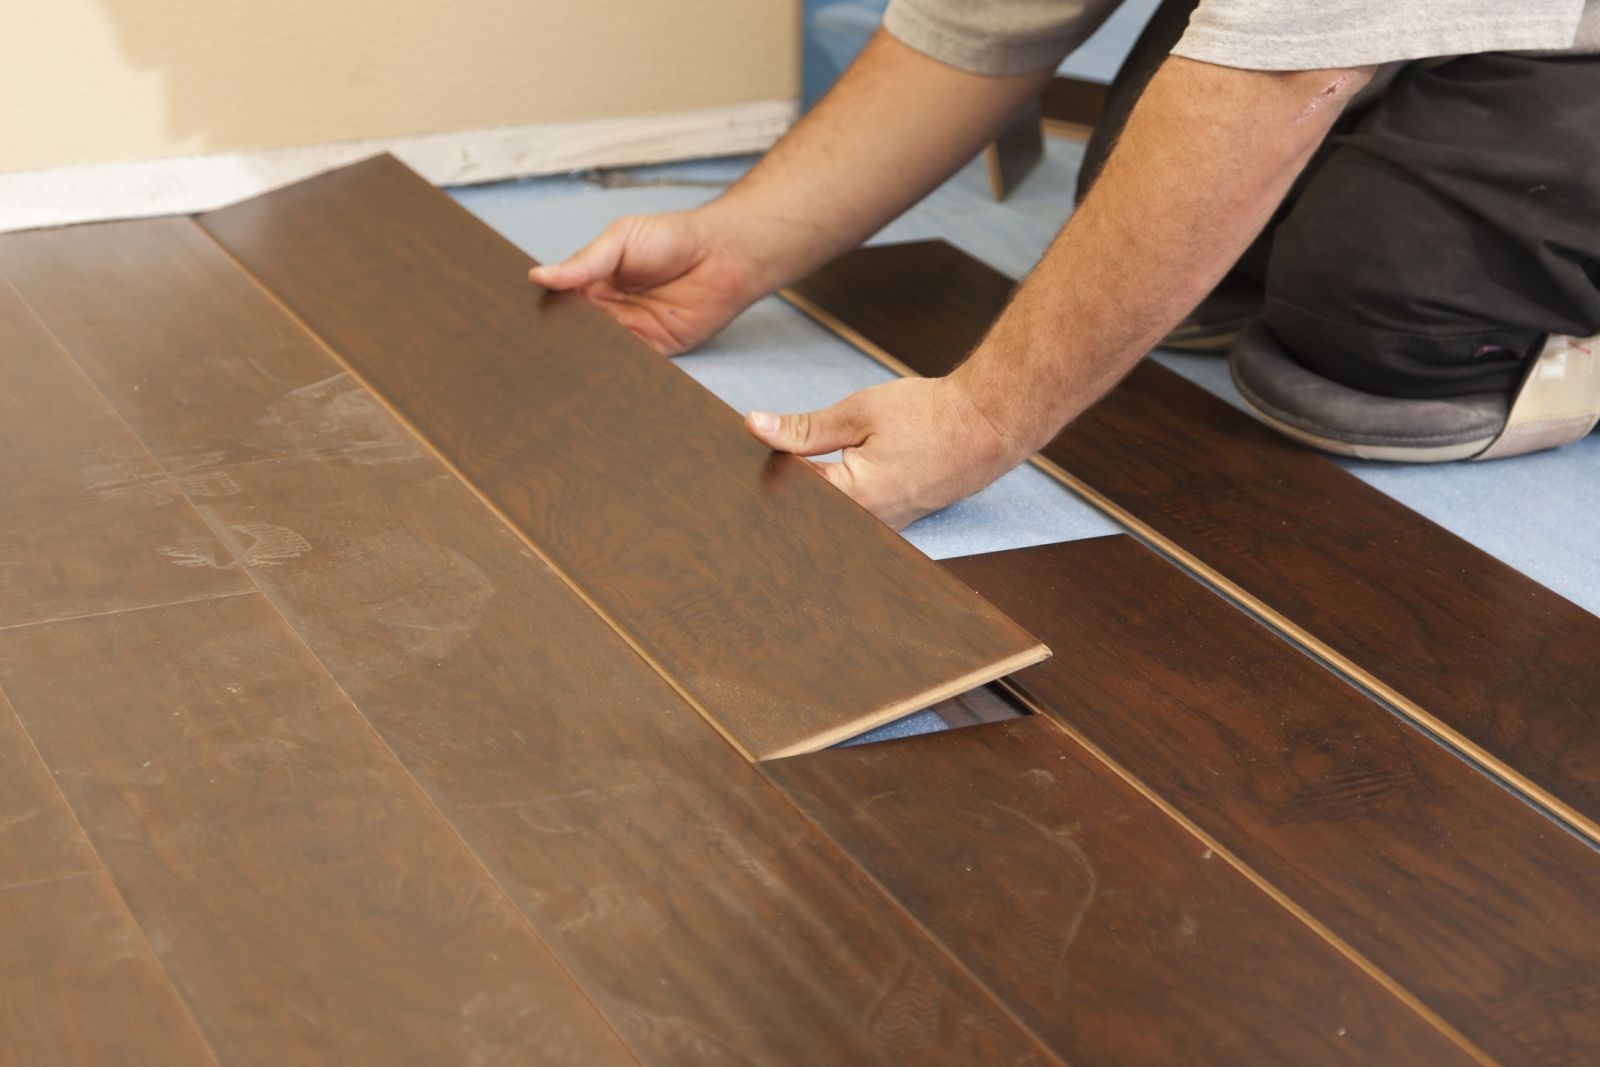
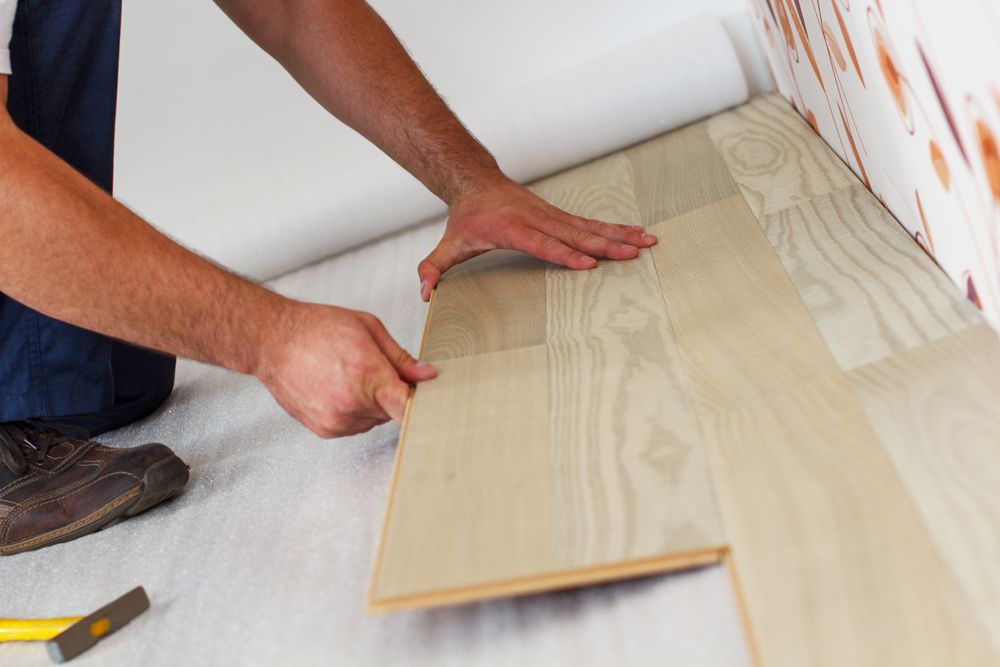
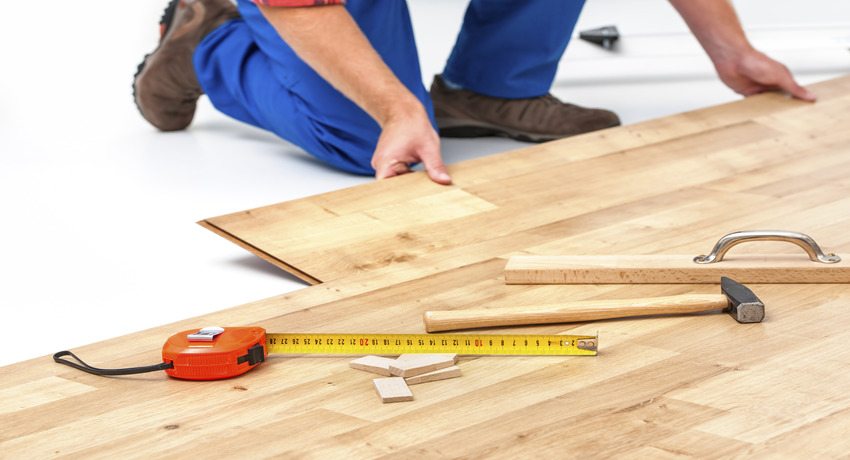
Laying laminate
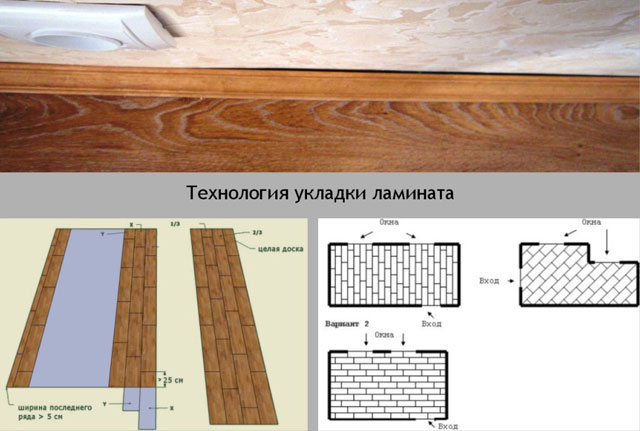
The installation of the first board is the most important, since the location of the pattern on the surface also depends on it. All boards, which are located near the walls, should recede from them by about 1-2 cm. This gap is needed so that the material can expand with changing temperatures.
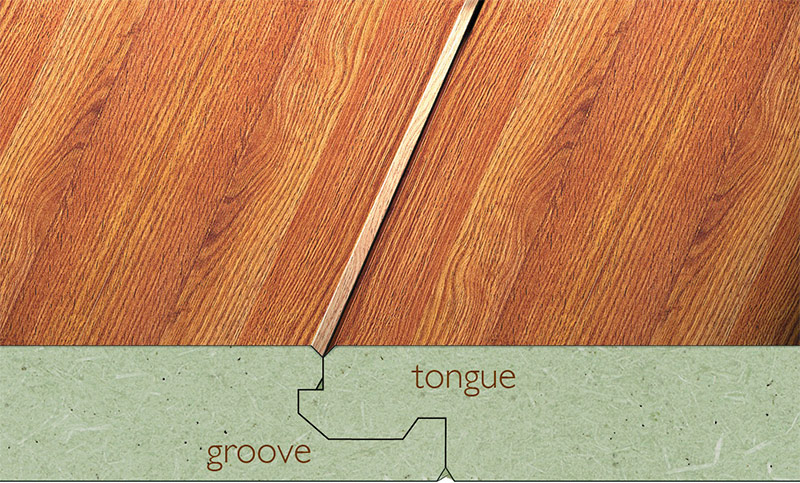
If laying is performed parallel to the walls, then the first lamella is positioned with a spike to the vertical plane, cutting off the spike with the grinder.When the laminate is placed diagonally, you need to cut one of the vertices at an angle of about 45 degrees from each side. Externally, a groove should form, which will enter the corner of the wall. Please note that wedges are also used here to form a small expansion gap between them.
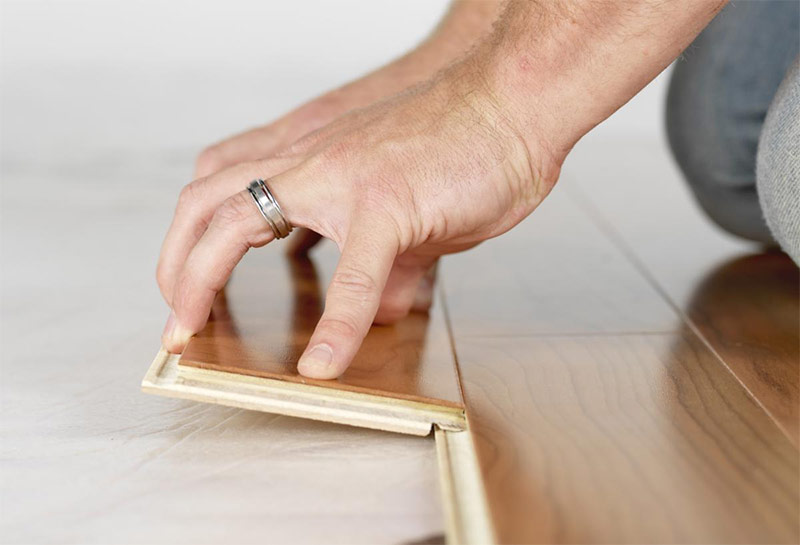
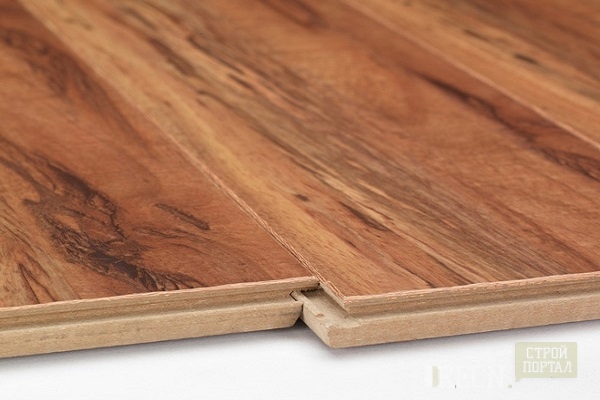
When the first boards are exposed, you can begin to connect all the other elements. The second lamella joins the side with the previous one with a slight offset. The connection is made by snapping the lock or hammering it in. It all depends on its type. After that, all the other lamellae are inserted, which, if necessary, are trimmed to the desired size.
Laying laminate is a simple operation that requires only care and accuracy.
If you want to get an original design, you can use several shades of material, combining them in certain patterns. Find examples of popular styles can be on the Internet, which will give the opportunity to find the actual option for your home.
On how to correctly lay the laminate diagonally, see the following video.


