How to level the floor under the laminate?
Laminate for a long time, is considered the most popular flooring. This is not surprising in view of its features and merits. But everyone who decided to lay it in his room, inevitably faces a problem: how to level the floor under the laminate.
What is it for?
The need to level the floor before directly laying the laminate, due to the structure and performance characteristics of the floor covering.Despite a lot of positive qualities, laminate panels are quite picky in the process of laying.
If the floor is not properly leveled beforehand, then the following problems can be encountered.
- The panels will eventually sag, making the floor seem even more uneven than it actually is.
- The seams between the panels will eventually begin to disperse in different directions. As a result, the laminate will be subject to the negative influence of water that will flow into these gaps, and also debris and dirt will accumulate in them.
- Over time, laminate locks will begin to crack and break, and therefore the entire coating will have to be changed ahead of time.
- When walking, such a floor will creak severely, and the panels themselves can either bulge or just crack.
So it turns out that without prior leveling the floor the laminate will very quickly become unusable, and the flooring itself will look pretty bad very soon. Therefore, it is quite obvious that the floor must be leveled in order to be confident in the quality and durable laminate flooring.

How far should the floor be?
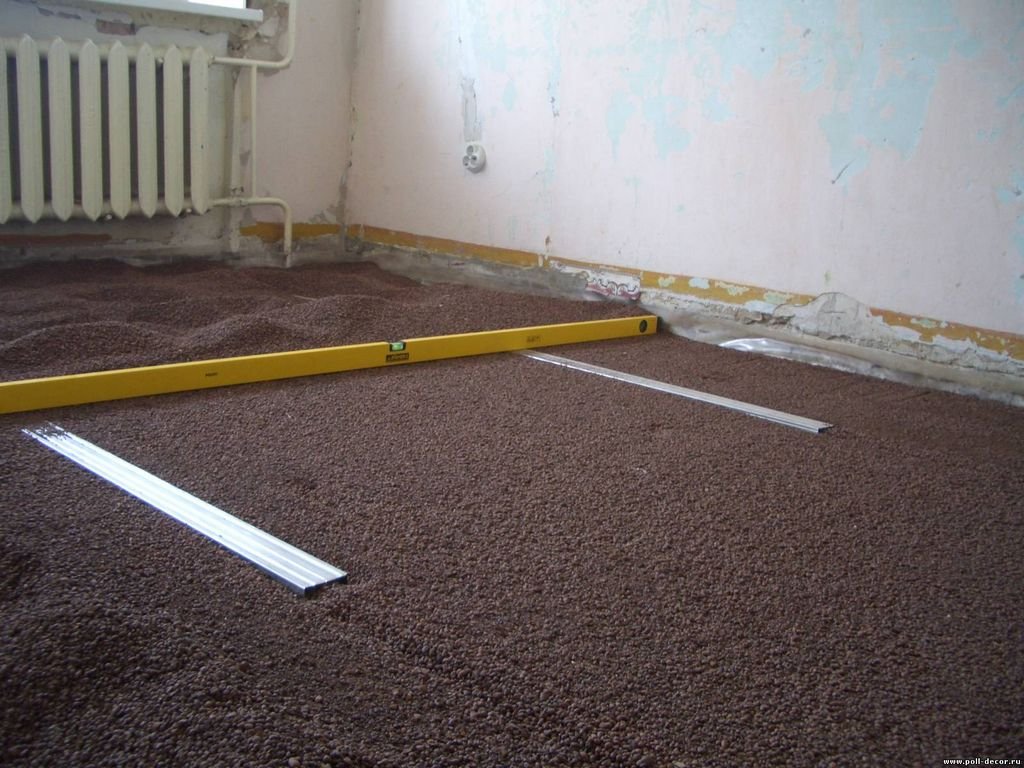
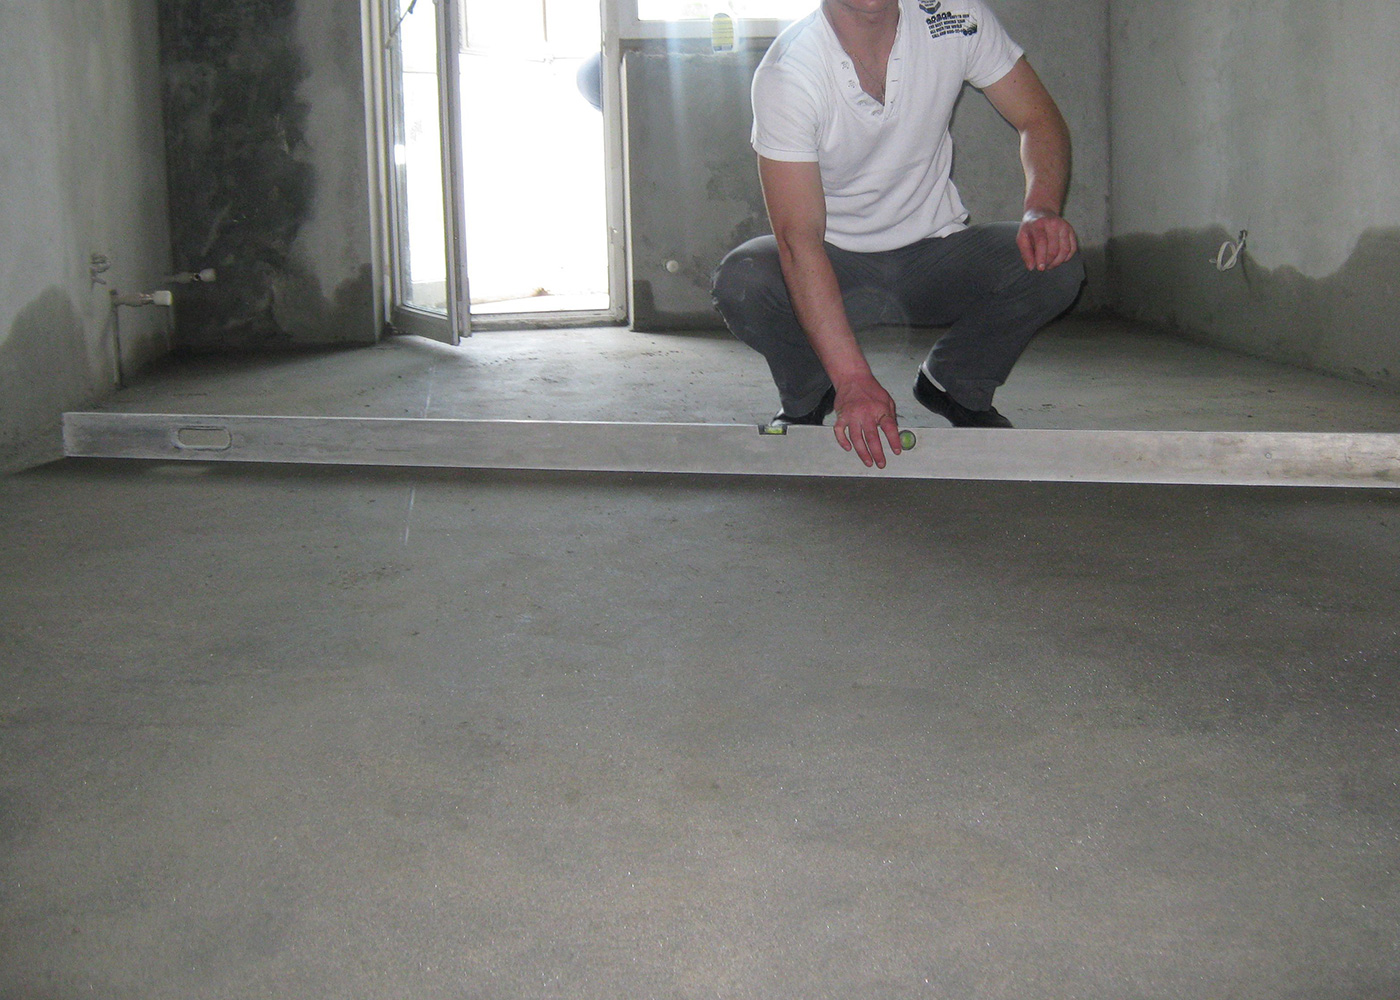
The alignment of the floor implies not only the elimination of various pits and tubercles, but also the creation of a perfectly flat, smooth surface. In this case, the flatness of the floor can not be determined by eye.
It is necessary to use special tools, for example, building level. To do this, you need to install this tool on a perfectly flat surface and memorize its indicators, after that the floor in different parts of the room is measured several times.
The indicator of a flat surface is set by SanPin. This document states that a flat surface is considered to be that surface where deviations from the ideal index do not exceed the norm of 2 mm per 2 square meters: it turns out that the maximum permissible error in the flatness of the floor of an apartment is 2 mm.
Ways
There are several ways to level the floor before laying laminate panels.
- With screed;
- Without screed.
In the first case, dry or wet leveling can be performed, and in the second case, special mixtures are often used, for example, a self-leveling floor, or special panels. It should be understood that all these methods of leveling can be used only after preliminary preparation of the floor without a screed.
First, you must thoroughly clean the work surface, get ahead of the highest point, put the beacons, and only then proceed to the direct alignment of the surface.
Alignment can be both full and partial when laying laminate. Full leveling of the surface is necessary if the floors in the whole room are hilly. Partial alignment is used in cases where most of the floor is relatively flat, and only a small portion of the floor has irregularities.

How and what to trim?
The method of leveling, as well as the material for the work, should be selected on the basis of the floor in the room. In some cases, materials and methods can be used for both concrete and wooden floors.
Wooden
Wood floors can be dubbed with your own hands in several ways. Choose a specific one of them should be based on existing experience and skills, as well as the most accessible and preferred materials.

Alignment of surfaces with special panels
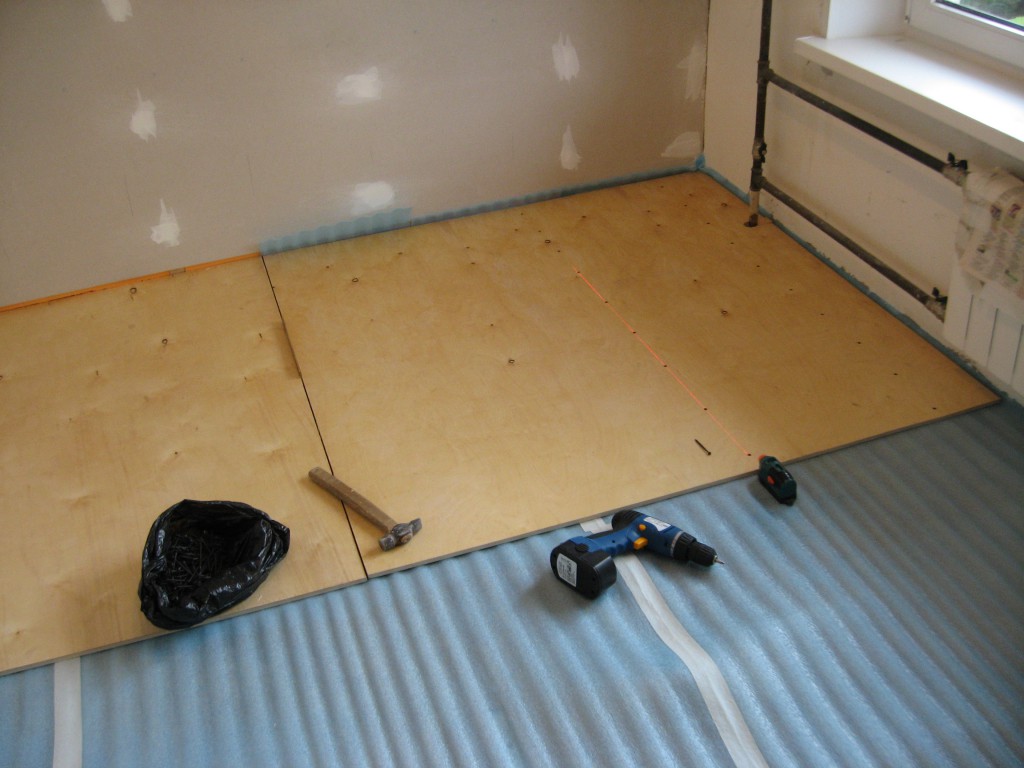
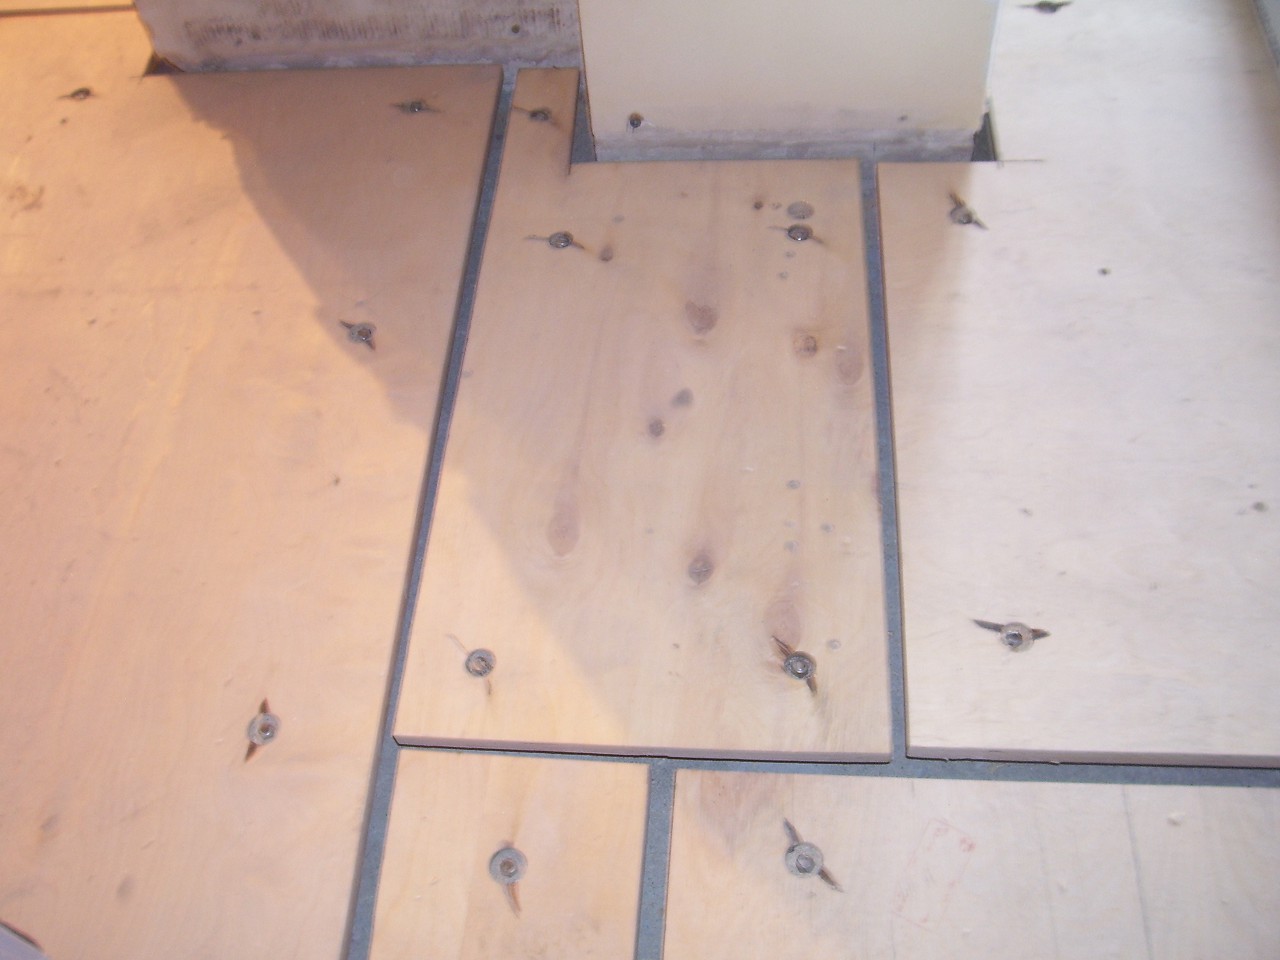
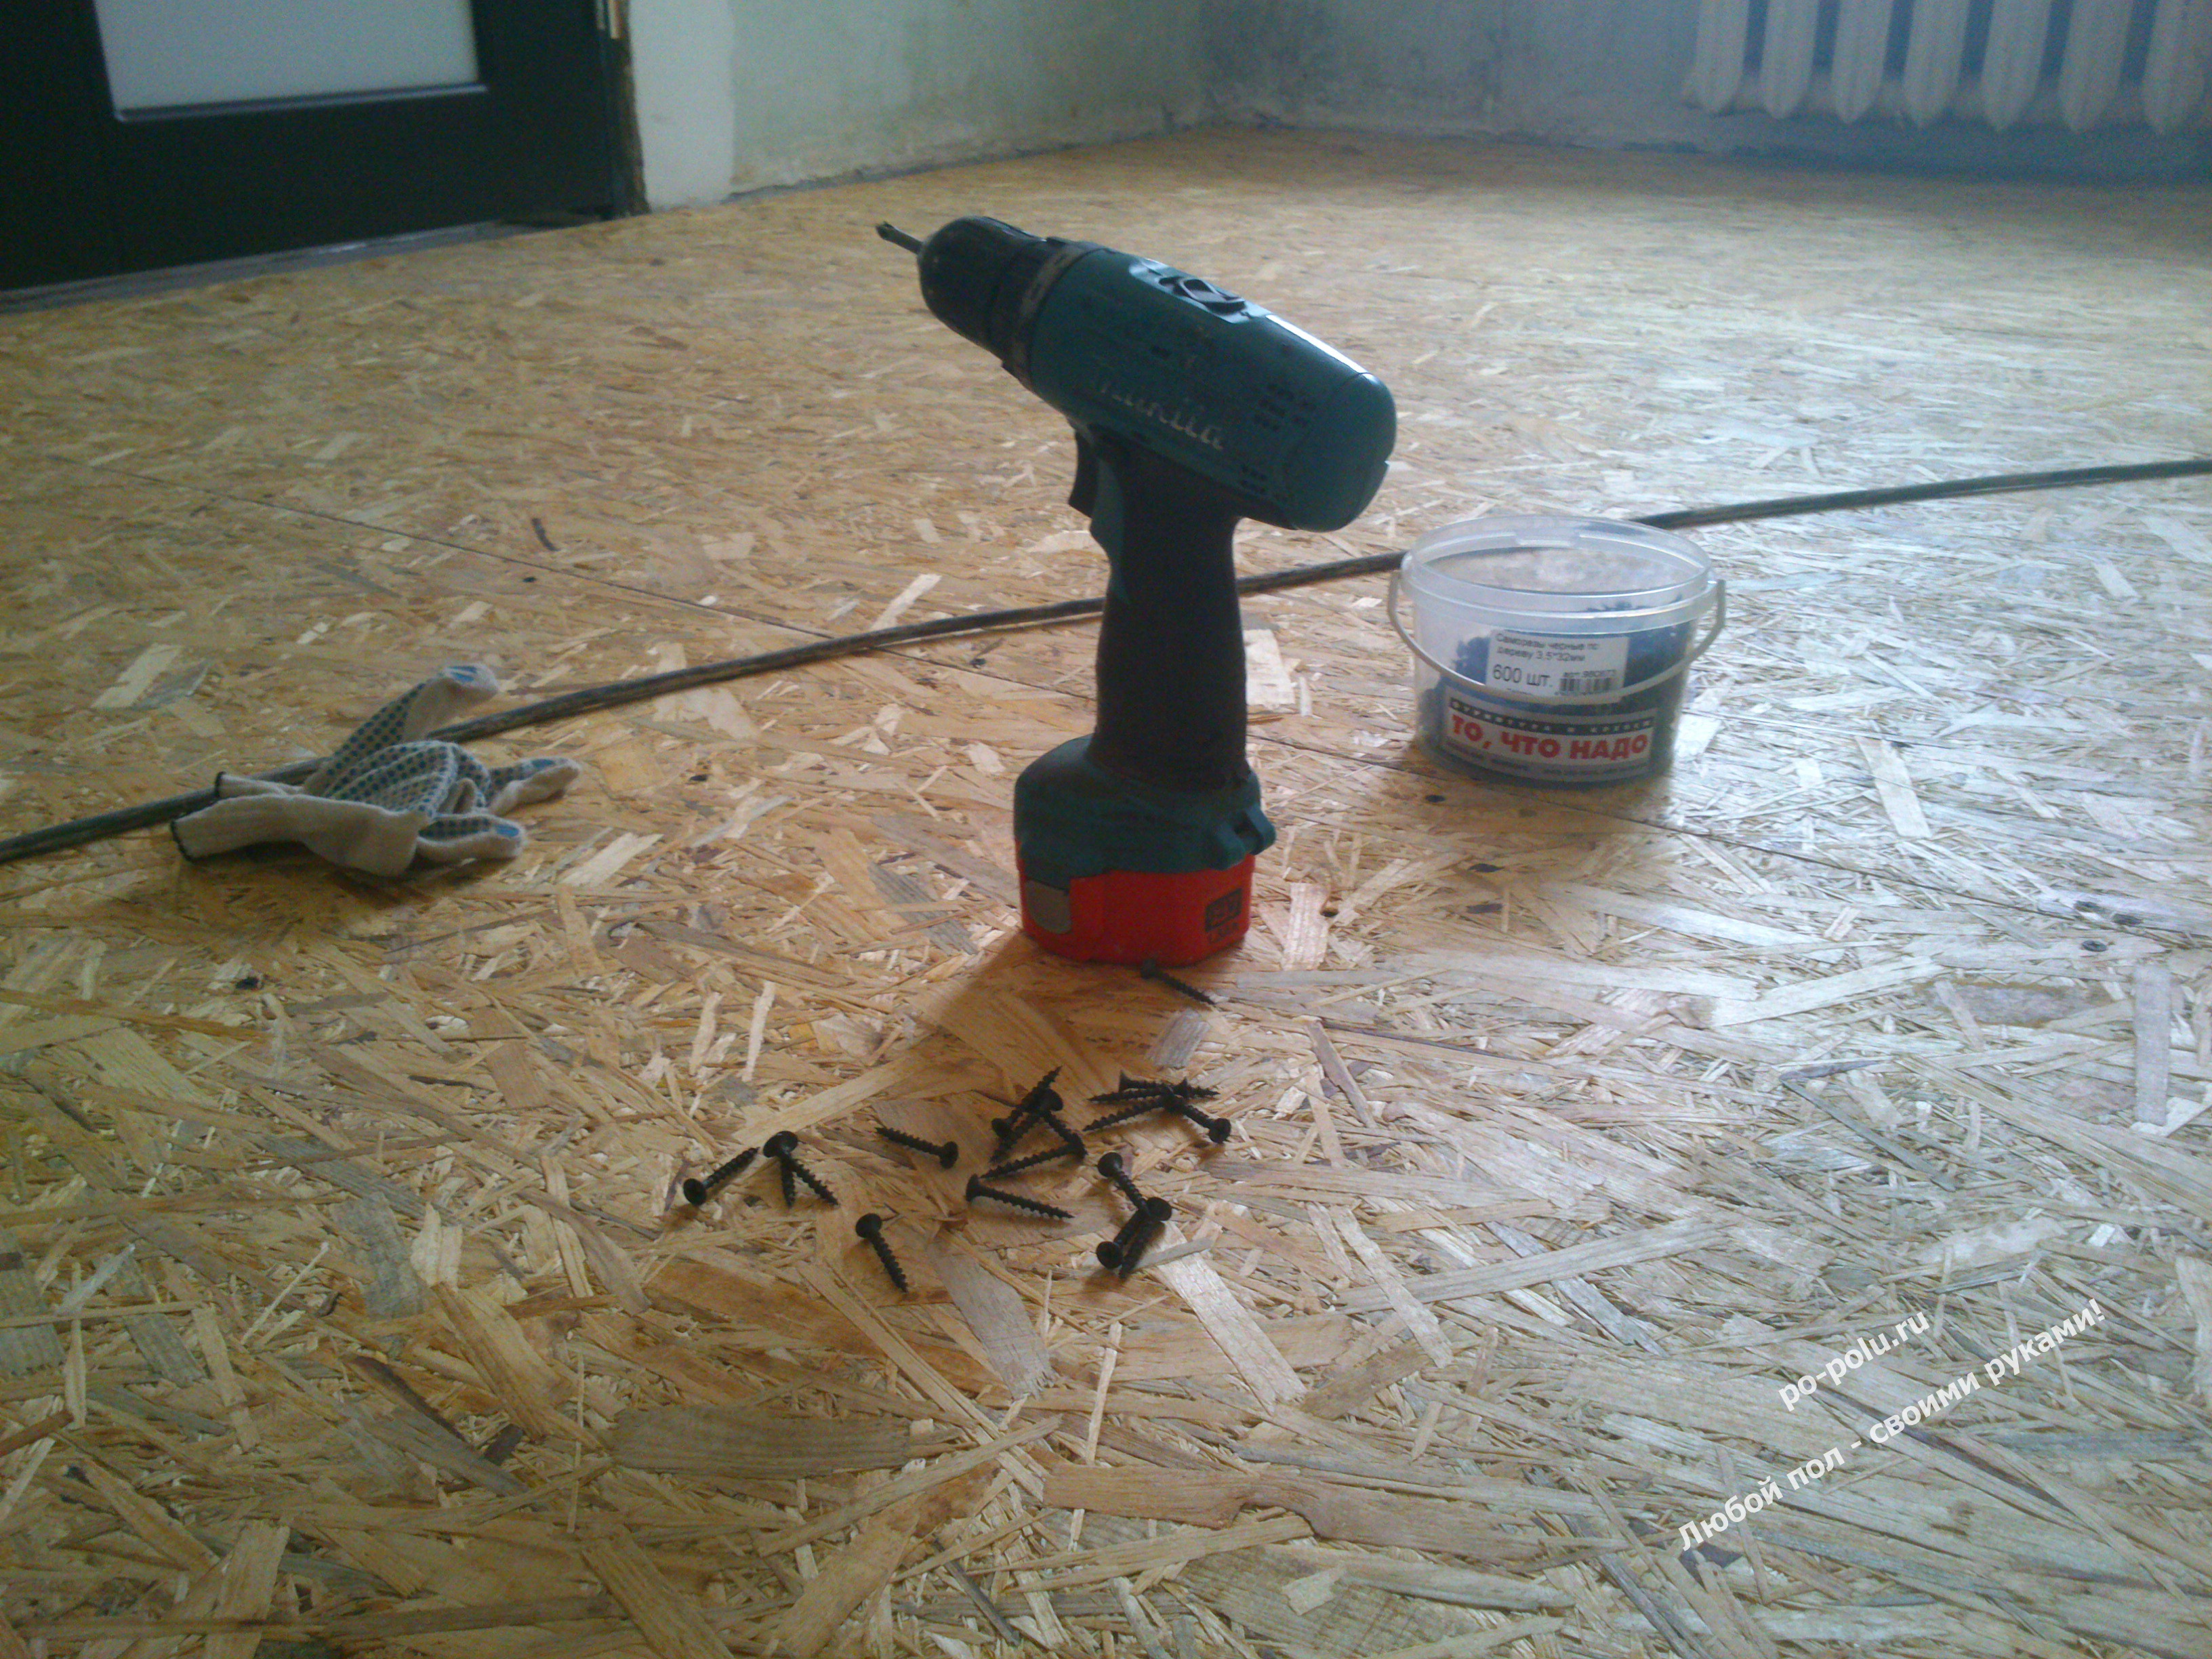
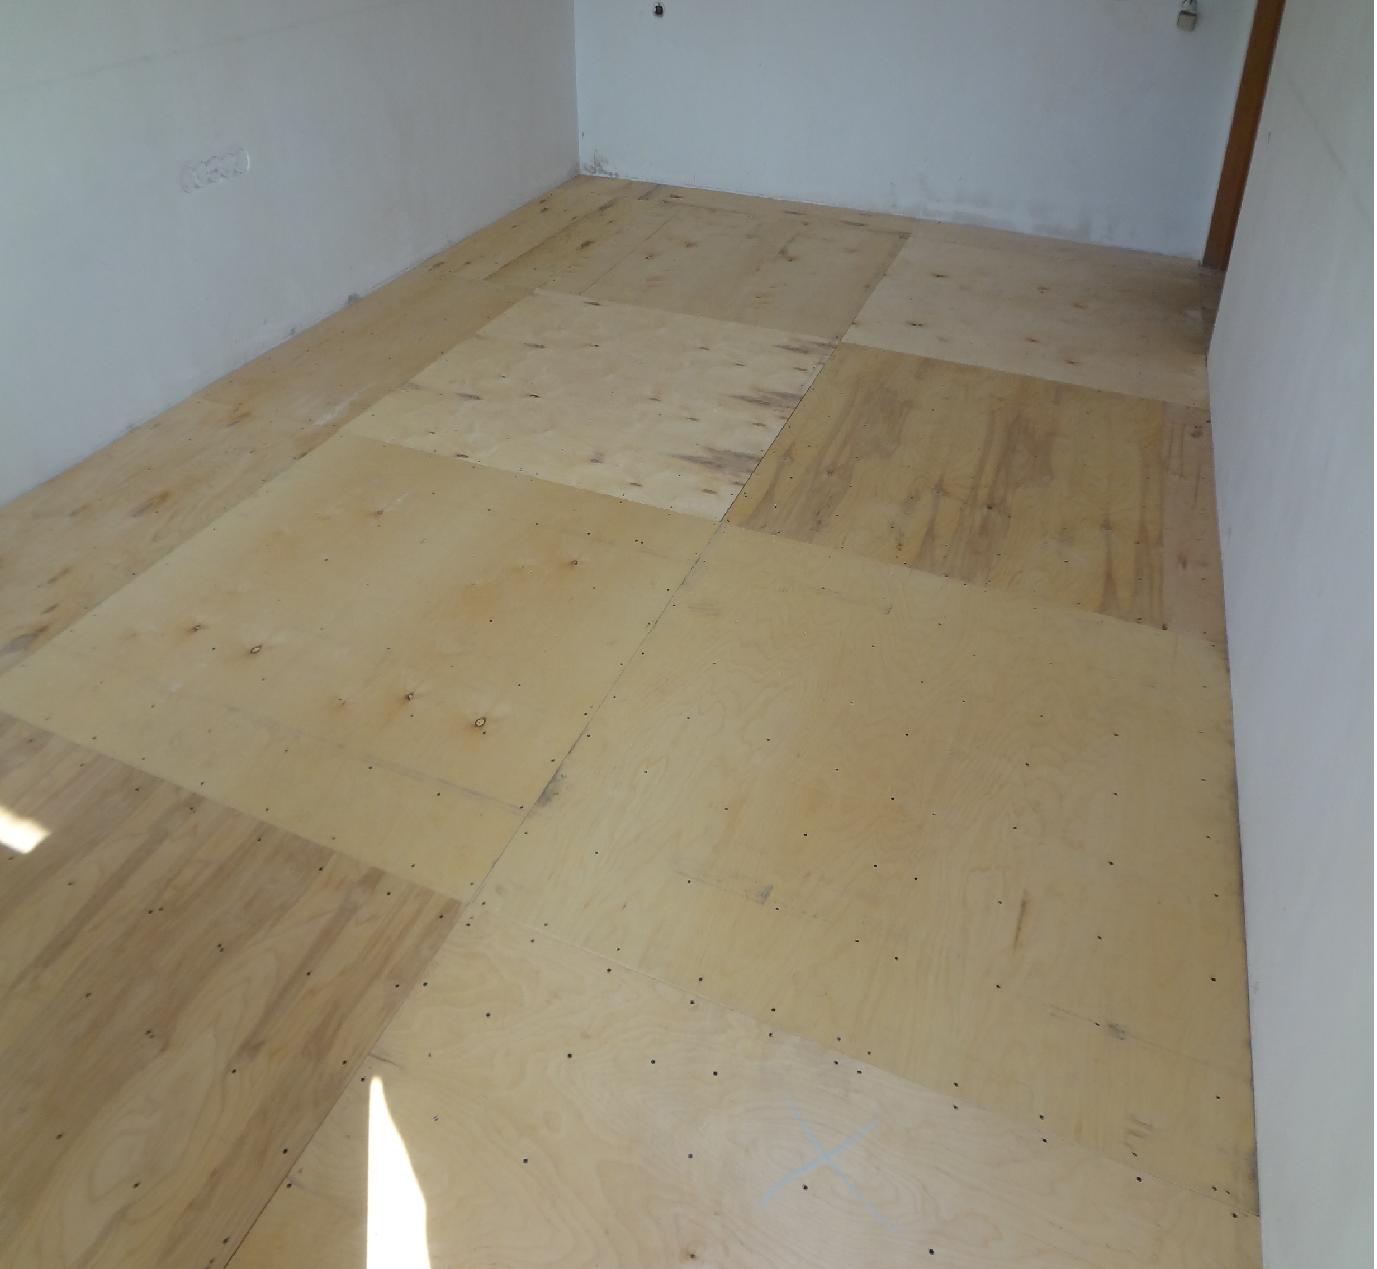
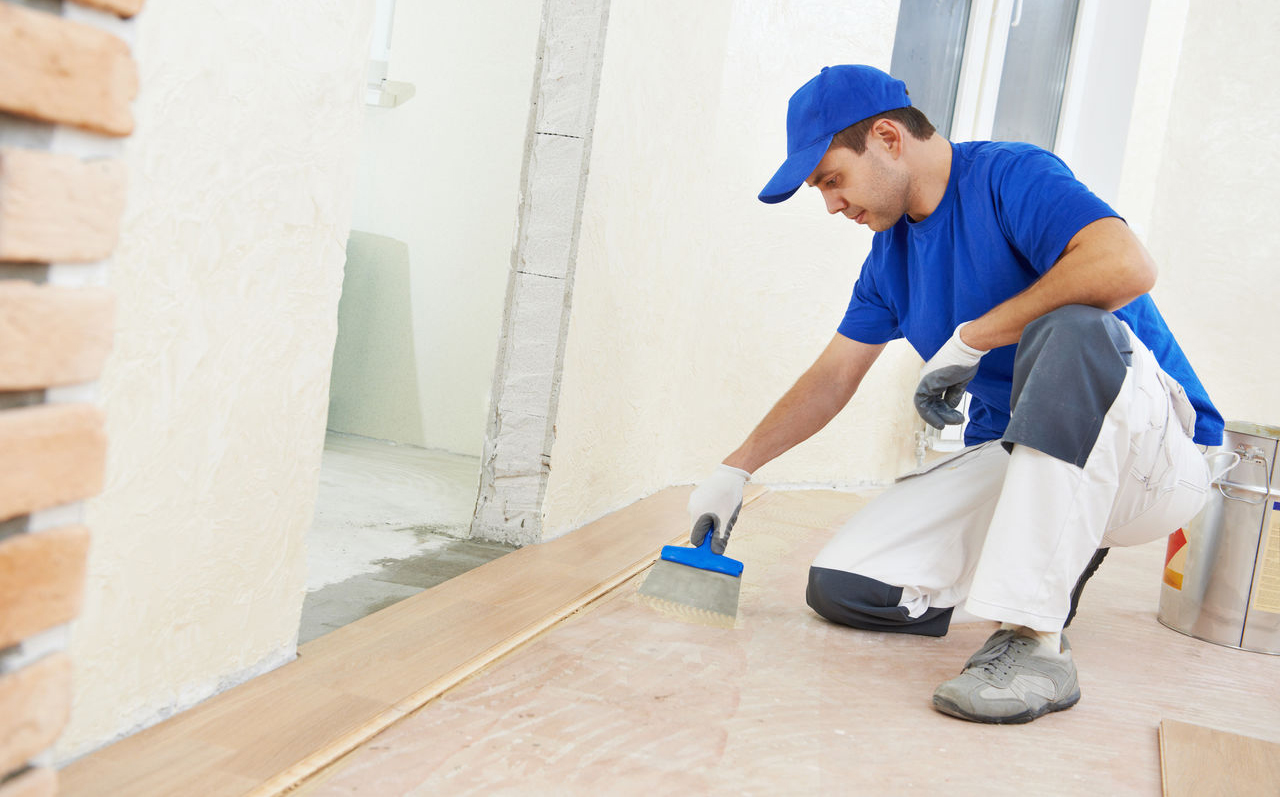
The easiest way to level the old floor under the laminate plywood or sheets of chipboard.This method does not require any complex skills and specific tools. You can make a plywood floor without lags, and with them. In the first case, it is necessary to install the beacons on the screws at the same height, then install a special substrate on the floor and attach the panels themselves from above. In the second case, after installing the beacons, the lags themselves are attached around the perimeter of the room, and the sheets are attached to them. The distance between the sheets of plywood or particleboard should be 2-4 mm.
This gap is necessary for air circulation and to prevent the appearance of defects during further operation.
Leveling boardwalk floor putty
This is one of the most budget options. Its essence lies in the use of a mixture of construction putty and sawdust. First of all, it is necessary to determine the highest point of the surface, then tighten the beacons along the perimeter at the same height, and they will be the criteria for alignment. You need to start work from this point. Putty is evenly applied to the entire surface of the floor and leveled with a special spatula.
There is also a special mastic for leveling.It is applied in the same way as putty, however, this composition is already completely ready for use. Each manufacturer specifies in detail in the instructions exactly how to use mastic, so to get a quality result, these tips will need to be followed. The folding machine can also be used to trim the surface, however, only in cases where there are some minor irregularities.
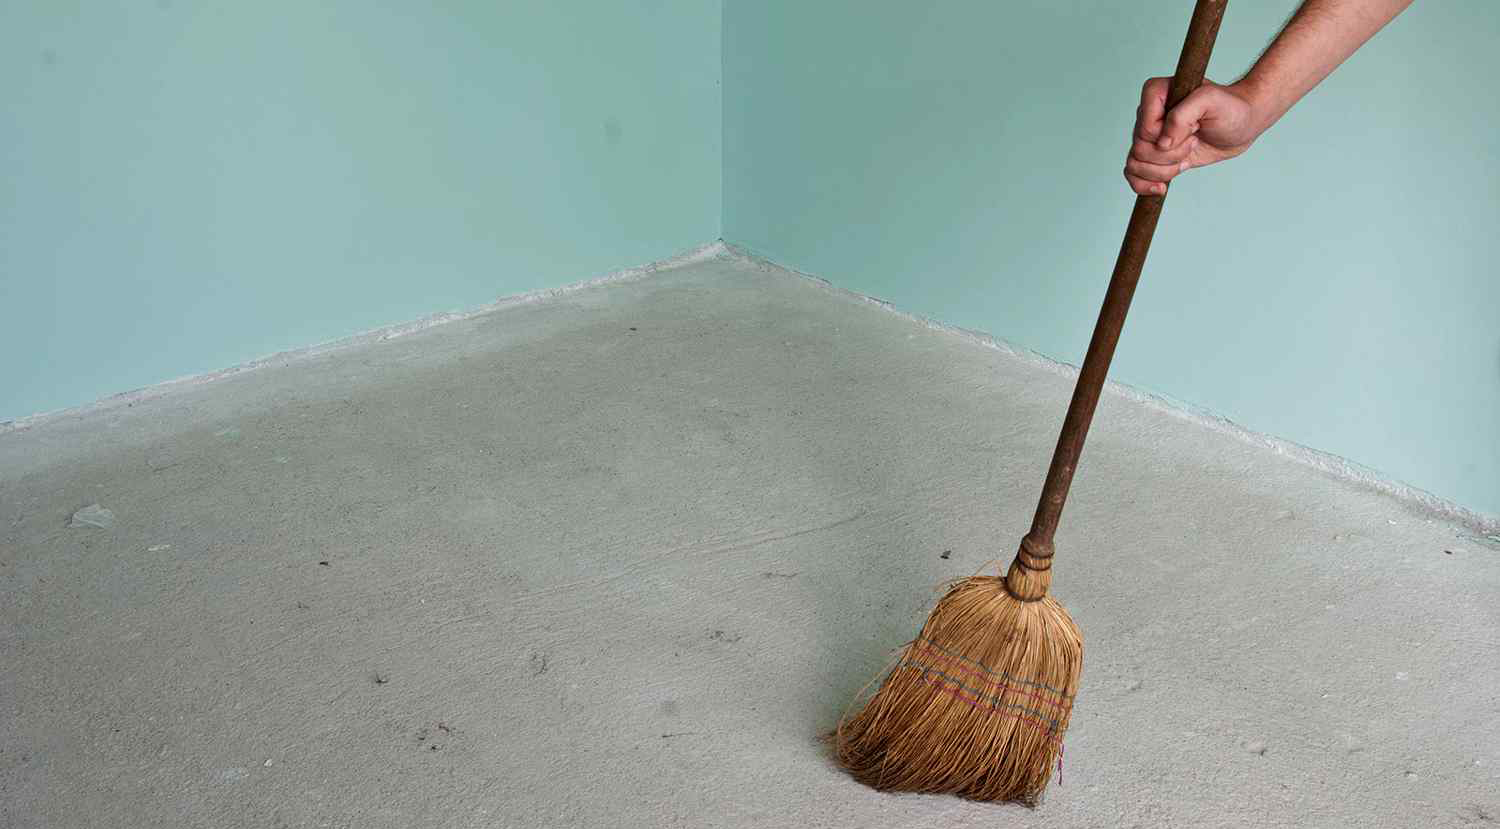
Regardless of the material chosen, it is initially necessary to prepare the floor of the boards for further processing. First, it is thoroughly swept with a wet broom, to remove debris and dirt, then it is well washed with plain warm water and allowed to dry. And only after complete drying, you can begin to level.
Concrete
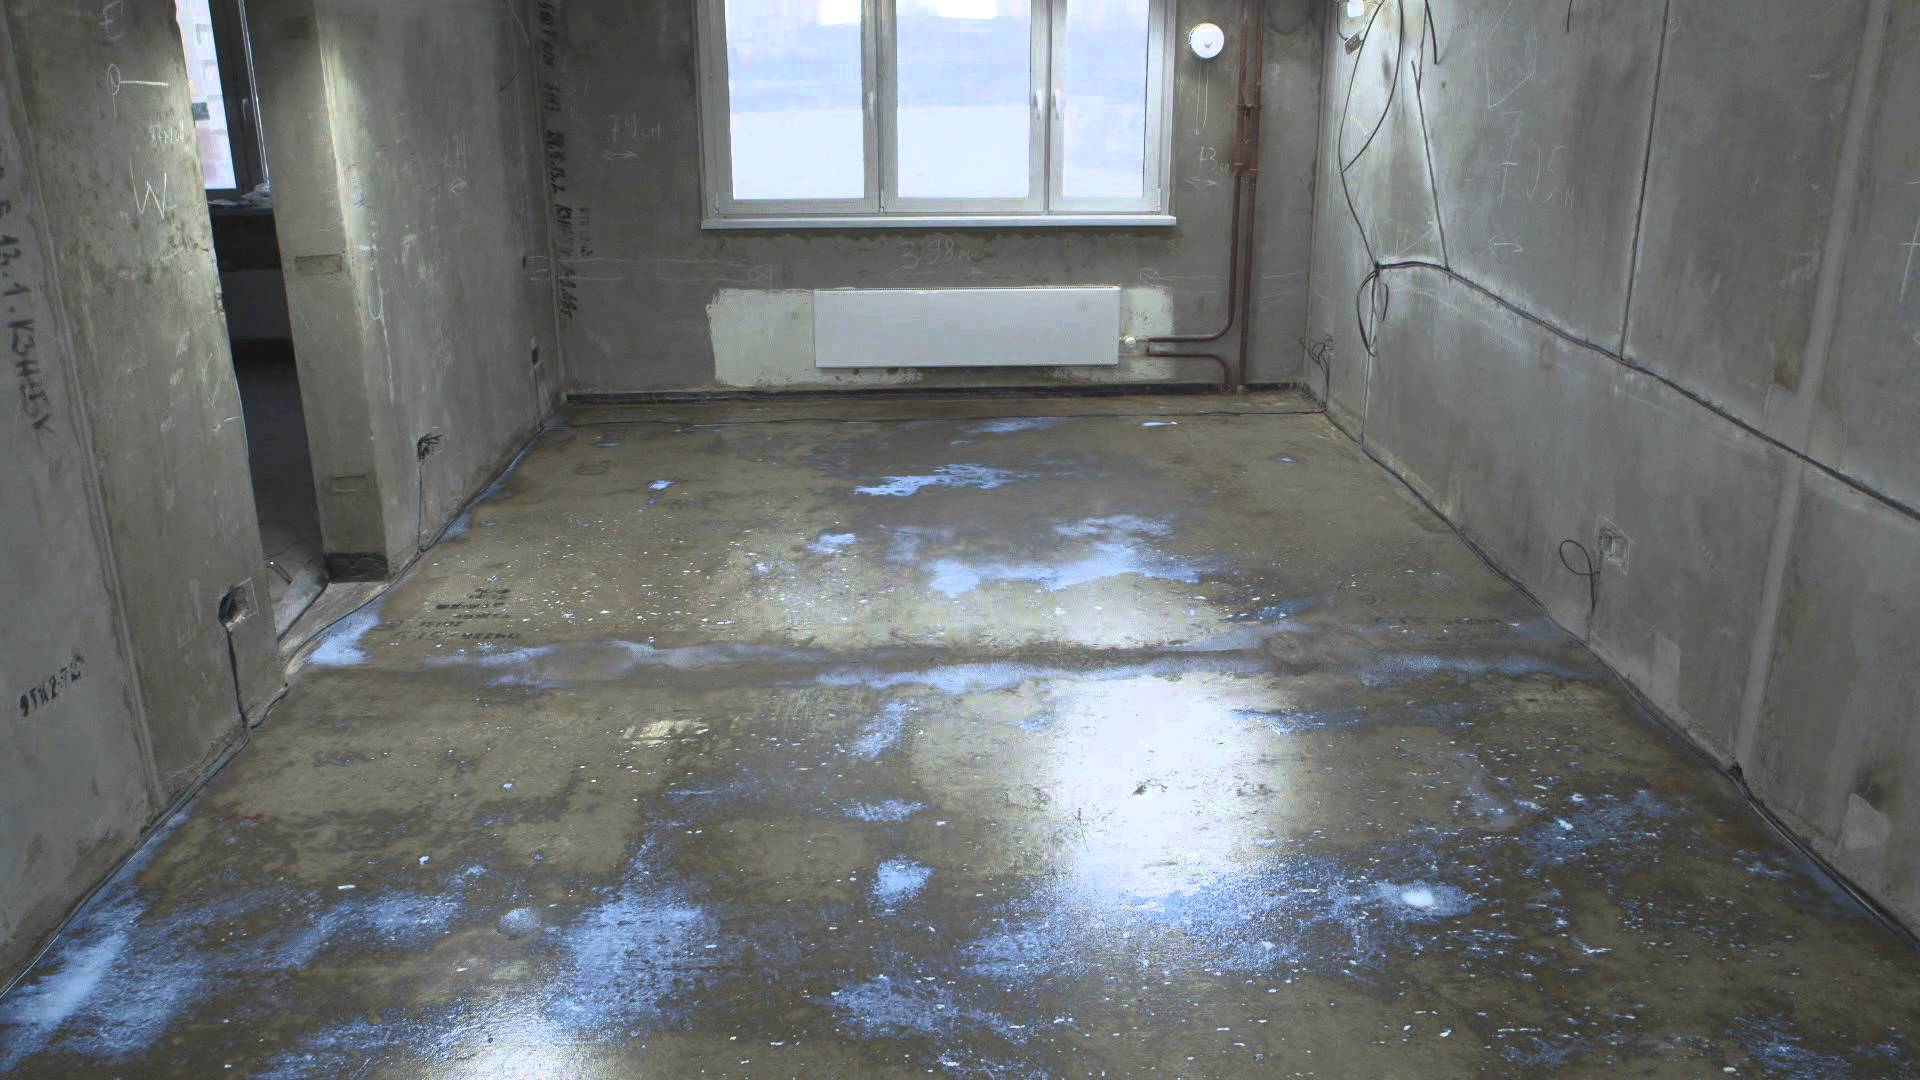
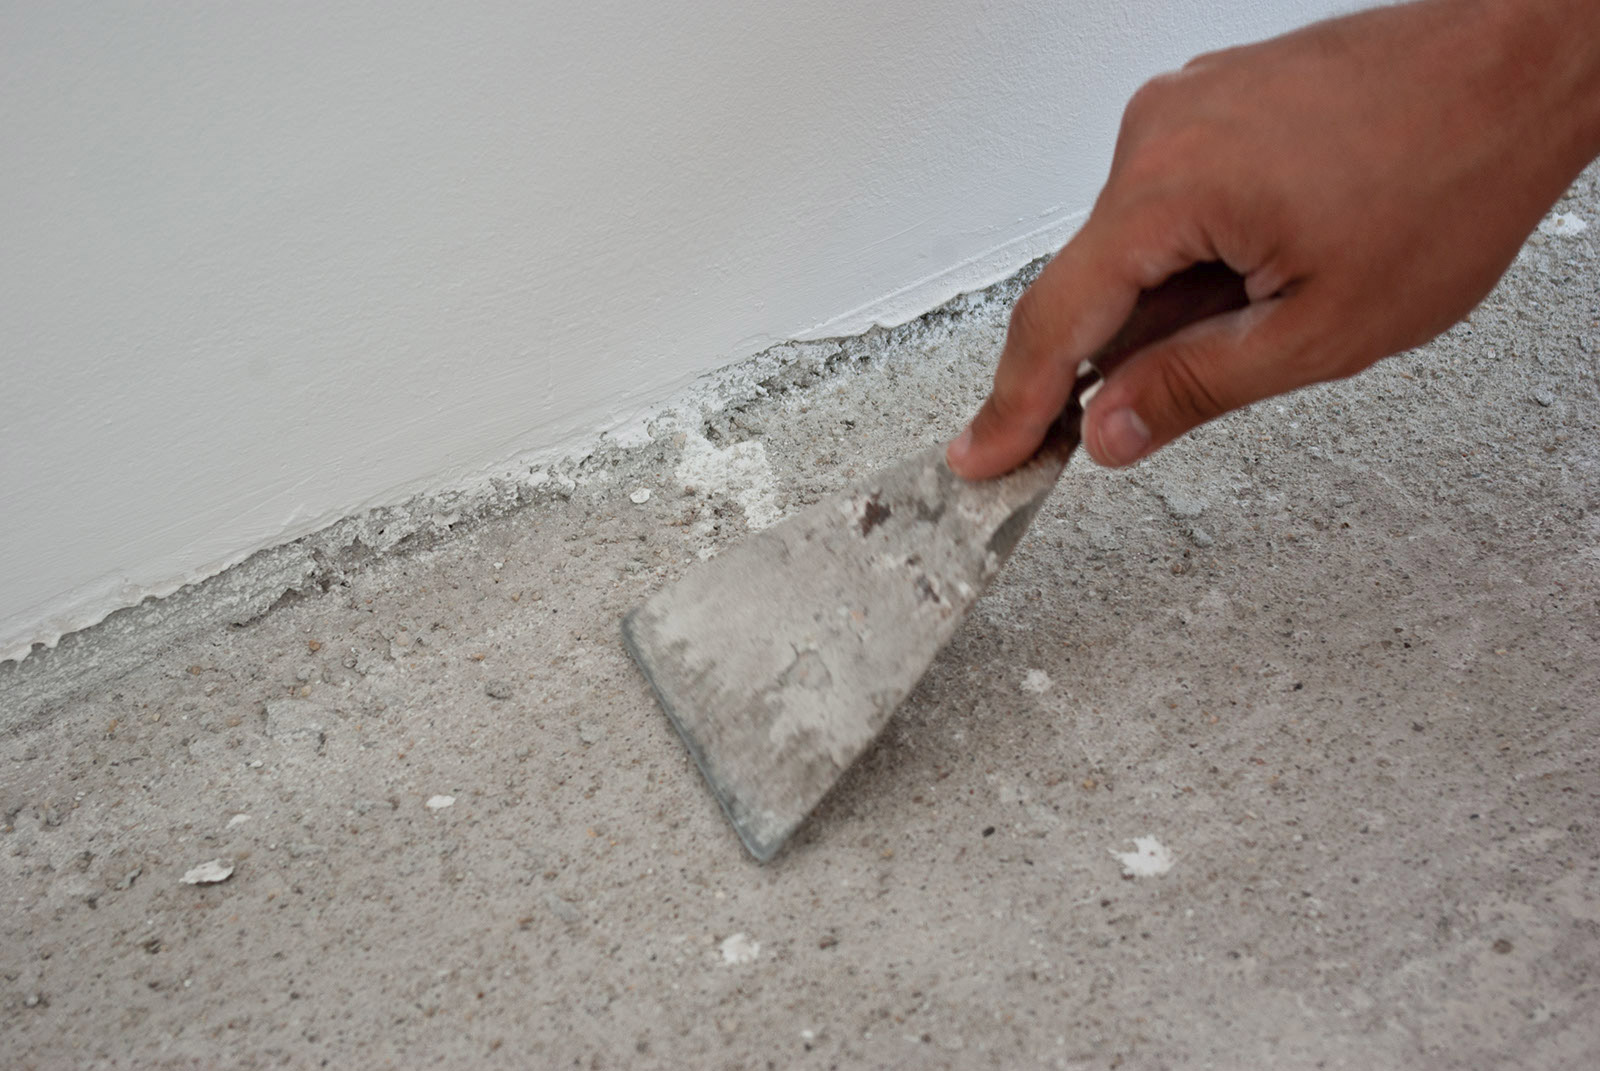
The concrete surface can also be leveled only after preliminary cleaning of dust and dirt.
Further work can be done in one of the ways.
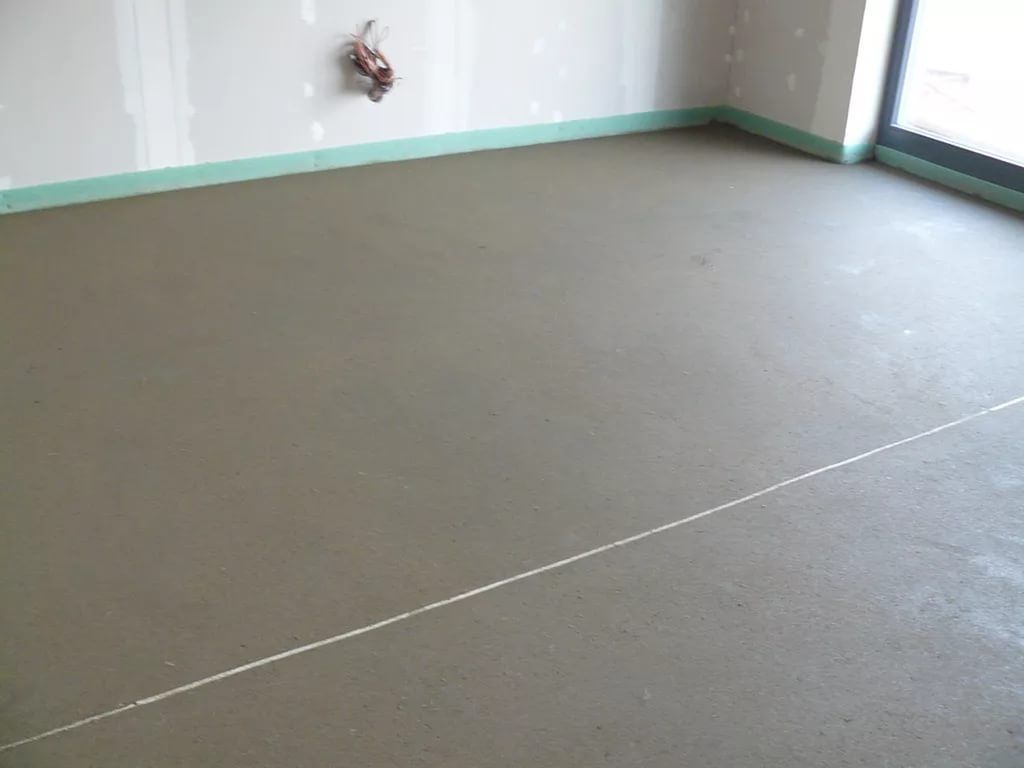
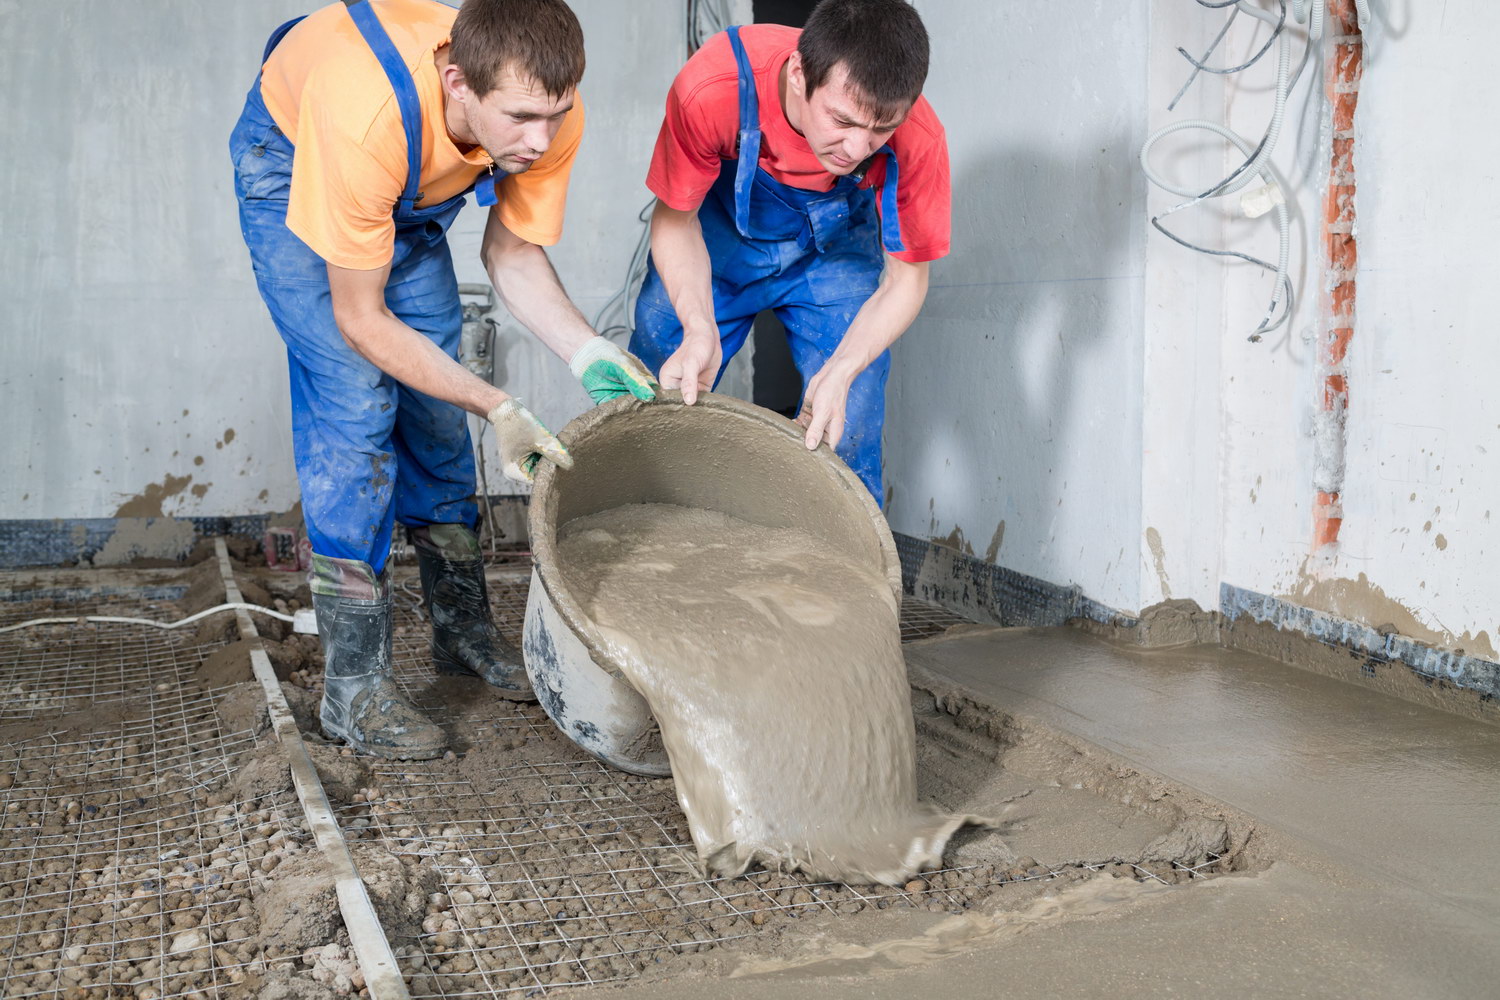
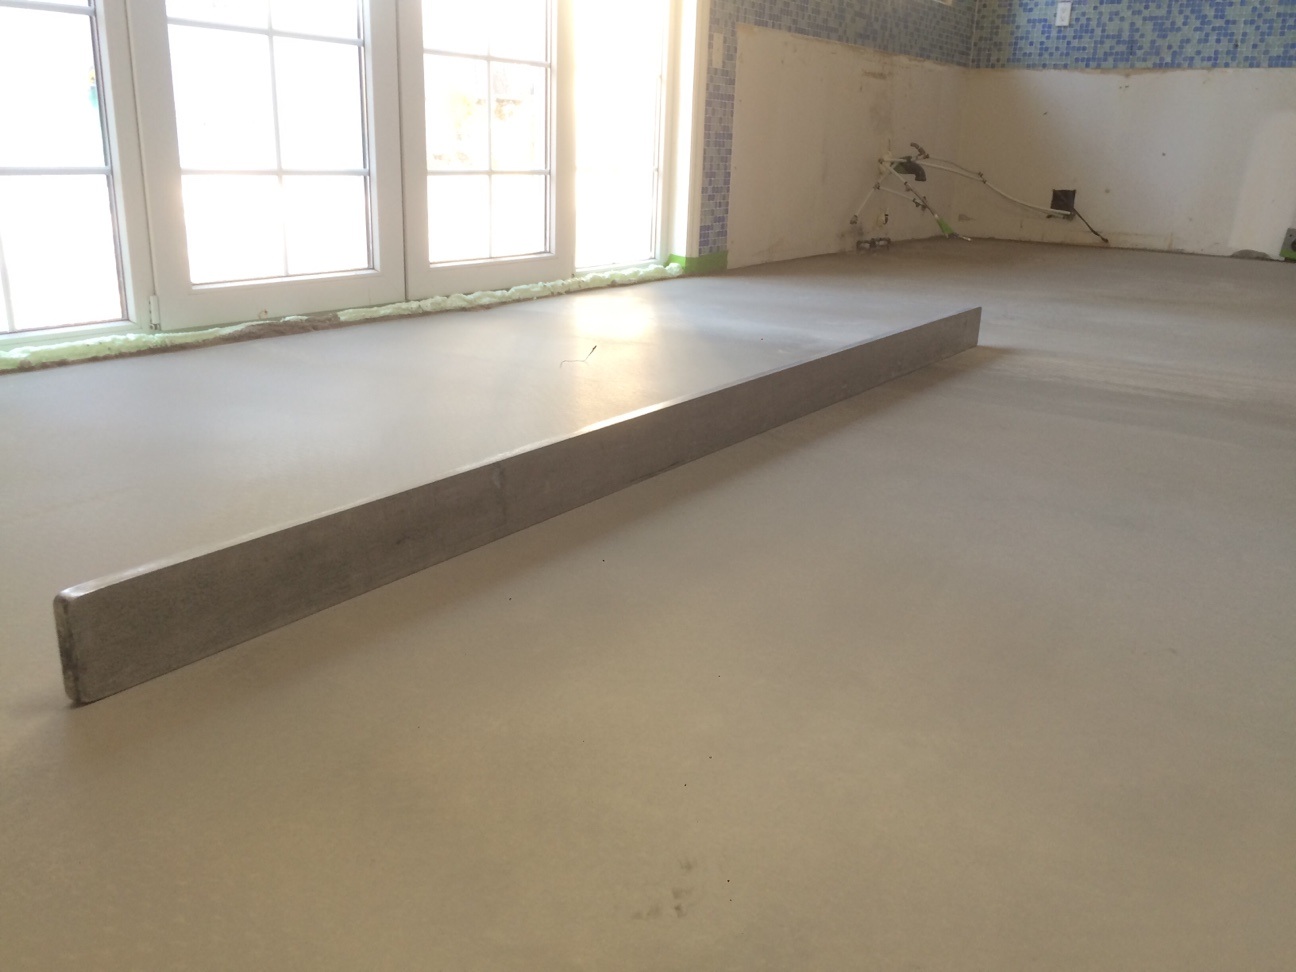
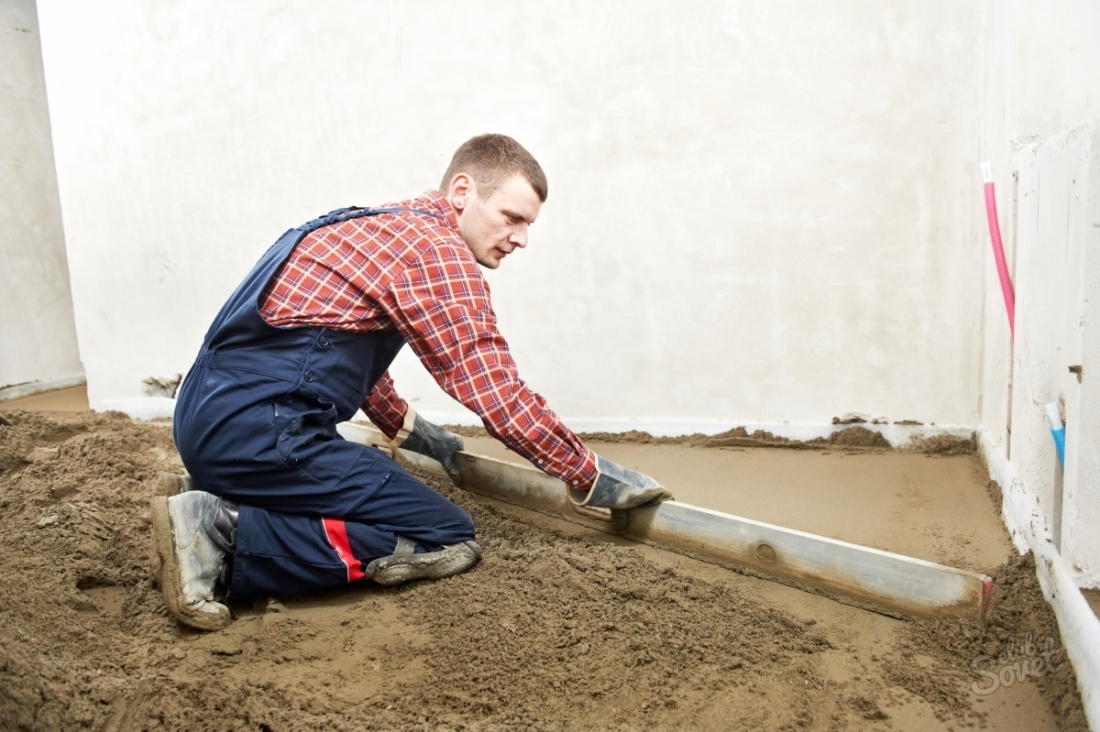
- Wet screed based on cement. It is carried out in several stages. First carry out a rough alignment of the cement mortar. Then pull beacons and align already thoroughly. At the end impose a finishing coating.Such a coupler cannot be performed qualitatively in one day, usually it takes 2-3 days to complete it. This leveling option is often used in cases where it is necessary to raise the level of the floor.
- Dry screed performed using special dry mixes. First, a special waterproofing material is laid on the floor, then beacons are placed and at the end the filler itself is laid. Begin this tie with the highest point of the floor. Which serves as a guide.
It is worth noting that most often concrete floors dub in several stages. At first, a wet screed is usually used, and only then, other materials are used as a topcoat.
Tile adhesive
Cement-based tile adhesive is also suitable for leveling floors, but only for concrete. It can only be used as a final coating and in the presence of small partial defects. To put it on a wooden surface is simply meaningless, to achieve a perfect evenness still will not work.
Before applying the adhesive must be primed and cleaned the surface from dust and debris.
Be sure to use a primer, if the floors are rough, without it the glue will stick slightly.
The technology of its application is the same as with a wet screed, that is, beacons are installed from the highest point and glue is applied and evenly distributed over the floor.
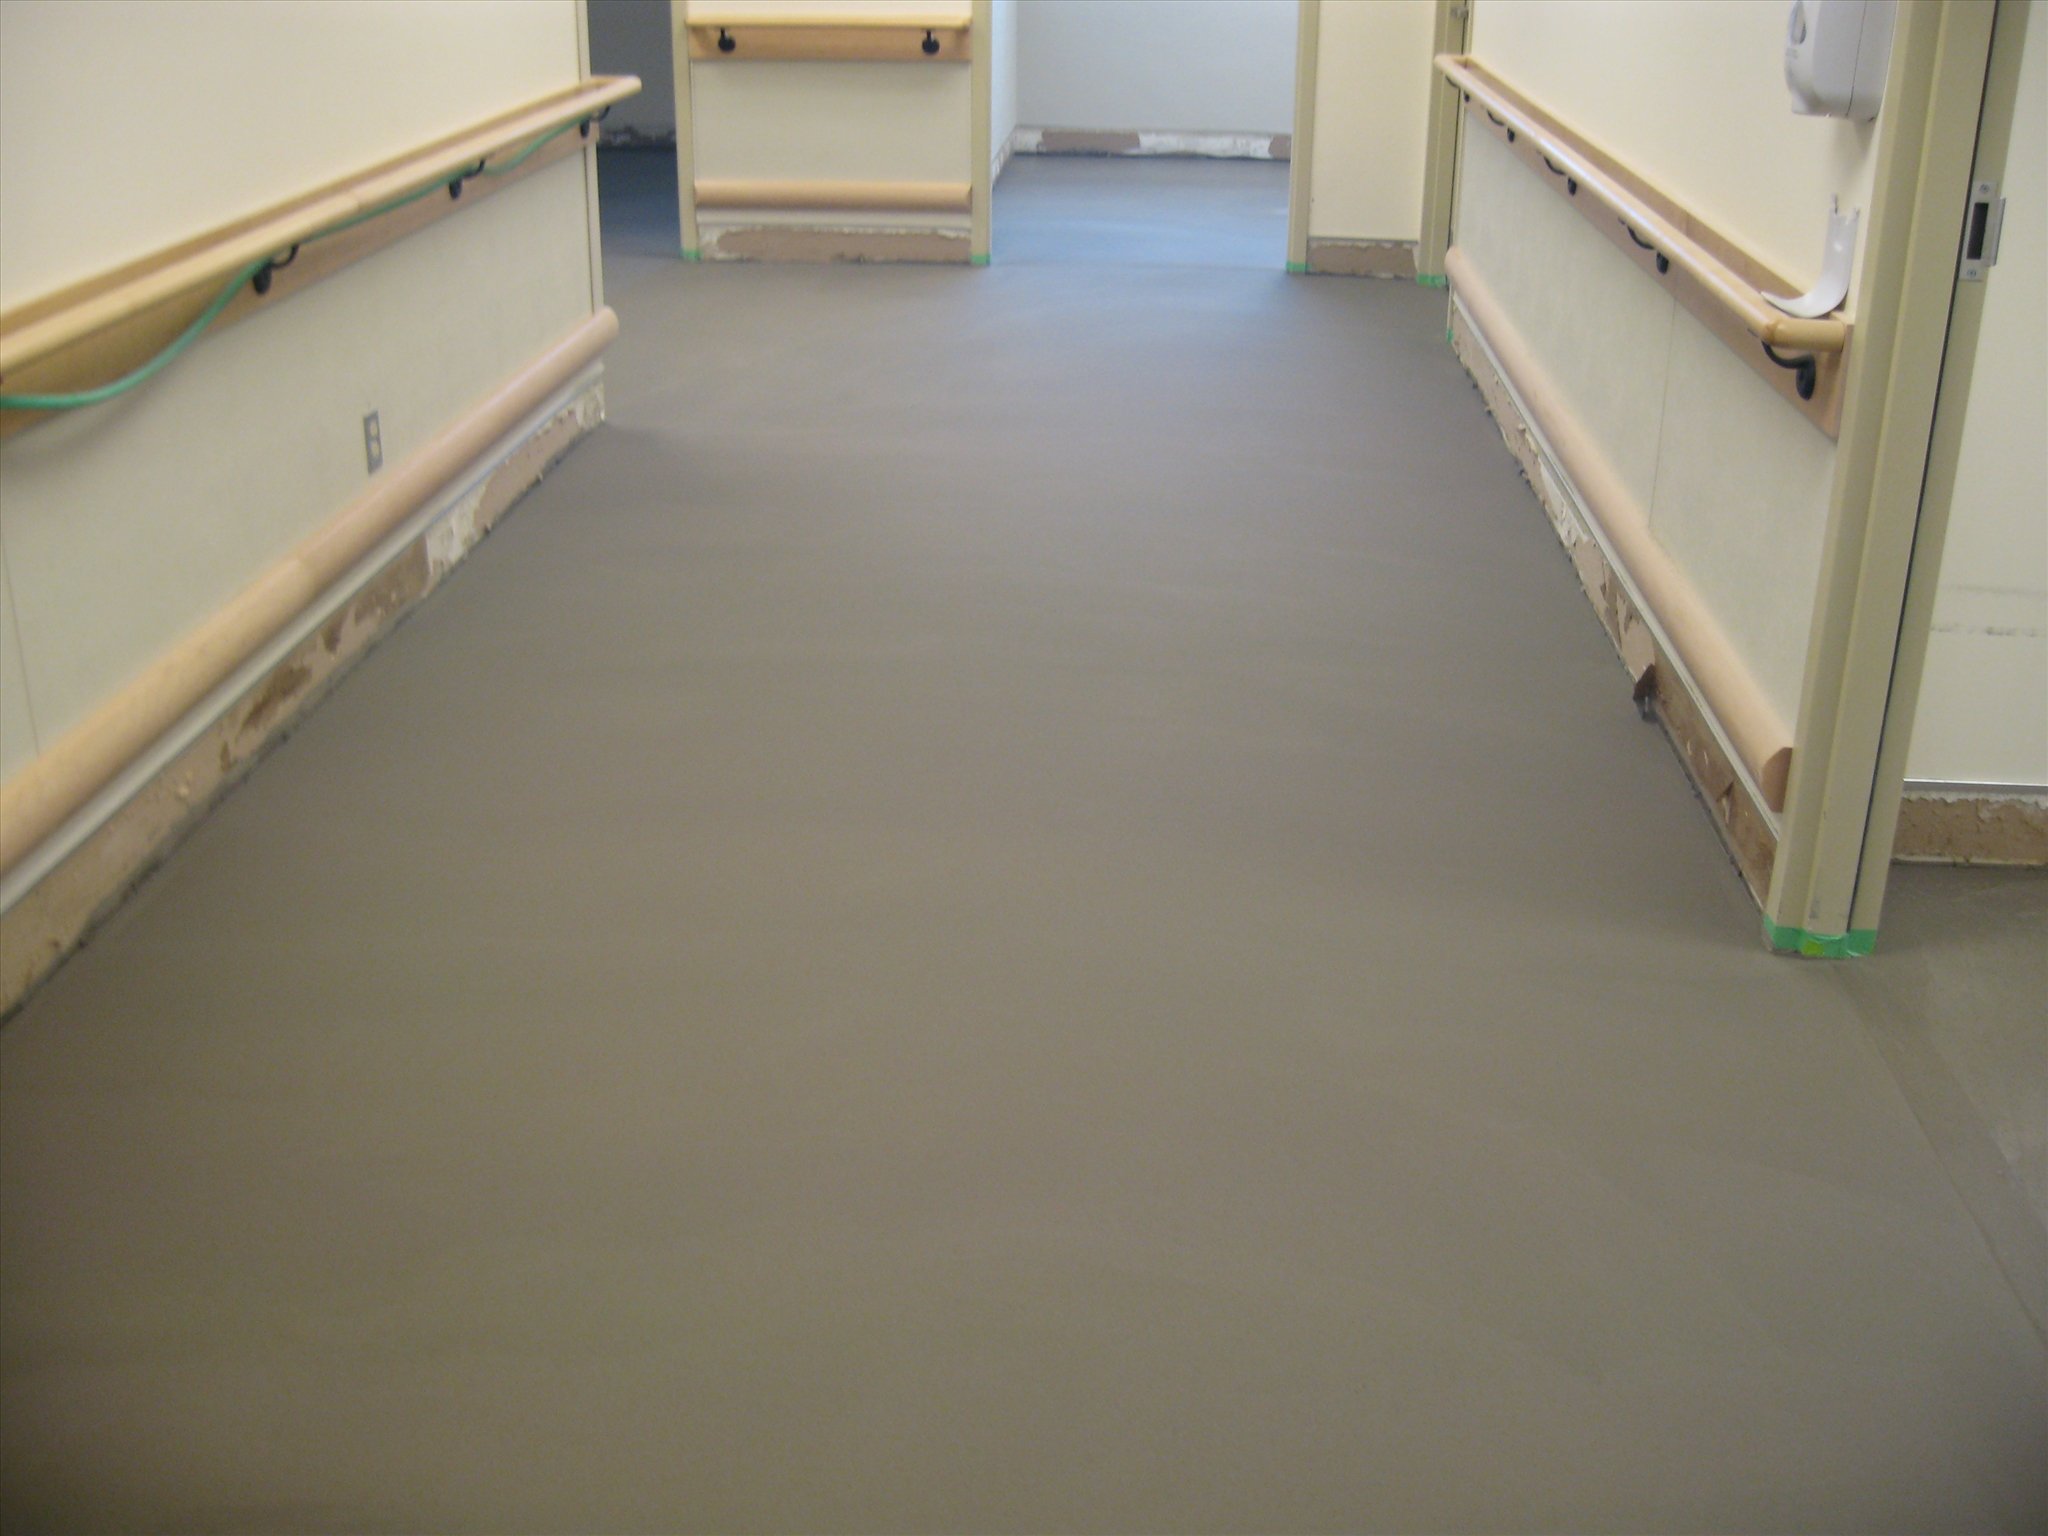
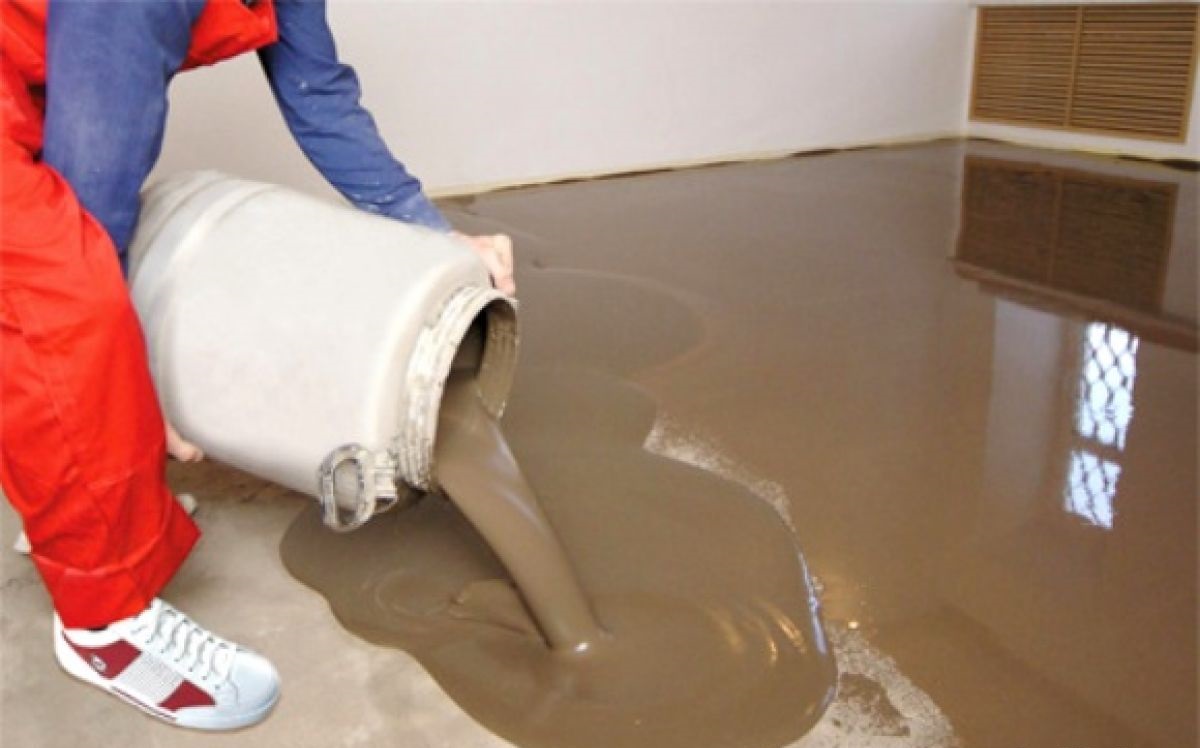
Self leveling compound
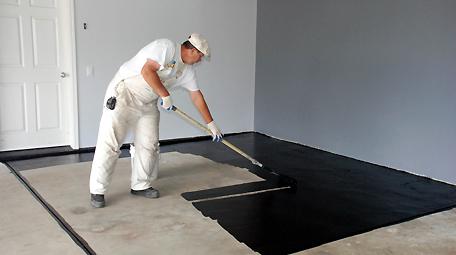
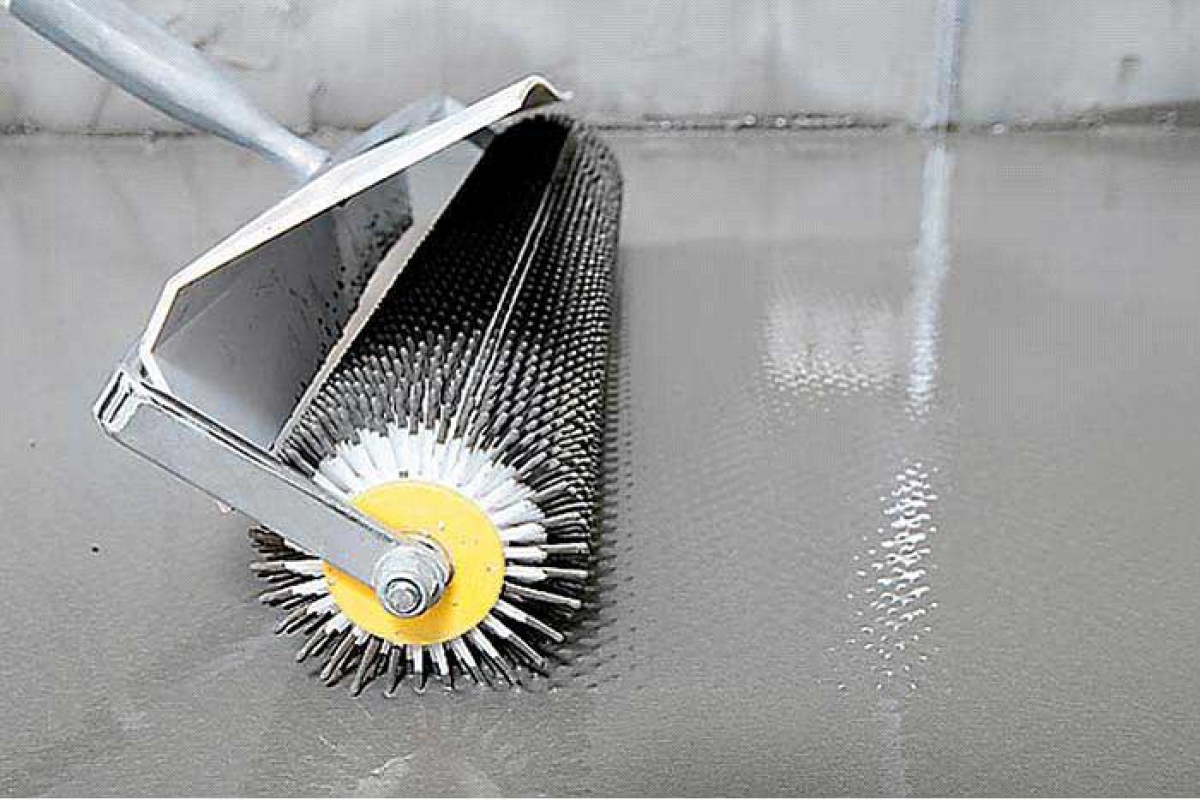
Properly and quickly pour and level the concrete floor is possible with the help of special self-leveling mixtures. Such a mixture dries quickly, they allow you to achieve a perfectly flat surface quickly and without spending extra time and effort and have an affordable price. Such self-leveling compounds, like tile adhesive, should be applied only to previously cleaned and primed surfaces.
It is necessary to prepare mix for use only as it is specified in the instruction. After cooking, you must immediately begin leveling the surface. It is necessary to start work from the far corner from the door, moving towards the exit.
The work must be done quite quickly, not forgetting to process the surface after applying the mixture with a special roller. When all floors will be poured, you should cover them with film and leave for three days. After this time, you should once again check the flatness of the floors, and you can begin to lay the laminate.
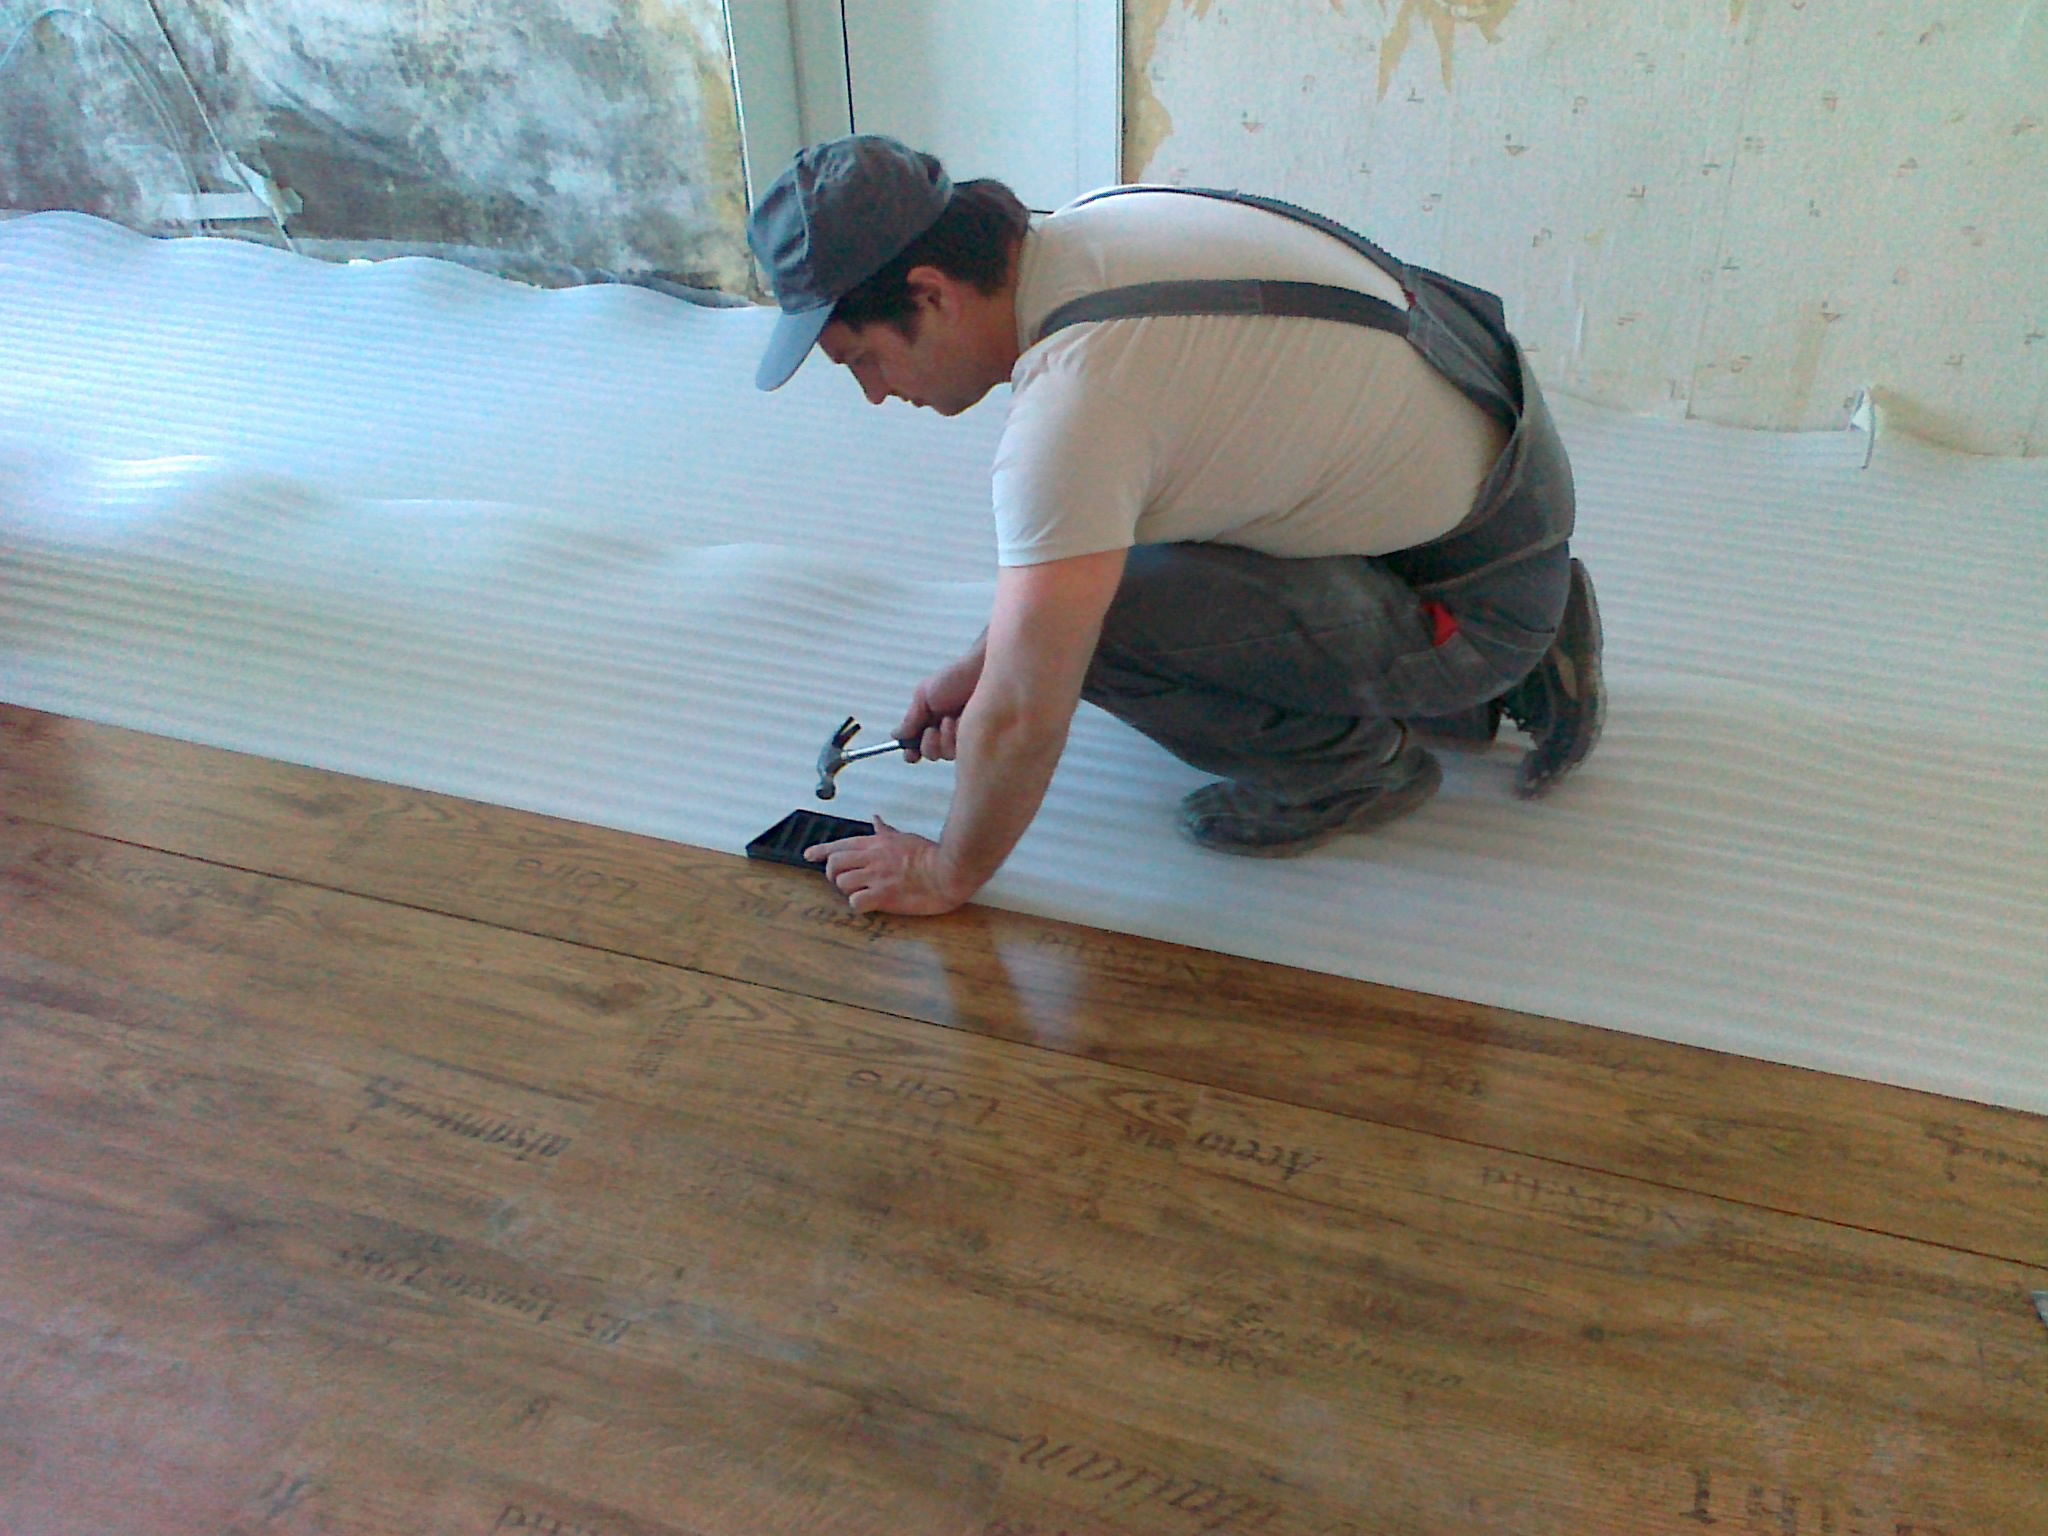
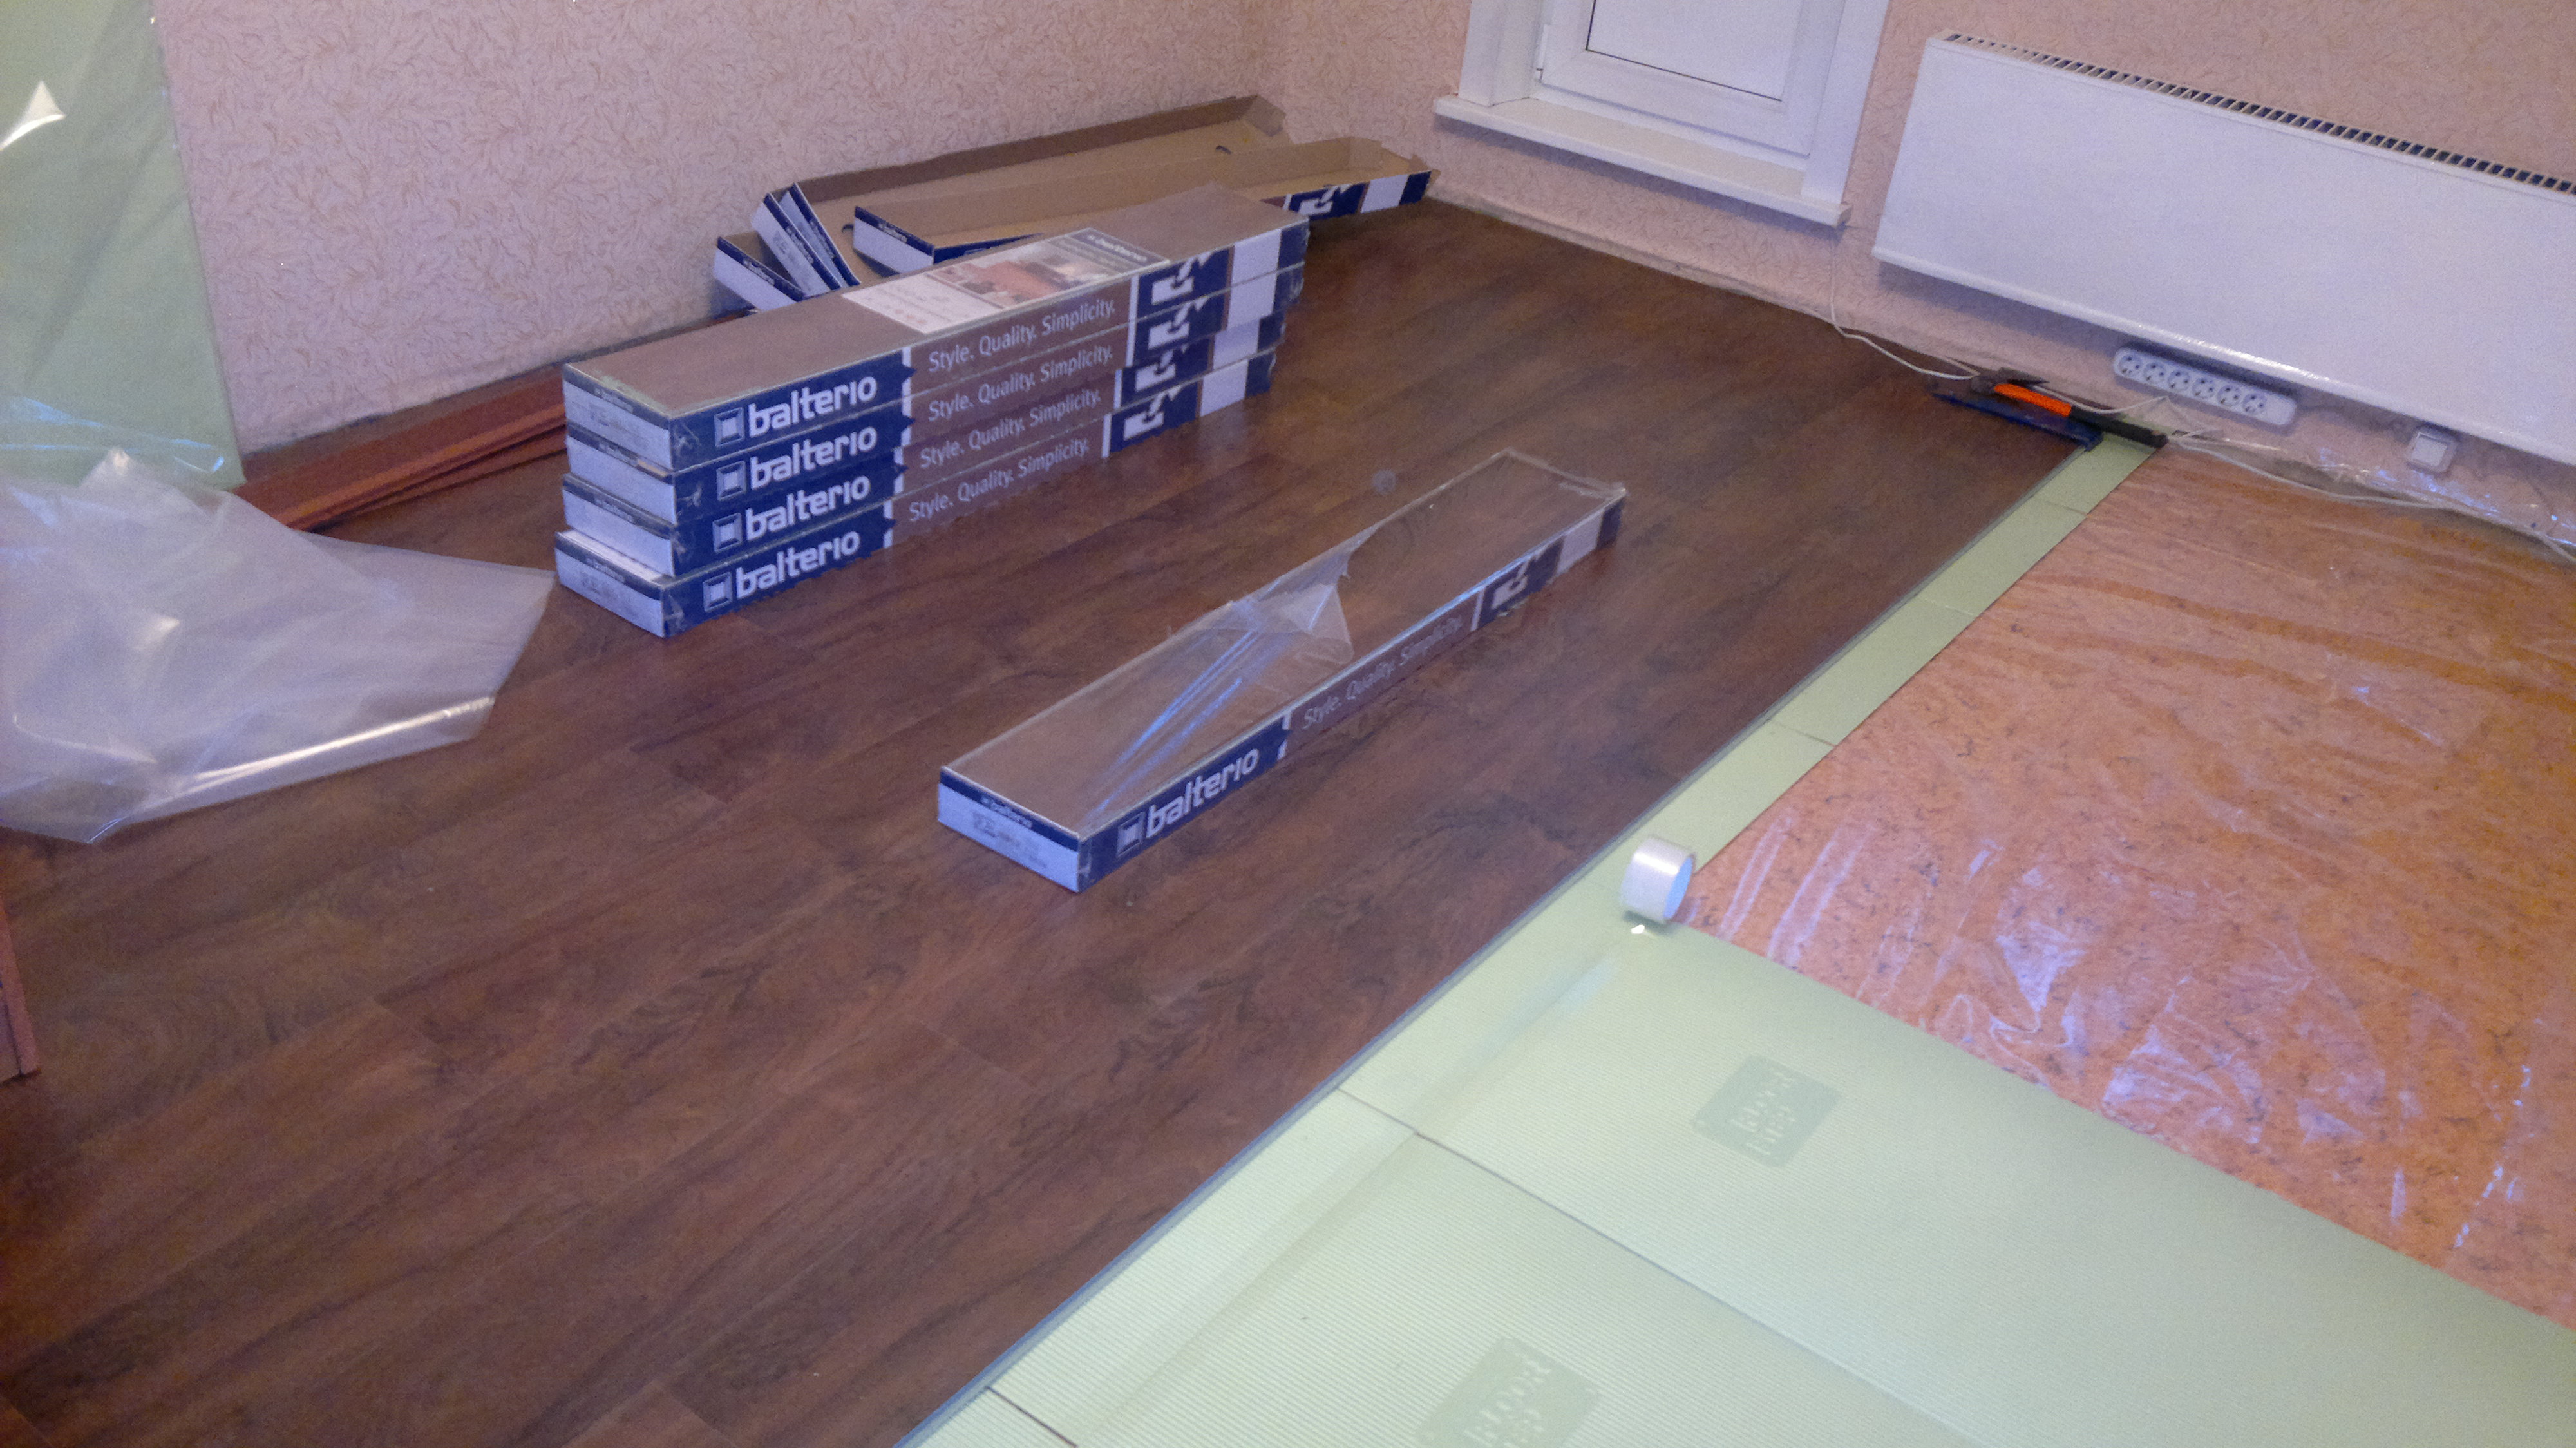
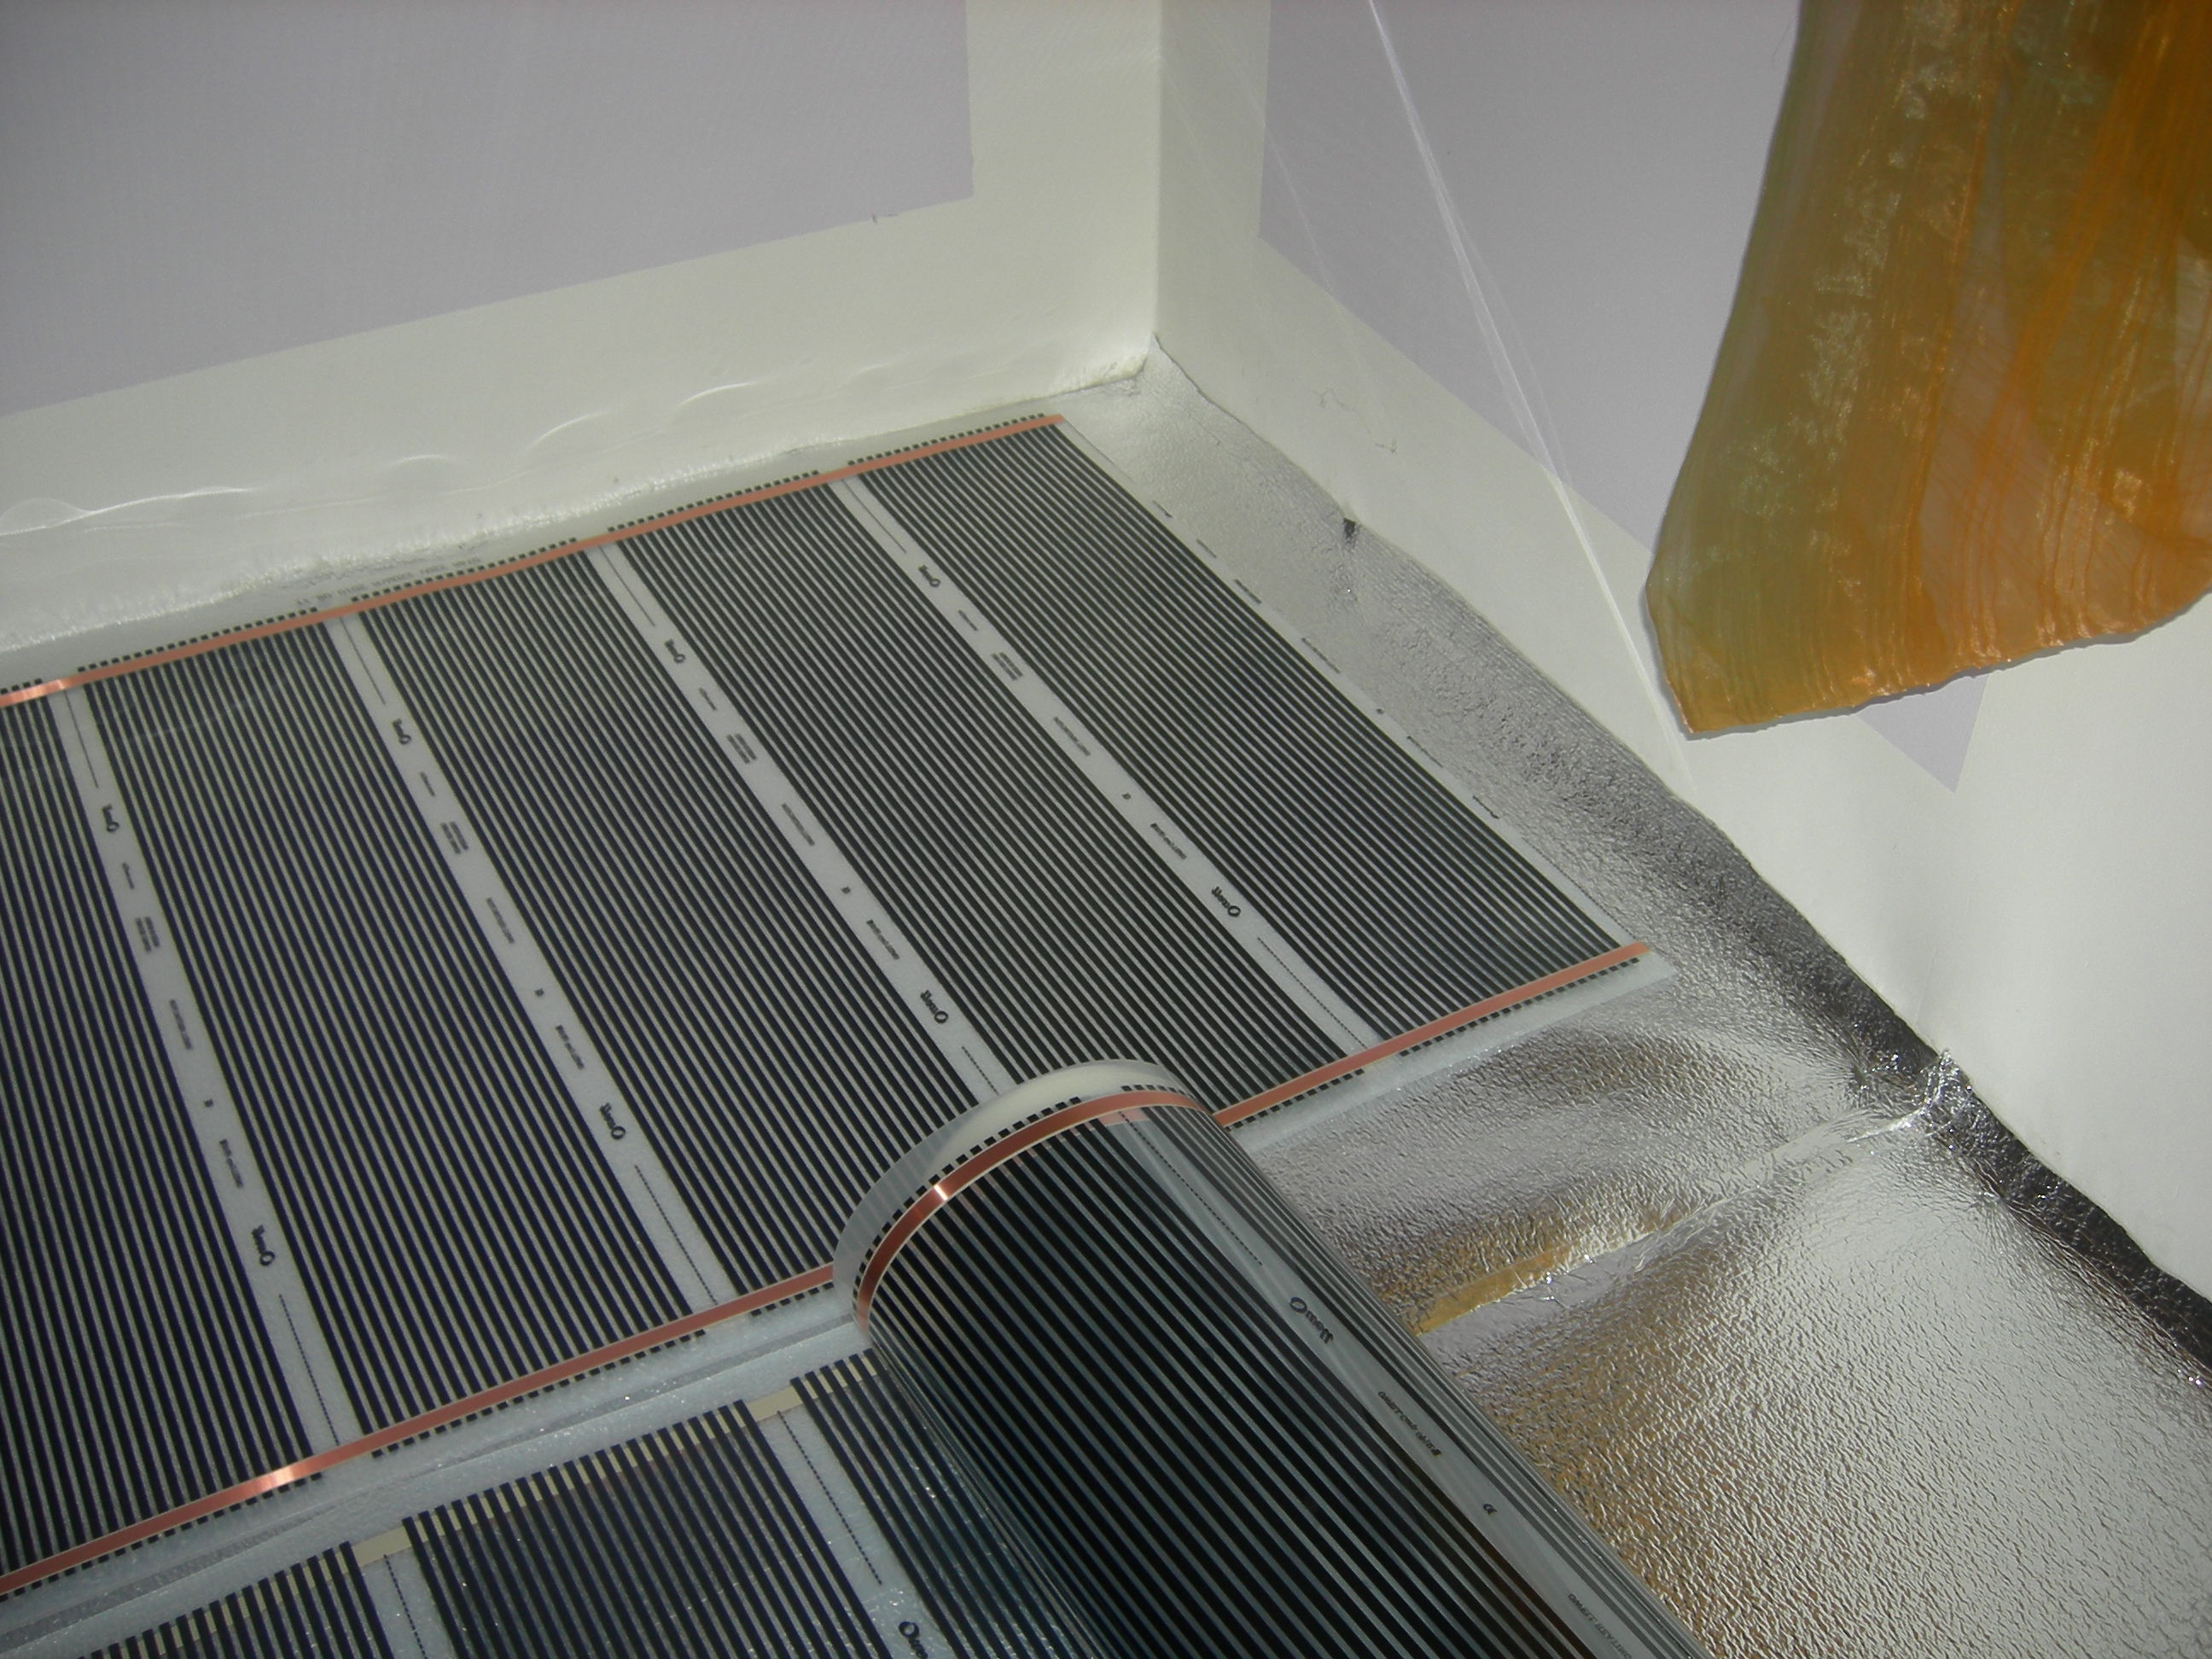
Substrate
The substrate is a special material that fits on the floor and allows you to eliminate its unevenness, as well as to increase the level of insulation and sound insulation. Currently on the shelves of shops found substrate of cork, polyurethane and foam.
Each type is different in its value and some nuances in the characteristics, but all of them are certainly ideal for leveling the floor under the laminate.
The laying process is the same as using self-leveling compounds. First, the floors are cleaned of the old coating and debris, primed and only then laid the substrate. It is worth noting that the substrate for leveling should not be used in rooms with high humidity, as well as where the floors have strong cracks, pits and bumps.
It is best to level the surface with this material in cases where the irregularities are small and the humidity level is low.

Expanded clay
This is an affordable, high-quality and safe material that allows you to level the floor pretty quickly with your own hands.
- It is necessary to calculate the size of the already prepared floor, after that - purchase the required amount of expanded clay and lay waterproofing.
- Next, you need to secure the beacons with a small amount of cement mortar.
- After that, the first layer of plywood sheets is tightly packed, which are fastened to each other by self-tapping screws; more sheets of plywood are placed on top, but at a distance of 3 mm from each other.
- At the final stage, the substrate and the laminate itself are laid.


As you can see, there are quite a lot of options, methods and types of materials intended for leveling floors before laying laminate. Each method and each material has its advantages and disadvantages, but at the same time, almost all of them require preliminary priming of the surface of the old floor.

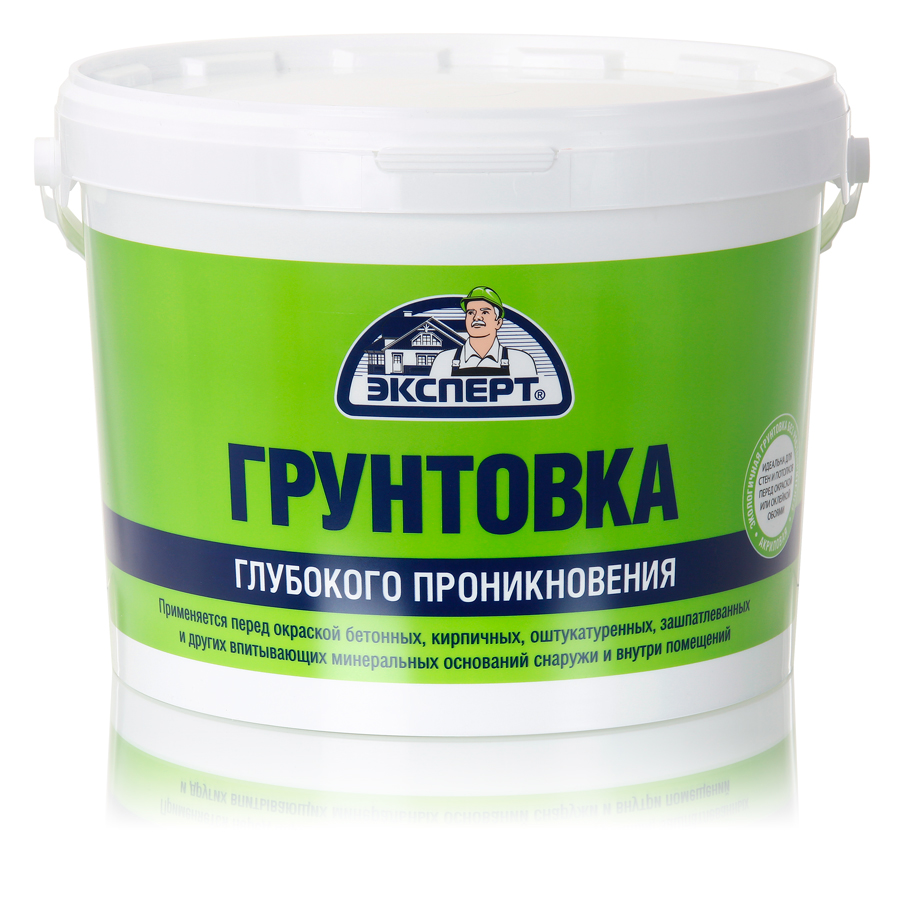
Primer
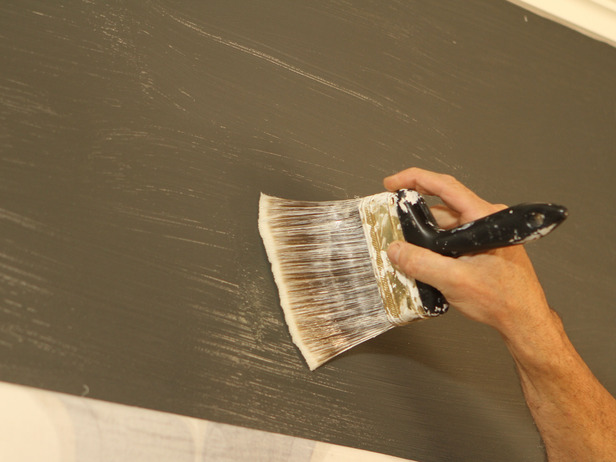
Priming of floors is necessary to improve the adhesion of the laminate and leveling compounds, to increase the strength and durability of the whole structure, as well as to increase the level of moisture resistance of the leveling materials.
It is necessary to ground practically any floor before laying not only a laminate, but also other floor coverings.
- The structure of the whole structure is strengthened, starting from the base covering and finishing with the finishing one. That primer allows you to combine all these layers together.
- The primer has a binding property, it does not allow small particles of dust to fly in the air and settle on the newly treated floor.
- In addition, it is a primer, has antibacterial properties and reliably protects the flooring from any microorganisms in the idea of mold and bacteria. And they not only do not appear outside the laminate, but do not form under it.
In addition, some surface leveling materials, such as tile adhesive, cannot be properly and securely fixed to the floor if it is not covered with a primer. Today this material goes on sale in several forms.
- Acrylic primer. It is considered the most popular because it is suitable for both wood and concrete floors. It has a low cost, does not have a pronounced chemical aroma, is easy to apply and dries quickly. If you want to process a rough floor in a private house, then such a primer is the best choice.
- Alkyd primer. Mainly intended for processing metal products, but has found active use in the treatment of flooring from boards. It reliably protects them from microorganisms and pests, however, it has a pronounced odor.
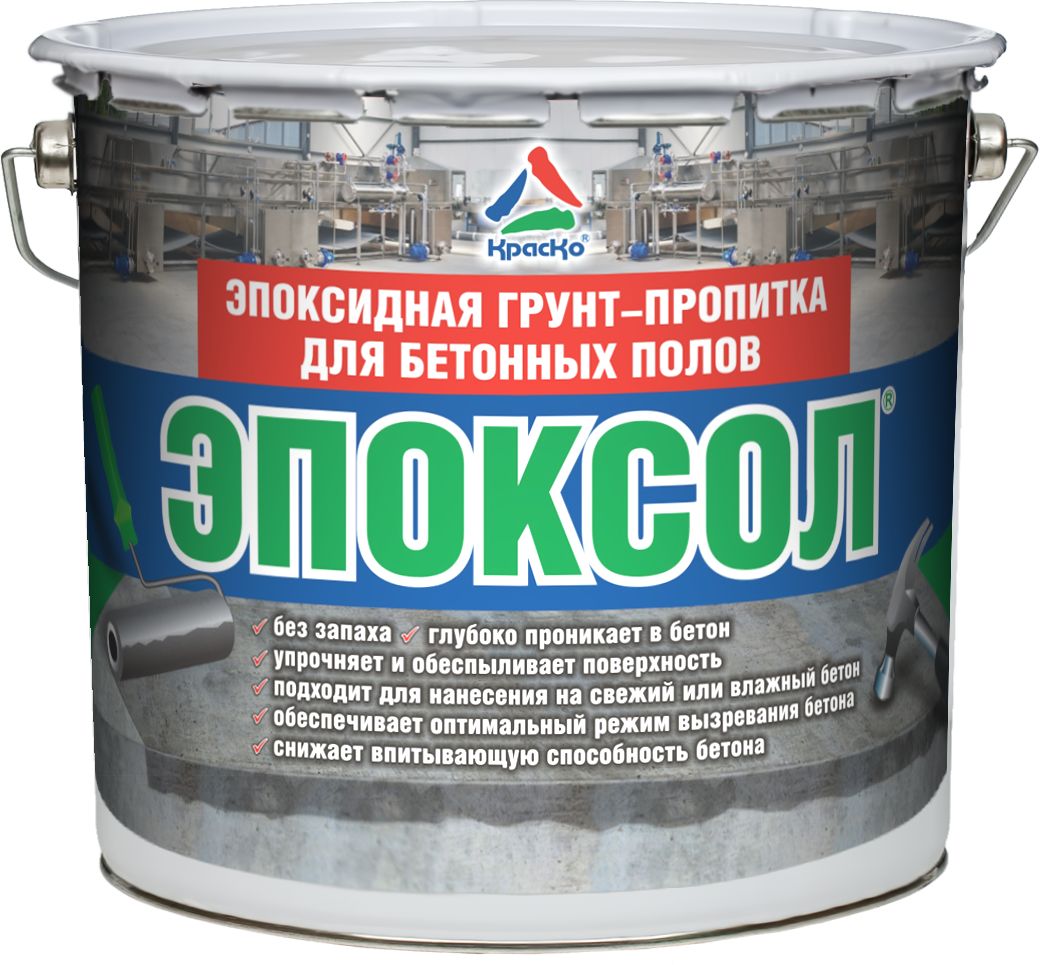
- Epoxy mixture. It has a very chemical composition and aroma, although it is suitable for treating the floor surface of wood and concrete. It is usually used where reliable protection against moisture is needed.

- Polystyrene mix. Specially designed for wooden floors. It is extremely toxic, and therefore its use is allowed only in a ventilated room and using protective equipment.
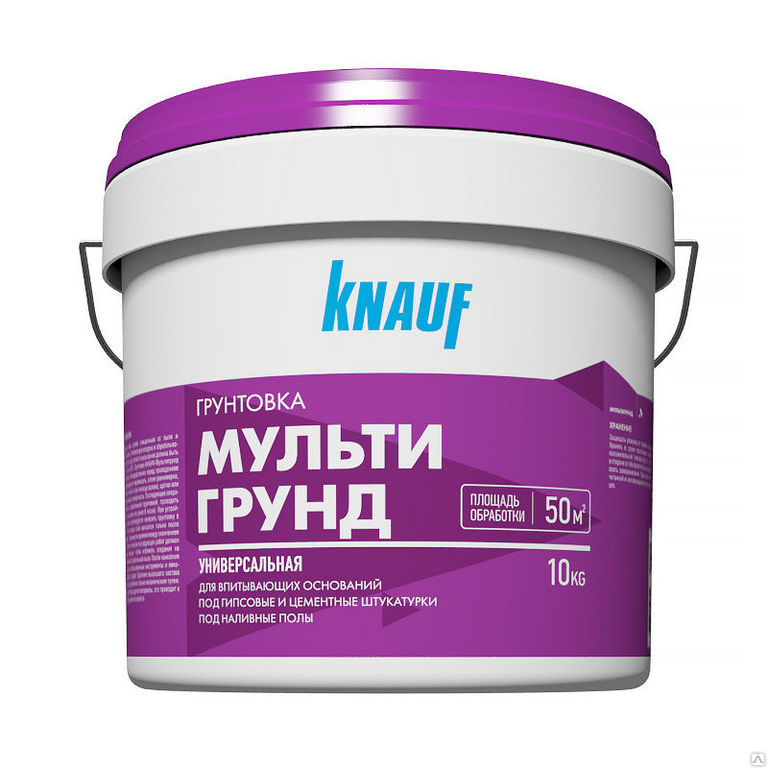
- Multigravity. New Such primers are universal and suitable for floors made of absolutely any material.
- Shellac primer. Also available for sale, but it is designed to cover floors made fresh from fresh coniferous wood.

Choose a primer should be based on what exactly the floor it will be used. Be sure to give preference to well-known and proven manufacturers who produce really high-quality mixtures.
During the work, the instructions of the manufacturer should be strictly followed; this is the only way to expect a positive result.

Beautiful interior solutions
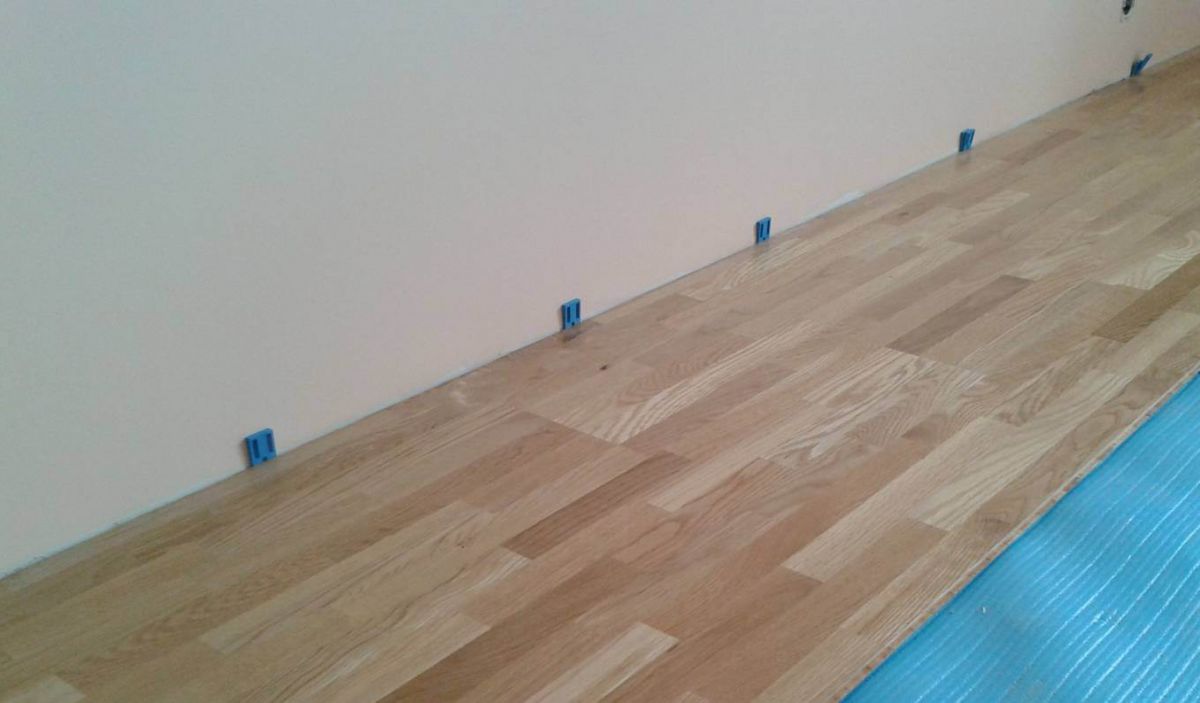
The overall appearance of the floor covering will depend on how well and properly the floor under the laminate is aligned.With the right choice of all materials and proper performance of work, you can achieve amazing results.
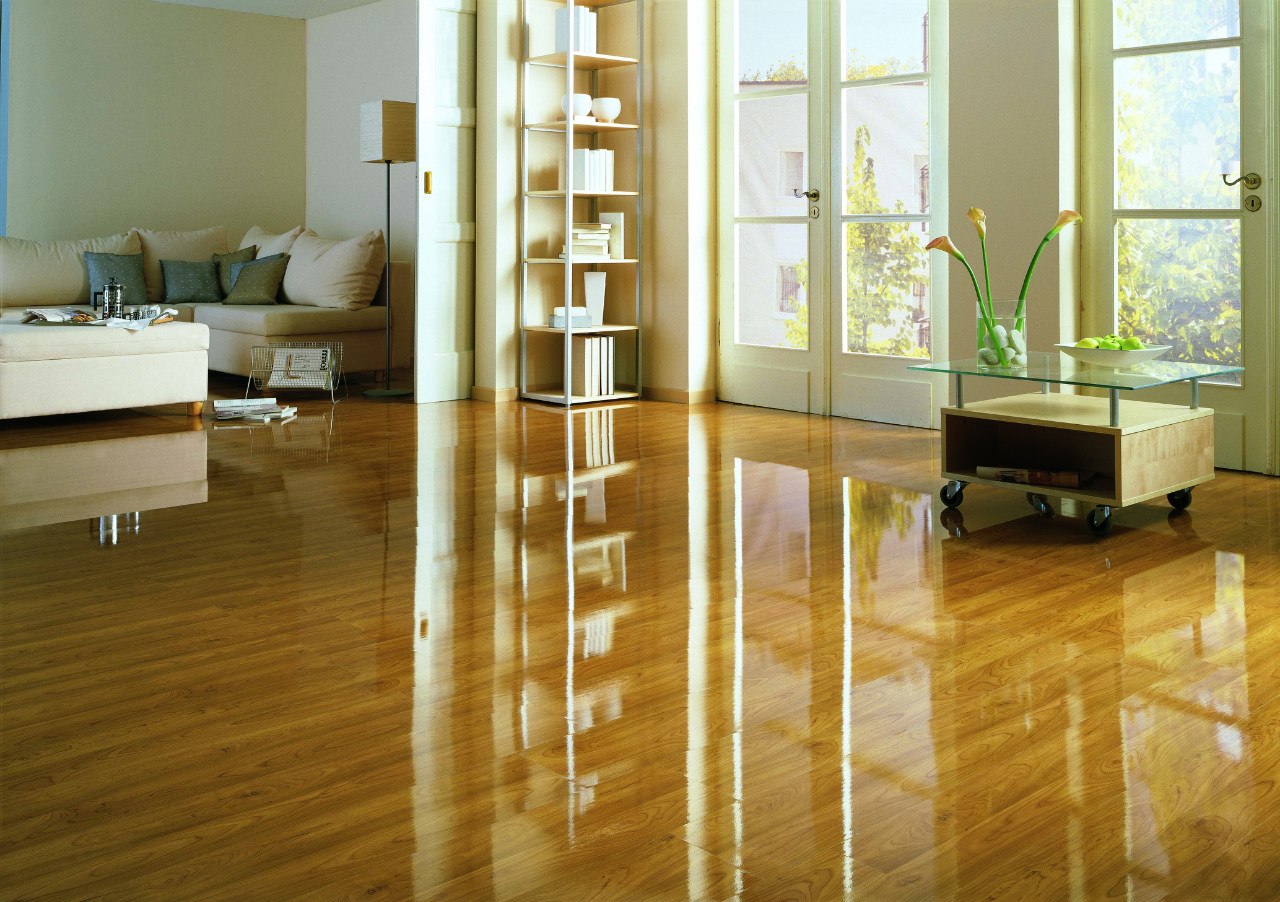
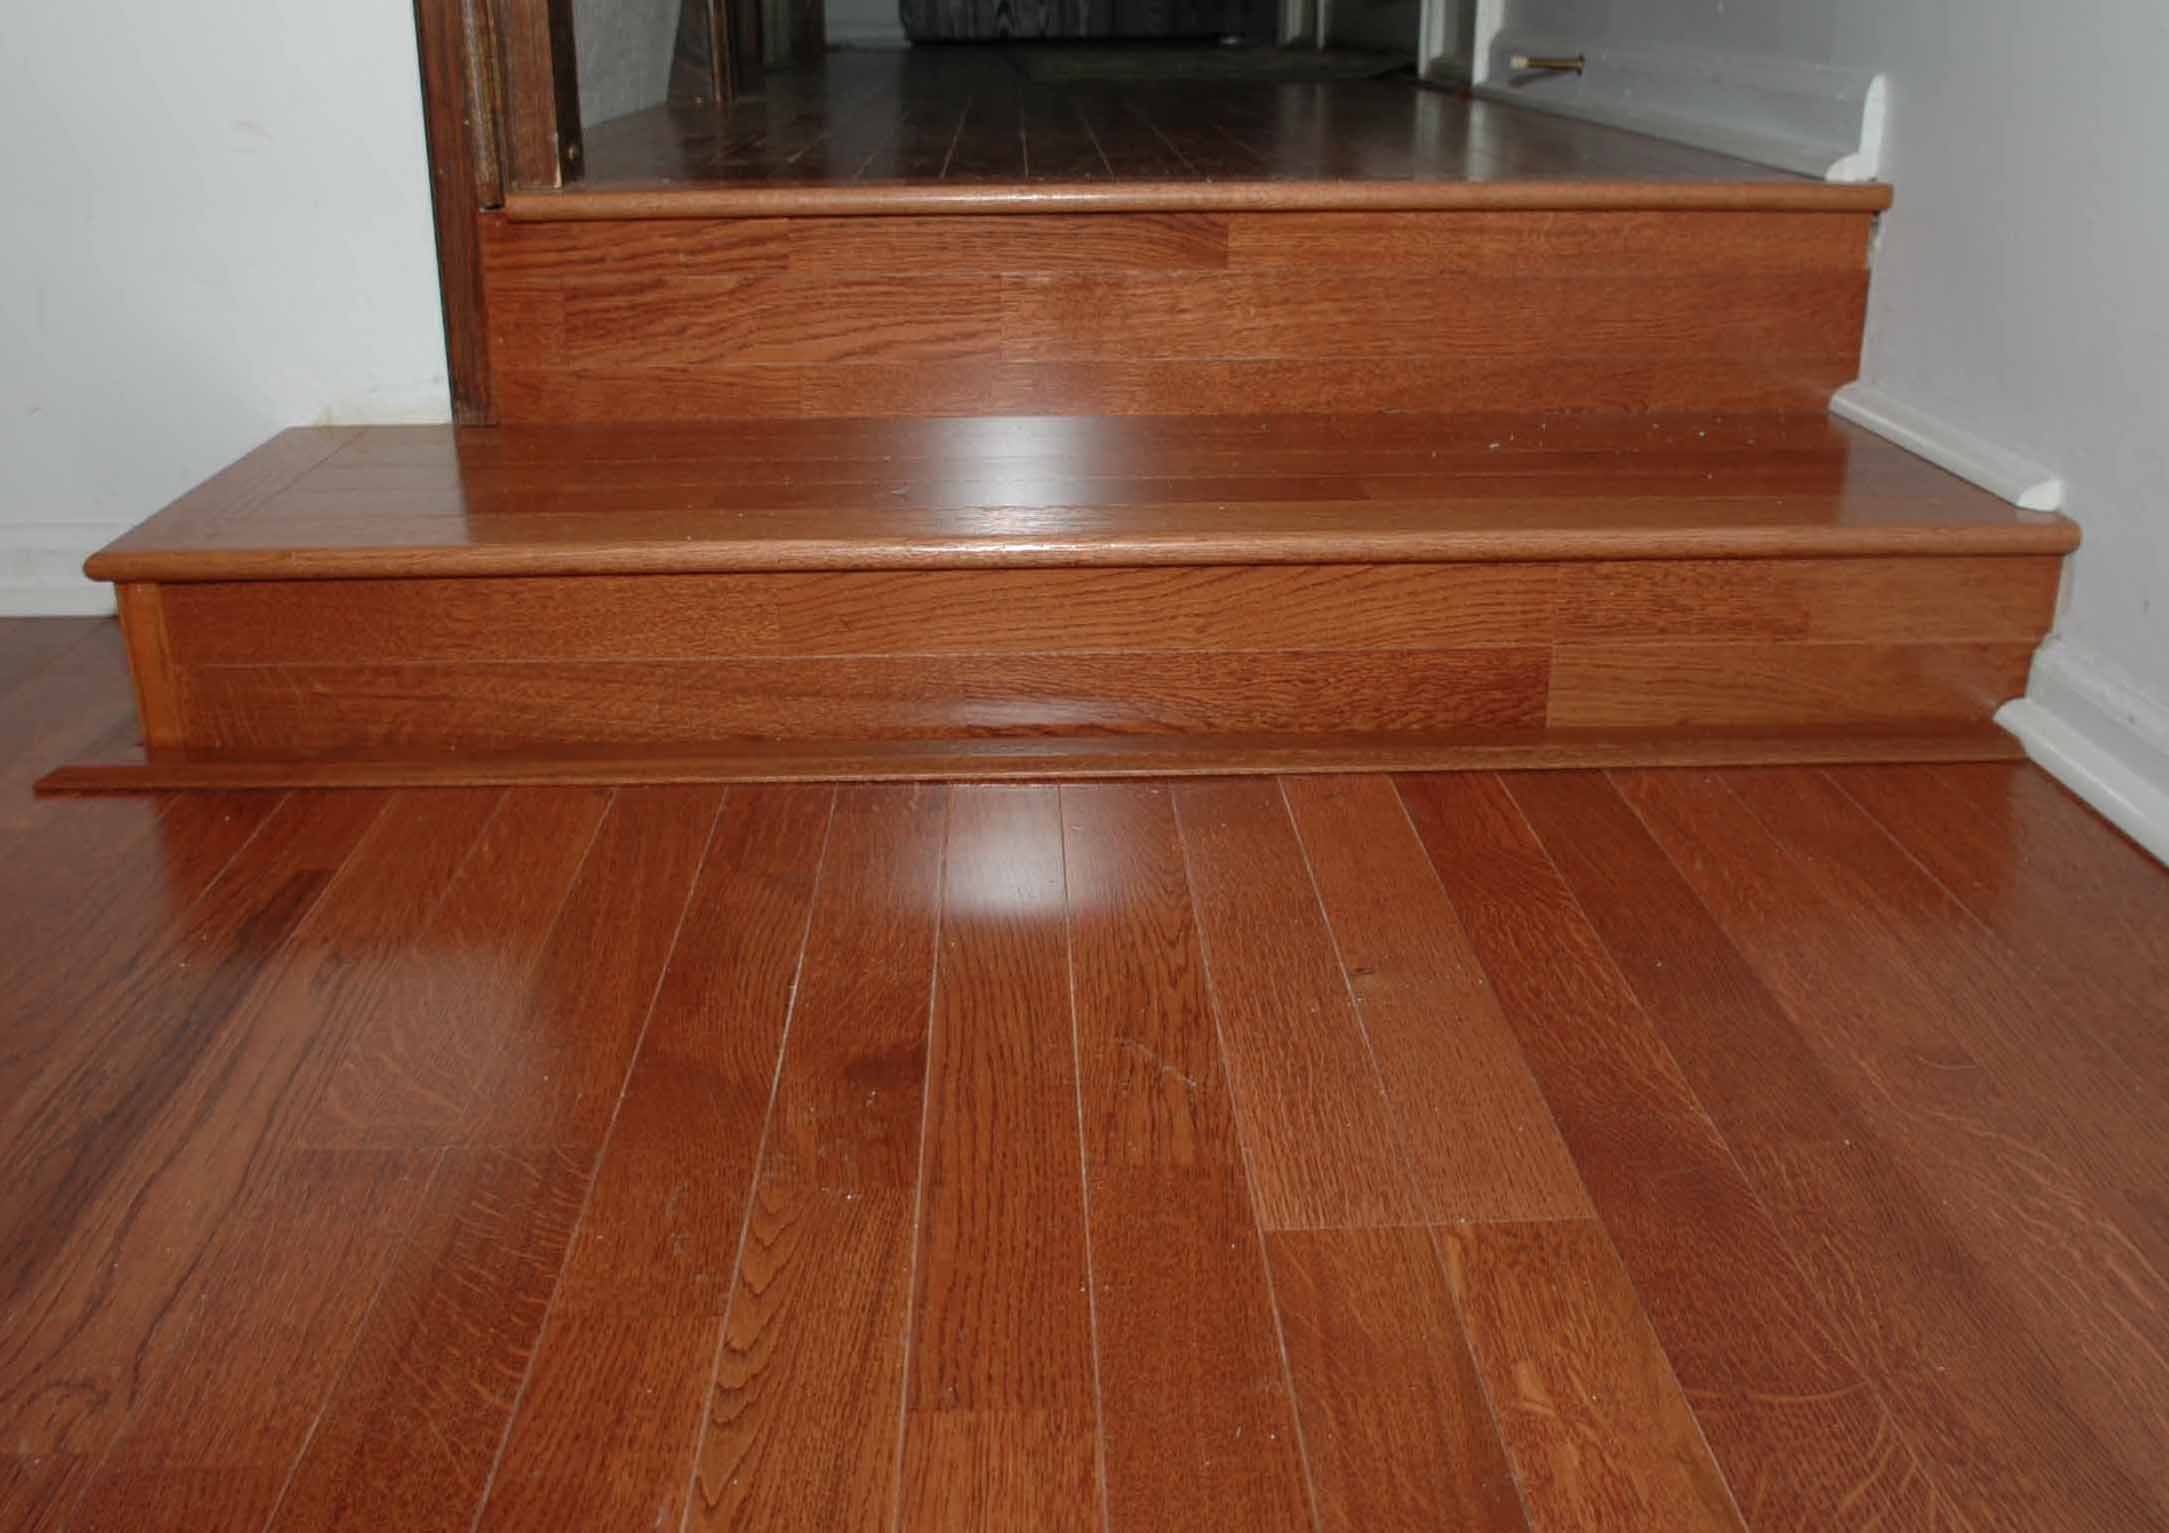
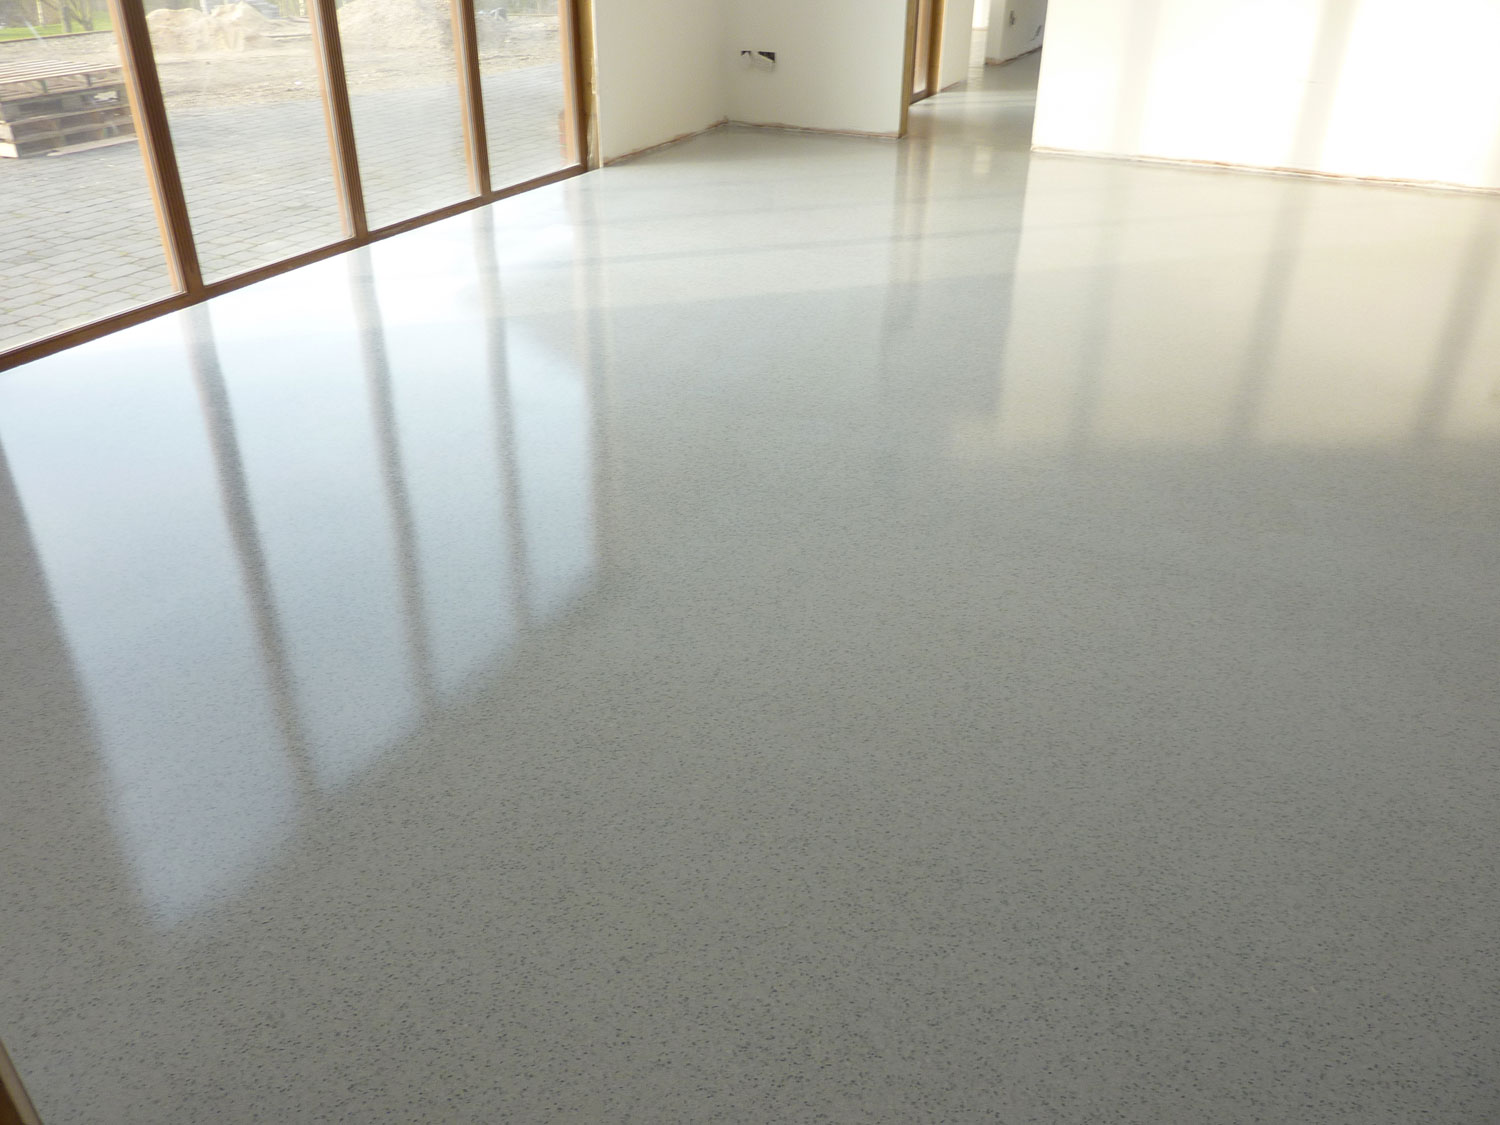
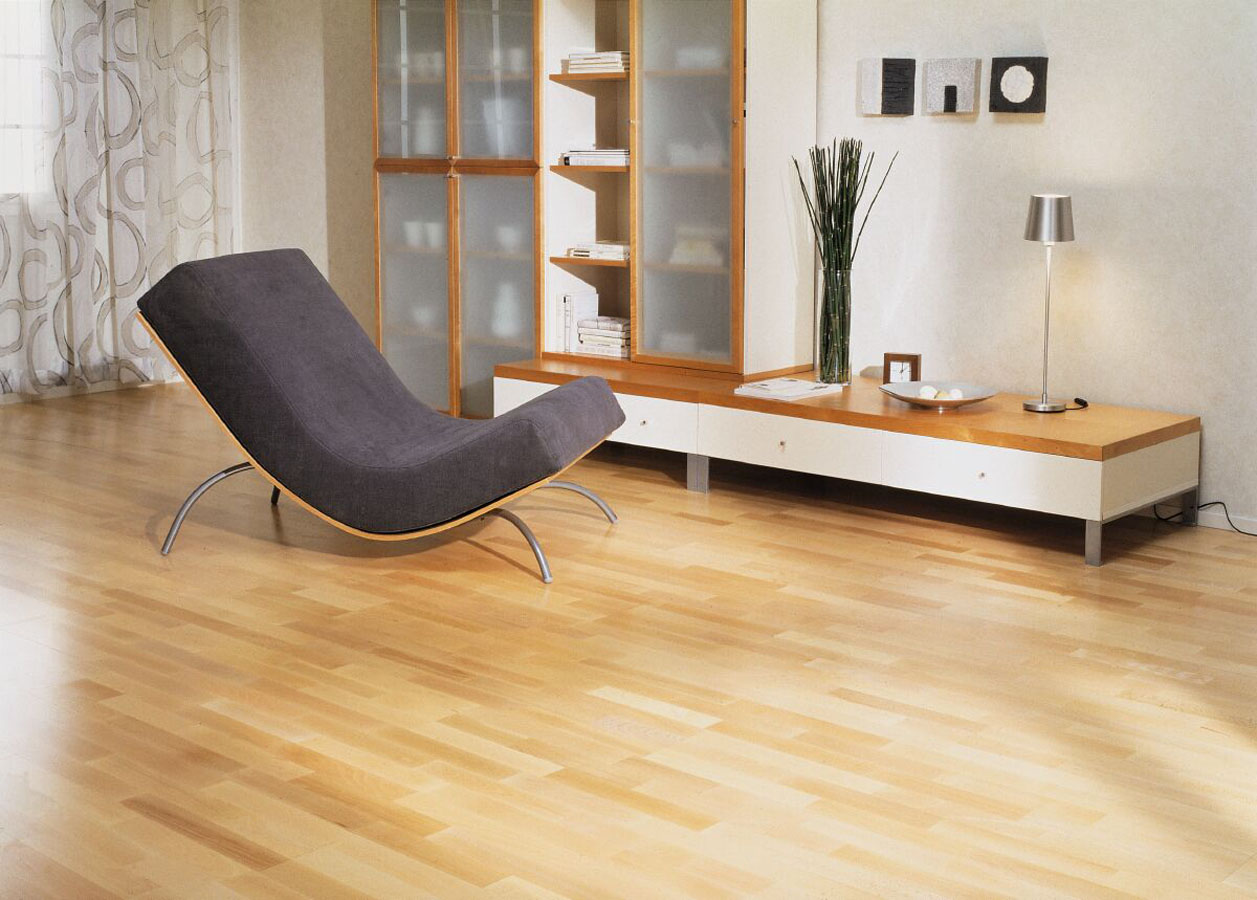
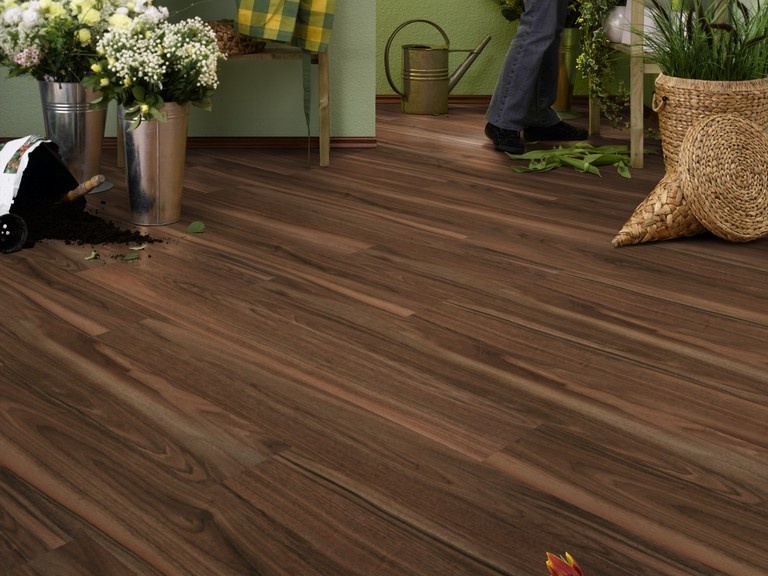
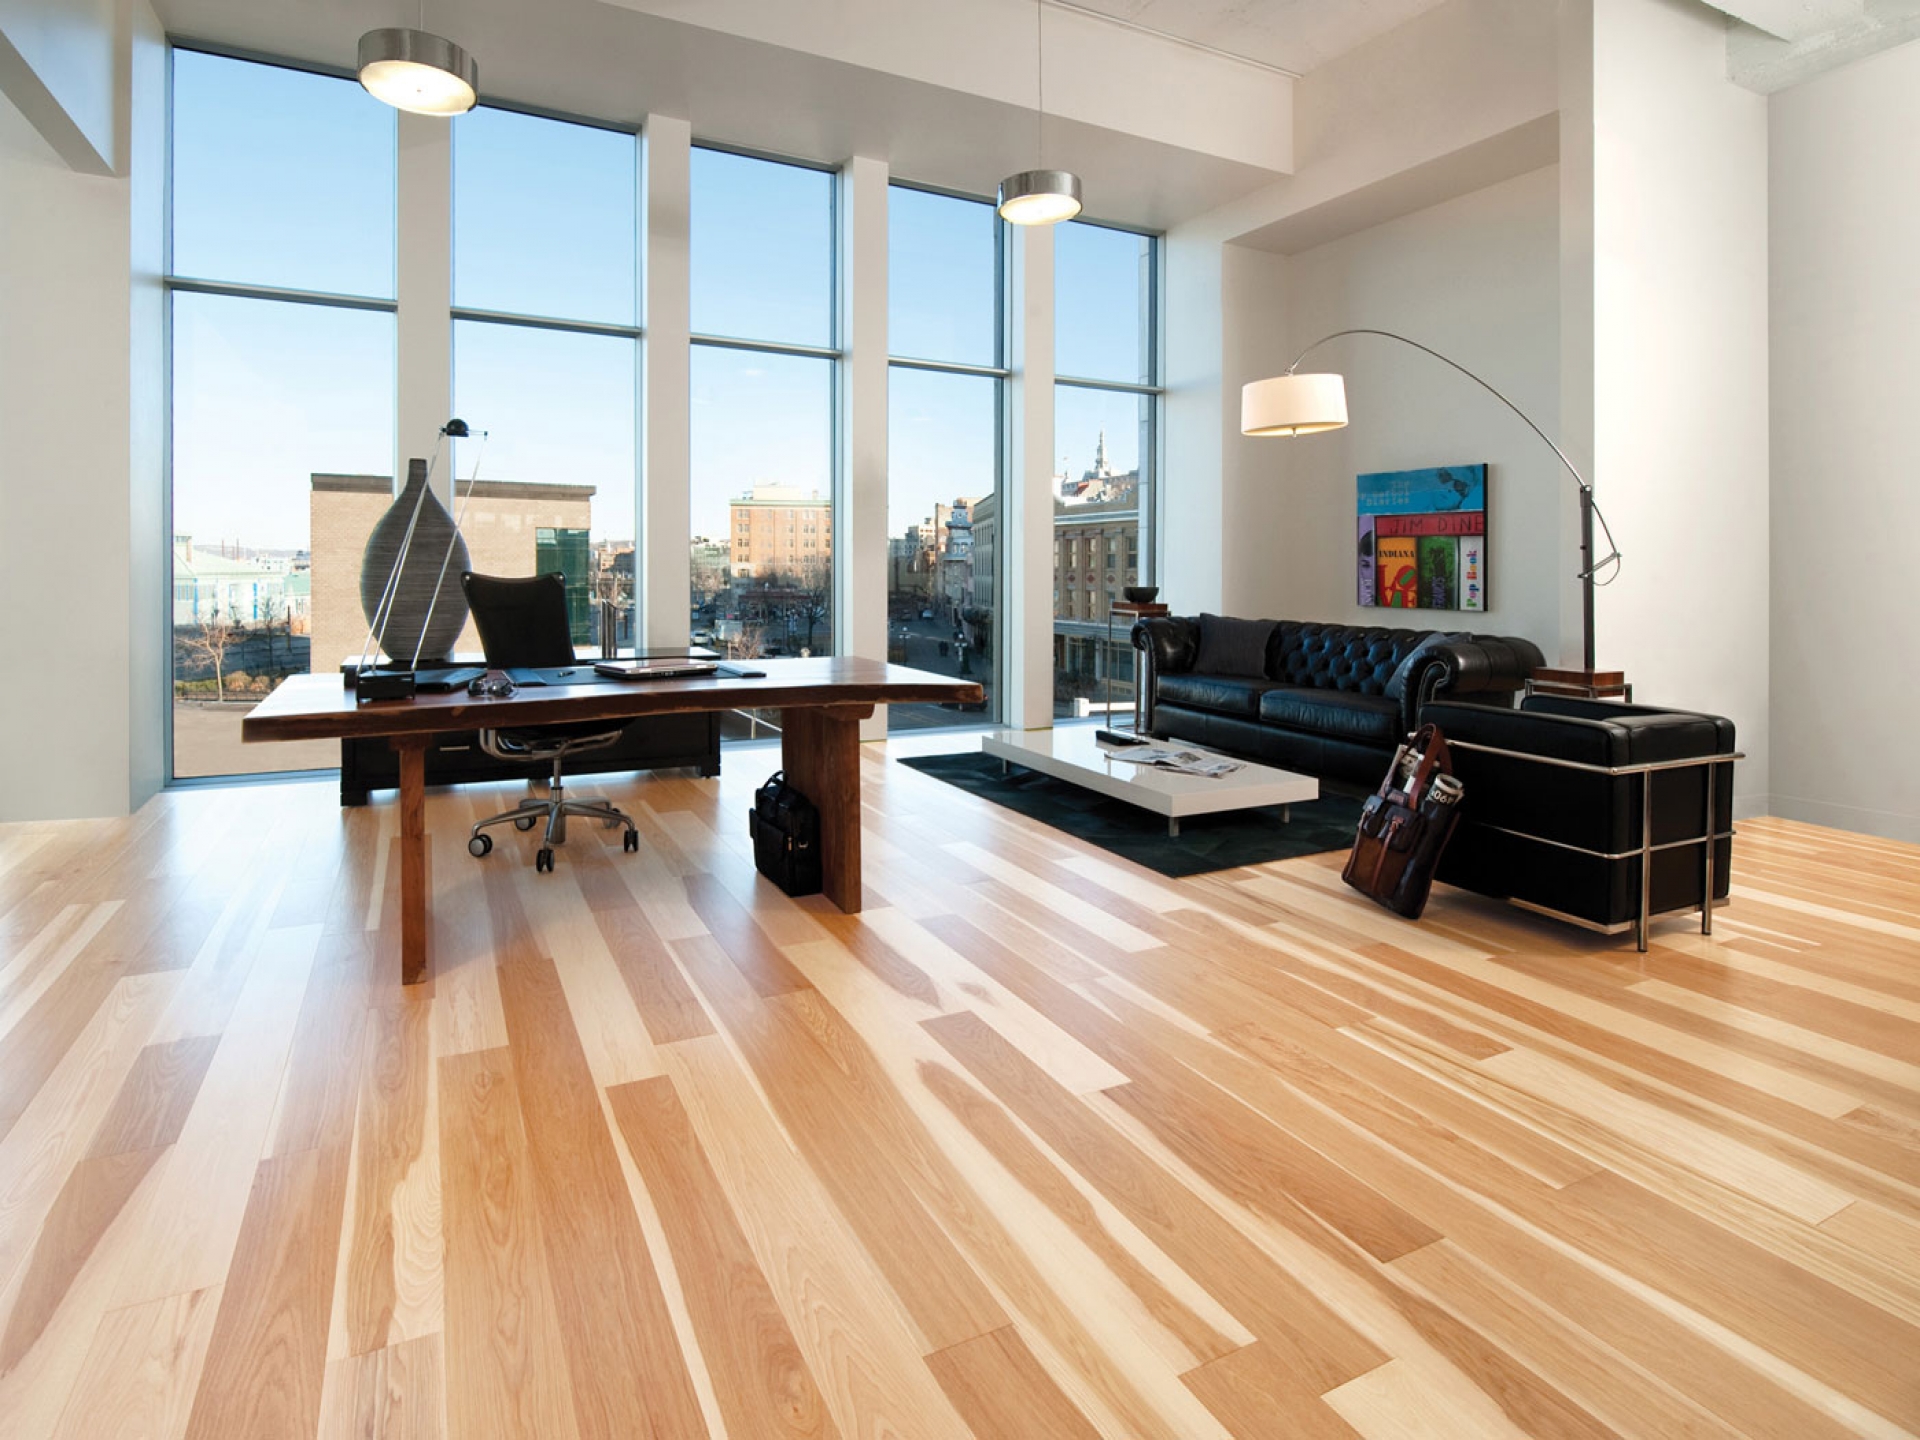
- The perfectly smooth glossy surface of the rich walnut floor looks very stylish and beautiful. Even with a detailed examination it is impossible to find the slightest tubercle. Such floor really is the real decoration of the room. In addition, it blends beautifully and harmoniously with the overall color scheme of the room.
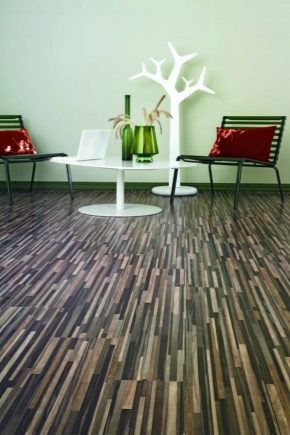
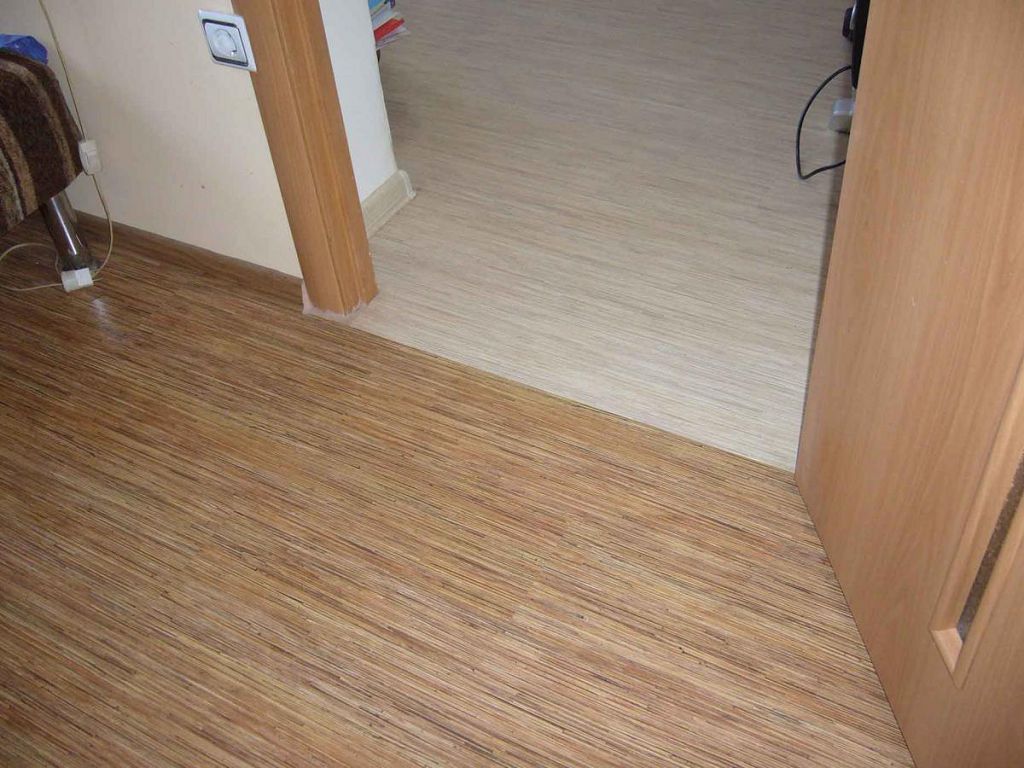
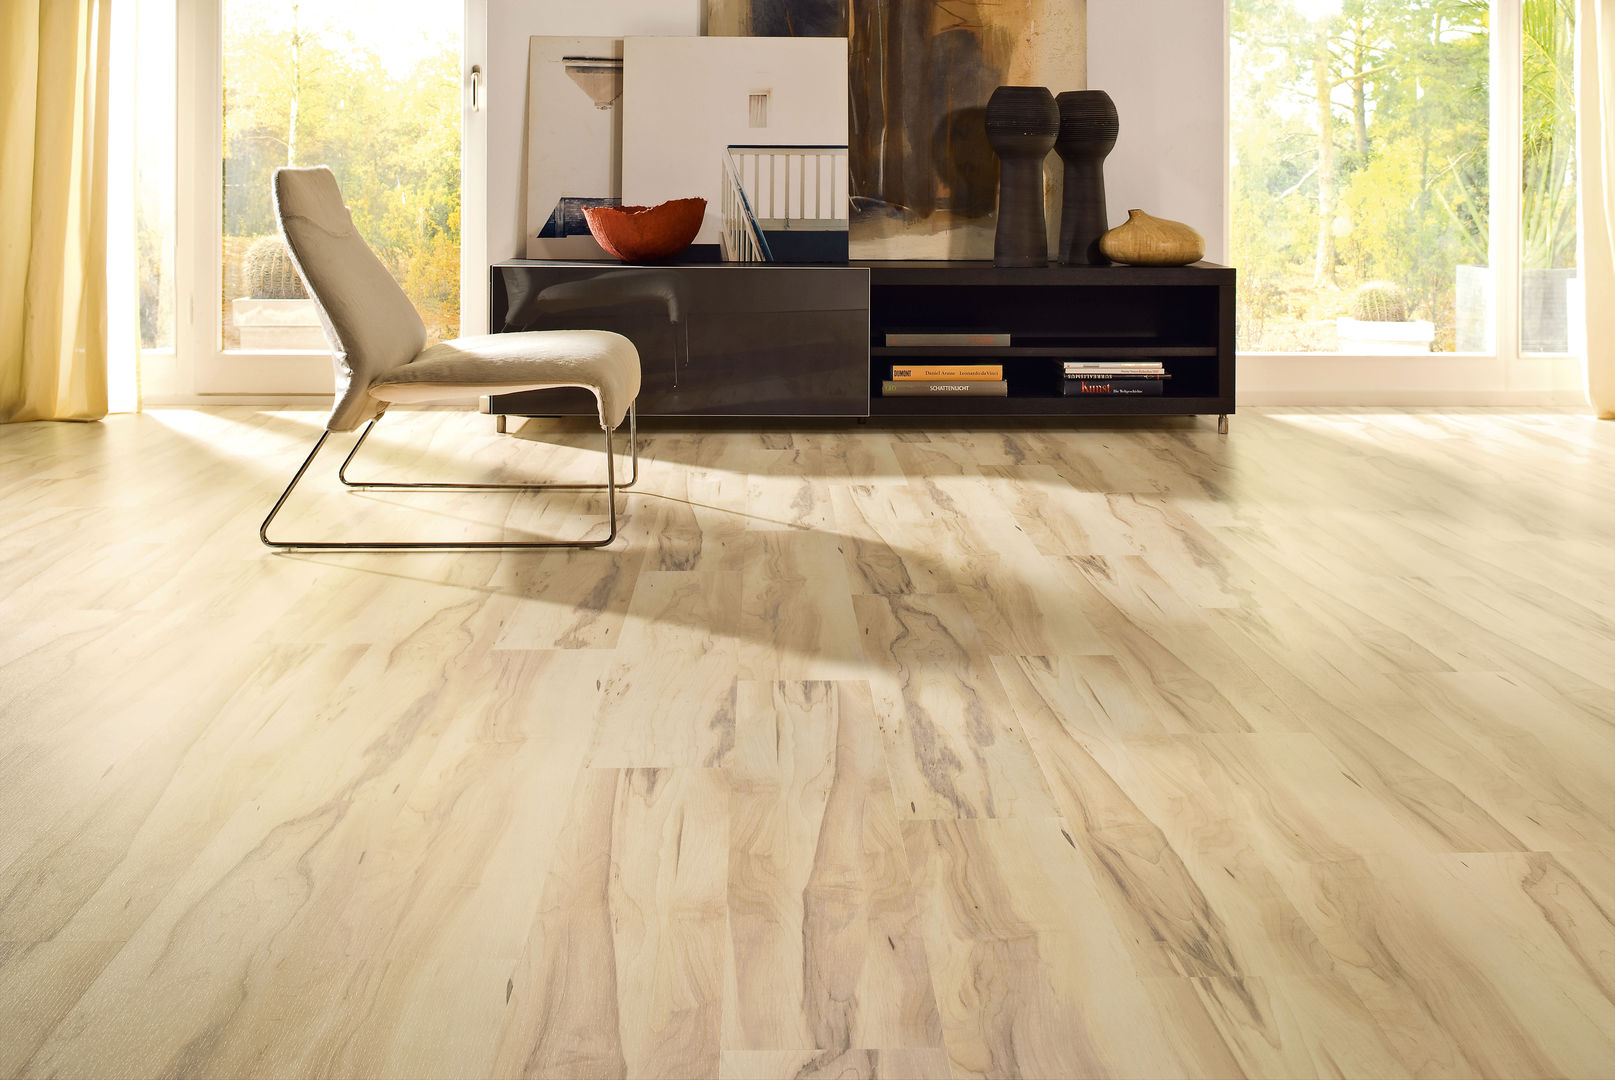
- Laying such laminate, made by designers by special order, requires particularly careful preparation of floors. Otherwise, there will be not just clear lines, but zigzag stripes that will spoil the look. Here, thanks to a properly leveled surface, the laminate panels were laid evenly, which made it possible to add a special flair to this interior.
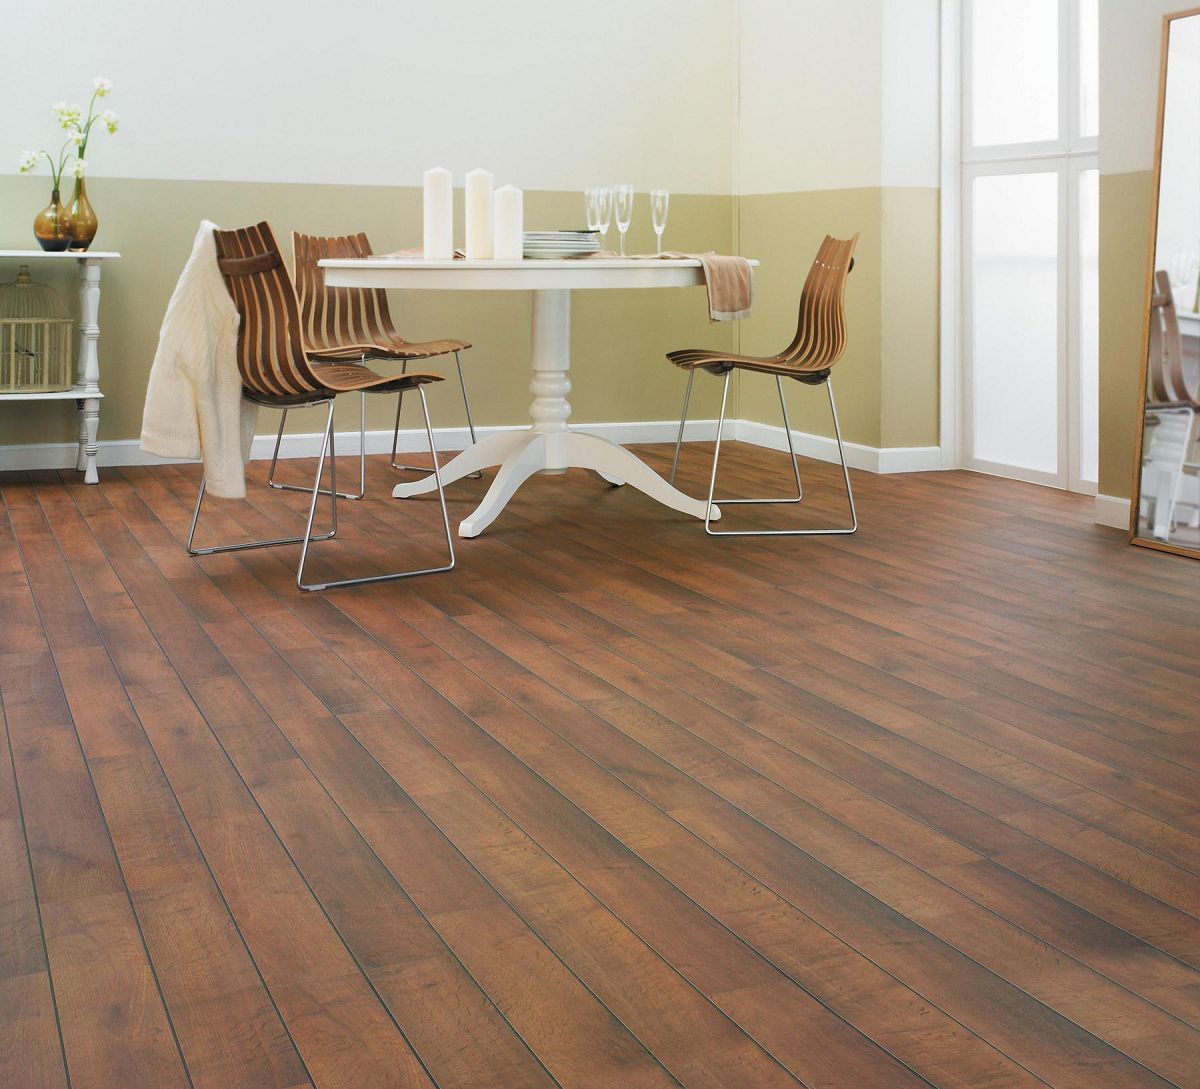
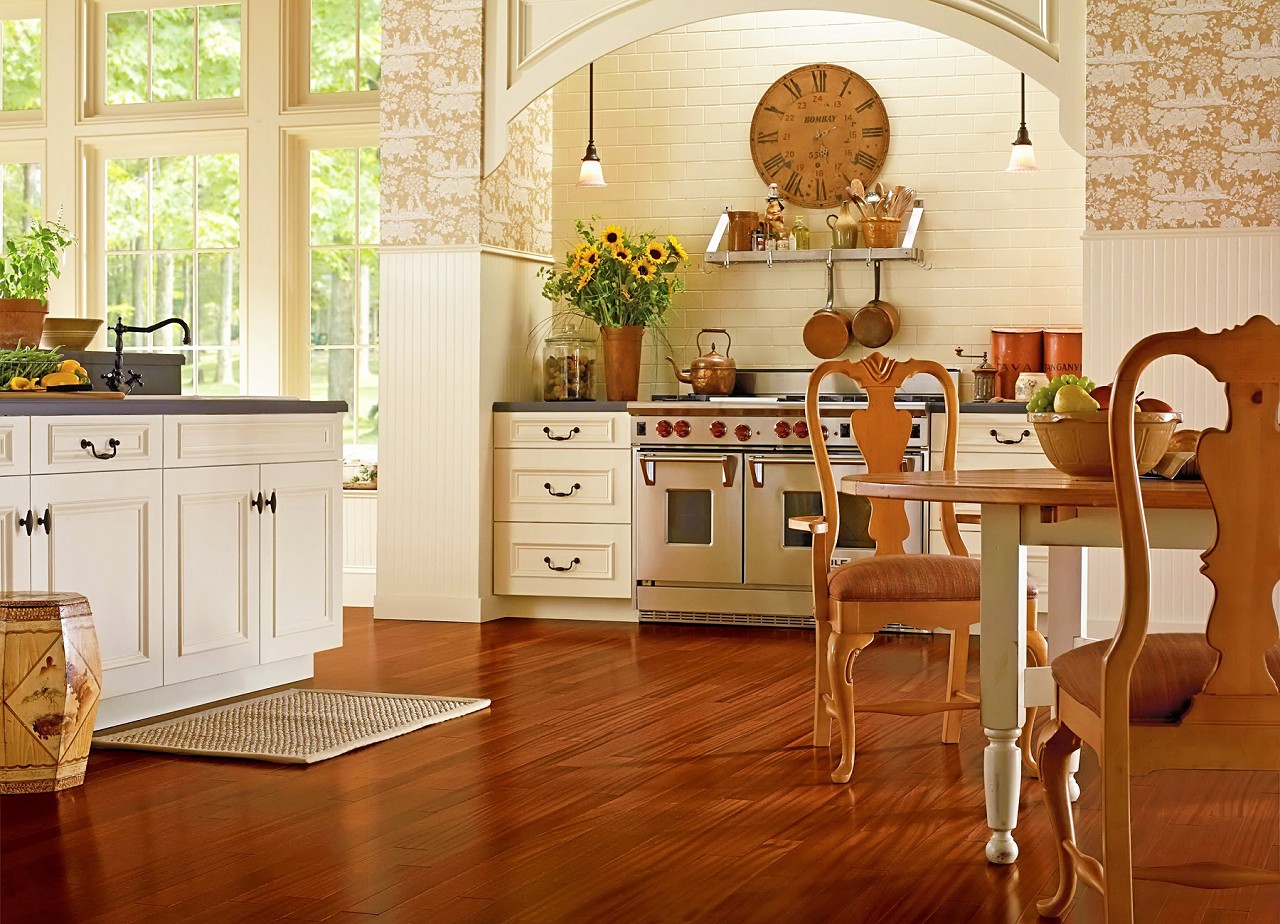
- As in the previous case, such standard panels require particularly careful preparation of the floor for laying laminate. Otherwise they will begin to swell, rise from the base or crack. Due to the fact that here all the preparatory work was carried out correctly, the laminate looks like it was always there. This floor is able to decorate any room.The perfect combination of colors, as laminated panels, and furniture in the room, allowed to create the perfect interior style.
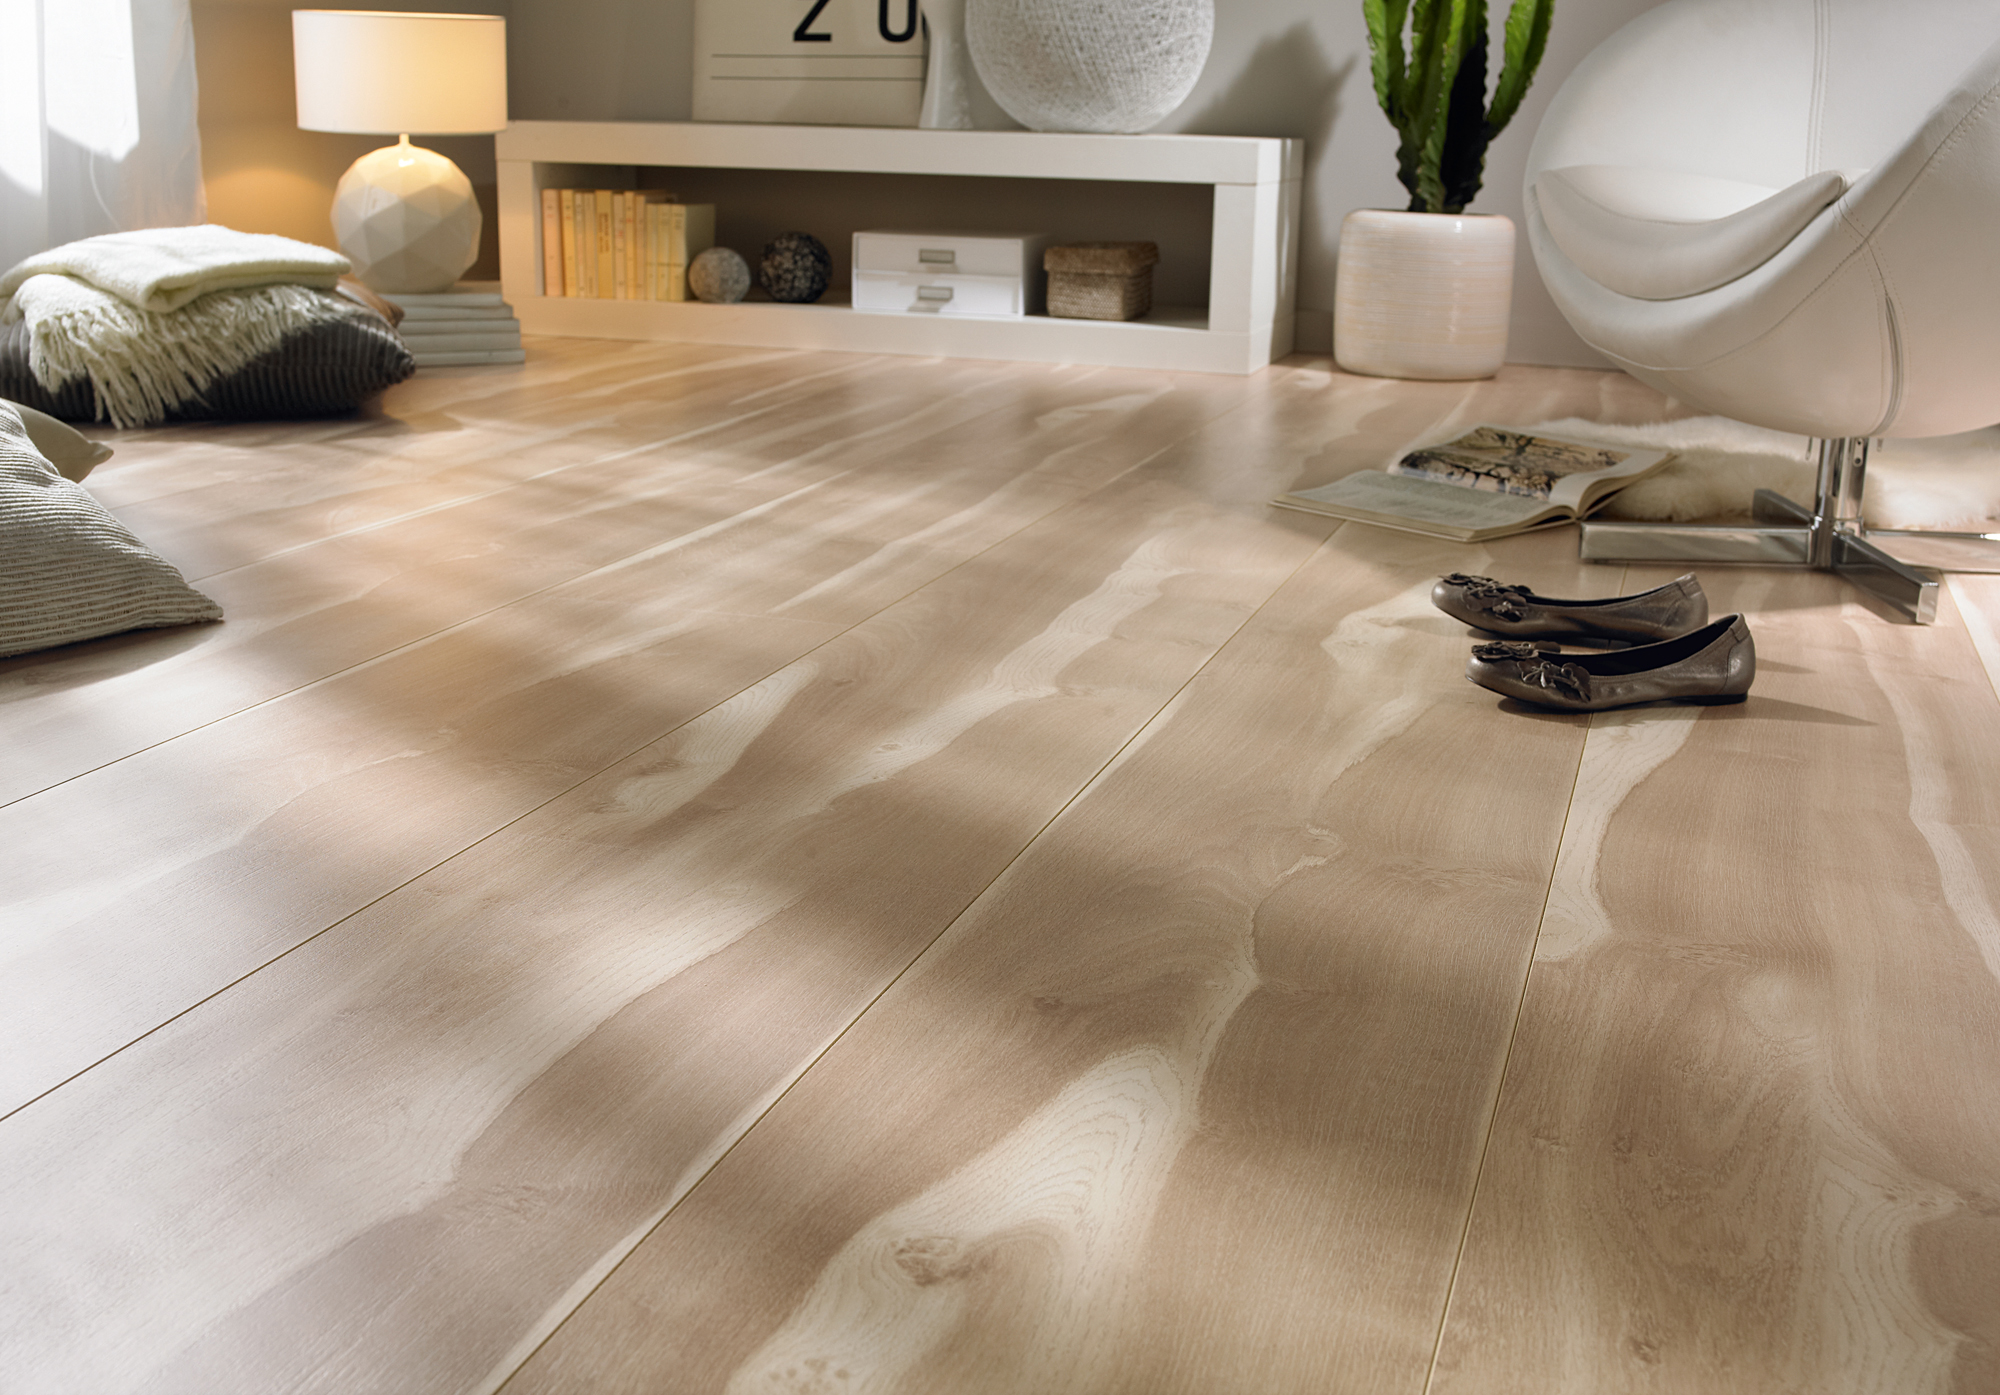
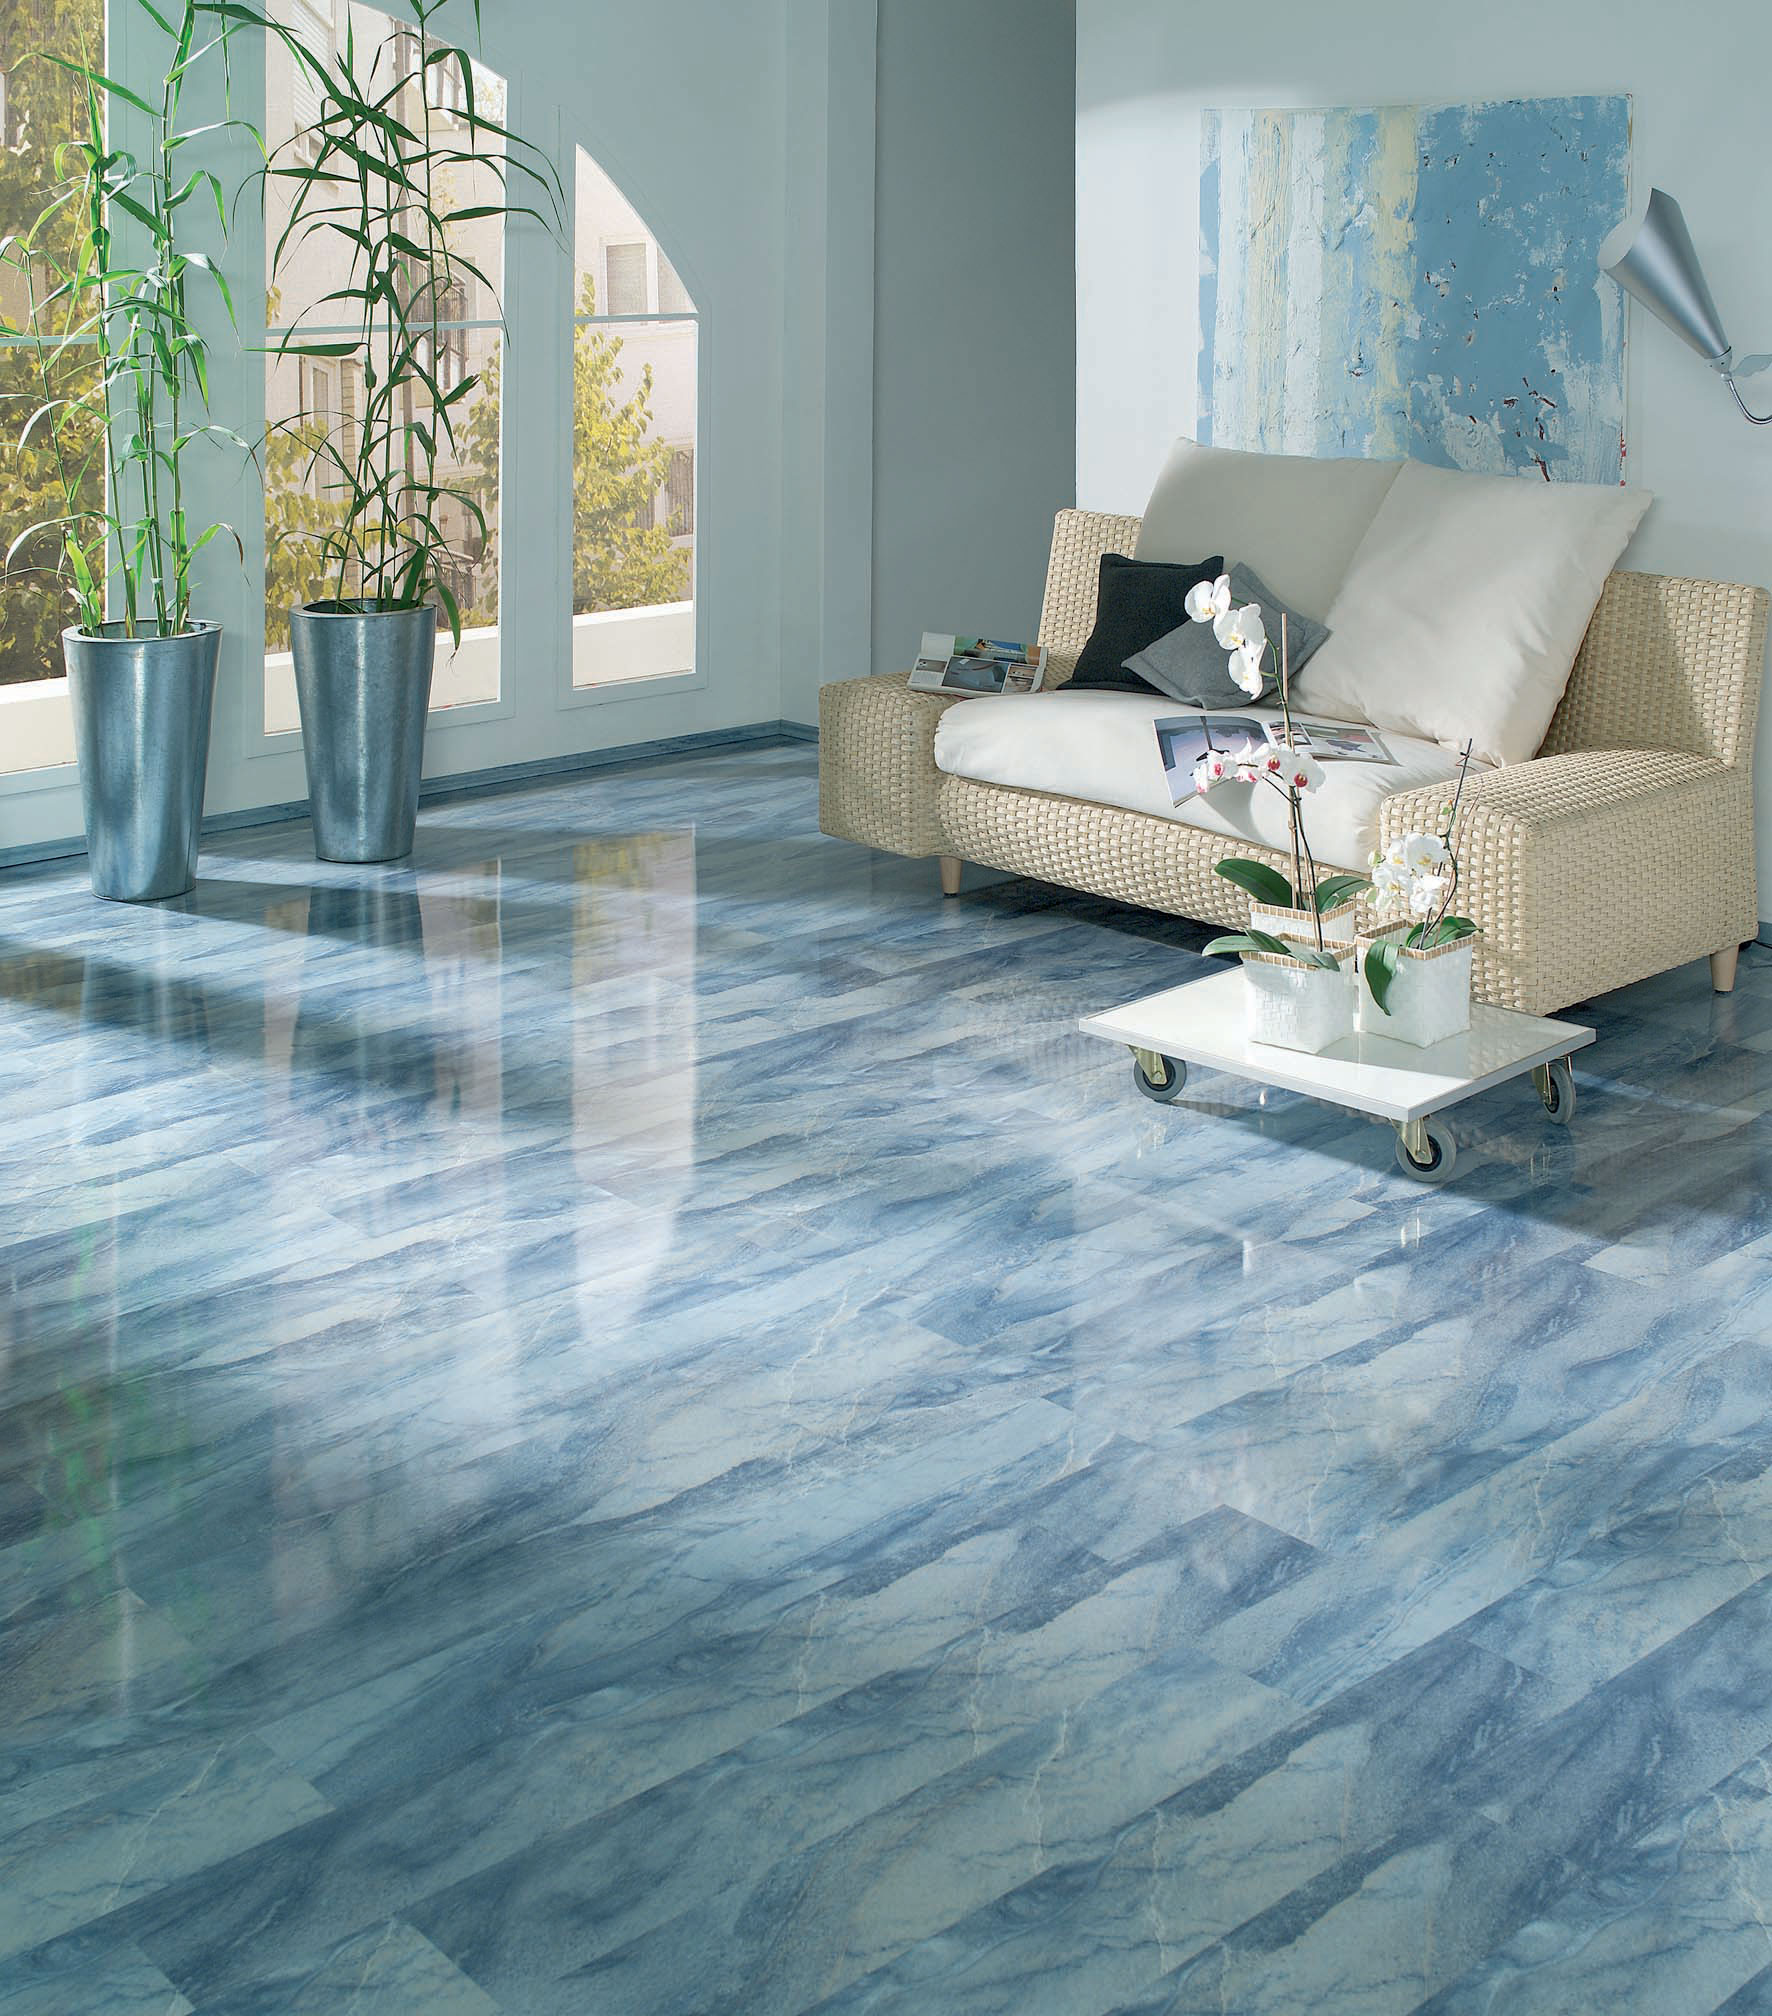
- Another great example of properly laid laminate, which has become a real decoration of the room. The gloss, gives a special charm to the room, it allows you to expand the room itself and make it special, but this can be achieved only with proper preparation of the floor for further work.
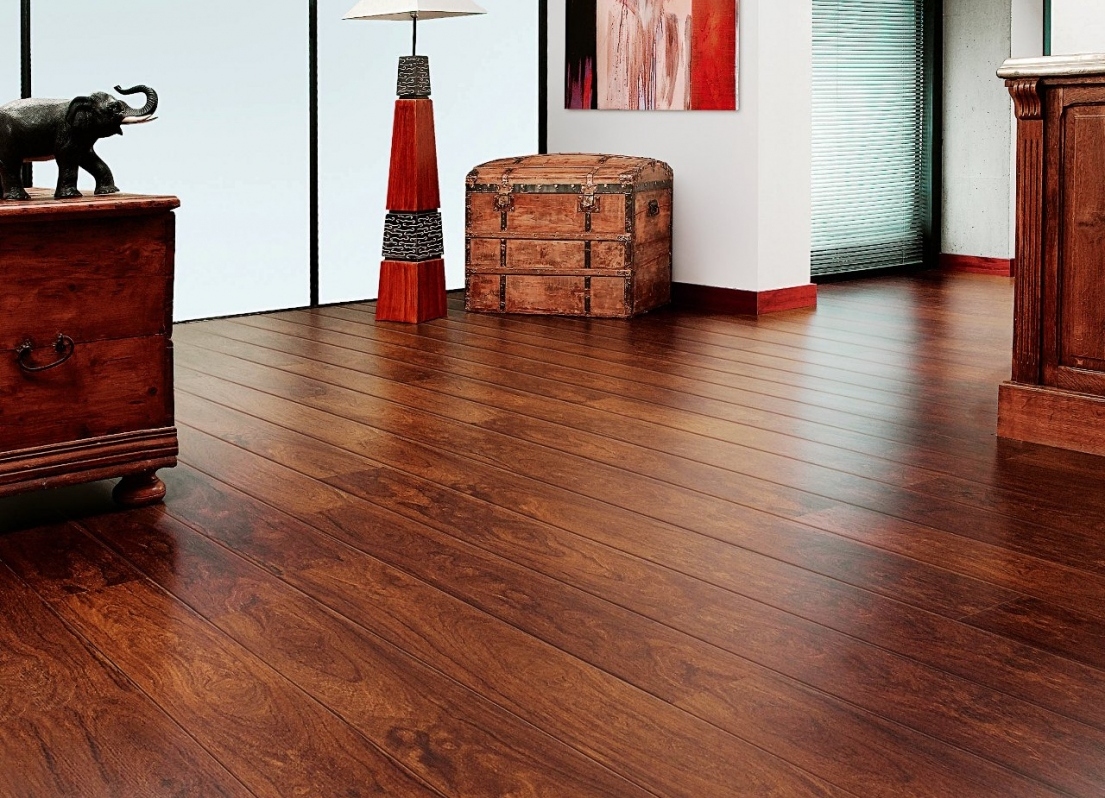
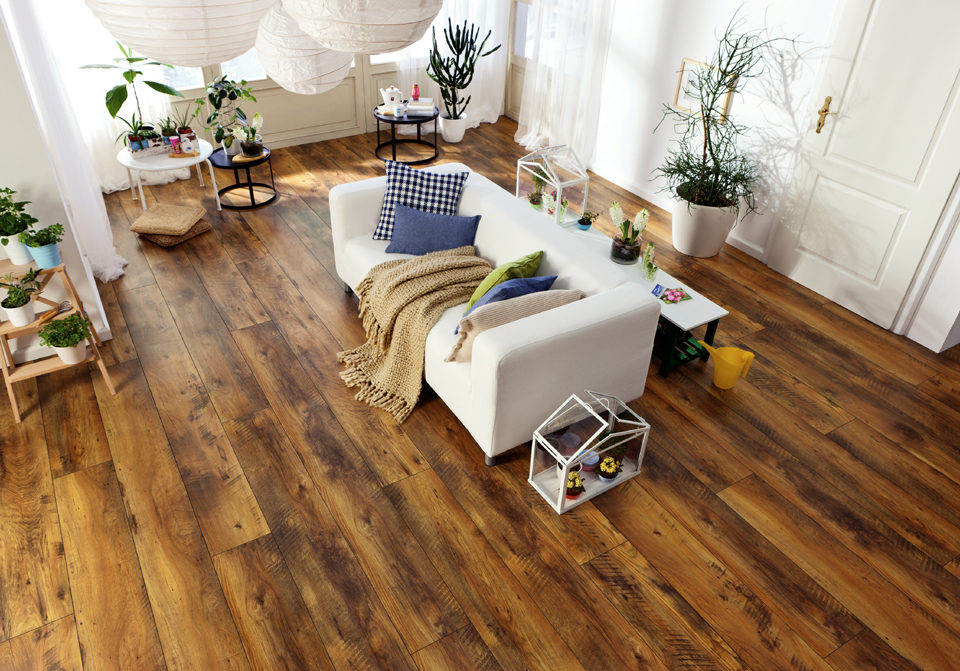
- Such a laminate with an imitation of wood is ideal for any interior and will make it more presentable and expensive. But just such panels require the most even surface for their installation, otherwise, the floor will look awfully old and untidy. In this case, you can see perfectly aligned floors covered with laminate.
All these examples clearly demonstrate that the laminate coating is ideal for any room. It is stylish, modern and high-quality, but only if laid on a flat floor. Therefore, the need to level the floor, before laying such a floor covering, of course, is, and it is quite large.And in order to achieve the same beautiful result as in the presented pictures, you just need to follow the advice of professionals and choose the right materials.
How to level a floor under a laminate, look in the following video.


