Selection and installation of an open-type expansion tank
The expansion tank used for the heating system serves to compensate for the expansion of the volume of boiling coolant as a result of its heating. Its function is to reduce the pressure in the wiring itself. For this reason, such a tank should be used for heating systems of both types. The tank for installation in a closed system is quite realistically made as a self-made expander with your own hands. The second option is to use ready-made containers.
Location
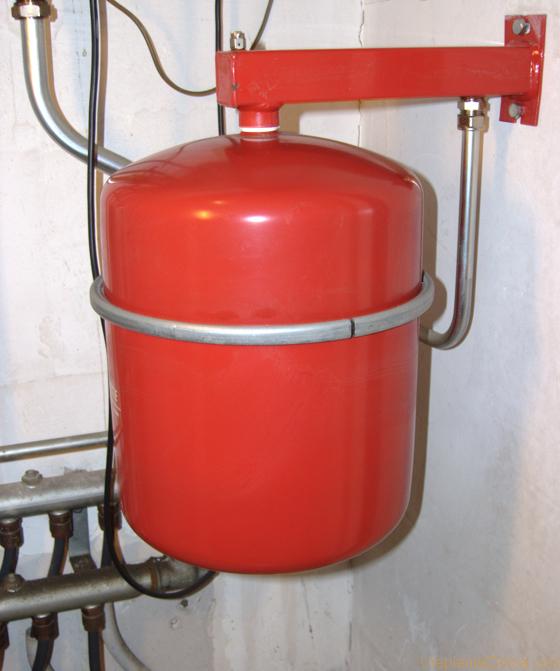
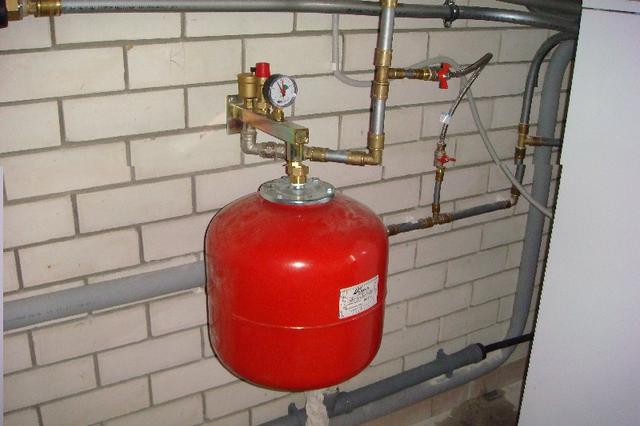
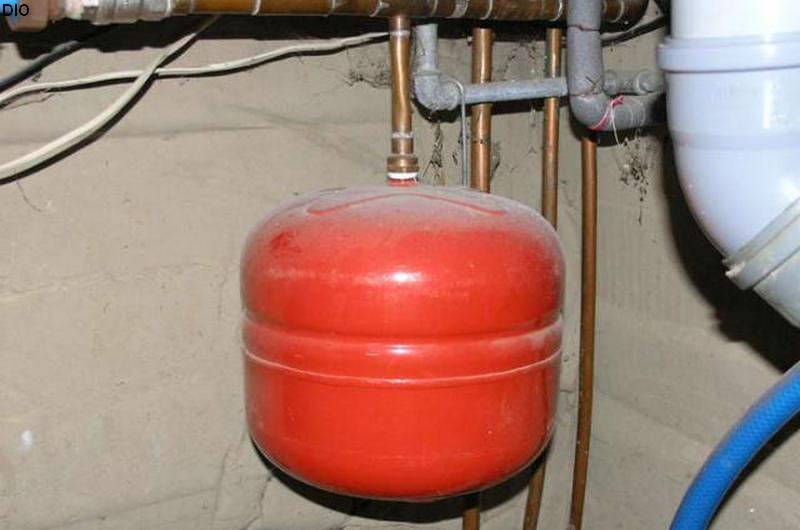
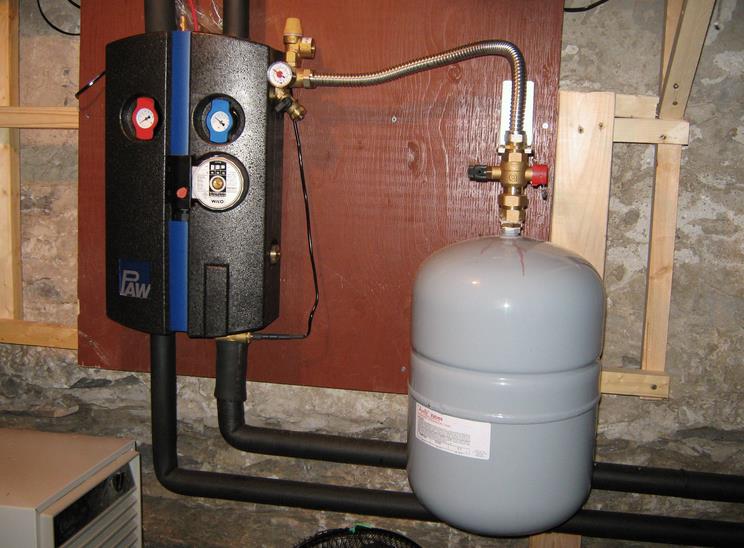
Basically, these tanks are installed between the boiler nozzle and the very first battery from it or behind the pressure fitting. Such an arrangement of the expansion tank becomes an alternative to the protecting water valve.In case of overheating of the boiler, excess steam will not remain in the system, but will go outside into the air.
When equipping multi-storey heating systems, such expanding tanks are located in the attic part of the building, and in the boiler rooms - under their ceilings.
In this case, such a tank should be the highest point of the thermal system. For this purpose, tee is settling down. It is located in the node, where the vertical part of the discharge pipe mates with its horizontal branch. To the upper threaded retraction of this tee is attached a segment of reinforcement to connect the system with the expansion tank itself.

That is why such expanders in thermal systems of high-rise buildings are trying to be installed in attics or in boiler rooms higher up to the ceiling. This is done when the size and volume of the tank can be placed in this way. Therefore, before starting the installation, it is necessary to calculate the geometry of such a container, based on the recommended volume.
Volume calculation
The dimensions of such an expander for an open-type heating system are calculated on the basis of the volume and temperature parameter of the coolant. The simplest scheme for such a calculation is based on the first indicator.In this calculation, the tank volume should be 5% of that for the system.
For example, if the system holds 200 liters of water, then the volume of the expanding tank will be 10 liters of water.
A more accurate and more complicated method of calculation, together with the capacity of the system, takes into account the temperature indicator of the coolant. It is known that an increase in temperature in the system of 10 ° C causes an increase in volume of 0.3%. If we take as a basis the room temperature of water and its maximum temperature, which cannot rise above the boiling point of 100 ° C, then an increase in the volume of water in the system will not exceed 2.4%.
In practical terms, it is better to use either the maximum value taken from the 5% proportion, or the averaged result obtained as half of the sum of 5% + 2.4% of the volumes of the heat carrier.

Homemade steel sheet tank
Based on the above calculations of tank capacity, you can proceed to its manufacture.
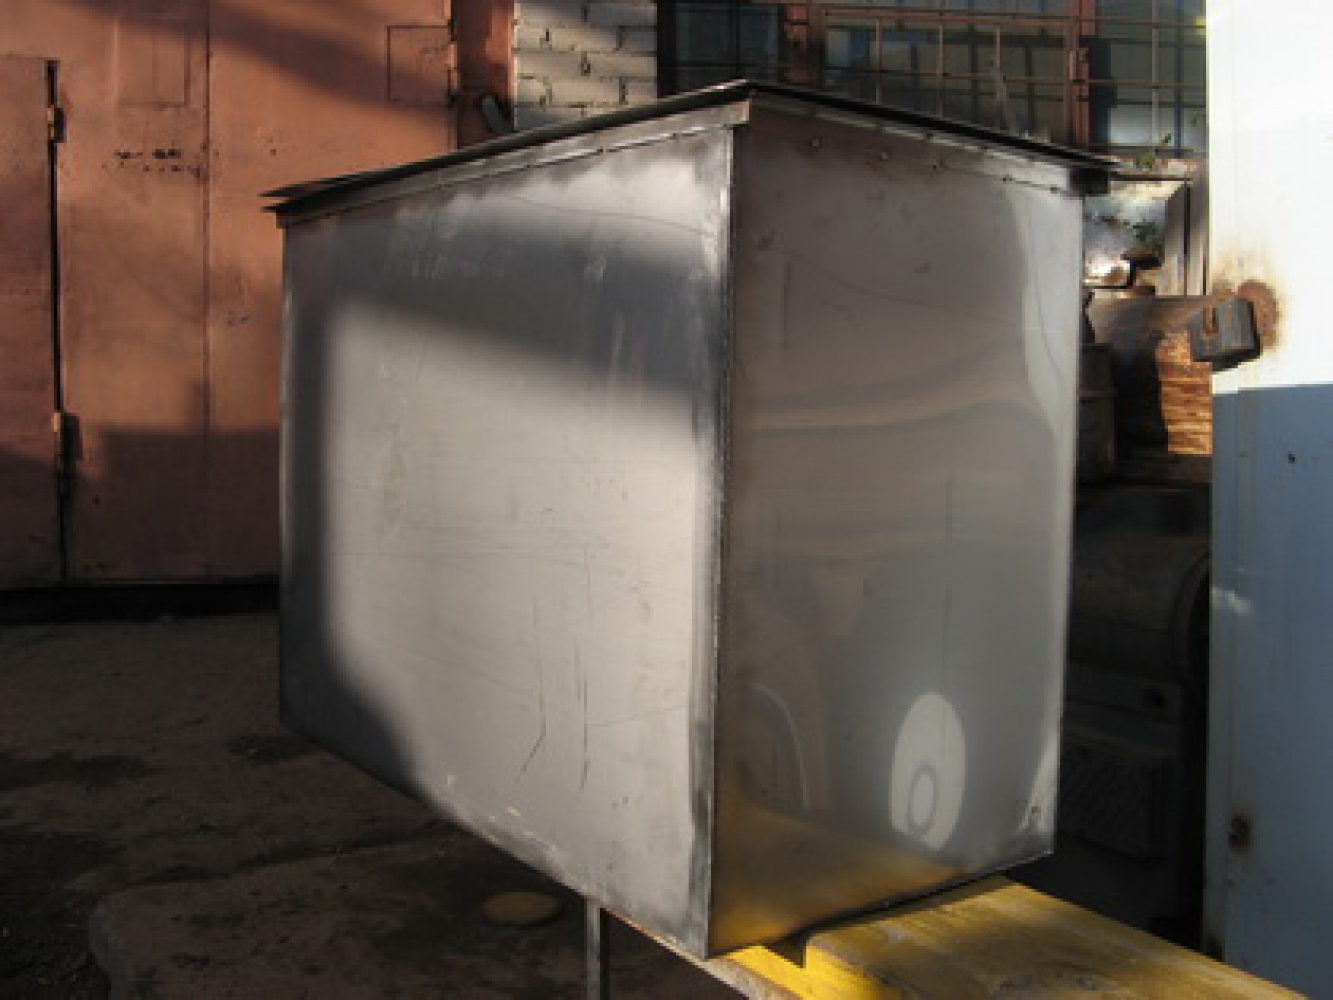
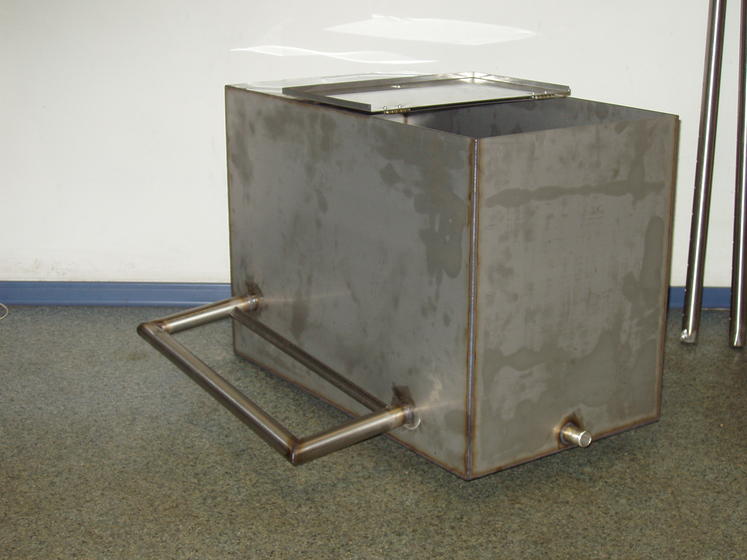
Heating systems with a capacity of over two hundred, and even more than three hundred liters of water are extremely rare. Therefore, for an expansion tank a volume of the order of 10-15 liters would be an acceptable value.For its manufacture is taken a steel sheet with a size of 500 × 756 mm with a thickness of 2 mm and above.
The manufacturing process begins with cutting the steel sheet. If possible, and for greater accuracy, it is better to do this in the factory with guillotine shears. Otherwise, the sheet is cut by the grinder into two fragments of size 250 × 756 mm. Further, these blanks are bloomed on 6 squares of 250 × 250 mm.

In one of them a hole is burned with a gas cutter. The union is welded into it. You can do this with a welding electrode. Its thread should be about one or half an inch.
Two blanks are attached by welding at 90 degrees. The same right-angle welding procedure is done with two other blanks. From the corners thus obtained, a square is welded, and the seams are boiled to a hermetic state. Then the joints are tested using chalk and kerosene.
In this case, chalk is applied to the outer part of the weld, and kerosene is applied to the inner part. If after a certain period of time on the strip from the chalk there were no greasy spots, then the seam is tight.
The bottom of the product is a part with a pipe welded into it. Next, the seams are checked again for tightness by the above method.
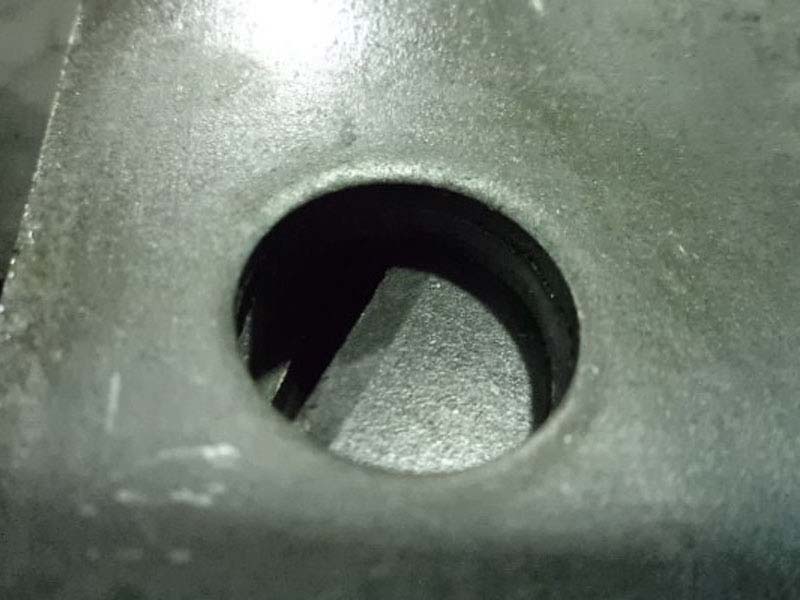
A hole of Ø 50 mm is burned in the remaining workpiece with a gas cutter or a welding electrode. This workpiece with a hole made in it is welded as a lid of a cube-shaped tank.
In the last point, the leak test of the seams can be neglected. The result of the work done should be a capacity of 15.6 liters. In the process of its manufacture, all metal is consumed according to waste-free technology, and a tank of such capacity is sufficient for use in a three-liter system.
The process of manufacturing a tank in this way is very laborious and requires the participation of an experienced welder. Therefore, if there is no such qualification or ability to hire an appropriate specialist, then it is better to use a different method, making a tank from a finished tank.
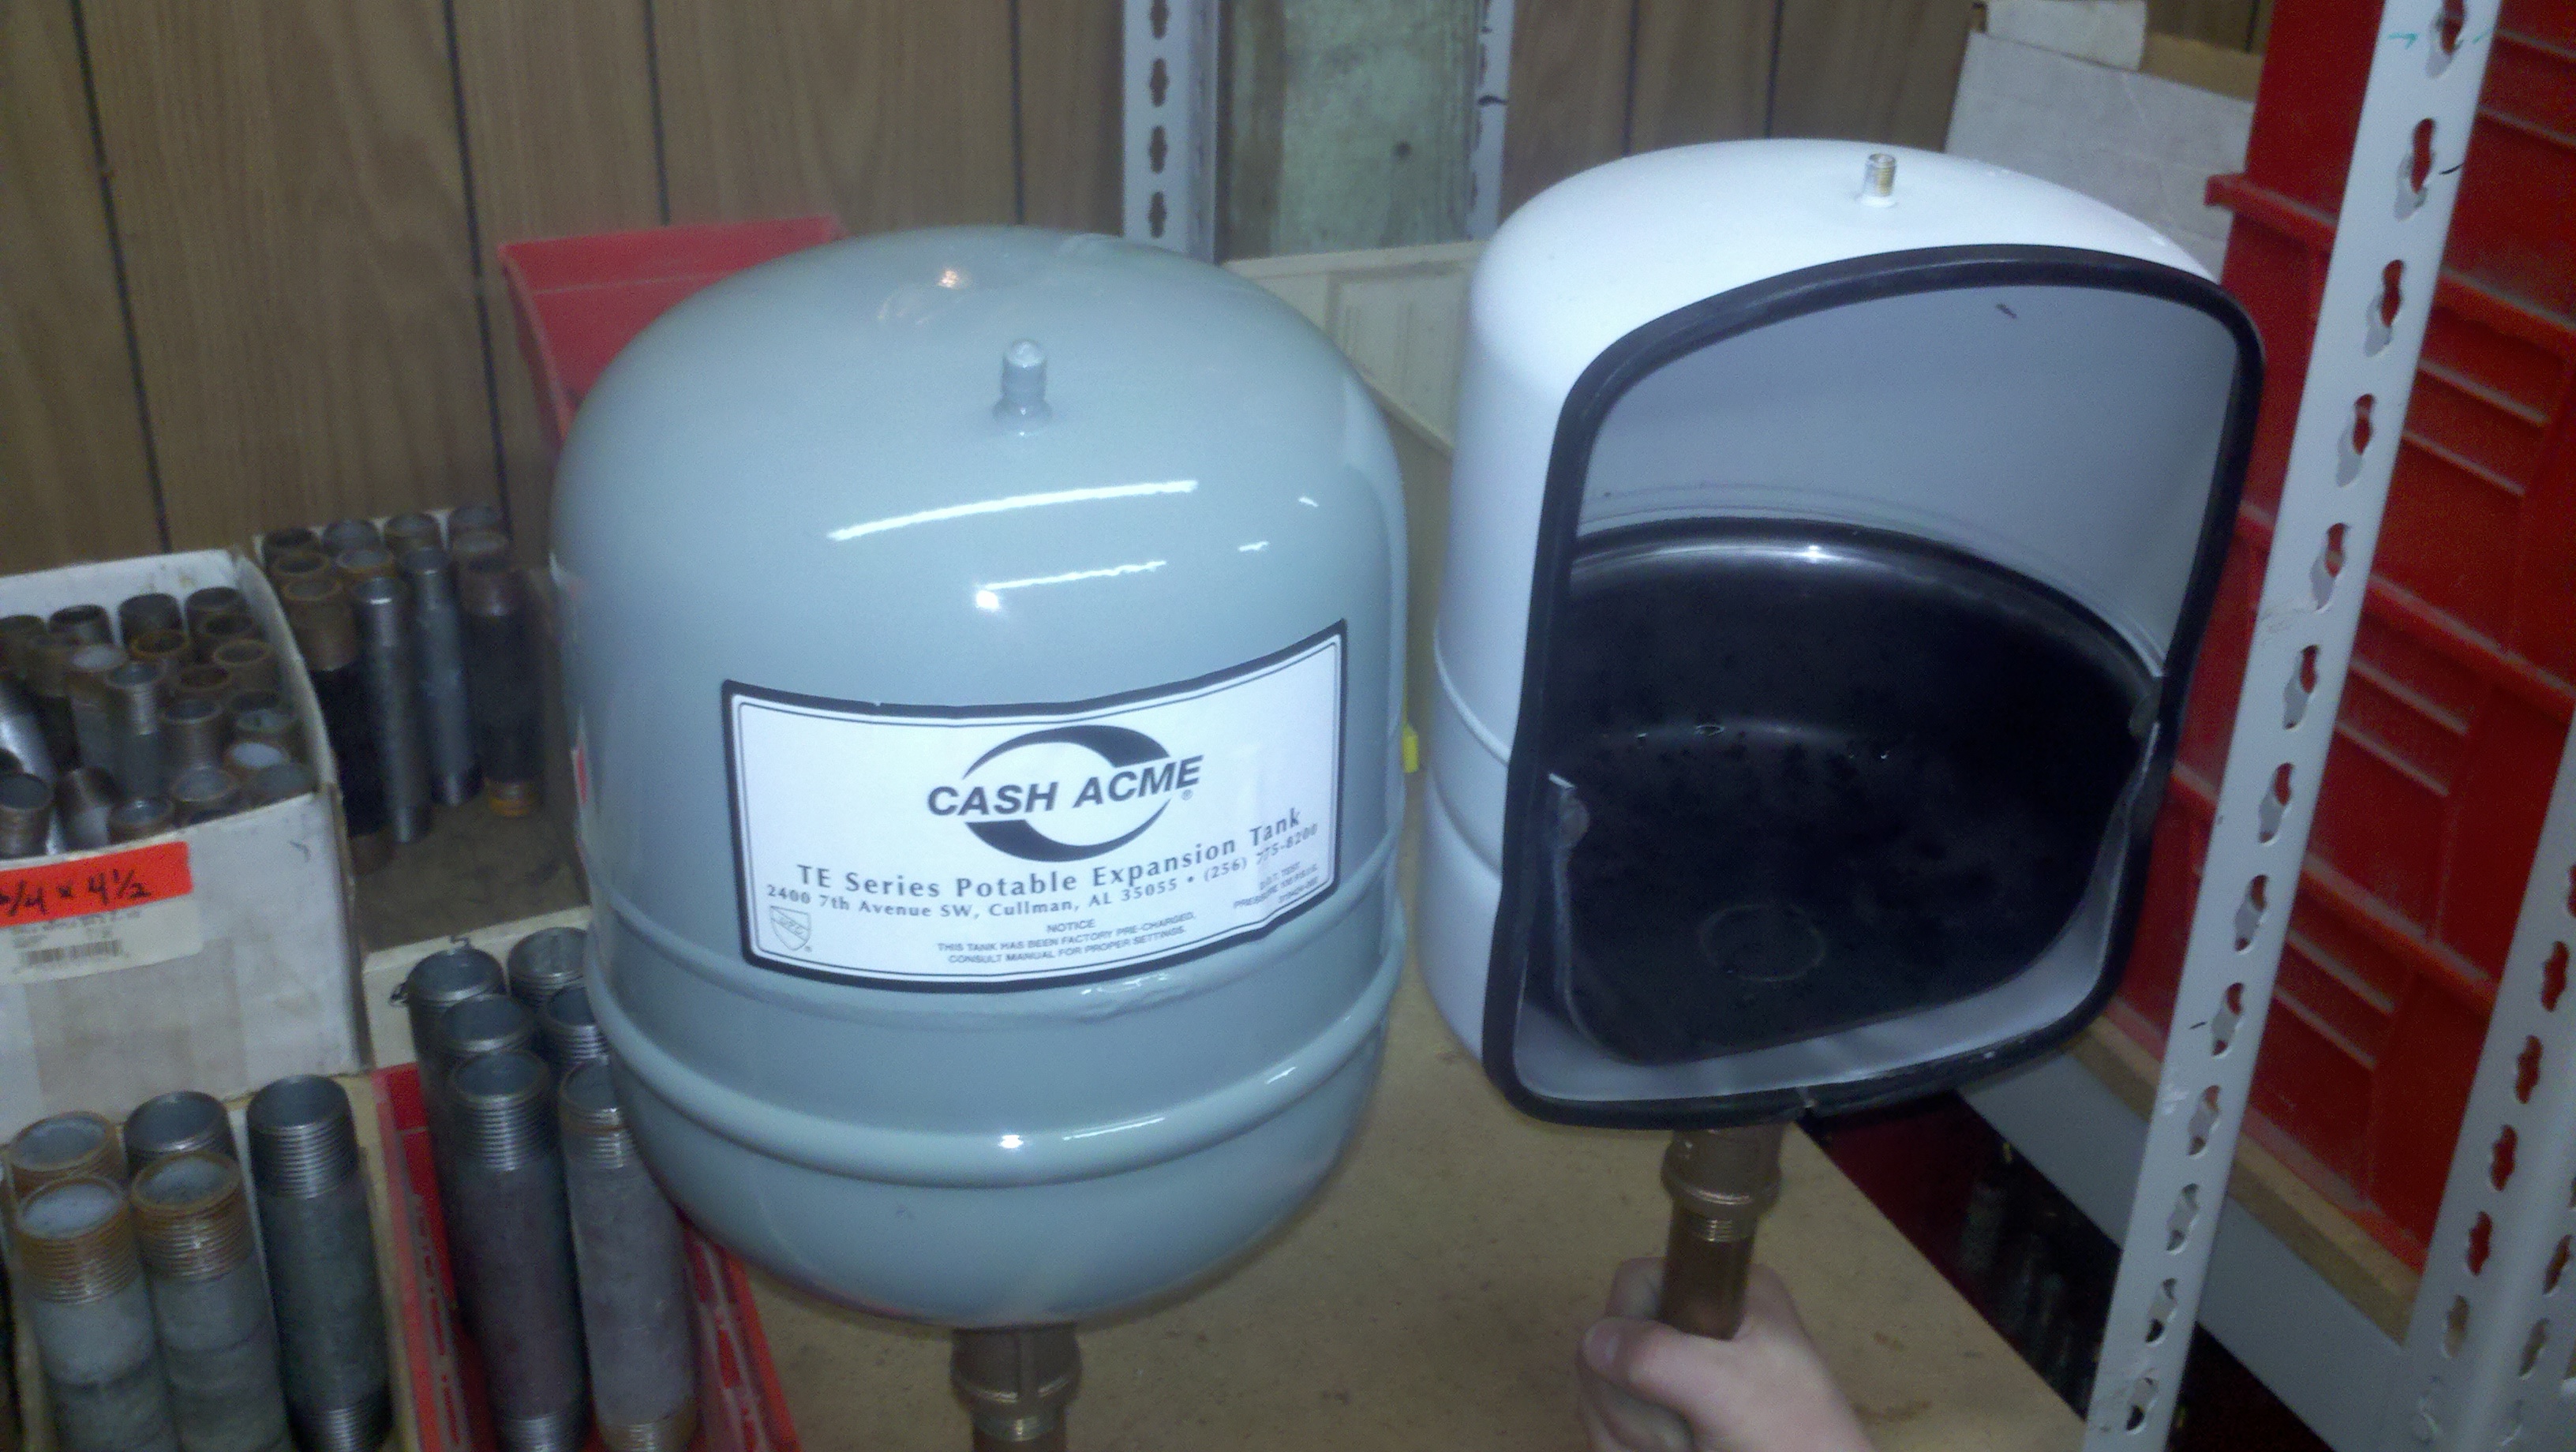
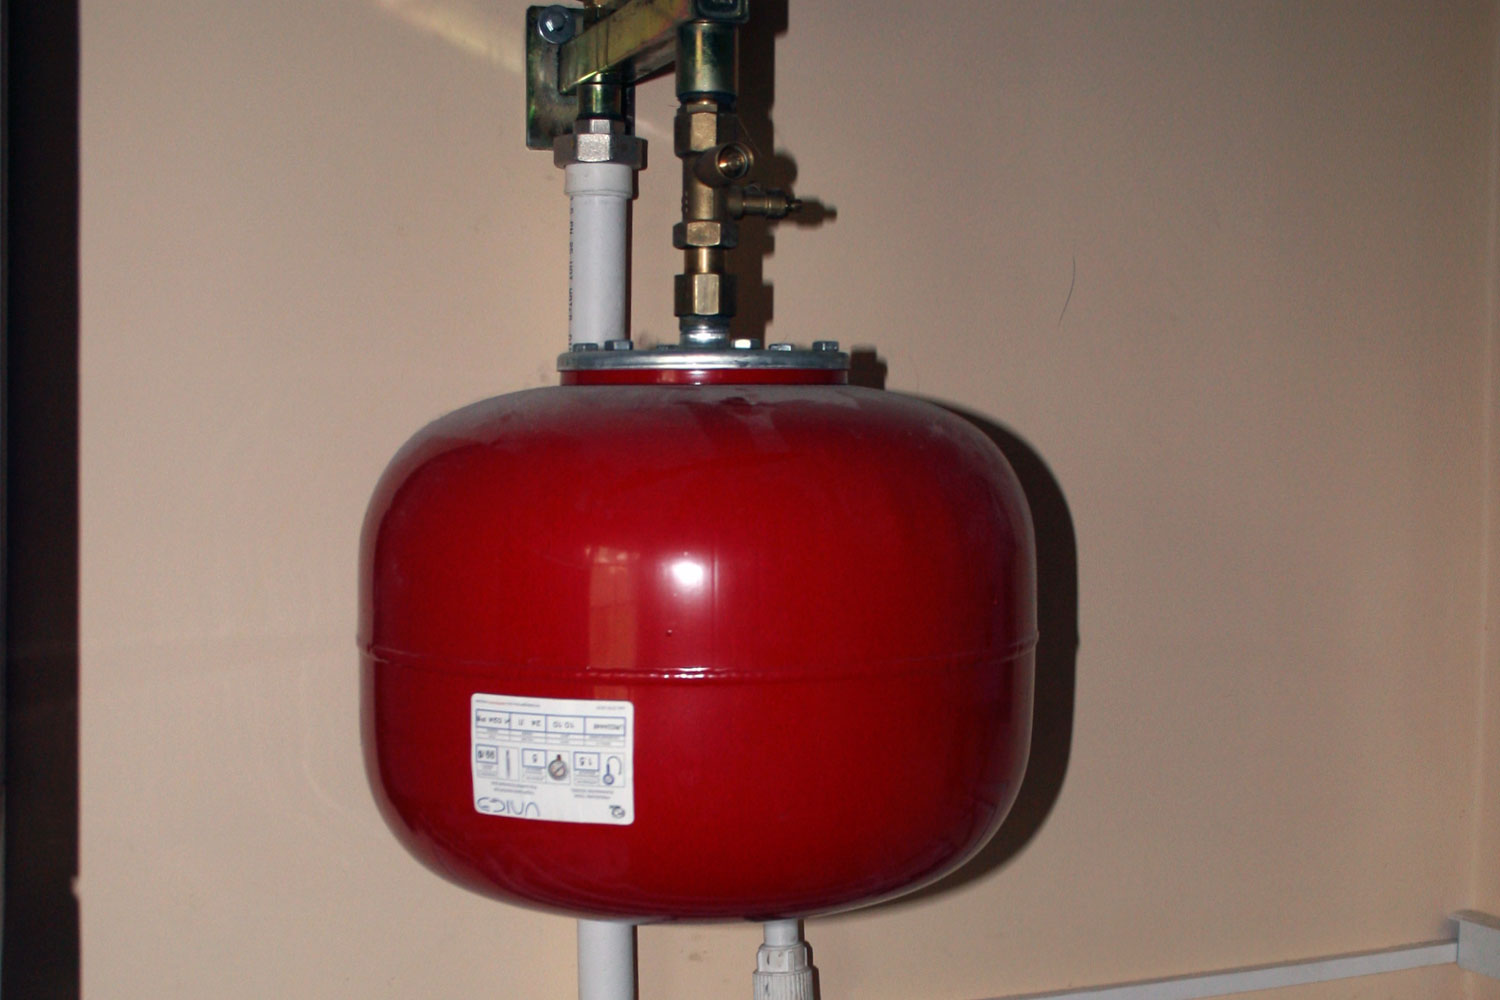
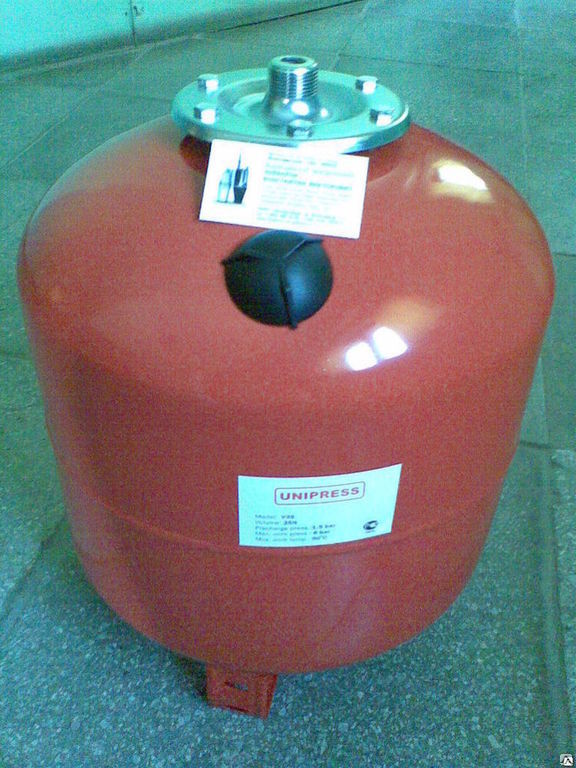
Expansion tank from gas cylinder
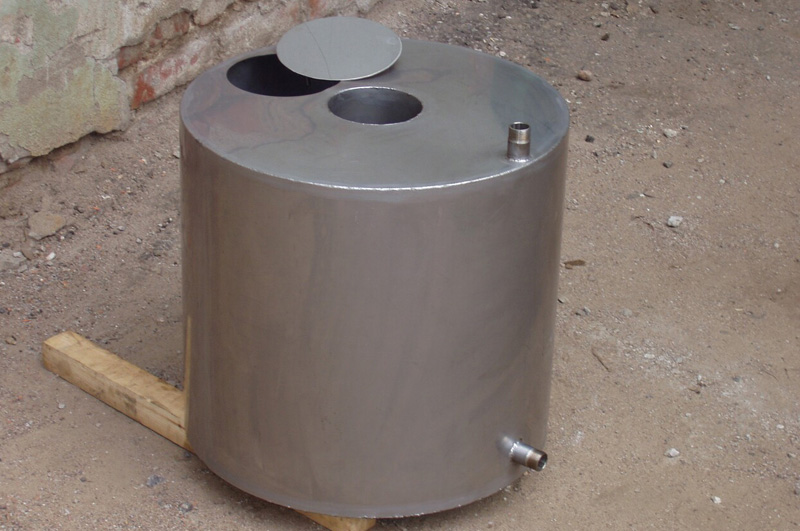
The manufacture of the expander can be spent as a 50-liter and 27-liter gas cylinder. In the first case, a segment with a height of 250 - 300 mm is taken from it. The second option is to use the entire cylinder.
Therefore, in order to save material, it is better to use tanks of 27 or even 12 liters. Such a homemade tank of a 12-liter bottle can be installed in systems with a capacity of up to 240 liters.
The transformation of the cylinder in the expanding tank is as follows.
Before starting work from a cylinder, it is necessary to completely release all the rest of the gas with a perfume, which gives it such a specific smell, having completely unscrewed the valve from it. After that, through the opening of the valve, the cylinder is completely filled with water for its entire volume. This water is drained after 5-10 hours. Bleeding and draining of water should always be carried away from human habitation.
When the cylinder is prepared in this way, the conical part of its valve is cut off. Next, it is welded to the tail end of the required diameter to form the entrance to the expansion tank. If you can not use welding, then you can use the valve in the form of an input, connecting it with the system by means of bellows. It is usually screwed to the outside fitting of the valve.
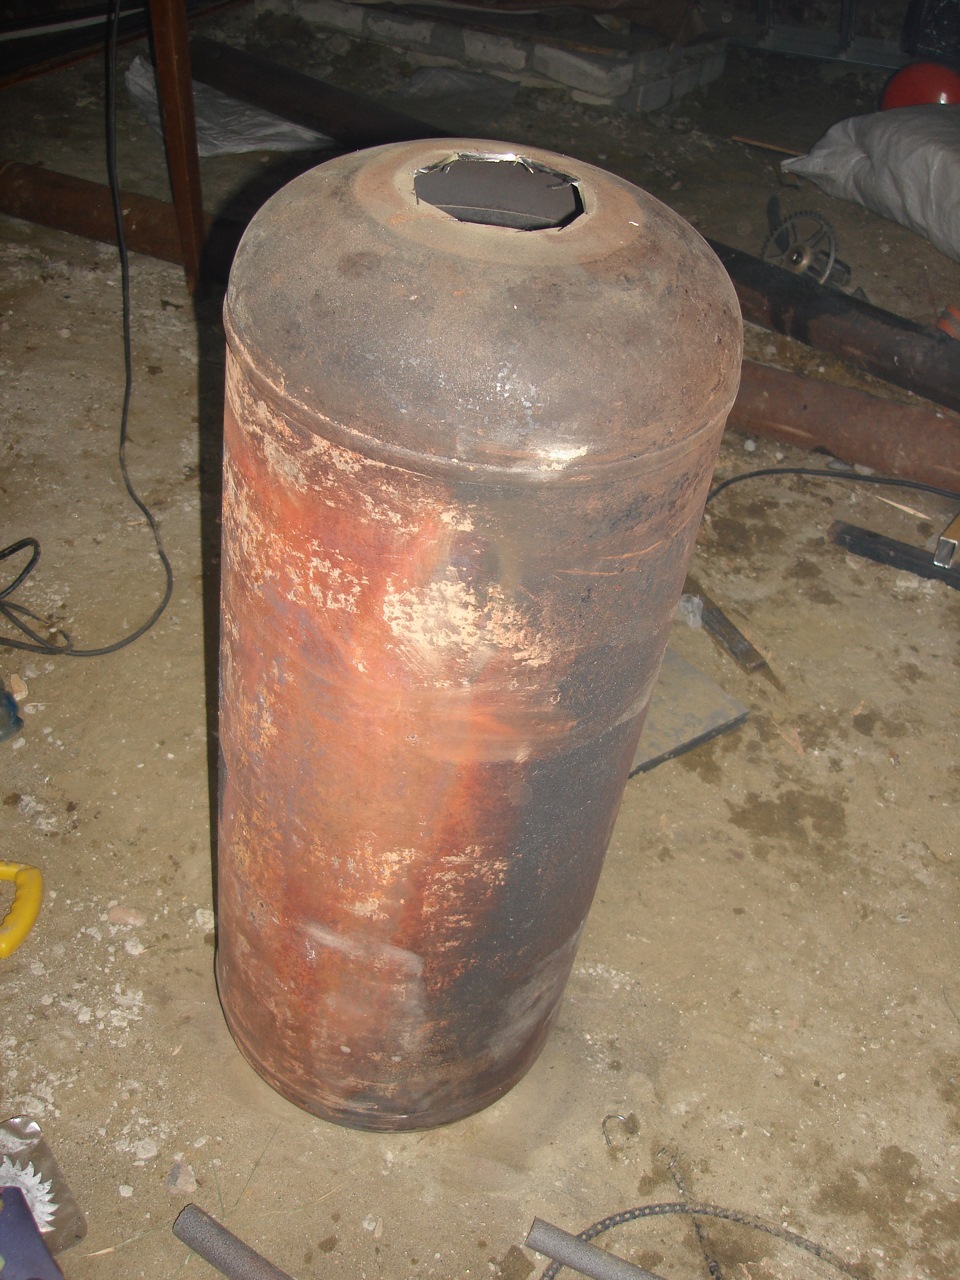
Then the legs are welded to the surface of the cylinder body, and the tank itself is installed down for this operation with a valve. In the absence of welding, the legs are made of corners and are fixed to the cylinder with screws, having drilled holes in it and cutting threads in them, or self-tapping screws for metal with sealed silicone washers.
At the final stage of work in the balloon, a window of 50 × 50 mm is cut through. It is made from the side of the balloon bottom. It now becomes the top point of the entire tank. Through such a small hatch, you can pour coolant into the system, bleed it off with steam or excess air from the system.


Thus, the manufacture of a tank from a gas cylinder is not such a complicated operation, but there is another simpler option for obtaining an expansion tank.
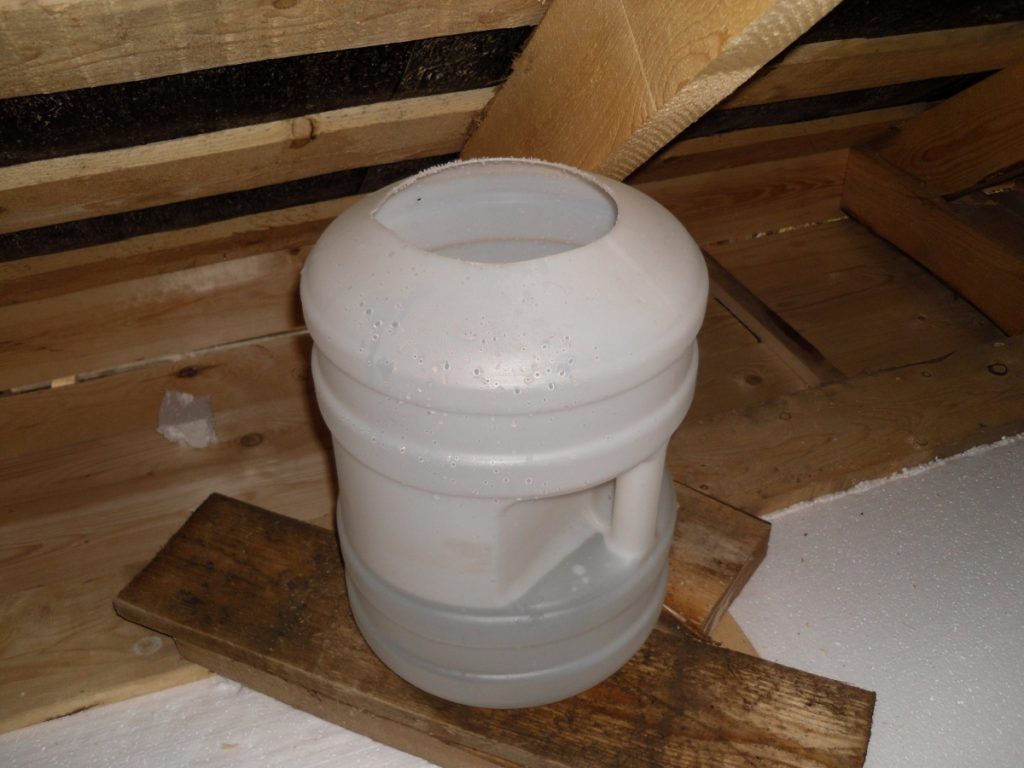
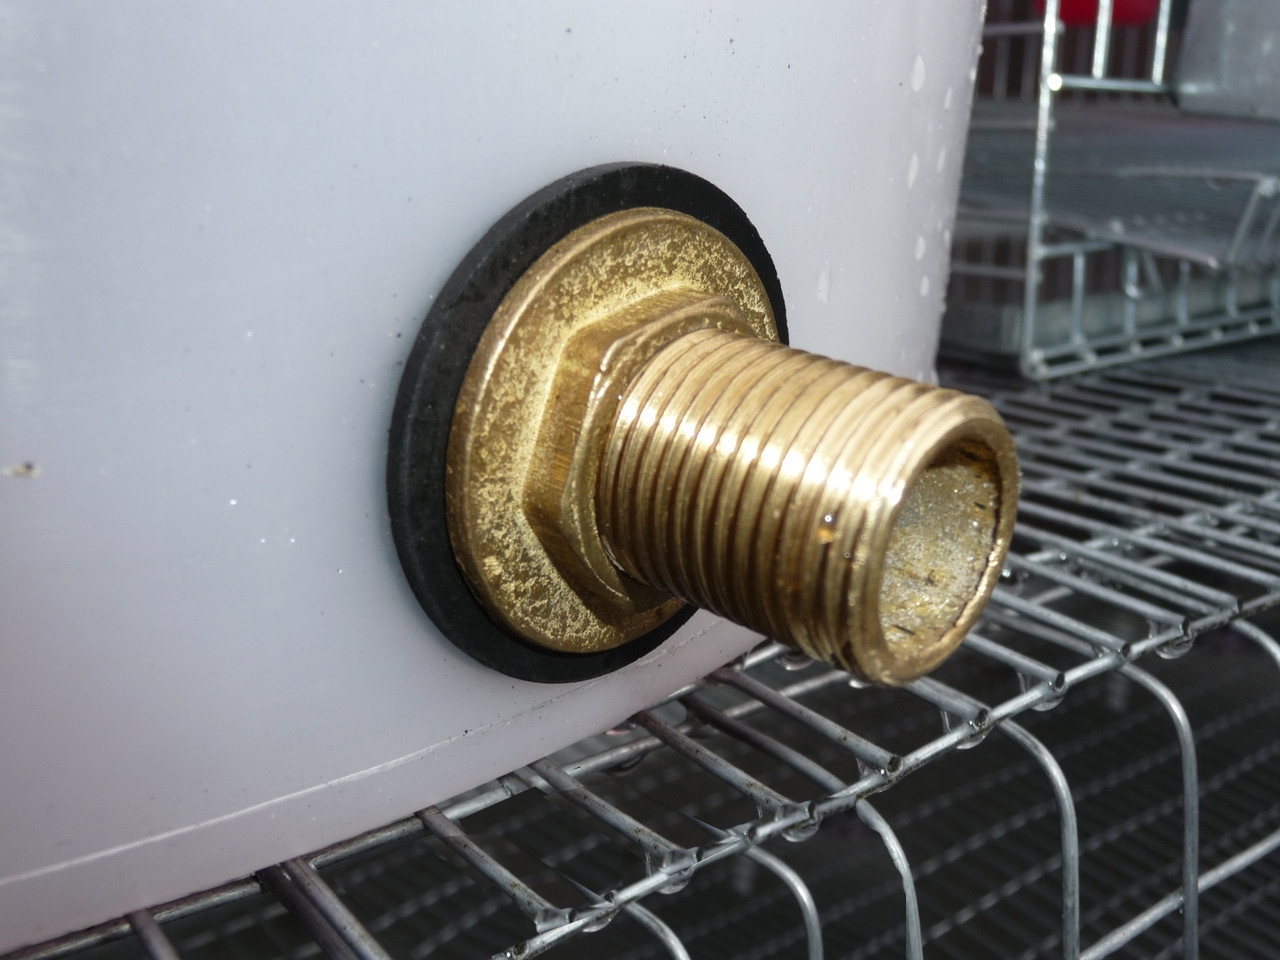
Plastic tank
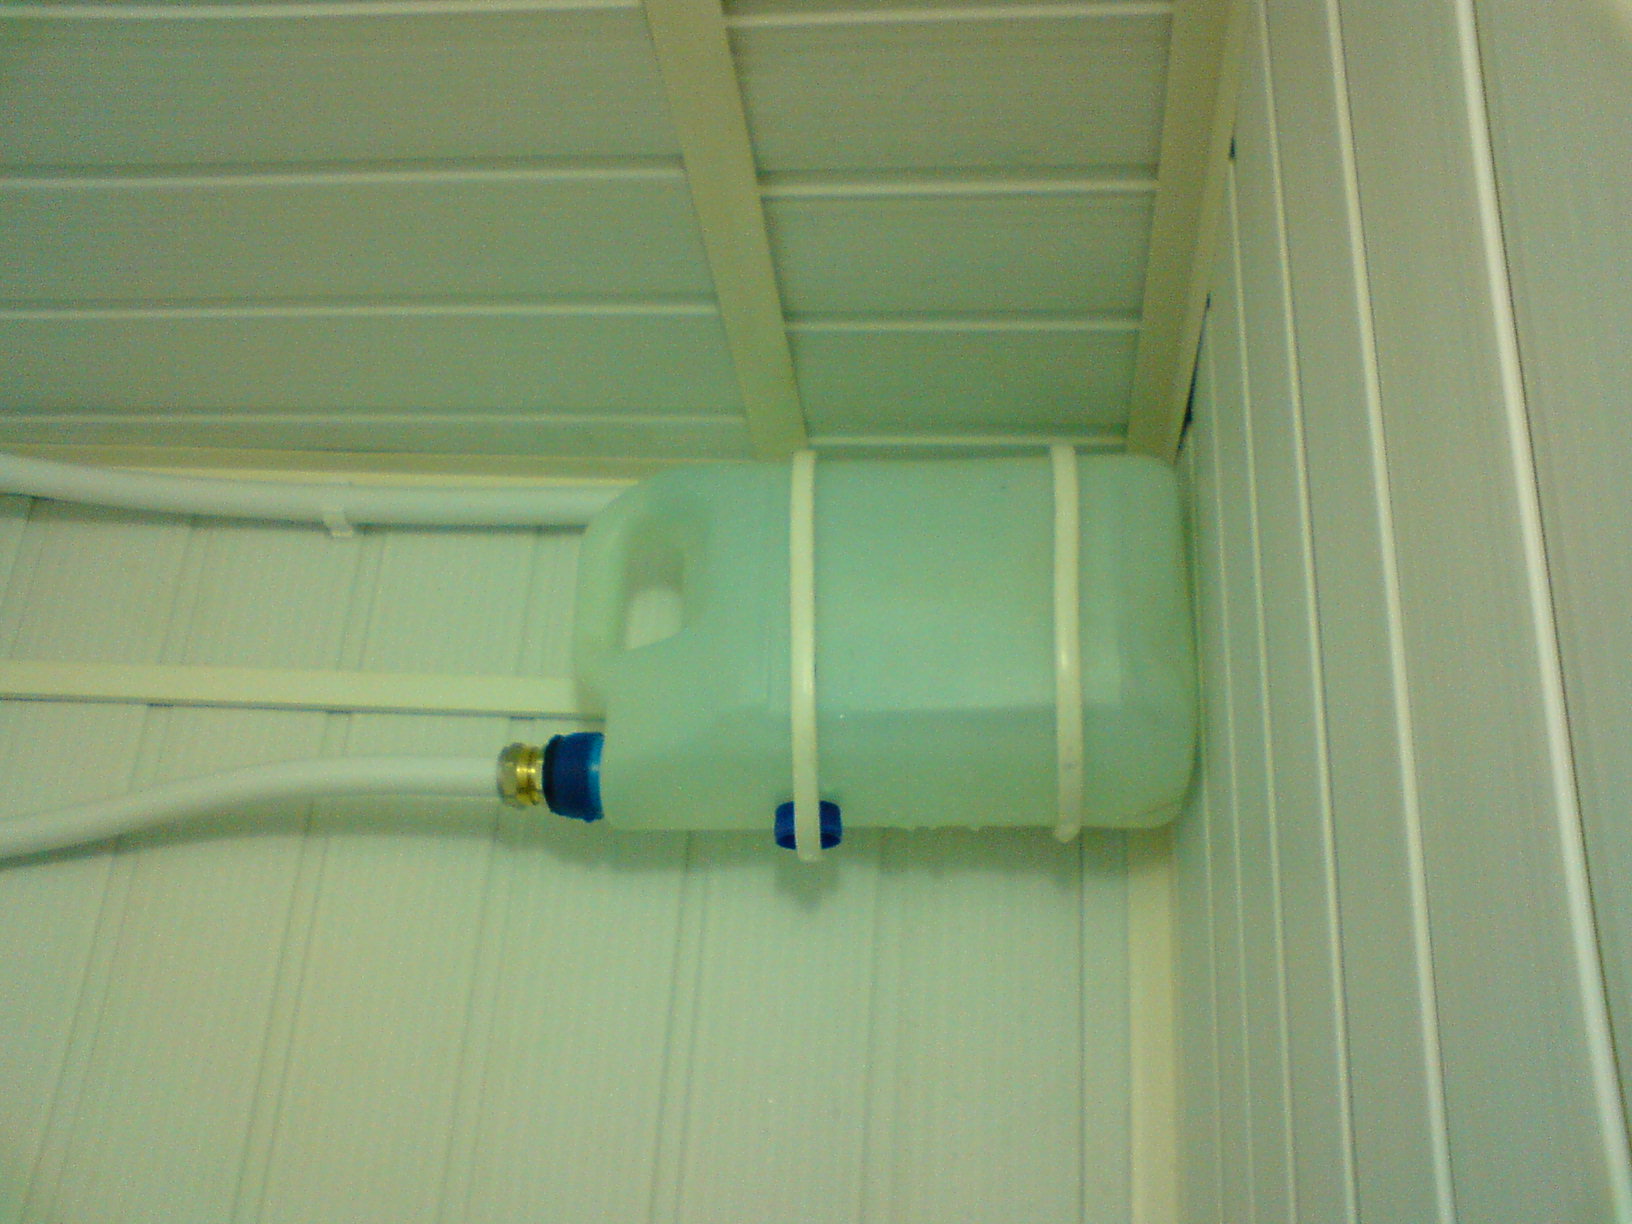
It just takes a plastic container. The canister of 10-40 liters, and the usual bucket for 10 or 12 liters will be suitable for the role of a tank. A preferred option would be a rectangular base.
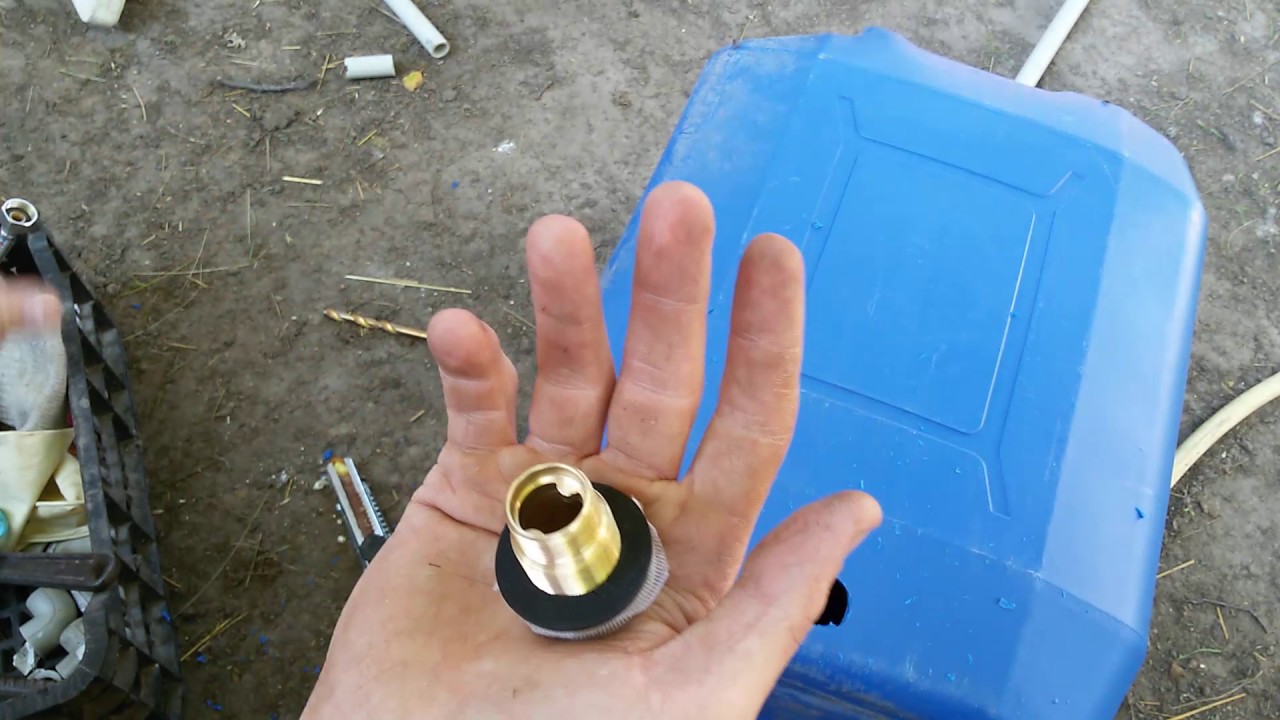
To it you should purchase a threaded fitting with a thread for two sleeves and a rubber washer for the diameter of the choke, as well as two nuts for the diameter and thread pitch of the shovels.
Then one of the ends of the nozzle is heated on the open fire of a blowtorch, gas cutter or gas stove, and this heated choke head burns the bottom of the canister, bucket, or some other container intended for the expansion tank.After that, the top of the product should be cut off and the three holes should be burned with a nail heated on an open fire. These holes are made with a triangle and are used to attach the tank to the wall.

Now it is necessary to equip the bottom of the product with a fitting. For this purpose, a nut is screwed onto the boom, and it is inserted into the hole. From the inside of the tank capacity, a rubber sealing washer is put on the sgon thread and screwed on, tightening the second nut tightly. The objective of this second nut is to firmly fix the rubber to the bottom with an emphasis on the second nut, which is located on the outside.
The last stage of the work is to mount the tank higher, somewhere under the ceiling. To do this, use dowels or screws. They are inserted into pre-burned red-hot nail or holes drilled in plastic. This mounting method is suitable for mounting a 5-liter tank, but for its 10-liter sample, you will need to build a shelf.

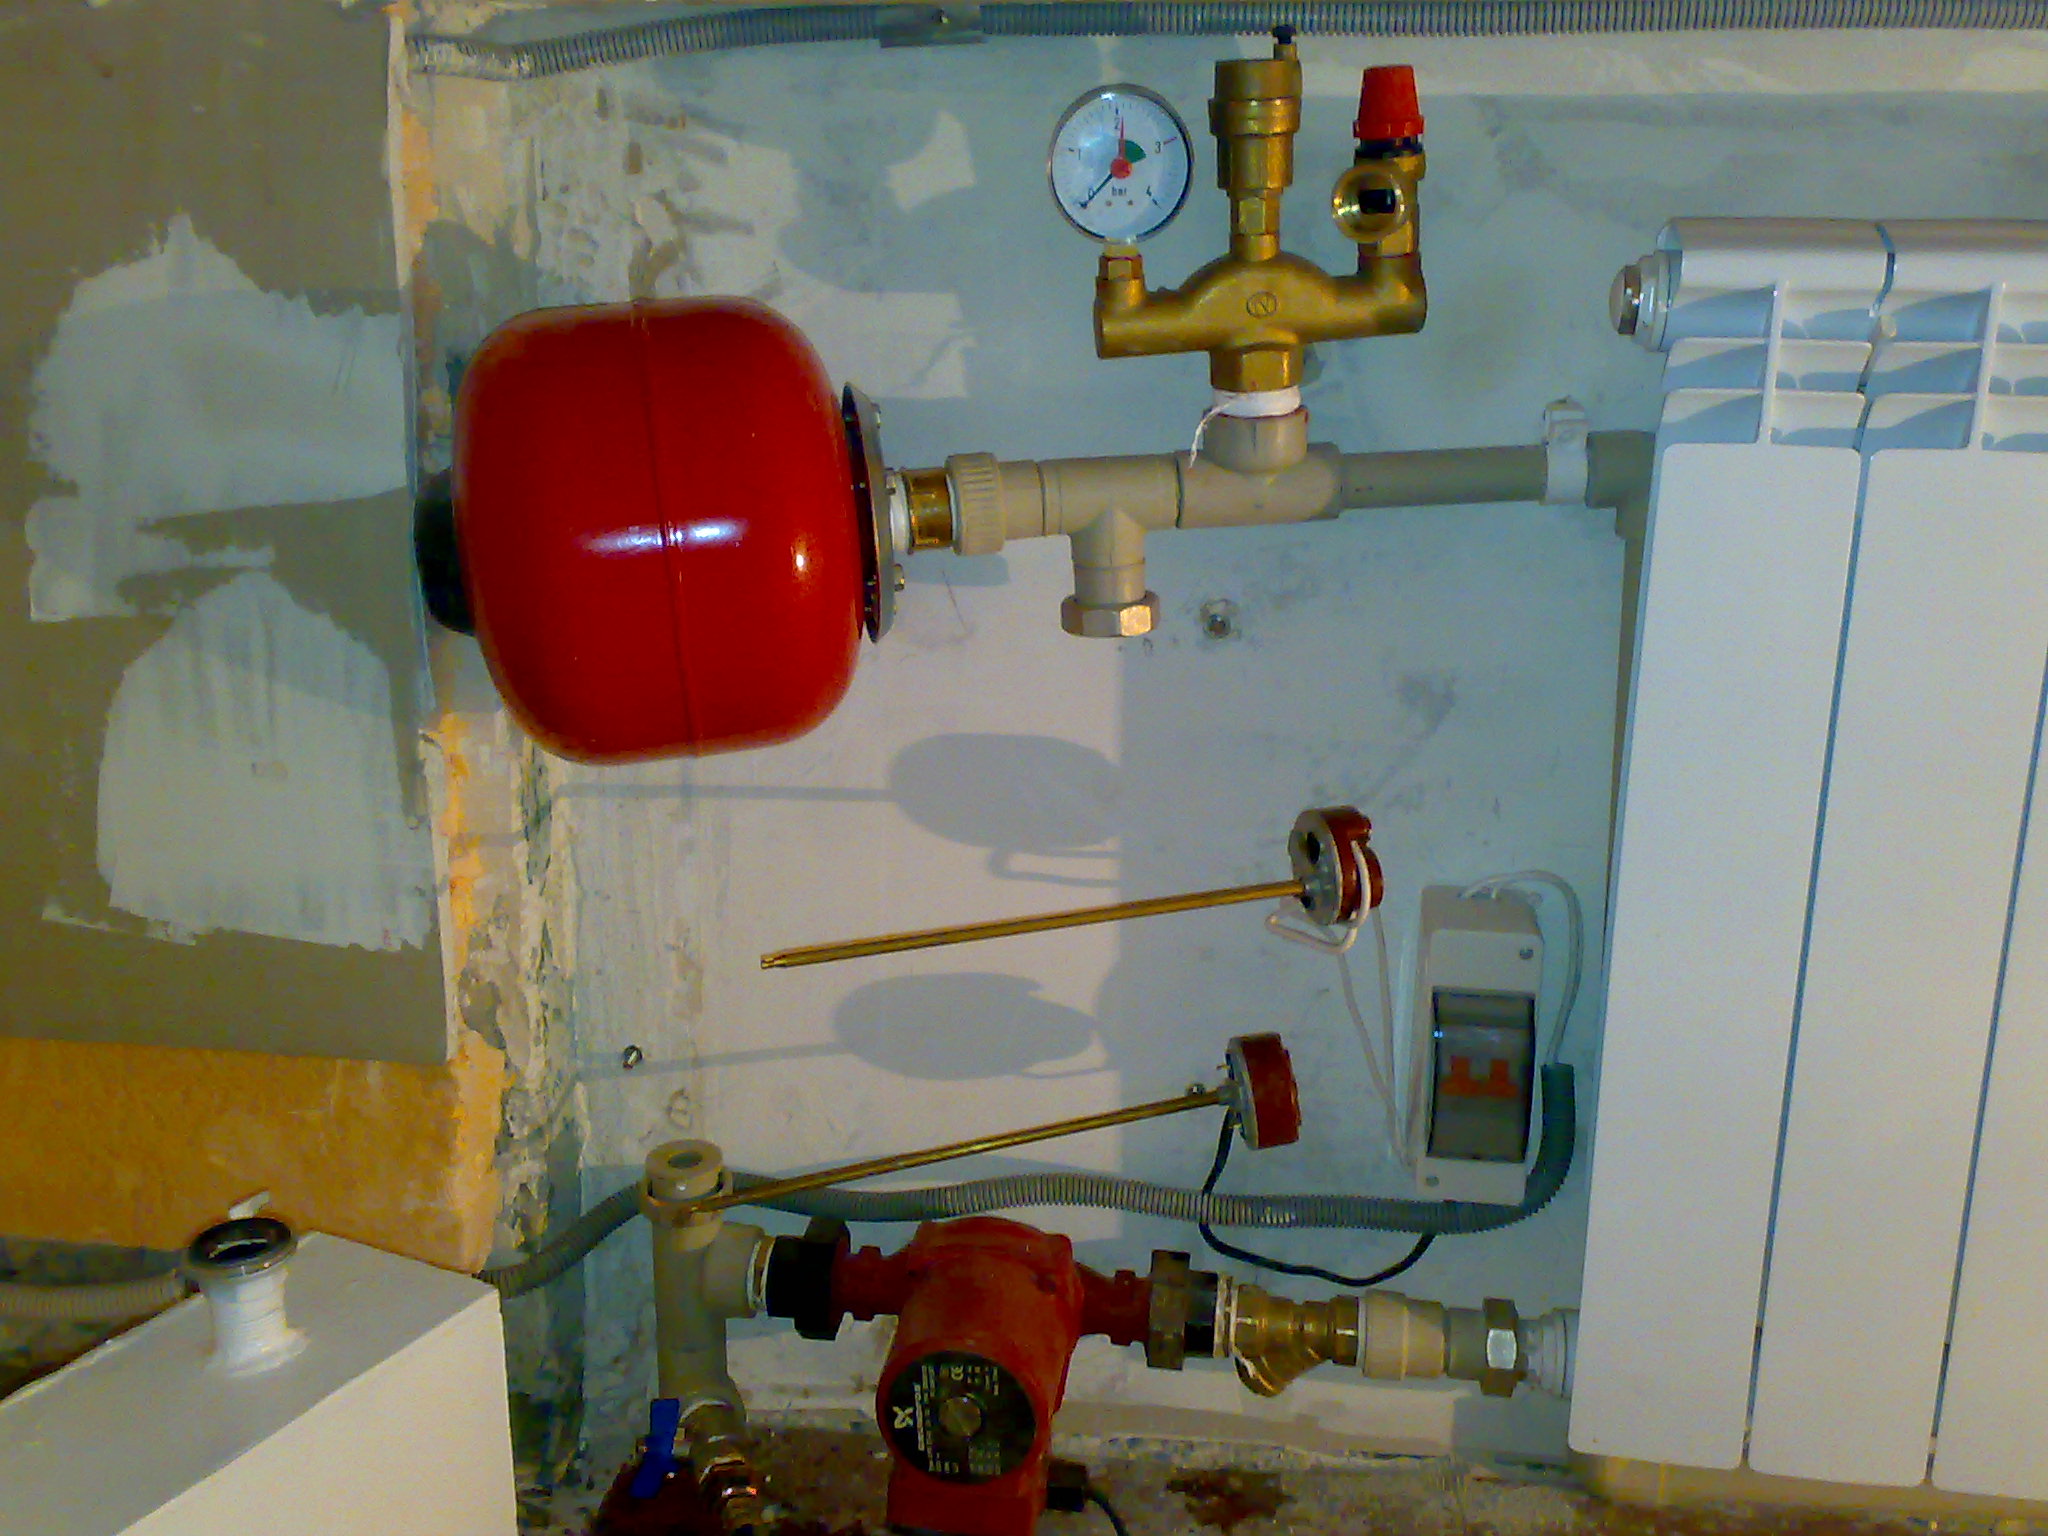
Connection of the expander to the heating system
To connect a tank made in accordance with one of the methods described above, it is necessary to drain water from the heating system, removing 1/10 of its total volume so that the coolant level drops to the uppermost branch pipe of the battery group.
It is necessary to determine the highest point of the pressure system and cut the tee into this place. Moreover, if polymer pipes are used in the system, you can use a collet fitting. When assembling a heat pipe from steel reinforcement elements, a tap is welded to the threaded end part. It is used instead of the tee.
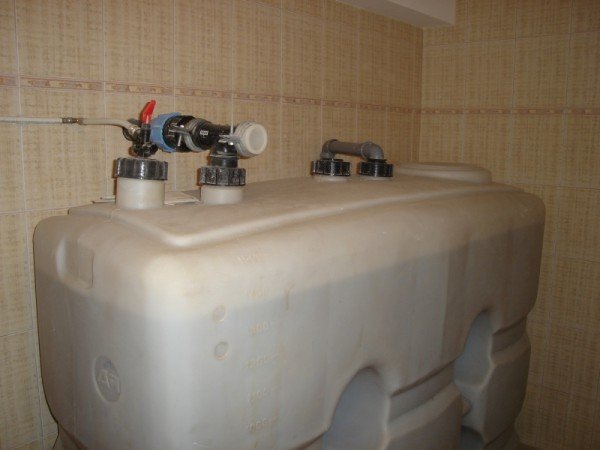
The expansion tank is equipped with a ceiling. Otherwise, it is mounted on the attic floor. For installation in the attic will have to make a window on the ceiling to create access to the adjustable tee.
Then a nut is screwed on the expansion tank fitting to fix the bellows hose, and the second end of this bellows is lowered to the level of a tee. The latter is screwed to the outlet of the wiring in the form of a pipe or tee fitting.
The bellows hose can be replaced with a plastic or steel pipe, but this will create more difficulties during installation. For this reason, the preference is not for the rigid type design, but for the flexible hose.

How to install the expansion tank for heating, see the following video.


