Infrared underfloor heating: installation features
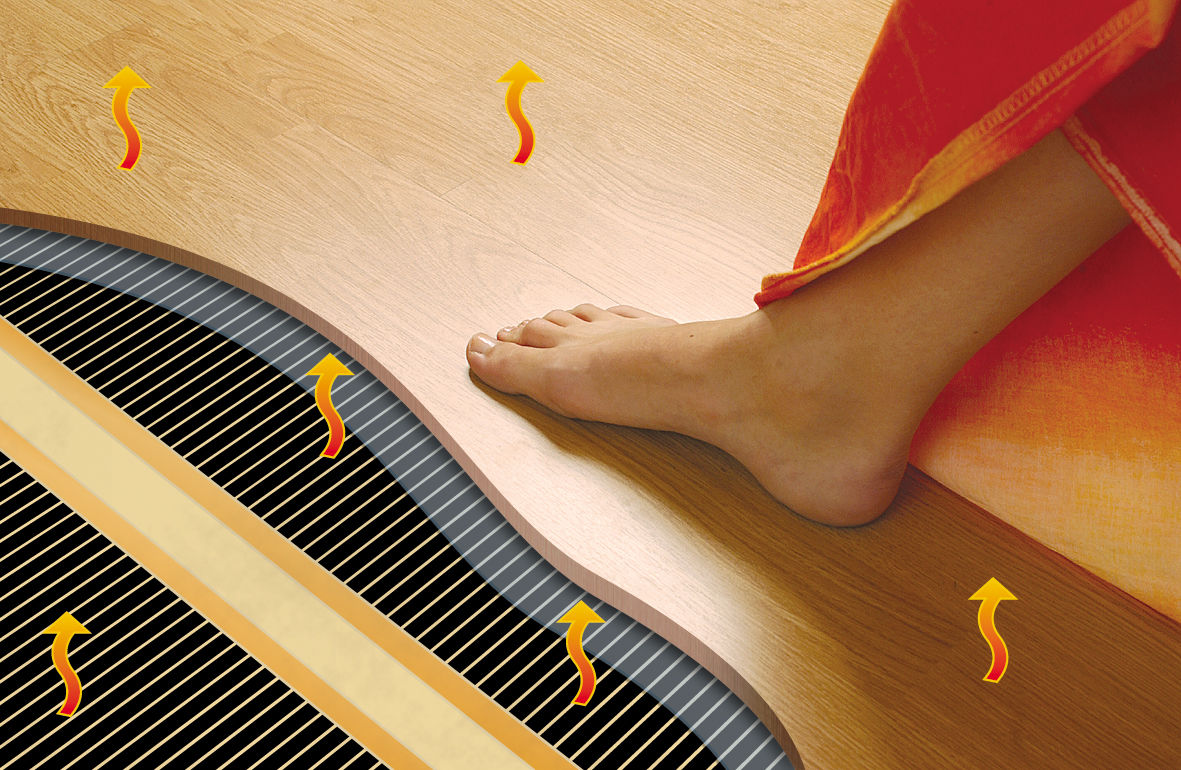
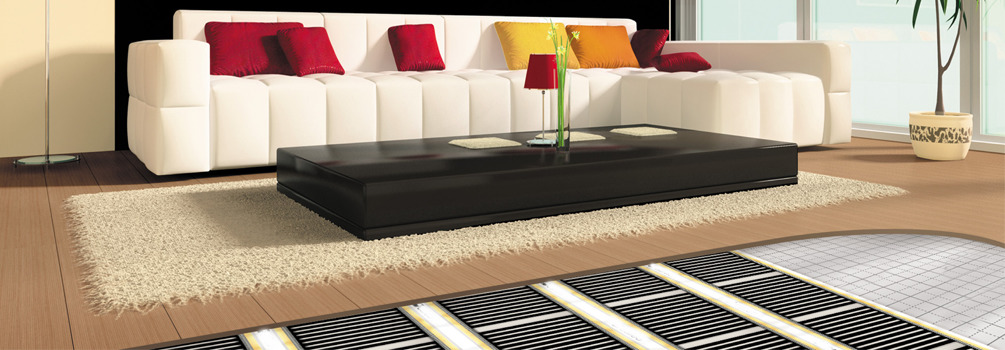
The principle of heating infrared warm floors (IR) is significantly different from traditional methods, it is based on the so-called phenomenon of secondary convection. In other words, the surrounding objects and the person are first heated, and then the air. The main feature of the device is that this type of radiation heats all non-transparent objects. However, it is not heated.
Special features
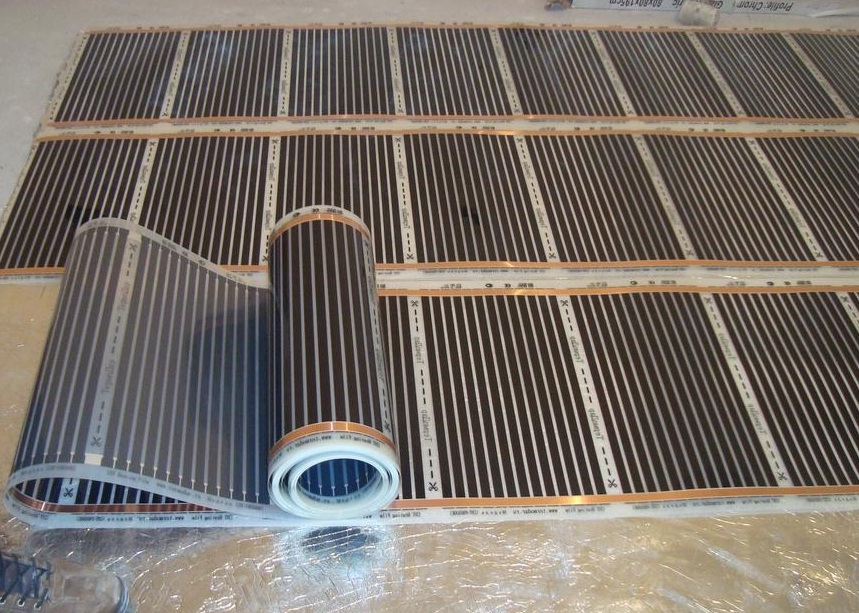
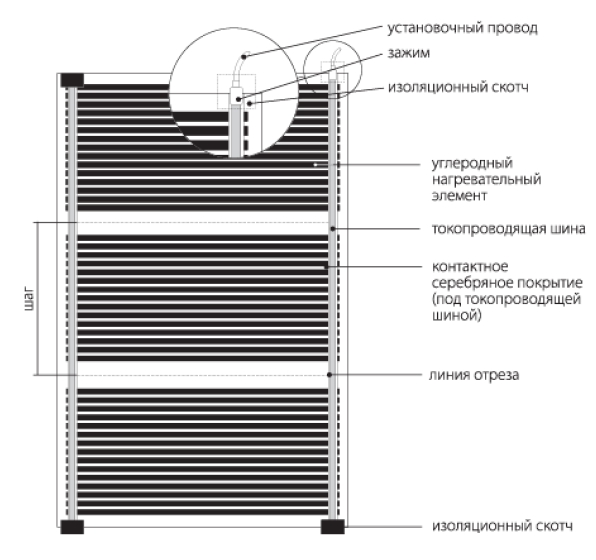
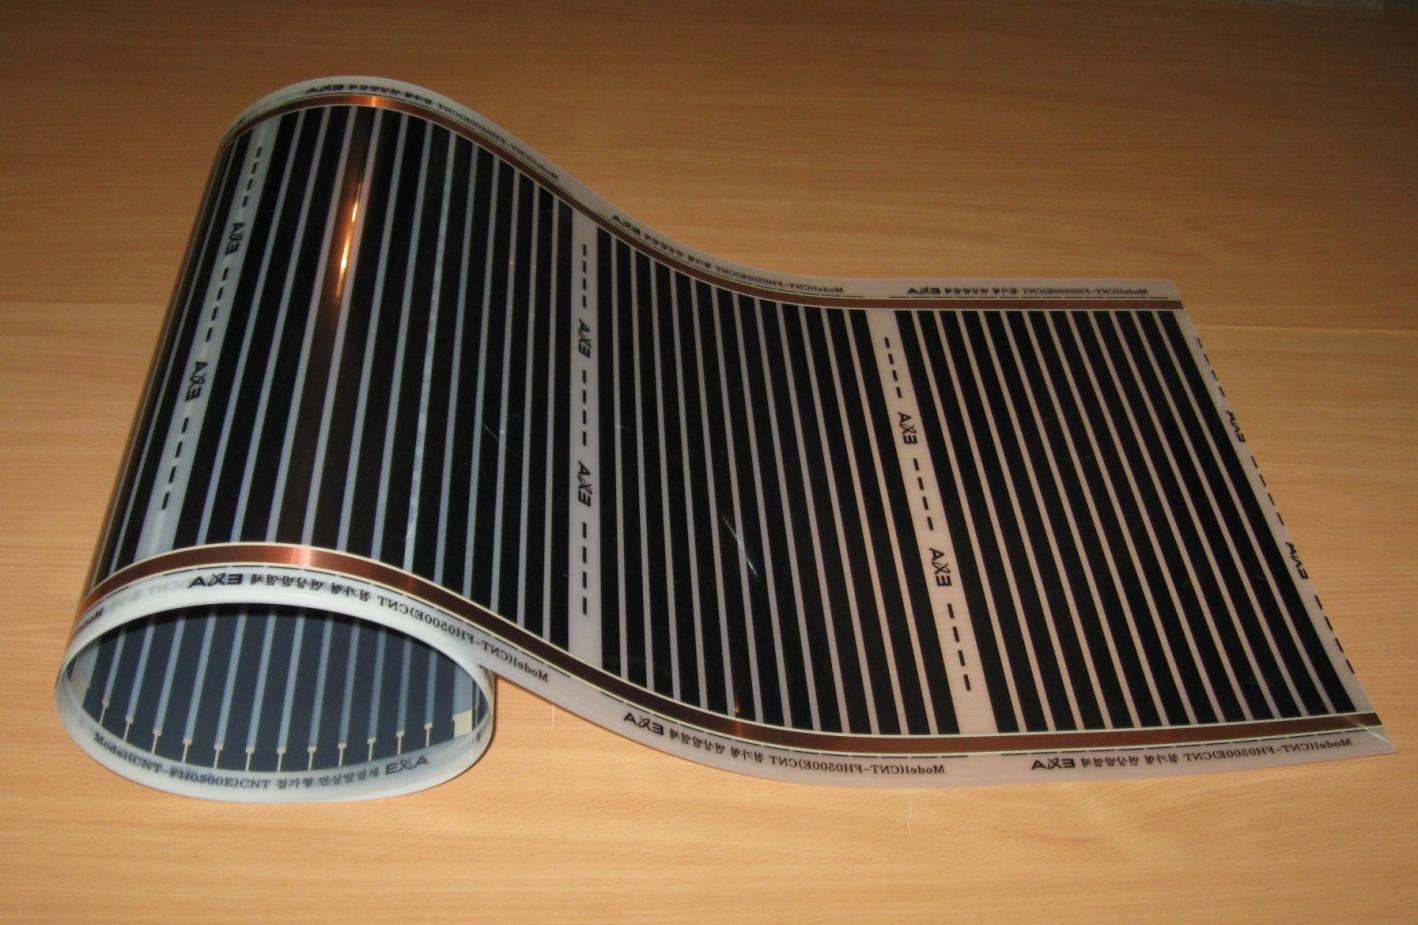
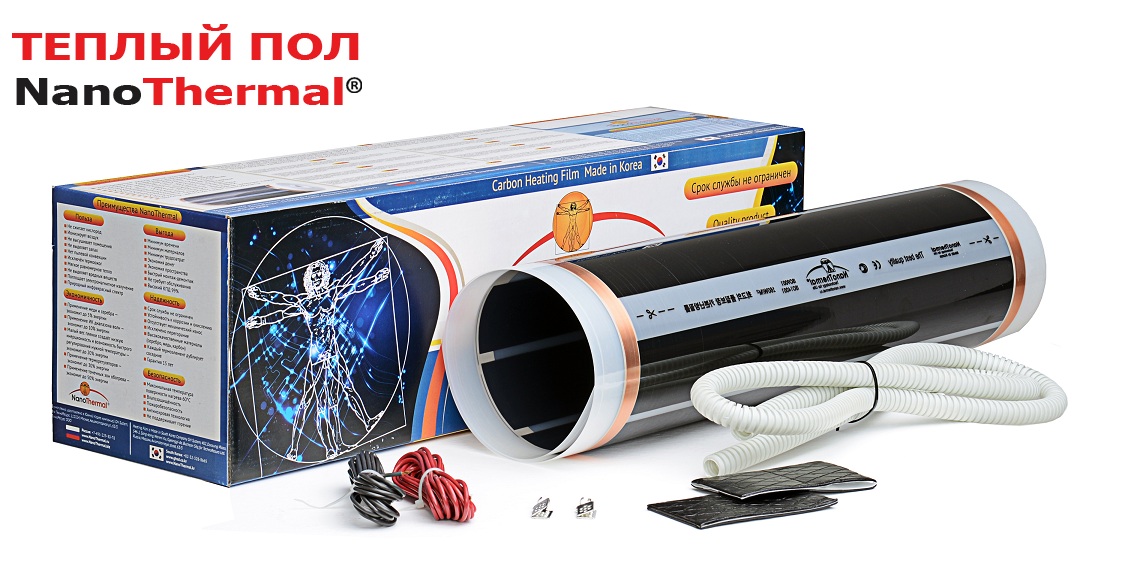
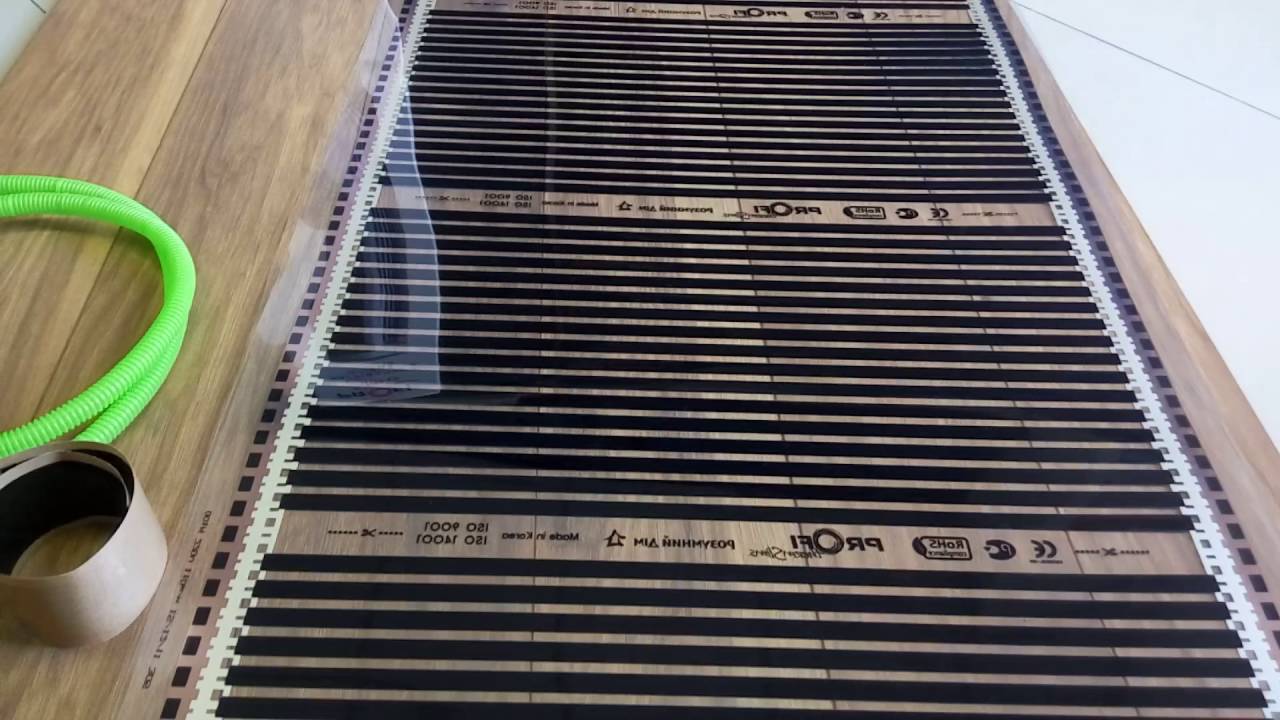
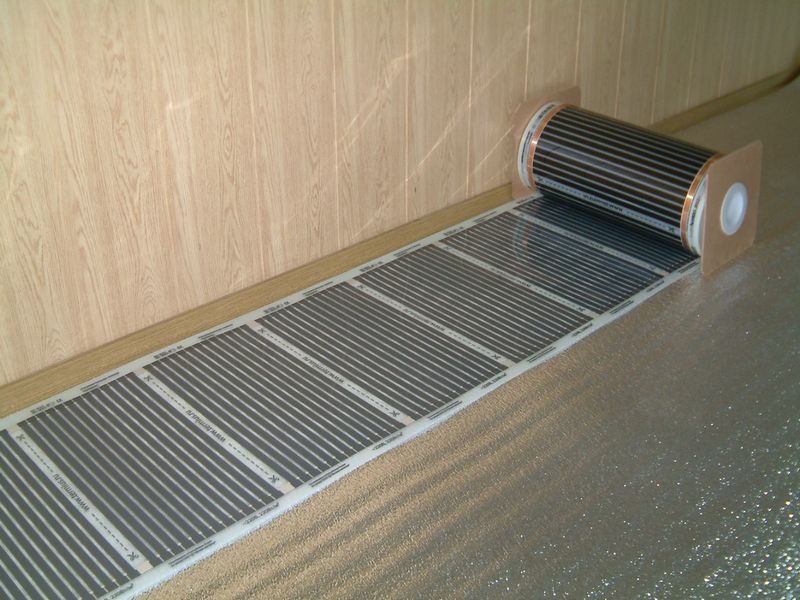
Such a warm floor as a main element has a special film with heating strips embedded in it. The heating process is carried out during the flow of electricity through the copper-silver conductors, and the direct source of heat is a special carbon nanostructure (carbon) deposited on the film.Thus, the heating process takes place through carbon semiconductors using infrared radiation.
The heat of this type is not only convenient, but also useful for humans, because in fact it is a kind of small analogue of solar heat, which has its application in medicine.
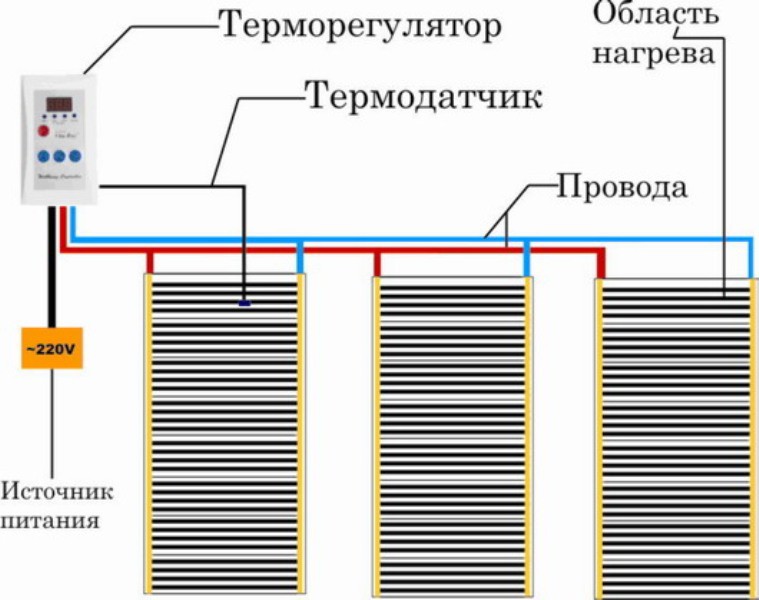
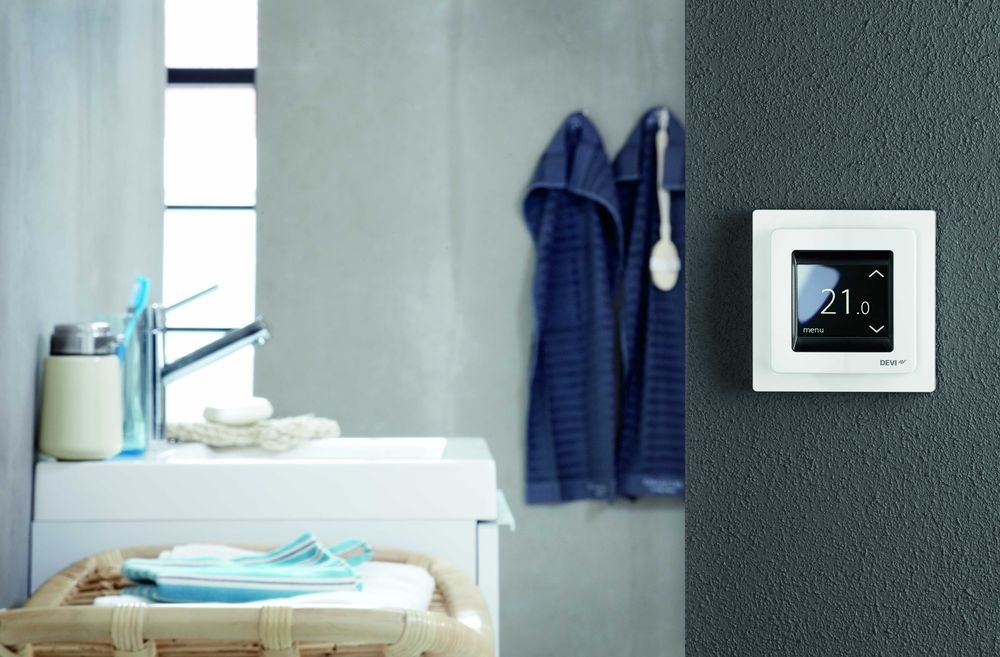
When using infrared floors the most comfortable temperature is considered to be 5-6 degrees lower than when using other heating schemes. This circumstance contributes to the formation in the room less dry and more fresh air. The choice of the desired heating temperature is made using the built-in temperature sensor circuit and thermostat.
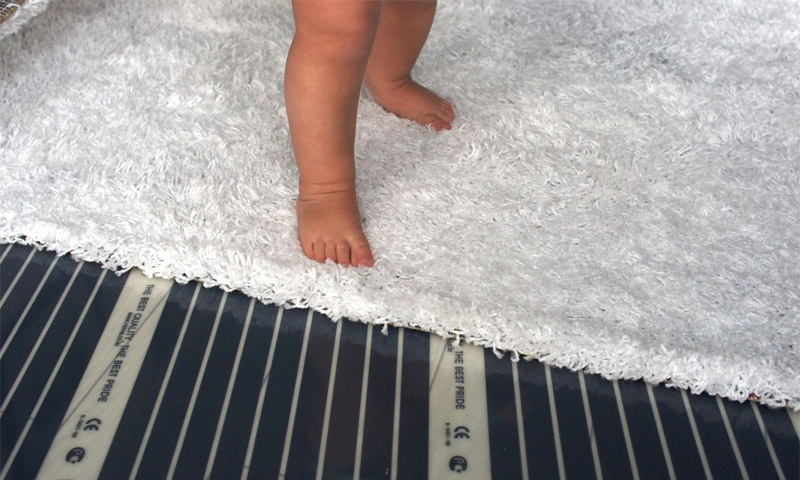
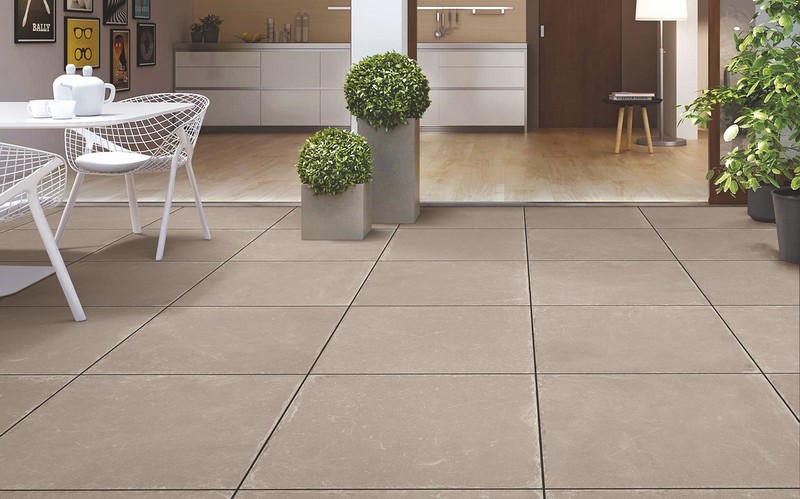
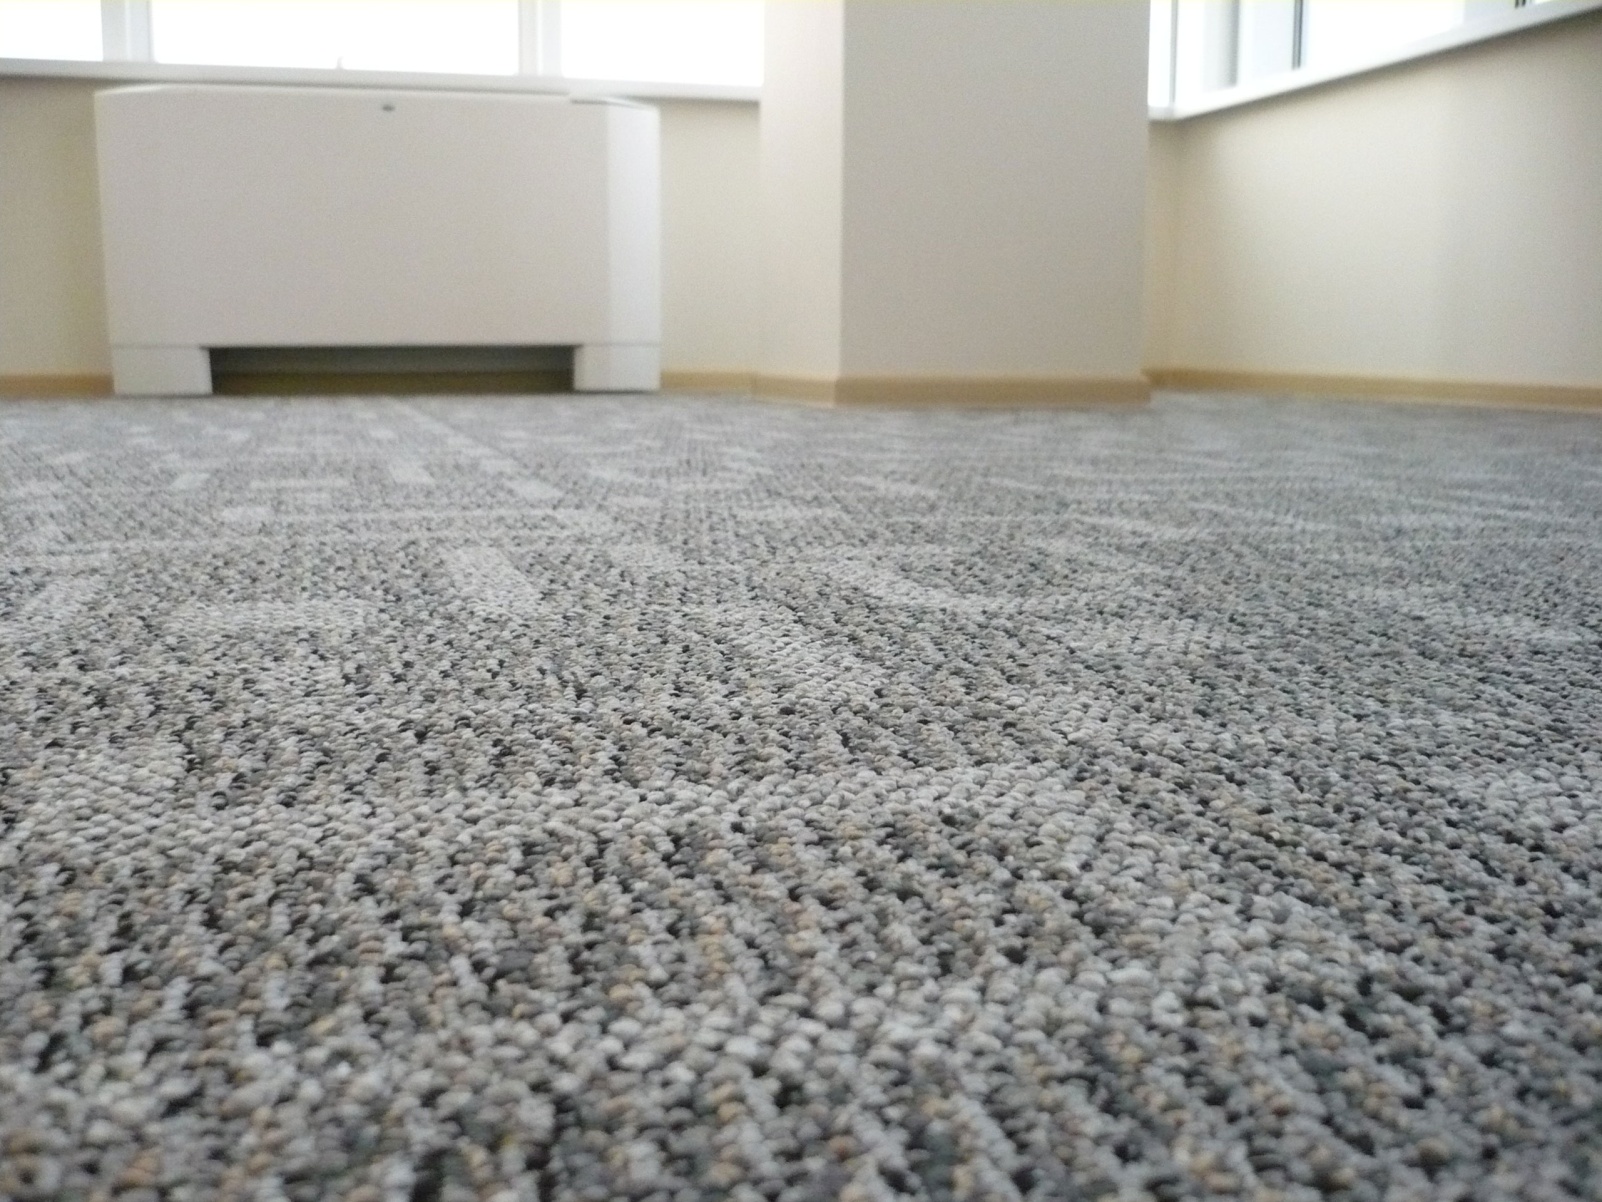
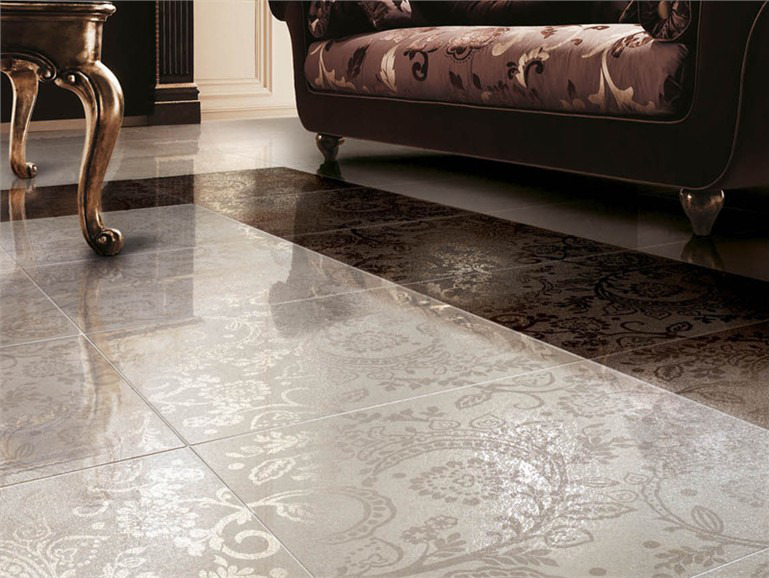
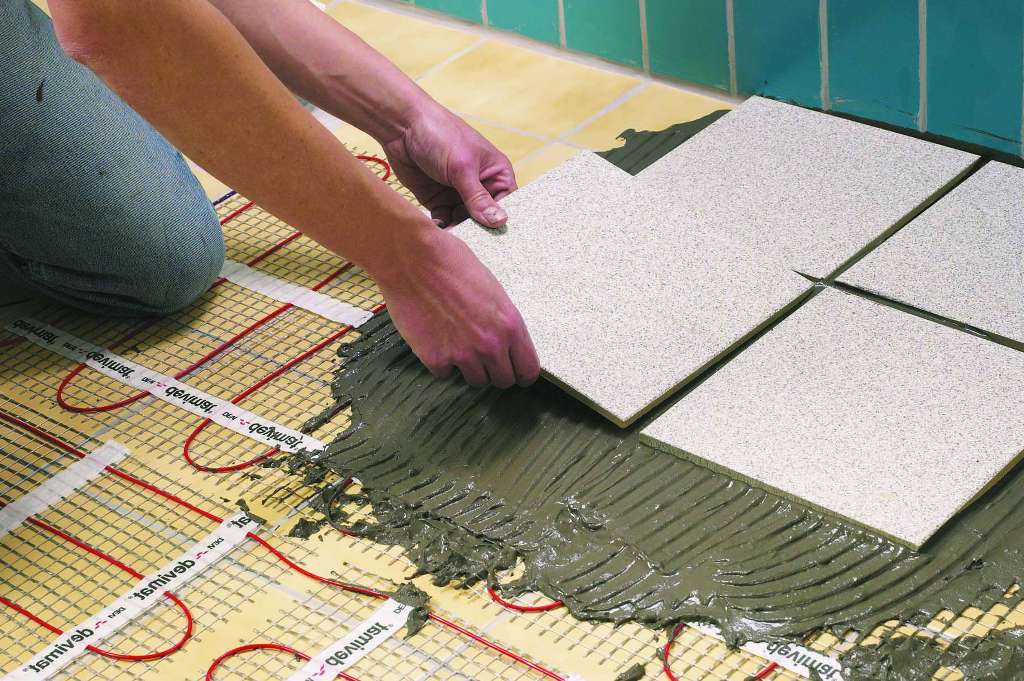
The product can be installed under different types of flooring. Its natural heat will save wood, will not spoil the carpet and other materials. The combination of infrared and ceramic tiles is an acceptable option.
The infrared heater will fully replace the heater on loggias and balconies - the device is simply mounted on the wall and glass, preventing it from fogging. Due to the insignificant film thickness (0.3 mm), the product is hardly noticeable after its installation.
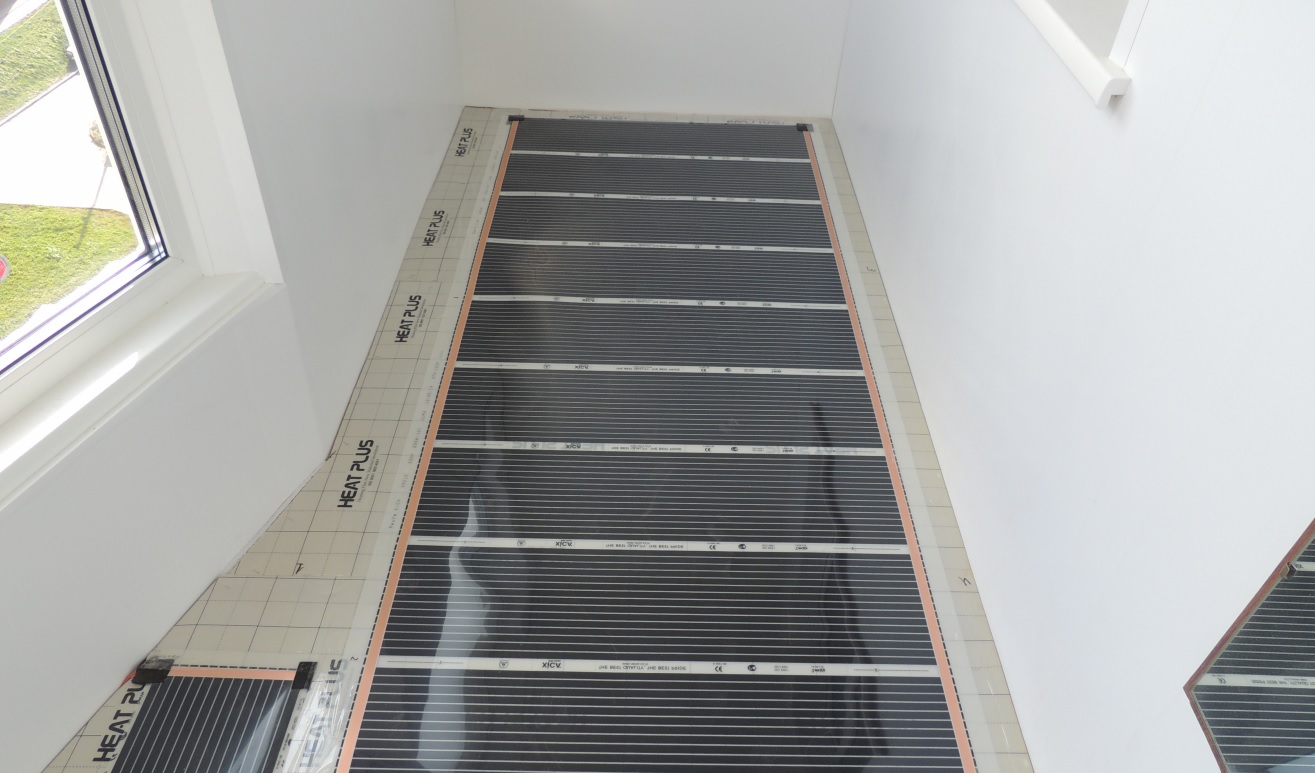
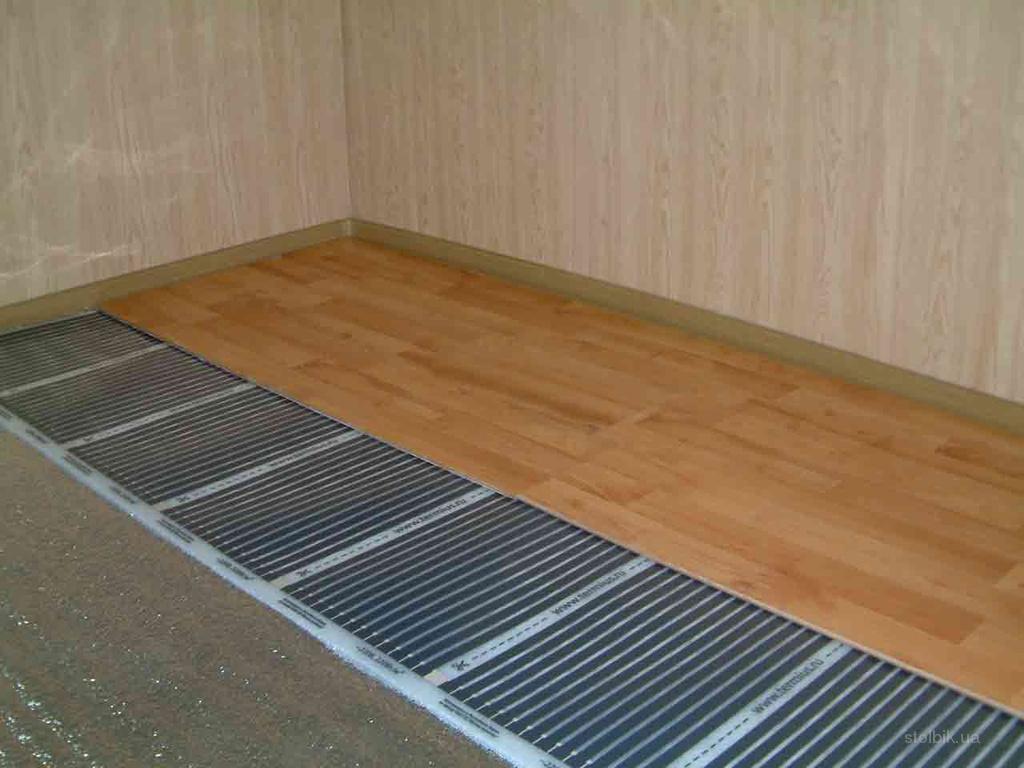
Attractive low complexity of its installation, eliminating equipment screed. The product is easily laid on the prepared basis in a “dry” way.If the floor is prepared (flat and clean), then it is quite possible to equip a room of average dimensions in 1-2 days.
The warranty period of the infrared heater is 15 years. Of course, the cost of this product is slightly higher than other heating systems, but these costs are fully justified.
It is necessary to place the product in open areas - heavy objects interfere with the normal heat transfer, which is fraught with overheating and disruptions in its operation.
The following features of IR devices are distinguished:
- Universality;
- Saving energy costs;
- Increased cost of the device;
- The minimum (lower than the TV) level of electromagnetic radiation.
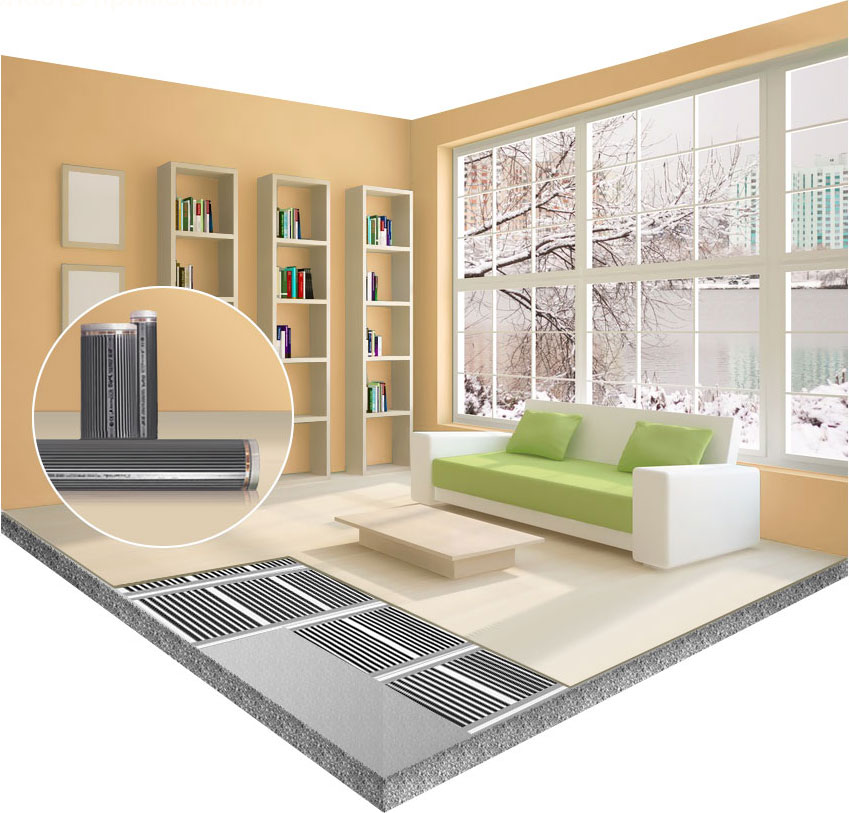
The “warm floor” system, in which a rod or film IR heater is used as a heat source, is the best option for rooms of small size. The device heats the floor well with minimal power consumption and high efficiency.
Kinds
The film infrared heater today is probably one of the most heat-efficient and effective floor heating systems.
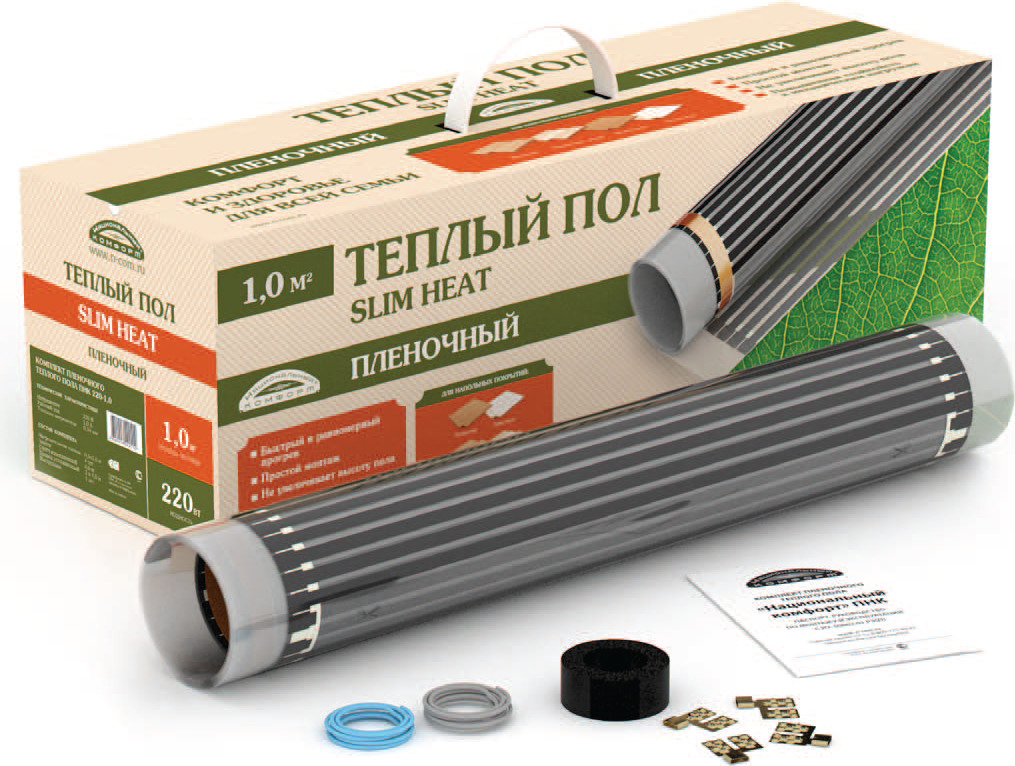
Some basic parameters of the system are conveniently considered on the example of products manufactured under the well-known brand Teplolux.So, the modified Slim Heat series, produced in 2 types - with a capacity of 150 and 220 W / m², with a film thickness of 0.34 mm for heating from 1 to 10 m², have proven themselves well. Modifications are applied in both basic and alternative versions. The system also works effectively in areas with large heat losses.
Features:
- Small thickness of the material;
- The installation uses a special fiberglass mounting grid (cell up to 3 cm);
- Forms a comfortable microclimate without overdrying the air;
- High level of safety margin;
- The parallel connection of elements ensures a high level of reliability of the entire device.
Benefits:
- Easy installation;
- Early heating of the room;
- Reliability;
- Universality;
- Low level of electromagnetic radiation.

Disadvantages:
- Relatively high cost;
- The need for additional use of fiberglass;
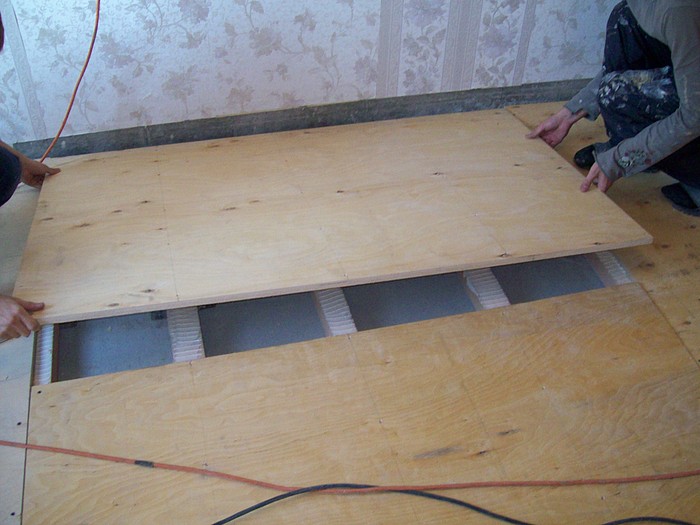
- Use plywood or drywall as a base, which reduces the heat transfer rate of the system.
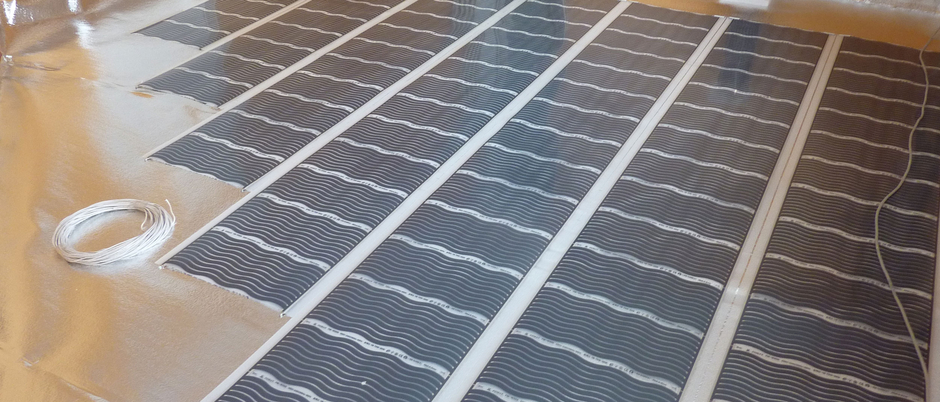
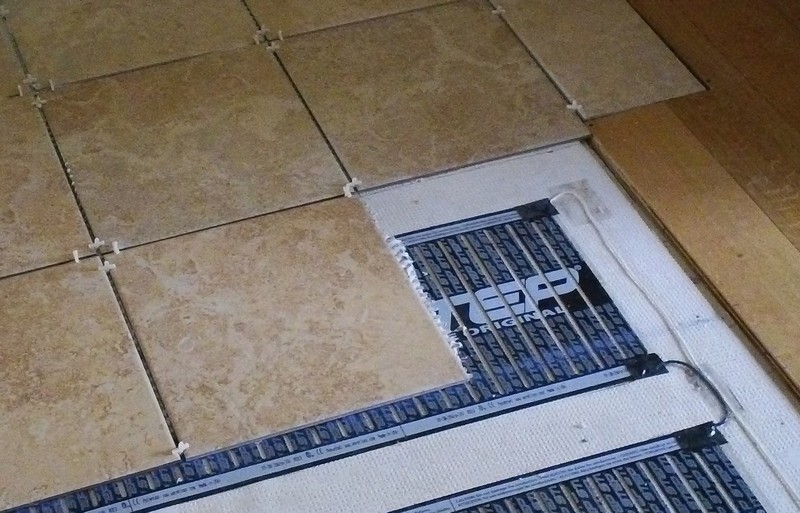
Usually mats of pivotal IR floors are 83 cm wide with a distance of about 10 cm between rods.The scheme of operation is identical to the operation of film devices.
Features:
- High level of mechanical strength of the material;
- Designed for all types of flooring;
- No need for additional backing.
- The product maintains the weight of solid furniture without overheating and deformation of the base;
- Full compatibility with different adhesives;
- Independence of operation of individual sections of the device due to parallel connection.
Among the shortcomings can be noted the high price of the device.

How to choose?
As evidenced by reviews and expert advice, it is more convenient to purchase the device in the kit.
Regardless of which room you plan to use the infrared floor (bathroom, balcony, room, etc.), the installation kit usually includes:
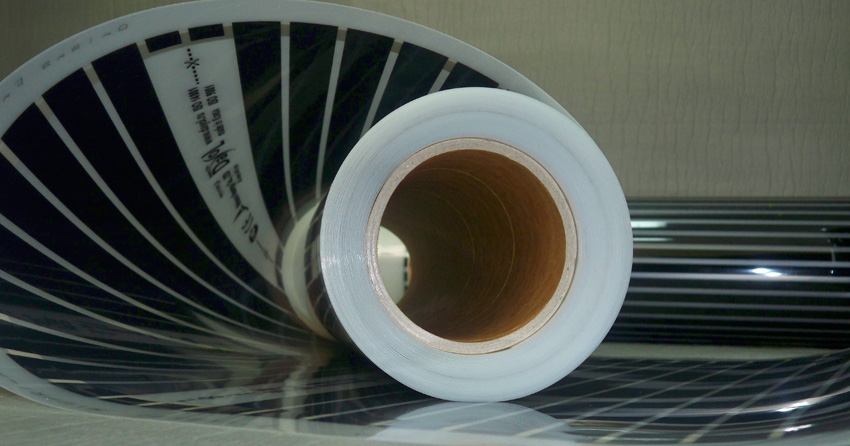
- Thermofilm roll;
- Clamps for contacts;
- Wires;
- Self-adhesive bitumen insulation.
In addition to this, it is advisable to purchase:
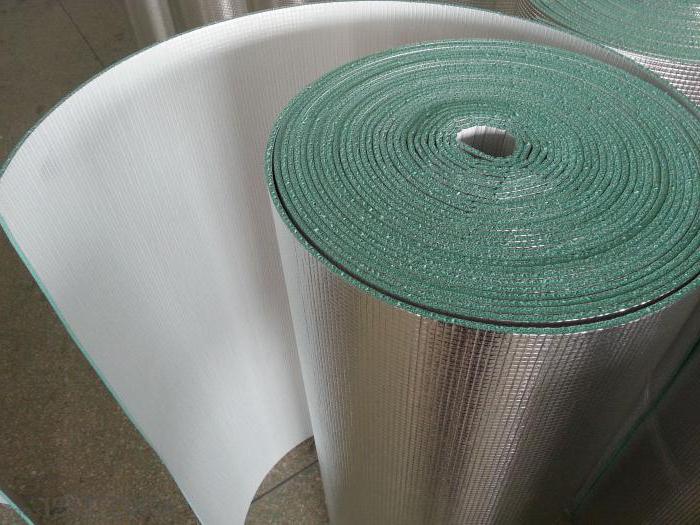
- Special heat reflecting insulation;
- Temperature resistant polyethylene film;
- Thermostat and mounting box to it (selected by the criterion of device power);
- You may need another thermal sensor (1 comes with a thermostat);
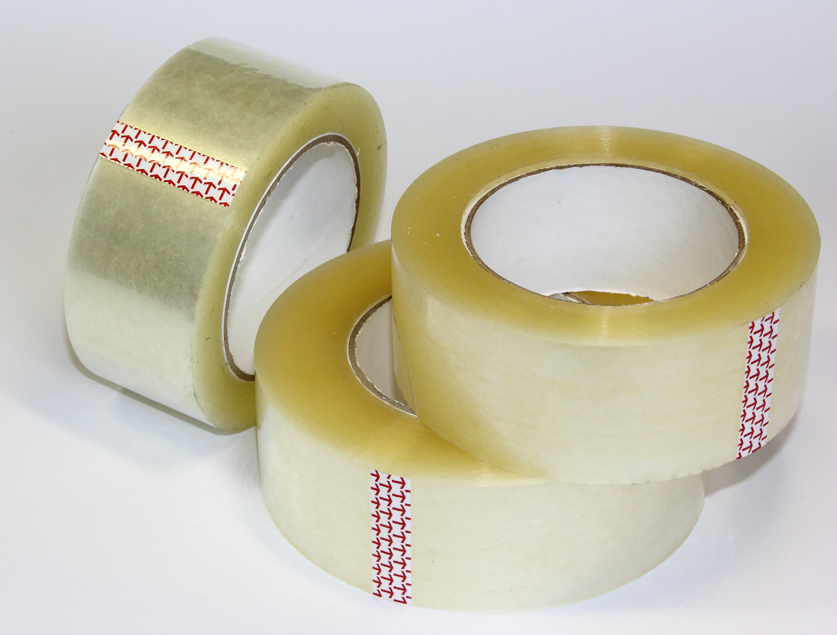
- Scotch;
- The wire to install the thermostat (wire size is selected according to the criterion of the power scheme).

When choosing an IR device, it is important to proceed from the area and conditions of heating, power, having previously decided on its intended purpose - basic or alternative options.
In the process of direct product selection, it is important to consider the following aspects:
- The material from which the film is made is matte (with a high level of insulation) or transparent (ensures good adhesion);
- The print of the carbon layer should be uniform;
- It is necessary to check the stability of the width along the length of the entire piece of the product and the quality of its surface;
- Garbage is not allowed under the film, and there are any spots on the film;
- Pure copper (premium class) has the best electrical conductivity. It is better to choose thin copper;
- A silver tire must provide at least one ohm of resistance between the copper and the carbon compound;
- The film should not have bundles.
Calculation systems
According to the instructions for installing an infrared film floor, the following steps are highlighted:
- Project part and calculation;
- Selection of system elements and materials;
- System installation;
- Circuit testing;
- Clean work.
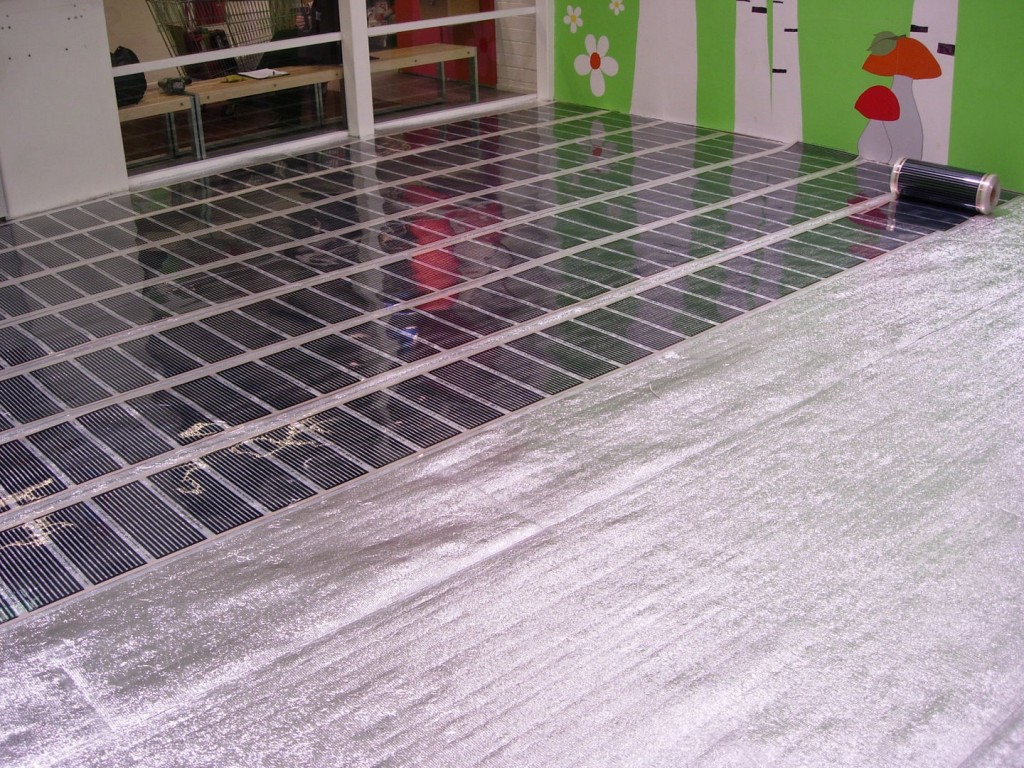
Initially, it is important to consider that an effective basic infrared heating system should occupy about 80% of the total space of the room, and in the case of an auxiliary option - about 40% (in this case, the design should not be placed under solid furniture).
The calculation of the area to be heated is made on the basis that the IR film is placed at a distance of at least 10 cm from the walls or vertically arranged surfaces.
When starting to calculate the power of the system, it is important to consider that the power of a separate IR product can be from 150 to 220 W / m. sq.
The energy consumption level for a product is calculated by the formula: Ep = Sо * k * T, where:
- EP - energy consumption, W / h
- Sо - square meter.
- k - recalculation factor (for example, the scheme is enabled by 50%, then k is 0.5)
- Tm - floor thermal power.
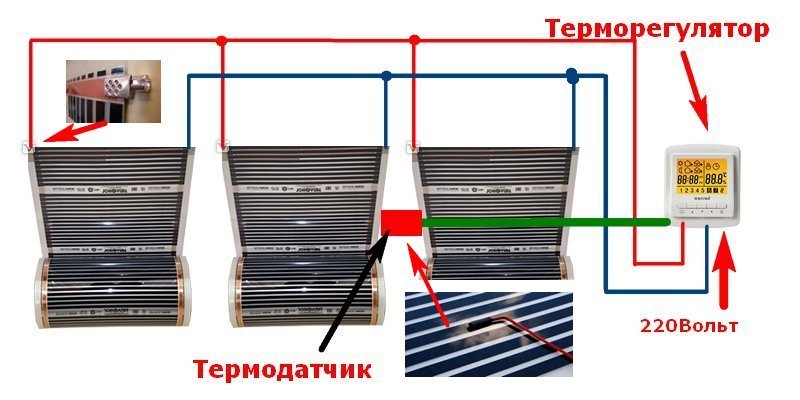
When calculating the number of required thermostats, as well as their location, it is necessary to take into account that when installing several sets of floors several thermostats are necessary, since the power consumed by the device is summed up.
The thermostat is usually installed at a height of 15-20 cm above the clean floor surface, for comfortable use at a height of about 1 meter (at the outlet level). Thermostats are located on the wall opposite the direction of laying strips of the product (to save wiring).
For thermostats use 2 connection options:
- Division of the area into zones and accession of each of them to a separate thermostat;
- With starter (or special relay). Such a relay will perform the function of safe control of the entire system (for installation it is better to involve a specialist).
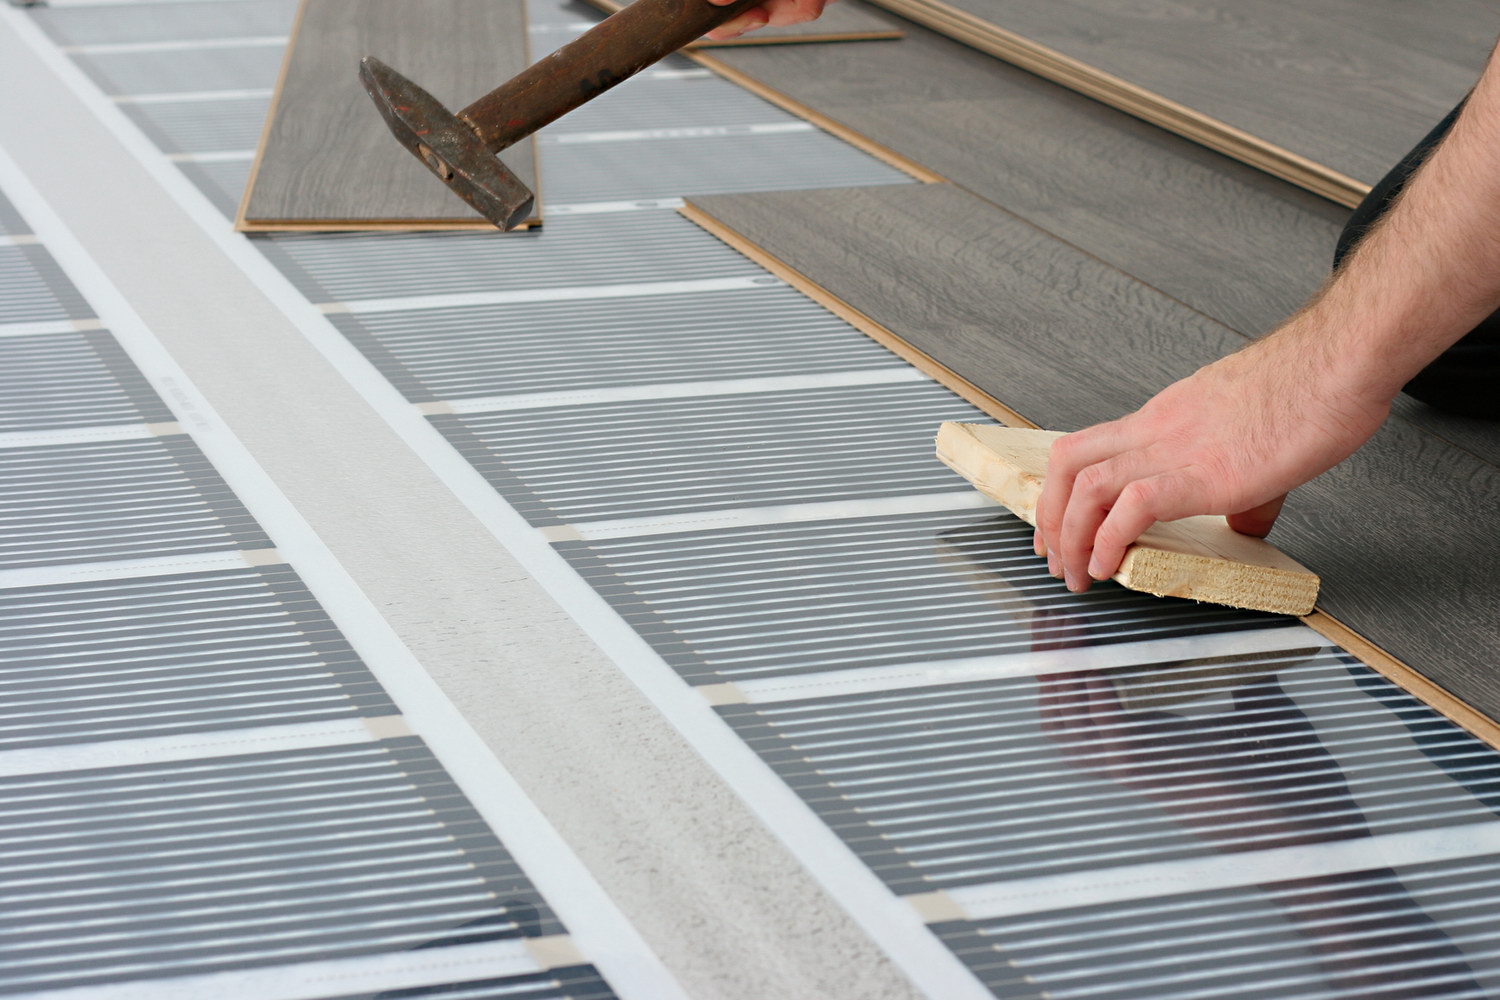
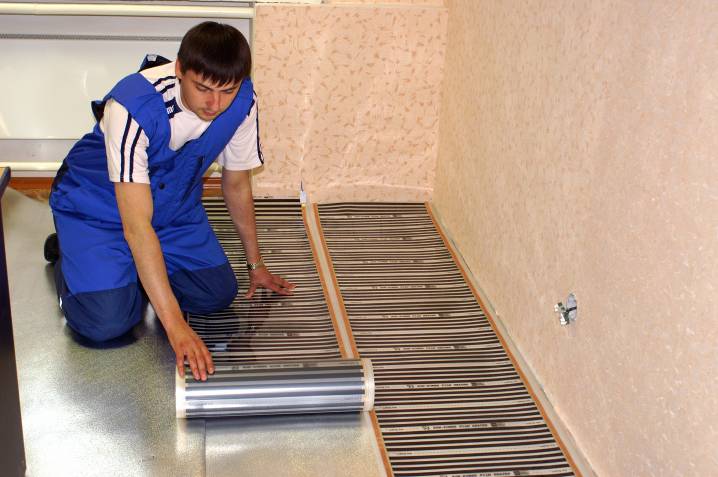
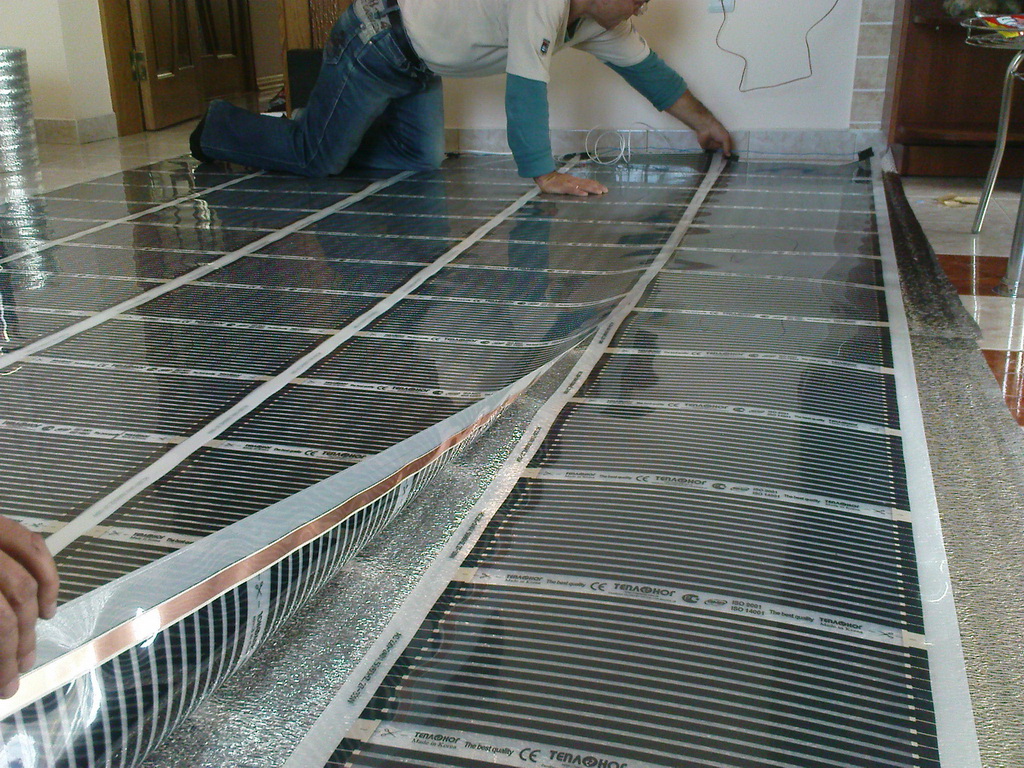
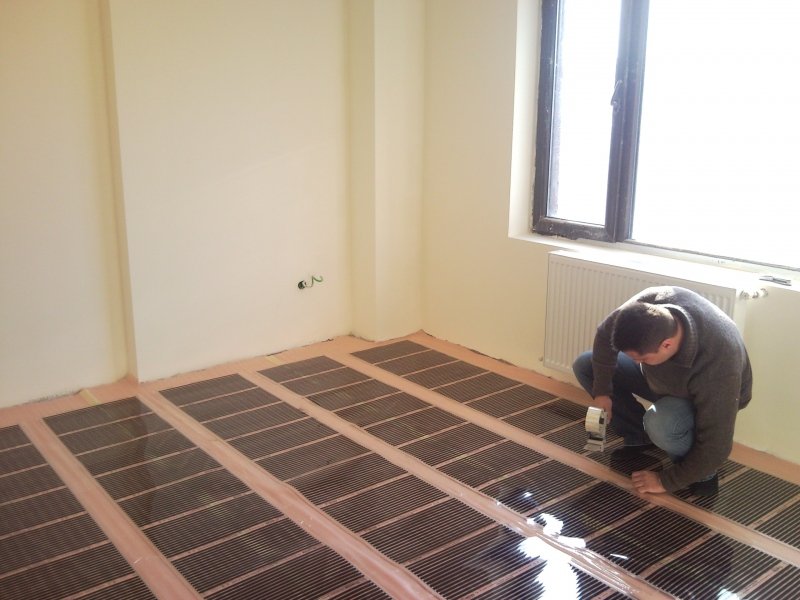
Installation
The carbon fiber (carbon) film heater is quite possible to equip yourself with your own hands. The basic guidelines for the technology of its installation contains a manual that regulates the basic safety rules.
At the preparatory stage, one should bear in mind that it is undesirable to stack the product under massive and low furniture (the minimum gap is 3 mm for ventilation).
Required installation kit materials and tools:
- The device is complete with contact clips;
- Wires;
- Thermostat;
- Bituminous insulation;
- Thermal insulation materials;
- Pliers;
- Screwdriver;
- Scotch ordinary and electrically conductive;
- Other materials (film, plywood for base repair and others)

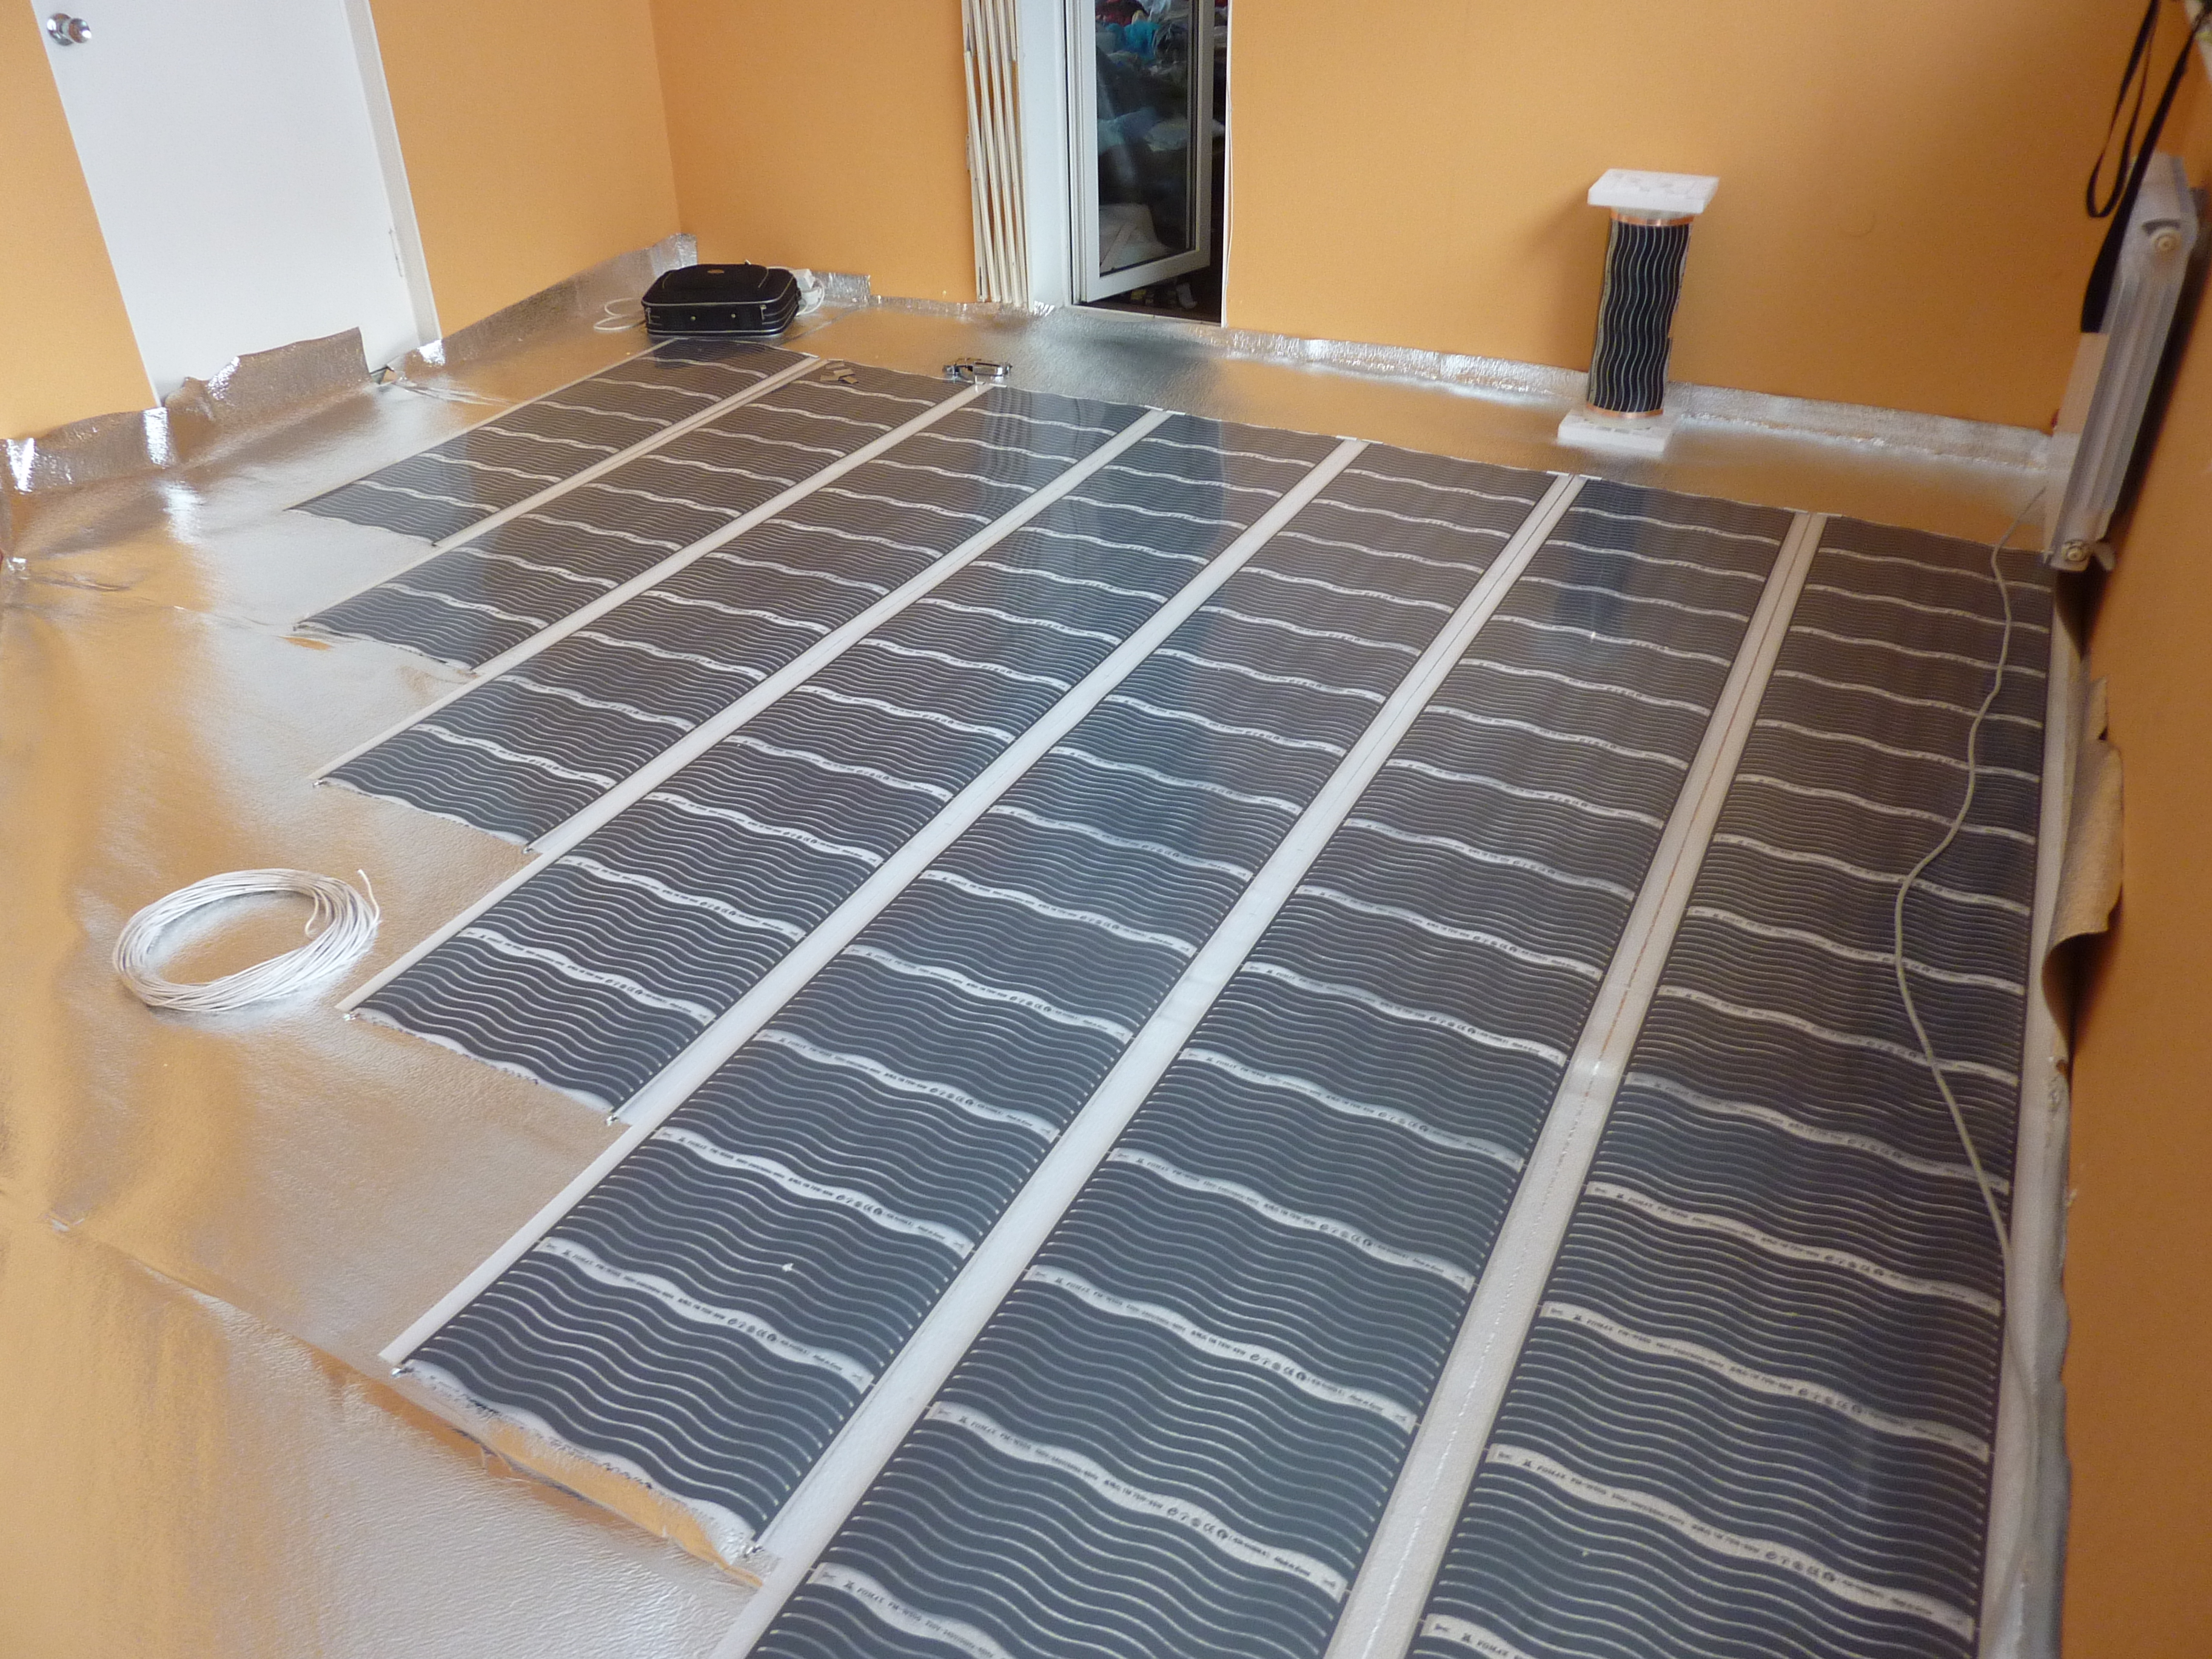
Installation steps:
- Preparation of the floor surface;
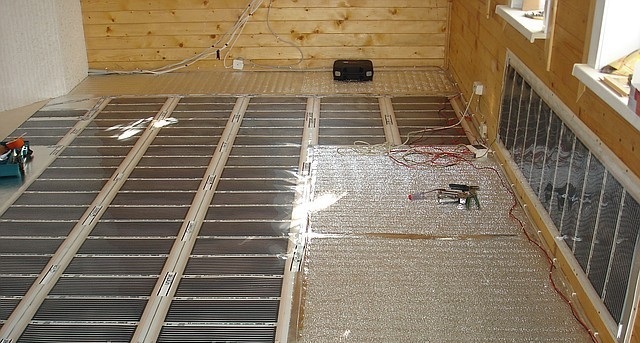
- Arrangement of thermal insulation (to reduce energy costs);
- Grounding installation (use electrically conductive adhesive tape);
- Calculation and preparation of the laying system;
- Installation of the product;
- Connection of the circuit through the thermostat;
- Check schema;
- Laying tiles.
Further:
- The choice of installation of thermostats on the wall and installation of wiring;
- Determining the location of the infrared floor;
- Preparation of the base and its cleaning;
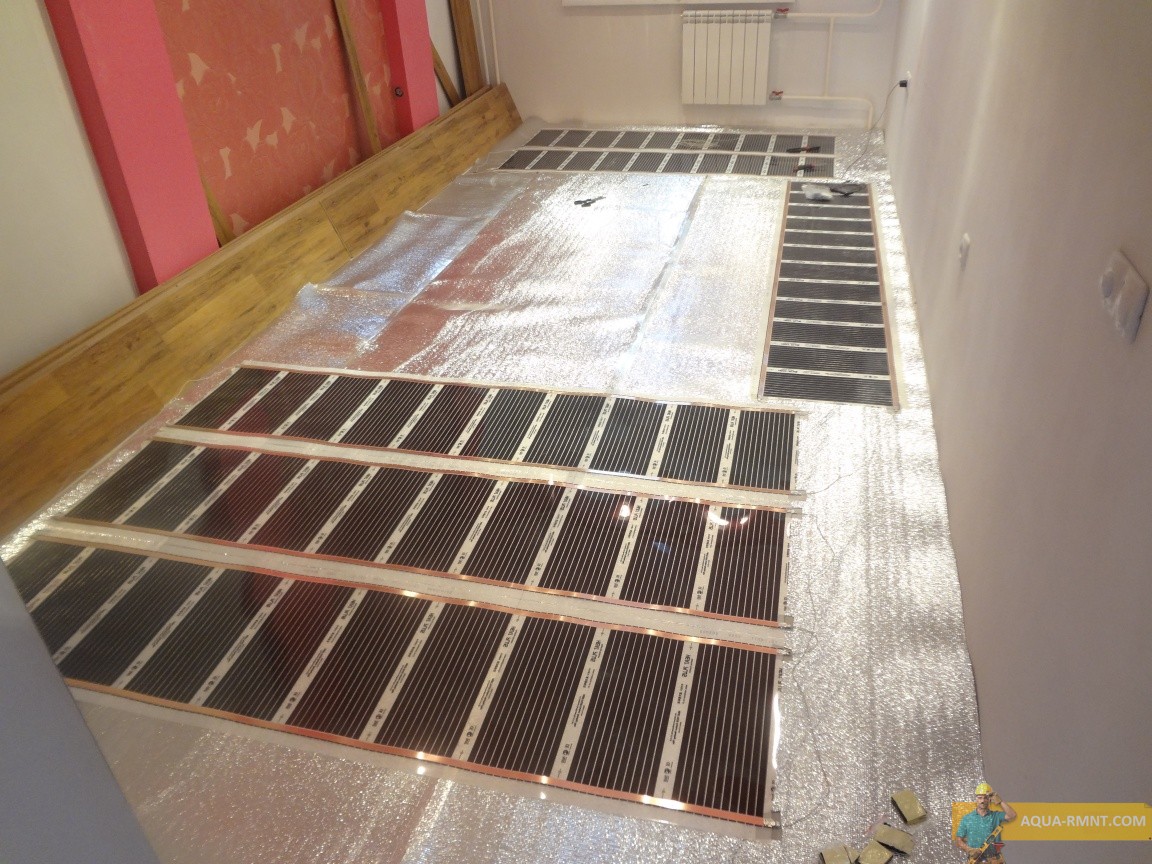
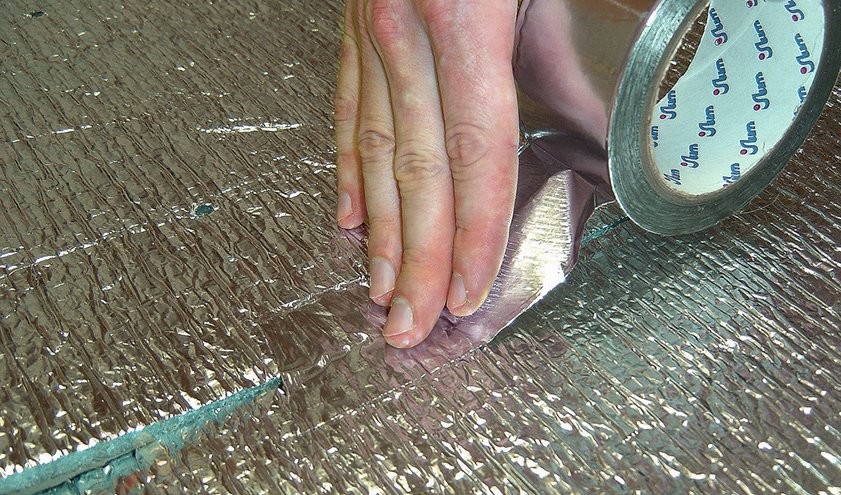
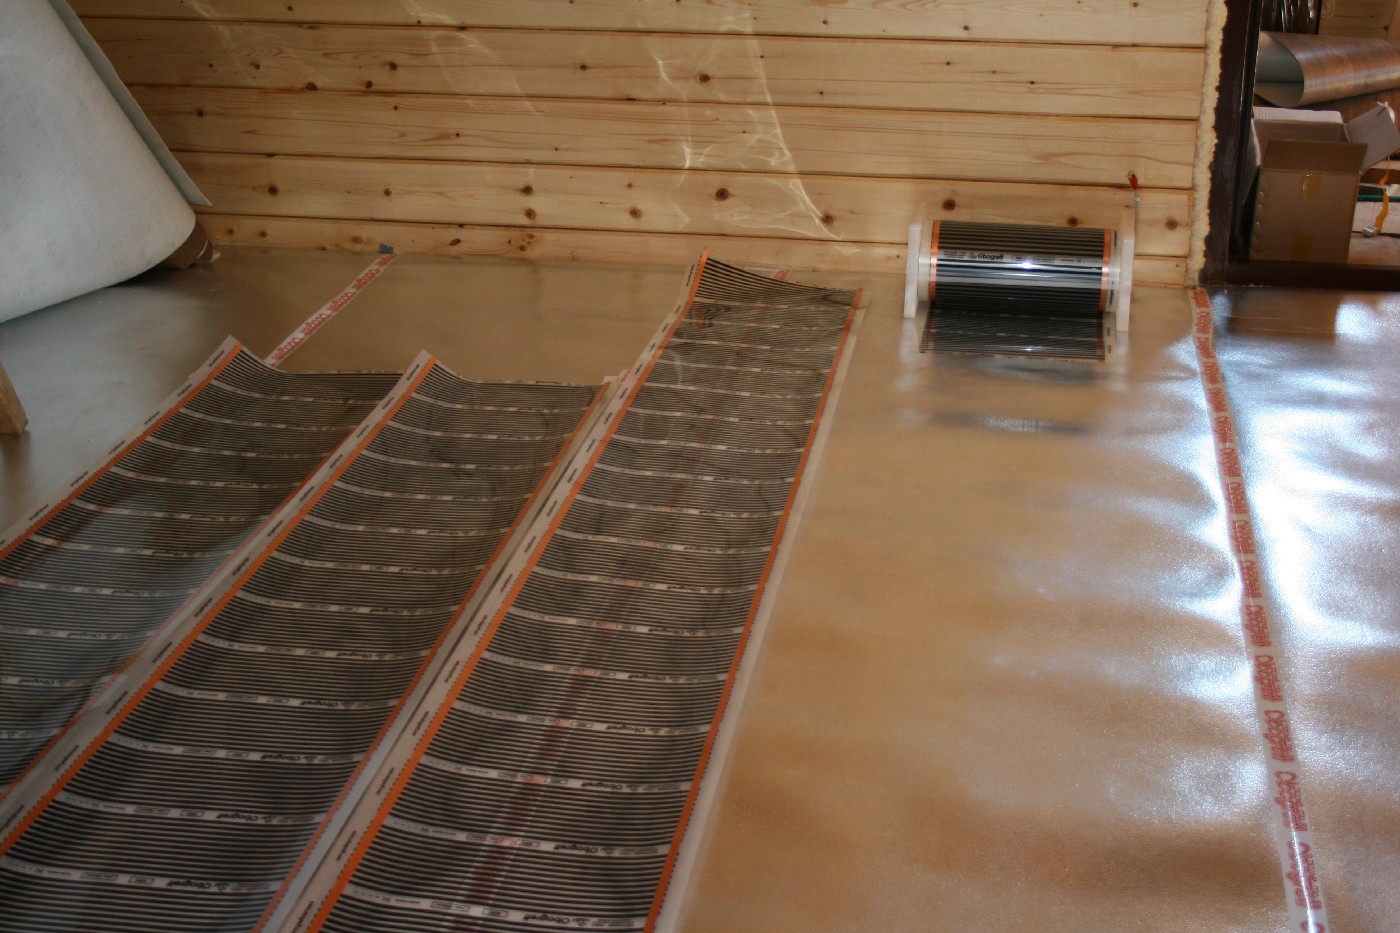
- Laying heat-reflecting fabric on the basis of its fixing with adhesive tape and sizing joints. It is not necessary to mount materials based on aluminum foil - it gradually erodes;
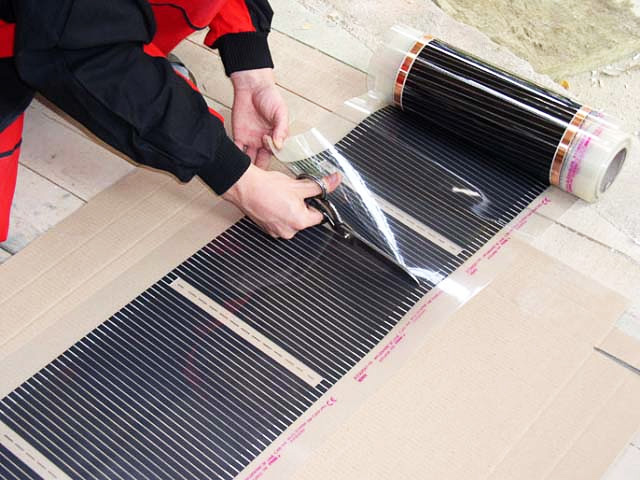
- Marking and cutting a thermofilm roll to the desired size. Cutting the film is more profitable than the maximum possible length. When laying it is necessary to ensure that the film contacts fall in the direction of the thermostat;
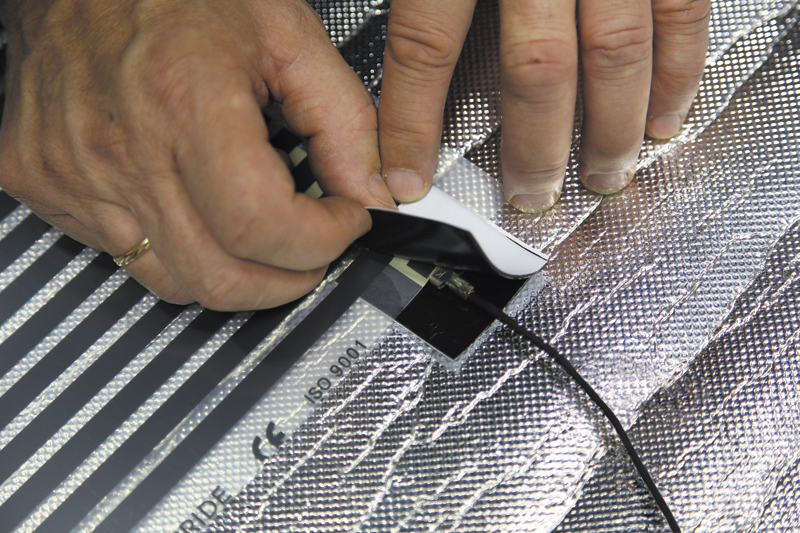
- Mount the clamp on the heating strip and press the contact with pliers;
- In places of cuts impose bitumen insulation;
- To fix a thermofilm an adhesive tape.
Under the tile
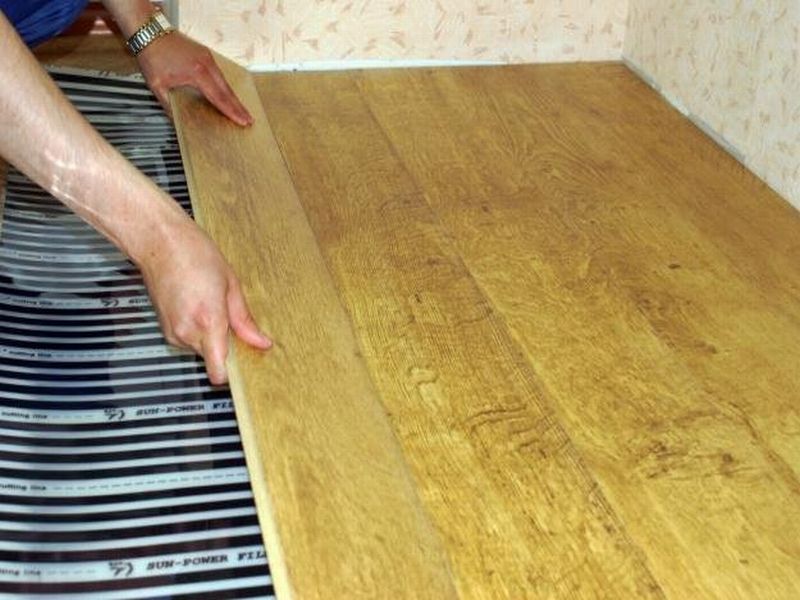
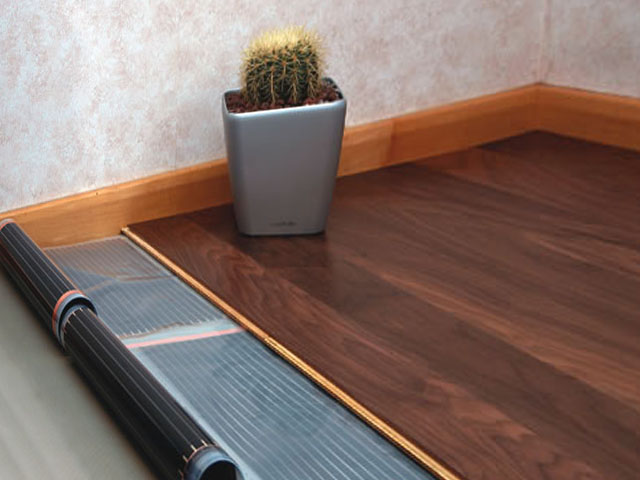
The infrared product is intended primarily for "dry" laying under vinyl tiles, laminate and other coatings.
Experts indicate 3 reasons why they are not recommended to be laid using the “wet” method:
- The film has a low adhesion (adhesion), and if you pour it with a tie, it will “float”. In this case, the concrete makes a hollow sound when tapped, and if a heavy object is dropped on it with a sharp side, it may crack;
- Tile glue, screed compounds contain alkali, for this reason the film web gradually erodes, which is fraught with undesirable sparking;
- IR products specially made for wet installation are produced.
LamaHeat manufactures IR devices for wet installation, the installation sequence of which is as follows:
- After cleaning the floor, it is recommended to put a reflective substrate of lavsan on it, separate fragments of which are joined with tape;
- Next, spread out a special mesh fabric;
- Electrical connection is made using the terminals. Then the terminals with the wires inserted in them are clamped with pliers;
- The joints are insulated with pieces of bitumen insulation;
- Thermal insulation cut grooves for wiring;
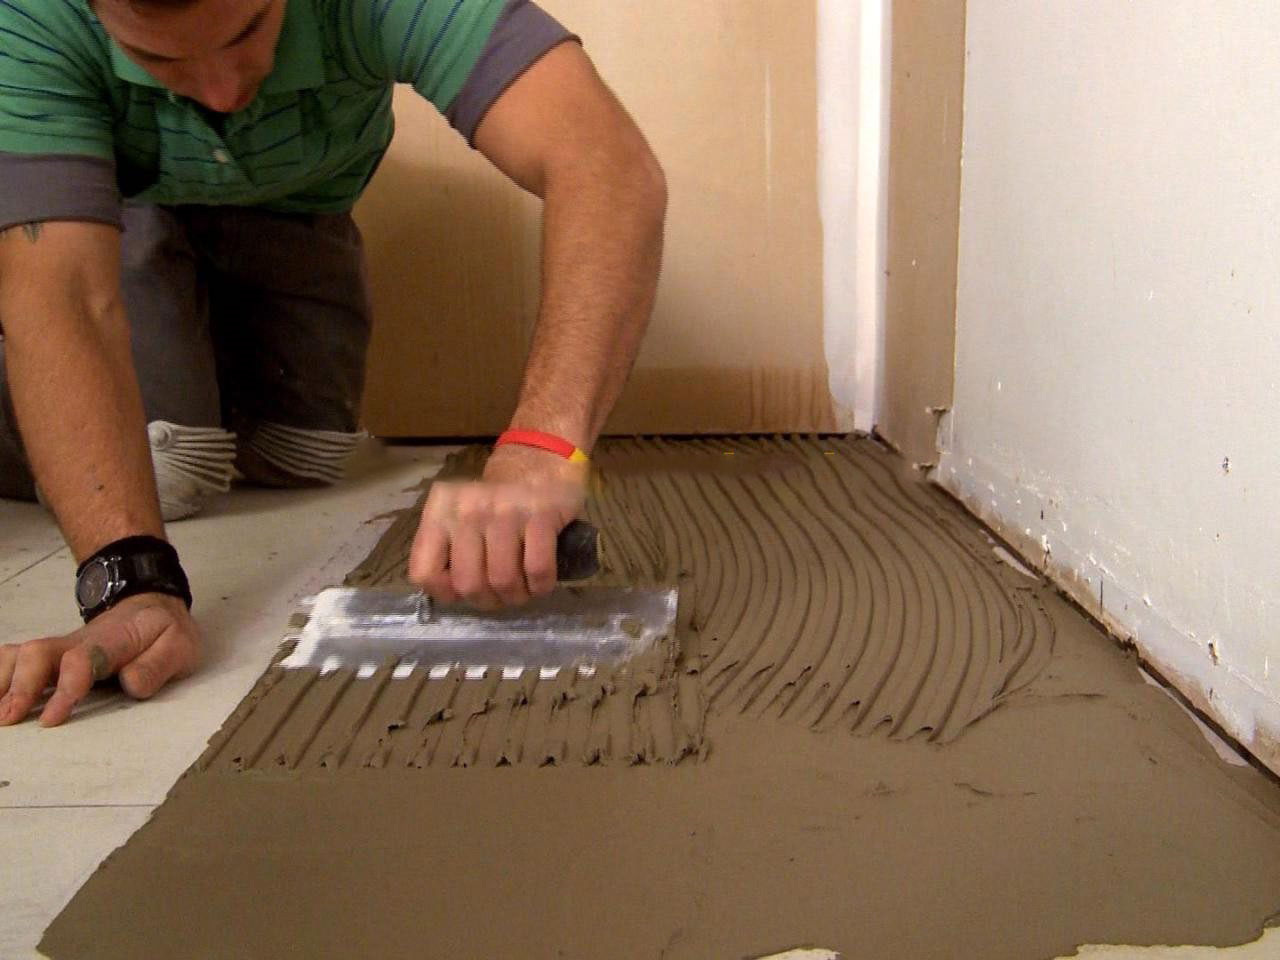
- The product is poured with self-leveling floors, which are carefully leveled and left to dry;
- Then the tile is laid with tile adhesive (applied with a notched trowel).
Such a scheme of work is reliable while observing accuracy during installation.
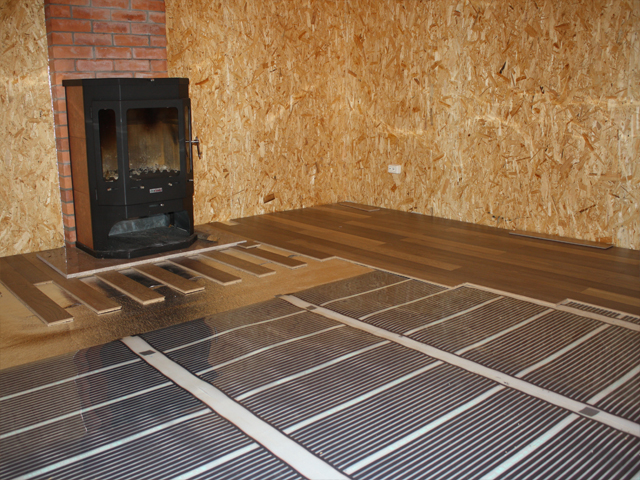
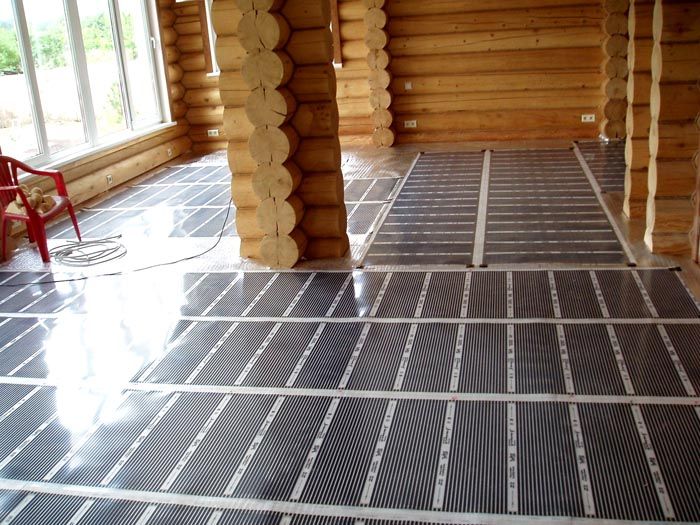
Wooden
The main advantages of a wooden house are well known: naturalness, ecological cleanliness, excellent heat saving. And, perhaps, there is one drawback - increased flammability of building material.
An infrared floor in such a house is one of the right solutions to the issue of heating a building.
The advantages of this option are obvious:
- Easy installation - the infrared device can be laid on the floor without the involvement of specialists. The set contains elements ready for stacking in the form of resistive strips. For laying you only need to clean and trim the base, and then lay the product in accordance with the instructions;
- Resistive strips are soldered to durable plastic, saving them even under very significant loads. The elements of the circuit, which are under the current, are qualitatively and reliably closed, and therefore the degree of probability of impact by electricity is absent;
- Versatility.The product can be put on the street, in the gazebos, on the walkways, garages, providing anti-freezing.
Mounted infrared floors in the house is easy.
The main stages of installation:
- The film is laid end-to-end without section overlaps. It is convenient to cut it, since between sections there is a place for cuts - the length of one section is 25 cm;
- When planning the installation of an infrared product on a wooden floor, no thermal insulation is needed, but a special hydro-barrier is pre-laid;
- Then follows the connection to the thermostat. For large areas, several thermostats are installed based on the total power;
- The power cable is installed on the basis of a special metal corrugation.
Connection
Correctly connect the wires and connect the device to electricity - this means to ensure its long operation and safety.
Circuit is connected in the following order:
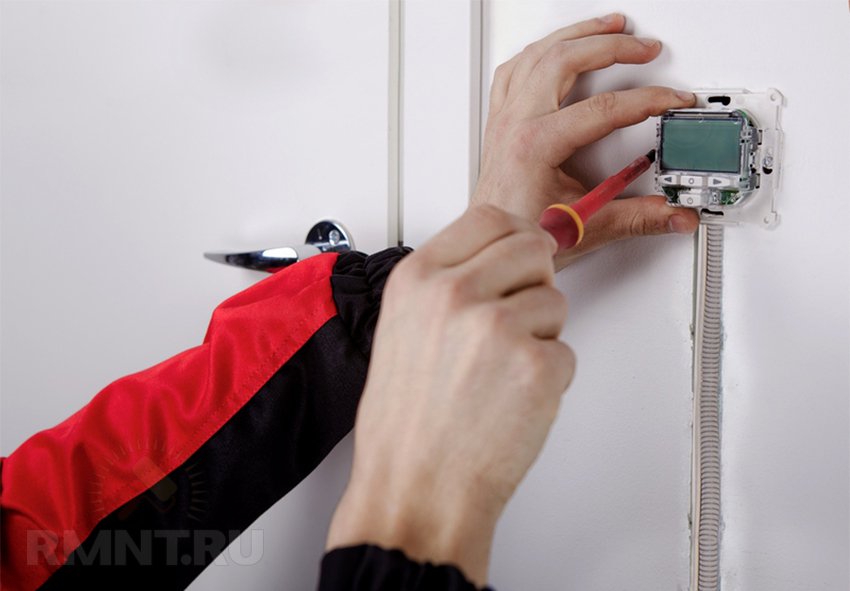
- Install the thermostat on the wall near the outlet;
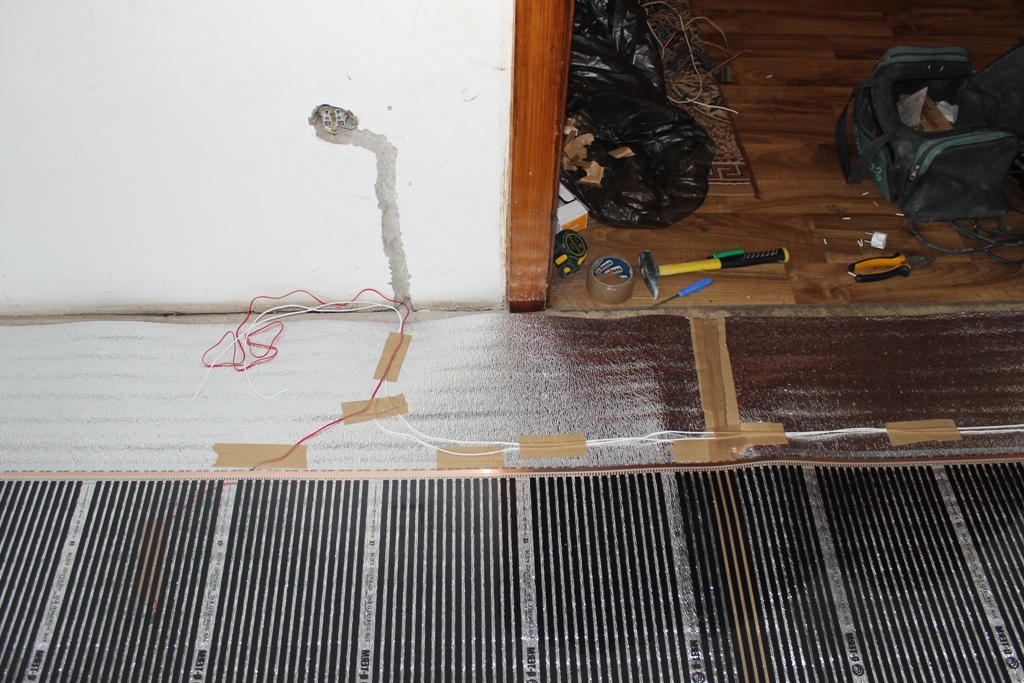
- Lay the wiring from the heating sections to the thermostat (it is uneconomical to use the system without a regulator), as indicated in the diagram. Wires are usually located under the baseboards, in grooves or boxes;
- In heat-reflecting insulation cut wiring grooves;
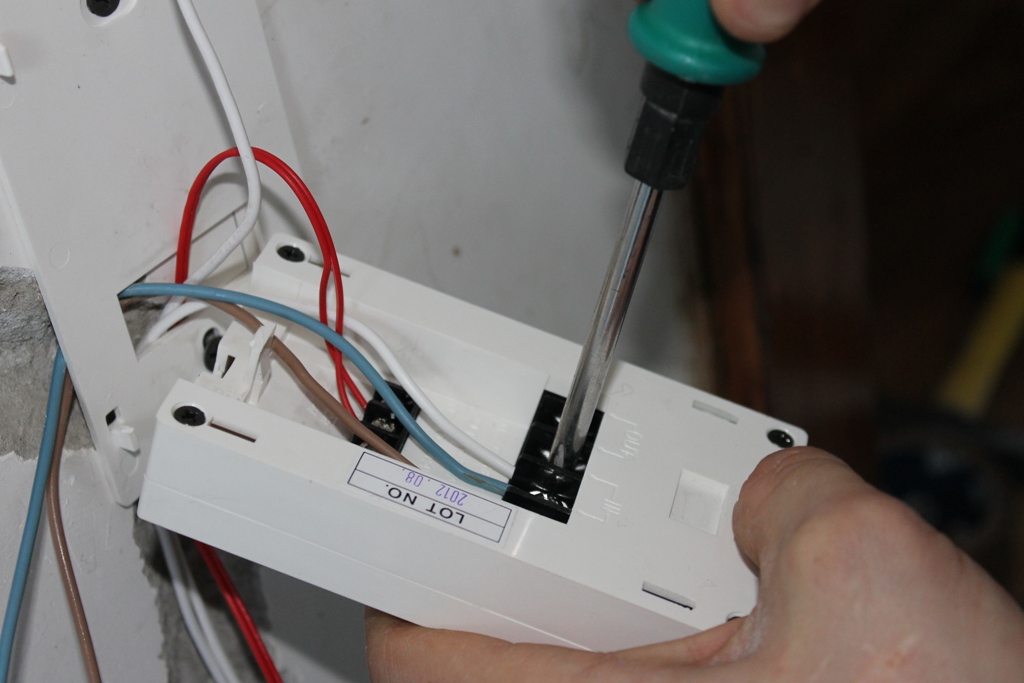
- Connect the wires using terminals and clamps;
- At the junction of the wires, glue the pieces of bitumen insulation on both sides;
- The second ends of the wiring should be connected to the thermostat (the controller can be programmed only after the final testing of the system);
- Install the temperature sensor and connect it to the thermostat;
- After connecting, the heating strips are checked for operability;
- Then lay a protective polyethylene waterproofing on top.
Useful tips
- IR floors can be installed on the street, for example, on the path under the porcelain stoneware plates, because the design is waterproof.
- Low film adhesion makes installation work difficult. The level of its adhesion can be raised by placing a gypsum plasterboard and a fiberglass grid between the heating elements and the tile. However, the ability of the device to heat so slightly decreases.
- The installation of the infrared device is preferably carried out at an ambient temperature not lower than 0 degrees and the air humidity not higher than 60%. It is recommended to equip the system with a reliable ground.It is important to isolate the contacts and the likely places of damage to the film.
- The device functions silently, without vibrations and greatly increases the presence of negatively charged ions in the air. Such enrichment has a positive effect on human well-being.
- The pre-designed layout of the infrared device should include directions for the placement of the strips. Experts advise laying the film along the longer side of the room, which will reduce the number of cuts.

See the next video for more details on how to install and connect the infrared floor.


