Calculation of pipes for underfloor heating: formulas and tips
The calculation of the construction of a heated floor can be entrusted to a specialist, and it can be done independently, which will save considerable resources. The main thing is to strictly follow the recommendations and observe accuracy in calculations.
Special features
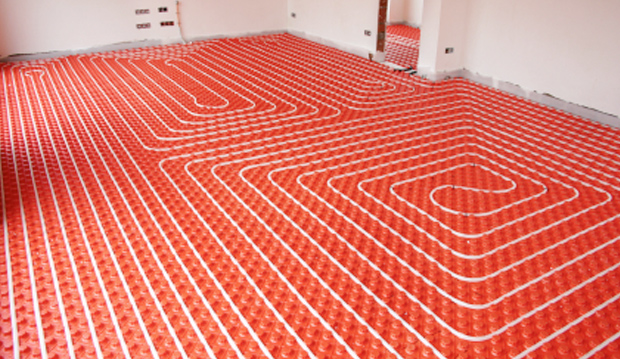
Underfloor heating - this is one of the varieties of the heating system, in which the air in the building is heated from below. Modern homeowners prefer a water-heated floor, characterized by greater budget compared to the electric one. The basis of this system consists of pipes connected to the heating boiler, through which water moves.
This option is more suitable for rooms with individual heating and private sector homes. The main advantages of the "underground" heating are:
- uniform distribution of heat;
- significant reduction in heat loss;
- energy savings;
- durability;
- possibility of use as the main heating system.
The disadvantages include:
- the presence of certain criteria for the installation of the system (for example, high ceilings);
- more difficult management than electrical options;
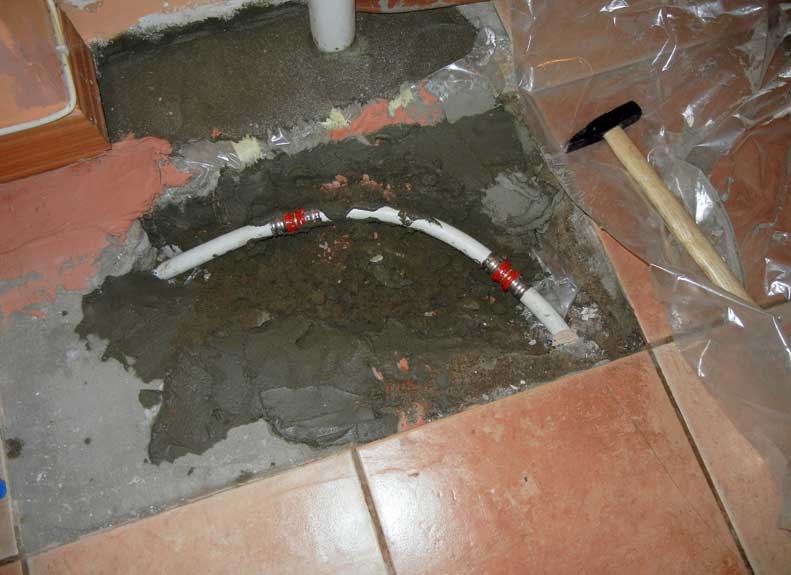
- the complexity of diagnosis in case of breakdowns and subsequent repair.
Pipe Requirements
Pipes used in this system must meet the following requirements:
- Performance from chemically inert, heat-resistant material, protected from corrosion and not prone to the formation of lime deposits. Building codes are strictly prohibited the use of steel water and gas pipes. Plastic, metal-plastic, aluminum and copper are best suited.
- Resistance to external influences. Reliability and service life of the contour cast in concrete depends on this indicator.
- Strength. This criterion must be clearly observed, since the coolant and the coupler exert considerable pressure on the structure.
- Sufficient length. That it characterizes the reliability of the circuit and is the best leak prevention.

How to calculate the quantity?
Before you begin to install a heated floor, for example, of stainless corrugated pipe, you should determine the required number of pipes and other consumables.
It is important to know that the installation of the system elements is prohibited in the places of future installation of furniture and household appliances, as well as at a distance of less than 20 cm from the wall ceilings.
Consequently, in a heavily furnished room the area of the heat source will be much smaller. You should also consider what layout is used, according to which scheme ("snail", "snake", etc.) and at what distance to put the contours.
The distance between the pipes for the water floor (loop pitch) directly affects the length of the contour and varies from 10 to 30 cm. For ease of calculation, the pipes for the heated floor are composed table "Pipeline consumption rates depending on the length of the step."
|
Loop step length, cm |
Pipeline consumption per 1 m2, pog. m |
|
10 |
10 |
|
15 |
6.7 |
|
20 |
5 |
|
25 |
4 |
|
30 |
3.4 |
Also, a special formula is used, which we will get to know a bit later.
How to calculate the flow?
To simplify the calculations, the optimal average value of the pipe flow per 1 m2 of surface - 5 linear meters of material is used. Then 1 step will be approximately 20 cm.
To more accurately calculate the desired length per square meter, use the following formula:
L = S / N * 1.1 + K,
where S is the working area of the coolant,
N is the length of the laying step,
1.1 - the safety factor of the material for bending,
K is the number of meters from the collector installation and back.

How to determine the length?
In order to correctly calculate the length, it is necessary to take into account the diameter of the pipe and the material from which it is rolled.
There are a number of means:
- Metal-plastic with a diameter of 16 mm - length 75-80 (but not more than 100) meters.
- Metal-plastic with a diameter of 20 mm - length 100-120 meters.
- Sewn polyethylene with a diameter of 18 mm - length 95-100 (but not more than 120) meters.
The remaining parameters of the pipeline metric depend on the area of the room, its shape, as well as the chosen option for laying the floor.
Step selection
The distance between the contours of the heating floor is an important parameter of the system.The density of heat distribution and the total heat load of the structure depend on this value.
A pattern has been revealed: the smaller the step, the warmer the floor. However, there are certain rules that regulate this indicator:
- In rooms with low and medium heat load (50 W / m2) pipe laying at a distance of 20-30 cm from each other is permissible.
- In bathrooms and rooms with high heat loads (80 W / m2 and more), the recommended installation step is 15 cm.
- In all other cases, it is allowed to use a variable distance, that is, in the center, a step of 15 cm, and at the walls and along the edges - 15-20 cm.
Styling methods
When all calculations have been made and the pipes have been purchased, you can proceed directly to the installation process.
At the moment there are 2 equally high-quality methods of laying a heated floor:
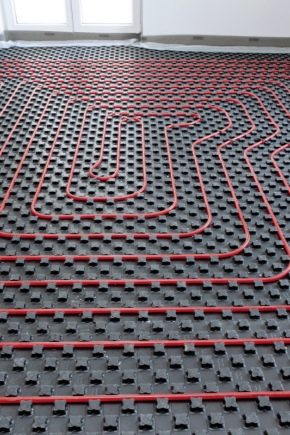
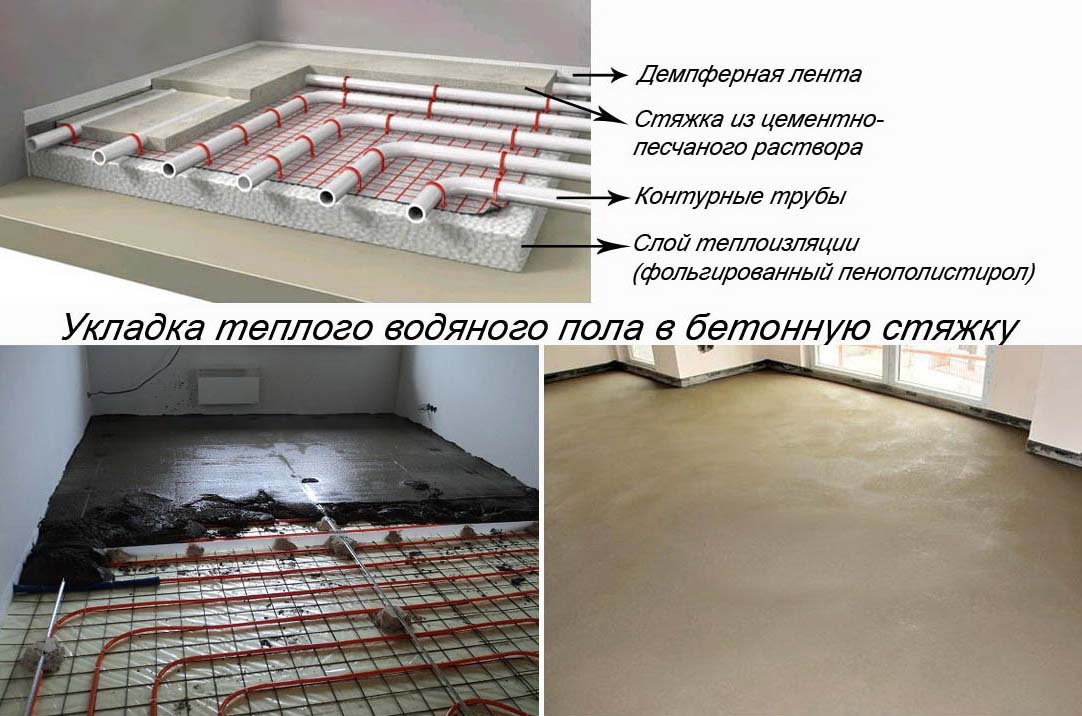
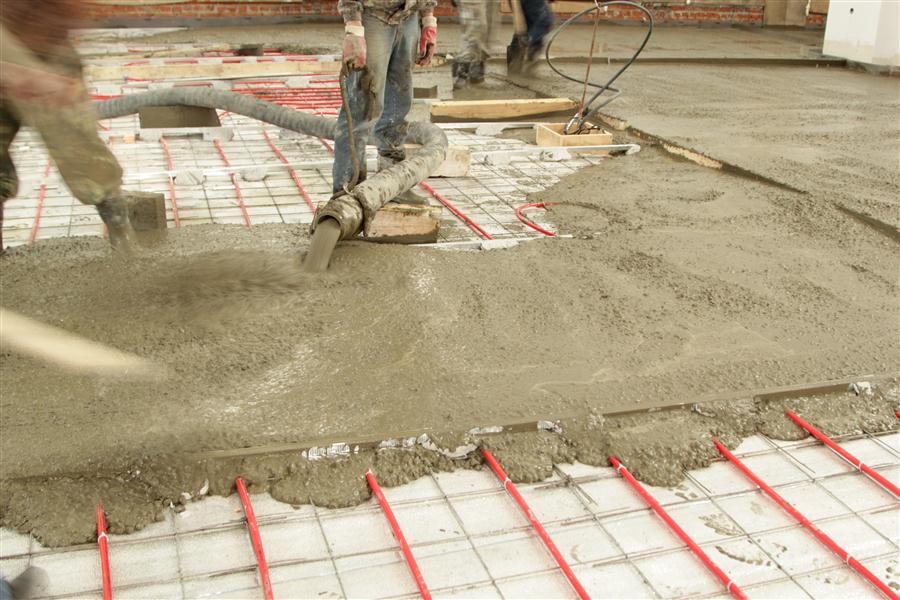
- Concrete, which involves pouring the screed, in which the system will be located.
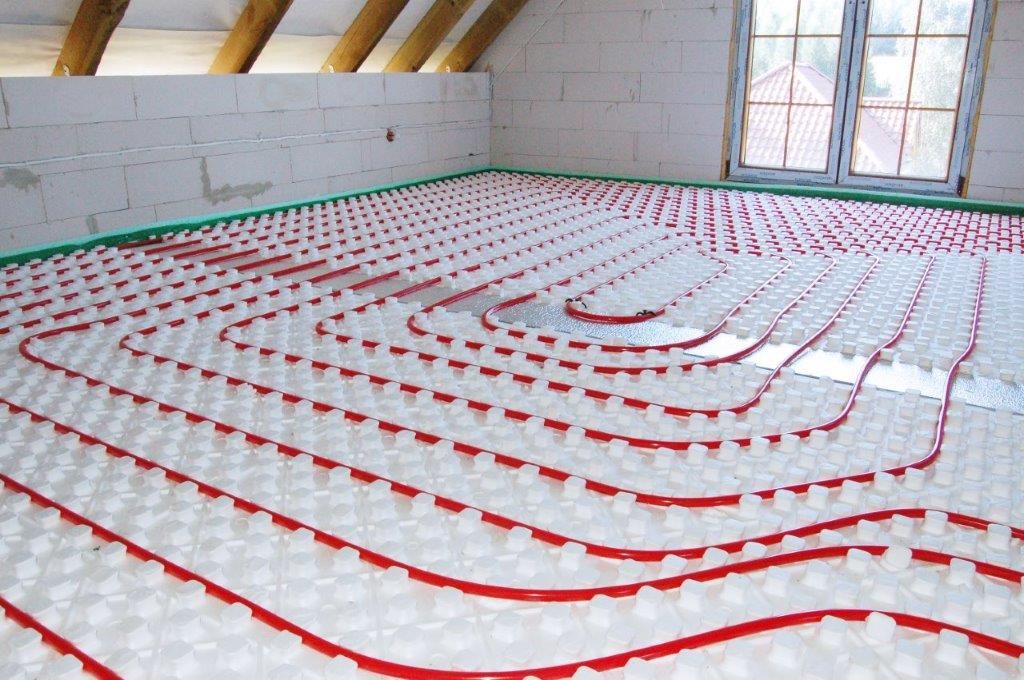
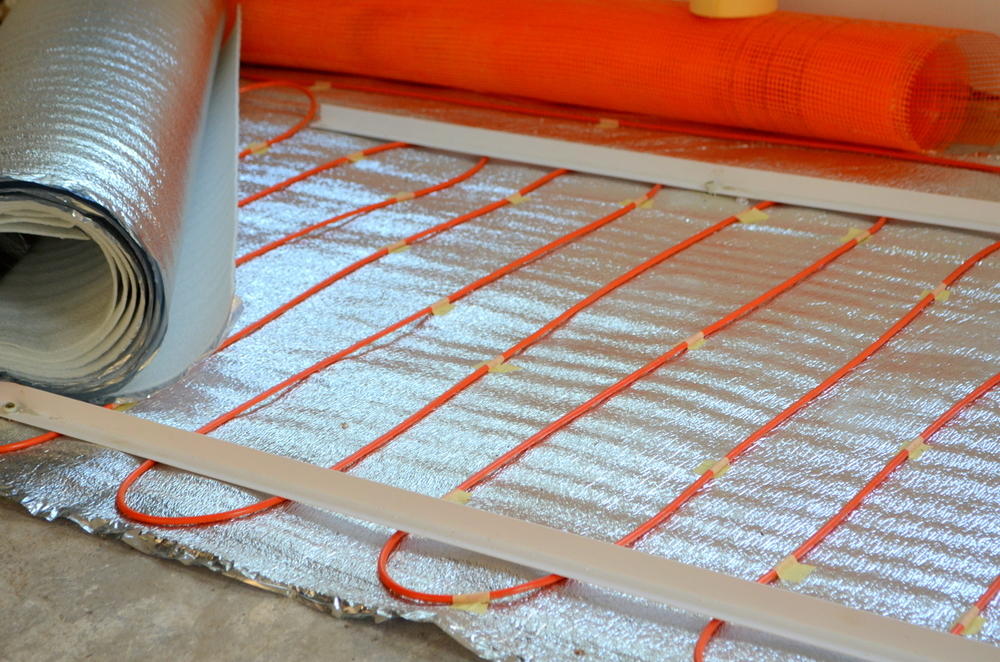
- Flooring based on the use of special flooring made of expanded polystyrene or wood.
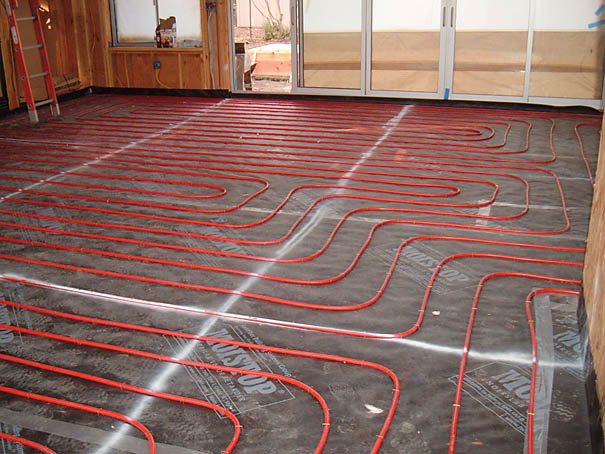
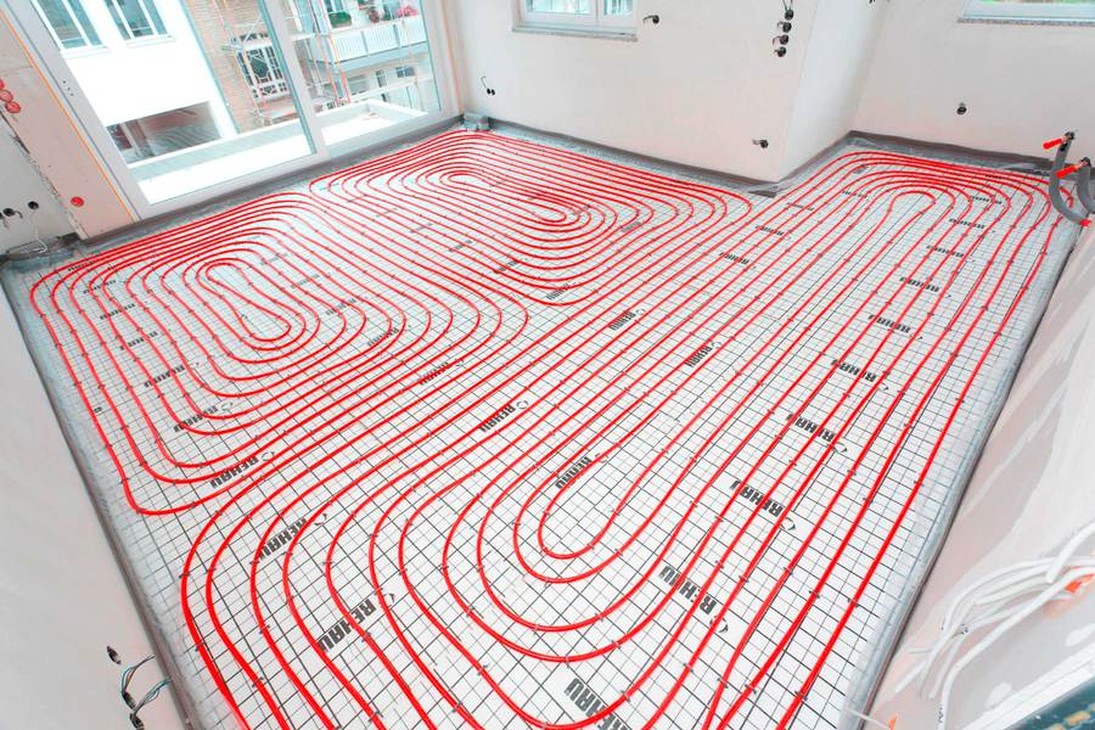
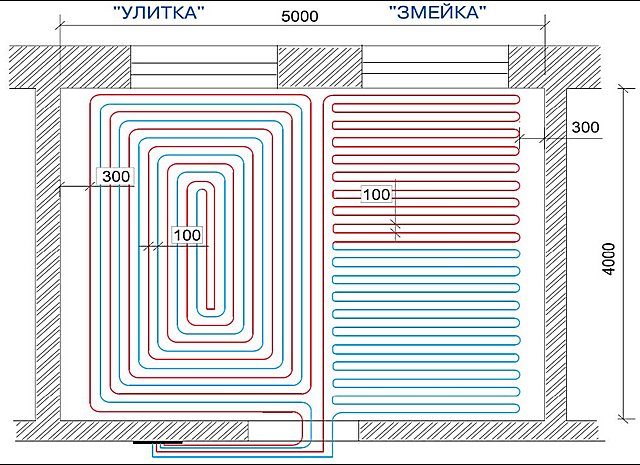
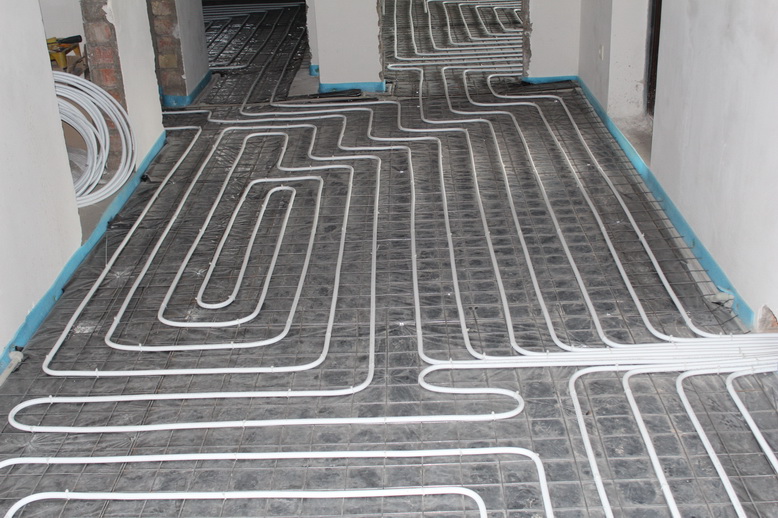
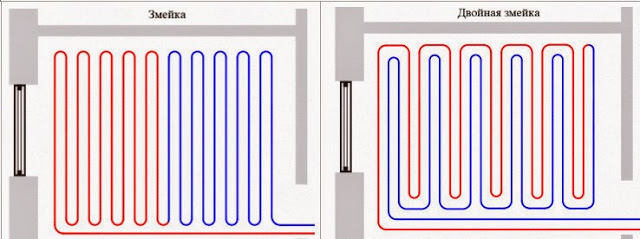
During installation, the pipes are laid out according to one of the following schemes:
- "Snail" (implies the location of the pipe spiral, in which hot alternate with cold).
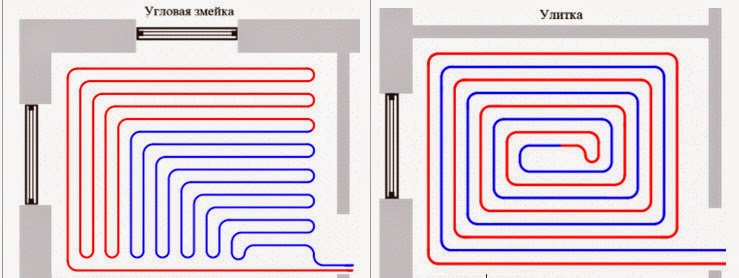
- "Snake" (assumes that half of the room is warm and half cools).
- "Double Snake" (involves the use of two pipes - hot and cold).
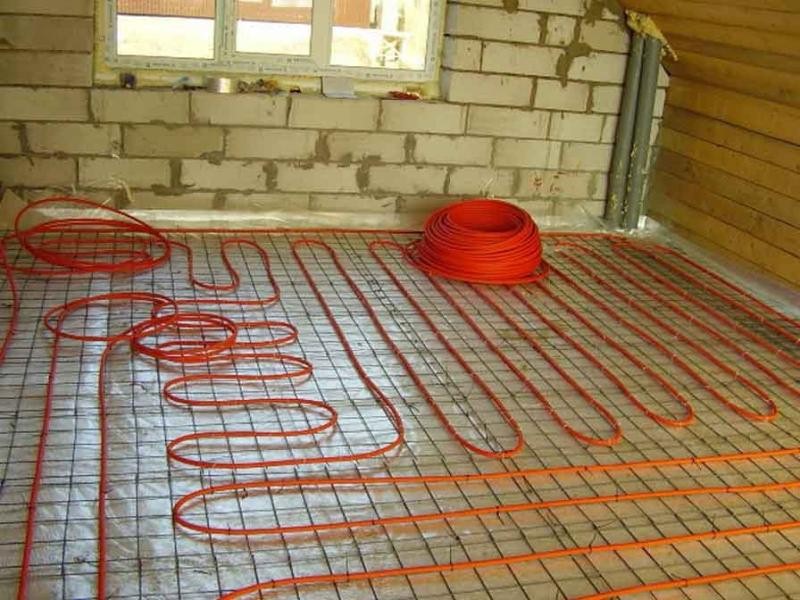
The most convenient method of installation is concreting. Laying the floor in a concrete way includes the following steps:
- Thermal insulation. Carefully sweep and lay the floor with heat insulating material, which is most often used foam. The thickness of its blocks must be at least 15 cm.
- Waterproofing. On top of the foam to impose a waterproofing material. For example, polyethylene. At the walls fix the film skirtings.
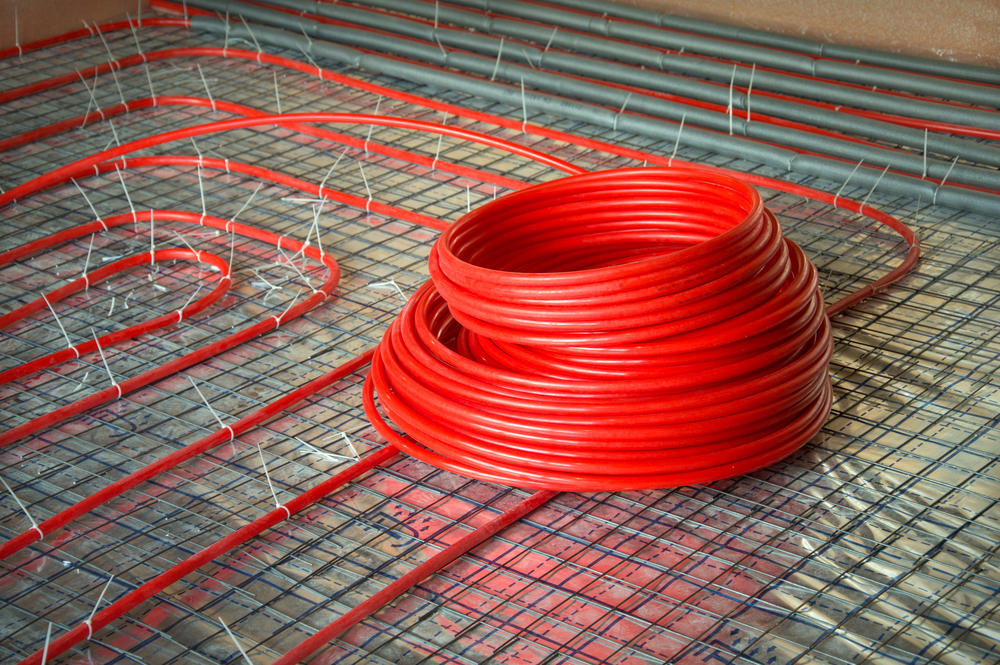
- Reinforcement. Cover the floor with reinforcing bars.
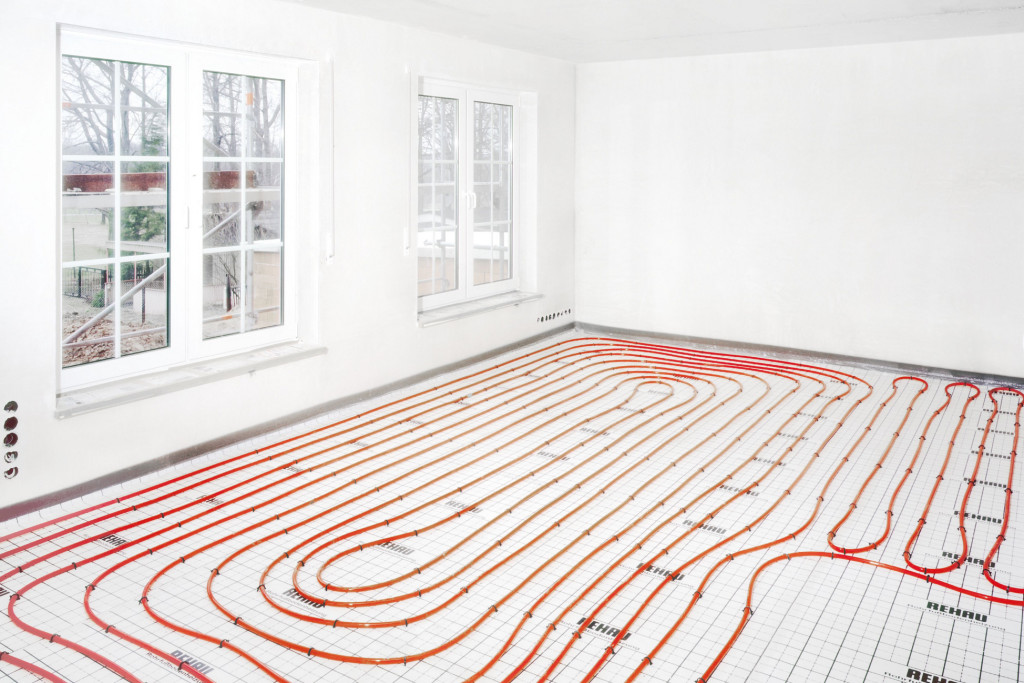
- Laying and securing the contours. Lay out the pipes according to a pre-selected scheme (“snail”, “snake” or “double snake”) and fix them with hose clamps attached to the reinforcement screed.
- Pressure testing. Produce within a day in order to identify mechanical damage to the structure.
- Pouring solution. Prepared floor pour concrete. The width of the finished layer can not exceed 7-8 cm.
- Drying. The floor dries out completely within 1-3 weeks, depending on the air temperature.
- Zastilka. It is recommended to cover the floor with linoleum, carpet or tile, as these coatings do not deteriorate due to the resulting temperature difference.
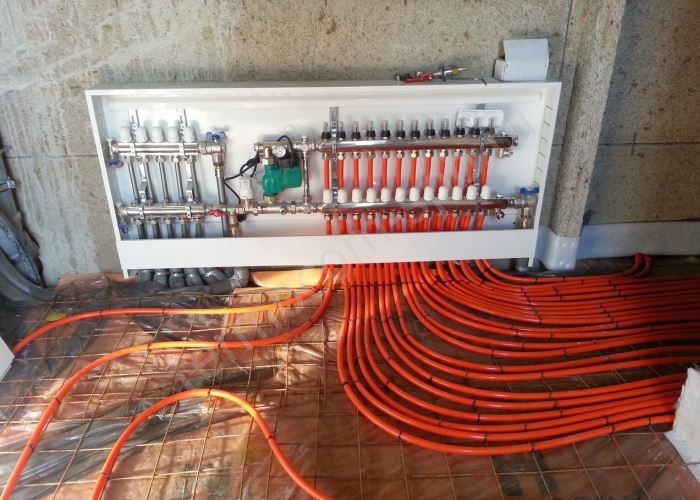
The final stage of the installation of a heated floor is fixing the collector cabinet. The collector is a device that maintains pressure in pipes, a constant temperature, and heating secondary water. It is better to entrust its installation and connection to a professional.
The place to install the cabinet must be prepared at the design stage, at a height of about 30 cm from the finished floor.
Too low or high position of the unit can lead to violation of the uniform circulation of water and improper distribution of heat.

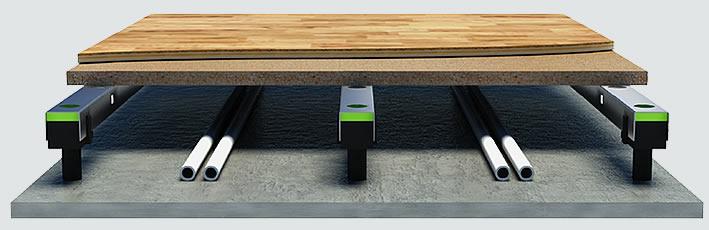
Laying the floor in a dry (or flat) way can also be done independently. The advantage of this method is that This design does not overload the spans and does not take time to dry.
That is, the floor can be exploited immediately after it was laid. The most commonly used wooden flooring, due to the naturalness and availability of the material, as well as the possibility of simple self-assembly. Although there is another option from polystyrene foam.
In many hardware stores, ready-made modular panels of OSB or particleboard 13, 18, or 28 cm wide, equipped with ready-made channels for pipes and interconnecting locks, are on sale.
The blocks are nailed to the logs (elements of the lathing for flooring) or replaced with smooth and dry inter-tube boards.


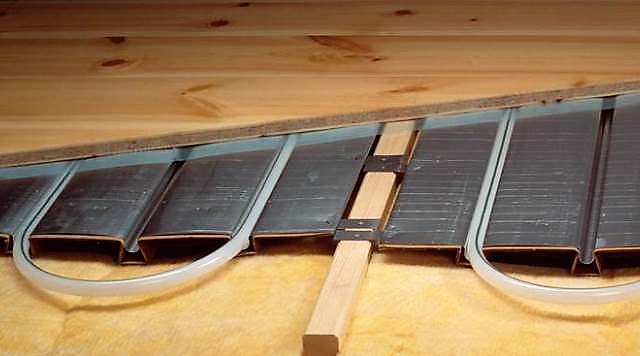
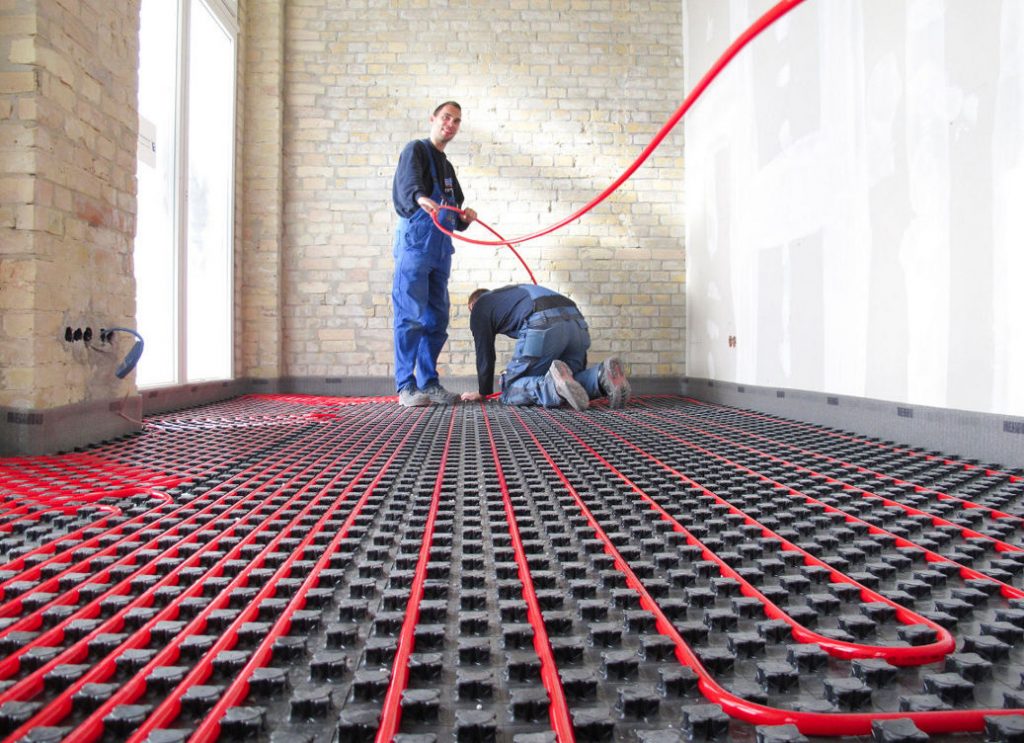
Polystyrene systems are lined with finished blocks, by a combination of straight and swivel mats. In this case, polystyrene foam plates are also an element of thermal insulation. A metal heat distribution plate is placed on top of any flooring.

Consider the algorithm for laying the floor heating method of wooden flooring in more detail.
There are a number of requirements for the performance of work:
- For the floor, which will later be covered with tiles, logs should be placed every 30 cm, and under any other floor - at a distance of 60 cm from each other.
- Under the insulating material is placed waterproofing - plastic film with a thickness of at least 200 microns or another modern equivalent.
- The space between the lags should be reinforced with insulation - polystyrene foam plates or glass wool.
- In order to simplify further work, it is desirable to make a maximally flat sub floor across the log.

Laying the "dry" floor can be in three different ways:
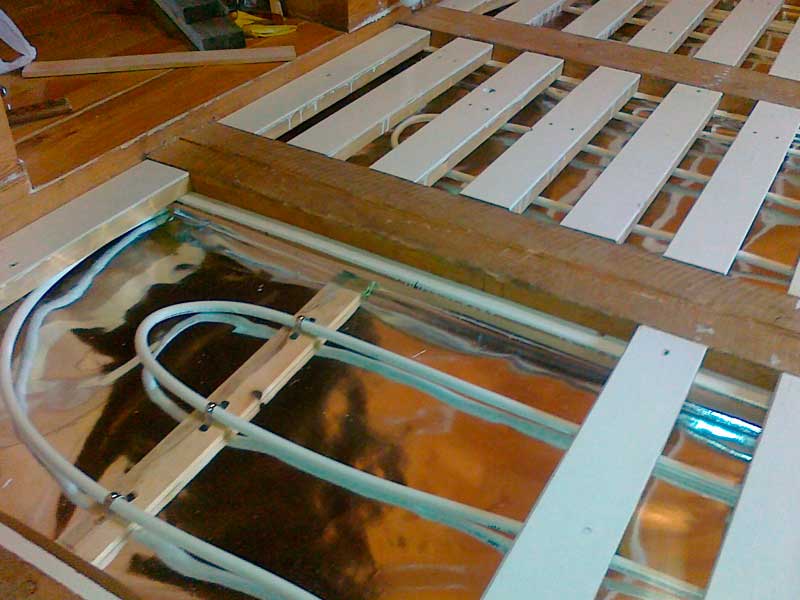
- Floating. In this embodiment, there is no rigid connection of the structure with the base. On the warmed logs are laid out ready-made modular panels of fiberboard with formed channels and covered with an iron band or reinforced mesh to improve heat transfer and fixation of pipes. Contour pitch varies from pipe diameter.
If in the future you plan to cover the finished floor with linoleum, additional protection is needed - hydro and steam barriers. In this role, gypsum-fiber sheets, OSB, chipboard or high-emission adhesive boards can be used. In addition, protective barriers accumulate and distribute heat.

- Warm floor on the annular boards. The main difference from the first installation option is the installation of not modular blocks on the batten, but inter-tube boards of different lengths, but of standard width. They can be laid on any surface - even in the absence of a subfloor. The main thing - a sufficient level of heat and waterproofing.
- Granab system. With this method, you can lay out a perfectly flat floor even on an imperfect bumpy surface. This is achieved through the use of special modules based on movable adjustable supports. On top of the frame are laid wooden plates prepared for pipes, then a metal strip and on top of the pipe itself. Hydro- and vapor barrier is provided in the same way as in the first case - by means of gypsum-fiber sheets or other similar materials.
Successful examples and options
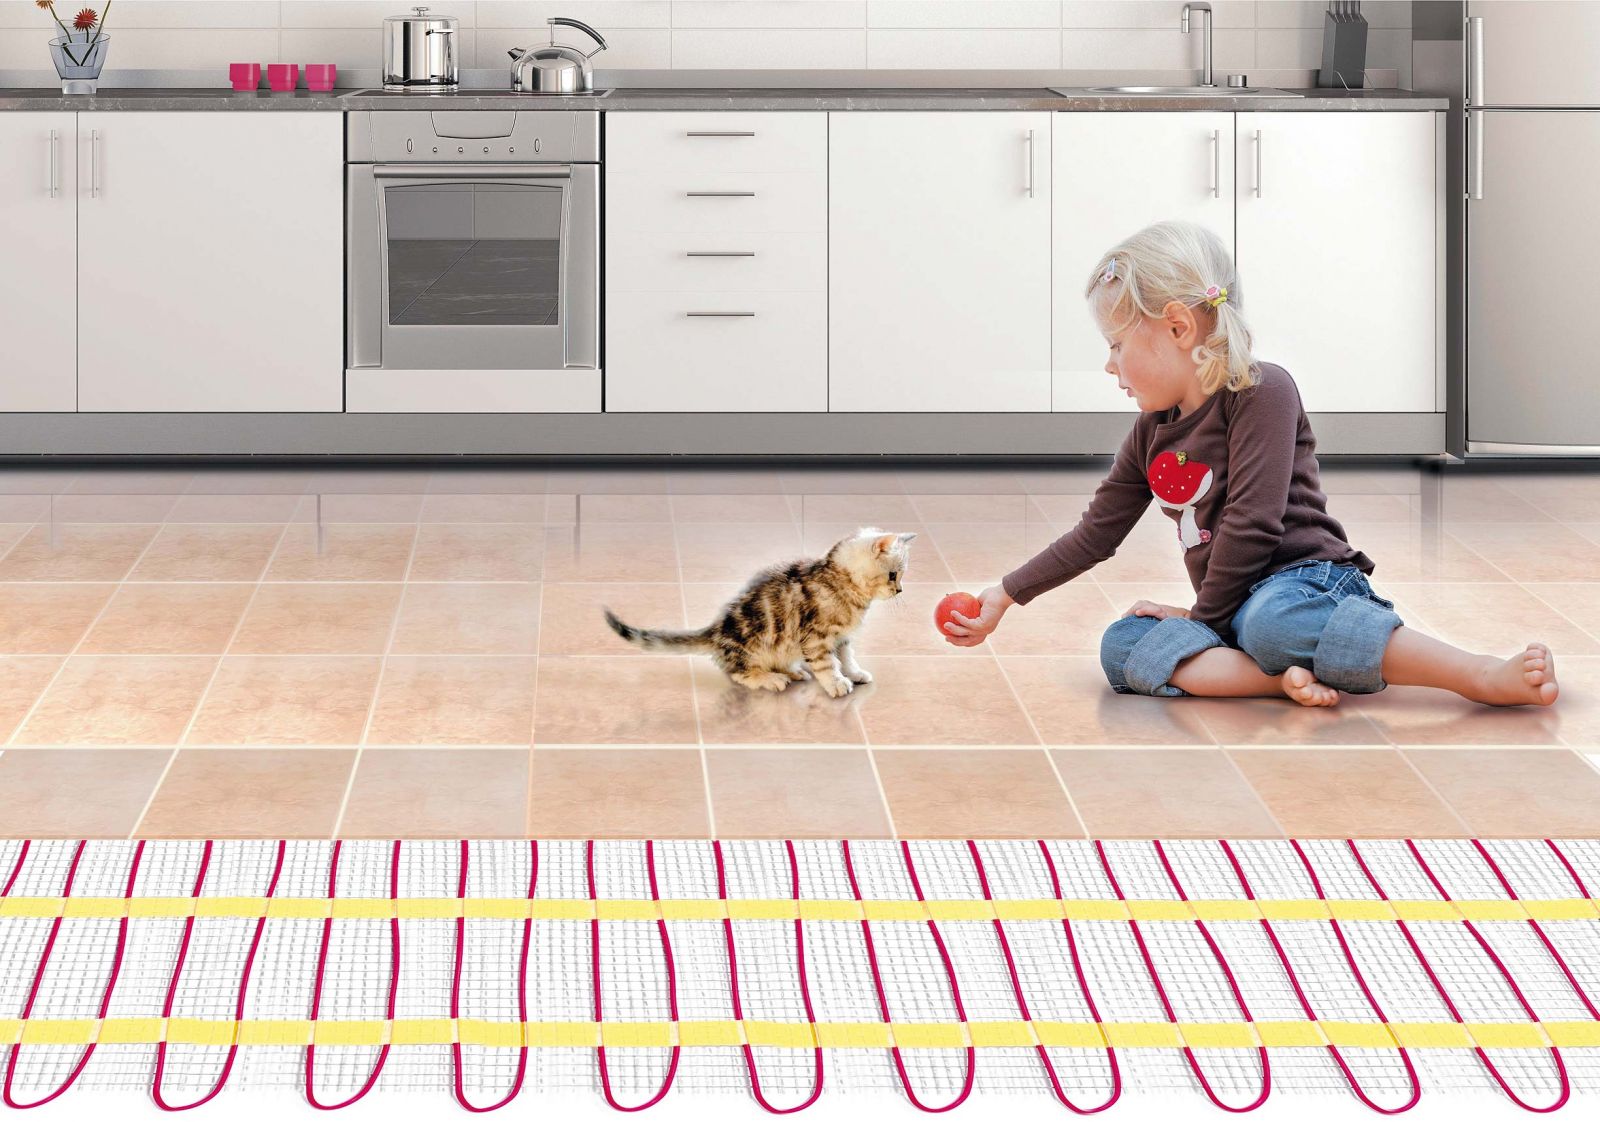
Underfloor heating is not only comfortable, but also beautiful. Despite the presence of a whole mechanism inside, the design is completely invisible under decorative coatings.
Agree, it is pleasant to walk barefoot on warm linoleum or carpet. Yes, and it is convenient for children to play on it. Warm floor, made in natural warm colors - a very cozy idea.
To learn how to properly calculate the pipe for a warm floor, see the following video.


